JhnRX7
-
Posts
75 -
Joined
-
Last visited
Content Type
Profiles
Forums
Blogs
Events
Gallery
Downloads
Store
Everything posted by JhnRX7
-
I also smoked the front turn signals and marker lights. I went much darker with these, to the point where I was concerned that the light would not shine through. Shines through perfectly!
-
I think this will tie it together nicely. I will do this the next chance I get.
-
I actually just brought the car up to Philly with me. Im in my 3rd year of school up here. ...I dont know too many neighborhoods in Boca that have row homes haha
-
http://forums.hybridz.org/showthread.php?t=123389 I would also love to see pictures of your wheels
-
Thank you! Here are a couple of night shots I just took.
-
Thanks! I want to get an exhaust REALLY bad, but at the same time I want to wait until I do the L28ET swap. When I go turbo I am going to want to have a 3" exhaust. I don't want to have to get an exhaust twice, or go 3" on the NA because I cant imagine that would sound good...
-
The paint is "Performance Red" off of a 2000 Mustang. I "smoked" them myself (except for the clear coat at the end). It is pretty cheap. The VHT NiteShade was about $20 shipped from ebay. Other places also sell it, but apparently everywhere is out of stock due to something going on with the company that produces it. Getting it clear coated really depends on who you know or where you go. It could be free or as much as $40-$50. It is really simple to do: 1) Remove tail lights. 2) Wet sand tail lights using 1500 or 2000 grit sand paper. if your tail lights are the 81-83 version like mine try and go easy in the cracks when sanding. It is painted black in between the raised sections and I did not want to sand through that black in some spot and have it look uneven. 3) Clean and spray on VHT. Spraying this stuff is pretty tricky, you have to keep it at least 10" away and spray in long even strokes. It is very easy to mess up and make it look uneven. If you don't want to make them too dark like i did, then you don't really have room for error. Mine was only 2 light coats. 4) LIGHTLY wet sand with 2000 grit. Just barely enough to scratch the surface and make it smooth. If you press too hard or sand too much you will go straight through the paint. 5) bring to paint shop and have it clear coated. They did mine while I waited.
-
Thanks for the input TrumpetRhapsody! Im not really in love with any of the body kits that are available today. Stock body is fine, but maybe with a little adjustments... I was thinking about possibly shaving the stubs on the front and rear bumpers, however I have not looked too much into that yet and don't even know if it is possible. It definitely needs to be lowered though. I think I am going to save up and go all out. Modern Motorsports rear coilovers and front... coilover kit thing.
-
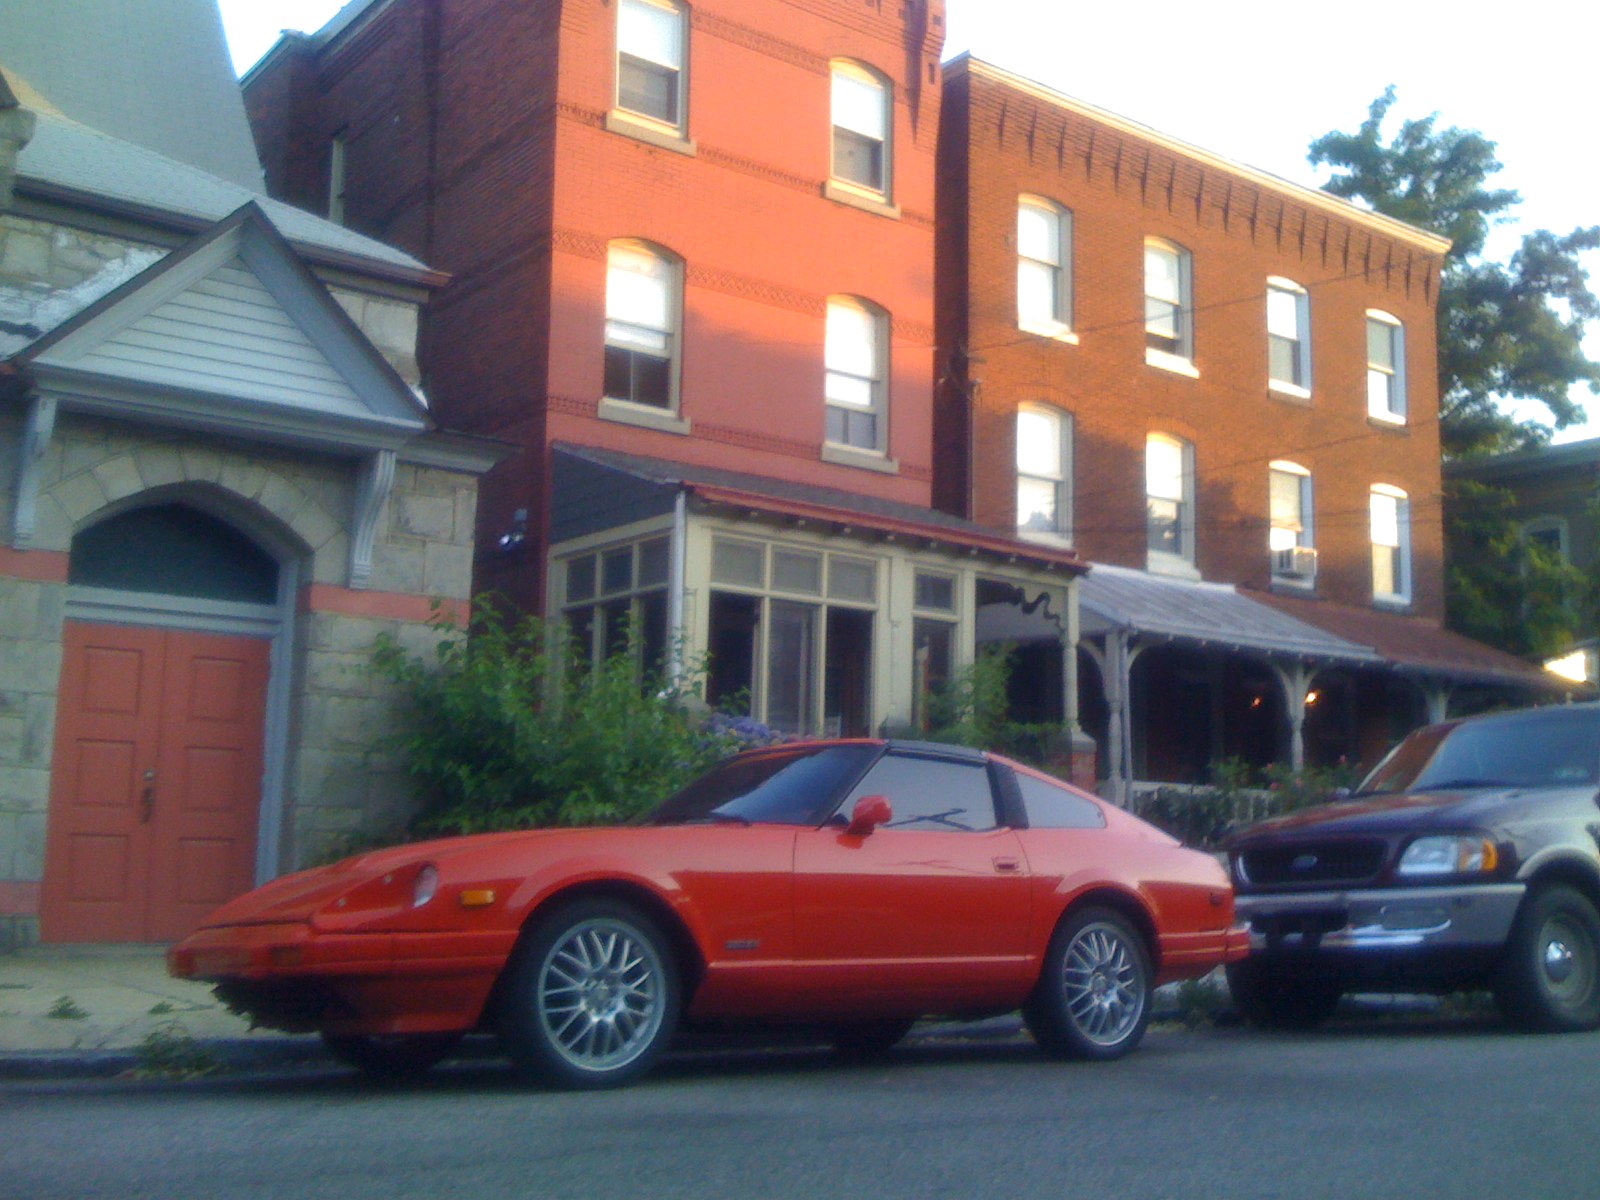
So I have been trying to think of some ways I can give my S130 a nice subtile updated look. I saw some pictures of KTM-EXC's S130 (beautiful S130 BTW) and noticed he had smoked his tail lights. His car inspired me to try it on mine. They look great on his black car, but I was not so sure how it would look on my red car. So, I found a REALLY cheap pair of tail lights on ebay and figured I would give it a shot. I used one can of VHT NiteShade. I did not want the lights too dark so i only did a couple really light coats. I also had them professionally clear-coated. If you are thinking about tinting your lights with this stuff then I would absolutely recommend getting them professionally cleared. Night and day difference! They turned out great, however I have not decided if I like it yet. Let me know what you guys think. How light looks under direct sunlight. All the lights shine through without a problem.
-
you got it! But nope, only 2 rotor... Still lots of fun!! My plan was to start driving the Z so that I can have more time to work on the 7, however now that I have been driving the Z I have become addicted to it and find myself wanting to play with it more than the 7.
-
should be a little easier now
-
Here is mine. It has been sitting for the past 5 or 6 years. I just started using it as my daily driver (very limited driving). Its a 1983 NA with only 73,000 miles. The headlight covers cracked so I removed them and I think I like it better w/o them. Can anyone guess the car in the last picture?
-
http://prosportgauges.com/ I used the performance series, mainly because of the bezel. I would have liked the premium series, however the bezel is about 1/2" thick and would protrude too much. The performance series gauges sit flush to where they are mounted.
-
I have been planning on replacing the 3 stock gauges in the dash with aftermarket gauges for a while now. I wanted to use high quality Defi BF series gauges, however they are very pricey. I recently found a relatively cheap gauge made by Prosport that looked good so i decided to buy one and try it out. I decided to get a water temperature gauge and it was only $40 plus shipping. So I got it and tested it out and everything seemed to work good (however i have not checked to see how accurate it is yet). IMO for only $40 this gauge is well worth it. Depending on how you wire it up, it can change colors when you turn the lights on. I have it set to be white during the day and amber at night. Installing the gauge in the dash was fairly simple. Removing the dash itself was a little challenging because I did it by myself, I highly recommend getting someone to help you once you are about to pull it out and put it back in. Once it was out I pulled the stock gauge cluster out (im sorry i dont have any pictures of this process) and took it apart. There were about ten screws holding it together and it broke apart in half. After removing the clock, the Prosport gauge fit in its place PERFECTLY! The only modification that needed to be done was to cut out a little hole in the back of the stock cluster to allow the gauges wiring harness through. I am very satisfied with how this turned out and I now plan on getting two more gauges to fill in and match. I am definitely going to get another oil pressure gauge to replace the stock one, but I haven't decided if I want something other than a volt gauge for the other one. here are some pics (sorry for the blurry ones):
-
I was going through my receipts and the previous owner replaced the gas tank. So im assuming that whoever installed it bent the floating rod or messed up the sending unit somehow.
-
Interested.... tell me more
-
Wheel Show! Post your pics of you wheels
JhnRX7 replied to k3werra's topic in Brakes, Wheels, Suspension and Chassis
I have a set of ADR's from 5 or 6 years ago. I cant remember the model name of them. It has spacers. ADR 17" x 7.5" 215/45/17
-
I have been living with it, and your right, its really not that big of a deal. However I have recently began to restore the car and this is one of those little things I would like to get fixed.
-
My fuel gauge is not reading correctly. When I fill the tank it only reads 3/4 of a tank. it also occasionally "wobbles" quite a bit, about 1-2mm in each direction. Any ideas on what could be wrong? bent floater rod in the gas tank?