
Kevin.pk
-
Posts
586 -
Joined
-
Last visited
-
Days Won
1
Content Type
Profiles
Forums
Blogs
Events
Gallery
Downloads
Store
Posts posted by Kevin.pk
-
-
Kevin, I initially was rigging something up with a small agm in the passenger footwell against the firewall, but didn't like it and placed a full size agm battery behind passenger seat in front of toolbox. The passenger seat does not slide all the way back, but far enough to give ok legroom for me and I'm about 5"11. It took about 8-9 ft of battery cable, but it works. Battery is inside the cabin, but it's a sealed agm for now so I think it should be okay. I'm not at any sanctioned track events yet.
I just ordered a Odyssey pc680 and going to likely mount it exactly like you, behind the passenger seat... or possibly underneath it, if it'll fit. I've heard mixed reviews about the PC680, but figured i'd give it a shot anyways.

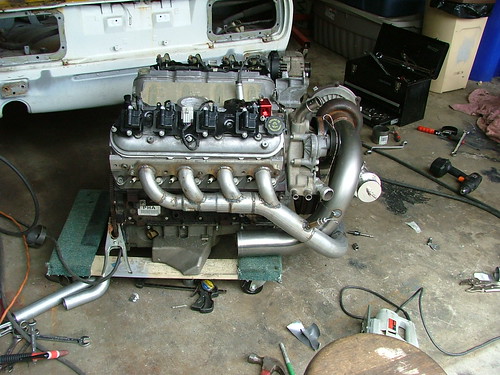
Driver's manifold modified. I originally did the passenger side in 2.25" but this is 2.5" with a ball and socket flange. I'm going to pull out the passenger side and re-do it. It'll be a tight fit, but I should be able to get it fitted. may just get a v-band flange for the other side actually. Need to order up bends for the rest of the exhaust and also need to get welding gas, I ran out. going to get these ceramic coated when I get a chance too.
-
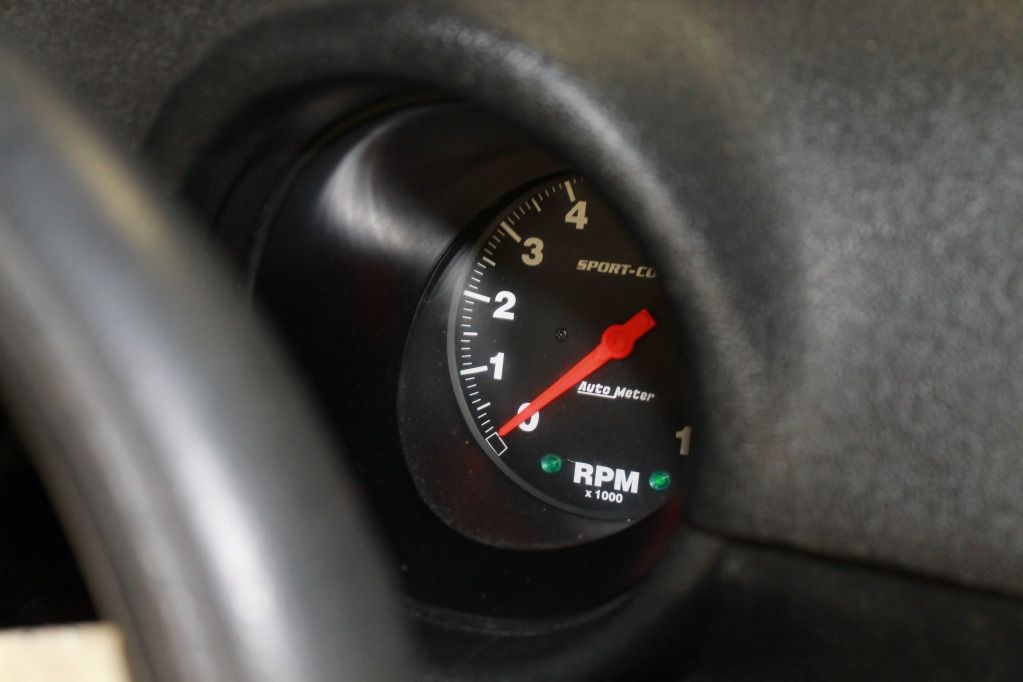
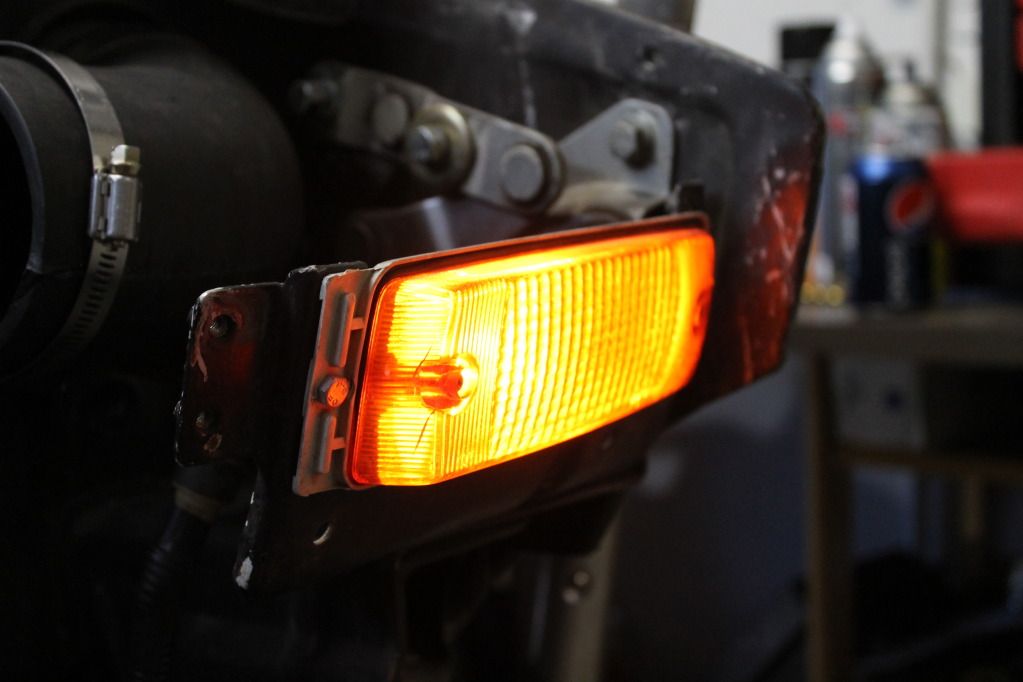
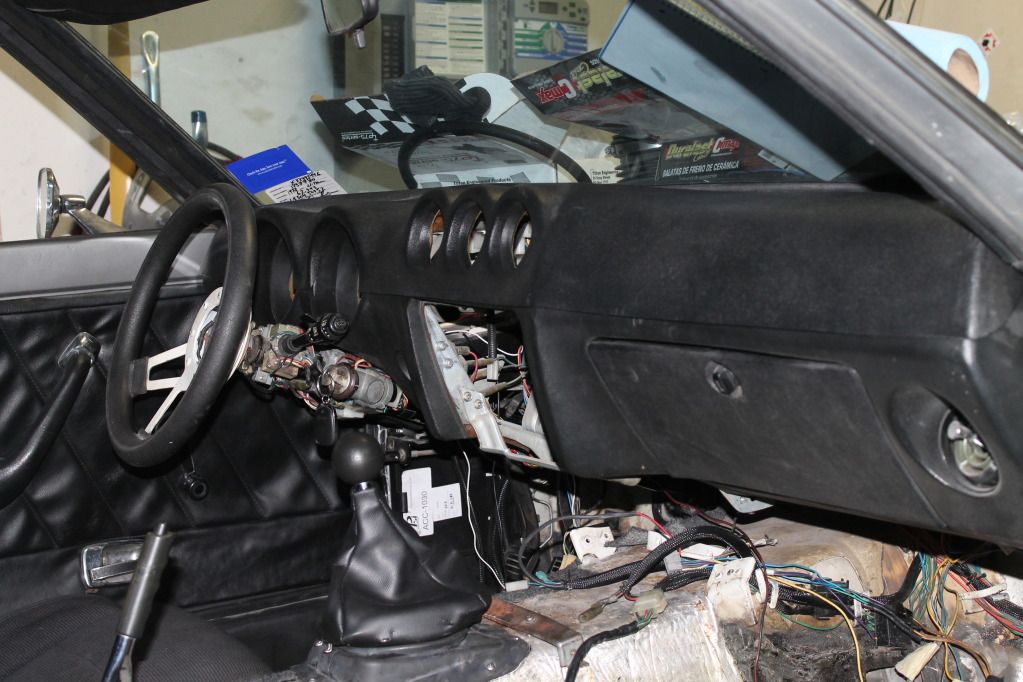
Tach Installed
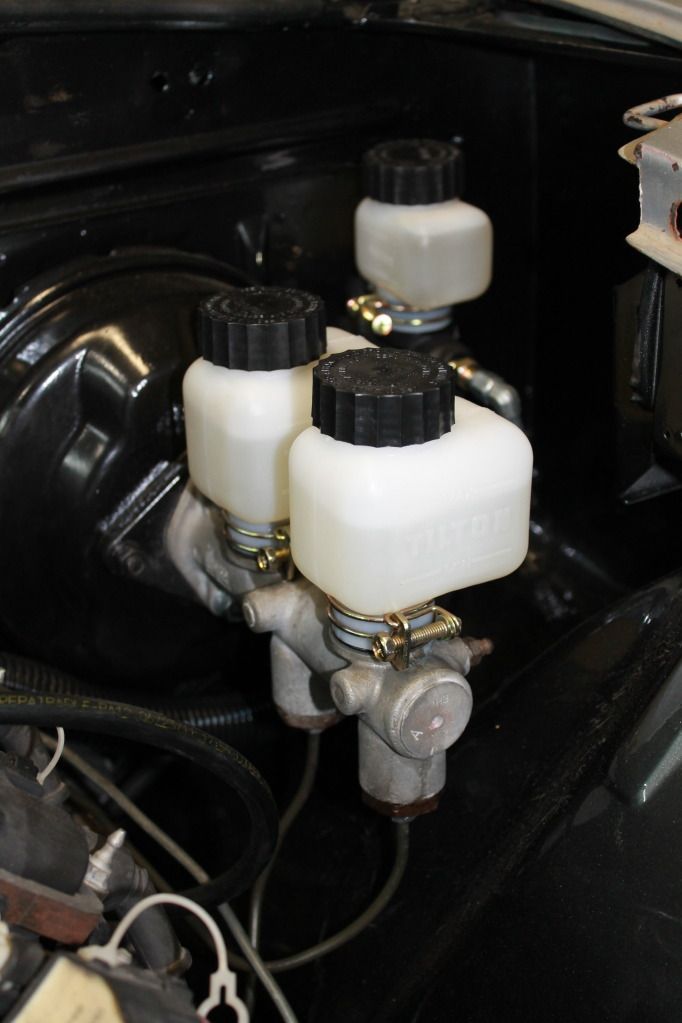
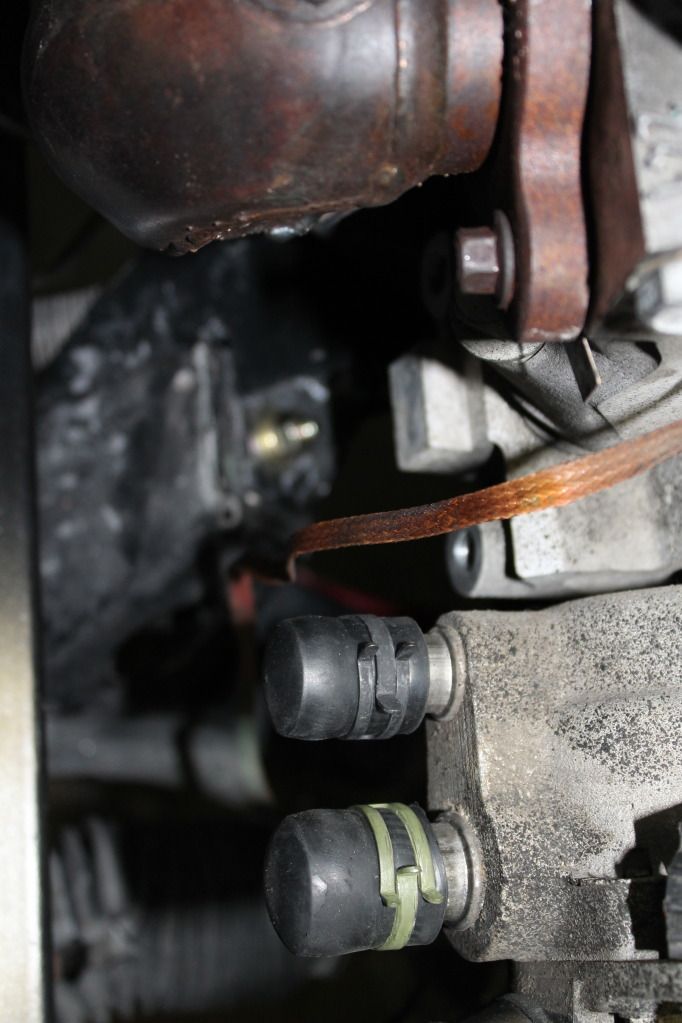
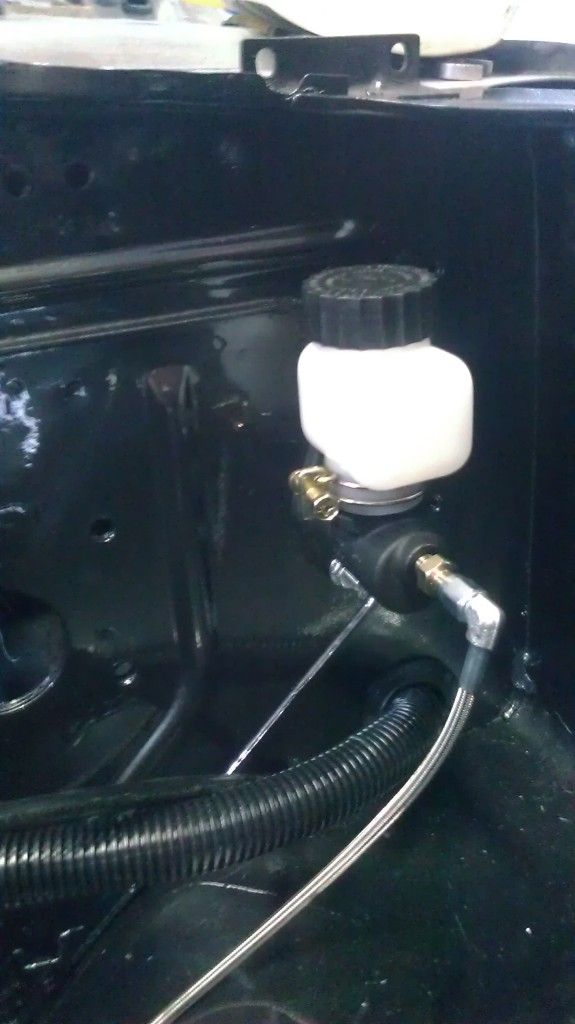
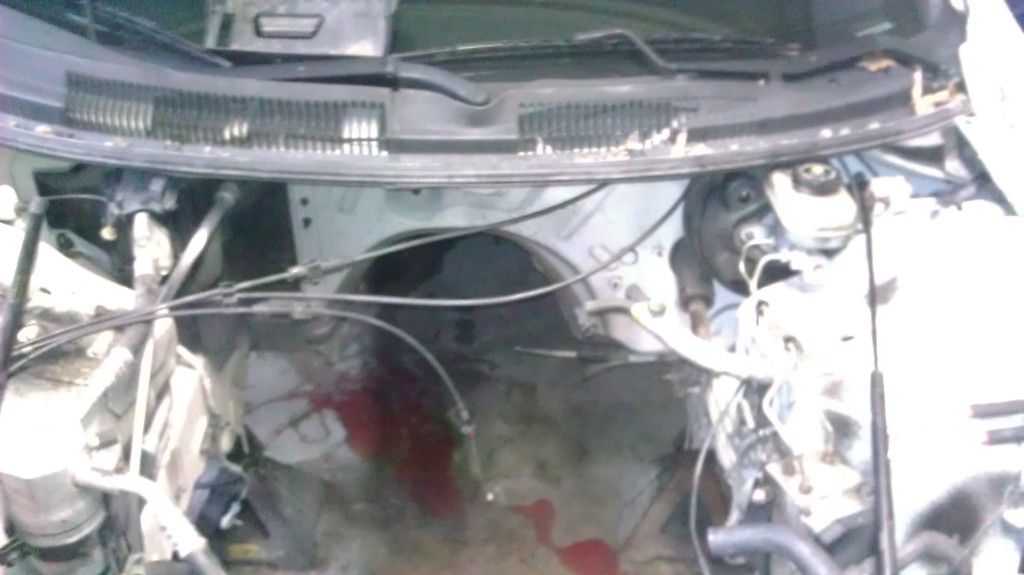
New brake fluid reservoirs
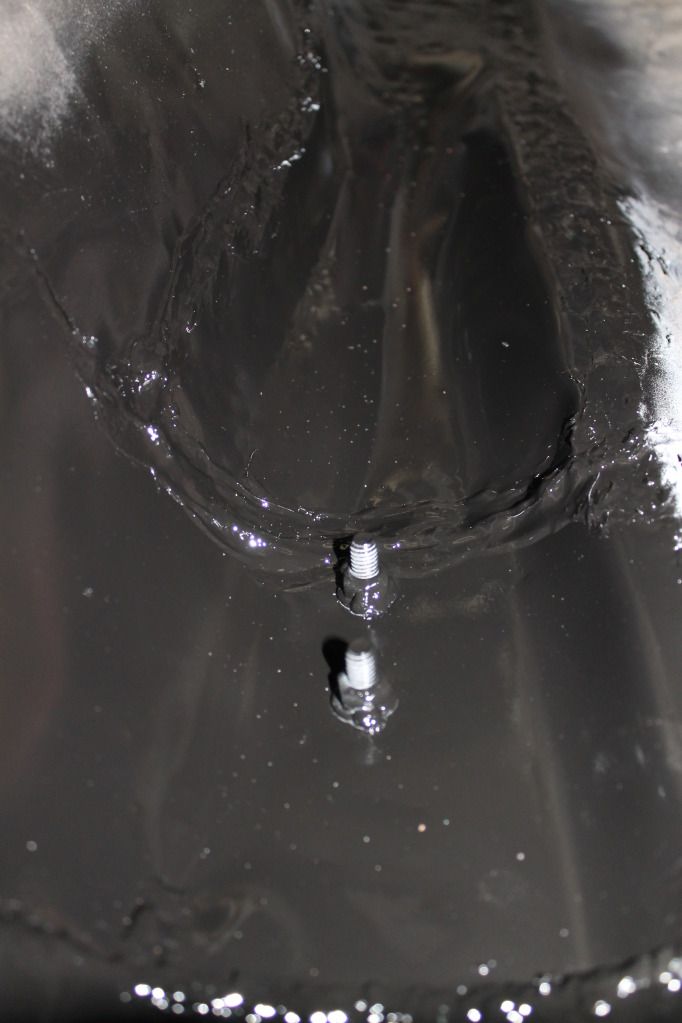
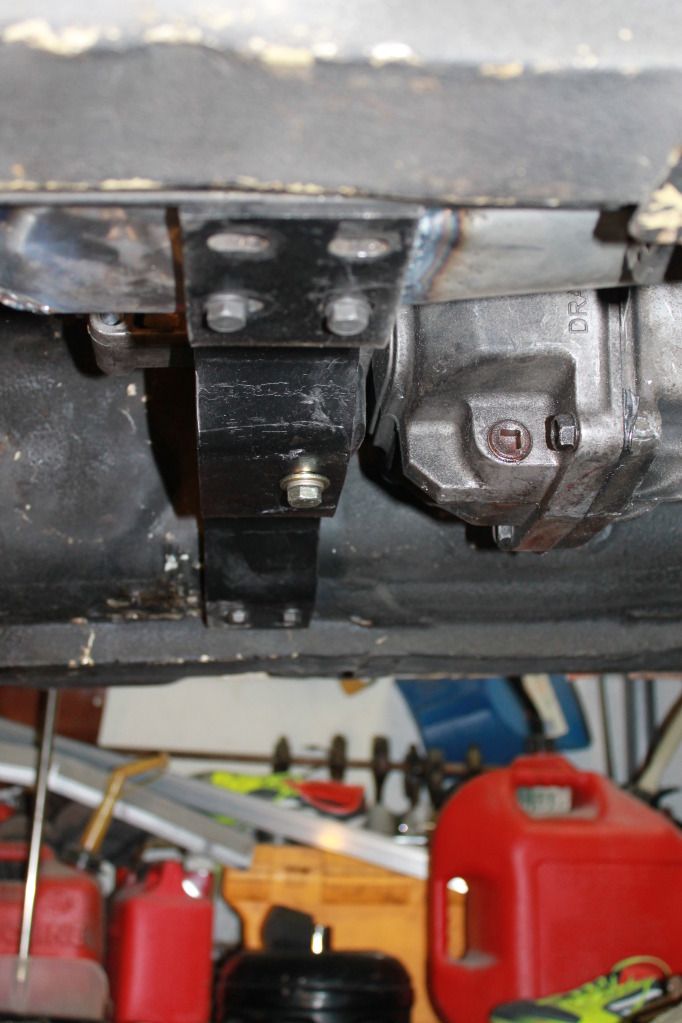
Passenger floor board rust repair and transmission mounting point reinforced with 16 gauge.
Trans mounted but still need to coat the under side where metal was replaced.
-
Chassis wiring reconnected
New brake line bent
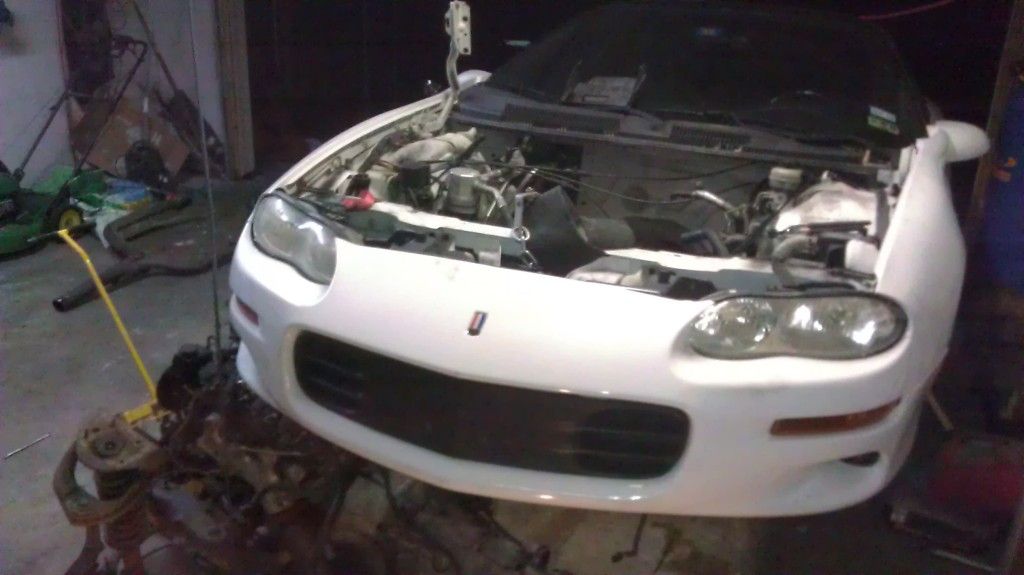
New front fender. It needs a little bit of body work, but virtually no rust.
Fan wiring done. ECM will control the Taurus fan with this Volvo
seam sealer
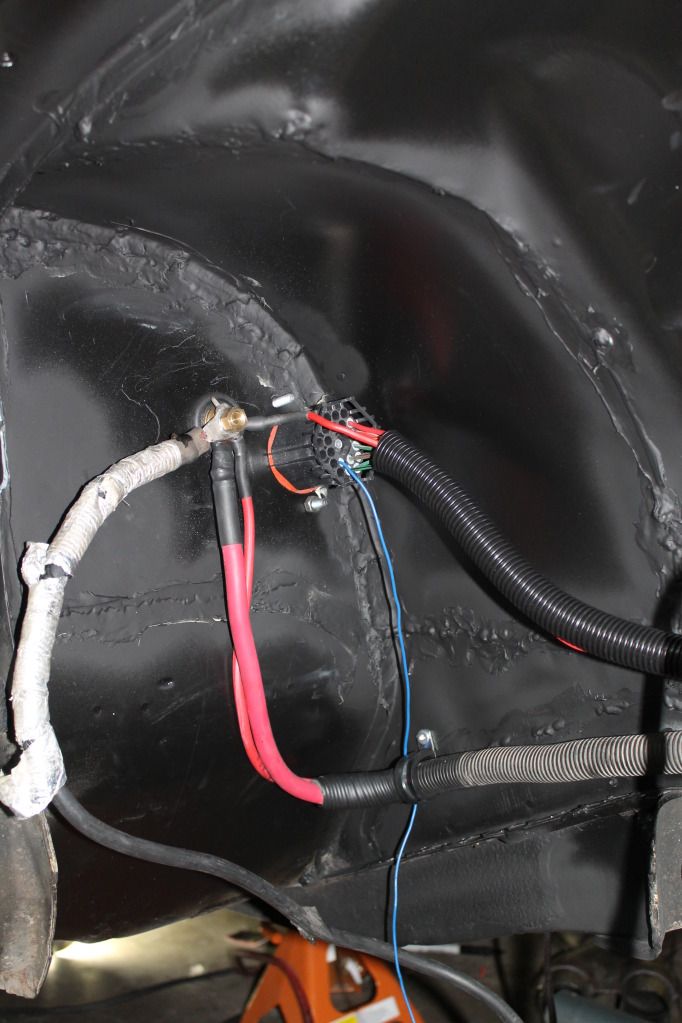
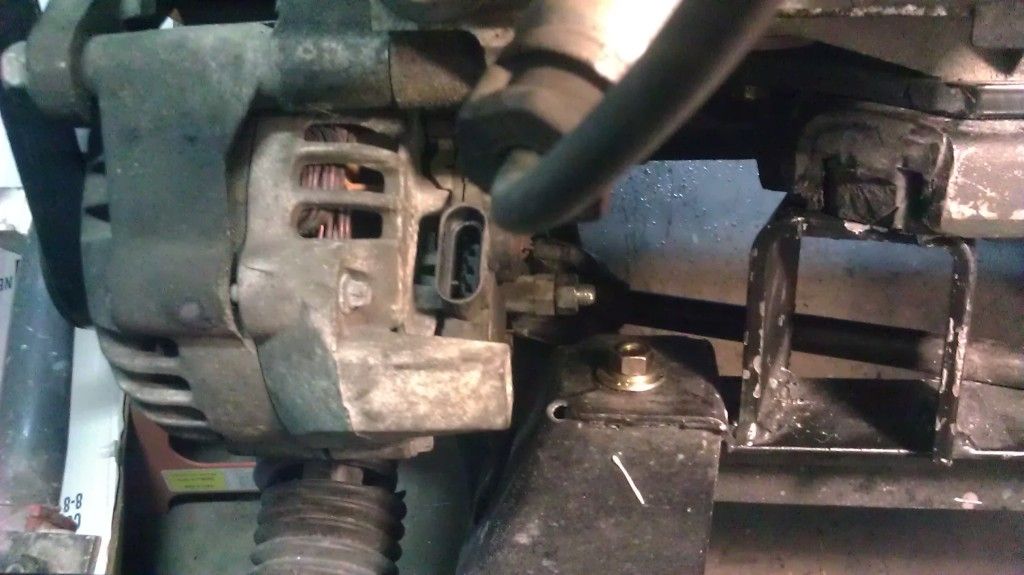
Starter and alternator wiring are done.Still working on where I am going to mount battery. Cable to the left is just for hooking to battery to test things.
Drive shaft is in.
Heater lines blocked off.
Drilled new hole on throttle bracket so the cable has a straighter shot at the throttle
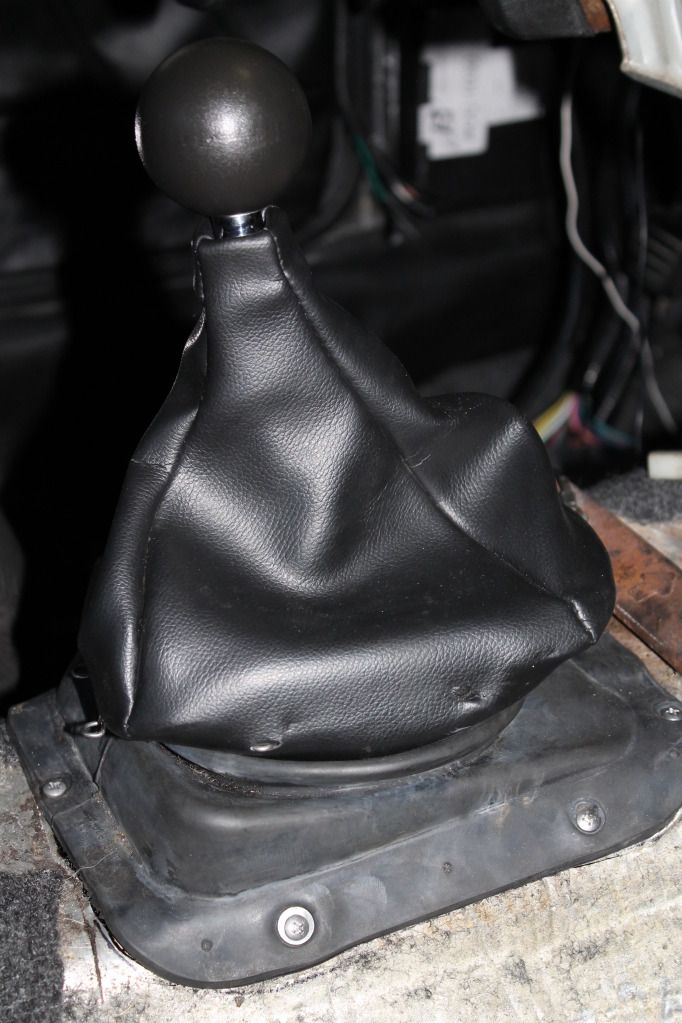
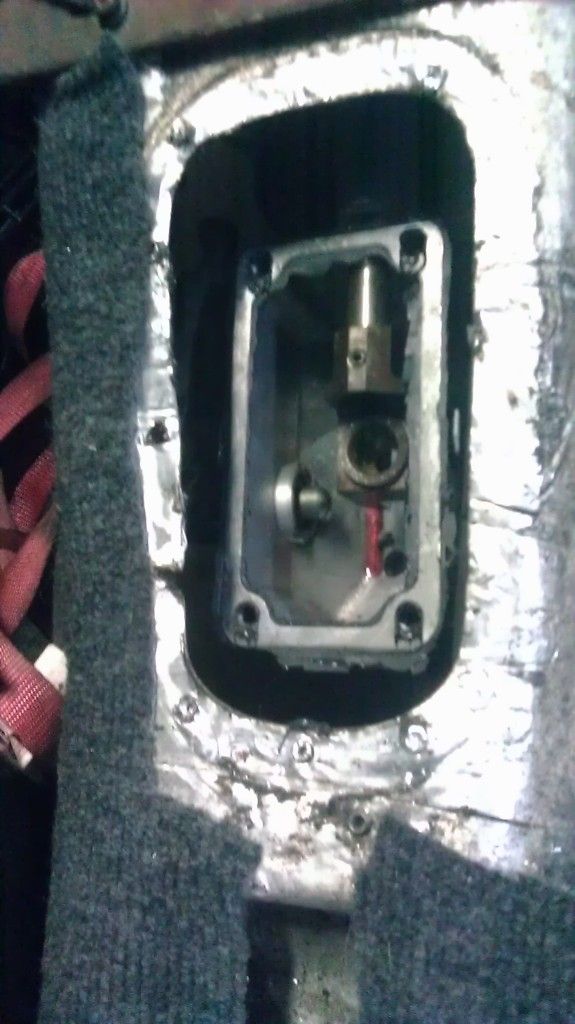
Rubber shift boot installed
Dash is back in.
Driver's brake reinstalled
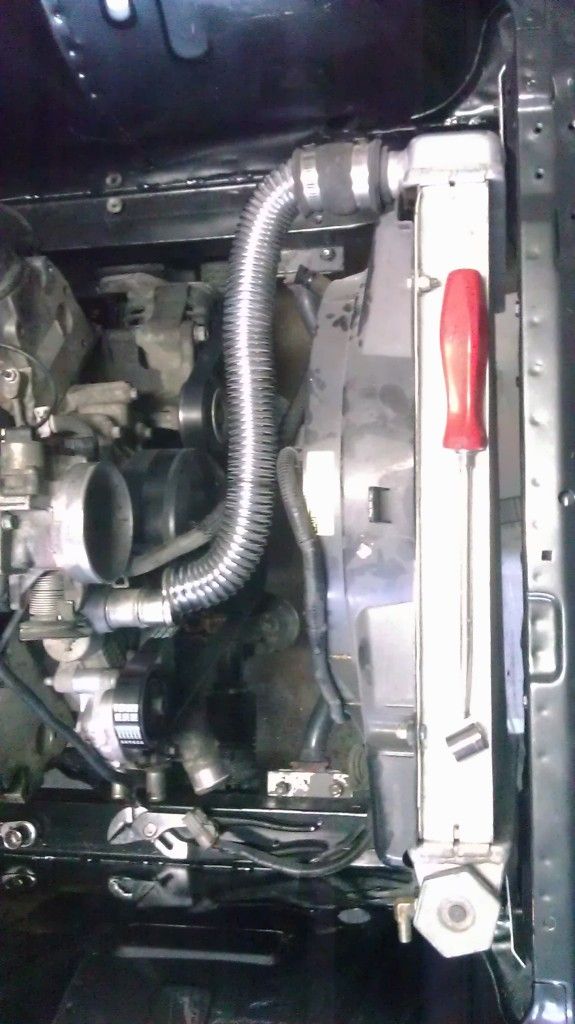
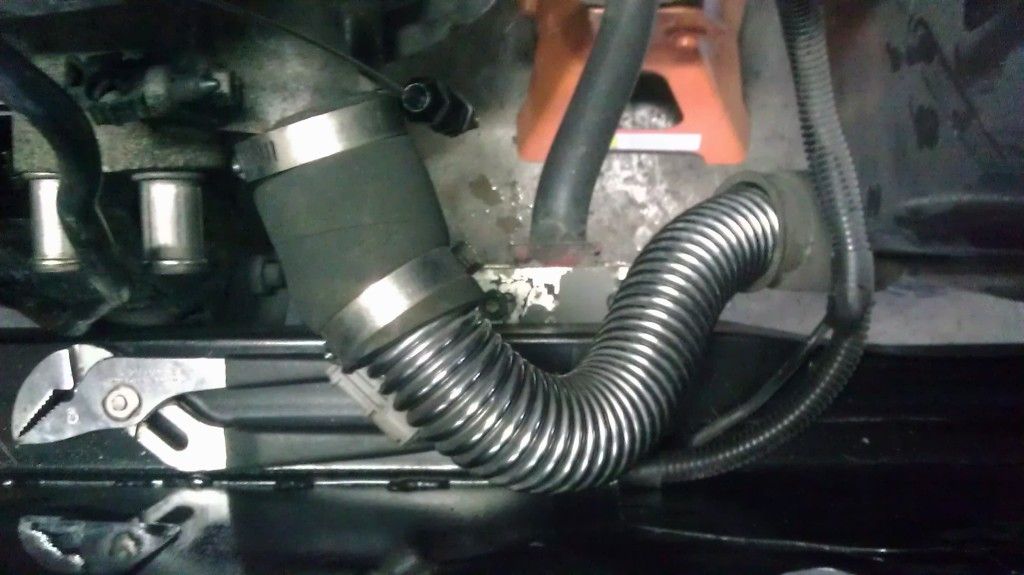
Upper Radiator hose
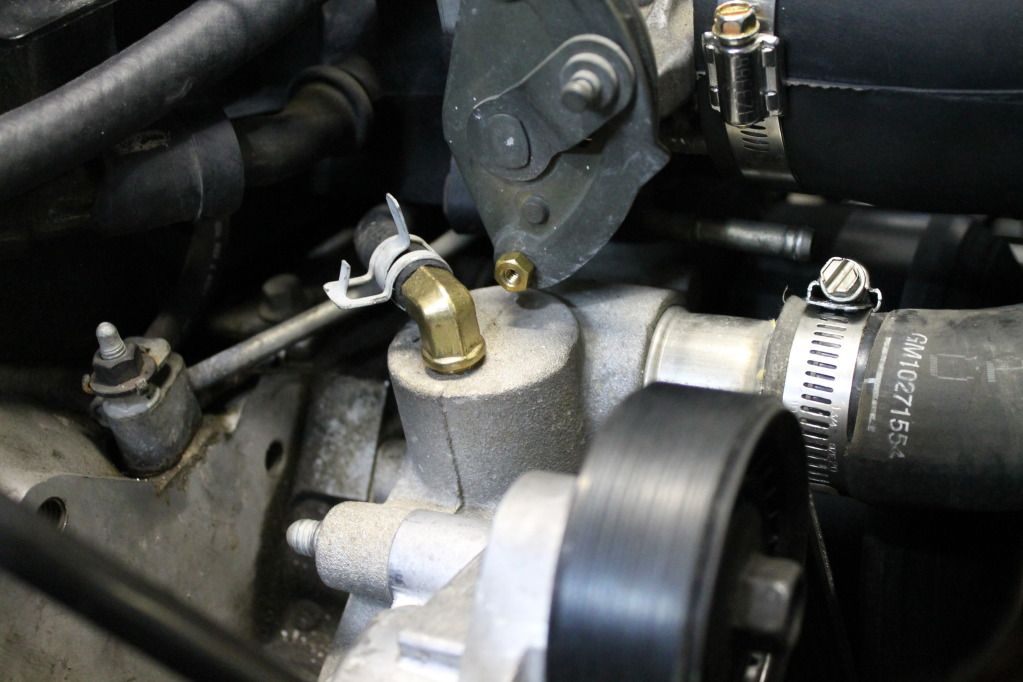
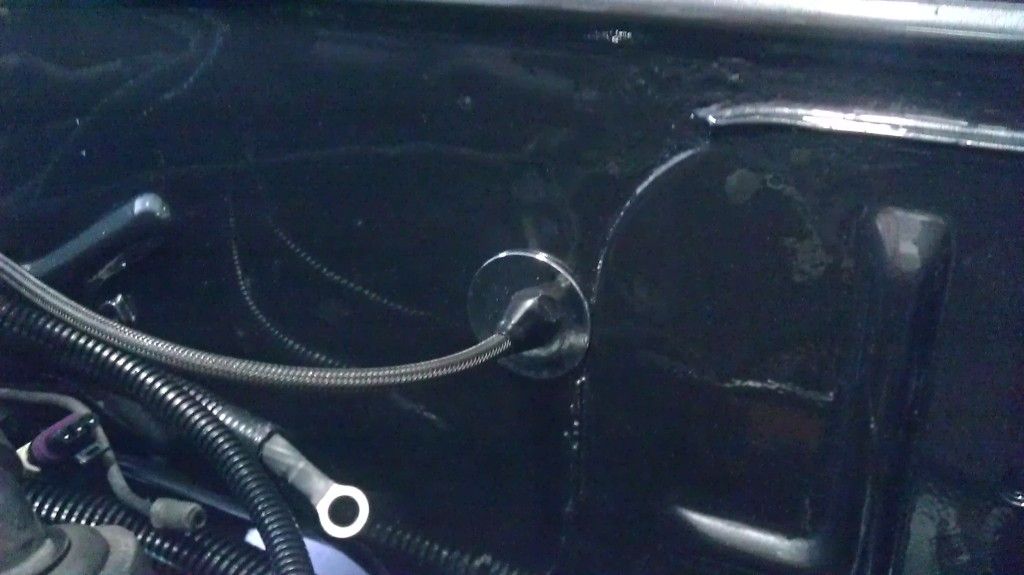
Steam vent routed to water pump
-
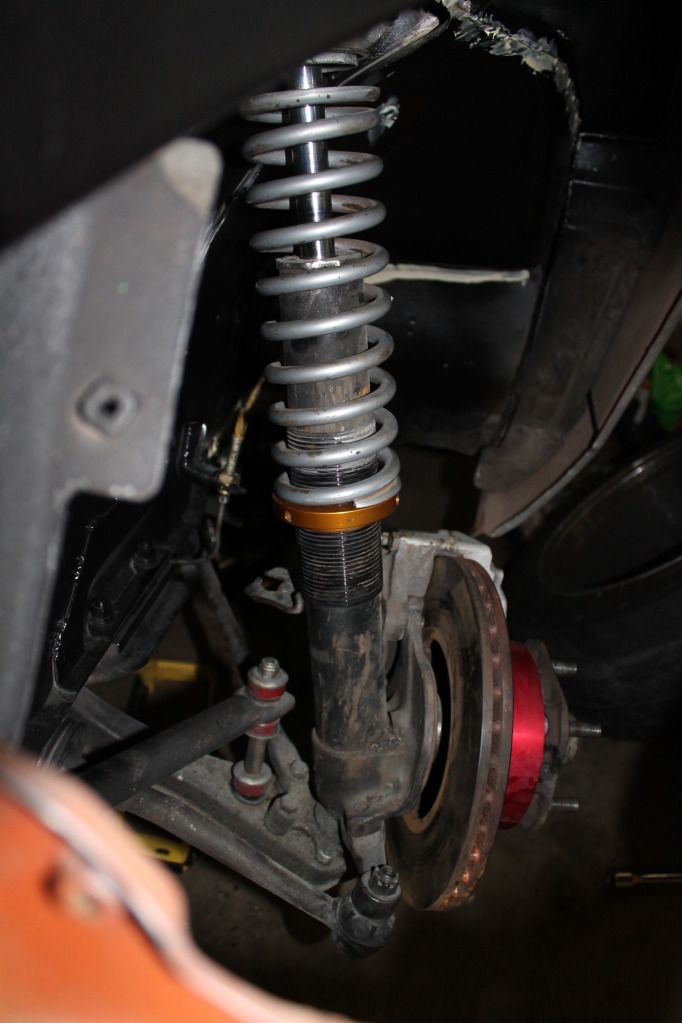
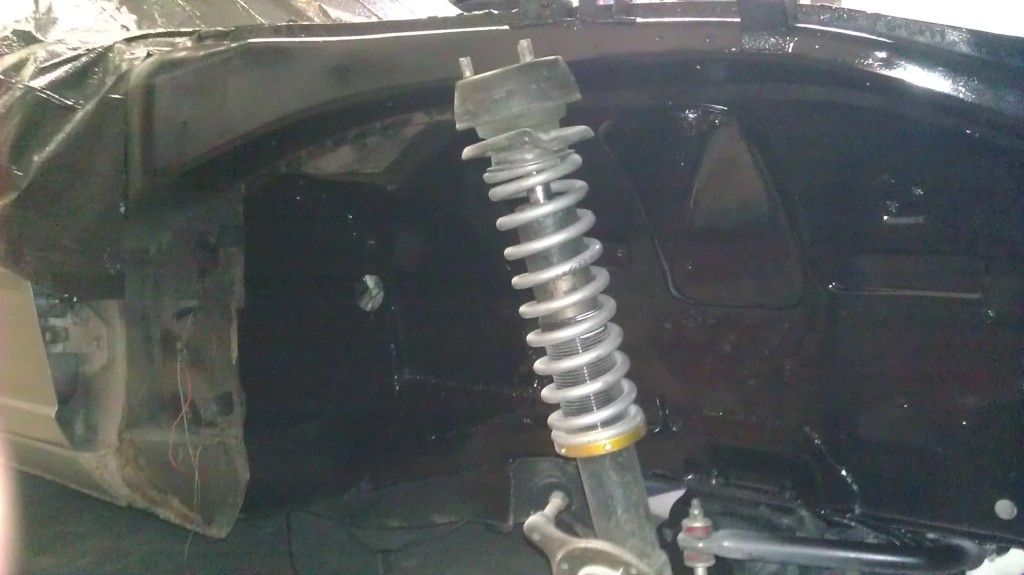
I wouldn't say they are indestructible. I had the same thing as calpoly-z happen. I went to tighten lugs on the rear passenger side and the whole strut assembly came down. The rubber tore apart with a fairly minimal amount of torque.
-
started it...
-
-
Thanks, Me too....
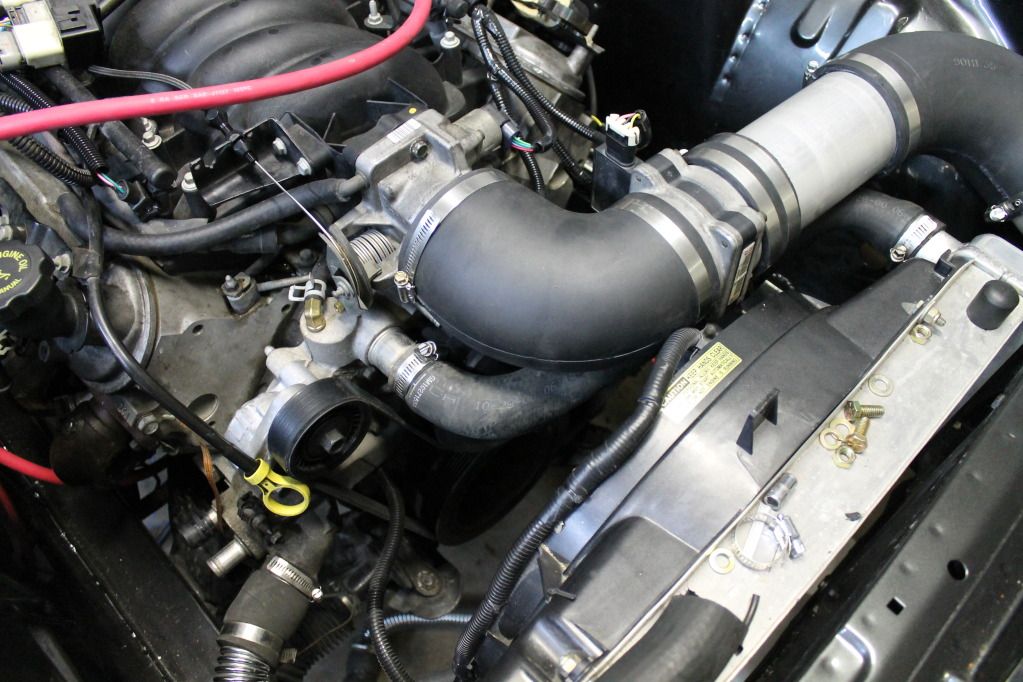
JTR Intake piping done. Just need filter and a couple more clamps.
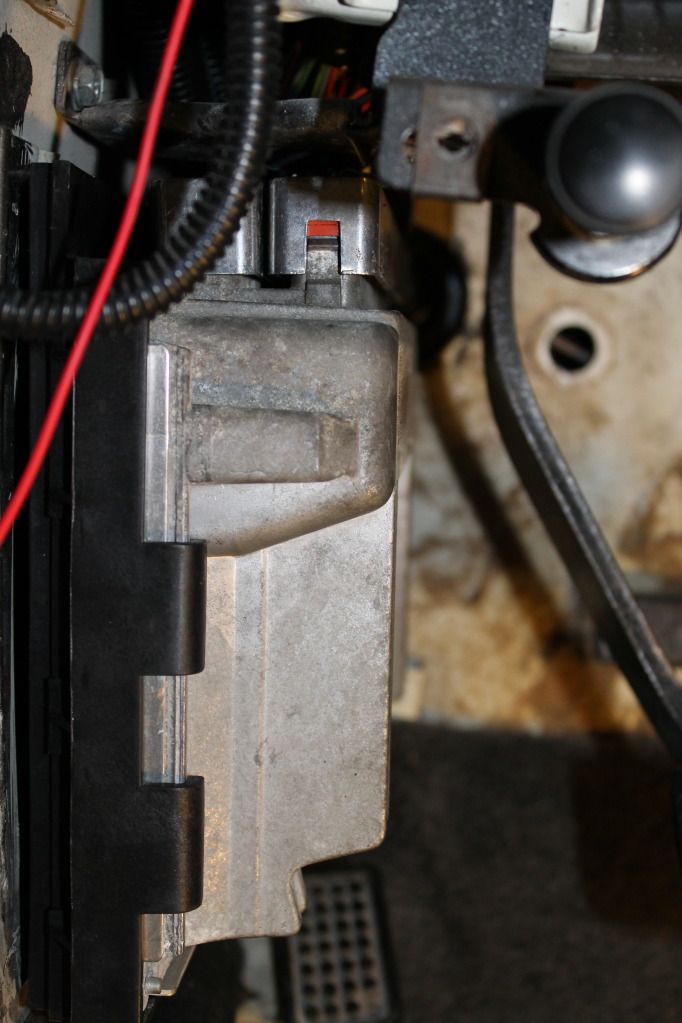
PCM mounted.
Fuse block mounted up on the pedal box.
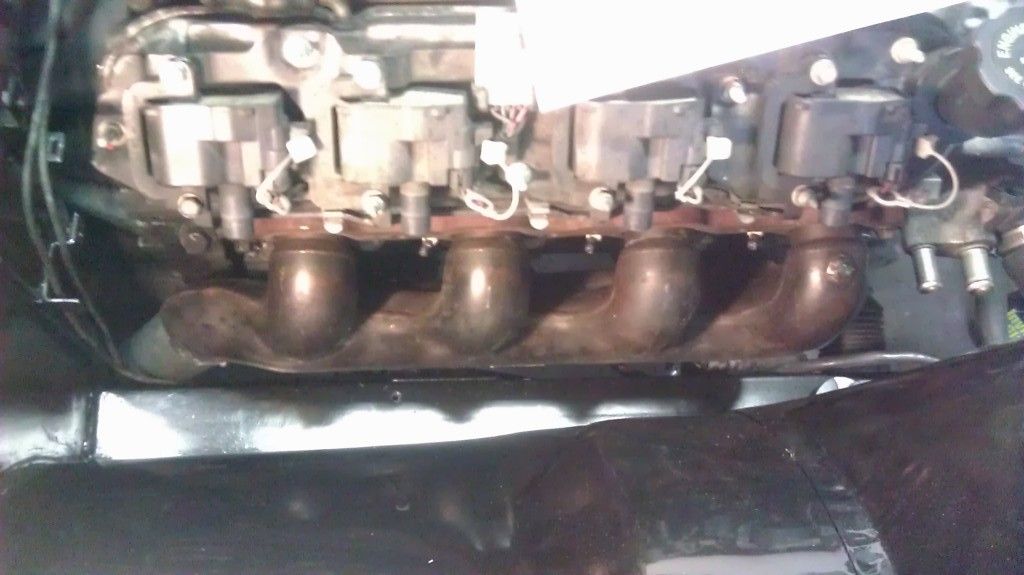
Passenger manifold mocked up. Needs to be full welded still. Bascially just chopped off the flange and welded on an extension. Waiting for drivers manifold to ship in... its going to get some similar cutting done. Already made new passenger front brake line that will go along the top to the frame rail. Rear brake line will just be bent out of the way of the exhaust
-
Looks like the manifolds in the in first post are custom....
Full build thread for it though...
http://forums.hybridz.org/index.php/topic/56956-the-turbo-is-coming-along-pictures/
-
I should be up and running in the next couple weeks if you want to check out a completed swap.
-
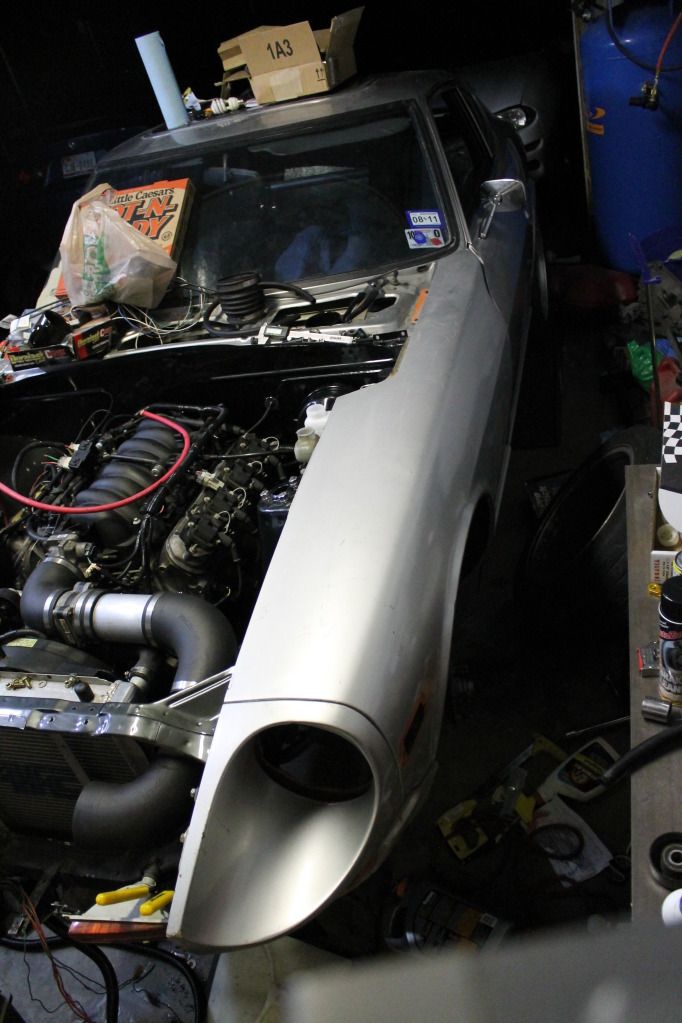
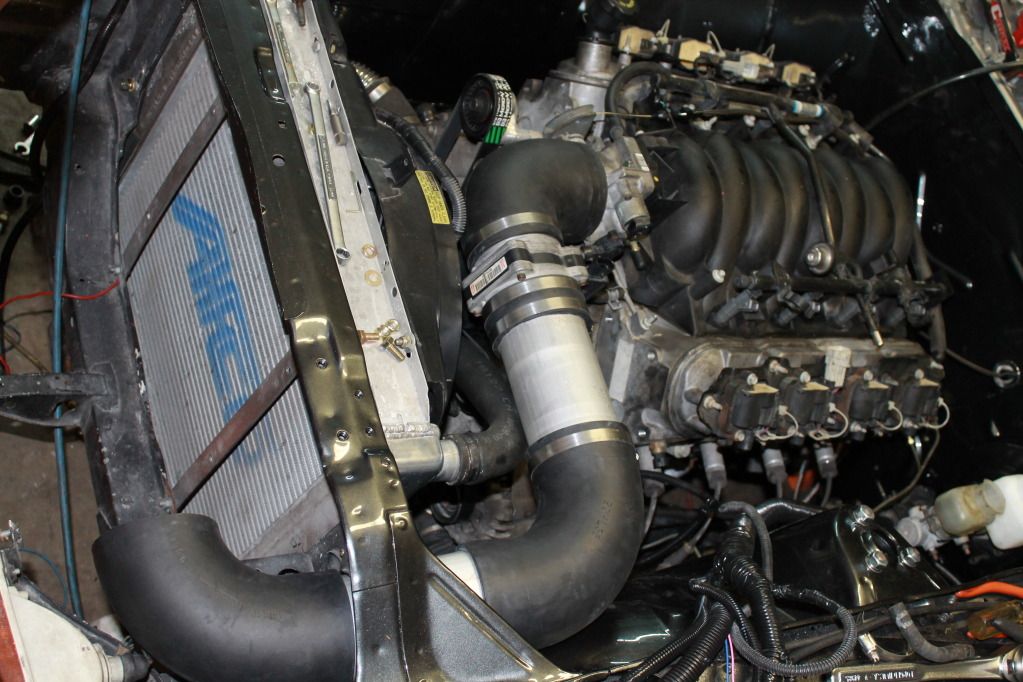
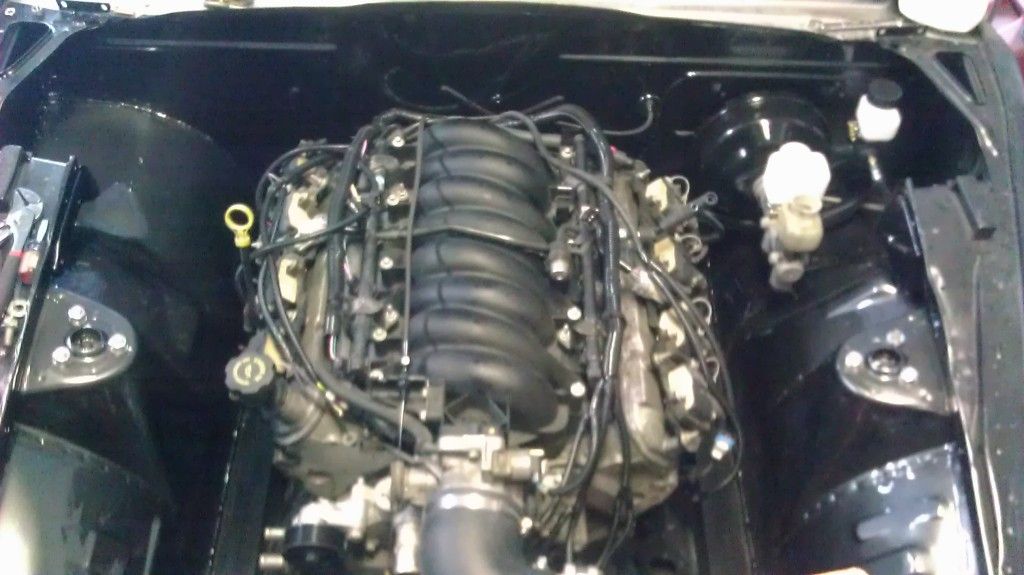
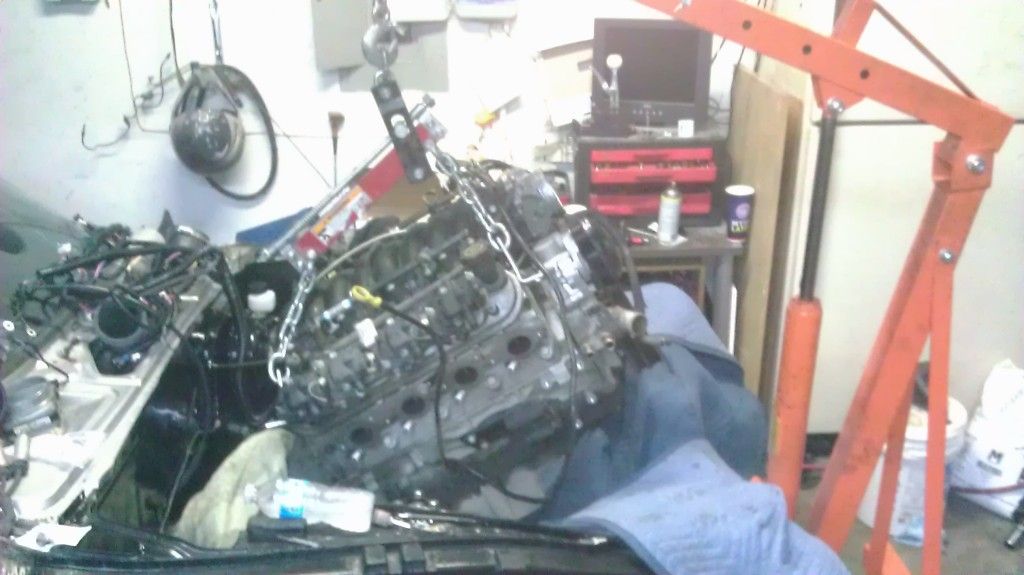
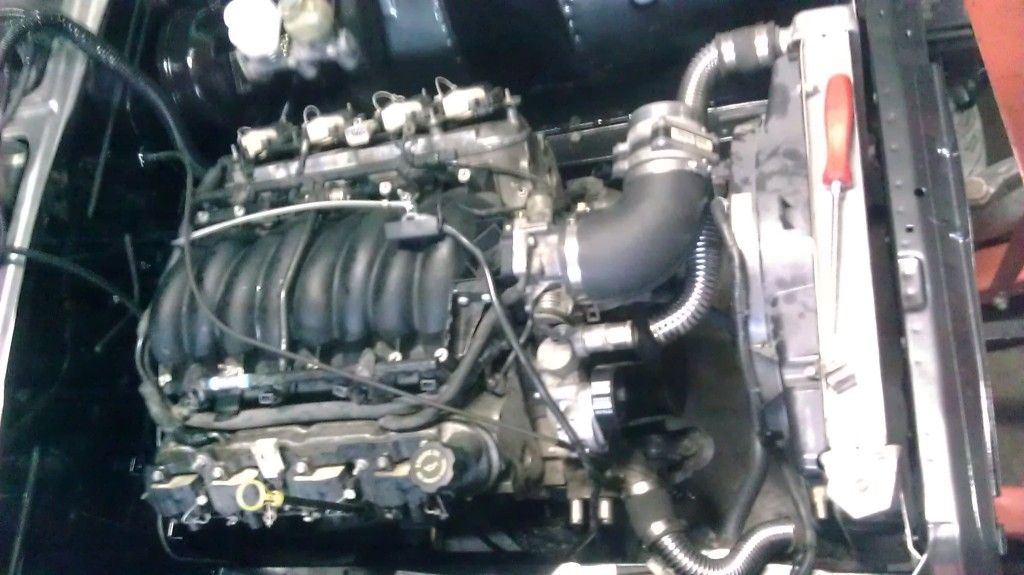
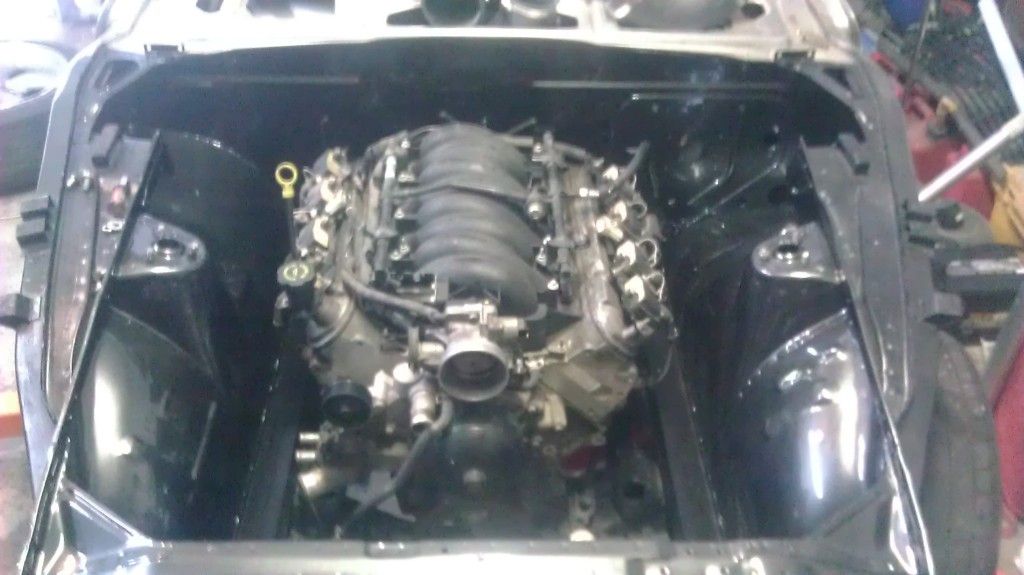
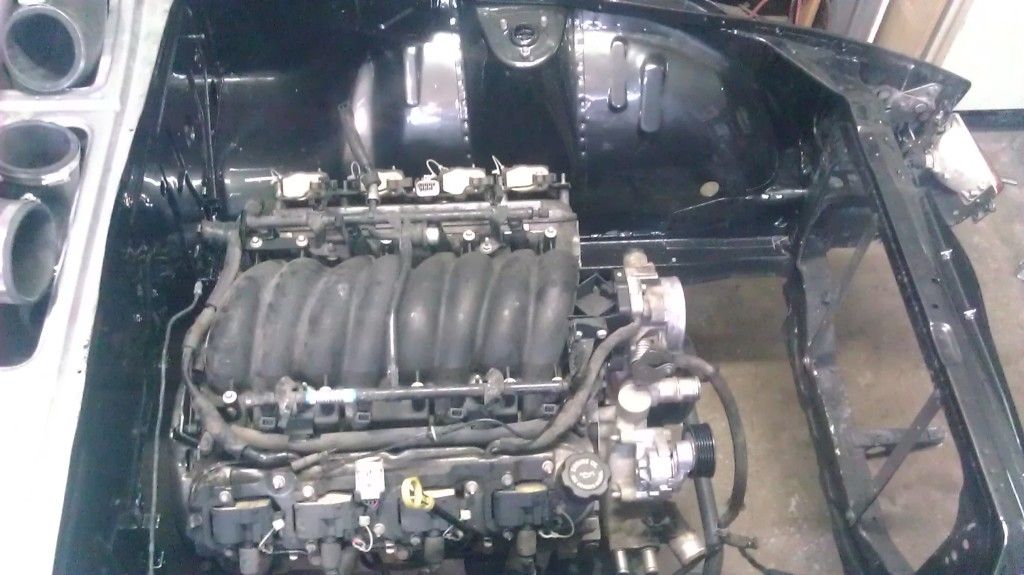
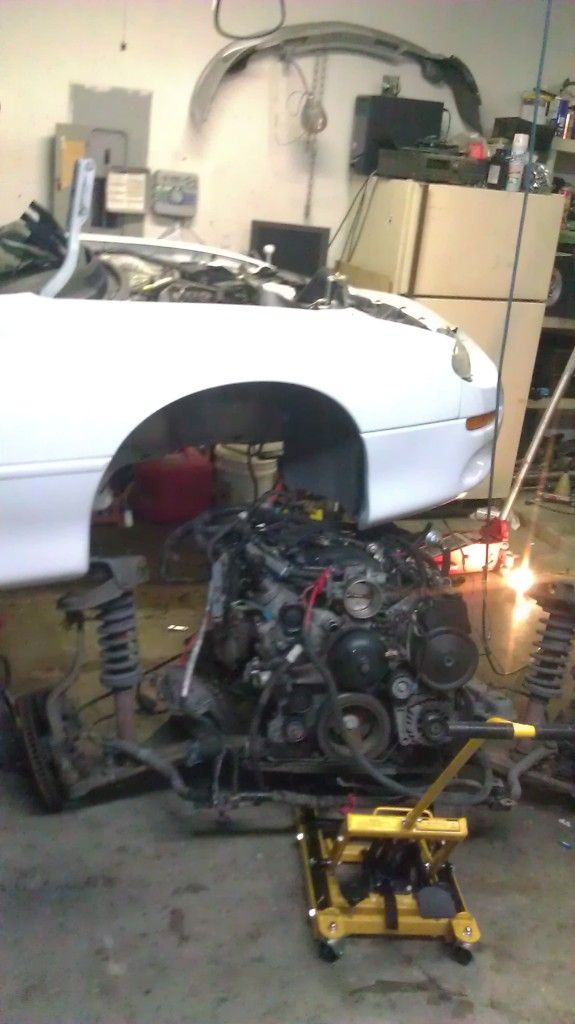
Engine going back in after bolting up transmission
Shifter placement couldn't have been better. This was kind of lucky since i never mocked up the engine with my mounts with a t56.
Alternator mounted and clearance looks good.
Bolted radiator in. Upper hose is going to be close. Might just try and chop up f-body hose and splice it.
Lower hose fits perfectly
overview
-
Done for the day.
Got wiring loosely mocked up.(PSI Conversions Harness)
Brake booster/master cylinder installed
Tilton 7/8" Clutch master cylinder installed
Lokar LS1 Black braided stainless Throttle cable installed.
-
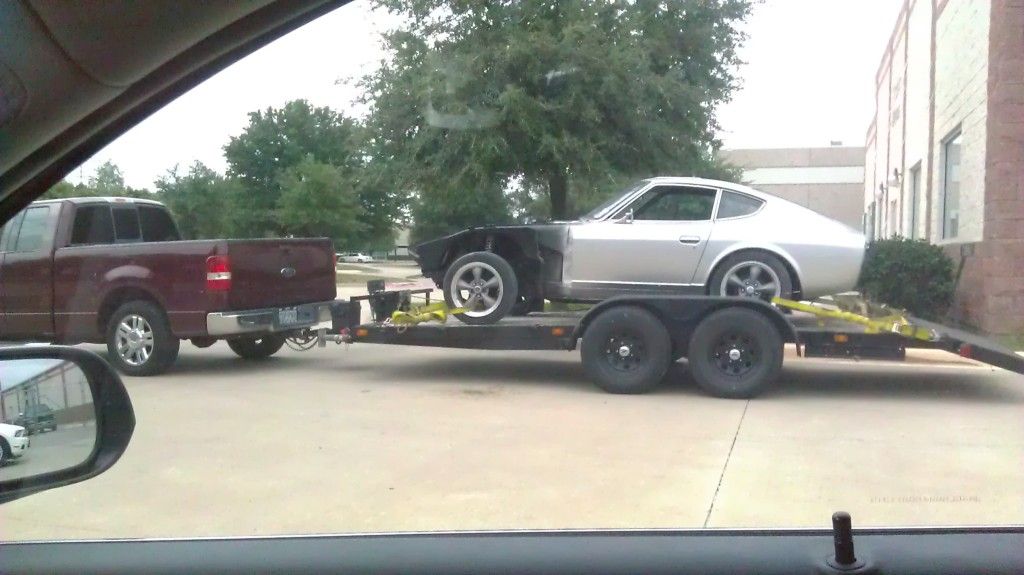
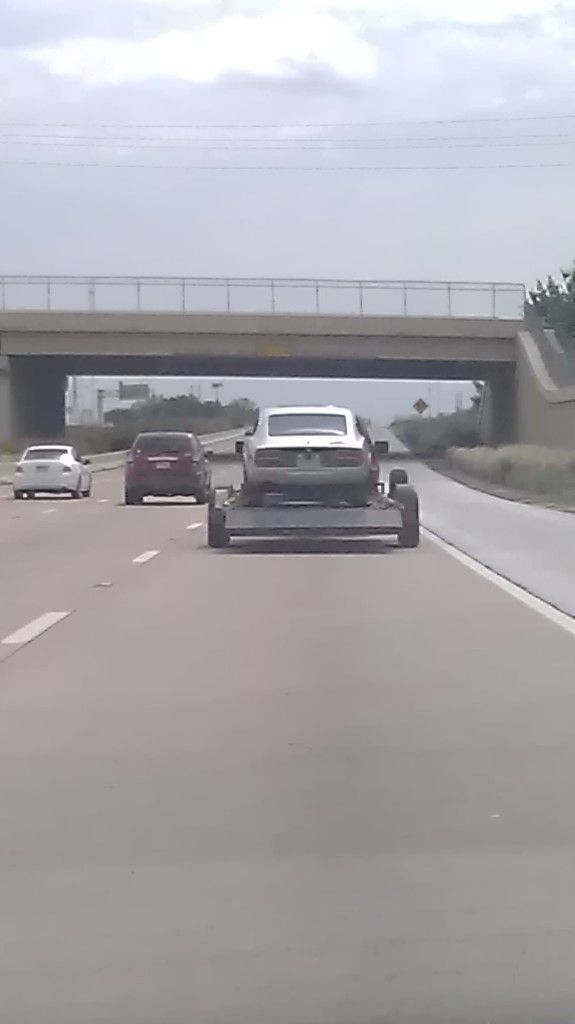
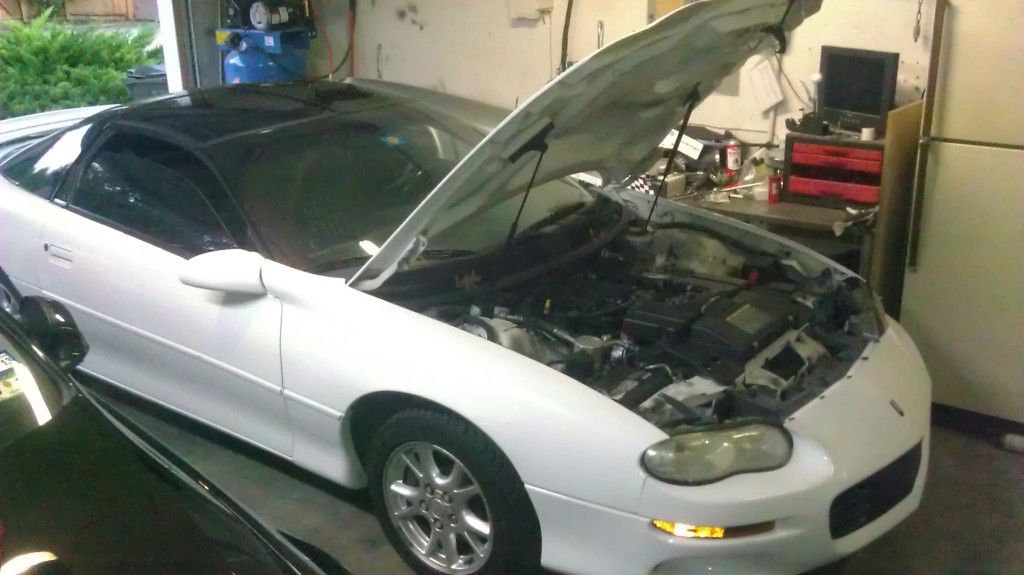
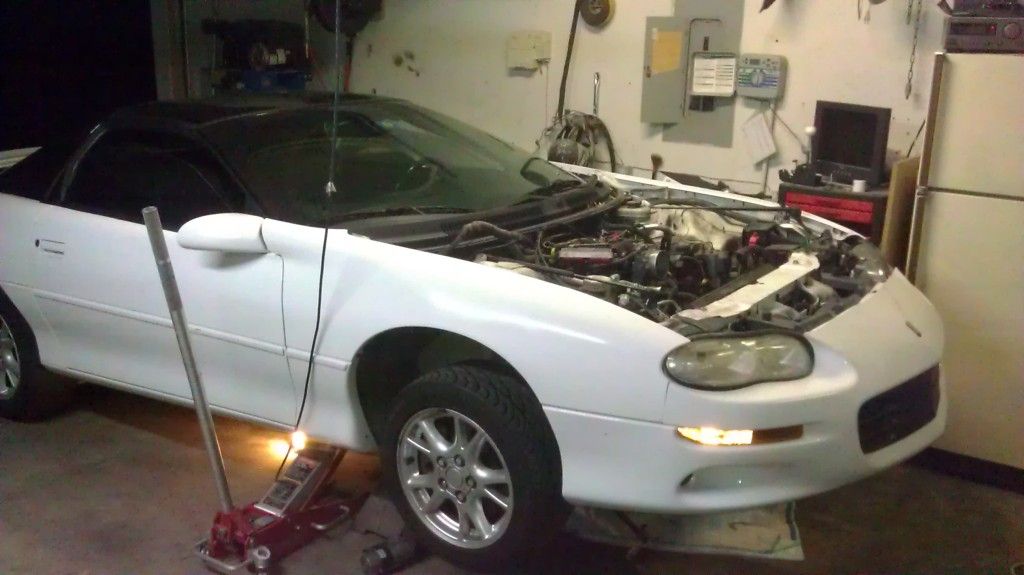
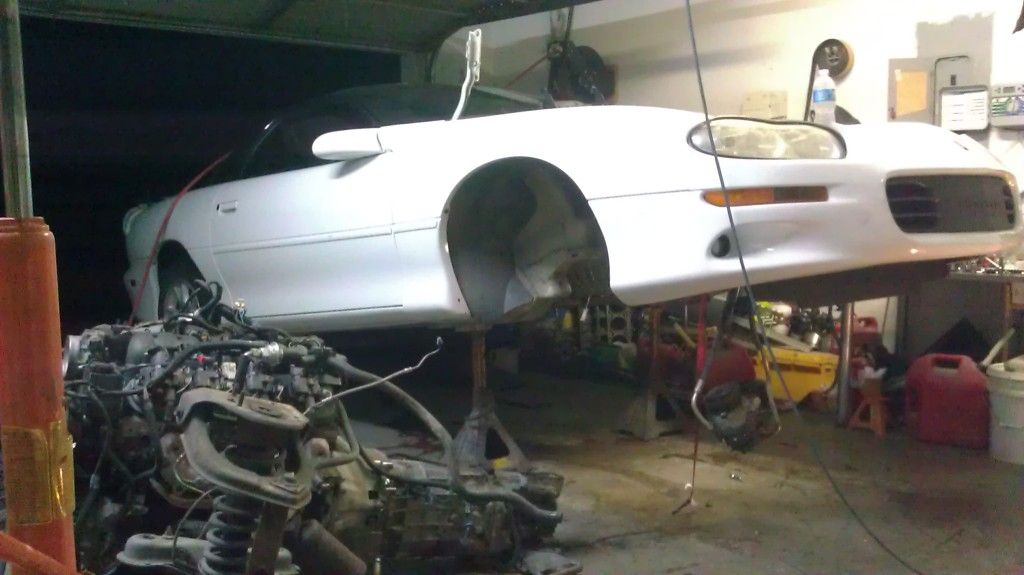
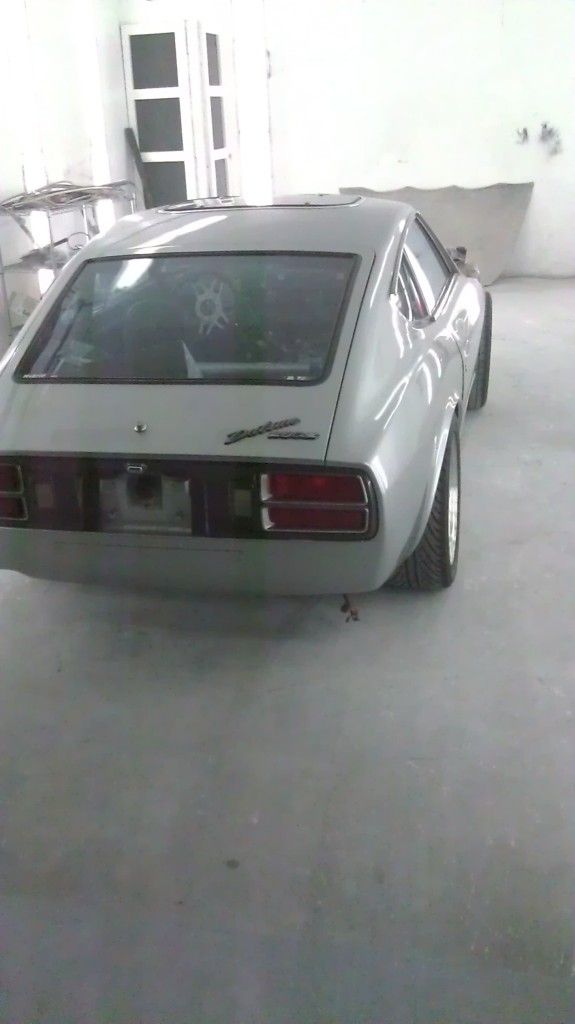
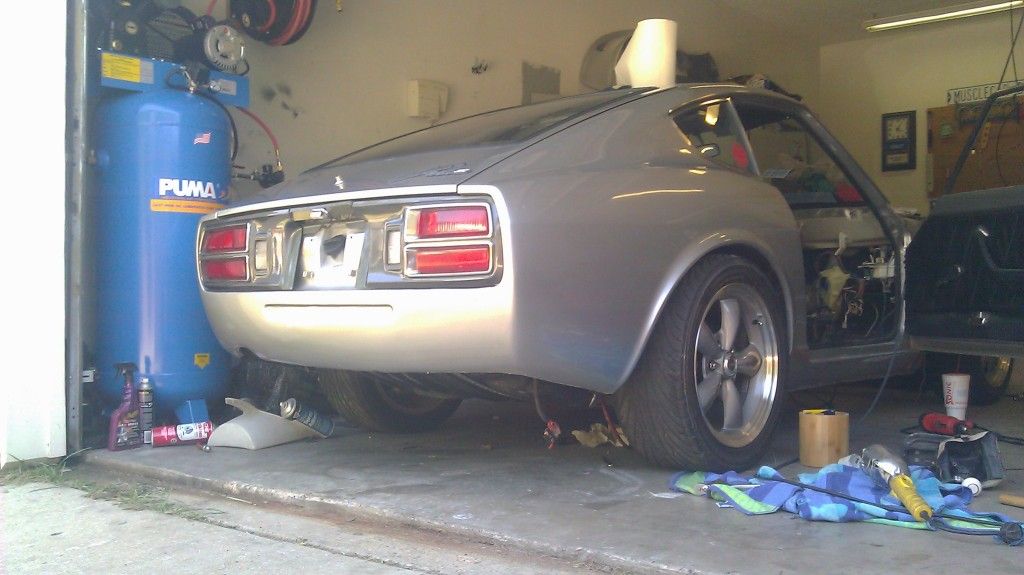
Bringing the Z back from paint.
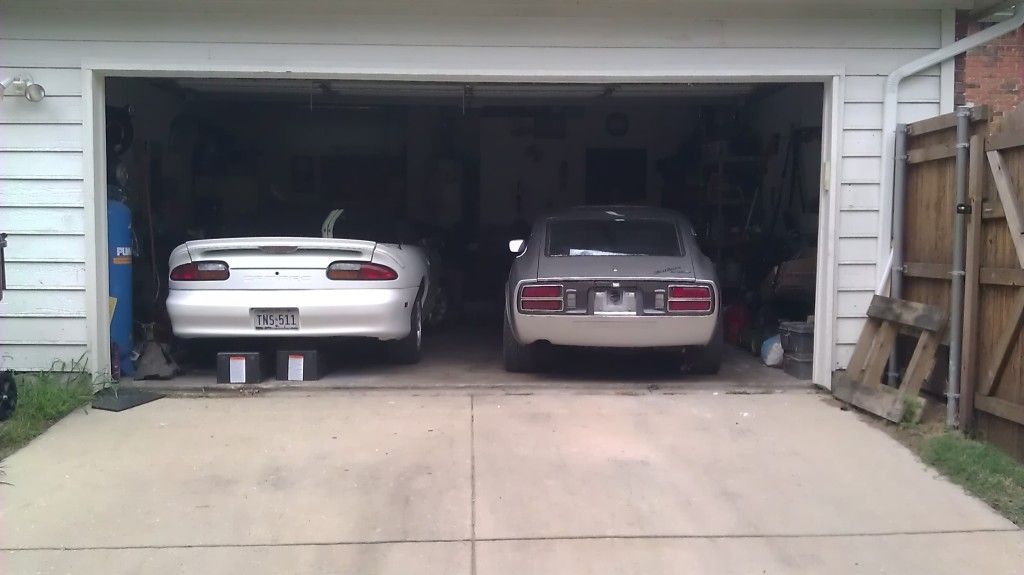
Pushed it up in to the garage.
Engine in new home. Working on getting some stuff mocked. Found out i need to slot the holes for the mounts a little more...
I'll have to borrow a camera to get some better pics sometime... my cell camera is lacking.
-
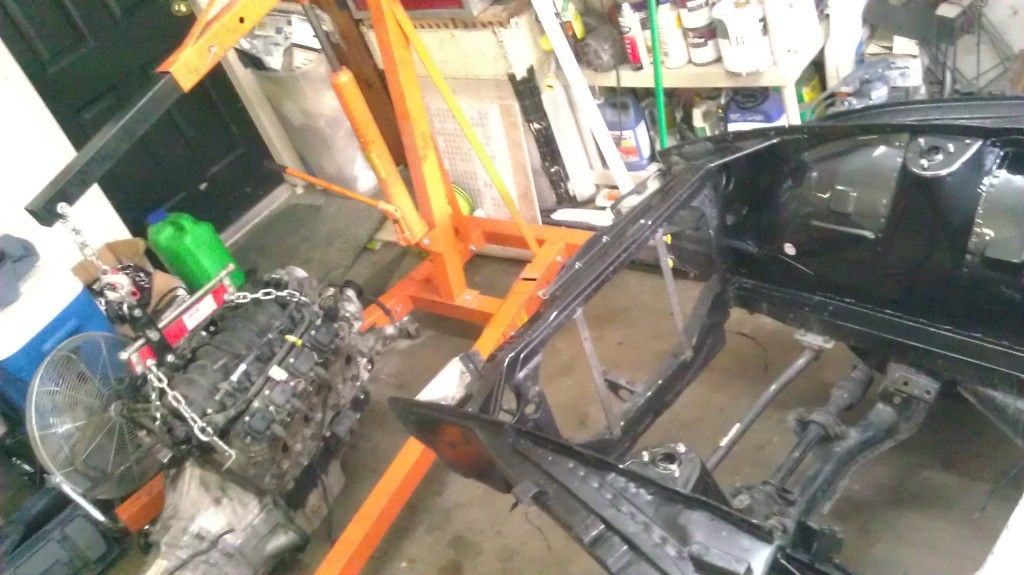
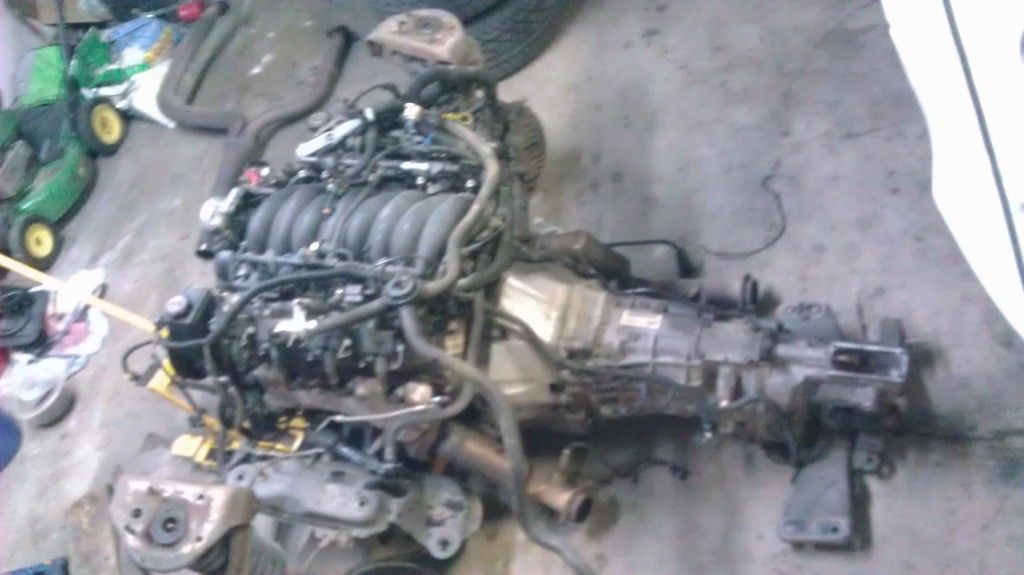
Donor car.
-
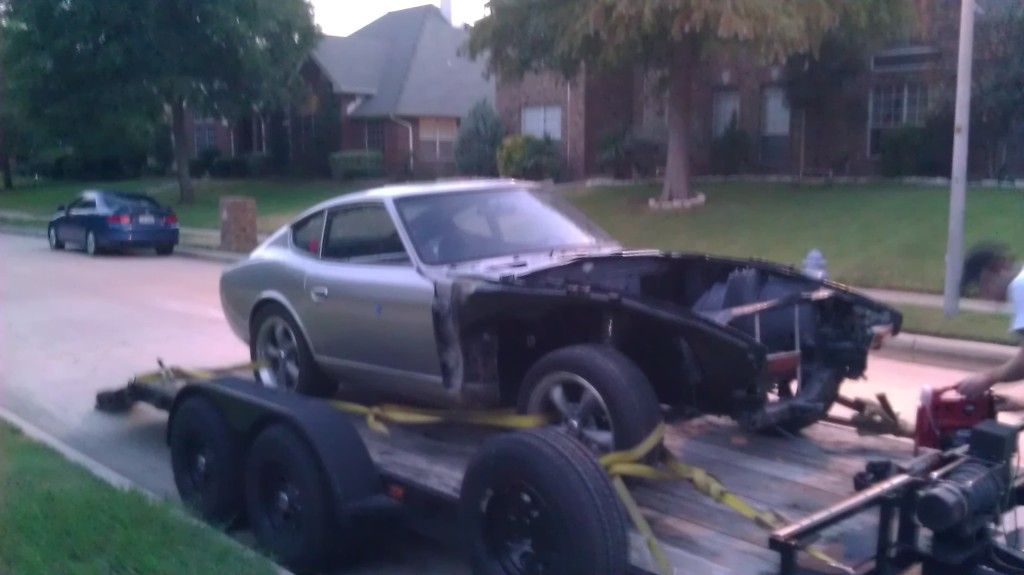
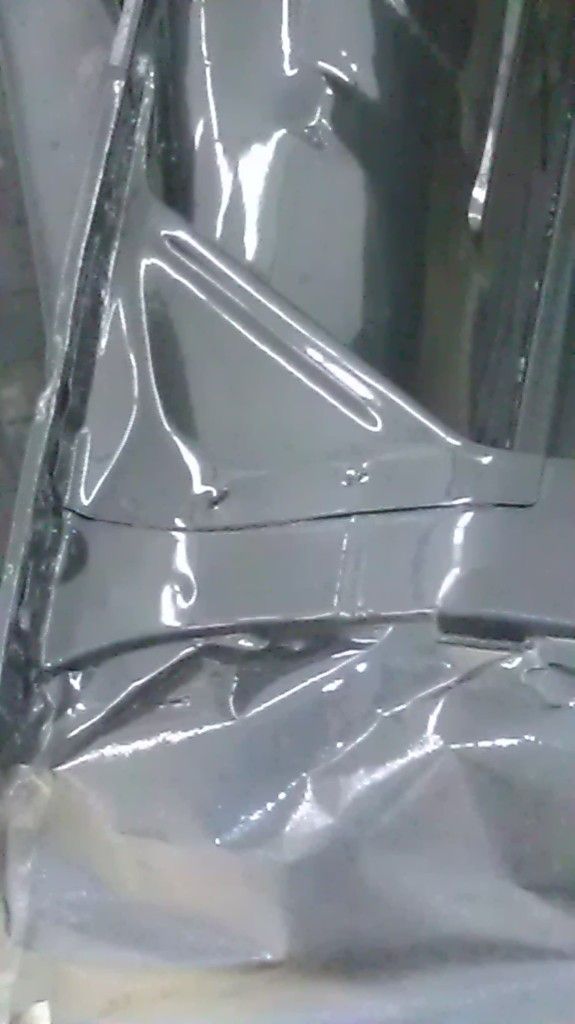
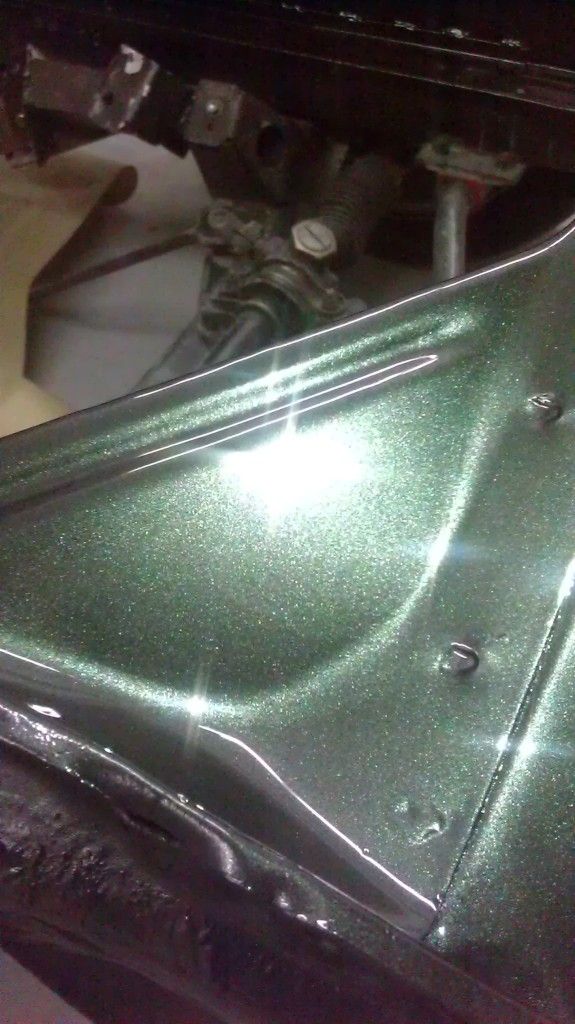
Just got home from painting.... went with the Audi Daytona Grey Pearl Effect color.
-
wet sanding.
found a couple small things that i need to touch u,p but all-in-all it looks pretty decent so far.
Scheduled to get it in my friends booth early next week and while its there I'll bring in the donor and pull the engine/trans.
-
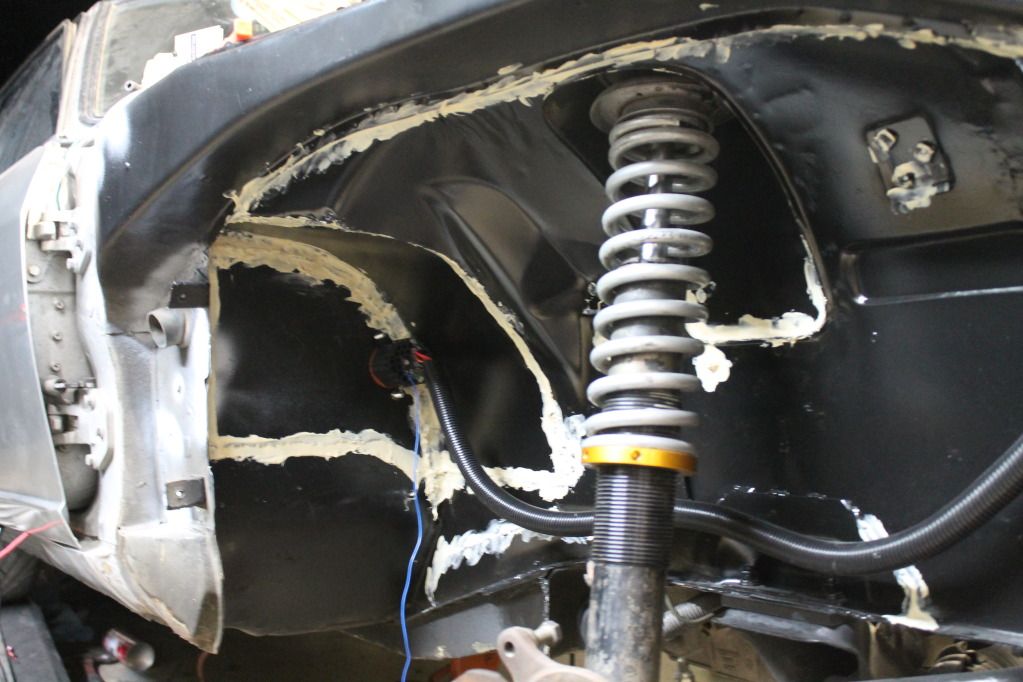
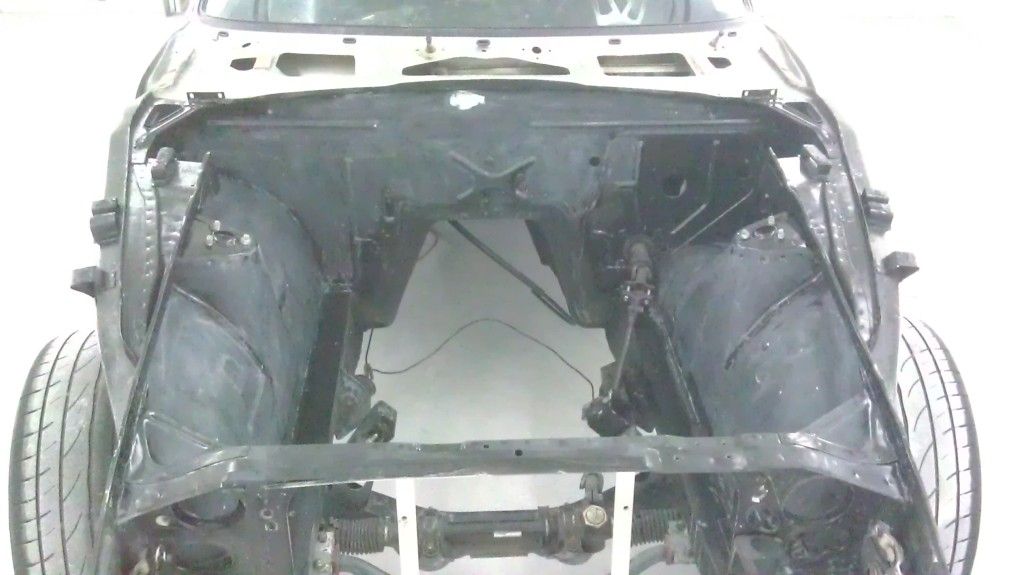
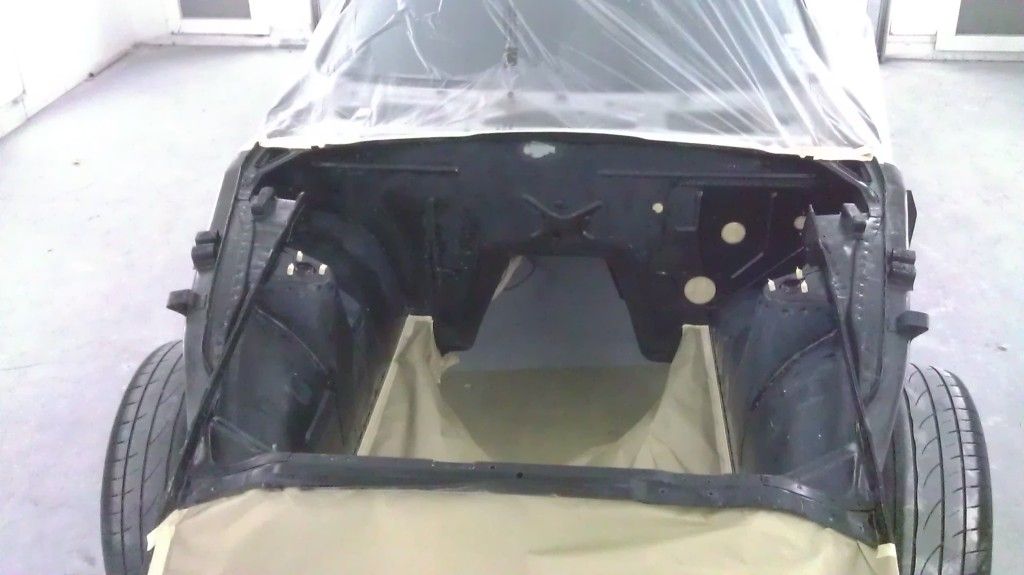
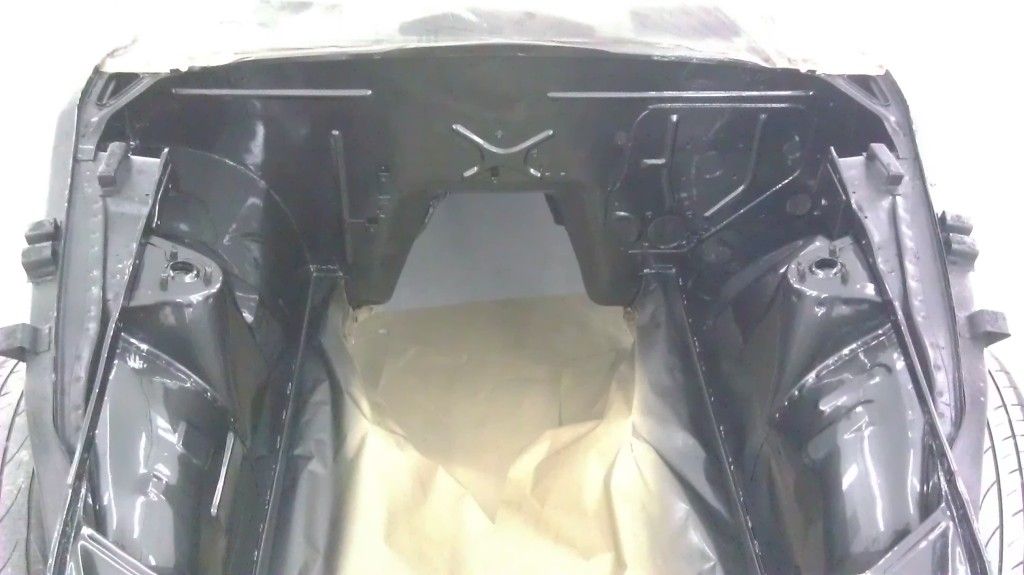
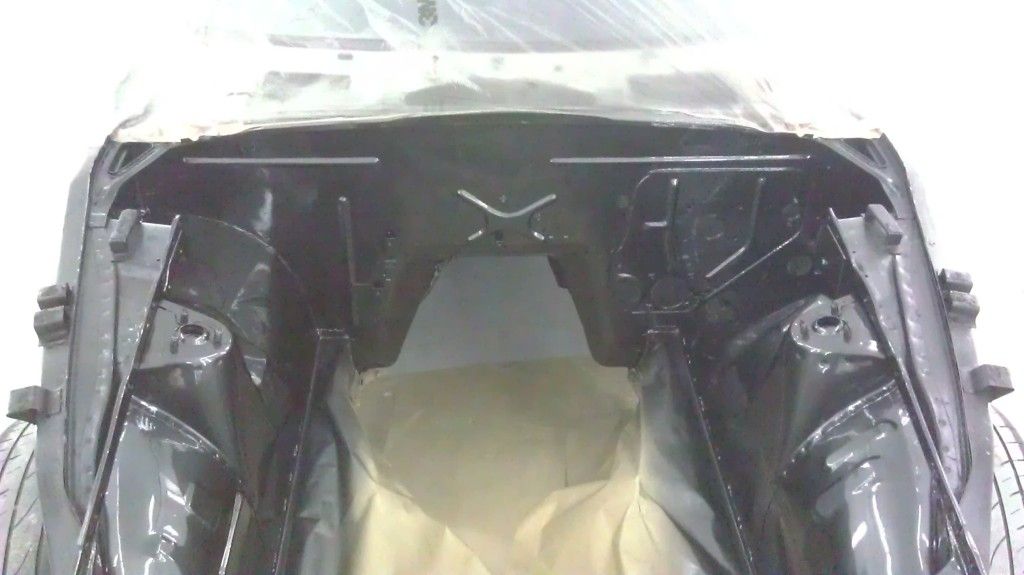
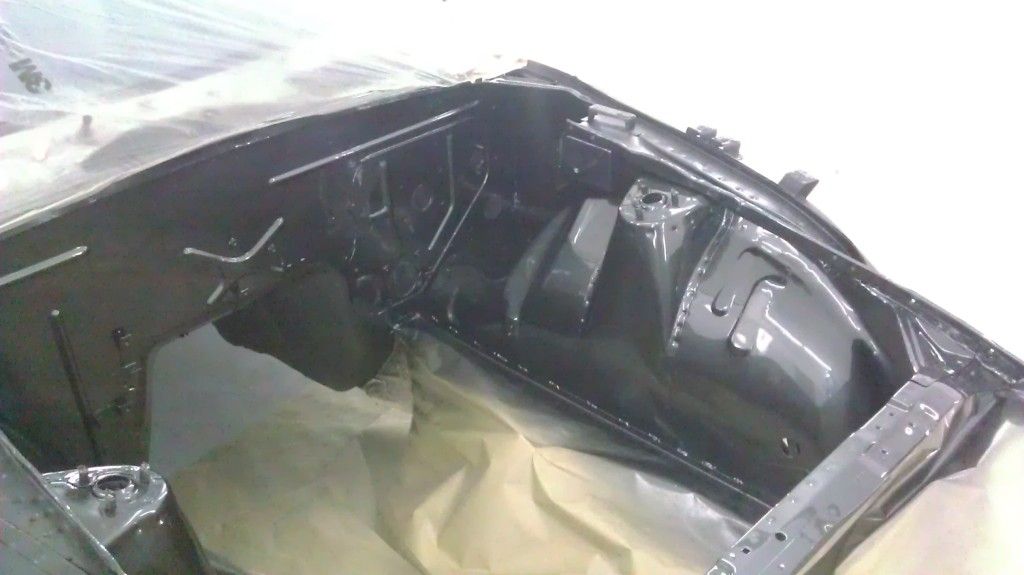
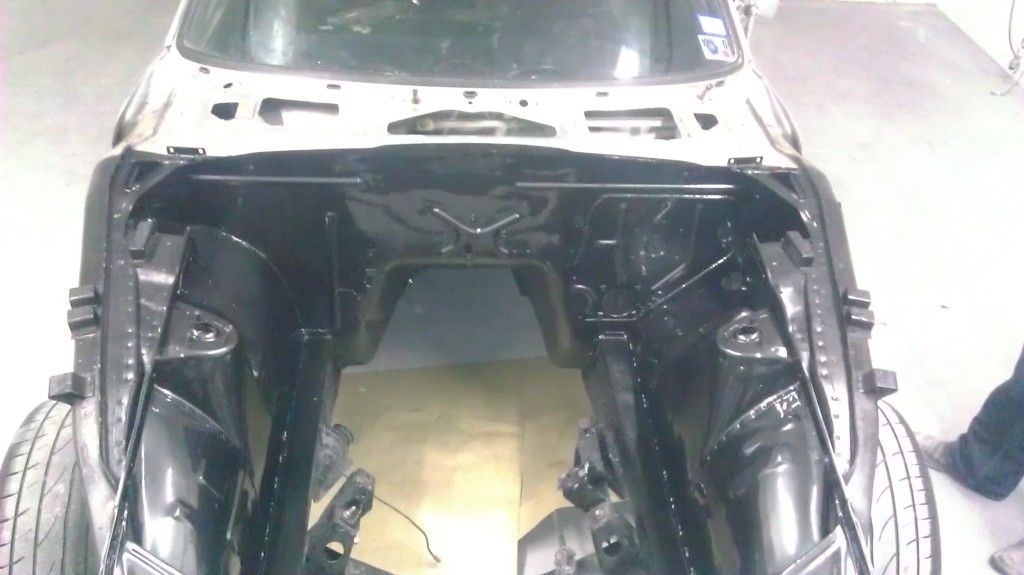
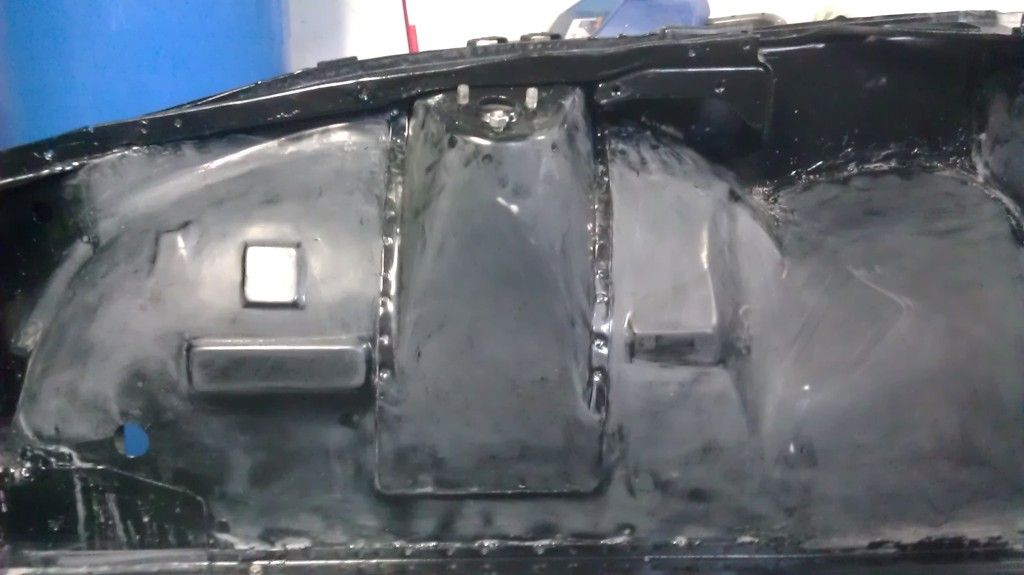
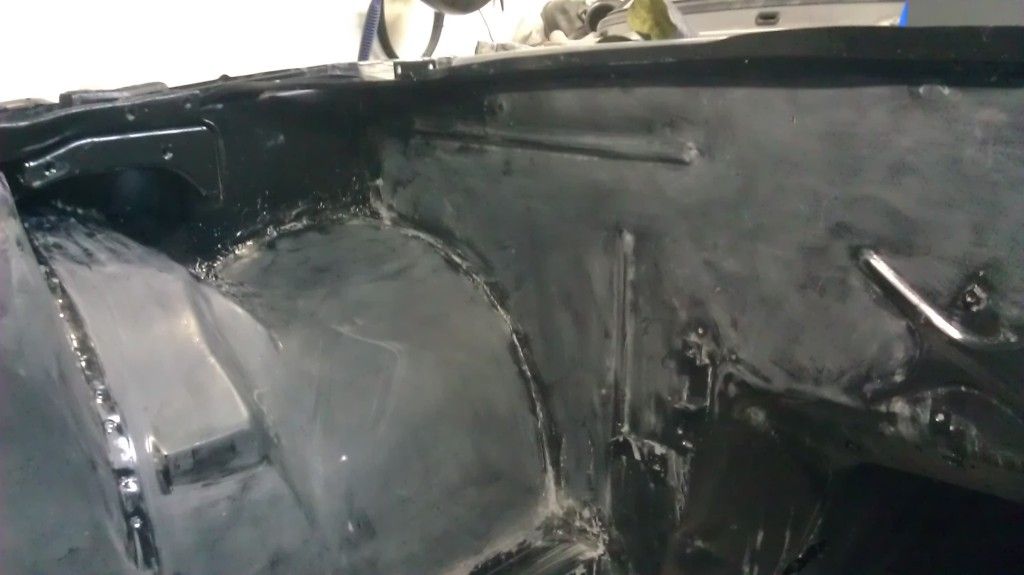
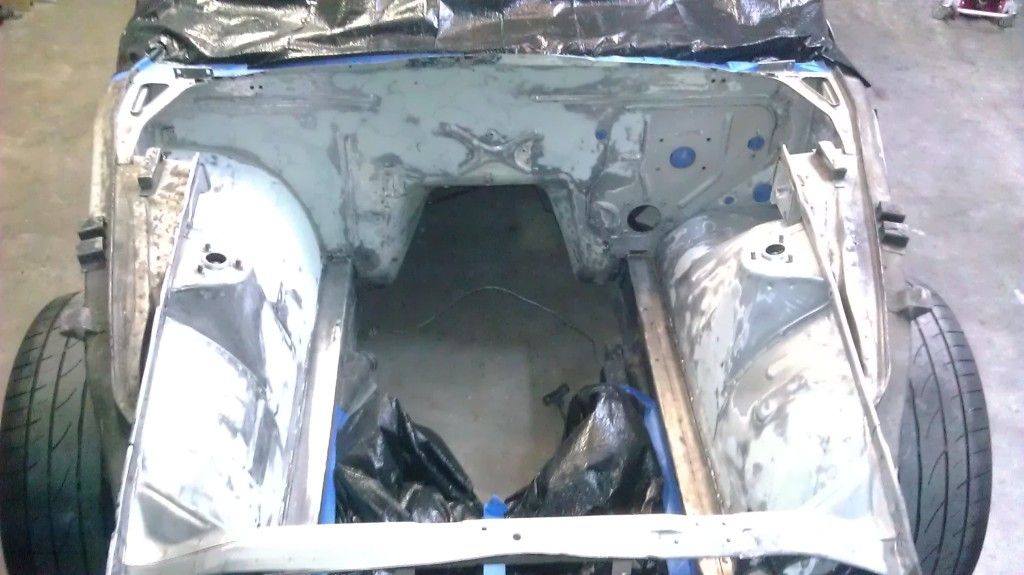
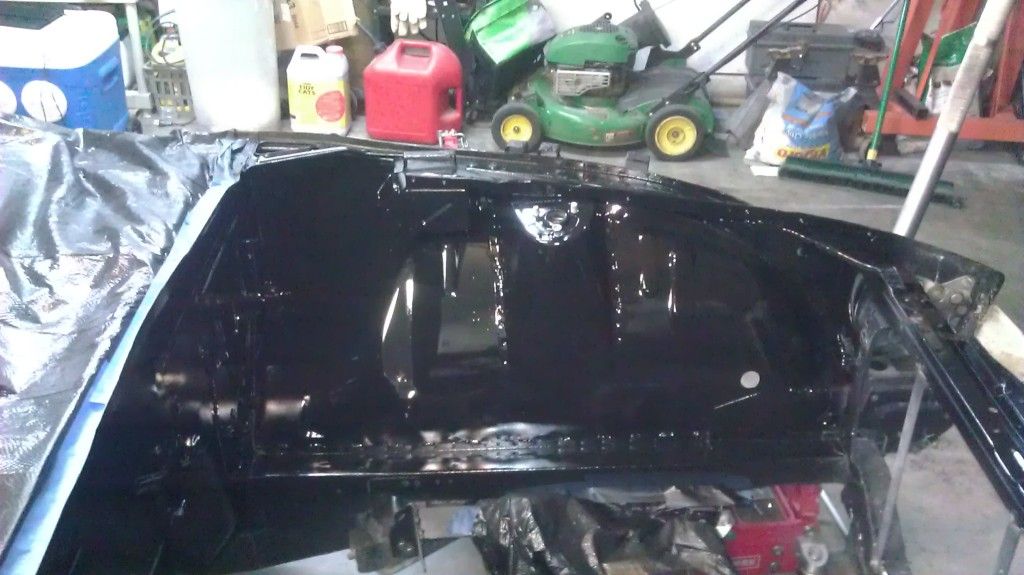
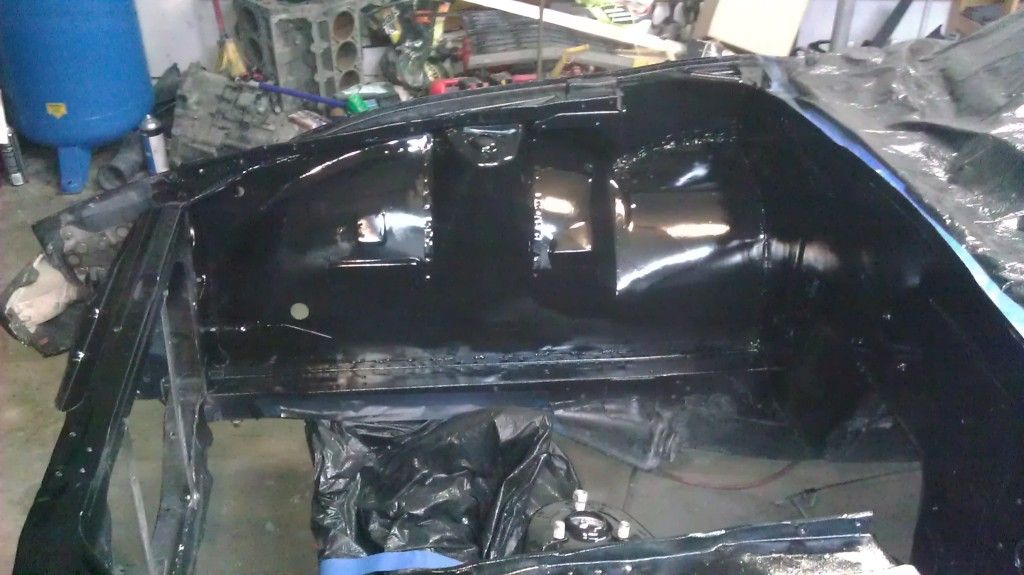
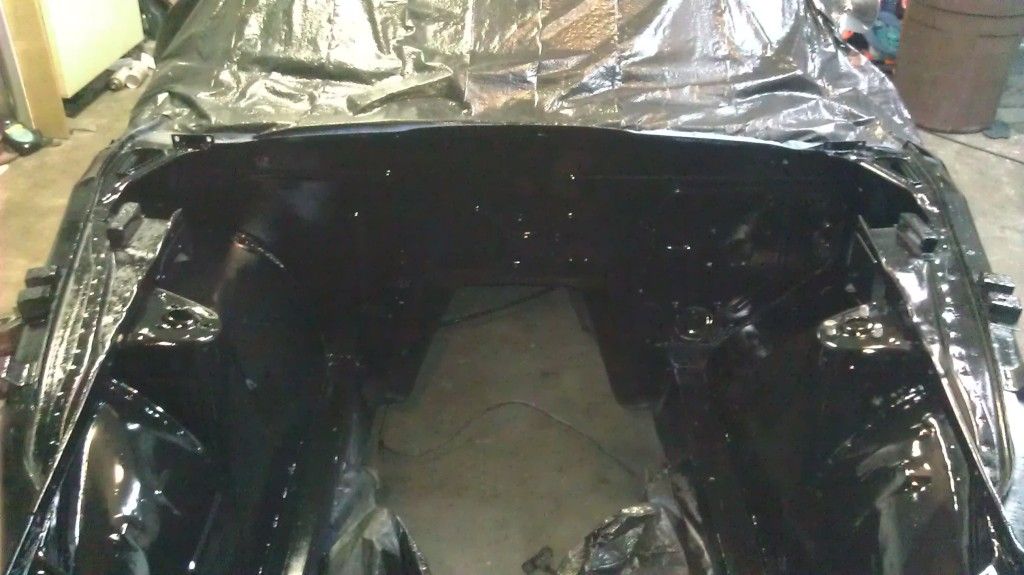
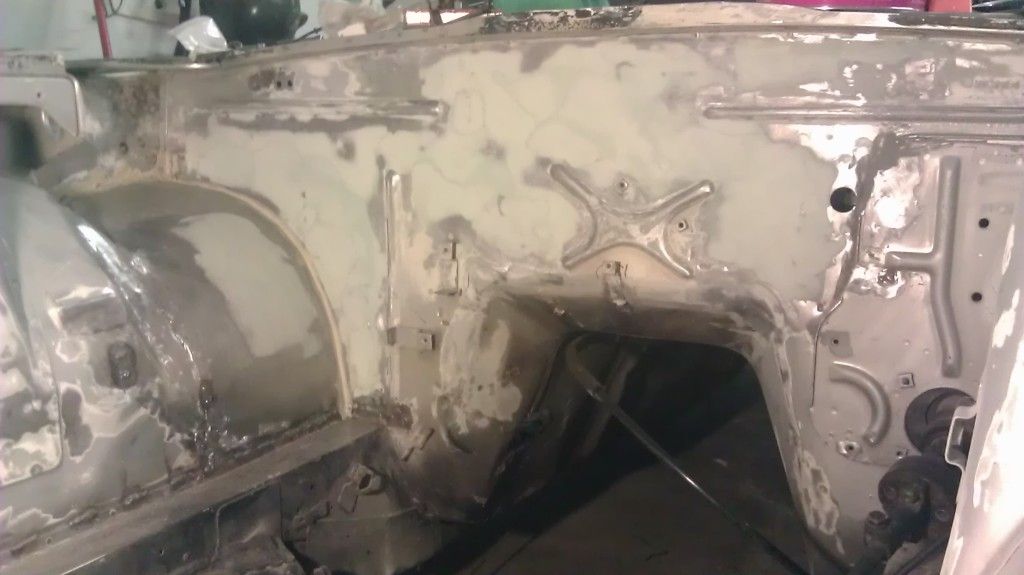
Finished with the engine bay body work...
Primetime!
-
Done with everything to do with fuel system except wiring the fuel pump.
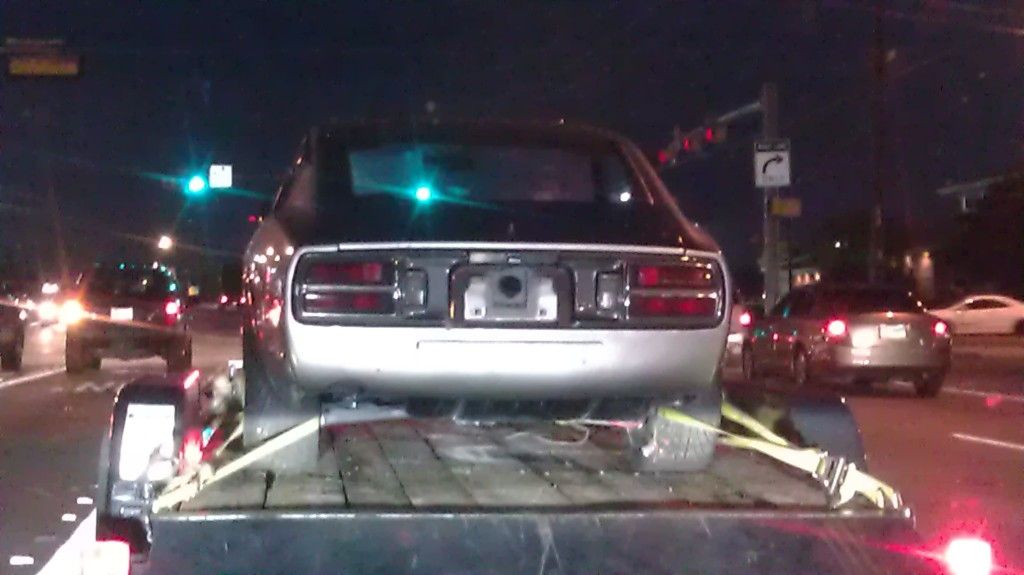
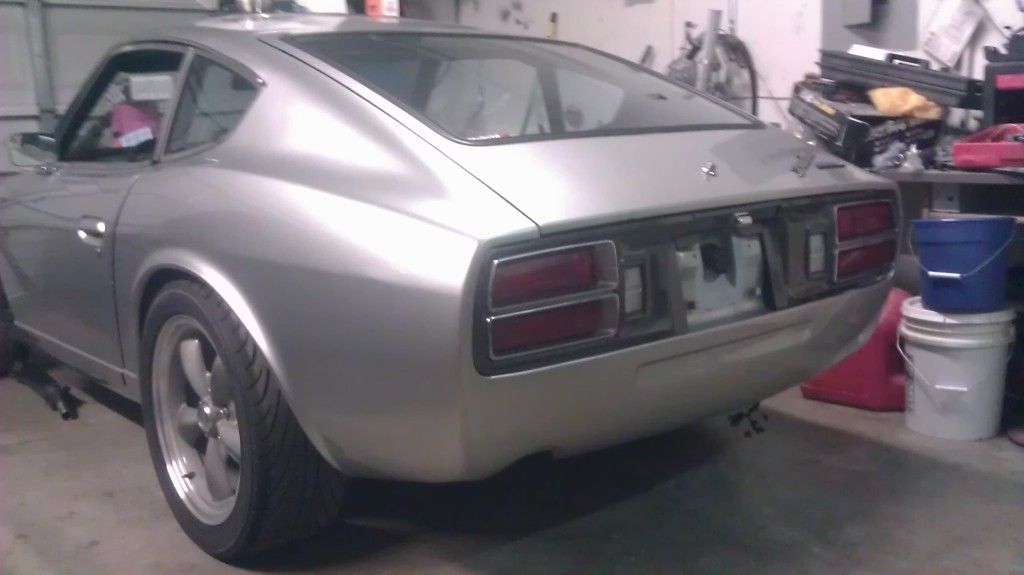
Hatch and taillights put back on as well.
Seam sealed and painted.
Starting to look like a car again... need to get flip down license plate bracket still
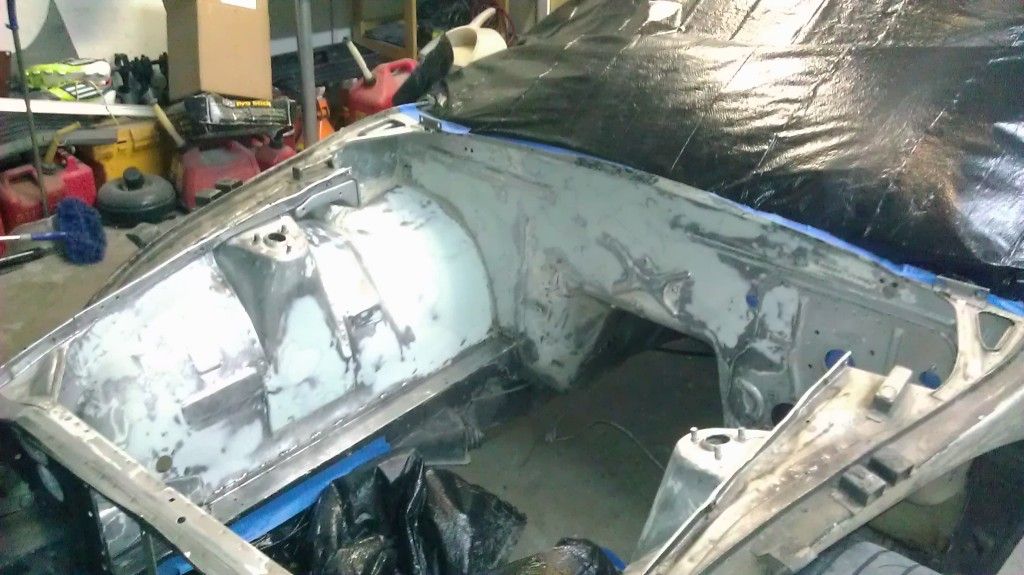
Haven't done much with the engine bay.. going to try and get it mostly finished up this week and then hopefully to my friend to paint it in the next week or two. While its off to paint, I'm going to bring in the donor vehicle and yank the engine and trans out of it.
-
YAY... New compressor.. need to move my retractable air hose and get a regulator on it.... just got it today.
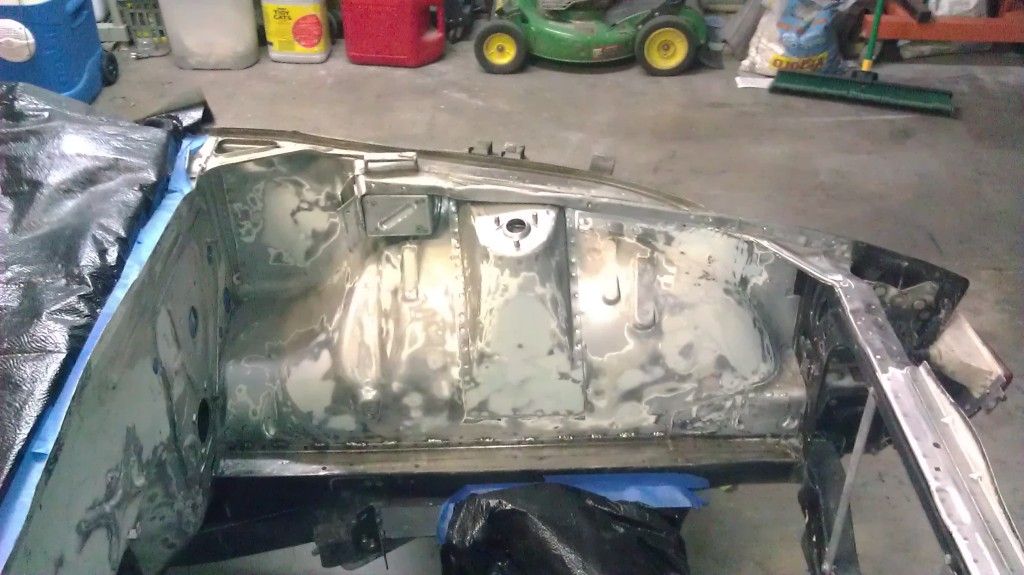
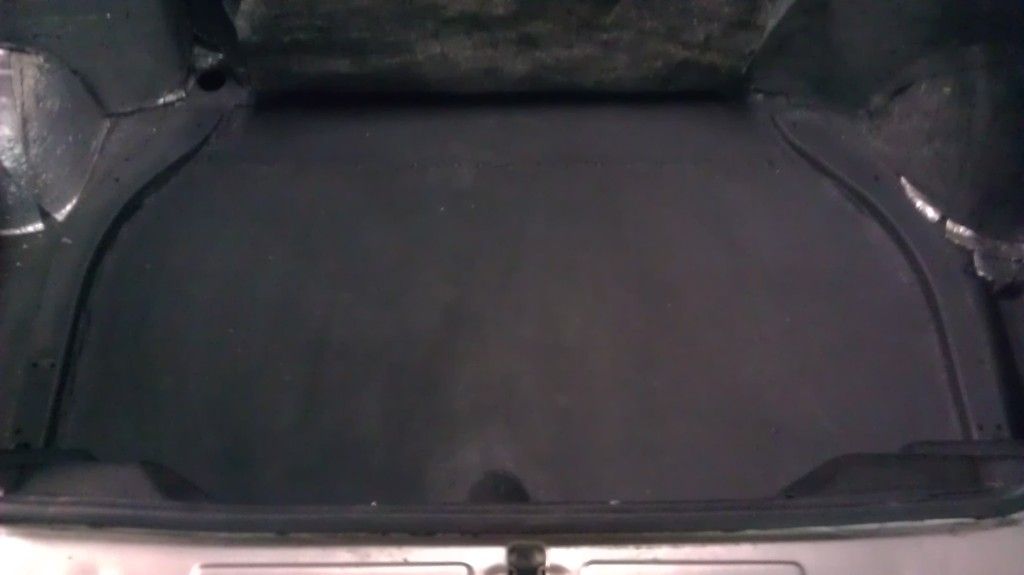
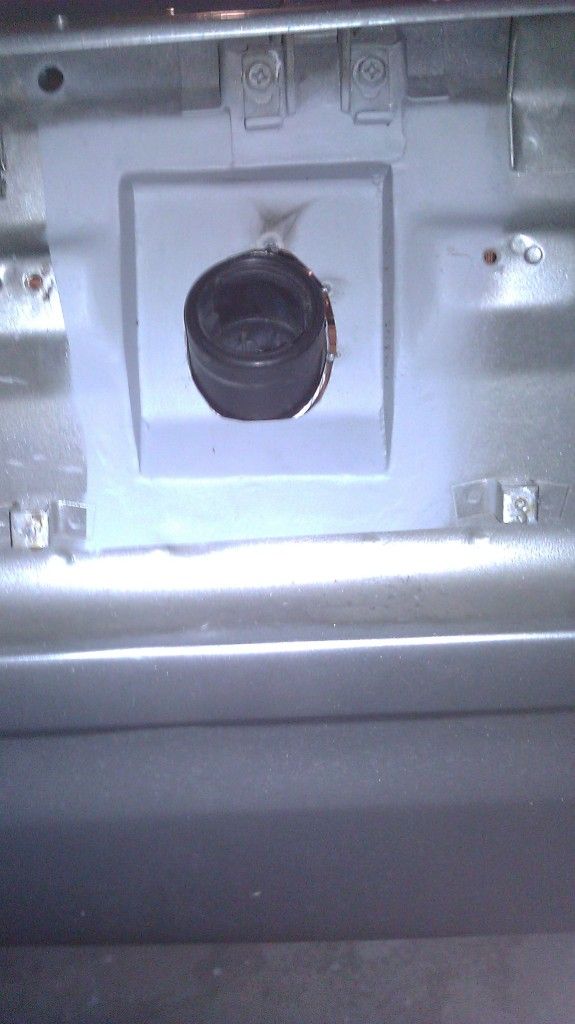
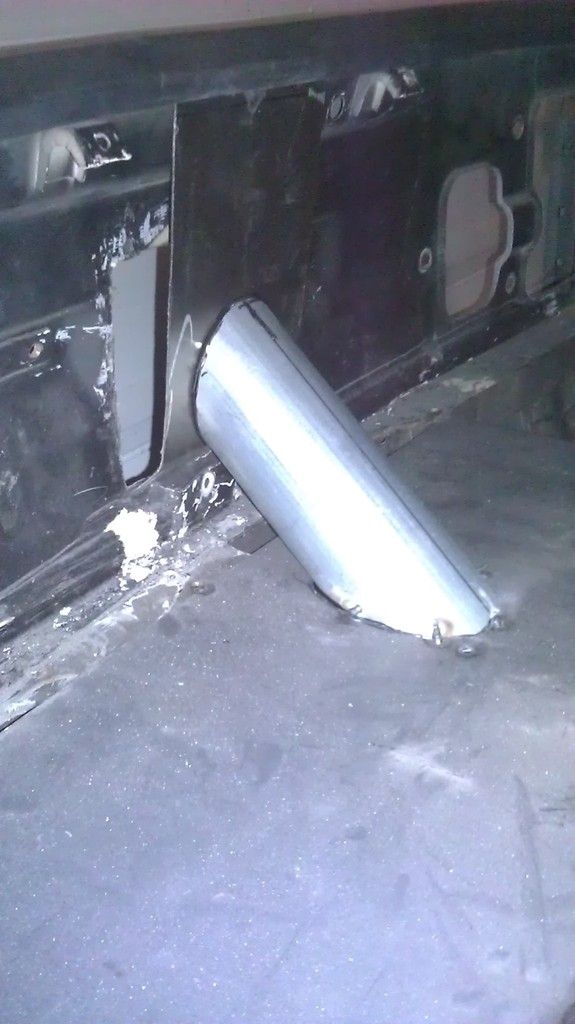
Recessed box all welded up and some primer on it. still need to weld the tube for the filler neck in place.
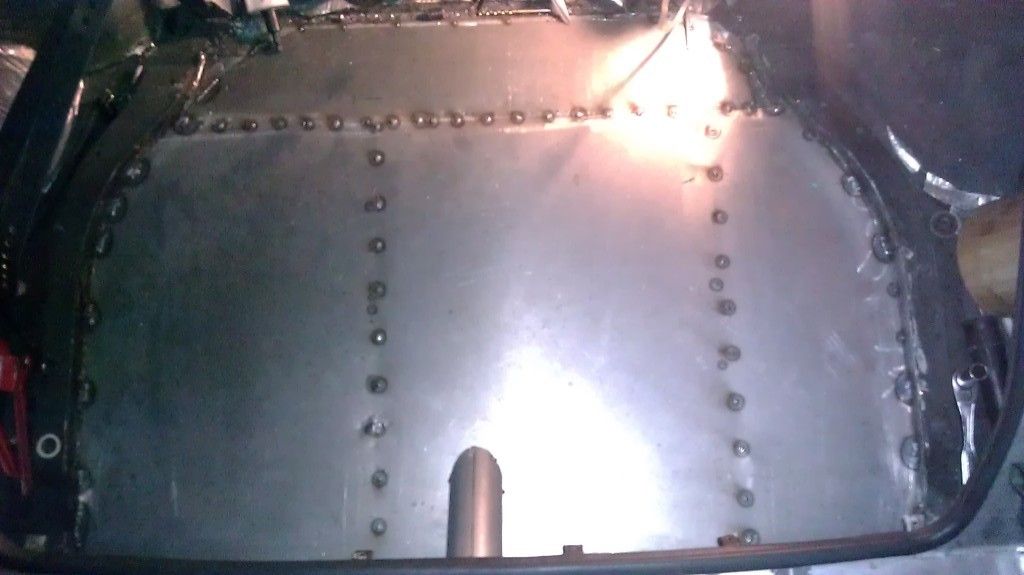
New hatch deck welded in. Welding still in progress.
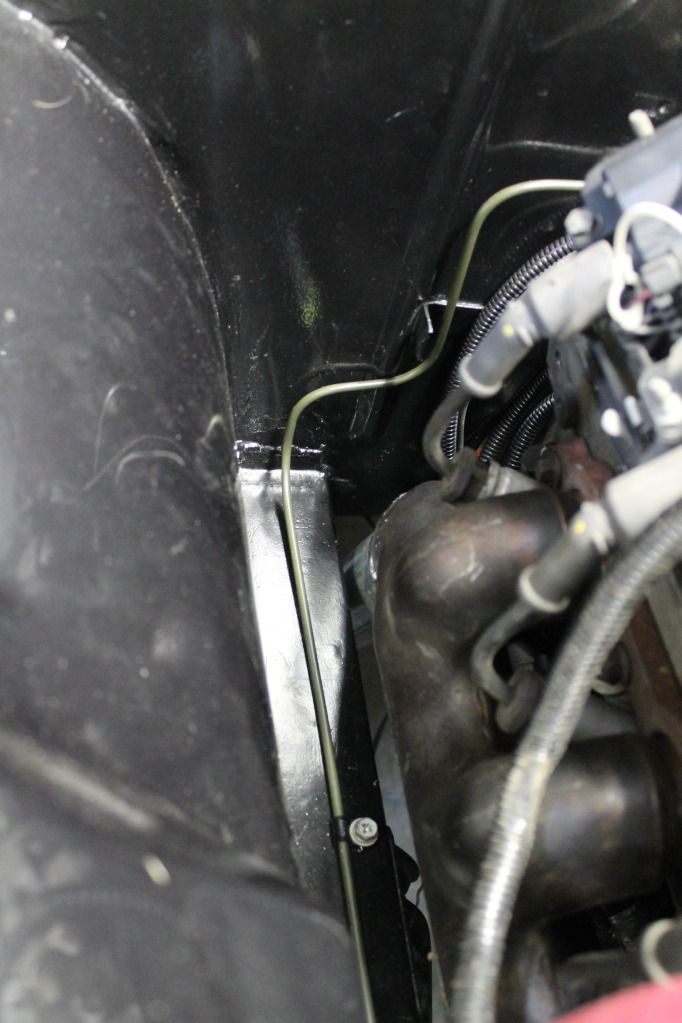
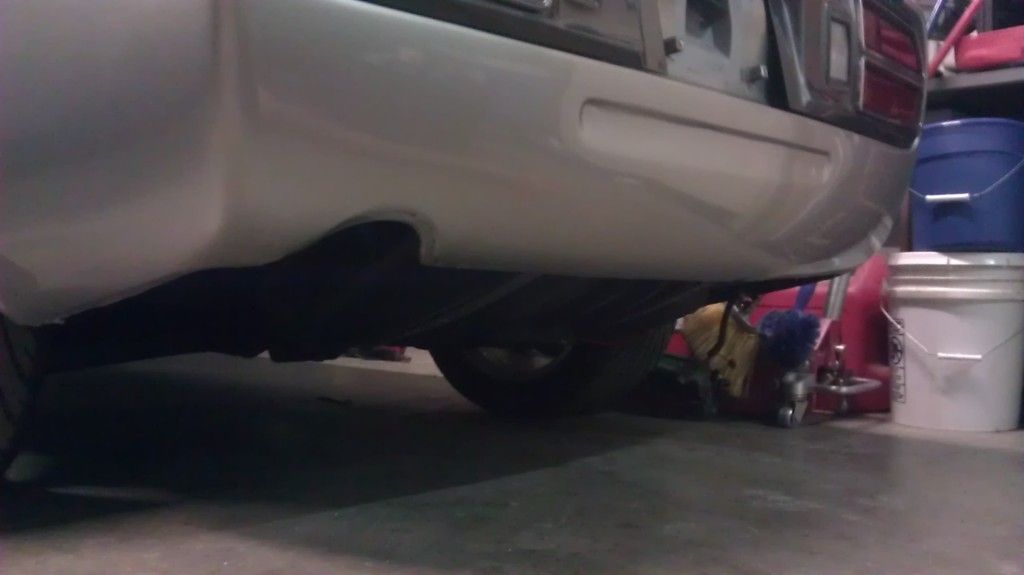
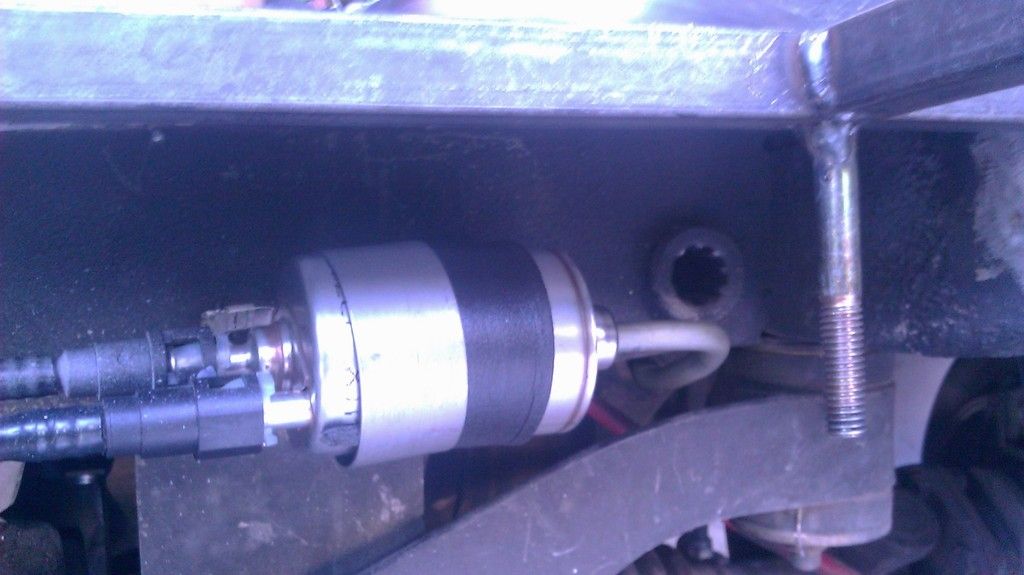
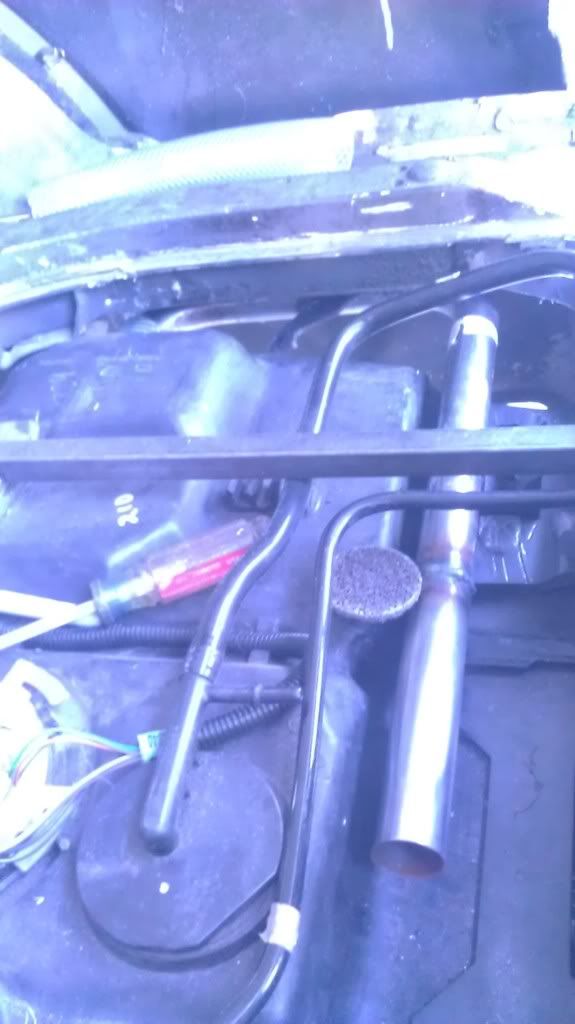
Fuel line ran to the front of the car. The metal line only goes about a foot under that frame piece and then it is nylon tubing the rest of the way covered in some closed cell foam.
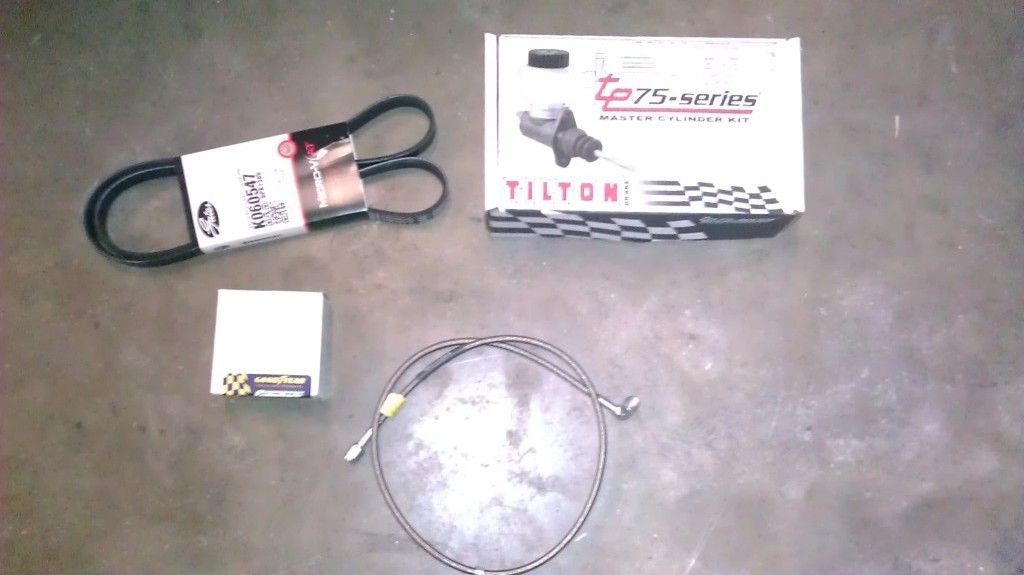
And toys... tilton master cylinder, belt, pulley, and clutch hydraulic line.
and.... I've got a donor car. 01 YAY... New compressor.. need to move my retractable air hose and get a regulator on it.... just got it today.
Recessed box all welded up and some primer on it. still need to weld the tube for the filler neck in place.
New hatch deck welded in. Welding still in progress.
Fuel line ran to the front of the car. The metal line only goes about a foot under that frame piece and then it is nylon tubing the rest of the way covered in some closed cell foam.
And toys... tilton master cylinder, belt, pulley, and clutch hydraulic line.
and.... I've got a donor car.
2001 Camaro LS1/rebuilt t56 with 75k miles on engine, 15k on trans.
Fun stuff should start happening soon.
-
I'm just in Plano and working on a ls1/t56 swap. I had a sbc previously.
My problem is I got distracted doing 100 hundred other things the car needed.
Need to get my engine bay painted and should be dropping motor in the car within a month.
-
I just realized you live in plano.. we should go for a spin sometime.
If I ever get this thing back on the road, definitely. lol.
____________________________________________________________________
Well... its been a while....
Started working on the car a little bit after work each day this past week.
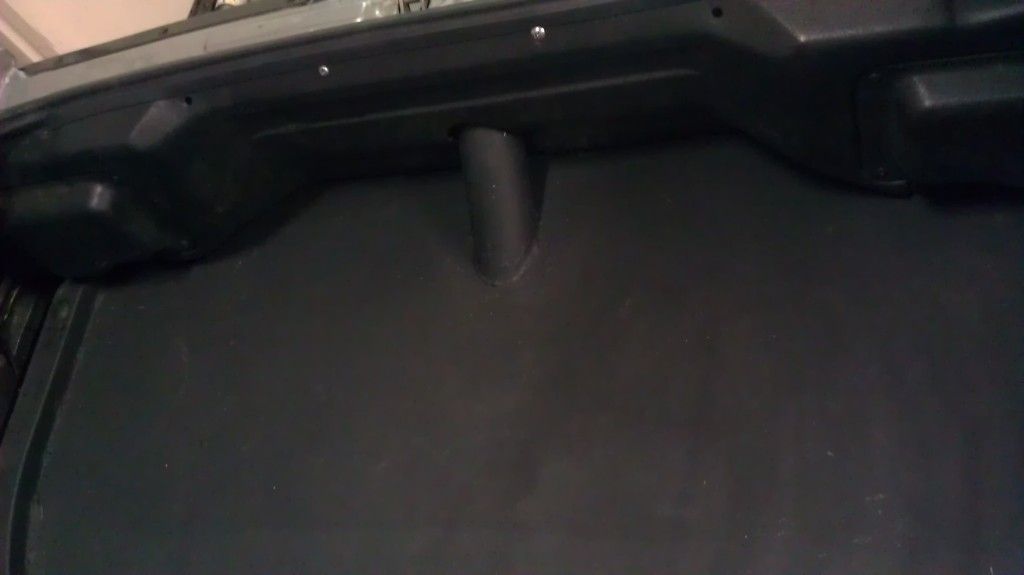
I have pretty much all the big fab work for the fuel tank install and fuel filler relocation done. Basically just a bunch of welding and some grinding left.
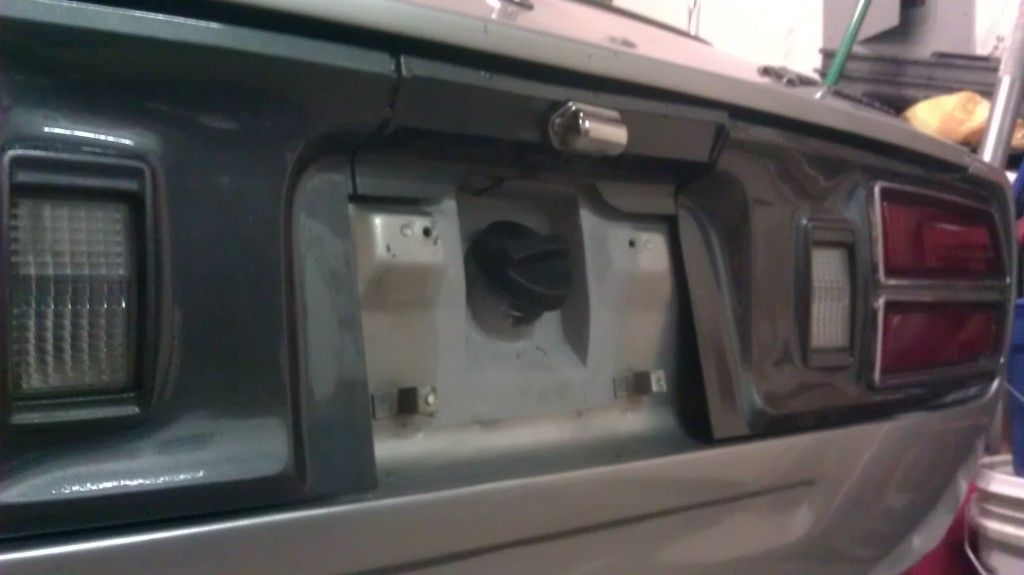
Small box I made to recess the fuel filler cap behind the license plate.
Piece of exhaust tubing cut to act as tunnel for the fuel filler to pass through and keep it all separated from the interior.
This is the filler tube coming up from the tank.
New sheet metal to cover the top of the fuel tank up.
-
http://www.4moores.com/280z/files/JCI%20Install%20Update%202.pdf
or ya know... just look 4 posts up where the entire thing is posted.
-
I'd imagine the threaded potion in the rail is a NPT size.
Most likely 3/8" NPT.
-
x2 to what Tibby said...
Keep an eye on craigslist for a setup. I picked up my Lincoln sp-135+ with a cart, helmet, and empty 125cuft gas cylinder for $350.
-
That Metric bolt drill Jig is only for up to 10mmx1.25. The stock studs are 12mmx 1.25


AC Compressor Bracket
in Parts Wanted
Posted · Edited by 280zcar
I've got what ya need.... Its kind of heavy but think it should fit in a $15 flat rate box through usps. $25shipped and its yours.