

Jboogsthethug
-
Posts
1719 -
Joined
-
Last visited
Content Type
Profiles
Forums
Blogs
Events
Gallery
Downloads
Store
Everything posted by Jboogsthethug
-
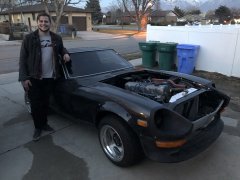
From the album: Jboogsthethug's 1971 240z build
-

Jboogsthethug's 1971 240z build
Jboogsthethug replied to Jboogsthethug's topic in S30 Series - 240z, 260z, 280z
First up, a few more beauty shots of the ole gal in her new territory! I don't really think of my 4Runner as being large at all, but it looks massive compared to the Z! So after my fun with the wiring, I realized most of my harness was pretty toast. I'm pretty sure I mentioned at the beginning of all this that a few days after buying the Z a fire started in the cab because of the faulty wiring? Anyway, I realized so much of the wire had melted, leaving exposed wires everywhere. More oft3en than not, my multiple wires has become fused together. Not safe. My solution? Trash it all and start scratch with an EZ Wiring harness. Thicker wires, simplified wiring system, and I could tuck it as I went. I would also get rid of the stock coil/dizzy setup and upgrade! Here is the stock coil wiring for reference: So, as I mentioned in my last post, I have like no experience with wiring. I laid it out and was pretty overwhelmed for a few weeks. My wife says "You can't eat the whole elephant all at once." or something like that, and that seemed pretty fitting. So with that spirit, I broke the process down. First, remove any wiring to parts I wouldn't need and didn't see myself adding later. I can't even remember what I removed, but as a guess: windshield wipers, radio, A/C, etc. Just pull the wires from the fuse box backing. I then began separating wires and grouping them together based off of what I had labeled on the stock wire harnesses. Basically anything on the back end of the car I grouped together. Anything inside, anything in the front, etc. Tore out the dash once more, I became very overwhelmed here due to the way they all tied together on the original harness. I pretty much just took any wires from the new harness that would end up here and tied them together, Then I left it like that ha. After I separated things ut, I decided my best position for my fuse box would be on the side of the driver's side foot area. I then took each grouped section, threw some wire loom over it, and threaded things where I wanted them. The harness going to the engine bay I passed through the air vent things that go through the frame. I used a hanger wire to push through then grabbed it where it came out in the engine bay and pulled the rest through. just taped the end of the wired to the wire loom and bam! Here it is coming into the engine bay, very sleek! Anytime I needed a branch out I just did this and added wire loom to the branch off, then taped the branch. The wiring to the rear I ran along the driver's side seat floor area, underneath the seat mounts and clamped them with the wire clmaps that were already there. Then I passed them into the last big factory hole and pulled them with that same wire through the body, over the wheel well and popping back behind the B pillar into the rear area. The mounted fuse box. I ended the day feeling very accomplished! Sometimes I get cute notes from the wife written in the depressing layer of dust my Z accumulates. On to the Distributor cap! I bought a fireball coil and ignitor dizzy cap thing and was worried it would be more difficult than it was. It was actually super straightforward, took like 15 minutes (except I dropped a screw and had to replace that, annoying.). Probably the best mod I did for my L24 ever, that along with the new coil pack. It started up instantly every time once I got it running. My attempts to figure out how to wire the dash clusters up ha,. Then, as stated a few posts ago, I wanted to get my push button start wired up! my wiring to the starter and alternator. I had them together in a loom coming throuhg a hole in the transmission tunnel, then around the back side of the motor underneath the coolant hoses. It looked sleek and I ziptied them there, very clean install without the worry of them being melted. Even the wiring to the starter/alternator was only visible right where it connected eventually. I had to figure out how to cleanly wire up the distributor. I figured the best way would be to come through the air vent frame hole, branch off and loom up next to the coil pack/dizzy connector wiring. I also used the extra holes on my radiator and mounted the coil pack on that. It all worked out splendidly. I think I have finished photos of this all when it was buttoned up and I was super stoked with it. I also installed a 140 Amp (I believe) Nissan Altima alternator while I was at it. I figured it could only help and was cheaper than a new stock alternator. I didn't feel like dealing with electrical gremlins so I was just swapping it all! More coming soon! -
Jboogsthethug's 1971 240z build
Jboogsthethug replied to Jboogsthethug's topic in S30 Series - 240z, 260z, 280z
OK, I am finally getting around to updating this dang thing. I'm probably going to update it a little at a time to keep things flowing, there are a ton of updates! Firstly, I did get the push start to work! I can't quite remember how now though ha. I will be redoing it soon so I'll update exactly how it was done when I do! Back to the main goodies. So after installing all those little things, I set out to get the engine back in working order. I bought a nice breather filter for the top of the crankcase. Looked awesome and from the research I did I felt like it would help things out. I also picked up some 0 gauge wire for my battery install from good ole Ebay! Looks good to me! So much better! This is where I decided to mount the battery (For now). I drilled two holes through the floor right theer and used a stock subaru forester battery mount I had lying around from a previous car I owned. It worked well so I didn't complain! I then got the tank hoses installed (Temporarily out fo place as I don't have the correct year's evap tank. My original one was the white plastic model, this one I think came in later generations like the 280z? Not positive on exact fit, but I do know it doesn't fit mine ha. It still has the same holes so I just laid it on it's side to help with fume control! Here the gas tank is in place! Hatch strut reinstalled. Notice I already have my roadside assistance kit in there, just planning on it breaking down ha. The license plate lights put back in. I ran the wires to my starter from the battery here, and I just grounded straight to the car using an old seatbelt mount for the time being. The wiring is a mess at this point, it looks so much better later! Installed the side windows. This thing is looking dang sexy now! You may have heard of 80Eighty throughout the years, I did a TON of filming for them in the earlier years and picked this up from one of their Subaru BRZ giveaways. It of course isn't meant for my car but I figure if the boot fits! Downforce baby! The new neck filler hose before install. E brake installed. At this point, I'm feeling pretty confident that I can get this bad boy running! So I call over a few buds to help me bust out the wiring job. Of course, none of us knew crap about wiring ha. Connor and Dillon, my boys! My wife can be thanked for the documentation! Seeing it out in the sun for the first time really after painting it really got me stoked. It looks so good! Lots of polishing to fix the orange peel ahead of me, but I am happy with where I'm at for usre. We never did get it running that day, the wiring was so damaged and gunked up, we did what I still think would work and it just wouldn't crank over. What a buzzkill! Now, in one of my last posts I mentioned I'd be buying a house and remodeling it. Long story short, we bought the house and remodeled 2600 square feet in about a year and a half on our own. We tore out everything but the kitchen cabinets. Replaced all the flooring, doors, bathrooms, etc. tore down walls, built entire rooms, electrocuted myself a few times, the works! It was awesome to build it up, but it definitely took me away from the Z! It also took me out of the habit of keeping up on my thread, but now I feel like things have calmed down with everything so I'm jumping back into it! (I say calmed down, but truth be told, now it's 2020, I'm working more than ever and we have welcomed our first baby into the world, a little boy. He is beautiful! It really changes perspective!). I just today nailed down a gig that will give me around $800 extra a month so I'm hoping that I can start buying more parts that I need. Now, with that said, I'll get you caught up ASAP because where it was in the last photo is not where it is today at all, and I need to share all that first ha. This is after a long day working on the house, I borrowed my brother in law's trailer and my wife and I had to run and push the Z down the road as fast as we could to get it up the ramps in our sketchy neighborhood at 1 in the morning. After that, I brought it to it's new home! Circa March 2017 I believe. More coming soon! -
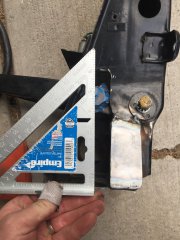
From the album: Jboogsthethug's 1971 240z build
© Justice Goble
-
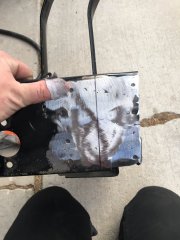
From the album: Jboogsthethug's 1971 240z build
© Justice Goble
-
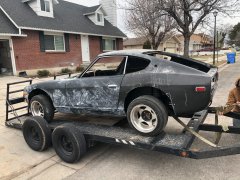
From the album: Jboogsthethug's 1971 240z build
© Justice Goble
-
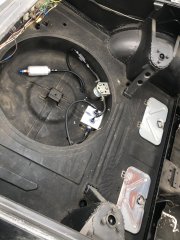
From the album: Jboogsthethug's 1971 240z build
© Justice Goble
-
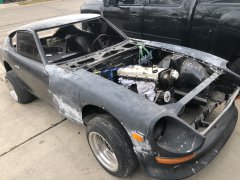
From the album: Jboogsthethug's 1971 240z build
© Justice Goble
-
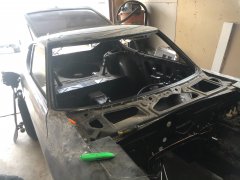
From the album: Jboogsthethug's 1971 240z build
© Justice Goble
-
From the album: Jboogsthethug's 1971 240z build
© Justice Goble
-
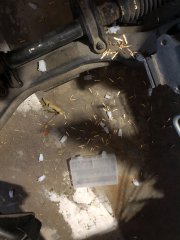
From the album: Jboogsthethug's 1971 240z build
© Justice Goble
-
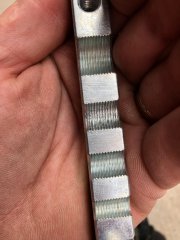
From the album: Jboogsthethug's 1971 240z build
© Justice Goble
-
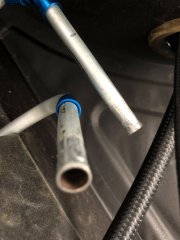
From the album: Jboogsthethug's 1971 240z build
© Justice Goble
-
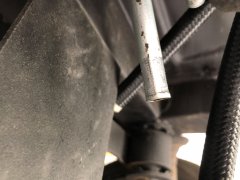
From the album: Jboogsthethug's 1971 240z build
© Justice Goble
-
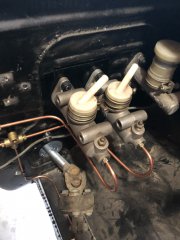
From the album: Jboogsthethug's 1971 240z build
© Justice Goble
-
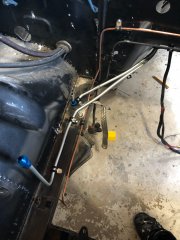
From the album: Jboogsthethug's 1971 240z build
© Justice Goble
-
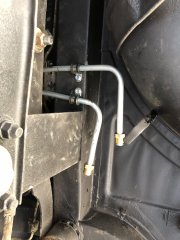
From the album: Jboogsthethug's 1971 240z build
© Justice Goble
-
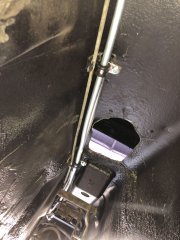
From the album: Jboogsthethug's 1971 240z build
© Justice Goble
-
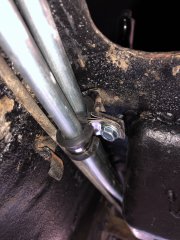
From the album: Jboogsthethug's 1971 240z build
© Justice Goble
-
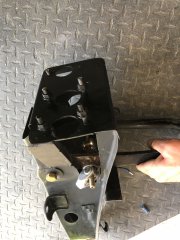
From the album: Jboogsthethug's 1971 240z build
© Justice Goble
-
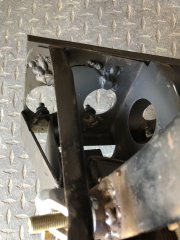
From the album: Jboogsthethug's 1971 240z build
© Justice Goble
-
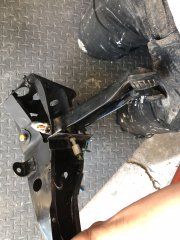
From the album: Jboogsthethug's 1971 240z build
© Justice Goble
-
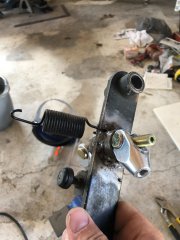
From the album: Jboogsthethug's 1971 240z build
© Justice Goble
-
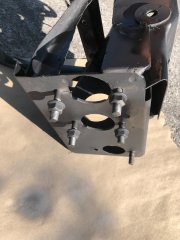
From the album: Jboogsthethug's 1971 240z build
© Justice Goble
-
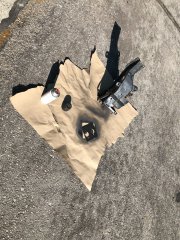
From the album: Jboogsthethug's 1971 240z build
© Justice Goble