

WreZ
-
Posts
119 -
Joined
-
Last visited
Content Type
Profiles
Forums
Blogs
Events
Gallery
Downloads
Store
Posts posted by WreZ
-
-
Hey gurus,
After filling the cracks in my dash (albeit crappy, rushed and shottily) and muscling it back in I cant get my turn signals to work properly. I'm pretty sure my friend smashed the combination switch or something when we were putting it back in and refuses to admit it haha. Rear signals work intermittently, hazards work only in the rear and front signals are just plain MIA regardless of how much I cry about it. Signal relay was swapped yesterday so that was a shot in the dark that missed. Haven't put a multimeter onto it yet, still trying to find my wiring diagram :/
Could any of you fine folks give me an explanation of how to rebuild/clean/repair the combination switch if possible? I've come up with nothing and looking at the prices of comb. switches (new and rebuilt) made me cringe so any help would be appreciated. And if the whole thing is pretty easy/self explanatory thats even better!
Thanks.
P.S. - Dont ask about how the dash came out, its still a sore subject

-
One other thing to check is the front tranny seal (around the shaft) sometimes if a car has been sitting for a while they'll throw a tantrum but if its something that NEVER goes away its best to have a proffesional crack the cases for you
-
I also think that theres a difference with the throttle position sensor, then again I might just be remembering wrong
-
I'm kinda curious about Tony's suggestion of using a BMW ecu and afm now actually. Mainly because the parts are available to me and I've never heard of this being done before so I am hoping he decides to elaborate a little more on a how to chose and what to expect kinda deal. If you pull an ecu from a BMW 2.8 inline 6 that makes 184hp could you expect to get that same hp from your l series?
Yeah, no. just because the ecu is from a brand new 2.8L and is a straight 6 does not mean its identical to an almost 45 year old engine design. Tony was misunderstood and everyone thought that you could take a BMW ecu and just smack it into the wiring harness until it fit, which he didn't he was simply saying that some factory ecus are better and more optimized (modern ecu's especially) than others.
Read what I effing wrote, and I AM sorry I mentioned it as reading something as clearly stated as
" they're all Bosch-Licensed and as long as you know the pinouts and make the appropriate adjustments in wiring, "parts is parts".... This is 70's Tech..."
Leads to horse beating.
There IS NO BUDGET.
MS was stated as TOO EXPENSIVE.
Lets stick with what the OP gave us, and not indulge in idle fantasy and horse beating.
Like I said, I'm sorry I mentioned it.
It takes something not in the equation: basic knowledge of how an engine functions.
Again, I reiterate: "Stick to plug wires and tune up, these skills will apply to everything. You can't fly till you learn to walk, and you can't walk till you learn to crawl. And this situation here is just now getting the attraction to the checkerboard horse on the playmobil just out of reach to coax that first rollover..."
It's ok tony, take a breathe lol
But seriously, as tony (and the op for that matter) have stated, Megasquirt is too expensive apparently so there is no pleasing the op's request.
That being said, tony is one of the more respected members on this forum so I would take his advice and just stick with the basics. Go through the valvetrain and check everything is in spec, change spark plug wires/plugs/cap/rotor BEFORE you start going for 130+HP. The thing to take away is that if you have a poorly running engine what makes you think it will run any better once you bolt on some metal and throw some cash at it?
TL;DR - Budget is everything, start small and just change simple parts to make your engine run better in stock form.
-
While a TDI swap from a VW would indeed be cool, I still want to see somone throw some money at a LD28T for a change
-
So since nobody has said anything about this yet I'll chime in a bit. Just fyi this is all copied directly out of Frank Honsowetz' "How to Modify Your Nissan/Datsun OHC engine".
-To calculate your required throttle bore size you find the square root of your displacement-per-cylinder (in cc) multiply that by your maximum rpm, divide that by 1000 and then finally mulitply that by 0.82 (to clarify, calulate the square root of your displacement*max-rpm/1000 and THEN multiply by 0.82. Best to use calc to not mess up order of operations)
-To calculate your main venturi size you perform the same operation as before but instead of mulitplying by 0.82 at the end you mulitply by 0.65
-Once you have your main venturi size you can then get a decent main jet size by multiplying the size of your venturi by 0.04 (ex. 40mm Venturi * 0.04 = 1.60mm main jet) and can also find your air correction jet by adding 0.20 to whatever size your main jet size is (ex. 1.60 Main jet + 0.20 = 1.80mm Air Correct jet)
Keep in mind those are whats copied from the book, and while it is a very nice book (and you should go buy it right now) it should not be taken as gospel. Nothing beats a dyno day, wideband o2 and/or a lot of patience. I also understand that writing it all out like this can be rather mind melting so if anyone wants more claridication just let me know
-
Hey guys, i forgot to tell you my solution to this. I basically attached the leveler to the block like i said i was going to do in my last post, kept the pan on and pushed and pulled the engine forward and then eventually upwards. The biggest problem came from the lines from my AC (Which will need to be removed for sake of my sanity) snagging on the thin shroud between the engine and trans but nothing a little tweaking around and swearing couldn't fix.
Thanks for the replies guys
-
since it alredy looks like you have the head off you can use your 90* hoist adapters and find a bolt that fits the block go block, washer, 90*, wacher, bolt on opposite ends of block bolt them down tight. Take out bell housing bolts lift up motor/ tranny, support bellhousing up aginst firewall. If you cant slide the motor out dropping the crossmember is 5 bolts, too easy.
That seems like the best way to go, didn't think of attaching the leveler directly to the block. I'm thinking that since I have the radiator out I should have enough room in the front and with the head off and the cherry picker at 1 1/2 tons the arm is pretty long so it should have lots of room there and if I can't clear the cross-member then I can try removing the pan. If that doesn't work out then I'll remove the transmission and the engine together.
Thanks guys
-
I have 2 2 ton stand and 2 4 ton stands, i would lift the car higher onto the larger stands but my crappy jack can't go up that high and I don't have anything to place it on to make it go any higher. My cherry picker is a 2 ton that i borrowed from a friend. The more you guys tell me the more it seems easier to just pull the moto/trans together.
But in theory could I take off the 2 side motor mounts, jack up the trans so the engine sits at an angle, slide out the oil pan (PITA for sure) and then use the cherry picker to lift the engine out (provided I have something on the rear to hook up to, maybe remove the heads rear freeze plug and hook up to that?)
If it feels like you guys are talking to a brick wall just know that I am listening, this is just how I am I'll try to do things my way until the very last minute then i'll do it the right way
-
The thing is I was really just hoping to pull the engine alone by itself, I'm on a bit of a time crunch to rebuild the engine. Everyone keeps saying its much easier to remove the engine and tranny at the same time, and it probably is, but I really just don't want to have a transmission sitting in my already crowded garage space.
So if the cam tower isn't ideal then I was going to get a piece of scrap steel and make a little bar to go across the rear intake and exhaust bolts at an angle with a loop at the end to hook up a balancer. Or my friend said that I could try hooking the balancer directly to the intake bolts (see attachment, keep in mind it will have shorter bolts)
Keep the suggestions coming guys, the alternative to rebuilding the engine out of the car is doing it in the car. I do love working on my car but I don't like squeezing under it and trying to pry pistons out from the bottom while oil drips into my mouth and nose
-
I gotta say i am completely jealous of your setup
-
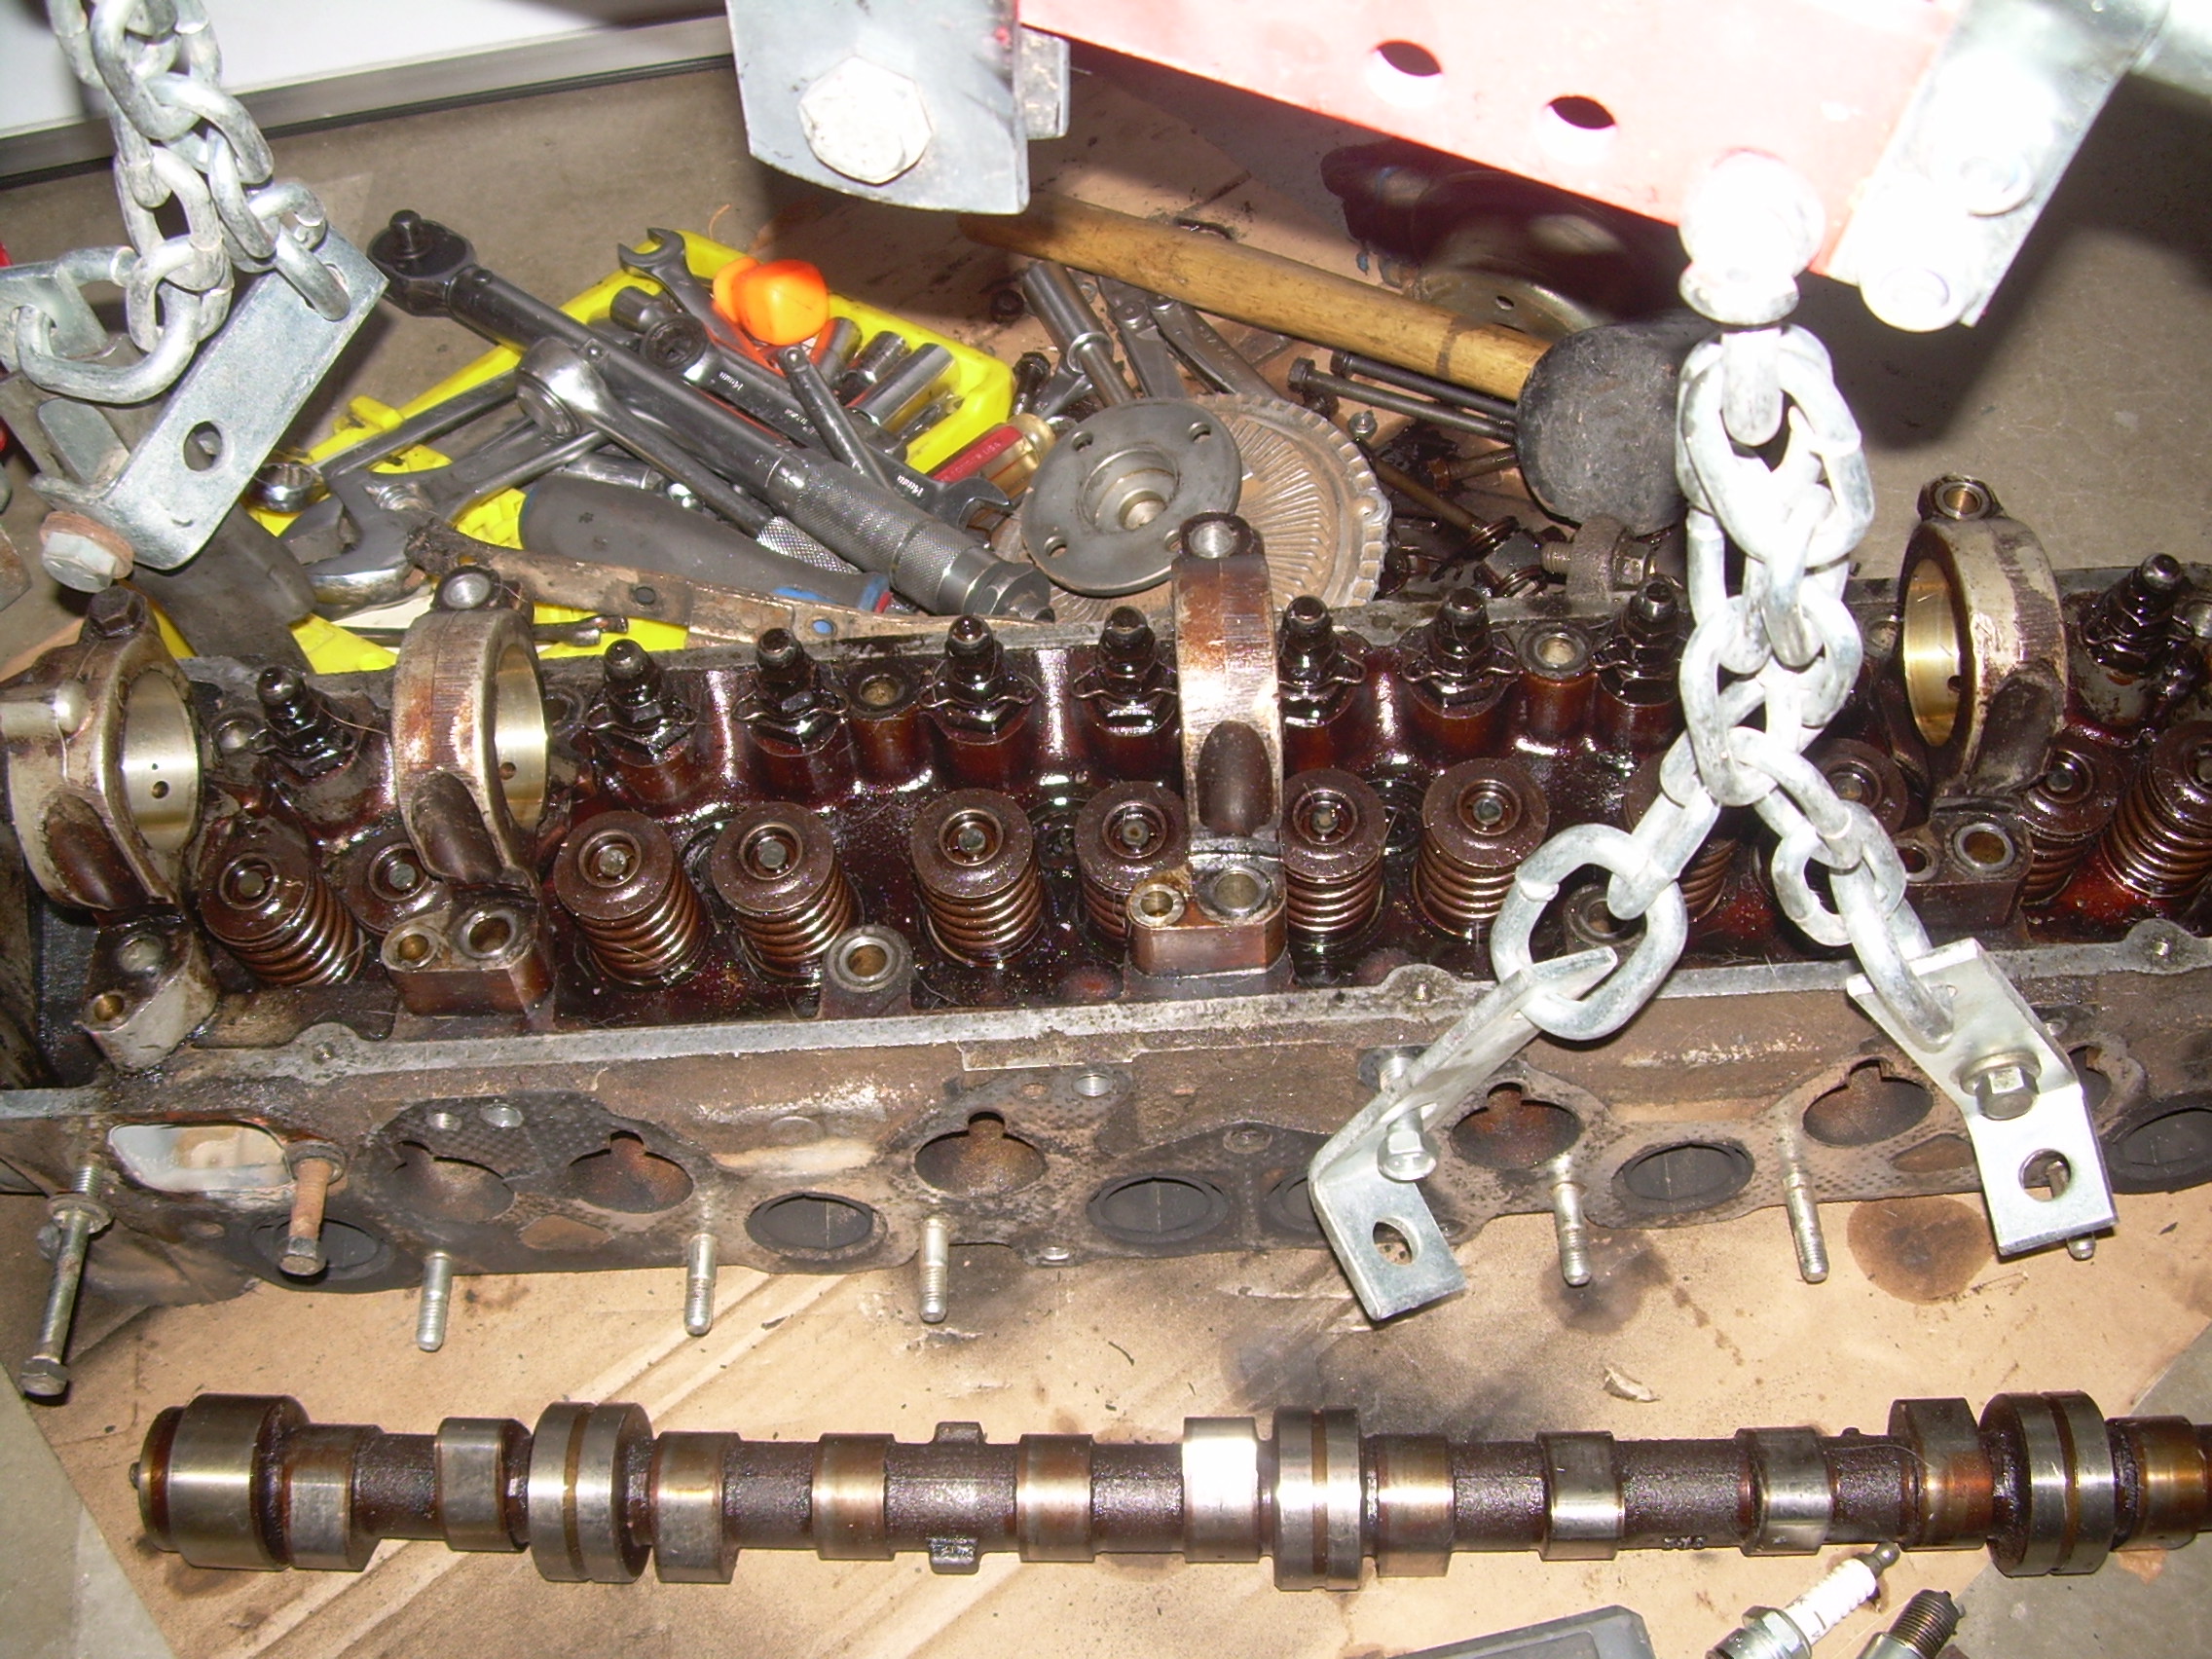
So I'm doing a turbo conversion, taking out the engine (hopefully soon) but I don't have a rear lift point on the engine (for whatever reason it wasn't there when I bought the car). I do however have a front lift point and I also have a junk p79 head without a cam in it. The question is can I bolt the head on, wrap a chain around the rear cam tower and take the engine out successfully? The only thing scaring me is the thought that the weight of the engine causes the tower to pop off taking the head bolts and threads with it. So anybody think it'll work?
-
That sucks, I'd look at getting a set of ITM pistons with rings.
*Heres where I look stupid again*
I actually bought a turbo block with dish pistons w/ rings, went to pop out the front freeze plug (black was going to get hot tanked) but couldn't get it, told one of my friends (different one that timing guy) I would buy him a 6 pack if he popped all the freeze plugs out and took my block to the machine shop, he tries to drill out the front plug and goes right through it...into the cylinder. Moral of this story, don't make friends they'll just muck up your valve timing and drill holes in your motor.
I do have turbo pistons with stock rings, I just know that the motor they came from was high mileage and I don't think you're supposed to use rings from a different motor during a rebuild if i remember correctly
-
My n/a pistons had turbo rings on them, it also had 70% leakdown.
Call a local machine shop that carries hastings rings, they should be able to hook you up for ~$60. Also, why are you changing the pistons, does the motor run good? If it does, leave it be.
Long story short my friend messed up my cam timing (while trying to replace valve seals, don't ask) and 3 of my pistons made contact with the valves. Chunks taken out of pistons and 3 valves snapped, luckily the bores are OK
-
I did the grease and clean on my '80 280zx with ujoints. I timed the ujoints to be in line..and had a bad vibration. Reclocked the joints to be 90deg. dif. and the vibration was gone..so I would say YES to maybe having done something on the half-shafts.
This. I was just about to say to check whether the u-joints were in line or not
-
So I'm doing a turbo conversion and finding that rings for the l28et are friggin expensive (140 at zstore and 100+ at other shops) but the NA rings are cheaper, i know theres a thread somewhere detailing the differences of all the different l-series pistons but i can't find it for some reason. So my question to you guys is, will it work? keep in mind my NA pistons are still in the car so please excuse me if the difference is obvious by just taking a look at both side to side. Also has anyone had any bad experiences with buying rings via ebay?
-
*insert obligatory "SEARCH!!!" here*
but seriously technically all you need to turbo is all the stock turbo parts and the stock turbo ecu, but I assume you already know that since youre looking into megasquirt. here:
http://forums.hybridz.org/index.php?showtopic=23244
its a bit old if memory serves but its a good guide all together.
also if you need a list of all the parts necessary to go turbo I will happily post them
EDIT: on second thought flatblack does a better job going through all the necessary stuff to go NA to turbo: http://forums.hybridz.org/index.php?showtopic=82371 *Note* the stock l28 turbo has dished pistons while the NA has flat top ones, you can use flat top pistons but keep in mind that increasing compression increases your chance of detonation so be sure to do your homework/use an intercooler!
-
Just wondering if anyone had a set lying around or something. I Really don't want to spend the 140 for a set online
-
Thanks cygnus I have a spare block in my garage with a tensioner on it for reference at this point i'm so close to getting it in there that its absolutely frustrating! i really don't want to take off the front cover but i'll give it a few days and a few more hours and if nothing changes I'll start ripping more stuff off the engine
-
This tensioner is kicking my ass, I can't seem to get the right combo of chain tension and screwdriver force to get it to go back in! Anybody else have any more protips on getting the tensioner shaft back into its seat?
-
Crap I think this whole situation just got FUBAR, while wiggling the sprocket onto the timing chain I accidentally erased all 3 paint/orientation marks I made on the chain...Am I completely screwed on this? Before I removed the sprocket I cranked the engine until the outer 1 marker on the cam sprocket was completely vertical if that helps (vertical as in it lined up with the upper thrust washer bolt)
I try to just change out some seals but life never lets me just get away with that, nope its gotta be a learning experience...
-
Thanks shaggy I'll try that this afternoon
-
i had a friend keep a small crowbar on it to keep it from extending while I wiggled the sprocket out
-
Thanks Zcar that link helped a lot, didn't know you could remove the valves that way. Alright so i was able to get the cam sprocket off but now that i don't need it off anymore it won't go back on the cam, I didn't let the chain droop or anything but it just won't go on. Does that mean i have to mess with my tensioner or are my arms just made of toothpicks?

81 280zx dashboard approximate cost
in Price Check
Posted
Hey all. A couple years ago I tried to fill and restore my cracked dashboard but messed it up so bad that I am in the market for a replacement. What can I expect to pay for a decent condition one?