

smsms
-
Posts
30 -
Joined
-
Last visited
Content Type
Profiles
Forums
Blogs
Events
Gallery
Downloads
Store
Posts posted by smsms
-
-
Thanks for your reply!
Yeah I think the valve cover gasket may be the main cause for the leak. I wiped it down and let it run for a bit and noticed some oil leaking. It seems like some bolts are too tight.
I'm going to wipe everything clean and change the gasket. Is there any way I can make sure to tighten the valve cover properly, to avoid the same issue?
I'll be sure to tighten the oil pan bolts too.
I really hope it's not the rear main seal. That thing seems like a pain to change.
-
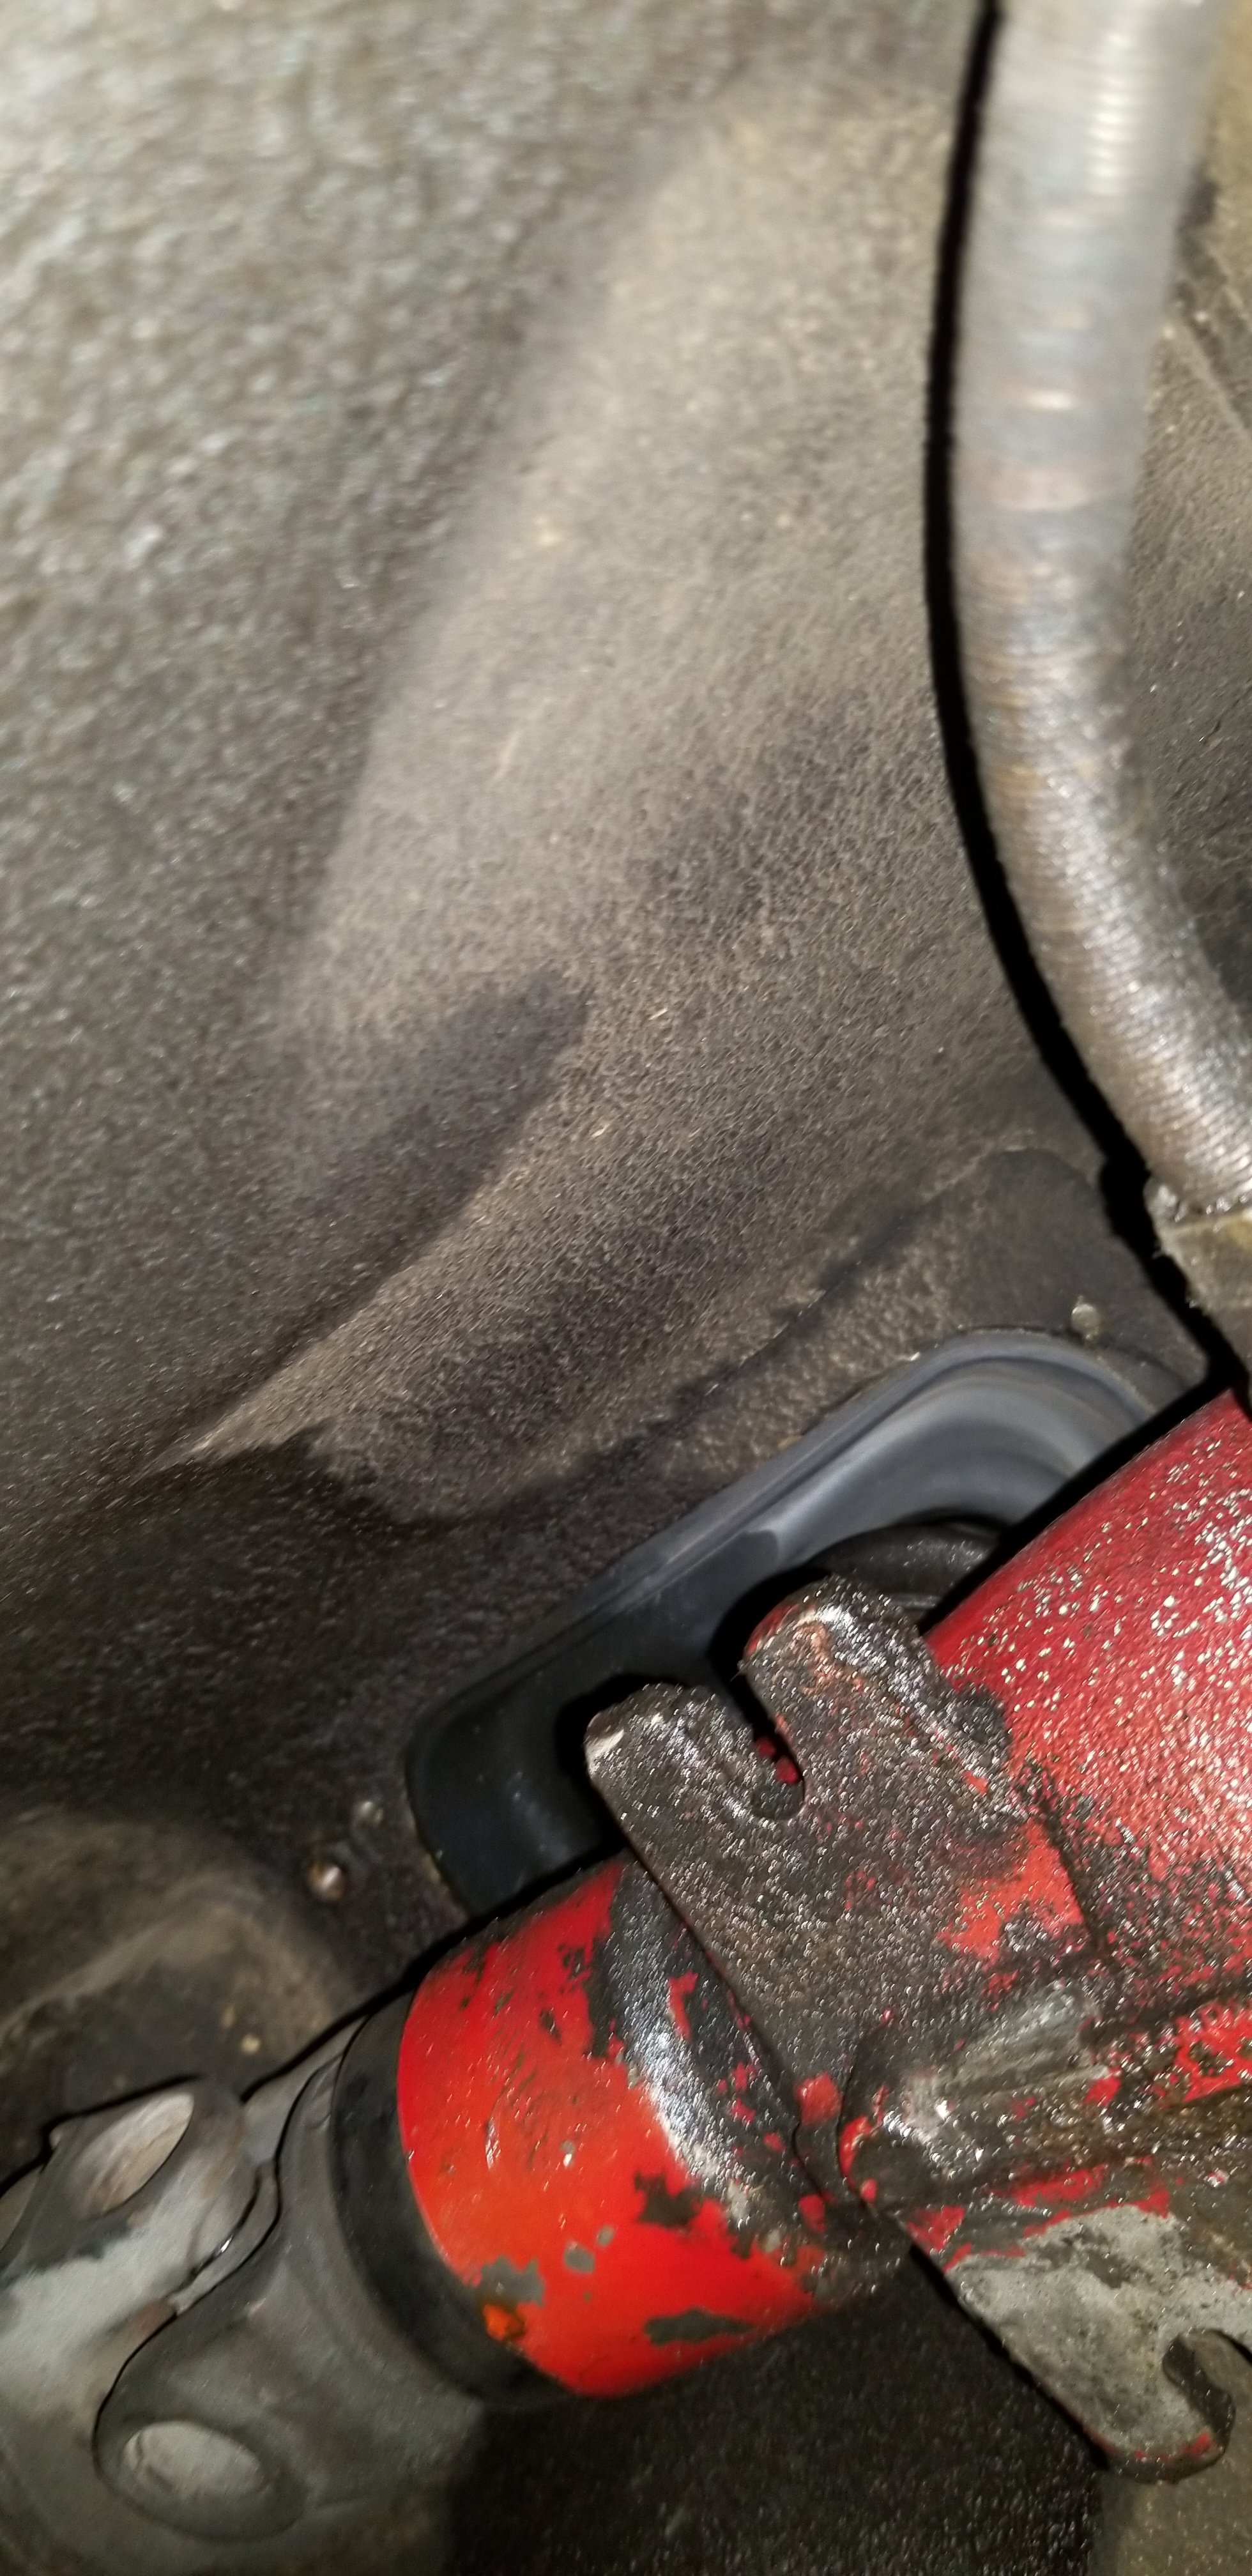
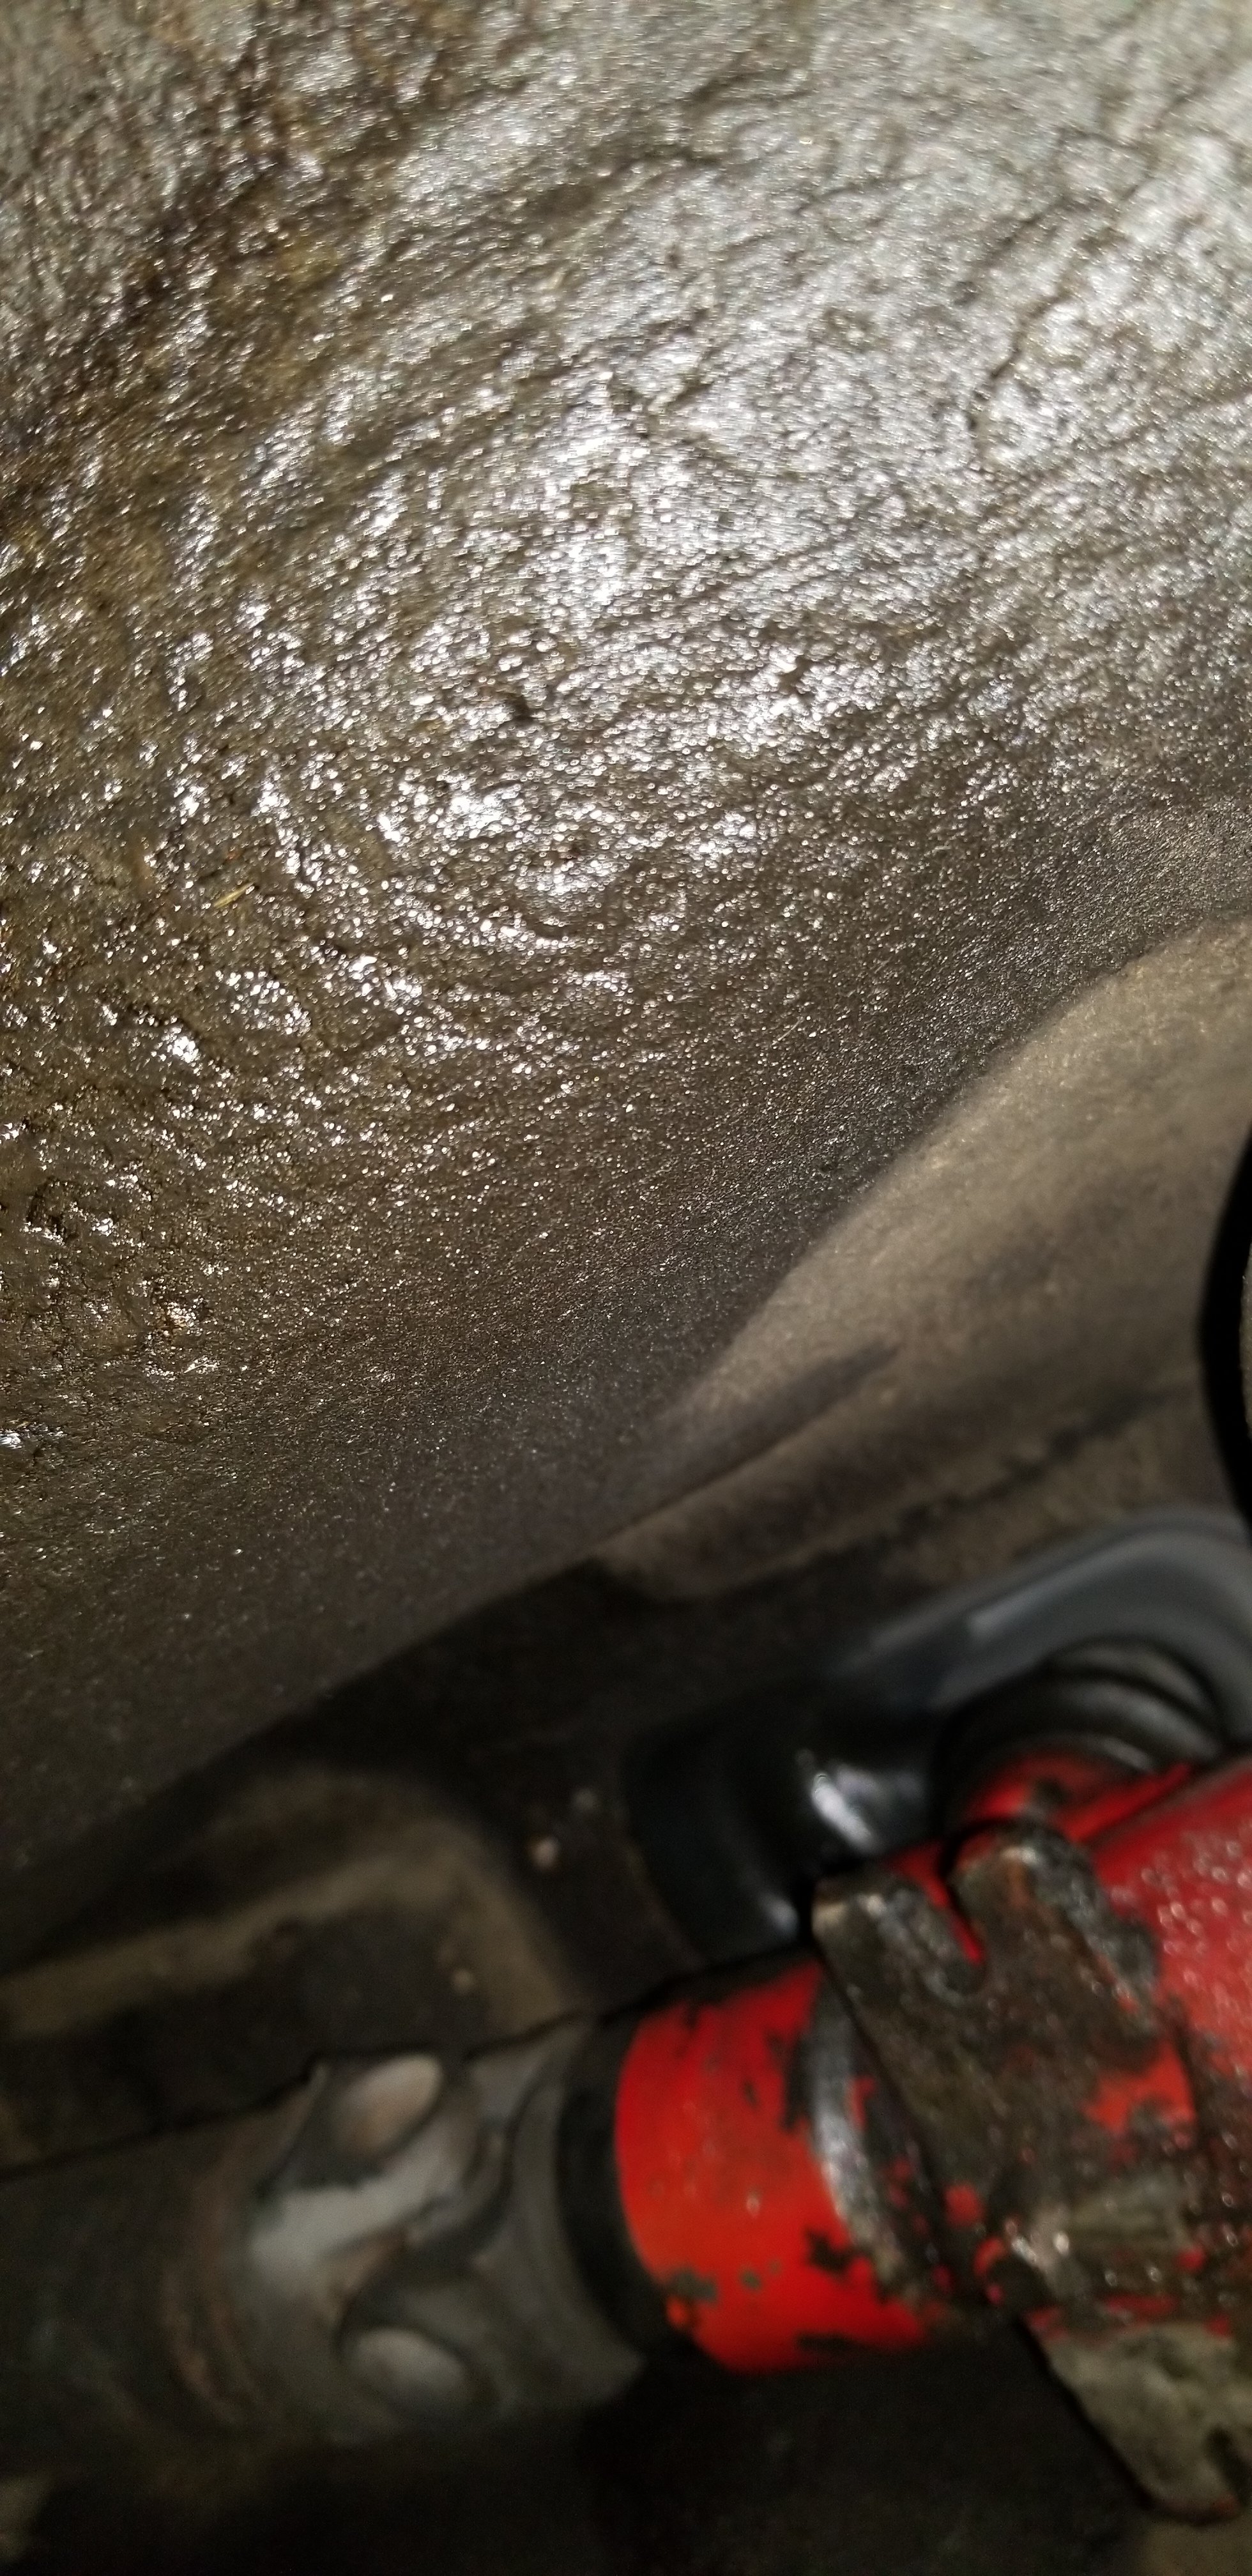
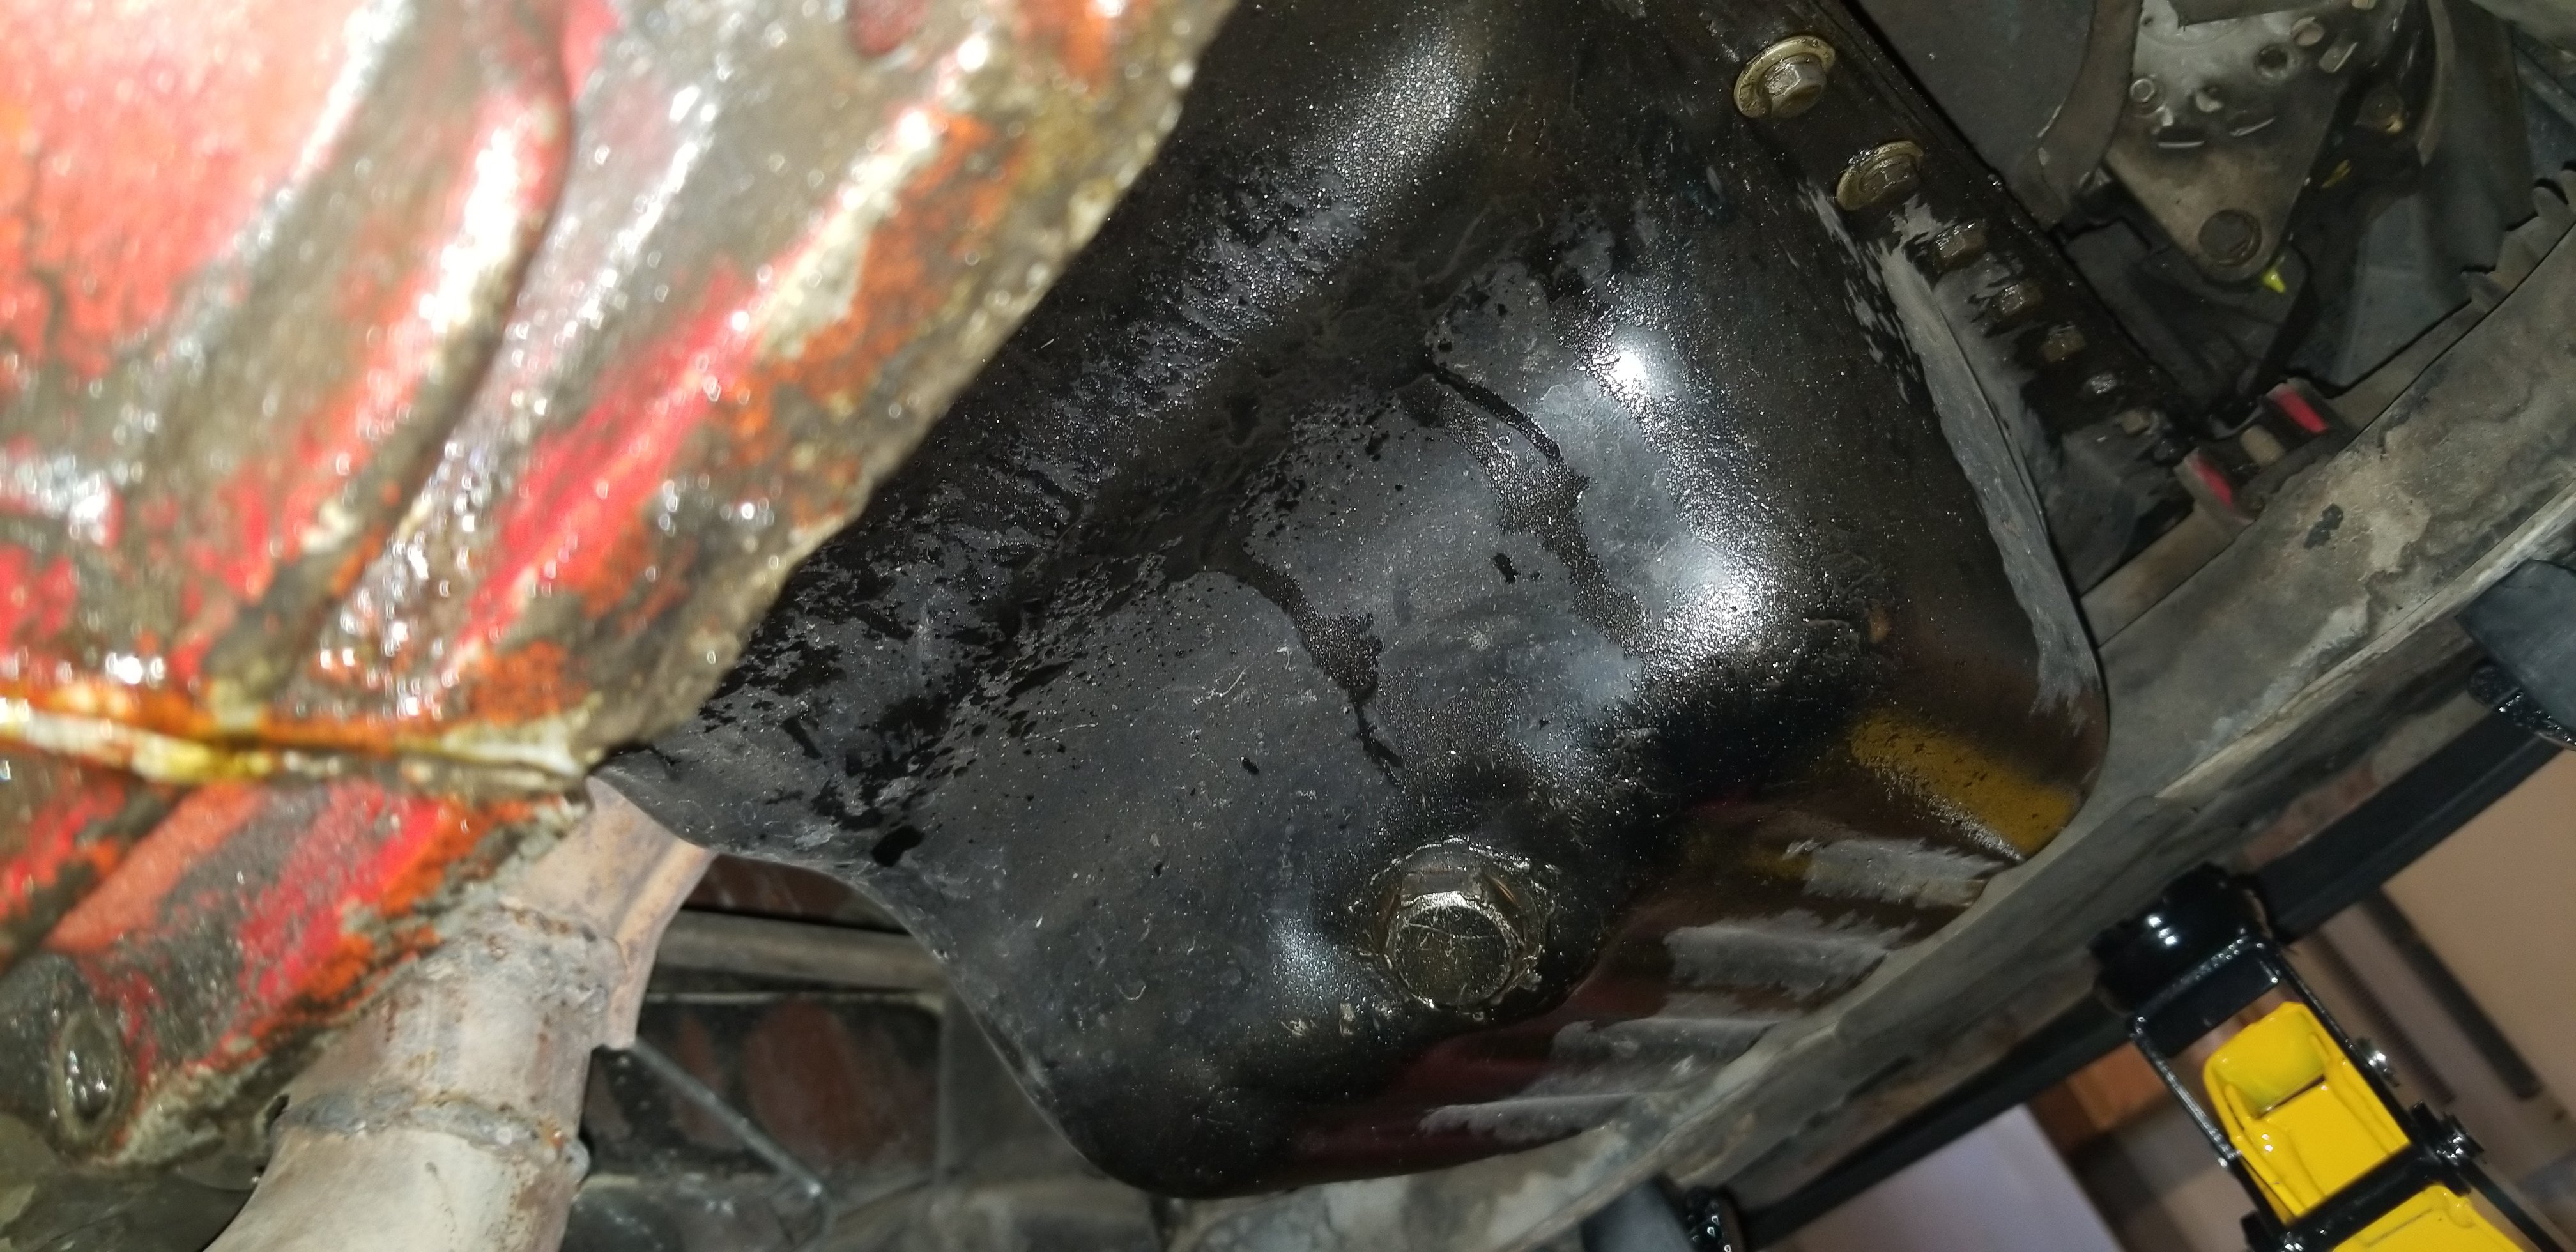
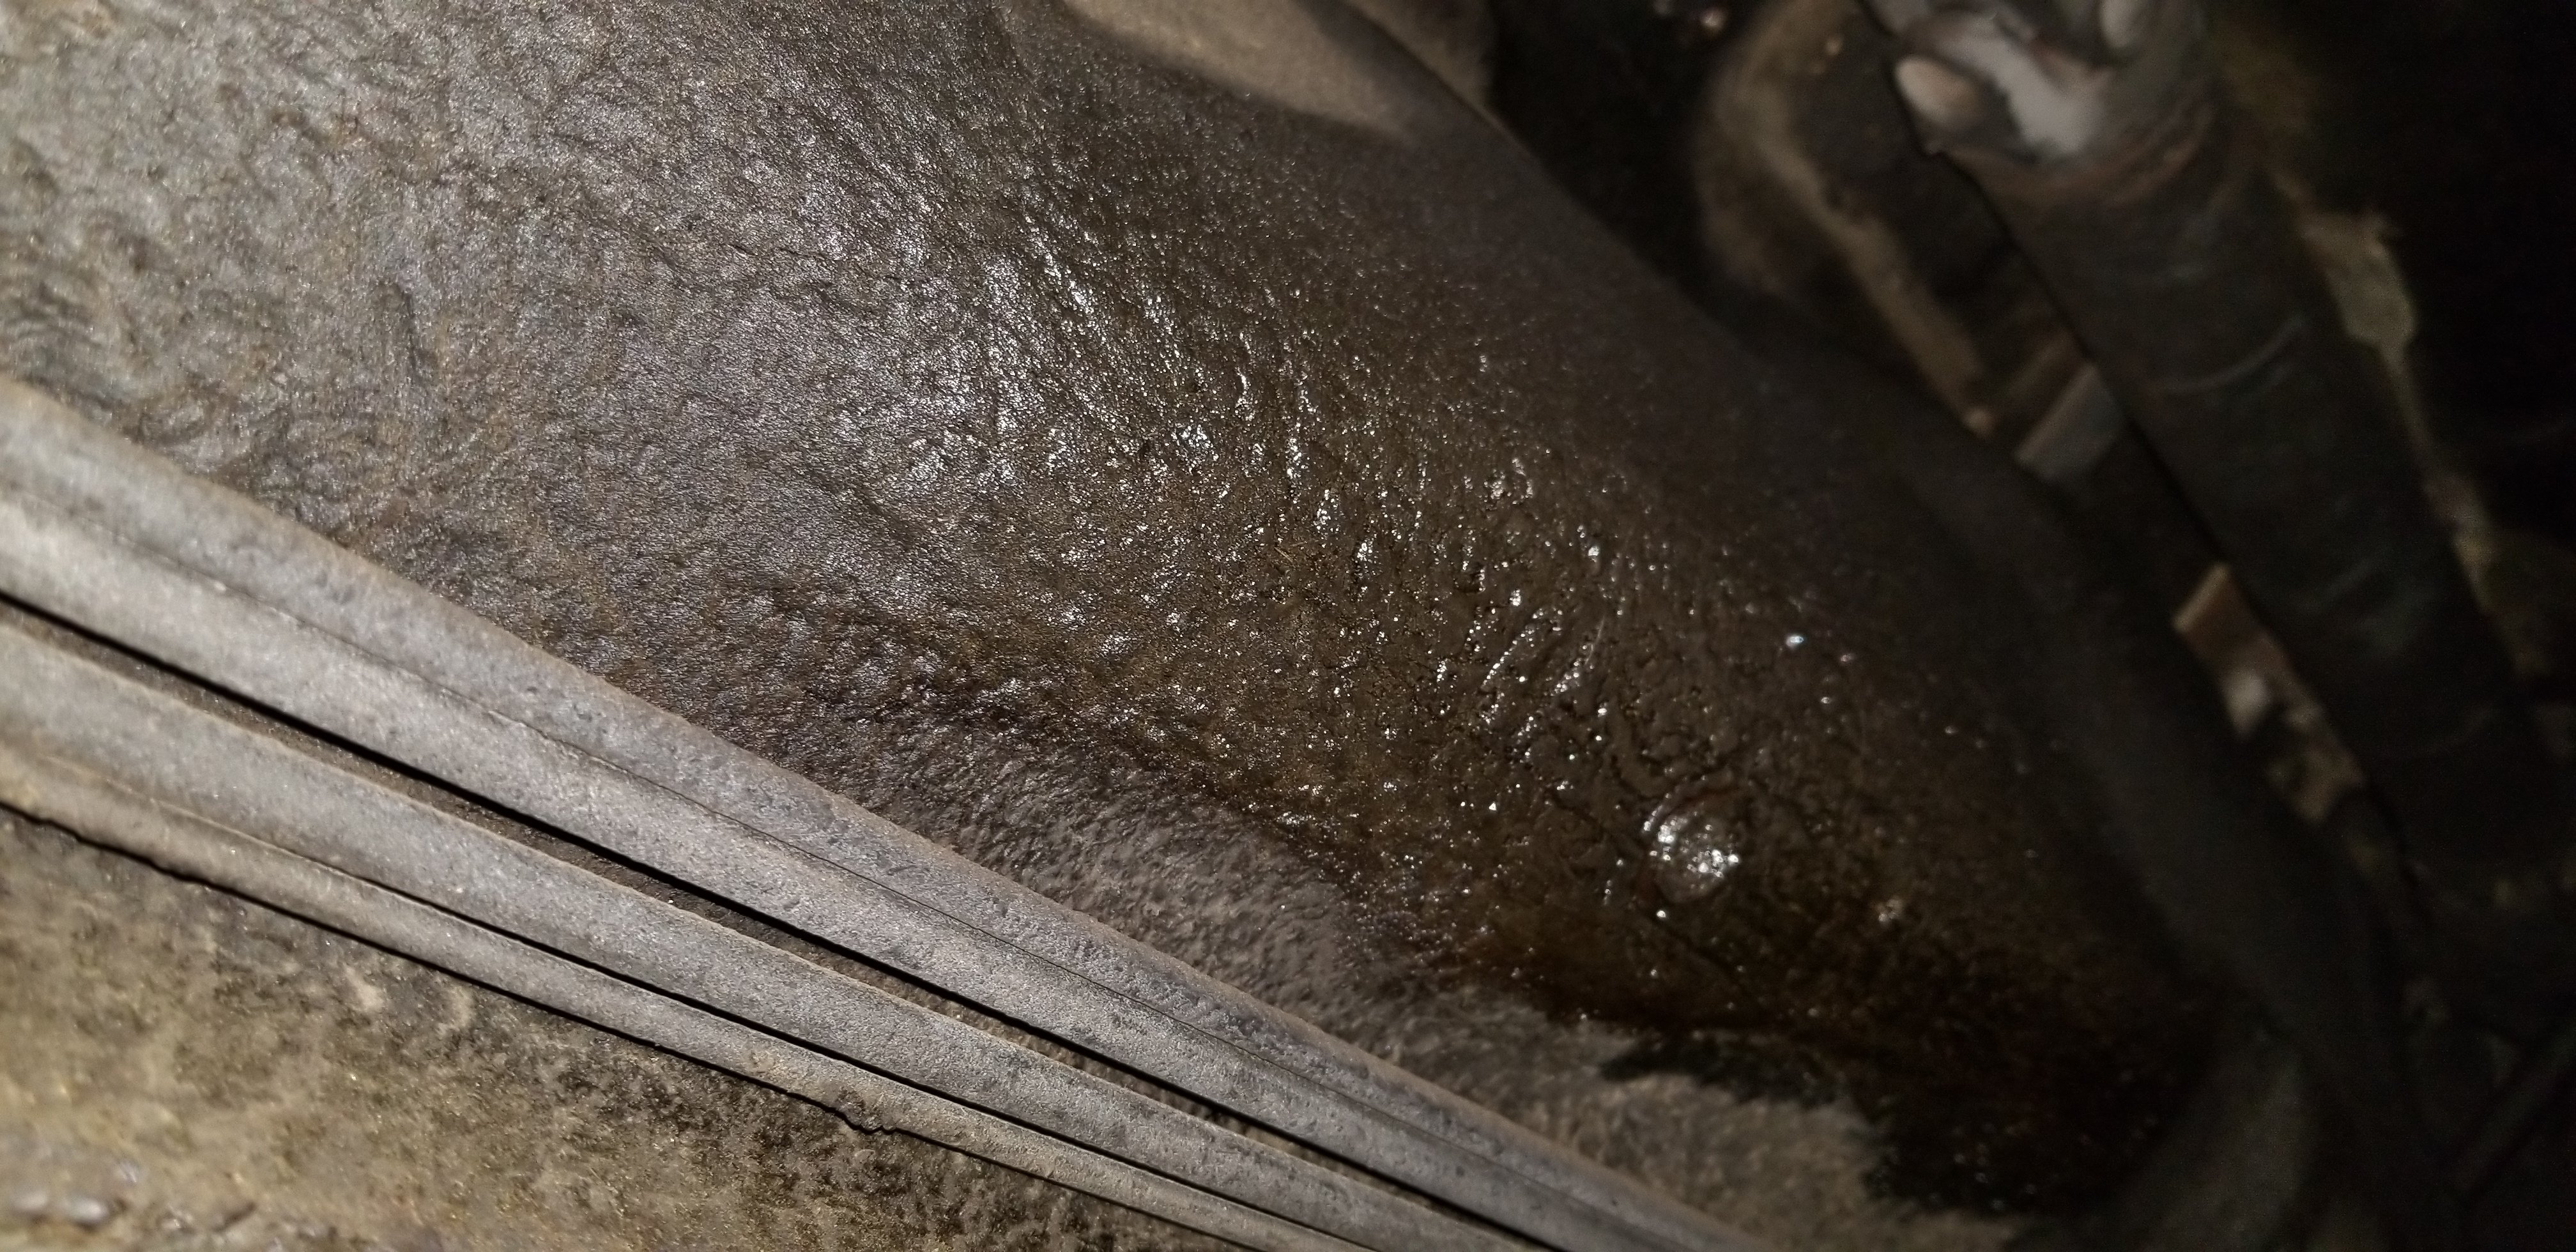
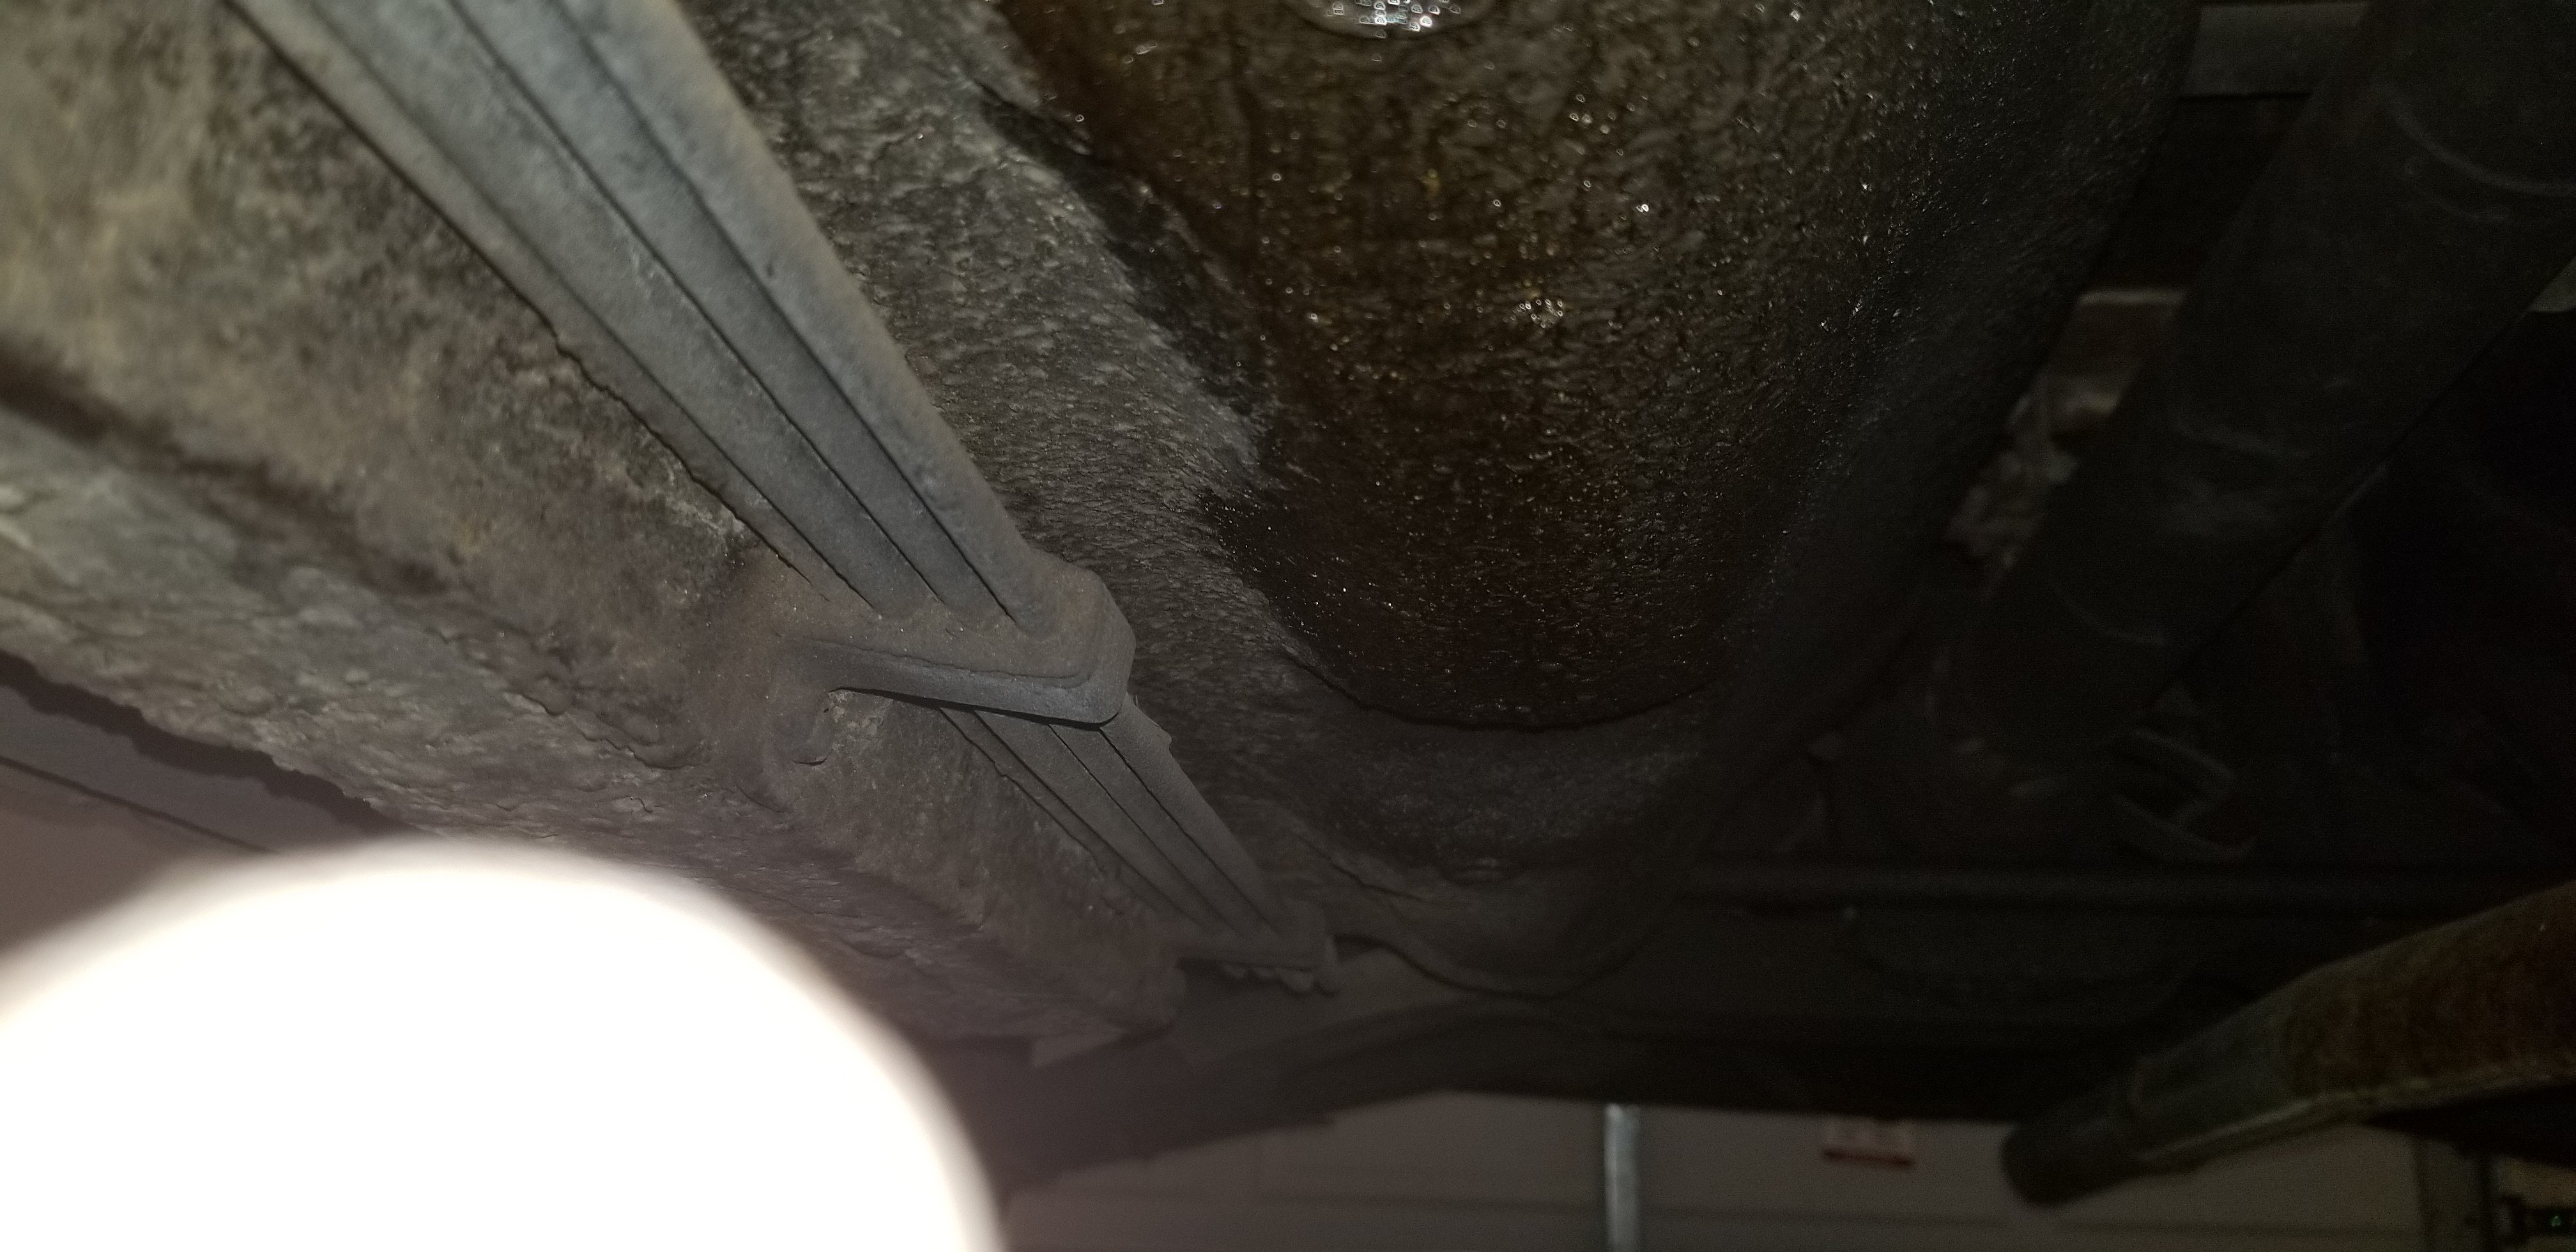
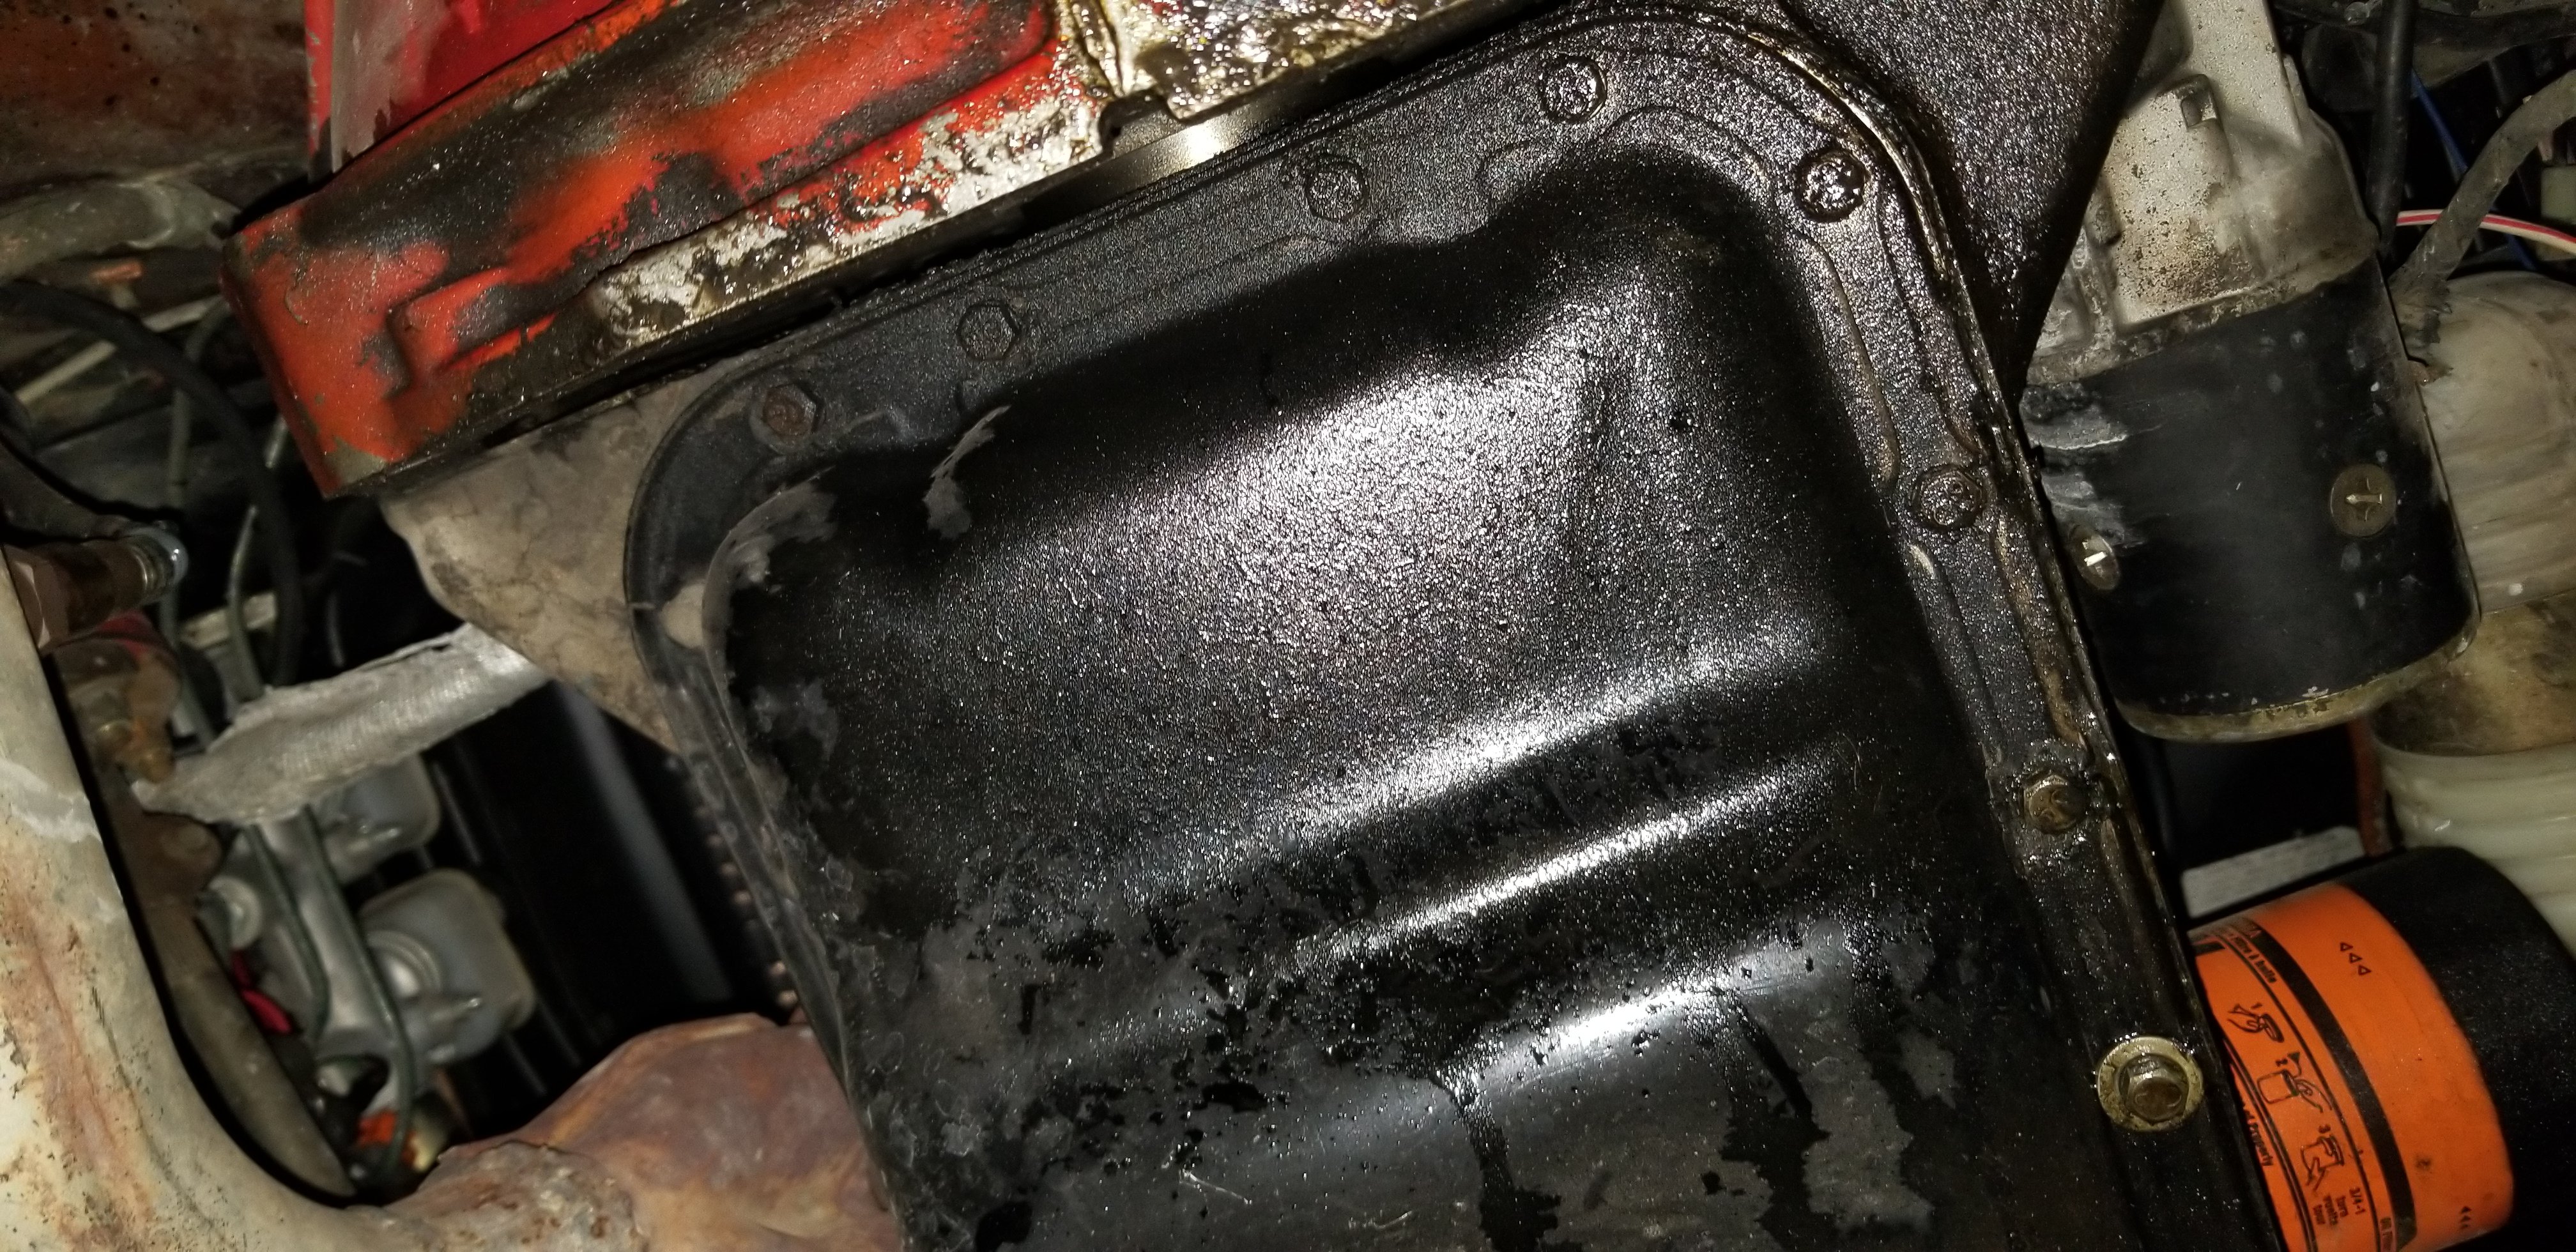
I bought my 77 280z a couple of months ago as a first car and I'm still learning more about how cars work. I just got a chance to take a look under it and noticed that the bellhousing is covered in oil as well as the engine oil pan. What could the problem be? I'll attach some photos for reference.
Update: I noticed my valve cover gasket is also leaking. Could this cause this much leakage?
Update 2: So I found a fuel leak from one of the fuel lines, I'm lucky it didn't catch on fire.
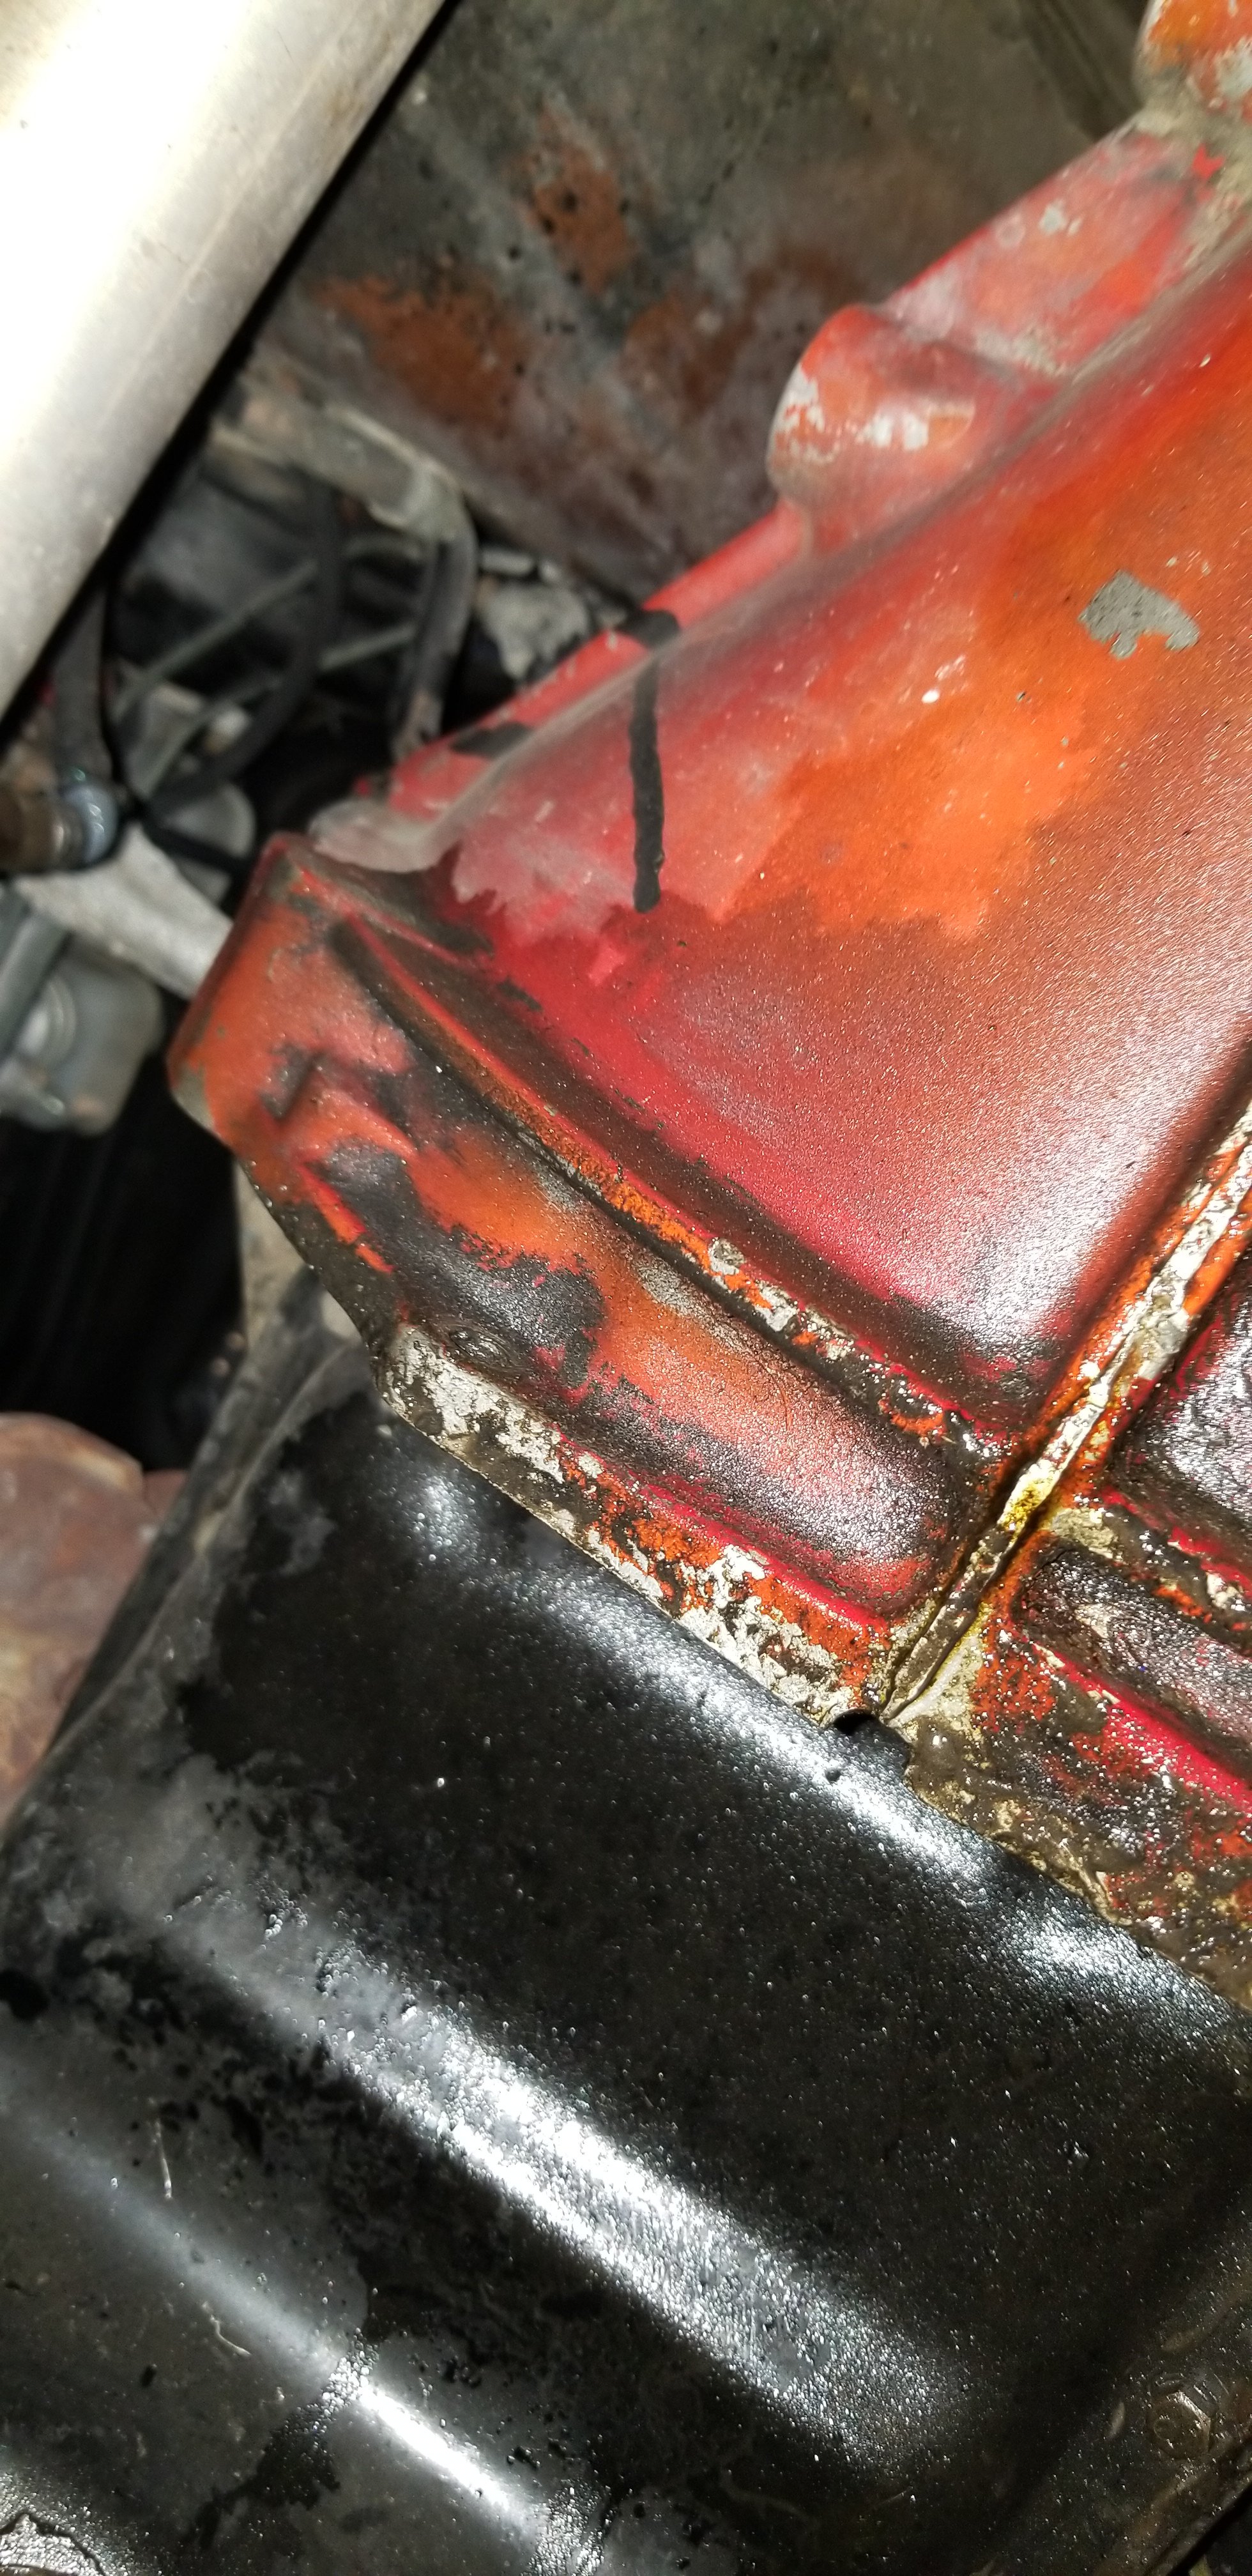
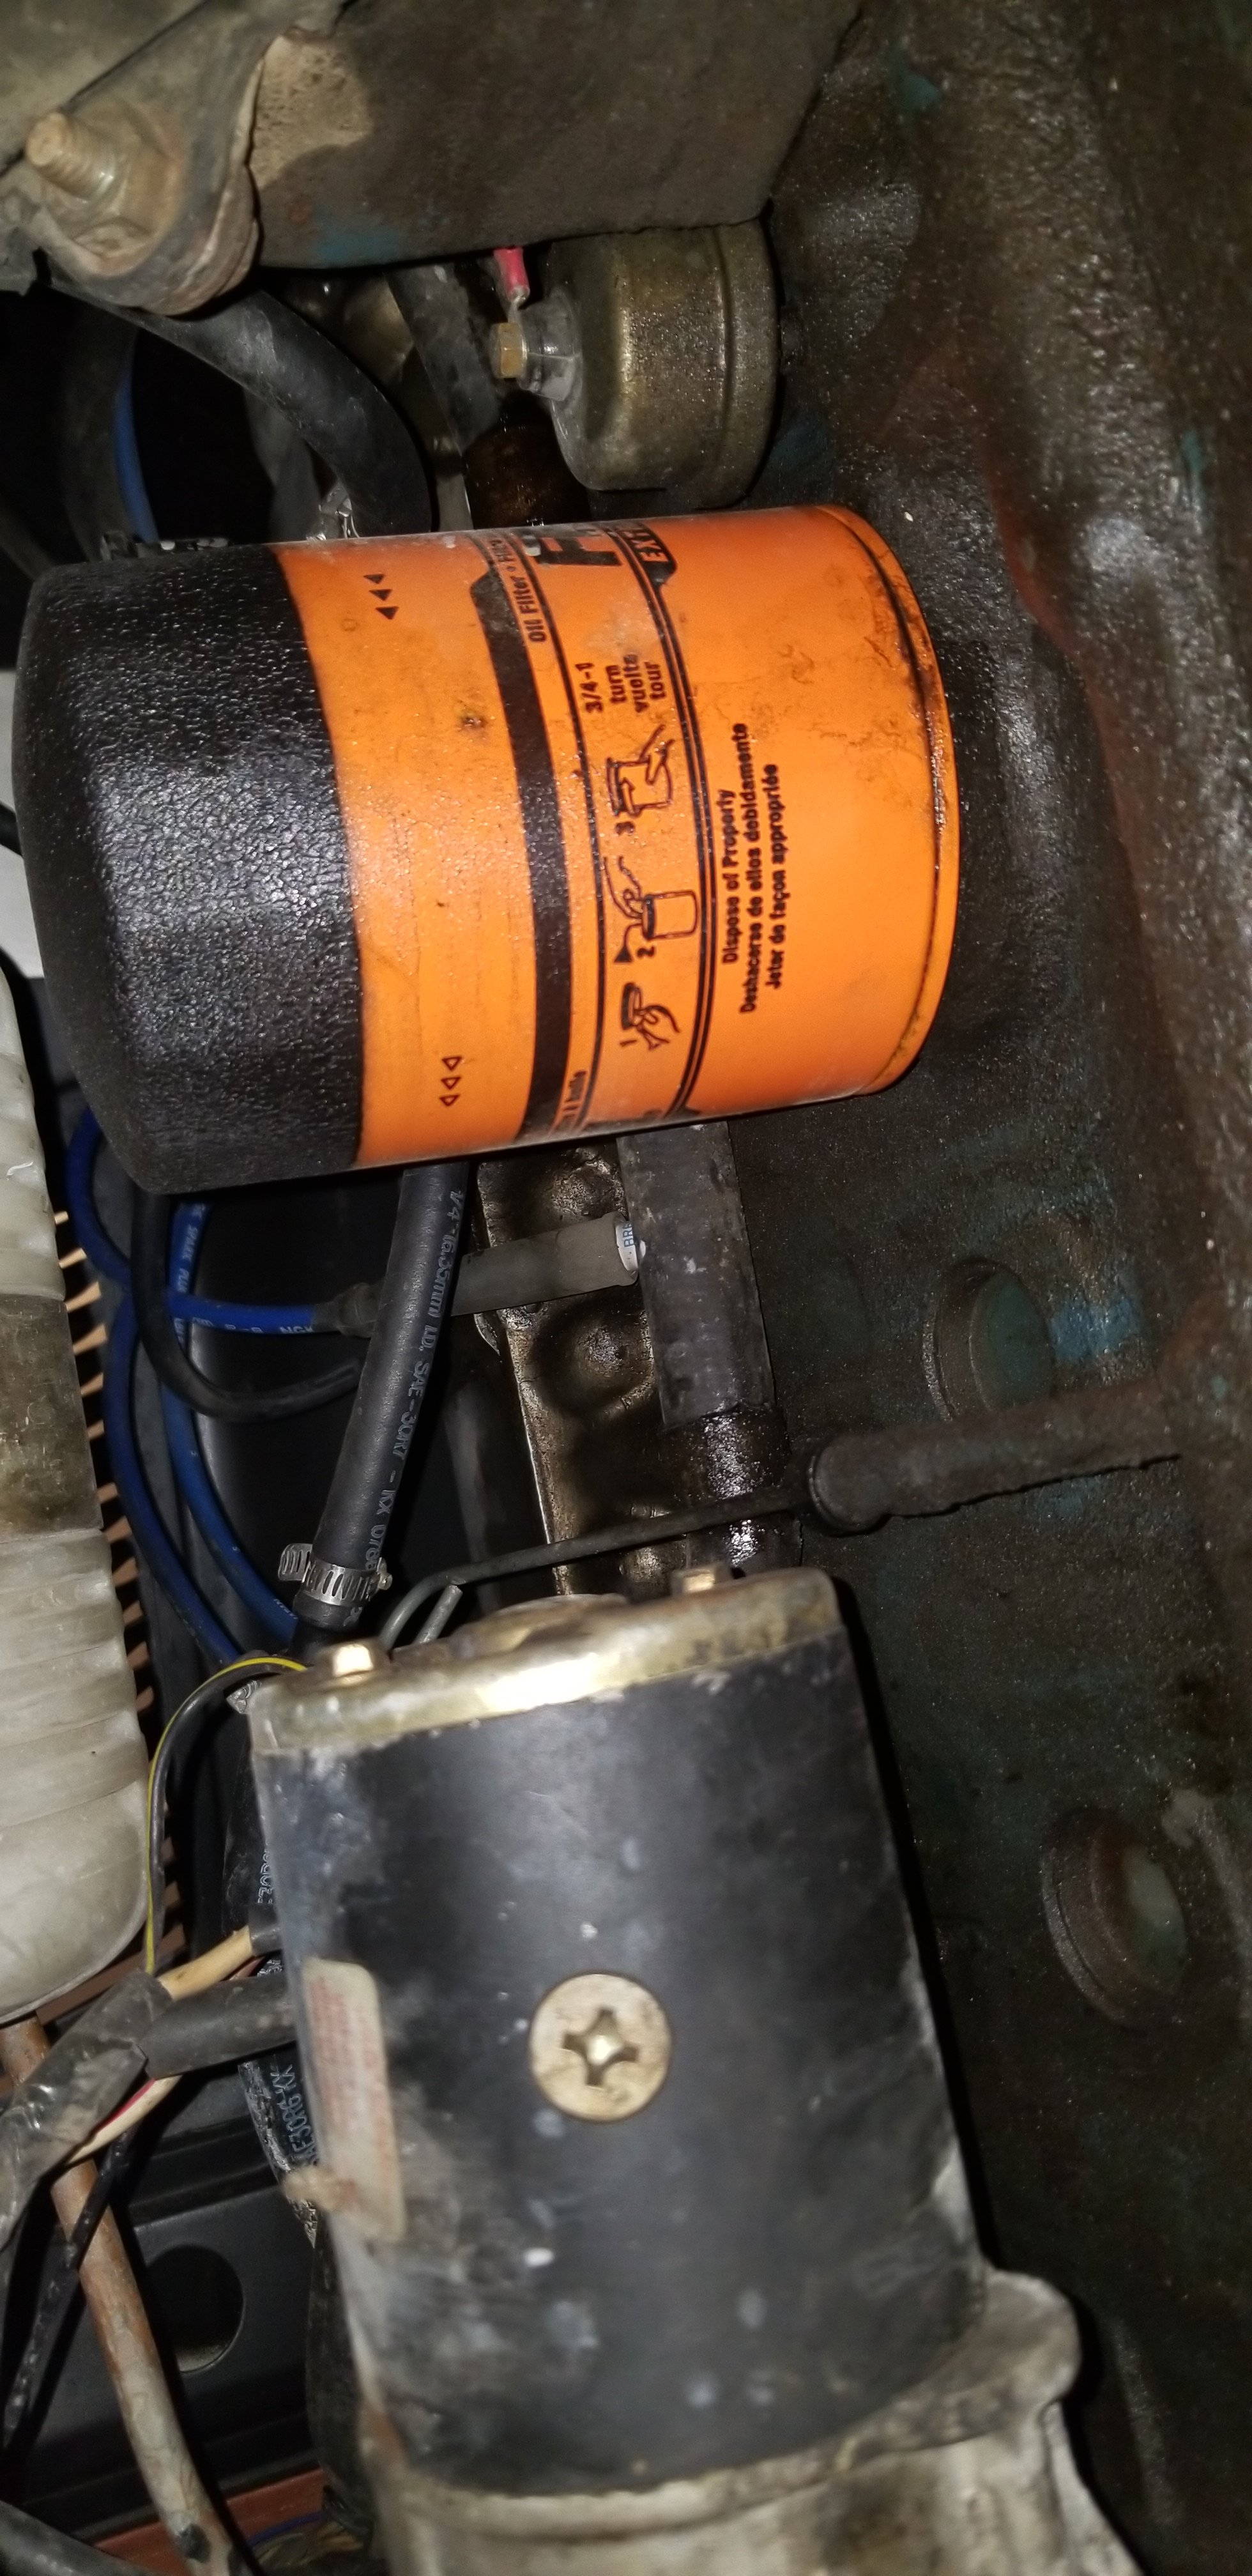
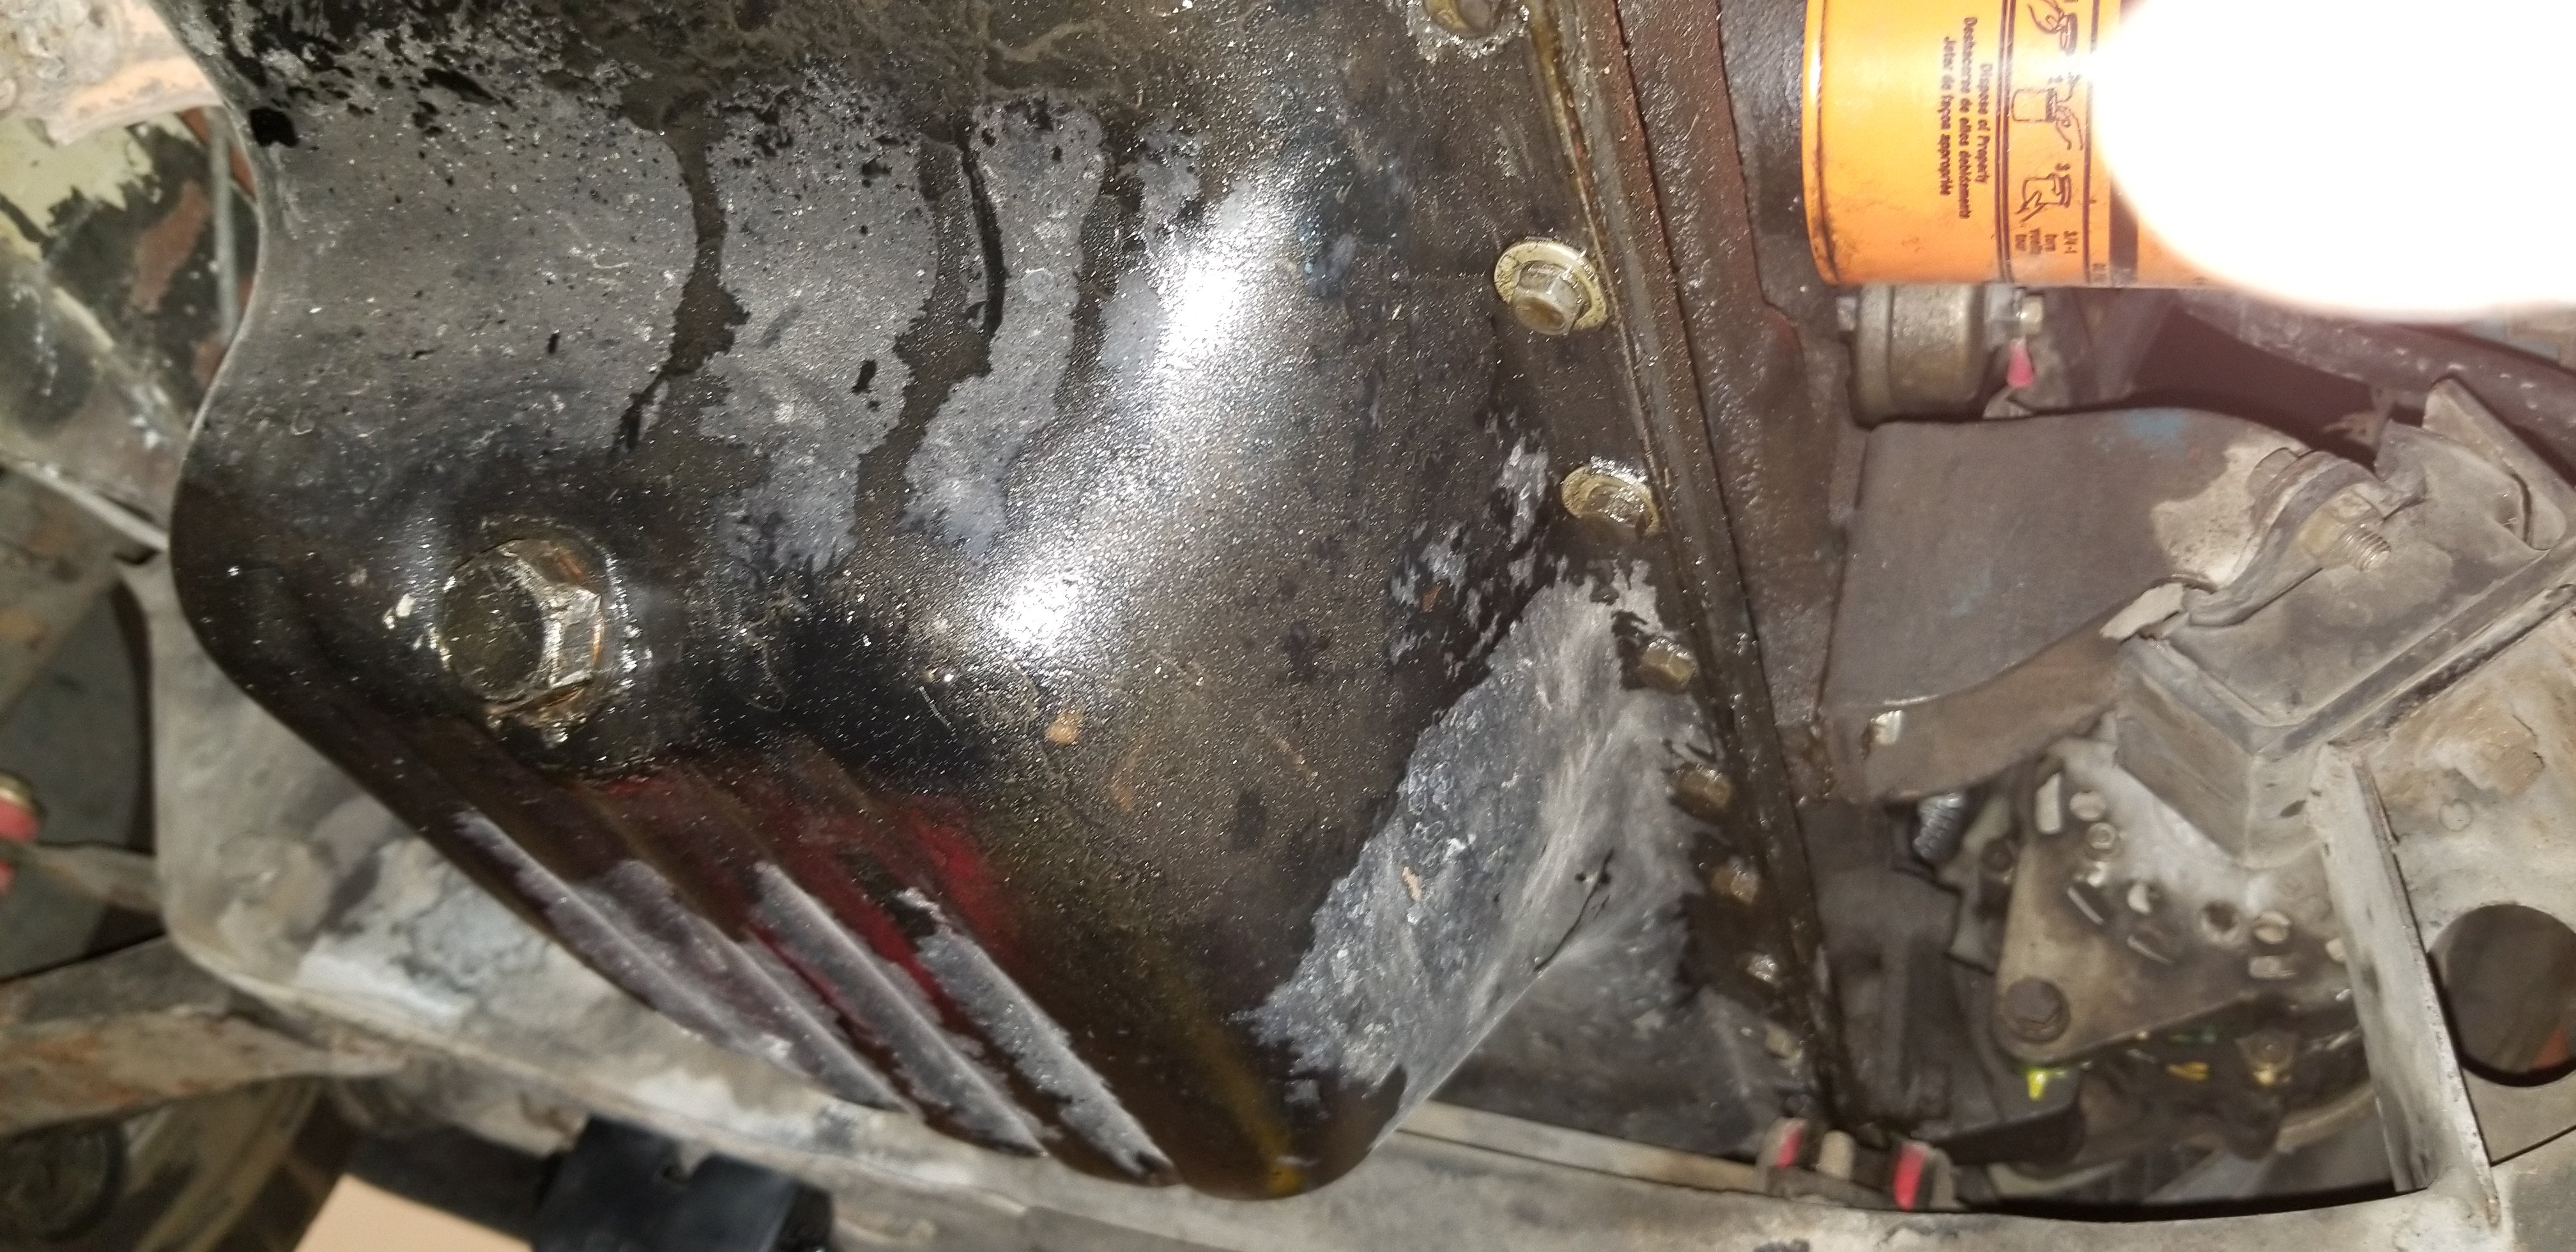
I took a closer look at the oil pan and noticed dissolved rubber around the bolts and edges of the oil pan. I'm guessing the previous owner placed gaskets on with the bolts to seal it. I'm guessing the gasoline dissolved the rubber and the bolts were left loose, causing the oil leak.
I cleaned it up and tightened the bolts. I hope this solves my problem.

-
I'm assuming the thermal vacuum valve is the one with the red cap in this photo
if I bypass the BPT valve the the EGR valve will actually stay closed. since there's no BPT valve therefore it's technically always "open".
Anyways I'm just spitballing here. I'm probably gonna delete the EGR after I pass emissions, so I just need it to look like it works and not do any damage in the process.
-
I spent all night researching this, apparently the BPT valve controls how much vacuum the EGR valve receives, if I connect it to the intake manifold directly I guess the EGR will stay open. I dont know if that will affect the engine performance in a any way but if it gets me through emissions, i'm willing to try I guess.
-
I failed the equipment test for the EGR and evap
-
Hi all, I just joined the forums. I bought a 77 280z a couple of days ago and I'm having trouble passing emissions. The previous owner installed a megasquirt EFI which wasn't really the issue during the test. However, some vacuum lines are missing.
The EGR valve isn't connected to anything and the vacuum line diagram shows that I must have a BPT valve, which I don't. Would it be ok if I connect the EGR valve directly to the intake manifold?
The other issue is the purge valve on the carbon canister isn't connected to anything either, form what I understand, it should be going into the throttle chamber where you can see that it's plugged in
Thanks!
.jpg.e3789a9c989b994e48aef5ed2a6e53e8.jpg)

.jpg.df398cf58a68ab15de1e3f2db51be8f8.jpg)
.jpg.5896dc978df460ec899ef21768e091bc.jpg)
.jpg.a8aac02816cc6b3792e290d5f3004c20.jpg)
Valve cover issues
in Trouble Shooting / General Engine
Posted · Edited by smsms
Info added
I took the valve cover off today to adjust my valve lashes, I tried to clean it as much as I could with simple green degreaser. Would it be safe to reattach in this condition? Or should I continue to clean it completely?
The seals on the inside around the baffle plate look worn out and I'm worried some of it will get into the engine, some of it chipped off while I was scrubbing it. Is there any way I can scape off the old sealing and re seal the edges? Or do I need a new valve cover?