

Jethoncho
-
Posts
95 -
Joined
-
Last visited
Content Type
Profiles
Forums
Blogs
Events
Gallery
Downloads
Store
Posts posted by Jethoncho
-
-
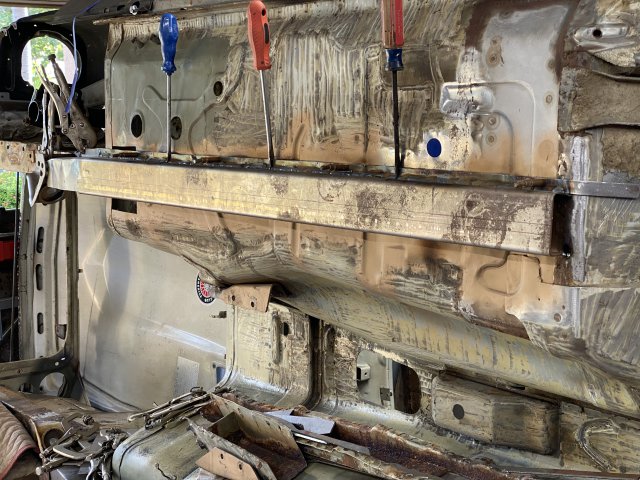
Today’s project was the left frame rail...fabricated the replacement from 12ga (about twice the thickness of original). Got one flange welded on, flip the car tomorrow and do the other flange. The rotisserie was money well spent, such an awesome tool! My plan is to add extensions to tie in the aft subframe...

-
33 minutes ago, Zetsaz said:
Very jealous of the carbon fiber! Have always wanted to focus on weight and drivability over power.
those nice tight bends against the engine bay on the intercooler piping look really satisfying.
Thanks for checking it out... stay tuned, I’m in full speed ahead mode with the covid crisis.
-
2 hours ago, Jboogsthethug said:
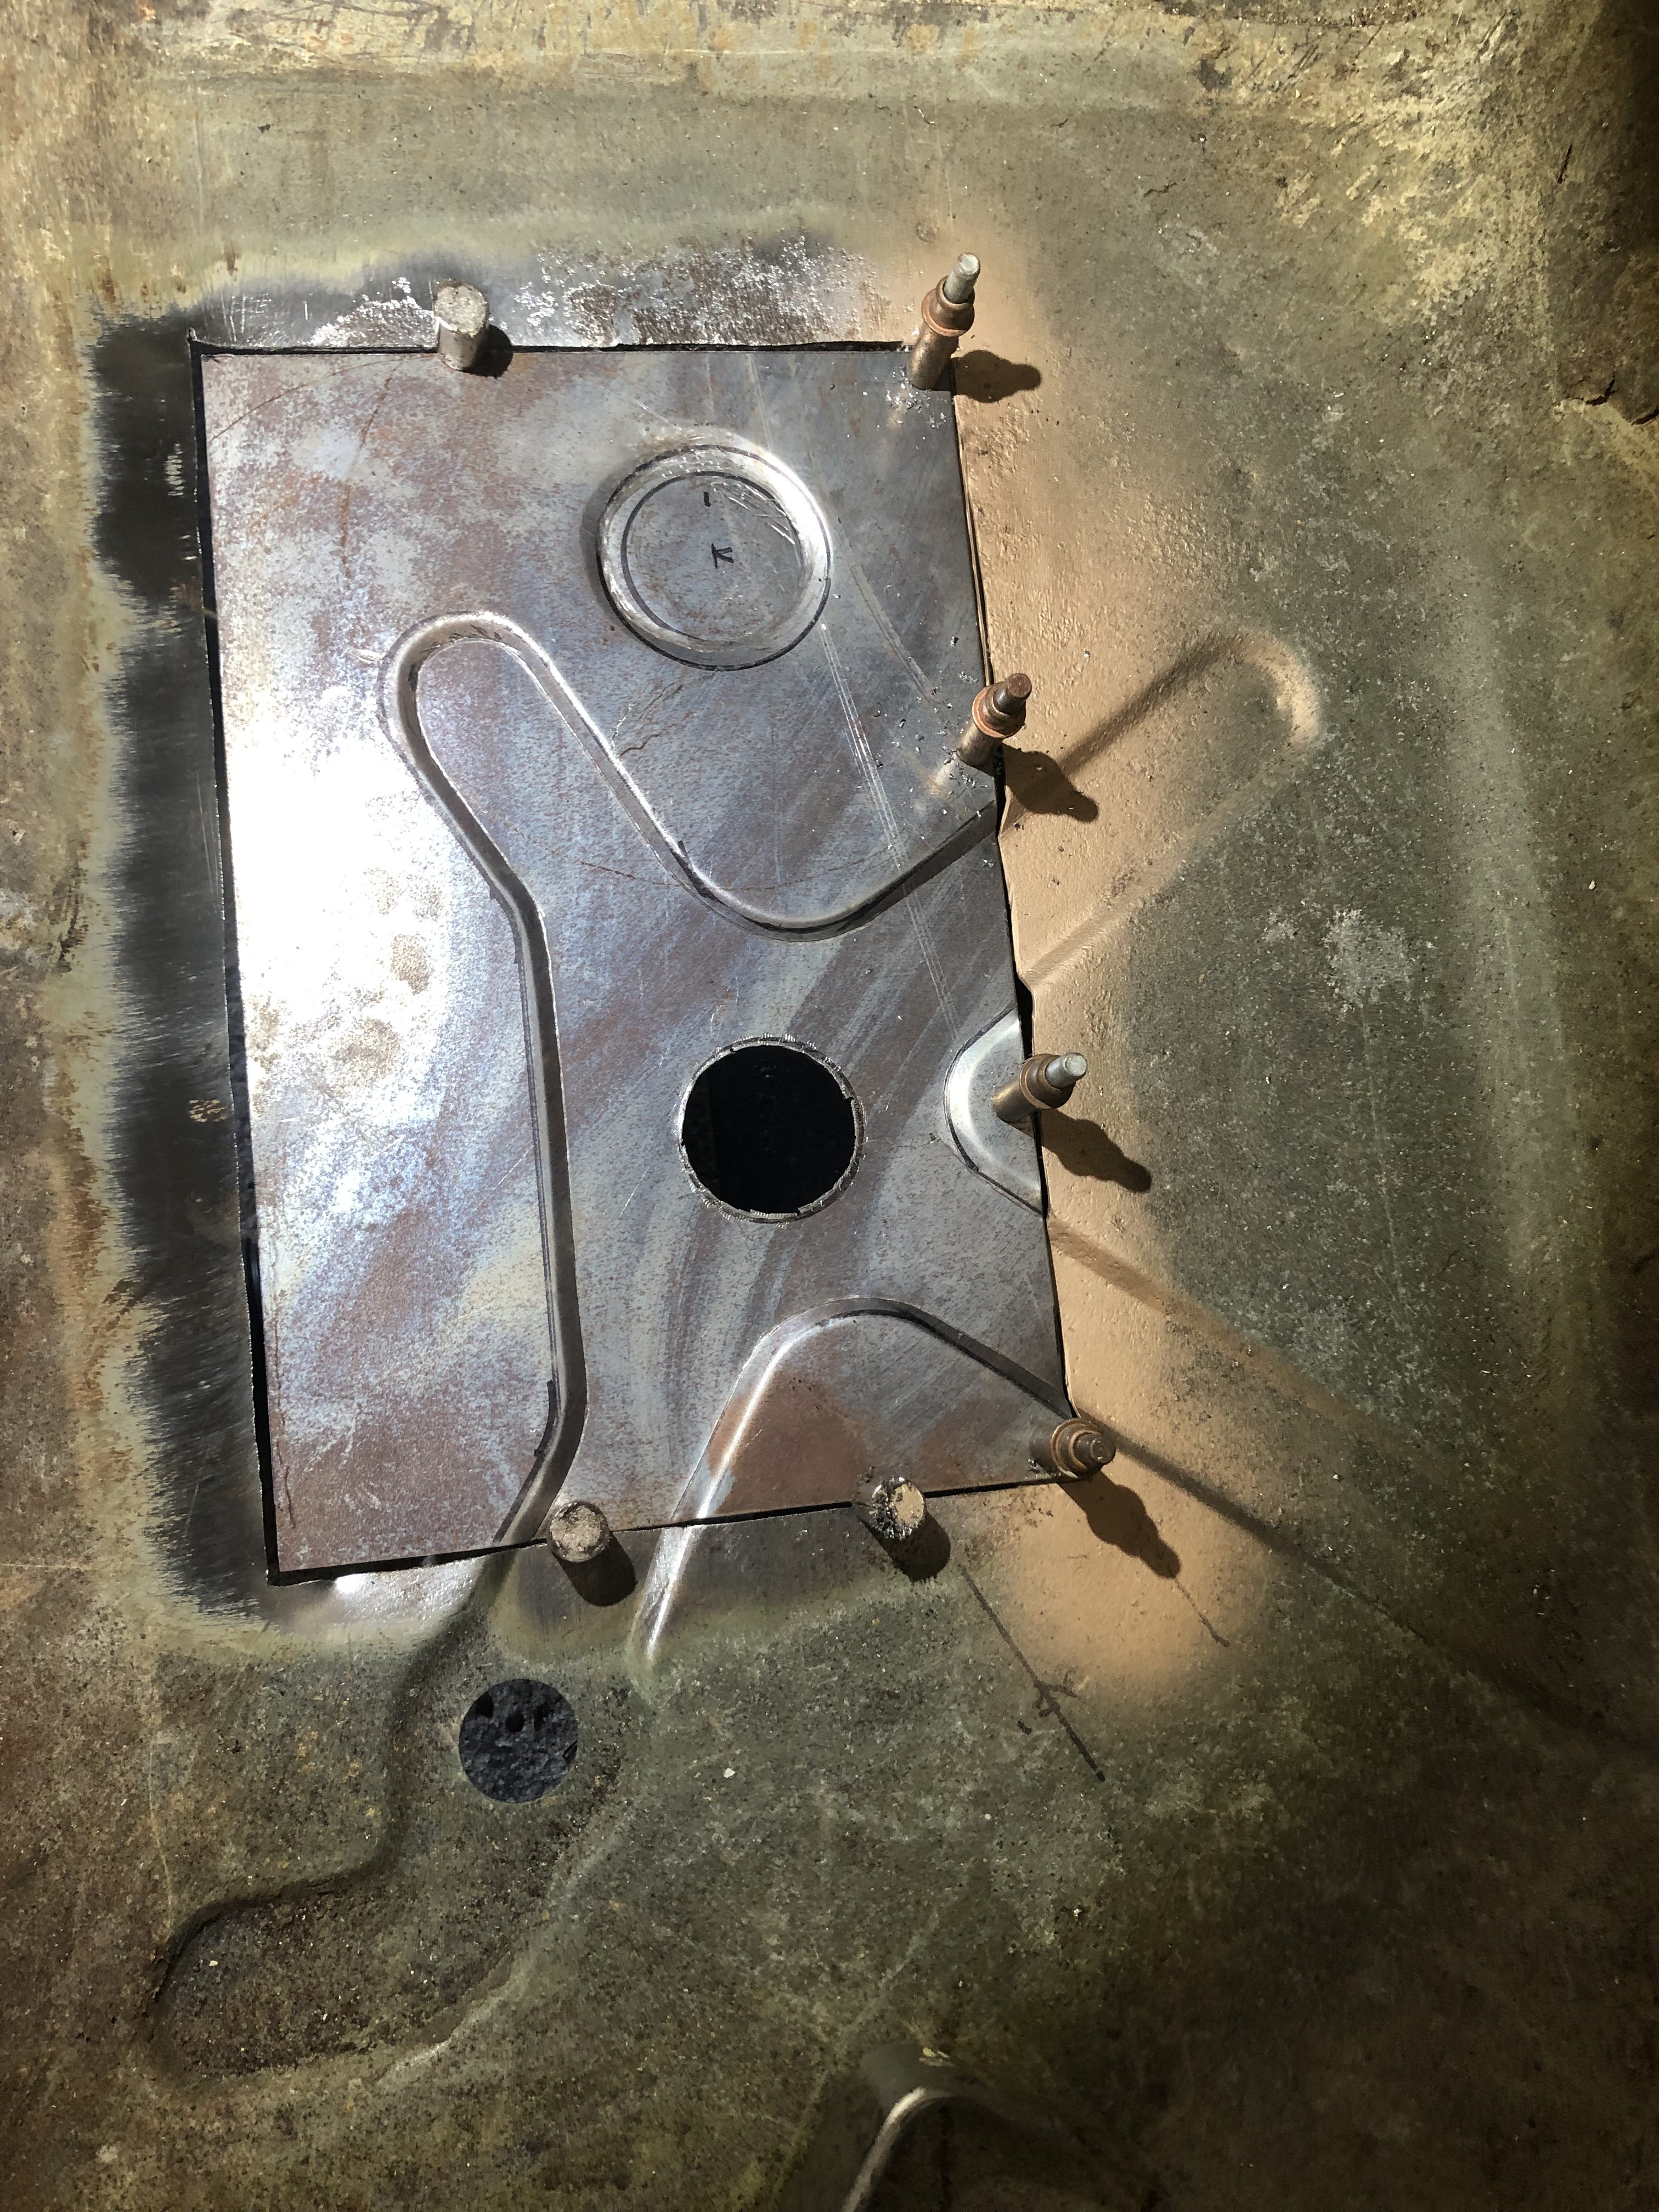
Is that a jig for your oil pan to prevent warping? @Jethoncho
Actually, I had it bolted down to a slab of Aluminium to “prevent” warping...didn’t work so the jig/fixture you see was to allow me to put it on a mill to machine the flange flat again.
-
The build has taken a bit of a detour, the RB25 has been sold and a RB26 is going to take its place...got a good deal on a complete RB26 that needed a rebuild. It’s now bored +1mm to 87mm and going back with forged pistons and rods. Waiting on main bearing from Japan since Nissan in their infinite wisdom decided to use up to 7 different “standard” sized bearings and they’re happy to have up to 6 different sizes in an individual engine. She’s gonna be a beast...
-
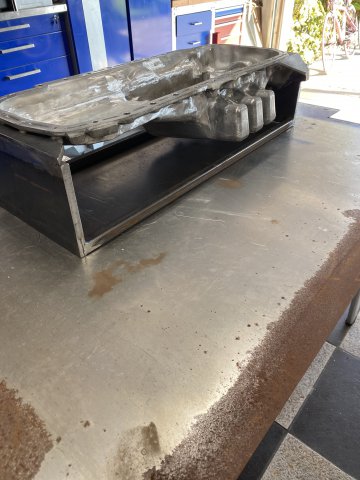
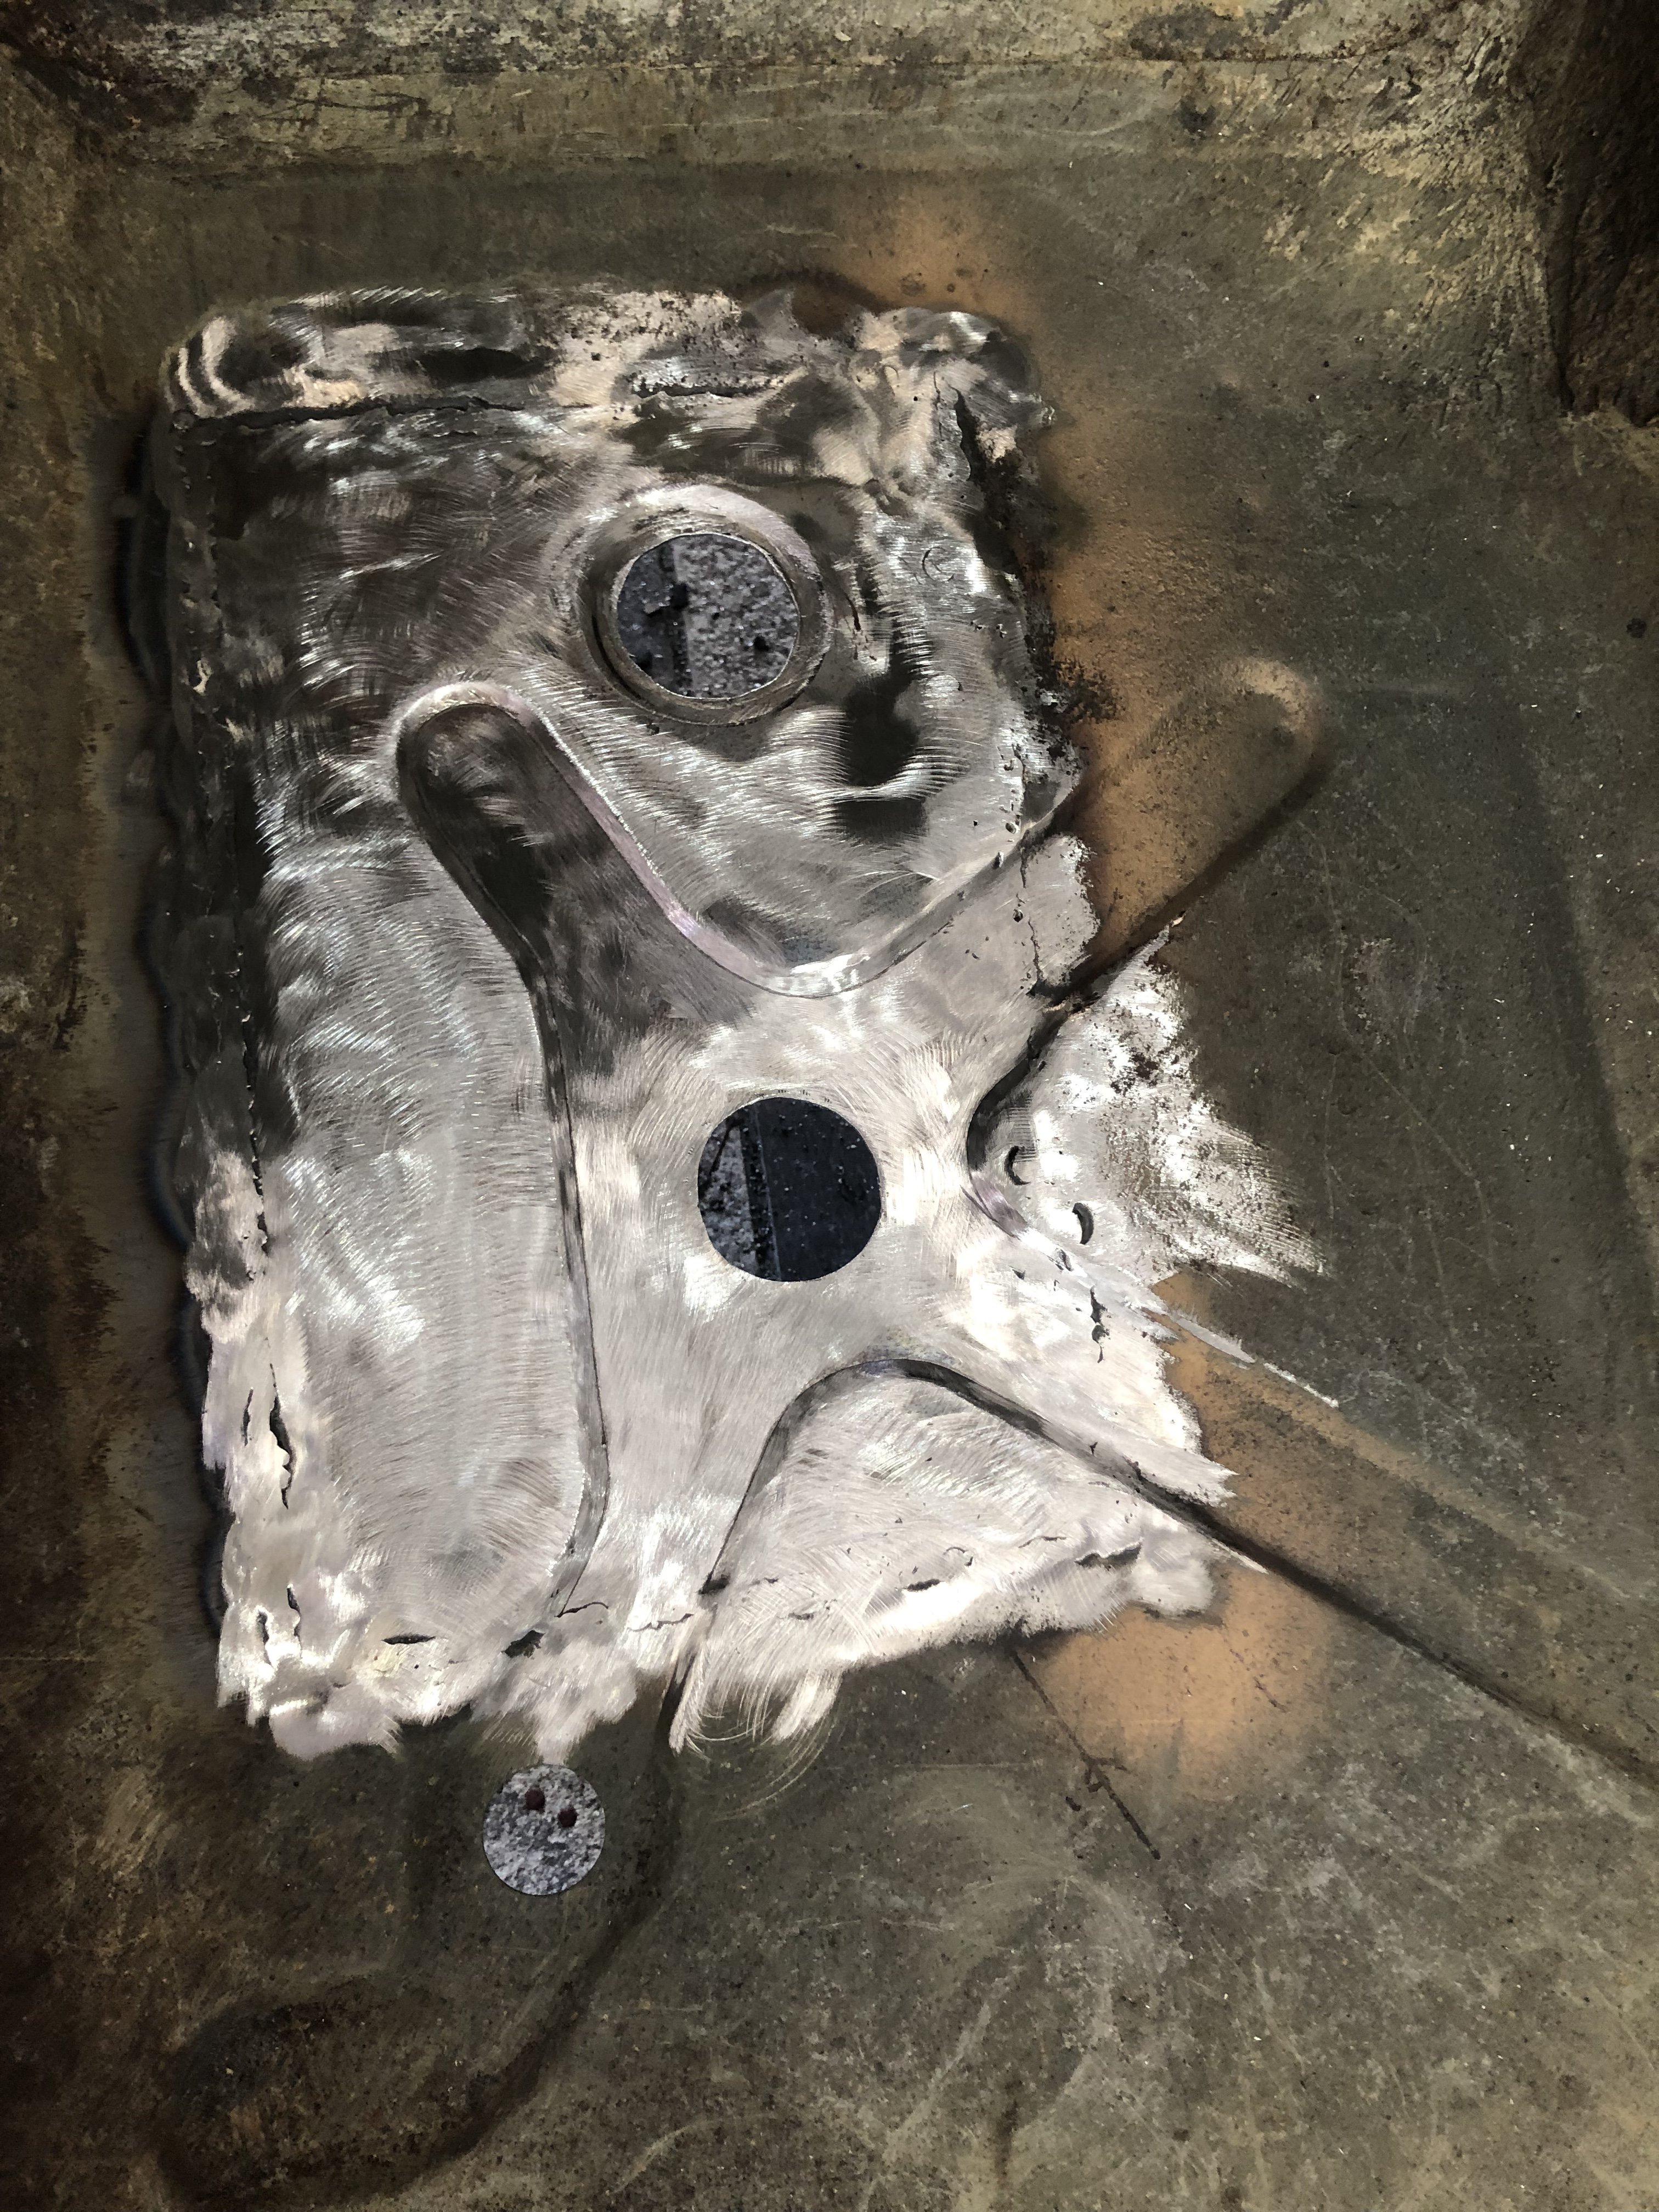
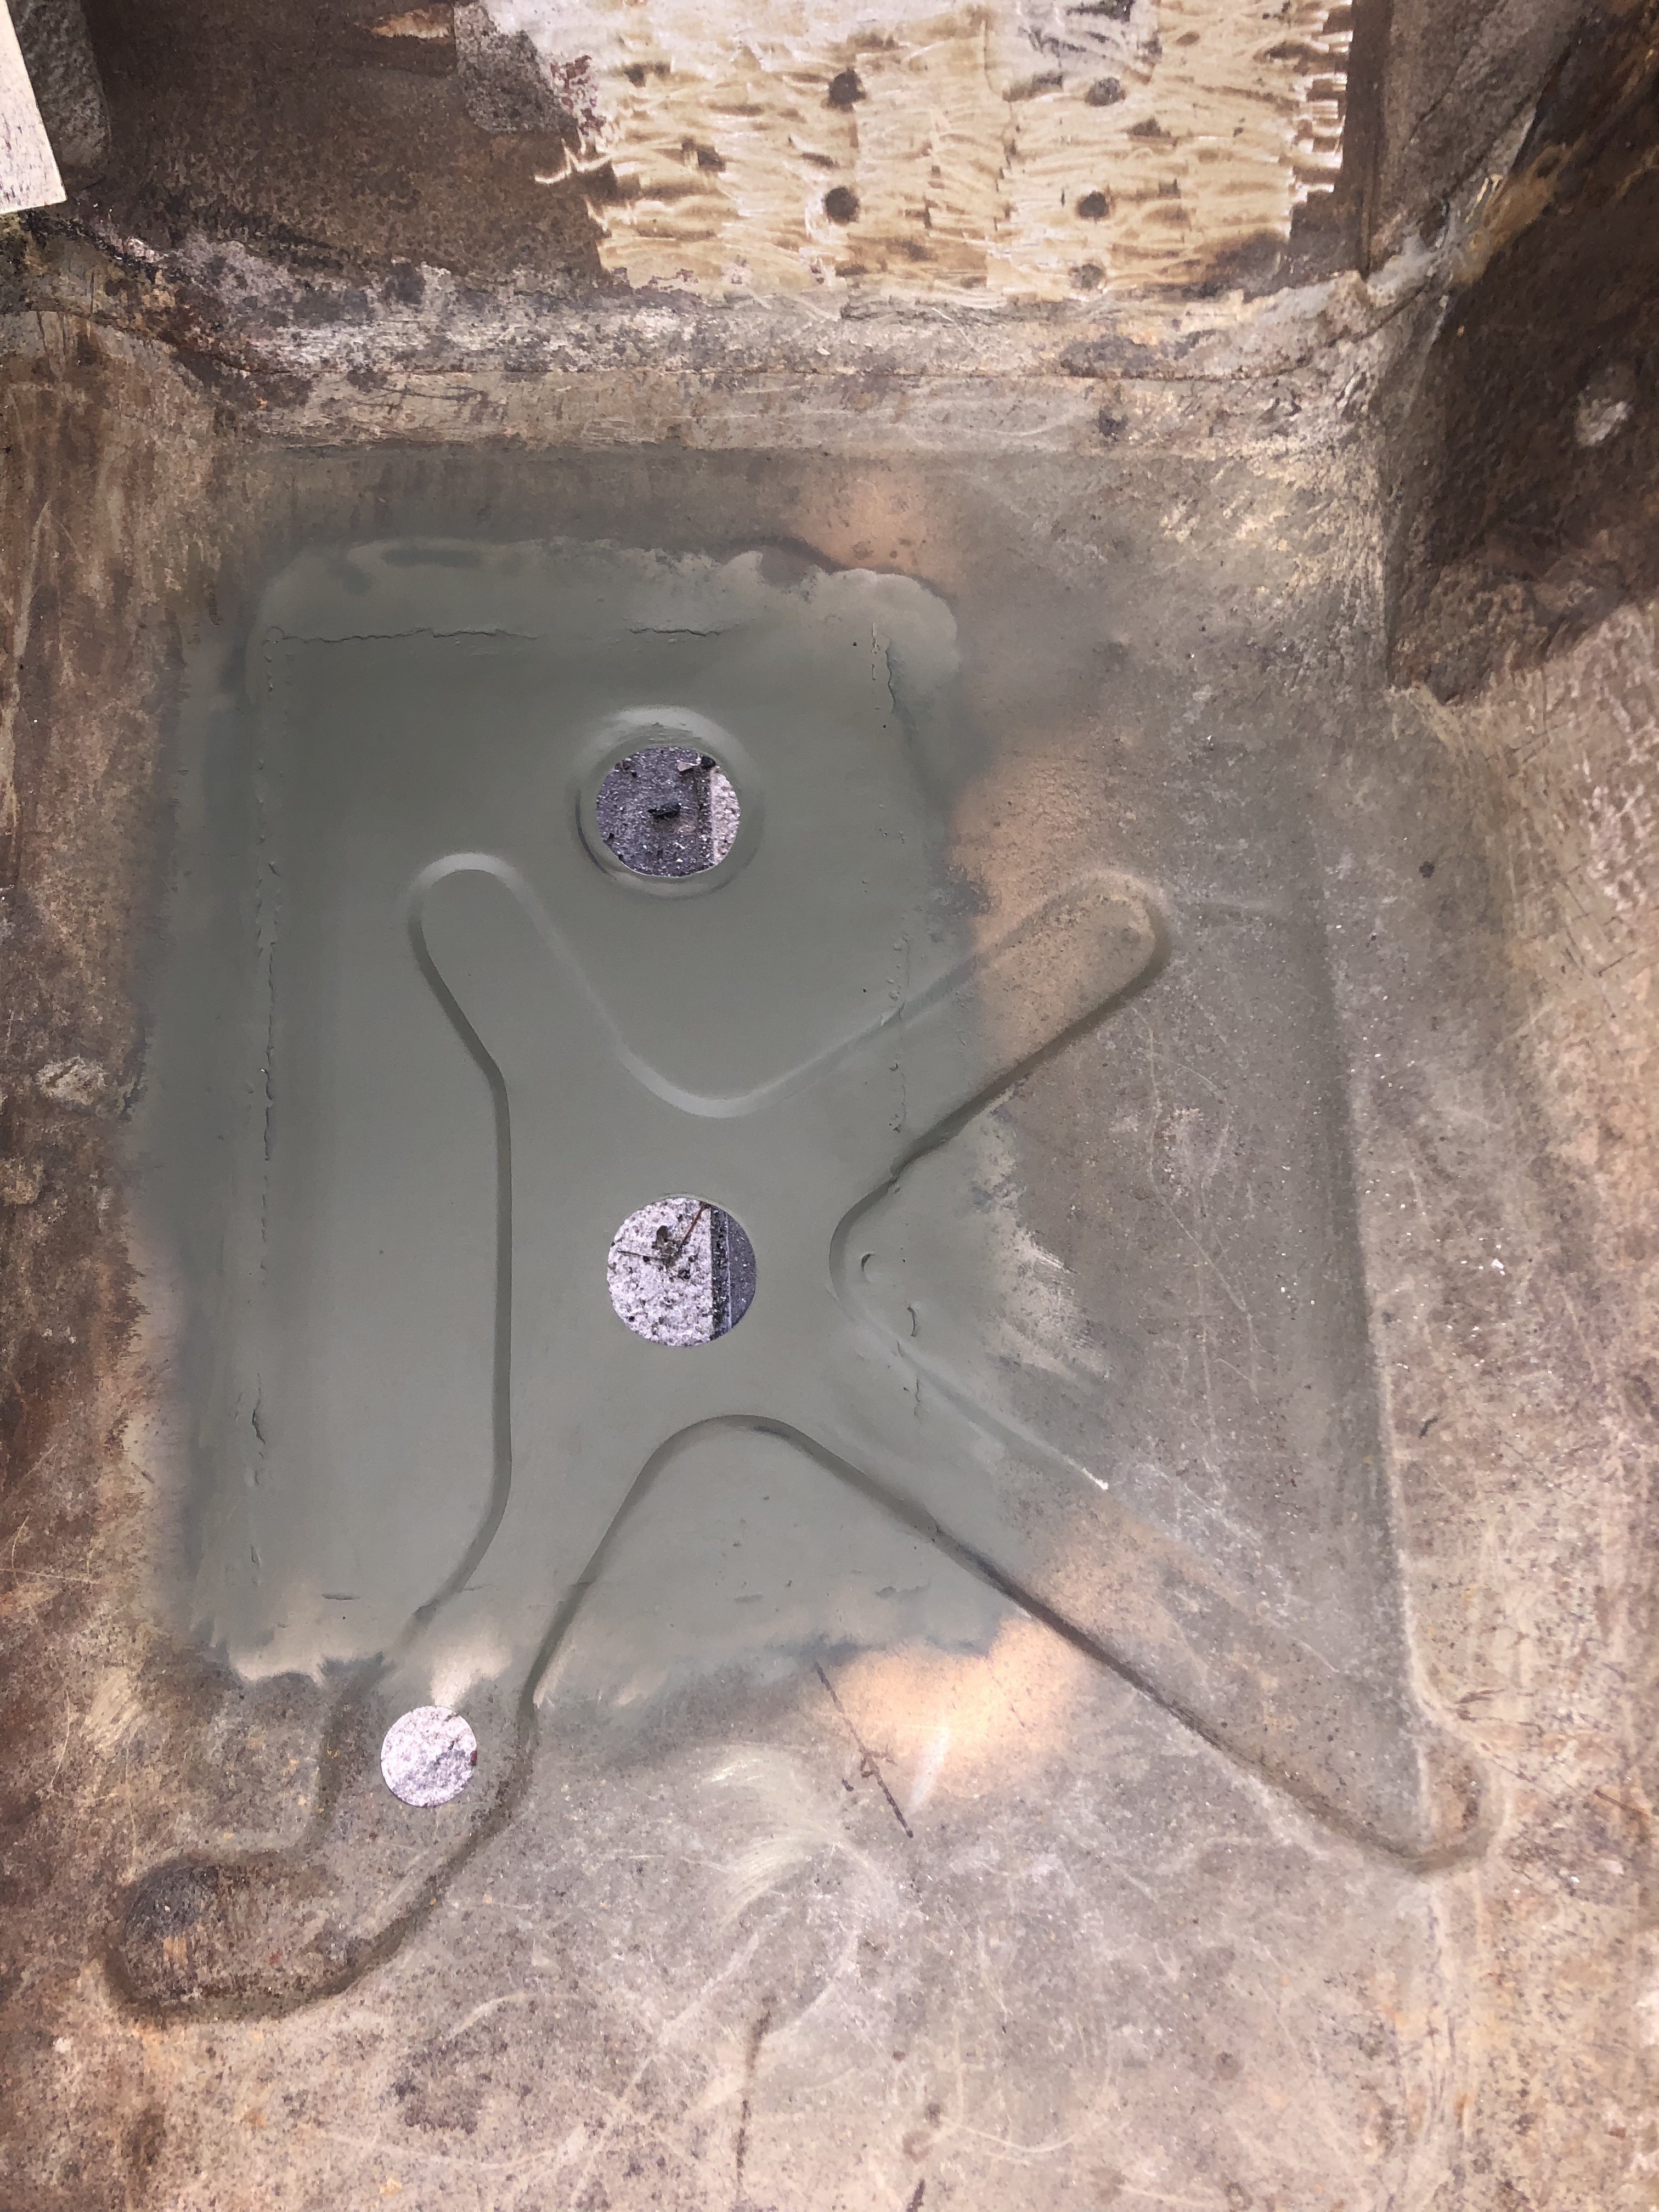
I have changed the direction of my build so it now includes a RB26. This considered, I did a rear sump mod to the front sump AWD cast pan. I sliced off the differential, then cut just the sump section and moved it aft, then filled the front with some 5052 sheet aluminum.
-
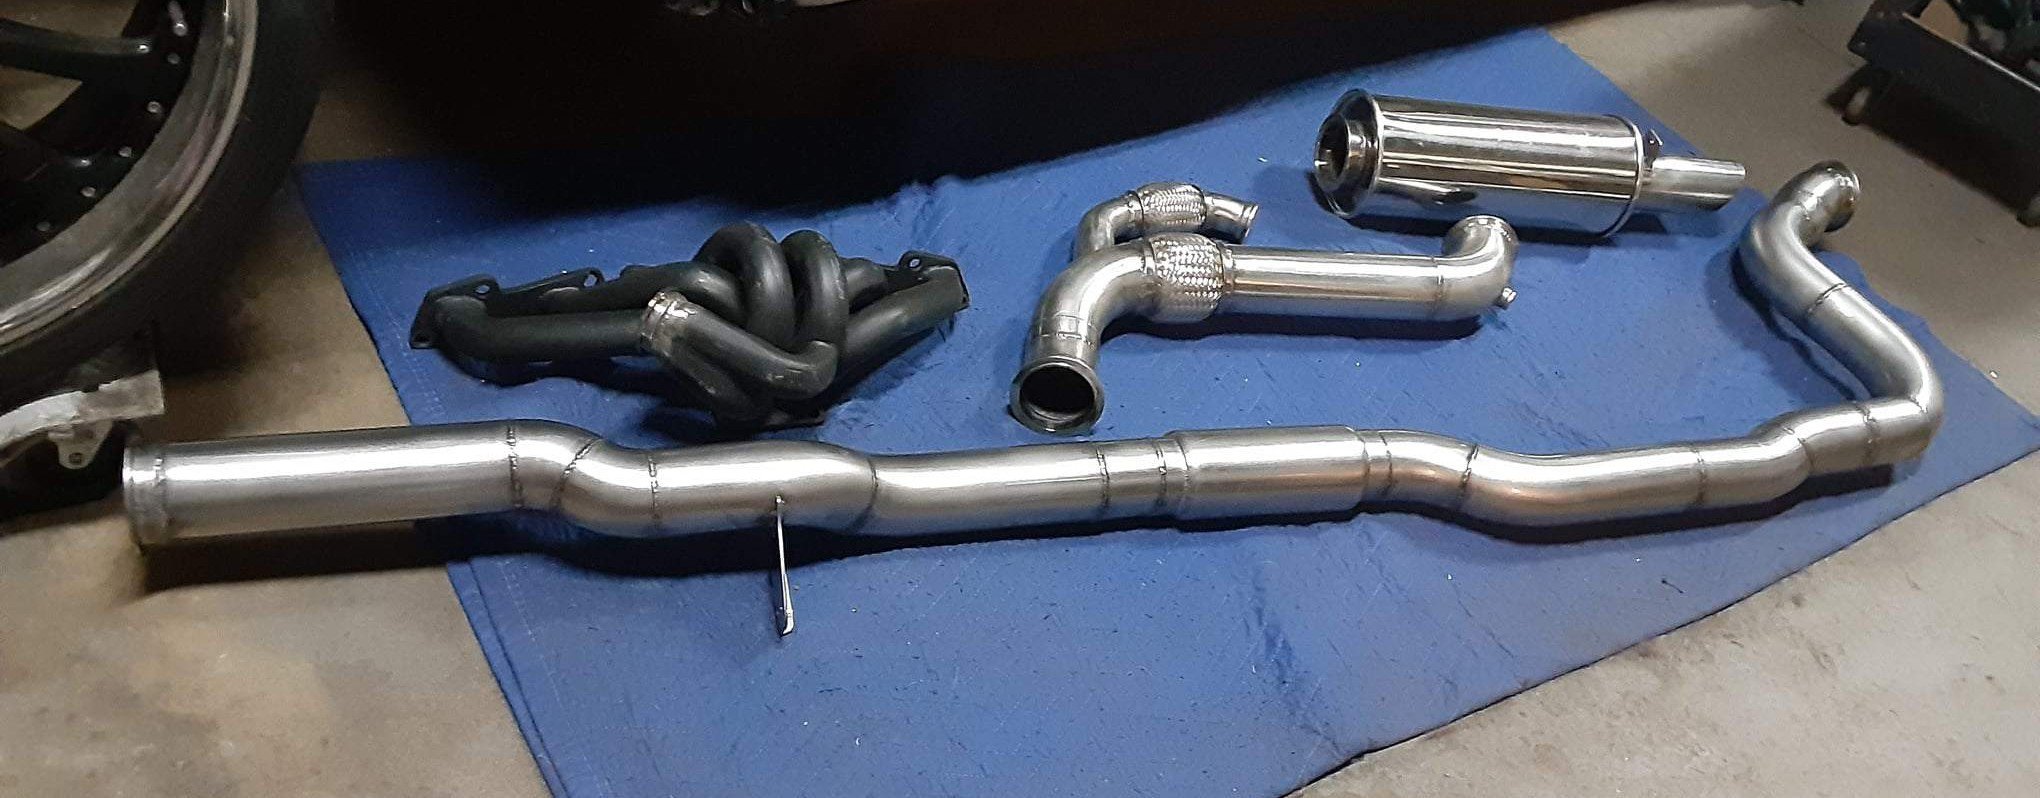
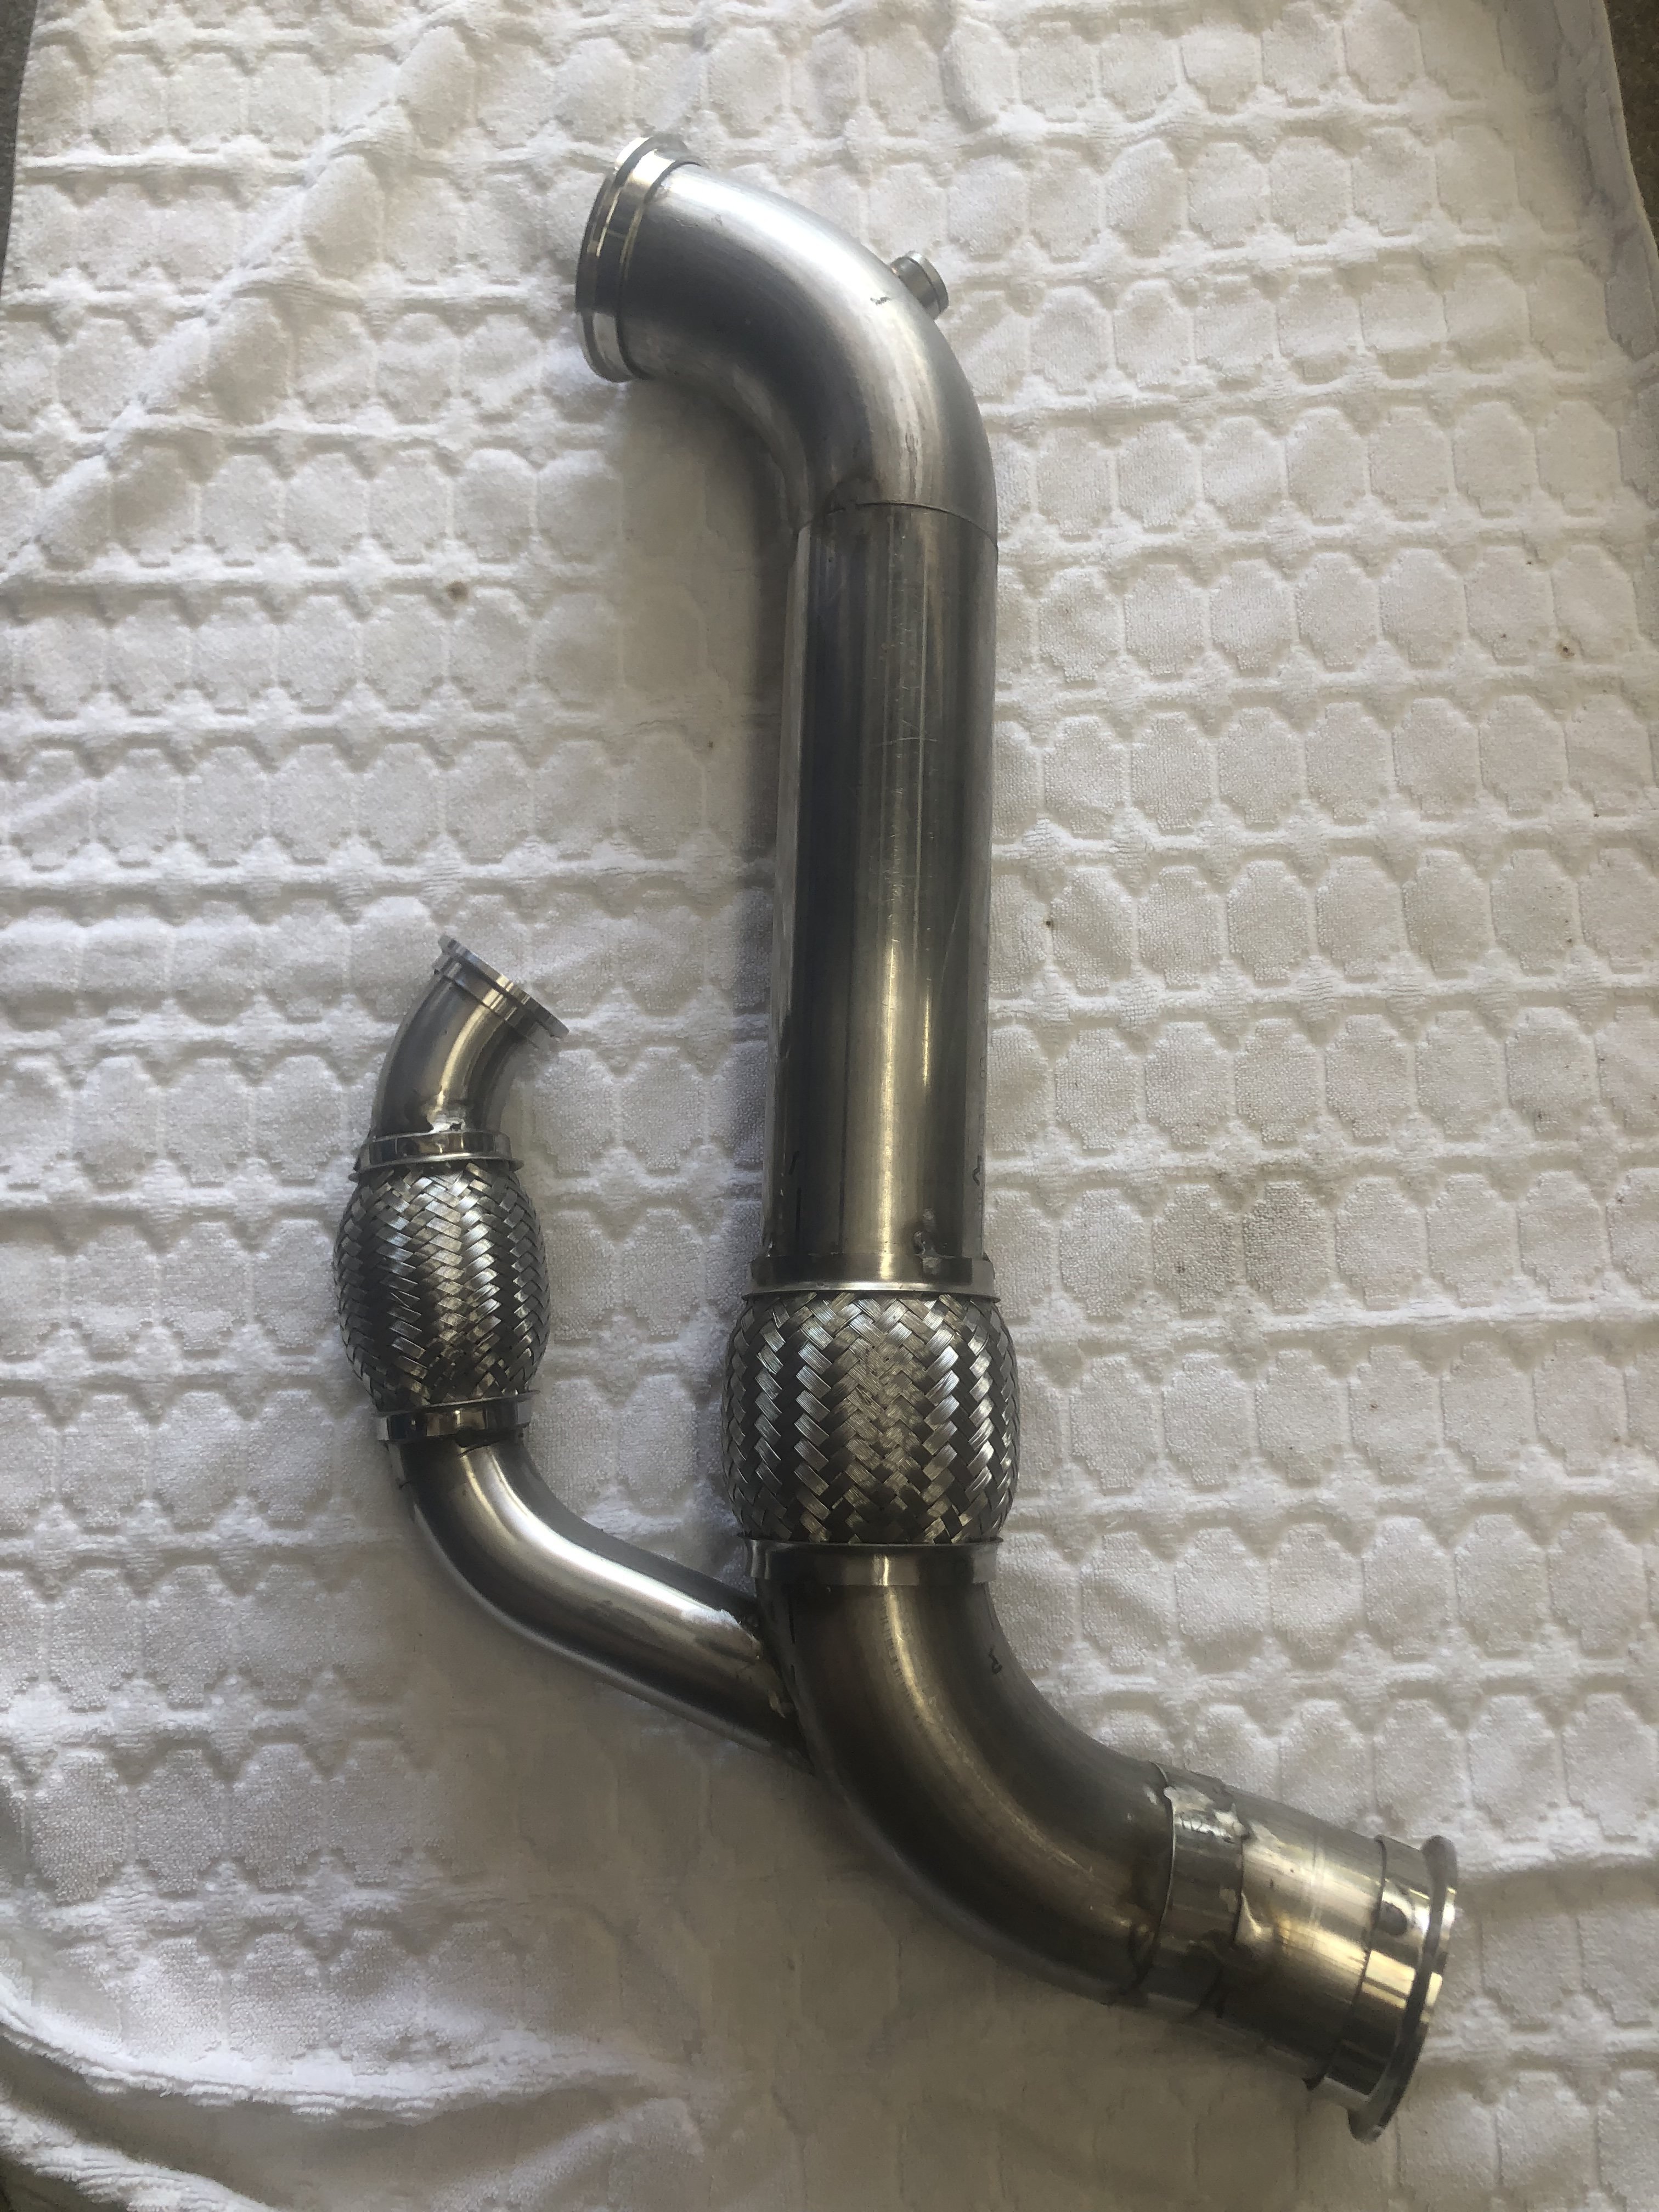
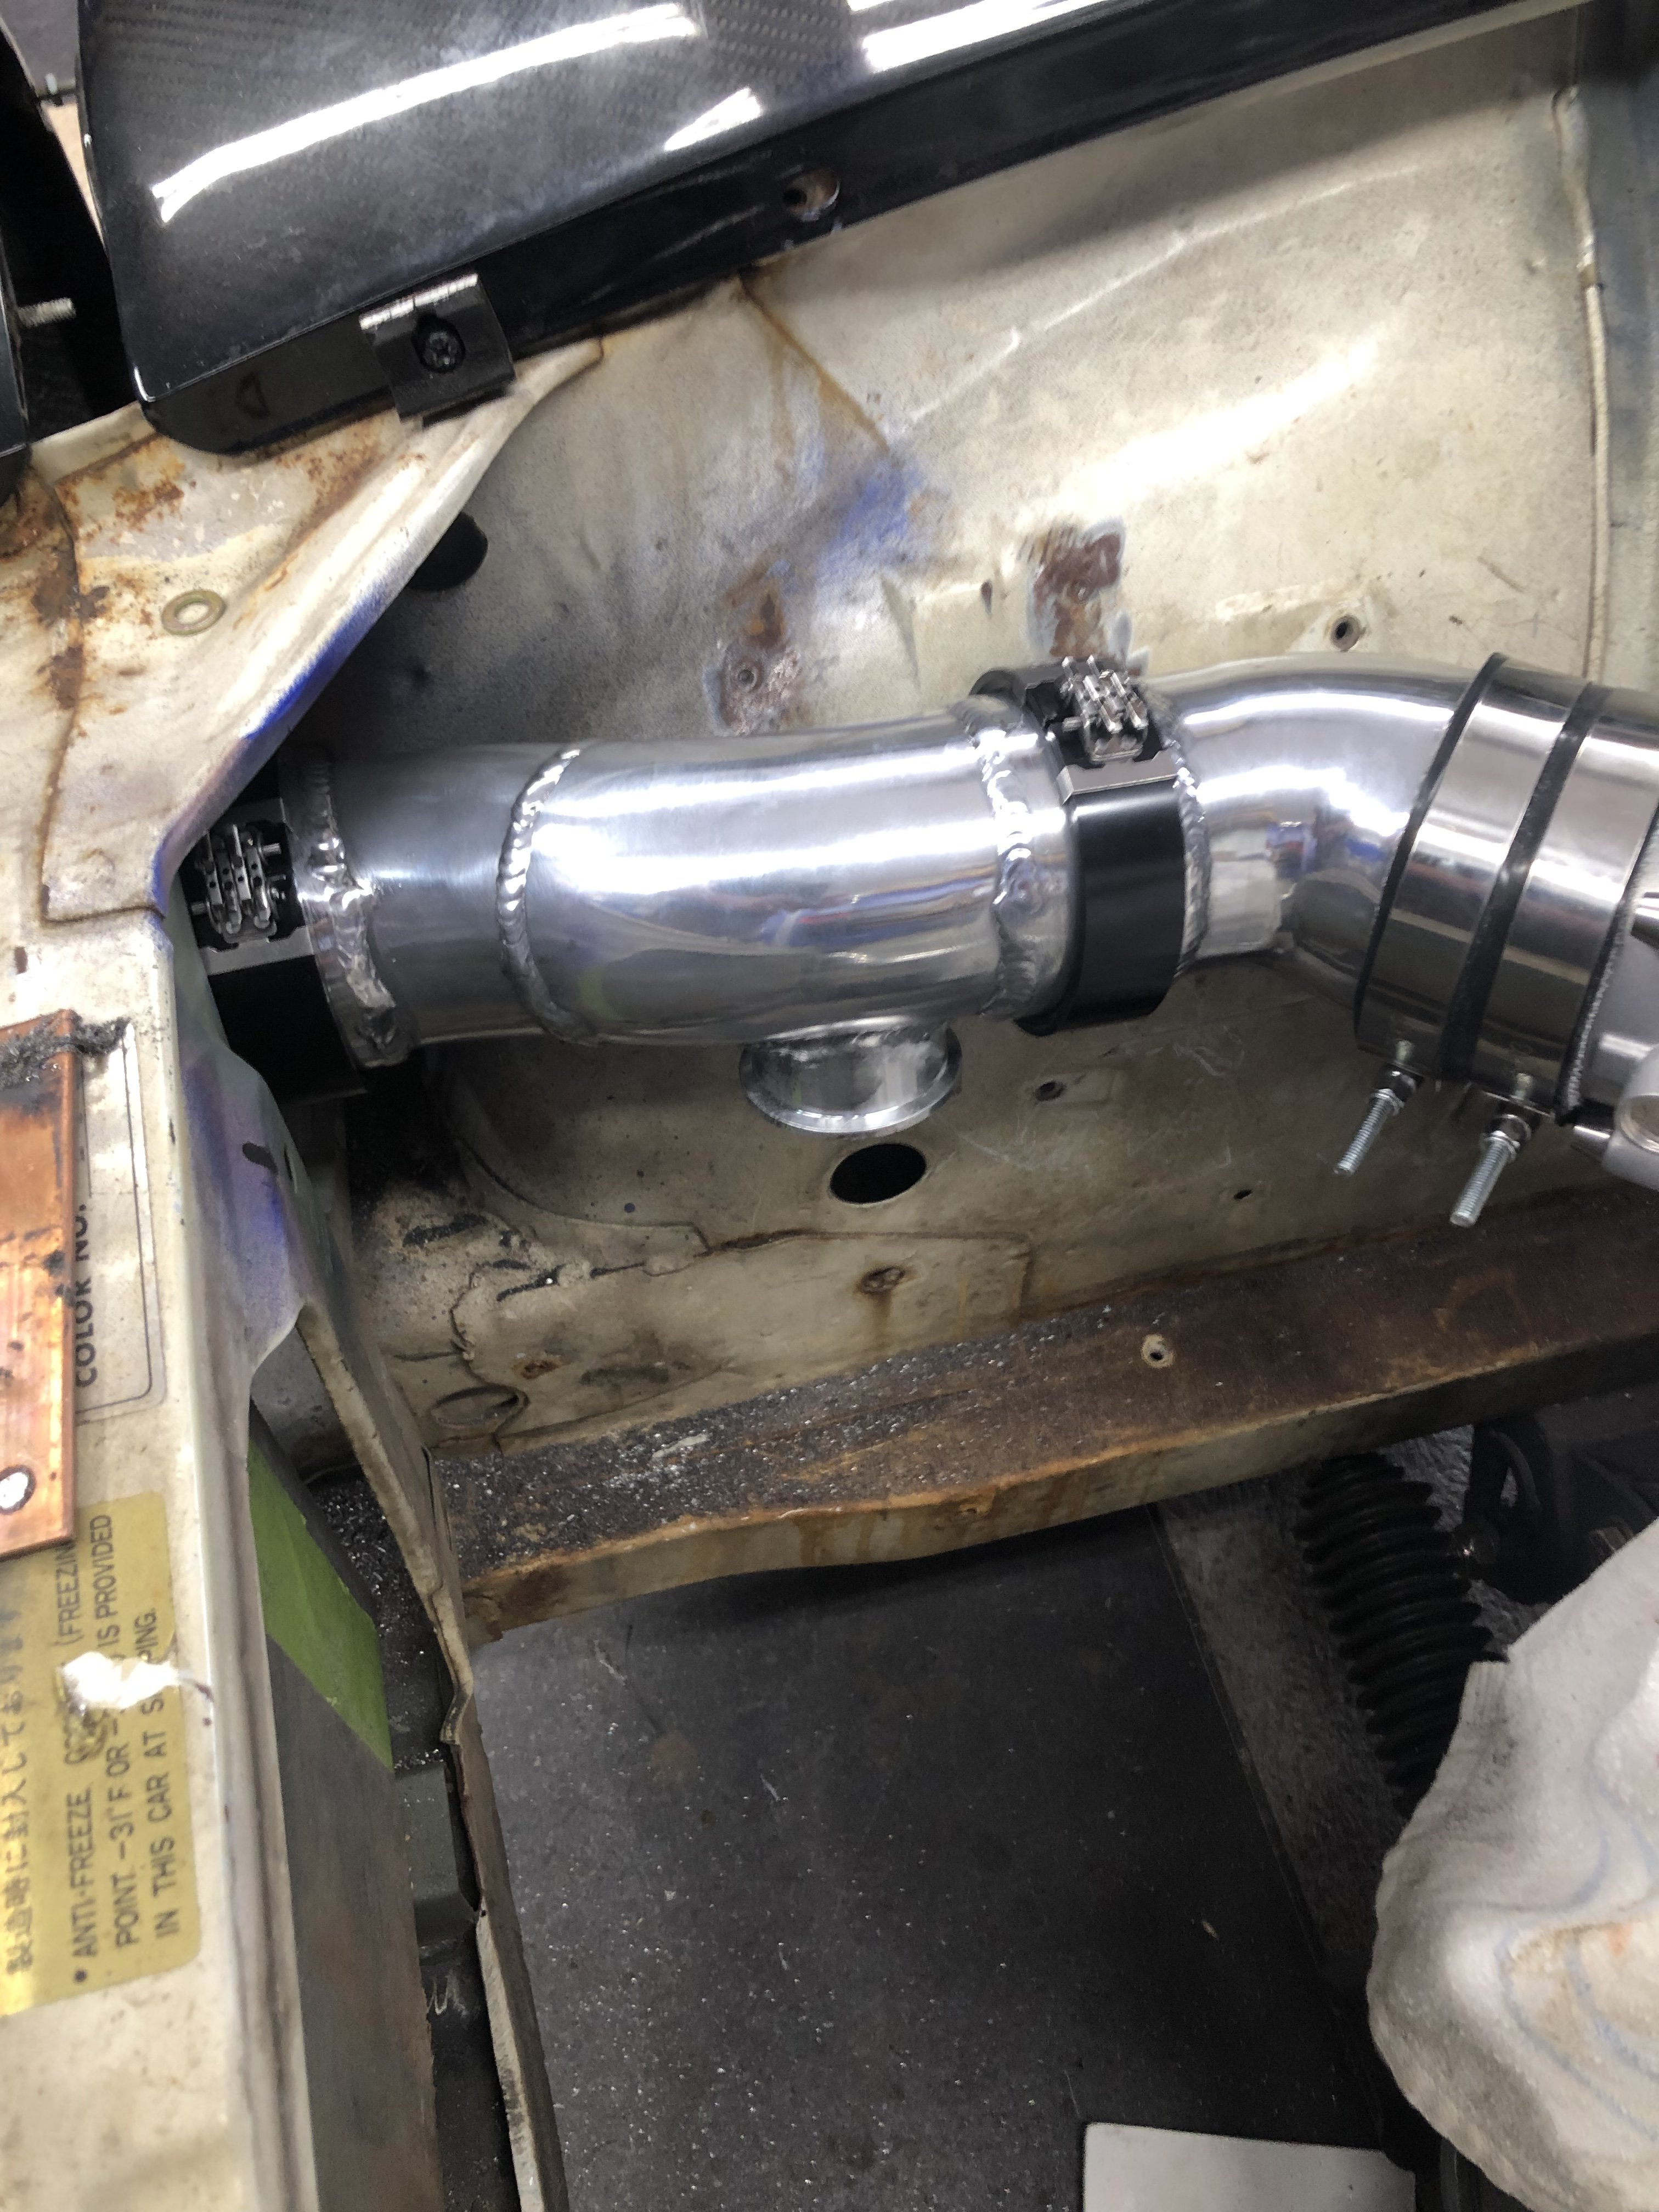
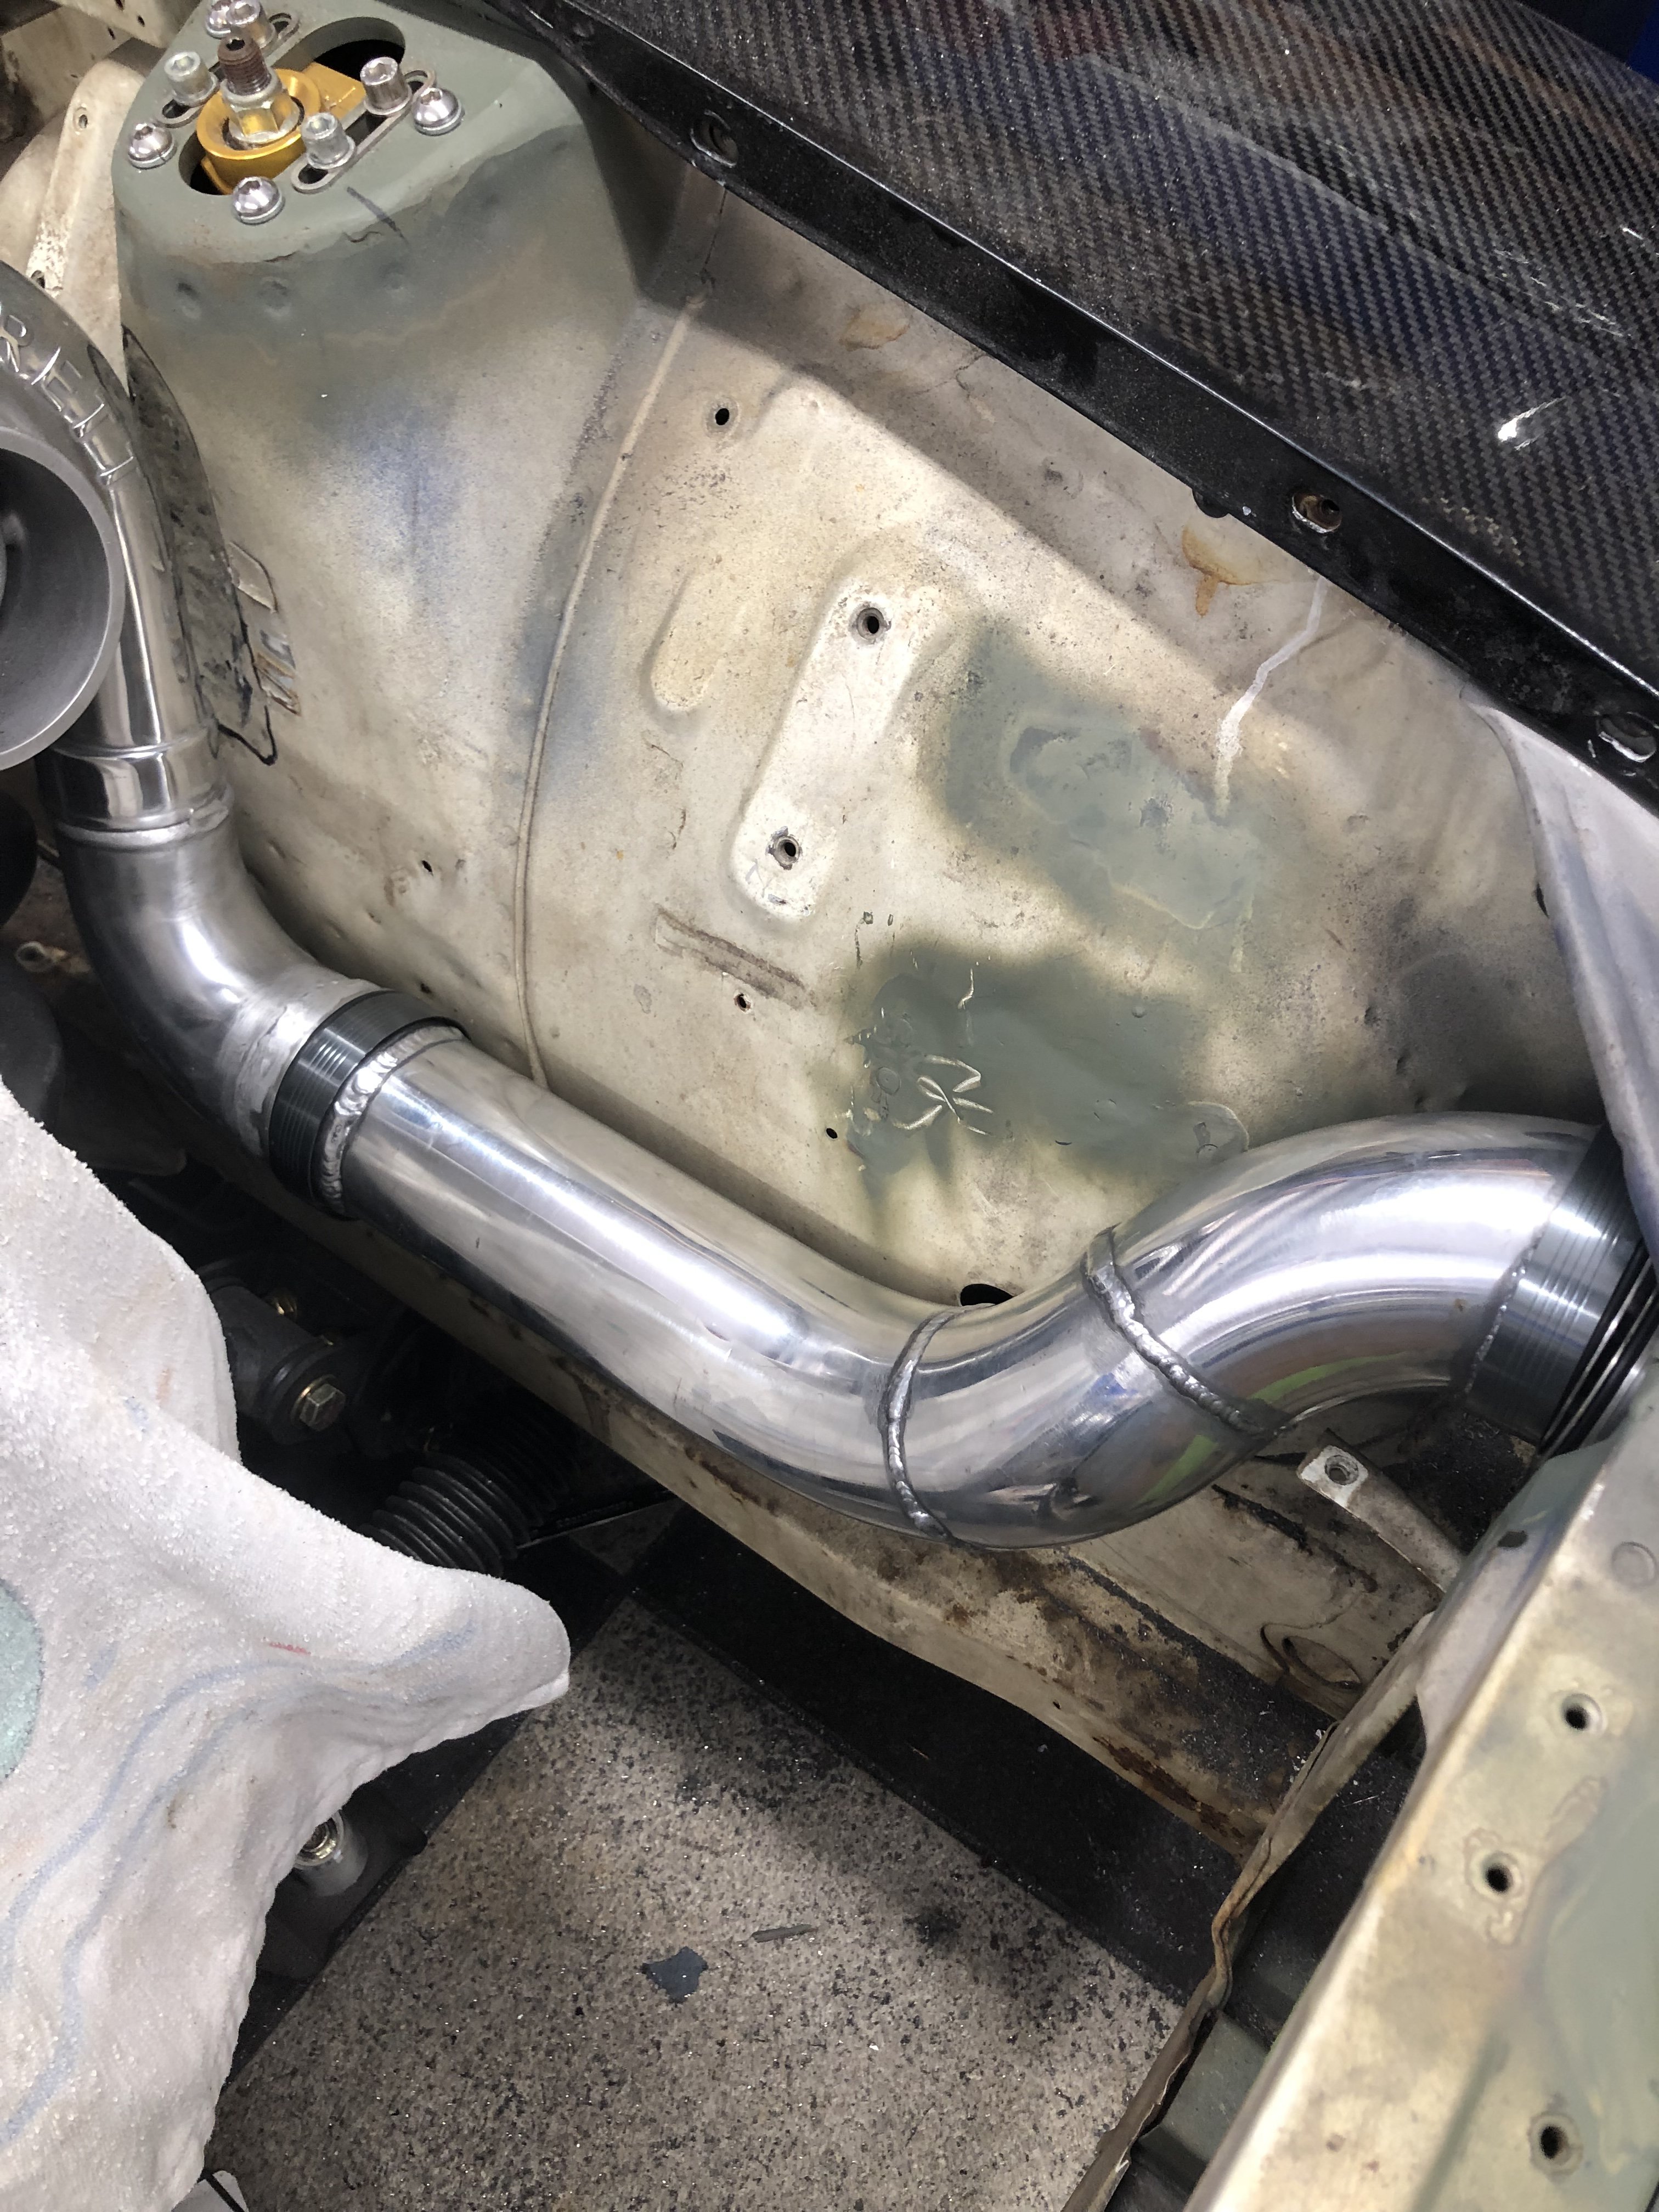
Sorry, it’s been a while since I updated this...it is progressing slowly. I picked up a Garrett GTX3076 gen 2 turbo then I fabricated my 3” exhaust from 304SS, lots of cuts and welds but all in all I’m pleased. Next was to tackle in intake side. I decided to go DBW so I picked up a Bosch DBW throttle body, Mishimoto intercooler and associated clamps and tubing. Never welded aluminum before but with a couple hours practice it was game on. Fabricated the intake charge tubes so now my intake and exhaust are complete and ready to be shelved until body restoration is complete. Currently working on cleaning up the OEM 280 harness by removing unnecessary wires while also designing my EFI harness for the RB25 integration.
-
Well, I am gonna be on the road for over a month, left home on June 2nd heading for Australia...should be home around July 8th so my build is on hold for a bit...stay tuned!
-
33 minutes ago, rbzed25 said:
What are your plans for brakes?
I have an Akebono kit intended for a S14. 14” rotors and huge calipers.
-
7 minutes ago, rbzed25 said:
I Second that. Planning on copying your cross-breeded suspension ideas. I did the engine swap first, suspension/brakes now. Awesome work!
Suspension is a work in progress. Latest is I modified steering knuckles on the S14 spindles so I could use stock length outer tie rods to maintain original geometry.
-
Okay guys, I took a slightly different approach than my original mockup. I too ended up altering the steering knuckles on my S14 spindles. Instead of cutting and welding the steering knuckles into a different position I modified them by heating the and reforming them to restore to original S30 geometry. I ordered custom outer tie rods then had to go back and order new longer sleeves to account for the reworked steering knuckles. Right side is mocked up (minus new tie rod sleeve), I’m much happier with this setup...
-
1 hour ago, Jboogsthethug said:
Man! That is one of those things that if I tried doing it, it would stop the progress of my car indefinitely ha. Great job!
Thanks dude, I’ve found if you go slow u can work through just about any problem just have to stay a few steps ahead of the metal.
-
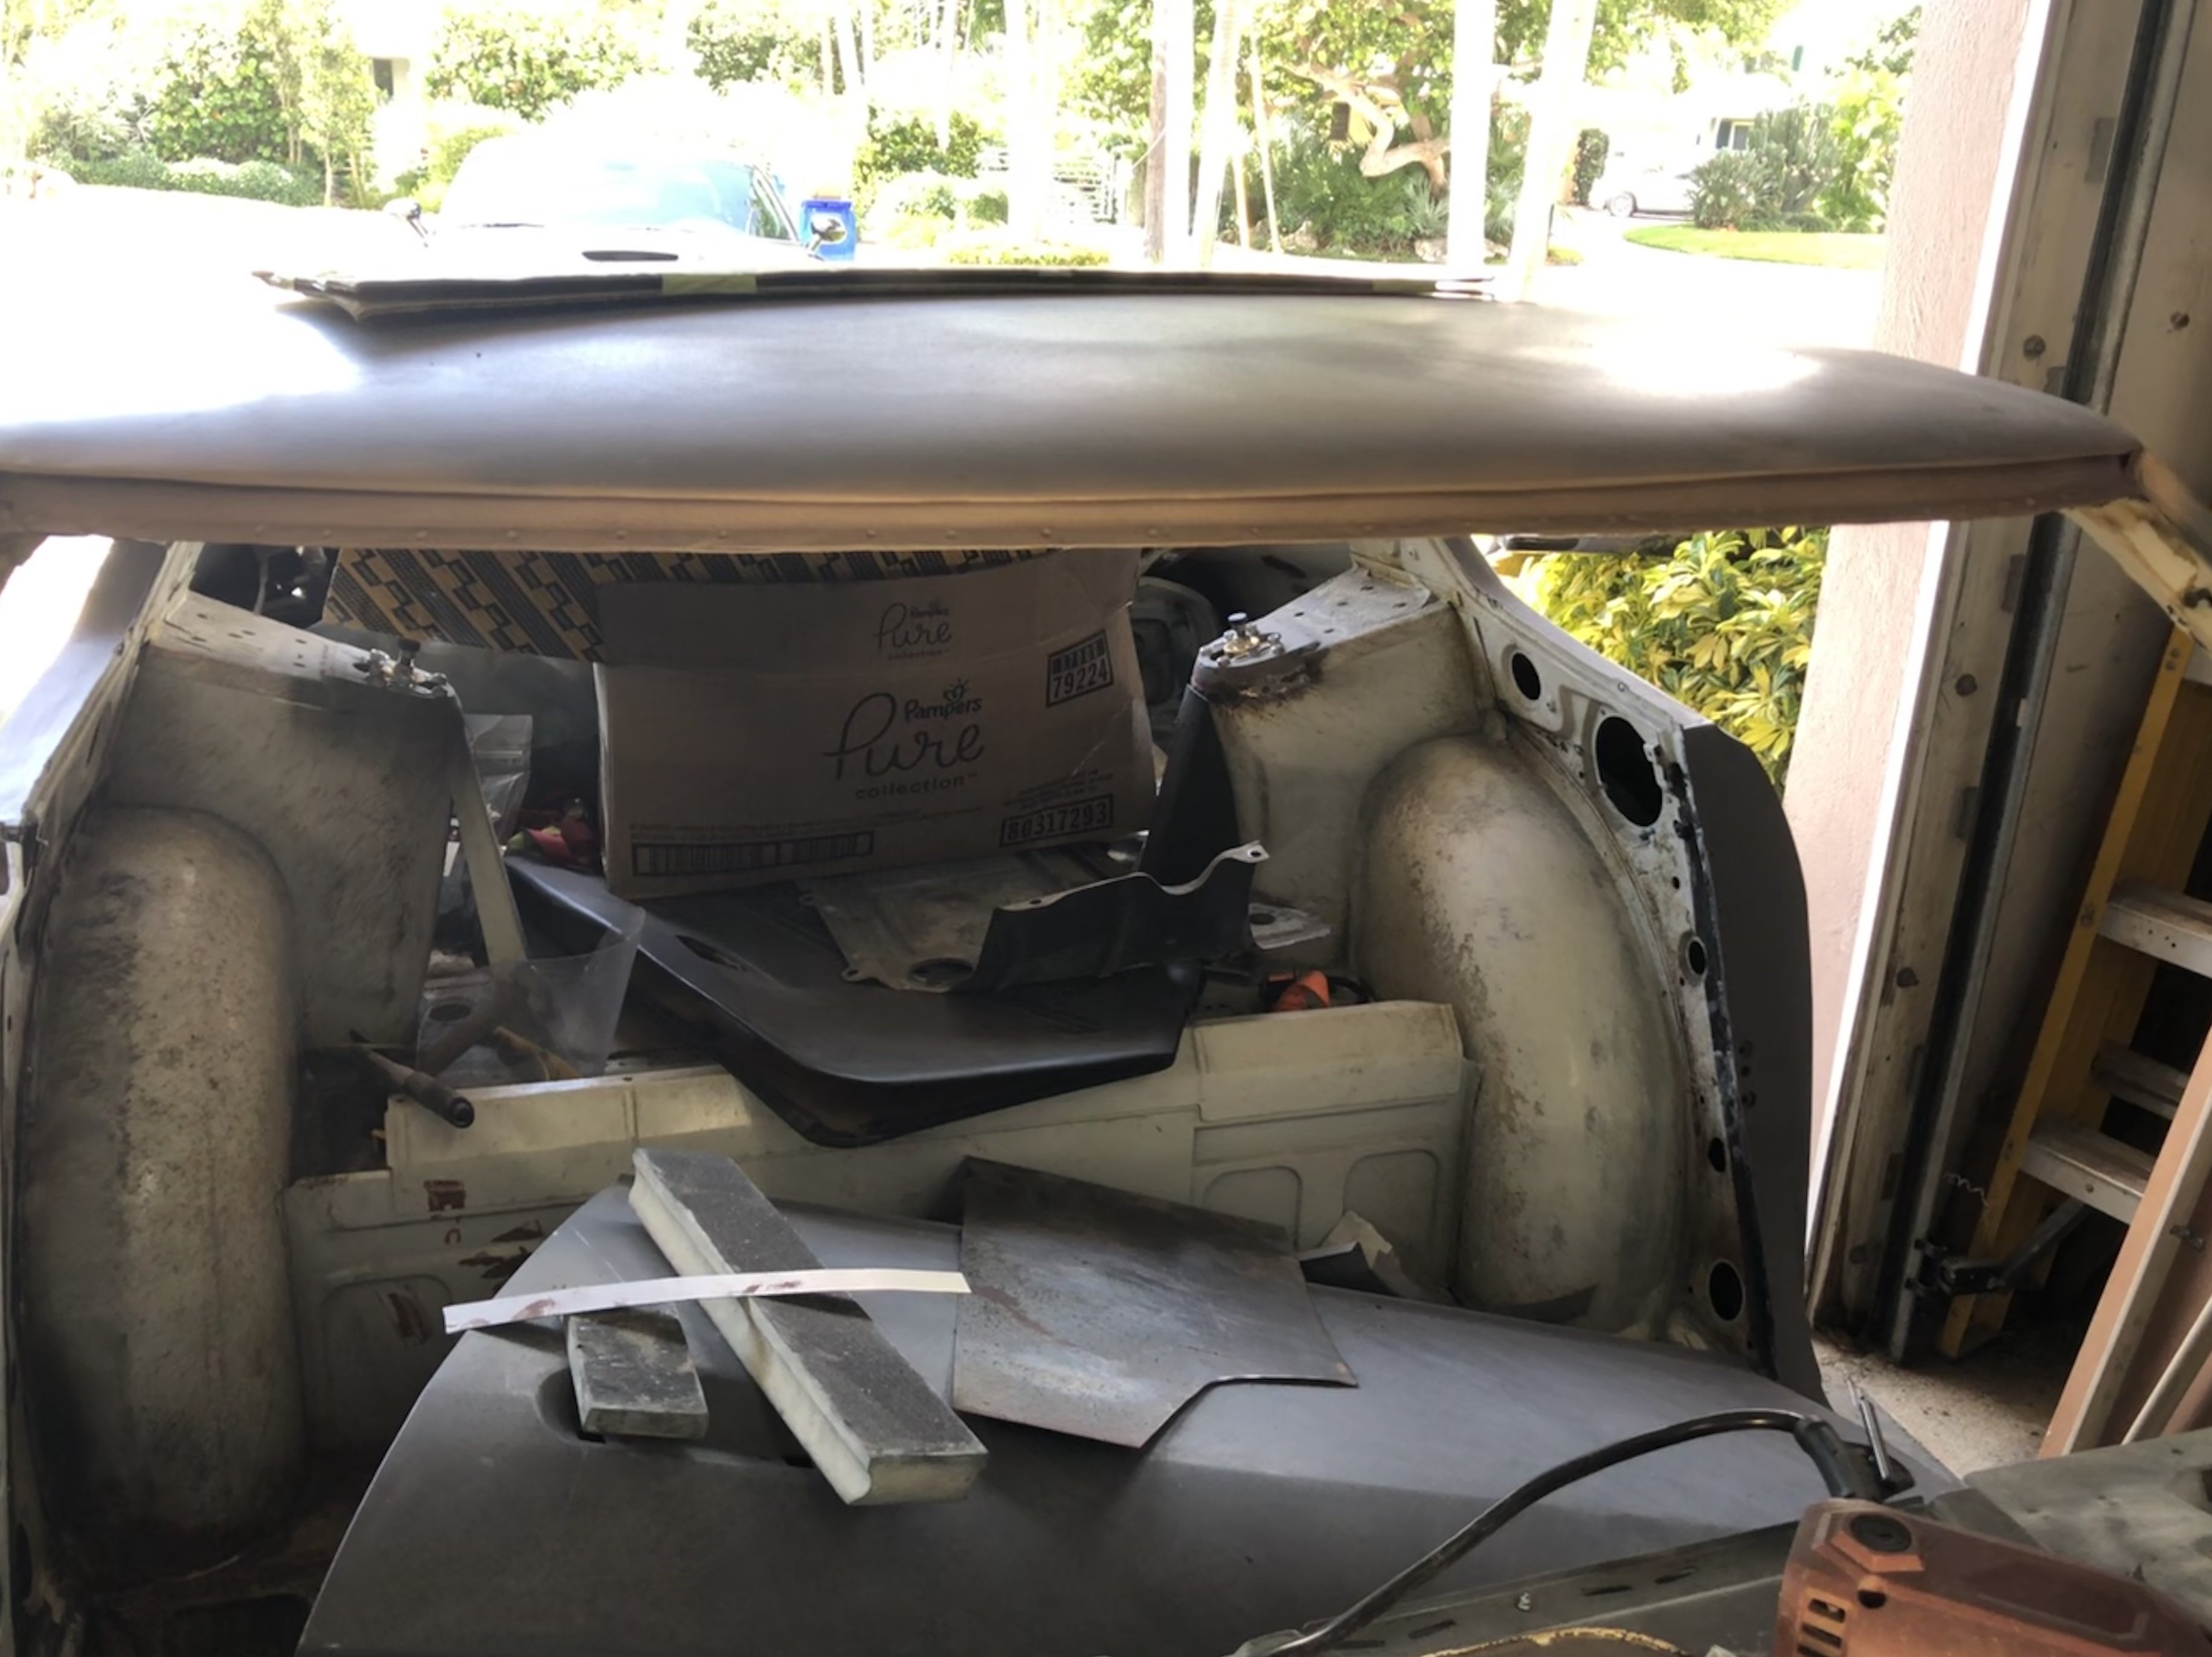
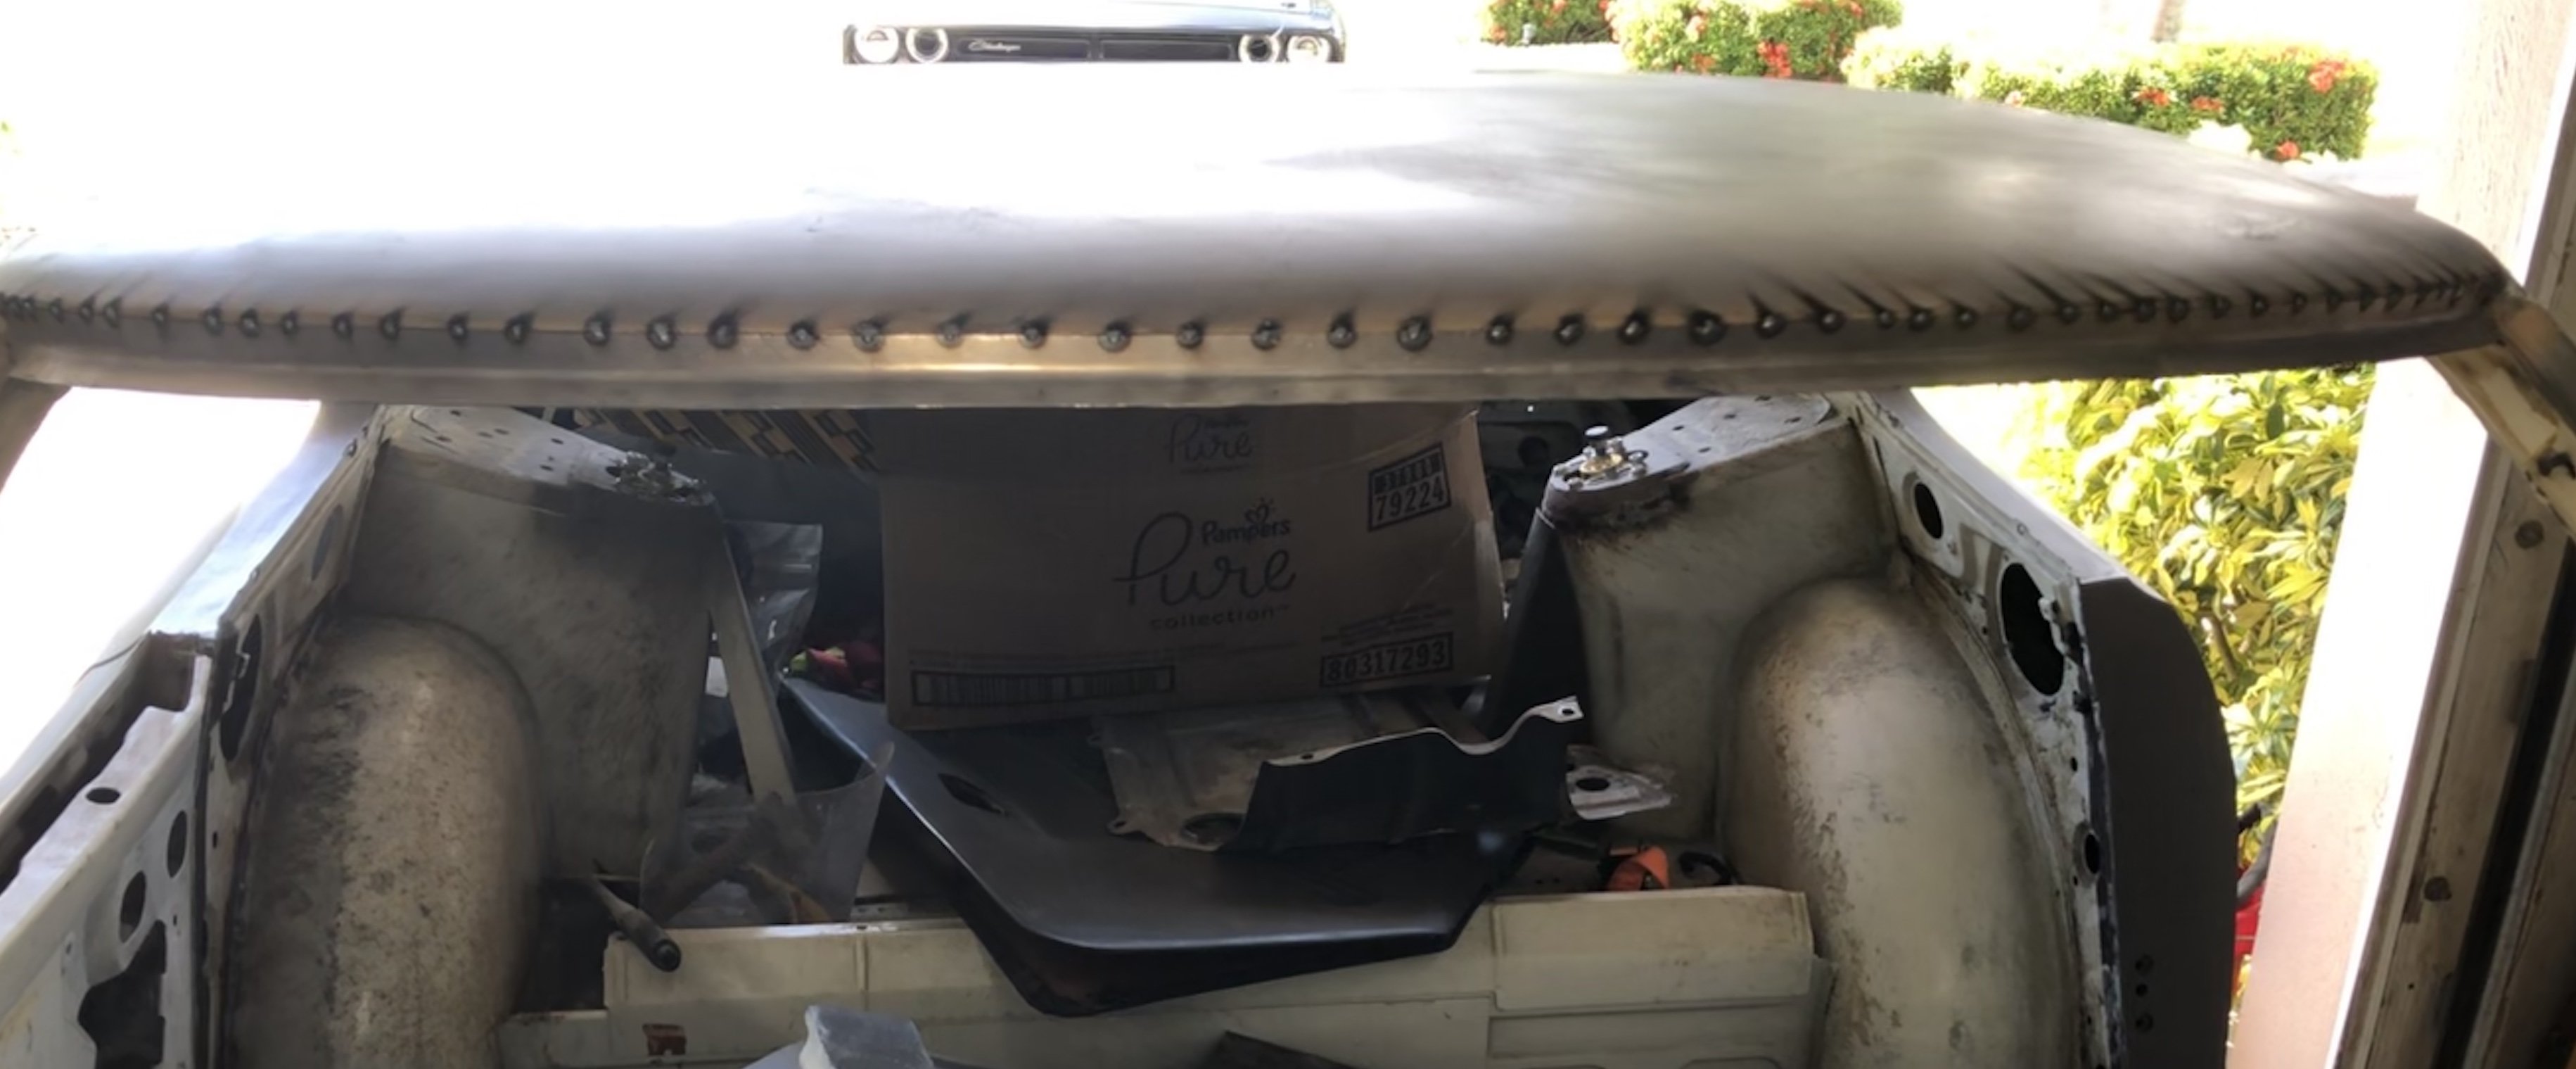
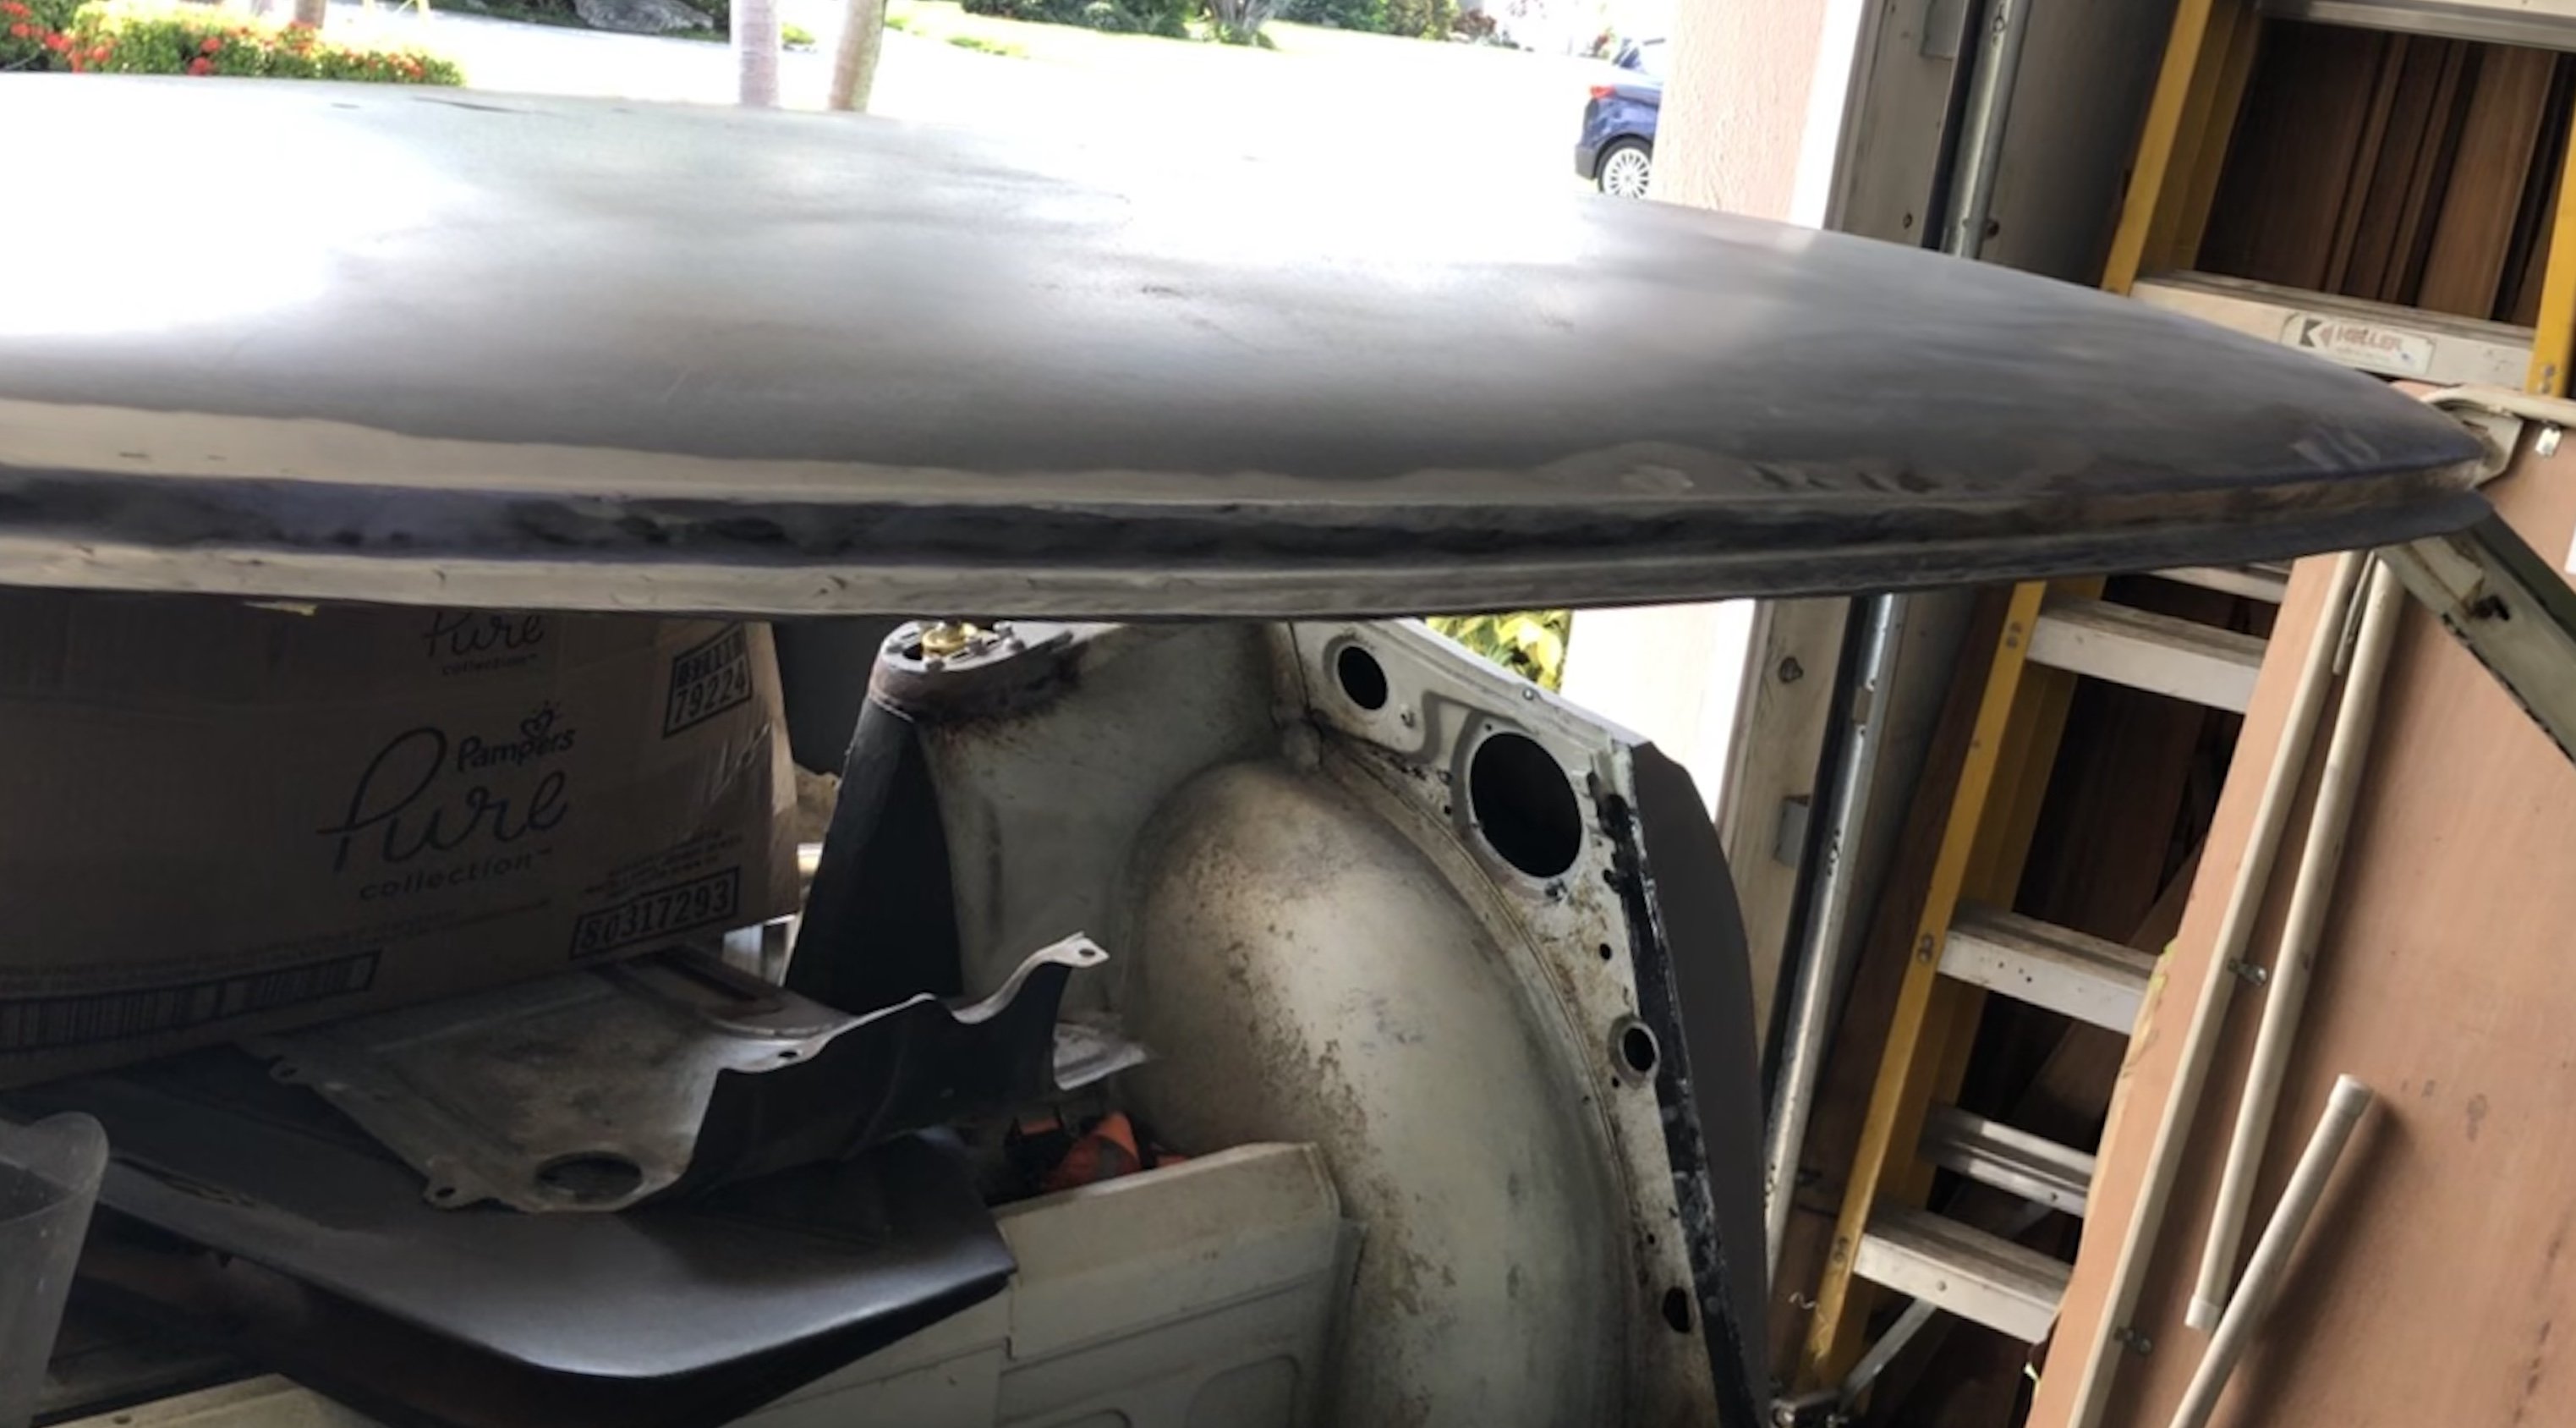
Back to rust/sheet metal repairs today. The upper section of the windshield frame had a couple small rust holes...I guess I could have patched them but I decided to replace the entire upper section. First, I ordered a piece of 20 gauge that was 48” long so I could make it in one piece. Next, I put it on a four foot brake to form the angle for the flange. Then it was time to form the compound curves with a shrinker/stretcher. Once all that was done I drilled off all the spot welds and cut the frame out just under the bend that forms the upper body contour. I carefully trimmed my patch piece to ensure I had an equal (tight) gap and then slowly welded it in place. A little metal finishing and voila a new upper windshield frame.
-
Okay, Ive been issued a challenge. I want a #ZStory exhaust for my S30 RB25 build. I guess if I was going to run an OEM boost level I could use Sean Dezart's 2.5" system and be very happy. Problem is, I'm going to turn the boost up a little so I'd really prefer to get my gases flowing through a 3" system. Sean suggest I go with one of the systems thats already available from other S30 specialist, problem is every time I see his system I start drooling uncontrollably whereas every time I look at one of those "brand X" systems I nearly loose my lunch. There is literally no comparison between these art versus farts! I continued to press Sean and he says the market fo a 3" system is too small but I disagree since I believe this is the perfect system for high-boost RB builds as well as LS builds and god knows there are lots of these builds and many more being documented here as well as on the forums. Sean challenged me to convince him there was a lager market so here is my start to do so.
How many of my fellow S30 retromod fanatics would be interested in seeing Sean and Zstory create some artwork for the underside of our beasts? I'm #1 on the list...let get a group buy together to convince him to undertake our challenge.
John Bontrager, I hope you don't mind if I share your post here since you have put up such awesome photos of Sean's work.
https://www.facebook.com/photo.php?fbid=2144201412325896&set=pcb.1030458513821437&type=3&theater
-
Okay, Ive been issued a challenge. I want a #ZStory exhaust for my S30 RB25 build. I guess if I was going to run an OEM boost level I could use Sean Dezart's 2.5" system and be very happy. Problem is, I'm going to turn the boost up a little so I'd really prefer to get my gases flowing through a 3" system. Sean suggest I go with one of the systems thats already available from other S30 specialist, problem is every time I see his system I start drooling uncontrollably whereas every time I look at one of those "brand X" systems I nearly loose my lunch. There is literally no comparison between these art versus farts!
I continued to press Sean and he says the market fo a 3" system is too small but I disagree since I believe this is the perfect system for high-boost RB builds as well as LS builds and god knows there are lots of these builds and many more being documented here as well as on the forums. Sean challenged me to convince him there was a lager market so here is my start to do so.
How many of my fellow S30 retromod fanatics would be interested in seeing Sean and Zstory create some artwork for the underside of our beasts? I'm #1 on the list...let get a group buy together to convince him to undertake our challenge.
John Bontrager, I hope you don't mind if I share your post here since you have put up such awesome photos of Sean's work.
https://www.facebook.com/photo.php?fbid=2144201412325896&set=pcb.1030458513821437&type=3&theater
-
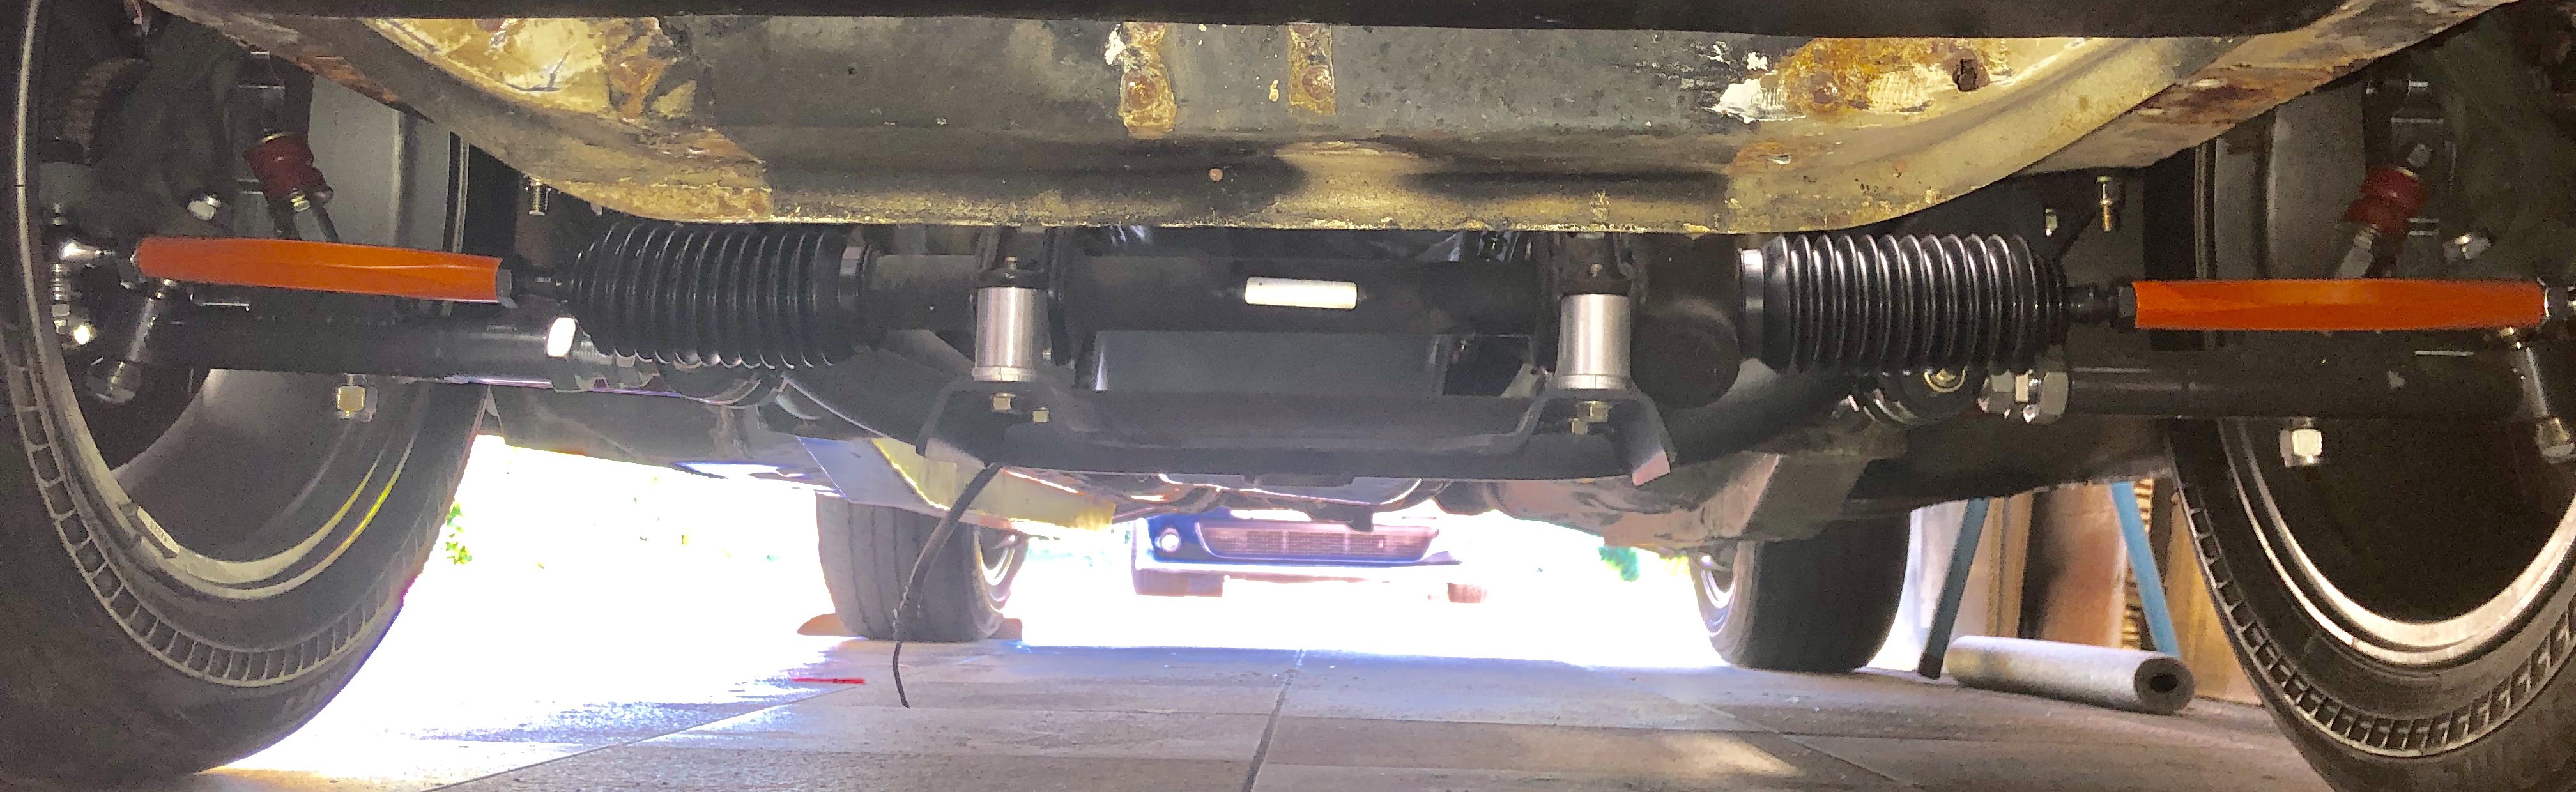
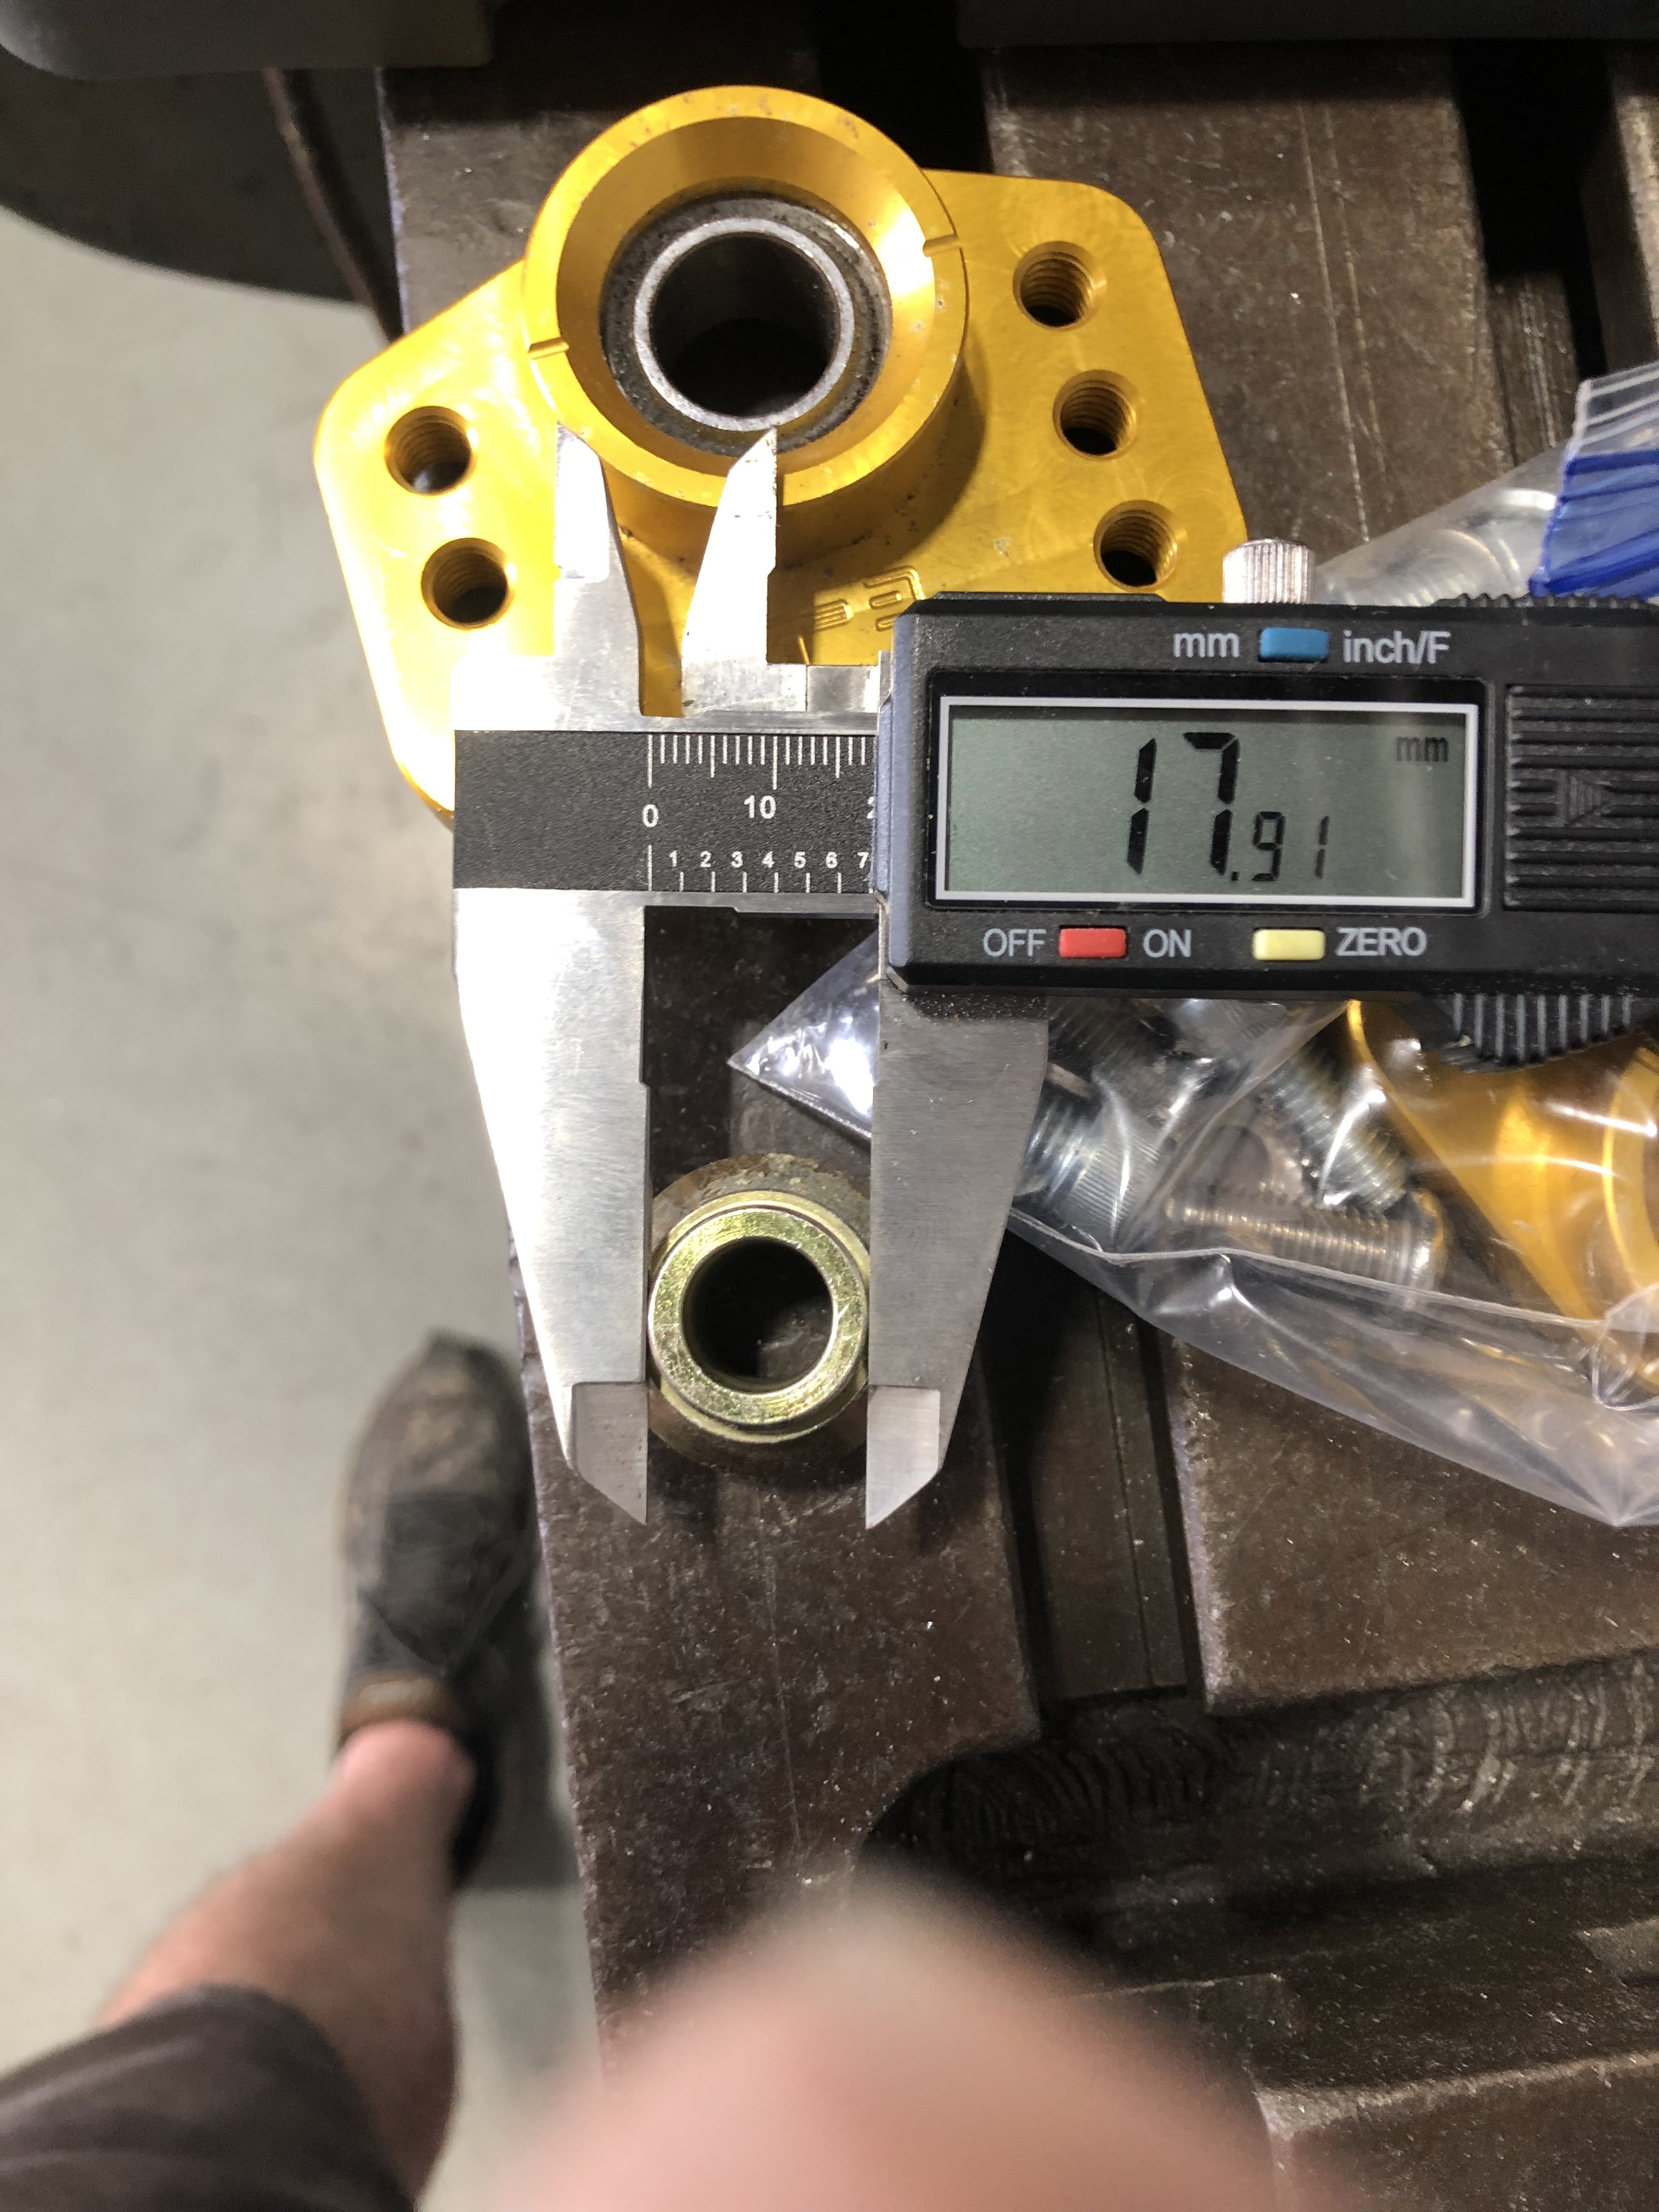
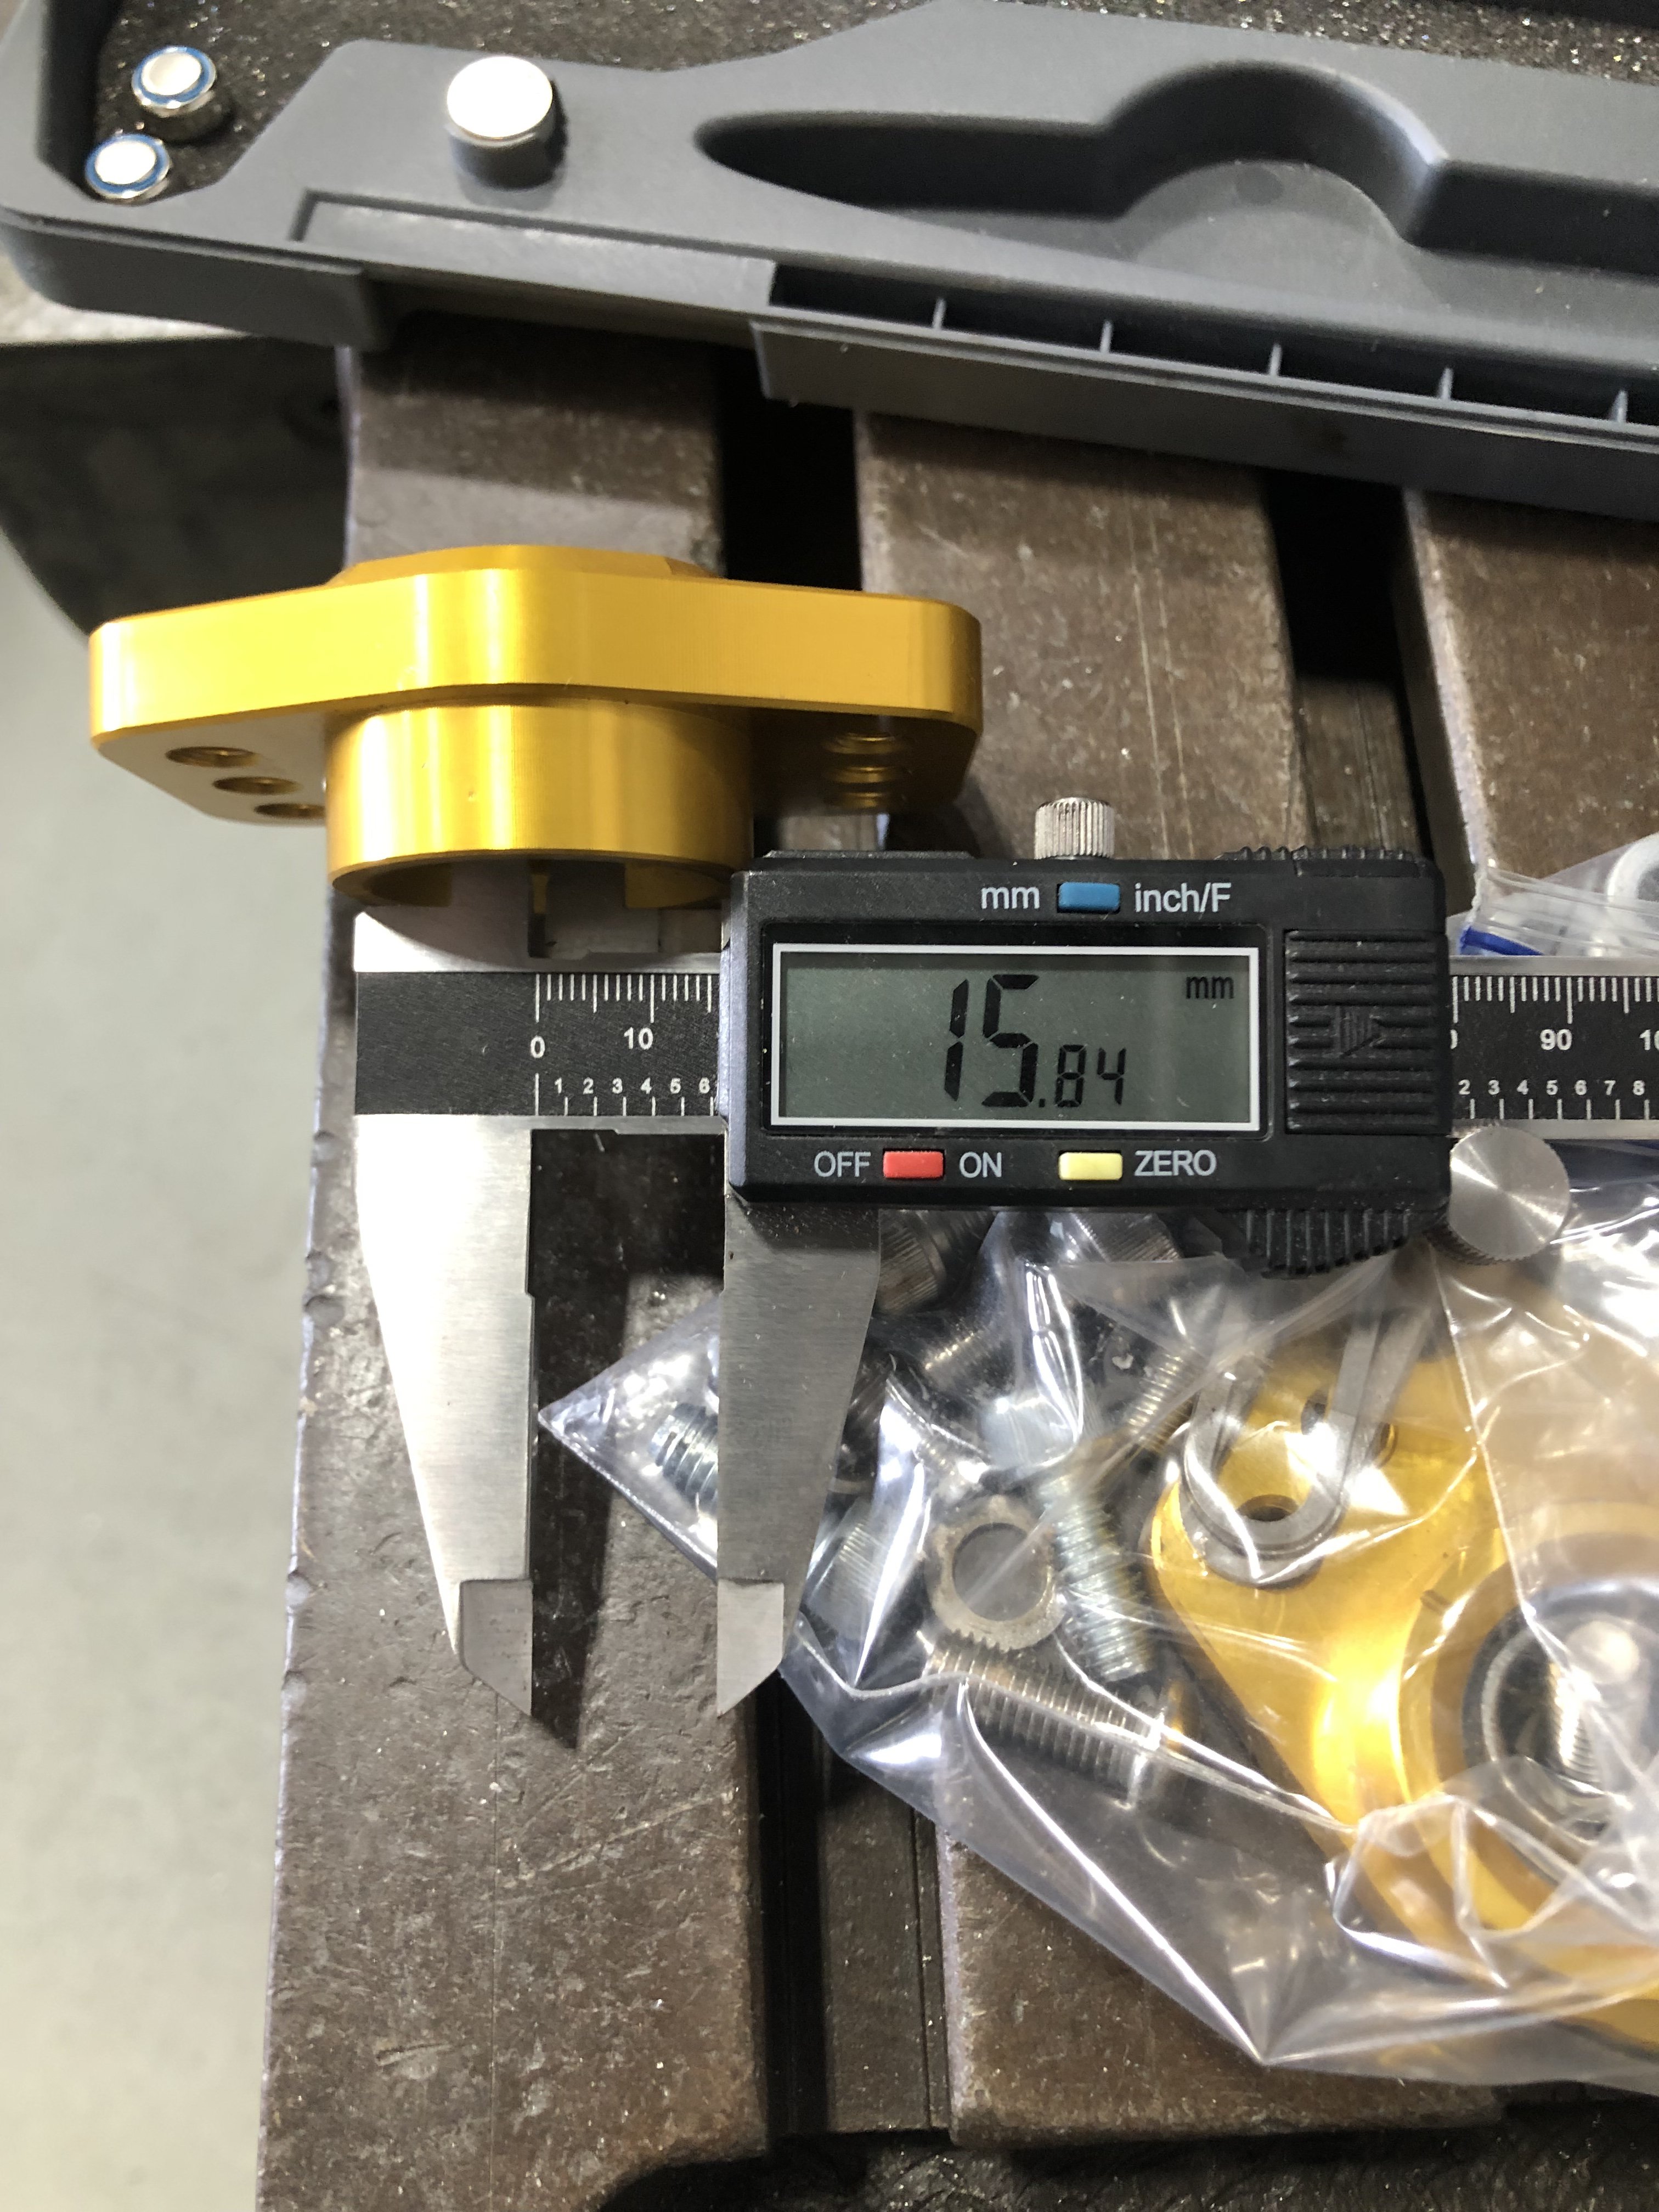
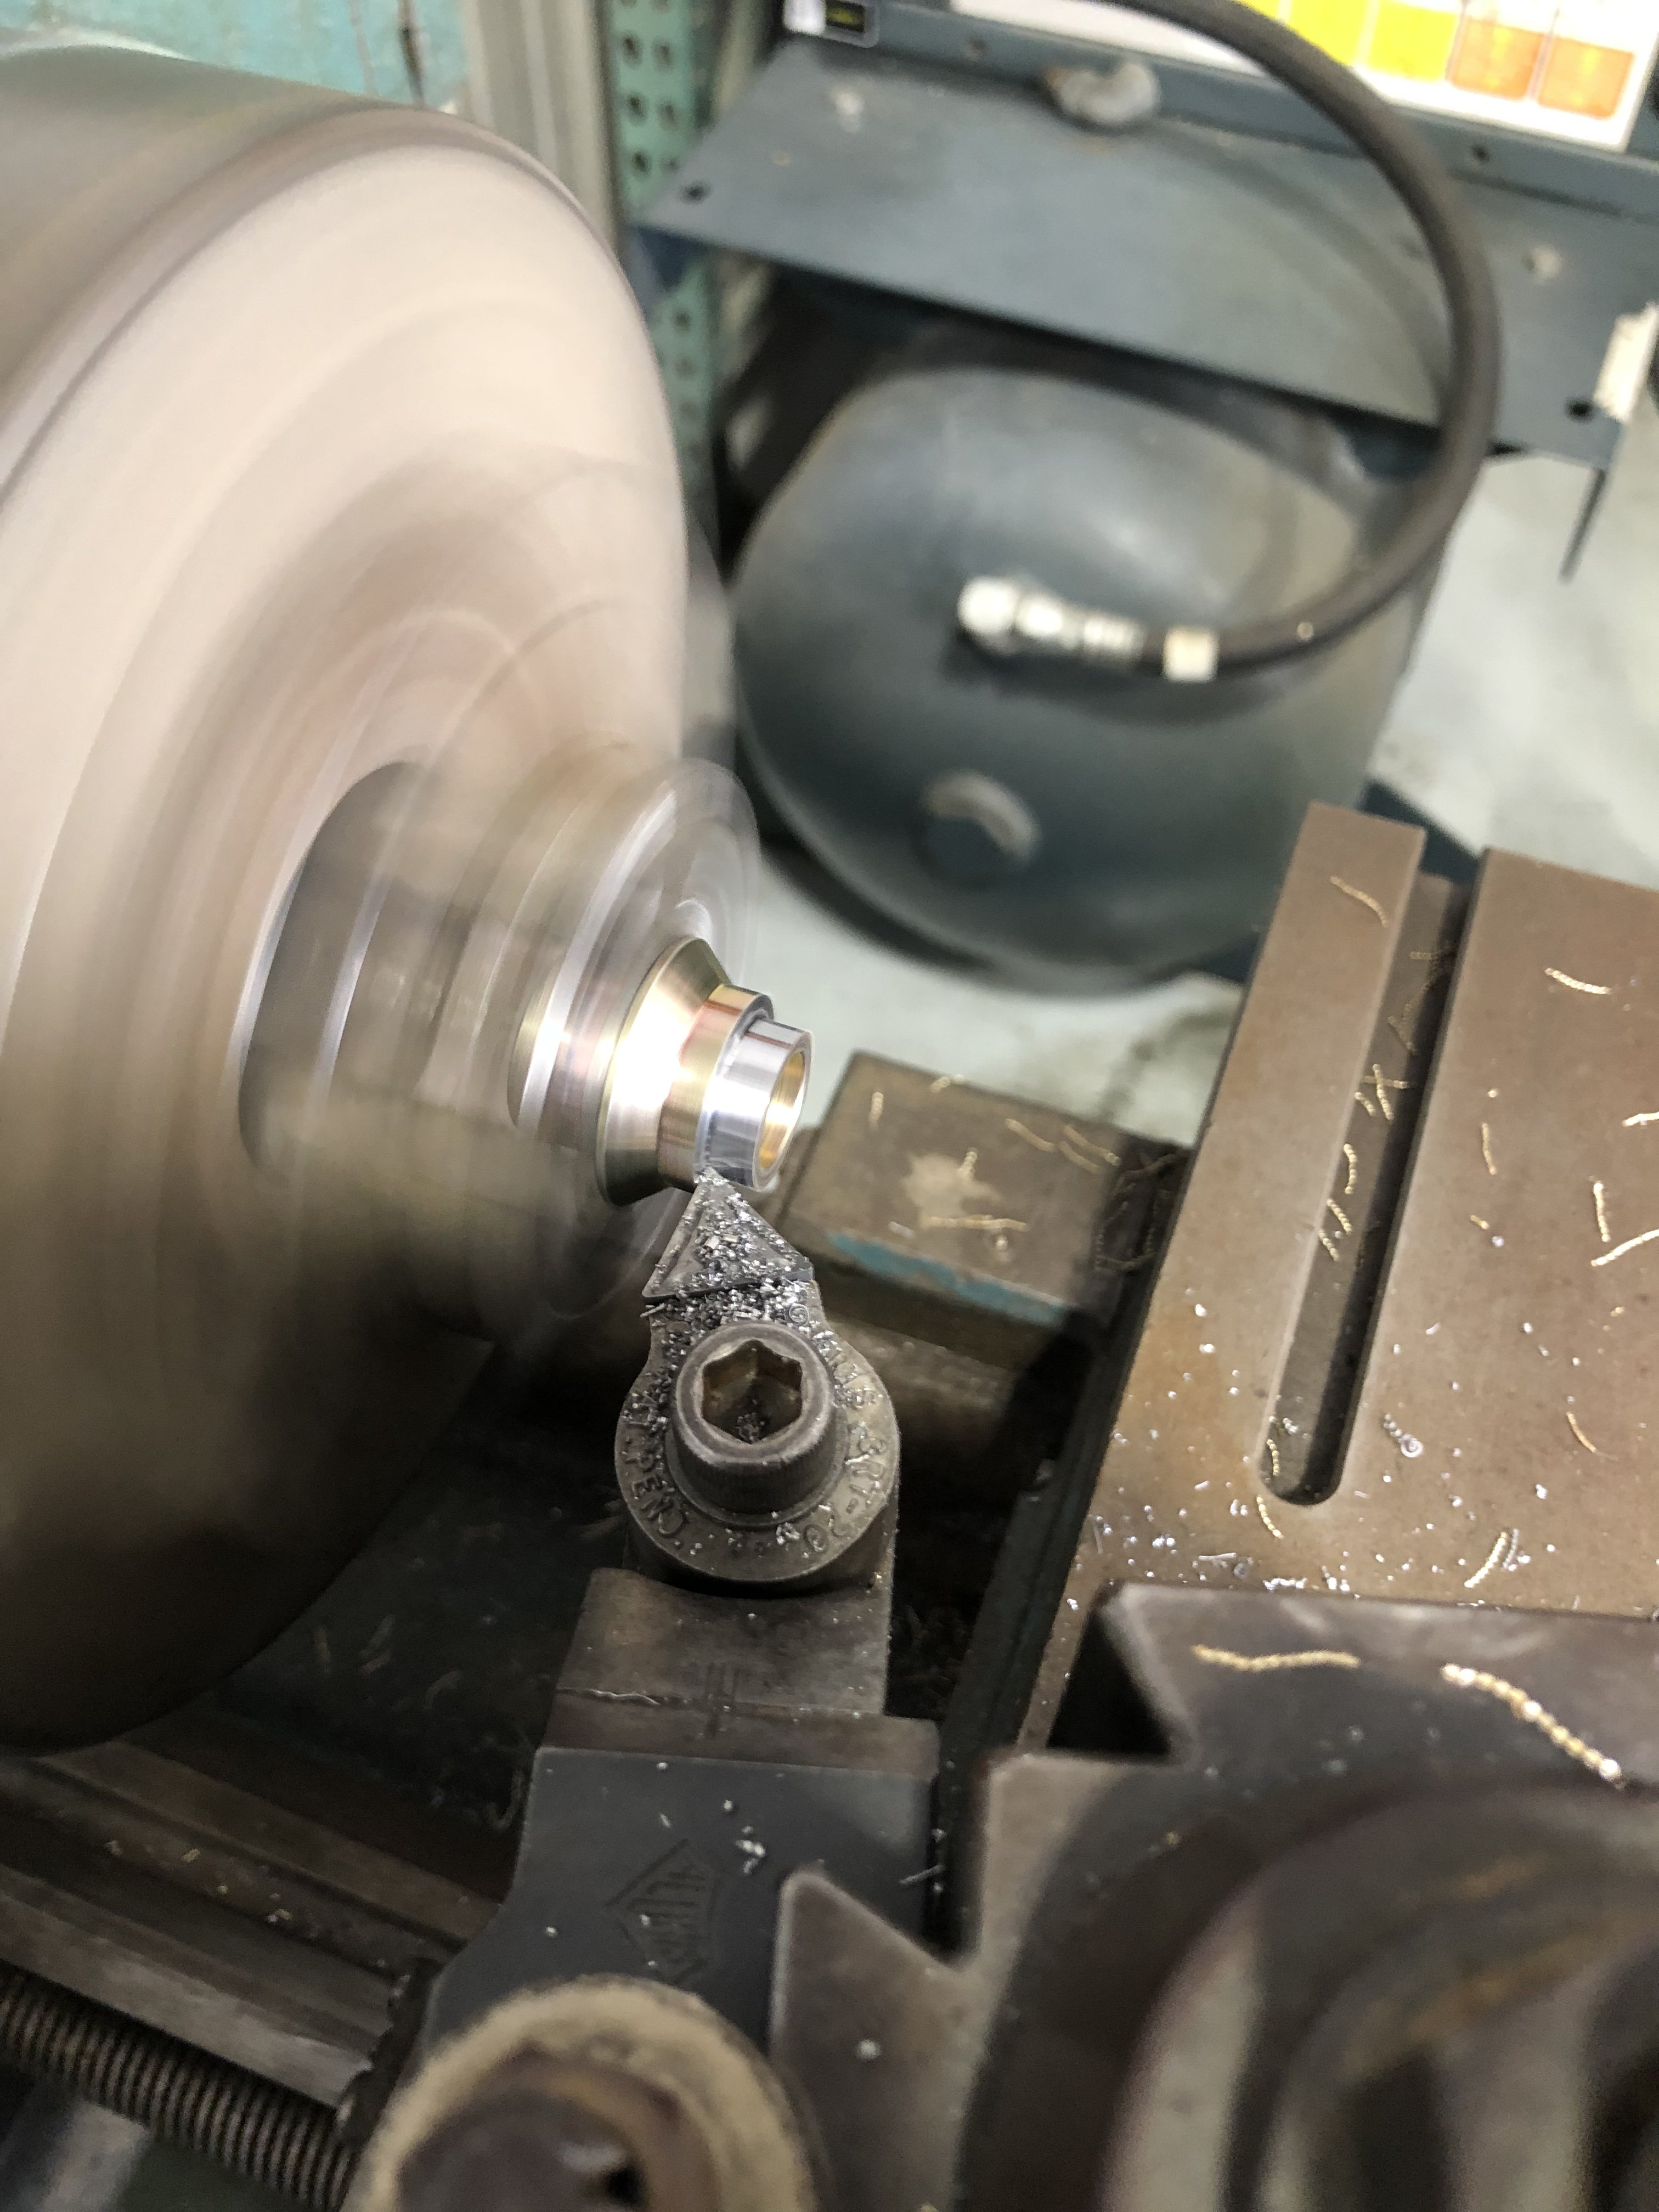
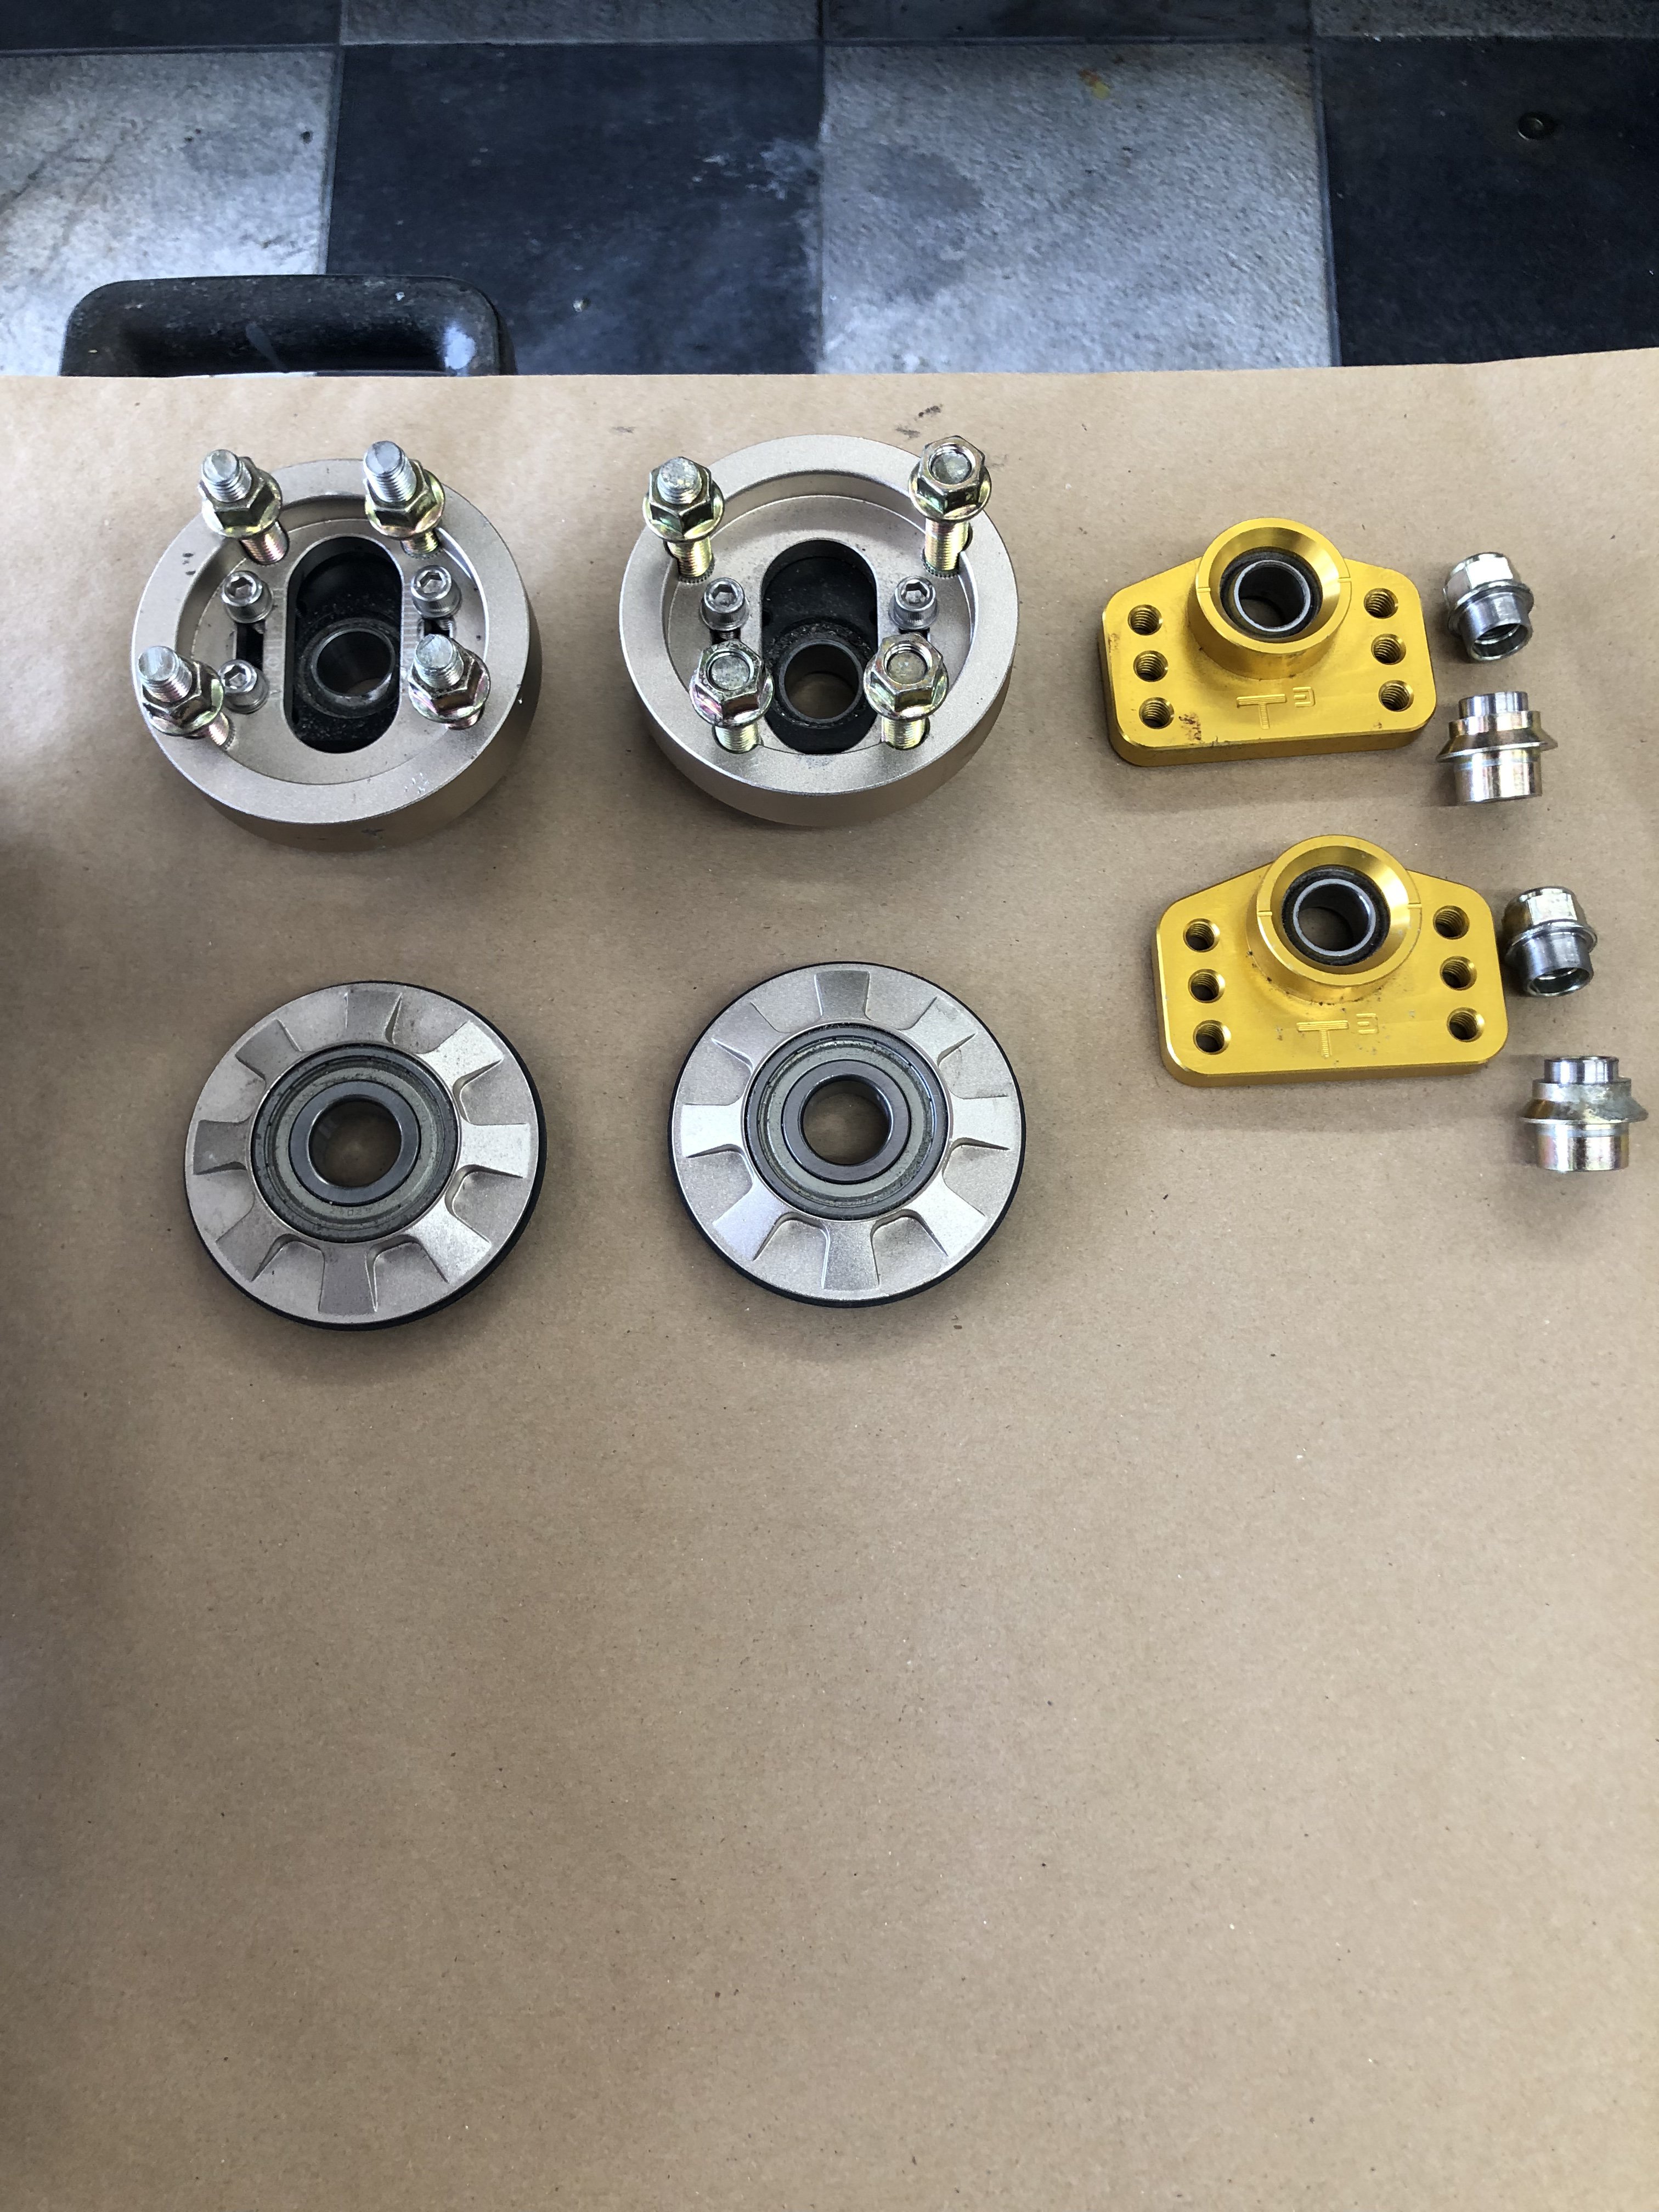
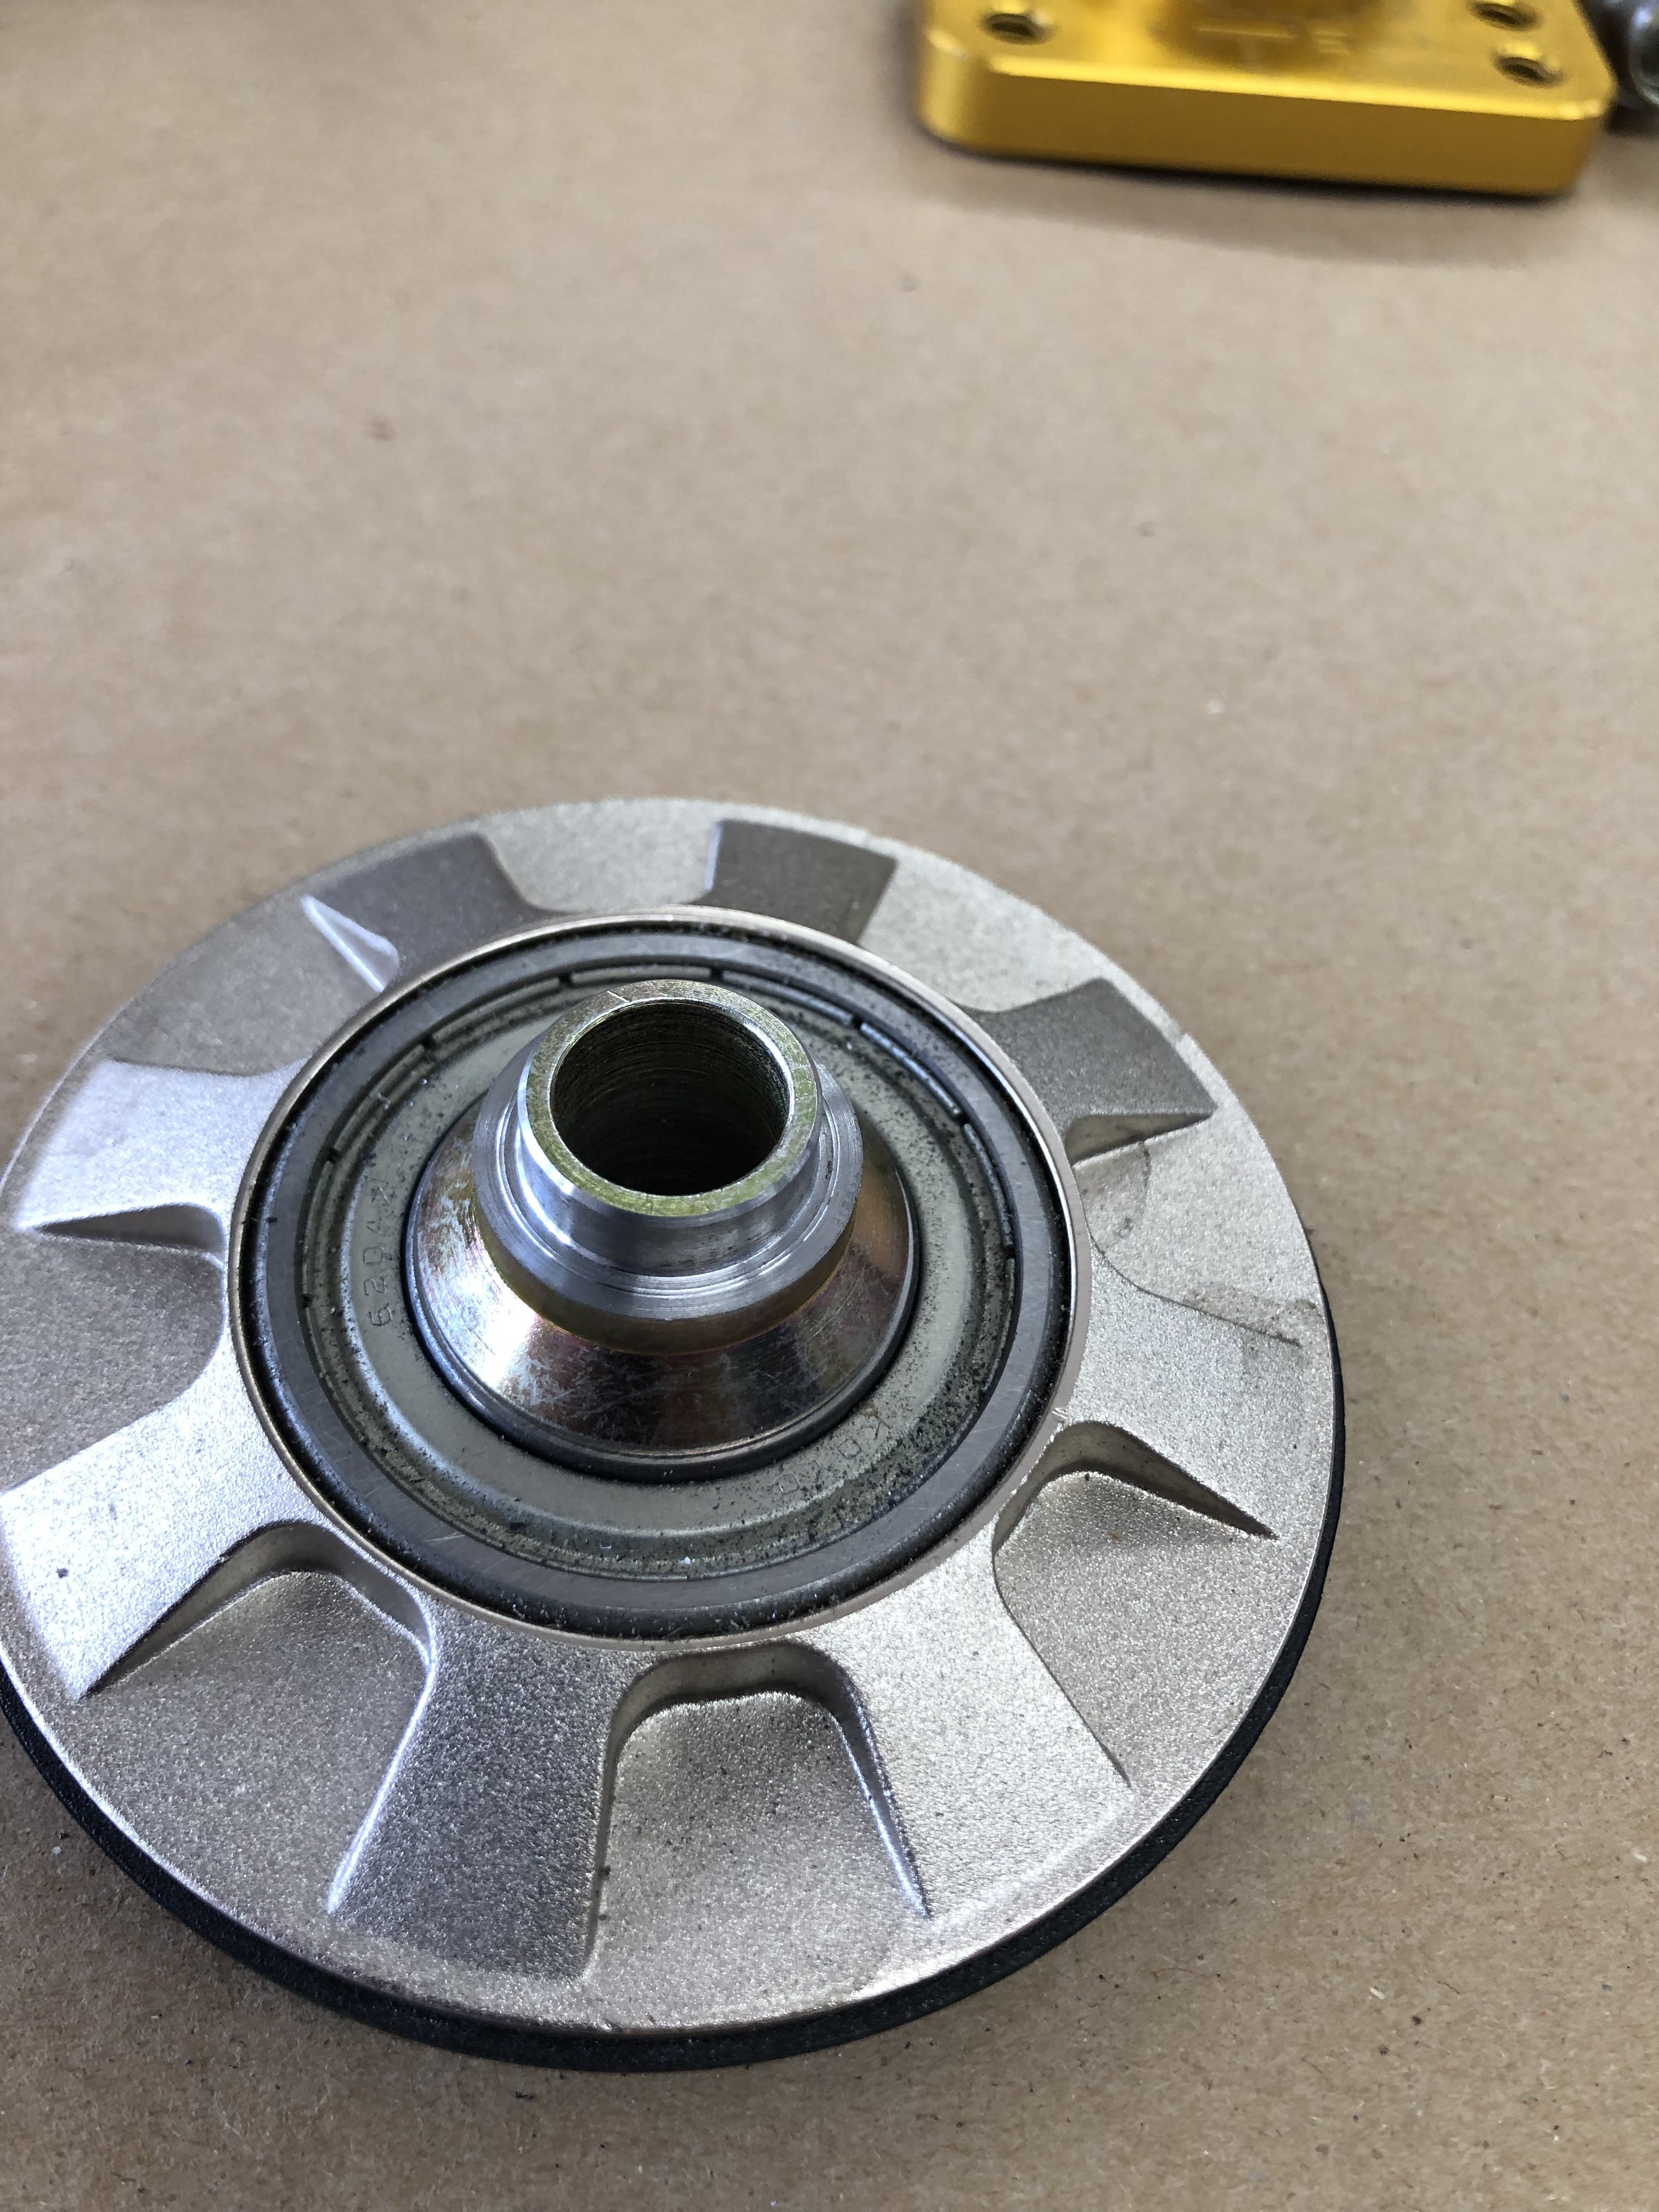
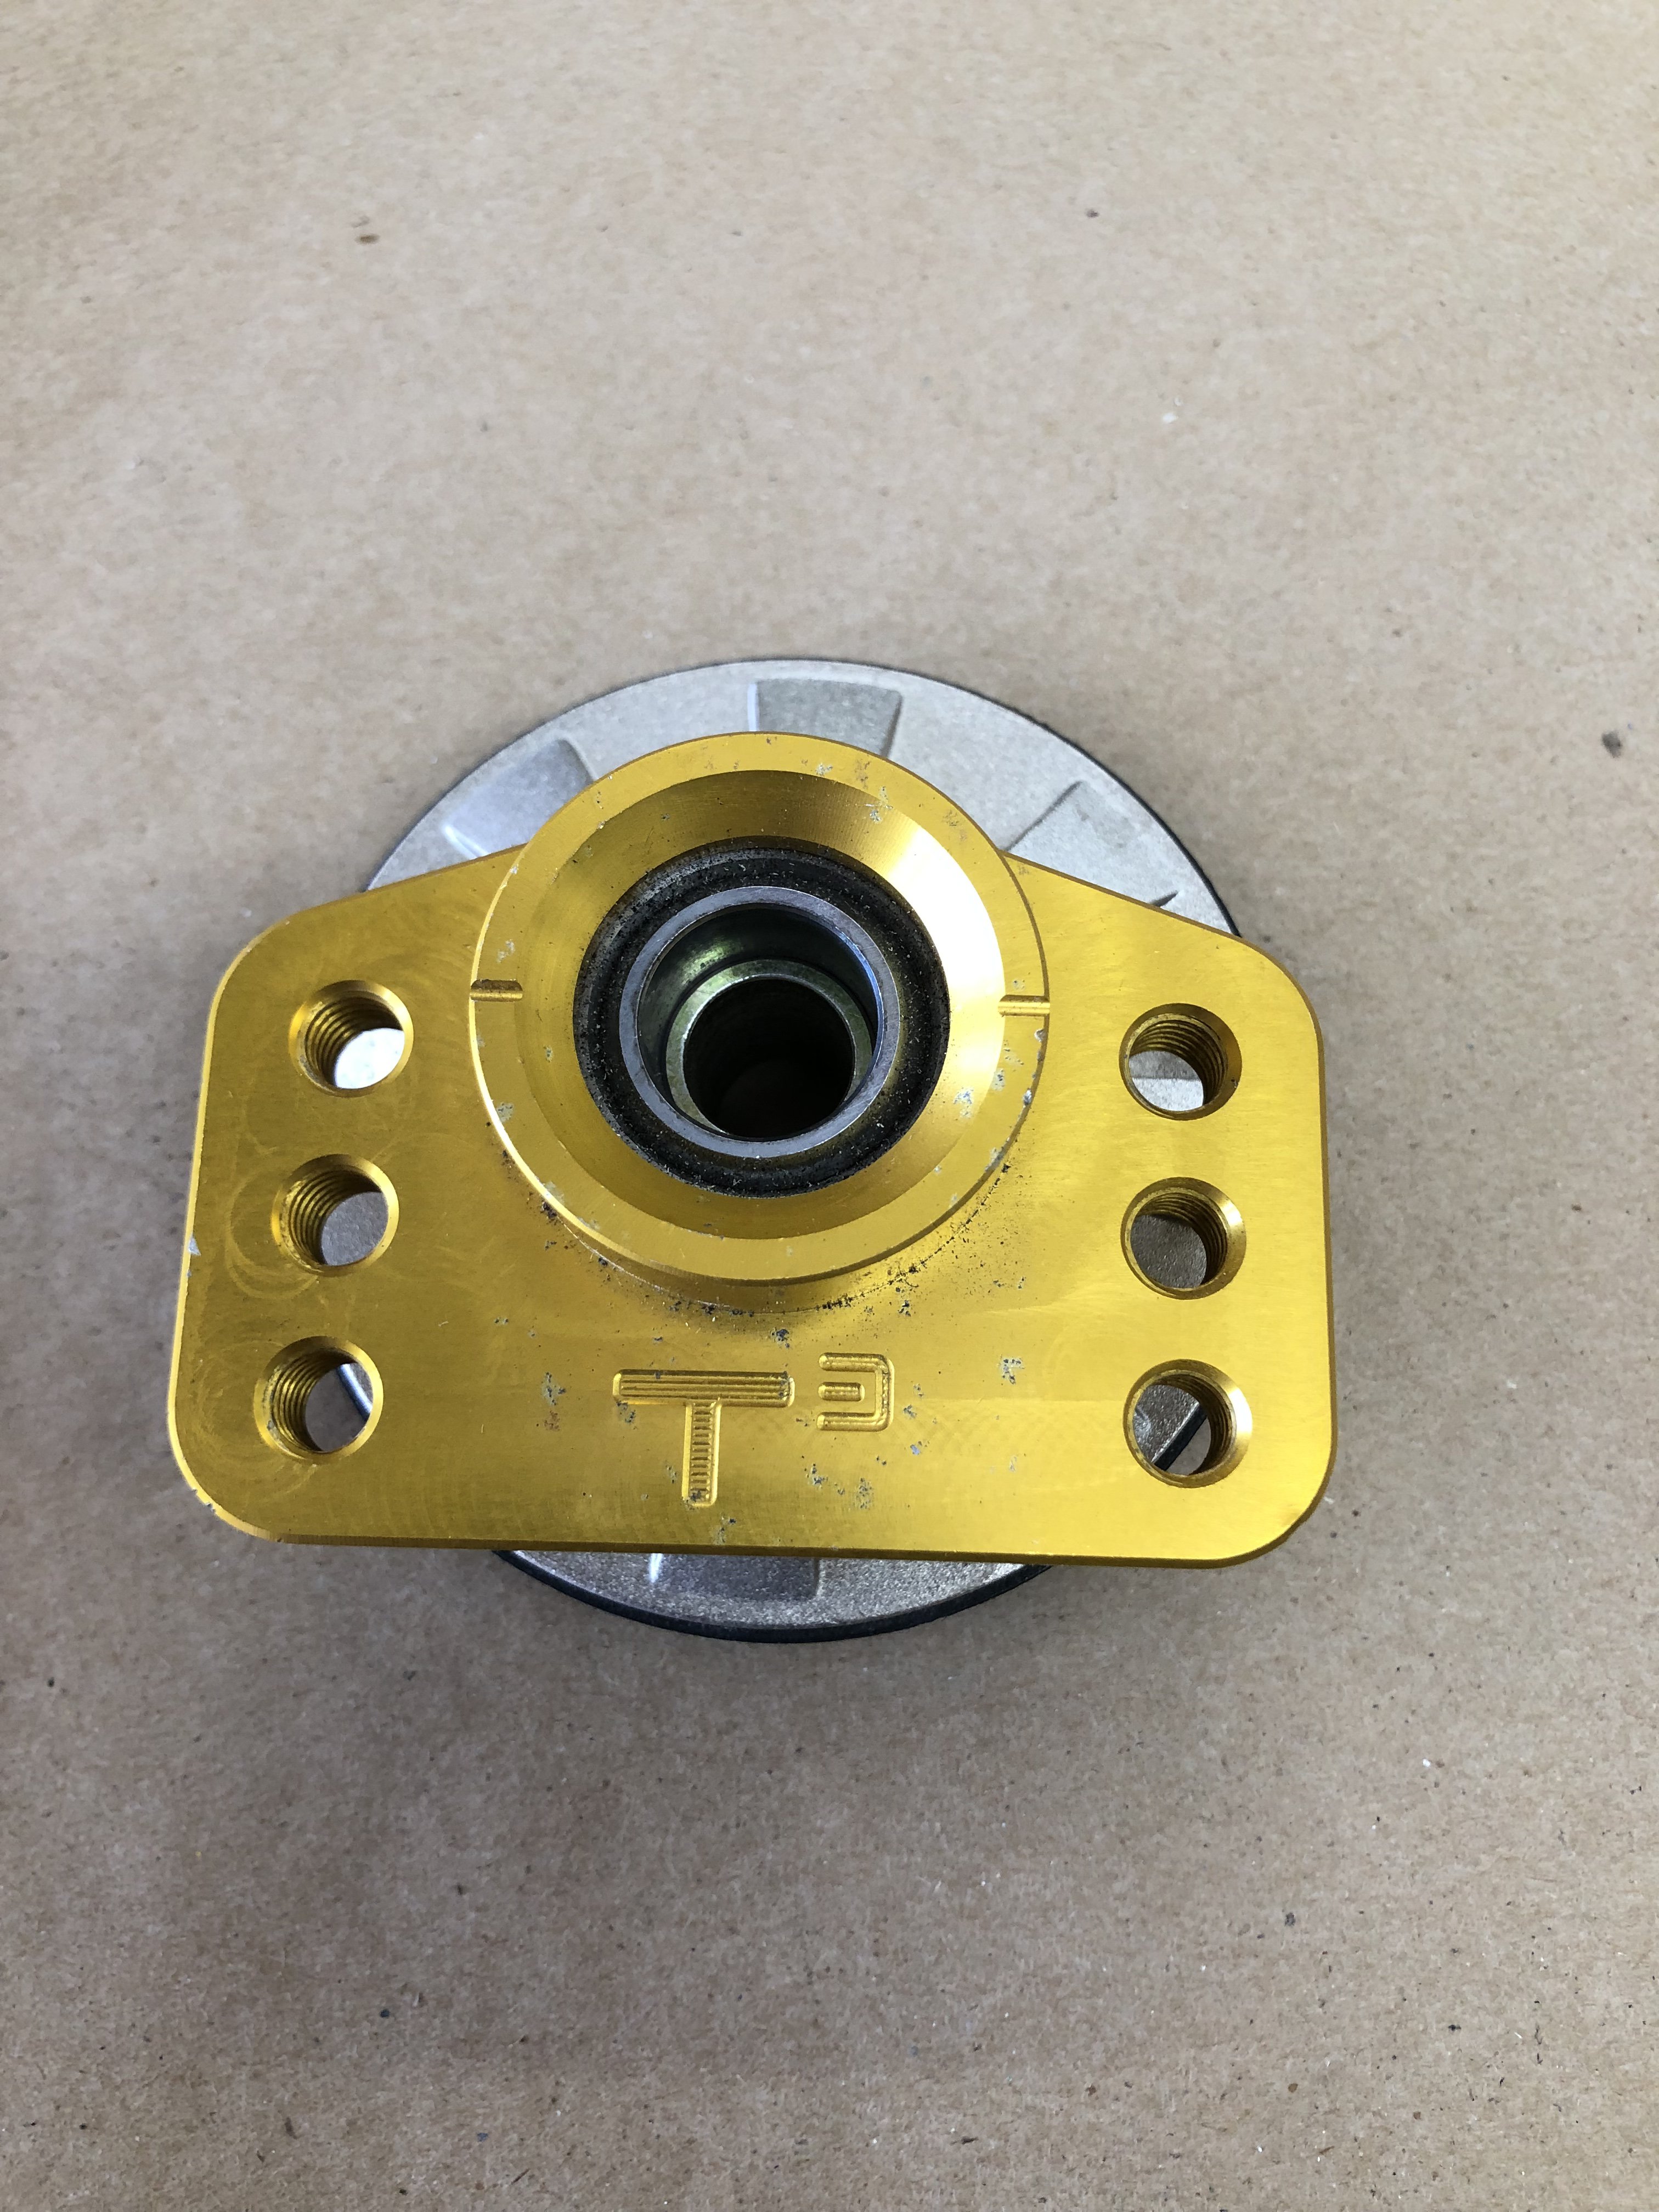
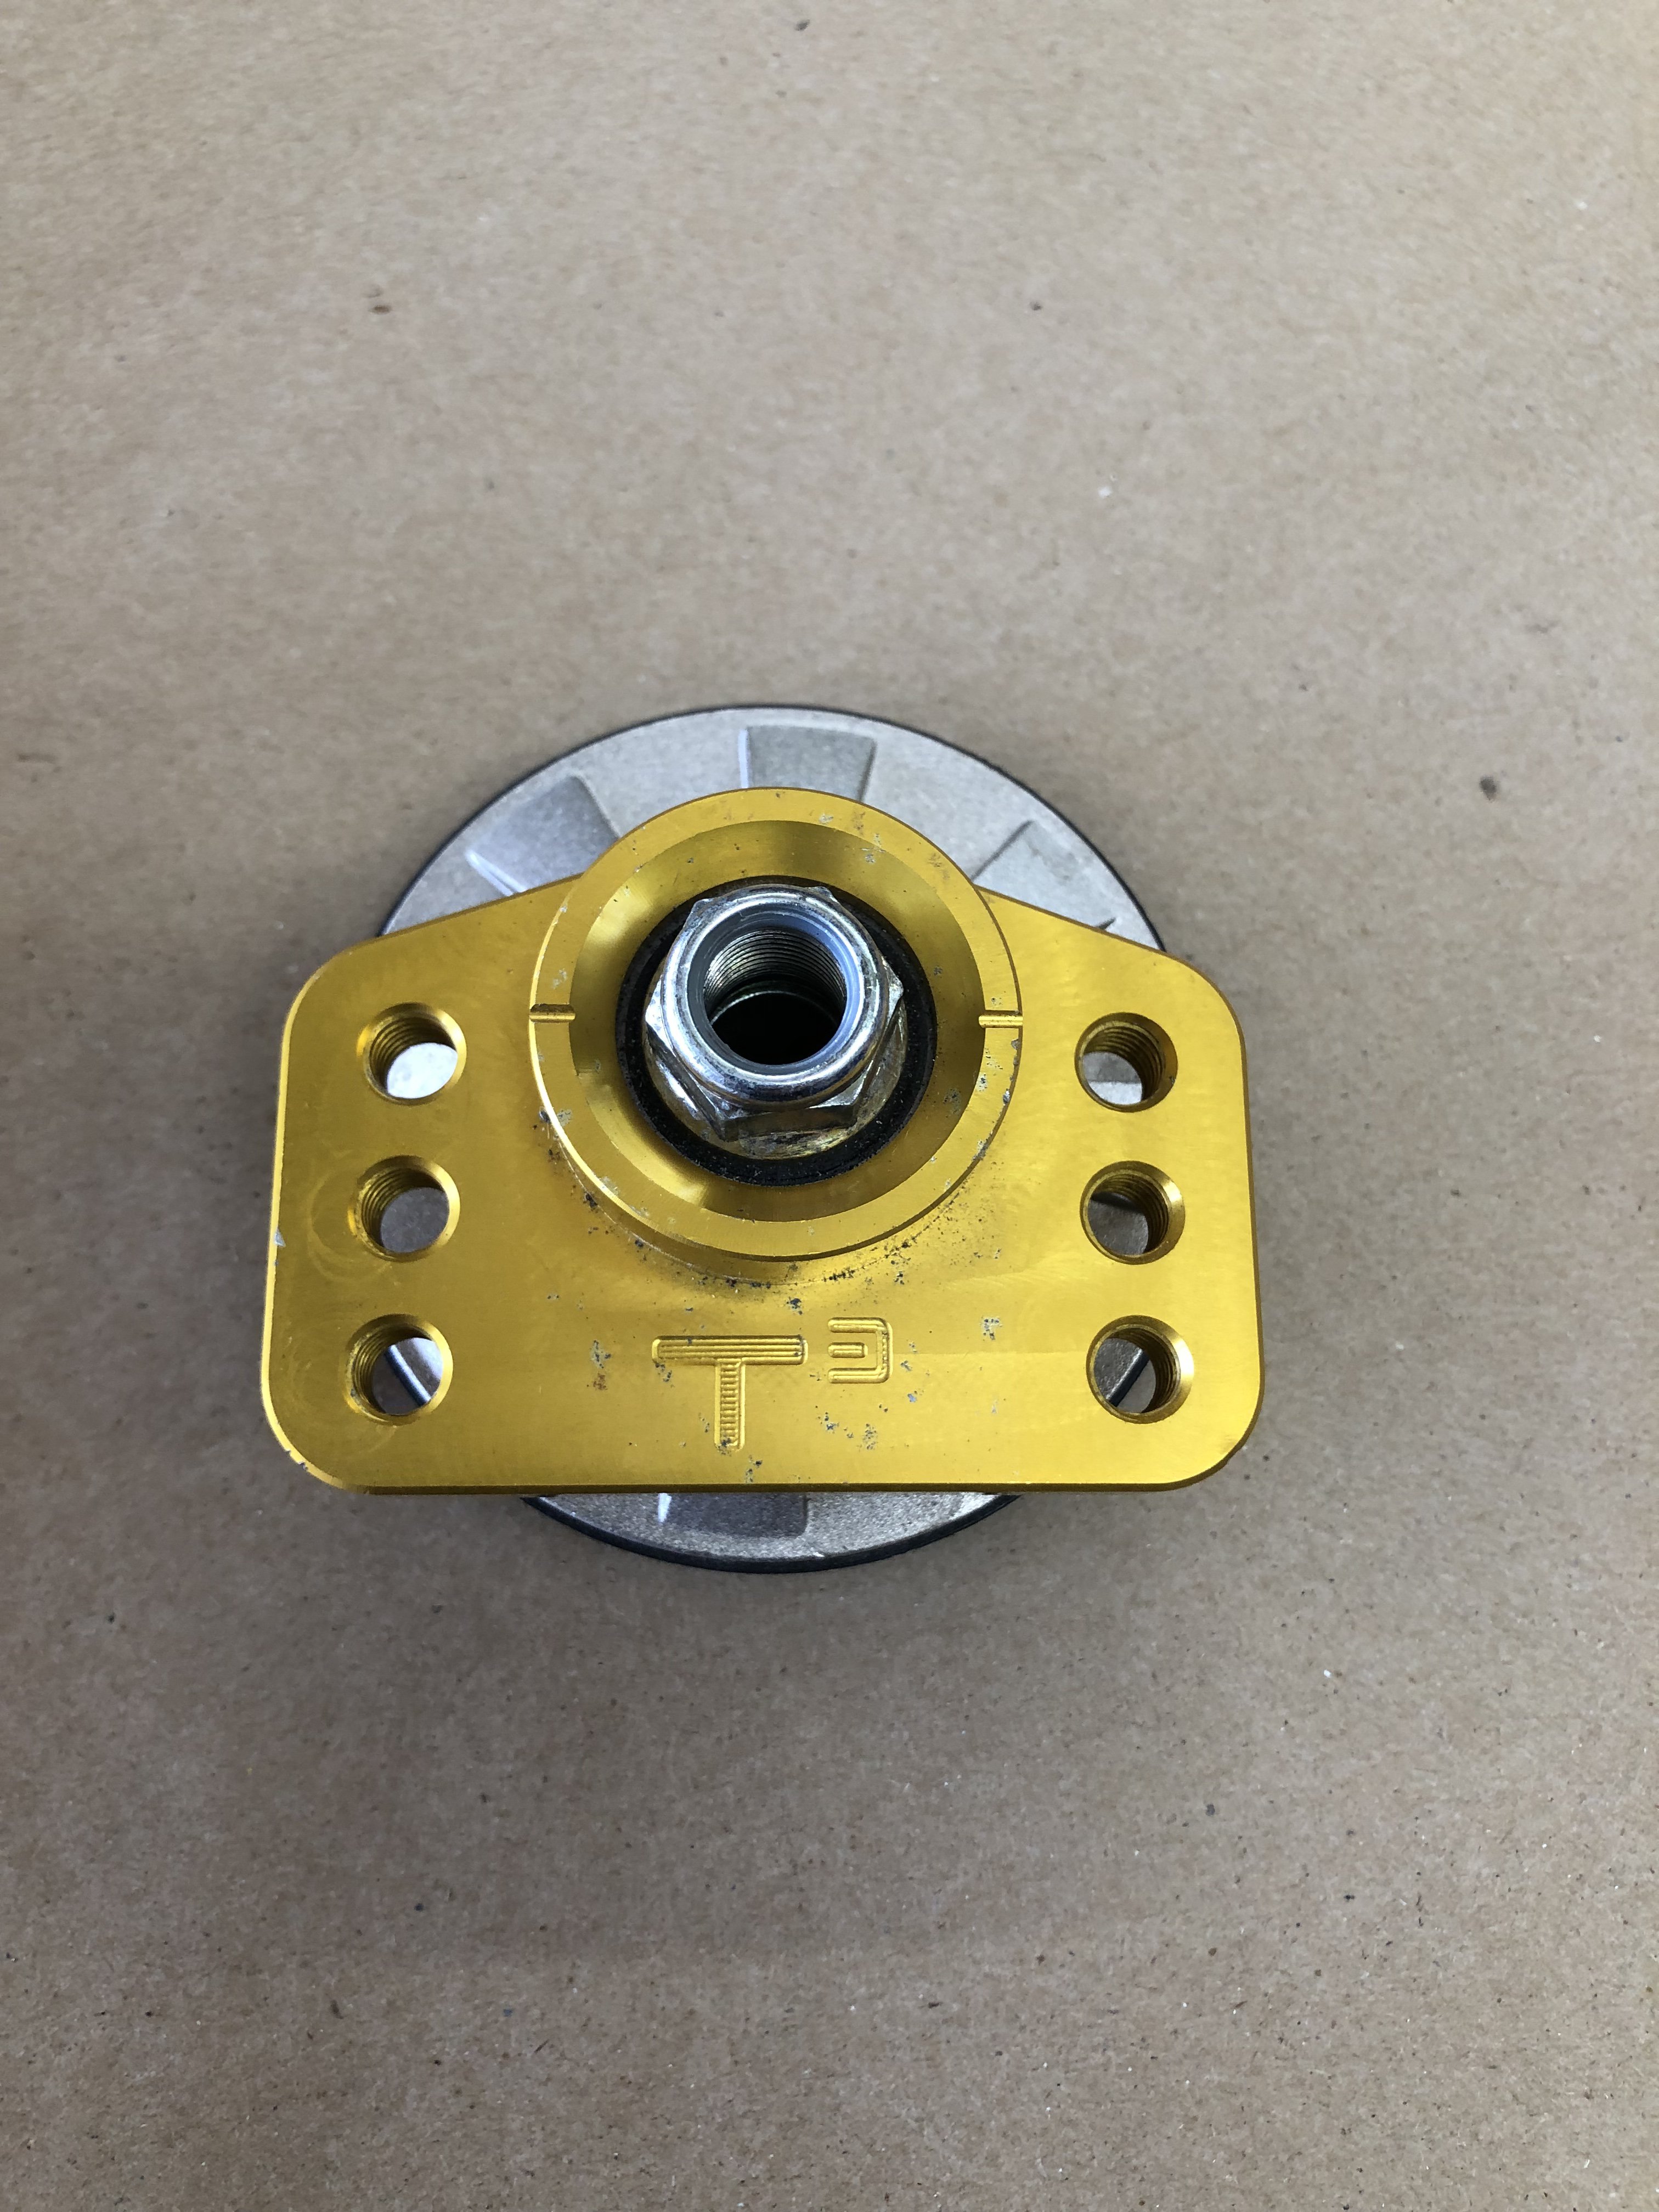
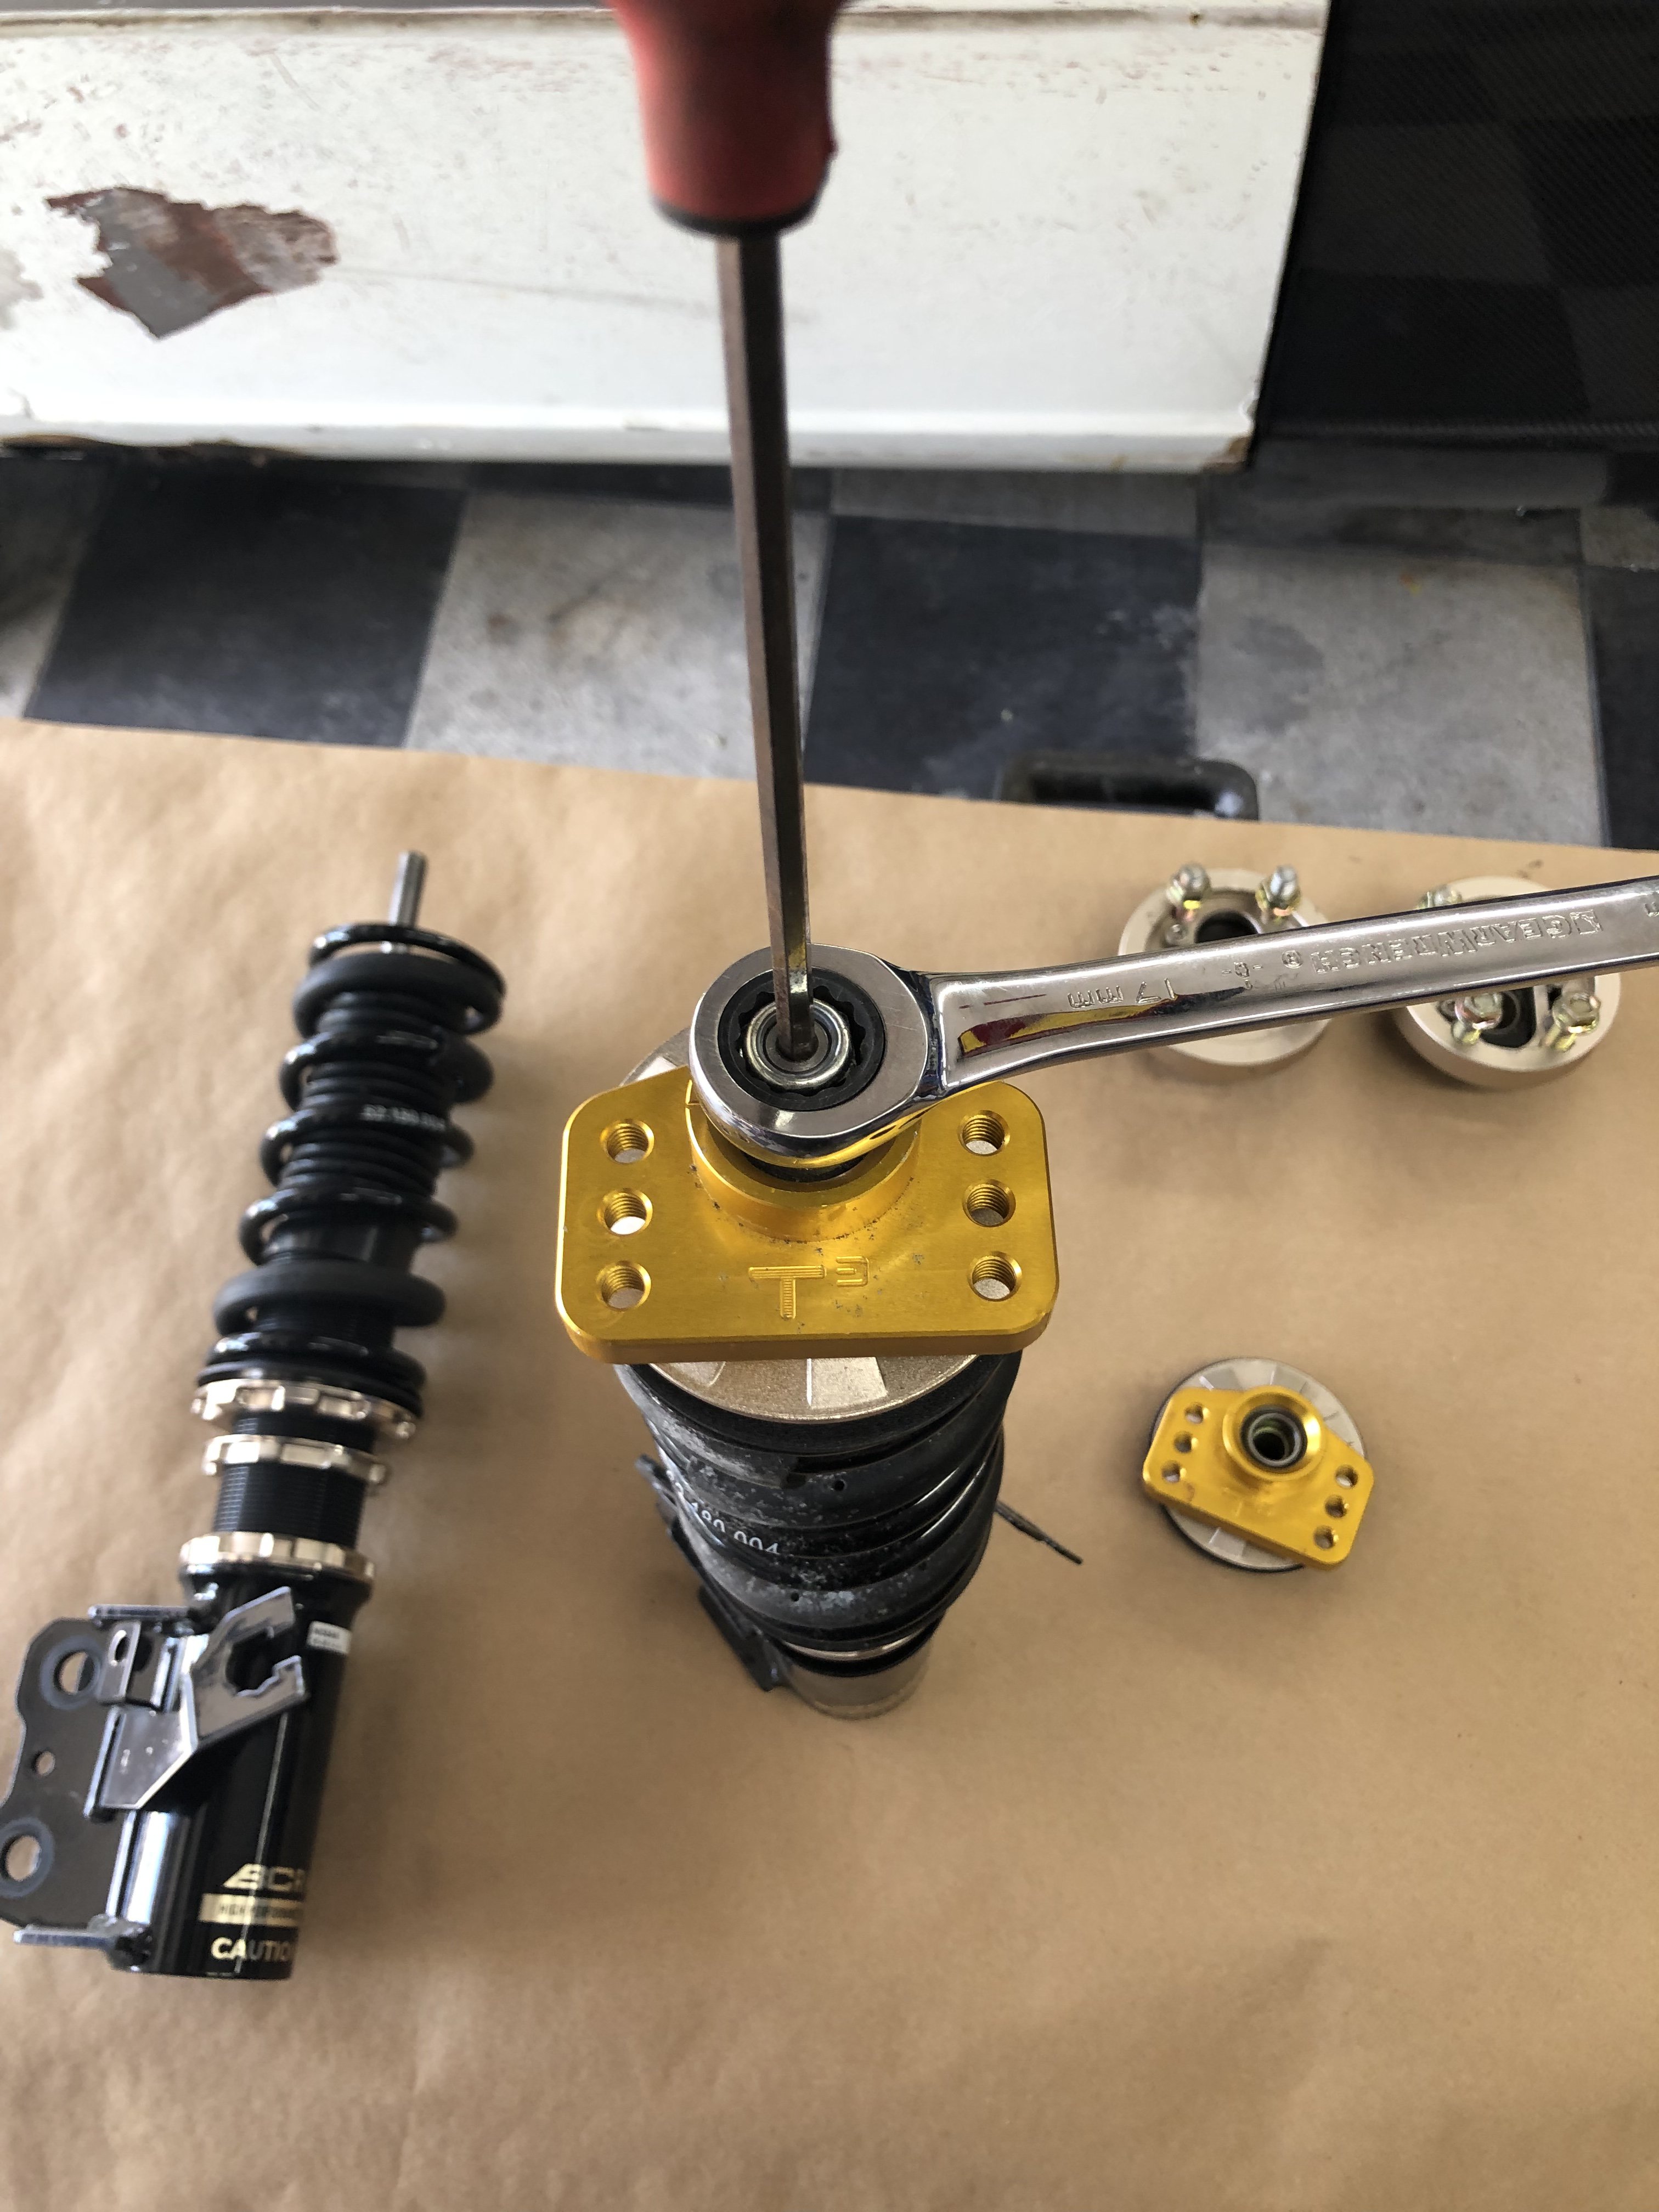
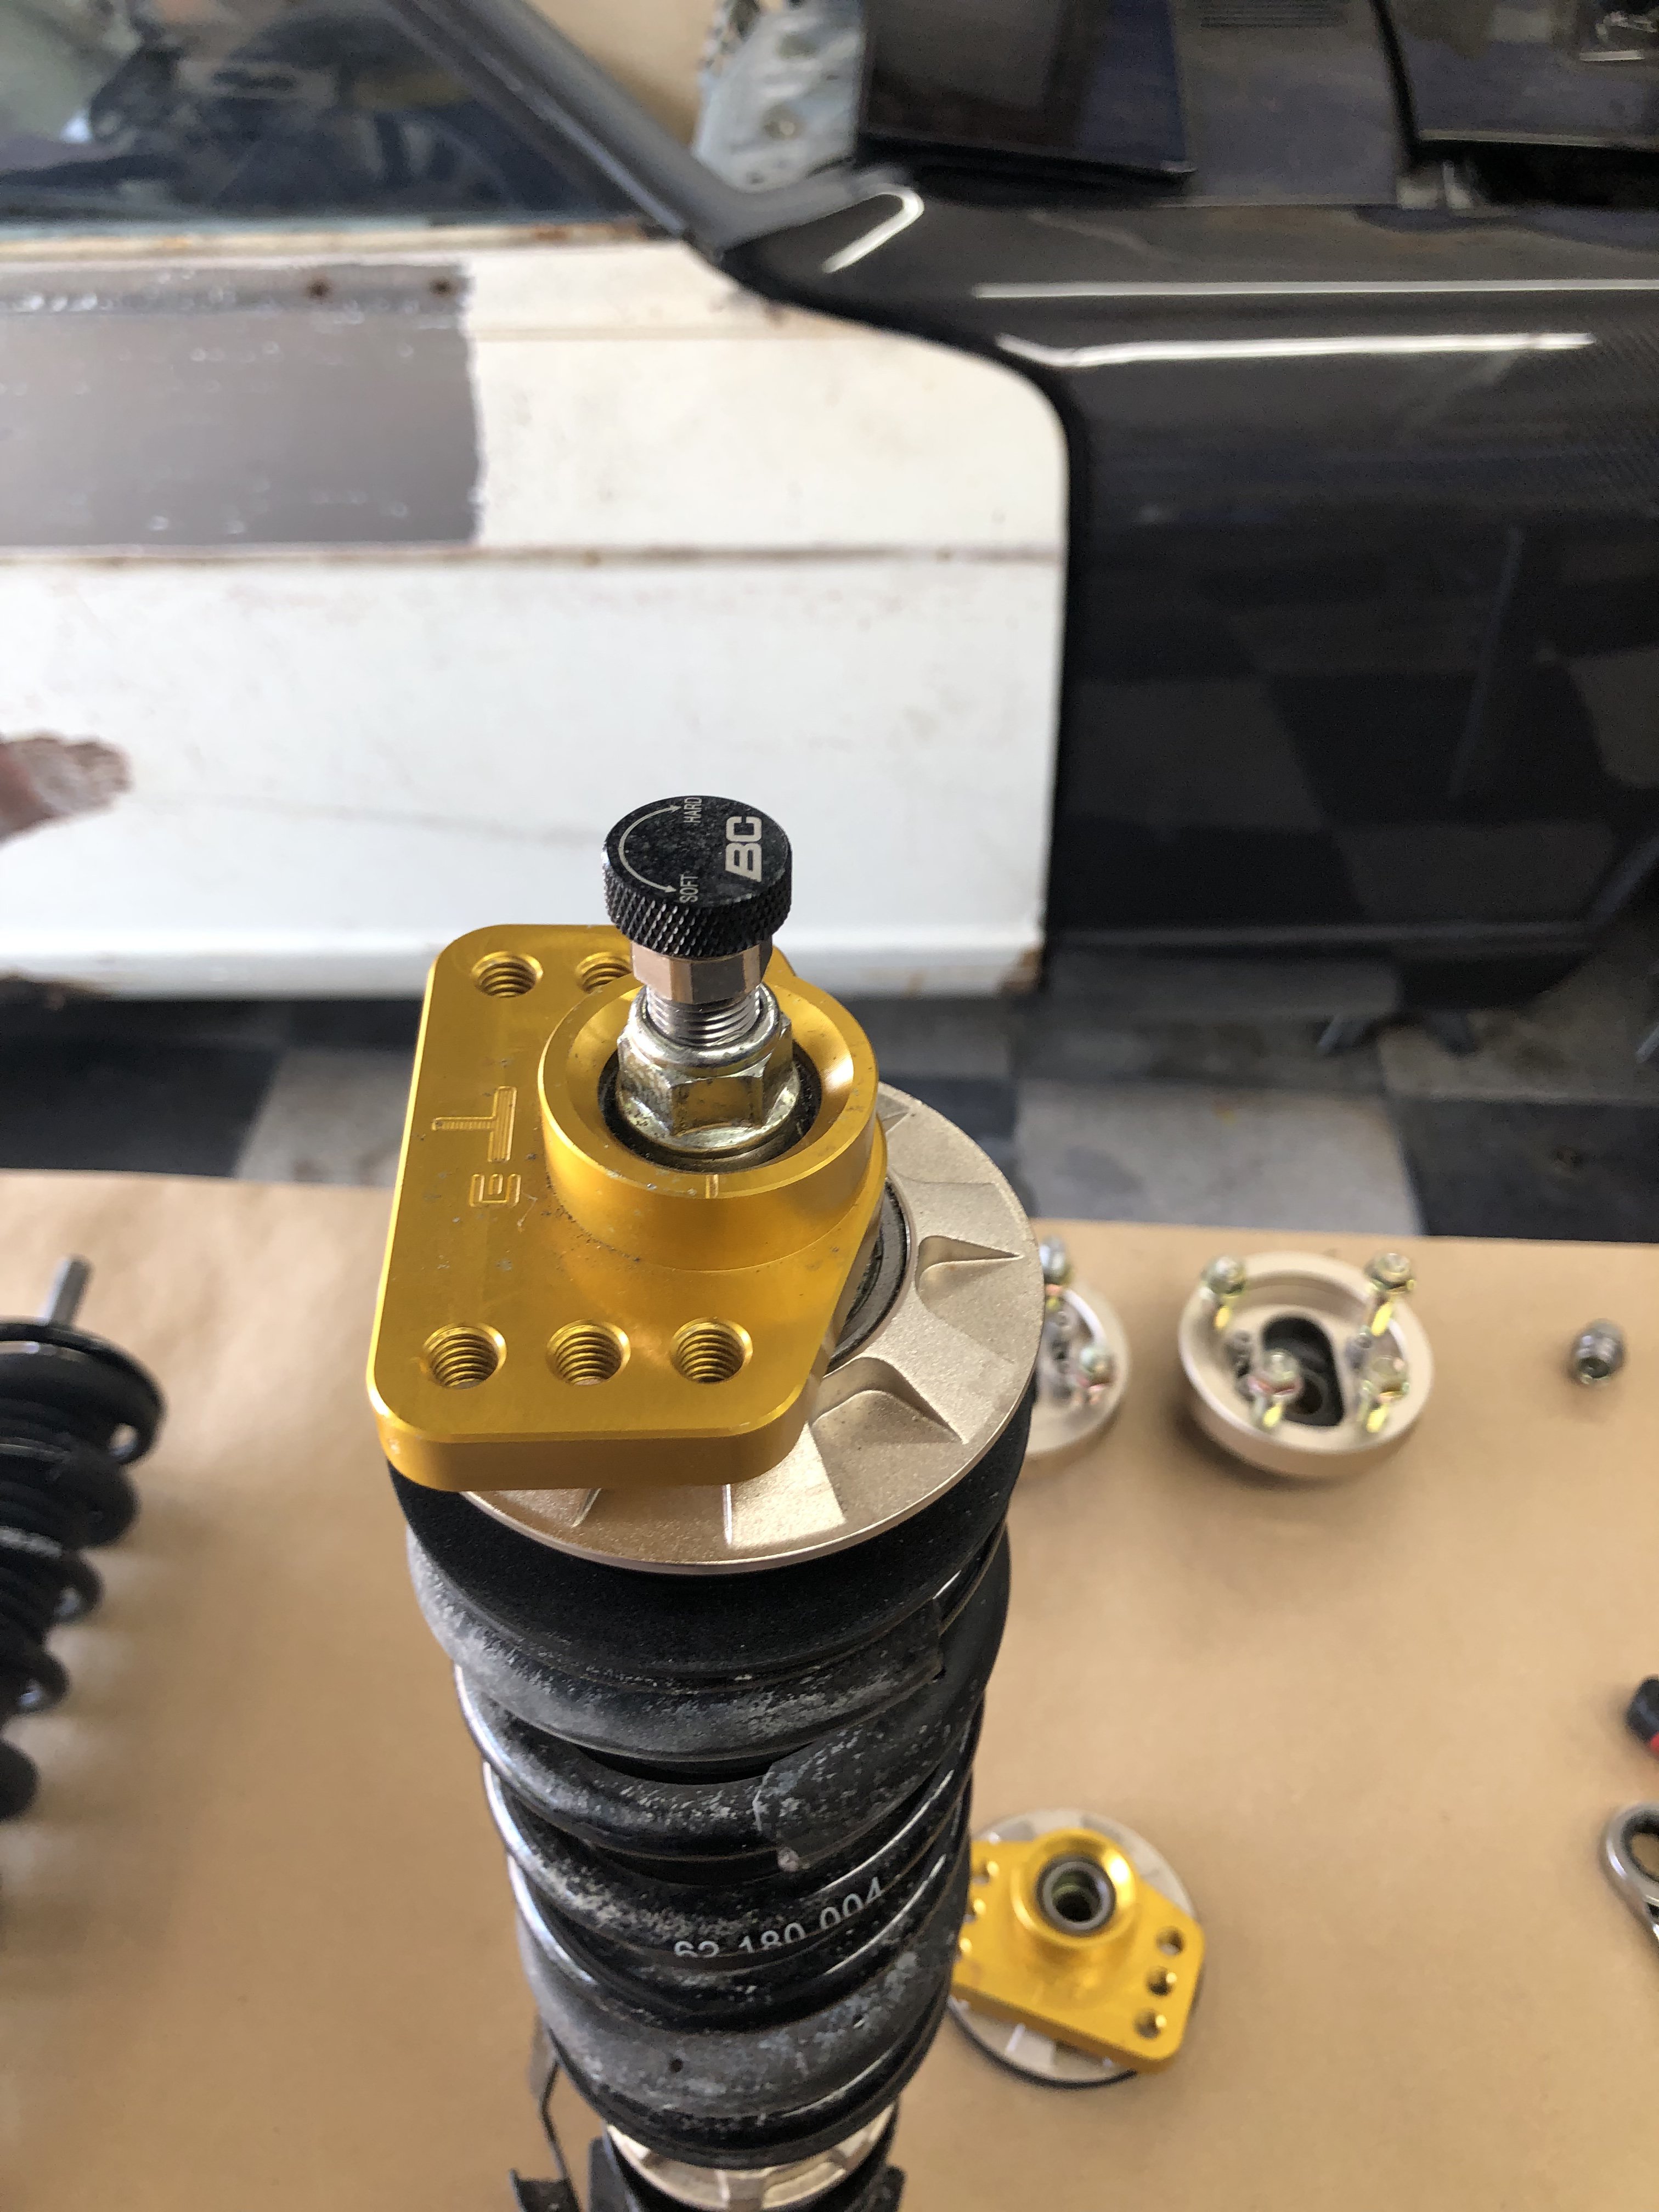
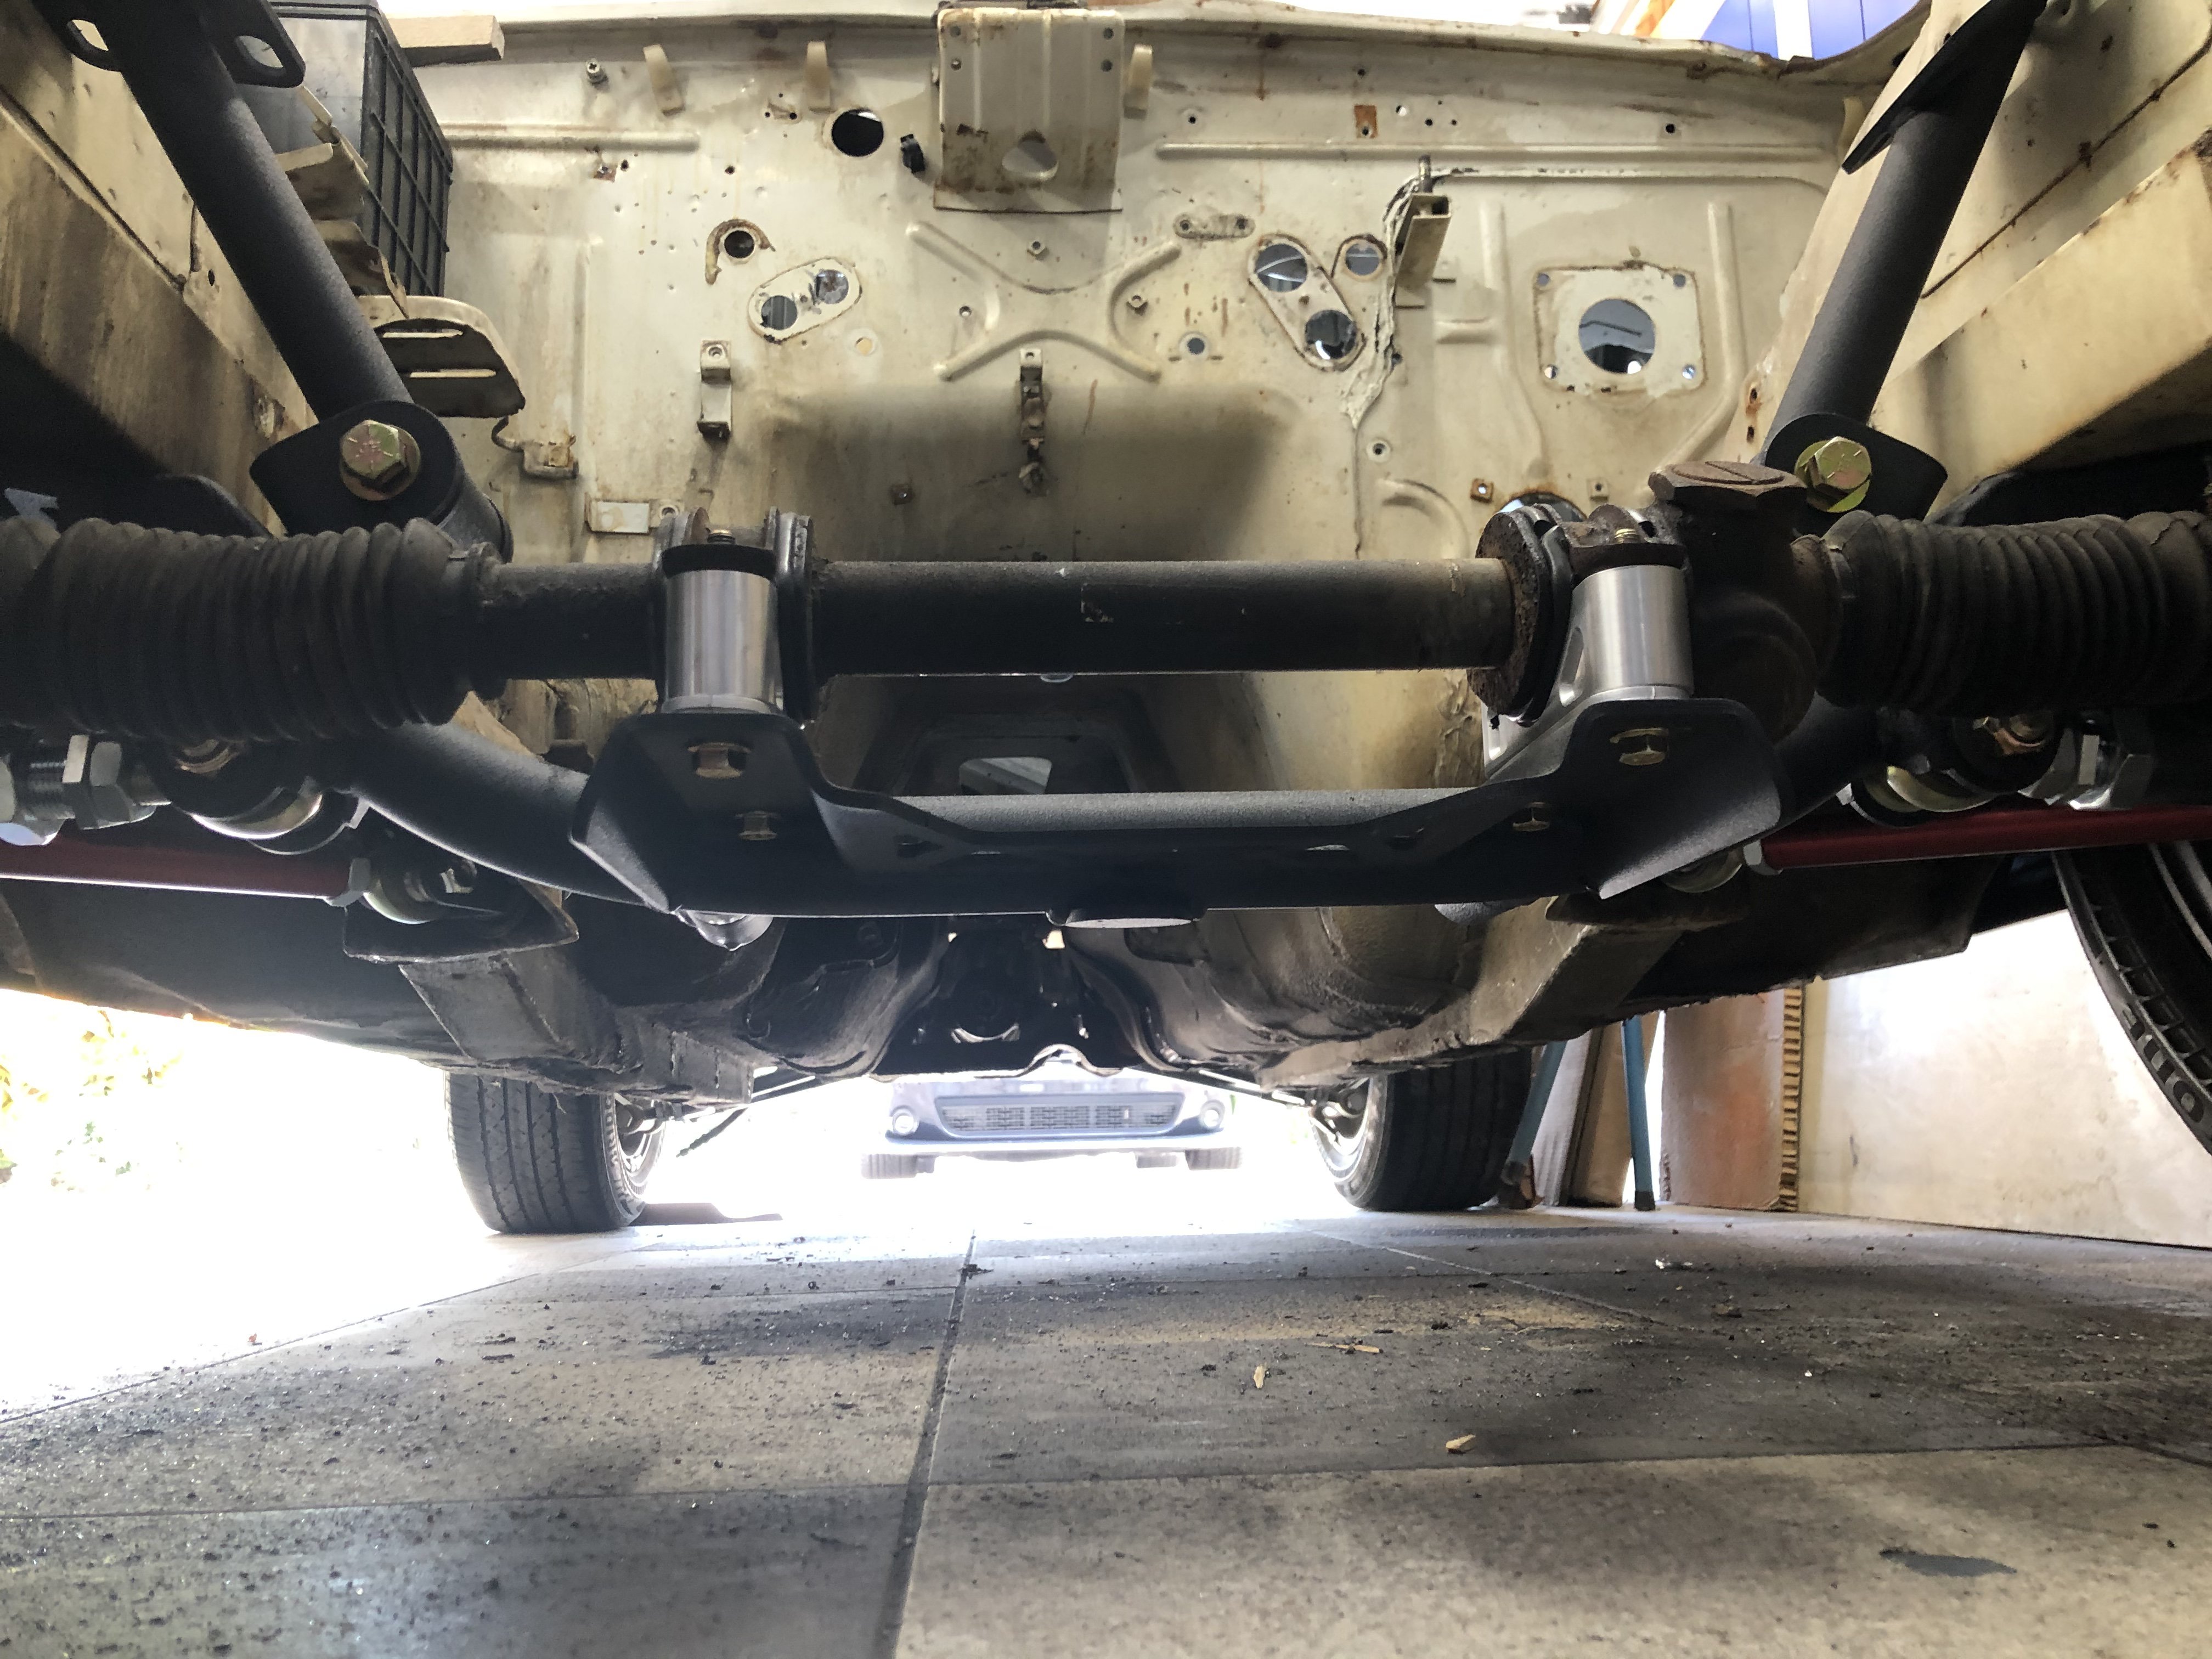
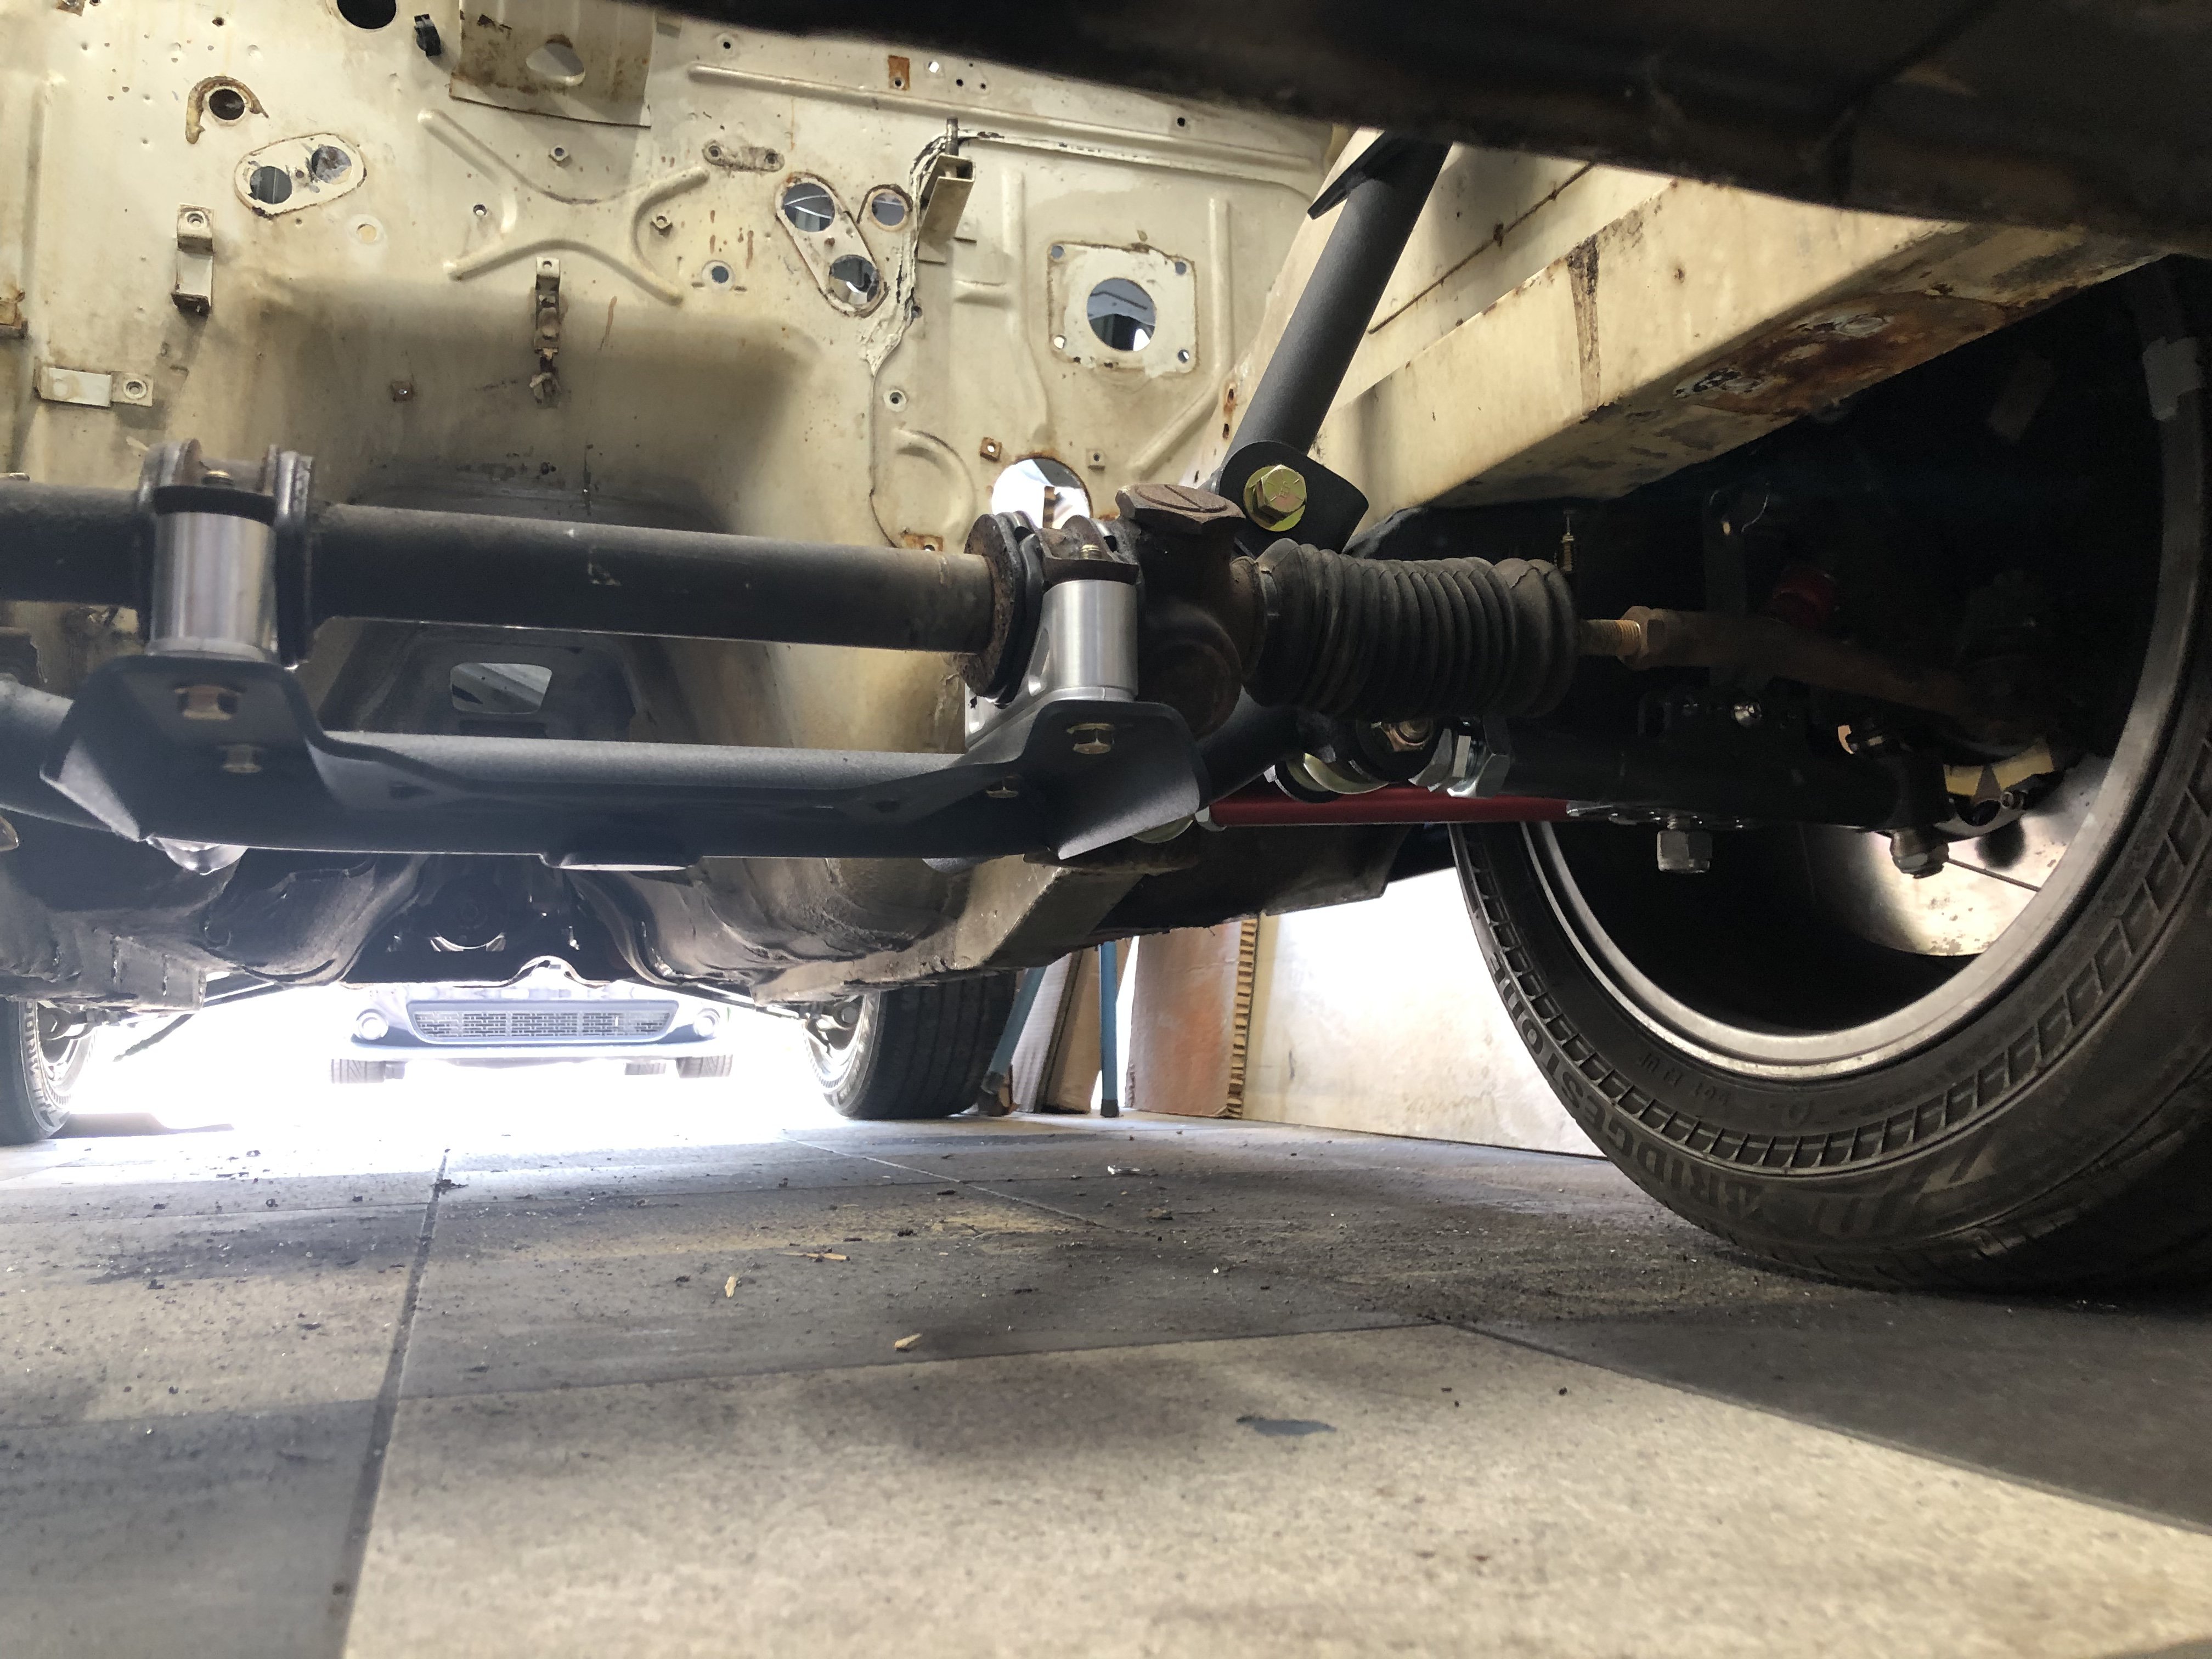
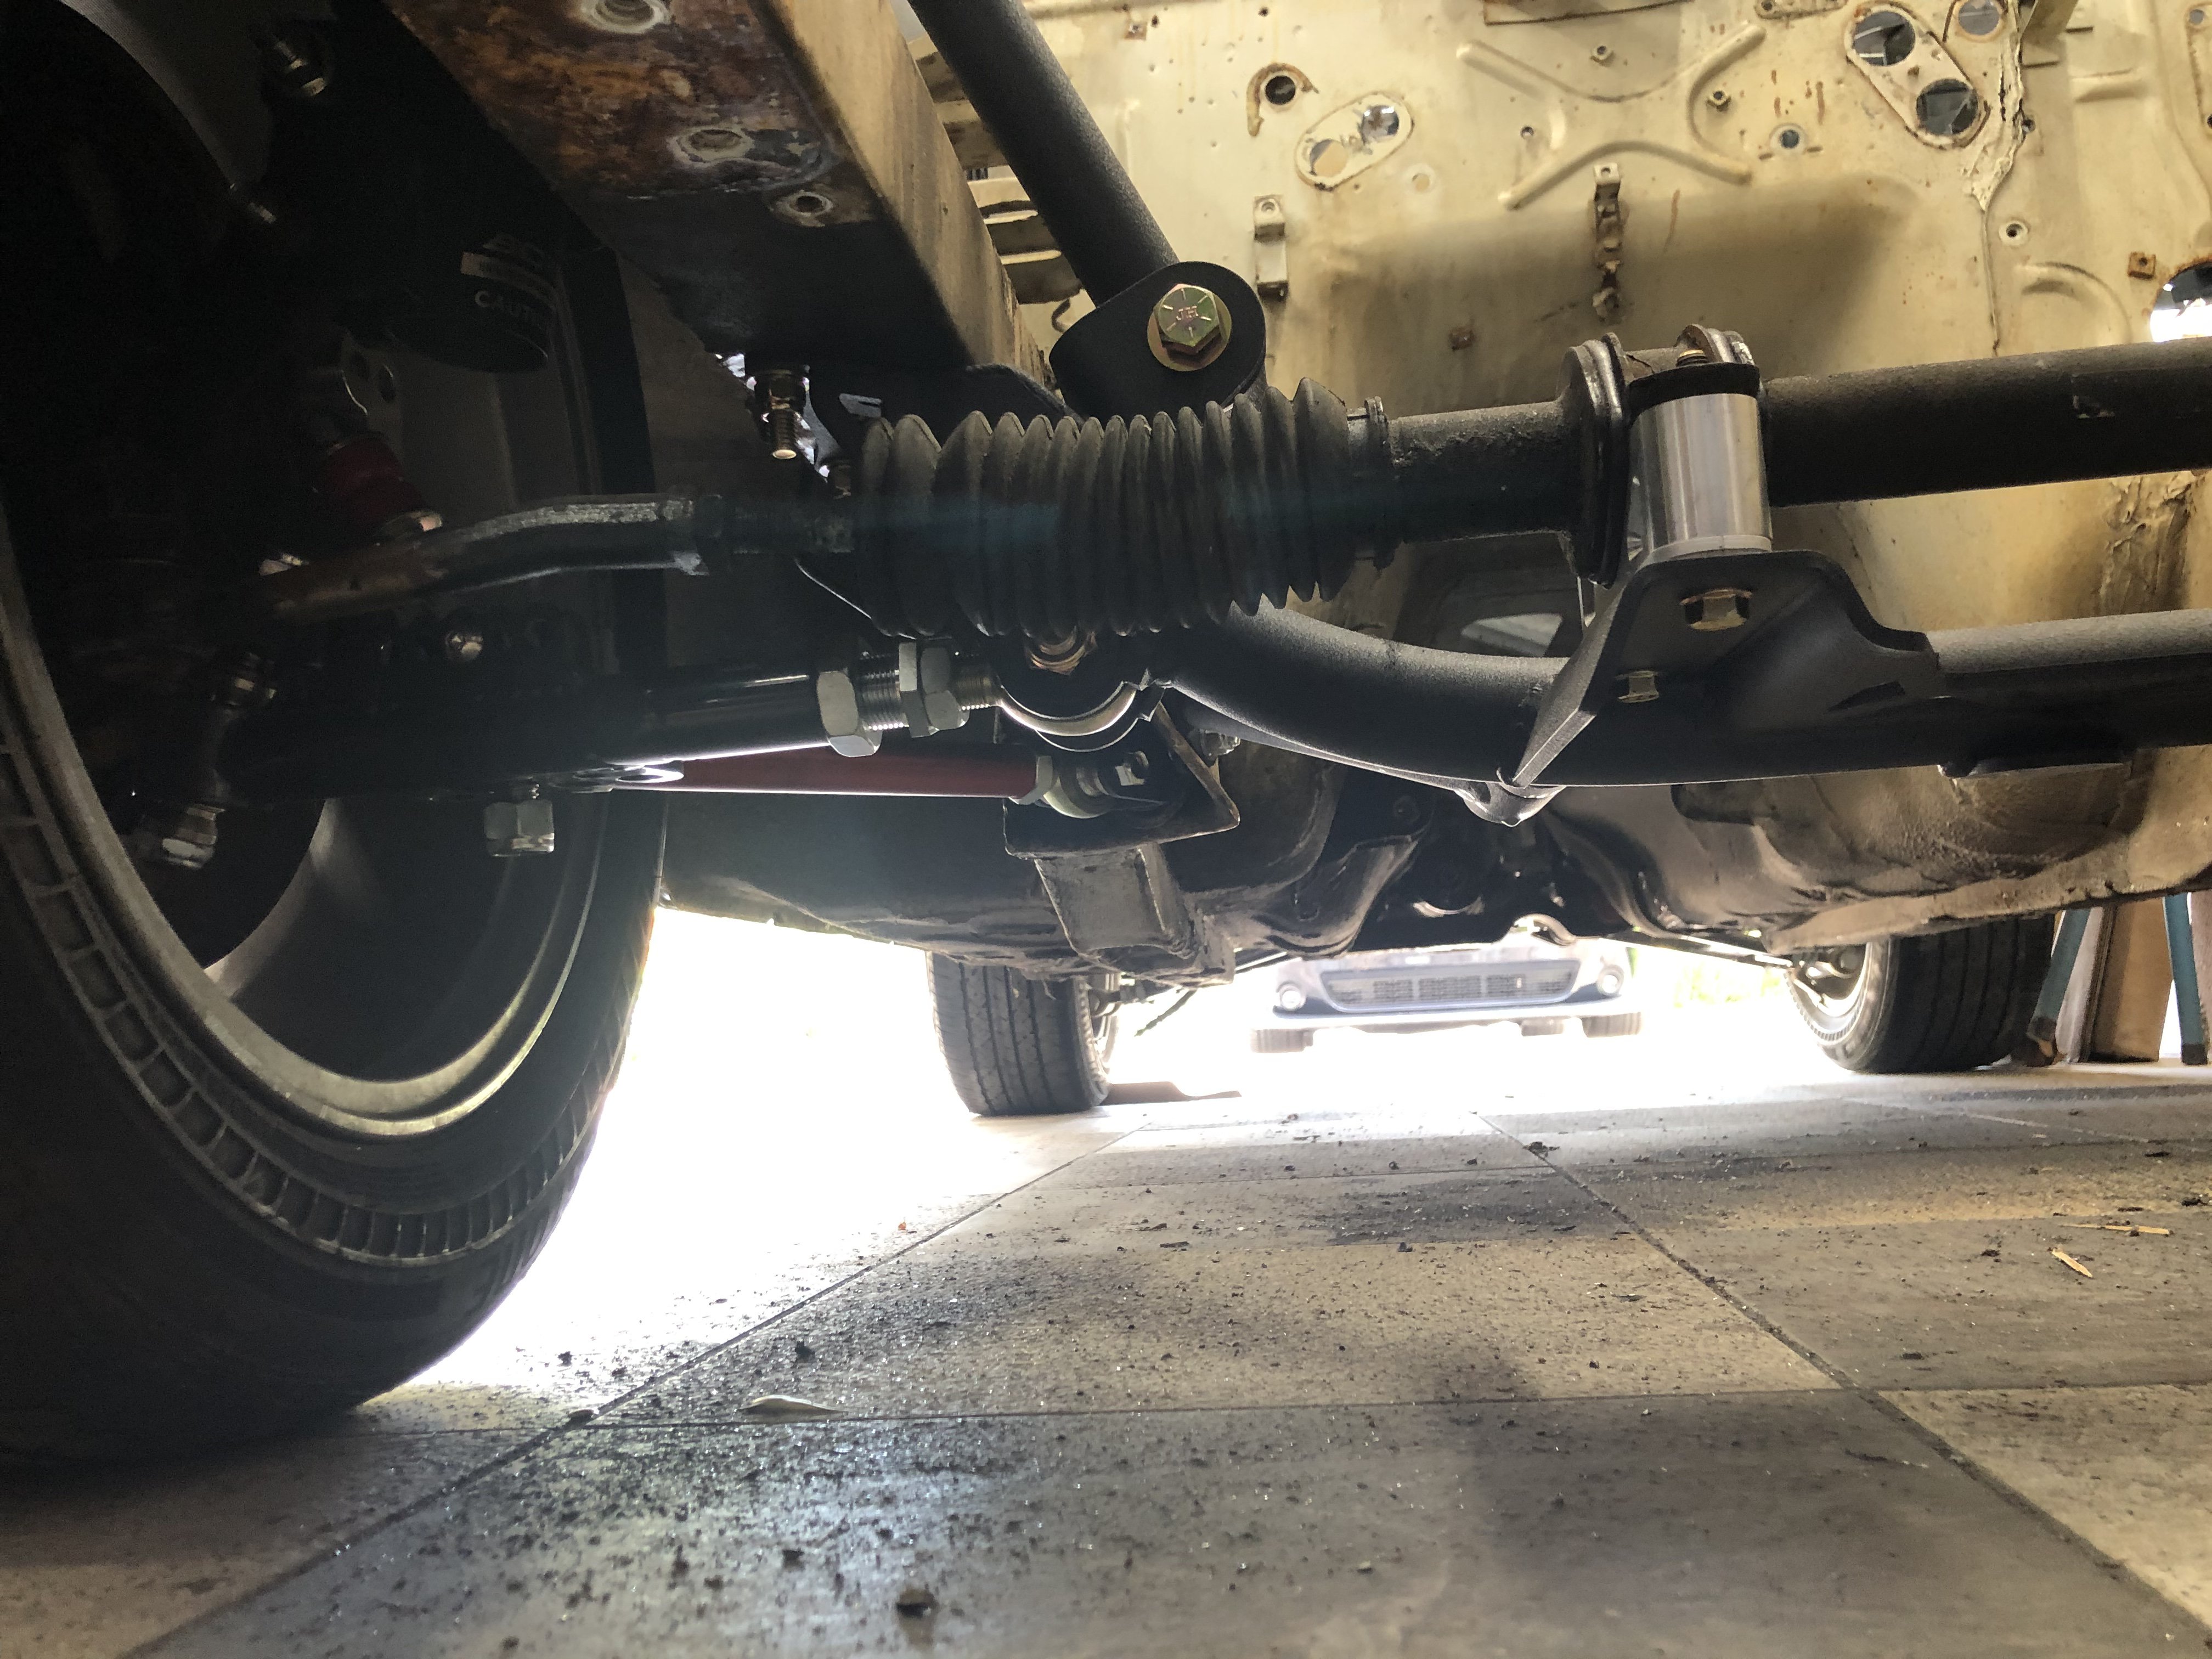
Okay, the project for today was to finish mocking up the front suspension. First, I removed the OEM crossmember and installed an Apex Engineered crossmember with tension rod stiffeners/braces. I can’t say enough good about this component assembly, it fits and looks good doing so. Next, I cut the top of my strut towers and welded in my T3 camber plates. The T3 camber plates are not “out of the box” compatible with my BC Coilovers and the hardware T3 supplies to allow the use of their camber plates with the BC stuff is good but I wanted to use the BC hardware so it had to be modified. I put the strut nuts and upper locator bushing on the lathe and turned them down so they would fit in the T3 camber plate (BC was 17.91mm and inner diameter of the T3 camber plate bearing is 15.84mm) once the nut sleeve and sleeve on the upper bushing was turned down to 15.75 they fit snug. Then I reassembled and reinstalled the BC Coilovers and did a rough alignment to ensure I was able to get specs...I have plenty of adjustability and I’m sure once this stuff finally gets installed permanently and put on an alignment machine we will get well within specs. I’m still waiting on Apex to supply my custom outer tie rods, then I will remove the rack (again) and clean it up, repair as necessary, paint and install new inner tie rods, boots and the new Apex out tie rods.
-
1 hour ago, Jboogsthethug said:
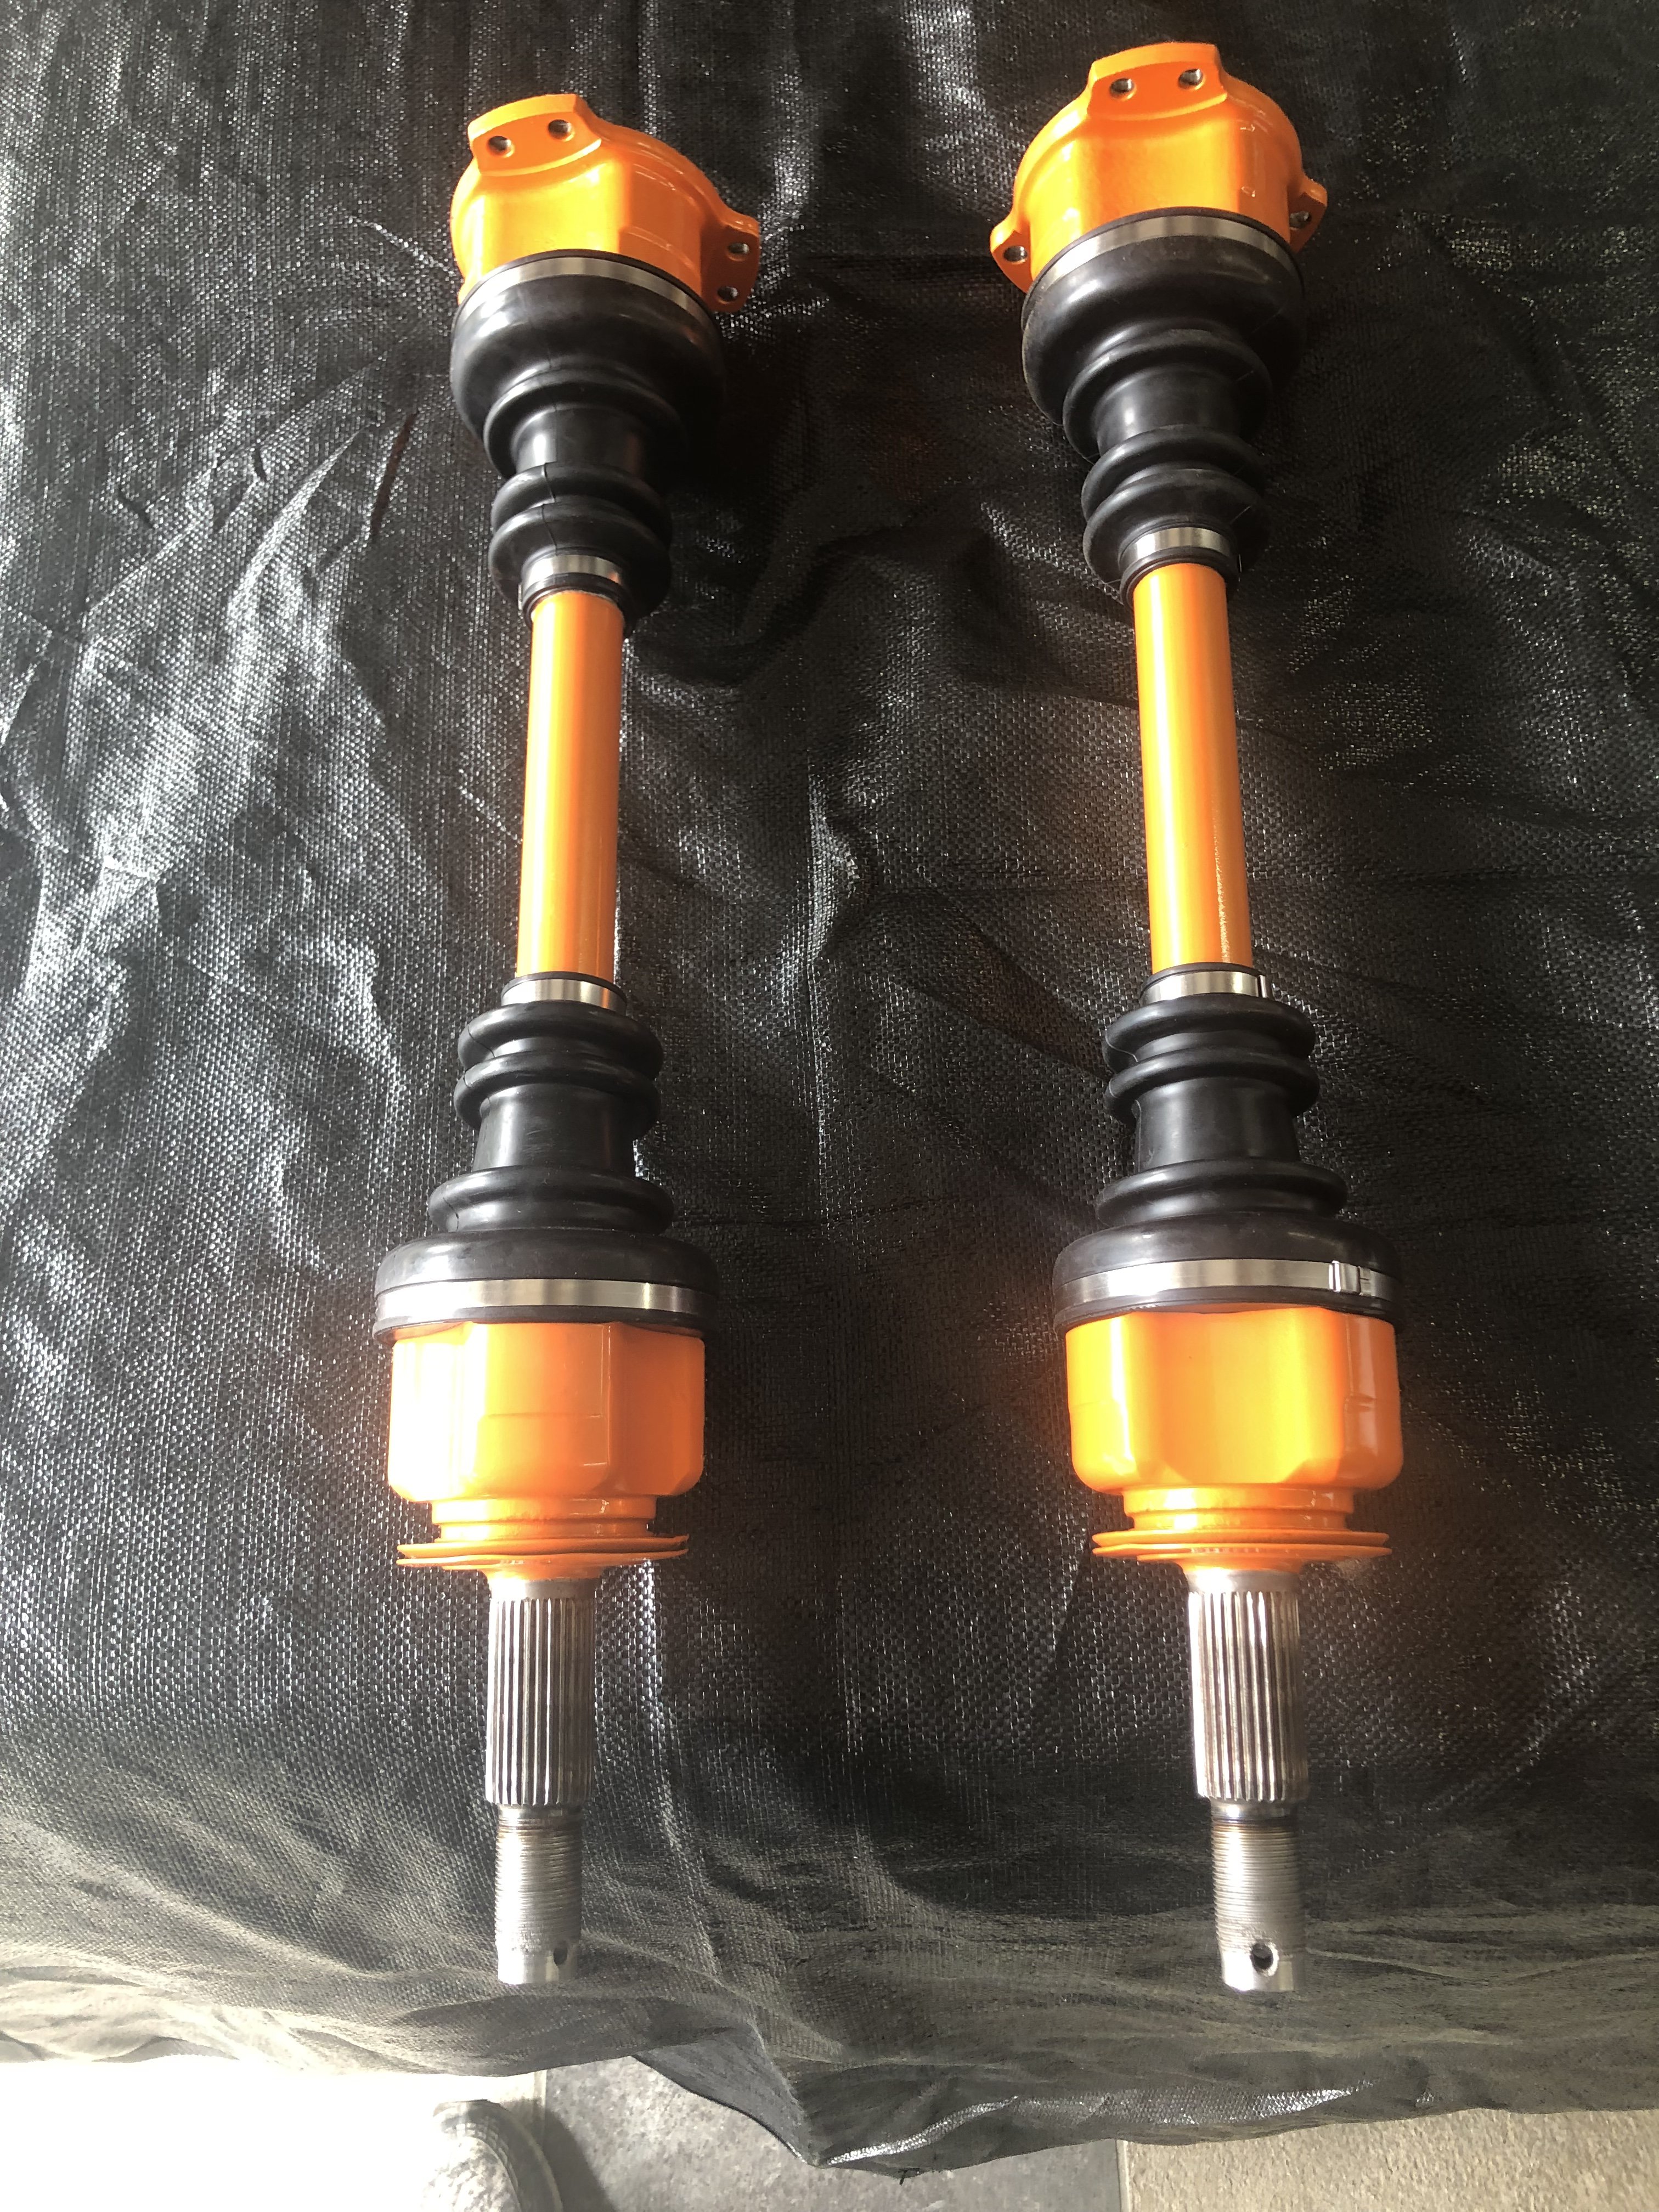
Man it's turning out awesome! I'm jealous of all that CF! also, great job turning those axles, good as new!
Thanks! Trying to stay on track. Its a long road to go but the shiny bits help me stay motivated!
-
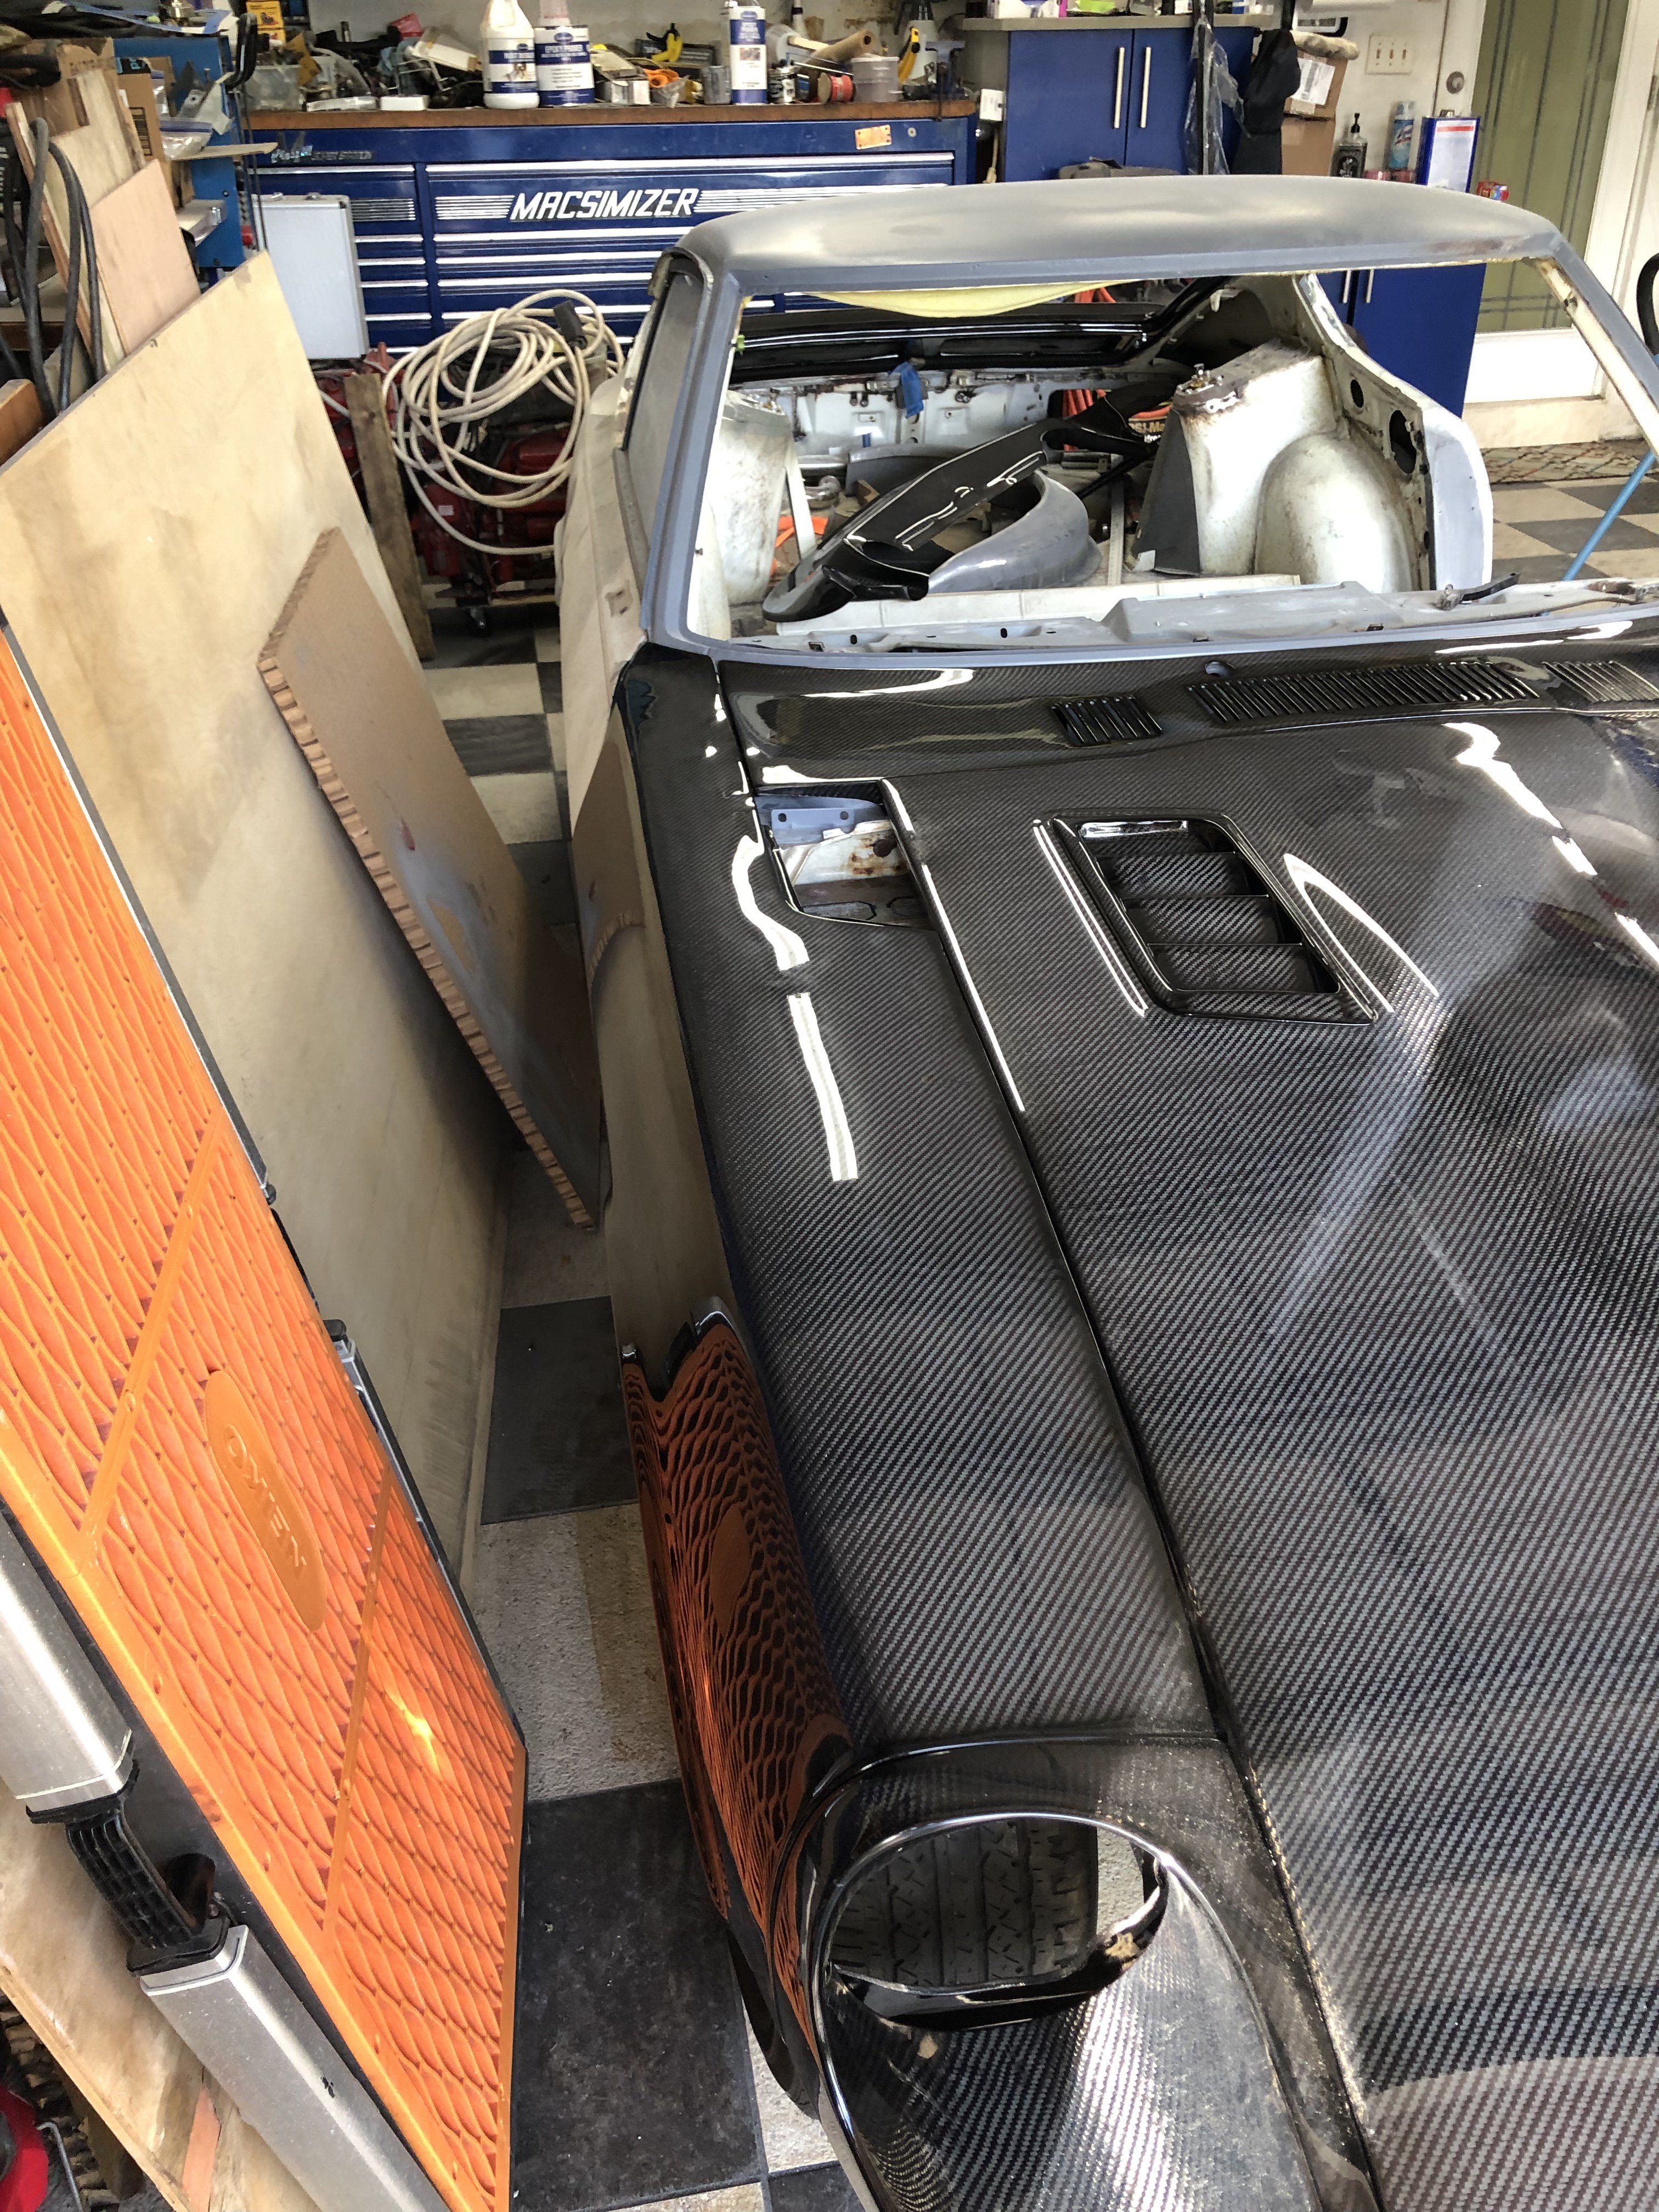
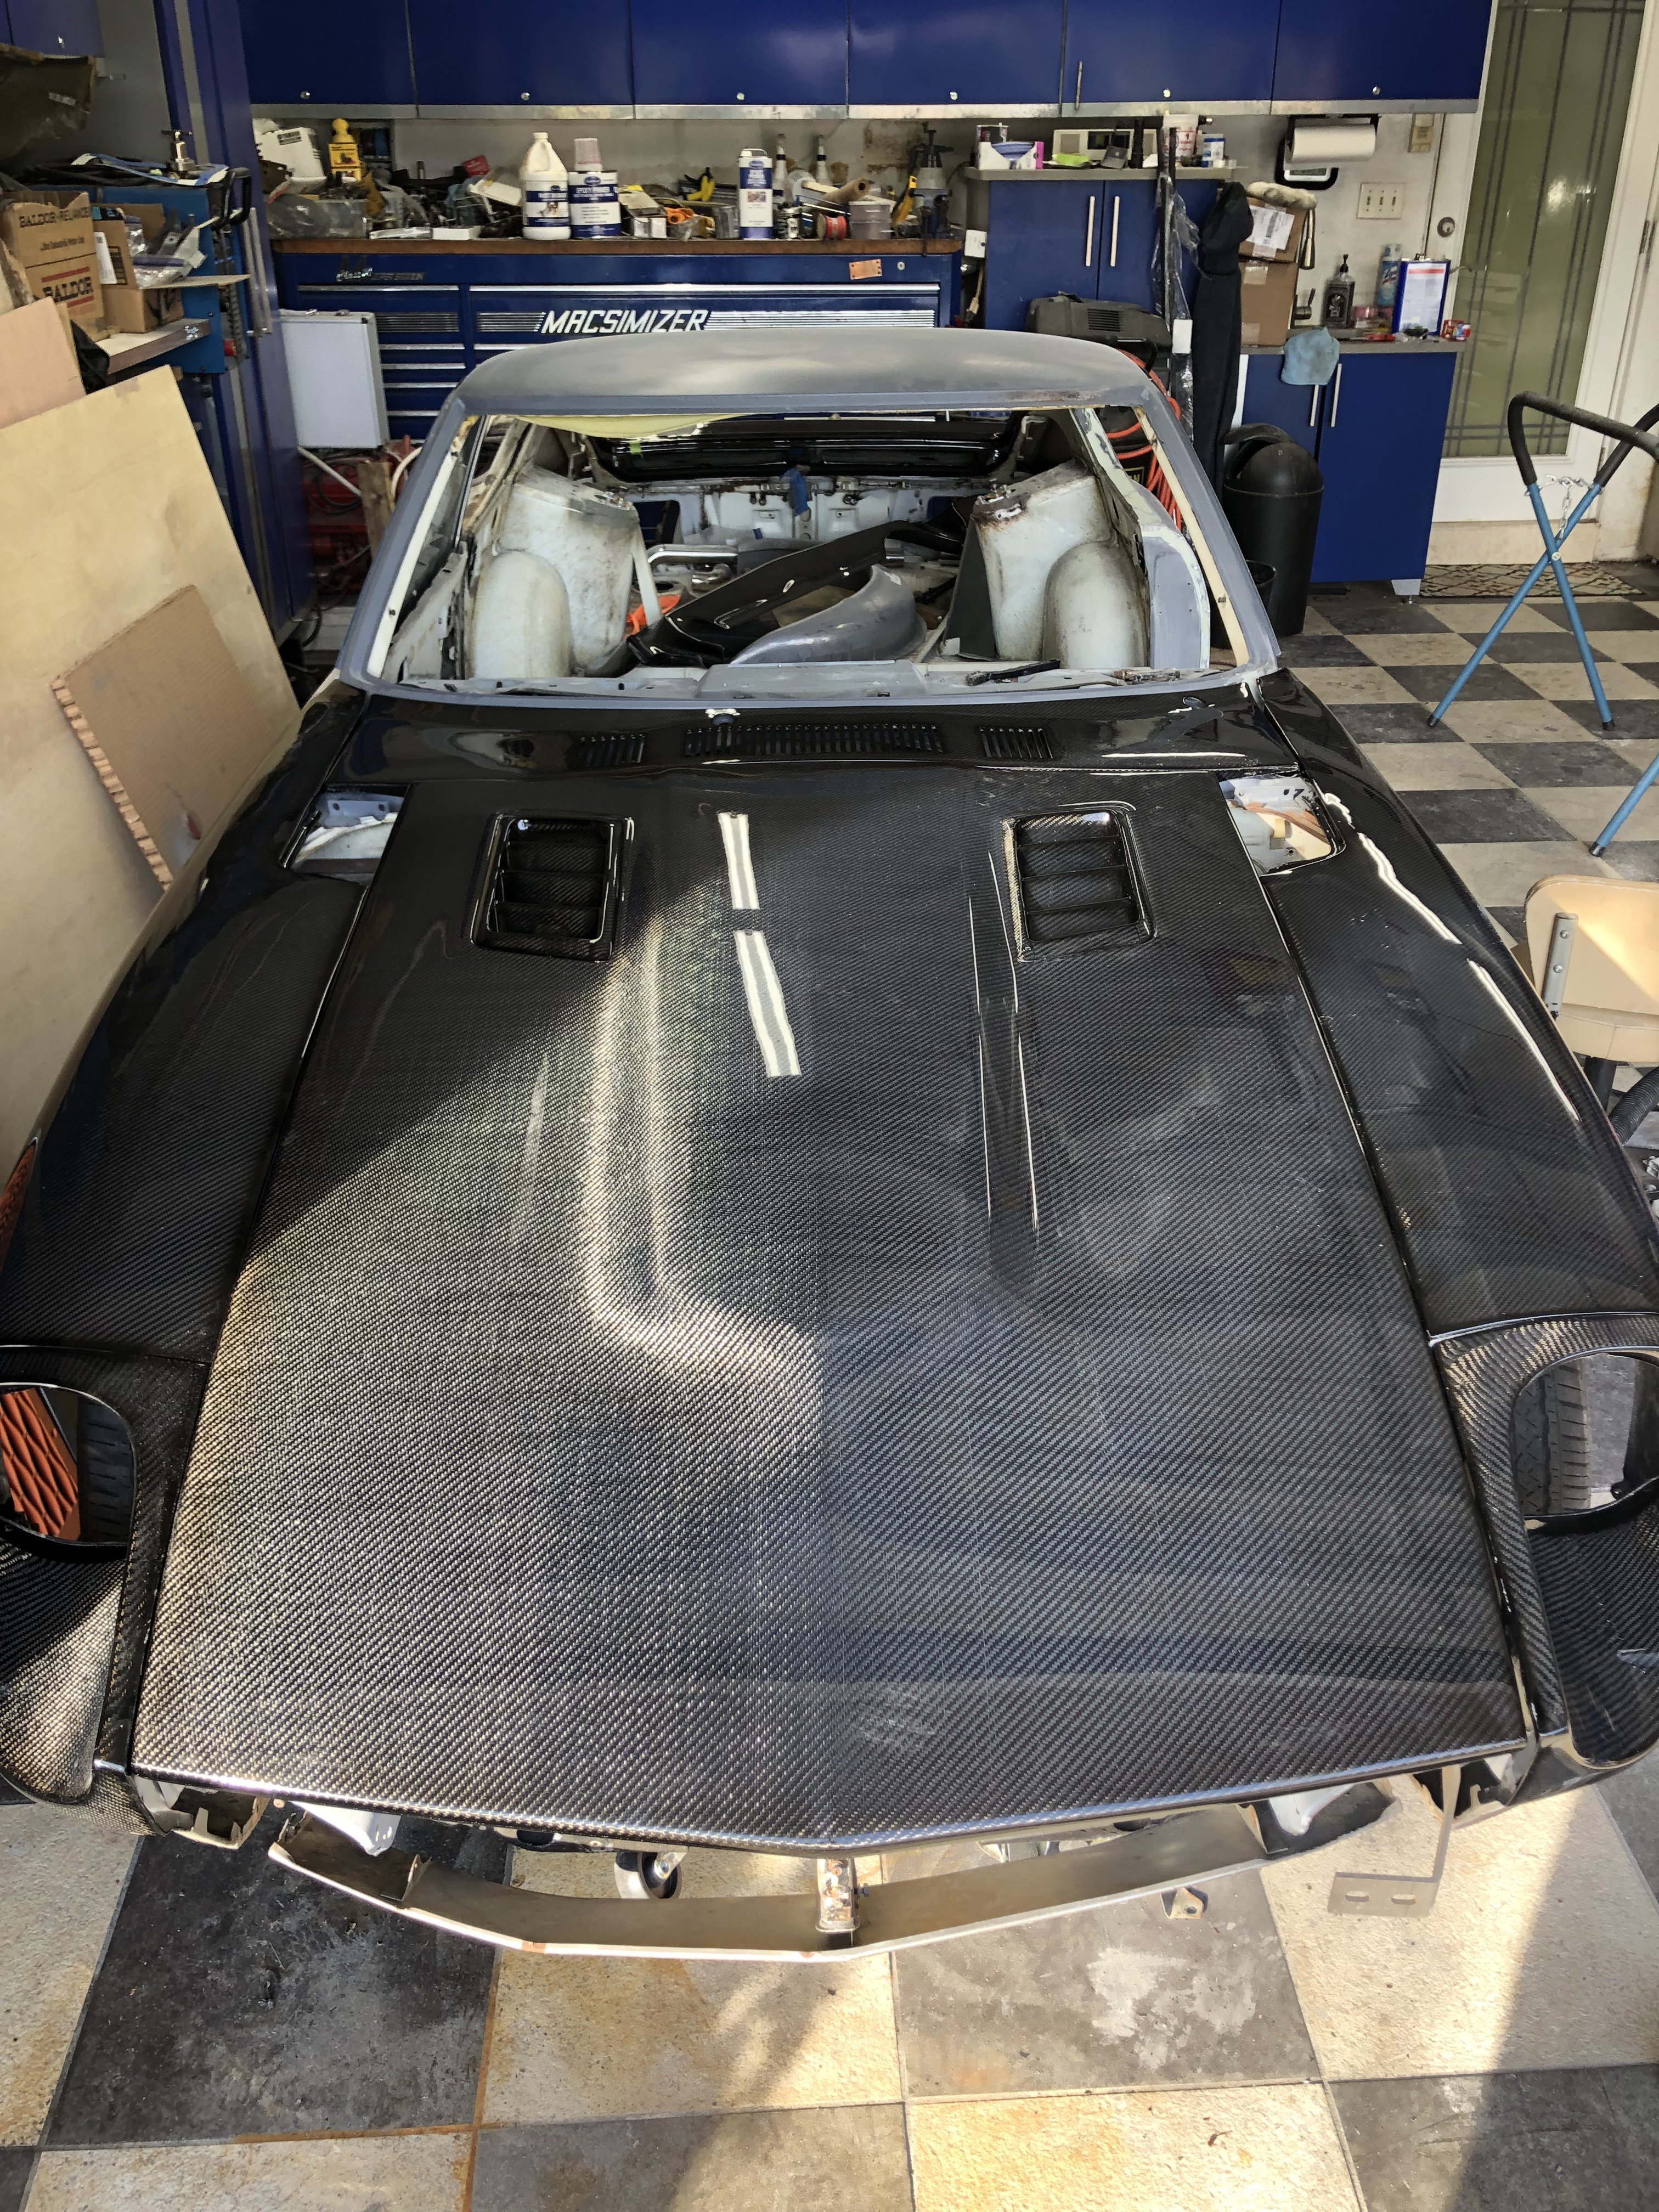
Carbon was unboxed this past Friday .
-
Today’s project was to build up my axles. After waiting a good length of time T3 got me the correct axles and CV boots for my differential conversion. I dismantled everything about two months ago. I painted all the parts yesterday...I also took the stub shafts out to the airport today to deal with the hammer damage from the hacks that removed the axles prior to my purchase. I put the stub shafts on the lathe and turned down the ends where the hack hammered them into submission. Then I returned home and assembled them.
-
46 minutes ago, grannyknot said:
Any idea how much weight savings you'll get with all those panels?
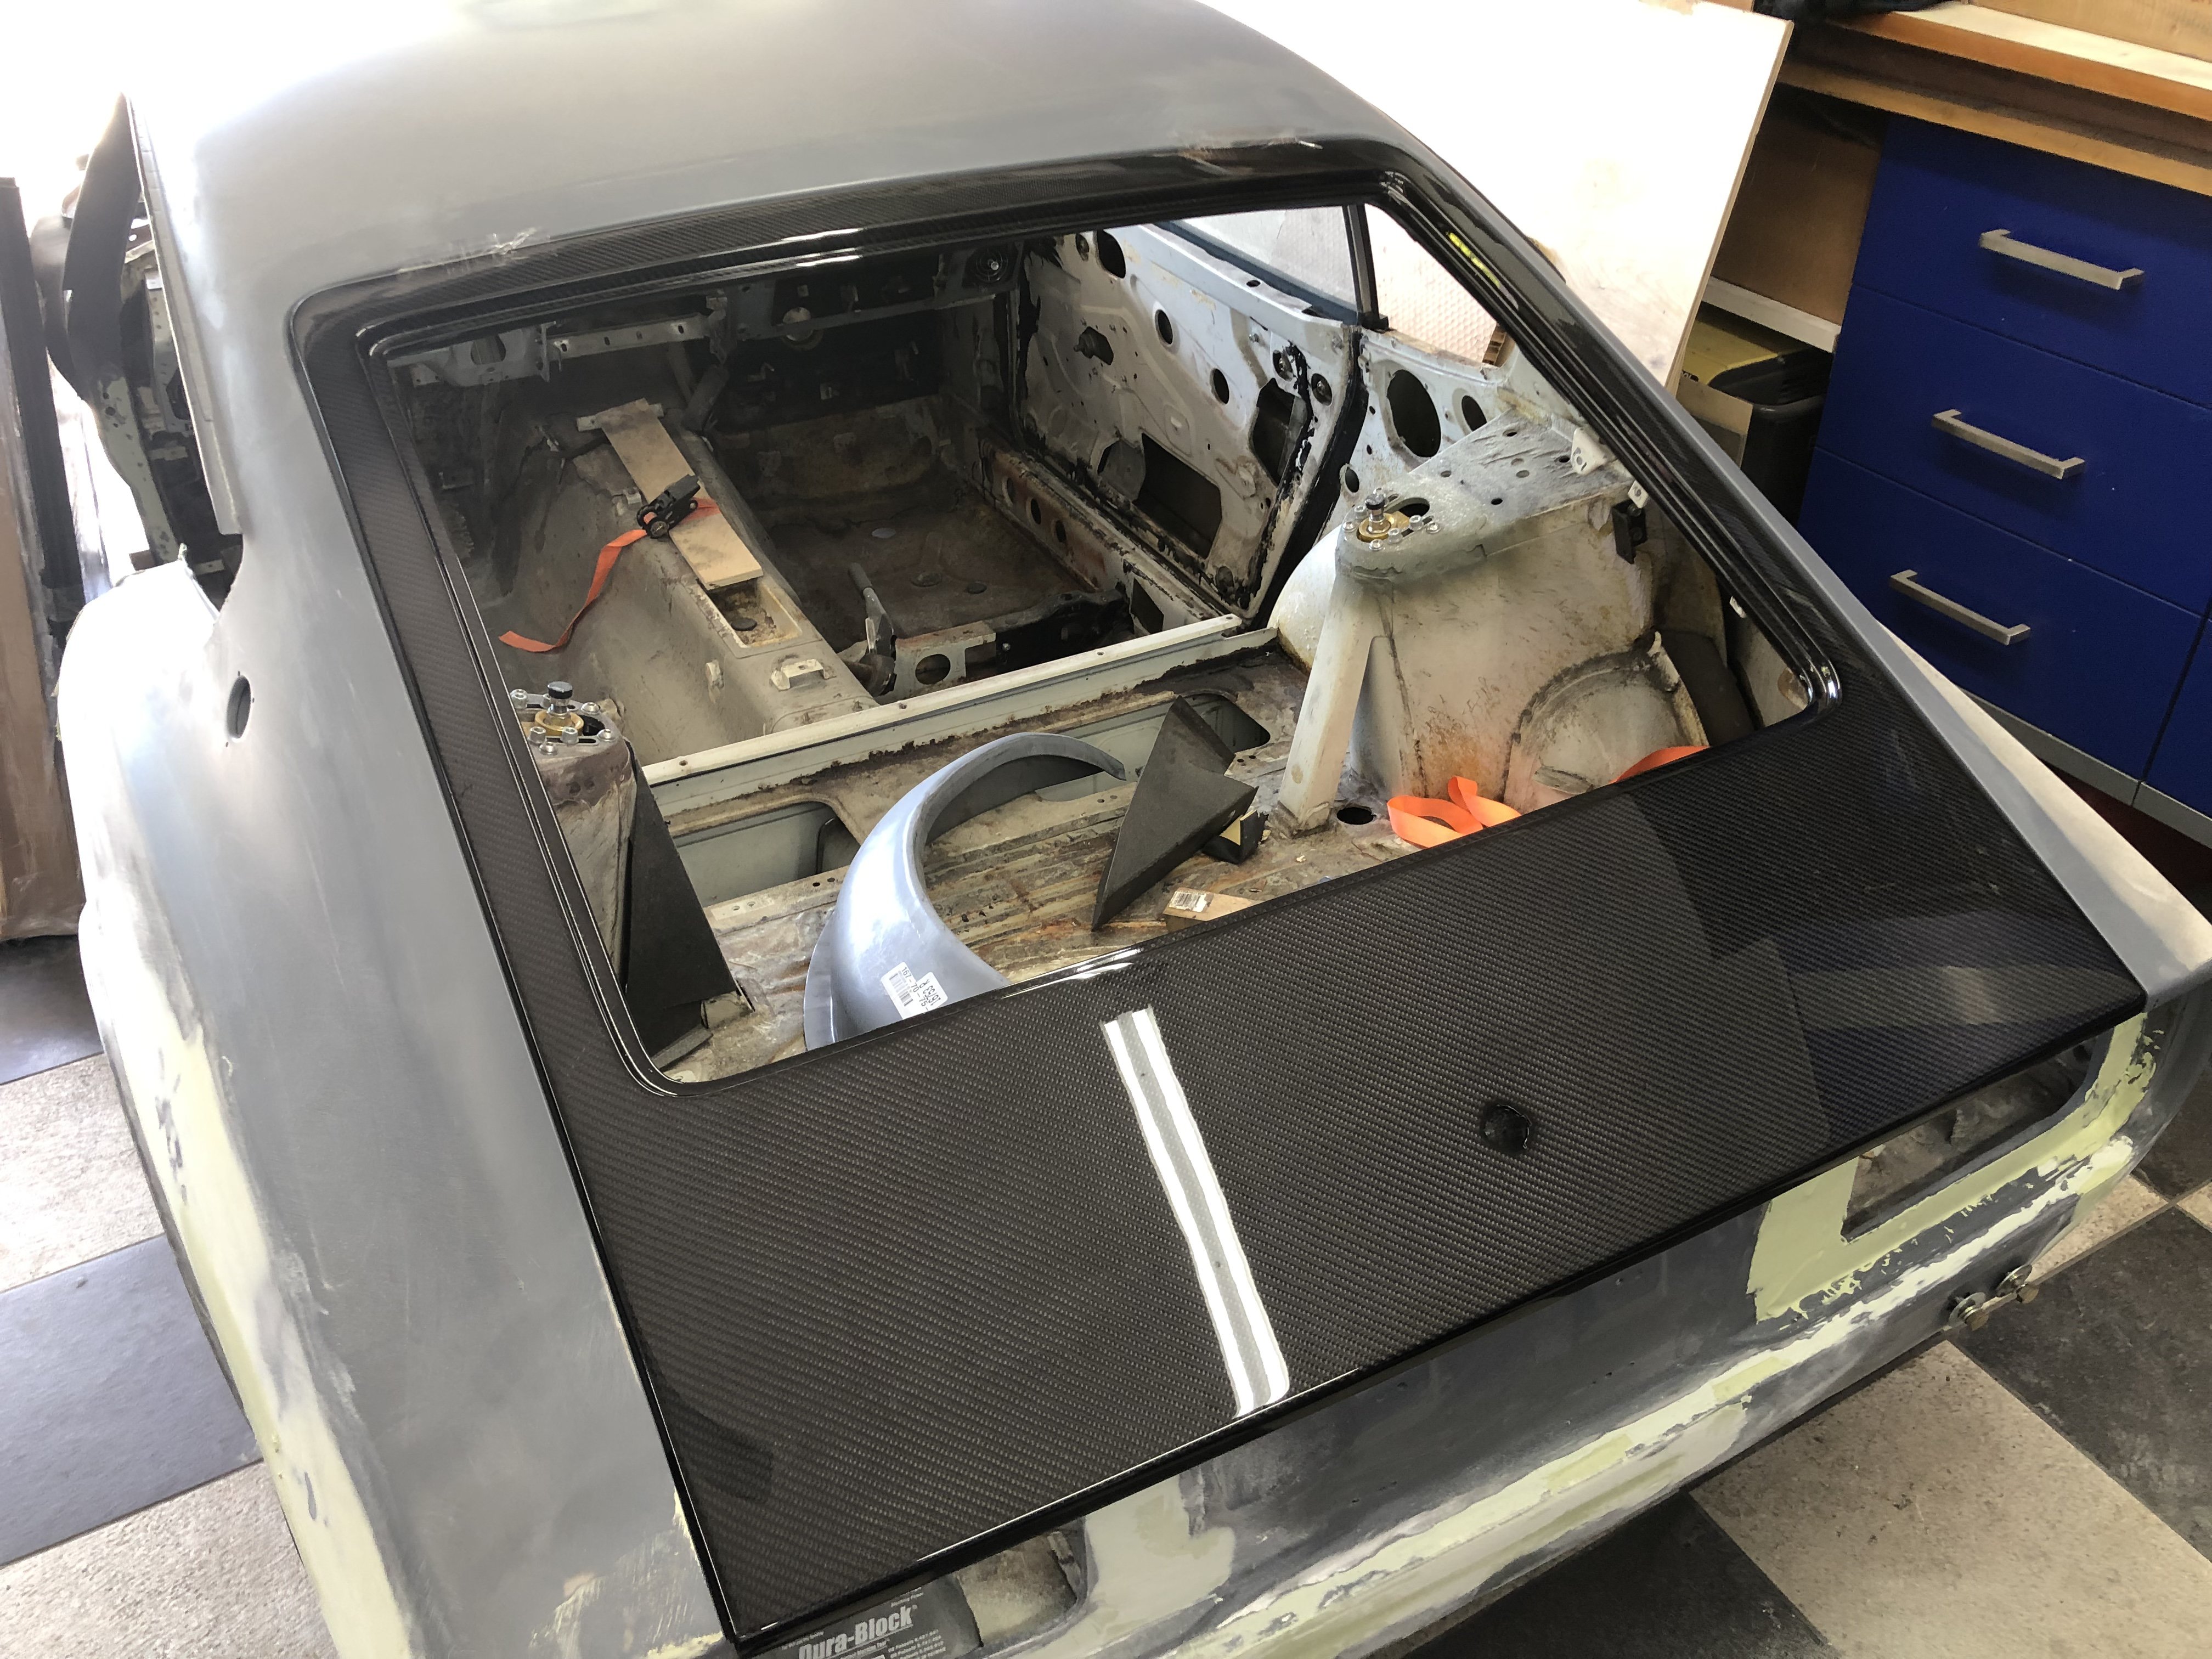
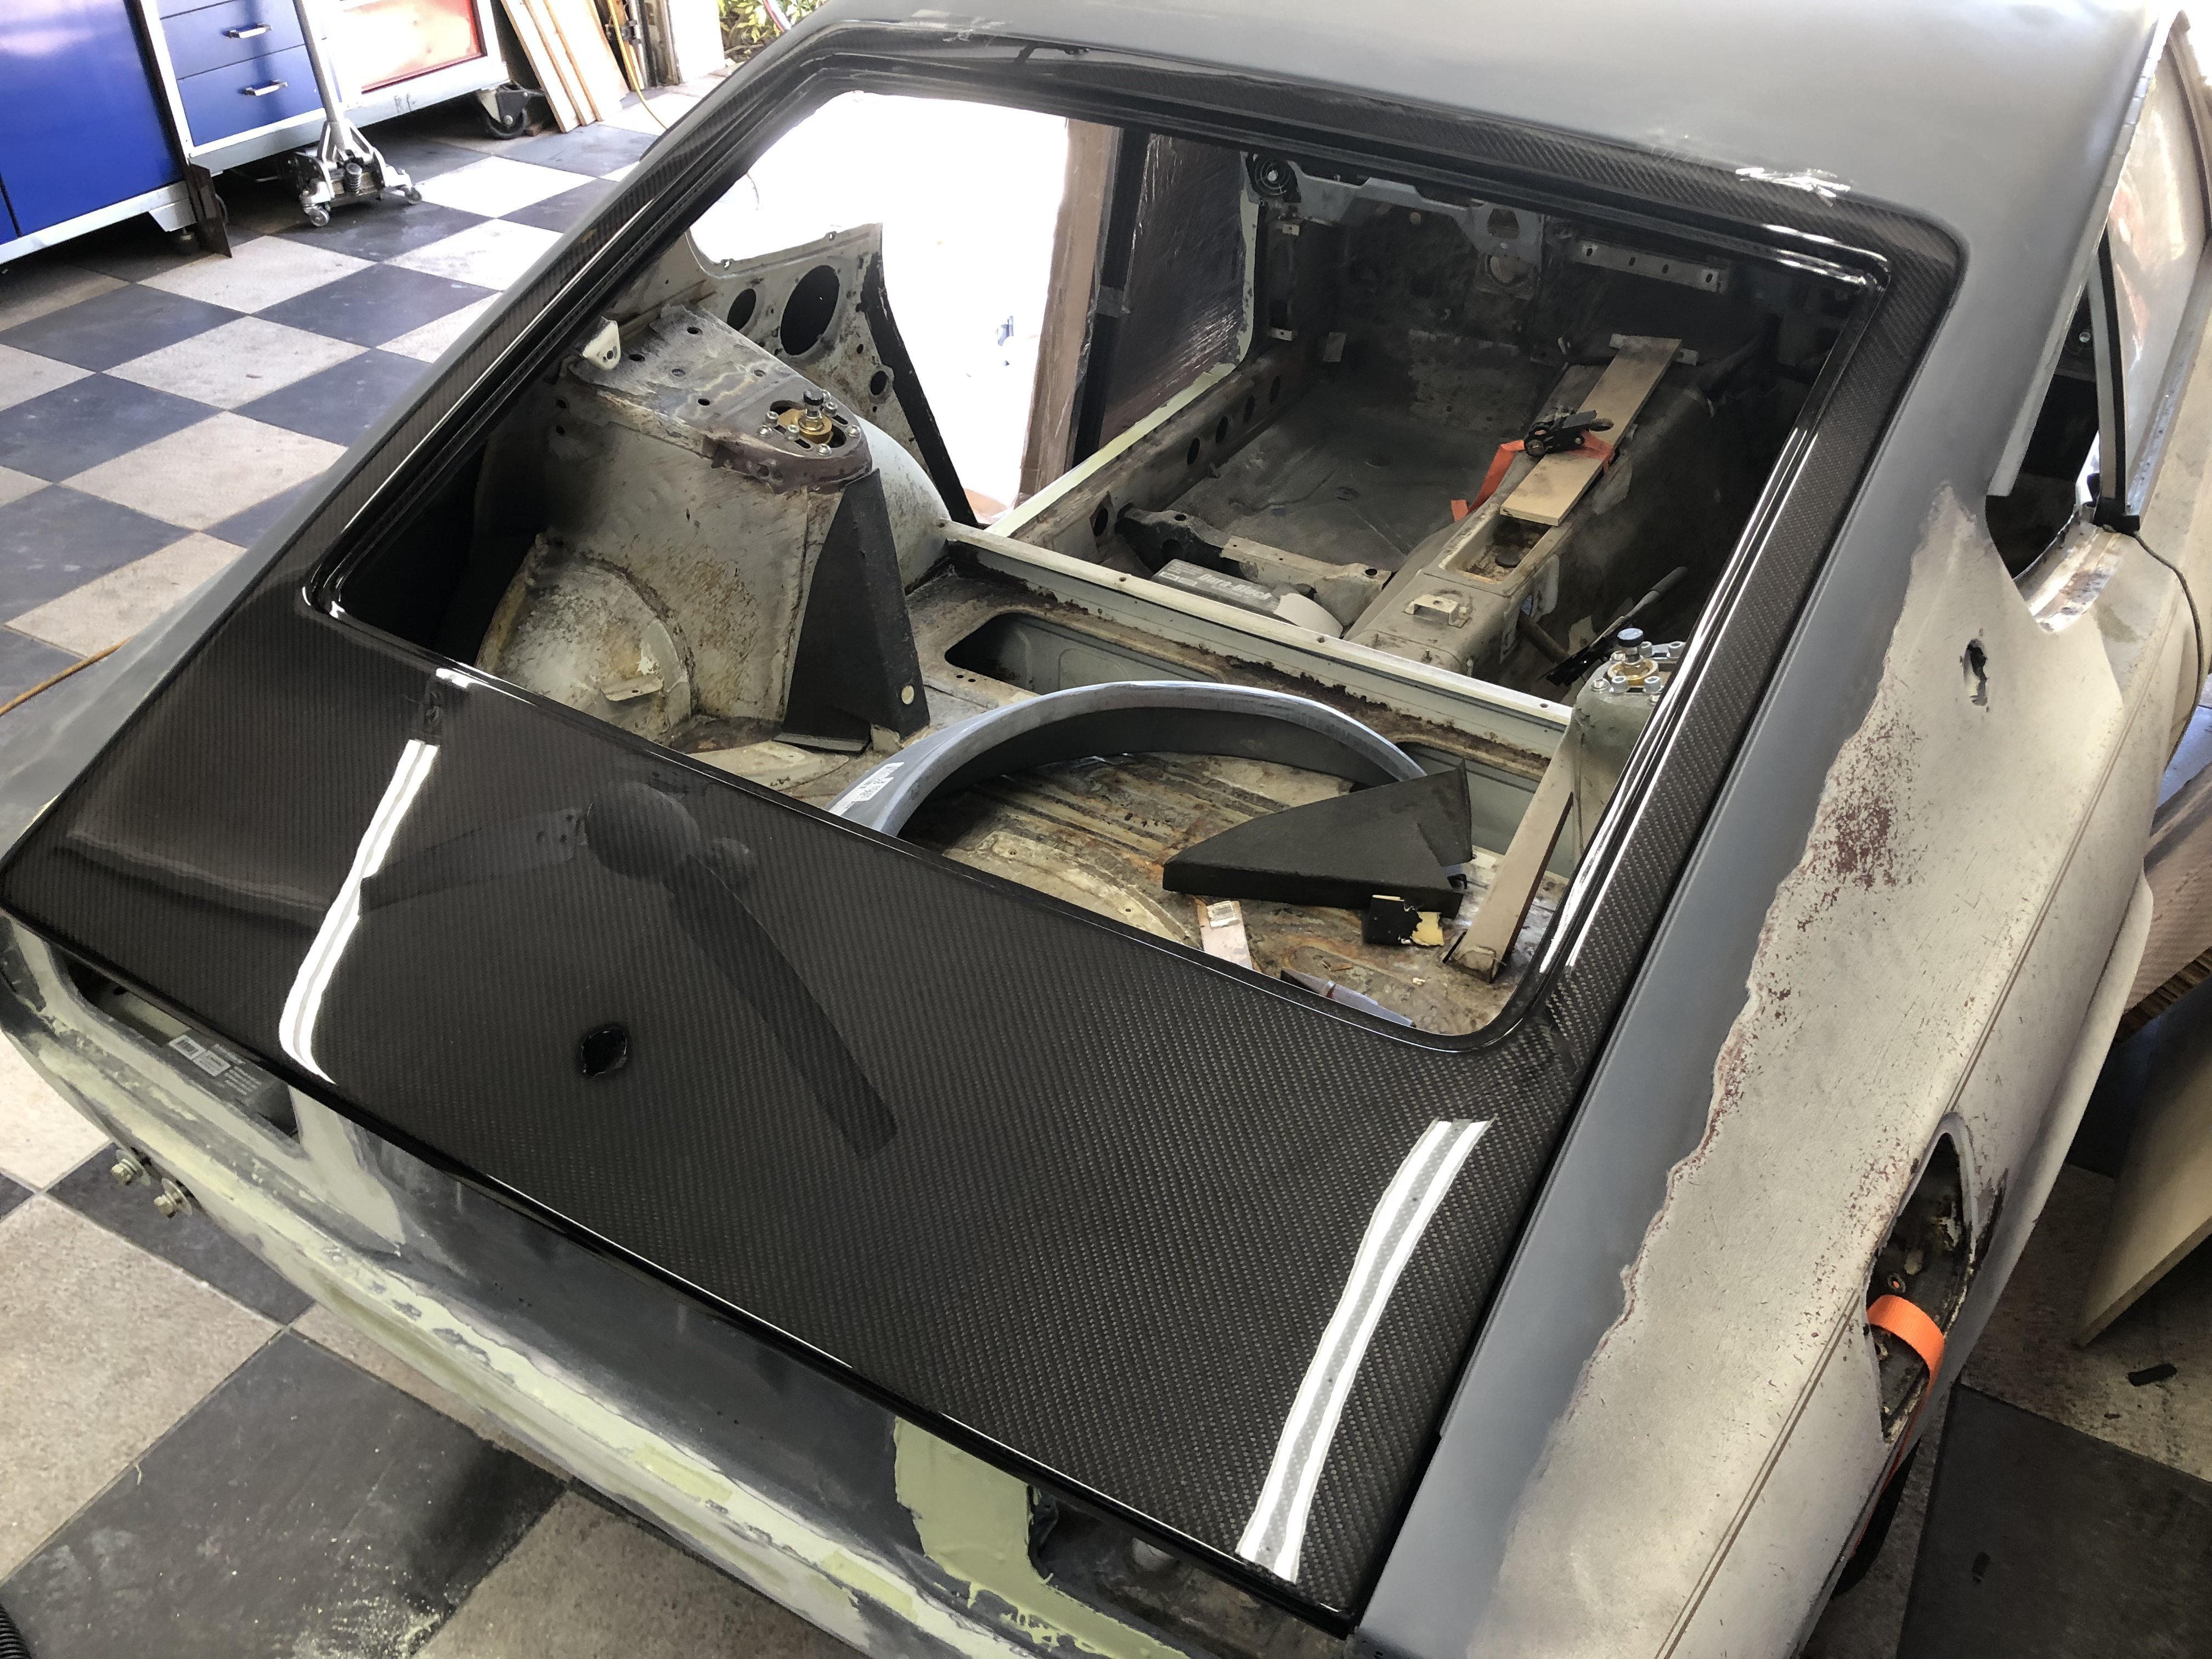
Haven’t weighed anthing yet bet the Carbon hatch is probably 15-20lbs lighter than the steel hatch. I’m guessing a total weight savings of 50lbs
-
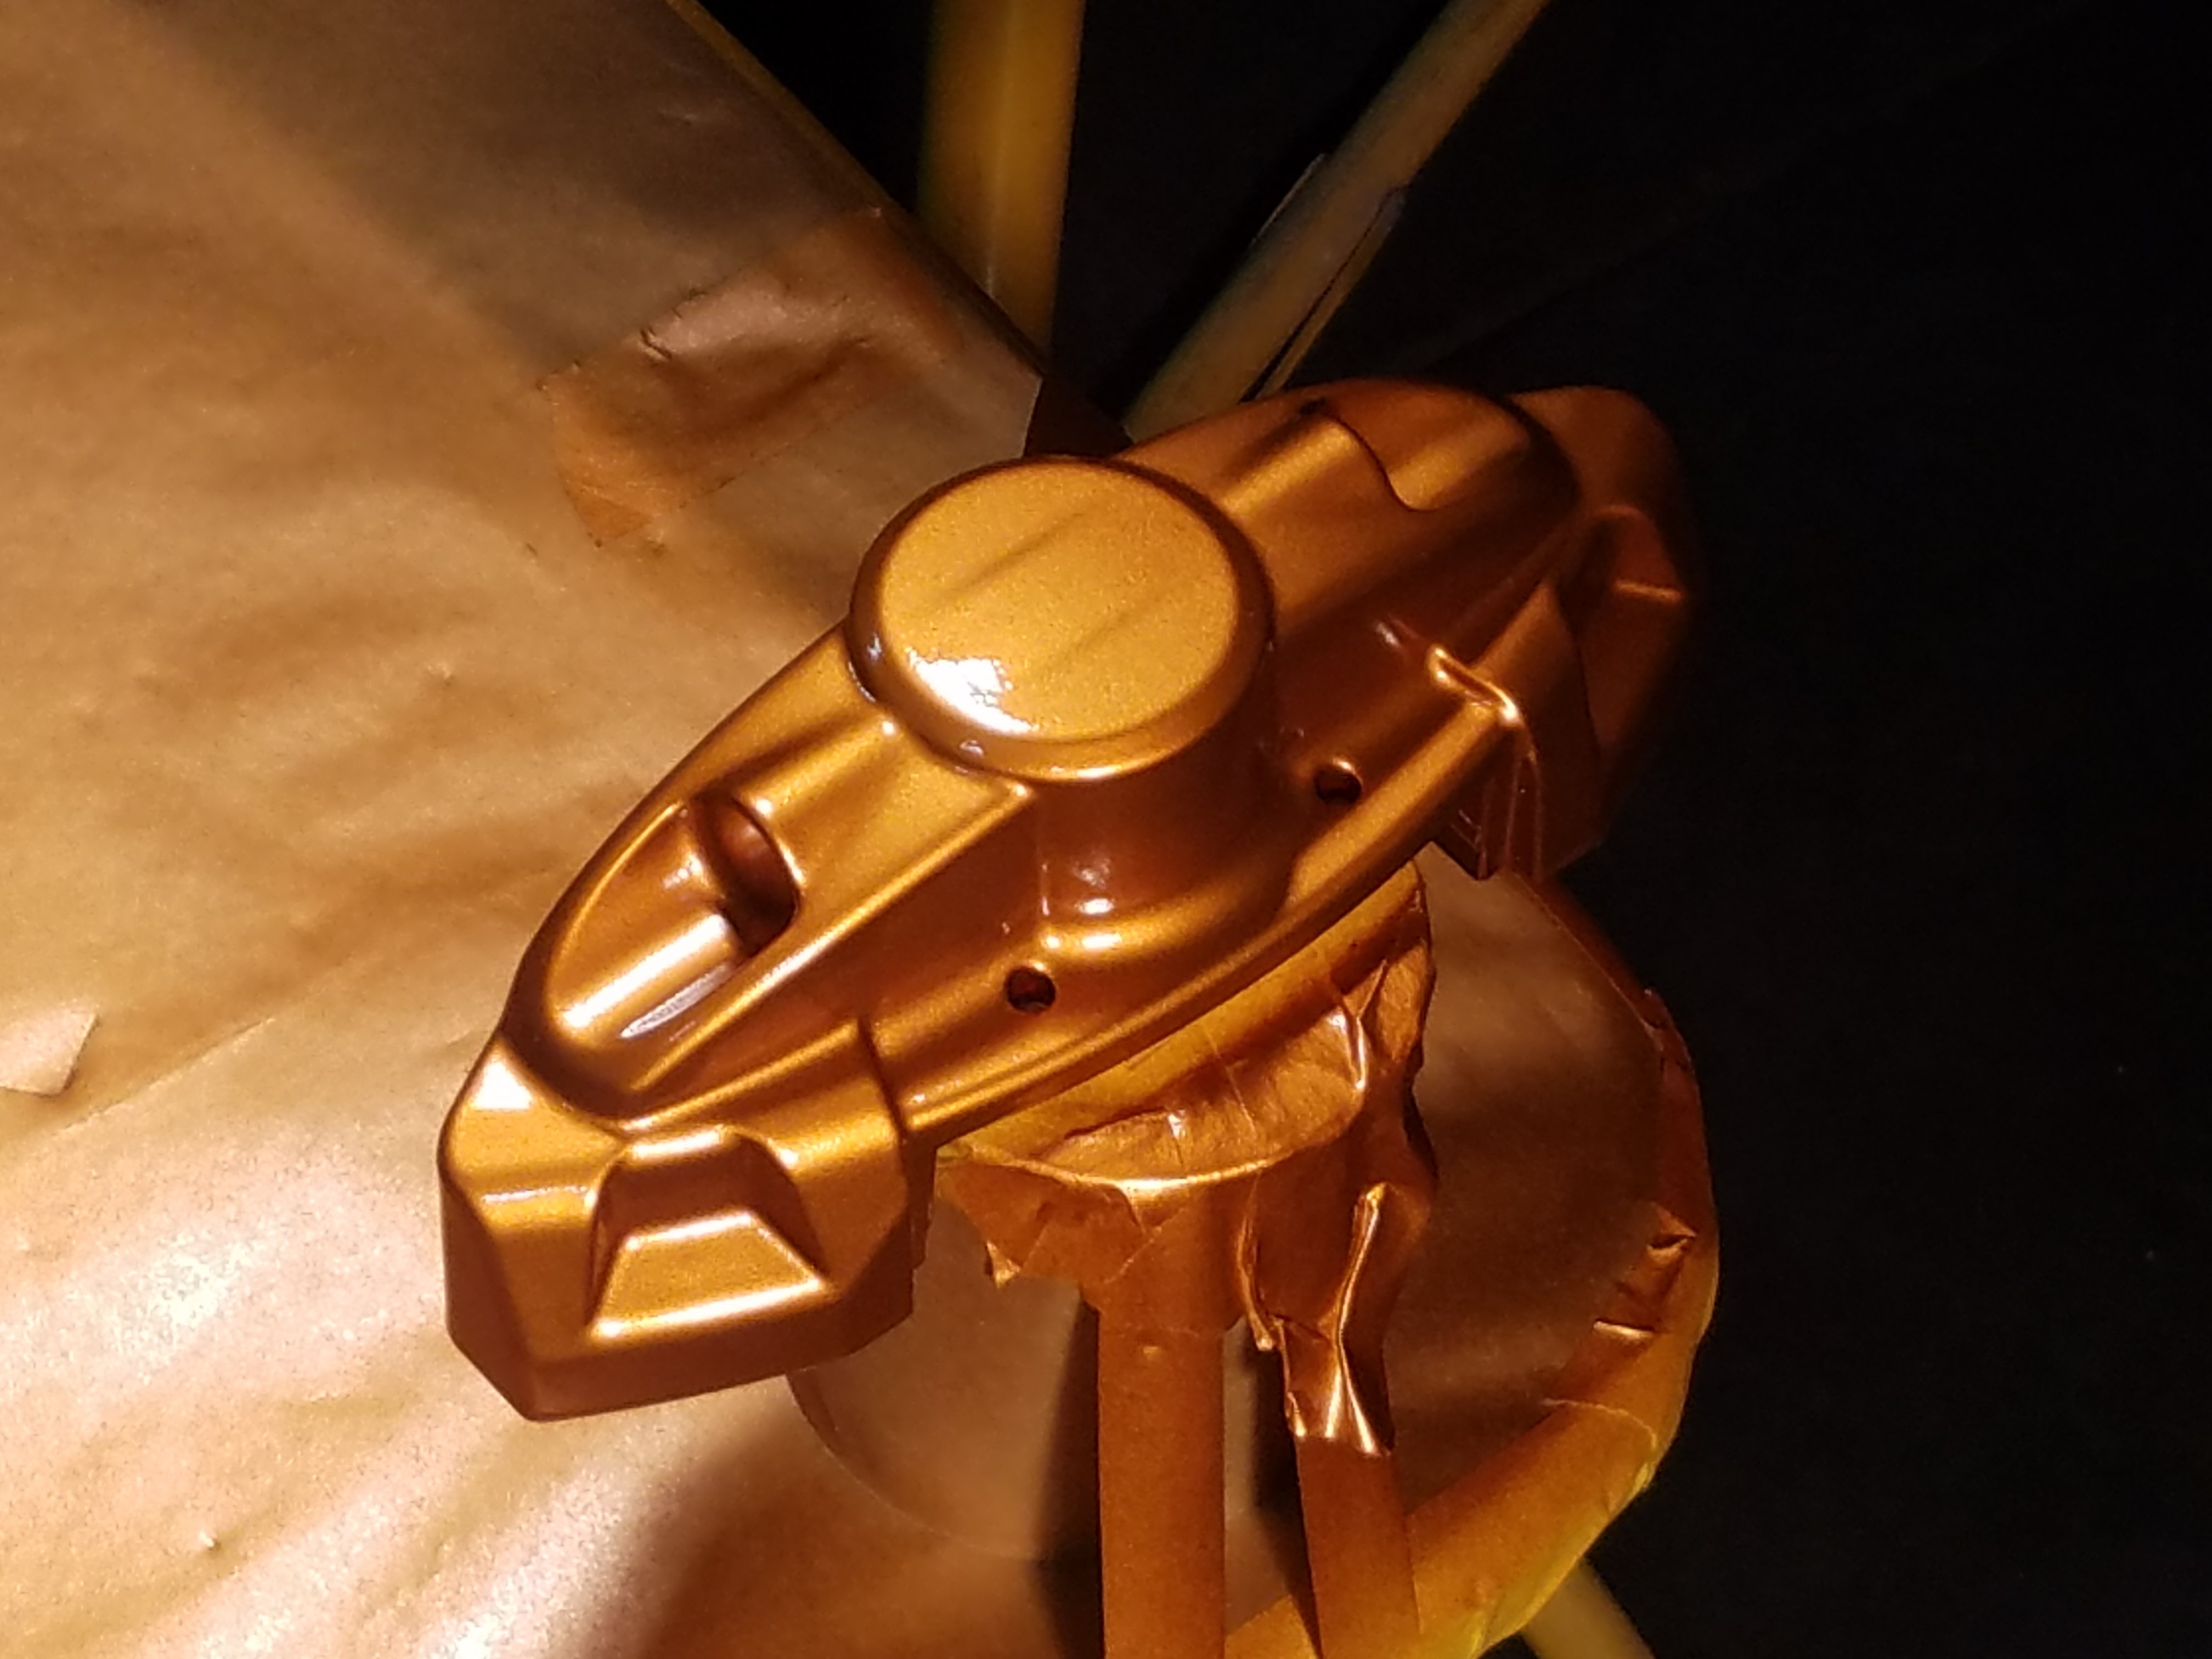
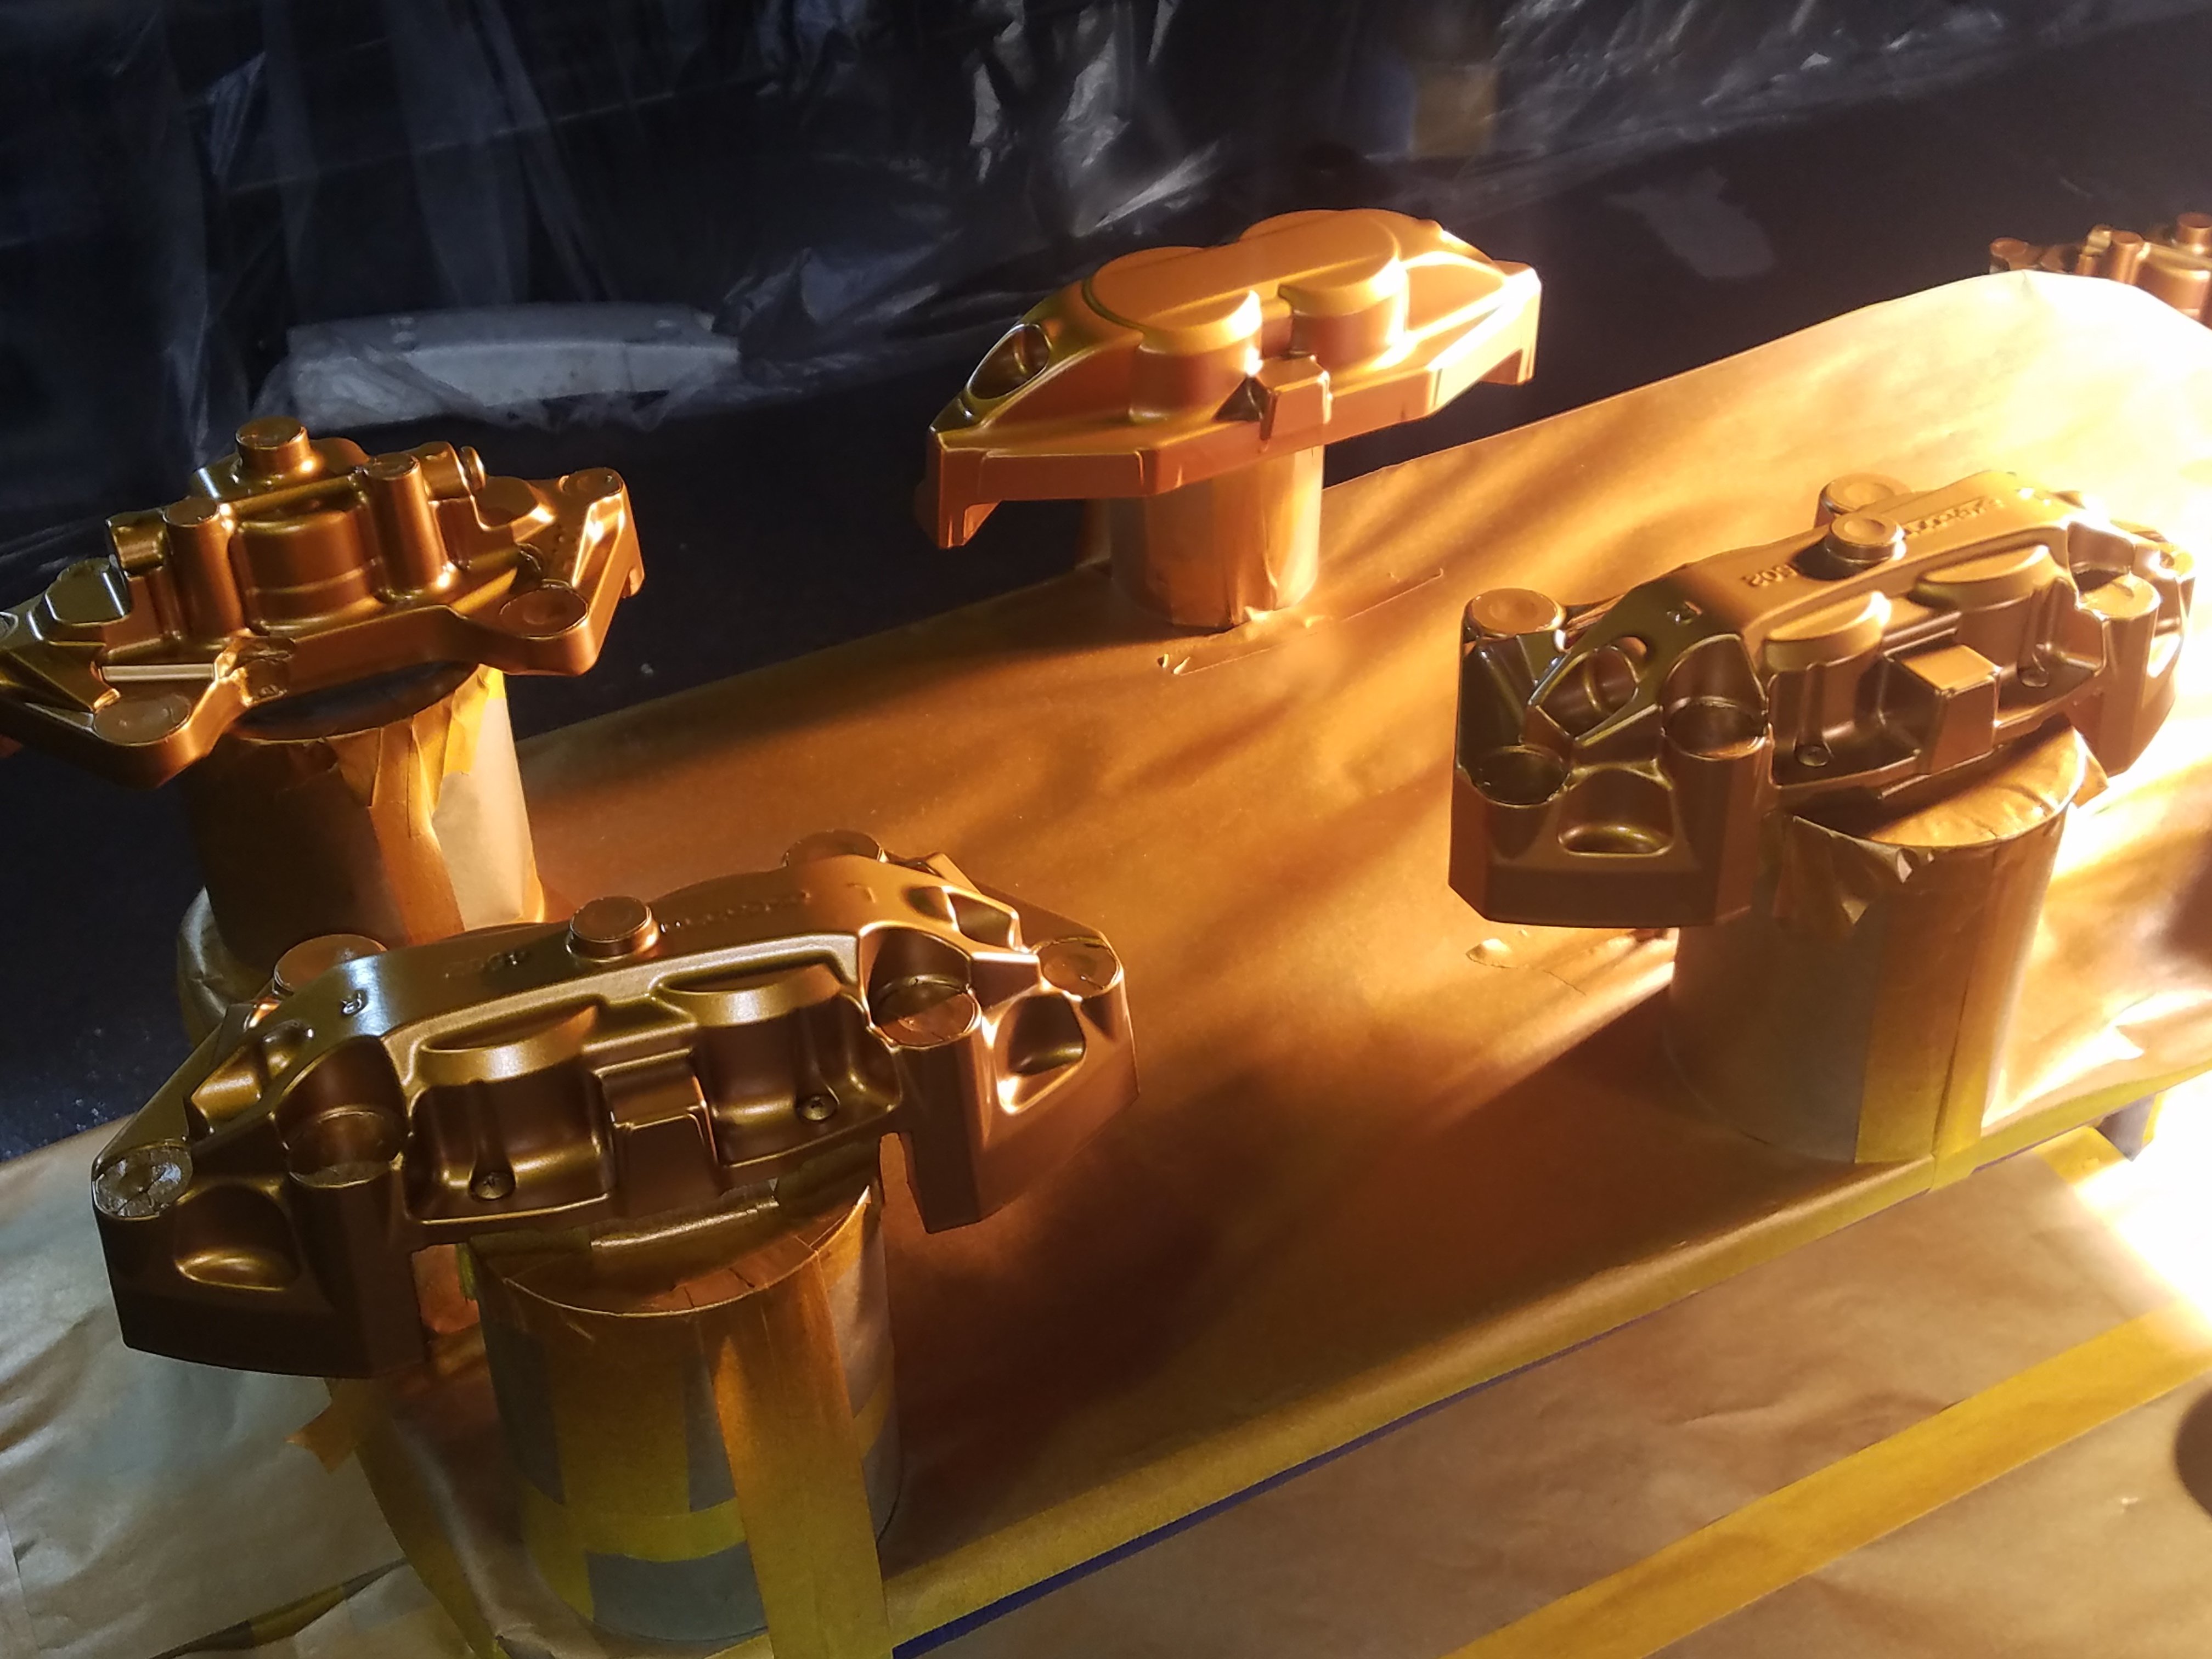
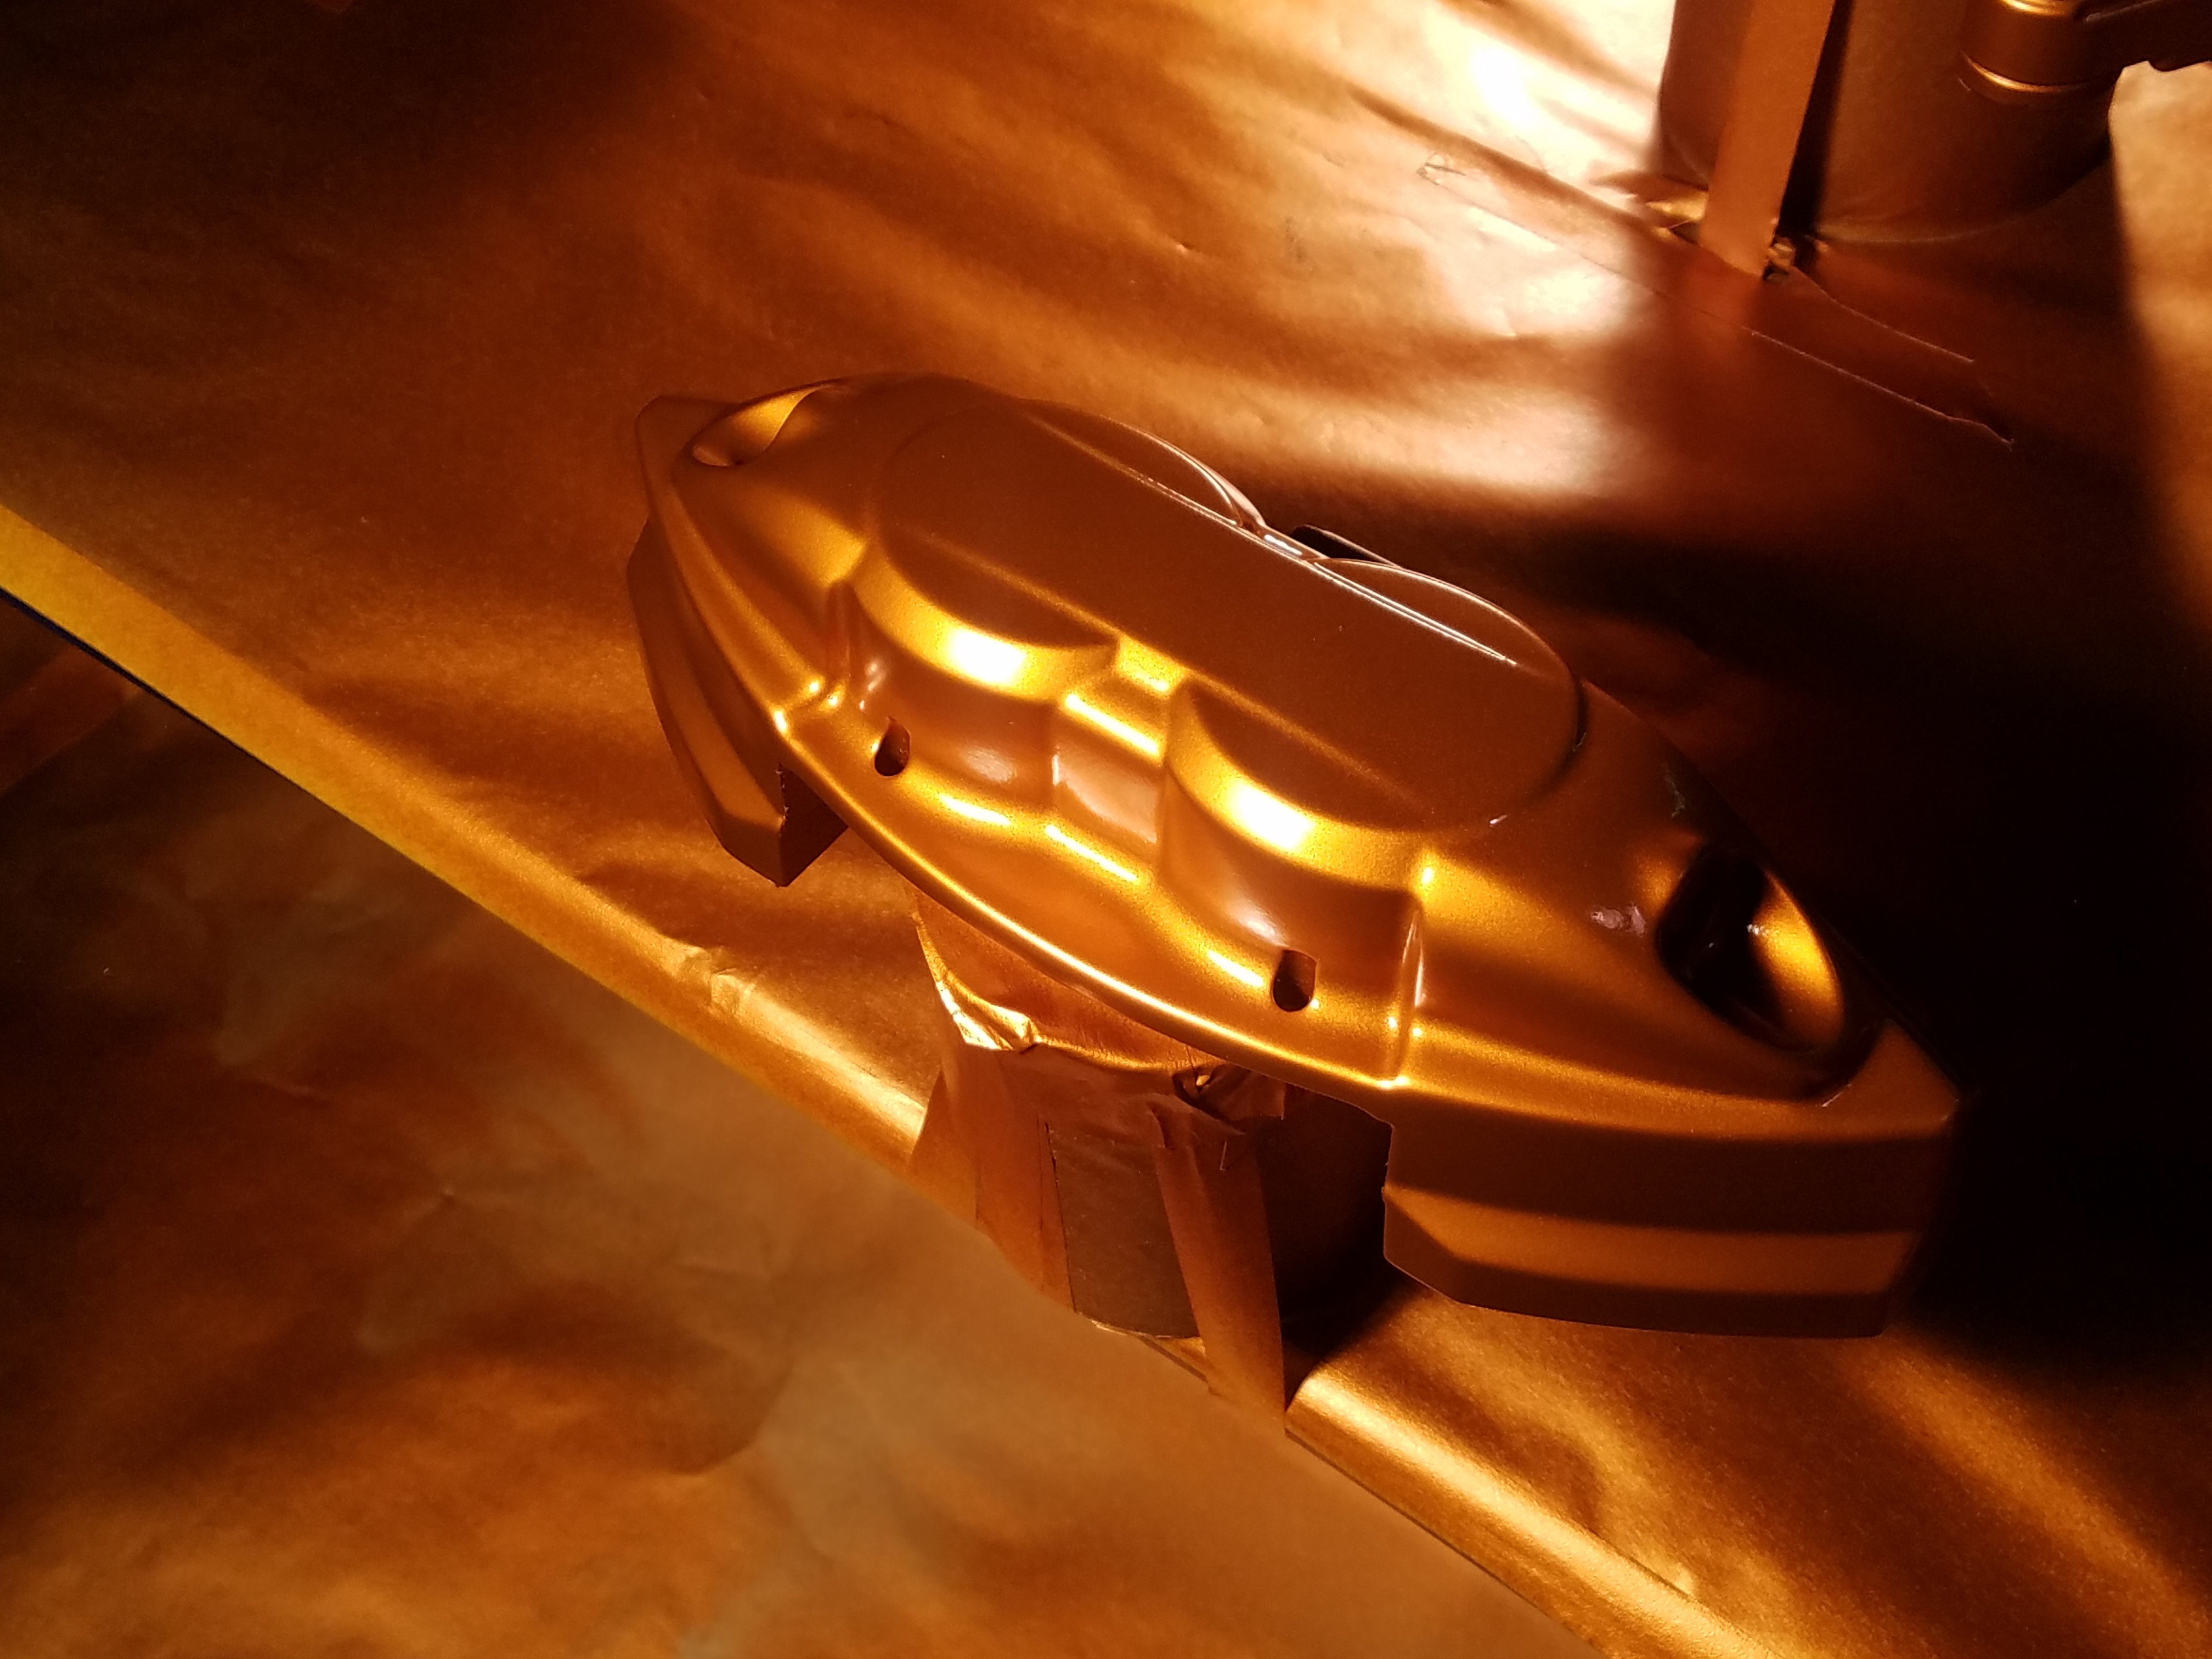
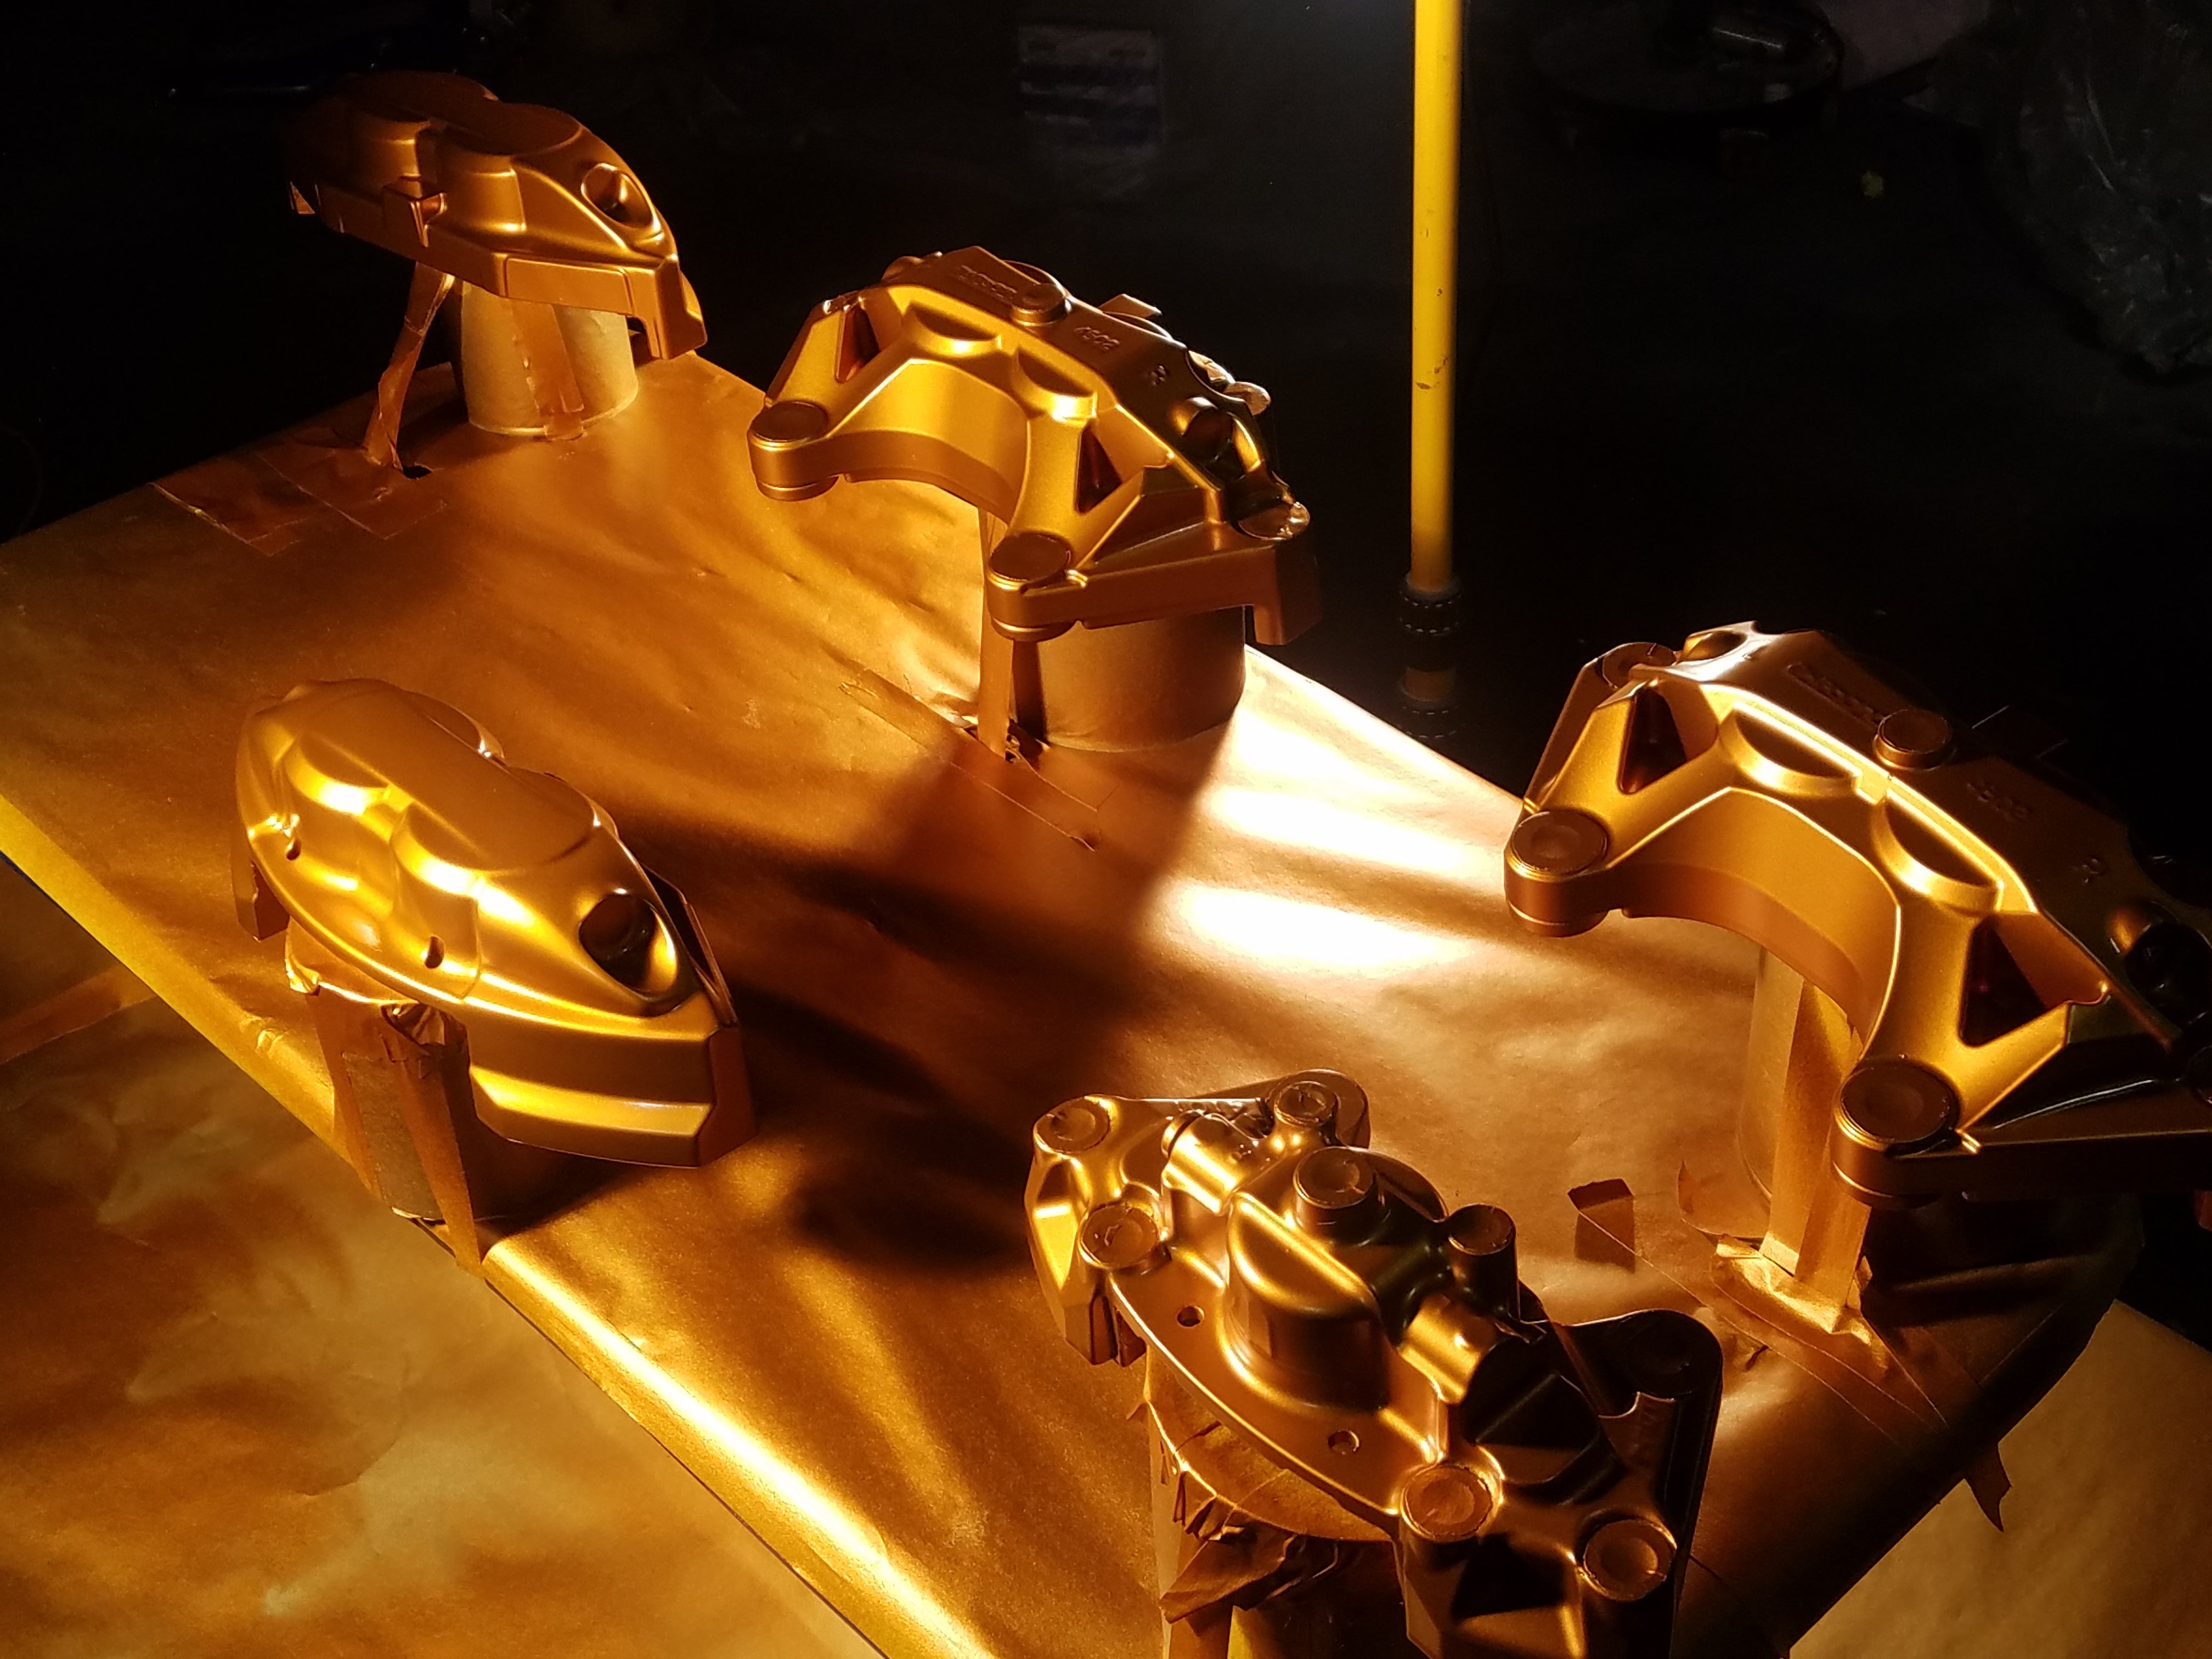
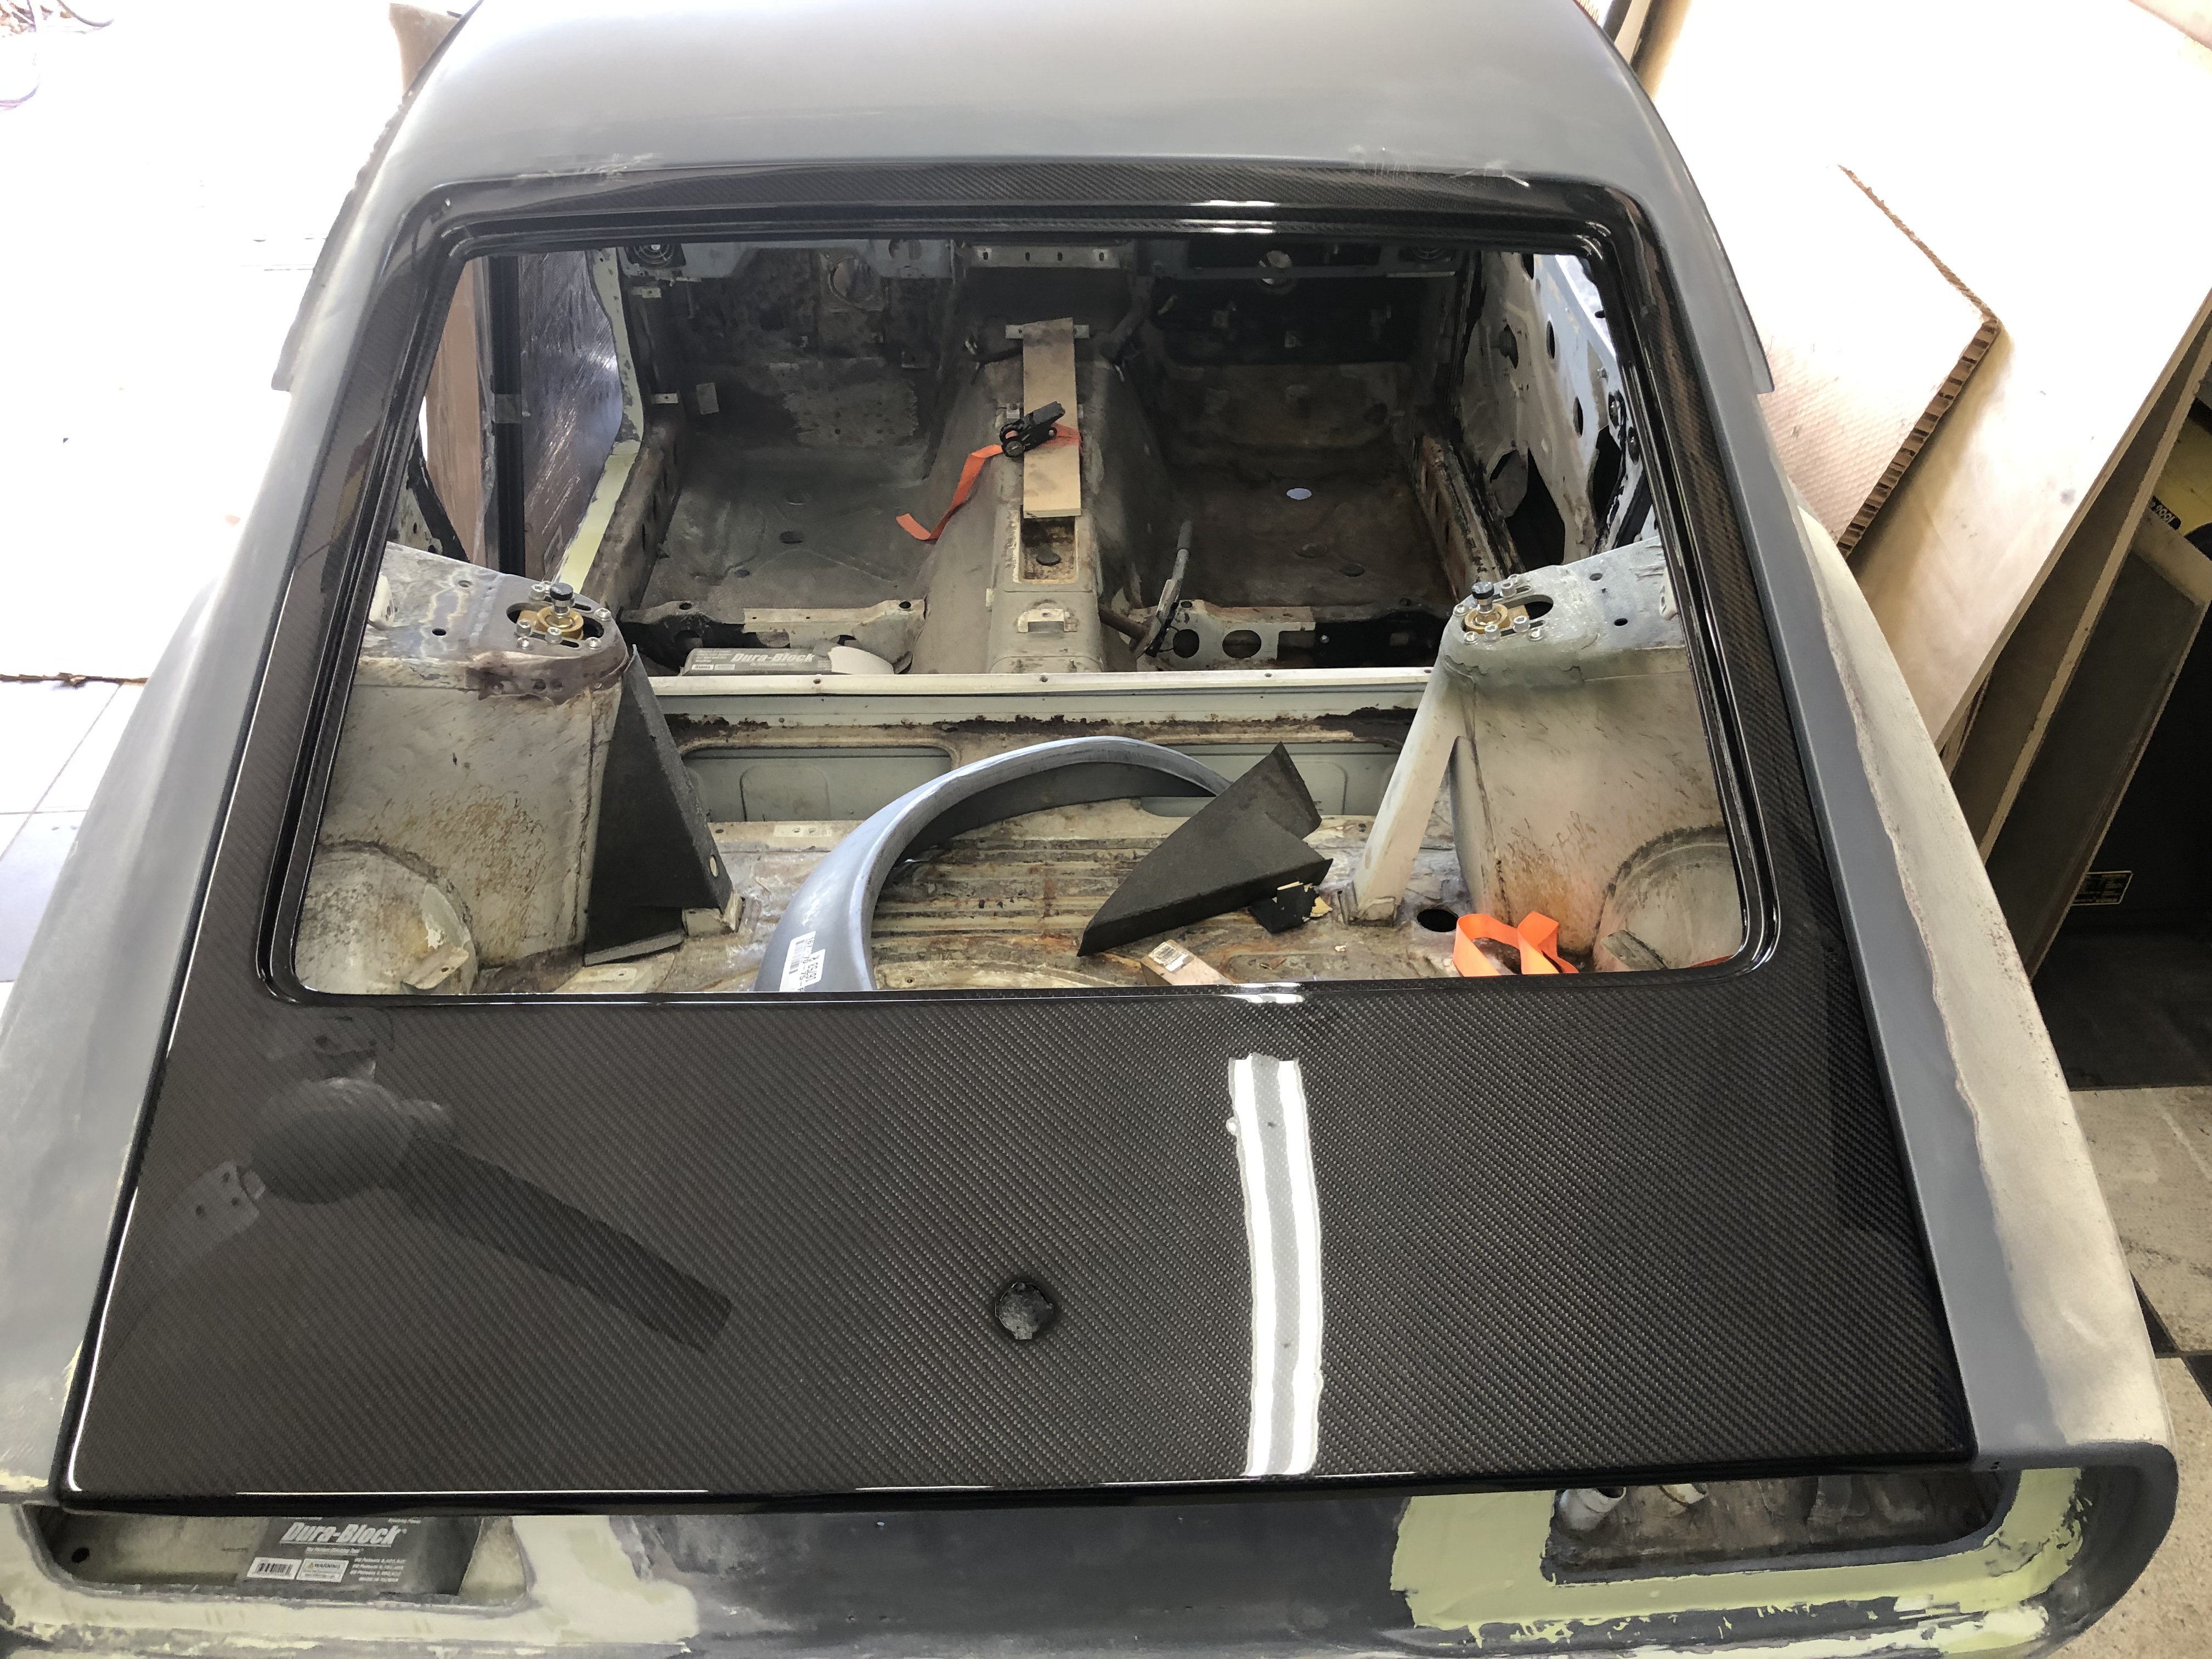
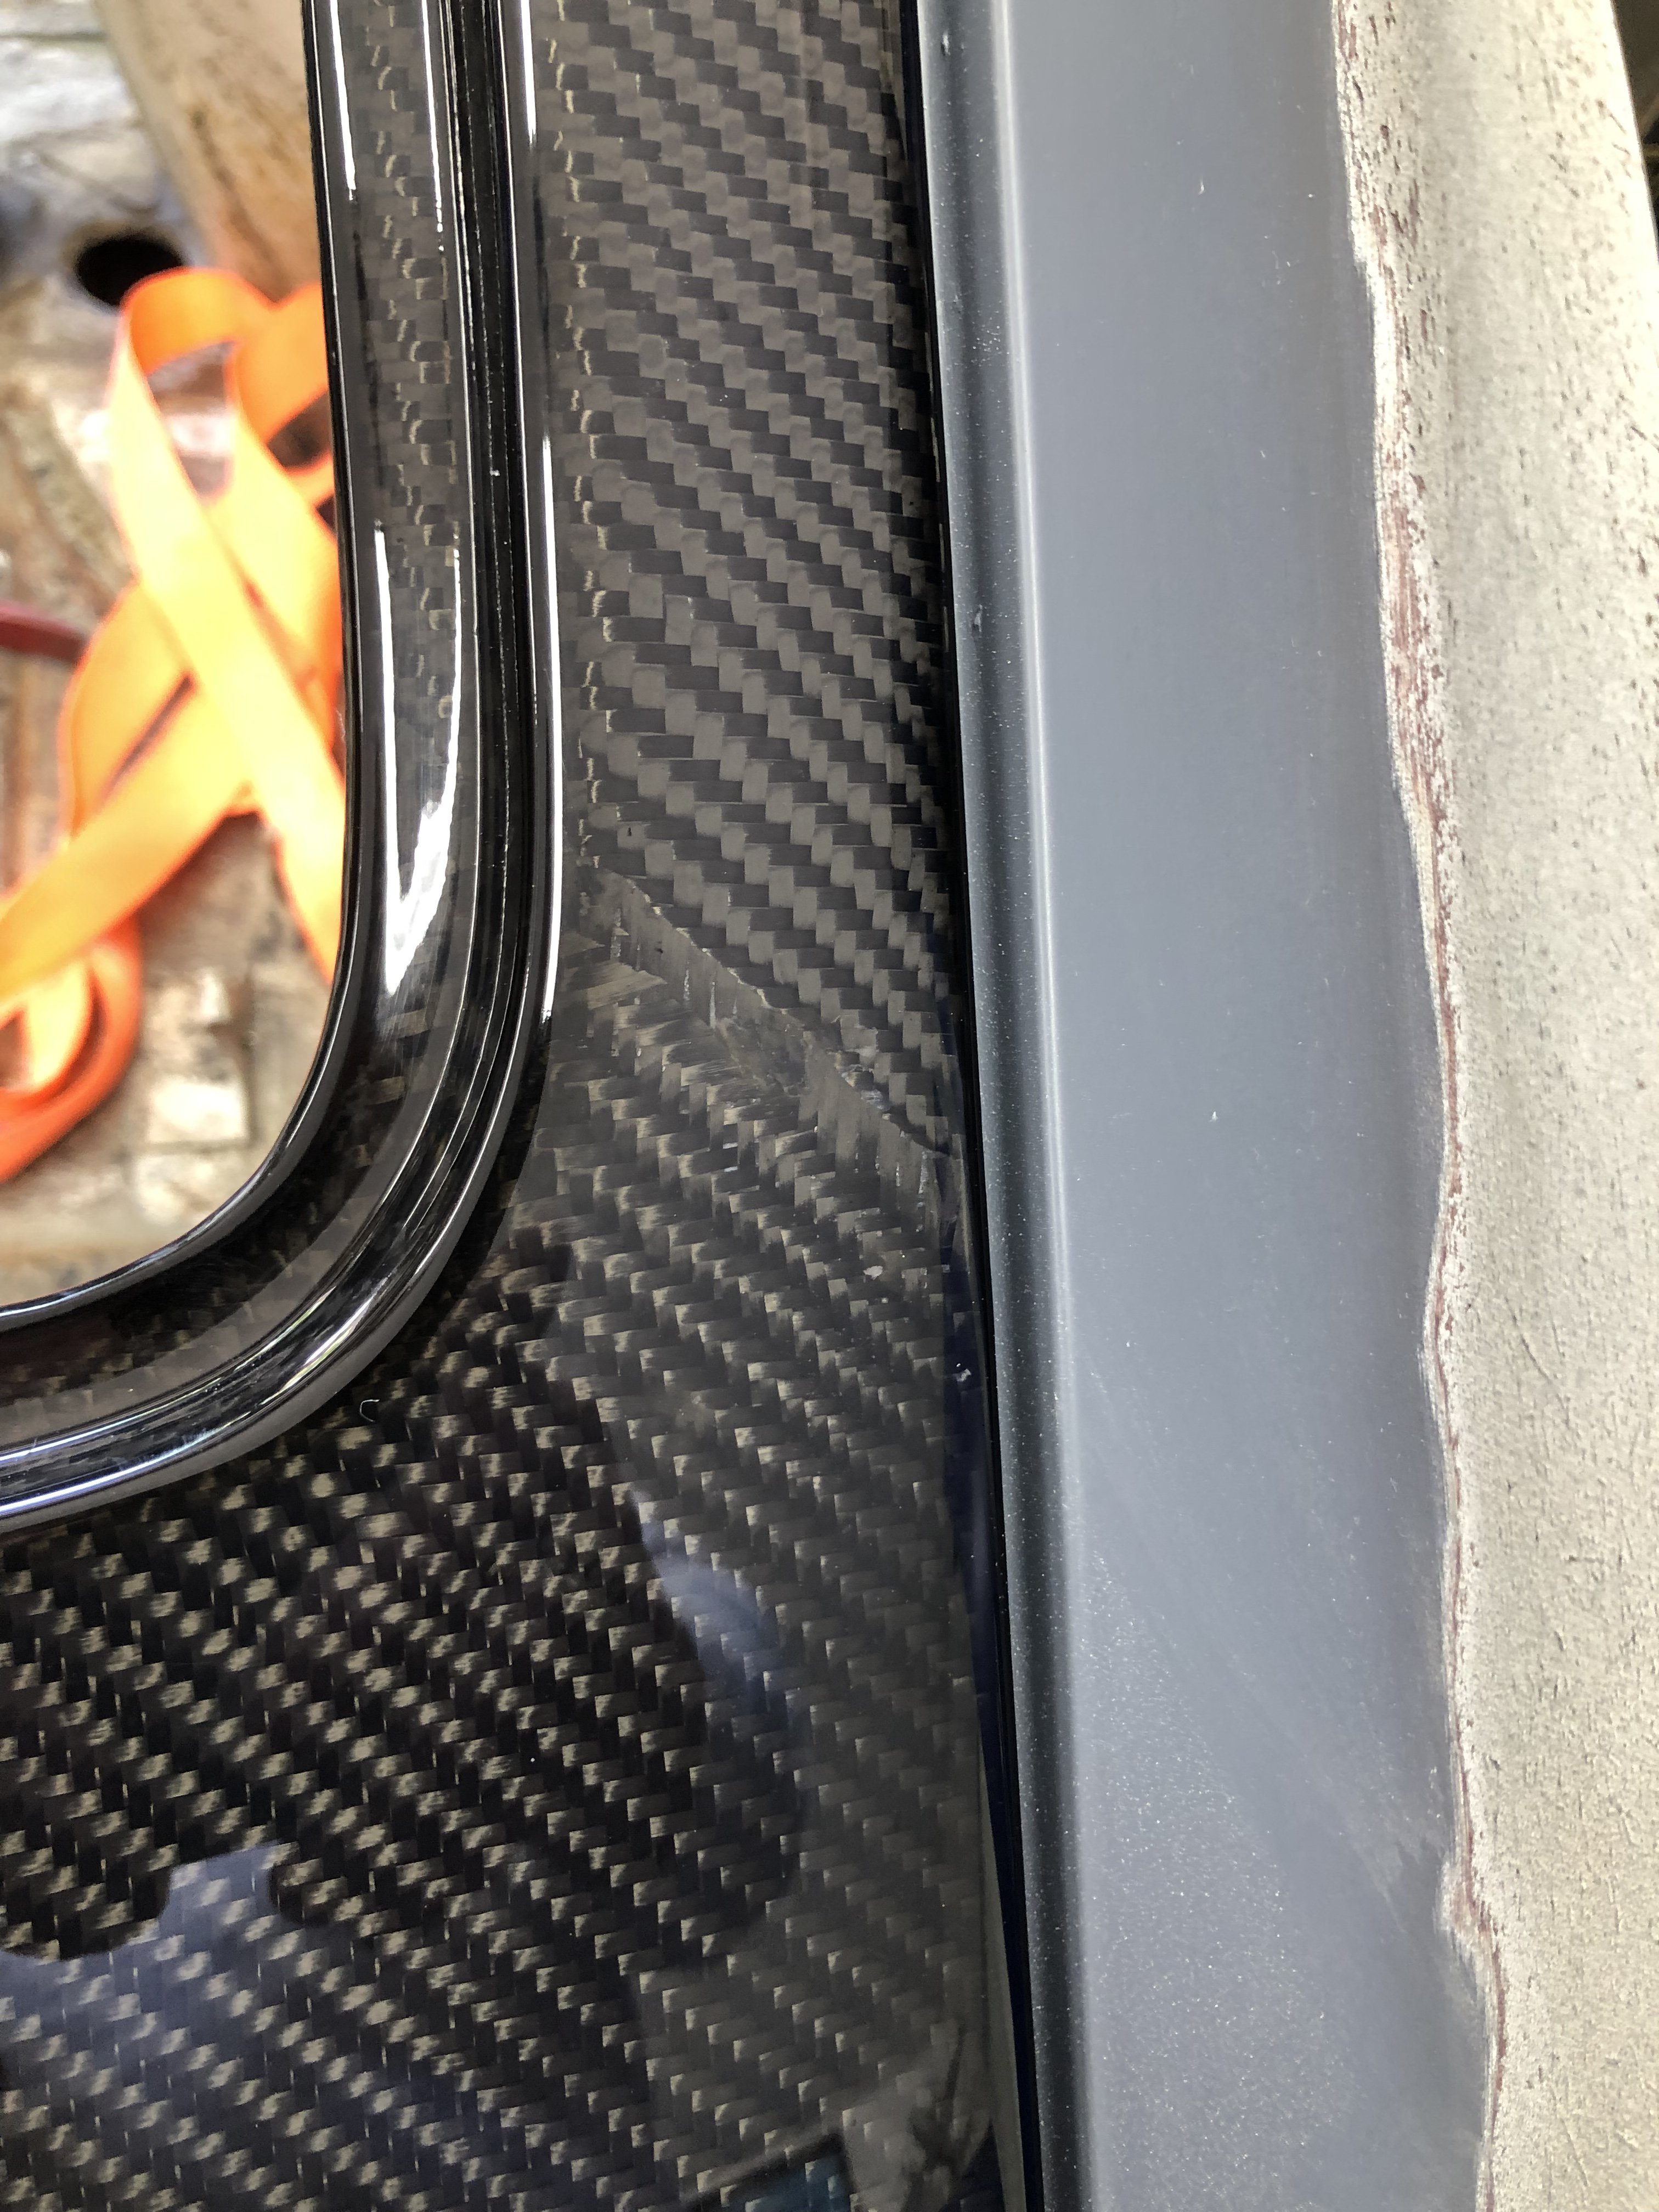
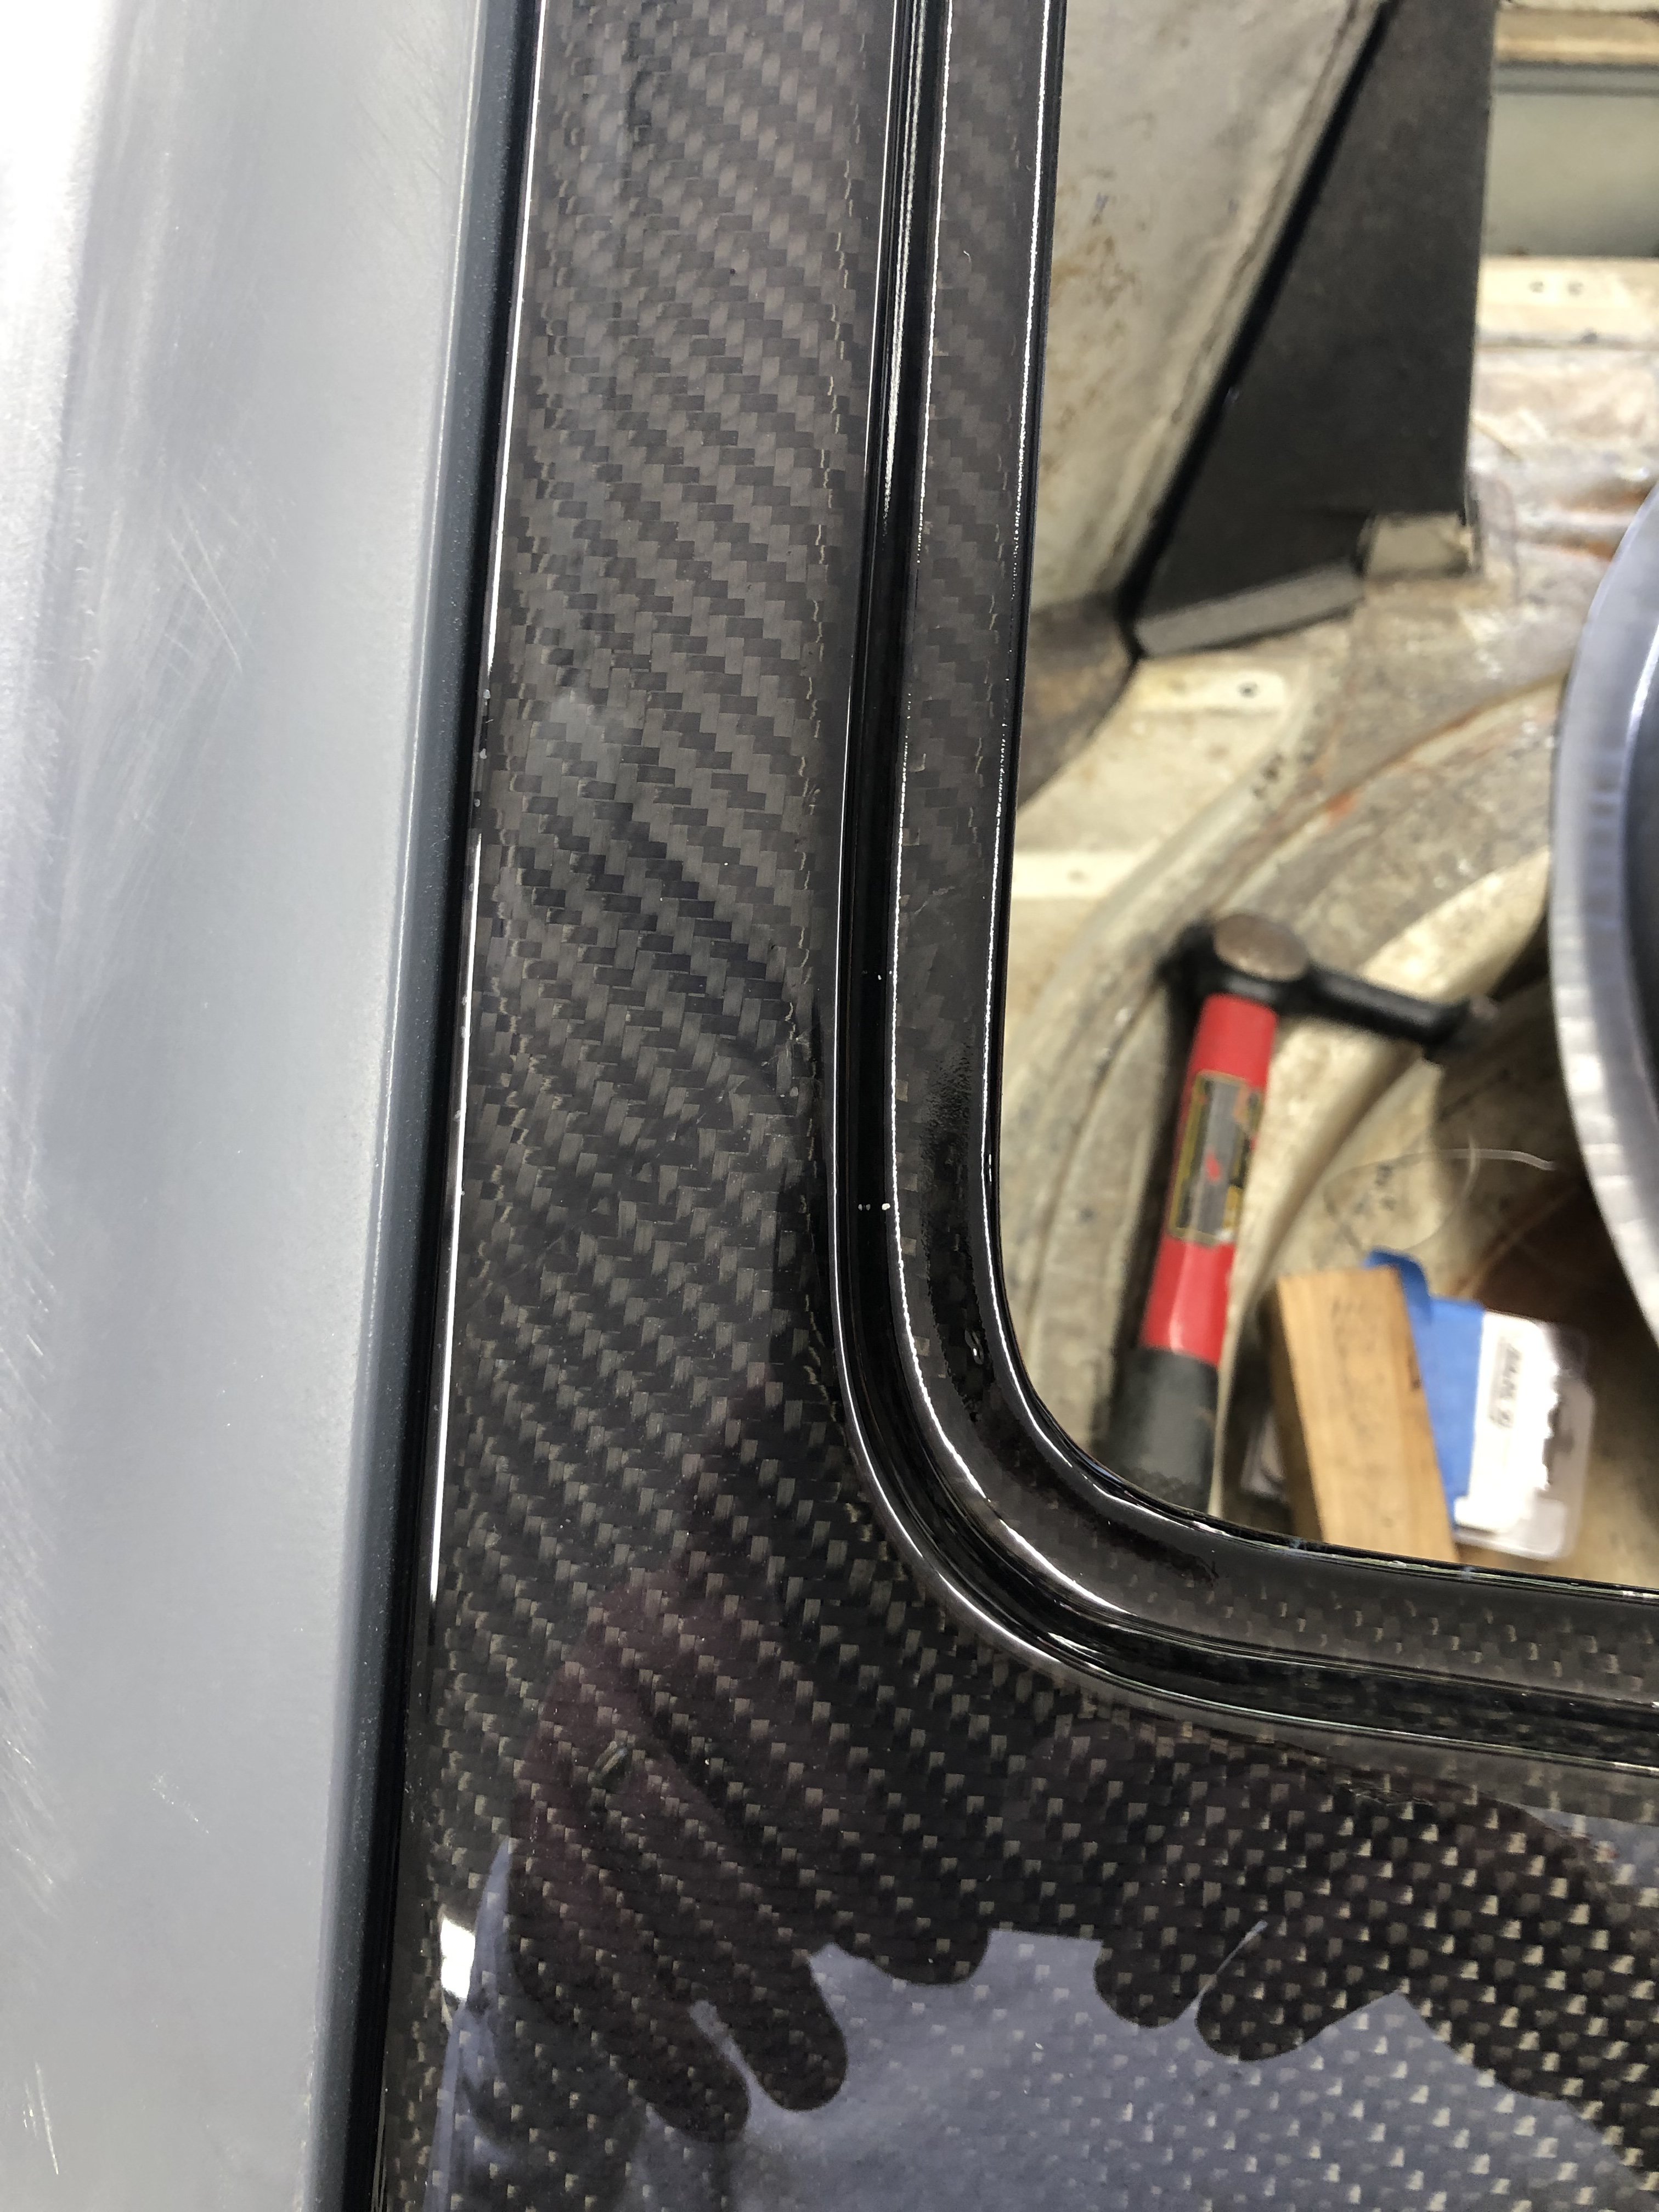
Yesterday the boxes from Retro-Spec Carbon started to arrive. The first box contained my rear hatch. I unboxed it and was happy to find it undamaged. The quality of the construction is very nice with on two very small areas noticeable in the weave where the cloth overlapped. Today’s delivery included the balance (hopefully) of my parts: hood, fenders, headlight buckets, front and rear BRE spoilers and wiper cowl. I’ll unbox on Friday when I return from work trip. I also received photos of my new calipers that are being color-match painted.
-
Thanks amigo! You should, it’s only getting more valuable!
-
10 minutes ago, SleeperZ said:
Wow, that's really impressive pattern matching.
Thanks!
-
This morning’s project was the last bit of sheet metal work on the left side of the car. There was an area of damage/rust on the driver’s floor board. The area measured 11”x7” it it was right in the middle of the contoured pressed into the original floor board. This meant if I wanted to match the existing structure I would have to recreate these. I bought a bead roller from Jegs but since I’ve never used one before there was a bit of a learning curve. All in all I pleased with the results...


1978 Datsun 280Z RB25 Restomod
in S30 Series - 240z, 260z, 280z
Posted · Edited by Jethoncho
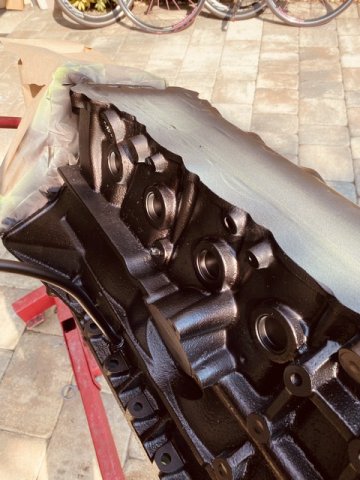
Yesterday’s project was to build the lower end of my RB26, forged pistons, forged rods, Nismo graded main bearings, King rod bearings, ARP main studs, all clearances are spot on ...she’s ready for 20-30 psi boost, goal is 650hp. It’s gonna be a beast.