Spdrcr
-
Posts
100 -
Joined
-
Last visited
Spdrcr's Achievements
")


-
SPDRCR LS1 and 4l60e Build Thread
Spdrcr replied to Spdrcr's topic in Gen III & IV Chevy V8Z Tech Board
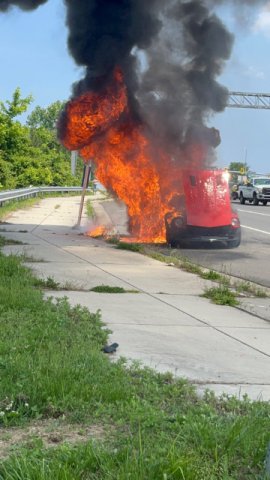
Got out ok. Smelled gas on the highway so I got off and popped the hood. Then the whole rear end went up all at once. Maybe the pump or a fuel line. Was running fine though. -
SPDRCR LS1 and 4l60e Build Thread
Spdrcr replied to Spdrcr's topic in Gen III & IV Chevy V8Z Tech Board
… and … no more car
-
SPDRCR LS1 and 4l60e Build Thread
Spdrcr replied to Spdrcr's topic in Gen III & IV Chevy V8Z Tech Board
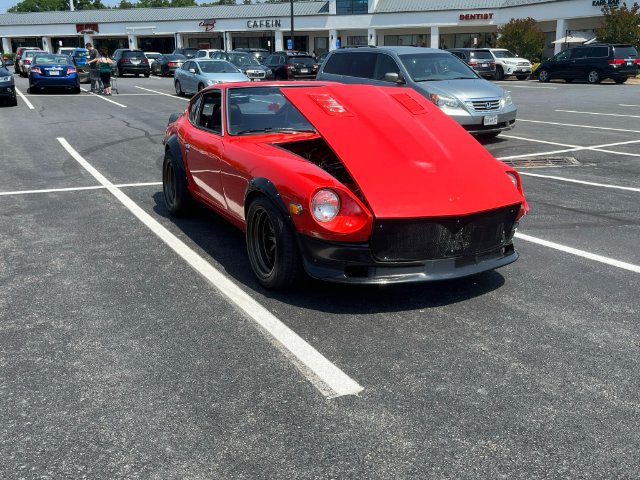
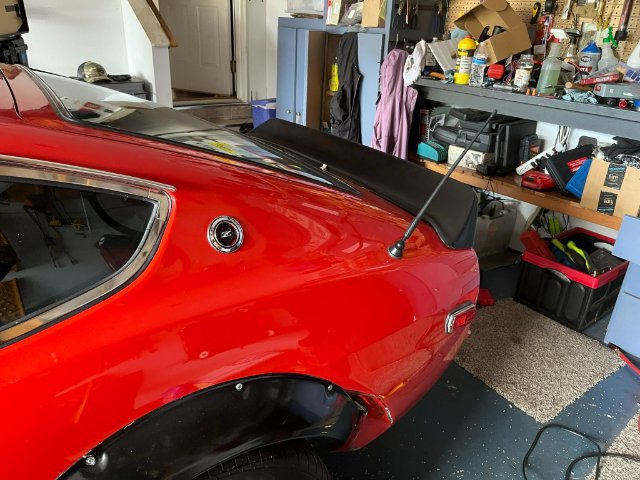
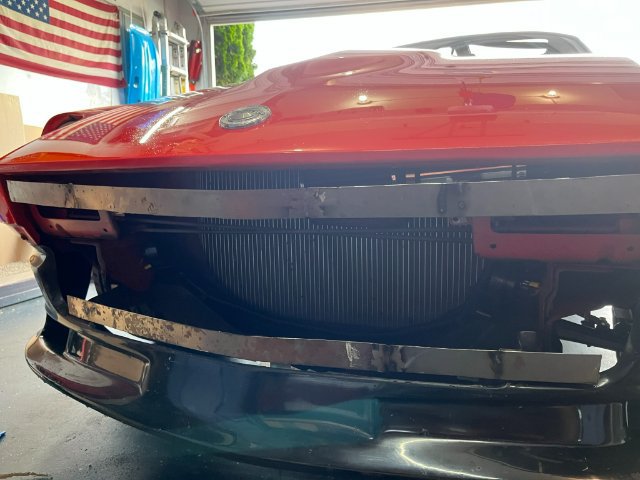
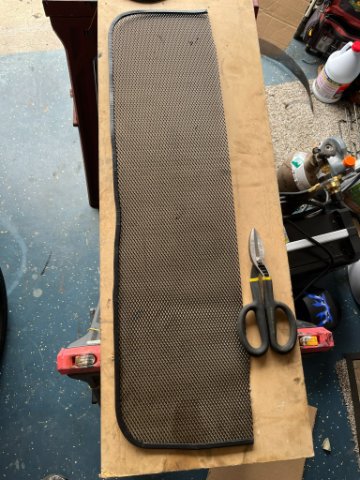
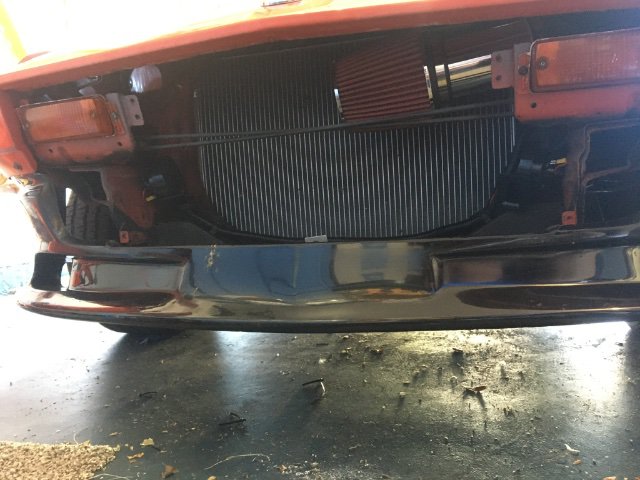
Here are some better pics of the grill. Will need a version 3.1 with better material. Also need to fix the top, I had trouble getting it where I wanted and clearing the hood. I also changed the power antenna. I did it for looks, but it actually works really well. (also, don't judge my workbench)
-
I am using this setup LS1 EFI Fuel Pump And Regulator/Filter Kit (speedwaymotors.com) It is not quiet though.
-
SPDRCR LS1 and 4l60e Build Thread
Spdrcr replied to Spdrcr's topic in Gen III & IV Chevy V8Z Tech Board
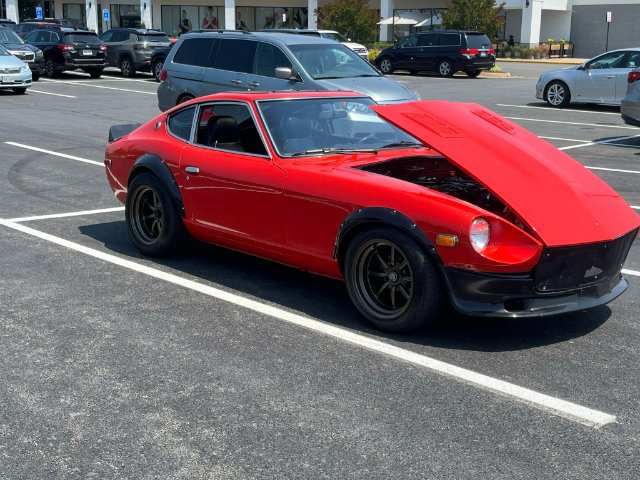
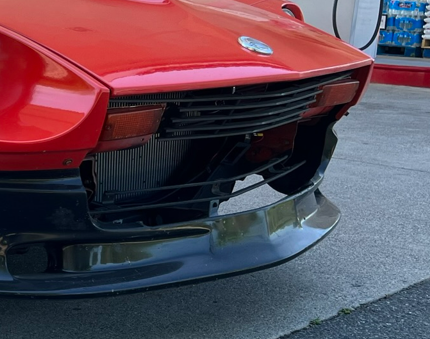
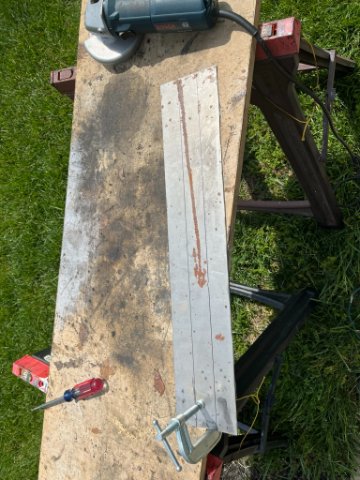
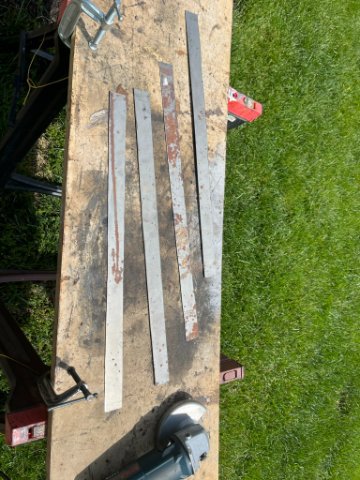
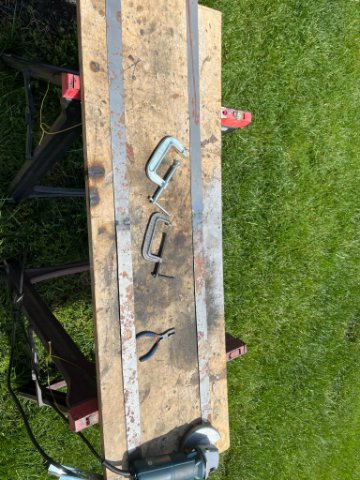
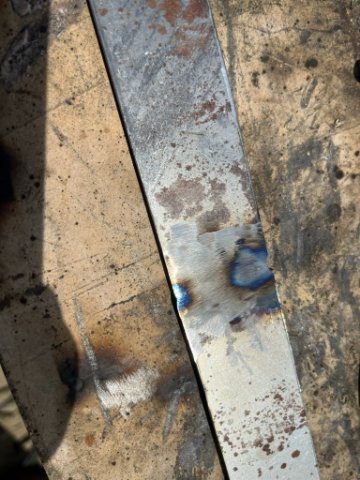
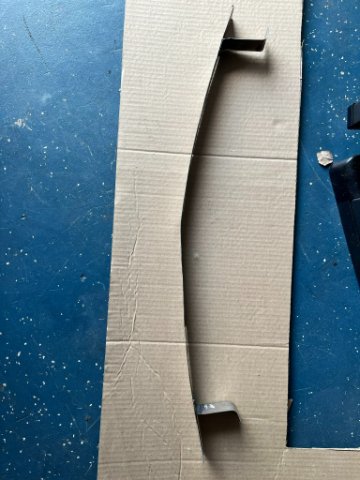
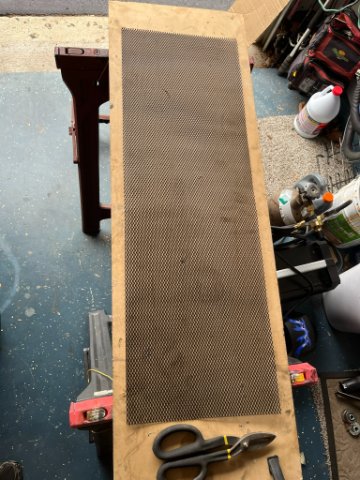
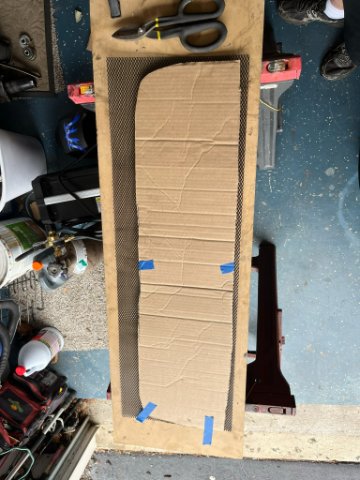
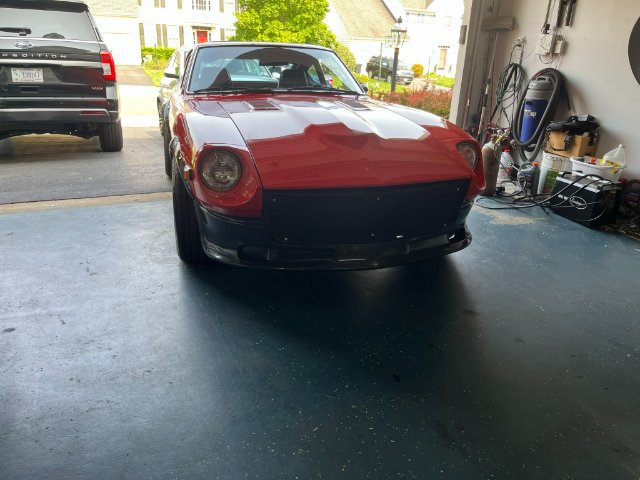
Been wanting to do something with this eye sore for awhile So I started grill making 3.0. My previous 2 attempts to make a fiberglass frame failed miserably. I am too cheap to buy the Skillard. Turned a piece of sheet metal in smaller pieces. Then made the little pieces into long pieces. Figured I needed more practice with the welder anyway. Made up some brackets and bent them into shape I was too cheap this time. My mesh is too thin. I will likely upgrade it later. Use my template. I had some old door trim we put on our cars to stop ding from the little helper. It worked great on the edges. And that's why we hoard stuff my friends. And that looks WAY better! Stoll not 100% but that gaping hole was so bad. I'll try and get better pics soon.
-
SPDRCR LS1 and 4l60e Build Thread
Spdrcr replied to Spdrcr's topic in Gen III & IV Chevy V8Z Tech Board
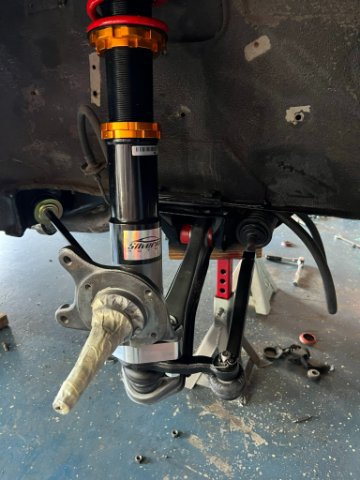
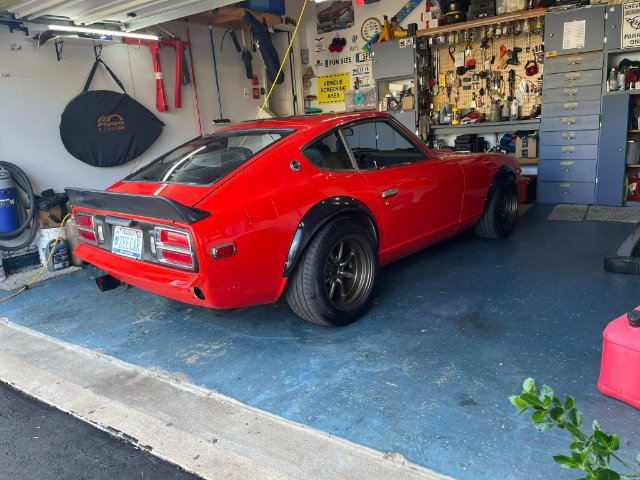
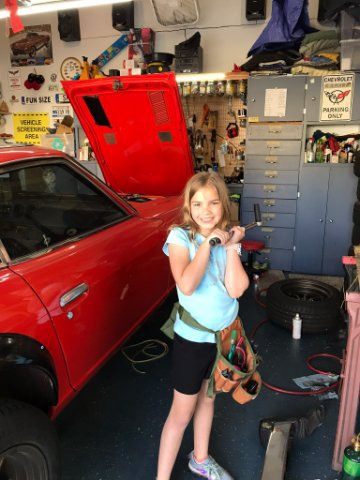
Okay, back to the reason I started this. Coilover ready to weld. Doesn't look too bad on there Don't make fun of my welds. Got my best helper to make sure we are all torqued down. And here we are. Want to go a smidge lower in the rear. But have this problem. Touches the ground when it shifts hard into second. I'll get it adjusted once it settles in some.
-
SPDRCR LS1 and 4l60e Build Thread
Spdrcr replied to Spdrcr's topic in Gen III & IV Chevy V8Z Tech Board
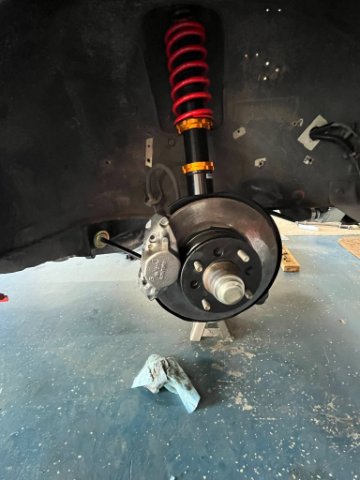
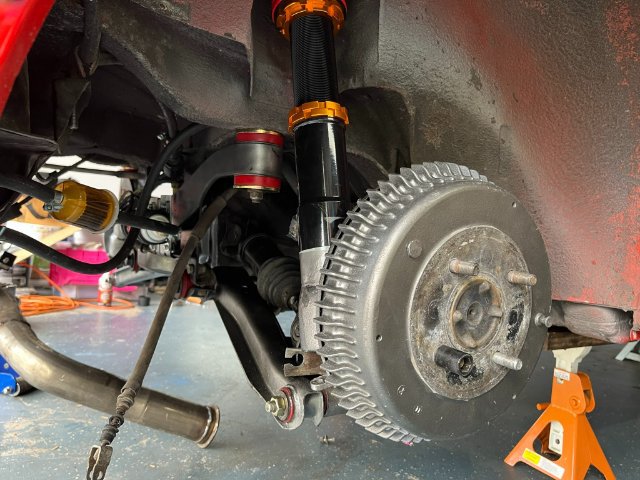
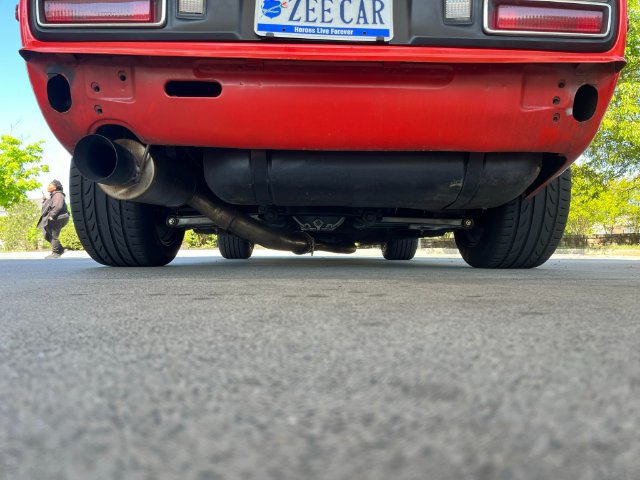
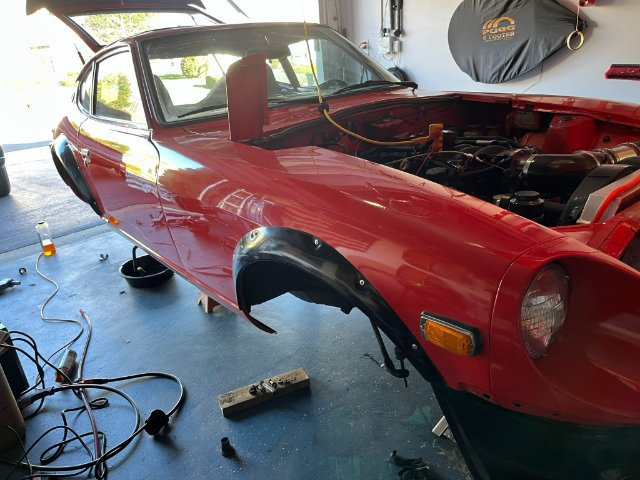
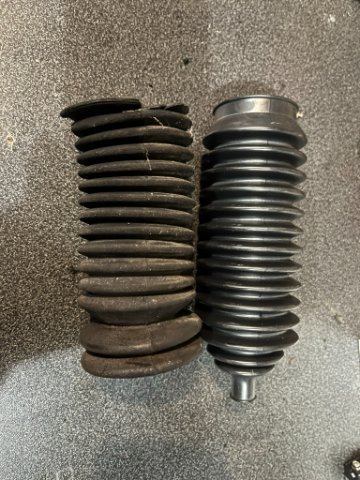
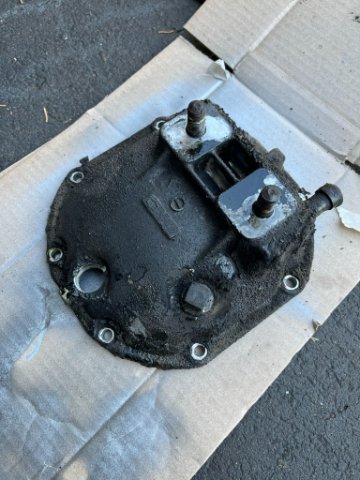
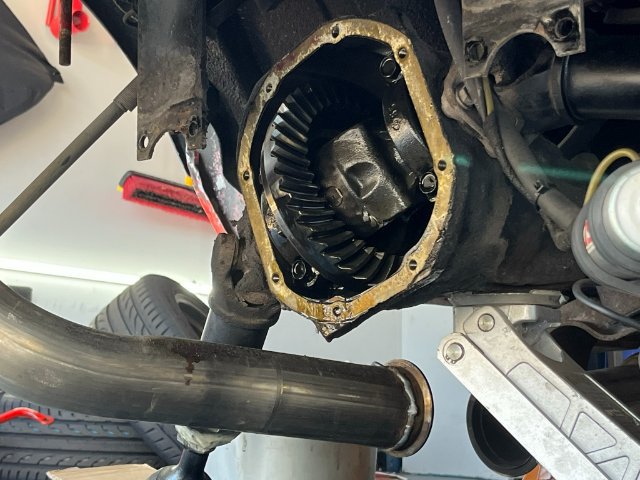
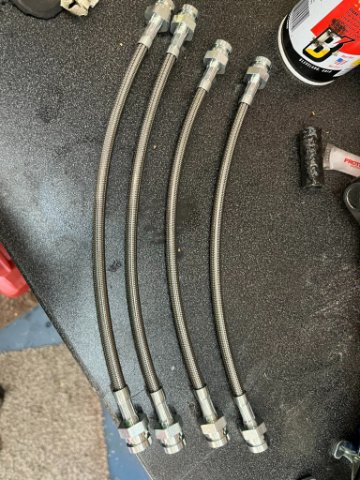
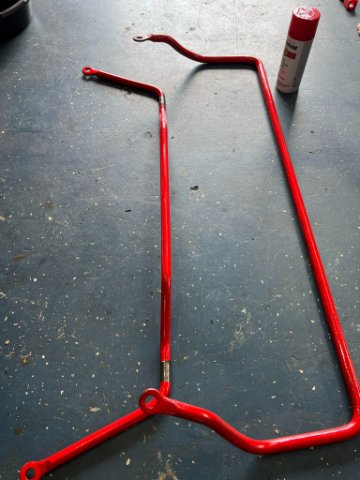
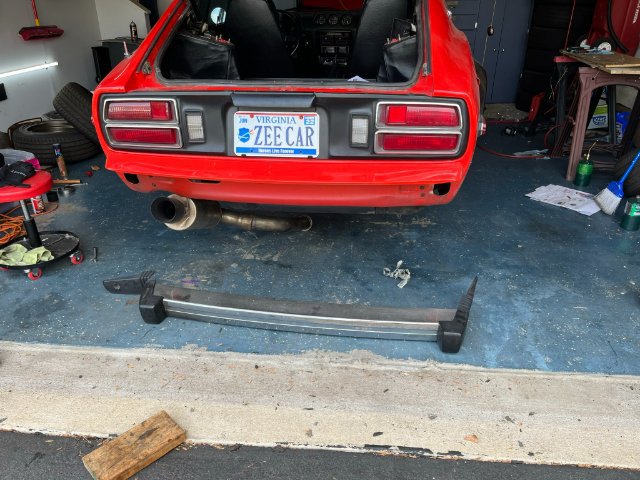
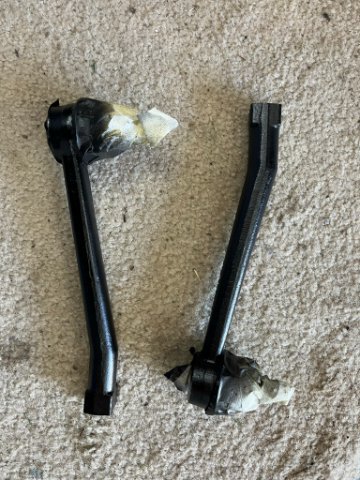
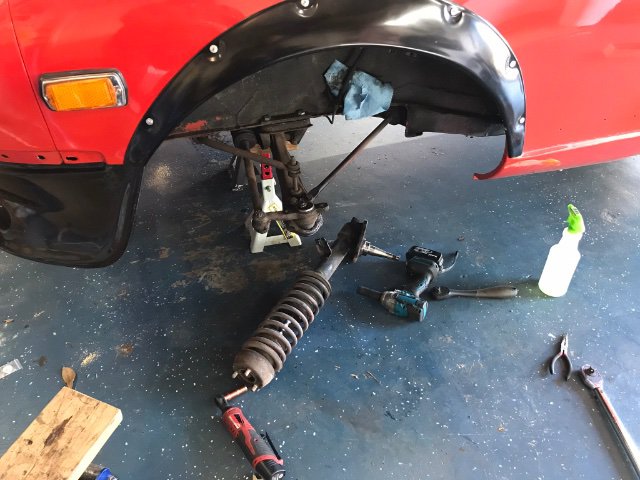
Here she is barefoot New steering arm boots Do these need replaced? I went with rubber here. I read about doing half and half with poly but couldn't get it back together. I am happy with new rubber. Well iIhad the mustache bar down to put in the bushing and paint it so I figured I should pop the diff cover off too. It was seeping a little and obviously hadn't been touched in many, many years. I really want to upgrade the brakes. I was on the fence for awhile but decided to save that project for another day. However, I couldn't justify not replacing the brake lines. Already has the calipers off so not too bad. Had to buy a new hardline from AutoZone since one had been put on with vice grips. I also upgraded the sway bars to BRAND NEW bars. Guaranteed to add 10-15 rwhp! They are new I say! ..... and while i had the suspension out of the way. Pulled the rear bumper off. Still need to remove the drip cover. I have the fill plates, just need to weld them in.
-
SPDRCR LS1 and 4l60e Build Thread
Spdrcr replied to Spdrcr's topic in Gen III & IV Chevy V8Z Tech Board
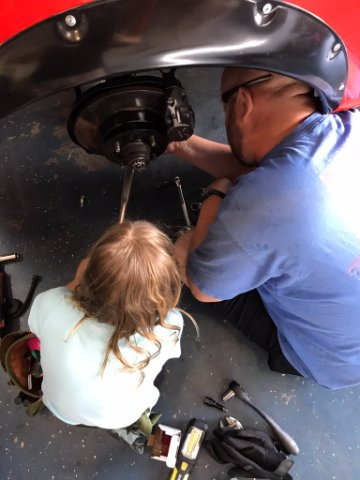
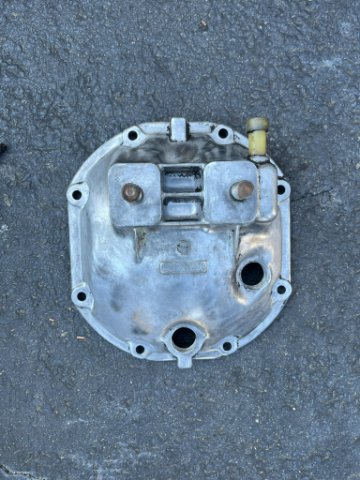
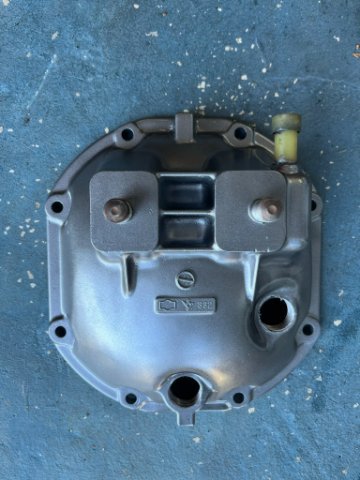
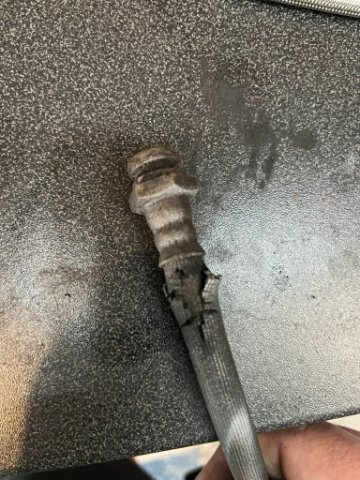
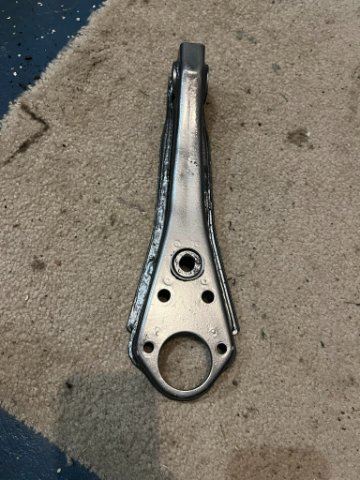
Couldn't put things back together without cleaning off some of that goop. Also added a touch of paint. Oh man! That second spindle pin! Literally the hardest thing I've done on a car. Ended up using a threaded rod on one side, a hammer chisel on the other, and alot of fire. What a pain!
-
SPDRCR LS1 and 4l60e Build Thread
Spdrcr replied to Spdrcr's topic in Gen III & IV Chevy V8Z Tech Board
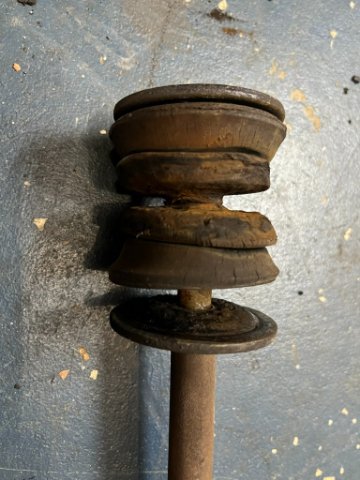
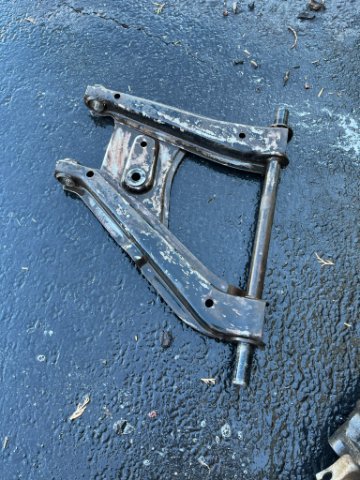
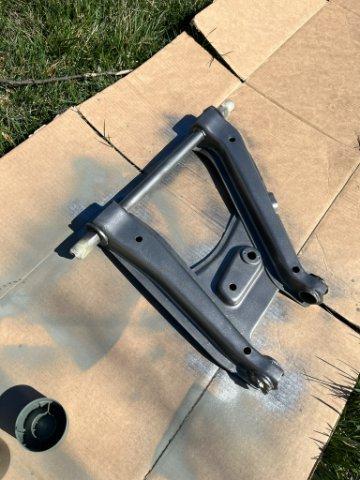
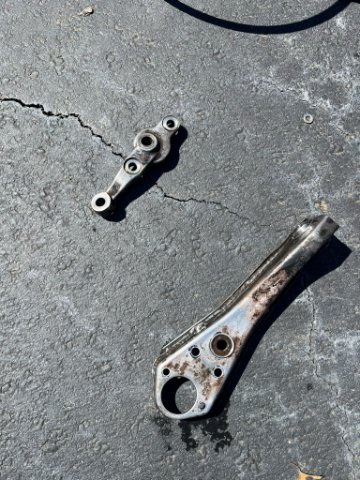
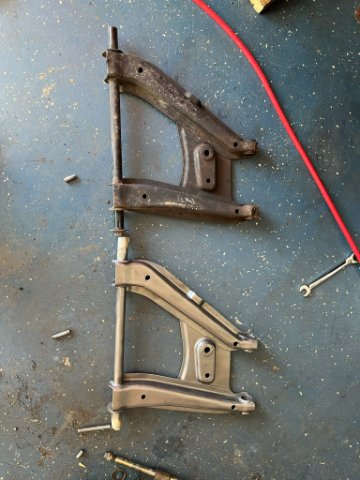
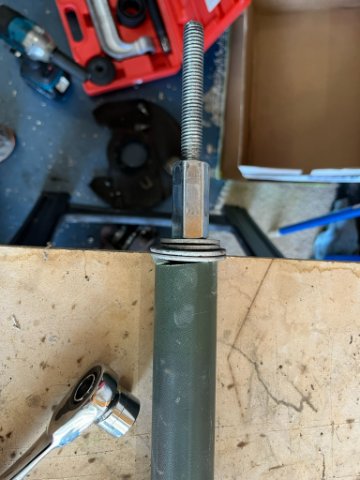
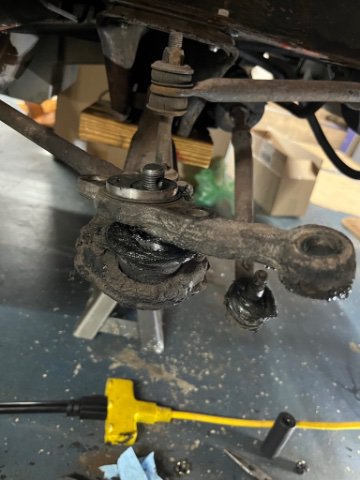
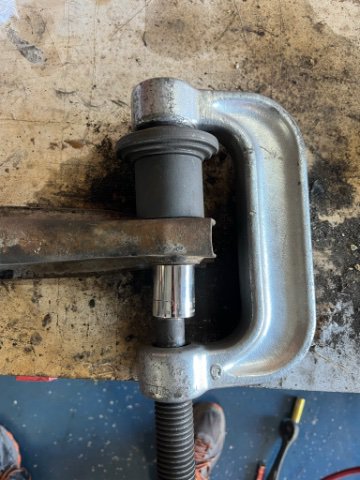
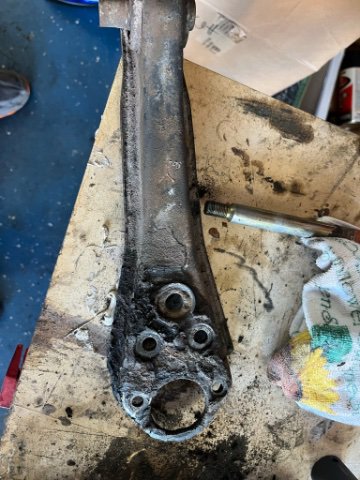
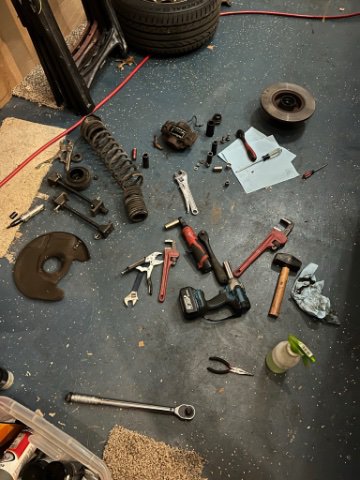
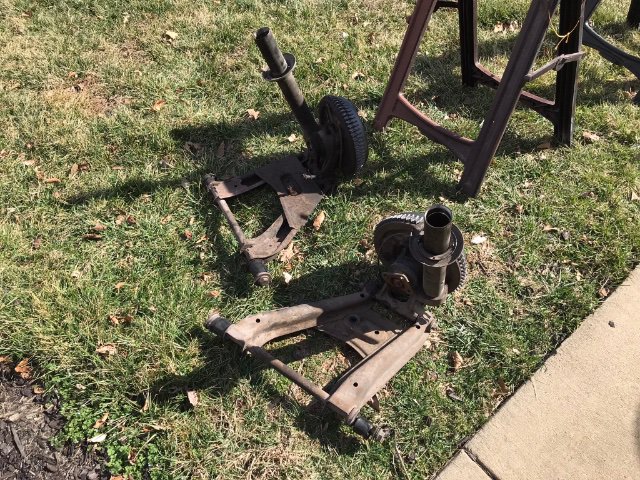
Well I saw the condition of all the othe bushings. Just could not convince myself that the spindle bushings weren’t also 40+ years old. they are as hard as advertised. I mean wow. Just got one done today. One more to go. Had to make a homemade puller. Used a pipe and some all thread. The nut stripped so I had to get a coupler which is like the width of two or three nuts. I was able to get the spindle bushings out using my ball joint press like this. Got new ball joints and tie rods. Man what a hassle. Tie rod would not let go. pickle fork wasn’t fat enough. I know, what she said. Had to wedge stuff in there to make it bigger 🤪 got 1 front control arm off. Tried to press the bushing out but it wouldn’t budge so I lit it on fire. Gotta cut the outer shell out with the hacksaw. so dirty. A lot of years of grease built up.
-
SPDRCR LS1 and 4l60e Build Thread
Spdrcr replied to Spdrcr's topic in Gen III & IV Chevy V8Z Tech Board
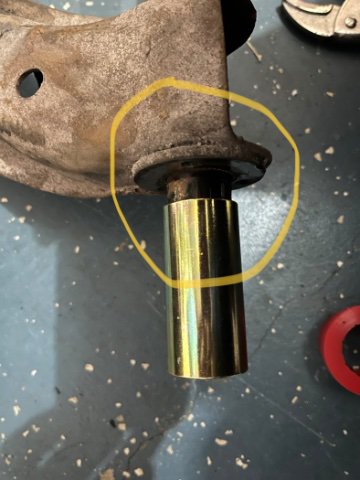
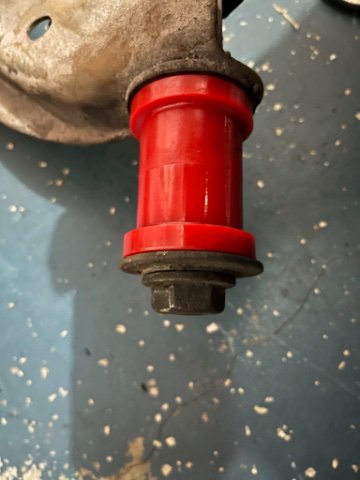
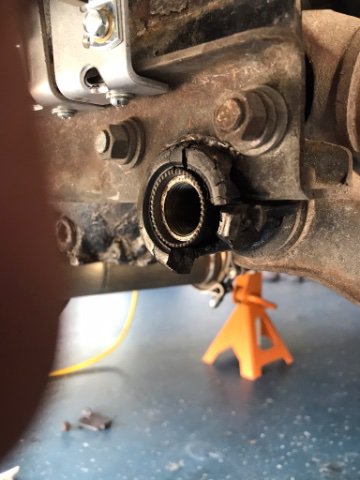
Does anyone know if this is right? Should the bushing sleeve go metal to metal? also the new bushing sleeve is a smidge longer than the control arm.
-
SPDRCR LS1 and 4l60e Build Thread
Spdrcr replied to Spdrcr's topic in Gen III & IV Chevy V8Z Tech Board
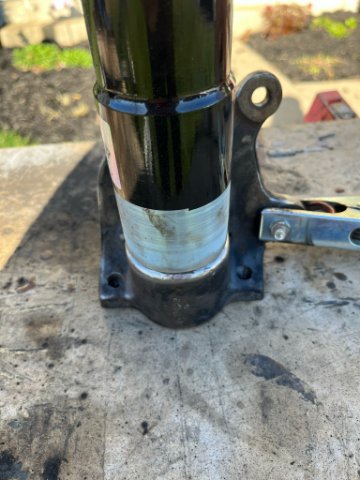
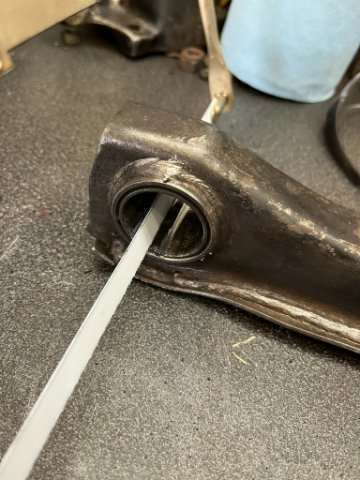
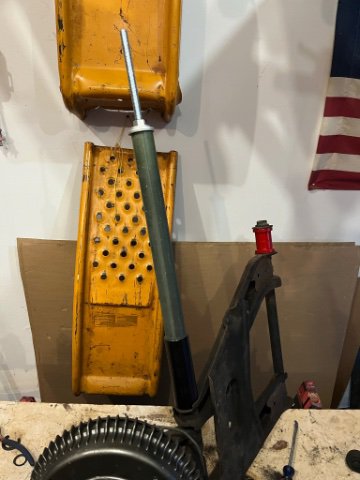
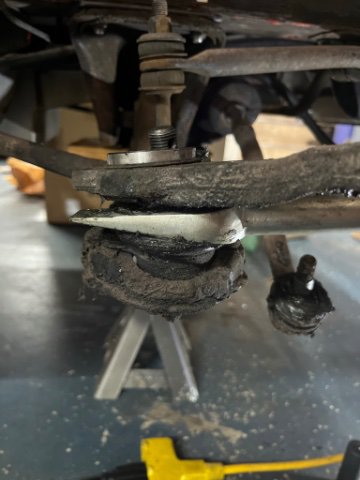
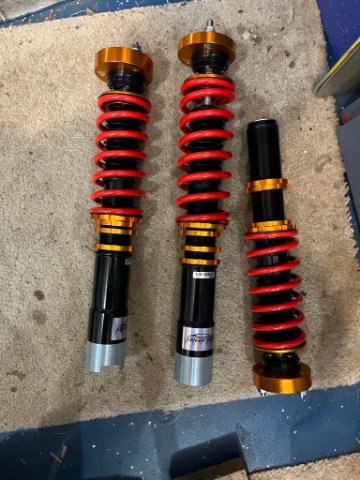
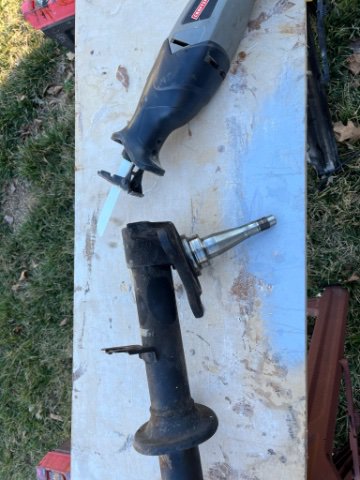
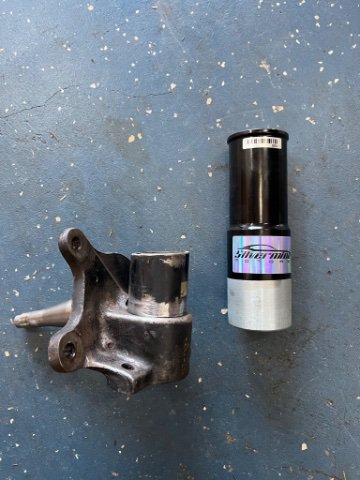
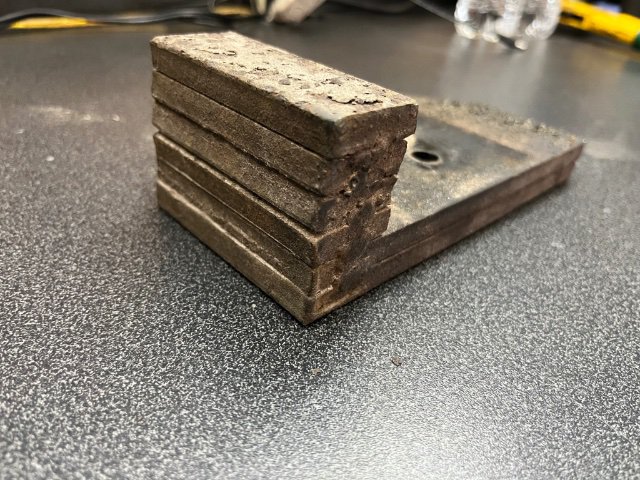
Then shenanigans have ensued once again. I’ve had these bad boys chillin in the house for almost a year now. Silvermine. Started by removing the old shocks and springs. They came out pretty easy. took me a minute to figure out what this hunk of metal was. Vibration damper if you didn’t know time to cut some stuff. I tried just cutting through the perch and old shock on the first one. It is way easier to just use a pipe wrench to pop the old shock out first. make sure to cut enough down. I originally left extra because it looks like you should fill up the bottom bulge. If you do that, the coil over cannot thread all way down for lowering. what a mess. Told you shenanigans afoot well I intended to keep this project smallish. But look at this bushing! I have a set of prothane bushings. Doesn’t make sense to not do it.
-
SPDRCR LS1 and 4l60e Build Thread
Spdrcr replied to Spdrcr's topic in Gen III & IV Chevy V8Z Tech Board
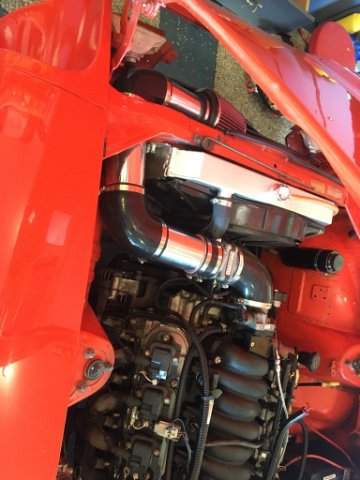
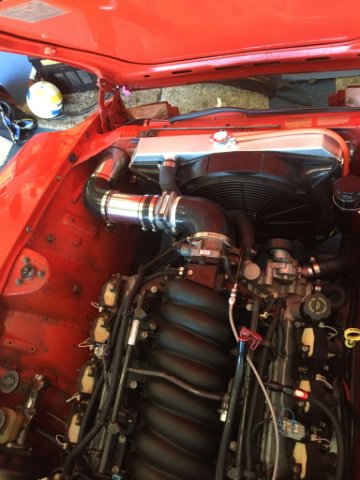
Made up an intake. There is a handy hole already there. No need to cut anything.
-
SPDRCR LS1 and 4l60e Build Thread
Spdrcr replied to Spdrcr's topic in Gen III & IV Chevy V8Z Tech Board
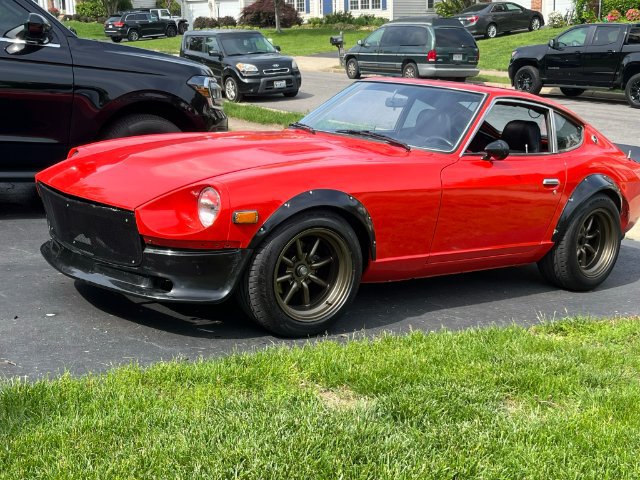
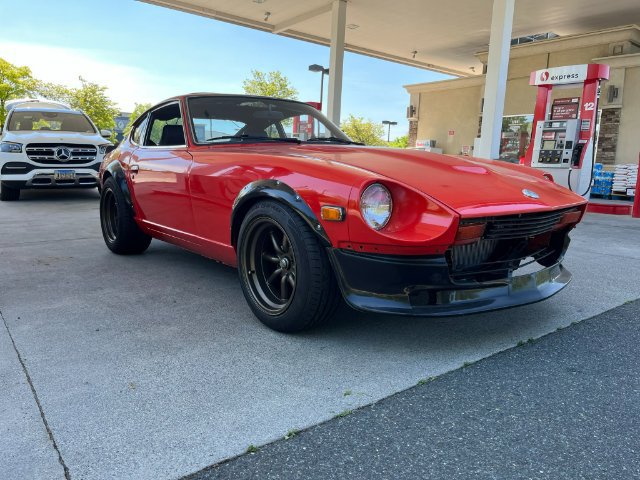
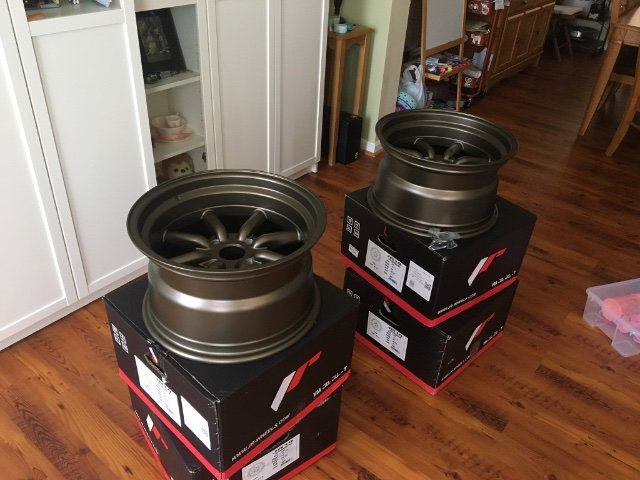
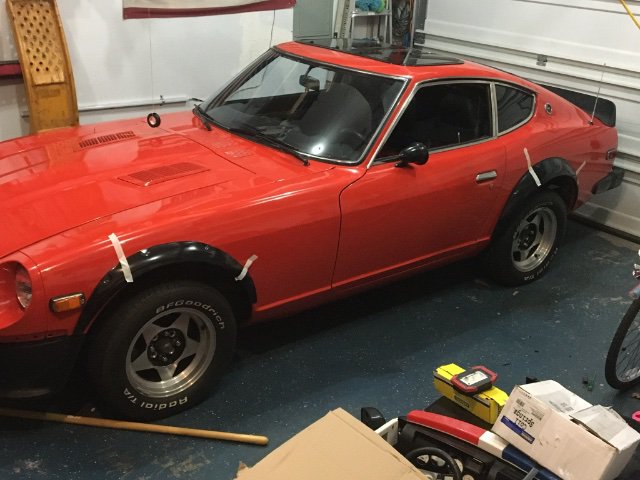
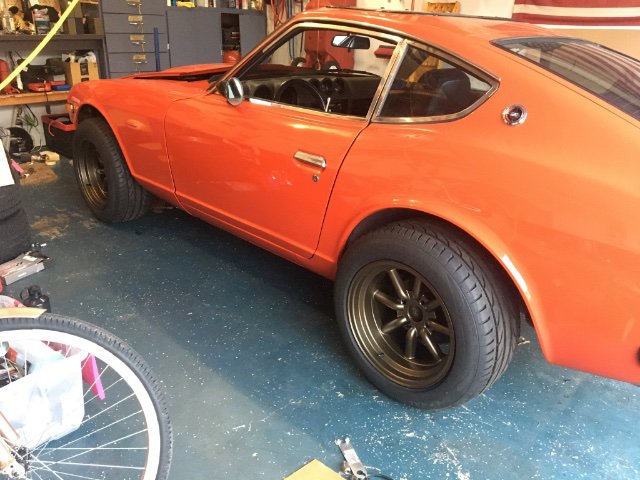
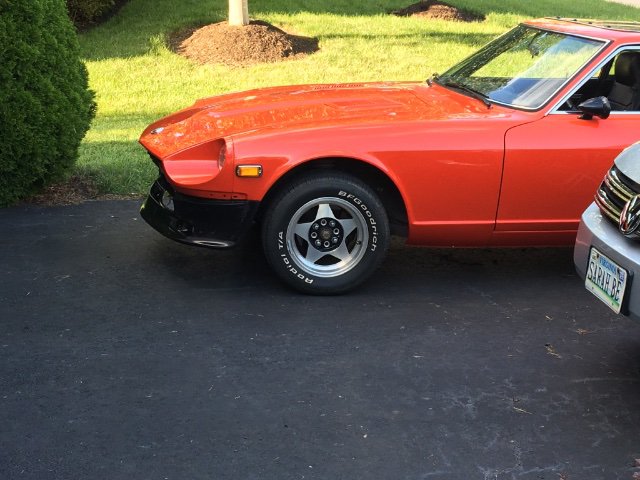
Got the wheels and tires on. Ended up having to buy a smaller set of fronts. 245/45r16 and 255/45r16 bfgoodrich. Got some flares too.
-
SPDRCR LS1 and 4l60e Build Thread
Spdrcr replied to Spdrcr's topic in Gen III & IV Chevy V8Z Tech Board
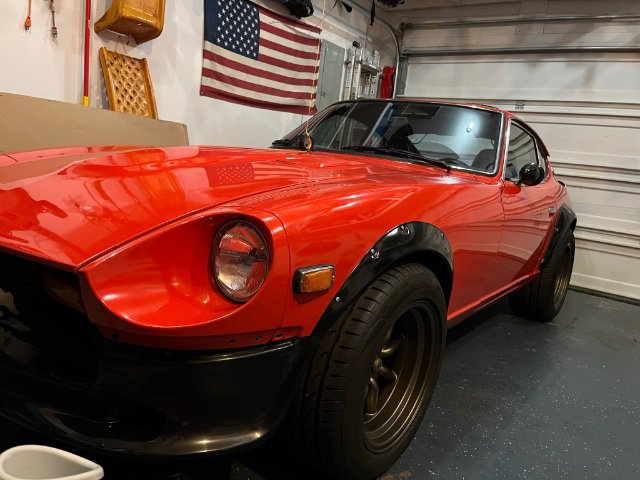
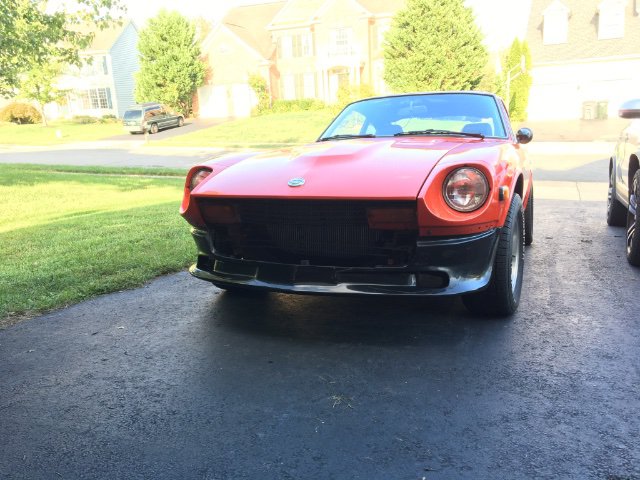
Been a long time. I have mostly just been driving and enjoying the car when I get the time. Got a front air dam on. Need to make a grill and get it painted.
-
#18 is the AC control valve. When it receives vacuum it pulls on the throttle linkage to increase idle.