RCVTR
-
Posts
24 -
Joined
-
Last visited
-
Days Won
6


RCVTR's Achievements
")


-
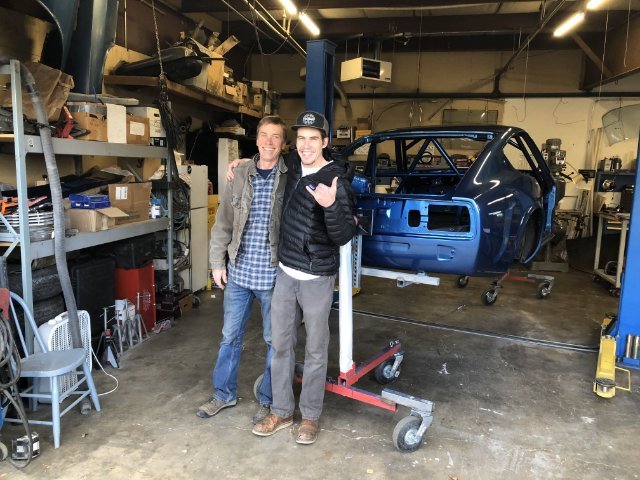
'77 280Z Track Car Father & Son Project
RCVTR replied to RCVTR's topic in S30 Series - 240z, 260z, 280z
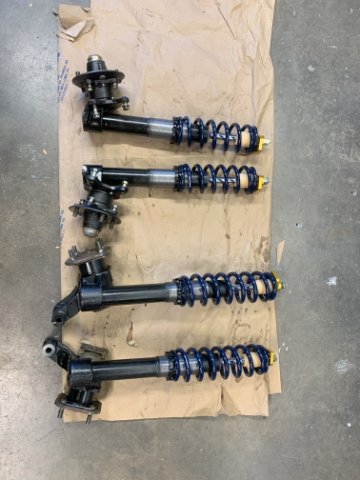
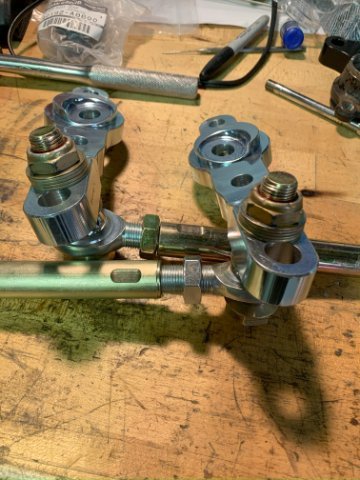
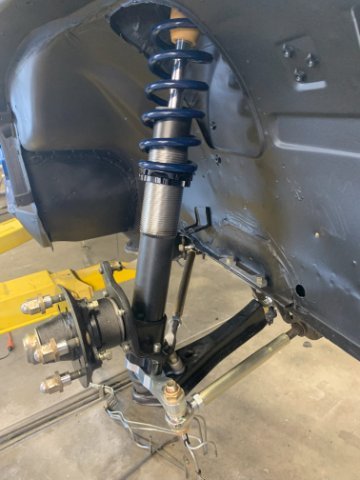
Can't be tired yet! It finally got to the point where we were building a car. We decided early on to go with vintage Datsun race suspension mods,parts and brakes from Design Products (dpracing.com), the super trick front crossmember from Apex Engineered and camber plates and Evolved steering knuckles from TechnoToyTuning (T3). As it turned out, when we got the rear struts installed the car was squatted in the rear. After taking some measurements, the struts were shortened to 240 length! After a night of tossing and turning, I did some research and discovered that T3 has a problem solver for that in the form of a riser block that works with their adjustable camber setup and it was problem solved!!
-
'77 280Z Track Car Father & Son Project
RCVTR replied to RCVTR's topic in S30 Series - 240z, 260z, 280z
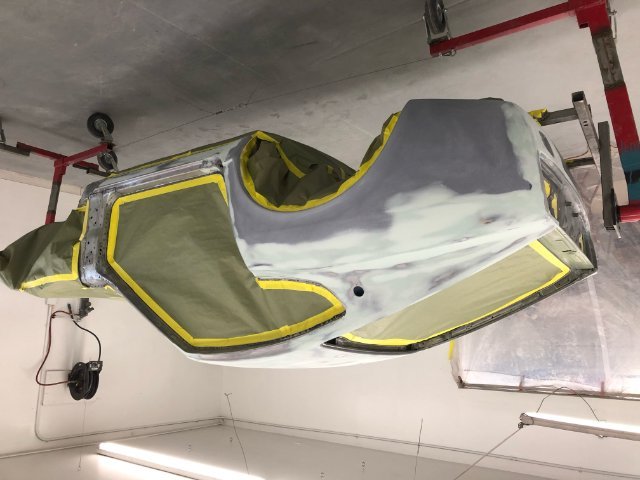
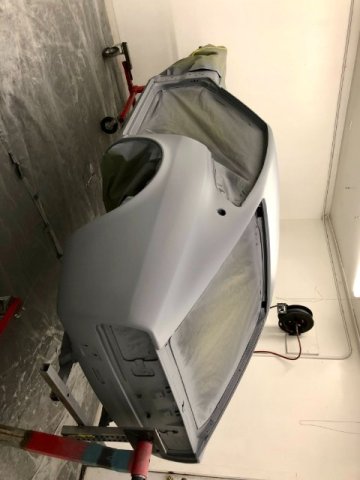
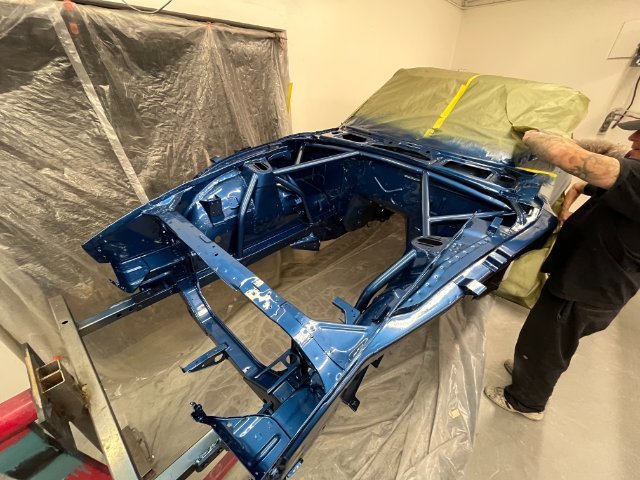
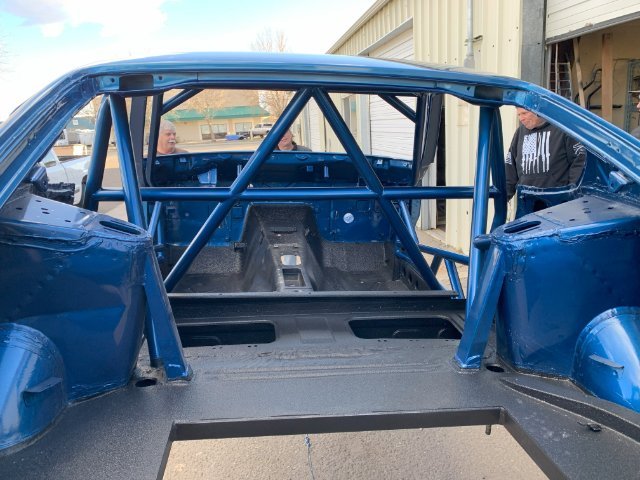
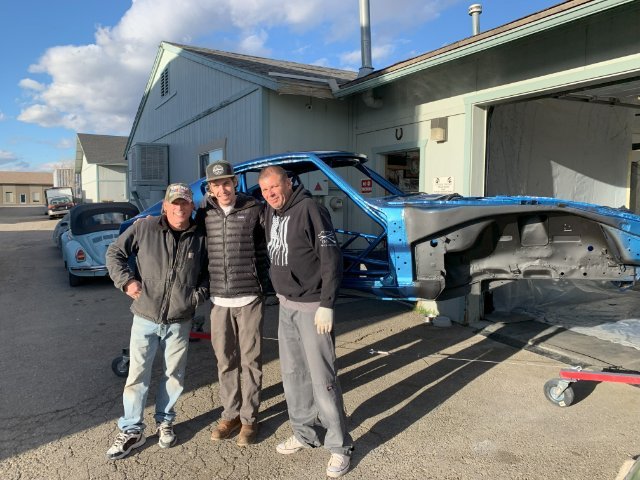
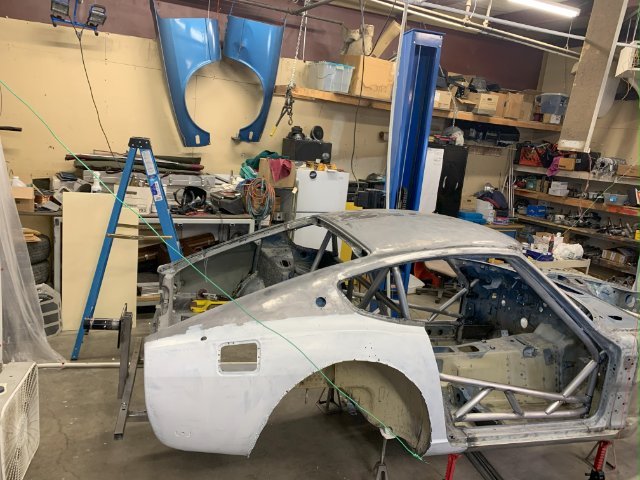
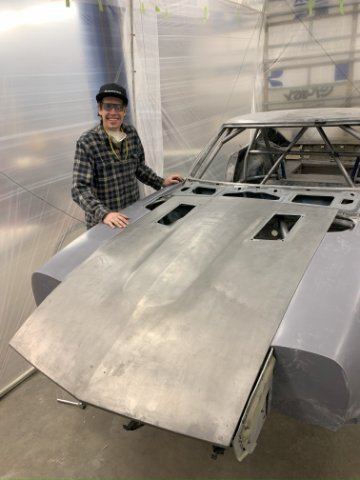
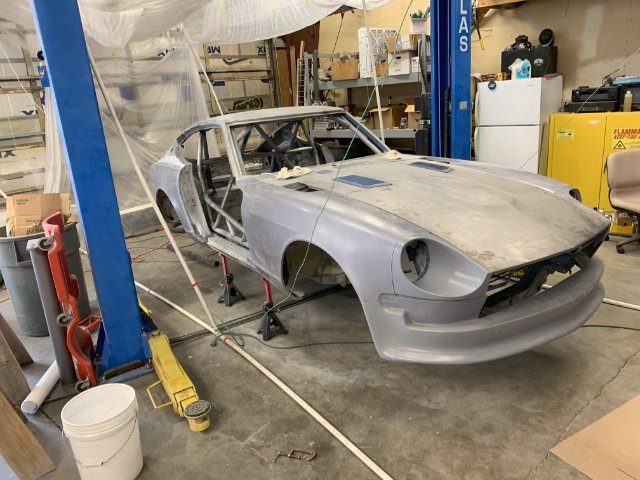
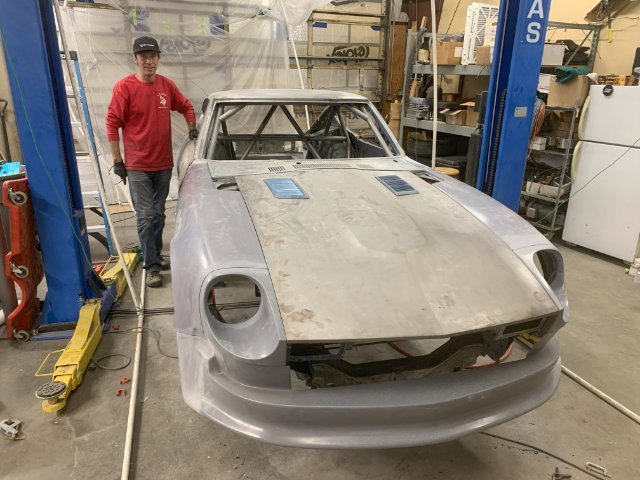
Then it was off to paint. The boys did an amazing job! Worthy of a $50 bottle of tequila and a celebration!
-
'77 280Z Track Car Father & Son Project
RCVTR replied to RCVTR's topic in S30 Series - 240z, 260z, 280z
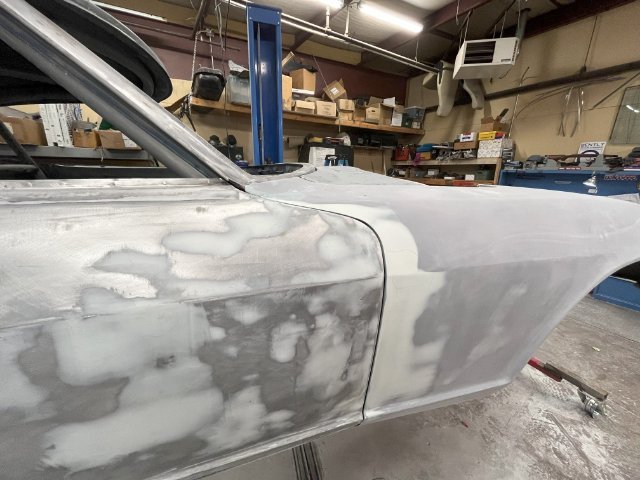
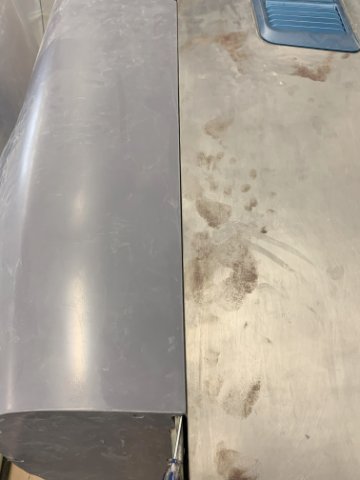
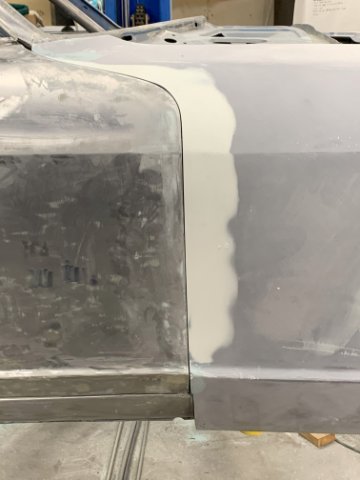
We did a lot more paint prep than we should have, because the painter was not going to apply his paint over someone else' prep. But I think we did save a lot of his time, by taking care of some problem areas, especially where the rear fenders did not quite fit the damaged sheet metal behind them.
-
'77 280Z Track Car Father & Son Project
RCVTR replied to RCVTR's topic in S30 Series - 240z, 260z, 280z
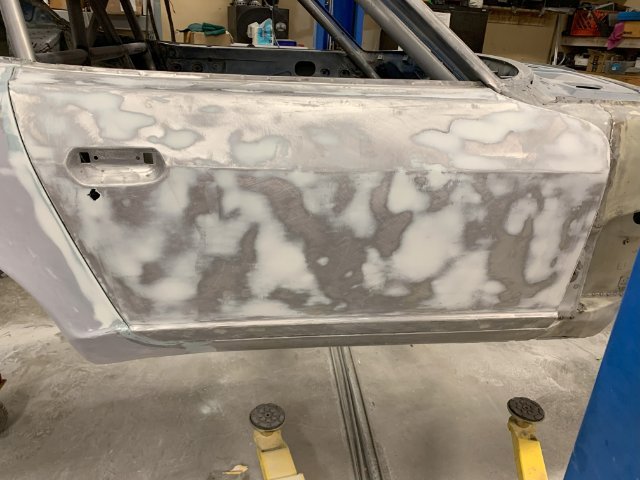
The right side door had rust along the bottom edge seam, indicating that the door skin had probably been replaced and the seam was rotting out. So we folded the seam open and removed both door skins and the 11 lb. door beams. Blasted away the rust, fast-etched and painted the inside with rust encapsulator paint and sealed the seams with epoxy and folded them back.
-
'77 280Z Track Car Father & Son Project
RCVTR replied to RCVTR's topic in S30 Series - 240z, 260z, 280z
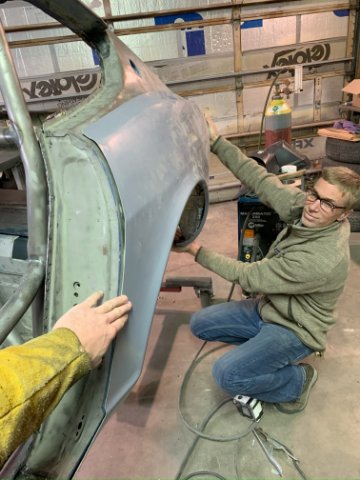
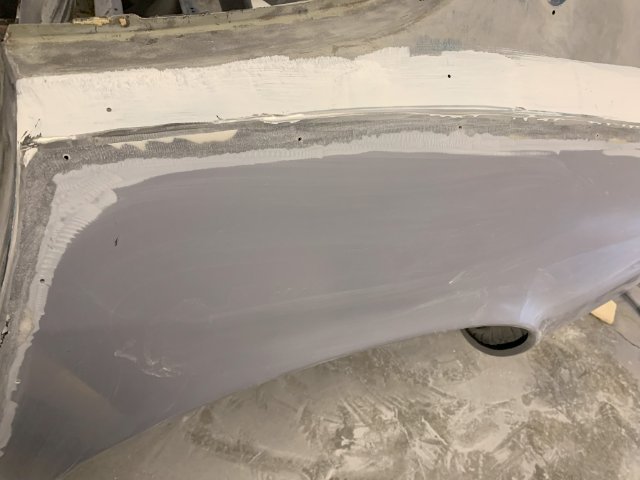
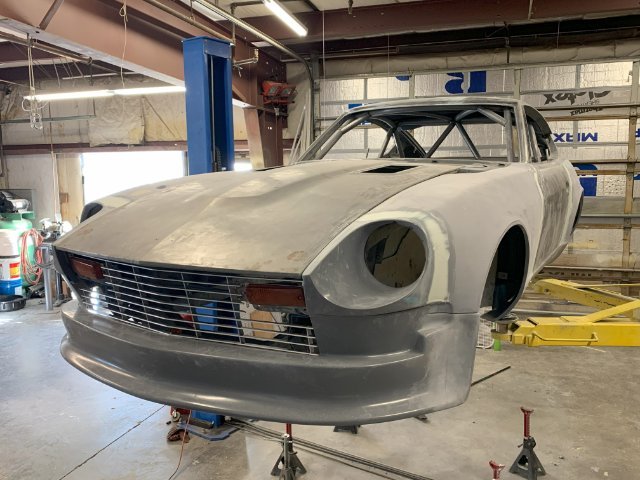
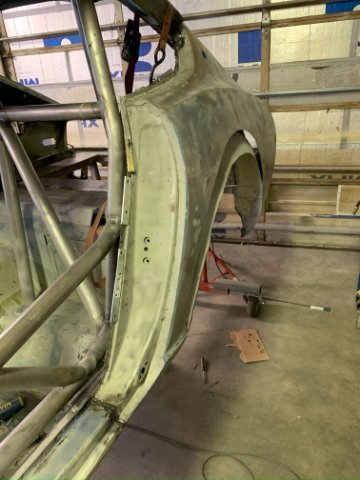
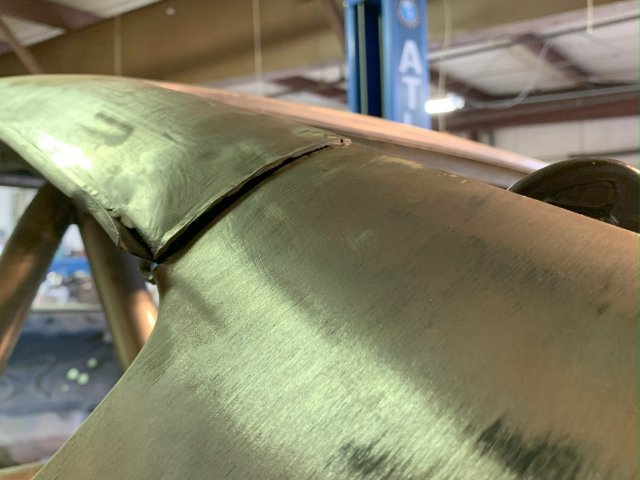
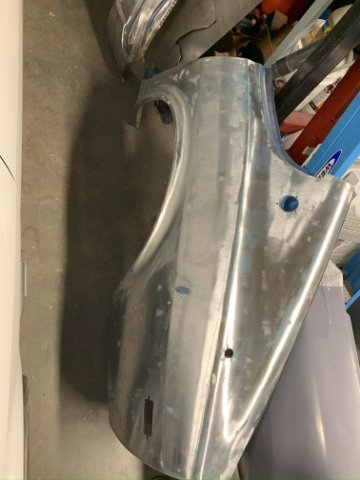
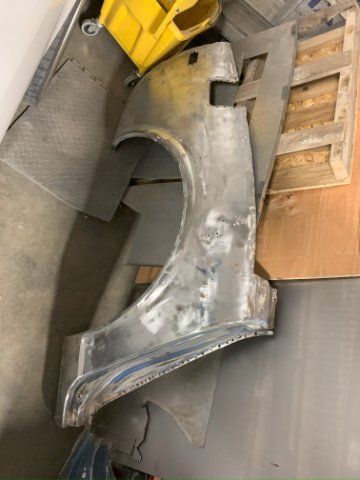
Z Trix bodywork was a custom fit all the way. We trimmed the rear fenders along the top shoulder, then scarfed the back side along the edges to get it to blend into the existing panel. Applied a seal coat, then bonded them on. The front fenders required quite a bit of work to get the hood gaps right. Lots of small problems to solve, but it came out well. I'll let the photos tell the rest.
-
'77 280Z Track Car Father & Son Project
RCVTR replied to RCVTR's topic in S30 Series - 240z, 260z, 280z
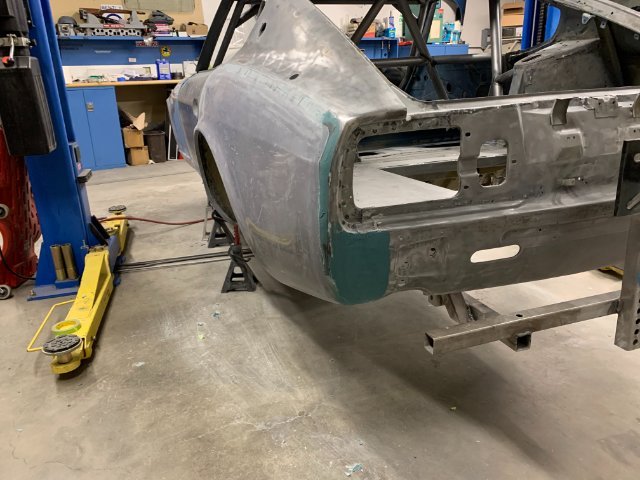
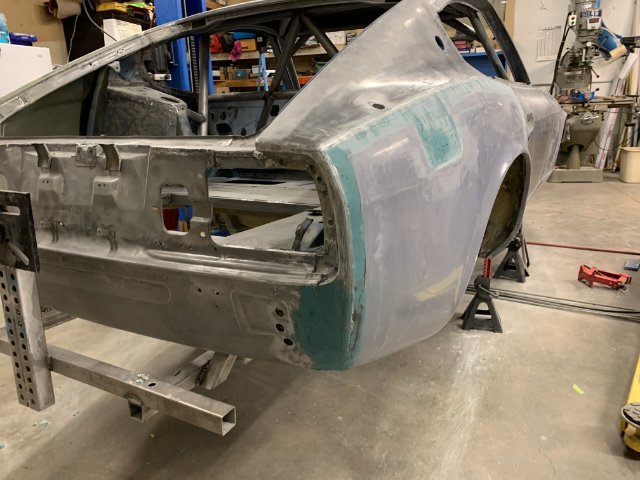
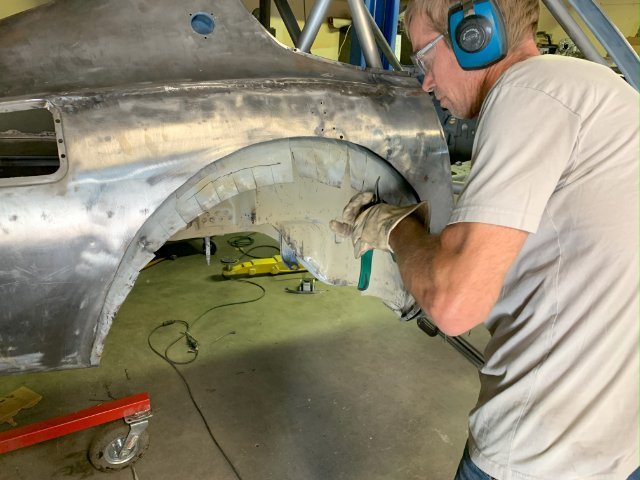
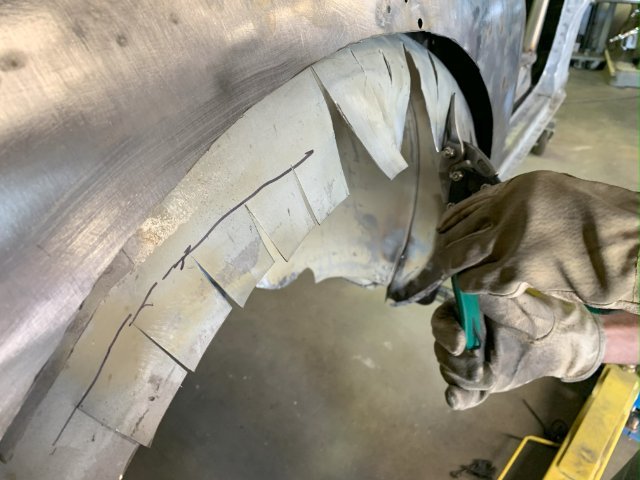
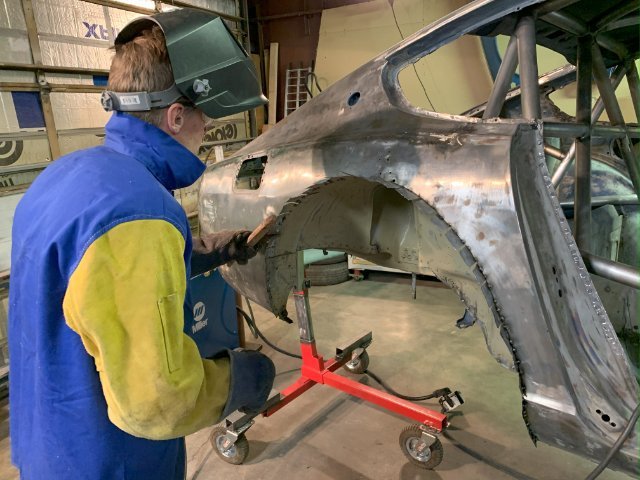
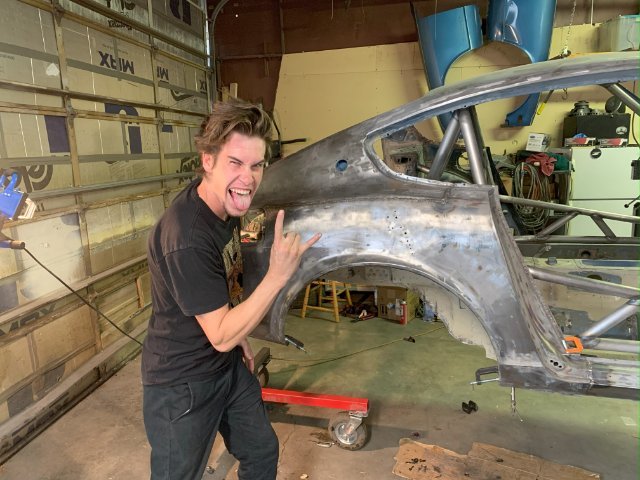
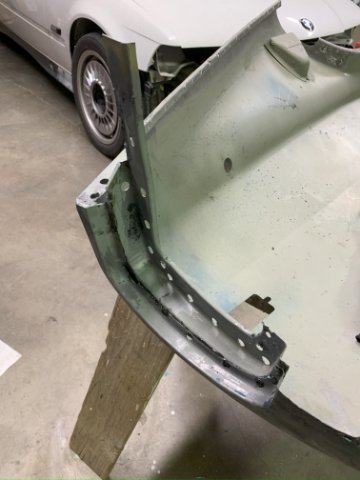
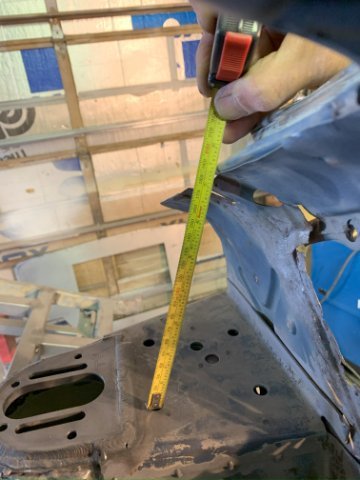
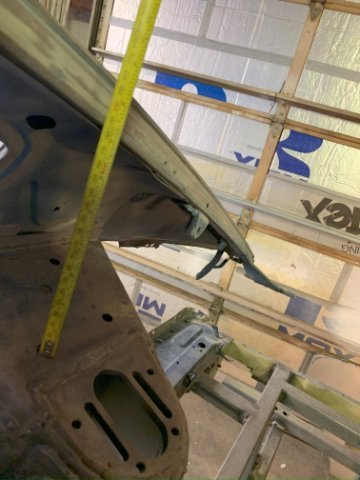
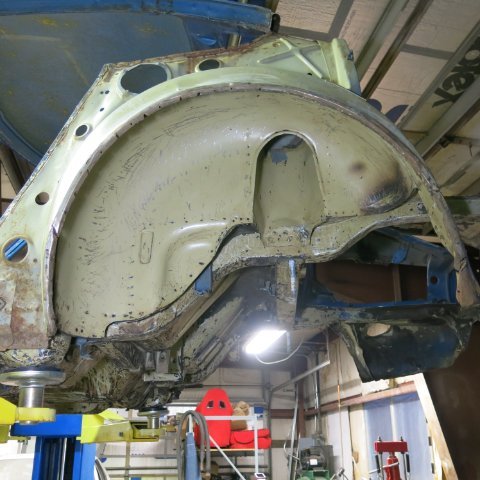
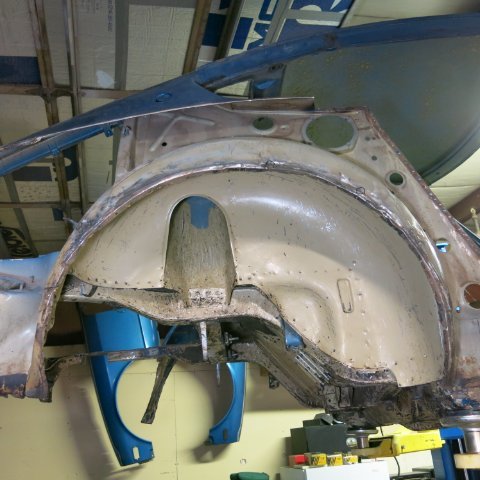
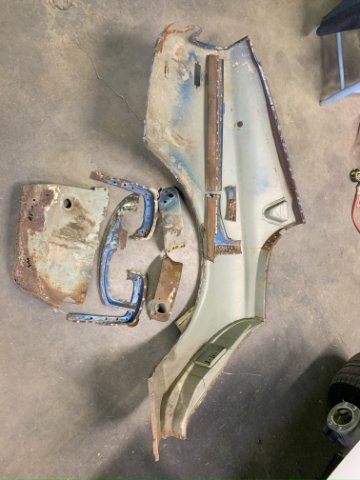
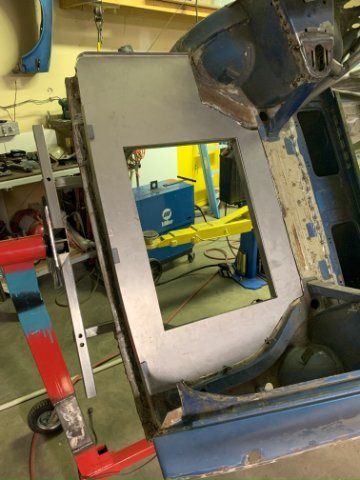
Thanks for the positive feedback! It's all a matter of commitment, deciding on the best plan we could come up with and then figuring out how to do it. If we didn't have each other to bounce ideas off of and keep each other fired up, it probably wouldn't have happened. So, now that the body was back together, The outer wheel tubs were mildly crushed and we wanted to put wider wheels and tires on. So the next phase was preparing the rear fenders for ZTrix Subtle Z bodywork. We had the body, now comes the work. To fit wider wheels, you have to modify the fender opening and wheel tub, so that the tub is at it's maximum height out past the fender opening:
-
'77 280Z Track Car Father & Son Project
RCVTR replied to RCVTR's topic in S30 Series - 240z, 260z, 280z
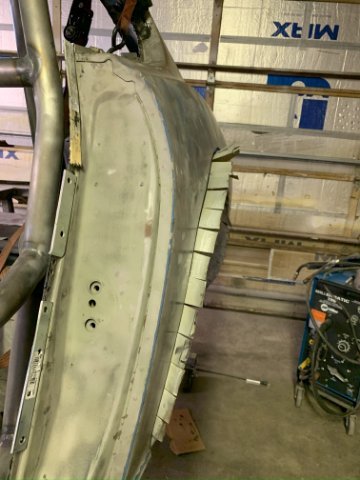
Attaching the rear section was pretty straightforward.
-
'77 280Z Track Car Father & Son Project
RCVTR replied to RCVTR's topic in S30 Series - 240z, 260z, 280z
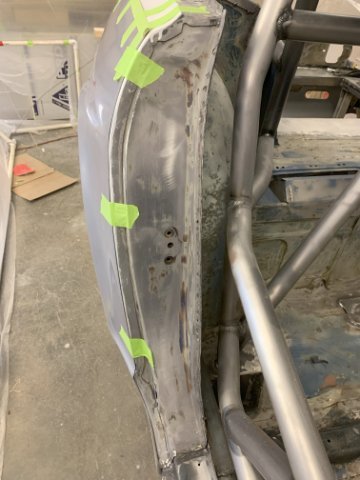
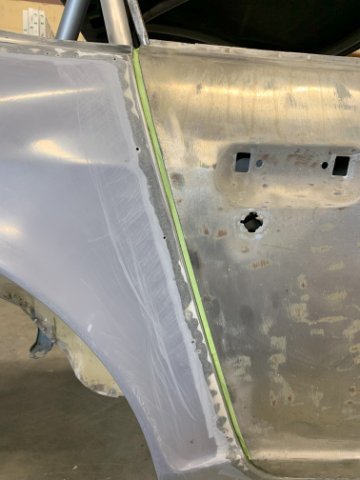
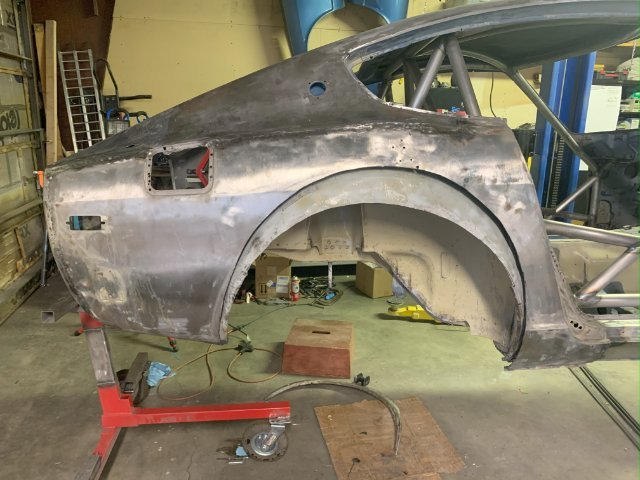
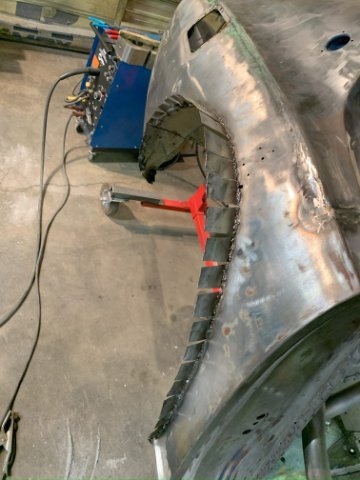
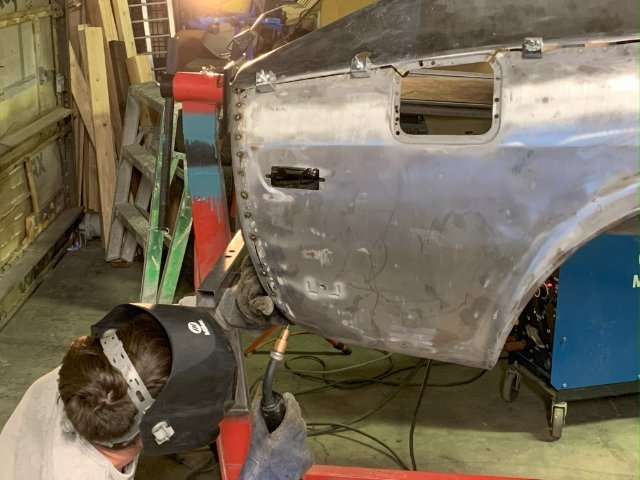
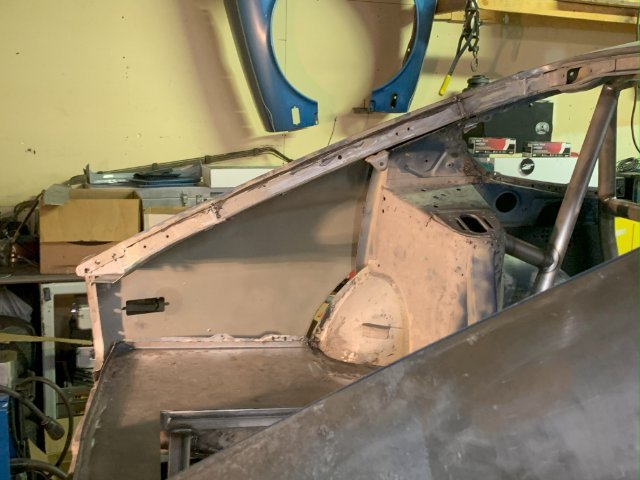
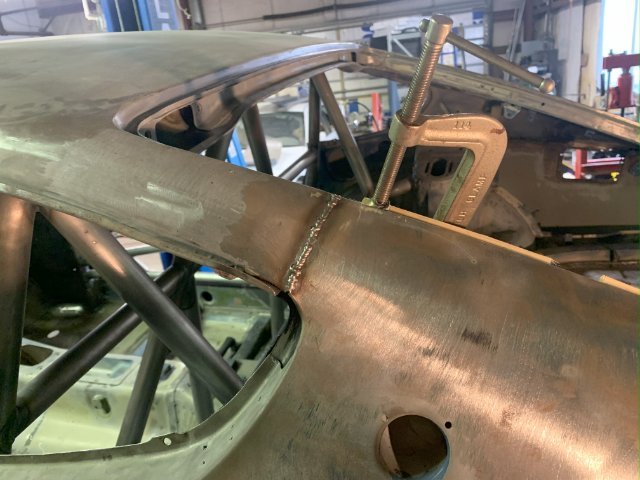
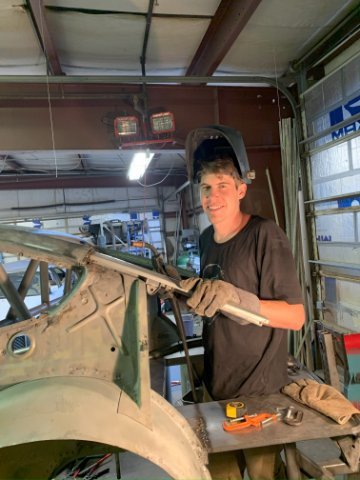
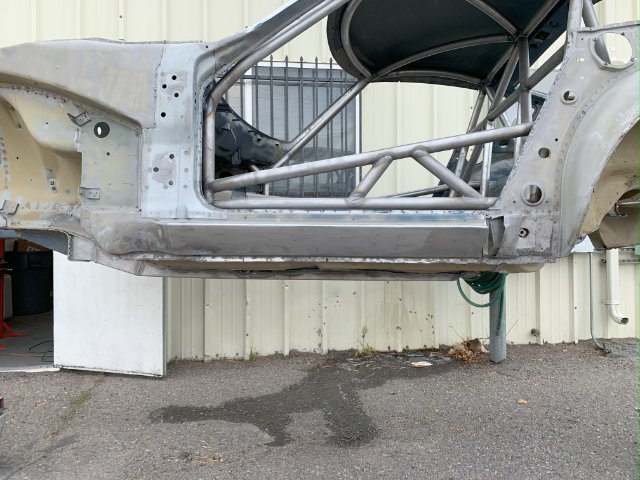
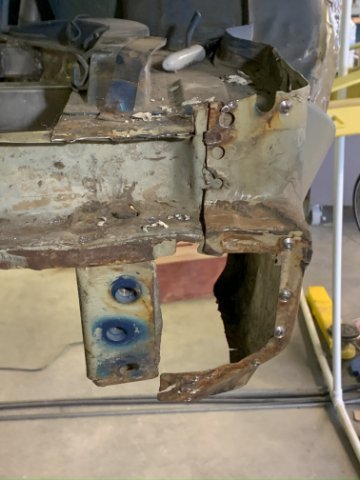
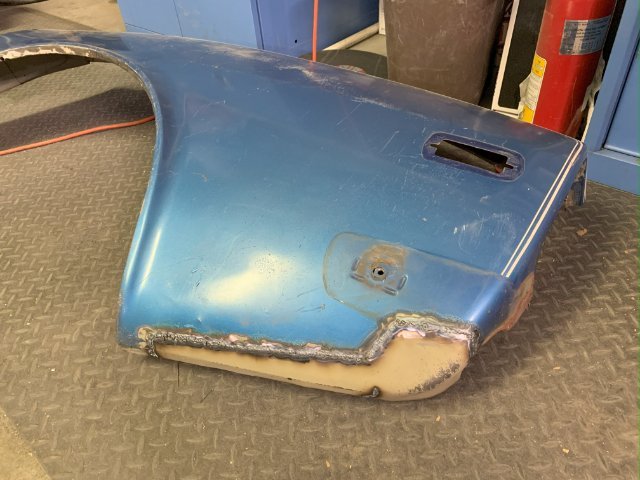
On the right side, the damaged fender had been cut off and a replacement scabbed on and spot-welded in place. The patch went up to the rear window, then followed the window and door frame down to the rocker. We had cut it out along the edge of the patch and removed it. To reinstall we used some sheet metal fixturing clamps to hold a consistent gap and butt welded it in place. The metal is super thin. Welding was done with ~1.5 second tacks spaced out around the opening and slowly filled in until all the gaps were joined together. The window, door and rocker lap joints were bonded.
-
'77 280Z Track Car Father & Son Project
RCVTR replied to RCVTR's topic in S30 Series - 240z, 260z, 280z
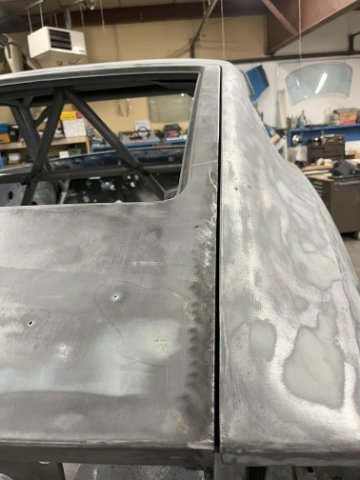
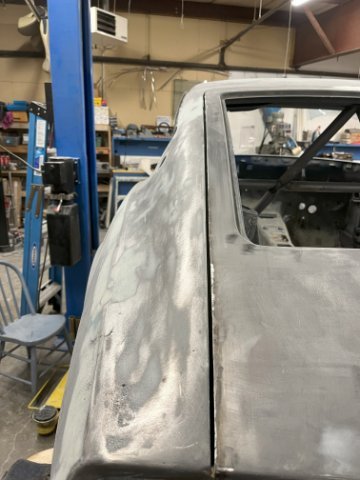
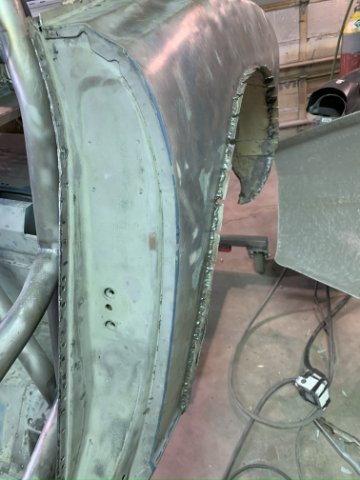
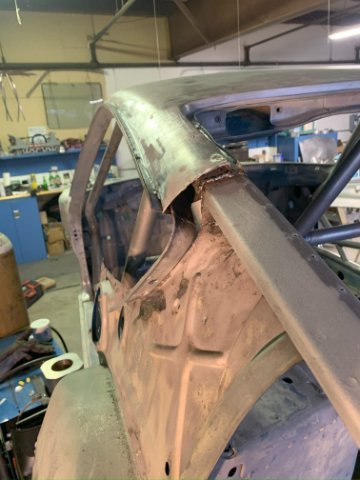
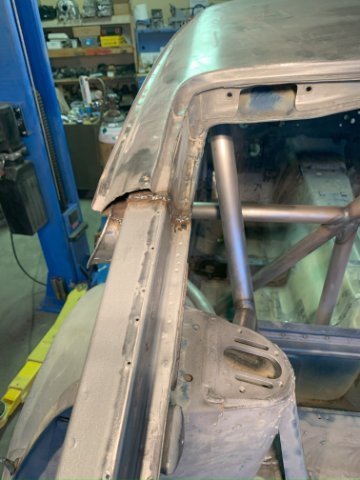
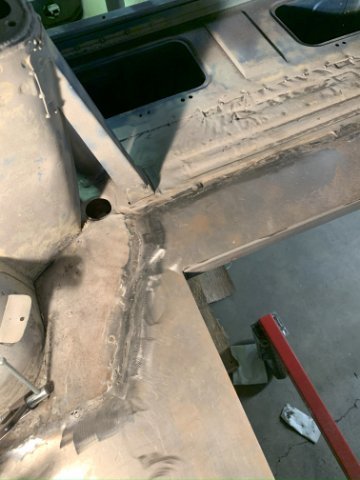
The next step was to bond the fender to the roof beam and rebuild the corner of the fender to rear cowl.
-
'77 280Z Track Car Father & Son Project
RCVTR replied to RCVTR's topic in S30 Series - 240z, 260z, 280z
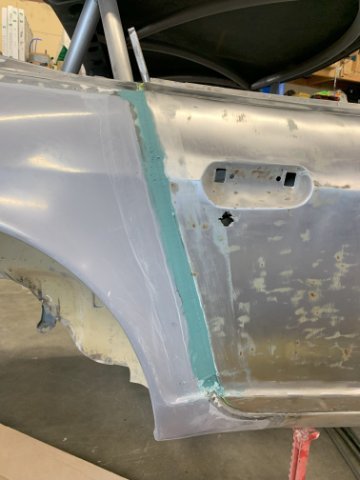
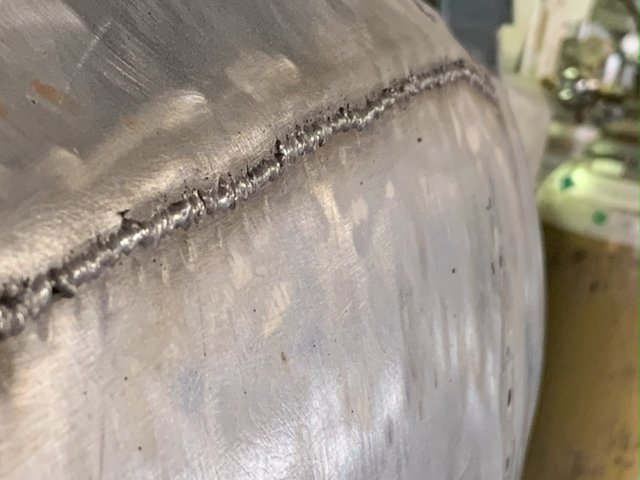
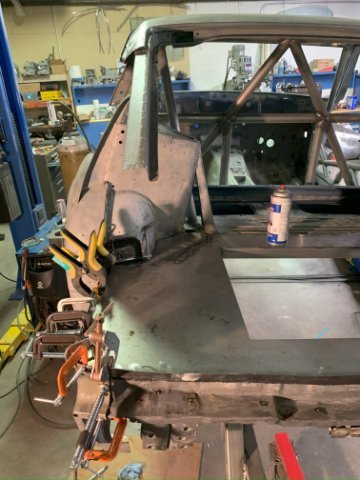
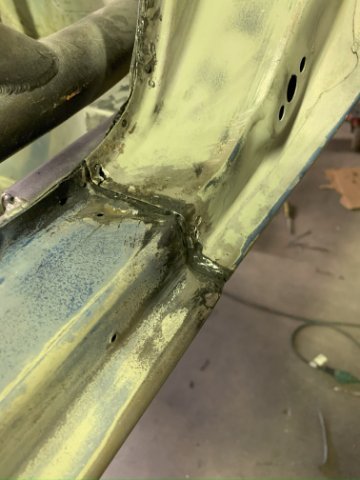
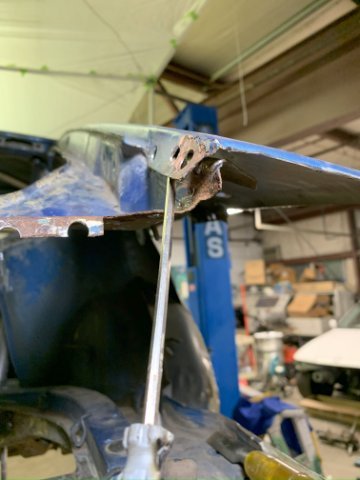
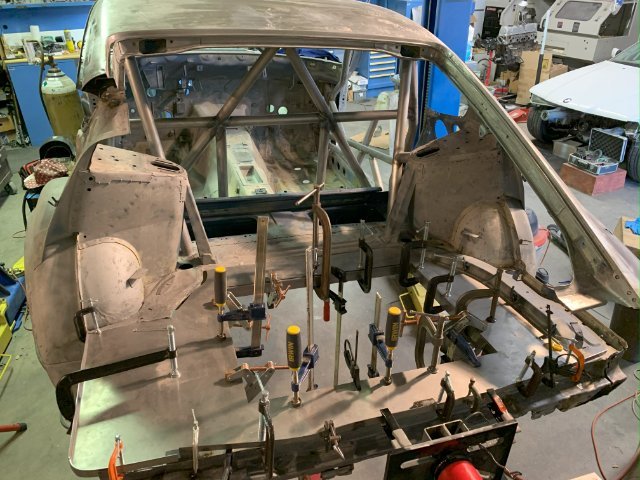
To install the left fender and rear cowl pieces all of the lap joints were bonded together with SEM Panel Bonding Adhesive, for strong, waterproof joints and ease of assembly. First the inner fender cowl was bonded to the floor and inner wheel tub, the rear side window reinforcement was welded to the roof overhang and the left side rear cowl piece was bonded to the fender. Next, the lap joints around the window frame, door frame and rocker panel were coated with adhesive and the fender was fixtured in place. Then the seam at the roof-fender joint was welded.
-
'77 280Z Track Car Father & Son Project
RCVTR replied to RCVTR's topic in S30 Series - 240z, 260z, 280z
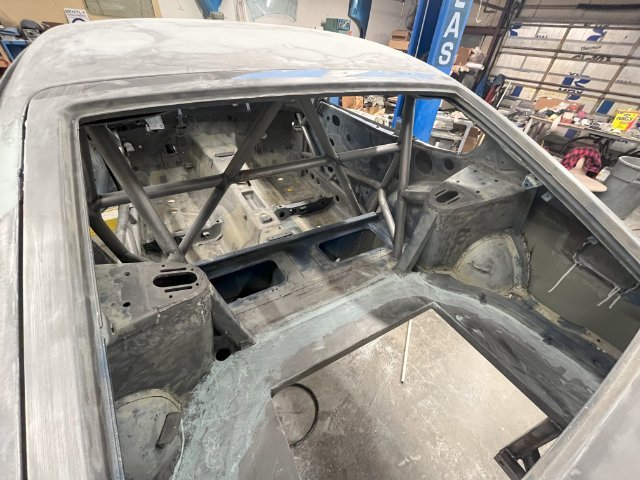
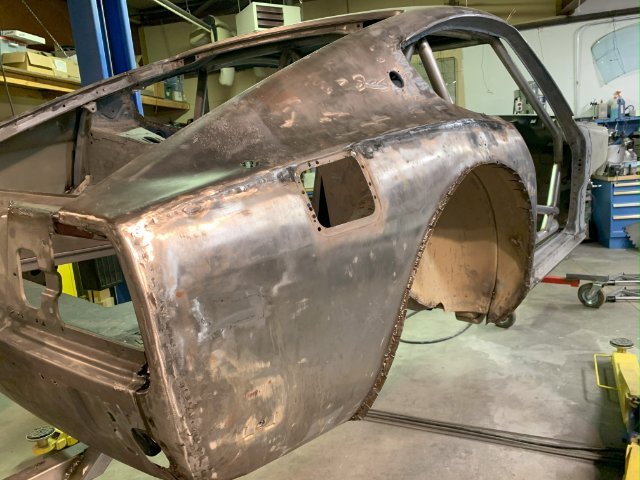
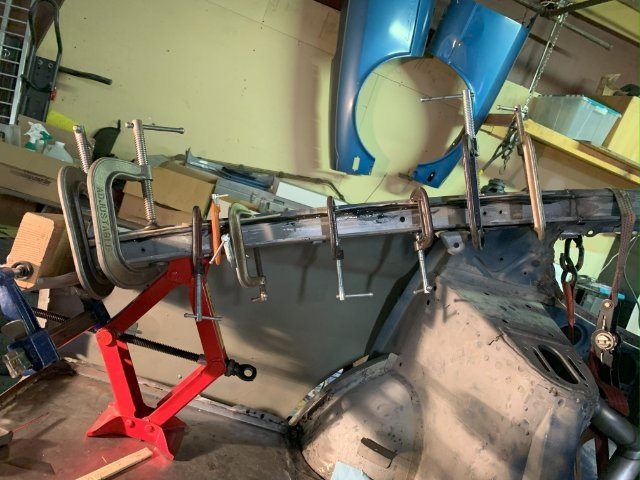
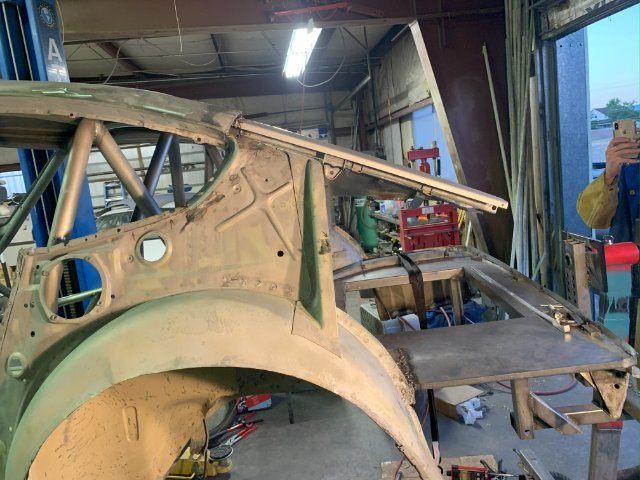
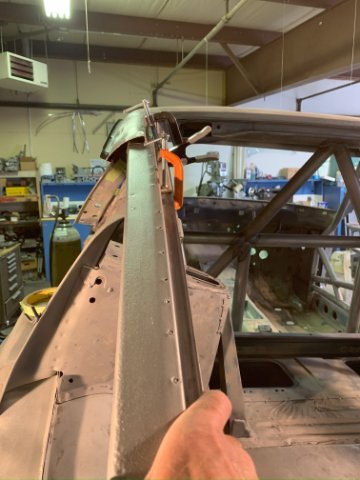
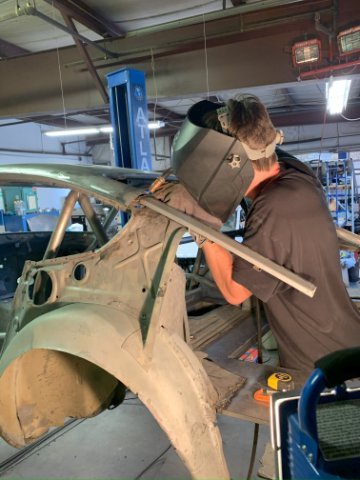
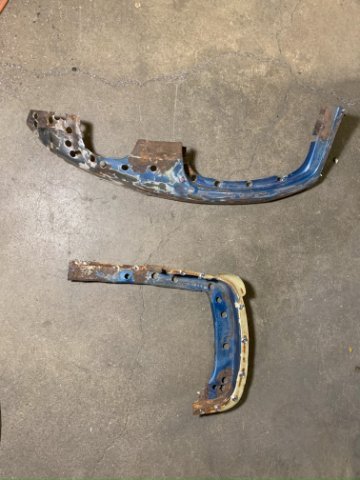
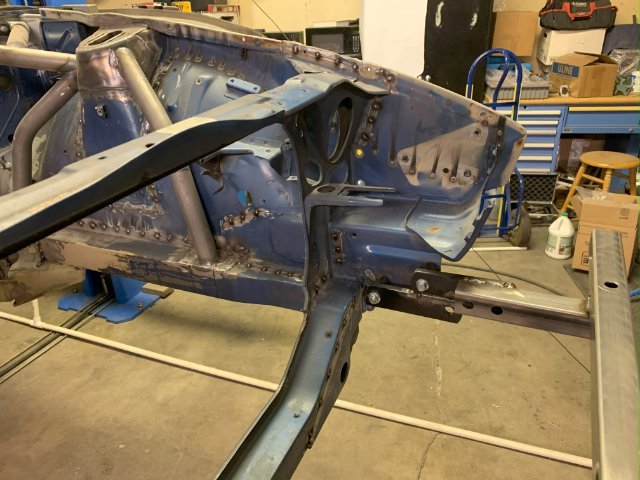
The next step was welding in the main structural beam for the rear quarter. As I mentioned previously the beam was severed, when the rear quarter panel was replaced, leaving the roof and rear quarter supported by the skin. We fixtured it up accurately and Petr welded it in.
-
'77 280Z Track Car Father & Son Project
RCVTR replied to RCVTR's topic in S30 Series - 240z, 260z, 280z
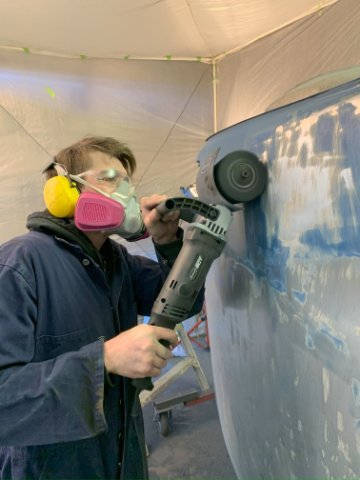
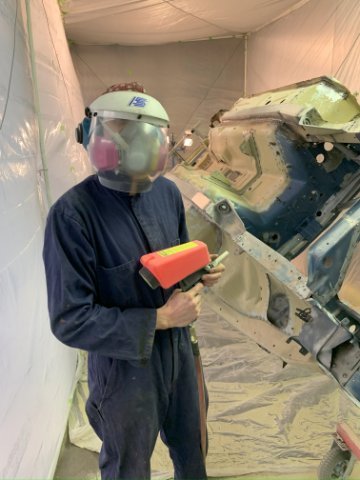
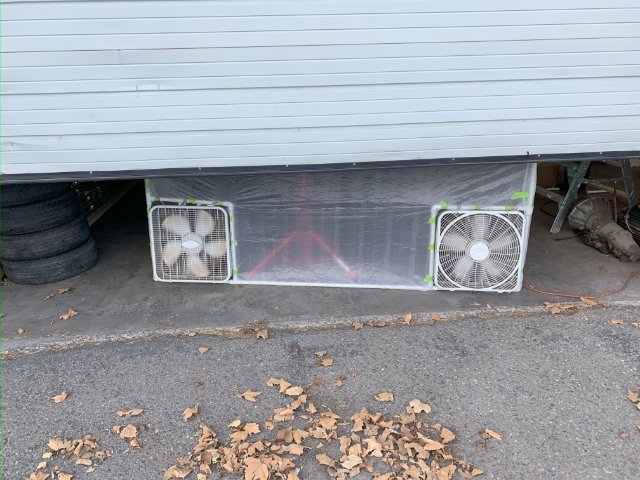
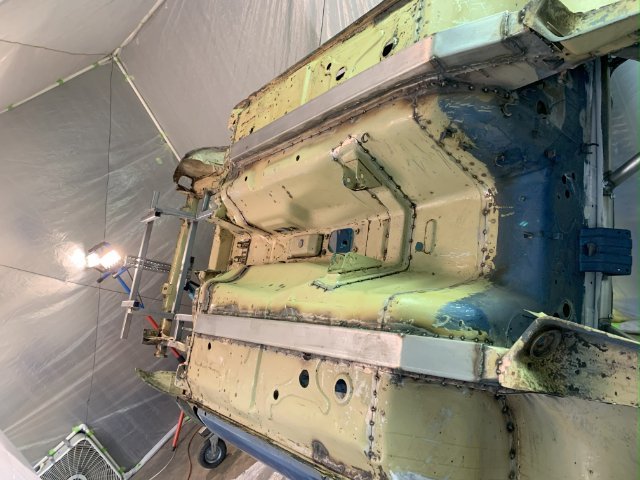
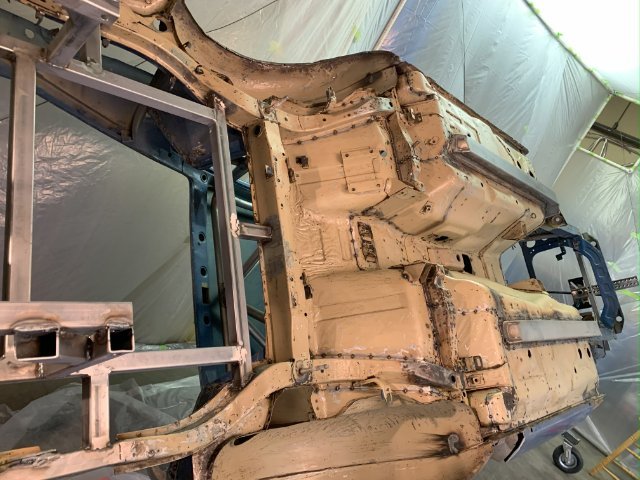
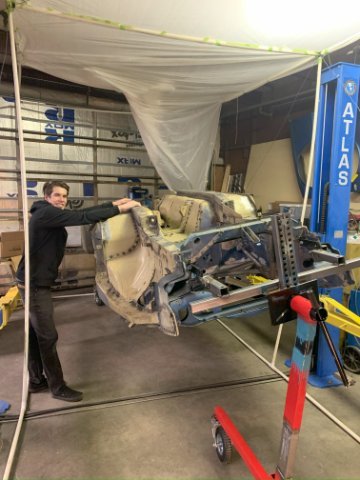
Time for paint stripping and surface prep. Ya gotta want it!
-
'77 280Z Track Car Father & Son Project
RCVTR replied to RCVTR's topic in S30 Series - 240z, 260z, 280z
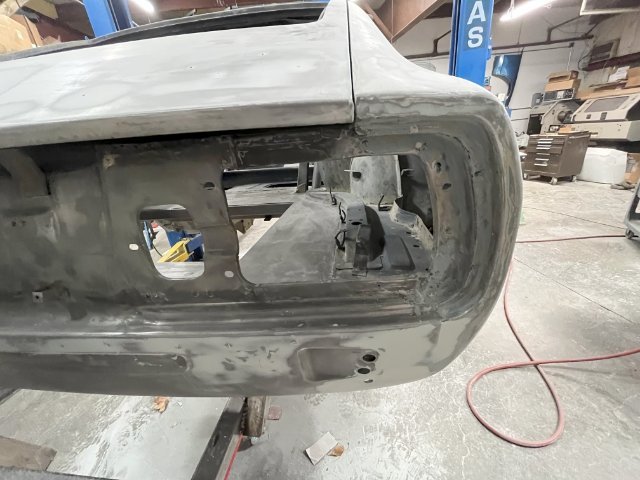
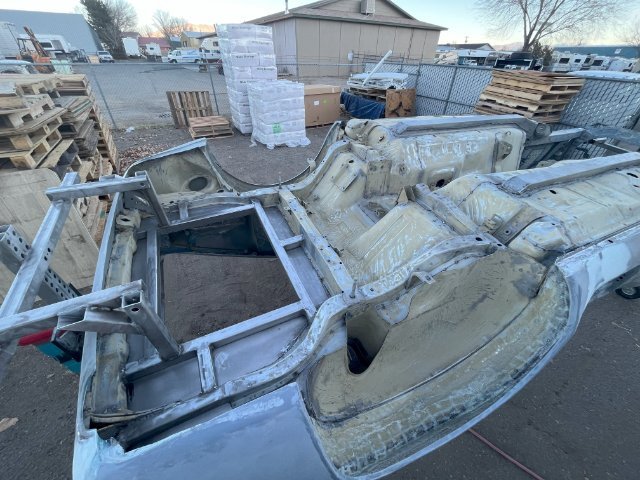
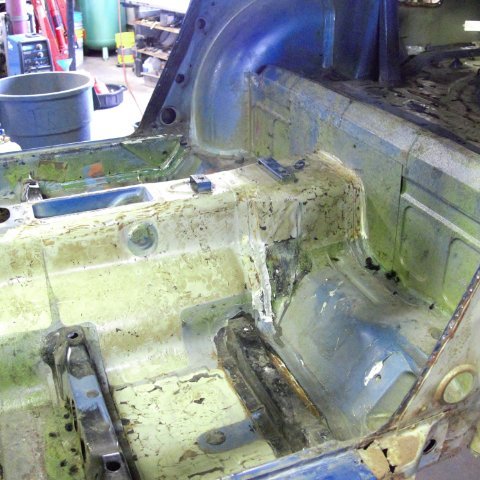
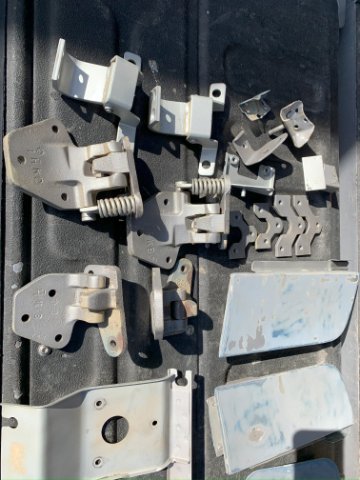
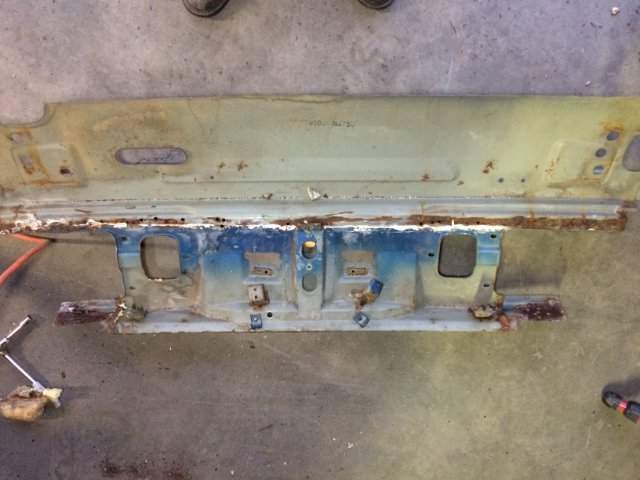
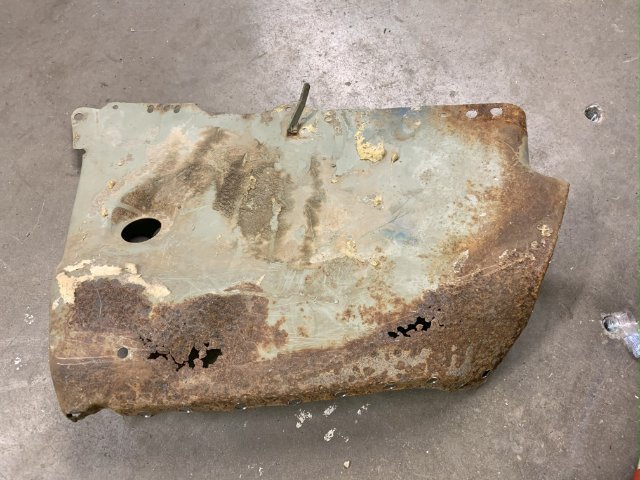
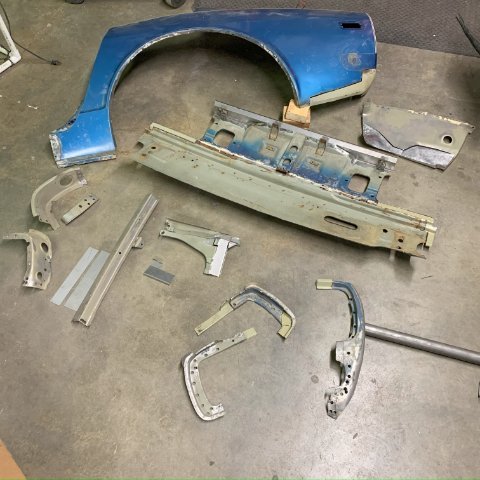
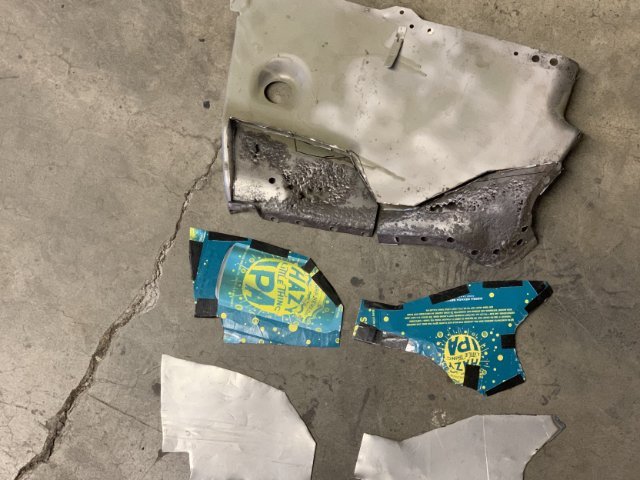
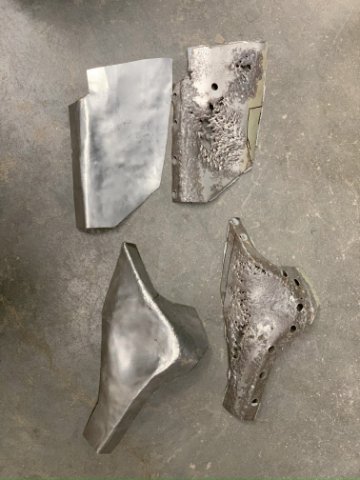
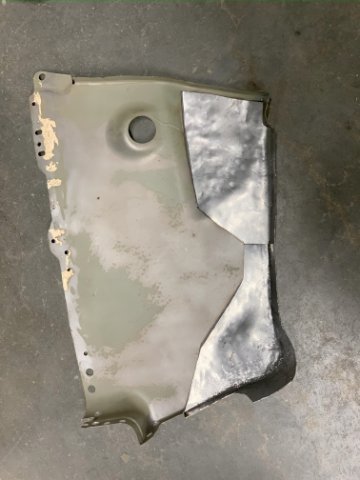
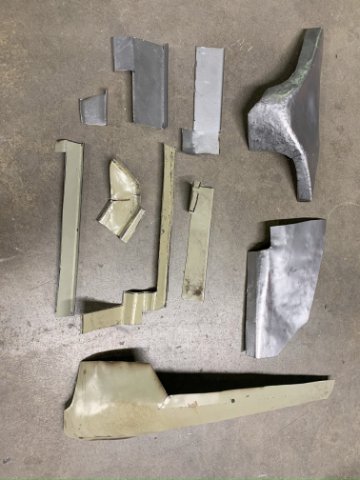
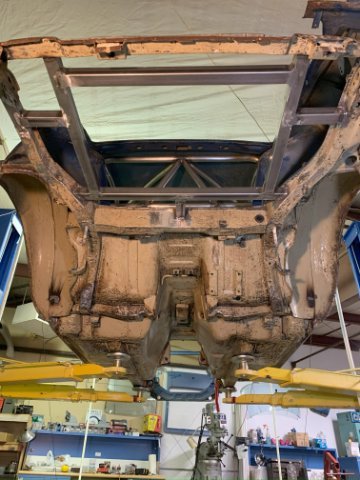
The only way we could think of to deal with the rust in the back end of the car was to separate every rusted seam that we could, media blast it and treat it with Eastwood Fast Etch, which acid etches the surfaces and contains some zinc to mildly passivate the treated areas. Once we did that, we could determine what was servicable and what needed to be cut out and patched. Fortunately a lot of it turned out to be okay. The rear valance and other very high quality parts are now available from Resurrected Classics and KlassicFab. The valance was not available a couple years ago, so we had to have a new top deck made for it and weld it into place. A few more small patches had to be done. Not perfect but they served the purpose. We were finally ready to start putting it all back together.
-
'77 280Z Track Car Father & Son Project
RCVTR replied to RCVTR's topic in S30 Series - 240z, 260z, 280z
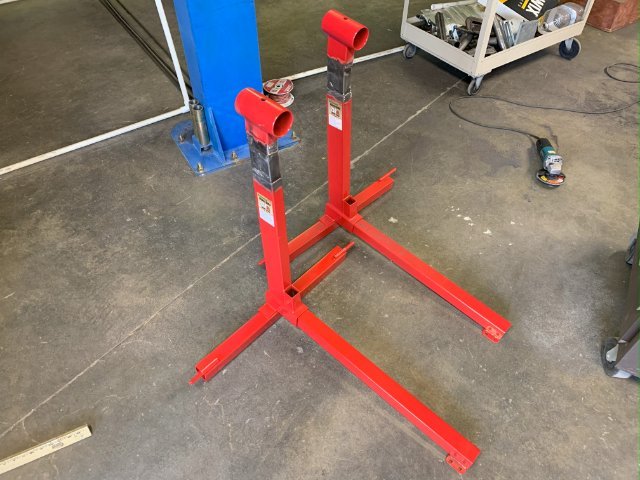
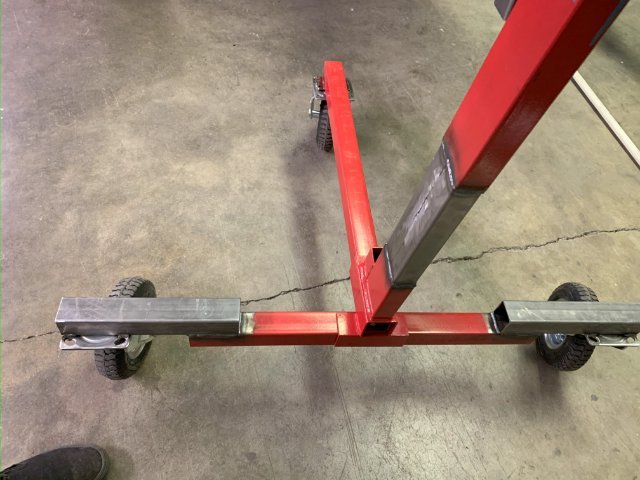
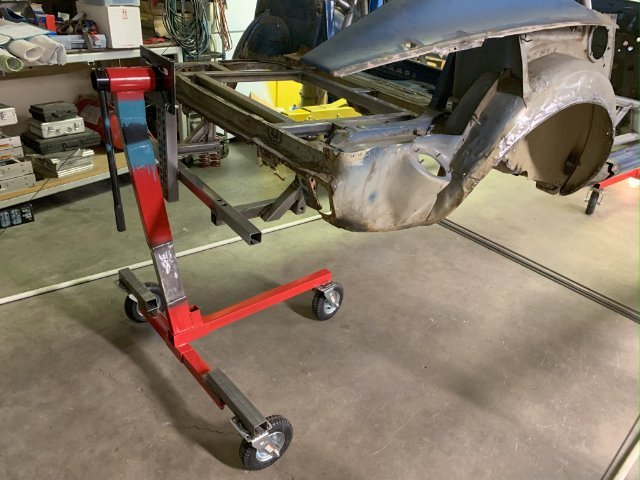
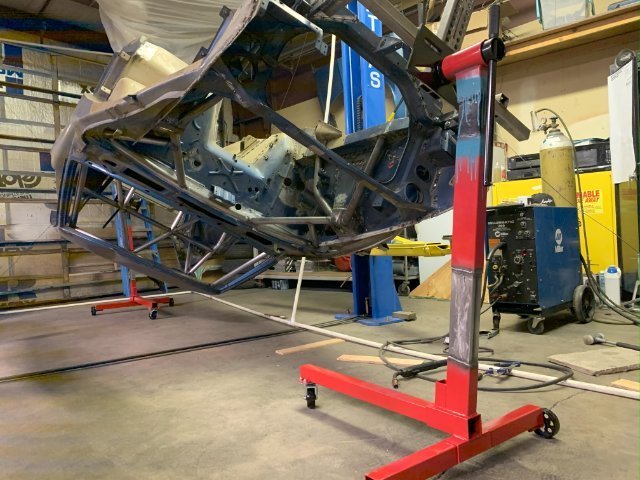
With all of the blasting and stripping ahead, we needed a rotisserie. A couple of ~$50some engine stands and a bit of fabrication came to under $200 and served he purpose well.
-
'77 280Z Track Car Father & Son Project
RCVTR replied to RCVTR's topic in S30 Series - 240z, 260z, 280z
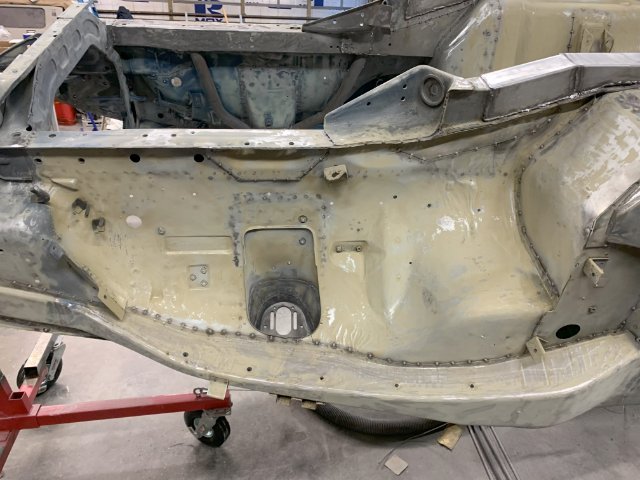
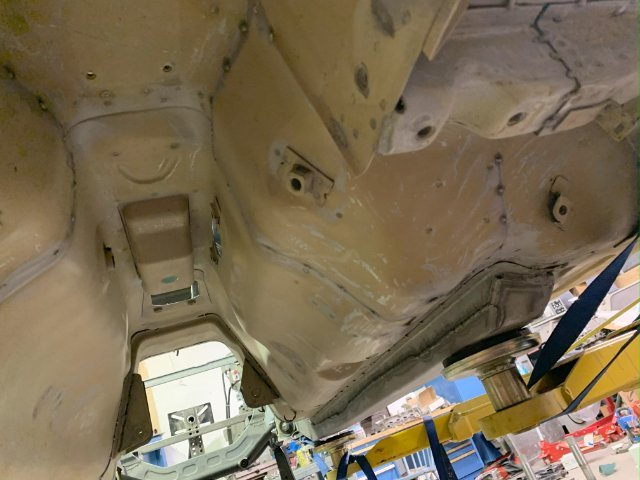
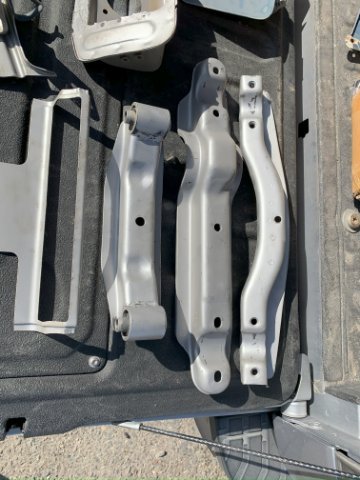
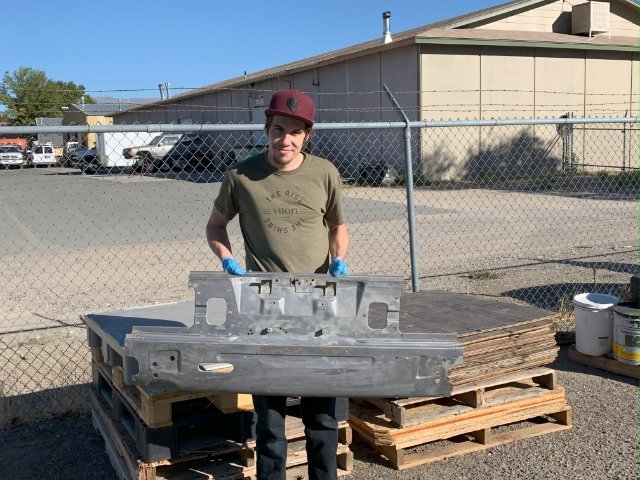
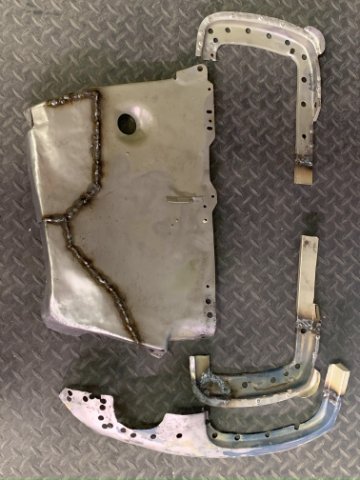
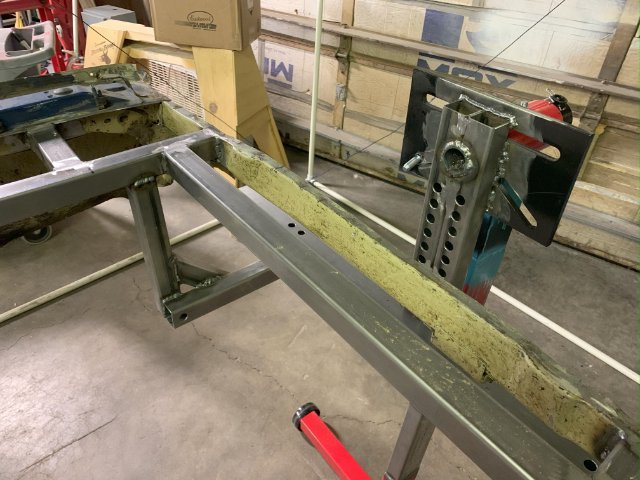
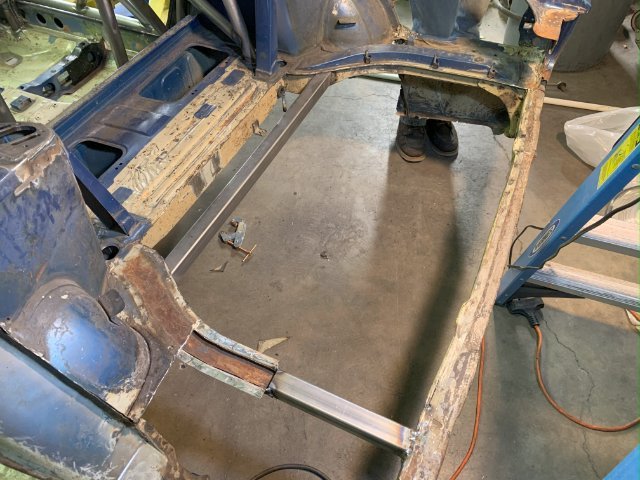
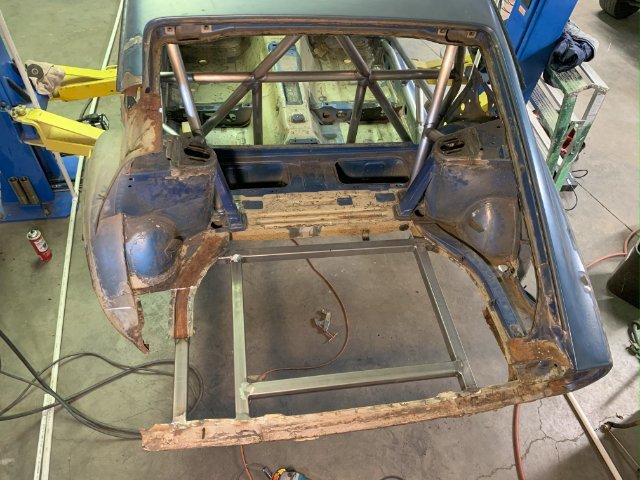
The next step was repairing the rear deck frame and deck. The left rear frame rail was destroyed when the car was hit in the rear corner. We built a new subframe, with a cutout for the fuel cell. Then installed a deck and bonded it in place with SEM panel bonding adhesive. Looking better already.