
FastFloridian
-
Posts
174 -
Joined
-
Last visited
-
Days Won
18
FastFloridian's Achievements






-

Fast Floridian's 240Z Track Build
FastFloridian replied to FastFloridian's topic in S30 Series - 240z, 260z, 280z
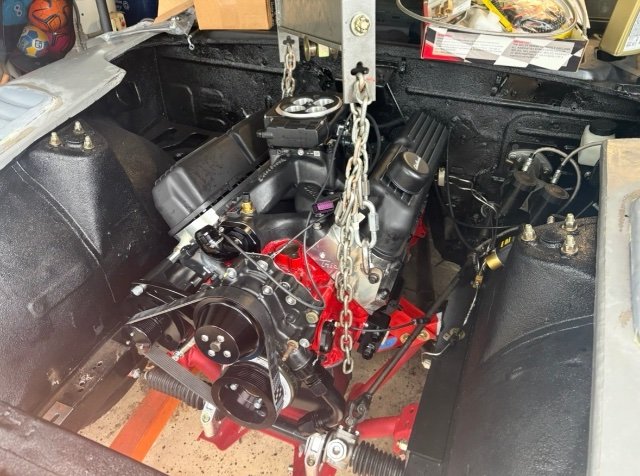
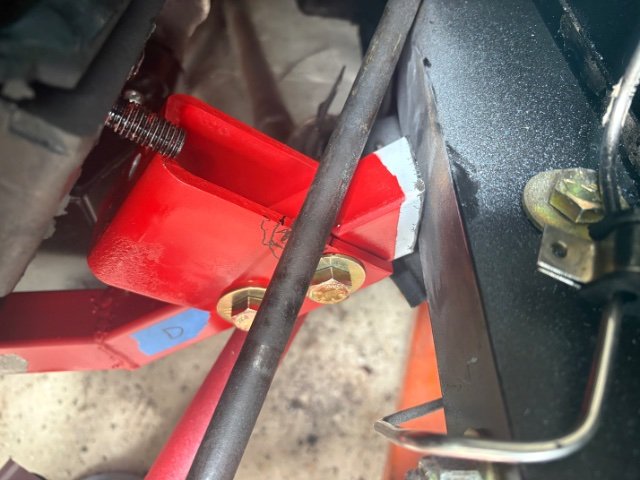
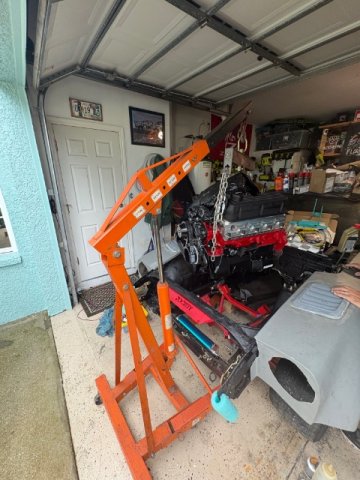
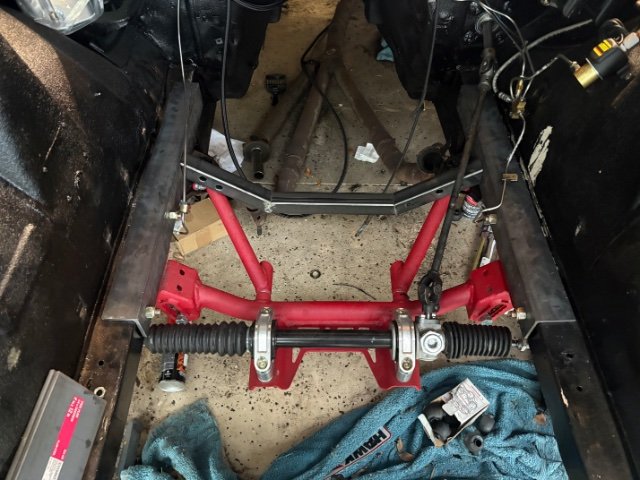
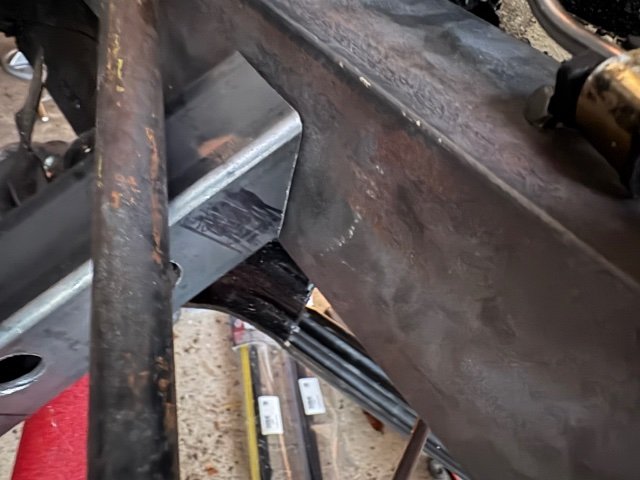
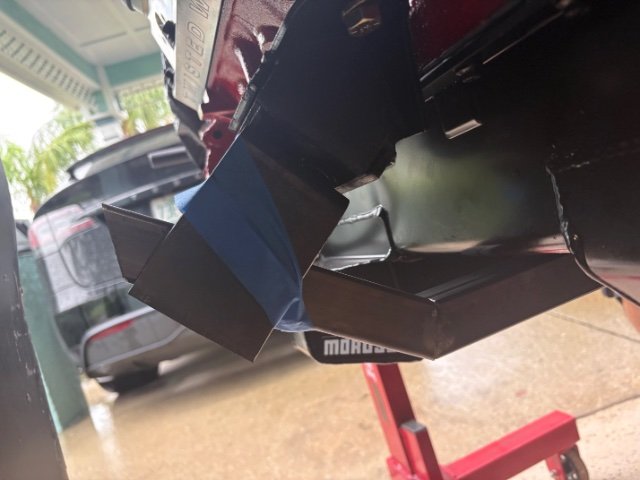
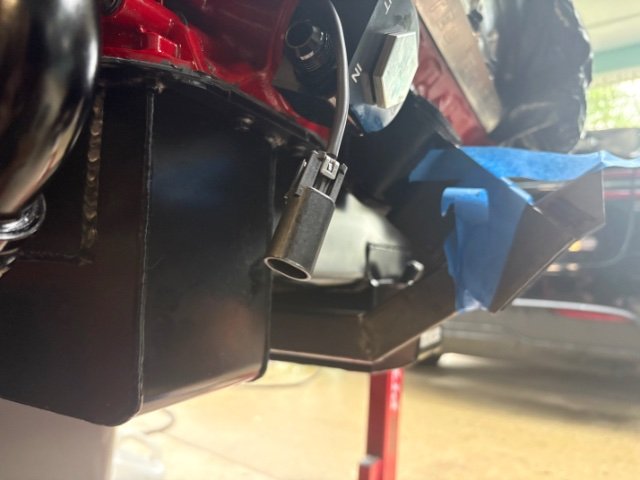
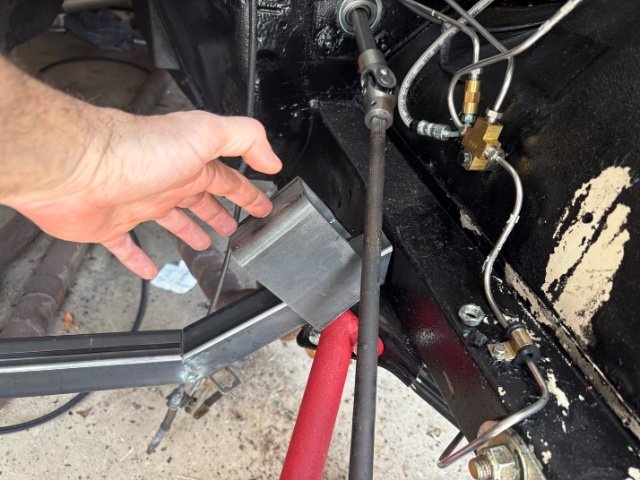
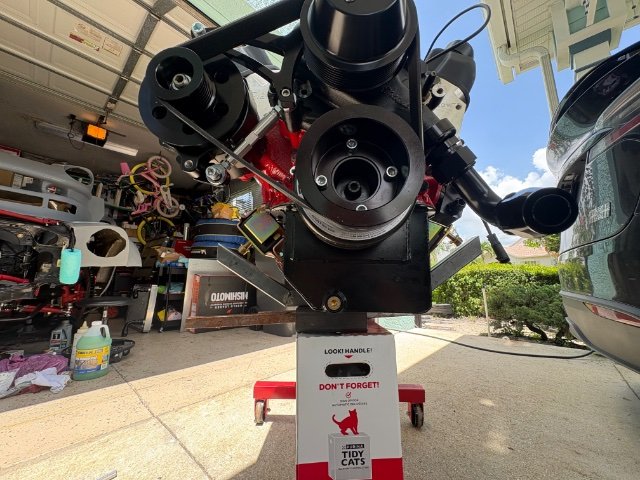
Got the engine on the hoist, doing some test fitting. Looks like I need to notch the driver side bracket, it interferes with steering shaft. Clearance is really tight with oil pan too, I hope I don’t need to find a different one. I’ll trim the bracket a little, then give it another go in a weekend or two, hopefully it’ll fit, then I can weld the cradle on.
-
Fast Floridian's 240Z Track Build
FastFloridian replied to FastFloridian's topic in S30 Series - 240z, 260z, 280z
Good idea, I think I might have 2 tubes that would work for the front bolts, I think the rear bolts will be ok with the radiator bracket stiffening it up. -
Fast Floridian's 240Z Track Build
FastFloridian replied to FastFloridian's topic in S30 Series - 240z, 260z, 280z
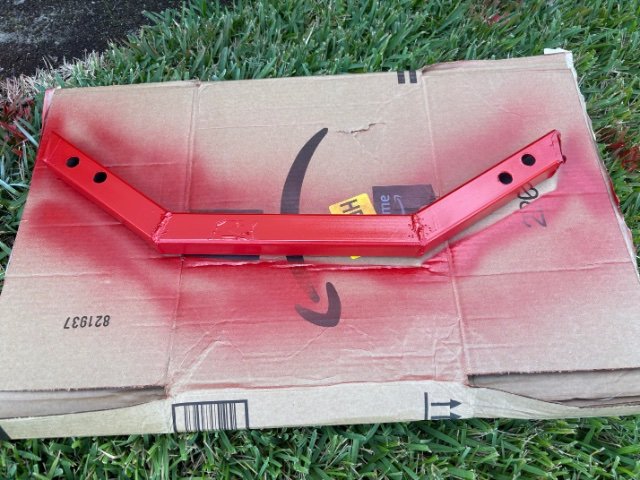
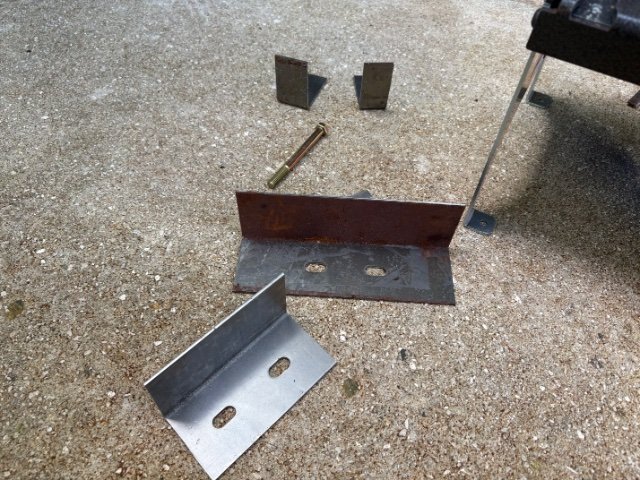
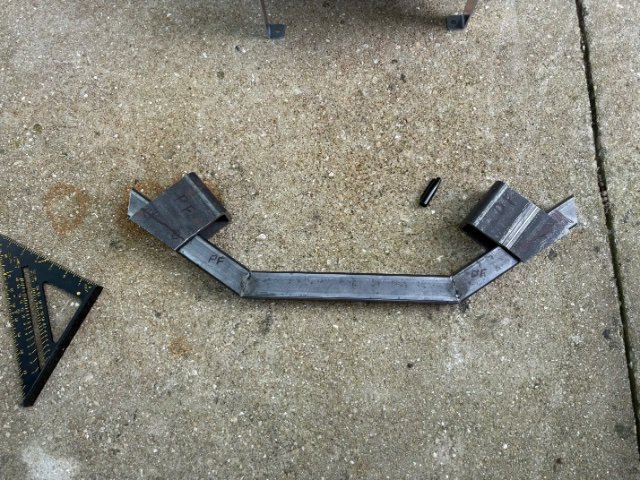
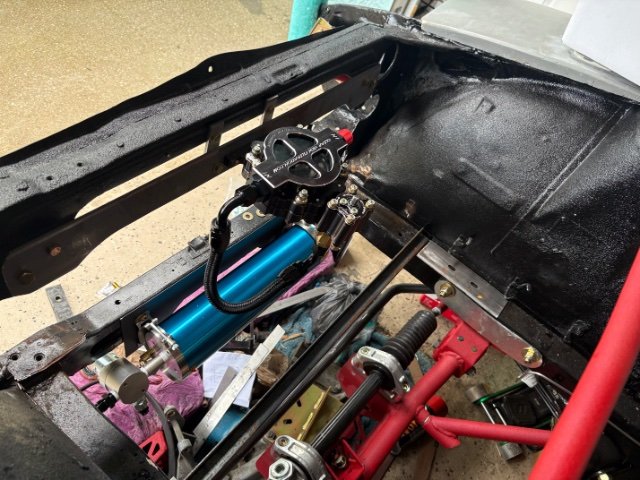
A little progress this weekend. Painted the engine cradle and started making some brackets for the front sway bar. Going to mount the sway bar mounts by through bolting through the frame. Someone had already done that, but bolt holes were all wonky and not vertical, so made new holes and going to weld some plates for extra support. Going to use the angle iron as part of my radiator mount, and will also support sway bar bolts.
-
Fast Floridian's 240Z Track Build
FastFloridian replied to FastFloridian's topic in S30 Series - 240z, 260z, 280z
It’s a 302. I replaced the cam and got aluminum heads, also going with sniper EFI, should be north of 300hp to the wheels. I’ll get it on a dyno to dial in the tune. Yep, got a brand new TREMEC tkx 5 speed manual transmission waiting to go in once I get this engine mount finished. It’ll see some street time 😁, but primarily building it for the track -
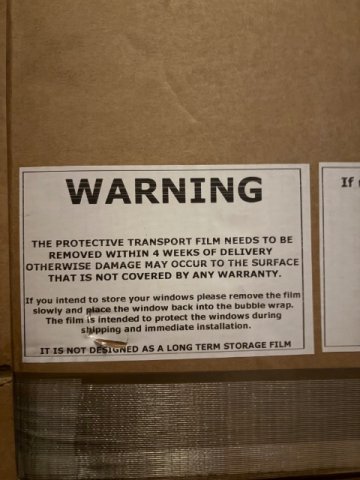
Yep, same place. Thanks for finding them, was wondering where to buy some. Here is the warning label.
-
Fast Floridian's 240Z Track Build
FastFloridian replied to FastFloridian's topic in S30 Series - 240z, 260z, 280z
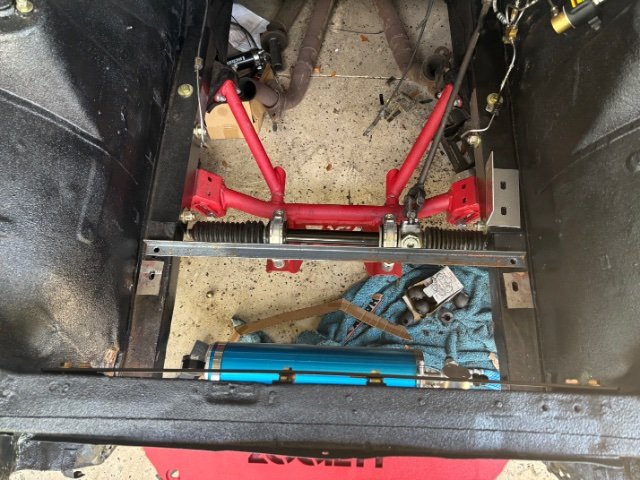
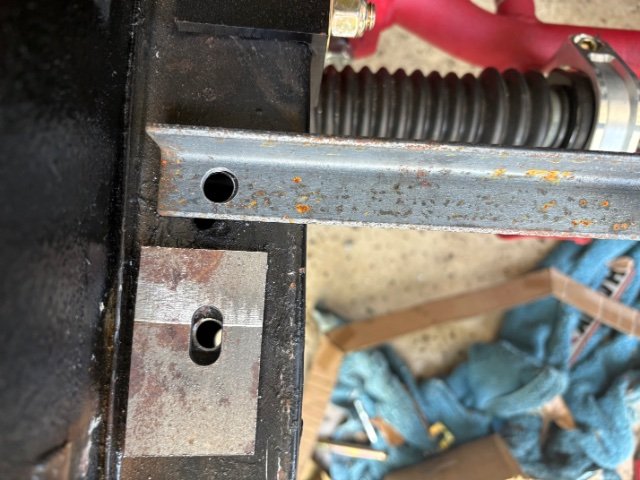
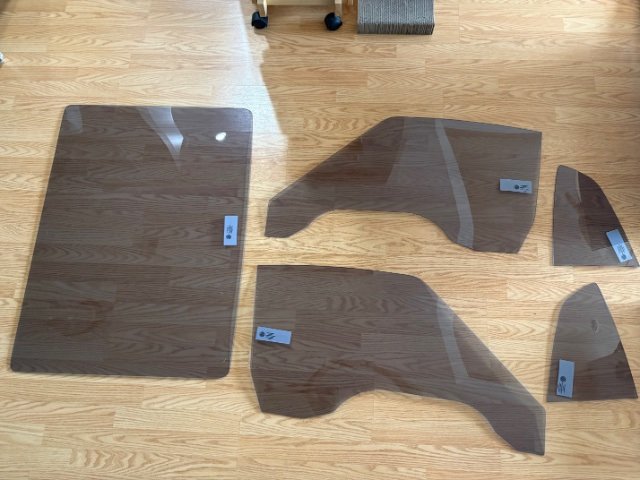
Been working on the car, but not a lot of visual progress. Spent a lot of time messing with suspension, trying to get the track width adjusted out to fit my wide body kit better. Think I have the fronts in a decent spot, need to tackle the rears now. I bolted on the angle iron for the engine cradle, using the bolts that attach to the apex subframe. Going to add at least one more vertically closer to the cradle. Now I’m ready to set in the engine to test where it needs to sit so I can weld it together. Cradle is sitting nice and snug to the angle iron, so should be easy to weld up, once it’s in the right place. Windows came in 🥳 I got the tint and the hard coat on them, went with the 4mm. Very happy with how light they are and how they look. Didn’t like the $200 tariff though 😣
-
Nice, mine just came in too. Not sure why, but you need to remove the plastic. I was going to leave them in the box until I was ready to install, but saw a warning on the box that the plastic protection needed to be removed within 4 weeks.
-
Fast Floridian's 240Z Track Build
FastFloridian replied to FastFloridian's topic in S30 Series - 240z, 260z, 280z
Nope, smart idea. I’ll do that next weekend. I’ve got some shorty headers, but if I need to get a new exhaust I might go long tube. Not sure if the old exhaust clears my new fuel cell, I need to check on that. -
Fast Floridian's 240Z Track Build
FastFloridian replied to FastFloridian's topic in S30 Series - 240z, 260z, 280z
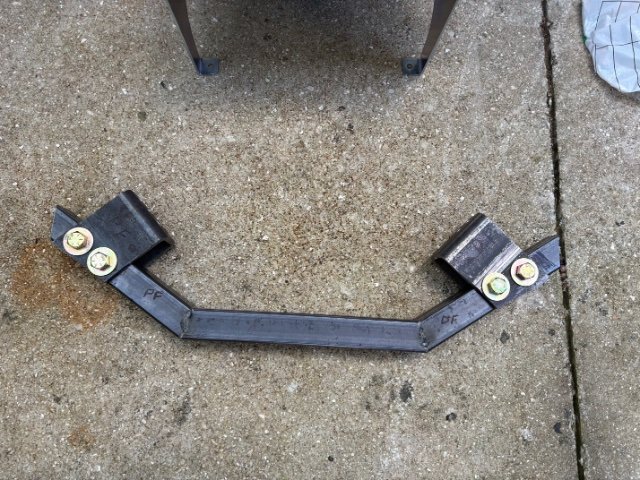
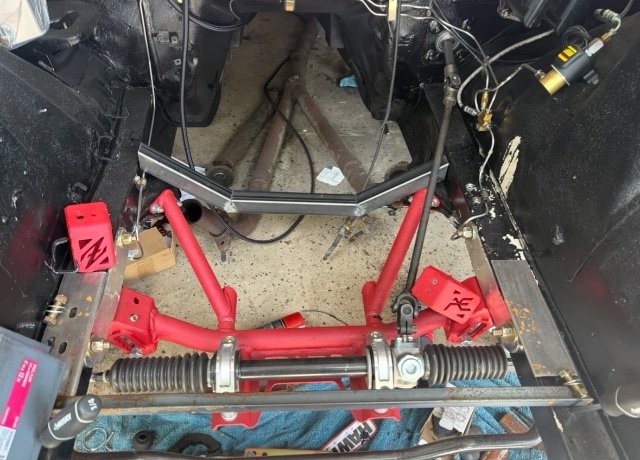
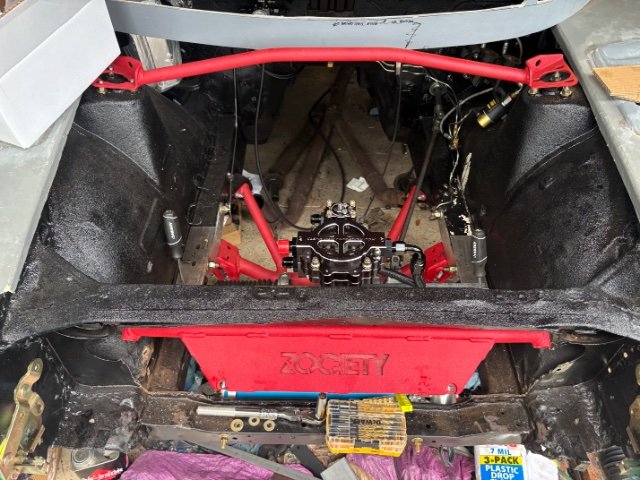
Made some progress on the engine cradle. I should be ready to drop the engine in and mark where to attach it to the frame. I’ll be using some angle iron to sit on the frame so the cradle will be welded to that then bolted to the frame.
-
Fast Floridian's 240Z Track Build
FastFloridian replied to FastFloridian's topic in S30 Series - 240z, 260z, 280z
Good info, thanks. That’s certainly my plan, but good to know it’s the right plan and has some good reasons behind it. I just knew a positive offset was better for tracking, just not necessarily why. I may have asked before but what size tires do you run and if you could, would you go any wider? I was thinking of 305s for the tires and wheel width of 11”, maybe even wider. Still plenty of time before I’m ready for wheels, but starting think about it a little now. -
Fast Floridian's 240Z Track Build
FastFloridian replied to FastFloridian's topic in S30 Series - 240z, 260z, 280z
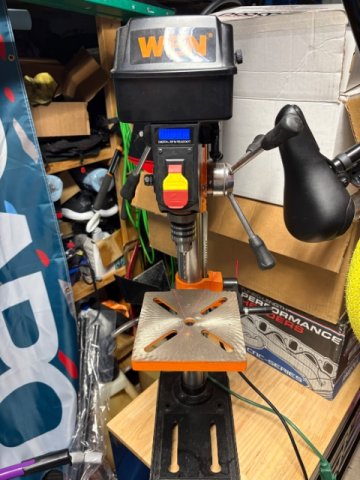
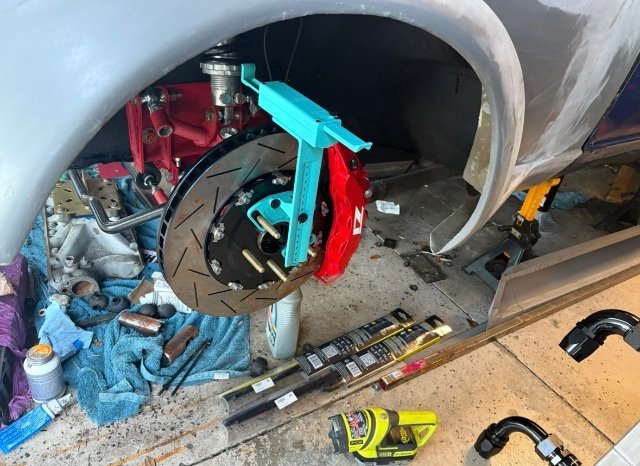
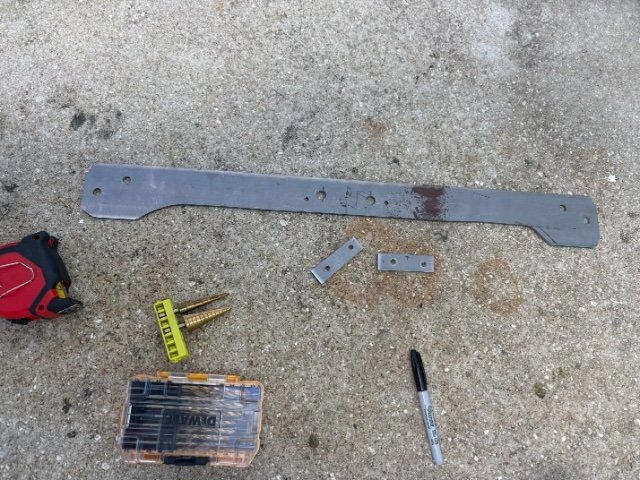
Picked up a drill press on marketplace and started drilling into this thicker metal for the engine brace. Got the two pieces that will connect to the engine mounts drilled and bolted up to the engine to try and figure out the angles to attach it to the brace. I made some marks and will cut it and drill it next weekend. We got a lot of rain so I spent most of my time trying to adjust the front suspension. I got one of these wheel fitment things a few months ago and it was saying I needed some negative off wheels to fit I so started adjusting the track width to get it close to a normal offset. Lots of adjusting the toe/traction/camber arms but I think I got it in a better spot. I’ll start shopping for wheels later this year. I have a set that will work temporarily, but are narrower than what I want.
-
Fast Floridian's 240Z Track Build
FastFloridian replied to FastFloridian's topic in S30 Series - 240z, 260z, 280z
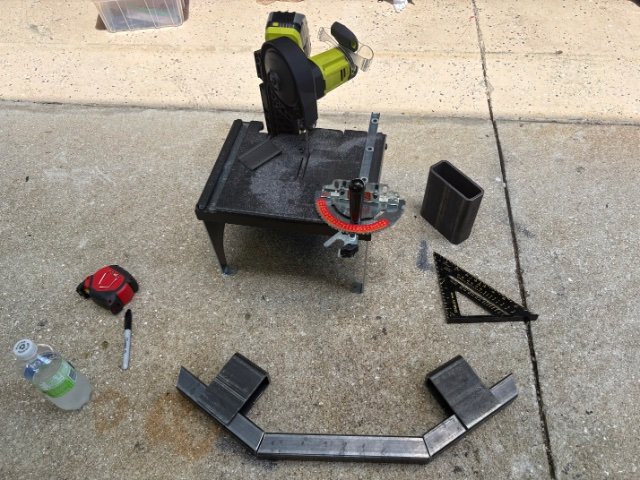
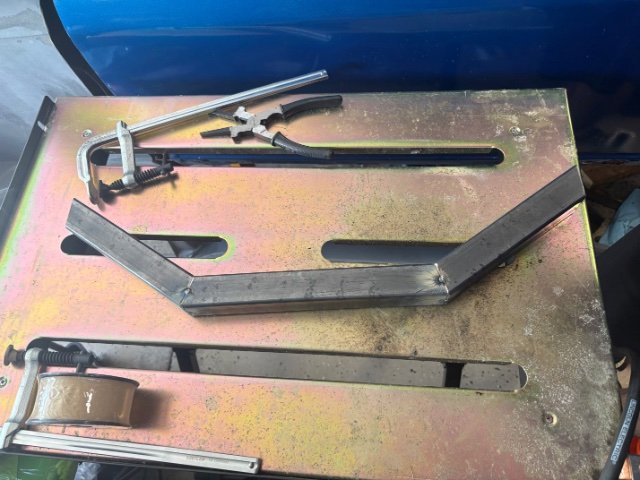
Started working on the cradle this weekend. Laine’s design was a good starting point, had to change some of the angles to work around the apex subframe bracing, but it looks like the 1-1/2” square tubing will work. I’ve got it tacked together now to test fit. I need to do some more measurements and figure out the where to put the vertical part and the correct angle. Hopefully get it wrapped up next weekend and then test fit the motor the following weekend.
-
Fast Floridian's 240Z Track Build
FastFloridian replied to FastFloridian's topic in S30 Series - 240z, 260z, 280z
I’m not too familiar with plate mounts, I looked it up a few months ago after looking at your engine bay pics and wondering what that plate was for 😆. Was it easy to attach to the frame? I’d have to take my accessories off, but it’s a good option if I can’t make the cradle work. Thanks. -
Fast Floridian's 240Z Track Build
FastFloridian replied to FastFloridian's topic in S30 Series - 240z, 260z, 280z
Thats a good idea, I have some rectangular tubing I could cut into c-channel and weld into the notch. I’ll explore that option this weekend, thanks. -
Fast Floridian's 240Z Track Build
FastFloridian replied to FastFloridian's topic in S30 Series - 240z, 260z, 280z
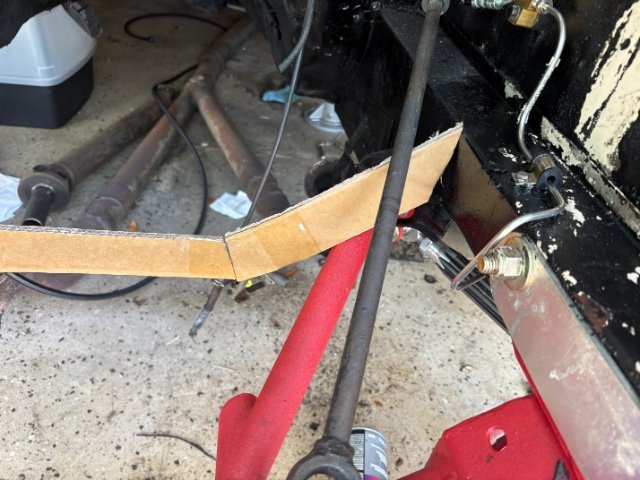
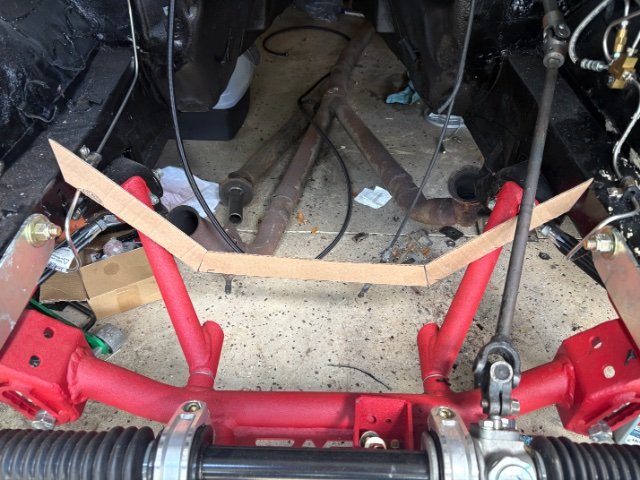
Well bit of a bummer this weekend, I made a mock up of the engine cradle out of cardboard and it doesn’t fit, the extra bracing on the Apex track attack kit interferes. I made a mock up using 1-1/2” instead of 2” and it might work, still a little tight. I’m going to try and make it with the 1-1/2” and change the geometry a little, hopefully it’ll work. Since no fab/metal shops were open over the weekend to get the 1-1/2” tubing I decided to make a bracket to mount my clearview remote filter. I’ll get it painted and re-mount it. Not sure this will be its final location, but I’m happy the way it came out.