kenz240z
-
Posts
14 -
Joined
-
Last visited
kenz240z's Achievements
")
Newbie (1/14)
0
Reputation
-
'73 240Z LT-1/T-56 project underway
kenz240z replied to kenz240z's topic in Gen I & II Chevy V8 Tech Board
Well, it has been quite some time since I started this project. Still not done, but the good news is I have the car running. I mounted the PCM under the passenger seat, which required a lot of soldering to "stretch" the wiring. The interior work is done. Seats, door panels, tranny tunnel, headliner and rear strut mounts have been done in leather. Added a power window kit from MS ACCESS. I'll post more photos later, having trouble uploading from my phone.
-
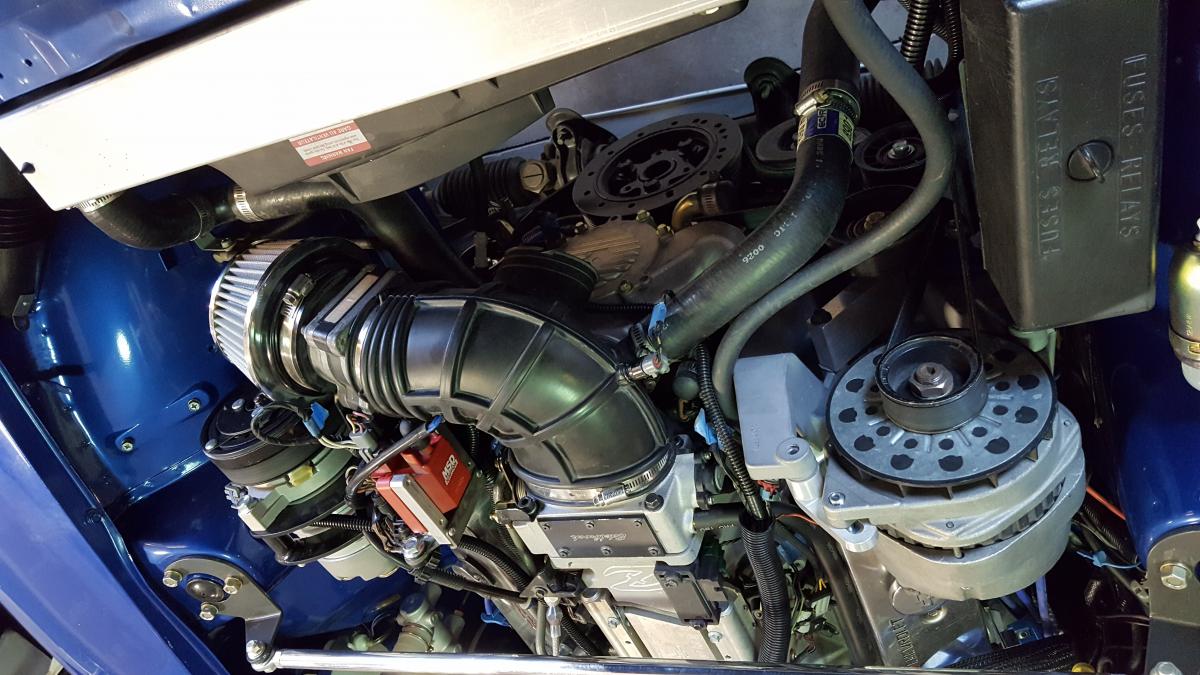
I dropped my '73 Z off tonight to have the exhaust built this weekend. I'll be going over the details with the guy doing the work tomorrow night. He runs his shop out of his garage. The LT-1 is in there with JTR mounts. The headers fit without any trouble. I also have the JTR radiator mount kit with a Chevy radiator and an electric fan I pickup up out of a 90's Mercury at the salvage yard. The drive shaft from the donor car ('95 Firebird) is at Northern Colorado Driveline in Greeley, CO to be shortened and balanced. They are also going to replace the rear yoke so that a standard u-joint can be used with the JTR mounting flange. I replaced the R180 with a 3.9 R200 and RT mount. The tranny is a T-56. Next up is plumbing the fuel lines and a small fuel reservoir. Then wire up the PCM and hope it starts...
-
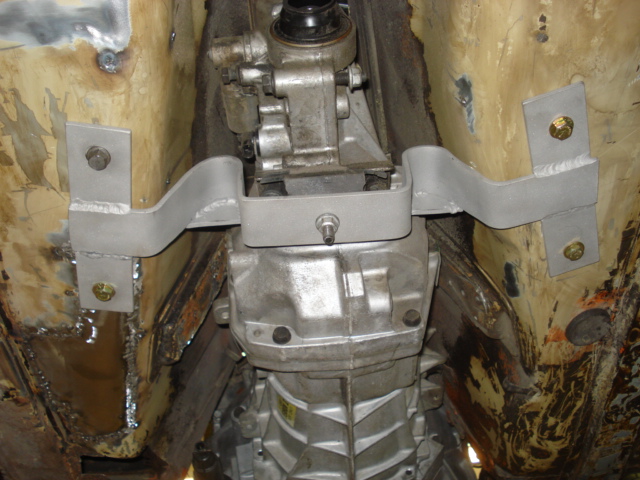
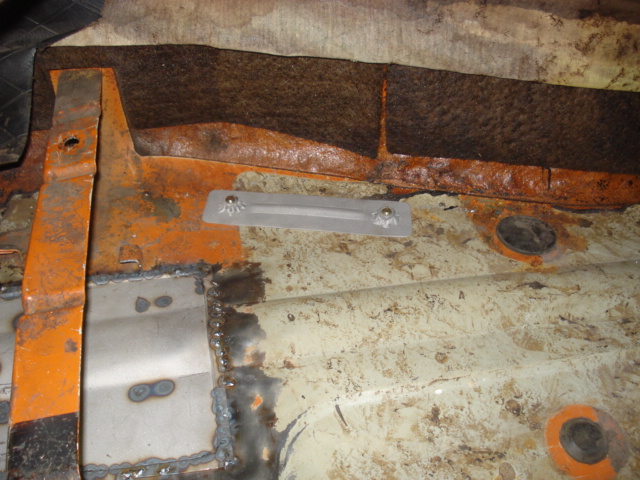
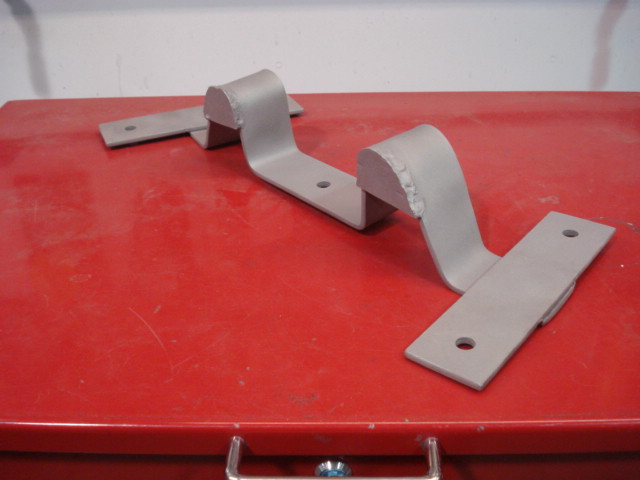
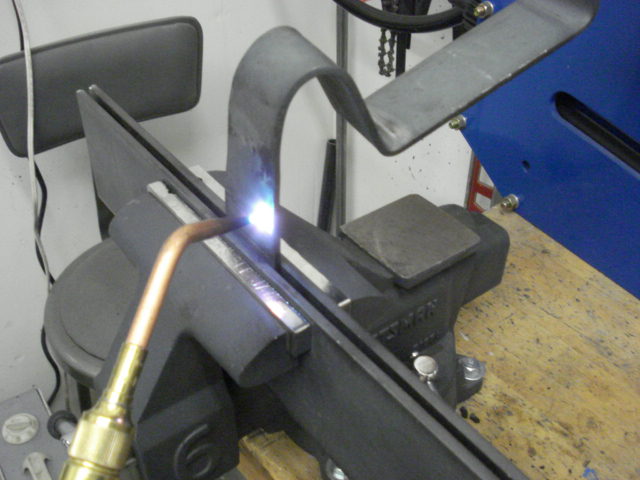
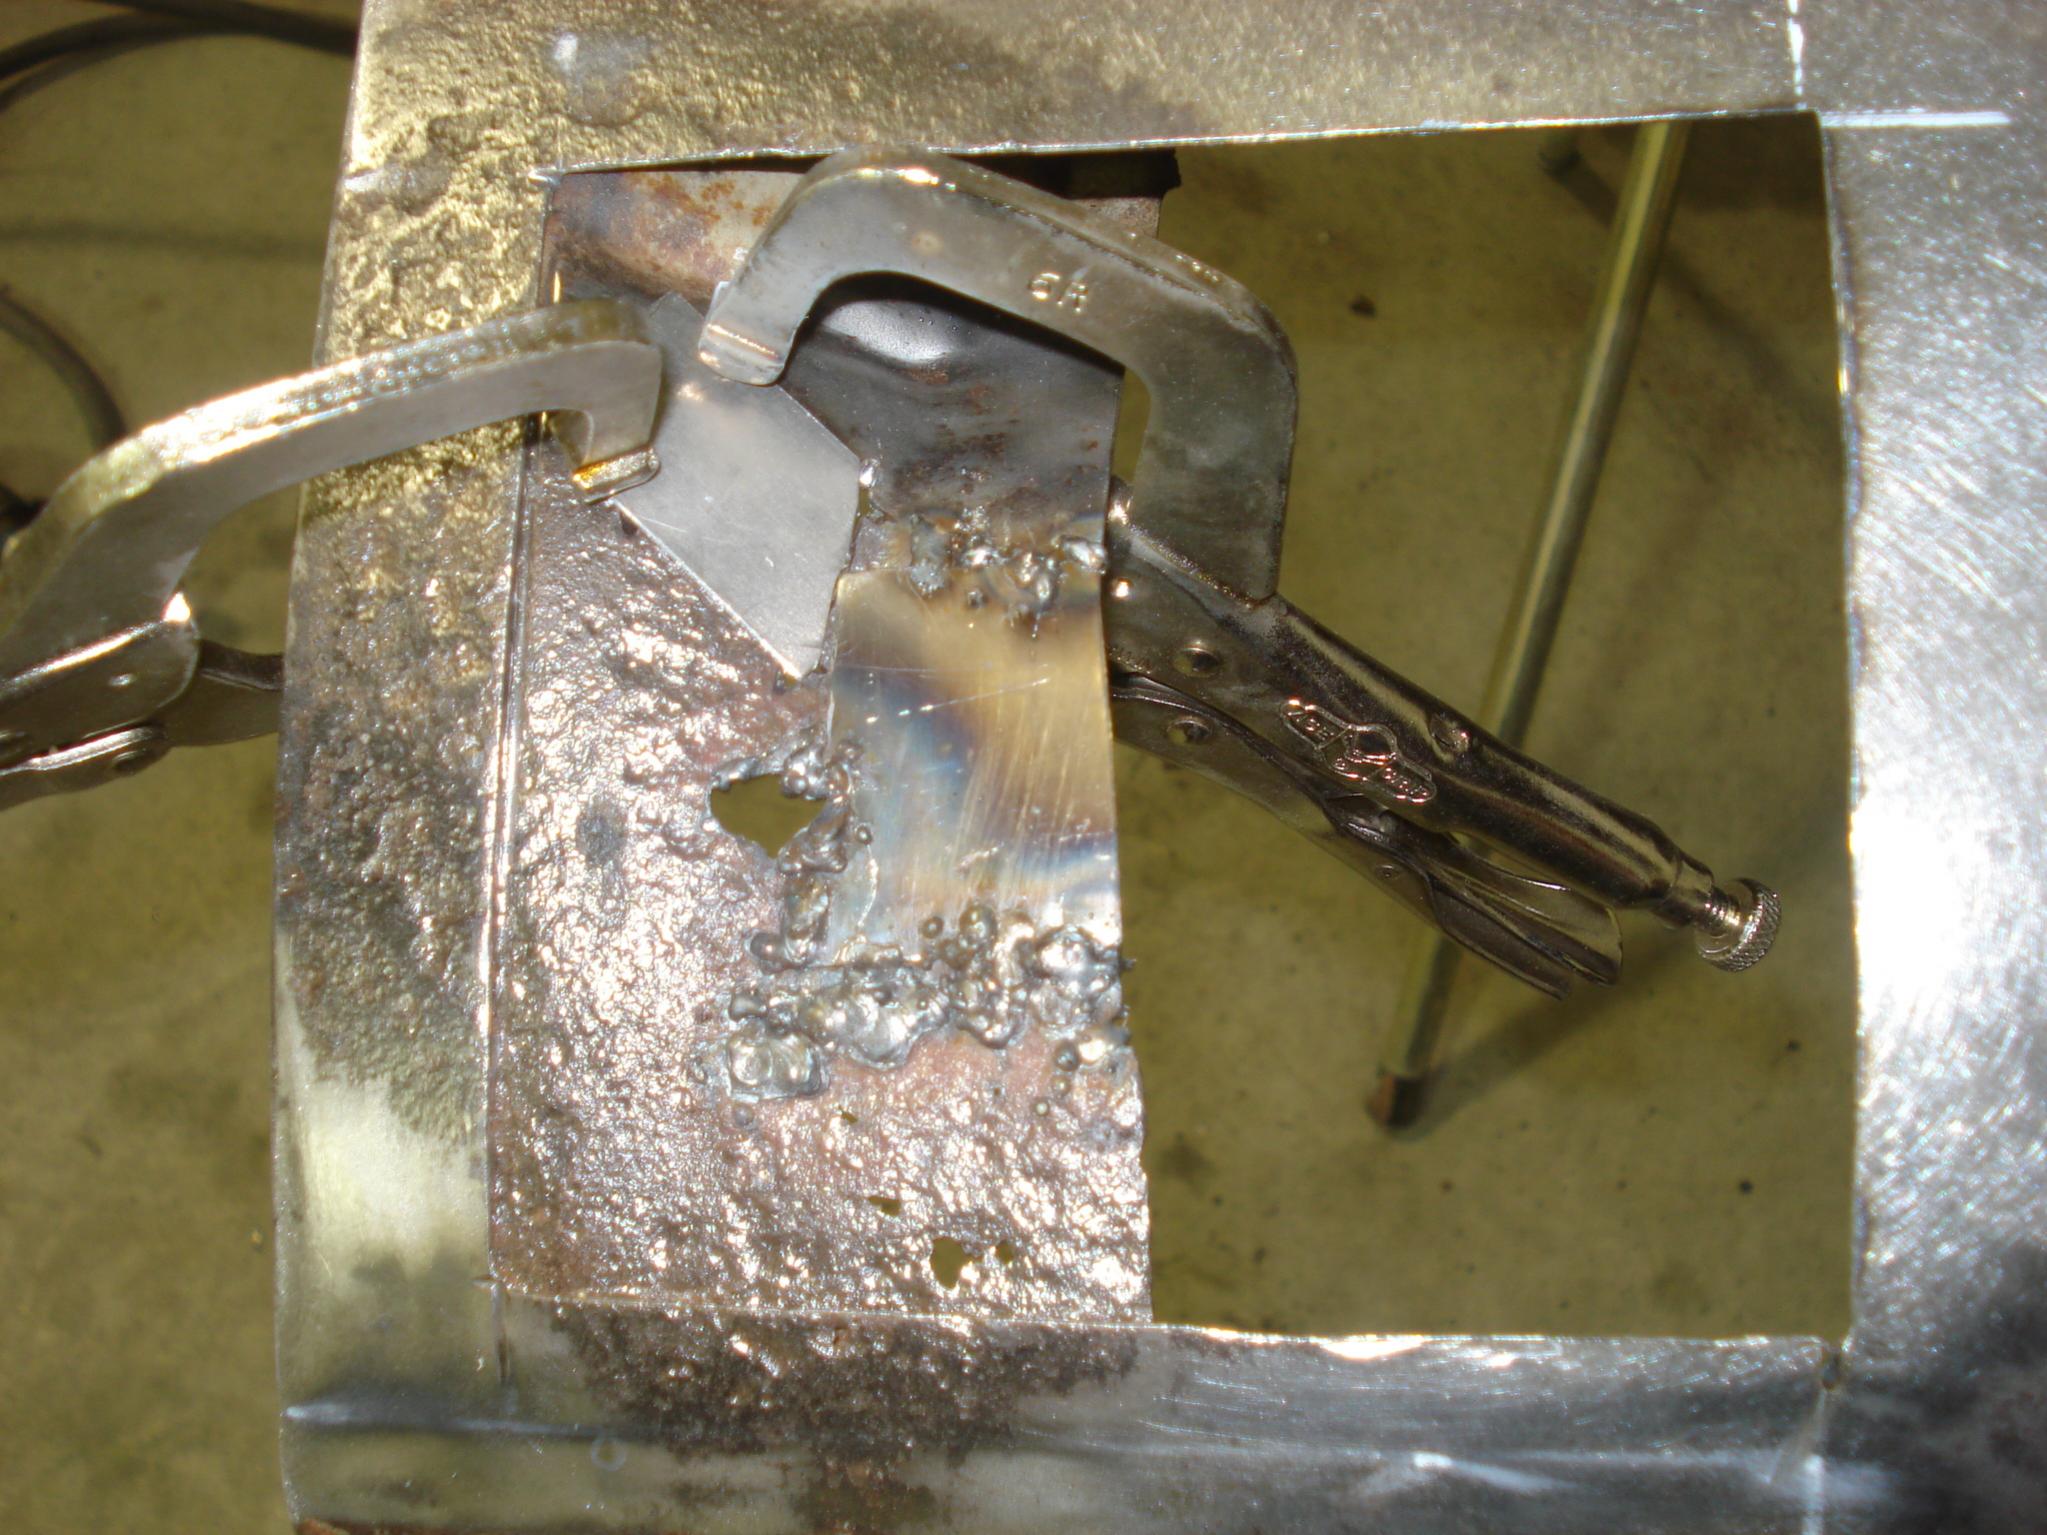
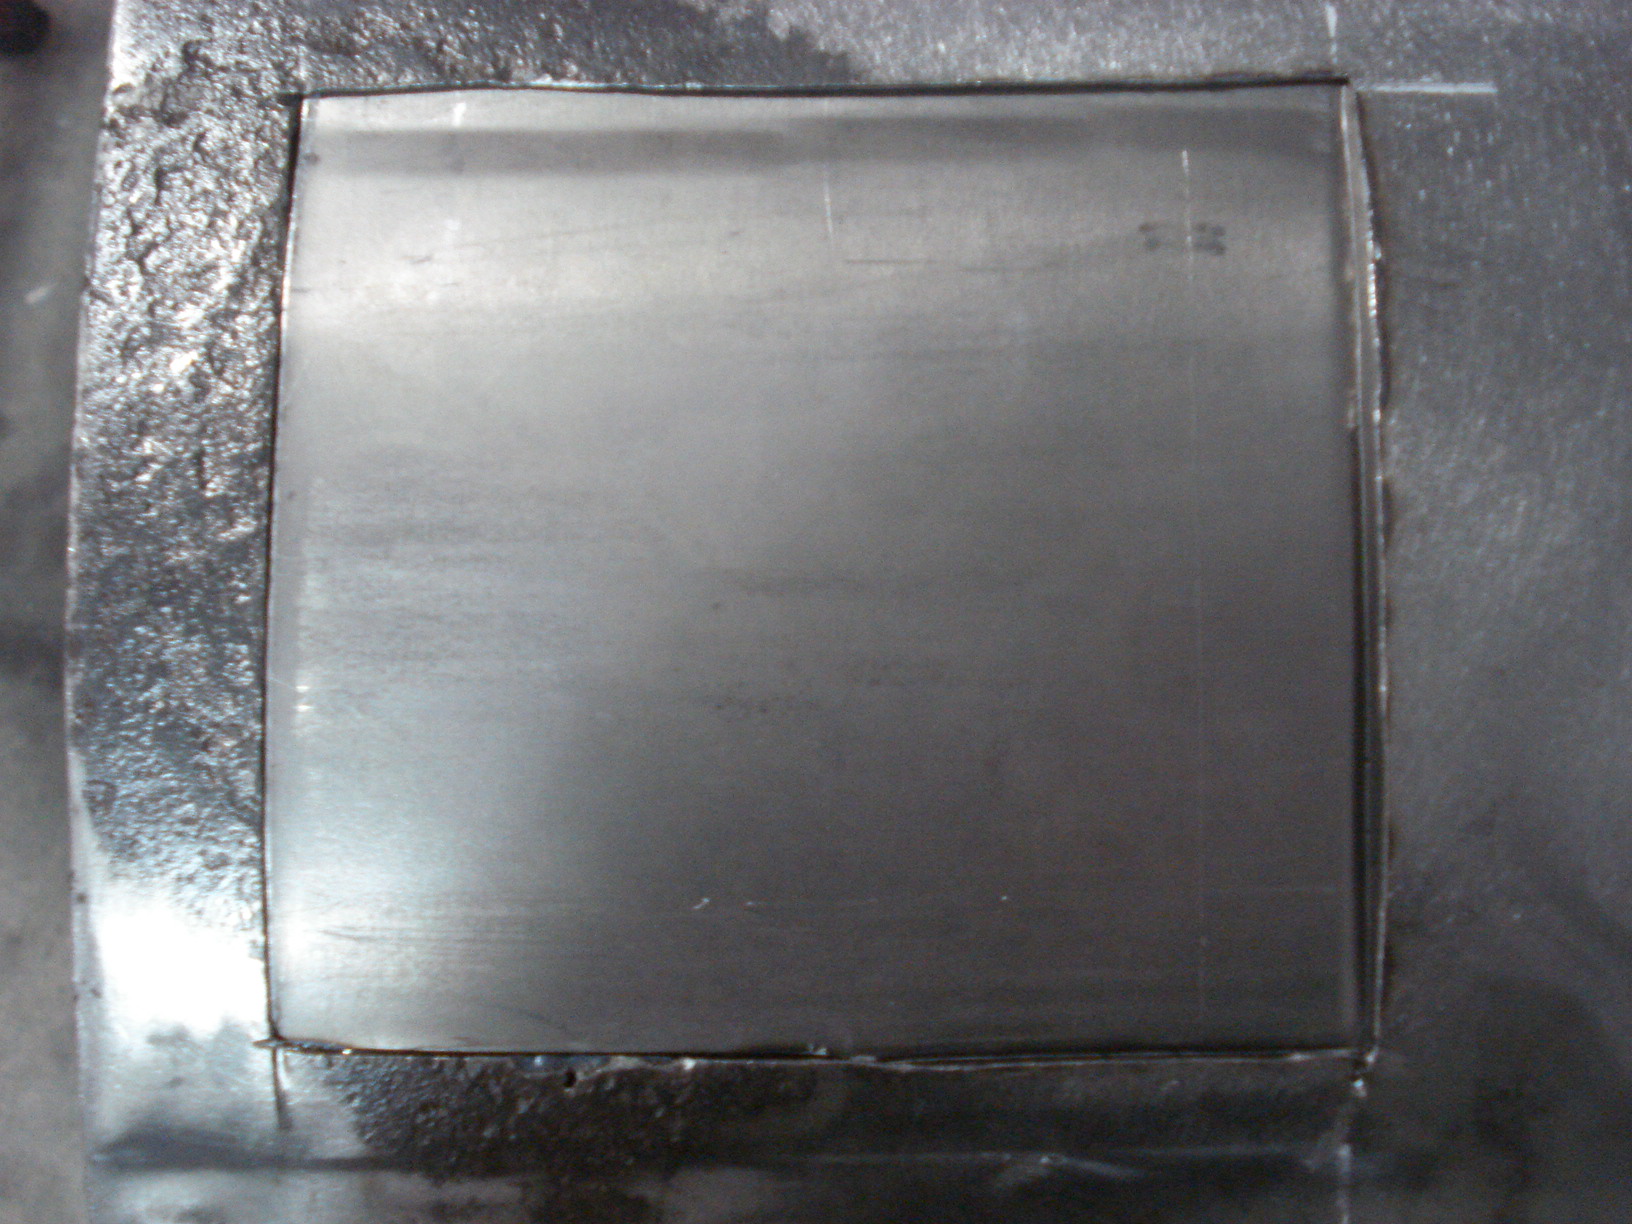
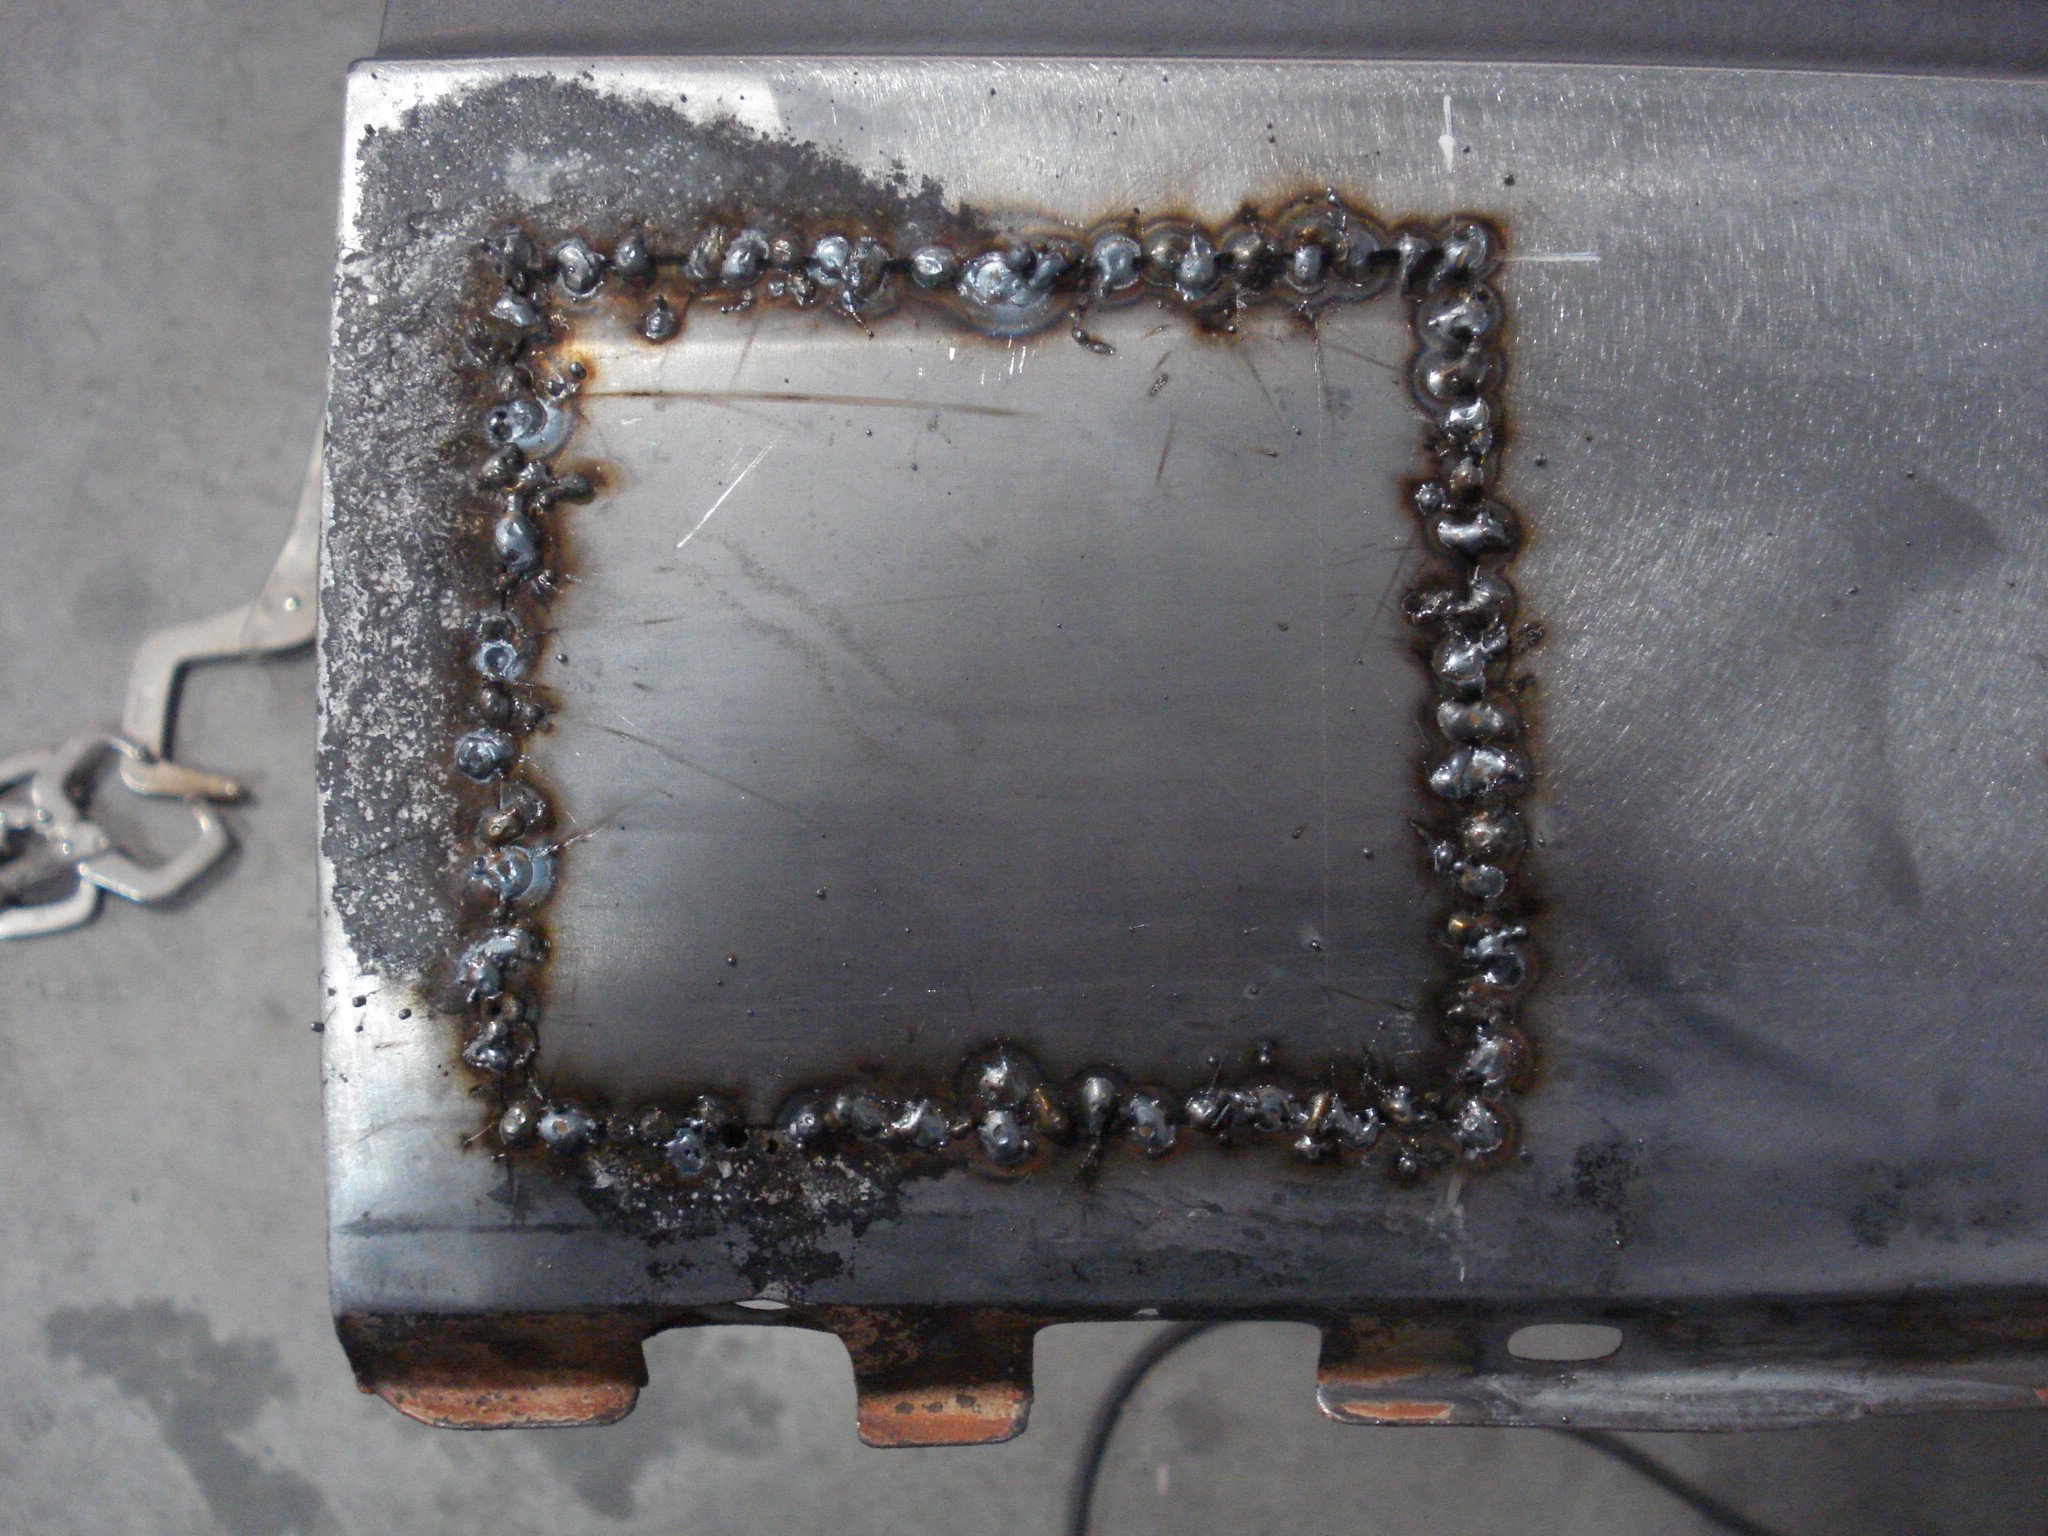
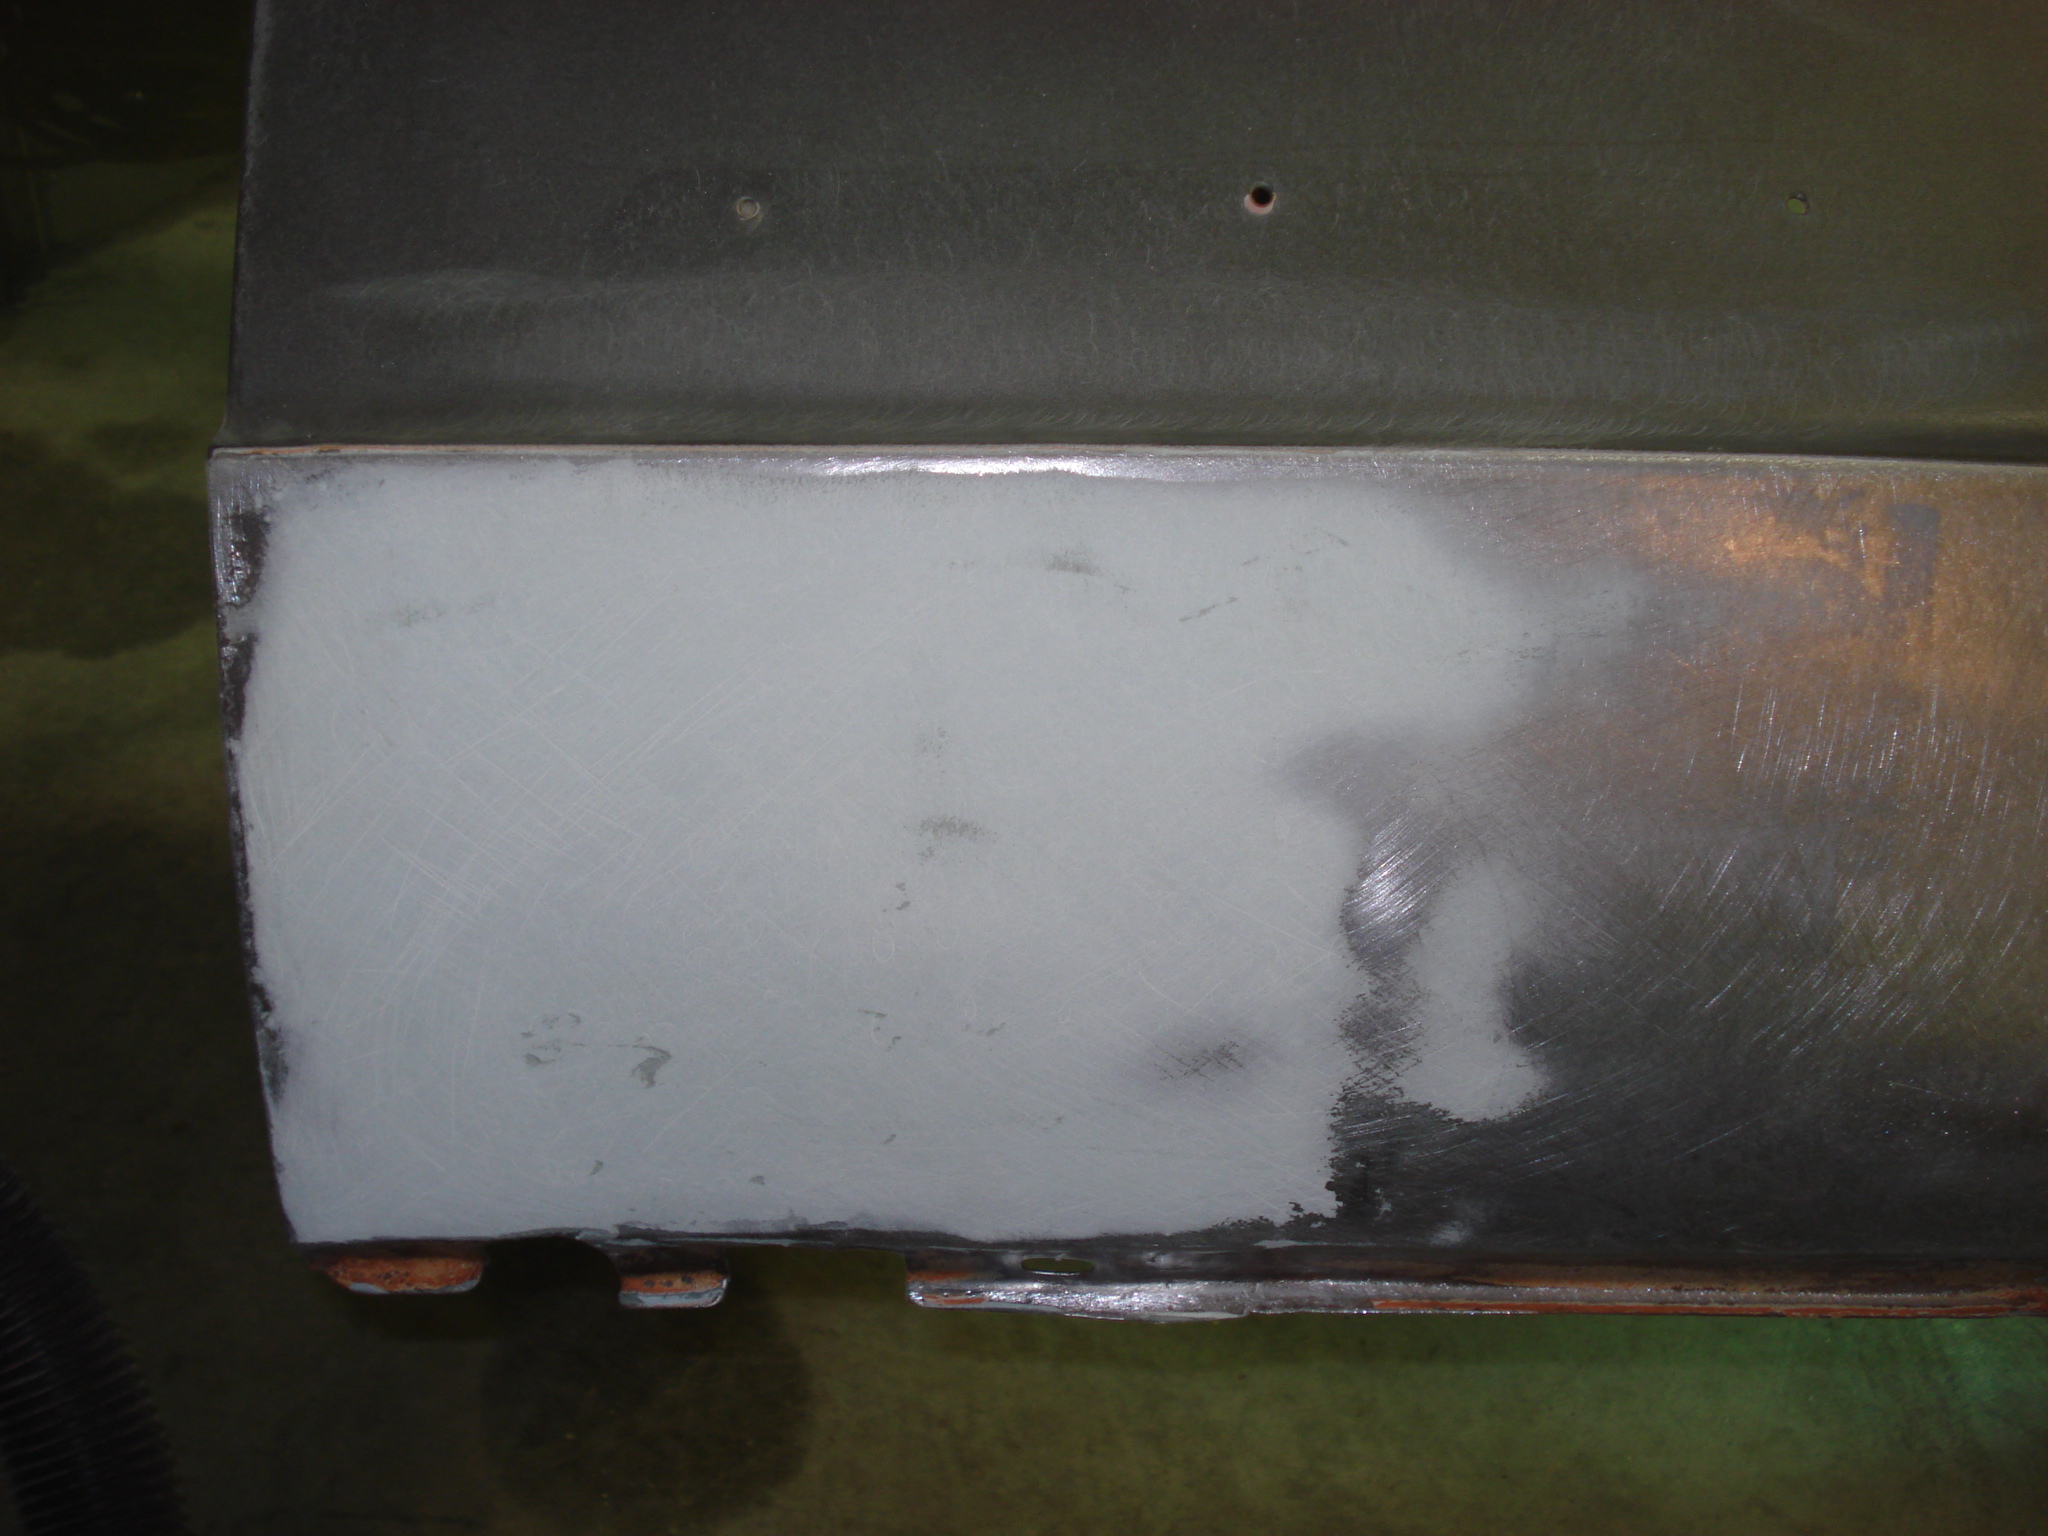
Here are a couple of shots of a T-56 cross member I made for my '73 240Z LT-1/T-56 swap. I used 2" X 1/4" bar stock. I heated the bar stock with an oxy-acetylene torch to make the bends. I welded a couple of nuts to some 18 guage metal and ran the mounting bolts up through the floor. These will ultimately be tack welded to the floor after I finish up patching the holes in the floor...
-
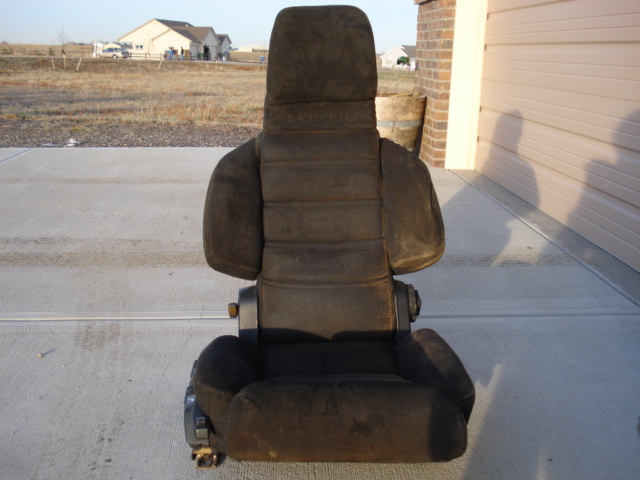
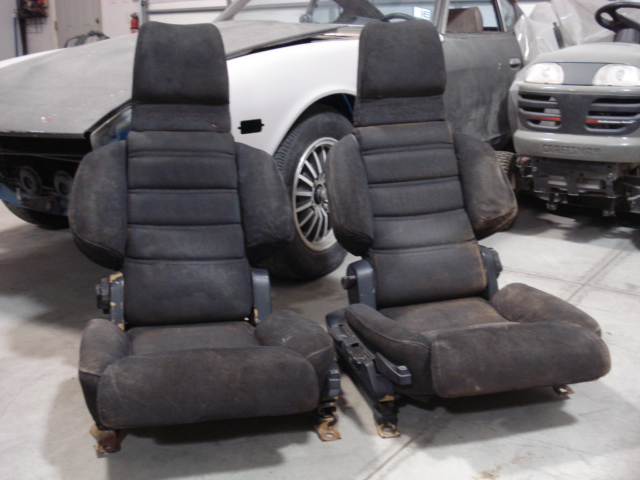
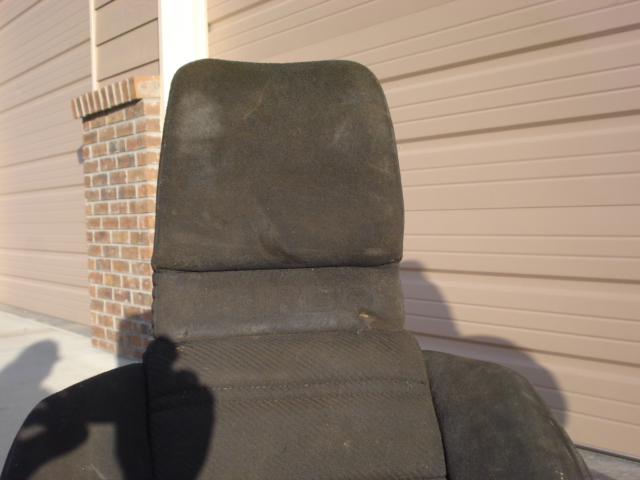
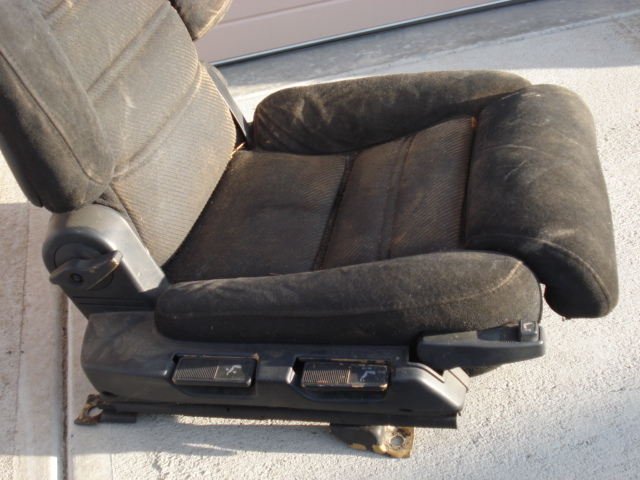
Thanks everyone who researched and determined that the seats are from a Starion. I need to find an upholstery shop that can re-skin the ones I have. I've test fit them in my Z and I'm sure they are going to be real comfy for long stints behind the wheel!
-
'73 240Z LT-1/T-56 project underway
kenz240z replied to kenz240z's topic in Gen I & II Chevy V8 Tech Board
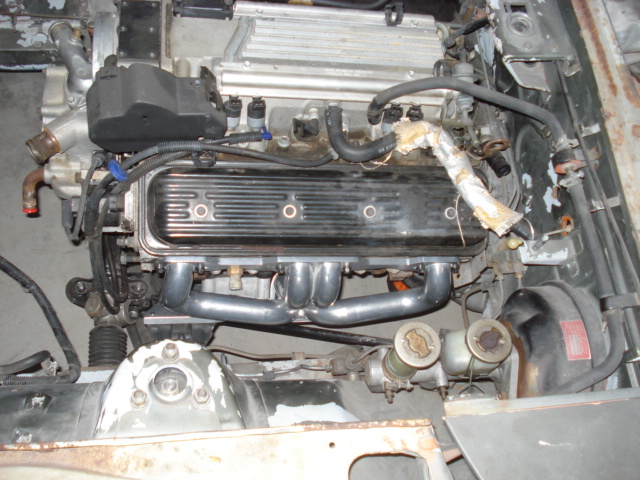
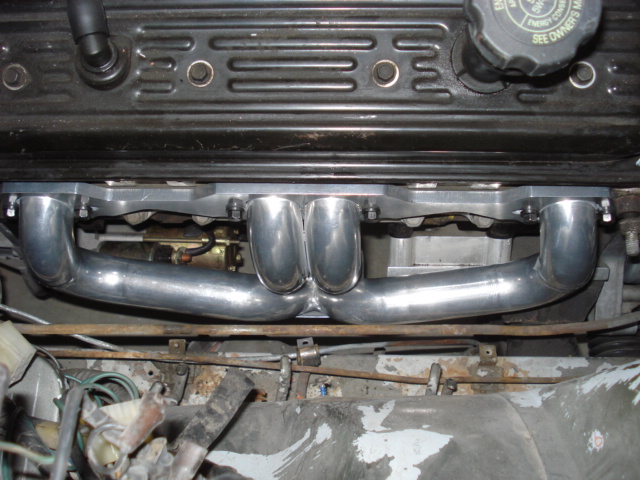
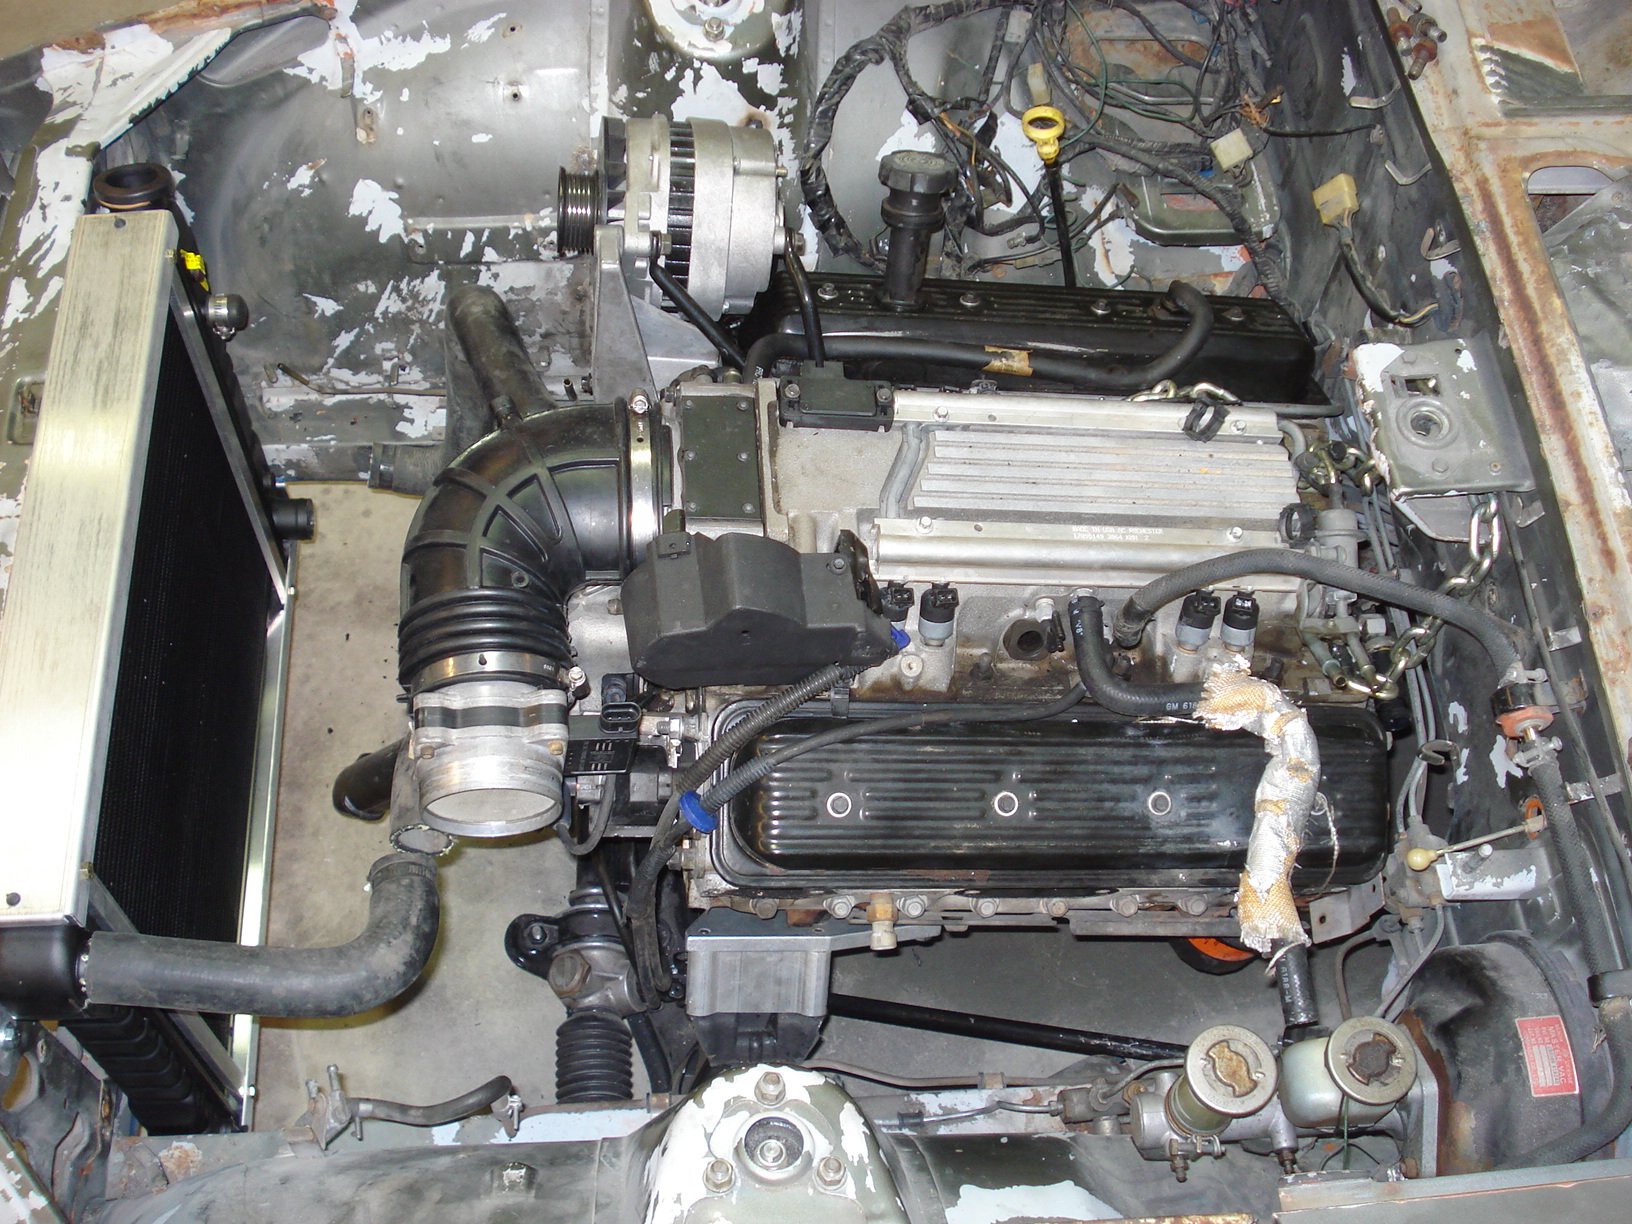
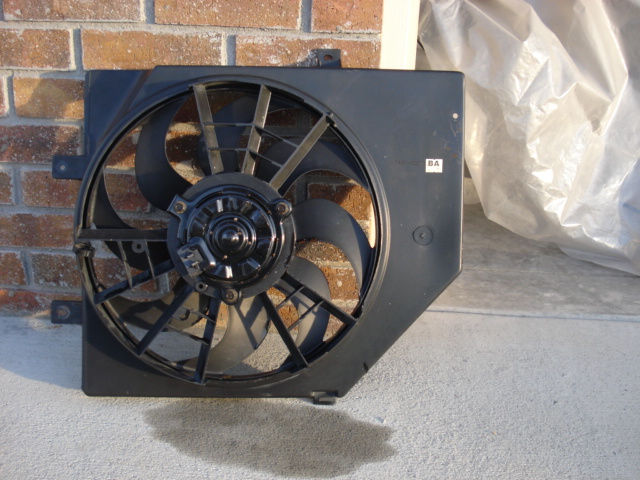
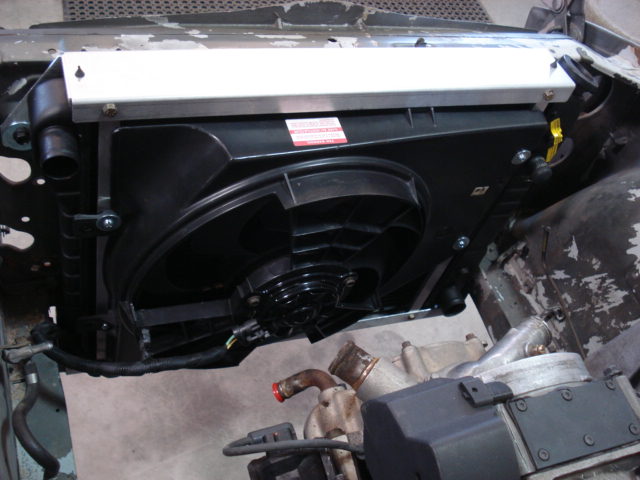
Ok, I have only been able to squeeze in an hour here and there, but I finally got the engine and transmission mounted in the car. The JTR mounts are in place for the engine and the tranny is currently held in place with a lug nut wrench (X shape) and a chain. I made a cardboard template for the tranny crossmember, similar to one I saw here on the site. We shall see if my welding skilz are up to the task of fabricating it, otherwise I'll take the template to a machine shop and have one made. I have a R/T diffy mount that is ready to go in once I remove the exhaust hanger bracket that is in the way. I don't have a drill that will fit into the tranny tunnel so I can't drill out the spot welds. Harbor Freight, here I come, I need a cheep right angle drill! Once I get the tranny crossmember installed I'll take the car to a drive line shop to have the drive shaft shortened and the drive line angles checked. The next stop will be a muffler shop to get the exhaust system built and installed. I've got a pair of the Sanderson "D" port headers from JTR that I still need to test fit. Based on the experience of others, these should do the trick. I picked up a Wilwood small clutch master cylinder from an outfit called Speedway Motors (http://www.speedwaymotors.com/Wilwood-Clutch-and-Small-Brake-Master-Cylinder,8567.html). I also picked up an adapter that will mount in the stock T56 slave cylinder and allow an AN3 fitting to be used. The clutch plumbing should be easy. I'll post pics after I get it plumbed. I bought a radiator locally that should be the same as the one offered by JTR. It fit perfectly in the JTR radiator mount. I haven't got the radiator hoses yet, although I've got a few ideas on how to cut & plumb them. I picked up a 2-speed electric fan at a salvage yard from a '90's Merc (can't recall the specific model). It fit perfectly in the JTR mount. I drilled & tapped 2 mounting holes on each side of the aluminum uprights to mount the fan. Here are a few shots of the recent progress.
-
Clear up the mystery on LT1 cooling
kenz240z replied to lgoodson@pacbell.net's topic in Gen I & II Chevy V8 Tech Board
I think the reason the shop manual recommends draining some of the coolant before removing the intake on the LT1 is because coolant does flow through the throttle body in the stock set up. Refer to items #4 and #5 in the diagram posted above, those are the hoses that connect to the t-body. If you bypassed the t-body coolant lines in your car then no need to drain the coolant before removing the intake. -
'73 240Z LT-1/T-56 project underway
kenz240z replied to kenz240z's topic in Gen I & II Chevy V8 Tech Board
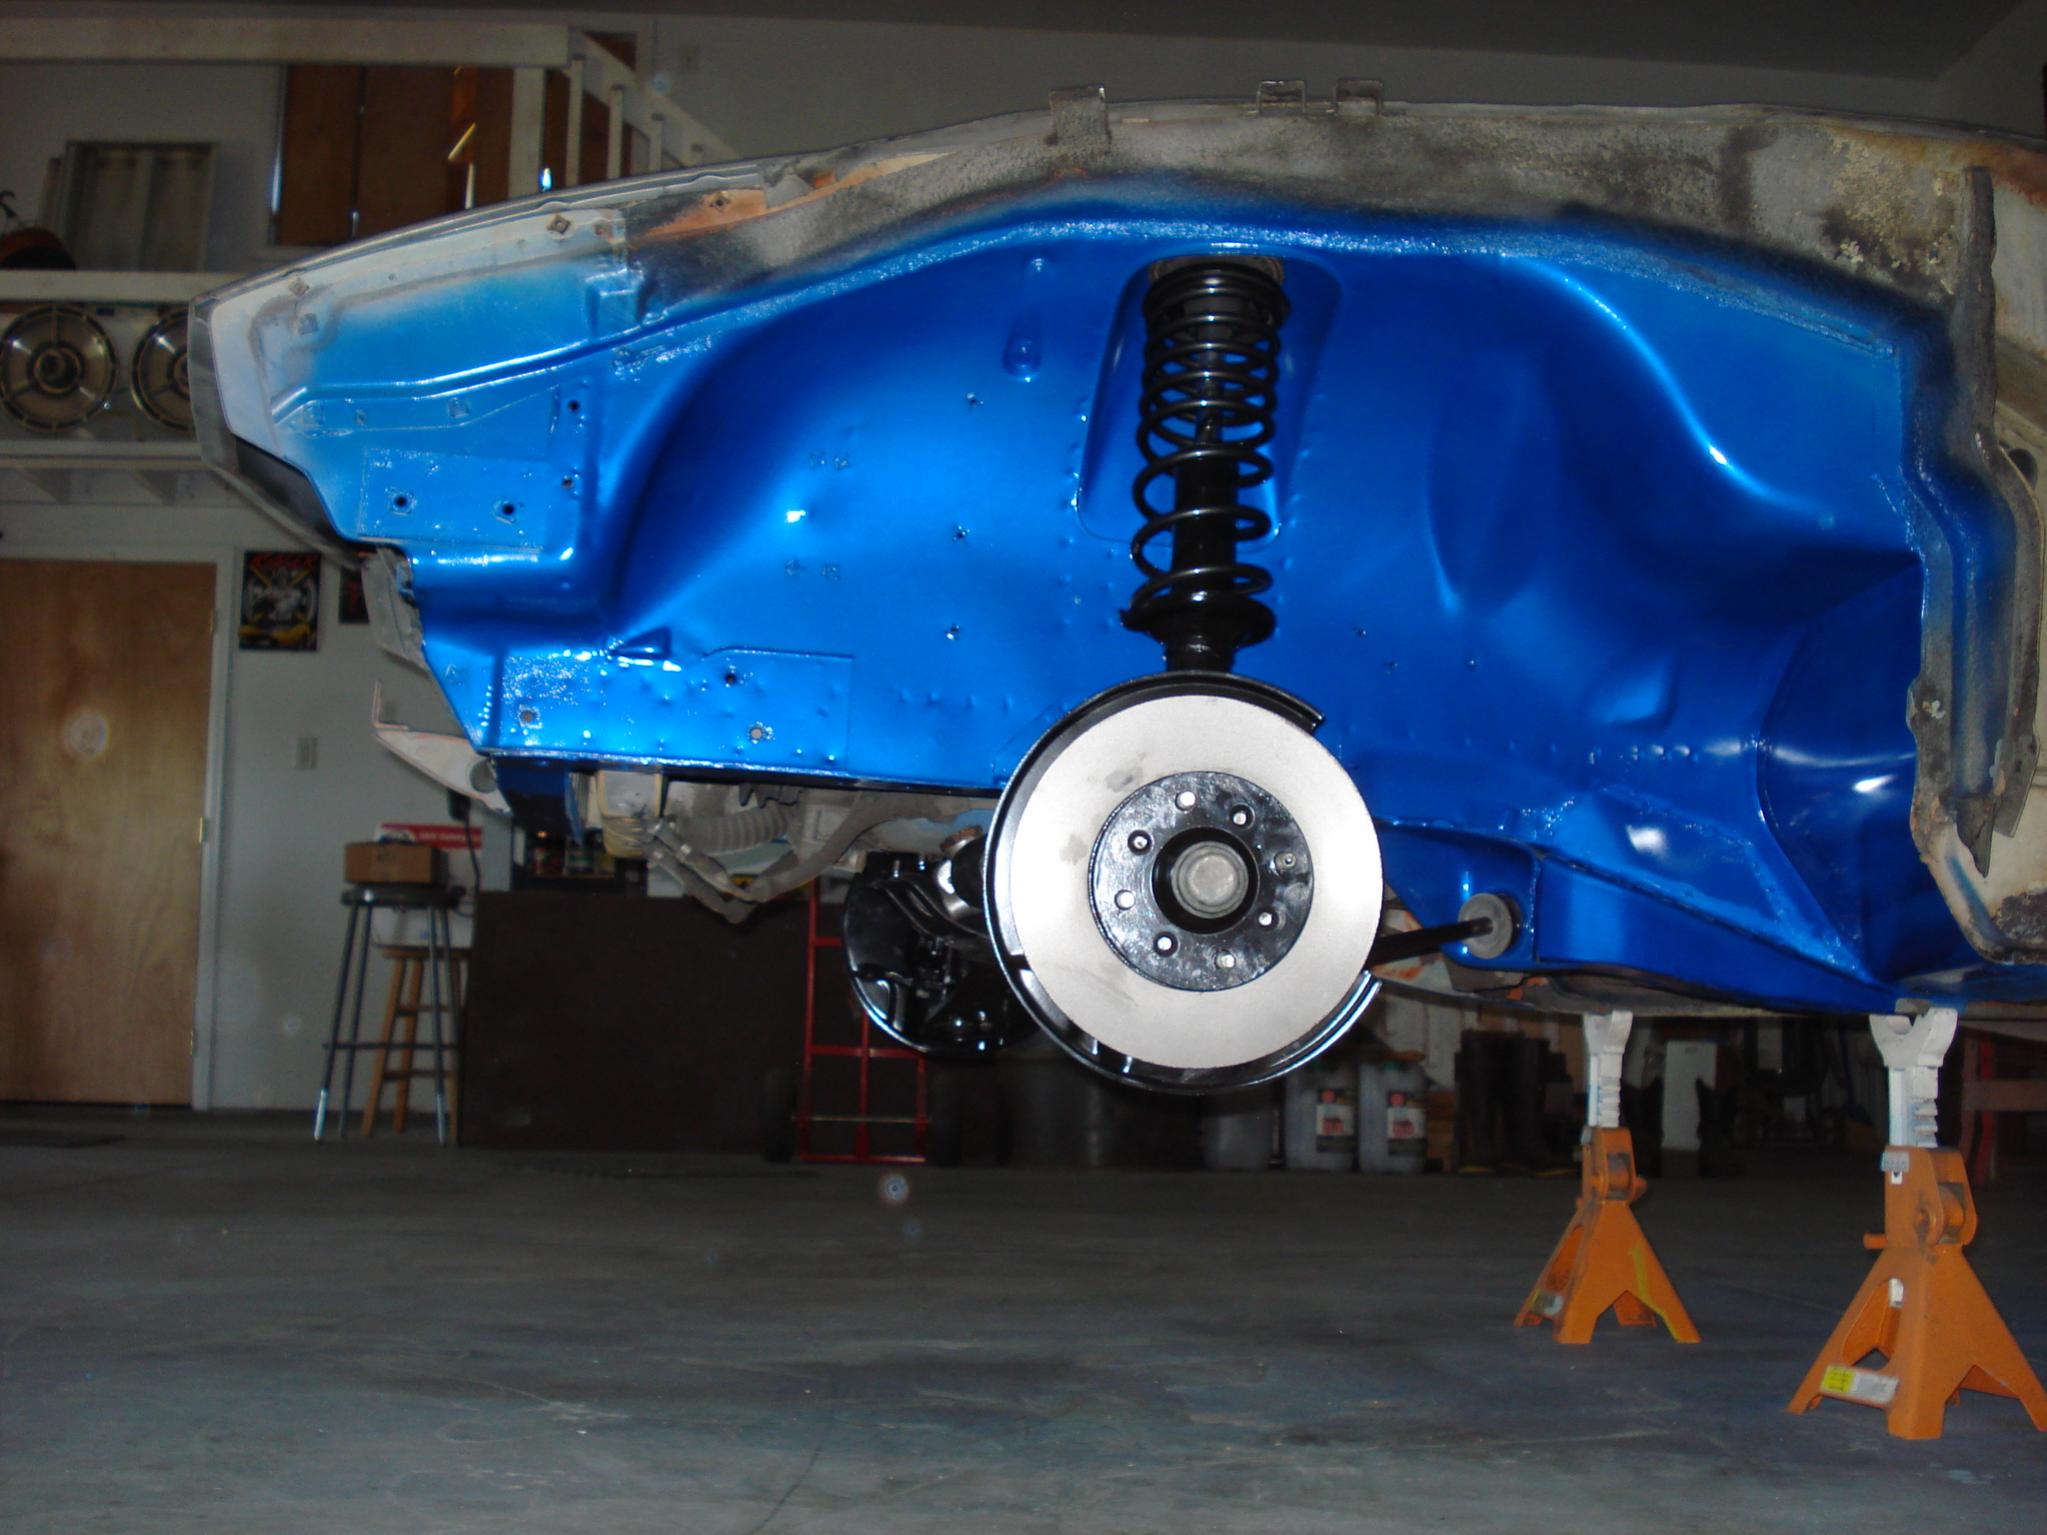
I sprayed the wheel wells with a Cobalt Blue single stage paint from PPG. Man, that was a messy job, getting the wheel wells cleaned up. I started with a heat gun & scraper to remove most of the undercoating that was there. Then I used laquer thinner & a Scotchbrite pad. The going was slow so I broke down and used a sand blaster. Even with plastic sheeting put up I still am finding abrasive everywhere in the shop! I haven't done much with the actual underbody yet, as I have a few holes to patch. I'm planning to use a pair of seats I picked up at the salvage yard and will probably need to make changes to the seat mounts in the car. And I don't know if I'll need to make any changes to the tranny tunnel for the T56 yet. Once I get things sorted out I'll spray a little rubberized undercoating on the belly. The information on this site has been extremely helpful so far. Without this site I wouldn't have known about the A/C relo kit or the power steering delete pulley kit. And it is great to see the V8 swaps that others have done. It took me awhile to decide which way to go: carbureted or fuel injected. I'm an old skool kinda guy and dig the sound of a 4bbl when the secondaries open up and start sucking a lot of air! Ultimately I decided to go with a more modern approach with the LT1. I'm also a closet techno geek, so the thought of tuning the PCM and making small, modern upgrades to the car holds great appeal for me.
-
'73 240Z LT-1/T-56 project underway
kenz240z replied to kenz240z's topic in Gen I & II Chevy V8 Tech Board
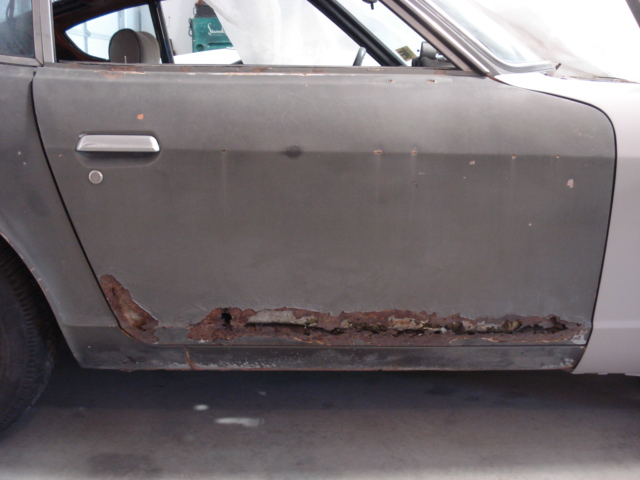
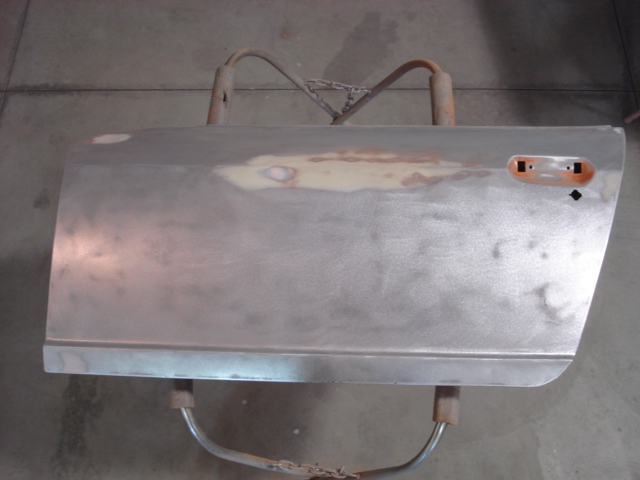
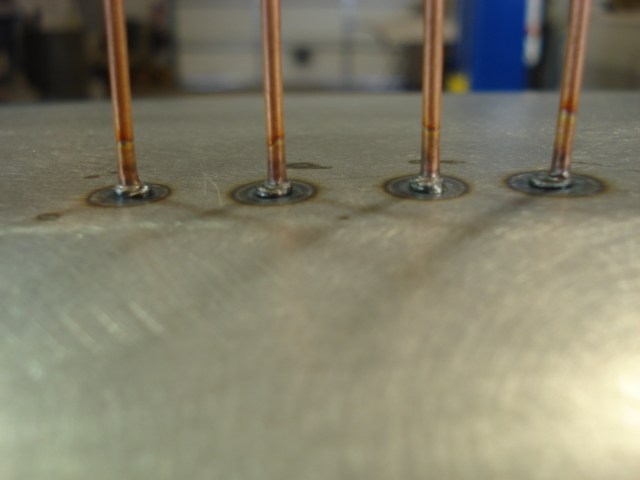
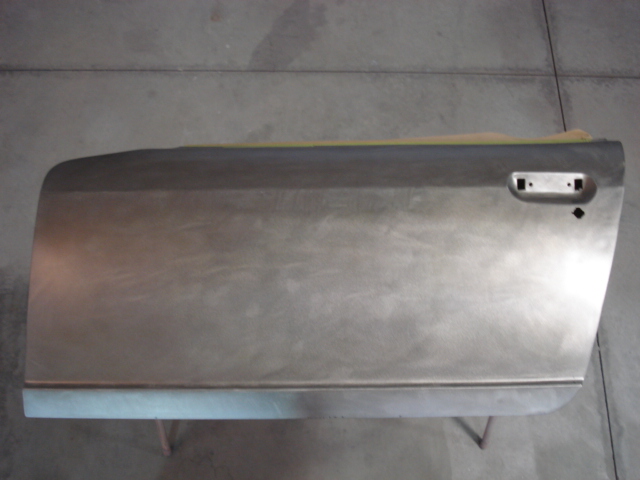
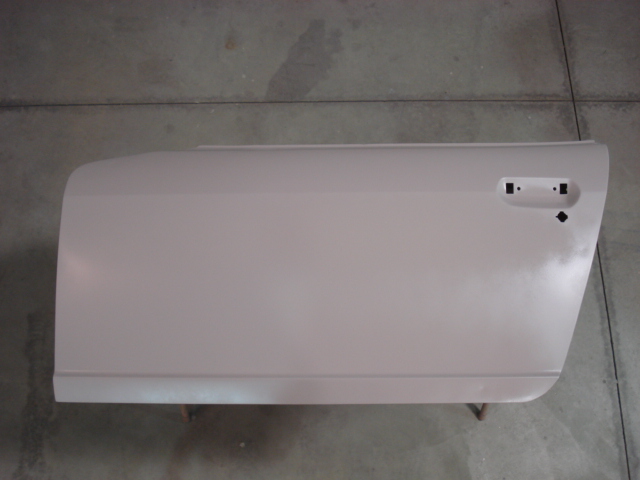
I'm currently working on the doors. The ones on the car are shot. Rusted through and dented up. I found a seemingly solid pair through an ad on Craigslist. The drivers side door had a couple of dents that the stud welder helped pull out, but is otherwise in great shape.
-
'73 240Z LT-1/T-56 project underway
kenz240z replied to kenz240z's topic in Gen I & II Chevy V8 Tech Board
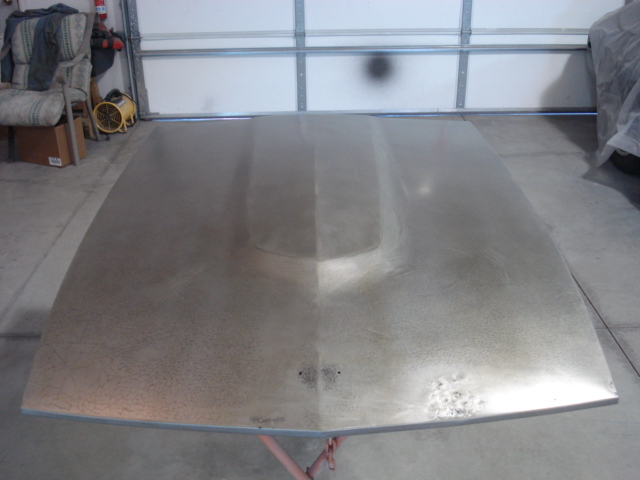
The hood turned out to be in real good shape. I found one crack near the left front edge, and 2 dents that had a fair amount of filler along the front edge. I used a stud welder I got at Harbor Freight to weld studs to the dents and pull them out. Not perfect, but each dent will now only require a skim coat of filler. I used the MIG to fix the crack.
-
'73 240Z LT-1/T-56 project underway
kenz240z replied to kenz240z's topic in Gen I & II Chevy V8 Tech Board
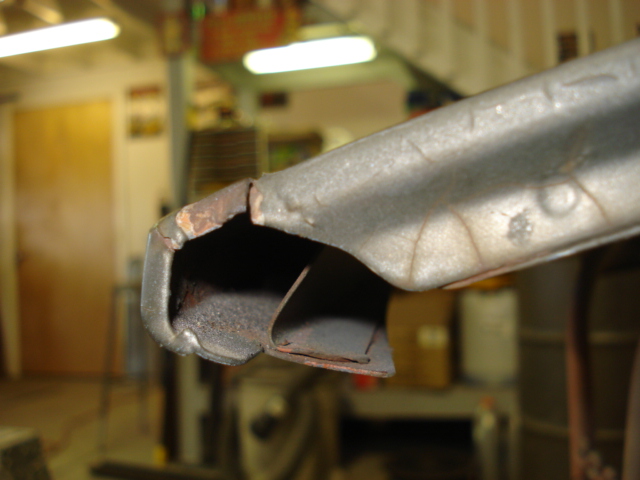
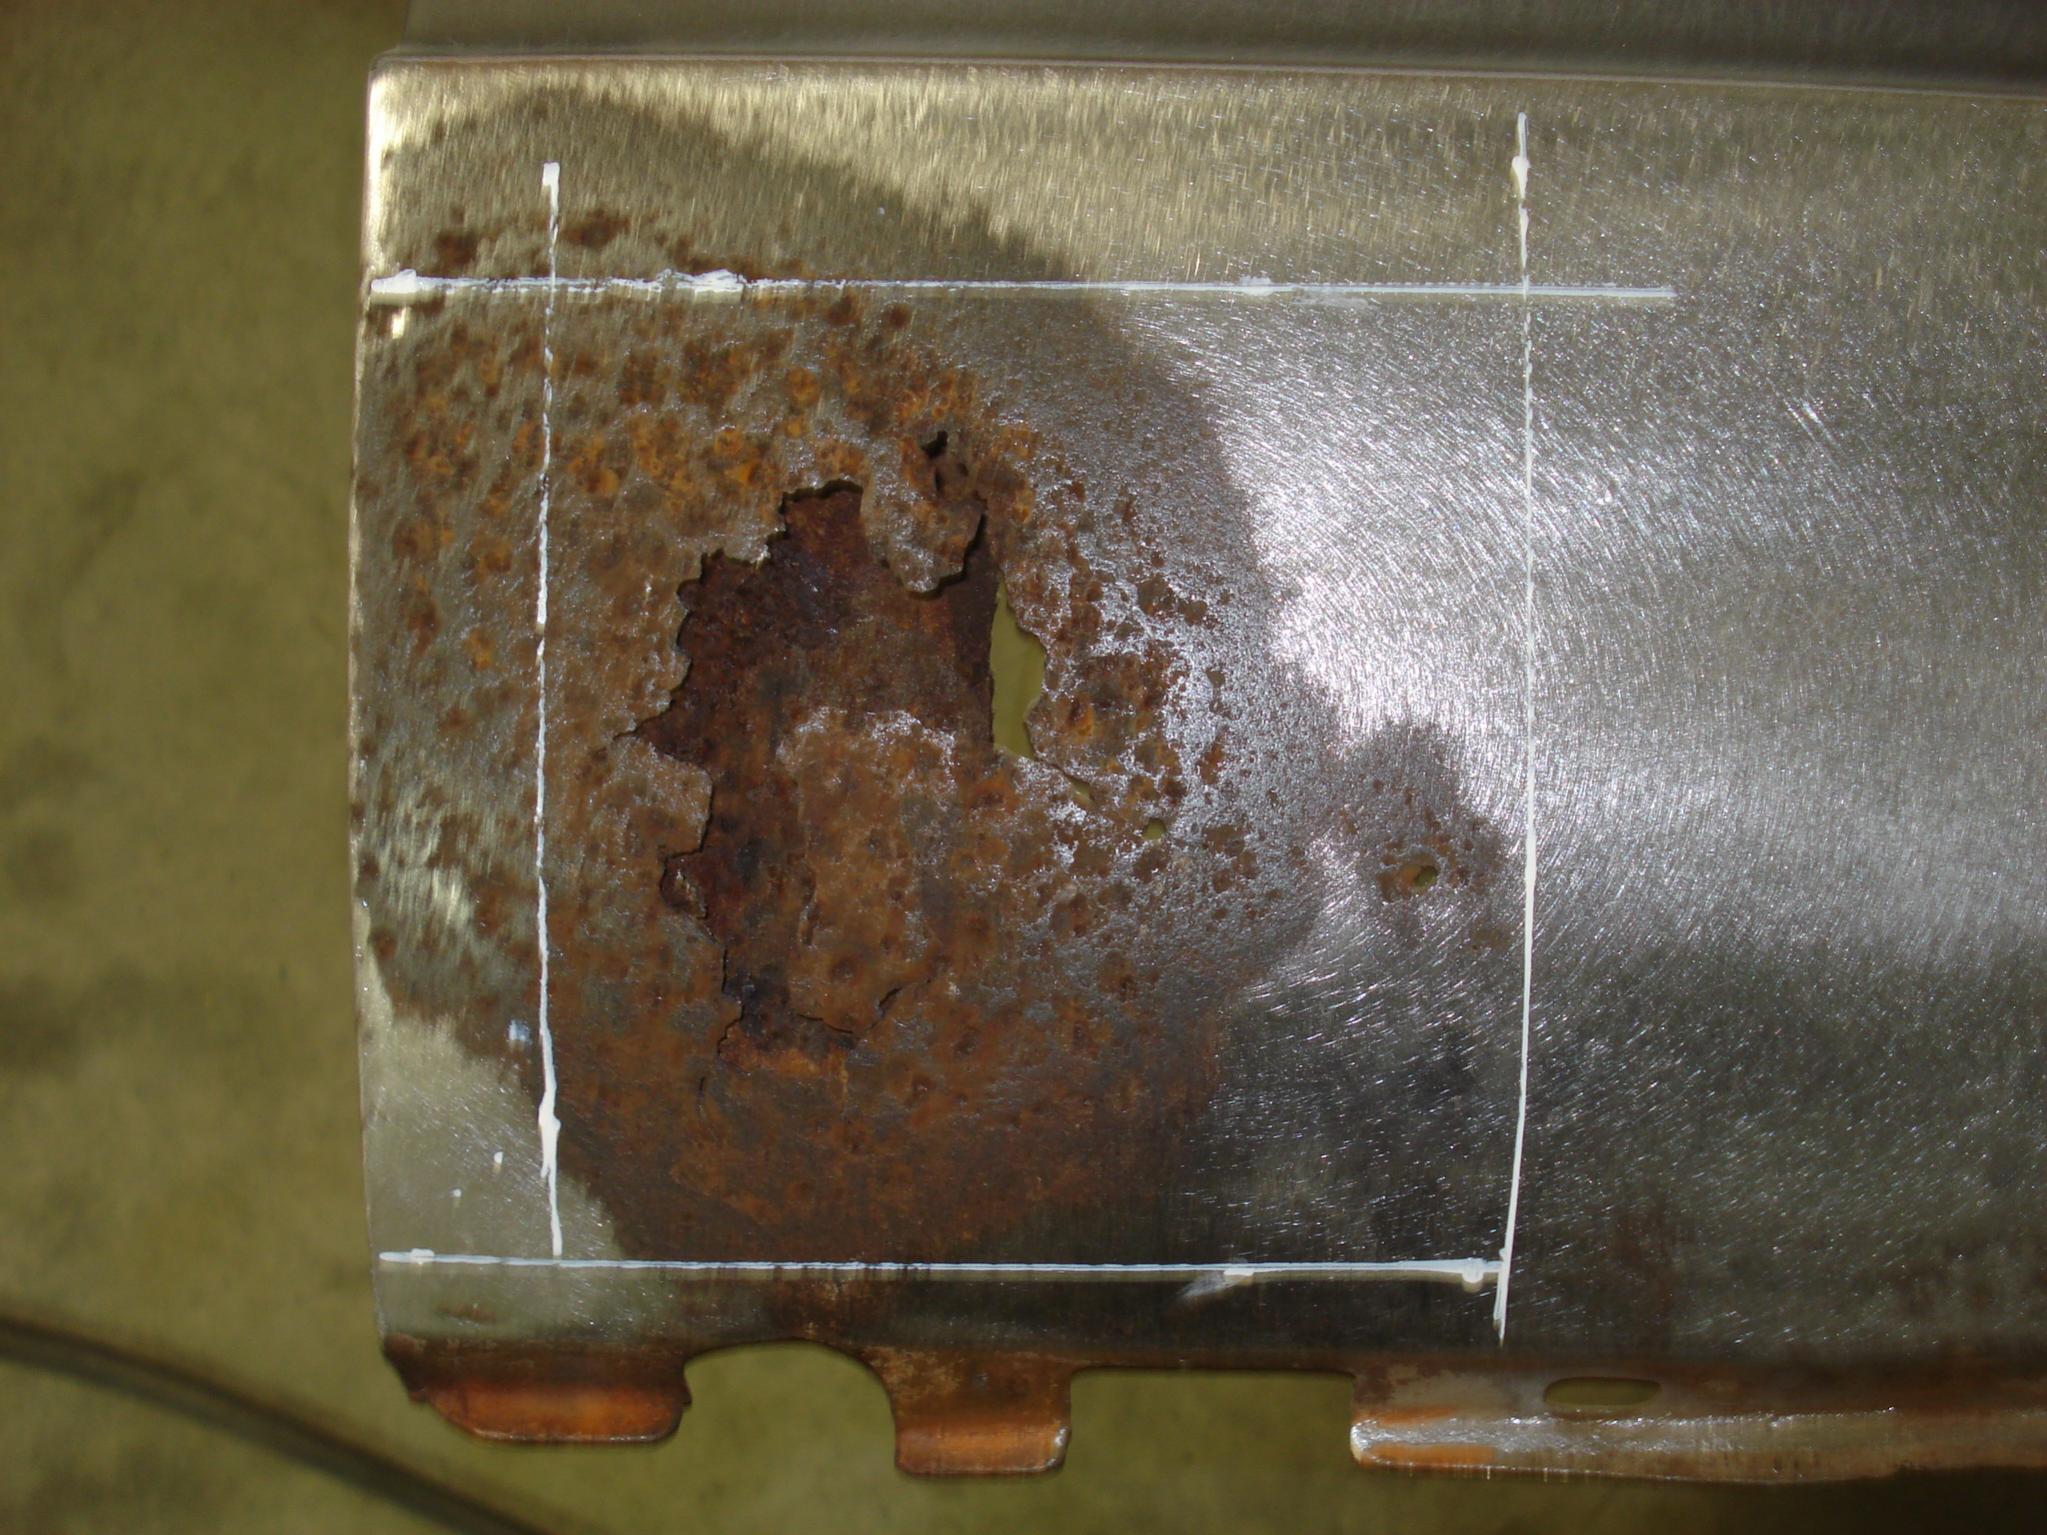
The fenders were rusted through in the usual spot. A little work with the MIG fixed them right up. I used USC Duraglass to coat the repaired section, then shot the fender with PPG 182 high build primer. Evercoat glazing putty was then used to skim coat the low spots. More high build primer, lots of sanding and the fenders are smooth as I can get them. I'll shoot them with PPG epoxy primer, top coat with Cobalt Blue, then a few clear coats.
-
'73 240Z LT-1/T-56 project underway
kenz240z replied to kenz240z's topic in Gen I & II Chevy V8 Tech Board
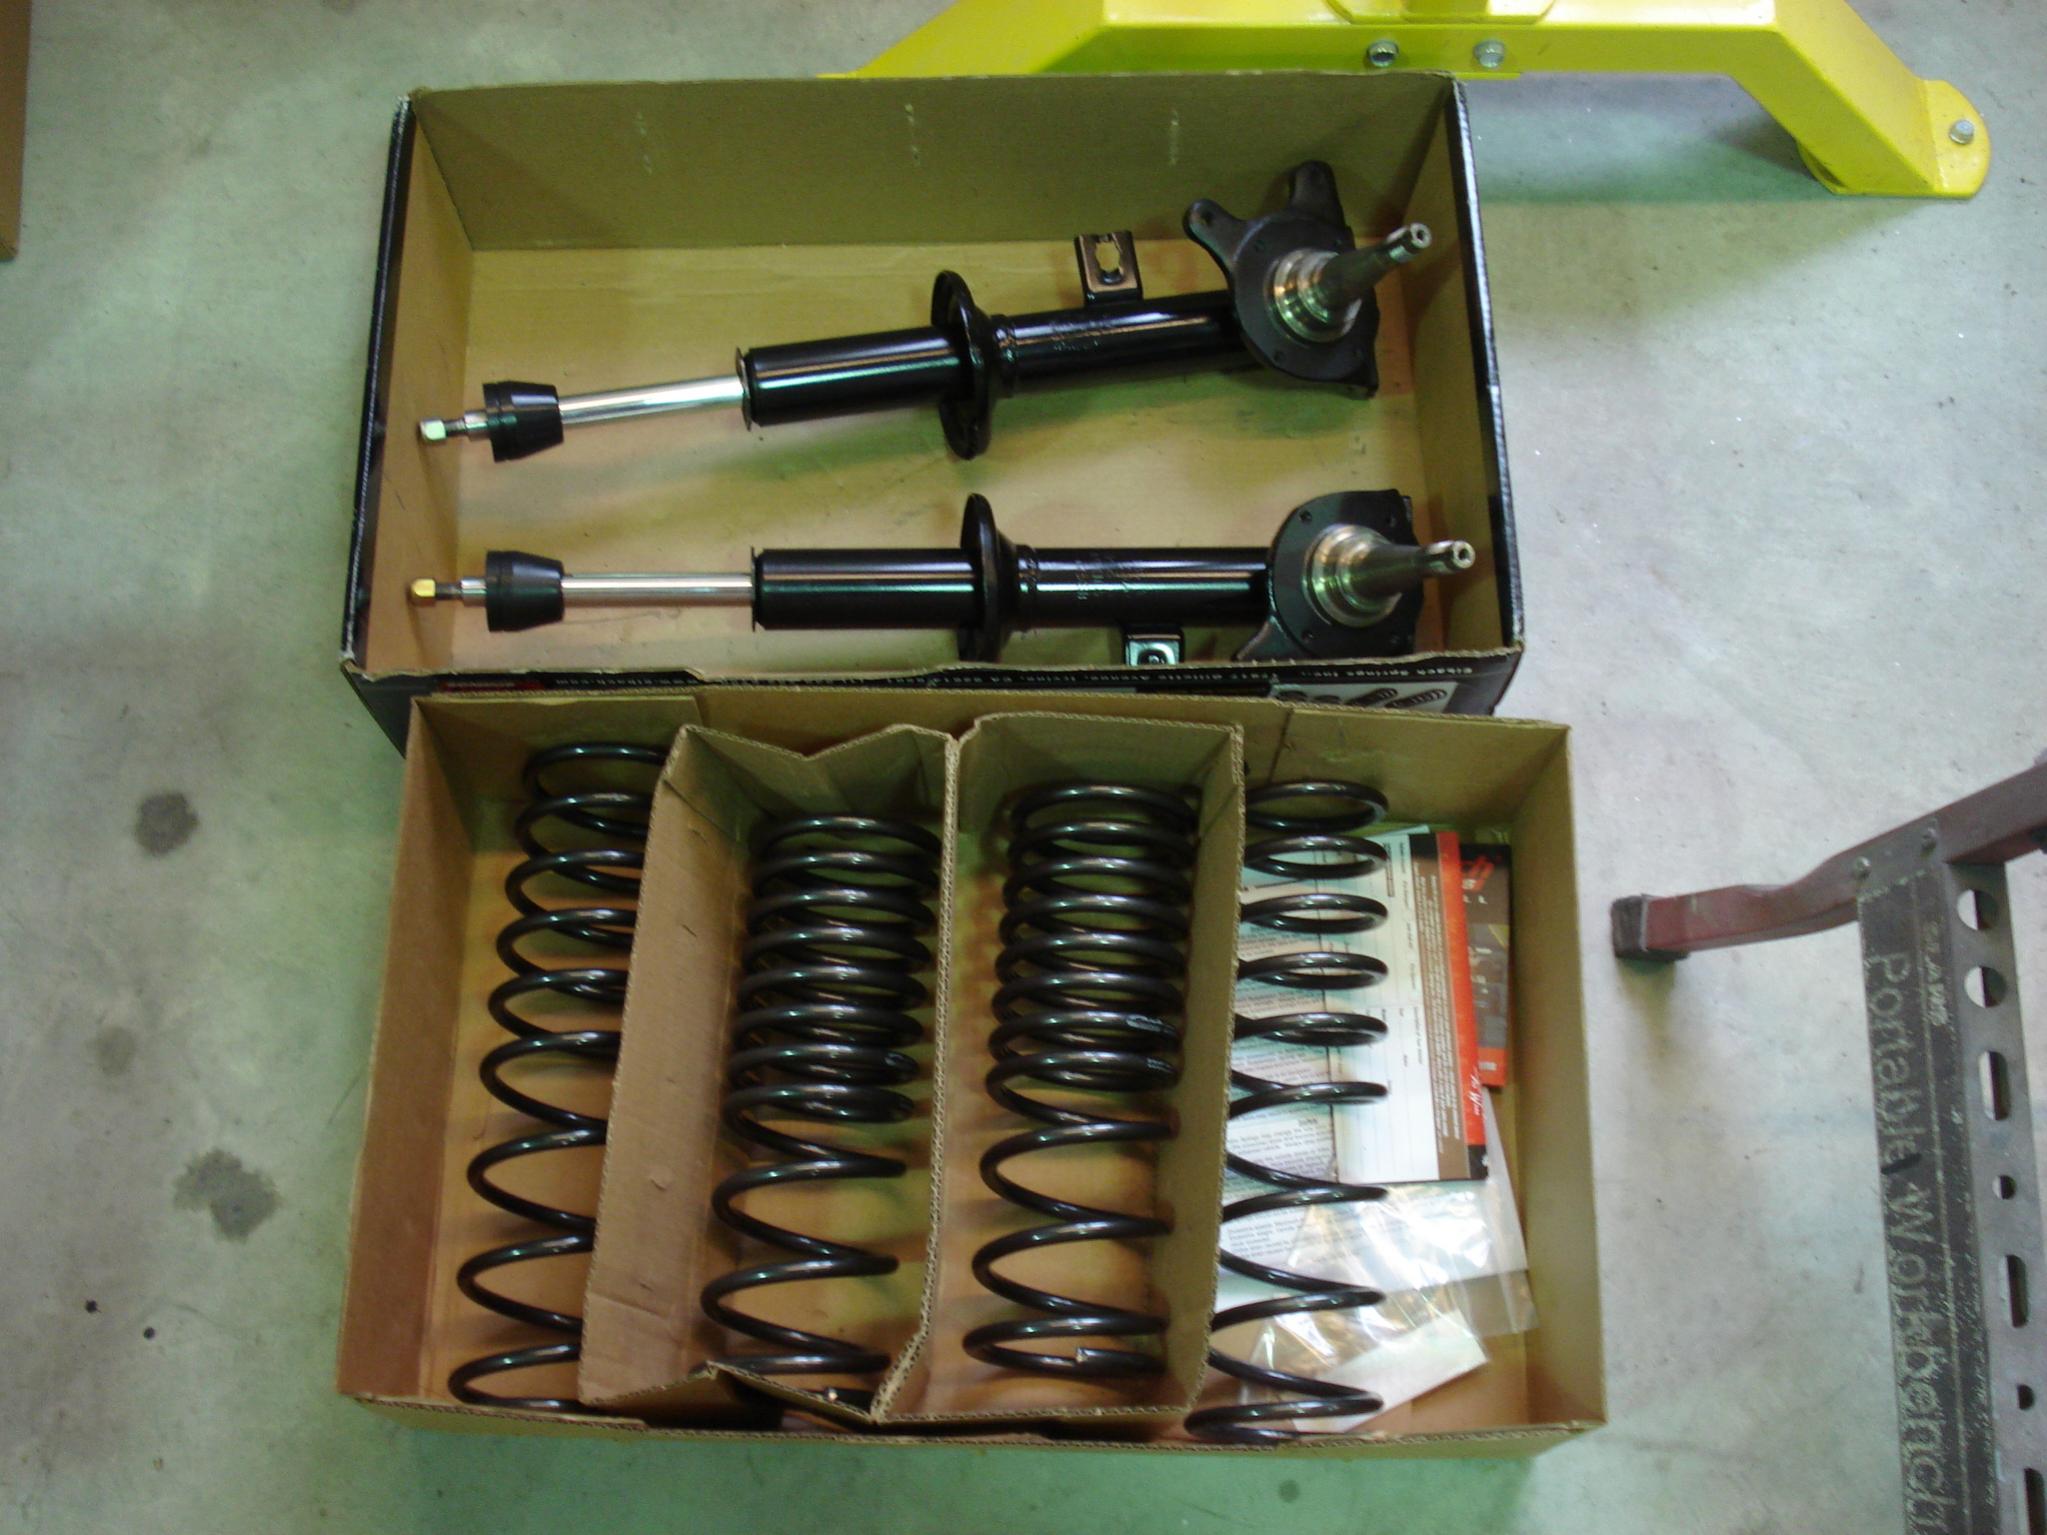
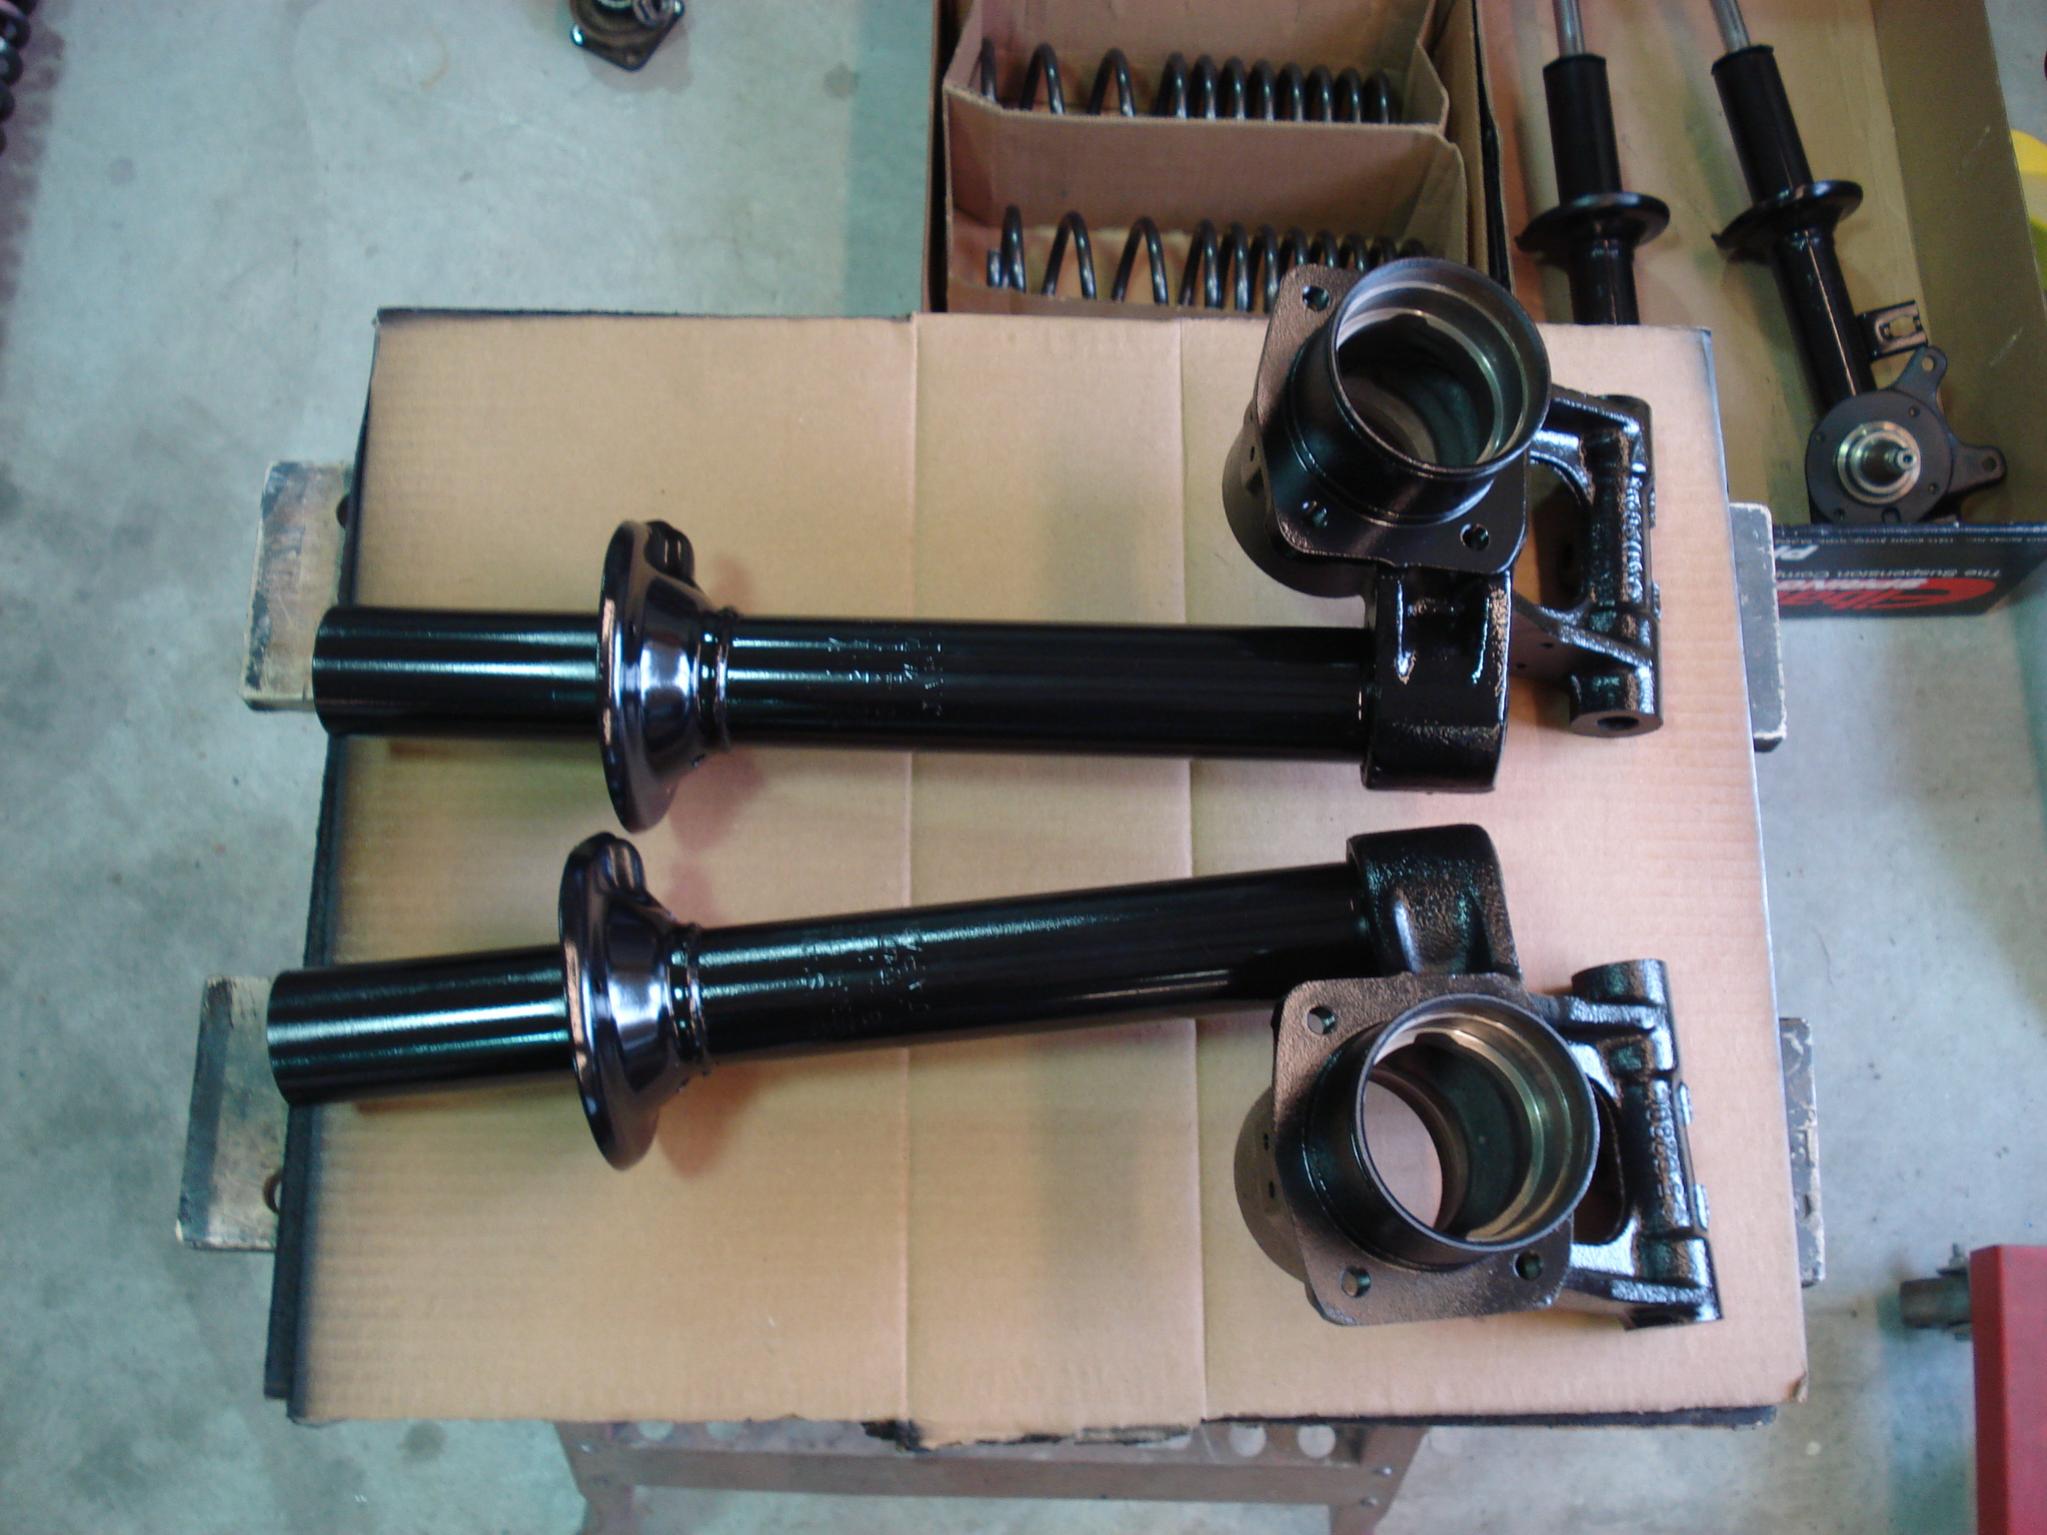
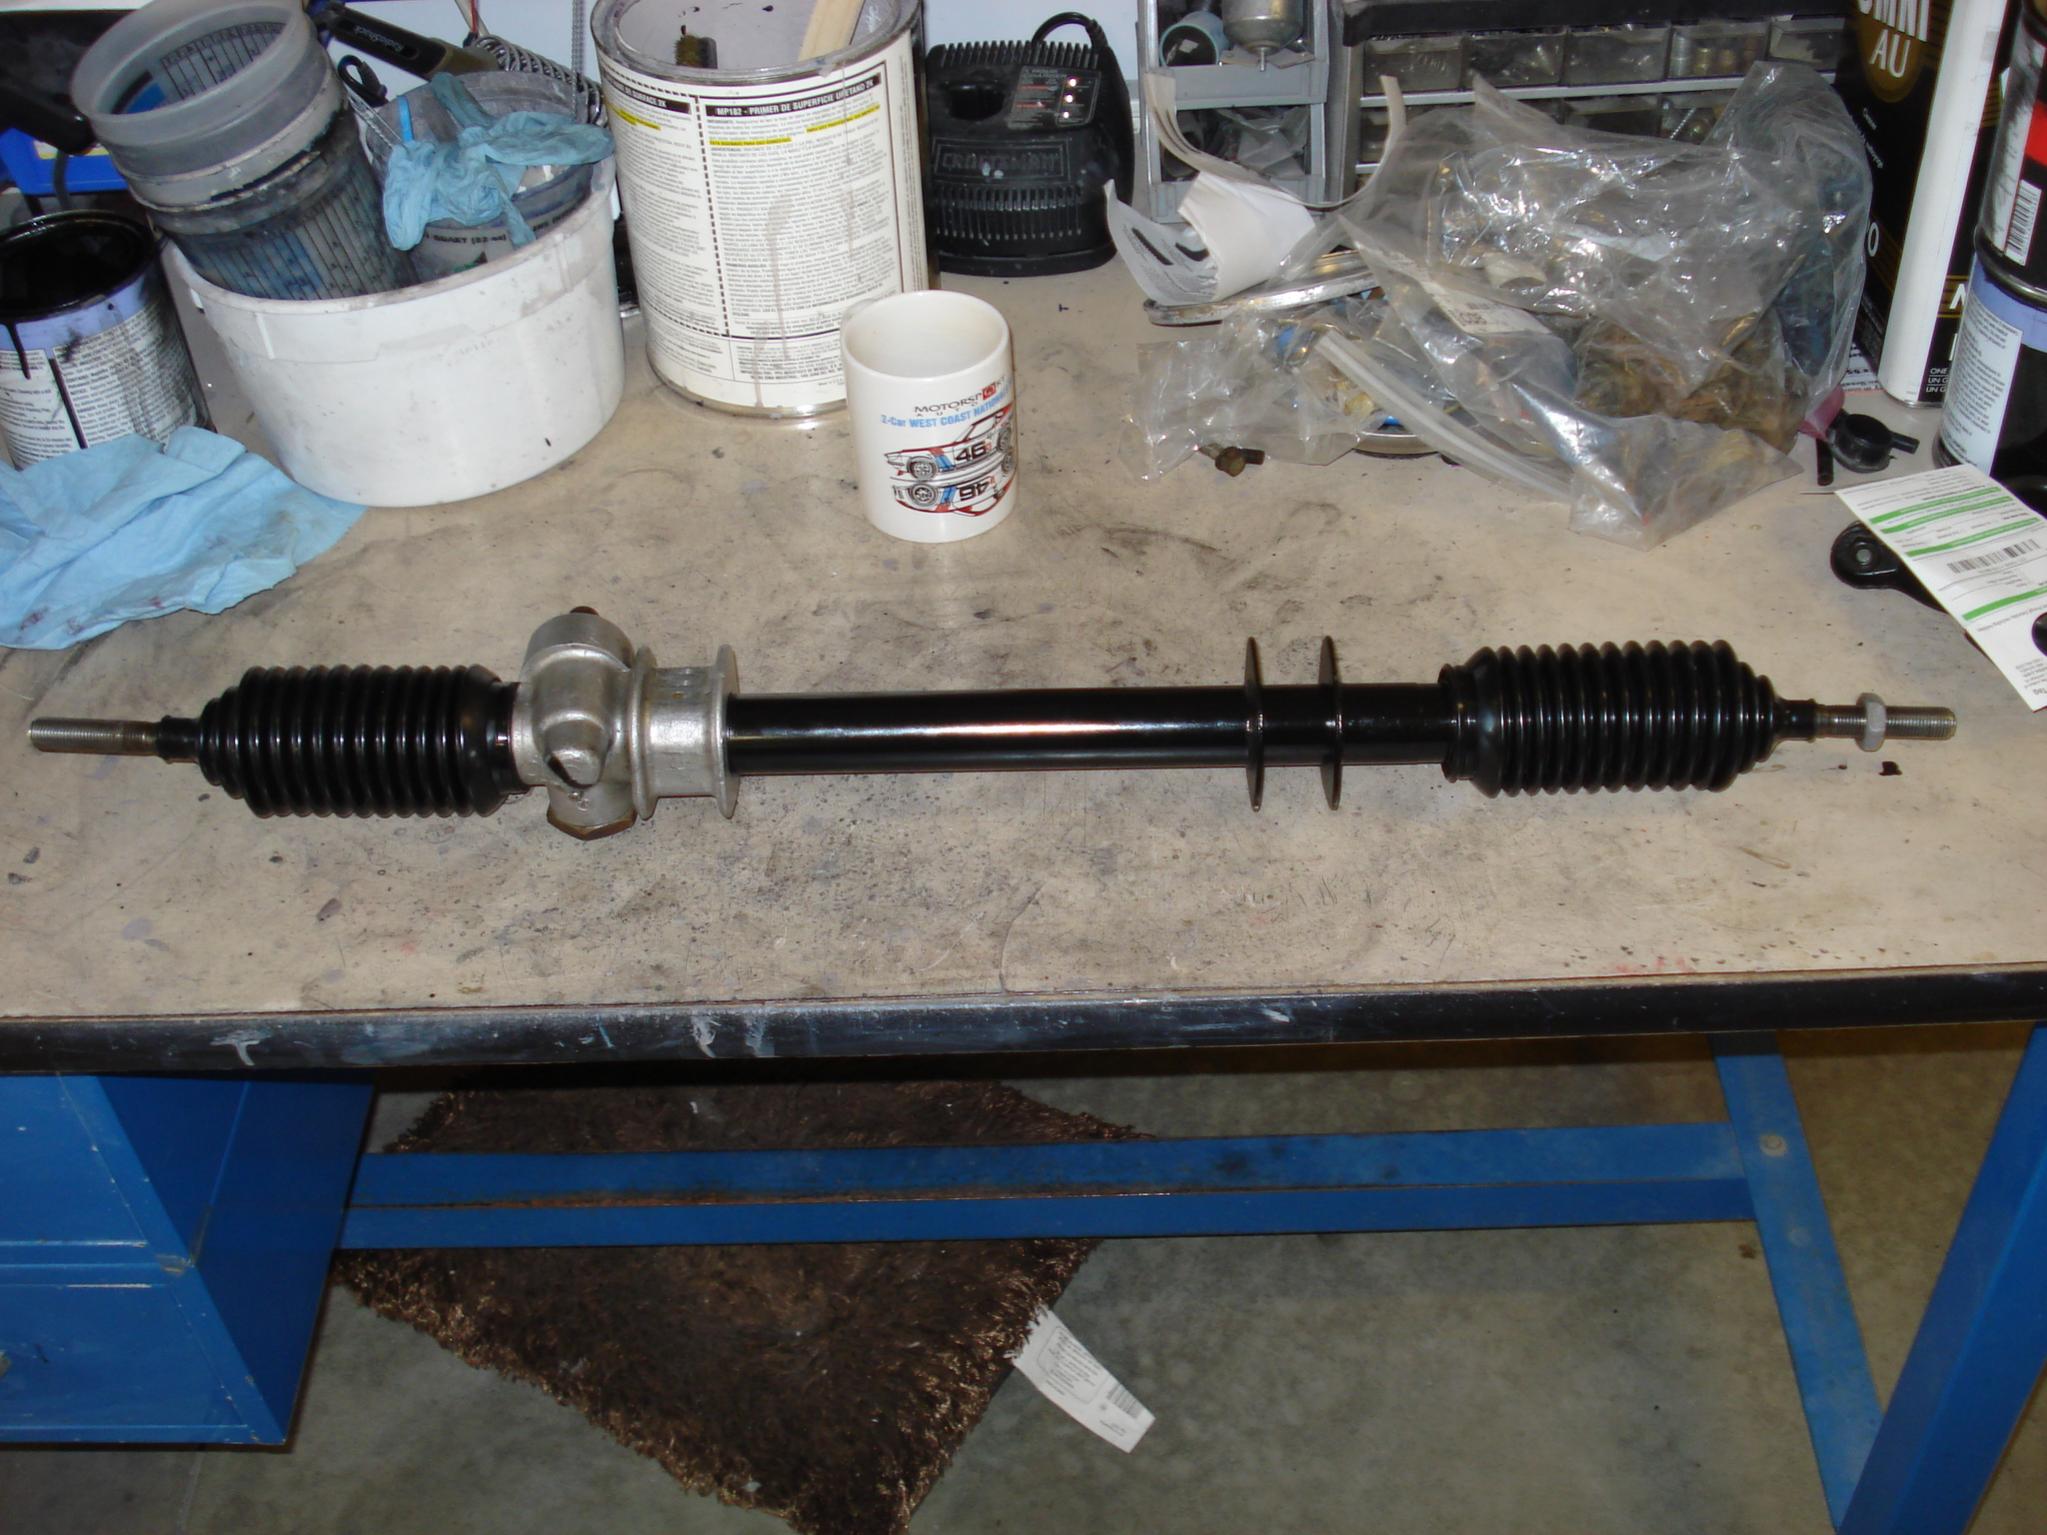
Here are a few shots of the suspension rebuild. I used Eastwood's Rust Encapsulator and Chassis Black to refinish the parts.
-
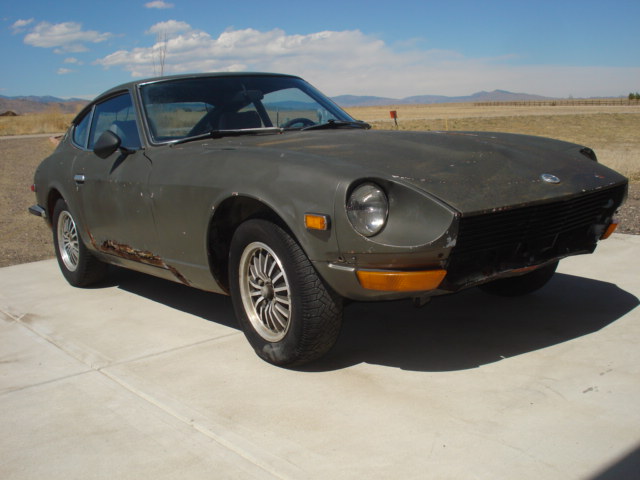
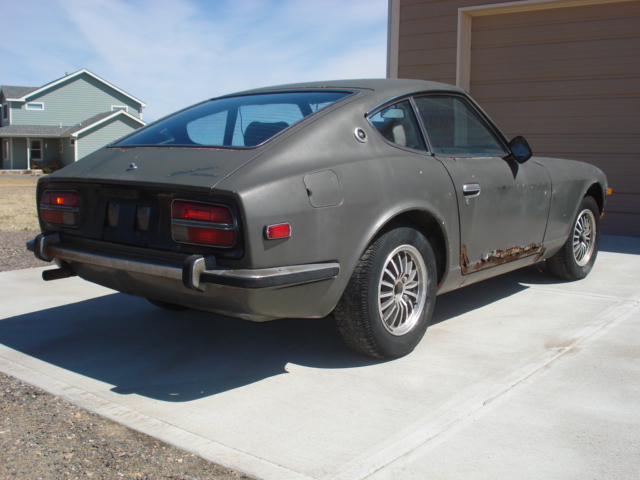
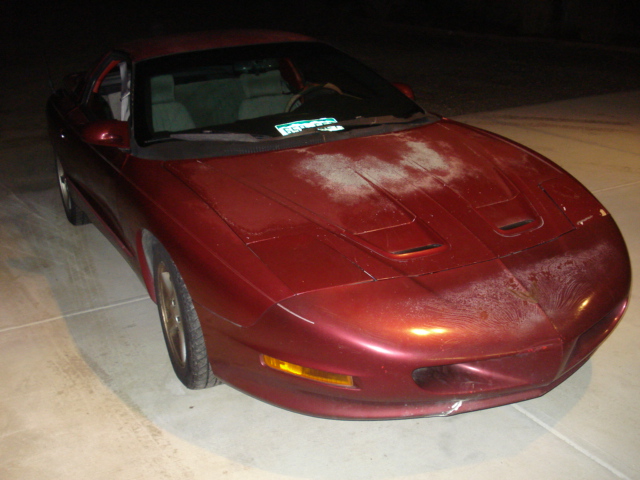
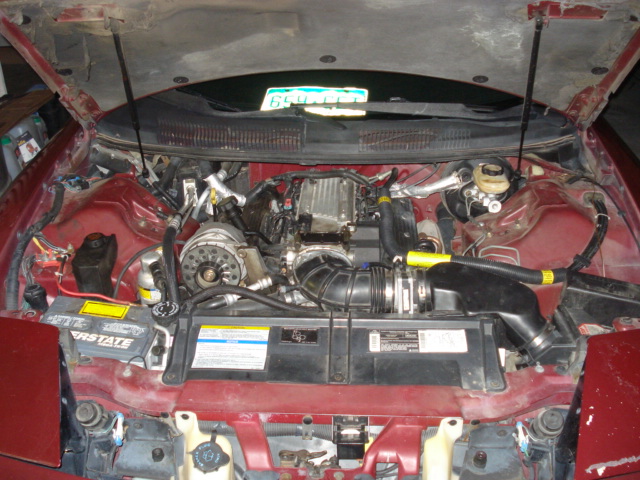
Ok, I'm starting a LT1 V8 swap into a '73 240Z. I was in high school when I first saw a Z car with a small block Chevy under the hood and have wanted a V8 Z car ever since (umm, that was over 20 years ago...). This summer I finally got serious about building one. So I bought a rough '73 240Z for $450 as the project car and a very low mile LT1 for $2500 to put in it. Then I bought a '97 Camaro Z28 with a hydrolocked engine and T-56 to use as a donor. But, the project stalled because I ended up putting the LT1 into the Camaro and decided to keep it (too fun, too fast & too nice to part out). A couple of weeks later I found a '95 Firebird Formula with an LT1 and T56 and it is now the organ donor. Funny how things fall into place sometime! The hydrolocked LT1 that was originally in the Z28 is now at the machine shop and will be getting rebuilt. It threw the #8 rod, but fortunately it didn't damage the block or the cam. The engine will be getting Edelbrock performer heads, Edelbrock cam, Edelbrock 52mm T-body, Corvette style water pump, Accel optispark dizzy, Bowers A/C relo mount and a power steering pump delete pulley. A Zoom high performance clutch will be used to put the power to the T-56. The stock R-180 has been replaced with a 3.90 R200. New urethane bushings, KYB struts and Eibach springs have already been installed. Once the JTR mounts arrive, I'll be pulling the engine/tranny from the Firebird and start the swap into the Z. Then I can start sorting out the details, like how to mount the accelerator cable, clutch MC, PCM, wiring, fuel lines, etc... I'll also be able to make measurements for the drive shaft and take it to a shop to have it shortened. Then it will be off to the exhaust shop for a 2-1/2" single exhaust system. After all this work is done, the rebuilt engine should be ready. At that point, I'll drop the drivetrain, refinish the engine bay on the Z and put it all back together with the rebuilt engine. Hopefully I'll have the car on the road by spring.
-
New project. Wide body 73 240z
kenz240z replied to aziza z's topic in Gen I & II Chevy V8 Tech Board
A 283 perhaps, Chevy never made a 289. The 283 is a great engine and nearly indestructible. That's gonna be one nice V8 Z! I haven't played with the Edelbrock 4bbl carbs, but I am a huge fan of the Carter AFB, which is basically the same thing. Are you gonna run headers on it or use stock exhaust manifolds? Build that mouse motor up when you get the bux, put 2-1/2 inch rams horn exhaust manifolds, 1.94 or 2.02 camel hump heads and a performance cam in it and you'll have plenty of horses under the hood. Hmm, wait, that's basically what I'm running in my '64 Impala! -
I picked these seats up at the salvage yard this afternoon. Found them in a '77 Porche 924, but they are not the original seats from that car. They did not use the stock seat mounts, instead there were holes drilled through the floor to mount these seats in the Porsche. I've searched the photo gallery and also online, but haven't found anything exactly like these. They say "TURBO" beneath the head rest. There are two dials on the side, one for lumbar support and the other pulls in the upper side supports. There is also an adjustable thigh support (moves up & down). I set them in my project 240Z and it looks like they will work, although I'll probably have to cut out the stock seat supports. These should bolt right to the floor with a little work. They are comfy to sit in!