Search the Community
Showing results for tags 'bearings'.
-
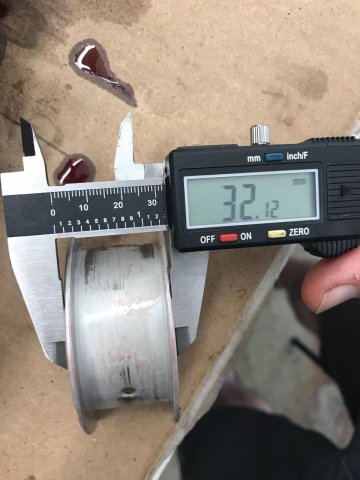
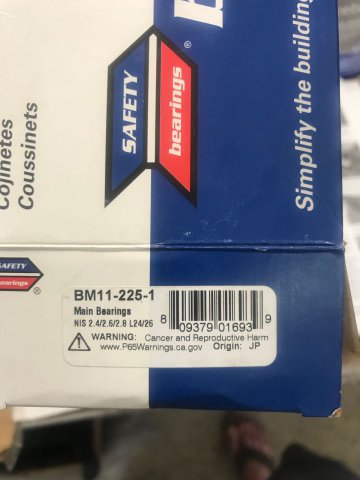
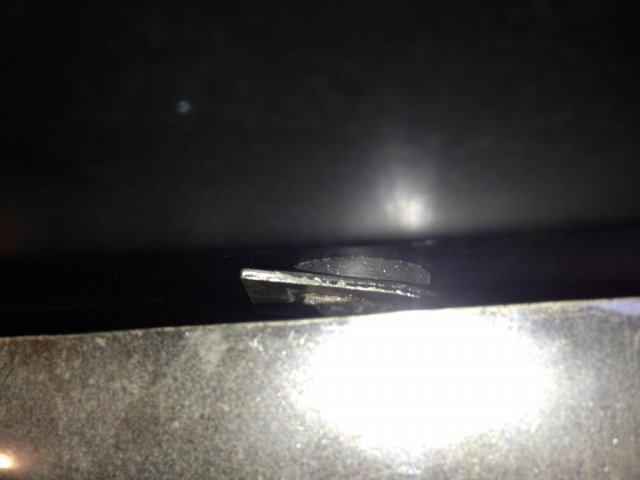
I'm re-assembling the L24 out of my Series 1 240Z and just tried dropping the crankshaft in. It dropped in with a tiny bit more encouragement than I expected, but that center bearing was so tight that I couldn't turn the crank once it was in. I pulled the crank back out to investigate, and that bearing came with it! It was on so tight that I had to lightly hammer it off with the butt of my mallet to get it back off. I assumed that the bearing would have just slipped onto the journal rather than needing to be forced like that. My crankshaft was ground down by 0.25mm, but I can't imagine why that would make the thrust surfaces tighter. I measured the center bearing width and it came out to 32.12mm, but I have no idea if that's nominal or not. I couldn't get a good read on the crank width at the center journal with my calipers. This is my first time building an engine, so any advice is appreciated. Is this kind of interference fit expected here, or should I send my crank back to the machine shop, or just order new bearings? Thanks! See pictures below. The box that my bearings came in. These were provided by my machine shop. Caliper reading on the width of bearing. Notice that the back of the bearing is now scuffed up. When I tried turning the crank one way, the bearing tab prevented it from rotating. When I tried to turn it the other way, the bearing just rotated with the crank and scuffed a little material off its back as it went.
-
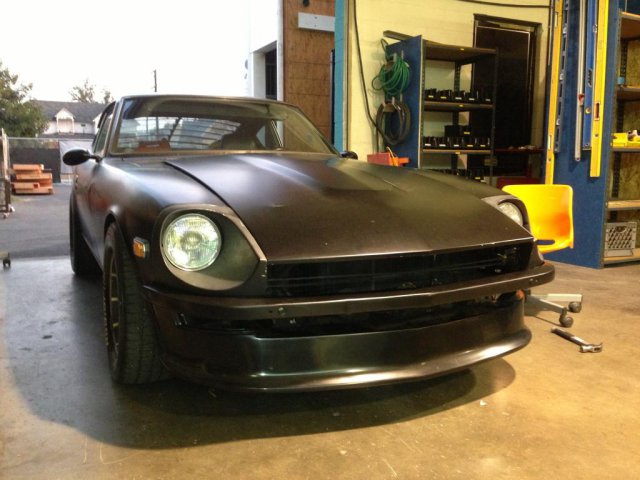
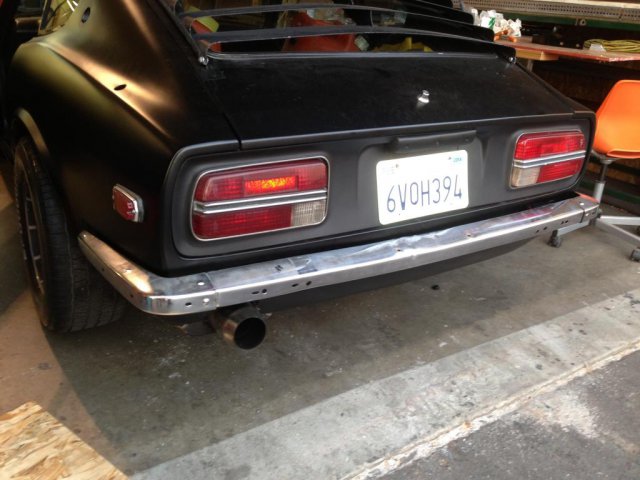
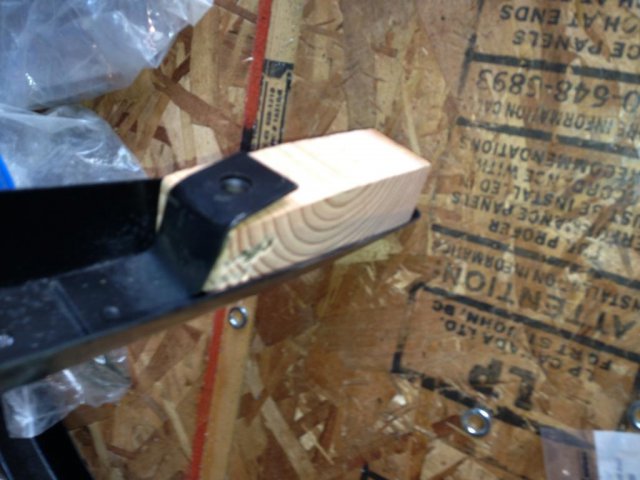
I learned a few tricks when installing my bumpers. ( as requested by California Highway Patrol) I bought some used ones and the rear must have been in a slight accident because the bolt flanges were bent and did not align with the body holes. Tip #1 Hammering then prying the side flanges on the rear bumper back into shape does not work we'll. cut a piece of wood about 1.5" x 1.5" and jam it under the flange. Stand it on its end the hammer it down. Works great. Tip #2 To attach the rear bumper, fasten the straight part to the body first, then attach the side flanges to the body next, then screw the sides to the straight part. Reason - if there is any irregularities, the holes will not align if you try to install the whole thing at once. Tip #3 Use some 1/2" (inside hole dimension) rubber bearings between the body and side flanges of the rear bumper. Gives good spacing.
