Tommy
-
Posts
21 -
Joined
-
Last visited
Tommy's Achievements
")
Newbie (1/14)
0
Reputation
-
So I was driving back from a few hours worth of errands in town, and I start to get backfires. I'm unsure as to whether it was from the carbs or exhaust, but I got them while pushing the pedal more than 20%. I was low on gas, and the power loss felt like I was running empty. I've ran empty before, usually doesn't backfire. I put some gas in her today, and charged the battery. Didn't start. Tried to a couple times, backfireing from the carbs. Typical if the webers are flooded, but may be an indication of another problem? Looked at the ignotion box (Crane HI-6). If anyone know's these boxes, they have a red indicator light on them. Solid red on "ready", and flashing while on "start". Some electrical issues getting power to the ignition box, fixed them and there's still an issue somewhere. Solid red on ready, stays solid while it turns over (which should mean it is not giving spark to the coil). So my question... What can cause an ignition box not to give spark while turning the key? *With this box, the light also flashes, in different patterns, if various problems are detected. No patterns, just no spark (stays solid). 72' 240z L28, top-end rebuild/bore a month ago. Triple weber carbs, recent professional tune/jet (Not Dyno, but damn better than they were). Mallory unilite distributor, bought used, tested on SUN machine, installed 2-3 months ago. Timing calibrated with engine rebuild. Crane PS92 Coil (for Capacative Discharge ignition) Crane HI-6 ignition box. Rev limit at 5K for now. About 2-3 months old, kept on the interior of the firewall. Carter 4070 fuel pump, regulated 3-4psi.
-
Did you end up finding a solution? I am also also using a older tape-style camera (Mini-DV). Canon VIXIA HV30. Size of a "regular" handheld camera.
-
Recently driving 250mi home from the local engine shop. sub-zero night, from about 2am to 4-5am. No taillights (brake lights + flashers work). One headlight. We went to a auto car wash first, and found pretty quickly that the air (now water) leaks are the entire passenger's door-frame, as well as near the front of the doors at the bottom of the A-piller. At 80mph the air comes in just as quick as the water did. I was in a hurry, and would absoutely not stop along the way, except once for gas. Feet cold to the touch afterwards, after a 5-10min hot shower. I feel worse for my friend, who was forced to go without heat. At least there was music. I don't mean to step on feet, just share with you my love of the car. I loved her though it. I'll add some pictures when I get a chance. The entire rear cabin is filled with parts, tools, wires, etc. that I carry with me. Like a rolling/driving project car, and terrible (Amazing!) daily driver. I'll post some pictures when I find the video camera.
-
Your ways of spending your TAX RETURN for your Z
Tommy replied to MyLaDyZ's topic in S30 Series - 240z, 260z, 280z
As much as I would love to make a list... It's going to the loan I took for the top-end rebuild on the mild L28 a few months ago. I guess it's worth it. I've since fallen in love (again, if that is possible??) with the forgiving power band and triple webers -
I apologize for my scarcasim. Was trying to be funny. Though my previous reference to the Area 51 spam post was true, I needed a part. It has since been deleted.
-
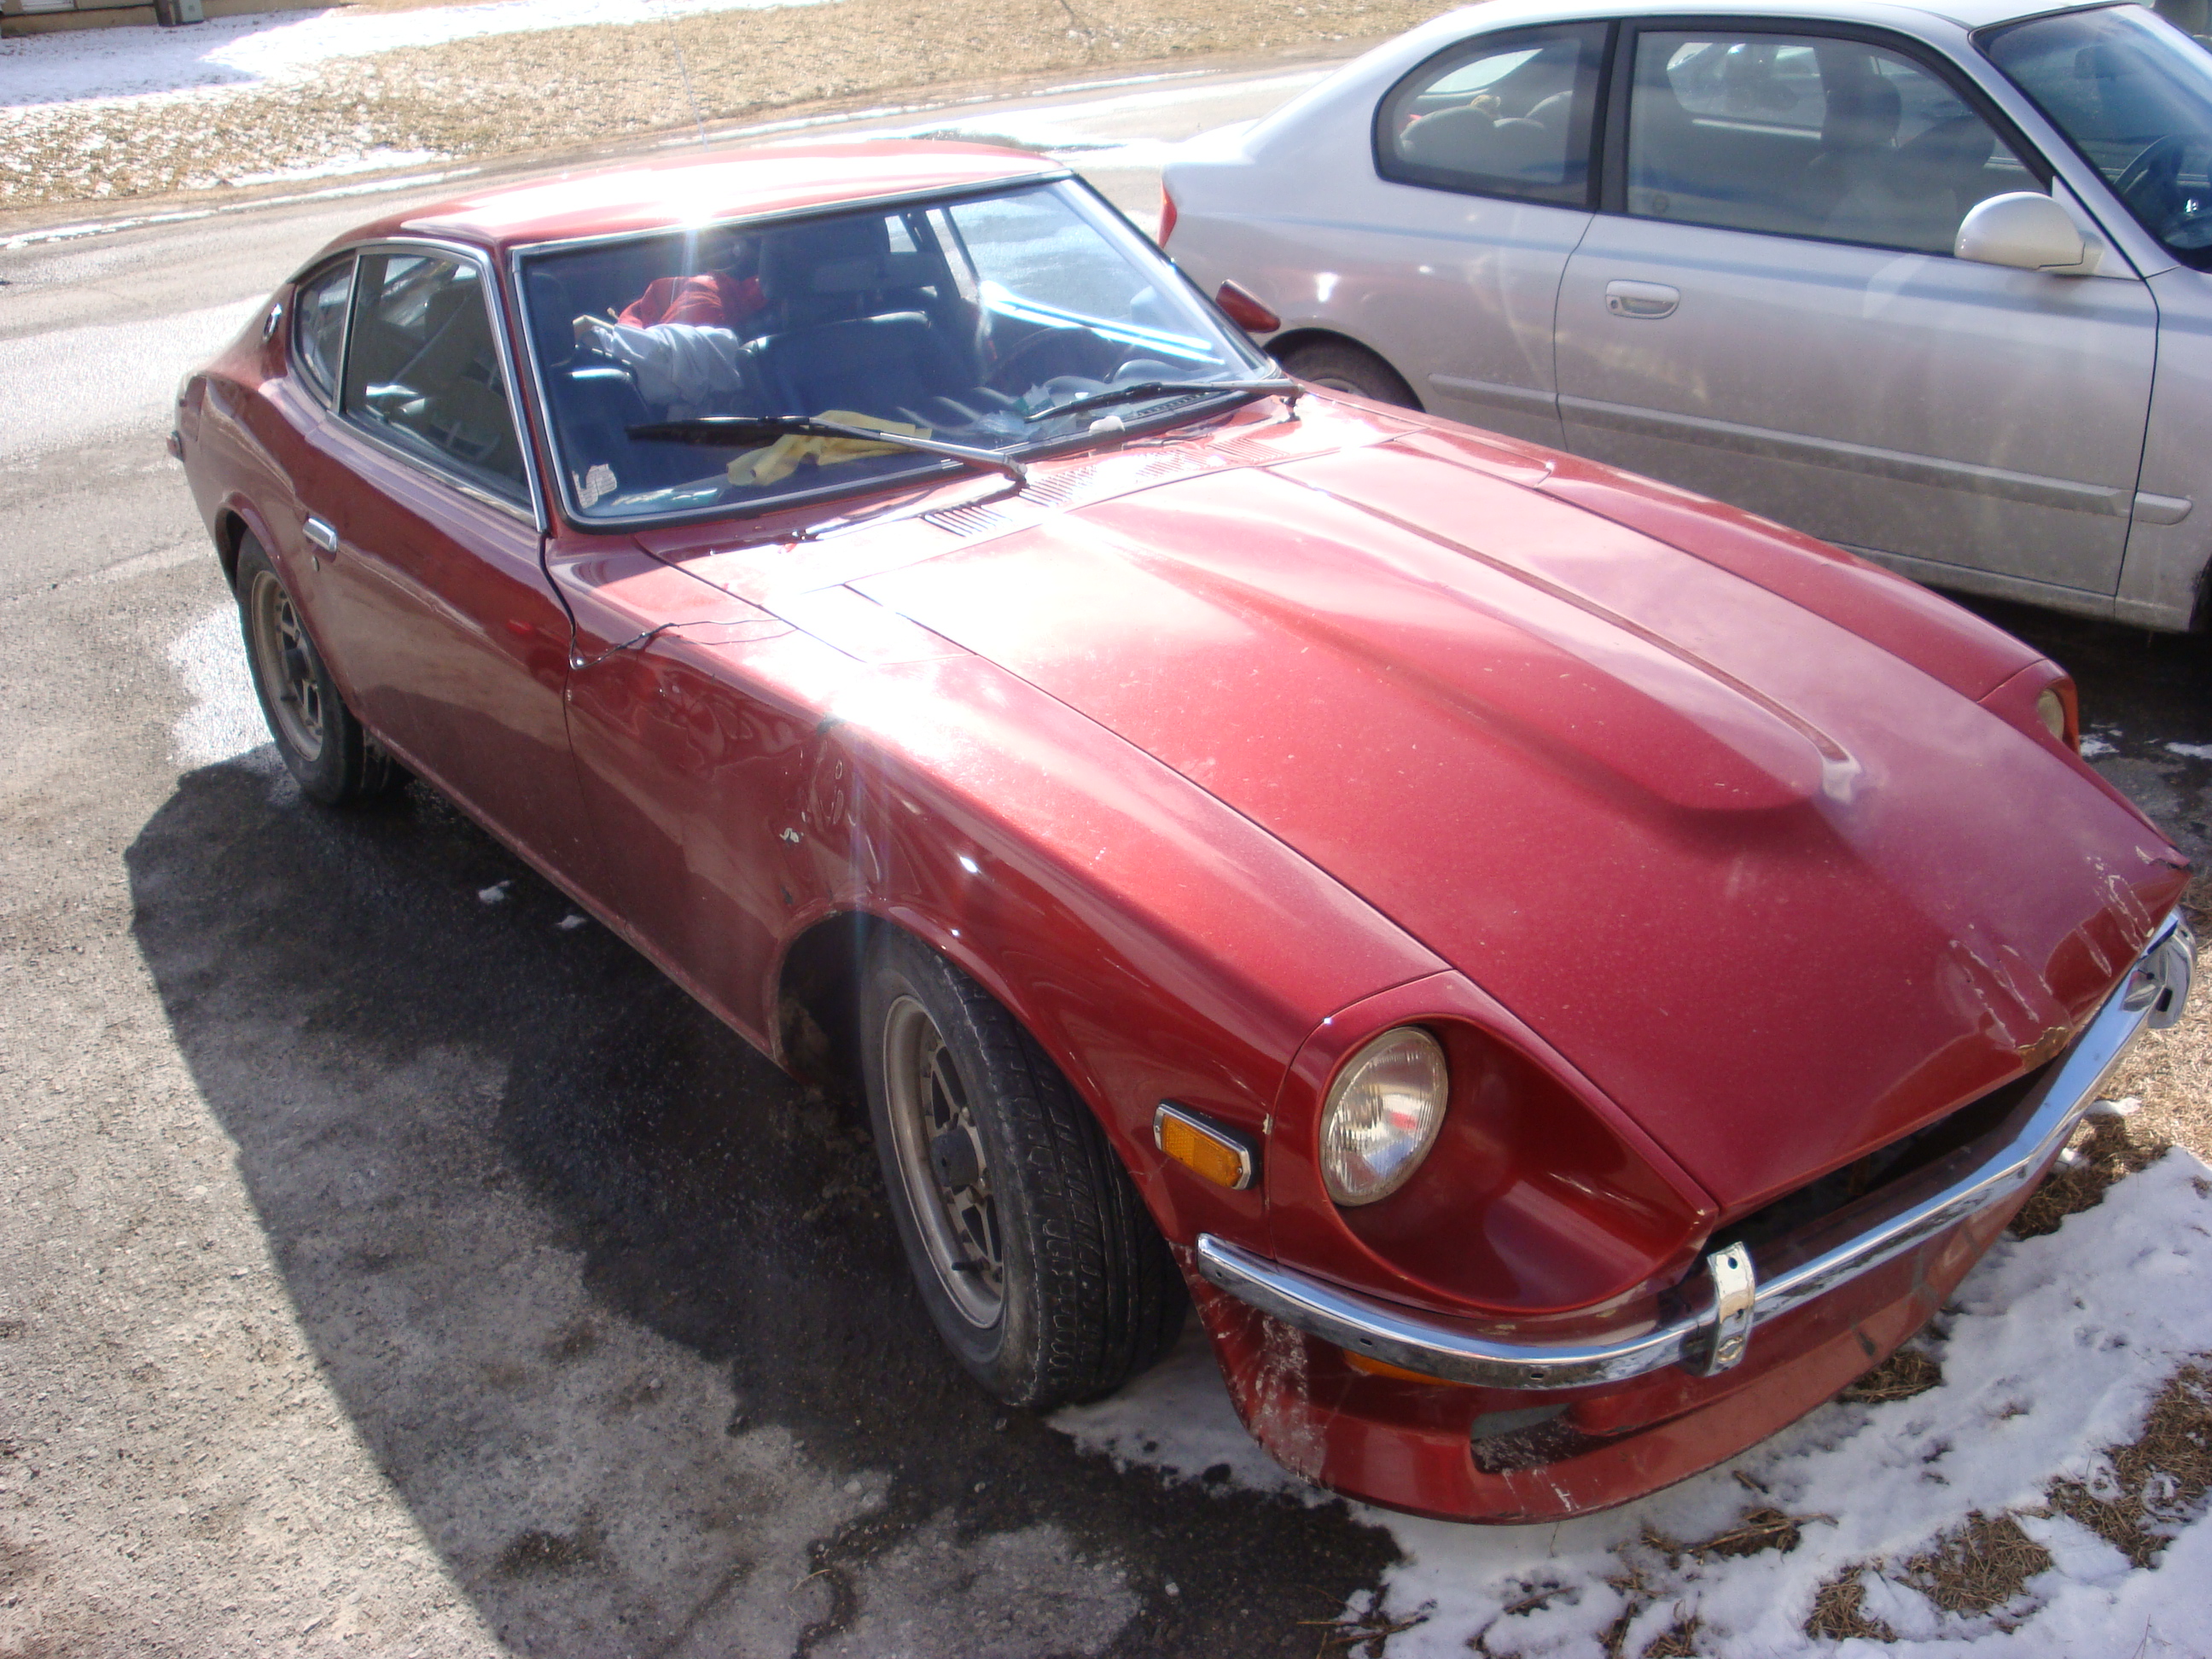
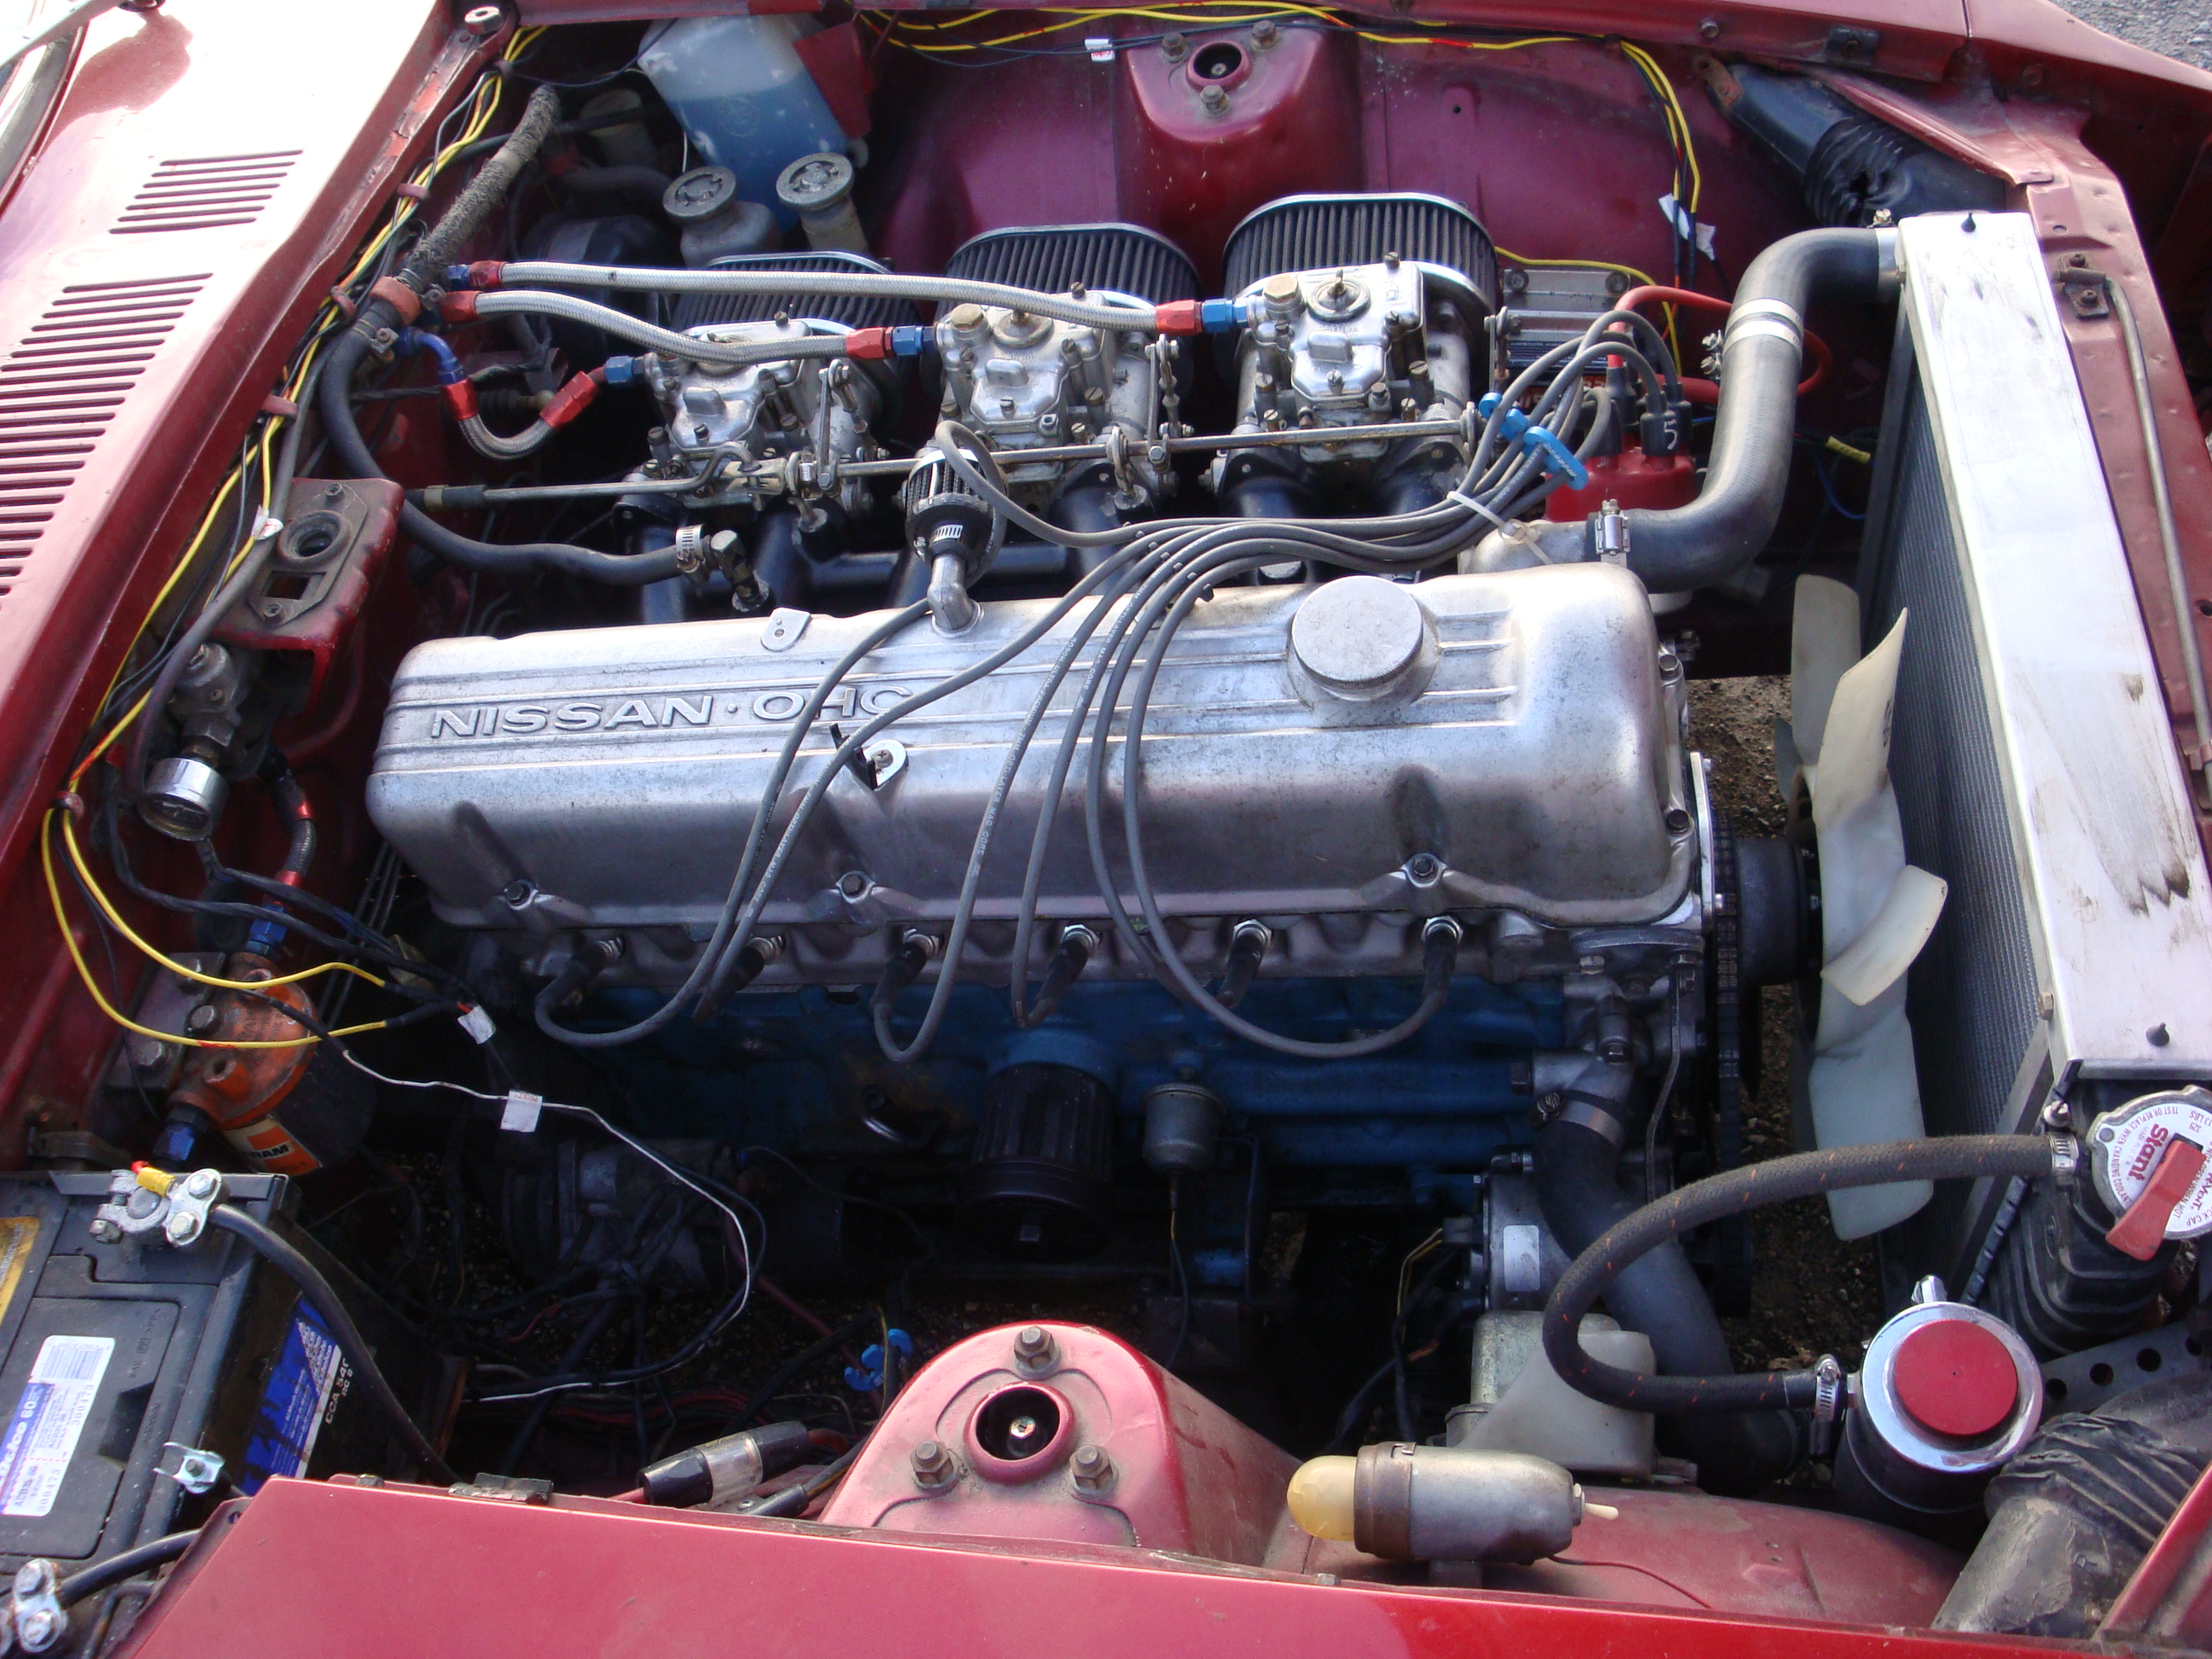
More than one way to get to the 35 post count req. for the classifids before my "area 51" post spam is deleted... Here's my 72' 240, daily driver, sole method of transportation, constant money pit, and mistress. Just don't zoom in on the dark electrical pit of doom that lies just below the spark plugs 5-6, in the 2nd last pic.

-
78 280Z tach just stopped working today
Tommy replied to Shawn MacAnanny's topic in S30 Series - 240z, 260z, 280z
Removal of Tach found here: http://www.classiczc...ad.php?p=312266 And here's the wiring schematic and part number you (hopefully) need. Info here: http://www.classiczc...ht=tach+rebuild -
78 280Z tach just stopped working today
Tommy replied to Shawn MacAnanny's topic in S30 Series - 240z, 260z, 280z
I've also heard those tachs are prone to failure (besides the needle hopping that is reported by many). I currently have the same issue (no signs of life, new ignition module and tach adaptor). You need to take the dash off to get the gauges (of course). Right now I'm trying to figure out how to get the tach out of the back of the dash to inspect it. FSM is in the car and will be locked away for a few days. Classiczcars.com has a few good ideas on the actual repair, as well as the (transistor?) part number that usually fails. -
I'm looking for one in daily driver condition, as (go figure)I daily drive my z. Anyways, I'm nearly certain that all of the s30 liners are the same. I would almost perfer one from the 280zx, as they are plastic (more durable), and can be modified to fit into the 240 (reference below) http://www.classiczcars.com/forums/showthread.php?t=9199
-
Just read your thread. I kept forgetting that this was a 240 build, not some other beast... One day...
-
I'm also running triple 40 DCOE 18's with the 4-5psi Carter 4070. No return line. L28 cannon manifold, mild engine work done. I have a pressure regulator before the carbs, though it is not needed with this fuel pump, reference http://www.racetep.com/webfuelspark.html#webfuel This past summer, I drove the 240 from Vancouver to Toronto. These were relatively hot days, and the car was ran hard through much of the rockies. On the parries, I put in a couple 10+hour driving days, in the heat, occasionally ran hard. No fires to report.
-
This being kind of a guide already, here's how I went about getting the damn thing back on, alligend, and advance set: 1. Took off the old (280zx) distributor. Made alligment marks. 2. Found the new distributor doesn't spin 3. Got the distributor to spin, allignment marks are gone. I begin: 4. I need to find TDC on the compression stroke (where I want the distributor to give spark to #1 plug). It helps to take the wife out of the kitchen for this. Pulled #1 plug and had her sit in the drivers seat, slowly cranking the engine in small jerks. Put my finger over #1 plug hole. Air sucking in = Exhaust stroke. Air blowing out = Compression. (think compressed air wants to escape). 5. On the compression stroke, I looked for the [yellow] allignment groove on the pully. When it was close to 0*, she stops cranking. Not having A nut big enough to fit on the engine block, I put it in second and rocked it forwards in small "jerks" to allign the groove exactly with 0*. Note you can also rock backwards if you overshoot. Checked this logic with a screwdriver. #1 piston is Top Dead Centre (screwdriver will not go in). 6. Alligned unilite rotor exactly with the arrow on the module, and made allignment marks. Put the distributor cap on and made allignment marks. The distributor, exactly now, wants to give spark to #1 plug wire (and #1 Piston is TDC on compression). 7. Mounted distributor. Enging needs some advance to start. Loosened clamp to give about 10-20* static advance (rotate counterclockwise -- think: if spark comes earlier, this is advance). Car started. Next set is to set total advance. 8. I don't have a fancy timing light, and my grove goes from 5* retarted to 20* advance. I set the mark to exactly 20* advance, and made a second [white] allignment mark on 5* retarted. When this white mark is at 0*, the actual advance is 25*. 9. Total advance is reached at aprox. 3500-3800 RPM for the unilite. We are looking for 35-37* total advance. While I increased throttle to 4,000RPM, my wife rotated the distributor until the second mark read 10* advance (Actual advance is now 35*). 10. She held the distributor in place while I tightened it down. Checked it once more while tightened to make sure total advance was actually 35*. It is. 11. At idle, I now have 5* advance and the car will not start from cold (or get low-rpm peformance). To change this, we need to lower the ammount of mechanical advance inside the distributor. To do this, these screws need to be moved inwards, to limit mechanical advance: Anyways, I'll get around to doing that tomorrow. I've had good results from 18* below TDC at idle. Hope this helps someone.
-
Here is how to take apart and put back the unilite: Spindle Pin removal: Use a flat punch, not one with a point Base removal and washer orentation (slides down): Clamp removal (loosen while mounted to adjust advance): I had to tap mine with a hammer, from the bottom, fairly hard, to get this to push out the top: [/url] The shaft has now come out the top: Washer orentation (has not been flipped) Washer orentation (One just of the first two washers): Yes, the background is the email from the seller. Very knowledgable. There is one more washer below the above two. It's orentation looking down is: That's it. No pictures of cleaning it up and puting it back together, I just used these pictures to do it.
-
4563901 without advance 4763901 with advance http://www.malloryperformance.com/MMYApplication.aspx?makeName=nissan&modelName=240z&yearName=1972&modelDetailName=&brandID=6'>http://www.malloryperformance.com/MMYApplication.aspx?makeName=nissan&modelName=240z&yearName=1972&modelDetailName=&brandID=6 Taken from Mallory's website http://www.malloryperformance.com/