Leaderboard


Popular Content
Showing content with the highest reputation on 11/17/25 in Posts
-
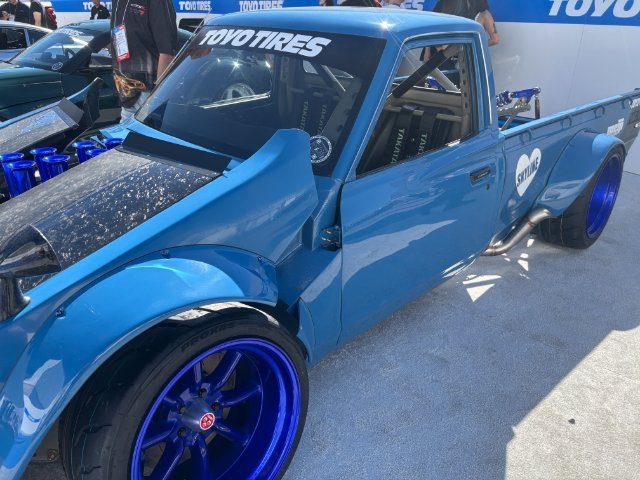
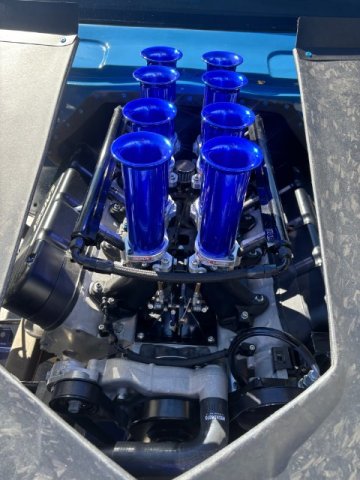
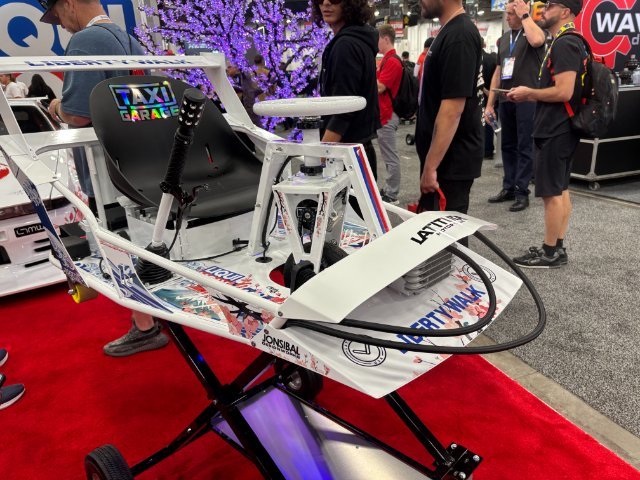
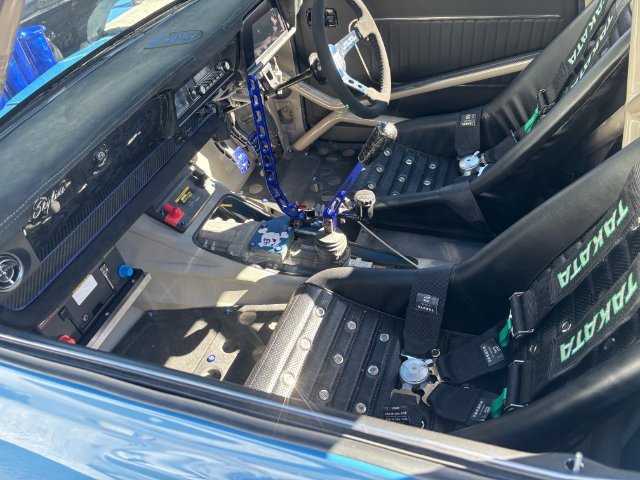
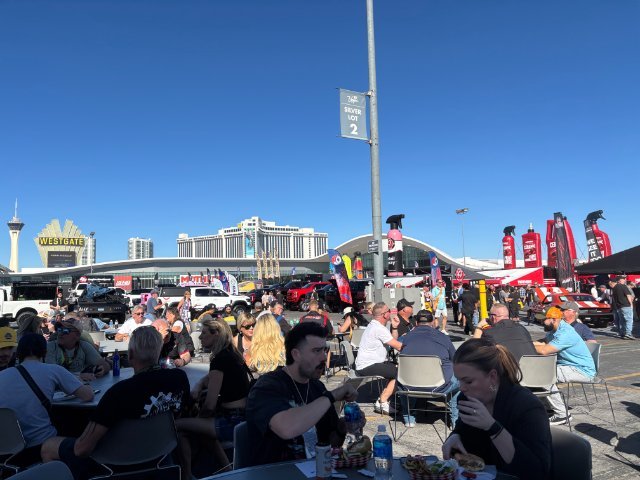
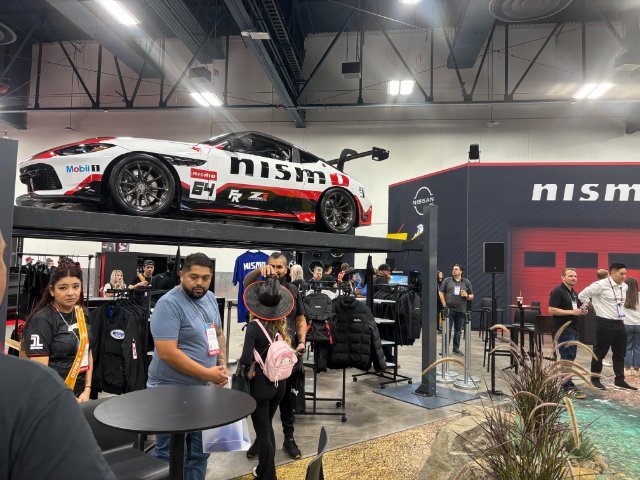
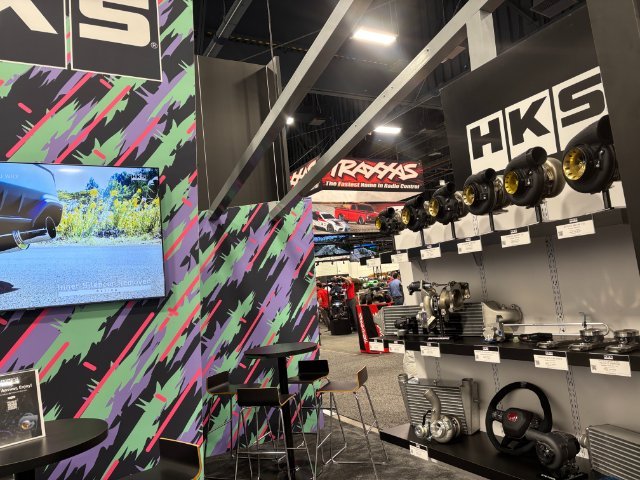
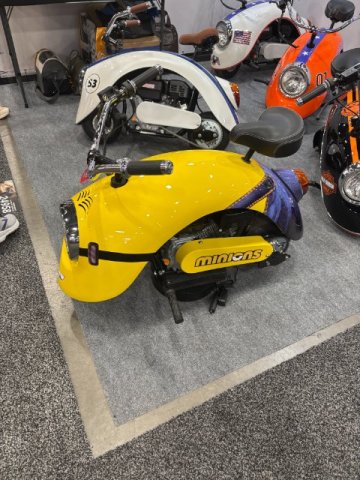
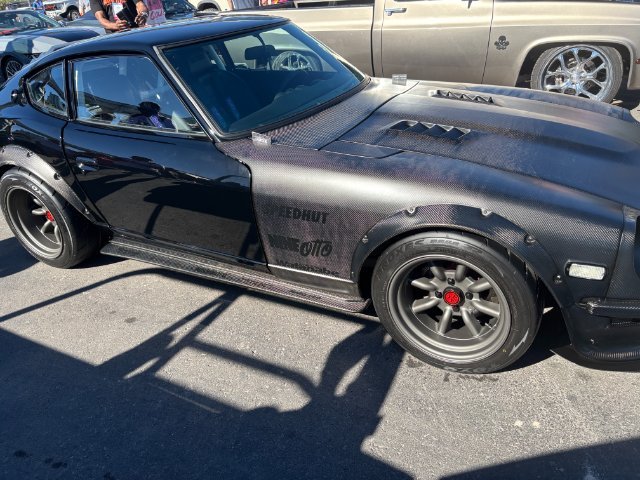
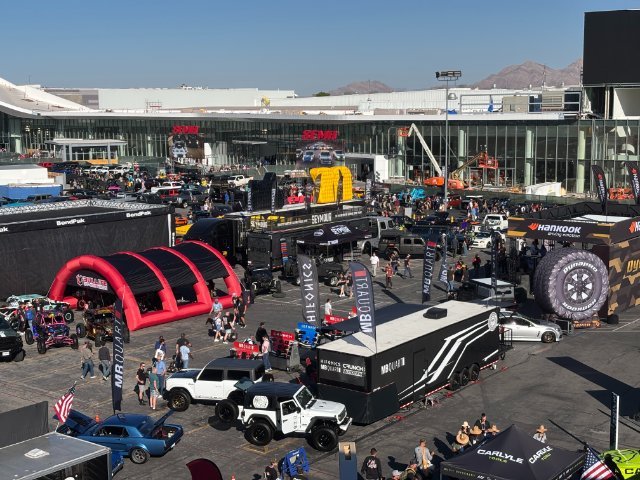
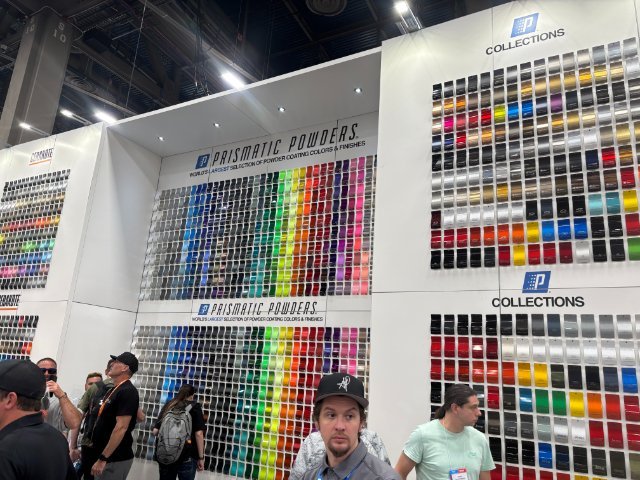
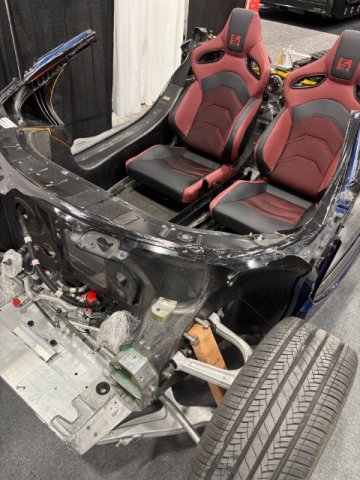
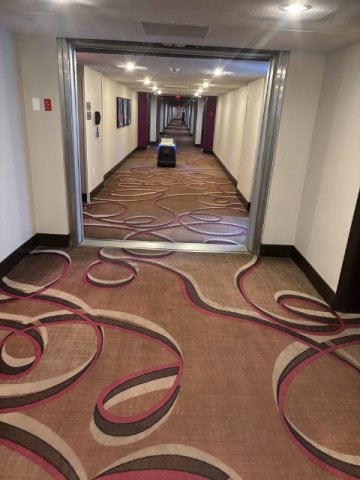
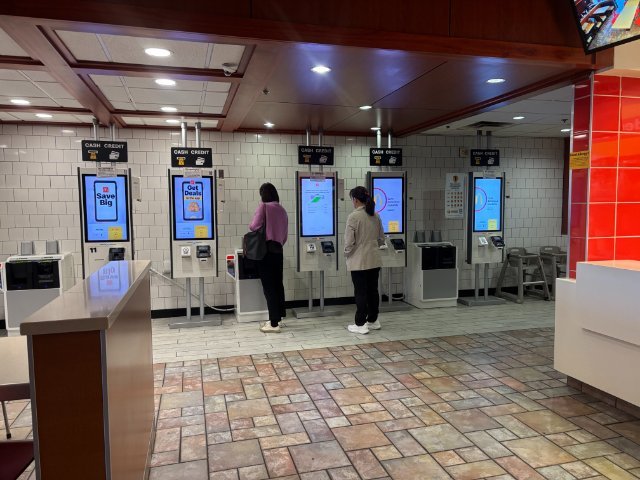
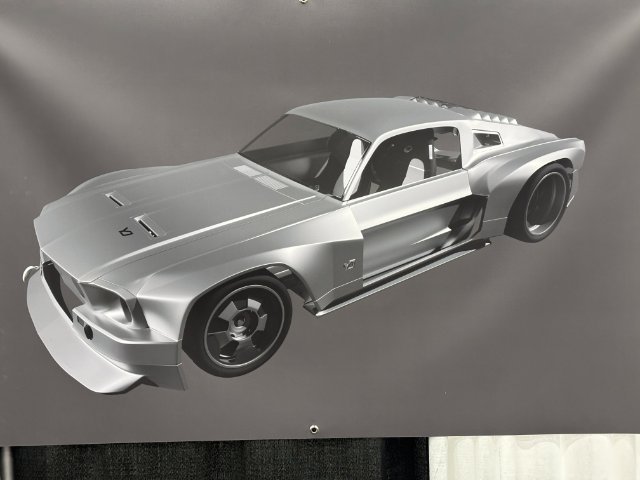
More from Sema Show- Fully Modified Toyota Truck with Tilt Front End nject Fuel Injected V8 motor to power it. Interior of this Race truck Rear Suspension for this OFF ROAD RACE TRUCK Eating Lunch at a Food Truck outside. Mc Donalds Extra Value Meals like Cheese Burgers Deluxe Costs $35 on the Strip. All the Strip Hotels charge for Parking. Even if you did not ask for a Room with a View. you may be charged for it and you don't find out till you are checking out. Even though I enjoy going to Las Vegas for the Sema Show, the cost of going is not worth it to me. So this maybe the Last Time that I go the Vegas! Even the hotel that I stayed at-Harrah's was empty. This pics show a Robot Vacuuming a Hall Way. Even McDonald"s on the Strip was empty. Eating Lunch at one of the numerous Food Trucks outside of the Main Convention Buildings A Razor Crazy Fully Modified with a Disc Brake with Taxi Cab Performance Casters and 48Vt Electric Motor. I still don't know what the Front Cooler is for. My guess would be the Cooler is for cooling the Electric Motor. Nismo Race Car on a Lift at their booth. Ford Gt with a Coyote Motor in it. HKS Booth with their Turbos, intercoolers and many other accessories. A Cute Mini Bike with a VW Fender Covering it. 240z with many Carbon Fiber Parts all over it. As you can see, the attendance is definitely down. this pic was taken in the Front Entrance of the Main HALL. Normally, there would be Wall to Wall People. Outside View Prismatic Powders-Wall of their wide selection of Powder coatings. Make you own Mid Engine 67-68 Ford Mustang You cut out the Mid Section of your Mustang forn the Firewall to to Rear Tail Light Panel then insert his new frame into the space. The Finished Product should look like this pic. I stiill working posting pics that for some reason are not posting.
 1 point
 -
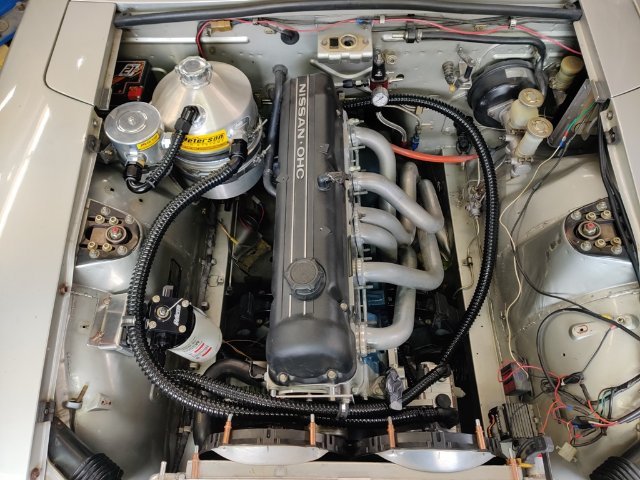
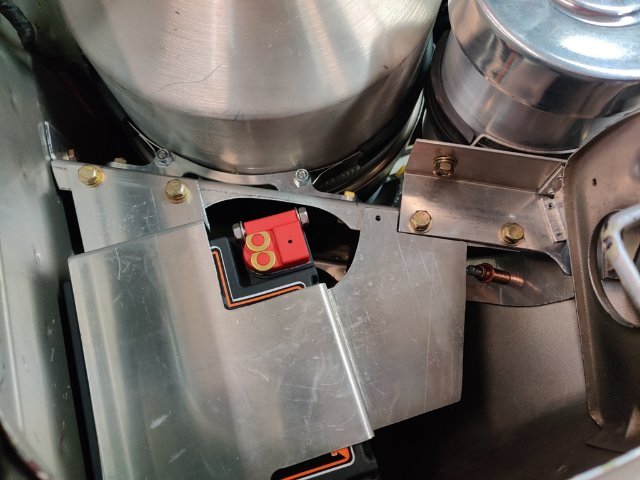
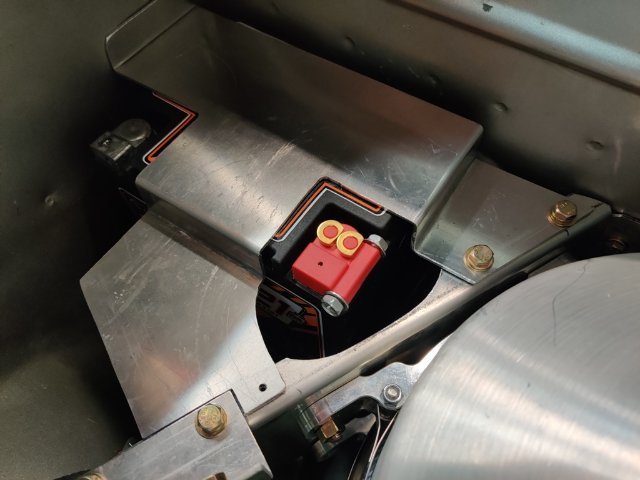
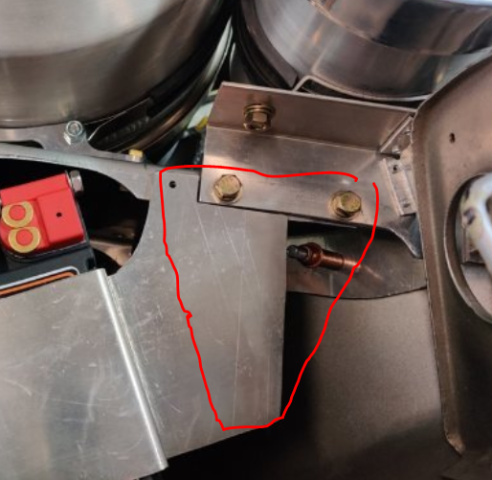
It seems there isn't much activity on this forum vs. about 10 years ago. I guess not as many of these cars are still being modified now. Anyway, an update on some progress. The pool hose I am using here is just for mock up purposes. It has the right ID to fit tightly on the fittings. I just heat up the the hose (a plastic/vinyl material of some sort) and then slide on the fitting. I believe this is helping to establish the actual hose lengths I need as well as "clocking" or indexing the fittings to the hose. Additionally, though I did not plan it this way originally, I came up with a great design for securing the battery to the tray... and made this upper battery mount bracket in such a way as to tie in to the bracket that I made to mount the oil tank in the car. The upper bracket I made today not only clamps the battery in place, but also ties into the oil tank bracket and the engine compartment panel, triangulating everything. This design makes the mounting for the tank very rigid. I still have a bit to figure out with regard to mounting the forward most part of the bracket that I made today to go on top of the battery. I think I may cut a plate like this red outline and rivet it to the upper battery bracket. This panel will sit atop of the angle piece that presently holds the breather tank in position. Then the two bolts (within the red outline representing the new panel) will join all three layers. The result here is that the triangulation appears to substantially strengthen the tank bracket. I won't have issues with the weight of the oil in the tank causing the brackets to bend/fatigue.
1 point
-
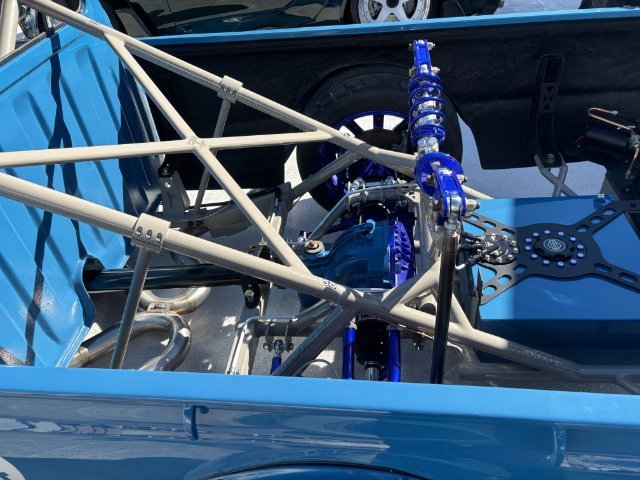
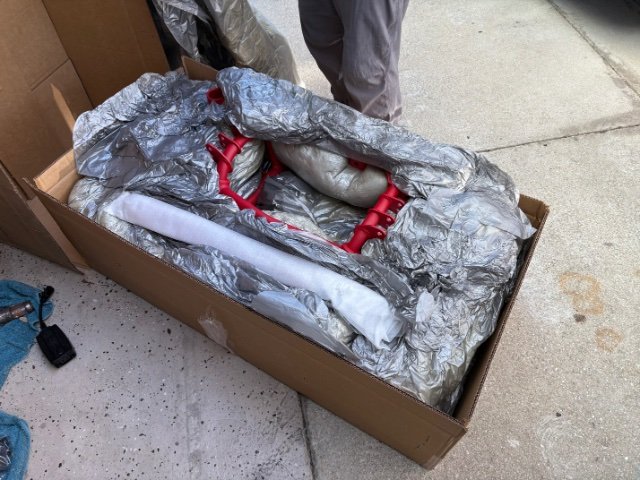
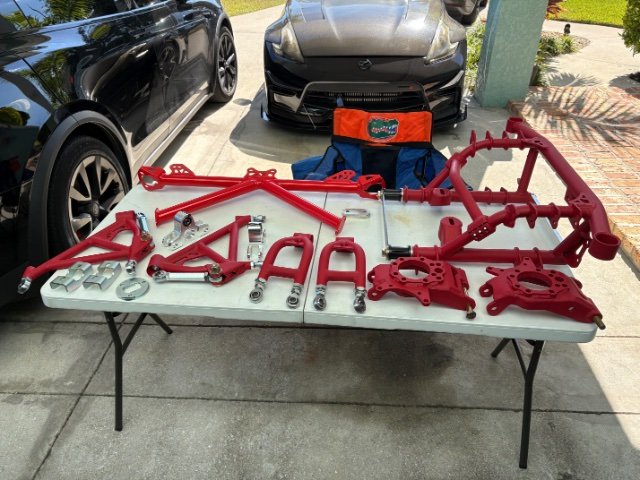
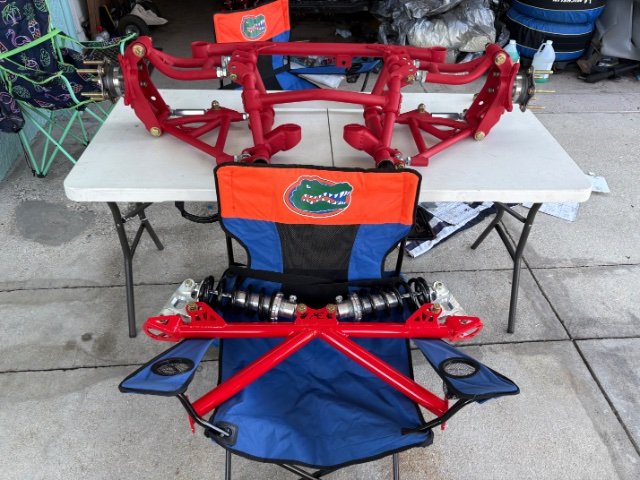
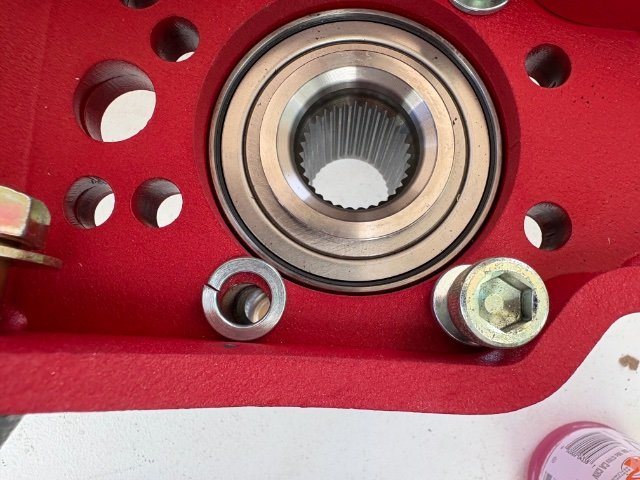
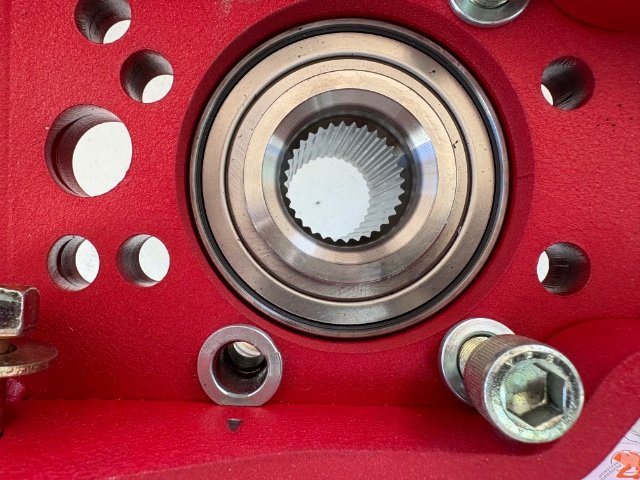
Got a lot of the rear track attack kit put together today. It went together pretty well, their videos are very helpful. Only minor issue was these lock washers being too big, just ground them down a bit.
1 point