

Jesse OBrien
-
Posts
664 -
Joined
-
Last visited
-
Days Won
1
Content Type
Profiles
Forums
Blogs
Events
Gallery
Downloads
Store
Posts posted by Jesse OBrien
-
-
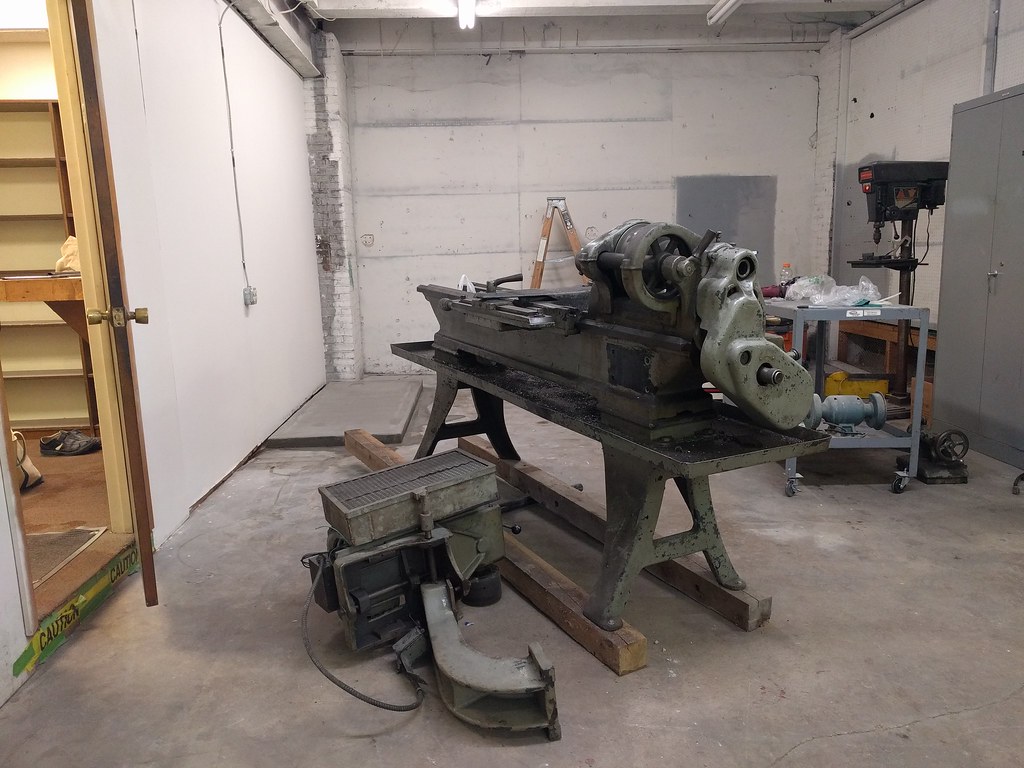
Last night's big project was to get the lathe motor on the lathe and put it on the pad we poured last week. Unfortunately, the motor sticks out farther than the measurements we had, so we're going to have to stitch the pad to be around 4" wider. Womp womp.

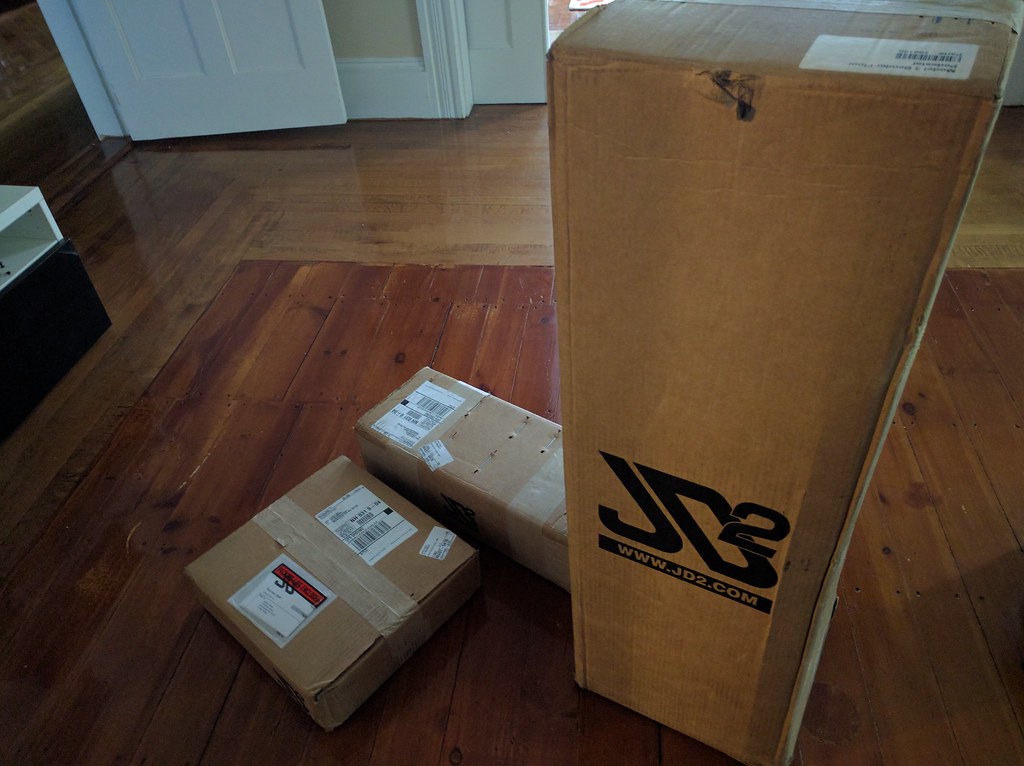
The second fail was unboxing and locating the tubing bender. I'm all set to set the concrete bolts, but it looks like the 1.5" dies weren't shipped at all. I only got the 1.75" dies. It isn't enough to stop me outright, but that's going to push back a lot of the reinforcement/rigidity upgrades on this.
-
I was hoping to get a new software project released at work this week, but was disappointed that it's getting pushed off to next week (for good reasons, but it's still disappointing). I ended up taking out all those feelings on the chassis table, and added some leg reinforcements to it.
-
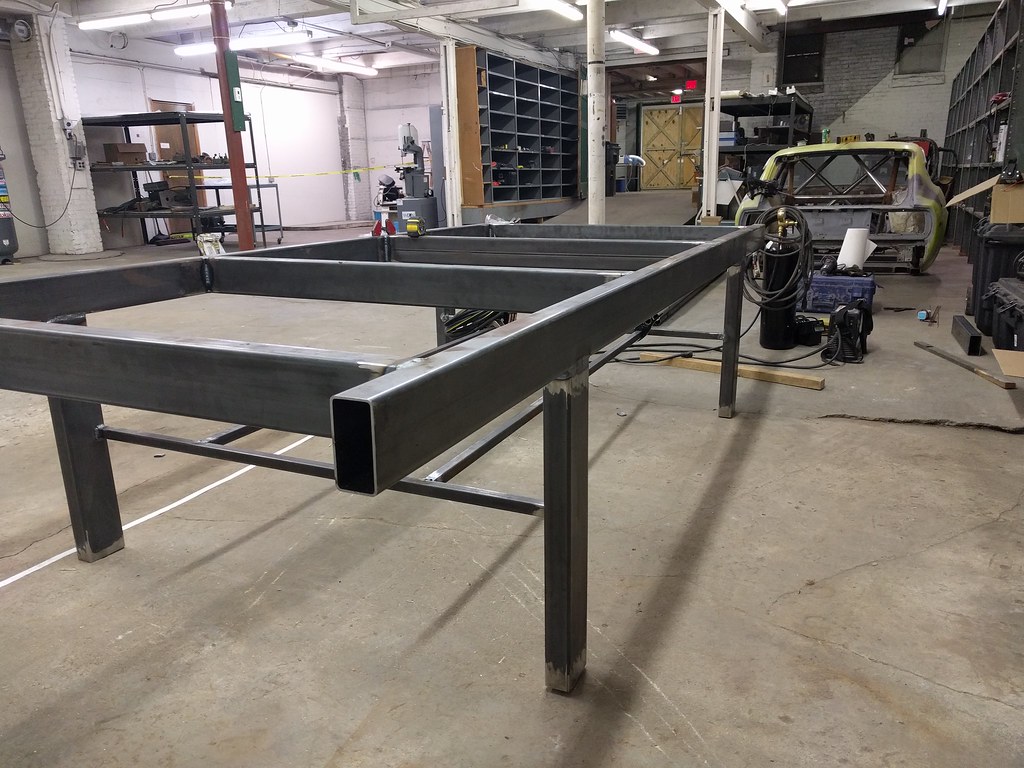
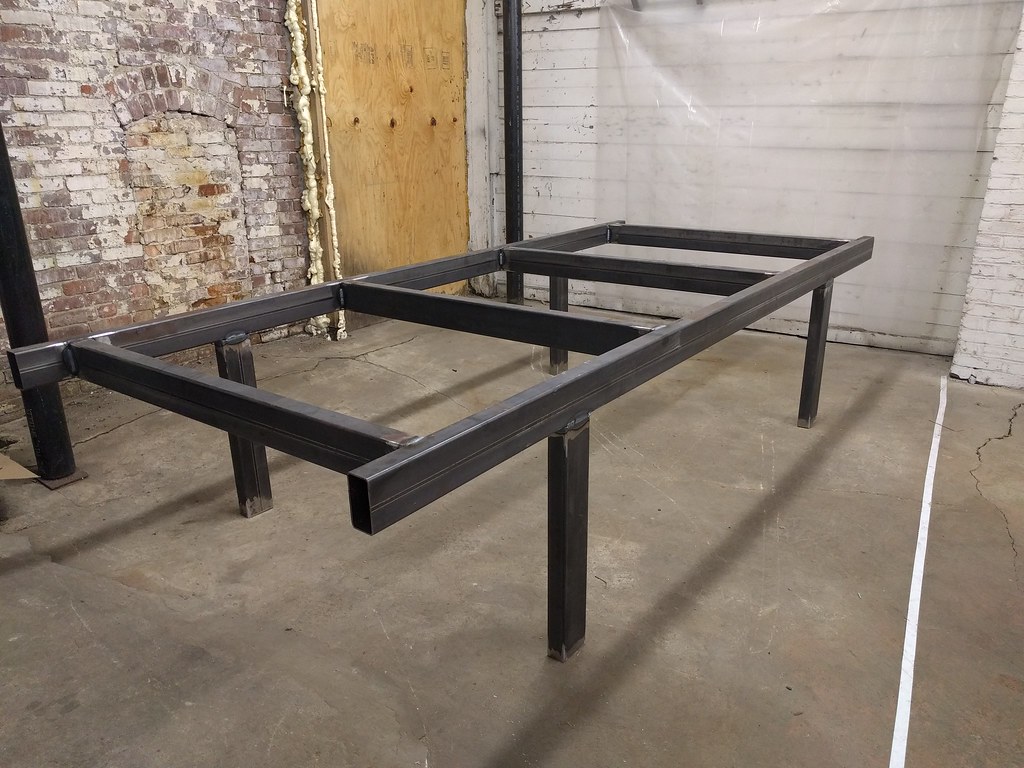
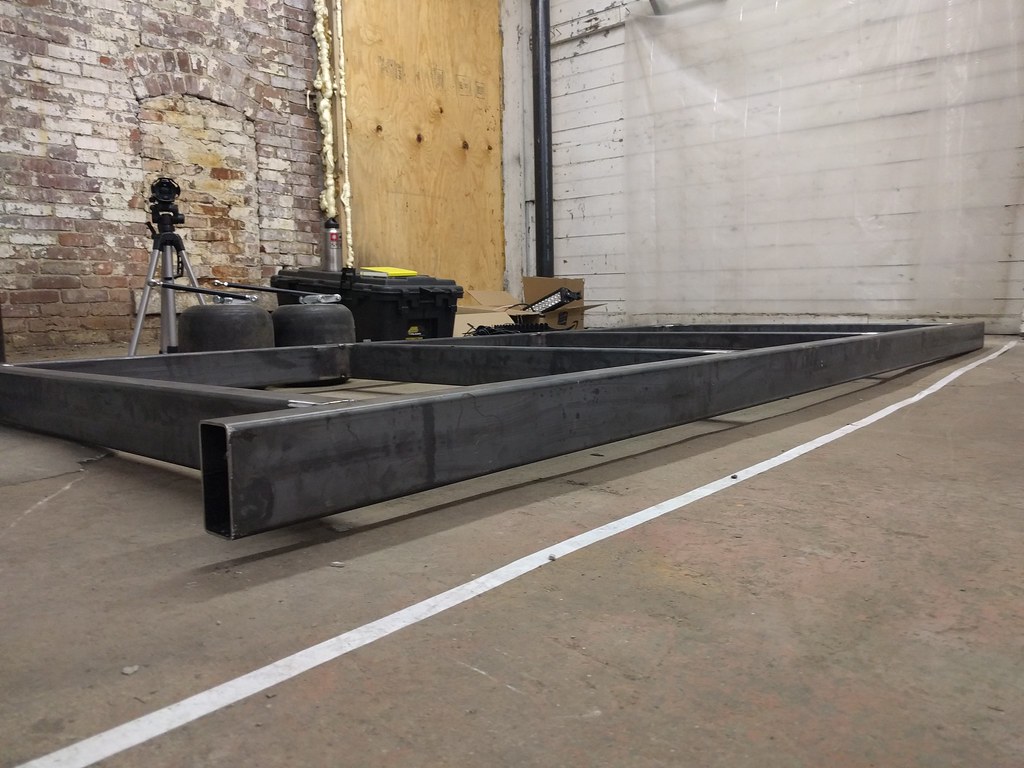
This project is definitely slow-moving, but I managed to finish the chassis table up within 0.01° (the most precise measurement I can takeand am extremely happy so far. I have a few weeks before my tubing bender arrives, so I'll probably add some 1" square tube reinforcement to keep it rigid no matter what.
-
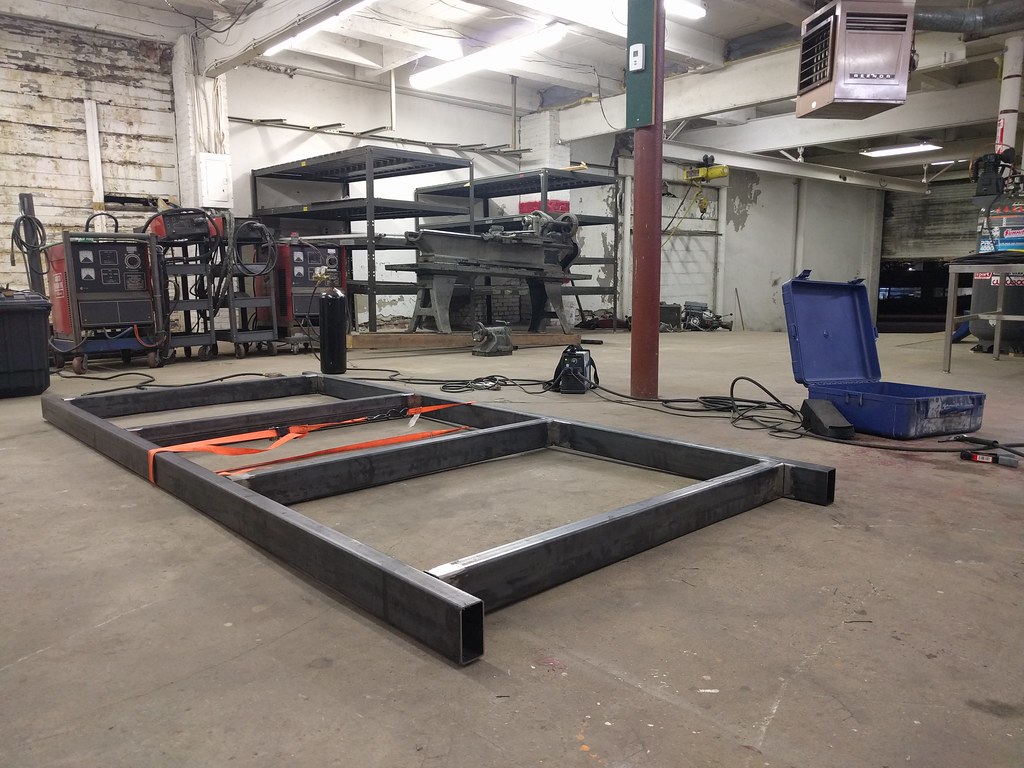
Instead of using the big beefy 3phase MIG welders at the Makerspace, I brought my teeny little TIG down and trimmed, cleaned, and tacked everything together.
This might show why "jack stands on bits of wood" won't work for this build. The jack stands would just fall over; The floor is THAT bad. My chassis table is within 0.05° on all three planes.
I'm pretty pleased with the results, overall. The plan is to finish welding it by the weekend, then jig up the front suspension.
Steering is going to be a bit of an issue. Rotary engines have a little bit of trouble with rear-steer (when the steering rack is behind the front axle line, rather than in front of it) because they dip down so low. I might have enough space to have the entire engine behind the steering column, otherwise I may have to place it higher in the car than I'd like. I'll deal with that after next weekend though. Right now, I'm relaxing after an oppressively hot, sweaty, humid weekendrolling around on an un-level concrete floor.
-
I got around halfway through my the jig cuts after work today. With a little luck and a bunch of determination, I hope to finish welding it this weekend.
-
I had an early morning today, and headed down to the Makerspace at 6am to accept delivery of almost $1k in steel.
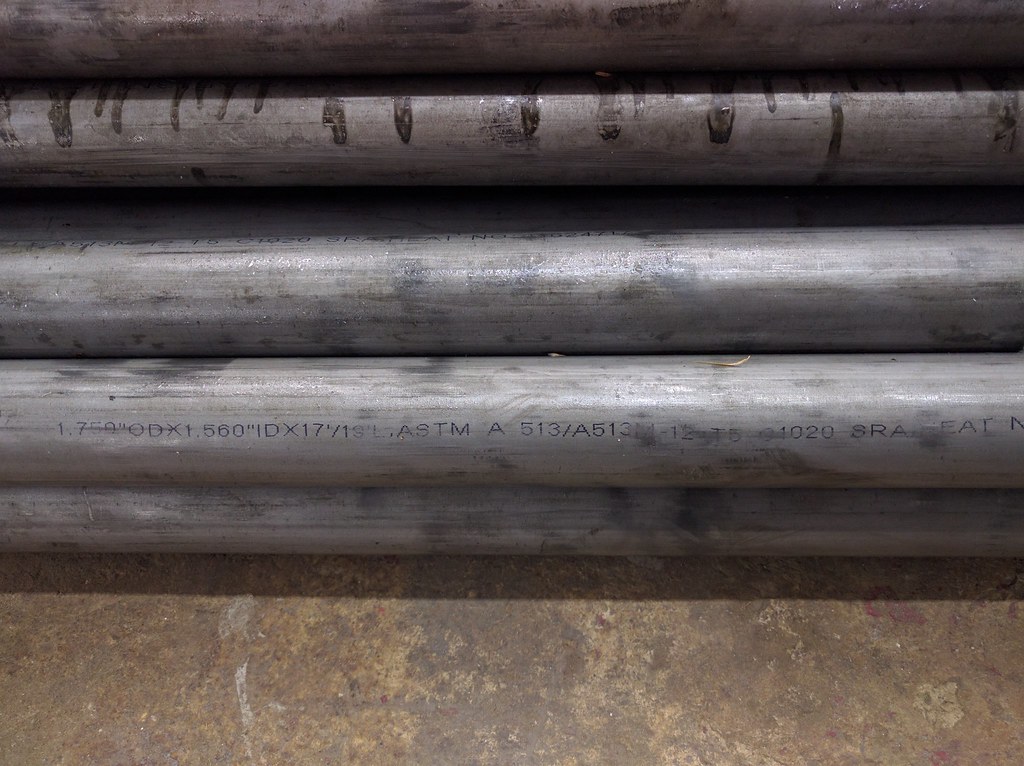
Tubing
I ended up going through a local supplier called Choice Metals, and can't speak highly enough of them. They had my 1.75" outer diameter .095" wall and 1.5" outer diameter .065" wall A513 1020 drawn over mandrel tubing. The only thing available in the US that's better is 1026 instead of 1020.
I had originally planned on 1.25" for non-safety-critical components, but after a chat with Walter (one of our tech inspectors, who is an absolute wealth of useful information), I increased it to 1.5". The weight cost and strength gain is inconsequential, but Walter offered insight that hadn't even occurred to me: 1.5" tubing provides increased surface area against the 1.75". That means that the weld joints will be stronger than 1.25" - and that matters quite a lot.
Getting Jiggy
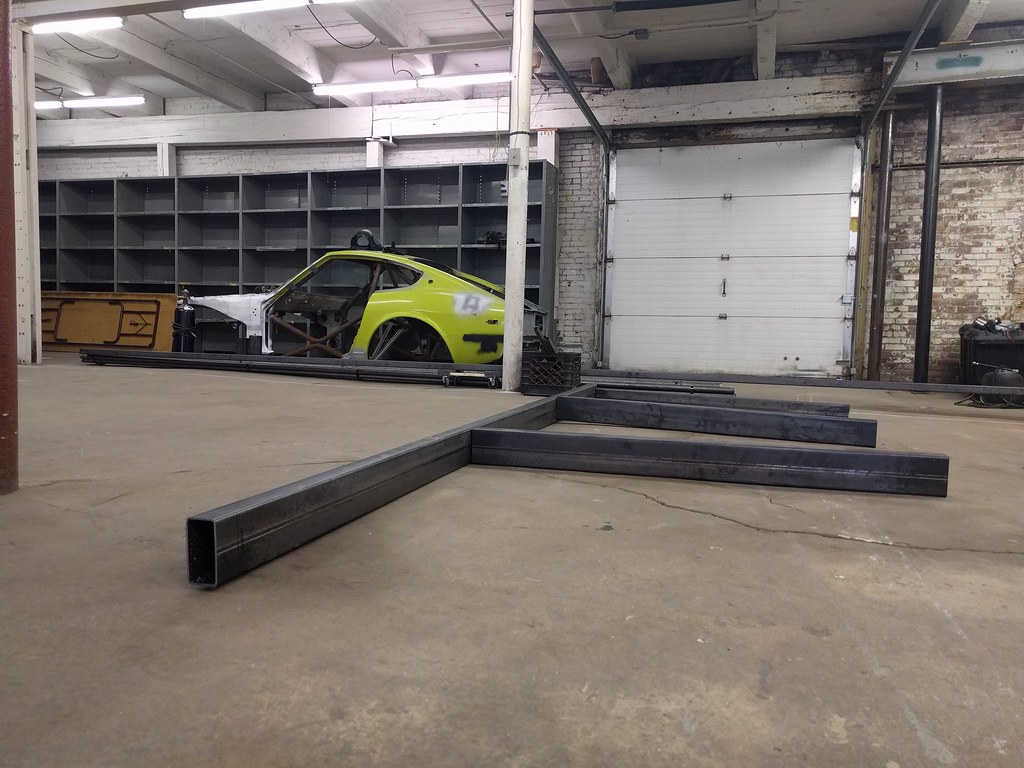
The floor of the Makerspace is far from level, so I need to fabricate a chassis table. That's what all the 2x4 rectangular tube is for, and it's just going to be a known-square reference point that I can bolt/weld jigs to. I have ideas about what to build, but haven't drawn up plans yet. I'd love to see some reference drawings from other people.
Prepping to Bend
None of this gets exciting until I start bending and welding, but there's a lot of work to do leading up to that. The general plan is to:
- Build the frame table
- Jig the body (similar to this s13
- Jig the front suspension pickup points
- Measure and 'rough cut' lengths of tube
- Mark my coping measurements on those lengths
- I'm not even going to order the bender 'till September, since there's so much to do before I can even start using it. This is the start of a very long road, and the goal is (once again) Ascutney 1.
-
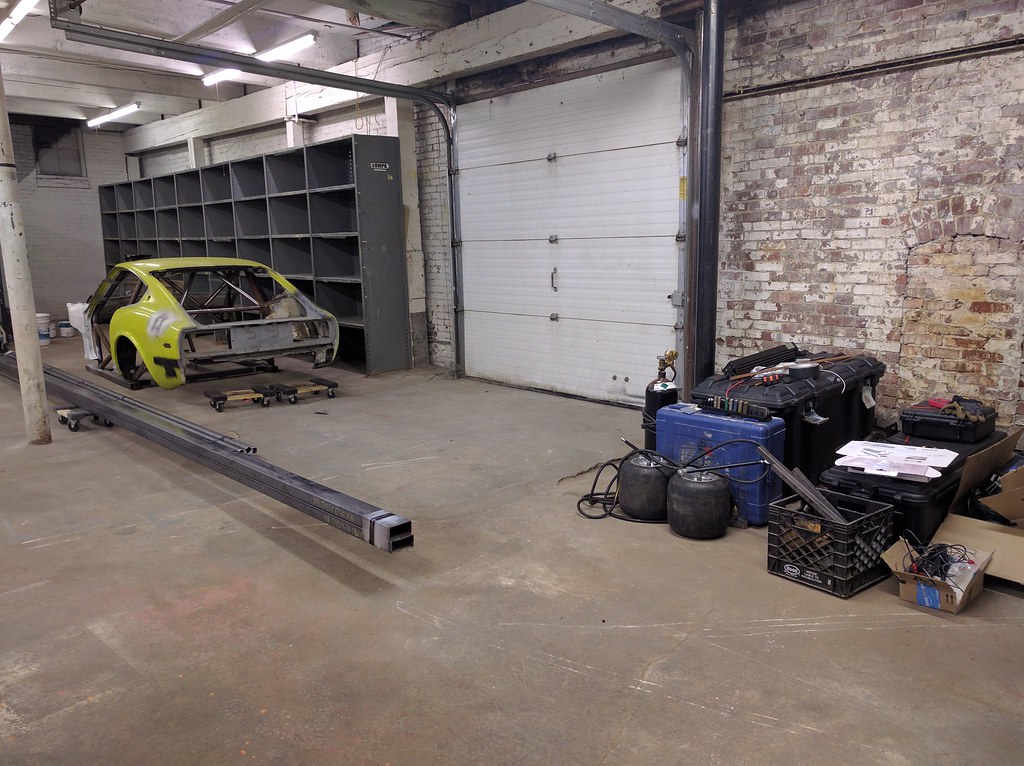
The s30 is all ready to be repaired and re-worked, but I still have to wait on materials and tooling before I can really dig in.
-
Well that makes more sense. Punching a stroked l28 out to 3.3 seemed impossibly unreliable.
I've heard the same on characteristics. Bias ply tires squirm and conform to the road surface better, but that means the car can squirm on top of them more.
While helping a couple friends swap their wheels at events, I was absolutely blown away with how lightweight the entire wheel/tire package is. 15" x15" spun steel wheels and less than 20lb total is untouchable with radials. If I can solve the wheel problem, I'd happily give them a try. For right now, I need to build some suspension jigs so I can accurately place pickup points on the chassis next month.
-
I've got the 15x13 R35 radial Formula Atlantic tires on mine on 15x14 wheels, using the same front and rear. I've only run them once, but I was having trouble getting heat in the rears. Found out my tire pressures were WAY off, so dropping pressure to 18-20 from 30 might help that issue a bit. Was surprised to be able to smoke those huge tires so easily though. I could smoke them for as long as I cared to, just by flooring it. 350ish whp L33 in mine.
Man, that's a lot of power out of an l-series. Wow. I think I'll be closer to 225-250 whp with my rotary build (and around 200ft/lbs or so).
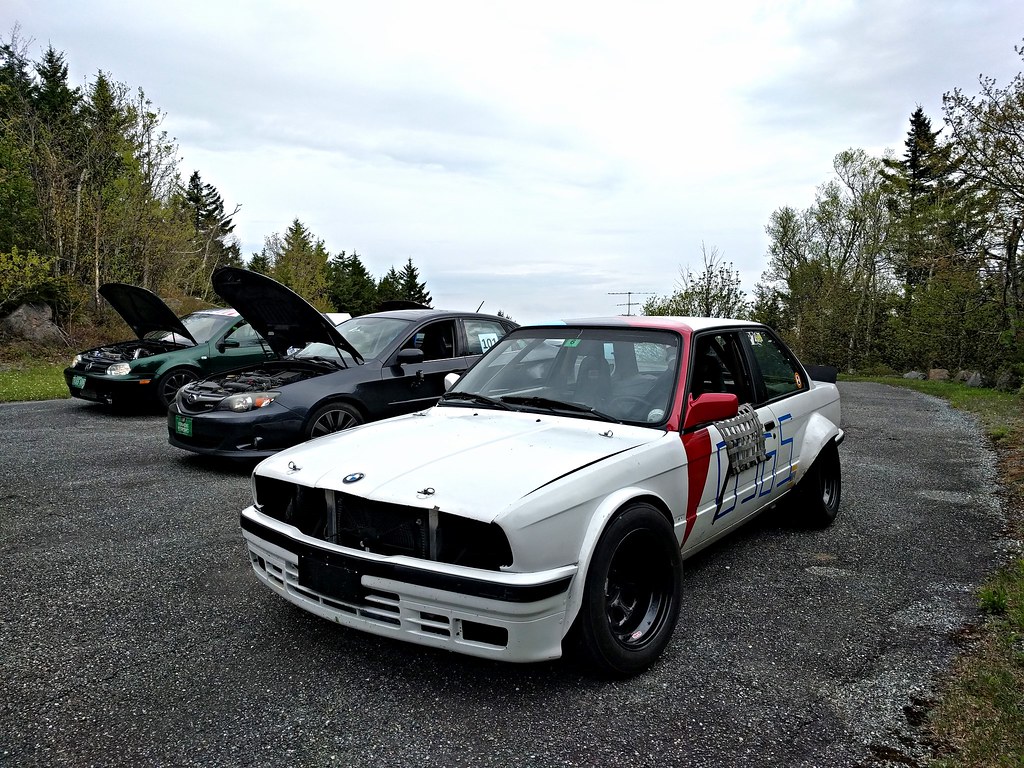
From what I've heard, bias ply slicks are a completely different experience compared to radials. I've only raced on slicks once, and it was a disconcerting experience overall. I'm not used to having so little cold grip, and got a bit out of hand a couple times. I suppose that's the benefit of renting a car from a friend: You get an opportunity to feel out different setups before committing to buying anything. I have to admit that I like BMW's "fast tractor" e30 platform.
My concern with those slicks is finding wheels that don't weigh too much, and actually fit my brakes (g35 brakes are physically large). I'd rather not run crazy offsets that would ruin my scrub radius. Hillclimb racing is similar to tarmac rally combined with autocross, the tire needs are distinctly different from road racing or track days. What kind of racing were you trying the R35's on?
-
I just wish I could find a used bender (or dies, even). This stuff is expensive for a "single use" project. I have a few fabricators with great reputations that I could drop this off with, but I'm just not mentally ready for a potential letdown. I can't quite give up control. Instead, I'm committing ~120 hours to chassis/body/jigging work.
As to tires, I have 275/30R17 S.drive tires on my 17x10 wheels right now. The plan is to use those for the first round of shakedowns, as they'll let me feel out the limits of the car at lower speeds and loads, and I can ease into a faster setup. Those wheels are a very tight fit in the front, though.
The slicks are 15" Hoosier bias plys. These are old and hard, but I can get 15" x 15" r25 or r35 (roughly the same exterior compound as a6/a7's) inexpensively. I've never driven on bias ply tires, so I'm still skeptical as to how I'll adapt to squirm, and what additional suspension/alignment considerations I'd have to make. The real upside to running bias-ply slicks is that they're around 5lb/tire, as compared to ~25lb/tire for the s.drives.
-
I've been sketching out plans a bit lately, trying to strike a balance between strength/safety and weight. Right now, I'm planning to make the primary safety features are going to be 1.75" x .095" DOM, and rigidity reinforcements will be 1.25" x .060".
I'm drawing a lot of inspiration from Nigel's ETS Ute. I've been through that build a lot, and can only come up with minor complaints (square tube floor, I don't love the trans tunnel design, and I don't like the door bars).
Overall, this design estimates out to around 160ft of tubing, and 32 bends. With the combination of tubing, it'll be around 200lb for the chassis structure, including the suspension pickups.
I'm waiting for approval to rent a project plot for 12 weeks at Manchester Makerspace. That gets me a dedicated workarea, and hopefully extra sets of hands to help out from time to time. It's an added expense, but I'd say it's well worth it. My home shop is small enough that I can either fabricate things, or assemble them. This project demands that I do both.
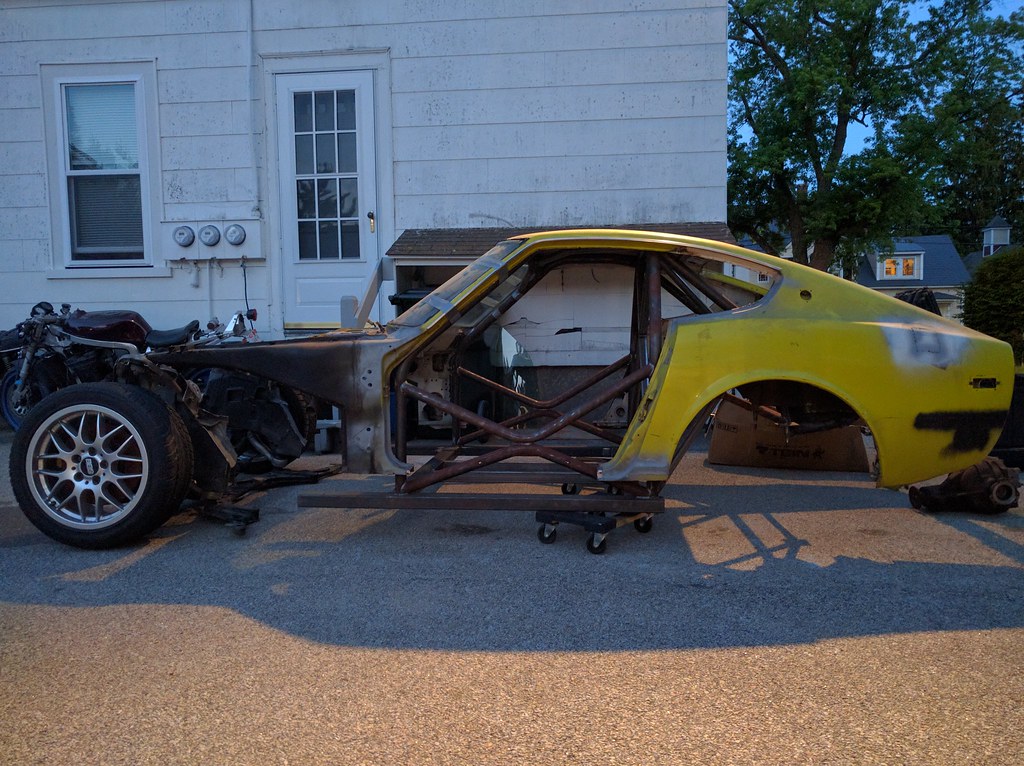
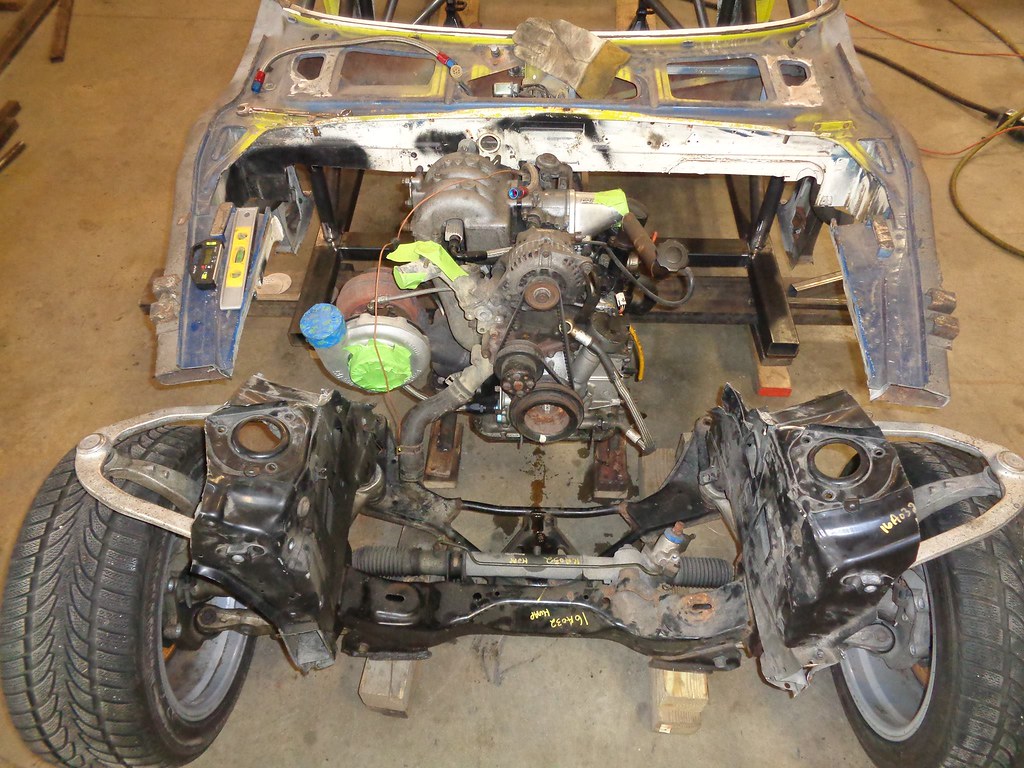
Really, this is what I'm working with right now. I just need to connect it all so that a Datsun body mostly fits on top of it, and a tiny rotary engine fits in front of the firewall.
Also, I've been considering a change in tire selection. Maybe overkill ... but maybe "just enough kill".
-
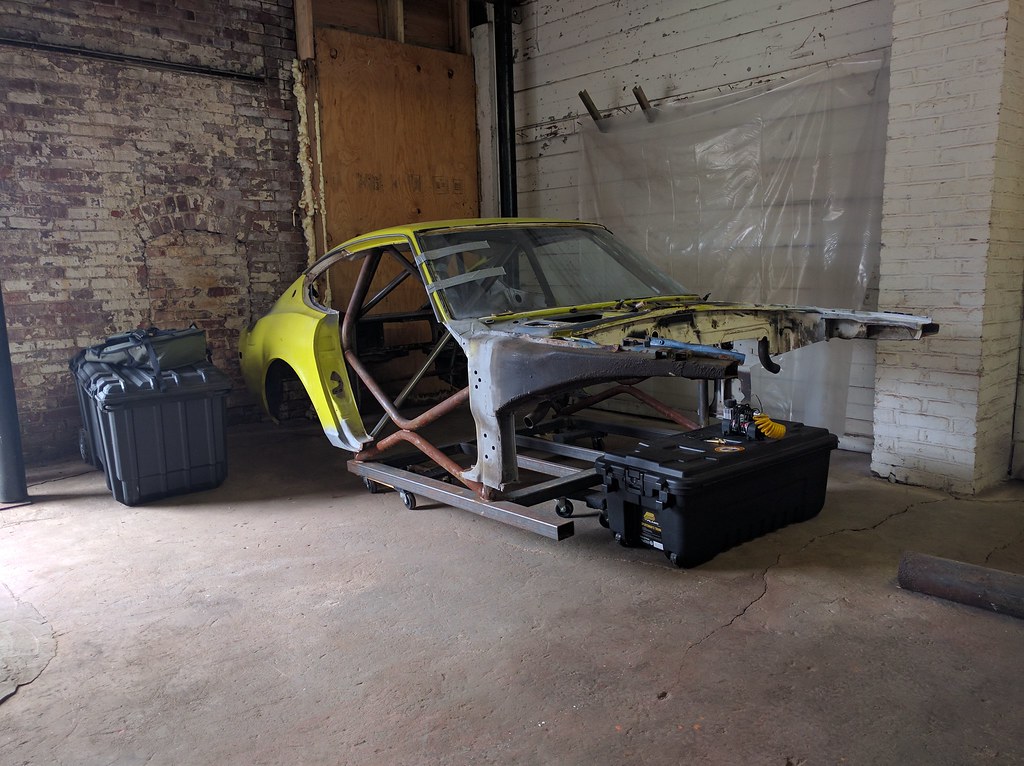
Moving the main hoop renders everything else that was done worthless, as I can't make tube longer to fit. It all needs to be re-done.
This puts me in a tough spot. I'm getting the car back far later than expected (it was at the shop for 7 months now), and it's in a worse state than it left. On top of that, all the money from selling my trusty old Miata went into getting this ready for the 2016 season. Realistically, I don't have any hope of getting this ready to drive this season, and I may miss Climb to the Clouds 2017 because of it.
Still, it's better to light a candle than complain about the dark. I have a year-long membership at the Manchester Makerspace and I may be able to rent a 'large project plot' there for 3-4 months. I'll definitely have to pay for it, but that beats the hell out of trying to make my tiny shop work.
I'll need to buy a tubing bender (likely the JD2 model 3) and some dies (likely a 1.75" and 1.25"), and a respectable amount of DOM tubing.*
All told, being able to do the chassis work myself is going to cost around $3,000 plus my time. I won't have that set aside 'till August (at best) so it looks like it's just going to sit in the driveway for a bit, while I jig the subframes and finish the CRX.
-
It's not the headroom that's the problem. It's the X in the main hoop. Even if you put a bent shoulder bar in like I did, the bottom part of that X will preclude the base of the seat from sliding back far enough.
You definitely nailed it. It looks like I'm buying a tubing bender, and starting this chassis prep over. It's really disappointing to miss the 2016 race season, but that's how it goes sometimes. I don't expect to do anything but let it rust in the driveway for the next month, then I'll bring it down to the Makerspace.
-
Lunch break today was a success. I got some test fitment and VERY rough alignment done.
-
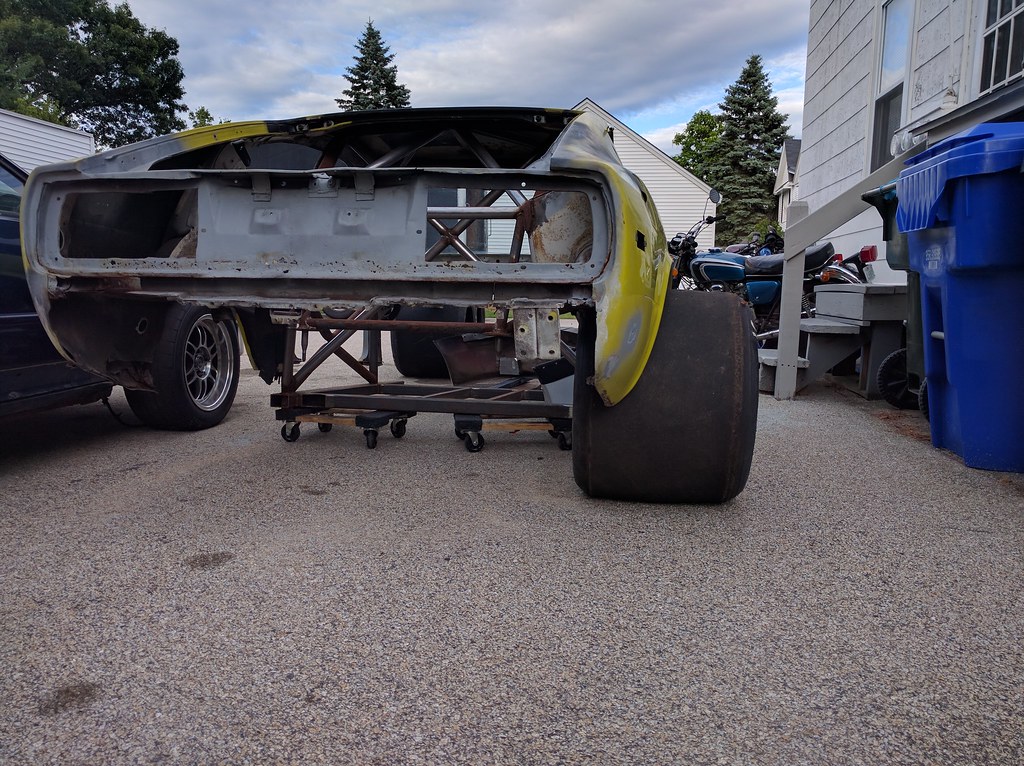
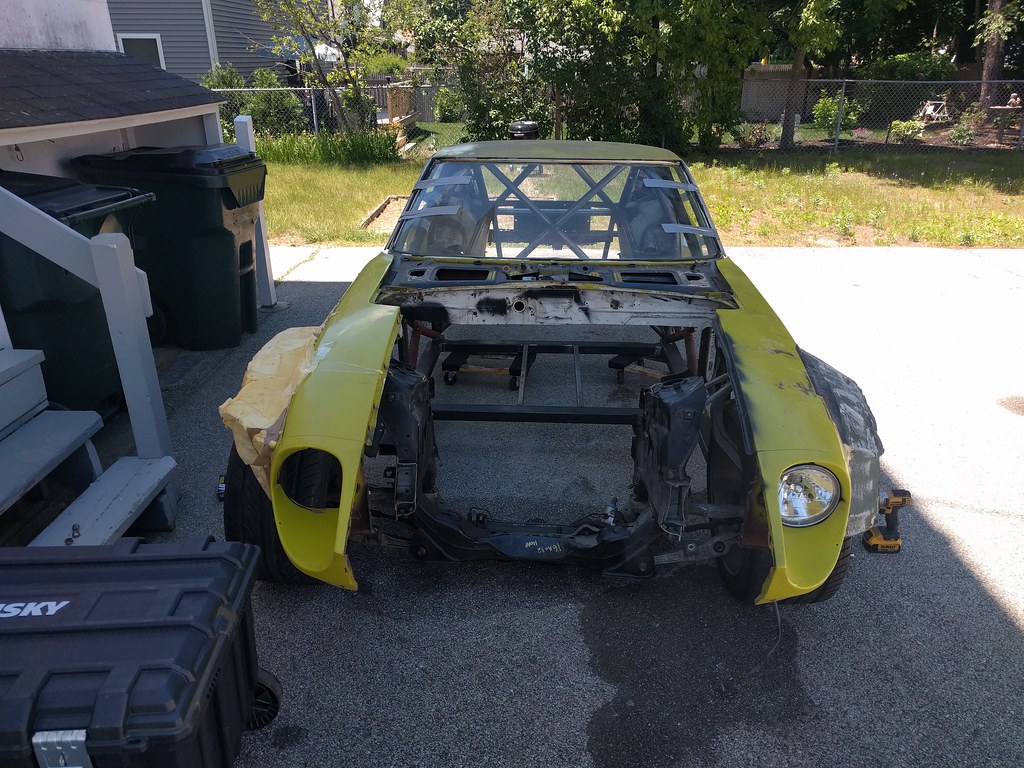
And now, back to the topic at hand. I brought my carcass home today.
-
-
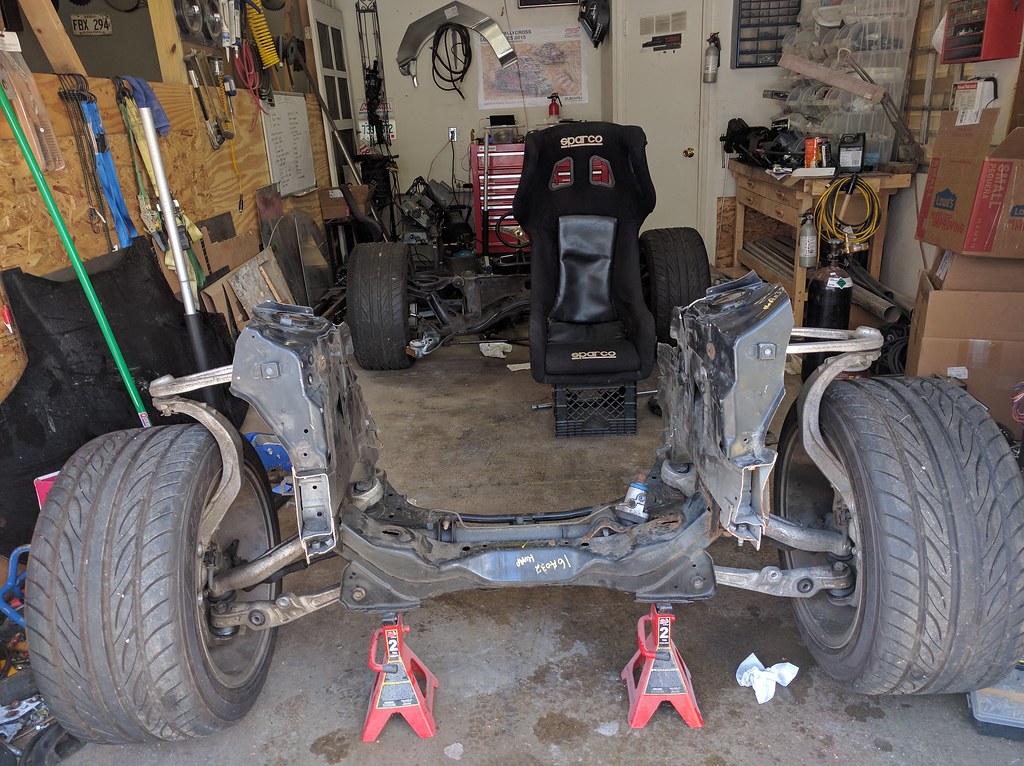
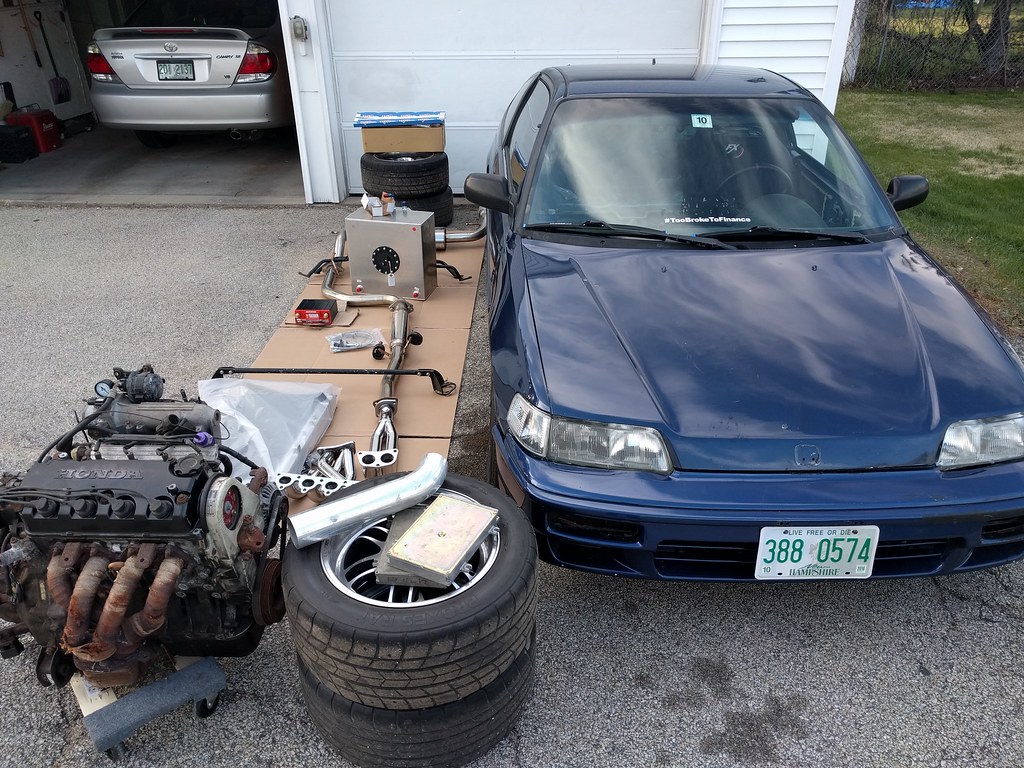
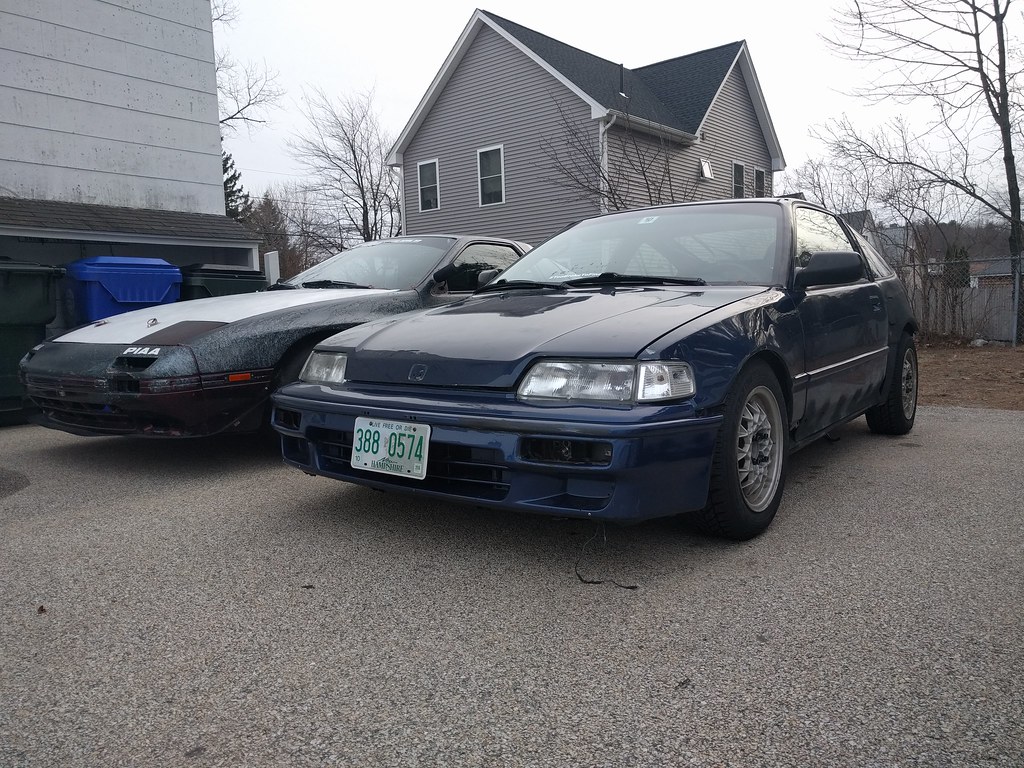
Well, here are some photos of the CRX, then. I can't really do anything with the Datsun until I get it back, and haven't even seen it in months. I started by making a small antenna hole plug, so water doesn't get in.
Cut&fit for the fuel cell
Pulled the old exhaust, laid out the new exhaust
And found a couple cracks in the steering rack subframe. These won't be difficult to repair when I have it out.
The engine is ready to come out, I'm just waiting for a second set of hands to do it.
-
I just need to focus on what I already have. It actually looks like a pretty decent, if tame, build.
I'm not going to clutter this place up with the build though, so if you're interested, Like Driven Daily on Facebook
21 days 'till Ascutney.
-
This is an awesome project. Can't wait to see more progress on this build over the next few months.
This next bit is going to hurt then, I'm afraid.I'm pretty disappointed to admit that there's no way I'll be able to race the Datsun-shaped-car for the beginning of this season. I won't even have it back from the chassis fabricator's until after the first event. The only reason for going for quick, expensive solutions to problems (BBS wheels, shiny new engine, etc) was to get the car on the hill for Ascutney 1, and now that all feels like a waste. What's more: The car won't be at the events my few sponsors were expecting, so now I need to refund them for their support.I'm absolutely gutted.However, I can't just lie down and feel sorry for myself. I still have hillclimbs to race. I had to make a decision as to what to drive, and just accepted a deposit on the rx7 (this is the third deposit I've taken on it ... I'm almost making a profit just on deposits now).That leaves me with two options: Rent a car from someone else, or do a quick prep on my CRX. If I had more time to put into it, I'd toss a rwd subframe in it and one of the spare turboII powertrains ... but I have less than a month until Ascutney 1.My best-case scenario is to:1. Swap out the 325k-mile d15b2 (which was a sad design from day 1) for the high-compression d16z6 engine (sohc 1.6) sitting on a shelf.2. Toss the 225-series RA1's left over from the Miata on it3. Tune the suspension as best I can in a short time-period4. TRY to have a cage installed in it (I have one option for this, and he's pretty busy)Budget is going to be an issue. Time is an issue that's even more difficult to solve, so I'll probably have to rent a car for the first event, then drive the CRX for a few events. If everything goes great (which is unlikely, when we're talking about race car prep) I might get to drive the Datsun for the second half of the season.It's going to be a struggle, but I have great friends that I can call in for reinforcements when necessary. -
MS3X is all packaged and taped, ready to go out tomorrow morning before I go karting.
-
I just found out that the g35 front suspension has a twisted crossmember. That means my suspension pickup points are skewed, and I need to get measurements off another car. It's a big favor to ask, but I need someone in New England who's willing to come up to the shop so I can pull the arms off your suspension and measure the pickup points, then put it all back together.
If you want to replace your front control arm bushings, this could be just the right time to go for it. Shoot me a PM here, email me at jesse@driven-daily.com, or call/text me at 413-931-1486. -
A bit more dash plug forming.
-
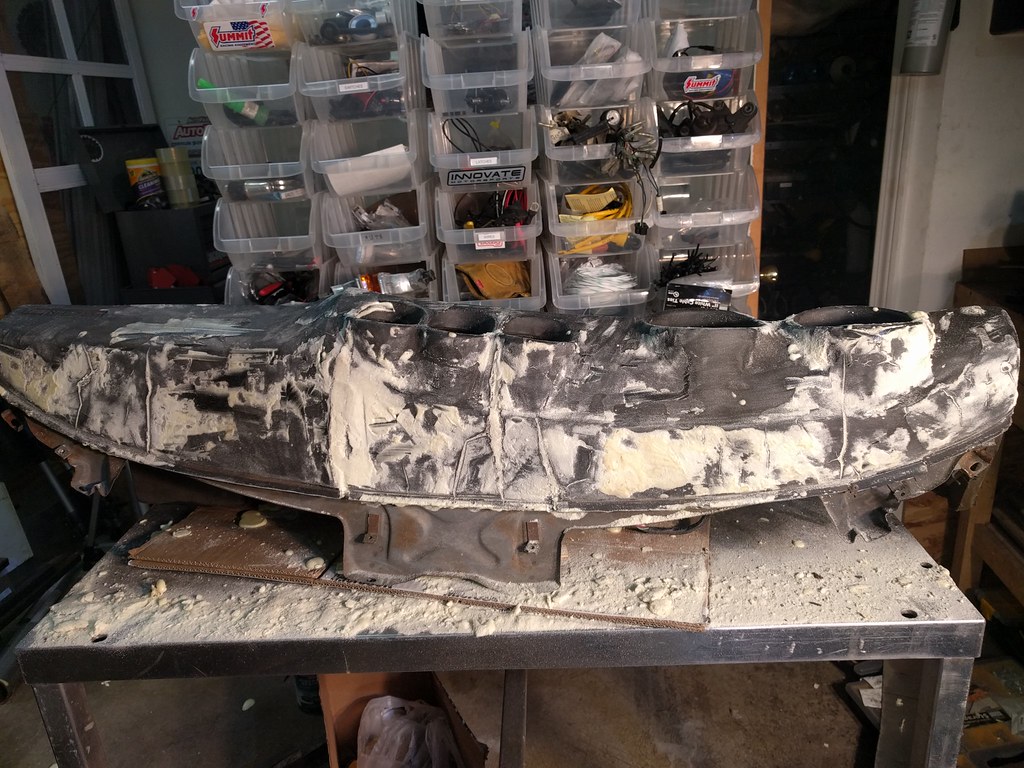
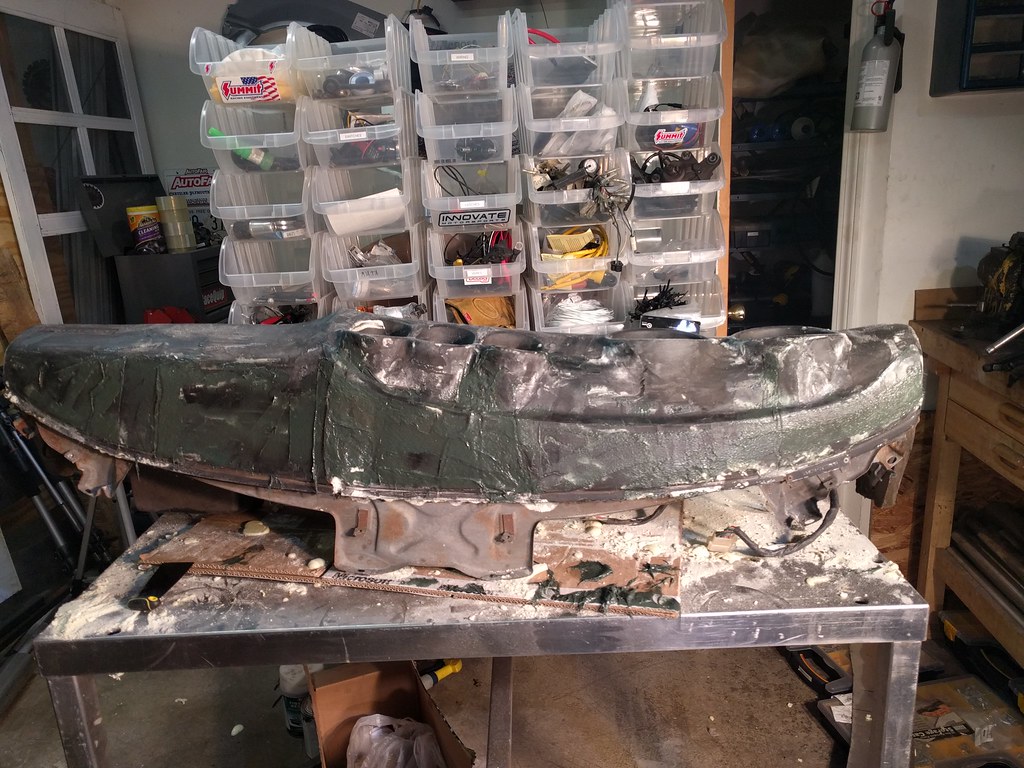
Most of tonight was spent simply cleaning/organizing. I still don't have a clean floor, but I did get to dig the dashboard out of the basement and start prepping it for molding.For those who don't know, s30 dashboards were made of vinyl-wrapped foam that was susceptible to cracking if exposed to sunlight for more than a few years. It's pretty close to impossible to find an original, un-cracked dash these days, and most people just toss a plastic cap on top and call it good. Generally speaking, that works great. It looks good, and the dashboard doesn't need to be structurally sound.However, the stock dash is pretty heavy. I really can't justify trying to use those old original gauges either, especially with a standalone ECU where I can drive any gauges I want. I do love the design of the s30 dash though, so I decided to repair the surface and pull a mold from it. Fiberglass should work just fine for this.The first step is to fill the large voids left by the cracks. I used some 2lb expanding urethane foam, because it's so easy to work, is fairly rigid, and is stronger than body filler when filling large gaps. I think it took around 15 minutes to go from a badly cracked dash to a mostly-smooth one.A quick rasping, and I had thisAfter that, I mixed up some fiberglass reinforced body filler and because it's chilly out, decided to call it a night. I'll get to sanding it down and finishing the surface after work tomorrow.
-
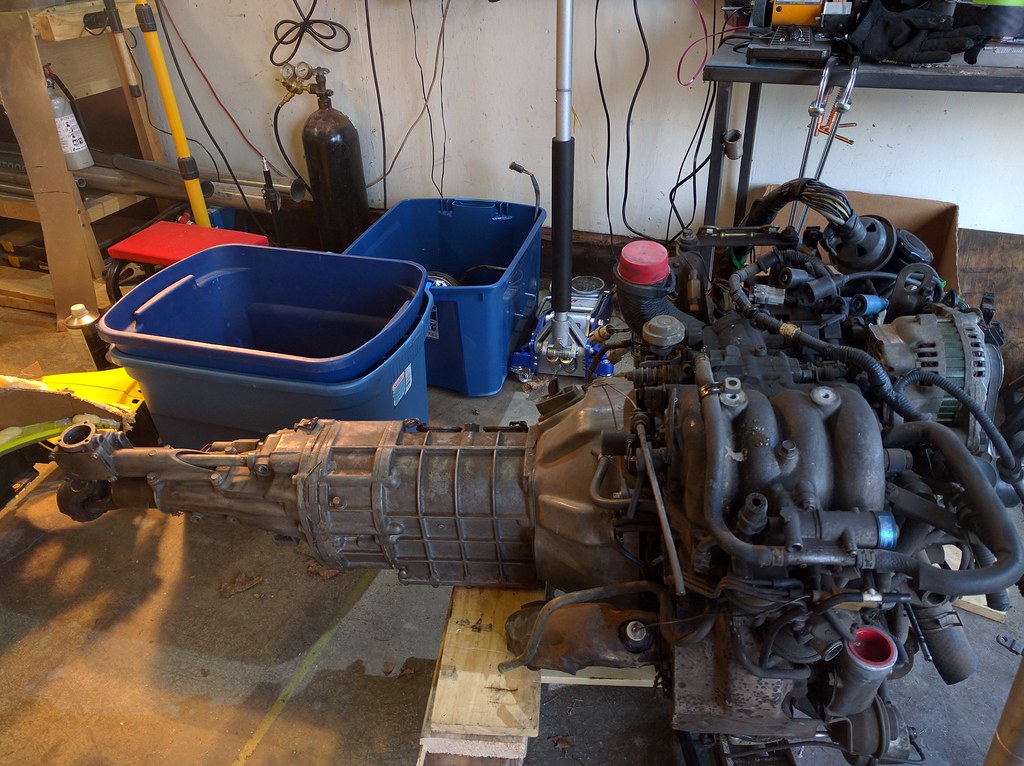
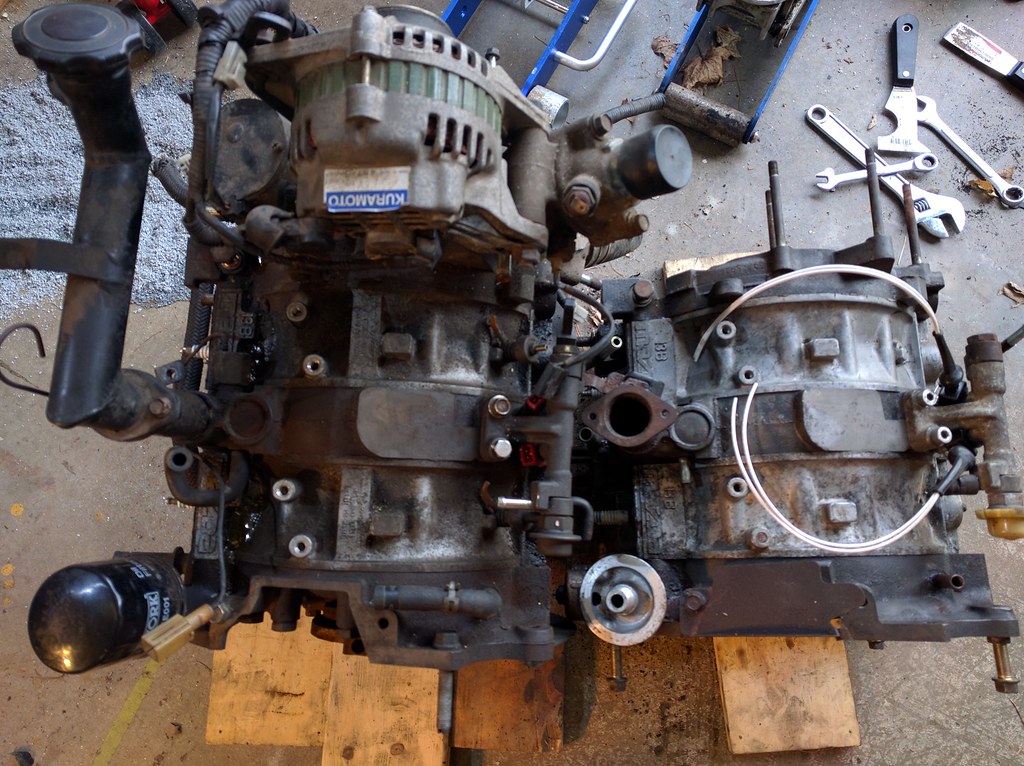
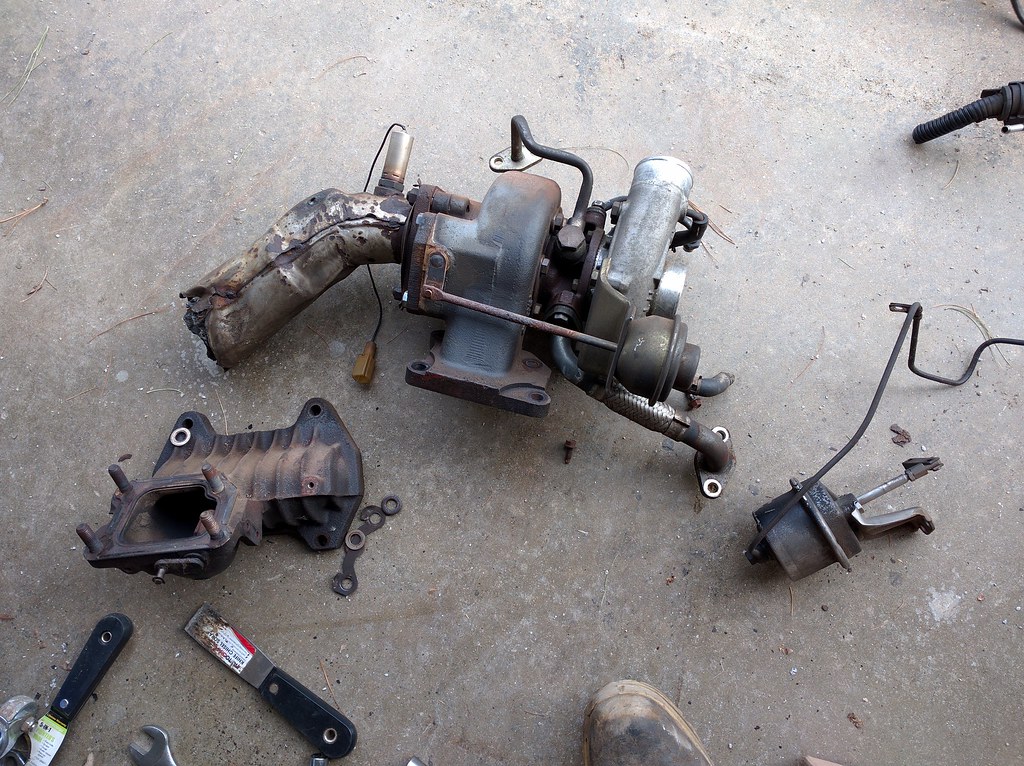
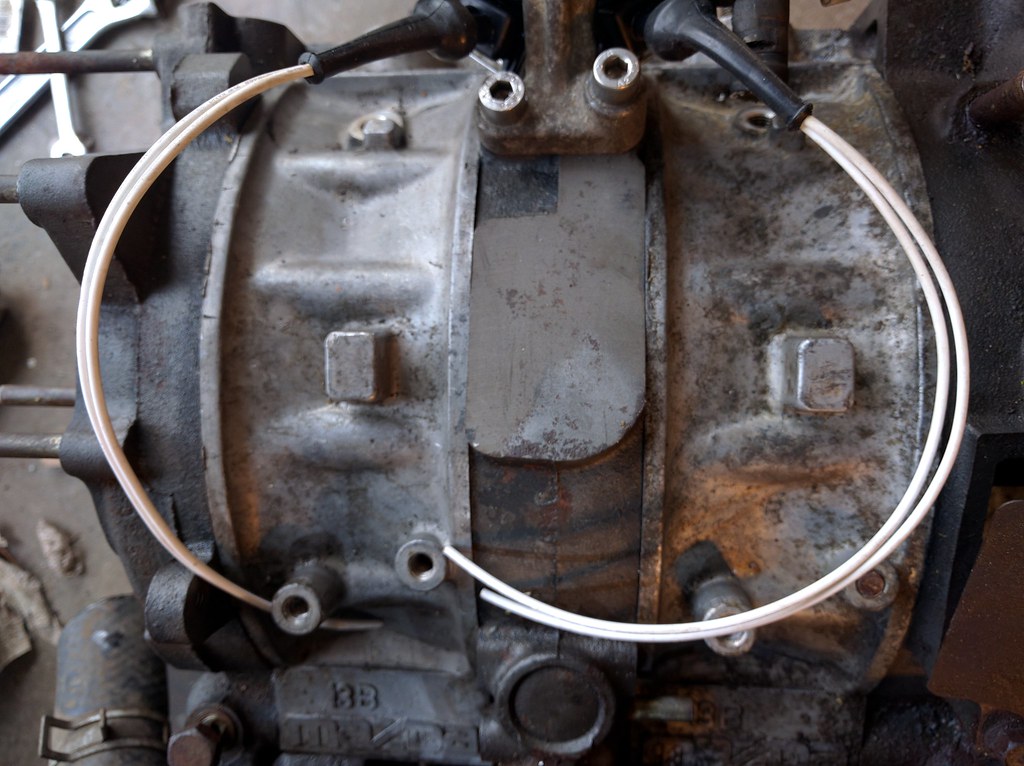
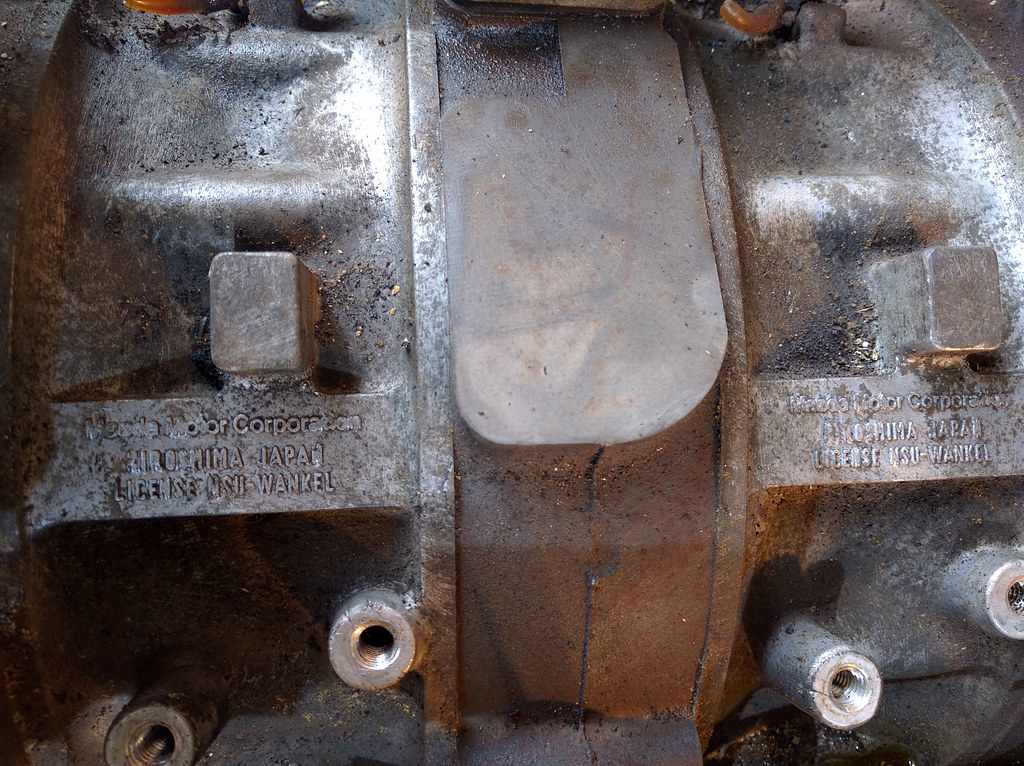
Because the new engine is going in, I now have the 'leftovers' of stuff that isn't going into the car in my shop. That means cleaning, organizing, and storing needs to happen (before the car shows up). This is unacceptable:I started by shuffling some parts around, and making room in the 'engine room'. Because I know I won't using OEM EFI on this car, I decided to tear all the extras off of the assembled-spare 13b.I started with this and a beer:And ended with less clutter, and no beer. Here's the mockup housing assembly next to the 'assembled spare' block.The turbo goes on the 'spare turbos' shelf. If there's any kind of market for it, I'll happily sell the harness/ecu/manifold/turbo/lines off to whoever is interested enough to make it worth putting them in a box. I have no idea what it takes to convert n/a to turbo, or if any of this is worth anything.One interesting discovery I came up with is that these two engines apparently have different rotor housings. Otherwise, they appear to be identical.One with no markings on topThe other with licensing markings on top.As for accessories, here's one of the spare transmissions (I now have three turbo2 transmissions), and two of the intake manifolds (again, I have a total of three right now).That emissions block-off kit is really disappointing. It's so thin that I can't use the stock studs. I can either draw up a DXF (just put these on a flat-bed scanner and scan them 1:1) and have Big Blue Saw cut out some proper plates, or pull those studs and use bolts instead. Generally speaking, I find that steel studs in aluminum don't come out as easily as I'd like. I'm leaning toward slightly girthier blockoff plates.


Driven Daily Hillclimb 2016 Build
in S30 Series - 240z, 260z, 280z
Posted
A lot of my time recently has been moving things around, getting stuff in storage for winter, and getting the tubing bender set up and tuned.
Stay tuned, there's more coming soon.