ZSMCUSTOM
-
Posts
8 -
Joined
-
Last visited
Recent Profile Visitors
3039 profile views


ZSMCUSTOM's Achievements
")
Newbie (1/14)
0
Reputation
-
I already know how I will lower the car properly and keep good geometry. I just need to finish up this crossmember design first. Then I can focus on the suspension side of things. I just don't want to blindly move pickup points as a band-aid solution. This is why I have decided to retain the stock pickup points in my crossmember. It is a safe reference point. I will provide more information on these designs as I get to them.
-
Thank you
-
You are right. Once you change one thing, it affects others. It will take some time before I release a crossmember with geometry changes because I want the car to handle as good as stock, if not better. There are lot of options for how you want a car to handle, so I need to be diligent and make sure what I am putting out is safe. One thing for sure is that there will not be slotted holes everywhere. This choose your own adventure method is dangerous in my eyes. I aim to create a system that offers the same handling characteristics at different ride heights, so no matter if you want a stock ride height or if you want to slam the car, the geometry will be the same.
-
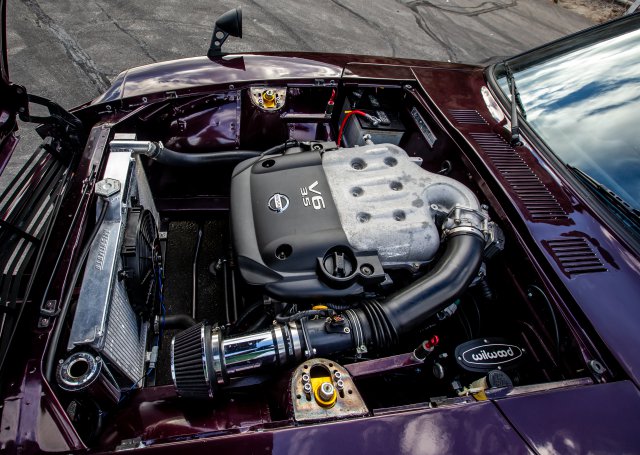
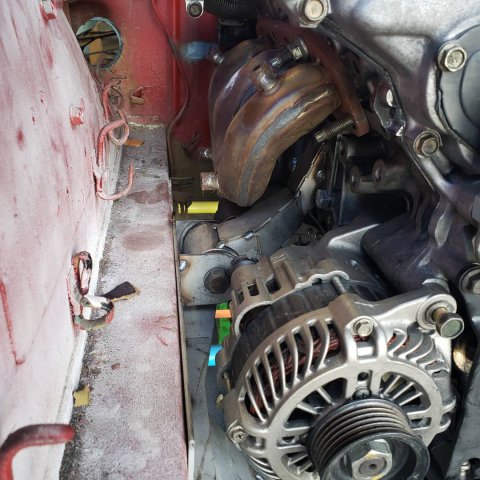
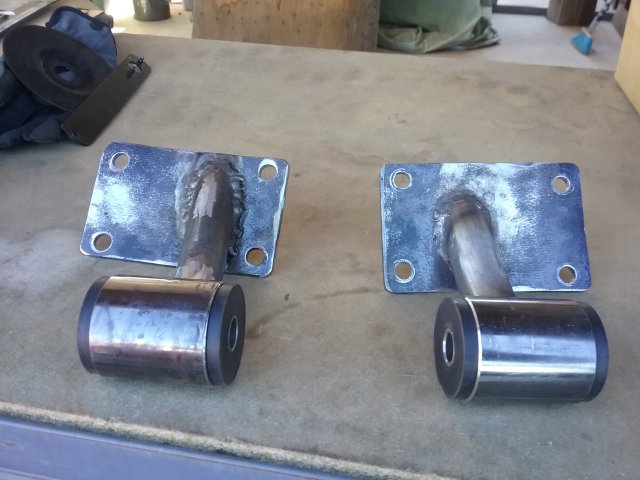
I have tried using stock VQ engine mounts when I first started working on the purple car above. It is really a bad packaging. I can post some pictures of what it looked like, but didn't allow a lot of room for steering and exhaust. The mounts we use have been on the purple car above for around 2 years now. The car is daily driven and it really does not have a vibration problem. The mounts we use are thicker and wider than most, so they have a lot of contact area. Having said that, if you wanted more flex in your motor mounts, there are things you can do to achieve that. One being drilling holes in the polyurethane mounts. Another thing you could do is source rubber mounts to replace the polyurethane ones.
-
We made sure that our steering rack mounts are in the OEM location so the geometry is the same as stock. We also kept the lower control arm pick up point in the stock location, so the roll center is the same as stock. That is a good question though, because a lot of products on the market don't take the suspension geometry into account. In the near future, we will be putting the stock geometry in CAD and then we can play around with the pick up points for the lower control arm and steering rack allowing us to lower the car, but achieve proper bump steer and roll centers without using band-aid fixes, like coilover spacers.
-
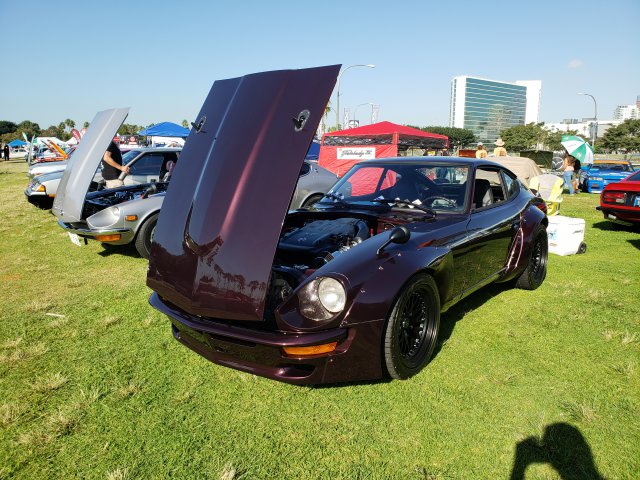
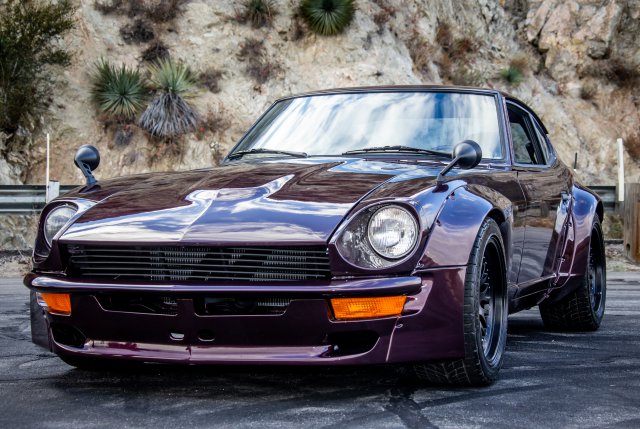
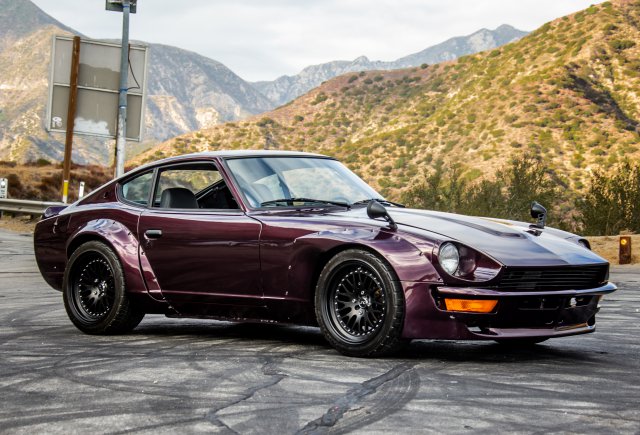
Thank you. It is an AUDI color that the owner picked out. It has a lot of different pearls in it, so it stands out in the sun, but at night time it looks almost black, so it keeps it under the radar. Happy with how it came out.
-
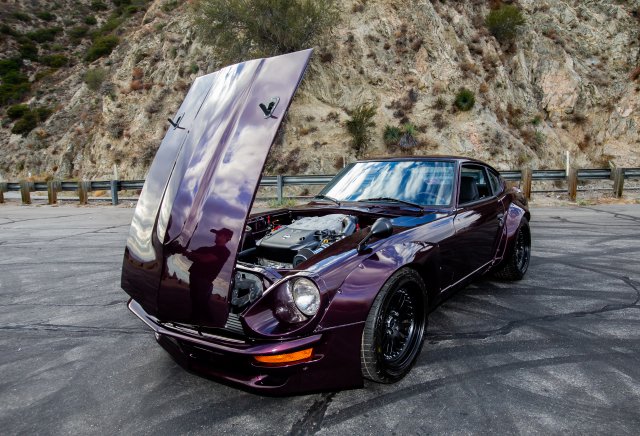
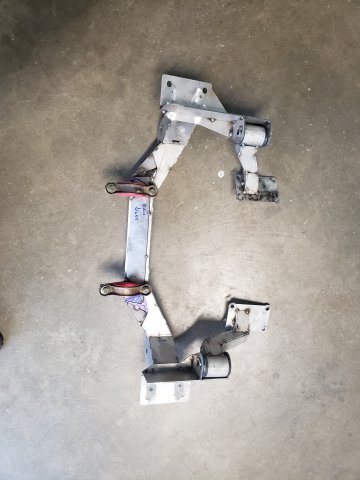
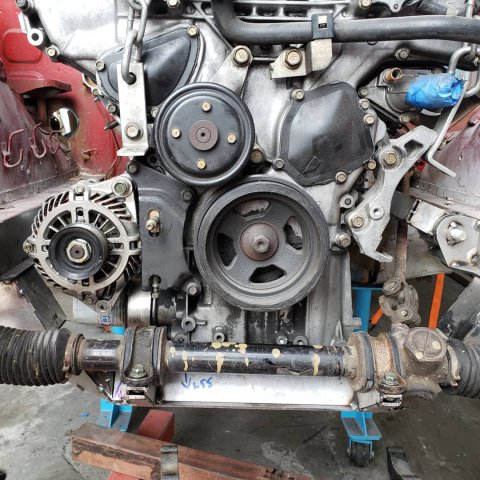
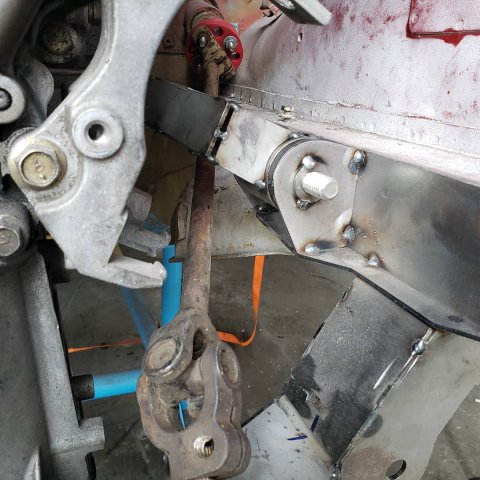
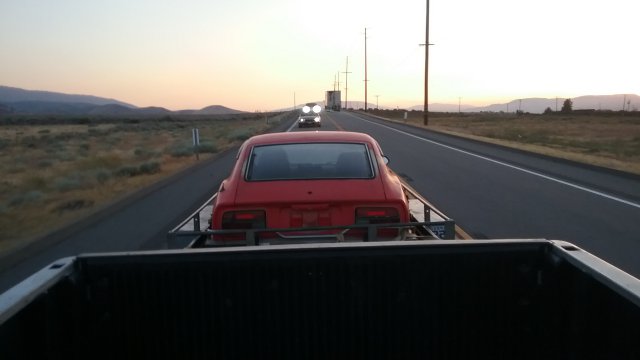
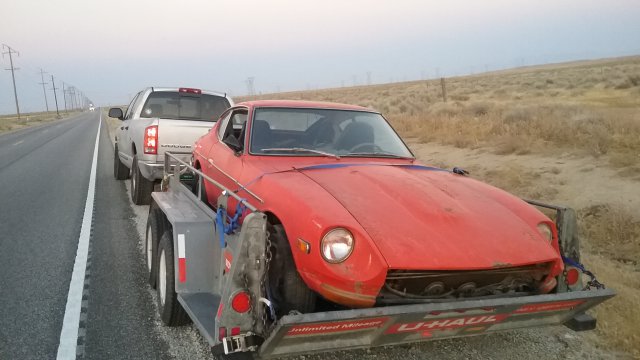
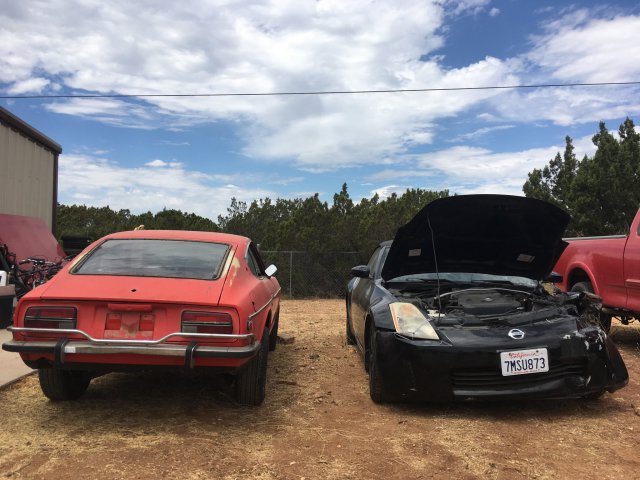
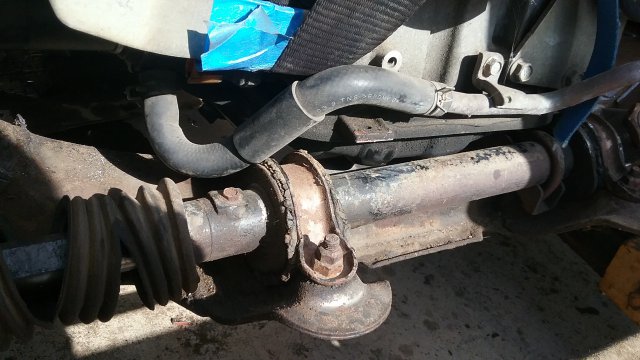
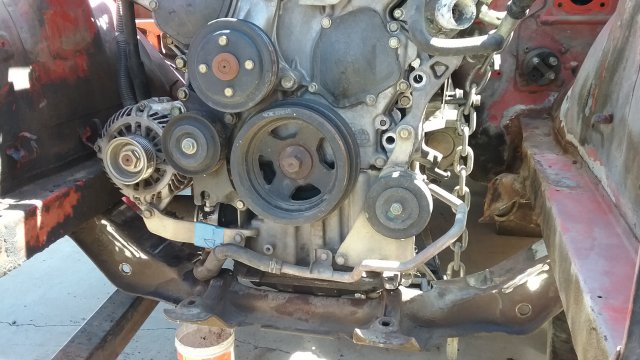
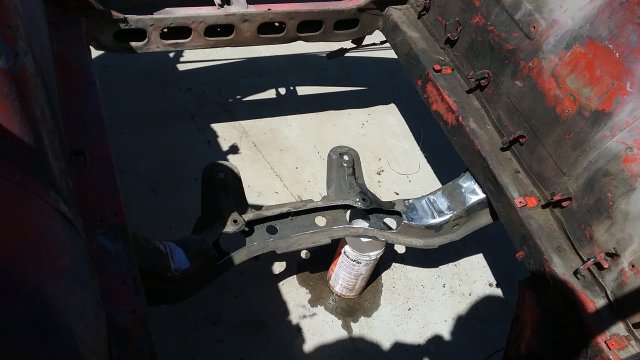
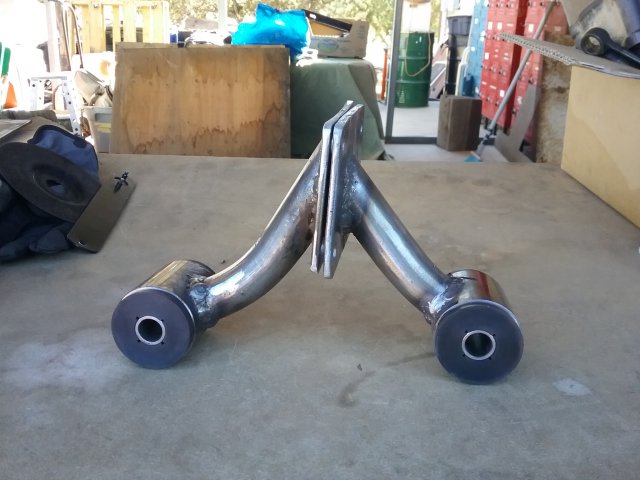
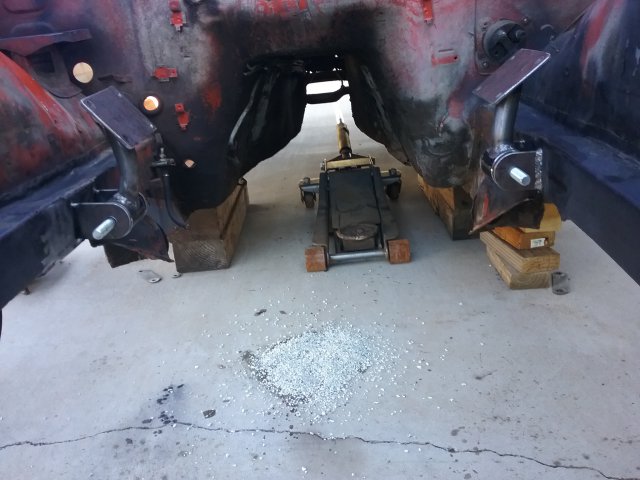
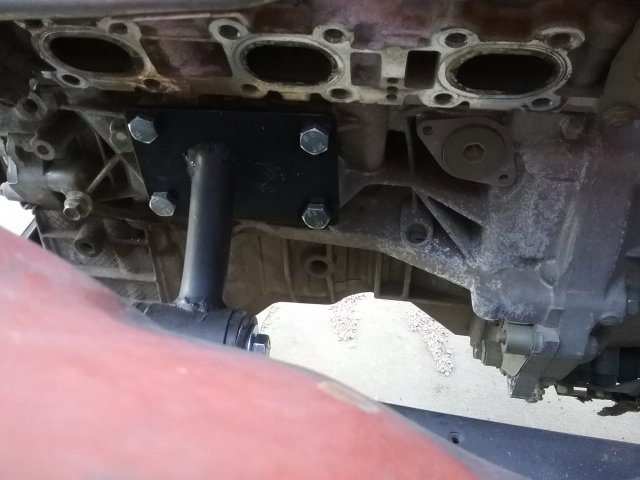
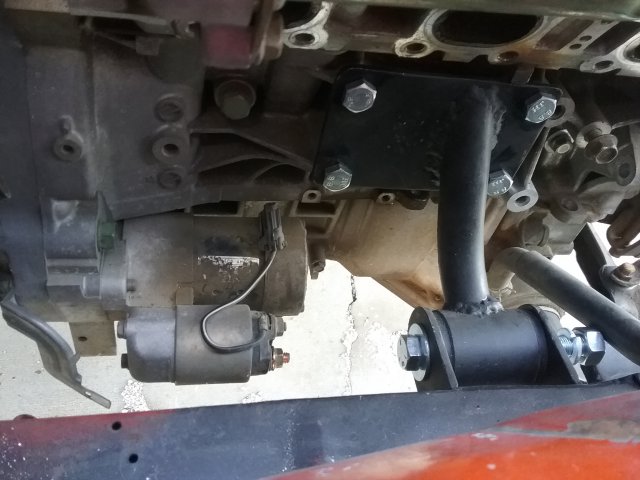
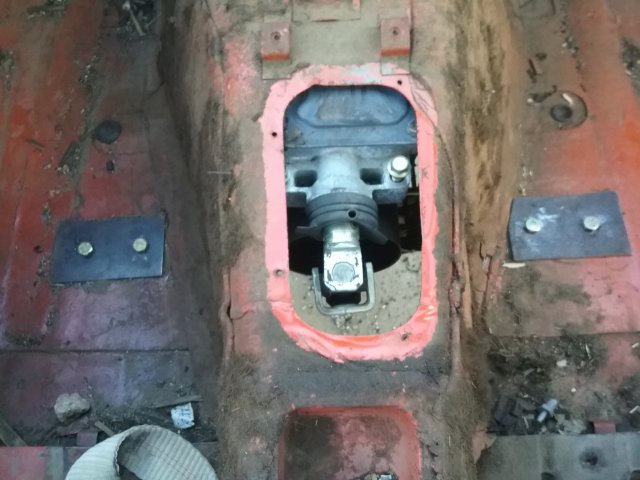
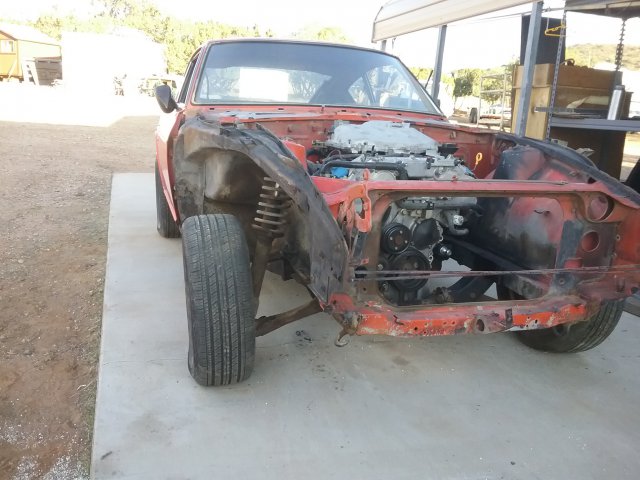
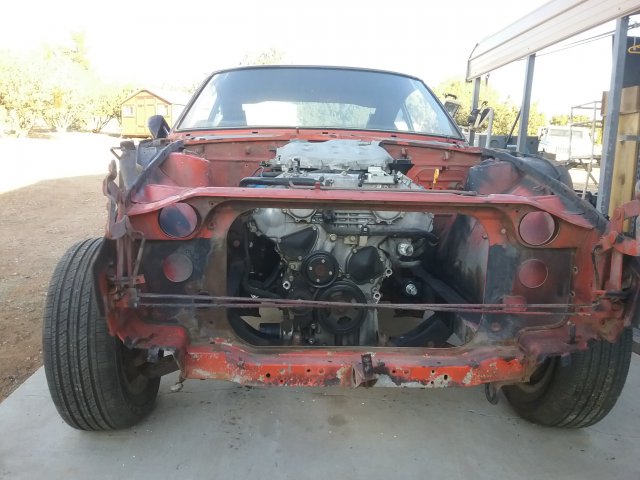
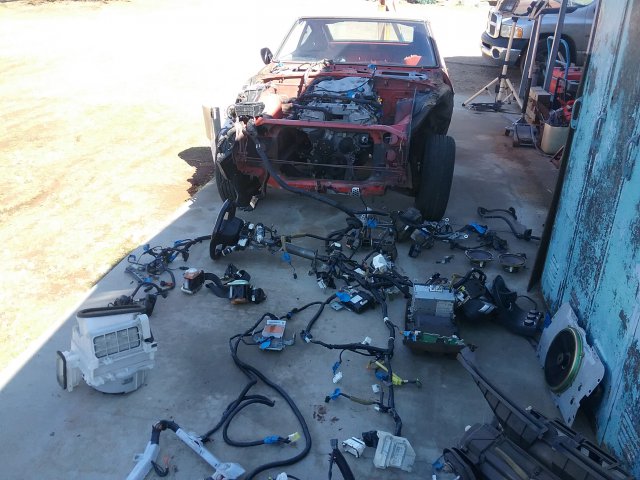
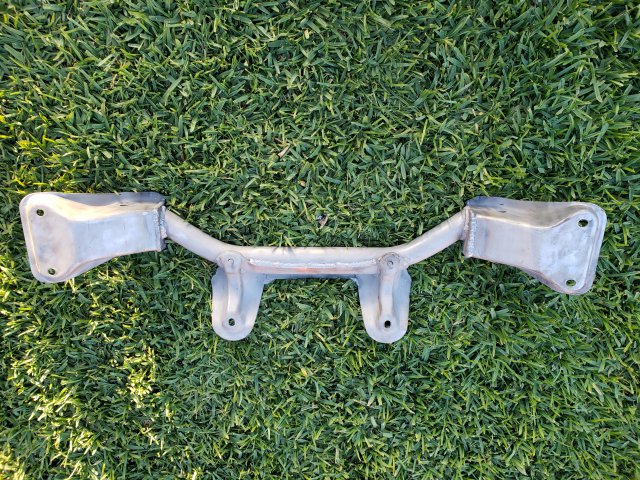
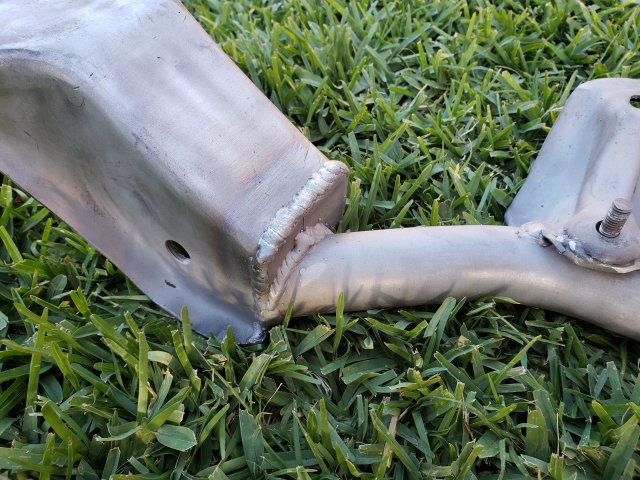
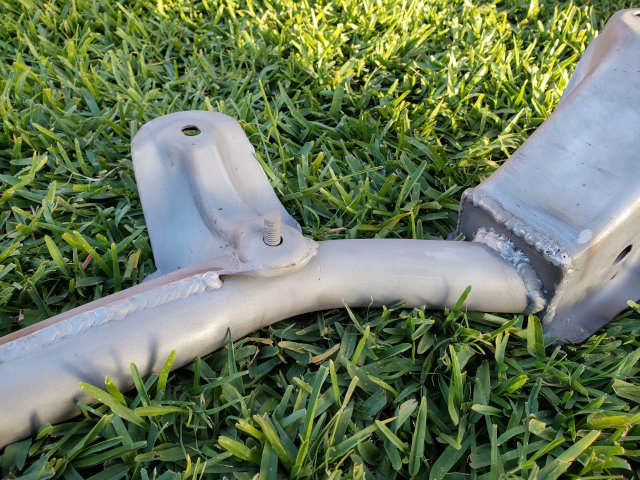
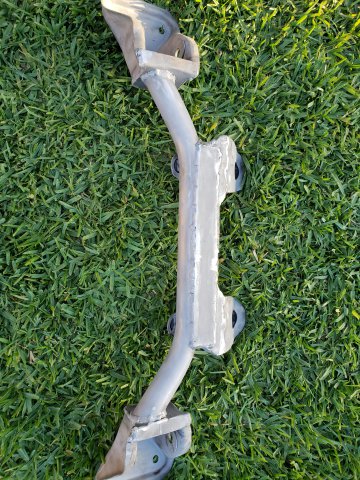
Hi, my name is Zachary Mallin. I have a shop called ZSM Custom. A few years ago I built a 1973 240z. My client wanted to build the car into a daily driver. Anyway, we landed on the idea of installing a VQ35de from a 350z. The motor and transmission mounts were all hand fabricated from scratch, but I have since designed a crossmember that bolts right in. I designed it in CAD and have been going through a pretty strenuous R&D process over the last couple years. At this point, the crossmember is finished and I already have another VQ that is getting swapped into a 260z. I thought I would post some build photos from the first 240z I built and then I would share some photos and some of the design process of my crossmember. I have hundreds of photos, so it might take me a while to get a full build thread going, but if you have any questions or want to see more details, let me know. Thanks for reading. This is what the car ended up looking like. Here is a photo at JCCS. Here are some quick beauty shots of the car at Angles Crest before I dive into where it started. Below, I have some pictures of the crossmember I designed in CAD. It is a complete bolt in solution and a completely reversible process if you ever wanted to rip the VQ out and go back to stock. I have spent the last 2 years revising it and making sure it fits right. With this crossmember, you can use the OEM 240x steering system in its original place and even use the VQ exhaust manifolds. I have designed it to hold the motor as high as possible, so there will be a realistic oil pan clearance (ground clearance) for daily driving. The only parts you will have to remove from the S30 chassis is the hood latch to clear the intake manifold and trans mount to fit the 6 speed trans. If you use a spot weld cutter on these parts, you can weld them back on at a later date and have a stock 240z again. I know because I have done this myself. The benefit of my crossmember is not only the motor mount system, but my crossmember is already notched for the VQ oil pan, so you won't need to cut yours up and try to build the structural integrity back into it. Here are some pictures of the car when we first got it. Here are some photos showing the problem with the OEM crossmember. The VQ oil pan protrudes into it quite a bit, so the stock crossmember needs to be cut down. These pictures are during the test fitting process where I only trimmed a little at a time. In actuality, the stock crossmember needs to be cut more than is shown. I will post some pictures of what we came up with crossmember wise on this car. Our CAD designed crossmember has this "notch" built into it, so no cutting required. What this picture doesn't show is that the engine is poking out of the hood. I needs to drop farther down still. Probably another 6 inches or so. After trying to use the stock 350z motor mount isolators, I realized they were not great for packaging and were causing more problems than it was worth. I ended up reinforcing the frame rails and made my own motor mounts from scratch. This is what I ended up with. They need to be curved to clear the stock 350z headers. This is my first draft for the transmission mount. I designed it, so the exhaust can be tucked up and provide a realistic ground clearance. Notice on the inside of the car, that there are large plates that sandwich the floorboards. This allows the weight to be evenly distributed and we have not had any problems due to fatigue, over the past couple years daily driving it. This photo also gives you a view of the shifter location. You will need to enlarge the shifter hole in the trans tunnel. You can't push the engine father forward to solve this problem because then,fvgc you will run into the crossmember. Here is what the car looks like on the ground. The crossmember has been cut at this point to clear the VQ oil pan, but has not been reinforced yet. At this point, I was trying to get a handle on the wiring now that the drivetrain was secured. This is what I did to the stock crossmember to clear the VQ oil pan. I first made a jig, so the steering rack location wouldn't change. Then I bent up a piece of 1-1/2" DOM tubing .125" wall. Cut the middle out of the stock crossmember and then welded the tubing in its place, thus creating a hybrid of a tubular and OEM crossmember. Have had zero issues with this design on the car after 2 years of daily driving.