

A to Z
-
Posts
881 -
Joined
-
Last visited
-
Days Won
14
Content Type
Profiles
Forums
Blogs
Events
Gallery
Downloads
Store
Posts posted by A to Z
-
-
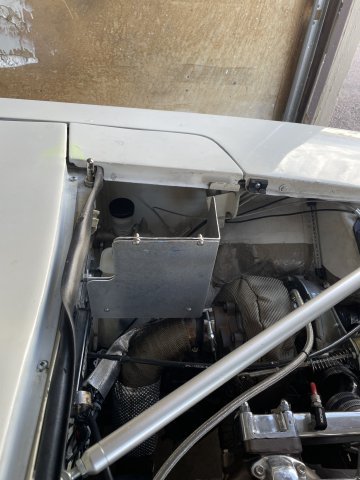
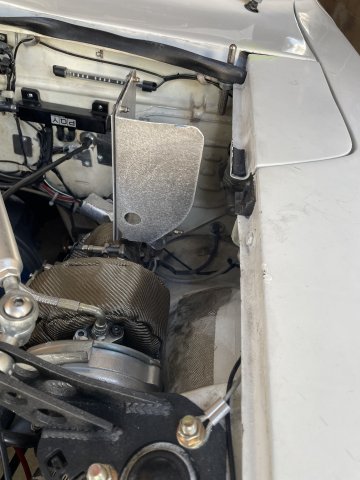
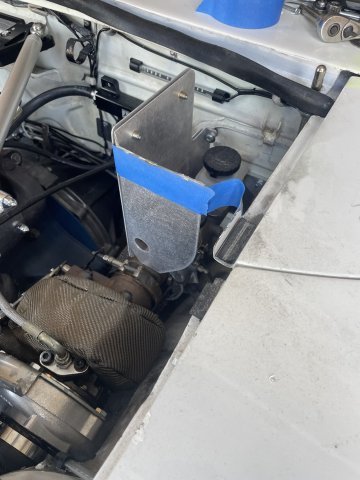
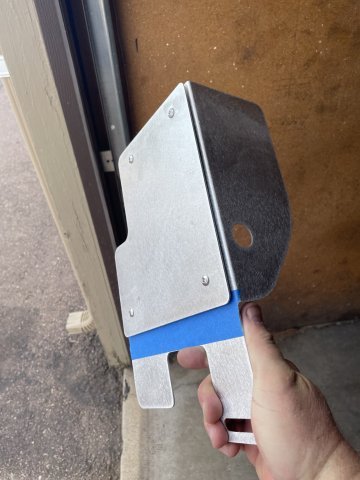
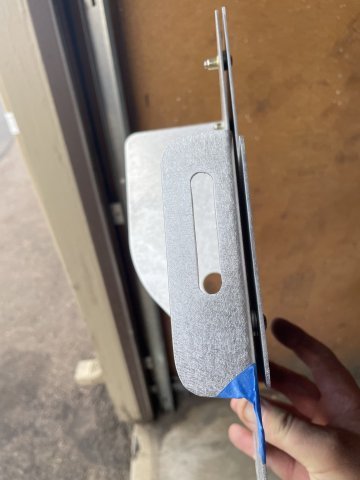
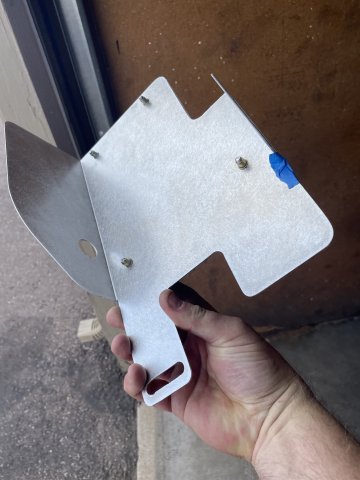
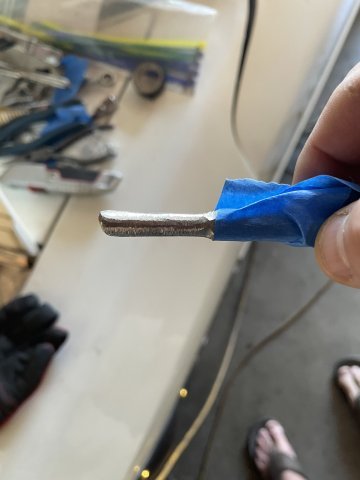
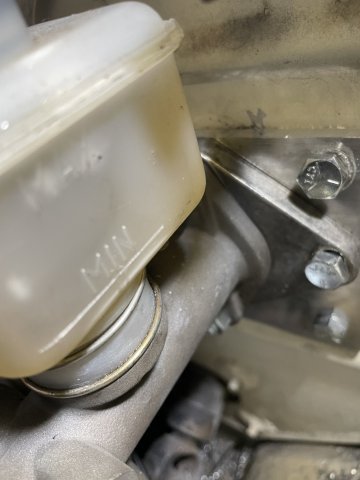
07-05-2025. Installed my Skillard brake master cylinder heat shield. I had to modify it quite extensively for my use.

-
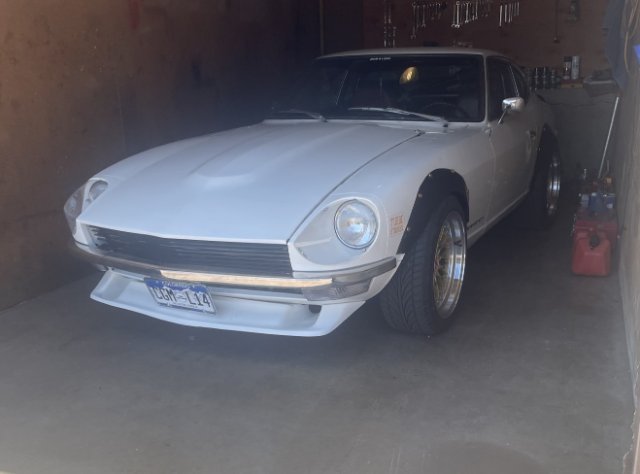
Cool Z car. And you have had it for so long....a lot of memories. I hope you are able to eventually get her back on the road.
")
-
On 7/1/2025 at 6:35 PM, calZ said:
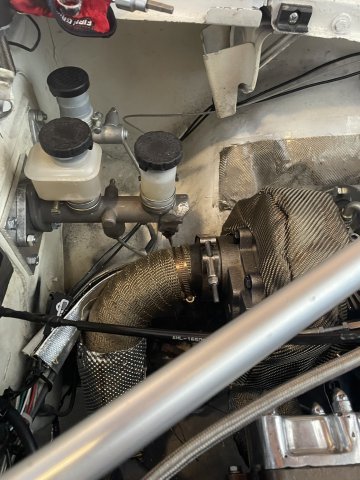
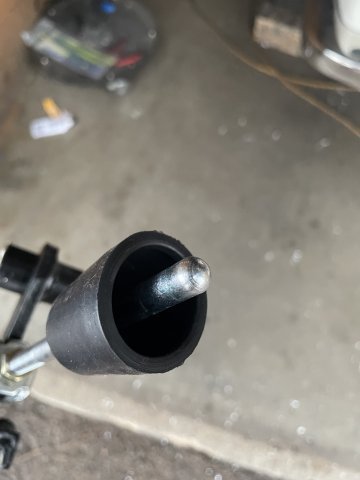
Close is one thing, but resting directly on the header isn't good. What's the line routing look like from factory? Does the header manufacturer have any pictures of it installed on an engine that you could use to figure out where they intended the drain to go?
agreed, touching the header is a bad deal. If the header were at least wrapped and you put a loose fitting aluminum sheath over the hose that might save the hose. That drain hose in the pic looks VERY small. What happens if oil backs up is it will force oil into the turbo and you will get smoke as the pressurized oil is pushed past the seals, and if you have a catalytic converter, it could plug the converter and start a fire. It can also damage the turbo, as it is trying to spin with the friction of the oil hampering it. You can do a google search on all of this, but it can't be stated how important that drain hose is. I am getting by with a 5/8 drain hose and fittings. like I mentioned 3/4 is better. Ideal is no restriction at all .......the oil hits the drain and is gone.
-
yes, IF.....IF the diameter of the hose is large. 5/8 is acceptable, 3/4 is even better. The idea is to ensure that the oil can drain fast enough to not "back up".
-
no exhaust, straight off the down pipe, now back on full exhaust. crappy video, but you can hear a bit of it.
click this below:
-
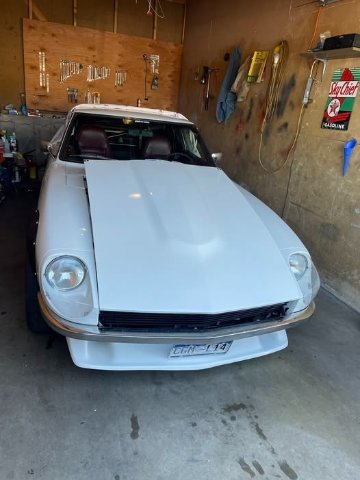
07-02-2025. Well my Z car is finally done......again. it was finished a year ago. But then I decided to turbocharge the engine and that involved redoing the braking. it's done. lightly turbocharged. It now has the one thing I felt it was missing. took 8 months and enormous amounts of patience and going back and forth jetting, etc. Powerwise? Who knows....at the rear wheel.....probably 200-210 max. that would be about 250 or so at the flywheel. it's just a cruiser and a real 10 footer. DONE. whew!

-
07-01-2025. I had a crack in the fuel line, so I took the time to change it up and use a bit of 1/8" pipe and fittings to make it so it is supported versus kind of floppy before. I deleted the cheap fuel psi gauge I got from Amazon which was spotty at best.Click on "V1MOV" below for a short video
-
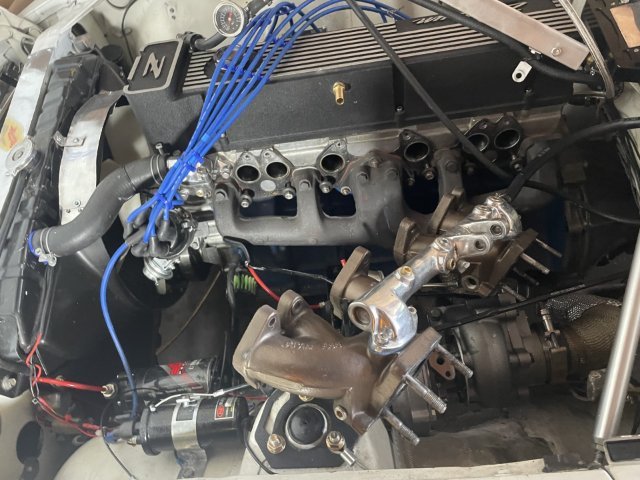
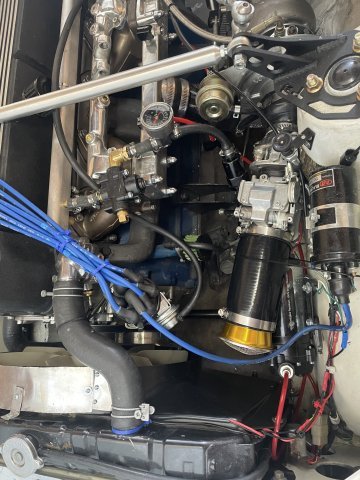
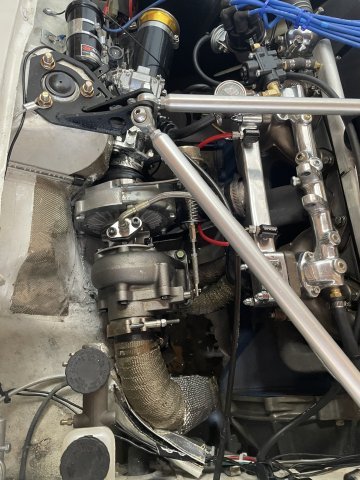
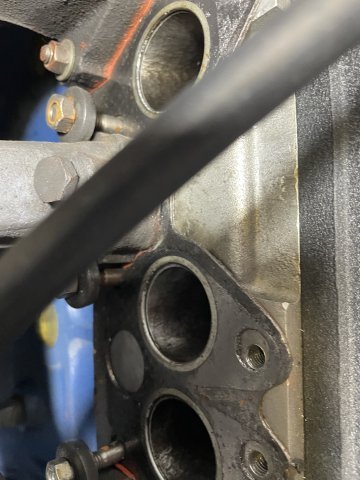
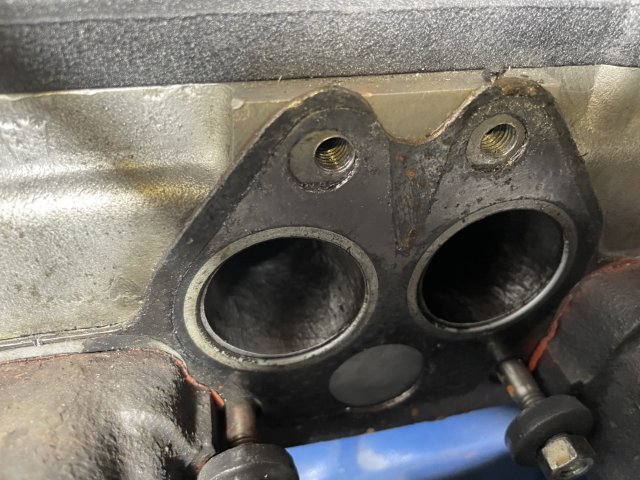
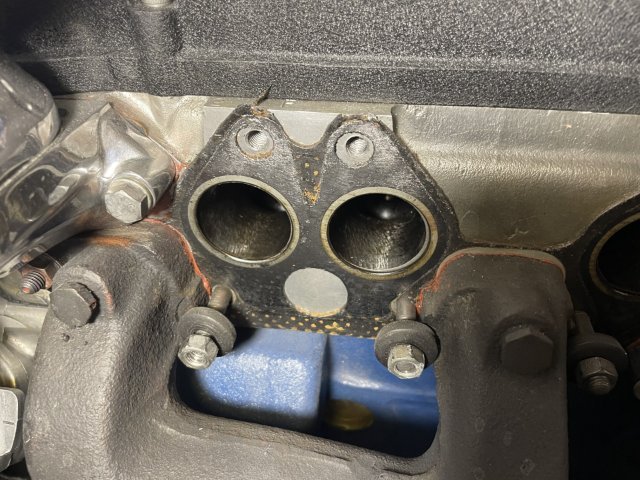
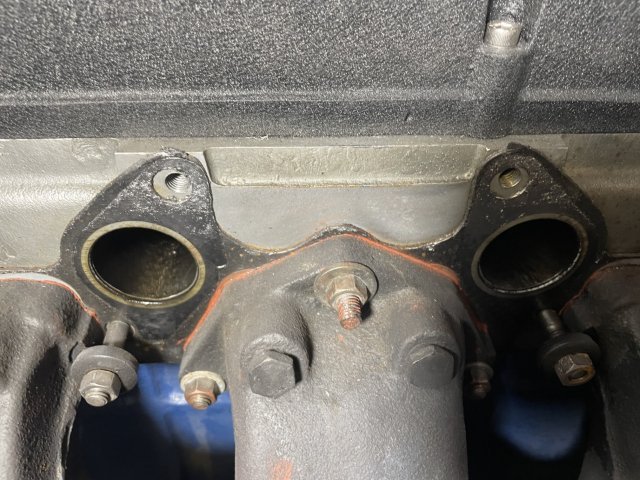
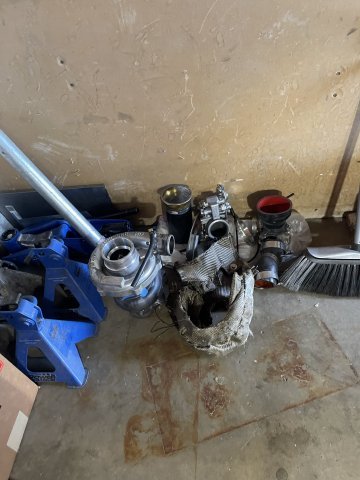
06-28-2025. Putting the new turbo on. With the new turbo to manifold piece, I had to actually remove the intake manifold, put it all together, and then slide the manifold back on. It WORKED! Look at those HUGE ports! I haven't seen them in awhile! That's my Russ Racing prepped and shaved E31 head! I have it almost all assembled, I had to "slip" the top hose clamp up a bit to get a really good seal clamped down. Looks "different" but it is SNUG. I vacuum tested the new wastegate actuator......WAY too high (boost crack at 15 psi !!!) , so I put the older one on, and it boost cracks at only 2.5 psi.,....but I didn't port the turbine housing this time, so keeping that in mind, I think very little boost will be bleed off....enough to protect the engine, but it's going to pump quite a bit of air and fuel! (boost creep expected). The Skillard brake master cylinder heat shield I ordered came in, and is waiting me to custom mod as needed and install. Also went ahead and started clamping down the vacuum hoses to avoid any more hoses blowing off under boost. I have also added on a few pics of my intake ports if interested. Almost done! It is now HOT, have to keep stopping and wiping my face off. I think it was over 86! cheers!
pics attached.
-
 1
1
-
-
GREAT! I haven't seen those....I got mine from Z car depot.
-
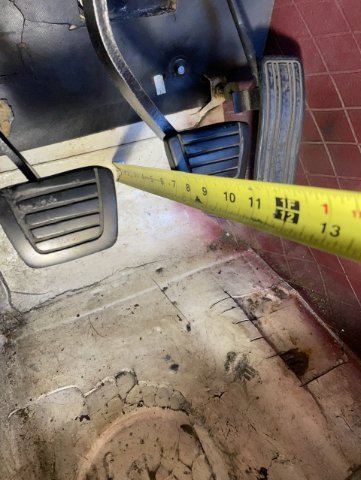
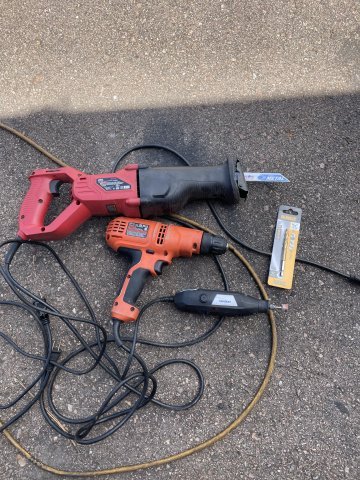
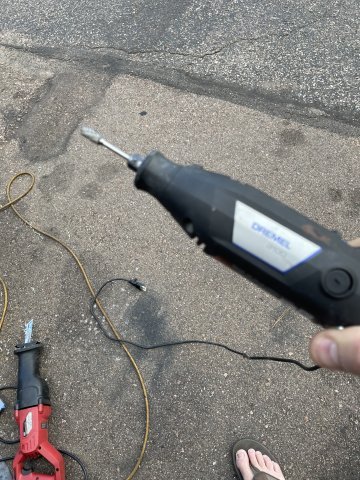
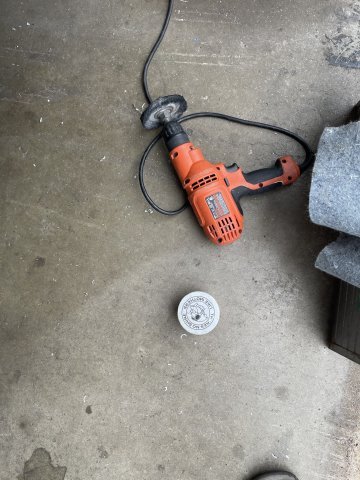
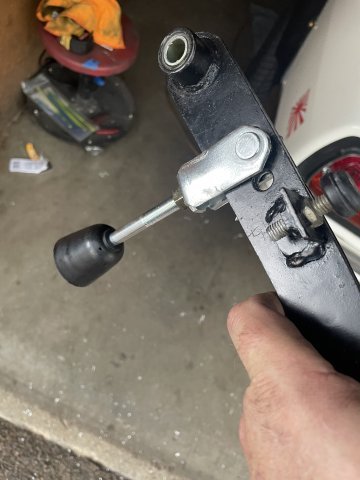
06-26-2025. I finished the manual brake conversion. I had to remove the master again, from the firewall screw in the rod all the way and then take measurements....how far the rod goes into the master cylinder, and then figure out how much rod needed to stick out of the firewall to be just right....and then because it was screwed all the way in, take a bit more off from that and it should be good......but when you change pedal hole height, sometimes you have to shave down the rod to fit in the master without binding from being on a slight angle, etc. So, using the die grinder I got it smaller and decent looking and then re-assembled. Works, pretty good. when I push on the brakes, I can feel it come on within 1-2 inches and by 3 inches the floor it stops, and if I push HARD it completely stops 1.5 to 2 inches from the floor. I set it with about 1/4" of play at the pedal when released. So, we will see how it works on the road. Here are some pics:
-
What we are witnessing is technology making this page semi-obsolete in a way, and I hate it. I spend a good deal of time on facebook, and when necessary I always provide a link to an answer on here. As far as information, chatGPT has been a big help recently.....I decided to try it and it helped with the carb tuning! I grew up with Sears, JCPenney, Montgomery Ward, etc. going to he mall was THE thing to do on the weekend......now all gone. I am old. I know. Darn shame. If I can be of any assistance and you can't find anything, drop me a note. I'll try to help.
-
make sure you reinforce the sway bar mounts in the front.
")
-
1
-
-
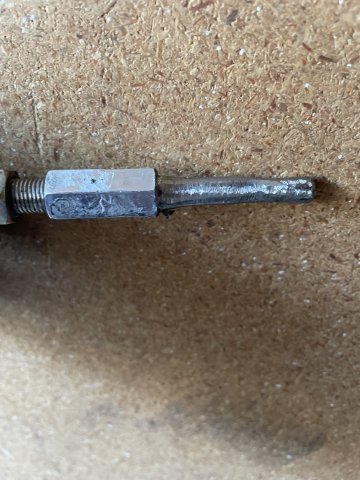
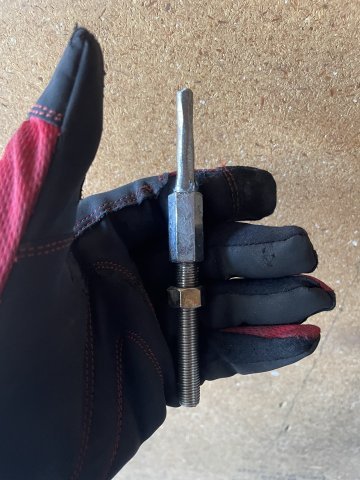
clutch master. the rod that goes into it isn't going in far enough. the clevis needs to have a nut welded on to the end, with the thread aligned, and then the rod screws in only to the end of the nut. That little bit....3/8 of an inch, is what is keeping your slave from pushing far enough to work correctly. I had this problem and after asking and asking, I finally figured it out. Put a nut on the rod that you can run down and tighten against the welded on nut
(screw the rod through the nut AND clevis THEN weld nut, so threads are aligned, then remove the bolt)
-
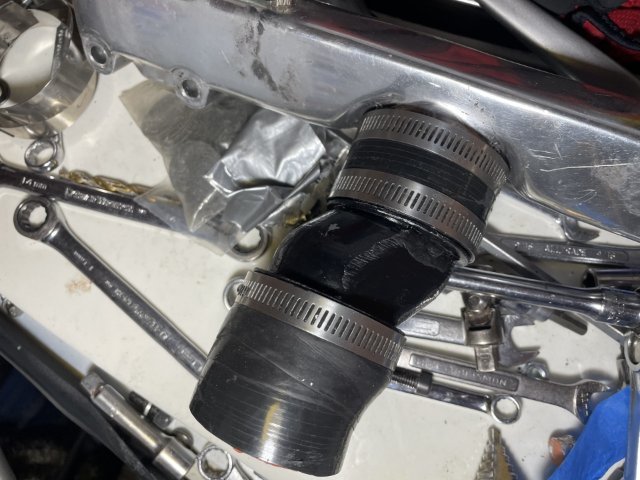
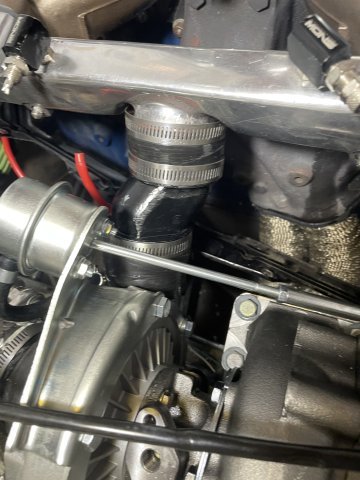
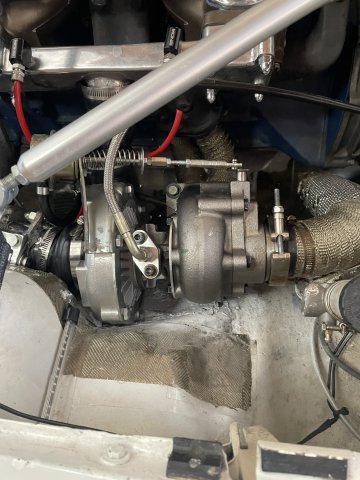
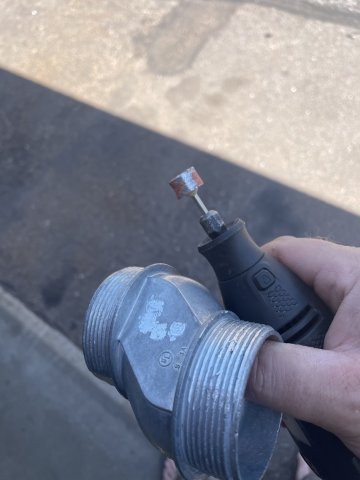
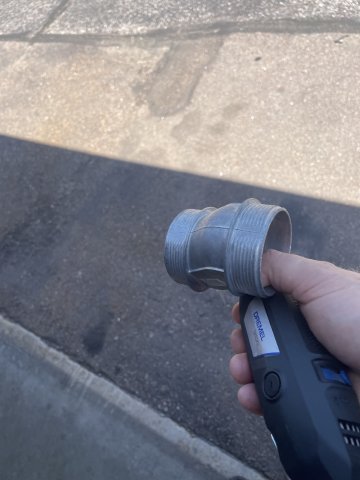
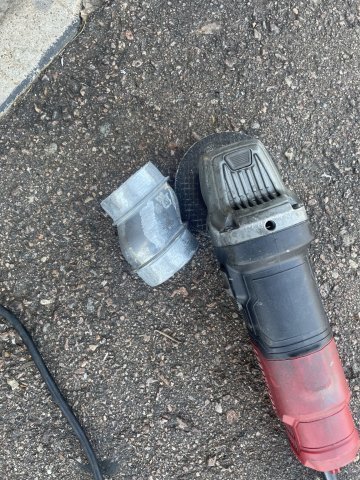
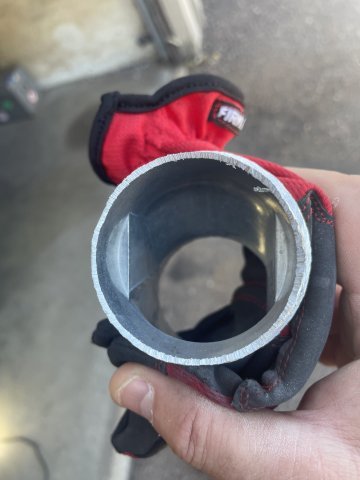
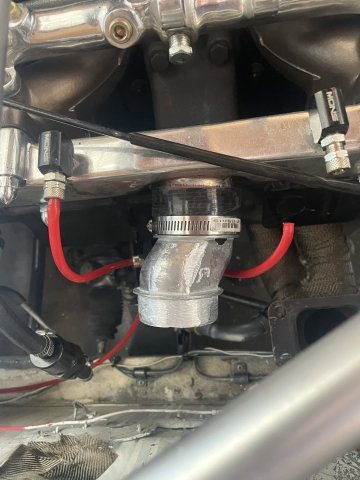
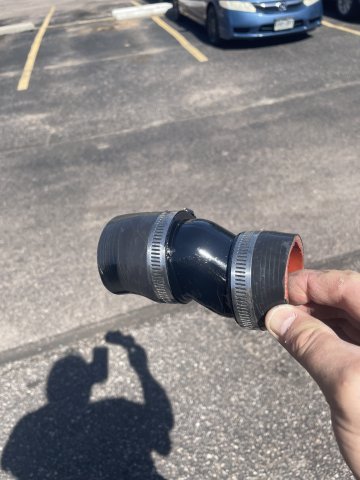
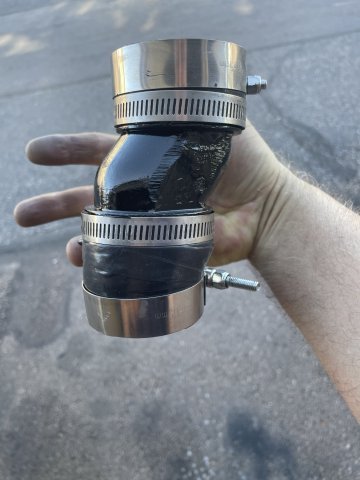
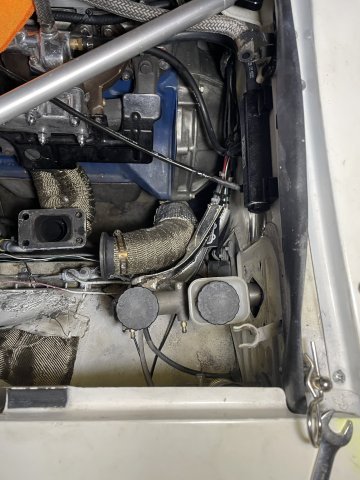
6-21-2025. I went ahead and tackled the inlet to the engine from the turbo. I had just an offset hose between them, about 3 inch gap....and then I learned that turbos can pull hoses in. So I had put a clamp around it so that the hose could only be collapsed so far.....but with the work I am doing, it was time to fix this. With a 3 inch space and needing an offset, and being ar etired electrician it was simple. Use a 2" diameter offset nipple! It has 3/4 inch of offset in a 3 inch long configuration. Of course the need to clean it up and make it look good versus a cheapo home depot looking fix, I ground it up in spots, and then ground the threads down flush on both sides. then it was a case of measuring it against the hose, and getting the right length of hose for both ends. from the pics you can see there was some porting I had to do and one small spot a ported too much and had to patch it with some JB weld, no big deal. once assembled a good coat of gloss black using the 2K paint from Rustoleum with paint and primer together really works nice. then I worked on engine bay cleanup a tad where the turbo sits and can't be done once it is back on, and then lastly the push rod for the brakes. I got it down to where I have the exact right size, but it won't it in, unless I take the brake master back off, put the rod in, and then bolt it back down.....that is next time. Pics follow. Cheers!
-
The Rebello/BHD damper single groove pulley was made to tame the V07 Diesel stroker crank. I have one. works well. Make sure you blow out the holes before putting the bolts back in, it almost looks like the threads are galled from foreign matter being in the holes when you assembled it.
The cam should be able to be heated and straightened by a machine shop.
-
the work will outweigh the benefit.
-
it can seem like the page is dying off.....but we actually get new members every day, and if you scroll to the bottom and look at the numbers, we get a lot of visits daily.
-
2
-
-
10 bucks this guy is selling because his wife gave him an ultimatum. There is absolutely no reason to sell one having done this much work.
-
New to Z cars....man, I would buy a complete driving car, and buy the nicest one you can afford. You don't even know if the Z car bug is going to bite you or not. A project like this is for someone who has been a Dat-Head for a long time, has the room, the money to fund it, and wants a project to fix. The worst thing a guy can do is get a project car and tear it all to pieces. for 99% of the people out there, the project just becomes too big, too overwhelming. Fix things on a car a section at a time, and I would recommend buying a car that really doesn't need anything.....at the age of these cars, they will always need something as you go along.
-
1
-
-
one last thing to do. take all of that apart and paint and detail it, K member, everything, to include the engine compartment.
-
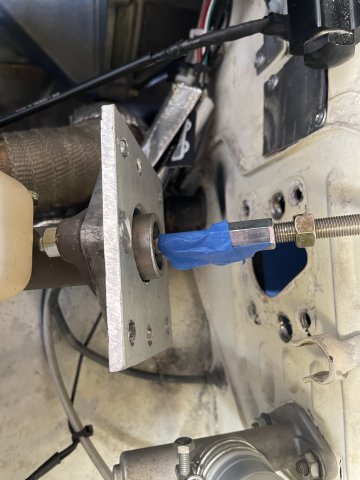
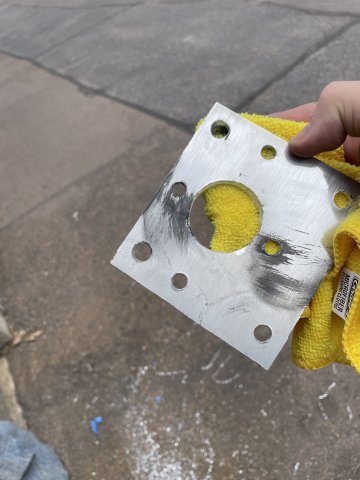
06-14-2025. I have decided to try out a manual brake master cylinder, i.e. no booster. If it doesn't work out I can put the booster back on......I researched into using the Chase Bays master cylinder that replaces the master cylinder and changes the pedal ratio from 3 or 4 to 1 to 6 to 1. In their instructions they talk about raising the master cylinder 1/2 inch. So I started reading about pedal ratios and come to find out....raising the hole on the pedal shaft 1/2 inch raises the pedal ratio to 6 or even 7 to 1! So, I got a piece of 1/4" thick aluminum plate and went about making a plate where the master cylinder was 1/2 inch raised fup from the center line. I then removed the pedal and drilled the hole 1/2" raised up for it, and I have an aftermarket rod setup, that I will have to cut down to use, but in playing around and albeit some yelling in pain I got the master back up and mounted with the new plate. I made sure to use my polishing wheel and some Mothers Mag wheel polish to give it some shine. It was a pain, and I am still fighting the brake pedal getting the bolt back in after getting the return spring on and then pushing it up and getting the big bolt through. the car is small and I am big, so there is some yelling going on, and coming out to wipe my face off and keep trying. I decided to stop here for the day and let my mind work on it mentally for a bit. Pics follow. Cheers!
-
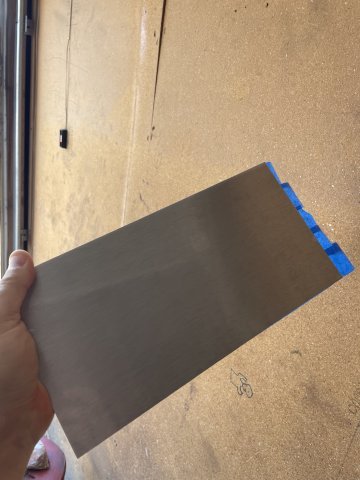
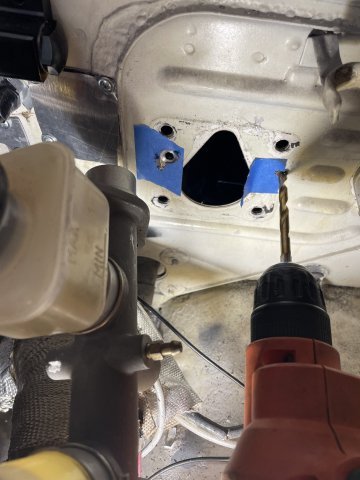
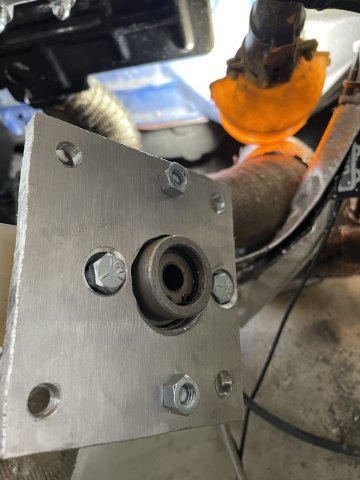
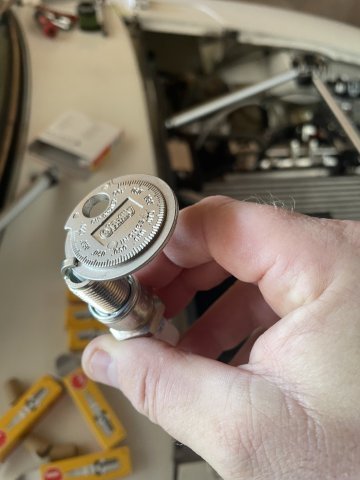
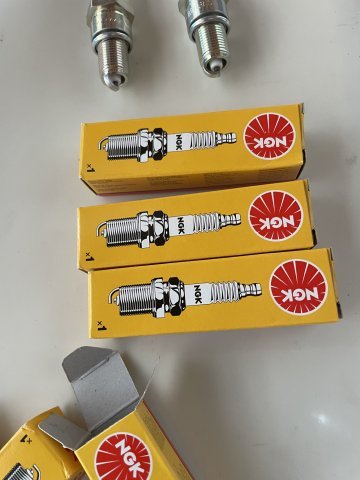
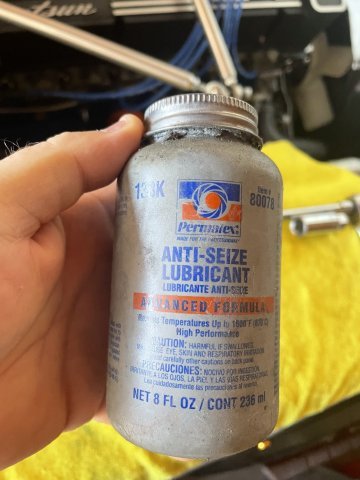
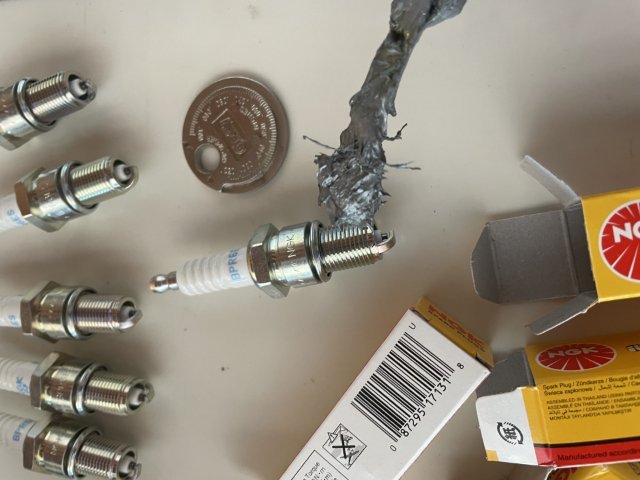
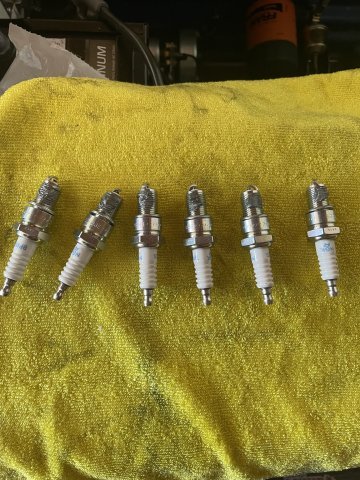
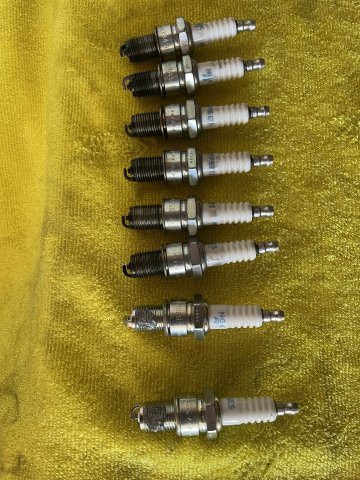
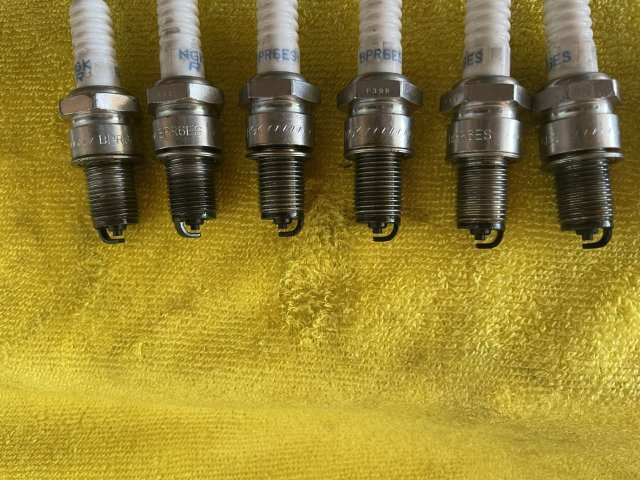
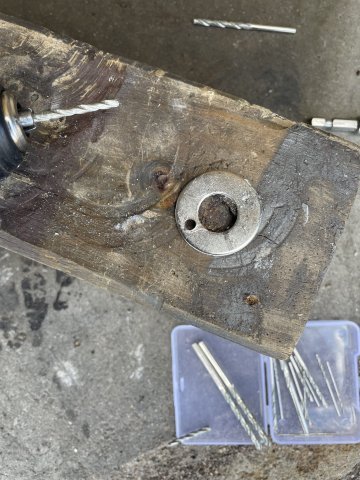
06-07-2025. More work on the Z car. Swapped out some fouled plugs for a new set of NGK BPR6ES plugs. Gapped at .032 and I put a daub on anti-seize on the threads to make them easier to take out eventually. Then I swapped out my thermostat, and started the car and it works! After that, a long item waiting project.....drilling a second set of holes in the stainless steel washers I use with my hood pins. They have 6/32 screws holding them in place. After getting everything on the engine sealed up, I started it and it smokes like an old 2 stroke SAAB. The back firing situation that blew my hoses off apparently blew out the carbon seals I had in my turbo, so the turbo had to come off so I can get it fixed. at the same time, I removed the brake master cylinder and booster. Initially I was going to eliminate the booster and enjoy all that space, but results are very mixed on doing that, save for the professional setup made by Chase Bays, that costs $750 for the master Cylinder and then you need flexible fines to go from the master cylinder to the proportioning valve. I have decided to re-drill mounting holes and move the booster and master cylinder over to the right about an inch. This will give me the much needed room to put in a heat shield between the master cylinder and the turbo and exhaust. To keep the pushrod for the brake booster straight, I will take a piece of thick steel and drill 2 holes, 1 inch apart with a hole drilled in one side where the original rod will go through with a nut on the front side that will be welded to the plate and then tack the rod flush with the steel plate. Then the other hole will be 1 inch over and will be where the clevis will hook on to the brake pedal leg. saves me some money, get to keep the nice brakes and look much better etc. in the engine bay. Pics follow. Cheers!
-
1
-
-
Im going to drill holes and move it 1 inch to the outside
-
Hey everybody,
I have removed the brake booster on my 1972 240Z.
Mainly because I need the room for my turbo, and since this is a weekend cruiser anyway, I don't really need it.
For those who have removed the booster but kept the stock master cylinder, where did you source the push rod that goes from the pedal to the master cylinder? Any lengths, etc. or advice would be greatly appreciated.
Thanks,
Joe


My Z car log....small jobs done and fun things
in S30 Series - 240z, 260z, 280z
Posted
odds and ends pics from today: