-
Posts
1094 -
Joined
-
Last visited
-
Days Won
37
Content Type
Profiles
Forums
Blogs
Events
Gallery
Downloads
Store
Everything posted by A to Z
-
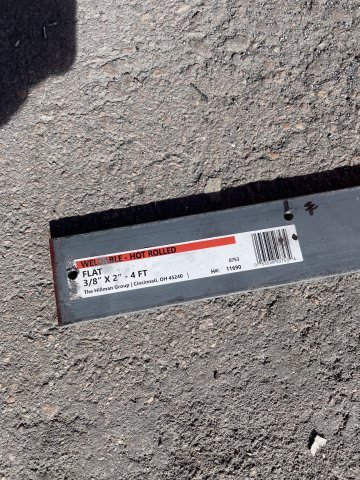
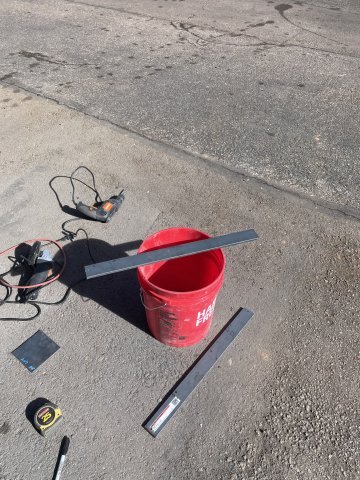
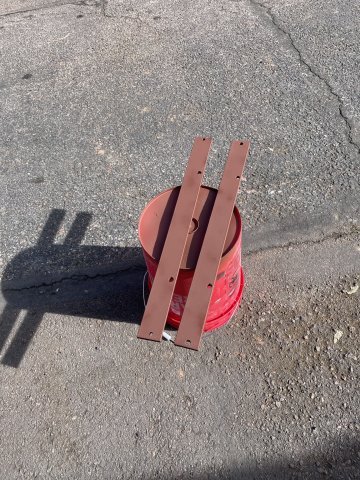
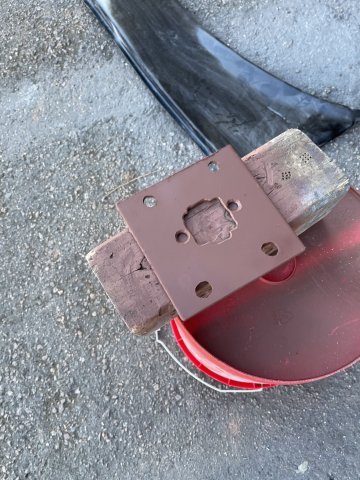
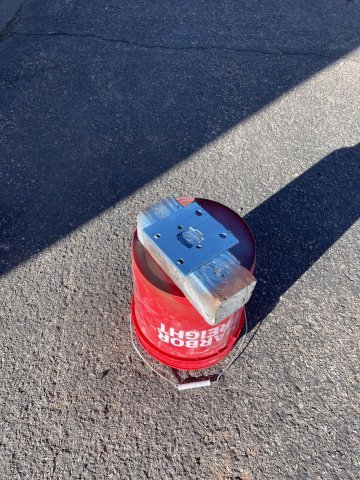
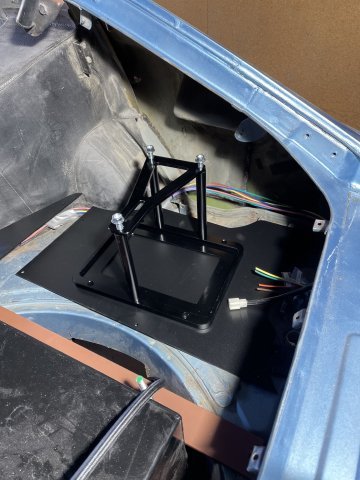
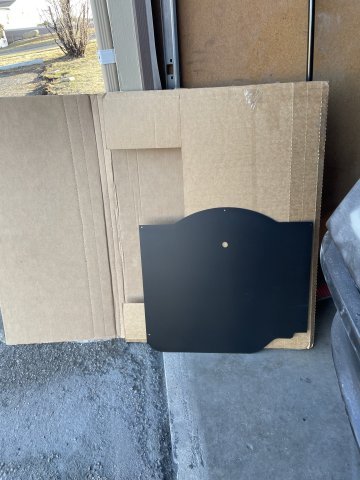
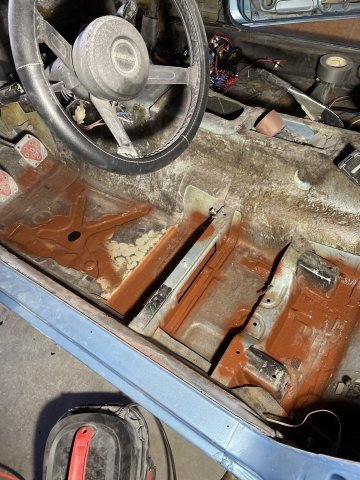
02-18-2026 ATLAS Z UPDATE: picked up my 1/4" thick steel plate for making the transmission mount, set out my seat belts for cleaning, and my rear strut tower brace from Apex and a Autopower Street rollbar from Motorsport Auto have arrived. So, I will decide what color I want to powdercoat stuff (gloss black of "polished aluminum") , and keep pressing forward. Will be COLD for a few days, so any work done will be indoor stuff. PICS:
-
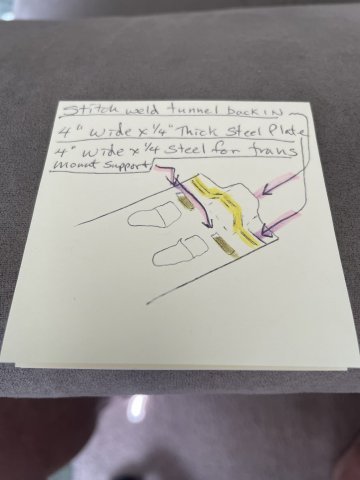
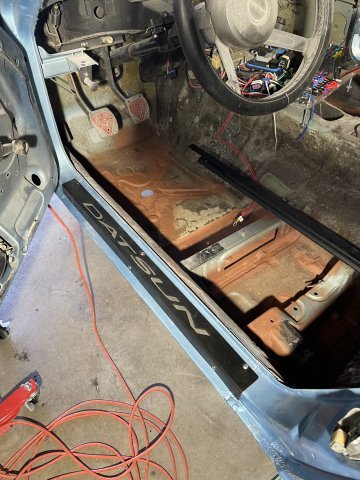
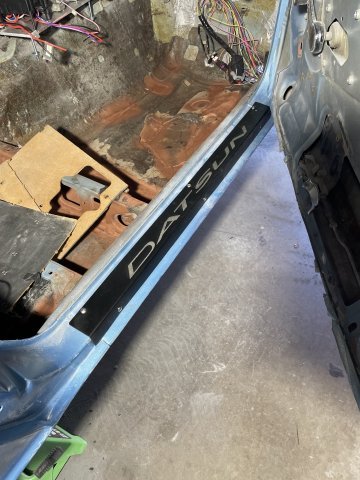
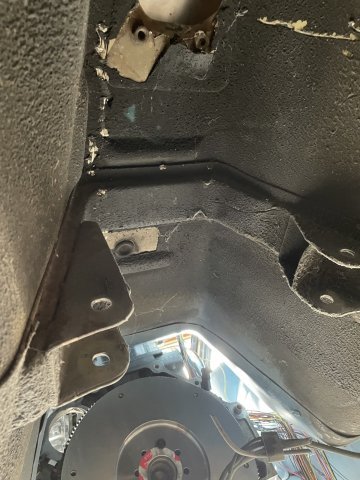
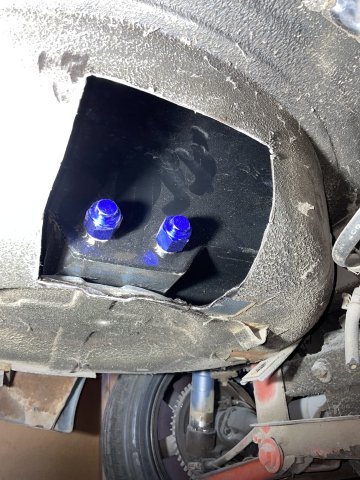
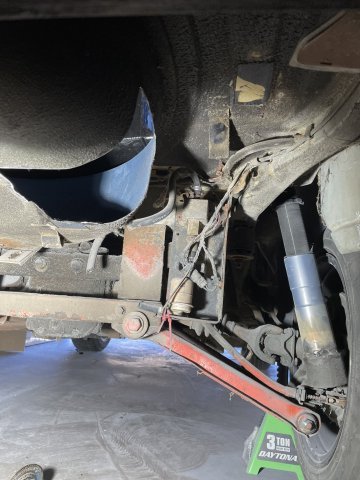
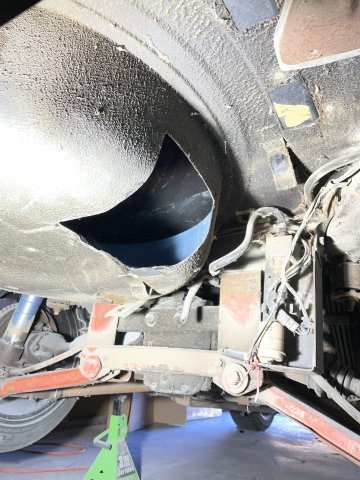
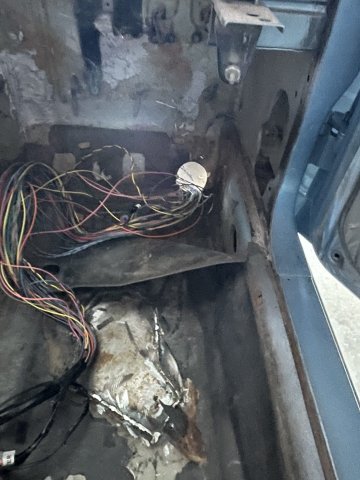
ATLAS Z: Sometimes, it's easier to remove the obstruction to get stuff in, then re-isntall and mod as necessary. As mentioned, I am reinforcing the tunnel and floor with a 4 inch wide steel plate from one side to the other, welded in at the door jamb on both sides, welded across the floor, up and over the tunnel, one solid weld. steel is 1.4" thick. Add a massive amount of reinforcement for the power level. When I re-welded my radiator support I did the same thing....took the time to reinforce it and make it stronger than before.......same concept your body uses when you break bone, it repairs larger and thicker. I showed the jack pick for shock value....hehe it was a last resort, and again, I didn't get UNDER it.........I had the trans on a jack all ready to go, so I just pushed it under there to it was in the well then lowered it back on to the jack stands.
-
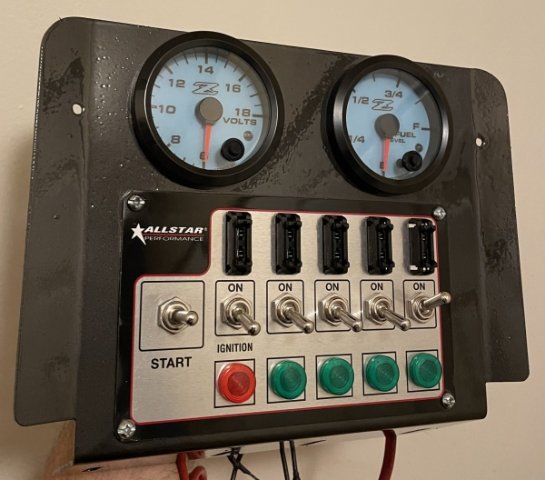
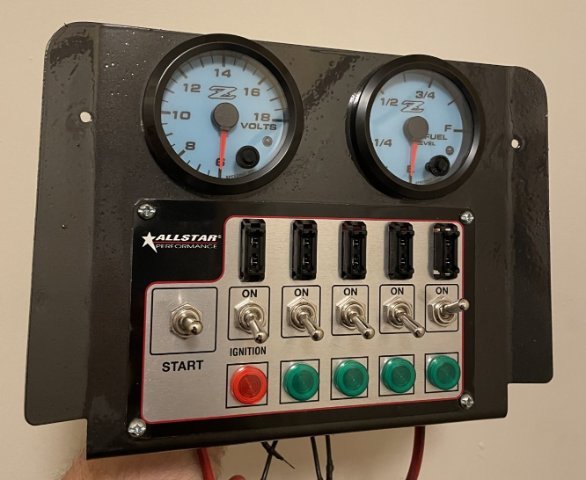
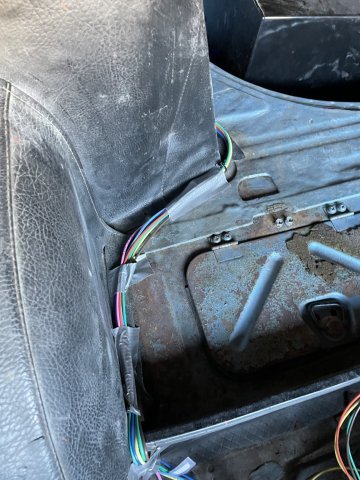
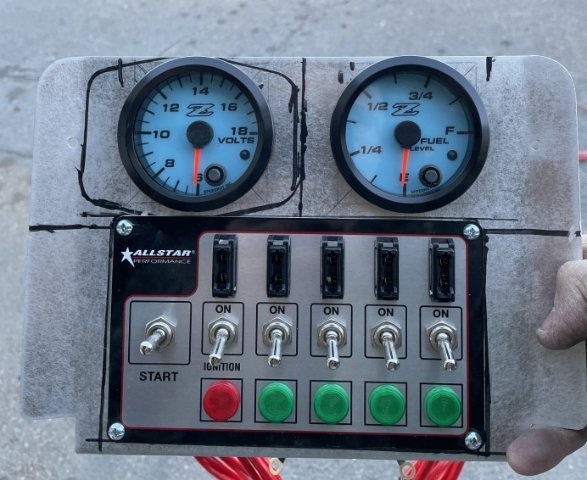
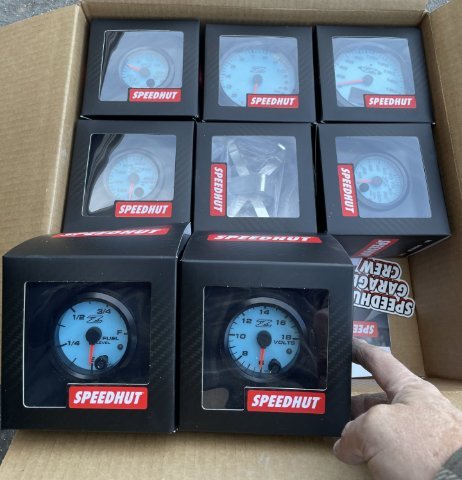
Dash cap is on! next is gauges and center section install. run the wires so once installed the wires are right there and can be easily wired. Speedo is GPS. Speedhut gauges. Made in USA, cost is like sending a kid to college
-
02-15-2026 ATLAS Z UPDATE: Started off pulling the plugs, putting the transmission in neutral and putting a wrench on the crank balancer. I wanted to ensure it turns over easily and thus I know that the trans is together correctly. It's perfect . I then swapped the AC Delco plugs it had for some NCK Iridium plugs as recommended on the 4200wiki pag., but put a daub of anti-seize on them. the old plugs were tough to get out! Dissimilar metals and all. Then I installed the coil packs and got them sitting in their flush. I then decided to grab the wire numbering book and start separating and numbering wires and then cut them at strategic points to cut back on the number of splices needed. after that I spend quite a lot of time pulling the wires out straightening them out, only for them to snarl again, So I then used tie wraps and not fully tight but enough to hold them and then I was able to separate them, move the majority of the wires that go on the driver's side over there just laying across the bellhousing behind the engine for now. Then I took some measurements to begin the process of making a trans mount. I then went ahead and drug out the dash and center console, and by a quick trial and error was able to cut out the floor of the console, leaving a lip around the edge so I can make a metal floor to put in there with some nice finished bolts and paint the metal, probably a matching hammertone black like the dash center I did earlier. Then I took the dash, the gauges, and the cover inside and then cleaned up the dash with Lysol cleaning wipes and then took the tube of Silicone the cover come with, and having done this before I remember how to do it. You want to ensure the silicone is in the places with direct contact, around the gauge faces in the deep pockets, etc. After that, it is a process of using duct tape and pushing to get the cover on tight and then the duct tape pulled tight to hold it tight overnight. It looks funny, but one of the last pics shows how I grabbed whatever was around with some weight to it to put on the top to assist the tape. Tomorrow I can pull the tape off and it will be ready for gauges, God willing. PICS:
-
I don't really want to. I want to make this work. Thanks.
-
Anyone have any experience getting a custom driveshaft with CV joints? That is the way forward for me.
-
steeper driveshaft angle. U joints will have a short life. Oh well!
-
02-14-2026 Happy Valentines Day! Today I got the transmission in. Took a long time. I left the pilot bearing in the freezer overnight, and I was able to tap it in easy. After I installed the clutch and made sure to use the ARP lube on the bolts, I started prepping the trans tunnel. I had to cut off the factory trans ears and grind them smooth and gave them a quick coat of paint. Then the hard part started. After trying and trying, I realized the trans tunnel just wasn't going to let it happen.....so I started cutting it out from the firewall back about a foot or so, then more and more..... little at a time, as I needed the room. I did keep the pieces cut out, As I will cut and modify and have a mobile welder come and weld them back in AND while here weld a thick steel flat plate about 3-4 inches wide the trans area and passenger floors to add more reinforcement for the power level of the engine. I was able to use a floor jack and level the engine up, and now you can see in some of the pics, what it looks like level.....yeah, dusty but you can still see it. My center console will be modded with the center floor cut out leaving a small ledge on both sides so I can make a custom aluminum floor. The shifter mechanism will be left fully exposed, I love look. It makes the shifter throws SO SHORT! So, big day. All in, now need a trans mount underneath that will bolt through the floor into plates to hold it, the reinforcement plates across, and eventual console mod. I got VERY dirty! Cheers! PICS:
-
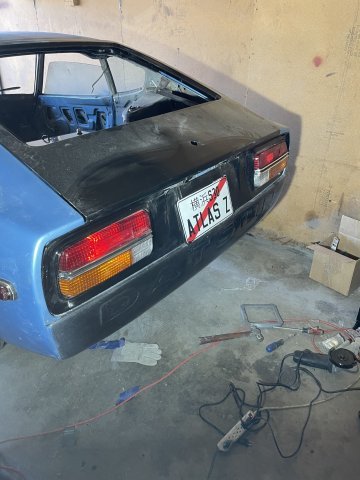
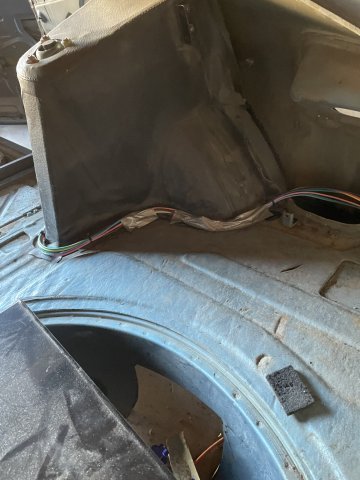
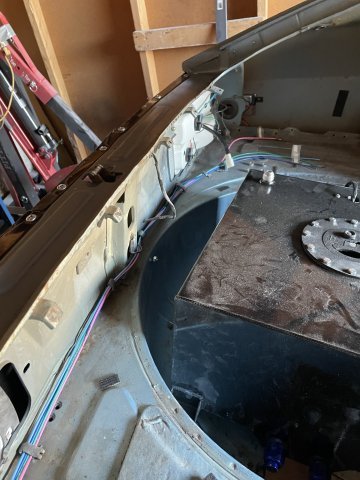
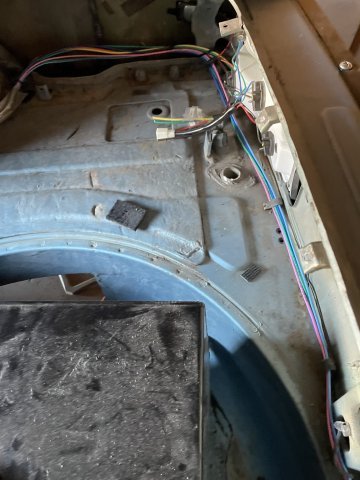
License plate light from Amazon arrived. mount and tie in and the electric for the back half of the car shell is done. fuel system still will have to be finished.
-

280z 1jz track build from a pile of parts
A to Z replied to flatout's topic in S30 Series - 240z, 260z, 280z
dedicated track car with this one seems like such a waste. I would hope you could get some plates on it and race it and drive it on the street. Turning out way too nice to relegate it to the track only. AWESOME! So glad to hear that. -

280z 1jz track build from a pile of parts
A to Z replied to flatout's topic in S30 Series - 240z, 260z, 280z
dedicated track car with this one seems like such a waste. I would hope you could get some plates on it and race it and drive it on the street. Turning out way too nice to relegate it to the track only. -
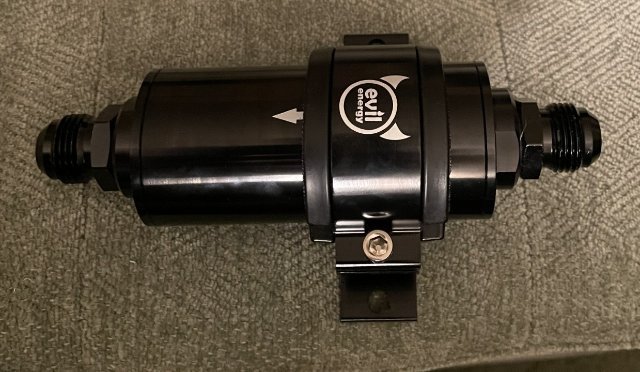
02-11-2026 ATLAS Z update: I got back half of the car all wired in except for a license plate light I am waiting for it to arrive. pretty cool LED unit I found on Amazon for 8 bucks. Got the headlights almost in. I always have a problem with this job. I had to break out the angle grinder and mod to get the driver's in....unsure so far far with the passenger one. Strange..... it REALLY fought me. I also got the 10AN line between my main filter and pump in, so it is ready for installation. PTFE lines take some work.
-
-
02-08-2026 UPDATE. Today I completed further work on the fuel system. It is on a sheet of metal that will be hung from the ceiling down on all thread to where the pumps are horizontal facing the floor and a tad bit lower that the fuel cell outlet so gravity flow will be good. I then took all of my interior panels I have out except he center console, and cleaned them up and painted them with SEM interior paint....Landau Black....which was referred to me years ago and really is a perfect shade and everything for these old Z cars. After they had dried, I quickly installed them a little bit, not fully, but enough for them to be in place, and then finished leveling up my fuel cell and bolted it all down. I am having some problems with the pilot bearing for the trans.....it appears I will need a sleeve or perhaps a bearing with a larger O.D. as the ATLAS, never came with a manual trans, and the well for the pilot bearing is roughly twice that of the bearing I have here that I strangely was told to use. So, I am working that problem out. I also went and installed the door handles and door locks, a bit more work in the doors, and they will be ready to be sealed up. Also got the lock mechanism into the hatch lid, but none of the rest of it. I painted the seat brackets on the floor in anticipation of a rather soon to come re-entry of the seats, which are fully reupholstered. PICS:
-
02-06-2026. ATLAS Z update: my FabBot 4 inch back relocated shifter for my AR5 came in today. Very nice billet construction. Doesn't appear to need a gasket and it came with nice socket head bolts. Also got my RAM clutch pedal adjuster. This allows you to adjust where your clutch pedal takes up or if it takes up too high, this will allow you to adjust it so it takes up where you want it to. This is for hydraulic throw out bearing setups that are in the bellhousing. PICS:
-
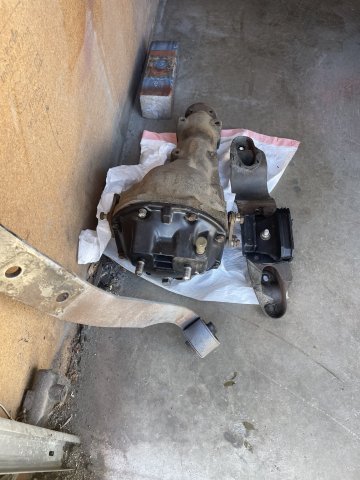
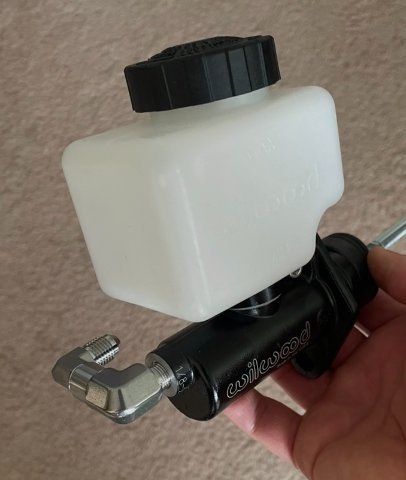
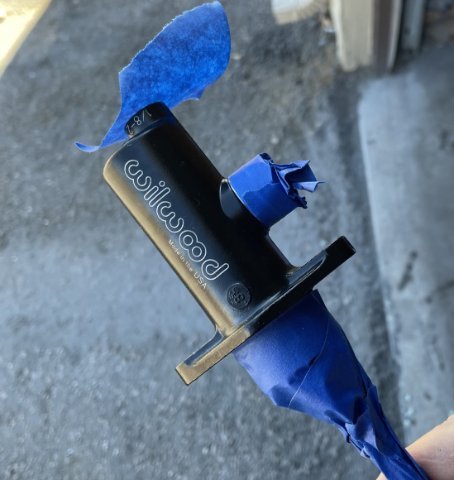
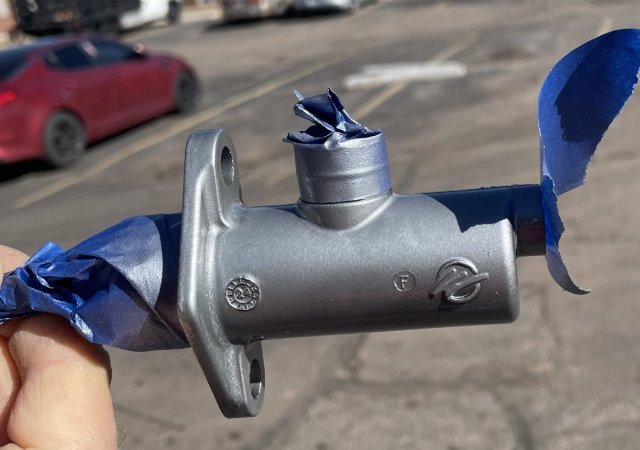
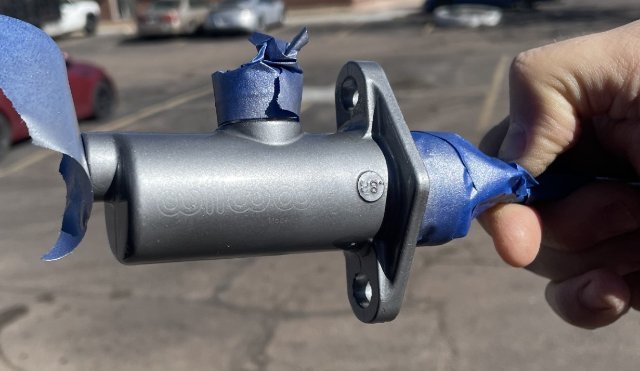
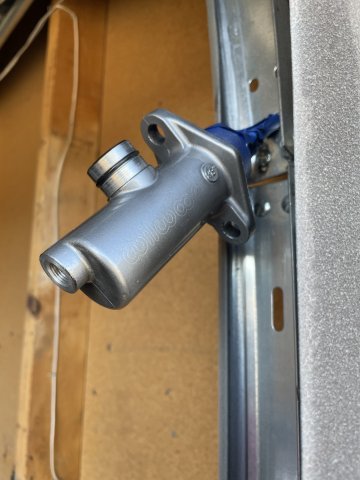
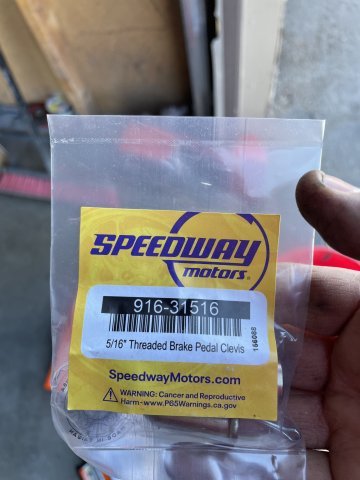
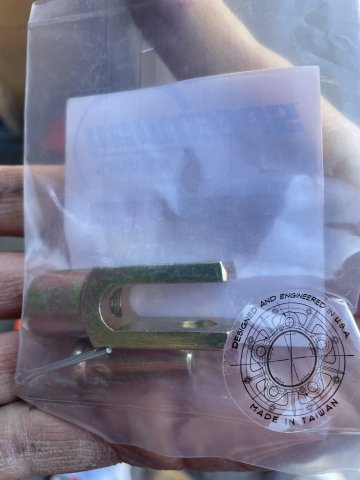
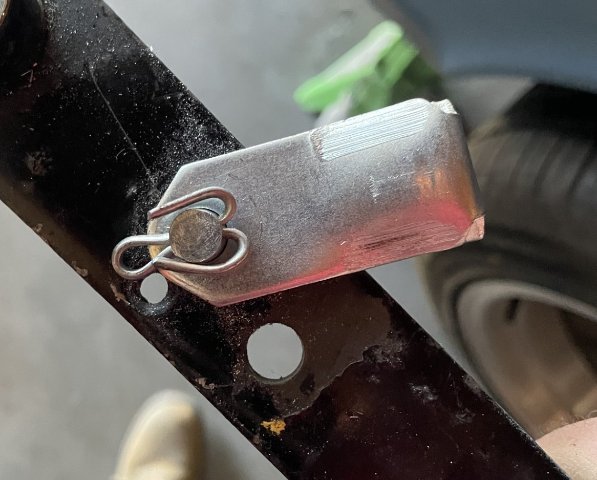
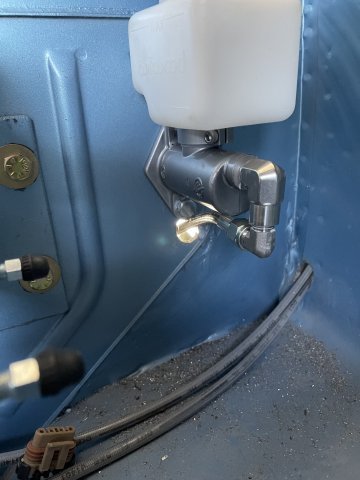
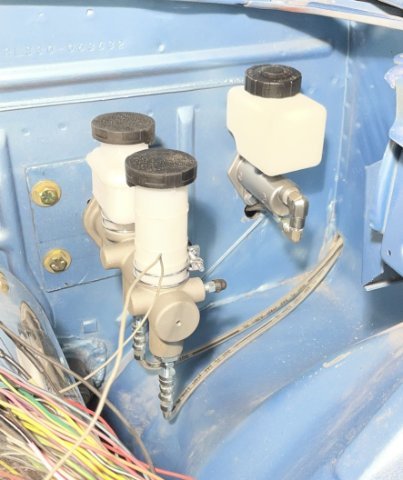
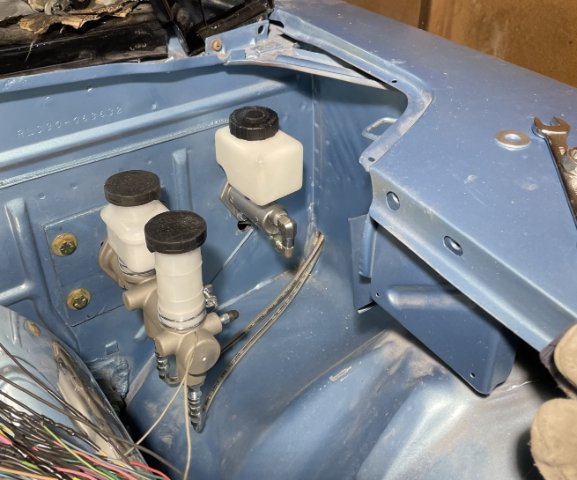
02-05-2026. ATLAS Z UPDATE. I got up early and got on the road. I went to Junkyard Jenny's in Ft. Lupton, about 110 miles one way and bought a R200 rear out of a 1978 280Z manual trans that she got in. Less than 100K original miles and she inspected it and said it is VERY nice inside. So, I got the diff, the mustache bar, and the front mounting parts. I ordered a new gasket rom Eric at Z Car Depot, and will paint it up and install later....after the trans is in. then teh driveshaft . It's an open diff with 3:54 gears! Exactly what I wanted. I ASSUMED my late 74 came with an R200, but when I looked under there, a greasy R180 stared back at me! . If you are in the Colorado springs area and want a free R180 let me know. I took my Wilwood clutch master.....I got from Godzilla Raceworks, and masked it off, wiped it down with alcohol and applied several thin coats of silver engine paint. Why? to match the brake master and the color palette in the engine bay. You will also notice I used stainless fittings to get the hookup for the clutch line that I brought in from the cabin to the master nice and clean. On the brake side, I got the Master mounted up to my adaptor plate I finished yesterday and mounted it up requiring me to remove the clutch and brake pedals, move the clevis point on the brakes up 1 inch for a better pedal ratio as I eliminated the brake booster (I did this on my 240Z, so it was quick and easy). Once I got everything bolted up, I was able to adjust my brake pedal height, but ran out of time and daylight for the clutch side. I need to get a replacement locknut for the clutch master rod as I cant find the one it had.....and then use the Speedway threaded clevis and pin, which is larger diameter, and that is why I pulled the pedal and drilled it out. In the pics, you can see I achieved the clean install I wanted. I loosened the clamps holding the master cylinders and moved them, etc. little things to make it look even cleaner. I will plug the remaining "slop" in the holes drilled and paint with a Q tip to finish it off, but I have kept the shaved firewall. Yeah, I am happy. Not too bad for a big bumper 260Z.
-
02-04-2026 more work on the ATLAS Z. I got the adaptor plate for the brake master done, more progress on the fuel cell, and unpacked some stuff. Pics follow:
-
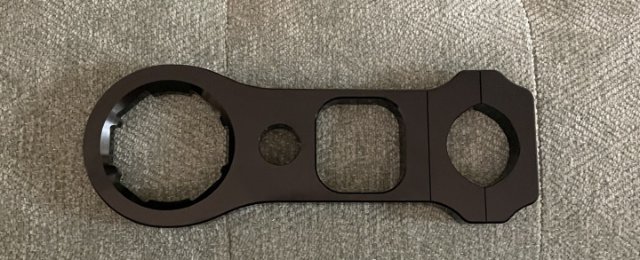
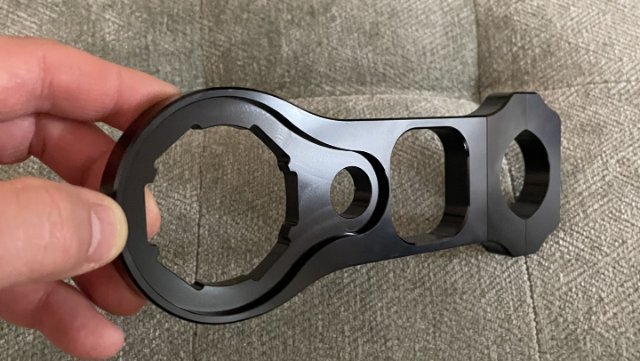
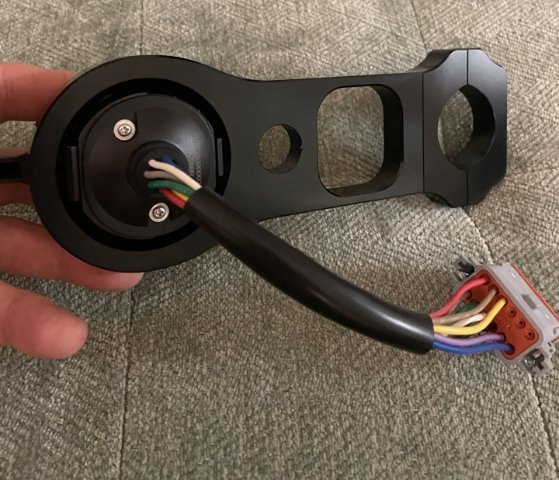
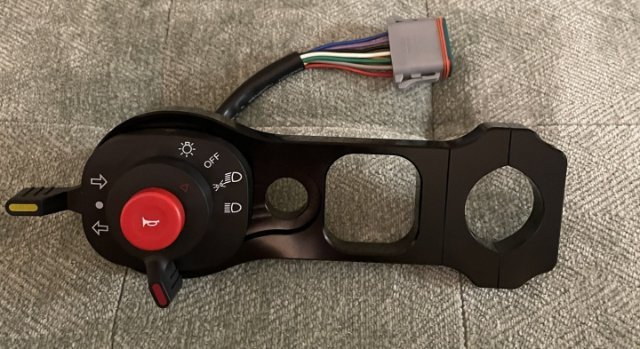
I got my billet column adaptor for my raceware turn signal lighting and horn control. Not too shabby.
-
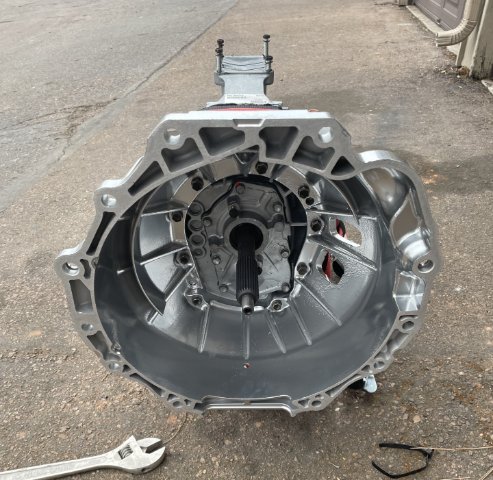
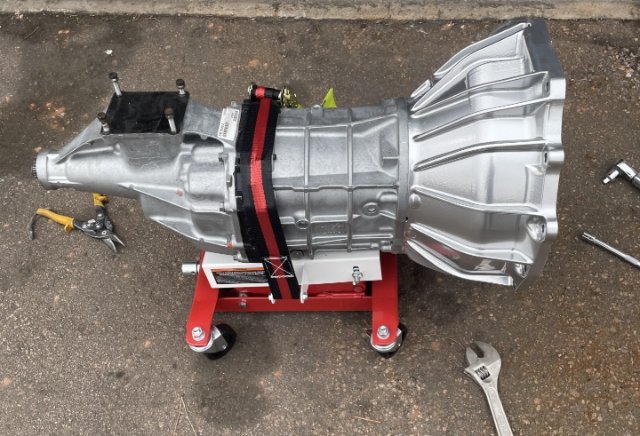
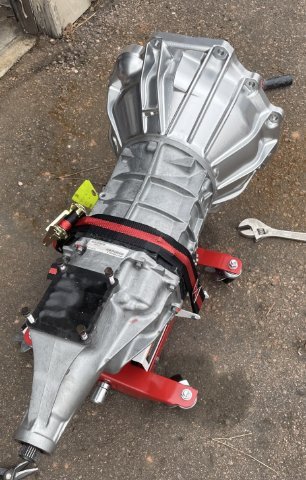
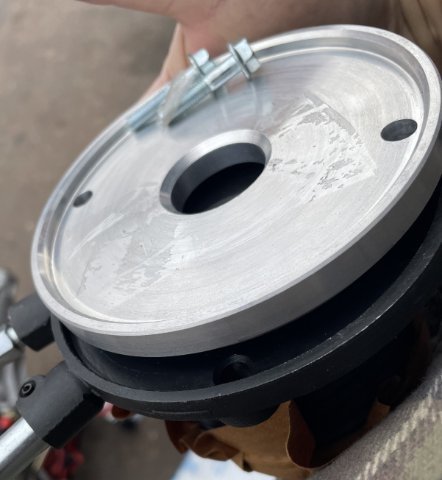
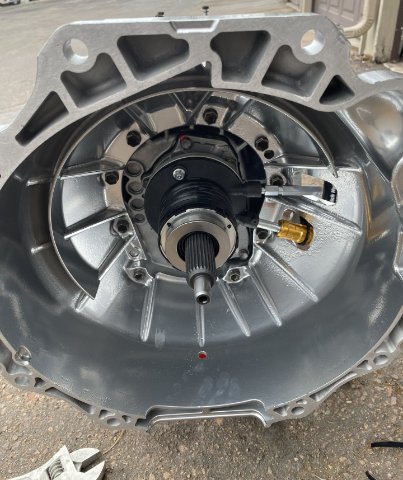
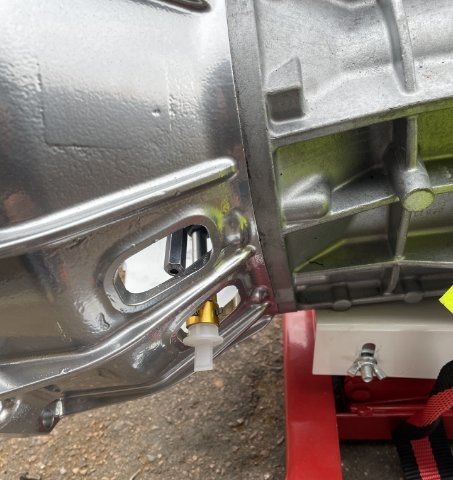
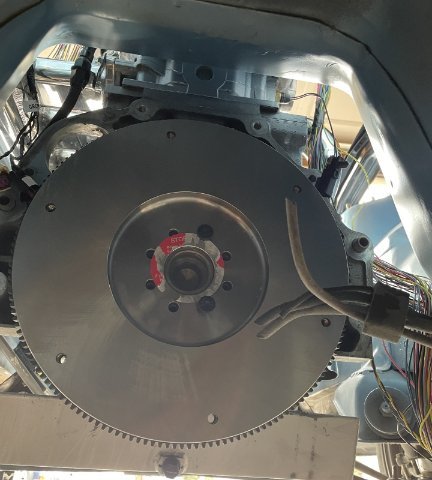
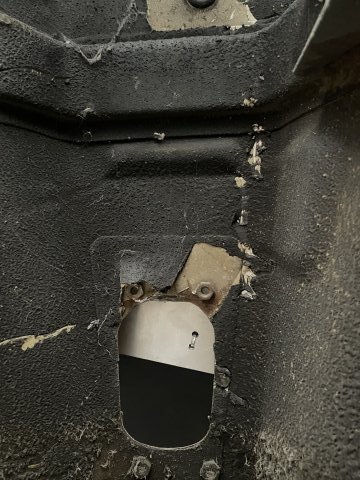
02-02-2026 UPDATE. Happy Groundhog Day! Well, it's time to get that transmission in! It is a completely remanufactured GM / Aisin AR5 for a 2003-2009 Chevy Colorado 2WD pickup. These are TOUGH and the bonus is, it bolts right up to the ATLAS engine without an adaptor plate. The 6 cylinders never came with a manual trans, and so I am doing this. I got my powder coated bellhousing on and torqued down, installed a new Hydraulic throw-out bearing with the spacer from Emtech, which is needed with their flywheel. Then I took the flywheel, which comes from Emtech, but are made for them by RAM and held it up and used a couple bolts to hold it on. 29.1 lbs., so pretty heavy, but the ridge in the center of the crank helped hold it up while I got the 2 bolts started. Thanks to RAM for putting a sticker on the flywheel that does NOT want to come off! next is install my Pilot bearing, torque the flywheel on at 70 lb/ft with the blue install fluid on the threads, which is considered necessary by ARP hardware for their fittings. I added 2 pics that show where I will have to make a new hole for my shifter, as this trans is 4-5 inches shorter, and a pic showing the factory trans mount ears in the trans tunnel I have to chop off and grind smooth. not bad for 2 hours work. BIG jump forward.
-
-
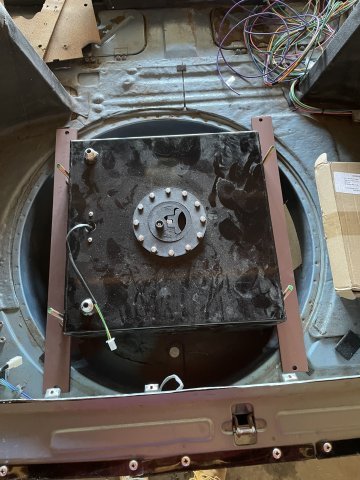
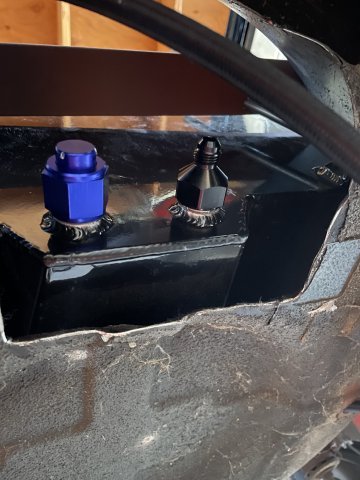
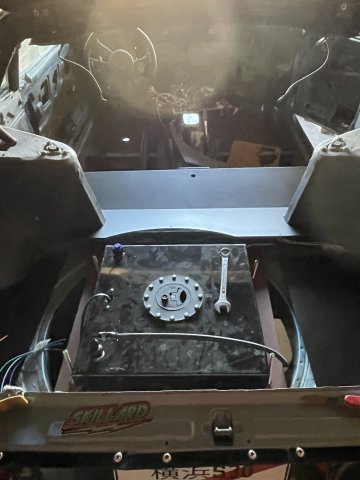
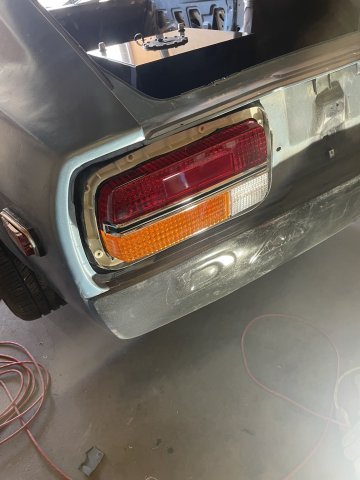
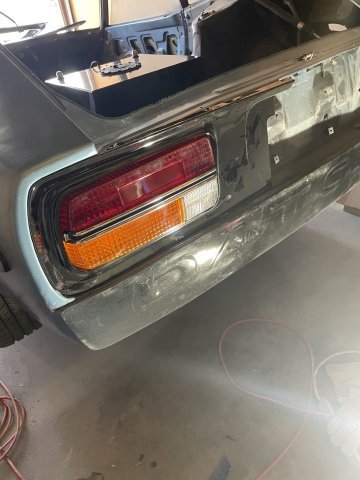
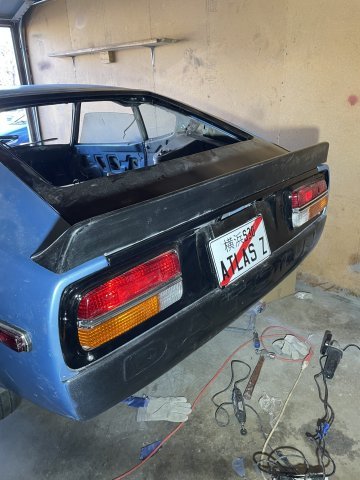
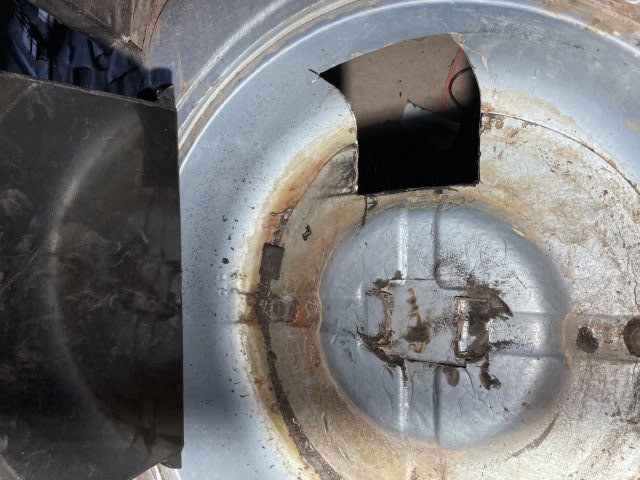
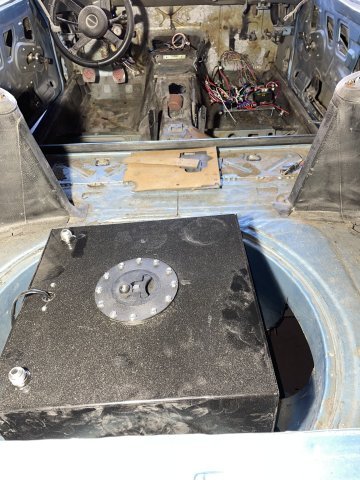
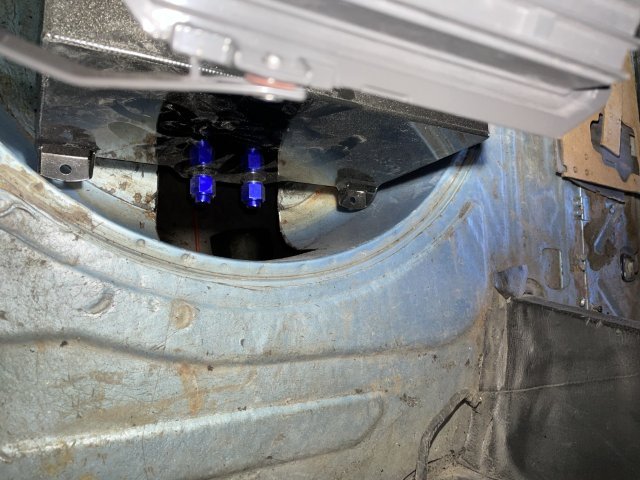
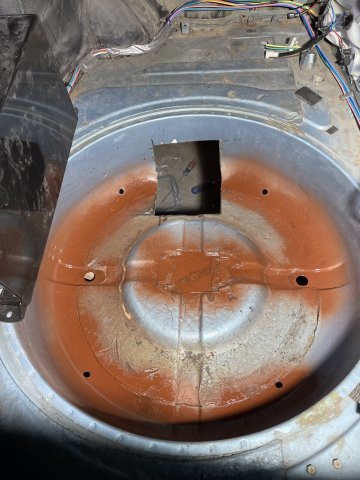
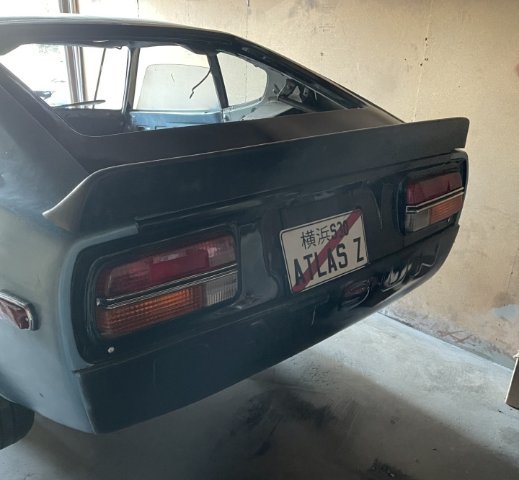
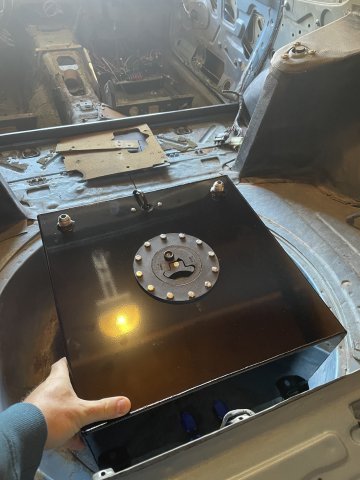
01-31-2026 UPDATE: I cut and modded the rear taillight panel and fitted some new reproduction euro style 240Z taillights and some factory covers I bought a while back that I had powdercoated gloss black. After that I attached the second hatch shock by drilling and tapping for it and then attached the MSA fiberglass rear spoiler. Then I cut the hole needed to access the fuel line hookups on the Evil Energy 10 gallon fuel cell. I turned it 90 degrees, as there wasn't enough rwork room underneath to have it facing back, and its much better as I now have a ton of room under there for setting up my whole fuel pump and filters setup. Then I wired the back half of the car, I will go back and make up the connections on the end later. I rustoleum primed the areas in the spare tire well and floors that needed it and then filed out the remaining holes on my dash center section so the gauges would sit in it the way I wanted them to. The rear taillight surround was the item that really fought me today. In particular the center section for the license plate. I ended up having to spend quite a bit of time modding it to make it look the way I wanted it to. The fuel cell isn't completely level yet as my 3/8" All Thread hasn't arrived yet. The all thread will attach at the feet on he bottom of the fuel cell and the bottom of the spare tire well. then at the top I have some 3/16" thick steel plates I will drill holes in for the all thread to level the tank up and drill holes to attach it through the floor on the ends. Pics follow.
-
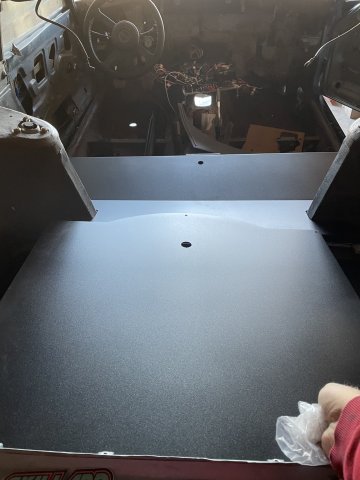
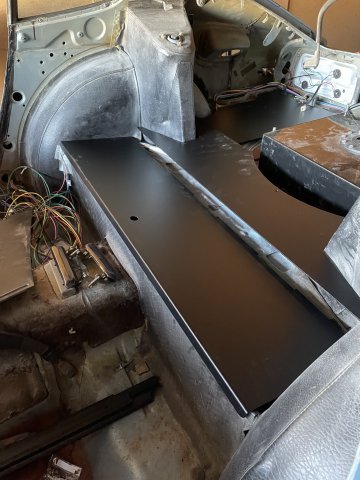
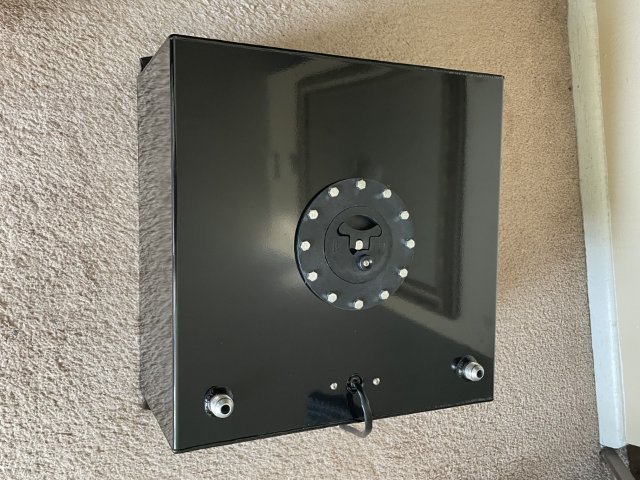
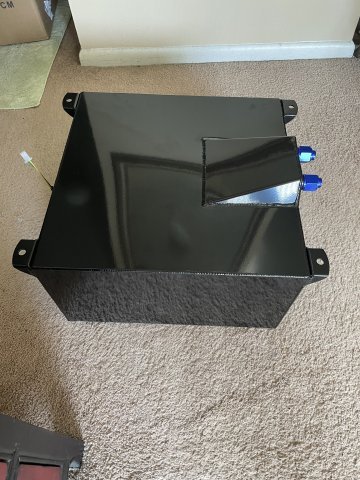
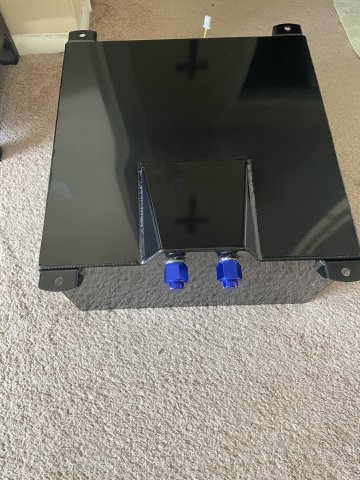
10 gallon fuel cell from evil energy arrived. it fits! very nice quality. Last pic is from the Skillard site, but I just bought this floor and will be using it with this fuel cell and a battery box.
-
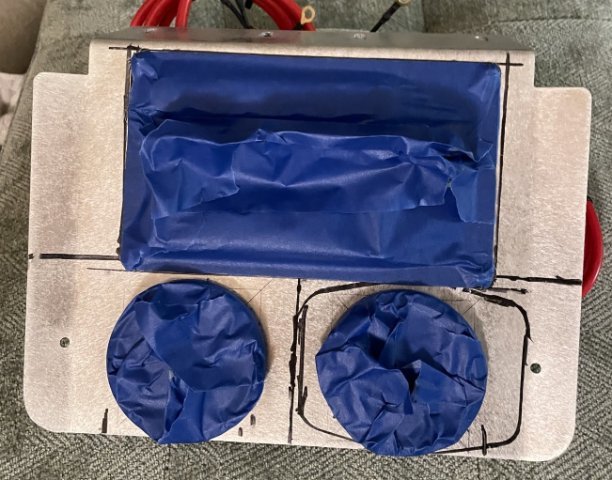
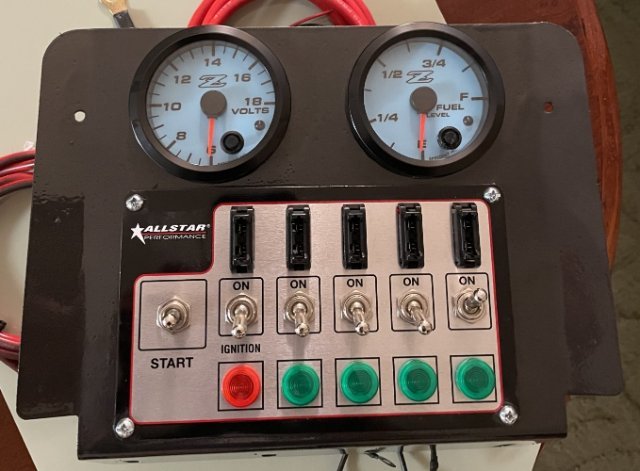
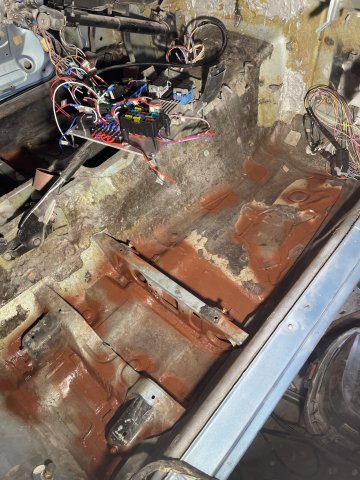
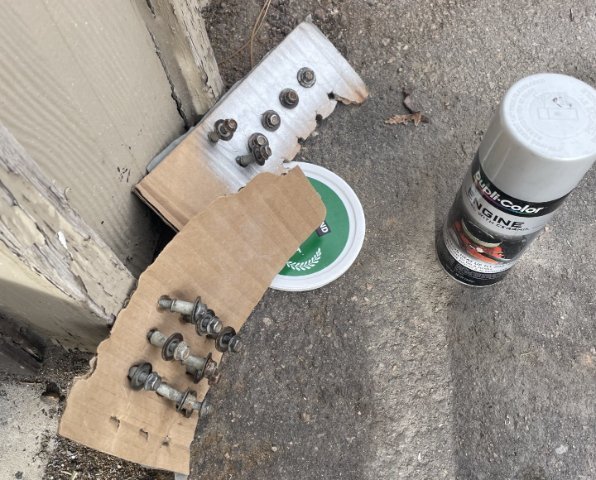
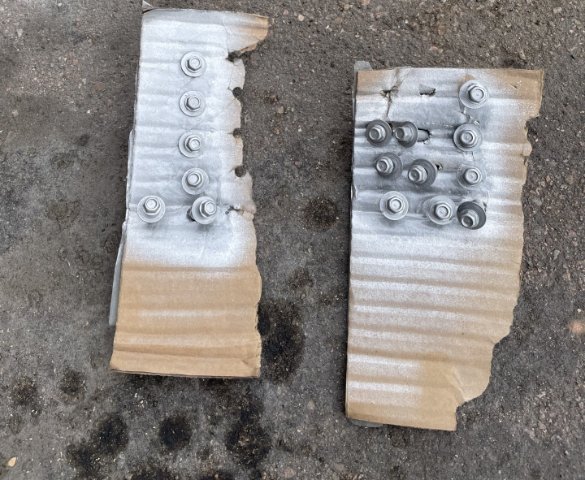
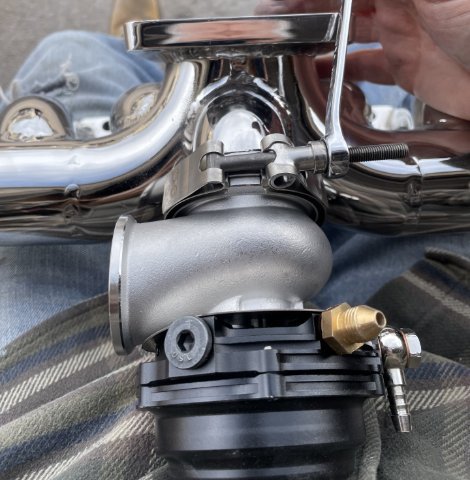
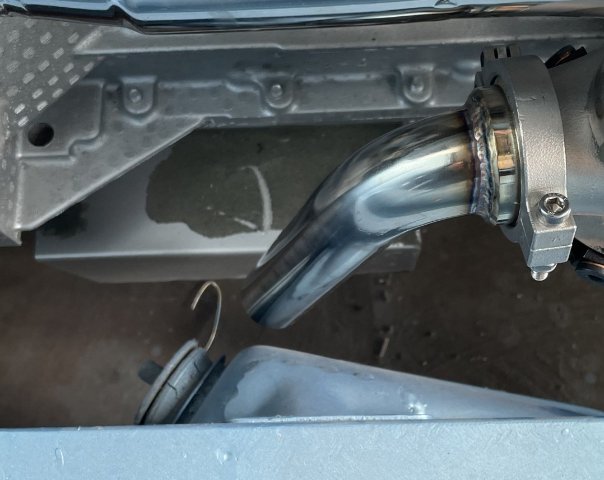
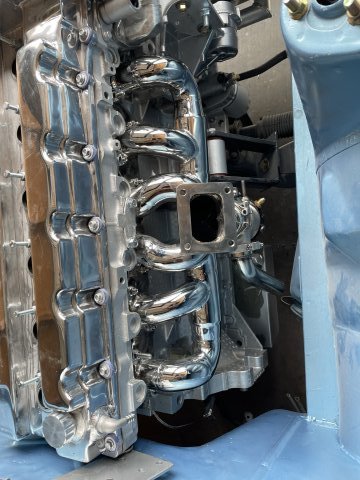
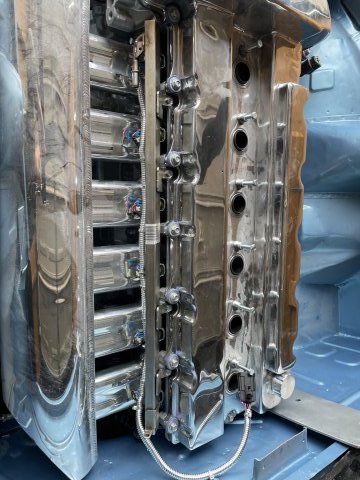
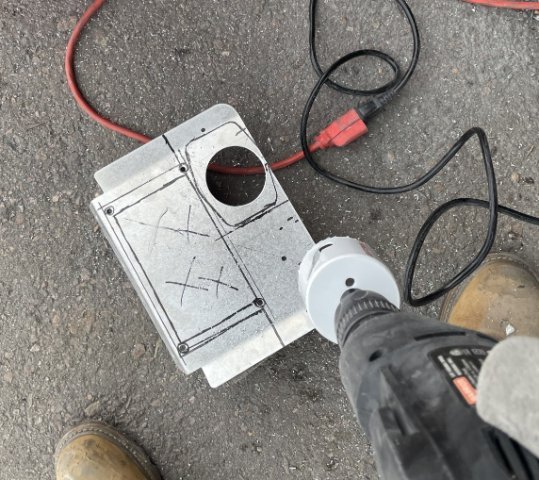
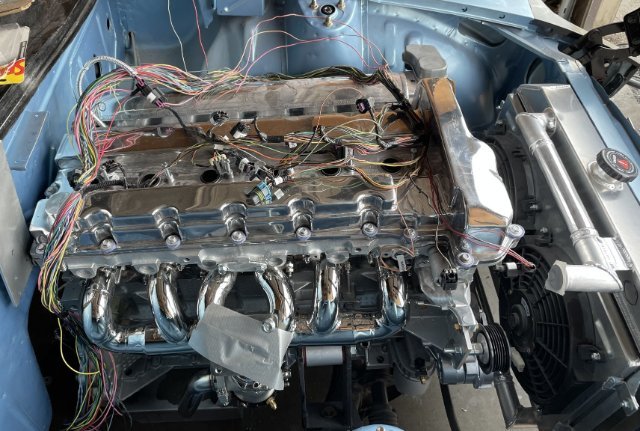
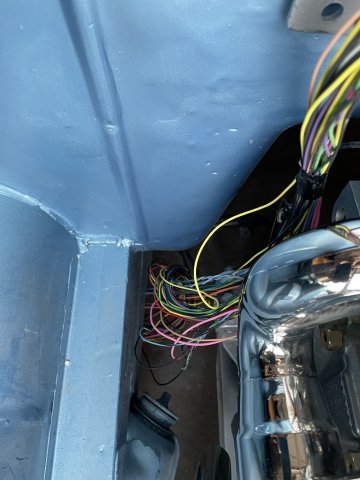
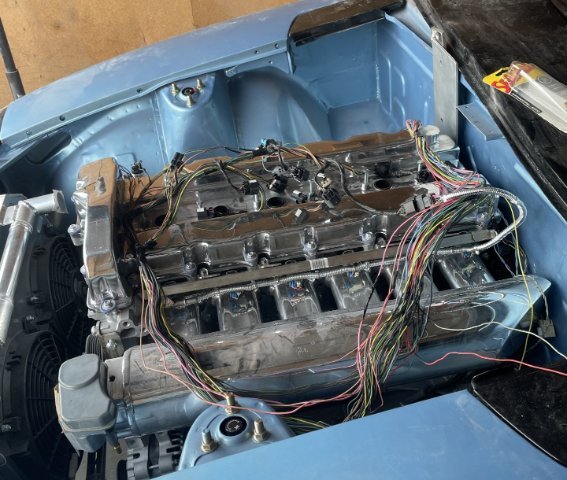
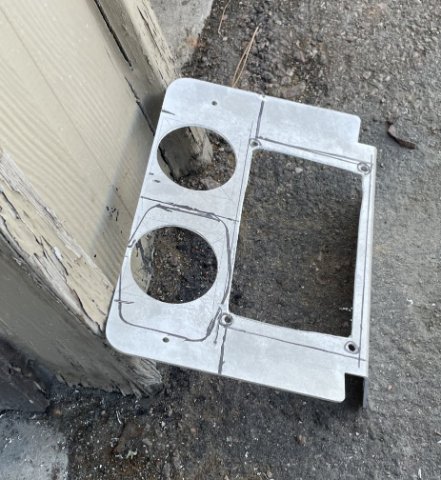
01-28-2026. Productive day. I got the remaining valve cover bolts cleaned up and painted, then installed. I then also got the fitting for the catch can installed. I drilled the access hole and got the engine wiring stand along harness laid out on the engine a couple things plugged in and fed the large end into the cabin and then set the electrical panel on tint genreal area of where it will be installed later. I also went ahead and installed the injectors and rail and pulled the header off, installed the stud kit from Atlas Industries..... installed the wastegate on to the header along with the down pipe and then got it all back on to the engine and torqued down. I took the bolts I have for holding the turbo down and turned them into studs and now I just need another turbo gasket and I can install it and be done with that. I was able to re-clock the center section, so when I get to it, I can get the oil feed and drain installed. I had enough time to get the holes cut out for my dash center panel, and with the gauges and toggle switch I can get that all assembled after I give the panel a coat of paint. Pics follow. Cheers!
-
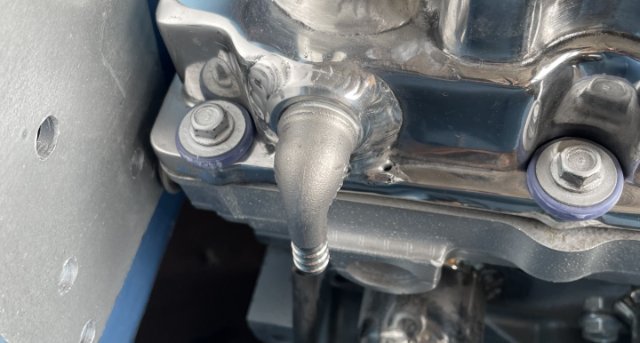
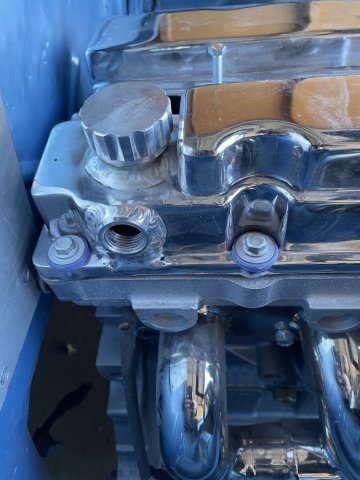
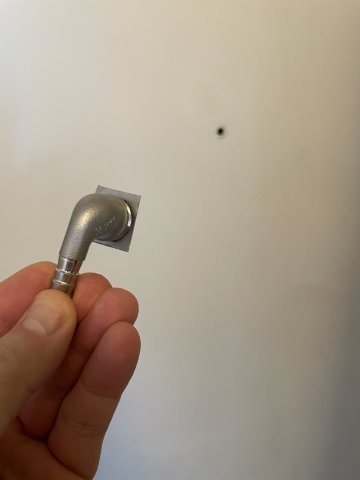
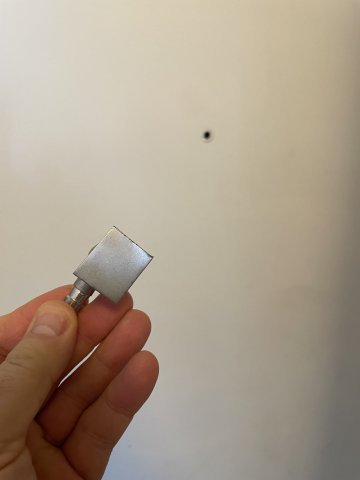
I got out to the garage for a couple hours today, and I fixed the valve cover. My original baffle for the port feeding my catch can wasn't clearing....I put off fixing it forever. Well, I am now at the point that I need it fixed now to keep working forward. So, Today I grinded it all out & cleaned it up and got the valve cover down now permanently. The location when I installed the port was against the cam and cam tower. So, What I am doing to fix it, is JB welding a steel plate on the tip of my threaded and cut down bung. Once the JB Weld is cured, I will grind it down to the same diameter as the threads, and bevel the tip, and then drill a few small holes in it. Enough to hold the oil back but the vapor can get through. My catch can is such it is easy to unscrew, pour the oil back in and screw it back on anyway.
-
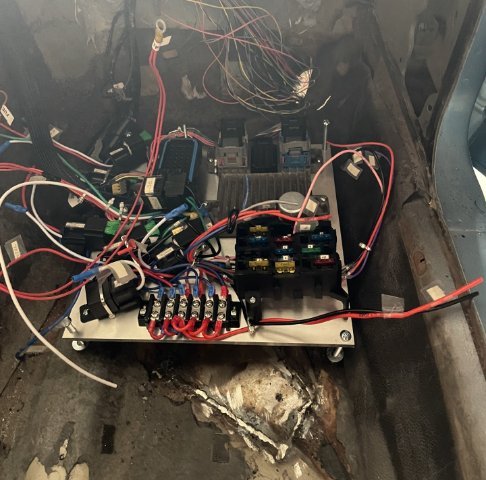
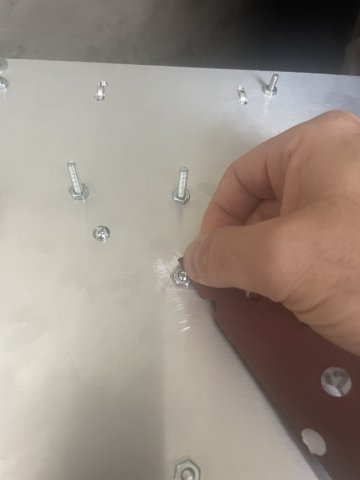
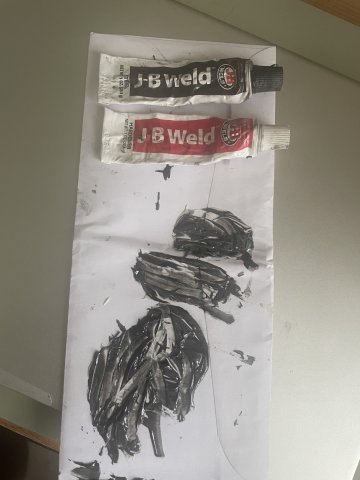
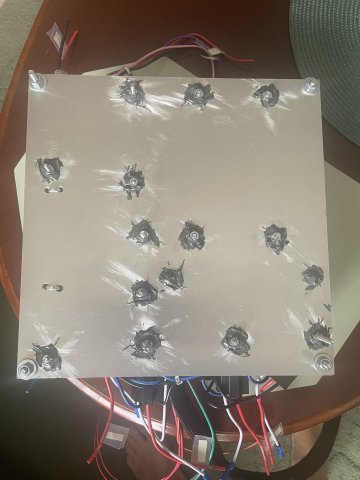
01-25-2026. Winter weather continues! And so, the work I can do inside for the 4200 swapped 260Z.....continues God willing. I flipped my electrical "Central Station" over and sanded the aluminum around each nut and sides of the nuts down to make it so the JB will stick and then coated them to make the nuts permanent. The idea being, I don't want to have to lift this back off once installed. PICS:


