

A to Z
-
Posts
896 -
Joined
-
Last visited
-
Days Won
14
Content Type
Profiles
Forums
Blogs
Events
Gallery
Downloads
Store
Posts posted by A to Z
-
-
Please, pics!
-
I don't know if you have ridden in modified Z cars, but 240Z's are LIGHT. 320 to the wheels it's basically a widow maker. Overkill on power is overkill on power. You reach a point where more power is useless, as you can't put it down, and the car is already dangerous as-is. It's a street car. With the power level you are talking about, additional bracing is necessary in the subframe and rails. Do you like reliability? Stock=reliability, modifying it for 40-50 horsepower could take away the reliability. stock 370Z engine is fine power wise bone stock for a 240Z. A lot of the modern cars with all the horsepwoer....that's in a car that weights OVER 4000 pounds. 2 tons. Completely different deal. Your weight is about half of those. Be sensible. Live Longer. And this setup....stock brakes are NOT good enough, nor is a stock suspension.
-
 1
1
-
 1
1
-
-
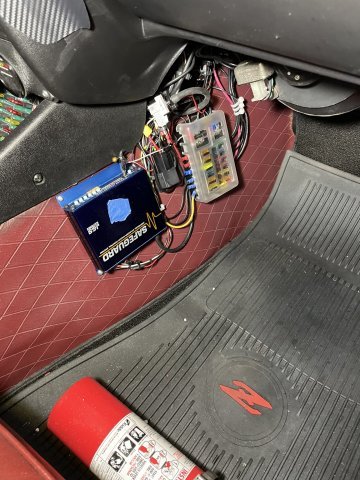
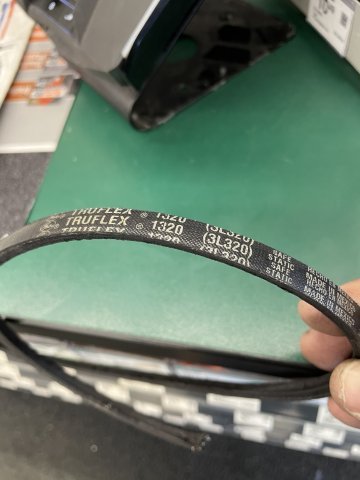
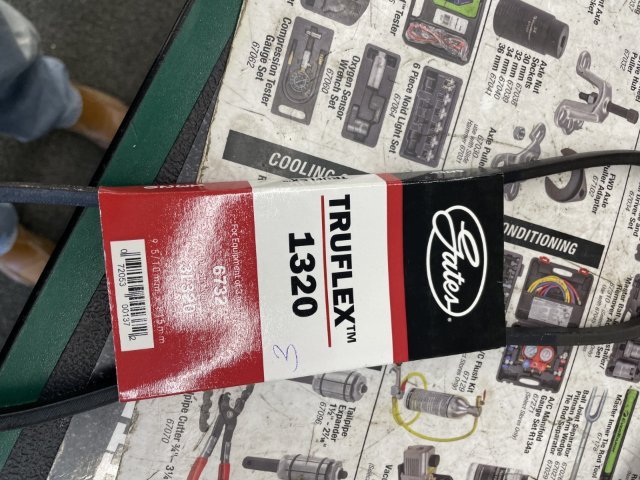
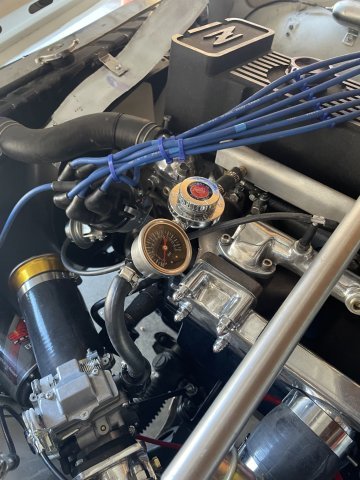
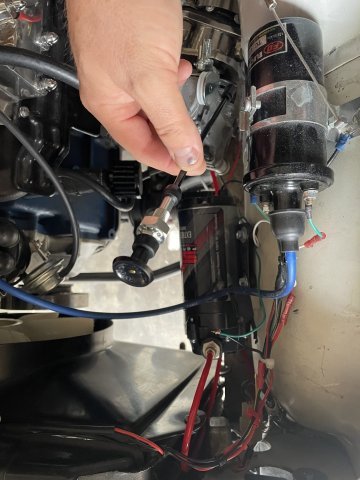
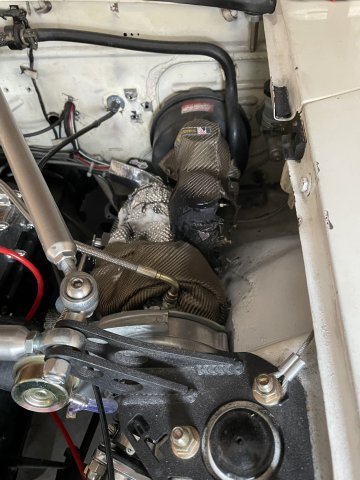
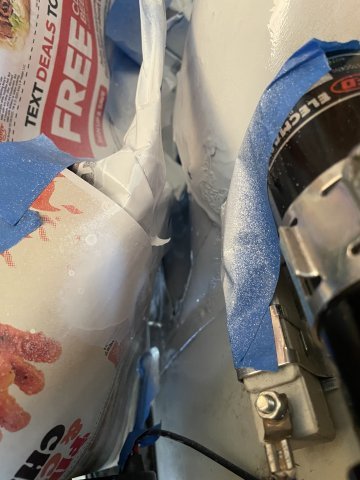
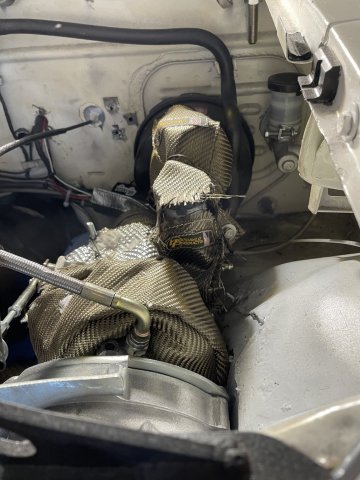
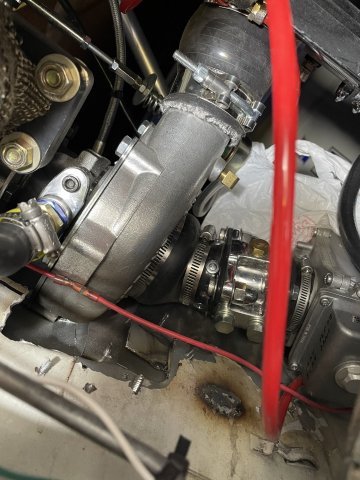
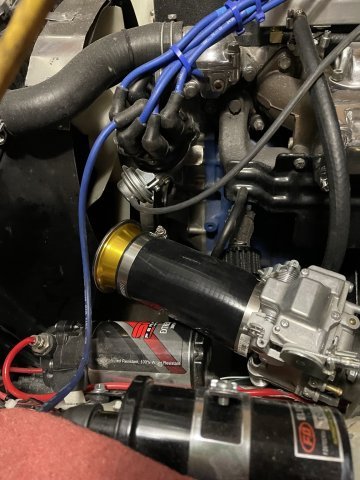
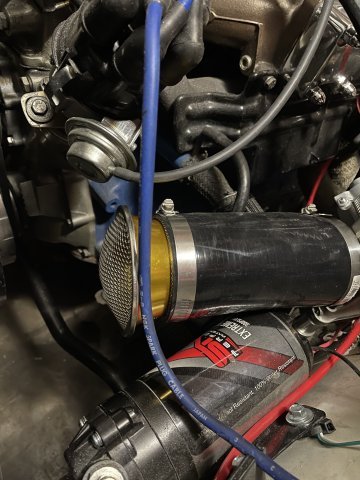
03-01-2025 TURBO PROJECT UPDATE. Carb is out with John at V-Performance being gone through again, as something I can't find is wrong. At any rate, I used the day to get back in the car, and go through the wiring. The Water/Meth injection pump wasn't coming on like it's supposed to. I did some rewiring and changed the point where my switch is in line with the main power to the pump instead of the relay switching power. IT WORKS! So all is cleaned up now and I snapped a pic. I think I am going to get a piece of black leather or vinyl and cut out a flap that will cover some of the setup on the side of the tunnel, cover the wiring so I can still see my stuff, but all the wiring is hid a little better. I also wired in a very small amber light that comes on to let me know when the pump is running and providing water/methanol. I Tightened up the motor mounts I had left loose for insulating the brake master cylinder area, and cut out 2 plates of aluminum to cover some spots on the firewall. I normally polish them then install......later I can quickly take them off, polish them to match the others and quickly re-install. I also happened to notice my fan belt snapped, so I ran down and got another. Weird that it was worn out in 500 miles, but then the guy at Oreilley's was reading about it, and said the belt I was using was for under 1 horsepower usage. I had picked it originally as it was the right length and size for what I need.....I put another new one on for now and will need to find the same size in a fan belt that is heavy duty and won't wear out. Anyone know of a place that makes them out of Kevlar fiber?
") Anyway, that was today. I just need the carb back and then go to the muffler shop to tie the exhaust together and the project will be done. Fine tune and maybe DYNO test. Pics follow
Anyway, that was today. I just need the carb back and then go to the muffler shop to tie the exhaust together and the project will be done. Fine tune and maybe DYNO test. Pics follow

-
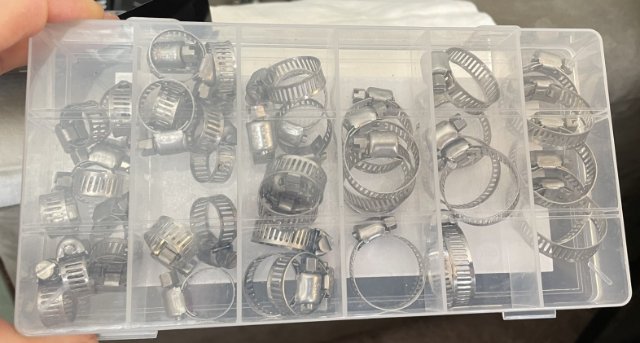
Thanks for taking the time to post. Very cool. Proof you can never have too many clamps!
-
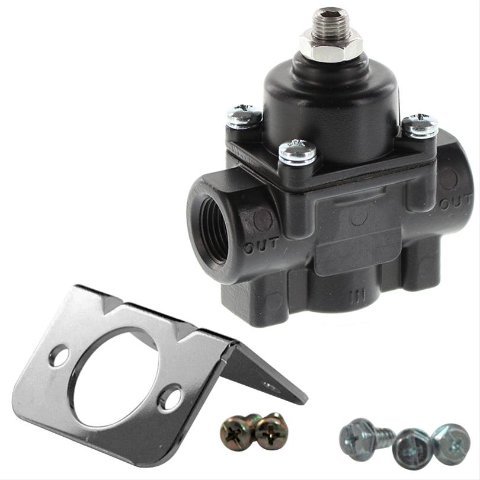
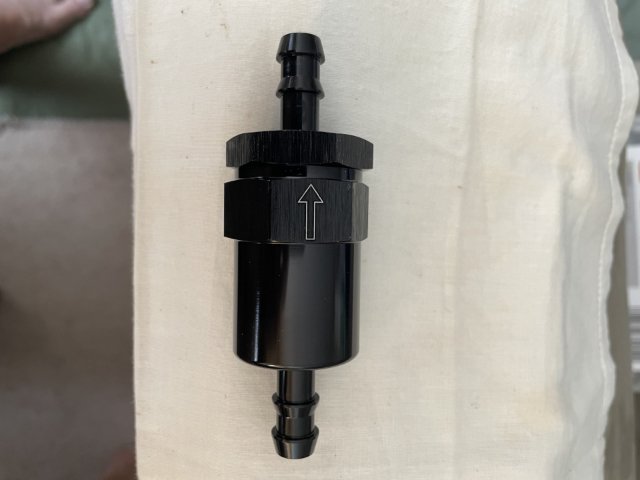
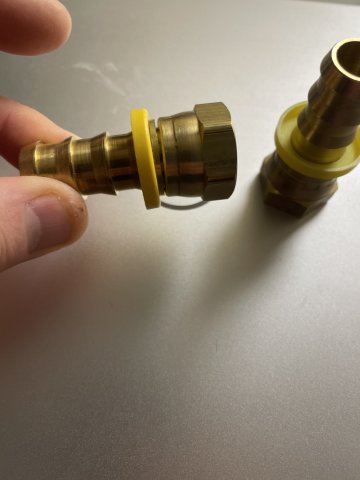
I have received warnings about this psi regulator. So, I ordered one from Summit racing to replace it.

-
once I got it out, it had some deep teeth marks, I had to take a file and smooth it back up. Painted it and then installed as I mentioned. It had been in there for 50 years, it was "permanently seated" basically.
-
I removed the pipe from a block with a pipe wrench. Put the wrench on close to the block so as to not crimp the tubing, Strike the handle of the pipe wrench with a hammer, then push and use a pulling motion as you push it around, it will eventually come out. When re-installing put a piece of wood over the front of the pipe and use a hammer.
-
1
-
-
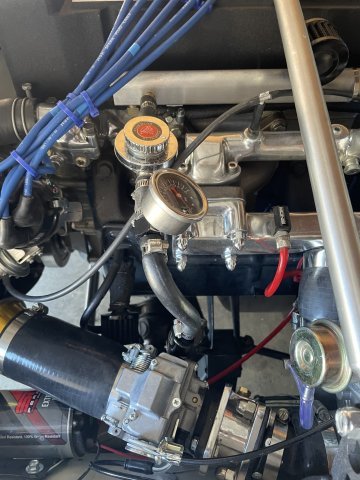
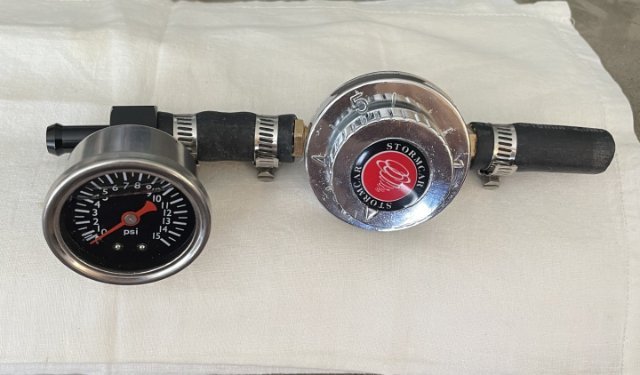
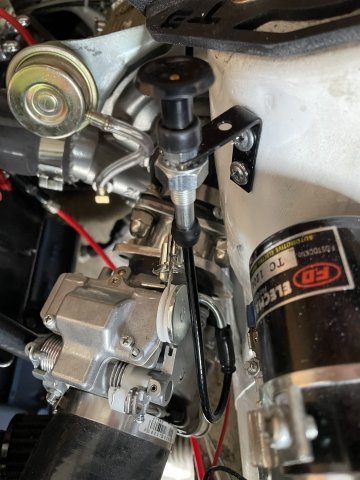
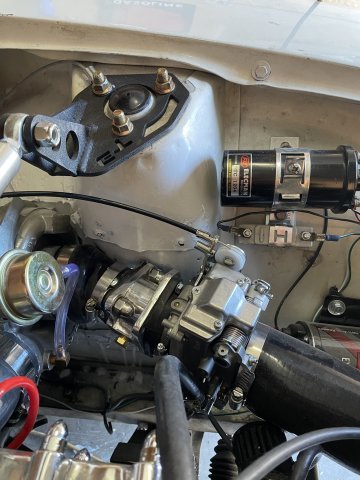
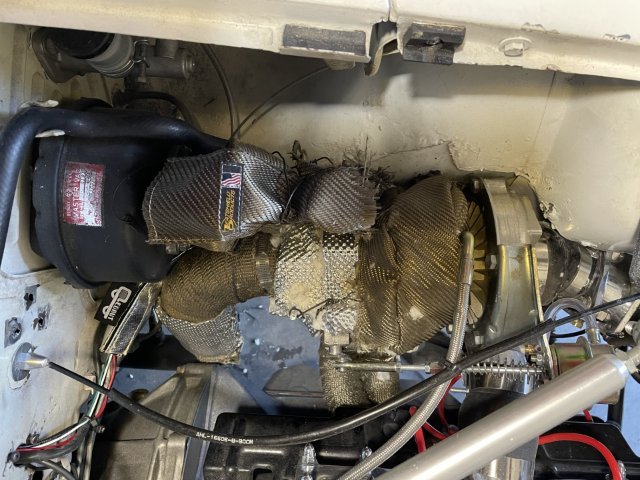
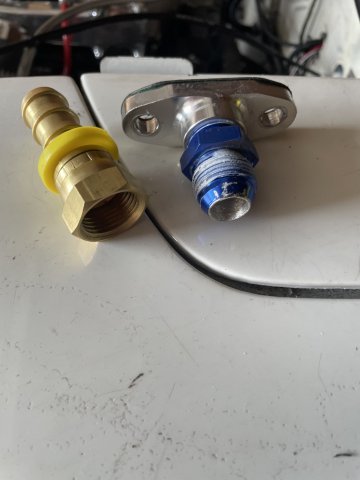
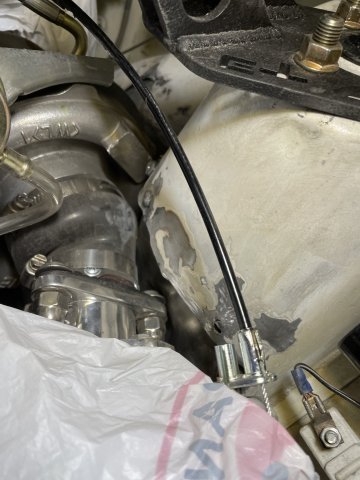
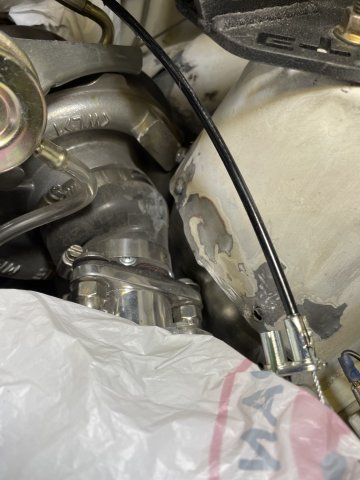
02-22-2025 TURBO PROJECT UPDATE: Well I managed to get the pressure regulator and gauge on. I then fiddled with the carb a bit and got it started. The carb just needs work that I can't do. I don't have the hand dexterity anymore to deal with little parts. So, It is going back to V-Performance to go through it and make some changes....the pilot screw, which is normally 2 turns out, is 1/2 of 1 turn out to get it to start without starting fluid, so there will have to be some adjustments made. I tried to work on the carb, but I was just screwing it up, so out it goes. Pics attached.
-
why is this an issue? There is nothing for a larger one to hit is there?
-
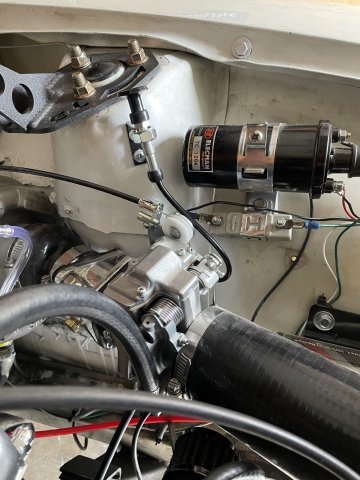
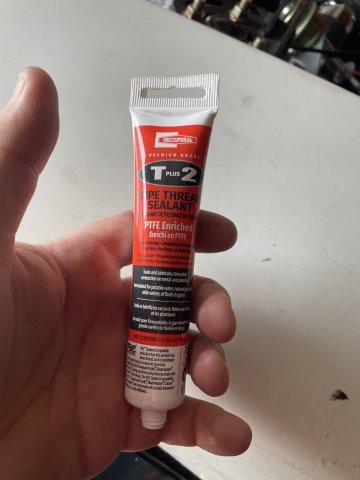
02-20-2025 TURBO PROJECT UPDATE: So, when it is about 7 degrees outside and you have some small things to get done, you do it inside I guess. Carb issues. Brand New carb, but some small issues have arisen that I have to address. the pilot jet and main jet appear to be plugged, as the engine only runs if you pump the gas, as the accelerator pump is squiring fuel with every pump, and it won't idle. So a small piece of wire and some carb cleaner spray should be able to handle that. Secondly, the float bowl overflow tube is leaking gas. So, I will shortly go out and remove the carb, remove the float and clean it out so the float will turn off without any debris keeping it from shutting off, AND there is the possibility that I am pushing a tad too much fuel pressure at it. I went ahead and ordered a pressure regulator and gauge on amazon, and a 20 micron fuel filter I will install right before the fuel goes into the carb. from what I understand, this motorcycle carb likes 2.5 to 3 psi of fuel pressure. This should do the trick. At any rate I got the threads all seal taped up and have it ready for install. Pics to follow. Cheers!
-
I have been following on YouTube. GREAT job!
QuoteQuote -
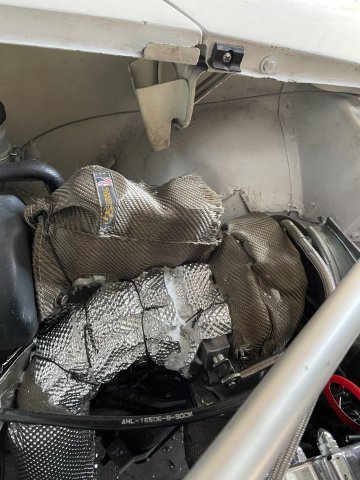
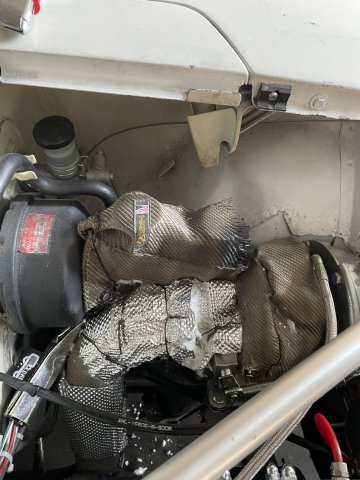
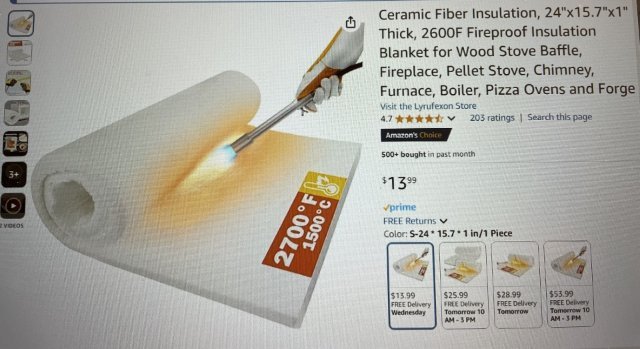
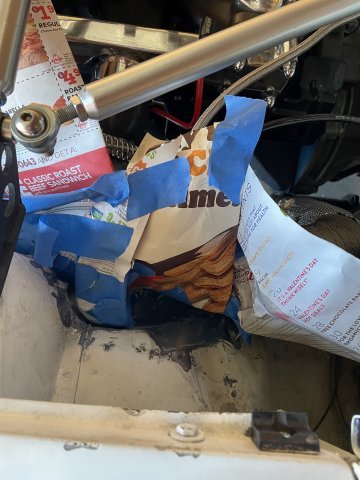
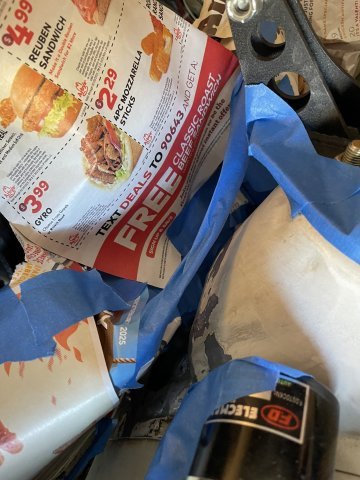
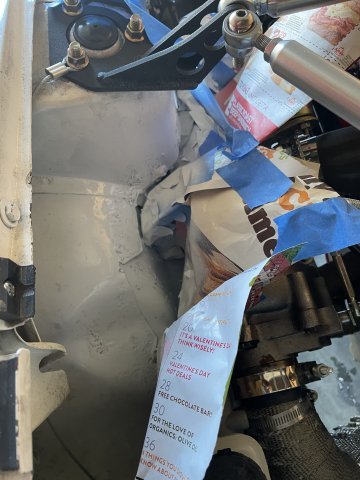
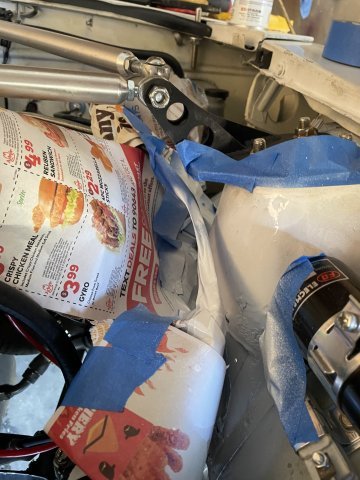
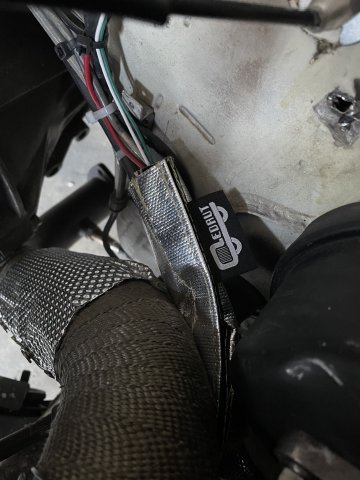
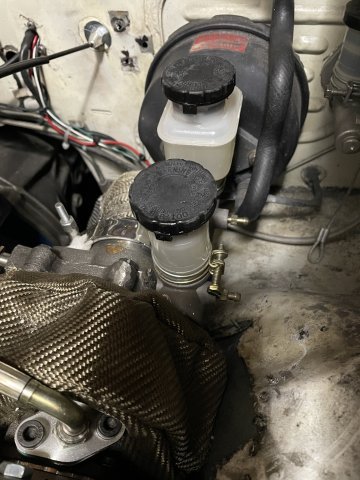
02-15-2025 TURBO PROJECT UPDATE: I installed a choke on the carburetor, did some work to hold the throttle cable into the firewall fitting, and then finished out the insulation for the turbine (hot side) of the turbo, the exhaust (downpipe) and the brake master cylinder cover, the cover for the brake master cylinder is tight enough it holds it in place against the corner of the turbo. I opened the flap and folded it back, and then started cutting strips from the lyrufexon blanket which has a heat rating of 2600F and really is just a trimmable ceramic blanket. By cutting it into strips, I was able to use a small bar and pry the master cylinder gently and tuck the strips in there to give even more insulation. After that I cut thin strips and put them against the side of the master cylinder facing the exhaust, then the flap just folds over and holds it all there right in place. Then I just found a nice way to tie it closed and then do a little trimming and painting to make it look ok. Pics follow! Cheers!
-
I love it. Something different....something unique. You put a Mopar air grabber in the hood I see too!
-
Man it sounds great! Fun stuff! I hope you are feeling better. I have had that twice and it took my mom.
is there any rust that needs to be addressed? Seems like rust likes to hide in the rear hatch under the window weatherstripping at the bottom.
Intrigued about the CNC intake. What will it offer than you don't have now? Just looks? Serious question.
The $50K came from me. I am big believer in setting a budget. IMHO 50K is safe budget. If you come in less....GREAT! A lot of little things you haven't thought of, will need to be replaced since the body is fresh and all.
The internet has a way of showing the worst in people. I am actually a nice guy! The other day having my engine start and hear the turbo whistle was a moment of feeling 1/2 ton of weight fall off my back!
-
02-11-2025 TURBO PROJECT UPDATE. It is below freezing out, but I had to try some starting fluid.....It fired up! so cold, it will only run on starting fluid....but it tells many things........all 6 cylinders firing and my J&S Safeguard works! No oil leaks, oil pressure up. no air leaks. pumping the gas to keep it running let it rev just a tad and I could hear the turbo whistle! The carb doesn't have a choke, but I have one on order. But I have a sense of relief as it works, no pinging so far. So clear skies ahead!
-
Not negative at all! I like the direction he is going. We live in a world where guys are all sensitive these days. I am old school, raised old school. If you are going to do the body up, it seems like now is the best time to do it wild if you like them like that. There are ways to blow 50K and ways to spent 50K and enjoy it. I said it sounds like he found a good way to spend 50K. So, no offense meant......I'm not good at explaining myself.....I generally do what I want, and feel no need to explain my actions to anyone. Id like to see updates of the car as it progresses.
-
I hope the insulation you have on your turbine and exhaust header is sufficient. Its going to get super hot. Neat that you found a cool way to spend $50K dollars! Might as well add spoilers and flares and get some big meats for the car.....give it an hourglass figure!
-
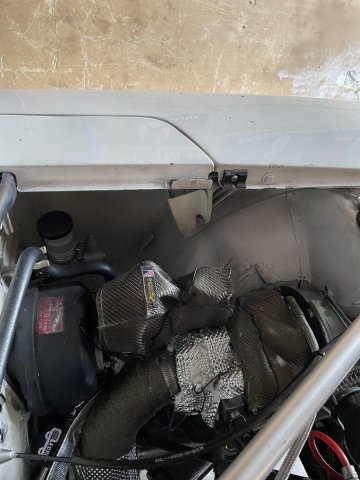
02-05-2025 TURBO PROJECT UPDATE: I set about getting things masked off and then painted the areas that needed it on the inner fender. Once the paint is hardened, I can wet sand and polish it, and some will need touch up painting, typical stuff. I was then able to install all the heatshield I had to protect the brake system and fluid. I then replaced the 2 water/methanol supply lines that had damage on them and then filled the Water/Meth tank about half full of windshield washer fluid (30% methanol). Good progress! it is almost complete.
Pics:
-
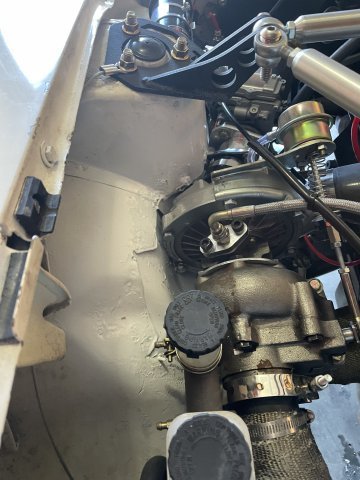
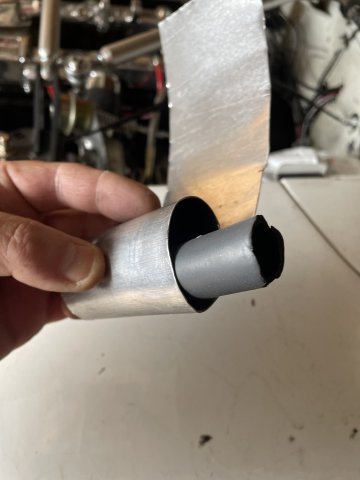
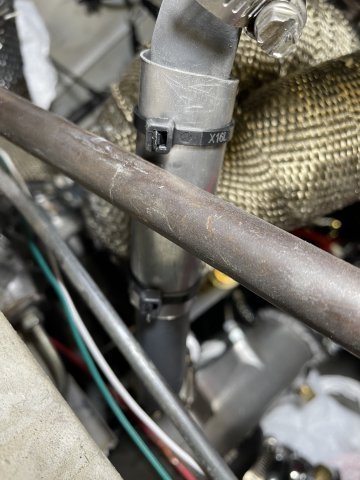
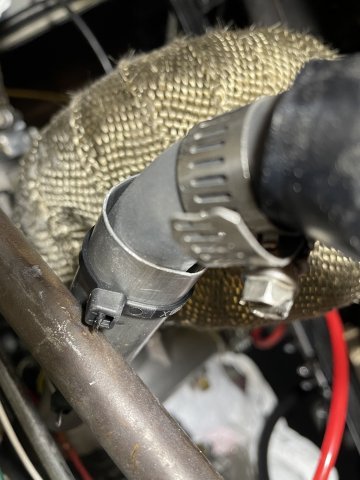
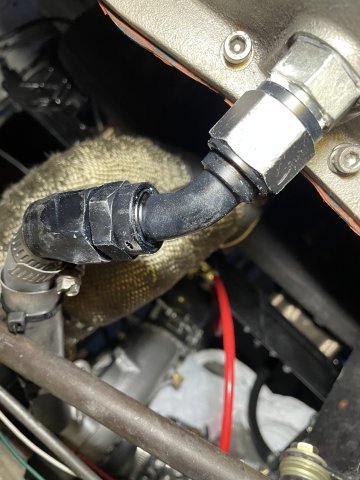
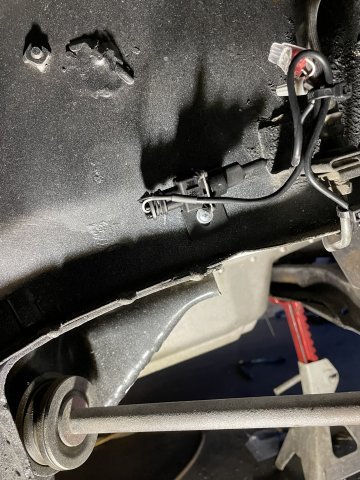
02-01-2025 TURBO PROJECT UPDATE: Another step(s) forward. I managed to get the oil drain line installed. Of course, I ran into problems, this time being the steering rod was right smack in the way.
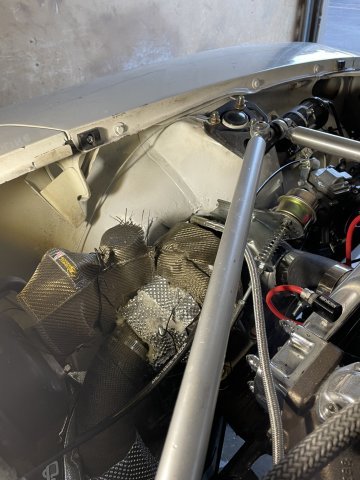
 . By using parts I had and some thread sealer I picked up at Lowes, I managed to get it in. In the picture, you can see a clamp at the oil pan area. That is squeezing the hose open, as no matter what I did it wanted to pinch a bit. It worked!! I also used a piece of aluminum with zip ties to cover the drain hose where it touched the steering rod. This will protect the hose. After all of this, I got my outside air temp probe mounted....it is in the passenger wheel well. I then began the process of grinding down screws and sanding to prep the inner wheel well area behind the turbo for paint I got it feathered out and then blew the area off. Next time, God willing, I will wipe the area down, mask and paint. After that I have to re-run some water methanol lines and install all of the heat blankets, etc. I have for the brake master cylinder. Other than a trip to the muffler shop to tie the exhaust in, the project will be done (finally, feels like it is taking forever). Cheers! Pics:
-
It's a handy place to put stuff. That area is where my water/meth tank is.
-
You are being VERY detail oriented. It is paying off. Really looks great. Thanks for sharing.
-
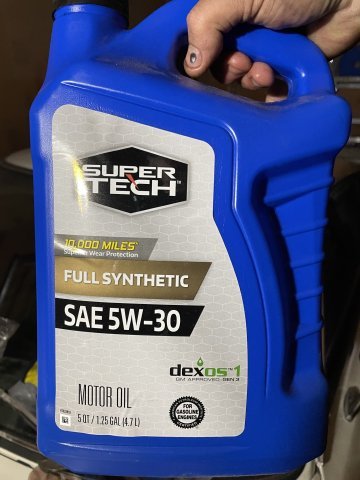
01-17-2025 Turbo Project Update: I decided to jump on the jobs I have been putting off and get them over with. I re-bled all my brakes using my Motive power bleeder. Then I reinstalled all my wheels, dropped the rear back to the ground, and jacked up my engine under the oil pan again, to see if I could get any extra room to work around my brake master cylinder. Maybe 1/16 more, so I will make it work. I also drained my 20W50 oil and switched to a full synthetic 5W30 because of the Turbo. I think it is the way to go, being full synthetic, it will handle higher temps better and it flows faster. I added a bottle to Risilone ZDDP additive to make sure everything is well lubricated. I also managed to finally get my intake on the car. Before coming in, I jacked the nose of the car way up on jackstands, so later I can install the turbo drain hose. Every step forward counts I guess.
-
oh no, just a pic, not ready for install.
-
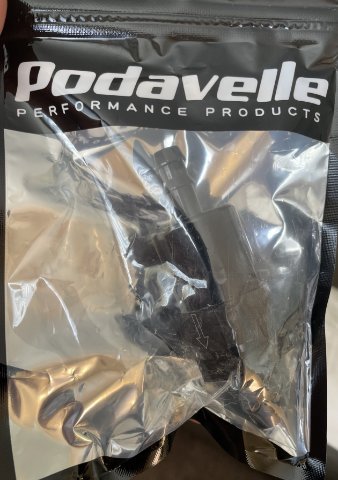
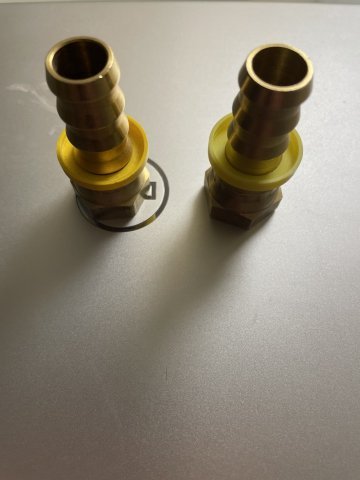
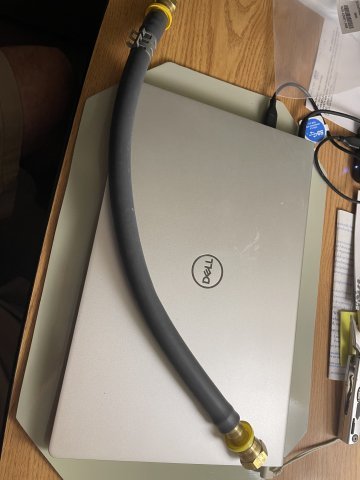
My larger turbo drain hose is ready for install. We move forward:


Fast Floridian's 240Z Track Build
in S30 Series - 240z, 260z, 280z
Posted
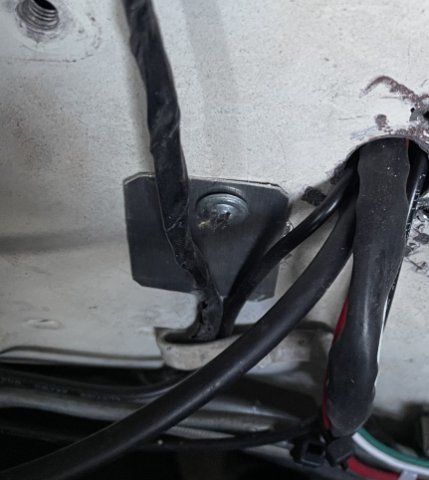
looks like you have a good start on it. My concern would be the rails. they made need to be patched, and using a V8, and modified at that, BEEFY rails would be a good idea. Some guys have even using thick steel runs of pipe that are U channel . I attached pics of my car and some of the patching done. MY car had 45K original miles and 30 years of its life sitting in an airplane hanger and I STILL had to fix the rails. I attached a close up pic I got from one of your pics, and it already looks like it needs attention. here is a link to watch :