

DavyZ
-
Posts
5391 -
Joined
-
Last visited
-
Days Won
4
Content Type
Profiles
Forums
Blogs
Events
Gallery
Downloads
Store
Posts posted by DavyZ
-
-
I recently converted my OEM solid disk front rotor and rear drum brakes to 03 Ford Cobra brakes, 13" fronts and 11.5 " rear, with a proportion valve in the cab. Also I gutted both OEM bias proporting valves to make as a pass through one located on the firewall and another located near the driverside rail near the shock tower. I've noticed on later z's that only one bias valve were installed from the factory compared to what I have on my z. In anycase I'm expericing a bad spungy brake pedal and have to pump the brakes in order to build pressure. Any ideas would be greatly appreciated.Very happy to report that we've got Joe's car squared away and his cobra brakes are sorted/ no longer leaking, and all OEM bias/brake switches have been removed from the system.
Joe, so based on what you posted and what Mike posted, the system is as it was, only minus the OEM bias switches. You guys just bypassed or removed them? Nice work in getting that sorted so quickly.
Davy
-
I would ROCK! that 2+2...best looking one I've seen.
I agree. That is by far the best 2+2 so far. In fact, I'm thinking about buying one for a daily driver. I can justify it since it seats four people and it's now "practical."

Davy
-
I was lookin at the 280YZ kit and thought the headlights from the Kenworth tractor worth a look. Dual rectangular headlights in a chrome housing. Check them out at your nearest truck stop.
Darius used some itsy bitsy teenie weenie mini lights that look great. I wonder how well they work?
Davy
-
Congrats on getting REALLY fast
Nice run!!Davy
-
Skib,
I moved this thread to the misc-tech forum. I thought it was more worthy than the "non-tech" forum
for this modification.Davy
-
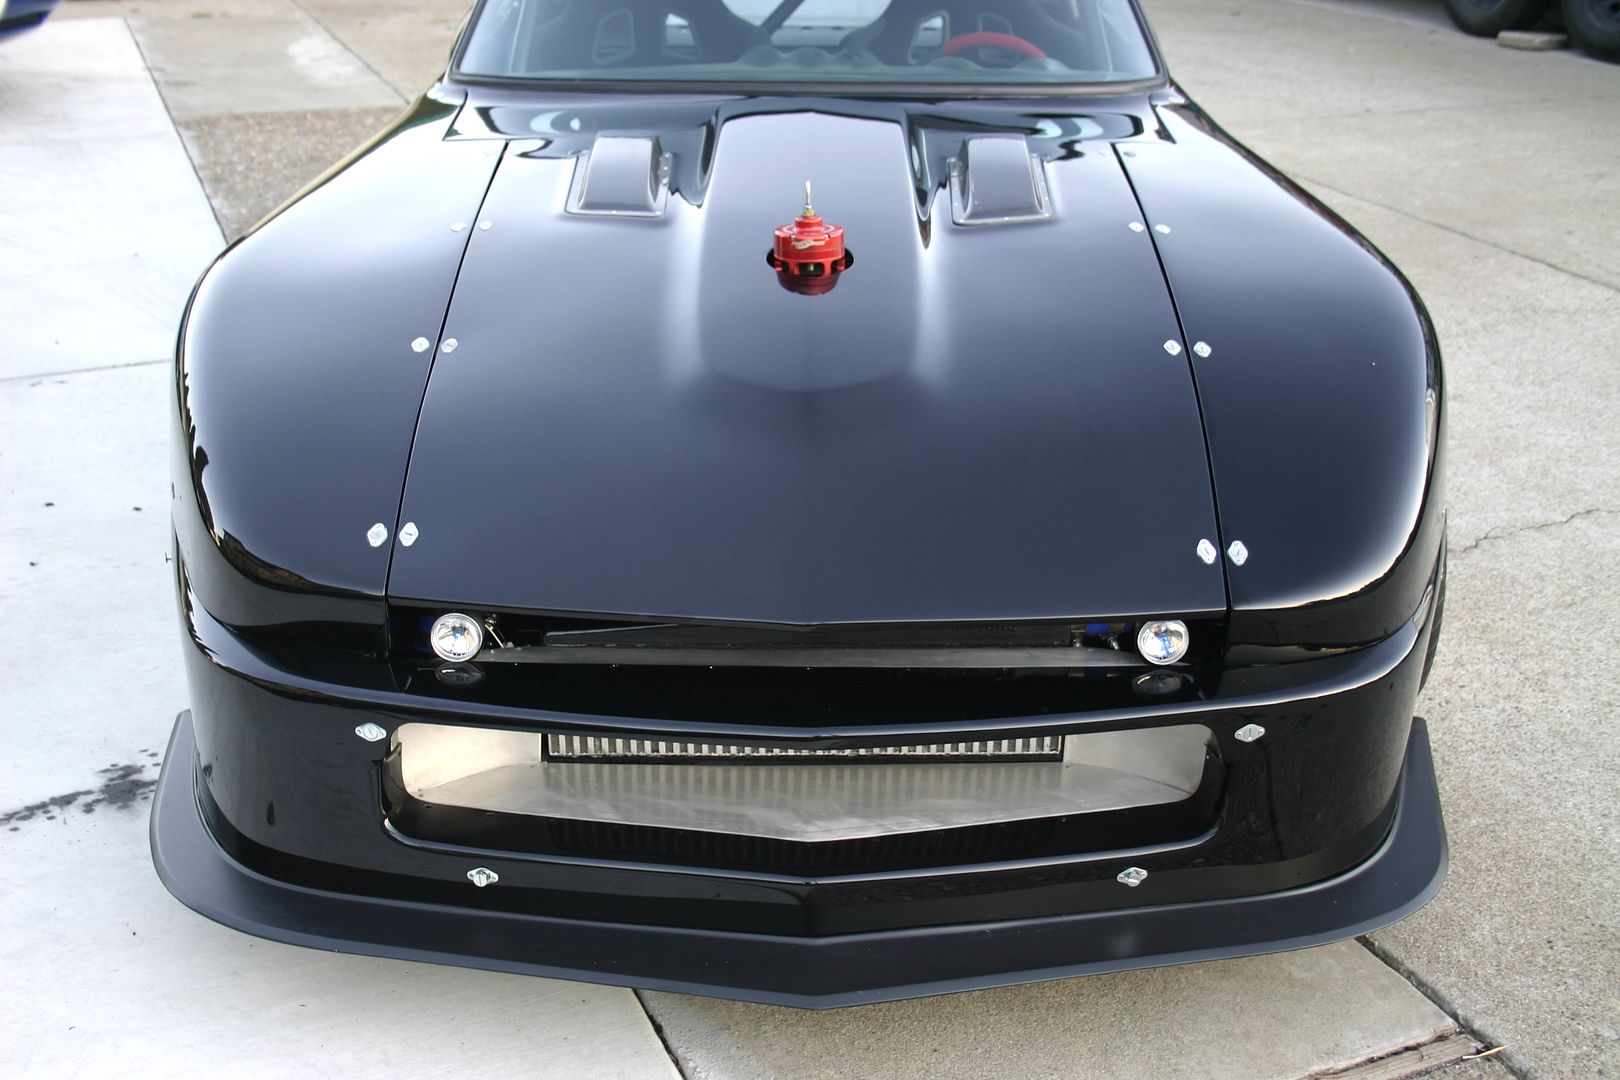
Please please please please please don't crash it...
Wow, the car is finally "finished" and it looks absolutely stunning. Anyone not admitting that is bound in jealousy. Everything has paid off that you have planned for the beast---you should be extremely pleased and proud like a new daddy :thumbs:
Nice work, Darius.
Davy
-
Dudeboy just mentioned backspace. Backspacing is what you want to make sure is correct for the car--depending on your suspension, you have different options. John Coffey has written some good answers to this very question elsewhere in the forum. Please search for "backspace" and "backspacing." I think you'll find some answers.
Davy
-
That was very well put, Mike (m1noel).
I gave up bikes almost as fast as I started them. I crashed a Triumph Speed Triple doing a 70 mph stoppie, but without stopping, and gave my body a number of lasting injuries. My wife begged me not to get another bike and wanted me to only do cars instead. I wasn't really broken up about it and, with 3 little kids at the time, I considered them more important than my own wants and desires anyway. I'm not sorry I made that decision and I have no regrets.
Think hard about what you value, Phil.
Davy
-
well now i have another problem, a relay at kragens or napa is over $40! any ideas
Junkyard or your friend's car. You might want to reference a Hollander interchange manual and find out if any other cars run the same unit, then find the cheapest unit from Rock Auto via the Web.
Davy
-
Polarity, you need to search for posts talking about SEM products. I have had excellent results with SEM Landau Black dye/paint for interior plastic. With proper preparation, I think you will like the results.
Davy
-
The hood emblem looks much better on the steering wheel! Nice modification
Davy
-
Should be the same length...
Davy
-
Thanks, should have thought about them being fwd offset. Would I need the spacer for them to work with zg's or just by themselves?
If I'm understanding your question correctly, the standard adapters will only bring the wheels out enough to fill the stock fenders, not really enough to fill them into the ZG flares. However, the adapters can be easily made by him in just about any custom width--he can get you 2" thick adapters (or wider!) to push the wheels out into the flares. I think the cost is roughly the same.
Davy
-
You'll need spacers/adapters for sure. Modern-Motorsports sells them specifically for adapting FWD offset wheels to the S30. Since these come with tires, you may be best off buying them and the adapters as well---you'll still be money ahead of buying new wheels and tires.
Davy
-
The Fastrak price is basically about $40(?) or $75(?) per billing (sorry, I can't remember exactly), regardless of how many times you go across the bridge(s). You can have it bill your credit card automatically if you want to. For a one time deal, I would not do it, but if you are a regular toll user, those lanes become VERY nice to be in during the morning commute. I would do the Dumbarton Bridge every morning and never once regretted the Fastrak transponder.
Davy
-
I'll have to look for your photos, but did you think the end result was what you were looking for?
Davy
-
I am planning on doing this to my Dad's dash. The problem I have run into is that the previous owner had a dash cap on it and there is a bunch of 3m type strip caulk that held it on. Does anyone have any tips for getting this off. I have used a plastic paint scraper to get most of it off but there is still some on there and the dash is so dry that I keep getting little cracks in it.
Thanks
-GB-
3M makes some adhesive remover that I would try. What I would not do is force the stuff off, unless you aren't worried about the plastic. If I was desperate, I would take the plastic off AND the adhesive, knowing that I would have more work to do to smooth everything out. Go with what seems less damaging first, then get more heavy duty. Judging by the restoration write ups that are out there. If you use the recommended products and take your time, I think your end product will be better than what you currently have.
Davy
-
If you don't mind me asking, what's the cost for one of those hoods. Might turn out to be a better option than trying to get the hail damage out of mine.
-polarity
Yasin's first post stated that it was about $100 shipped. For the quality and uniqueness factor, that's a decent price. I already have some sparco pins, so I have to think long and hard about replacing functional parts when the money can go elsewhere. Hmmmm.
Davy
-
Miles, I cannot comment on the MSA design, but the JTR bracket keeps it centered, as you probably know, and it replaces the stock base mounting bracket with an "L-shaped" bracket. I wonder if just using a distributor with a smaller diameter (something smaller than an HEI) would just simply create enough room that one would not have to modify the stock bracket at all?? There are other alternatives as well. I think Pete (?) moved the whole stock assembly to once side to clear the distributor. I suppose it depends on how much work you want to do to that assembly.
Davy
-
...the threads must bear evenly and align correctly with the studs centerline for the stud to apply max loads over the total threaded surface. The threaded section must be under tension alone and engage the total threaded surface in the block. If the stud is torqued into place, you've preloaded the threads bearing the load and they are partly under compressive loads and you're basically jacking the bottom of the threaded hole away from the threaded section, thus applying THOUSANDS of lbs of extra stress to the blocks web area...
That certainly makes sense, Grumpy. Good explanation, thanks!
Davy
-
Your execution of the project looks very nice! I'm jealous!!!! As was said before, a sound clip would be cool
Davy
-
That's one of the benefits of not being able to afford to have someone else to do the job for you. It's actually a blessing in disguise many times. I have learned how to remodel a house by doing it more than twice! I just hope I can do the same on my car...
Davy
-
Cool! R5 Turbo!! What would I like to own more for the same price, a set of headers or the Renault? Hmmm
The 1.5 inch exhaust tip on the Renault has me worried though. Didn't they know about restrictive exhausts and backpressure back then??
-
Wow... you're not kidding. It looks like he pulled the front end up in this video. WoW! It does look like he pulled the front end. If not, it came REALLY close.
Gotta love home brew cars like this that can easily do 10s in the quarter and spank "superior" race cars. Then, drive it home
Davy
 That was very well put, Mike (m1noel).
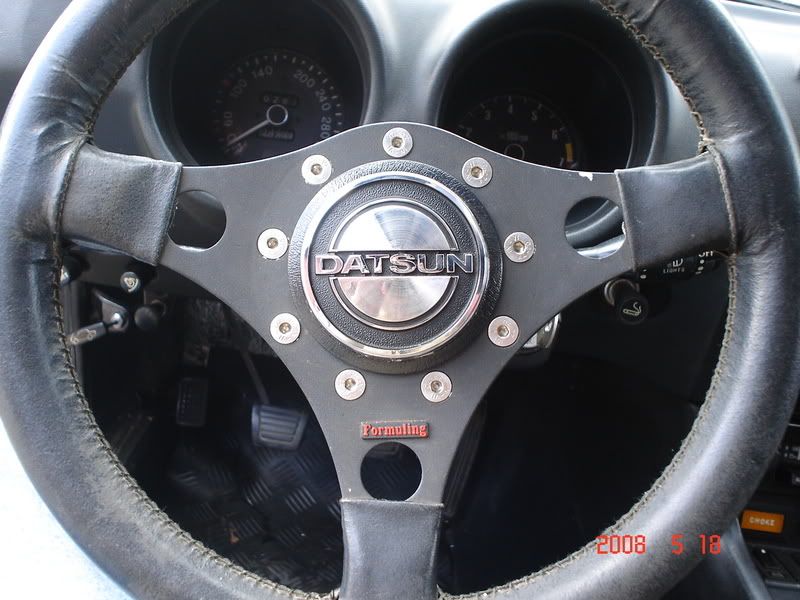


 WoW! It does look like he pulled the front end. If not, it came REALLY close.
Vintage Auto Magazine Article
in Non Tech Board
Posted
Davy