chelle
-
Posts
339 -
Joined
-
Last visited
Content Type
Profiles
Forums
Blogs
Events
Gallery
Downloads
Store
Everything posted by chelle
-
Chatz, I built my first trunk using the scorpionz trunk kit.. I posted a thread on here long ago about how I felt, that the kit was a decent start, but that if (and when) i did it again, i'd rather go metal. Unfortunately the maker took it as me attacking him - which was not my intent. Those trunk kits were an okay option. To use my kit, I strengthened it in several ways, but in the end, I still feel, metal is a better option. The crossbar won't ever crack, the trunklid won't have any issues distorting in heat or cold, affecting fit, and everything from the hinges to the latch will be better when done. I'll try and find my original post on this point
-
Okay, measured mine for trunk. I have a meeting in a few minutes, but will write more on my thoughts about making a trunk later here's trunk measurements and the headlight trim rings/headlight covers. I wasn't thrilled about placement of the screws, but the construction of the nose limited where I could place a couple screws. I liked using the proper hardware, gives a much better final result.. direct link to the images here: http://imgur.com/a/CQwPc
-
RR is the one with the molds, and a body that was in them when he got the molds while helping EF get the parts owed to him I've known RR a few years, took him out in mine.. I love what you did with the doors, I'm doing similar except out of aluminum (making hood and already made trunk lid the same way) The frames for the side windows have been a real issue for me.. The last few days, having mine back, i walk out to the garage like 5 times a day an just smile..
-
Thanks for sharing the pics Peter!!! Wonderful work!!! You did use all the Puckett bits! A friend offered me the Puckett molds - they are interesting bodies, I only know of 4 bodies from these molds
-
I did list mine.. was offered 90k.. just couldn't do it.. Here's my garage at home - lots of cars in storage though Album of my red car here: http://imgur.com/a/GgJqV
-
Odd coincidence.. at random I thought to recover my password and check in here.. great to see so many are still around!! I still have the red car.. still working on the white one.. never ending projects.. Nice to see you got the car done, I assume that's the Puckett nose on yours? Looks awesome Peter!! Yours too Tomohawk! Speedracer, I made mine by shaping them out of .060 aluminum.. lots of hammering to get the shape, then filing to get the right look, and finally polishing.. I'm really happy with the look. Polished, standard slot screws finished them nicely.. lot of work, but totally worth it. I'll dig out some pics from the process
-
This morning we finished taking apart the front suspension and narrowed the crossmember. It's going to bolt in like it would in the 350z So far only thing worth taking a pic of is the now narrowed crossmember. We had to take 9.5 inches out, then weld in some plates to make it strong enough for my liking. I know it seems like a lot of narrowing but this is because the 350z used wheels with a lot different offset than the wheels we're using.. On the plus side the design of the suspension will allow us to use a lot wider tire in front as well as potentially a tighter turning radius. The piece in front of the crossmember is what we removed before welding it together. It's going to require a custom narrow rack so we also have to decide what ratio we want the steering to be Before the cut: After: Next we've got to start bending and cutting tubes
-
thanks and you're welcome I should have noted that we finished it in black wrinkle finish paint. And while it took a lot of work for me to be happy with the fit and finish I do want to say the Simpson dash is a great start, but if you buy one, buy it understanding that it's not a simple bolt on.. to be happy with it people really need to expect to spend a weekend or two planning and modifying it to suit their needs
-
Thanks guys.. last night we stripped down the crossmember to narrow it about 9" The dash is a Simpson dash that we modified quite a bit. Basically we wrapped the gauge panel backside in foil, temporarily screwed it in place recessed to the depth we wanted it. flipped it over and layed in fiberglass to make a nice flange. then removed and tossed out the supplied gauge panel. With that done we got to work on the mounting brackets. .060 aluminum was cut and attached inside the shell with rivets then 2 part foam was mixed and poured into all areas between the shell and the aluminum. The purpose of the foam was to make the assembly feel and sound more solid so when you tap it it doesn't echo or rattle. Finally a gauge panel was cut from 1/8" aluminum.- overkill I know but we wanted it to be sturdy and able to be easily removed when we needed to work on things Here's a few pics: Notice how bad the gaps are as delivered this is where we put about 4 layers of fiberglass. I only use West Systems Epoxy resin, never the cheap stuff you get at auto parts/hardware stores after removing the panel and some rough trimming After some "tiger hair" then bondo work to clean up the opening primed after cleaning up the seams The aluminum bits on the back Test fit new gauge panel Bolted in
-
So we decided to pull the white GTO apart after finding some pretty bad rust in the front chassis We're doing this a little better than the red car, but no V12 this time. We're leaning toward RB25DET. Here's a few pics of the car before we pulled it apart, and as we get started.. We're cutting off the whole nose and using a narrowed 350z front suspension
-
I believe I used .090 aluminum. Rather than use a bead roller i filed and sanded ours to get a rounded edge.This way the backside is flat and applies even pressure on the covers to hopefully reduce potential for cracks..
-
Looks like Michelle is selling her GTO replica
chelle replied to SpeedRacer's topic in Non Tech Board
Thanks I REALLY need to check in here more. We're working on another Z based GTO now.. it started as an Alpha1 but currently it's disassembled and we're grafting in a 350Z front suspension. I'm trying to decide how extreme we will go with this one as I still want to do another from the ground up with Ferrari power.. I suppose I should start posting some pics of that one -
Looks like Michelle is selling her GTO replica
chelle replied to SpeedRacer's topic in Non Tech Board
hi guys.. i guess i haven't really been online much.. i had two alleged qualified buyers asking me to kill it so they could come see the car with both offering decent money (around 80k) so i killed it and then neither guy ever showed up.. i've been doing more work and toying with re listing it.. don't really want to sell but it would solve a lot of issues.. Sorry for being absent so long.. life has been in the way and projects have been piling up.. Thanks for all the positive words about the car.. it's been a labor of love now around 10 years -
Double A-Arm Front Suspension - Worth it?
chelle replied to Freelancelance's topic in Brakes, Wheels, Suspension and Chassis
We're using a 350z front suspension in our latest project.. it's a lot of work but there are so many advantages.. many more brake and strut options, larger bearings, but most will require chopping off the entire front structure and starting over. IMHO though it's well worth it -
Progress on my insane VQ35HR 240Z project
chelle replied to markrolston@mac.com's topic in Nissan V6 Forum
I just discovered this thread.. absolutely wonderful work.. I REALLY need to up my game lol We're doing tube chassis on two of the cars this winter.. The plan WAS e90 M3 BMW front suspension with RB26DETT for the white car..the V12 car's bits are still top secret.. looking at this though is making me seriously rethink things.. Thanks, you just complicated my life lol so many questions but even after 3 hours crawling over your pics I'm going to finish studying your work before I ask something stupid -
I'm tearing the house apart, i have the installation instructions and even a sales packet as I talked with Mr Puckett in about 1999 or 2000 and have loads of info from the other owner i told you about, just have to find it all.. you are correct about the roof / back window fitment. He told me on the phone that to get the proportions right he needed to shorten the appearance of the roof by moving the back window up around 4" into the roof. Also where the taillight panel fits against the trunk it's meant to be right up against it. Where on an Alpha or one of the scorpion cars the back of the trunklid/hatch is in the stock location on the puckett you don't see the old jamb from the hatch. I'll PM you pics of the other car as i don't have permission to distribute his name or pics publicly (he's kinda private). chelle
-
Glad you got to make the trip and had such a great time
-
Fauxre, Well i'm kinda traditional.. i like what you came up with but for me i like just all red, or blue with yellow like Matsura's original GTO lol
-
Well shoot One hour wouldn't give the time to get out of security then back through.. even if I drove to Ohare and met you in the parking garage there's not much chance to get back in through security... have a safe flight!! Are you still doing Goodwood on this trip?
-
Wow, looks great! I should be working on the red car but just have too many projects going at the moment.. we actually have been thinking about selling it to fund some of the others and free up our limited space.. Are you going to be exploring anyplace else while in the USA? If you make it to Chicago you're welcome to stop in, take a drive or something
-
Hope you have a safe trip here! Wish I was going to be there but started a new job so I can't take a road trip like that
-
Funny bit in the news the other day, anyone else laugh a little inside at the news Ford is sueing Ferrari becasue they named their new racecar the "F150"? lol
-
very kewl! I love seeing vintage shots like that! Just the other day I was going through scans of pics from when I was a kid and found a couple from the old road course at Riverside California.. which is now a housing development..
-
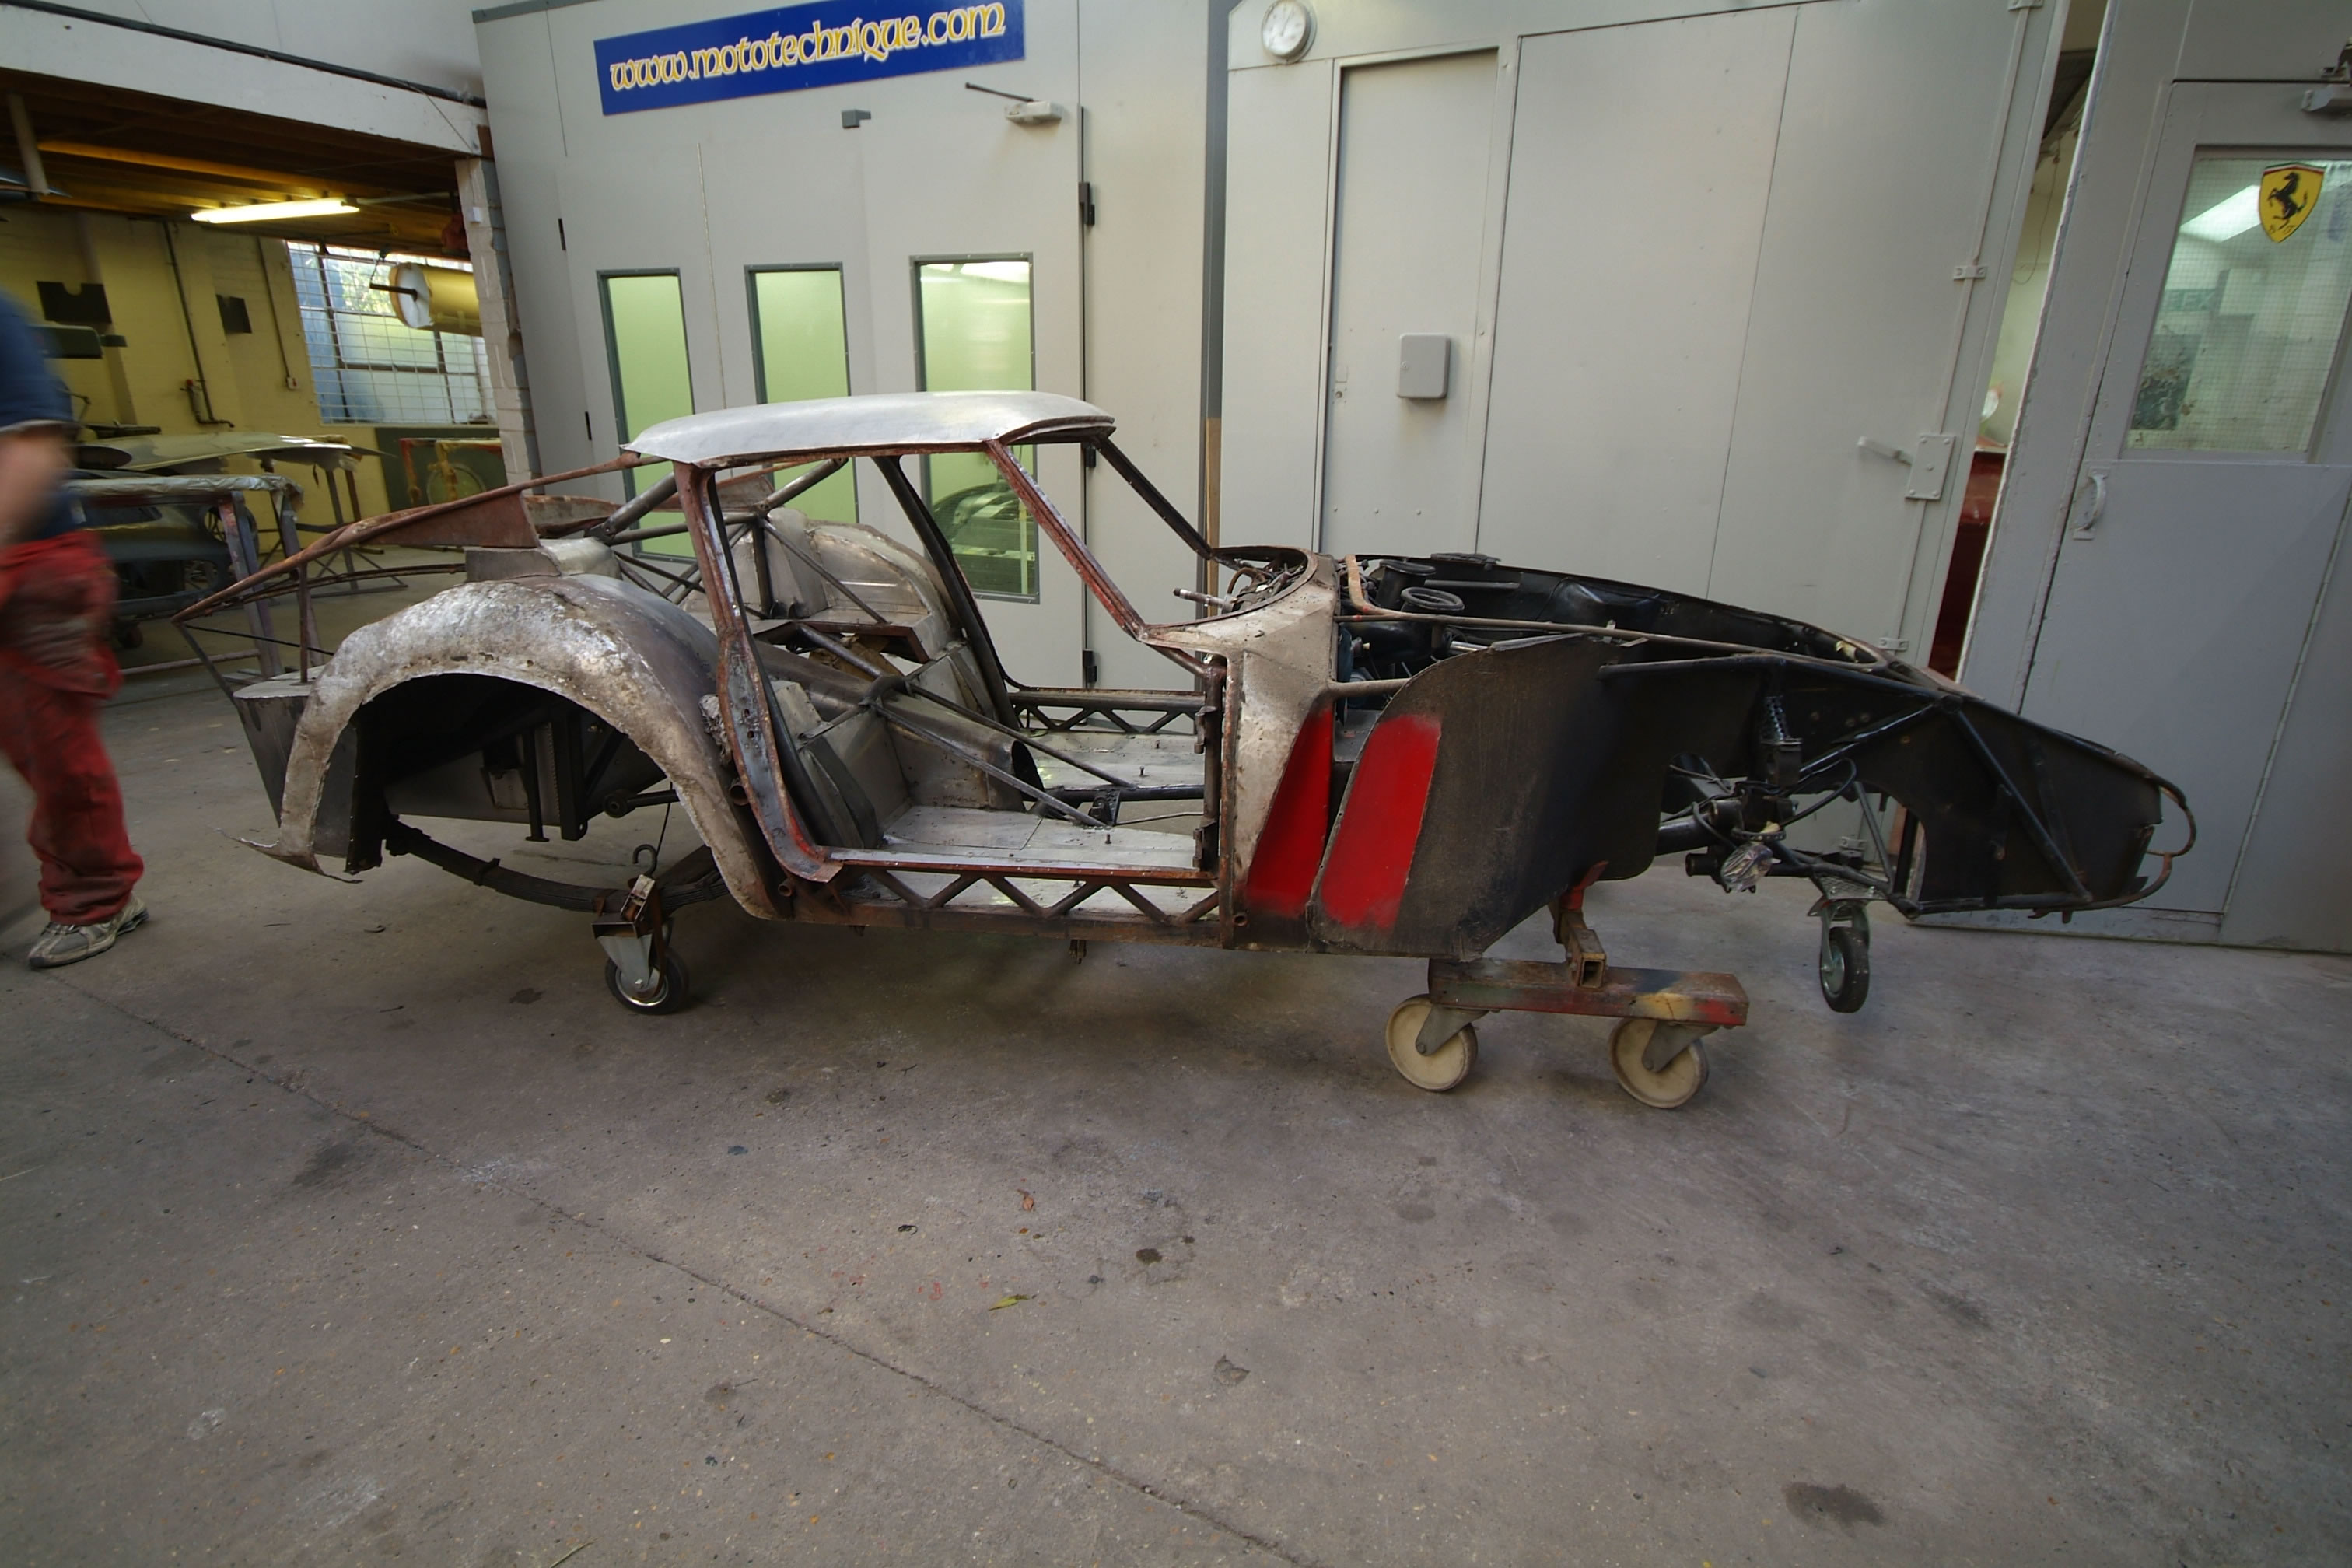
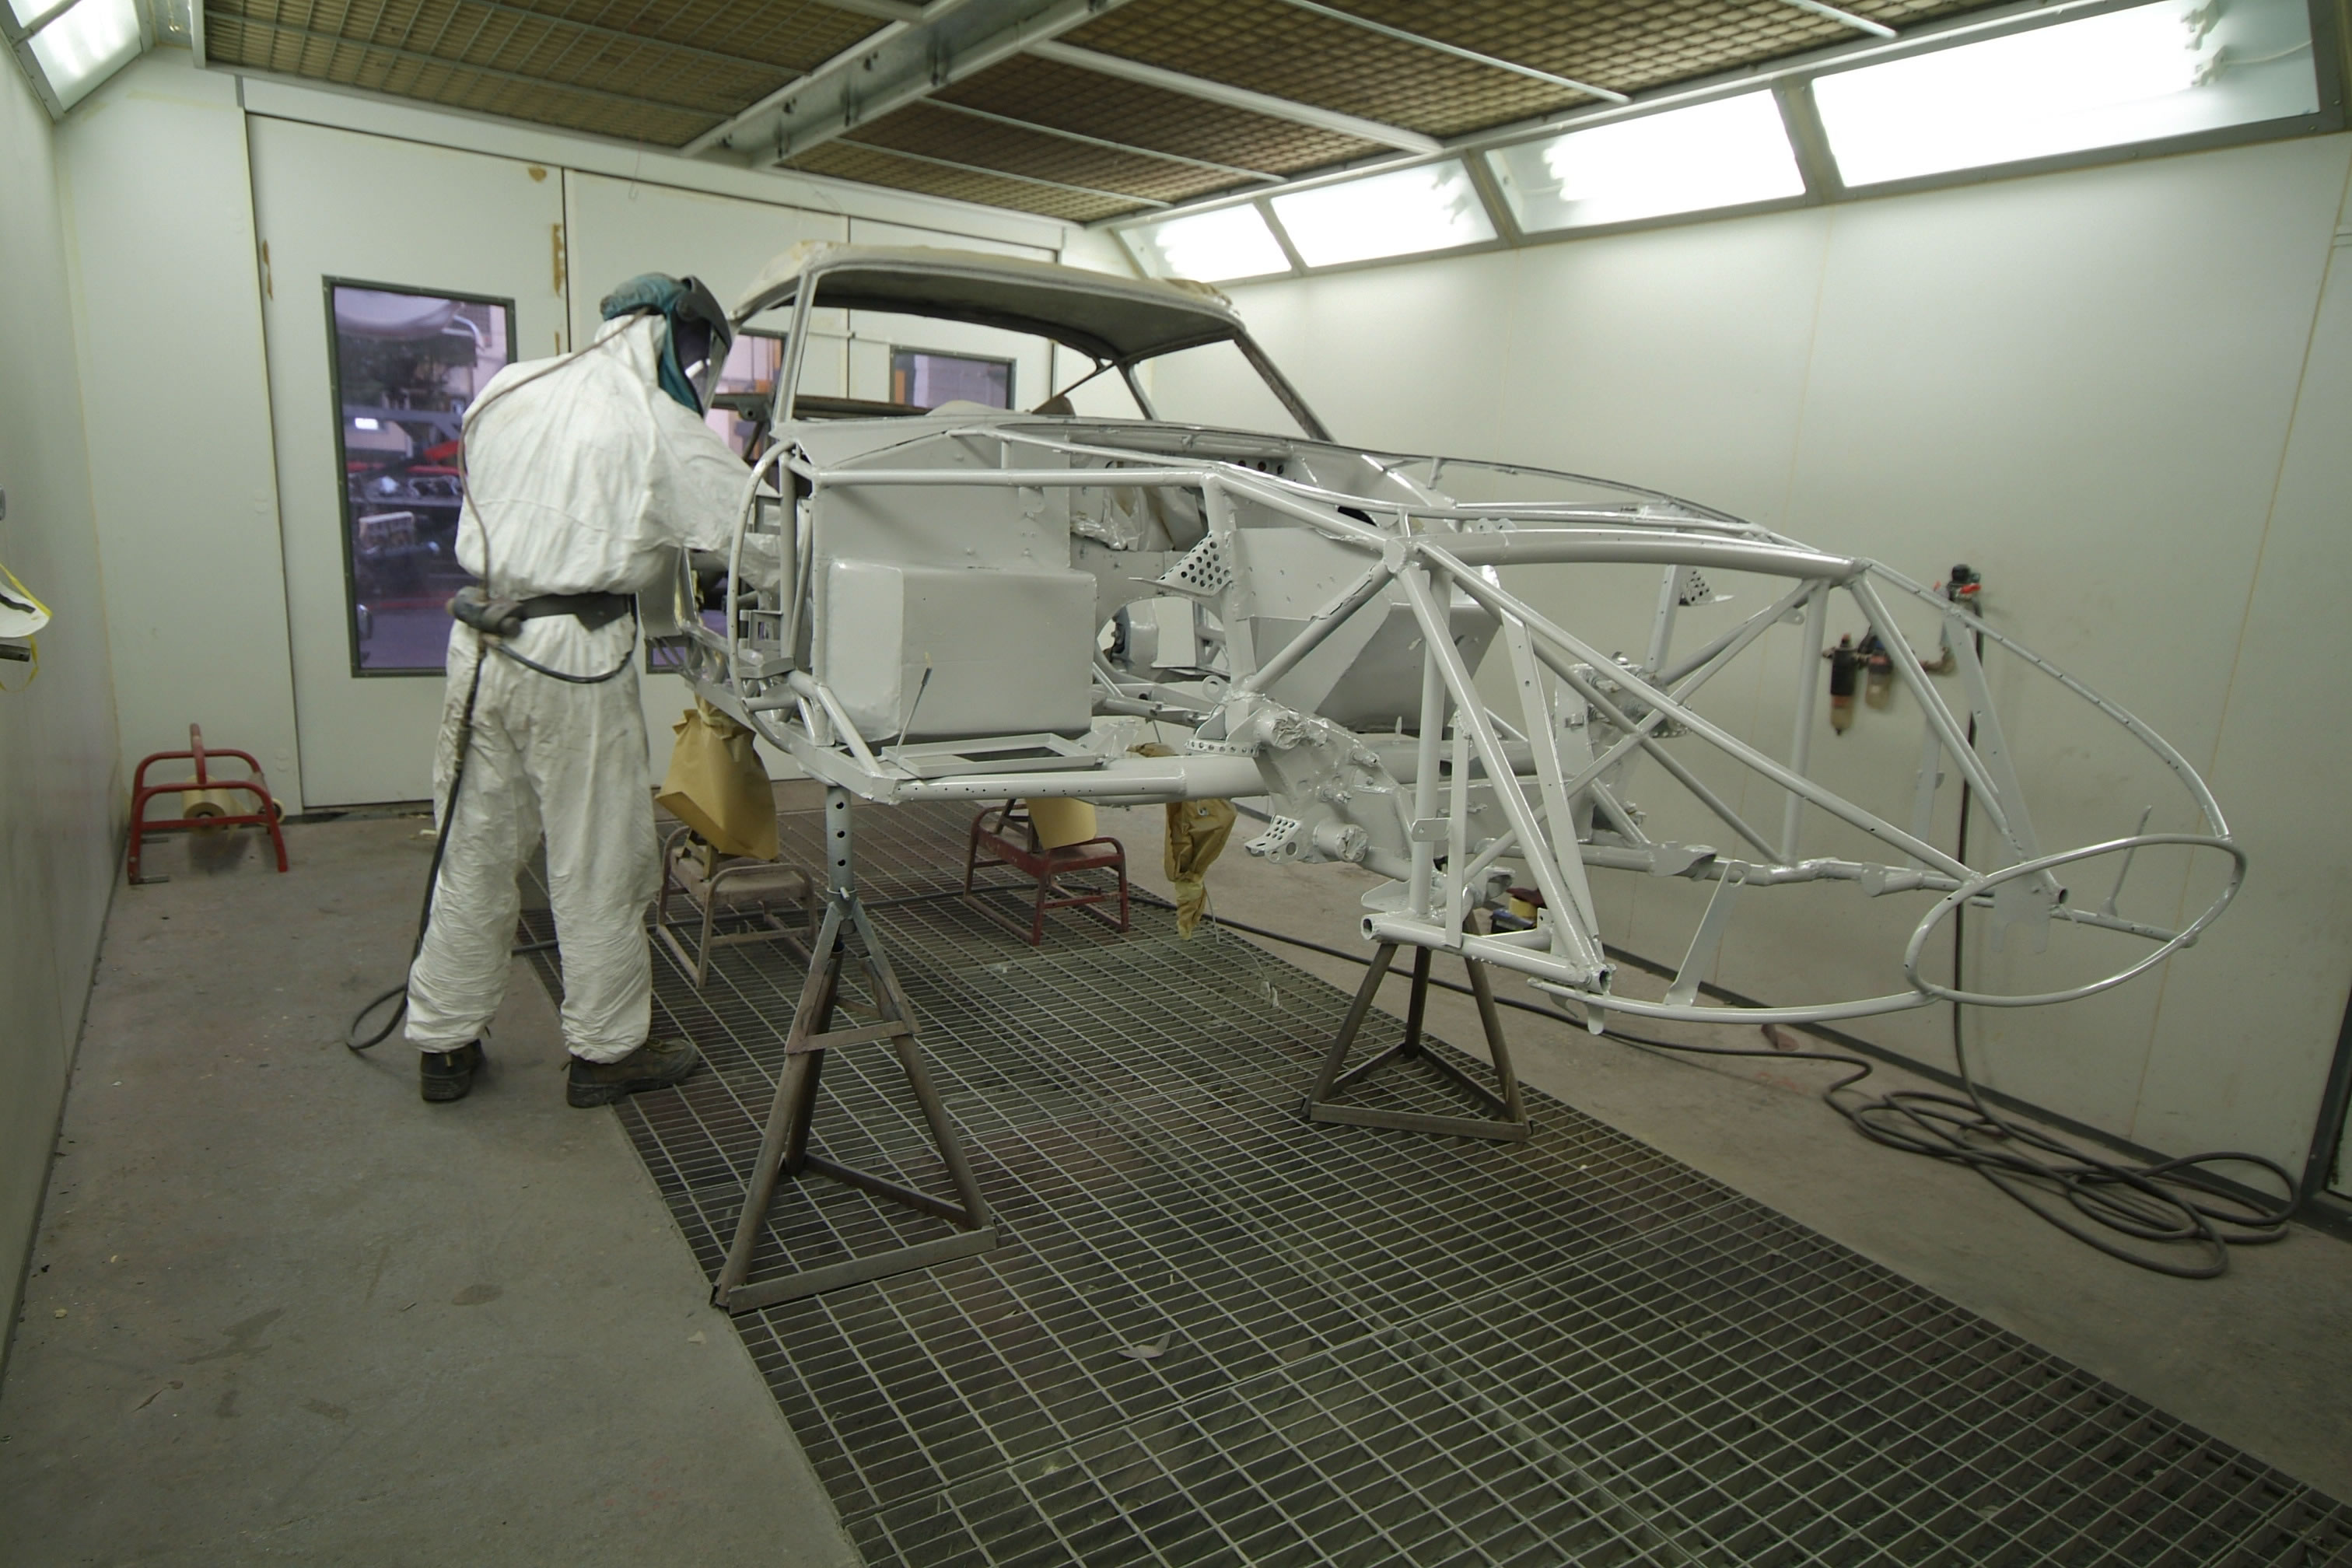
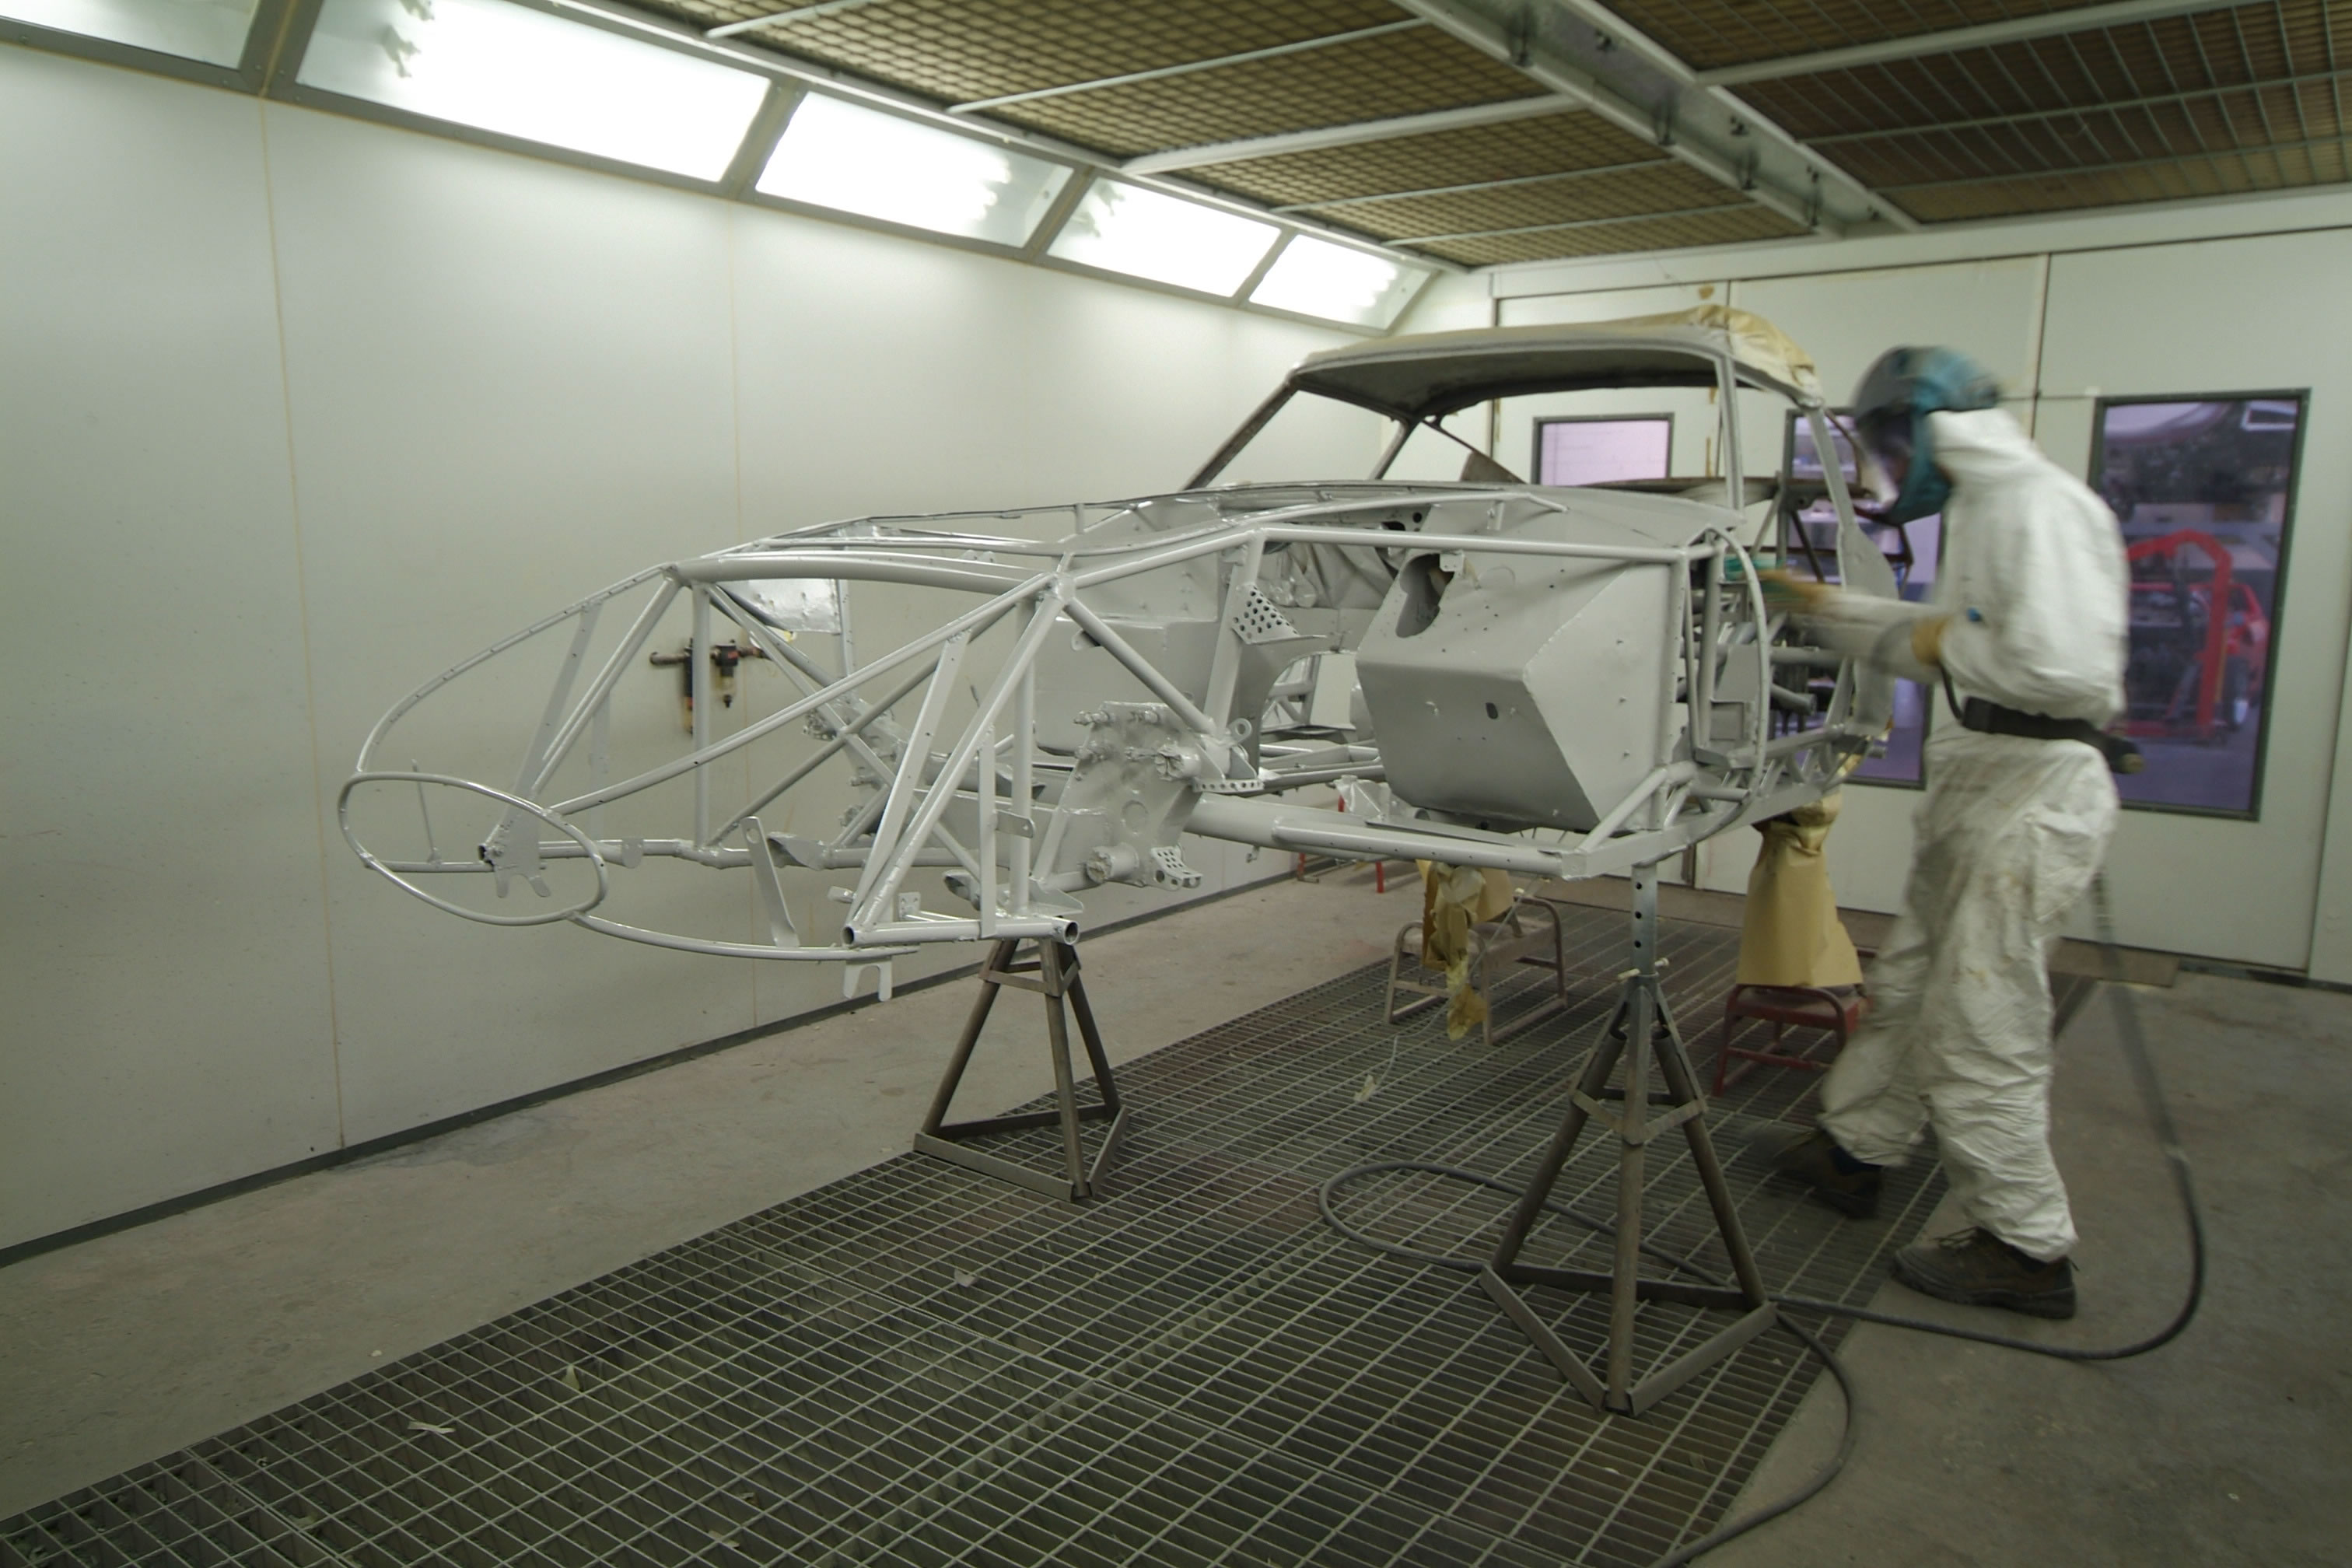
I love your reasoning on the "remaining 450" though it would be 464 Unfortunately Ferrari would sue.. as they often threaten.. most of the time they never go to court, the threat of being bankrupted by their team of lawyers entering into a long legal battle is enough to get shops to cave in without a fight. The factory doesn't usually get involved in the US and instead leaves it to their USA Distribution arm "FNA" and a lawyer in New York. That office is the one that calls and gets Ebay to cancel any auction that uses a Ferrari logo or even the word in the description on anything but items made by or licensed by Ferrari.. I've been told of a person with corvette that said "painted Ferrari red" had his listing removed from ebay at the request of lawyers from FNA GTO replicas are never going to have the following here of the Cobra's "all American" Ford fan following. I guess the only way we're likely to see a Factory Five style accurate body and chassis offered is is someone makes an accurate body and sell plans to make the correct chassis.. They may still face legal threats, but the issue is the people with the desire to make the accurate series one body aren't really interested in running a business making them. I suppose I could commission a body and set of molds and when someone wanted a body i could hire a shop to make one from my mold, but again, if I do that much effort I'd rather do it in aluminum.. The number of people willing to pay for that is going to be even smaller.. I do have pics and some tech drawings of the bare GTO chassis, happy to share some more pics. It's basically a 250 frame that uses oval tube ro the two main rails with a birdcage type structure to support the boda and the aluminum skin over that. I'll dig through my archives a bit for the good stuff but here's a few to show the basic scructure of the chassis First - a Ferrari 250 GTE frame to show the basic layout of a Ferrari frame so we know the foundation of a GTO chassis second - 250 GTO bare Chassis next a few pics of a 250 GTO with some of the basic internal sheetmetal and roof, firewall etc some good closeups of what supports the body and everything up front Finally a wireframe like they would use when forming the body panels to test fit before securing them to the chassis Enjoy!

-
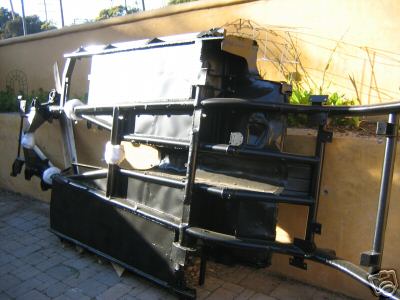
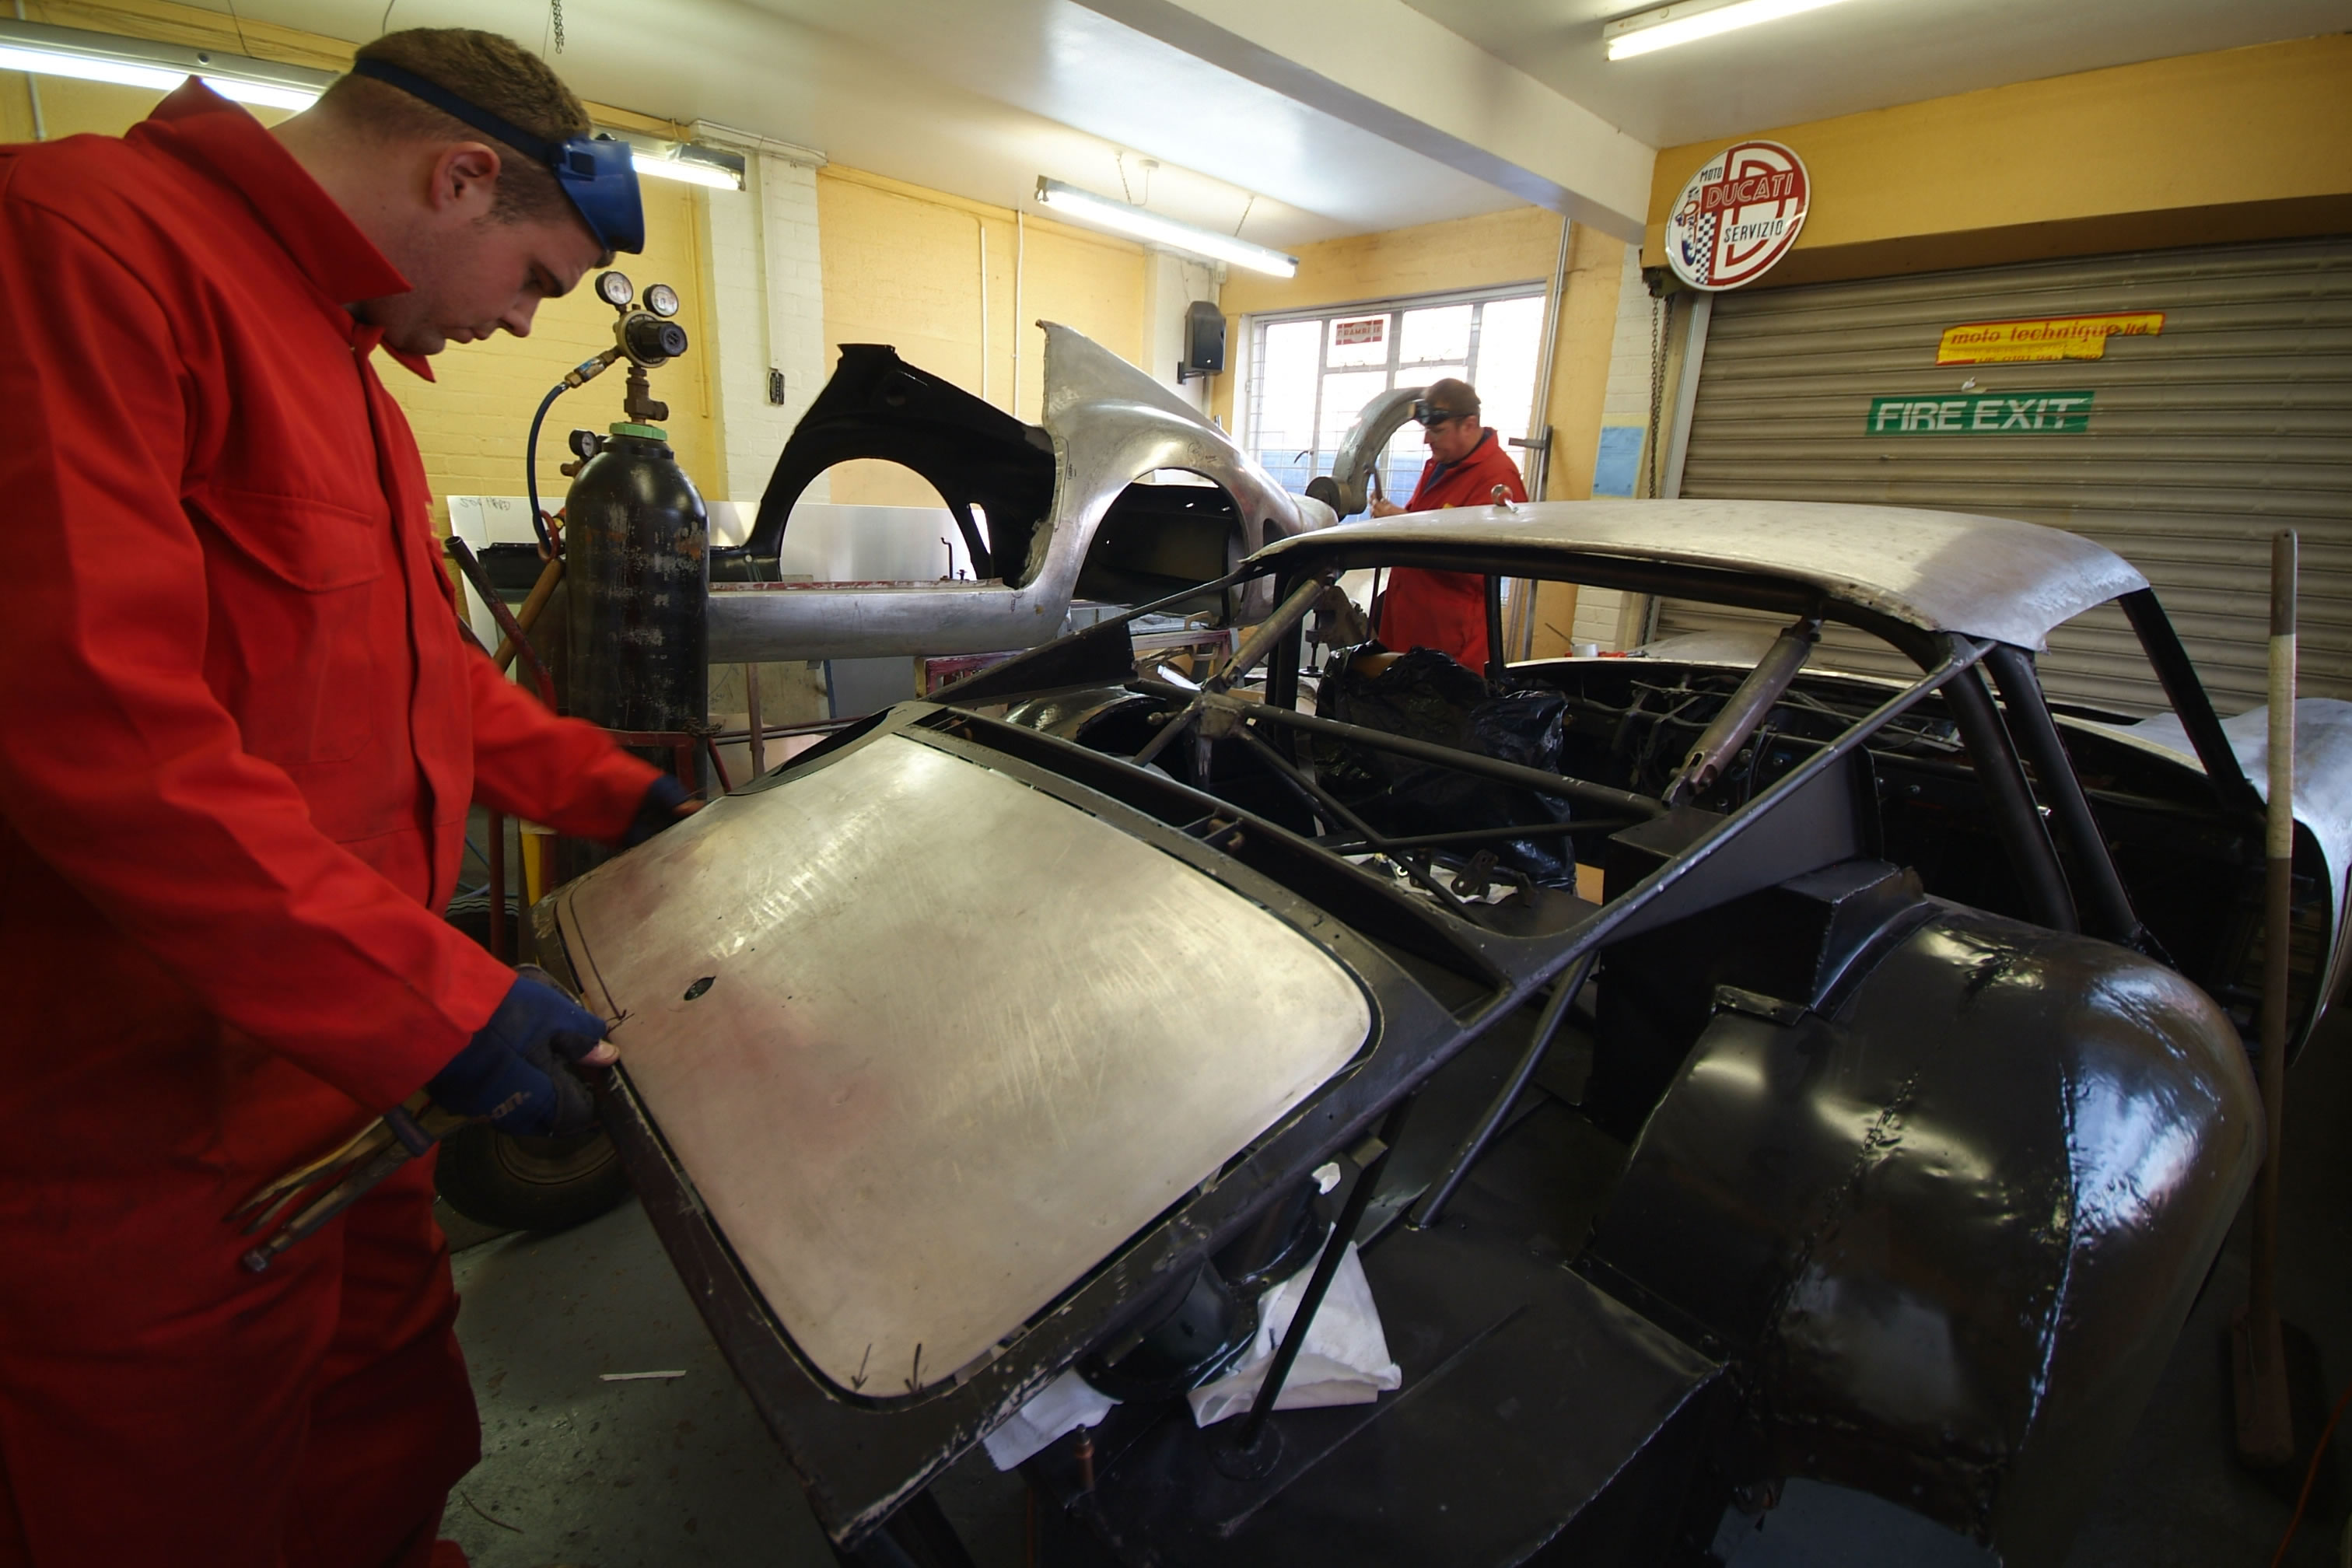
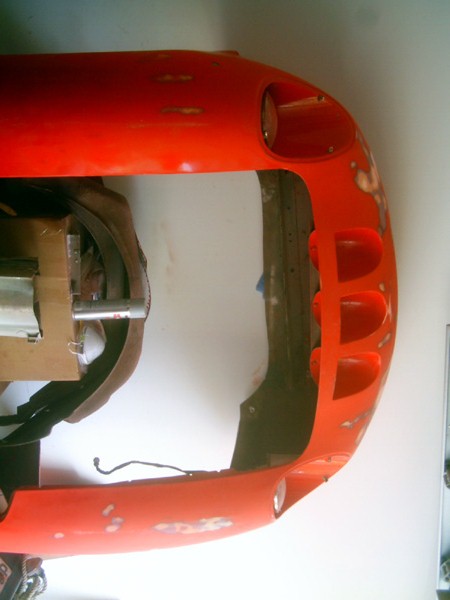
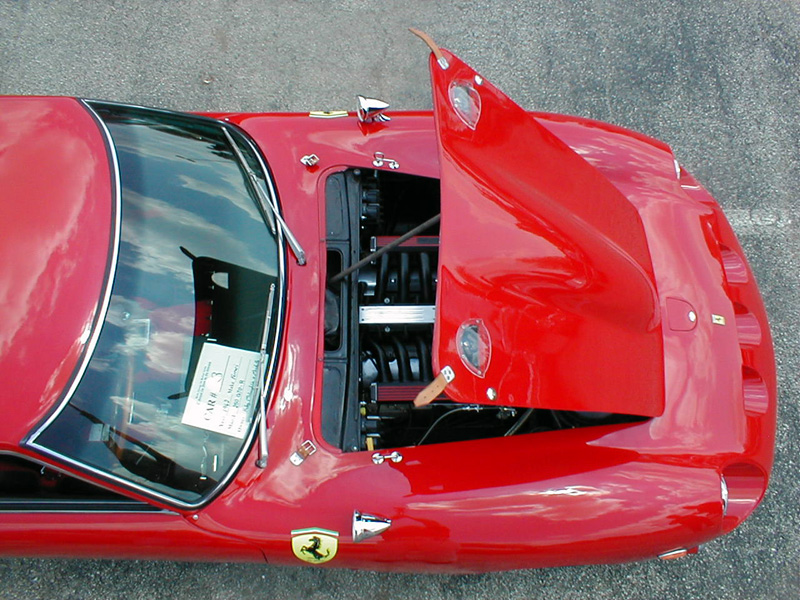
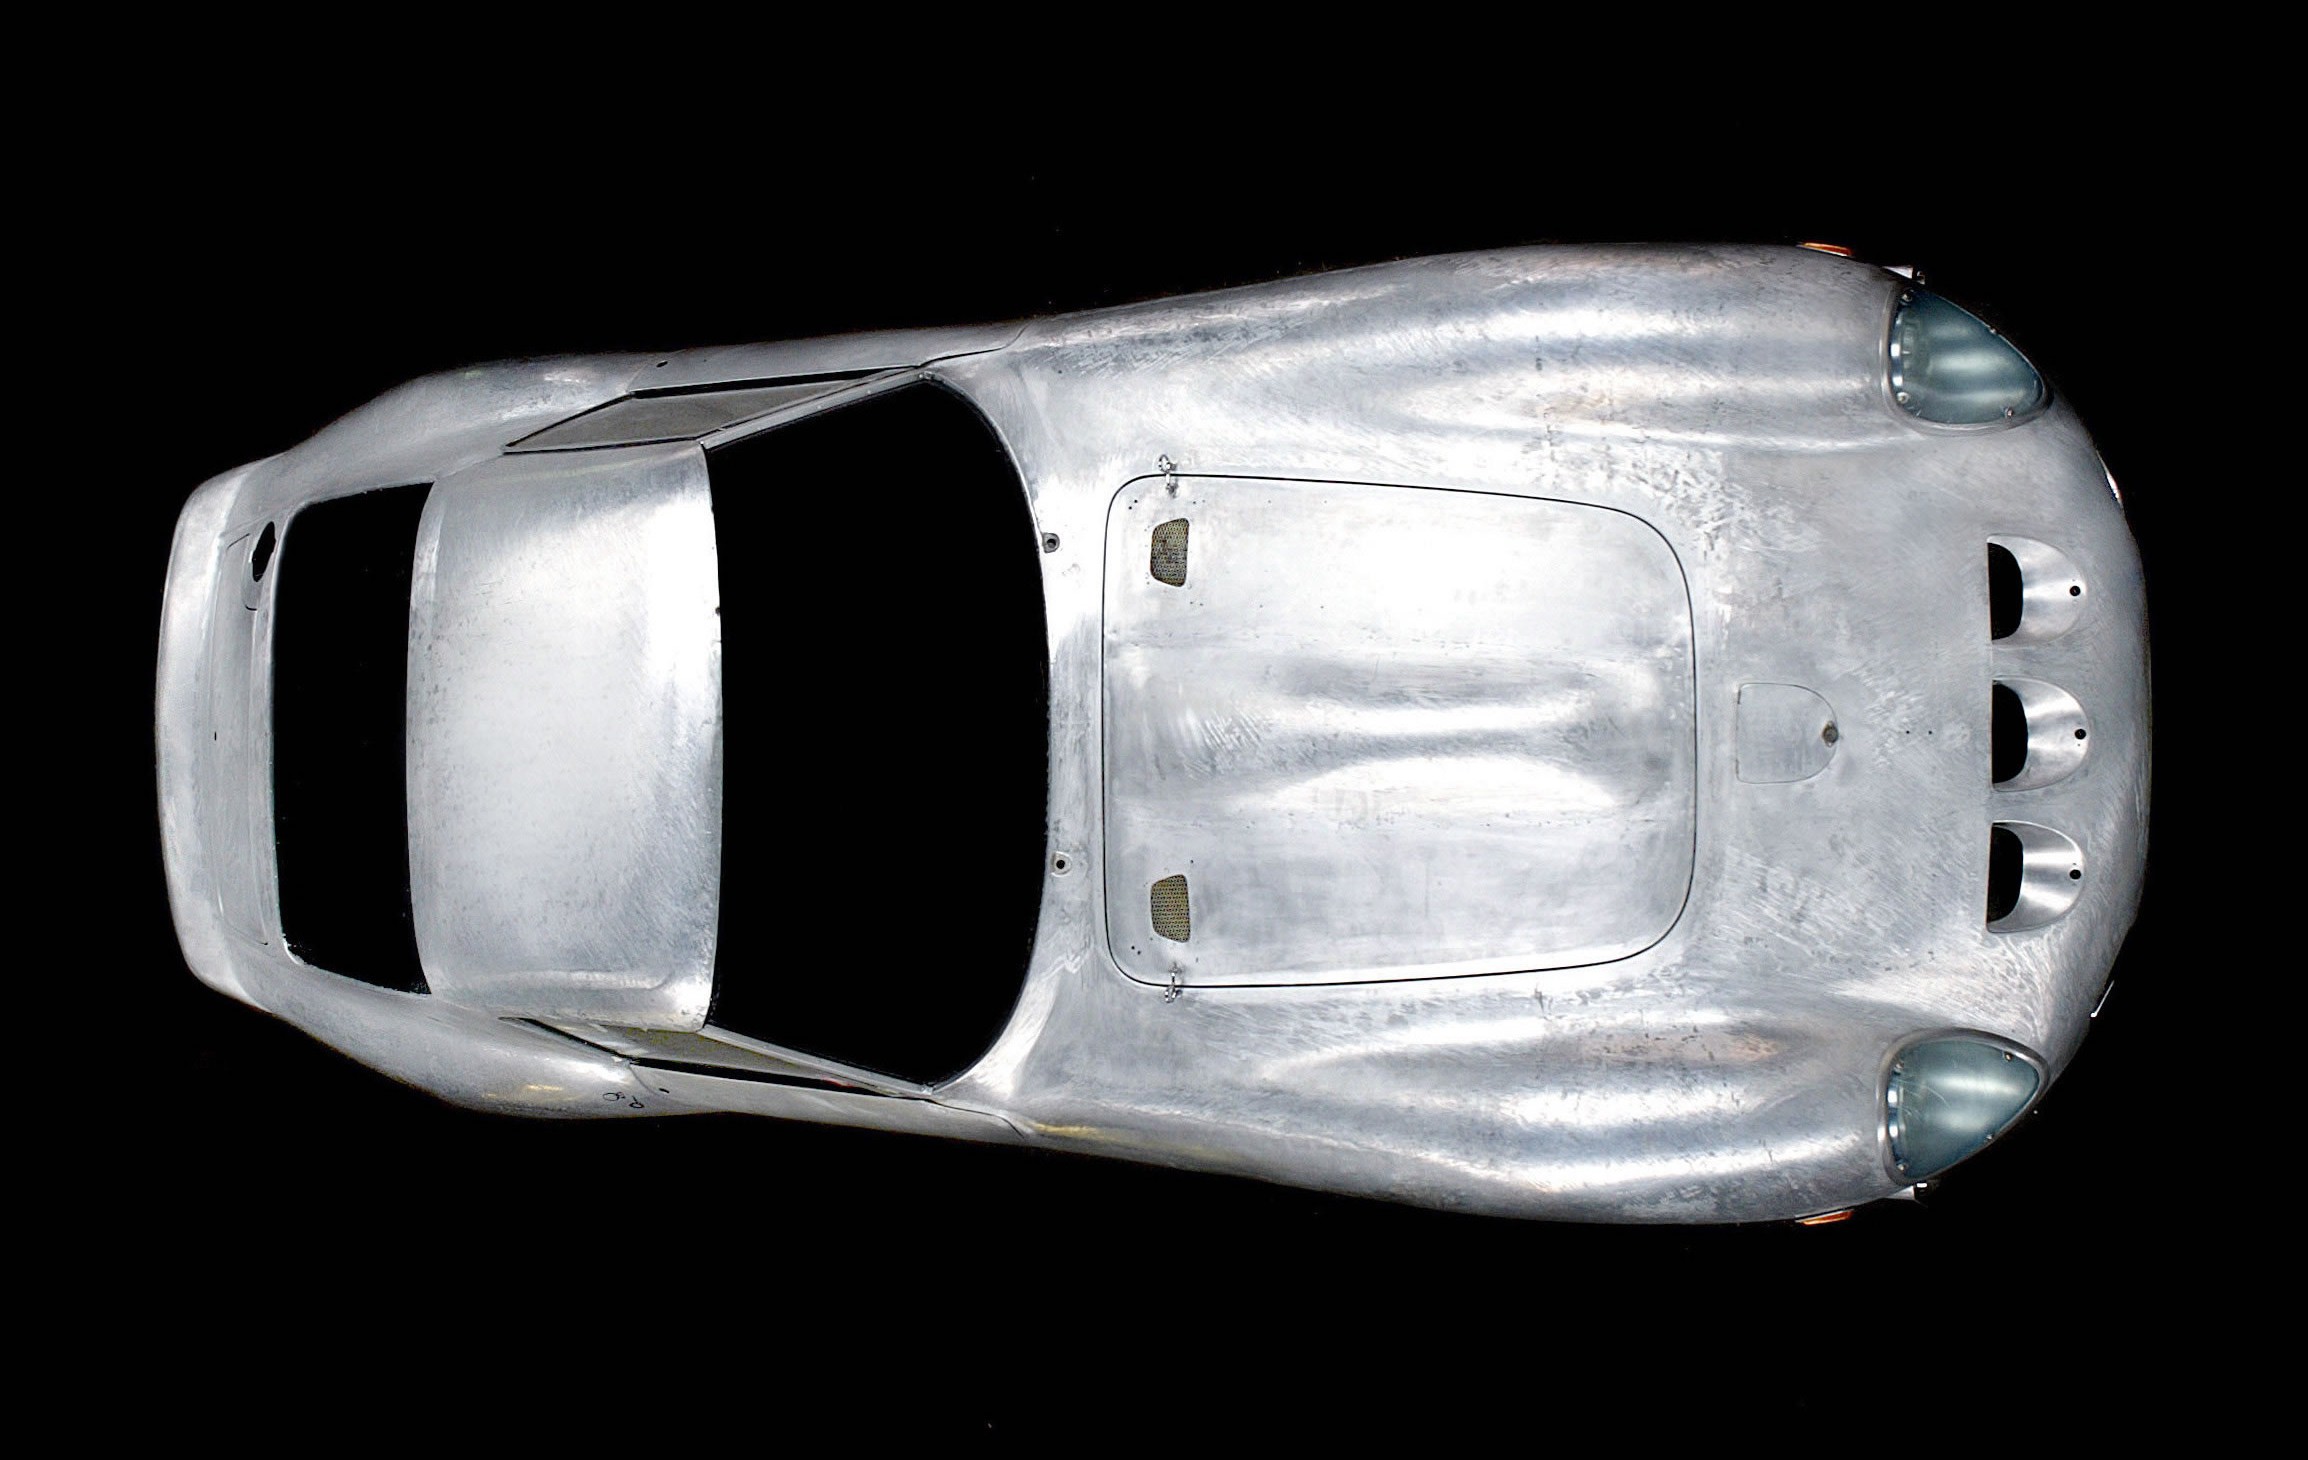
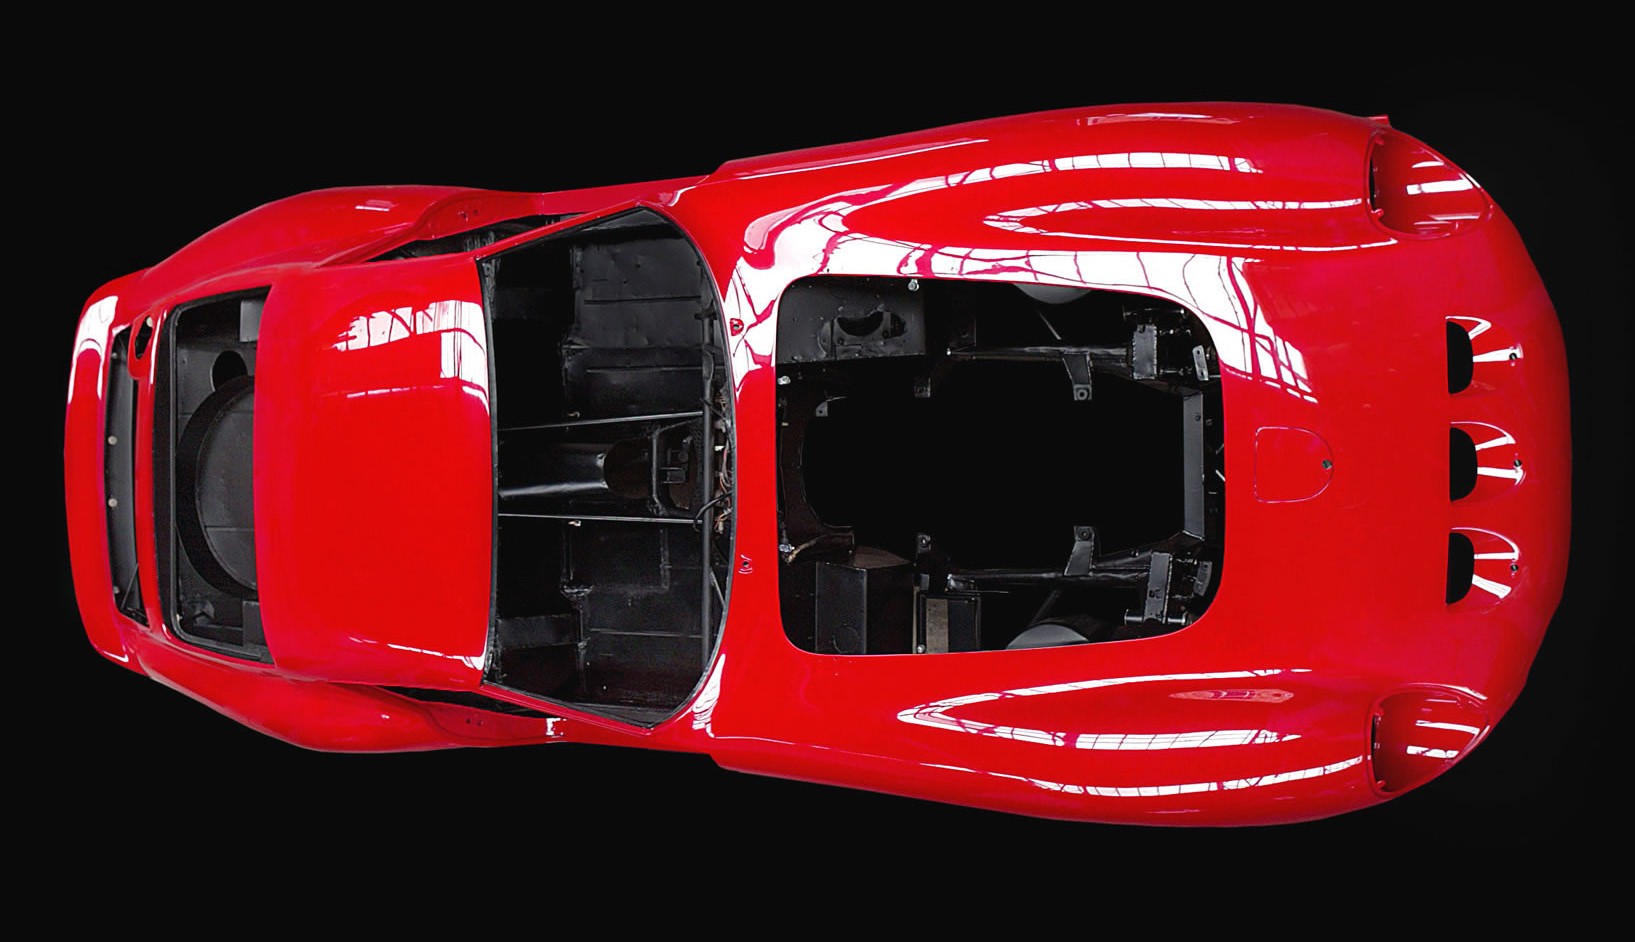
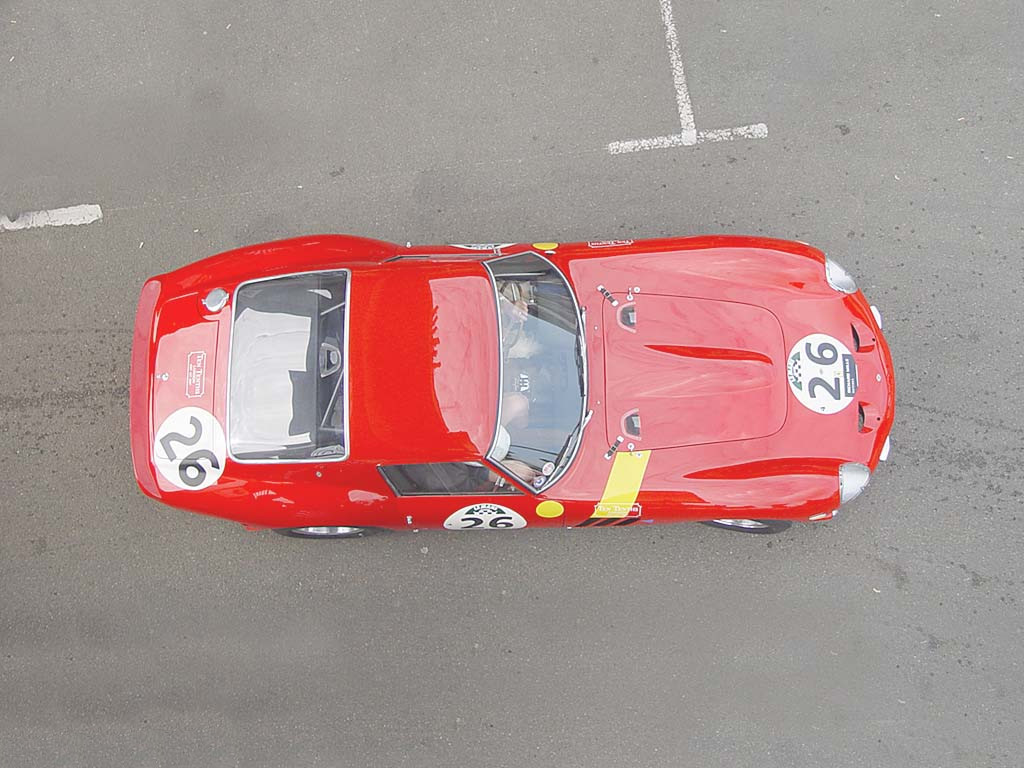
The pic of the Alpha nose leaning against the wall reminded me of the difference i mentioned in the nose. Our headlight buckets are longer than the original GTO's as our noses (on all the fiberglass GTO replicas) are flatter across the front. For comparasin here's overhead view of an Alpha1 nose, the nose on our red car, an original GTO and an original GTO in bare metal being restored an same with paint Hopefully me hitting you with so many pics is useful to you an others an not seen by the mods as me being a bandwidth hog