toolman
-
Posts
616 -
Joined
-
Last visited
-
Days Won
25
Content Type
Profiles
Forums
Blogs
Events
Gallery
Downloads
Store
Everything posted by toolman
-
Heavy Duty frame rails and connectors
toolman replied to toolman's topic in Gen III & IV Chevy V8Z Tech Board
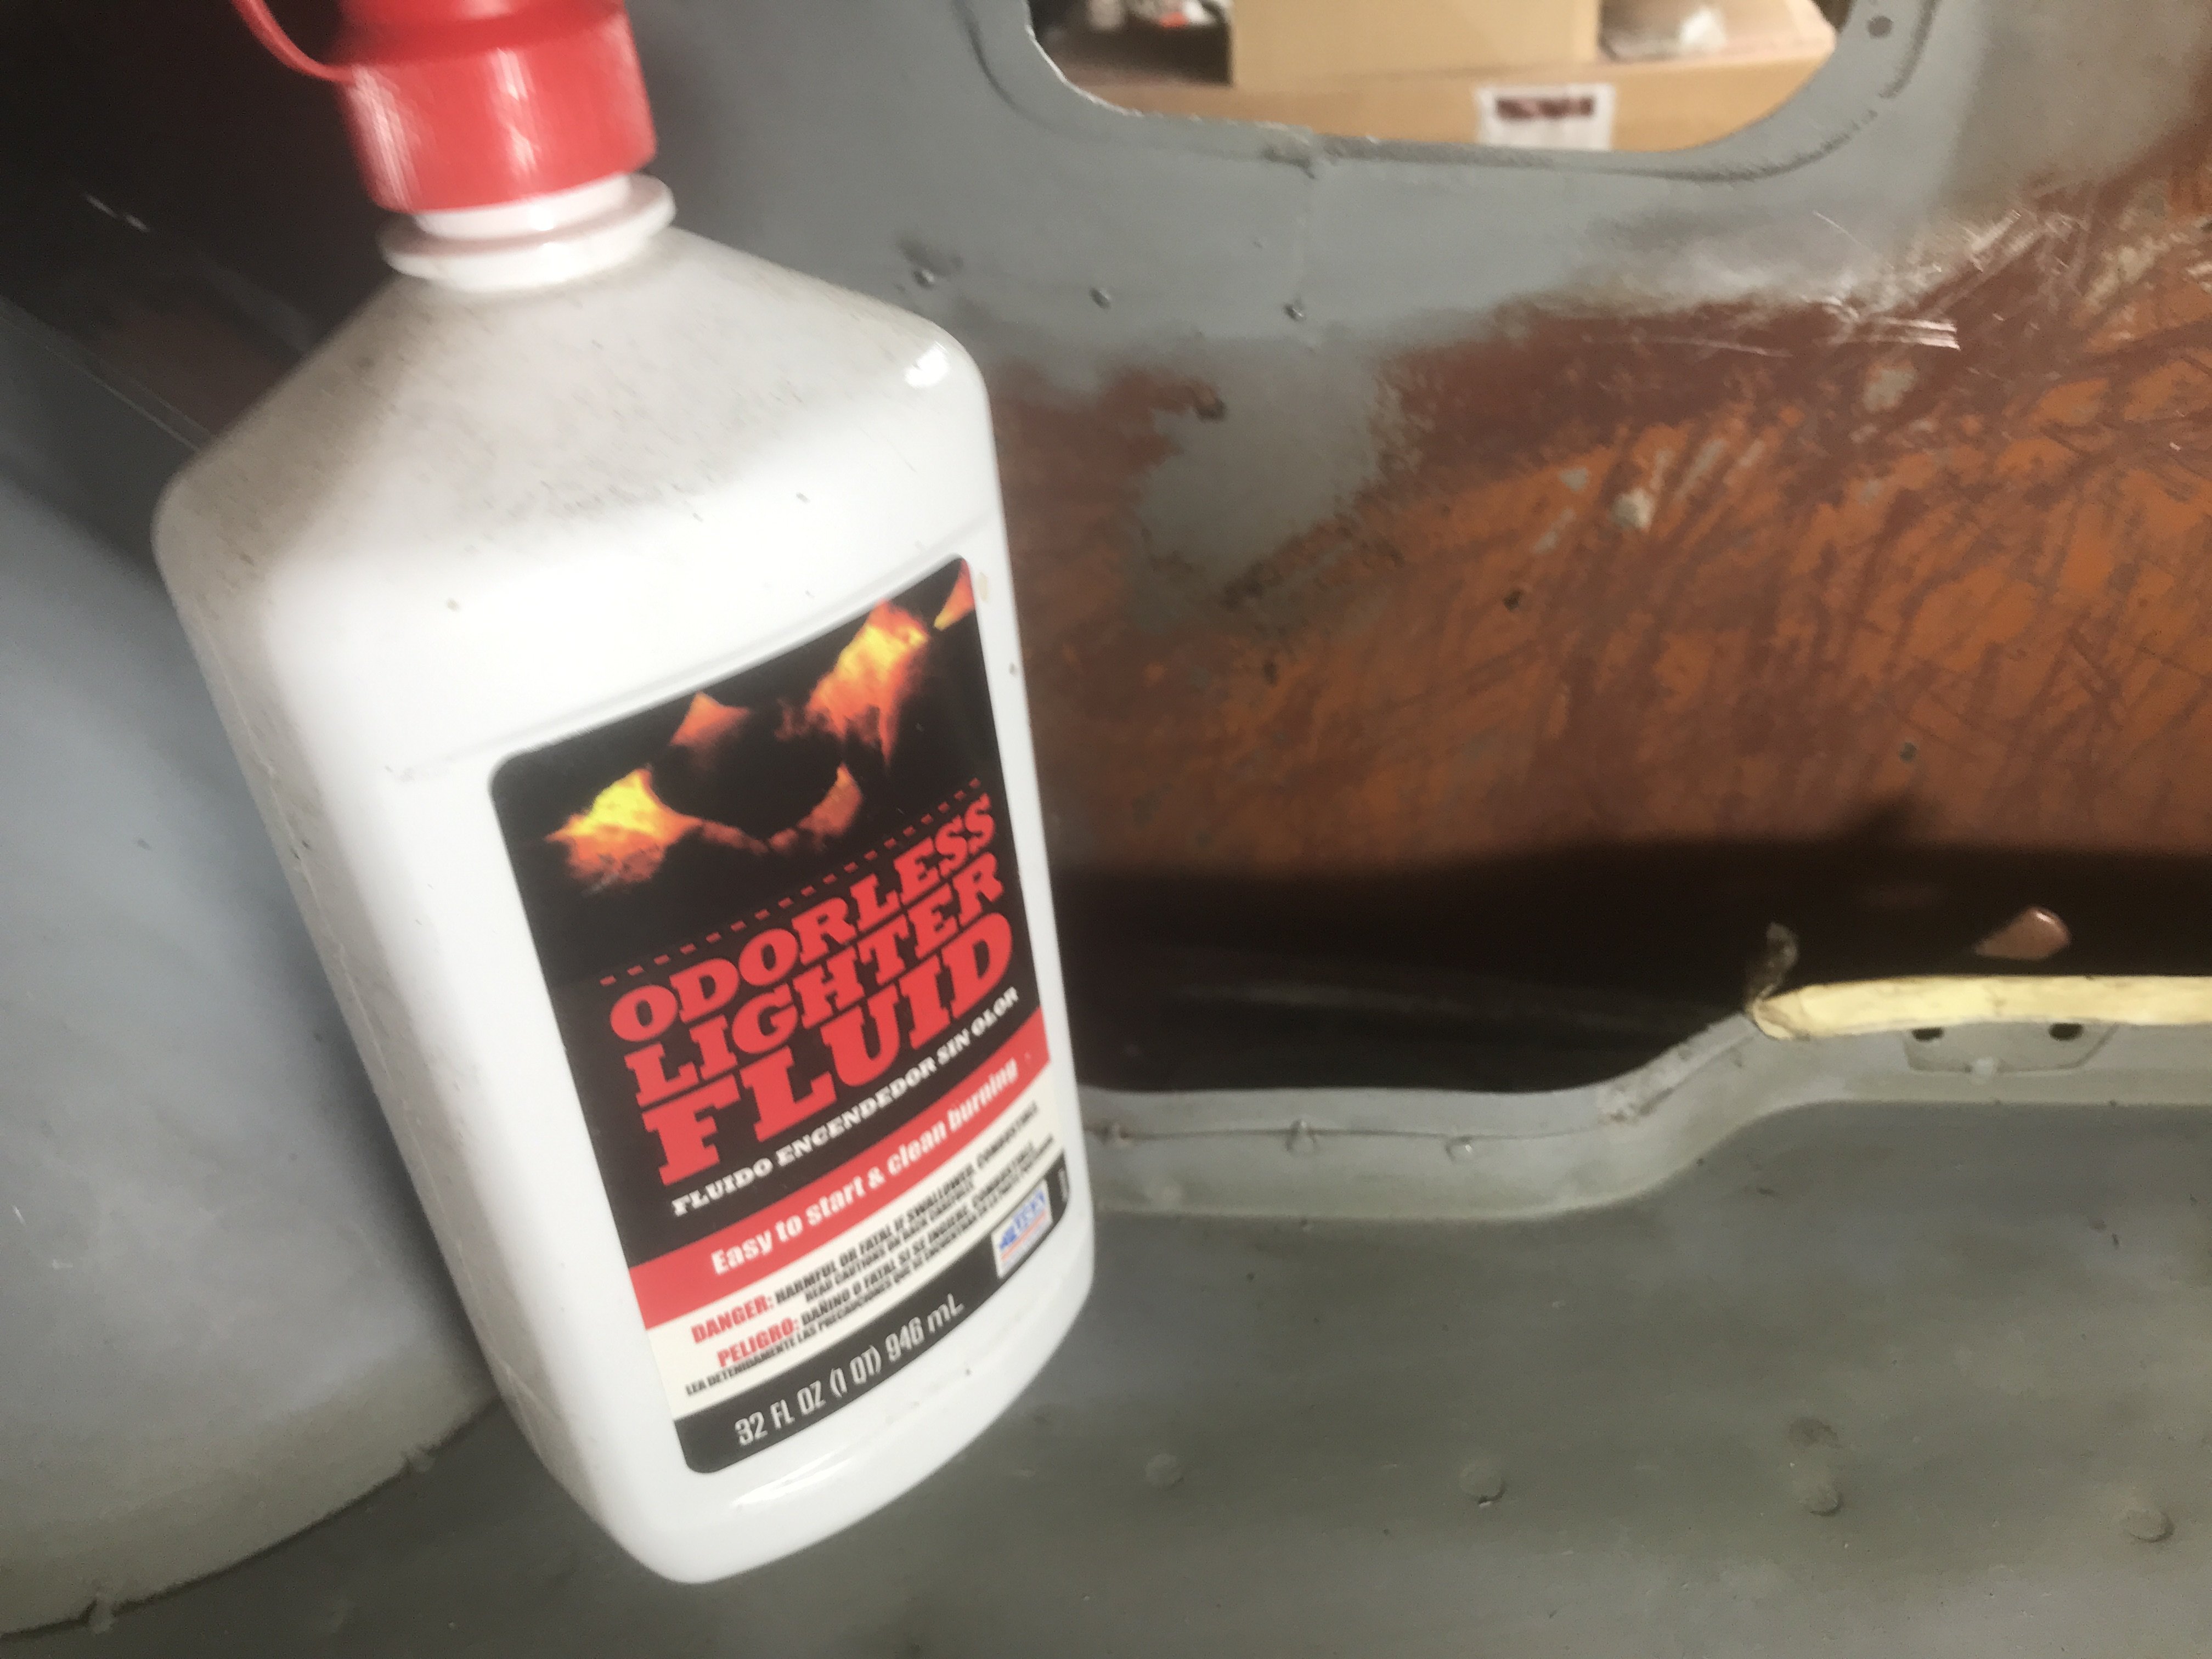
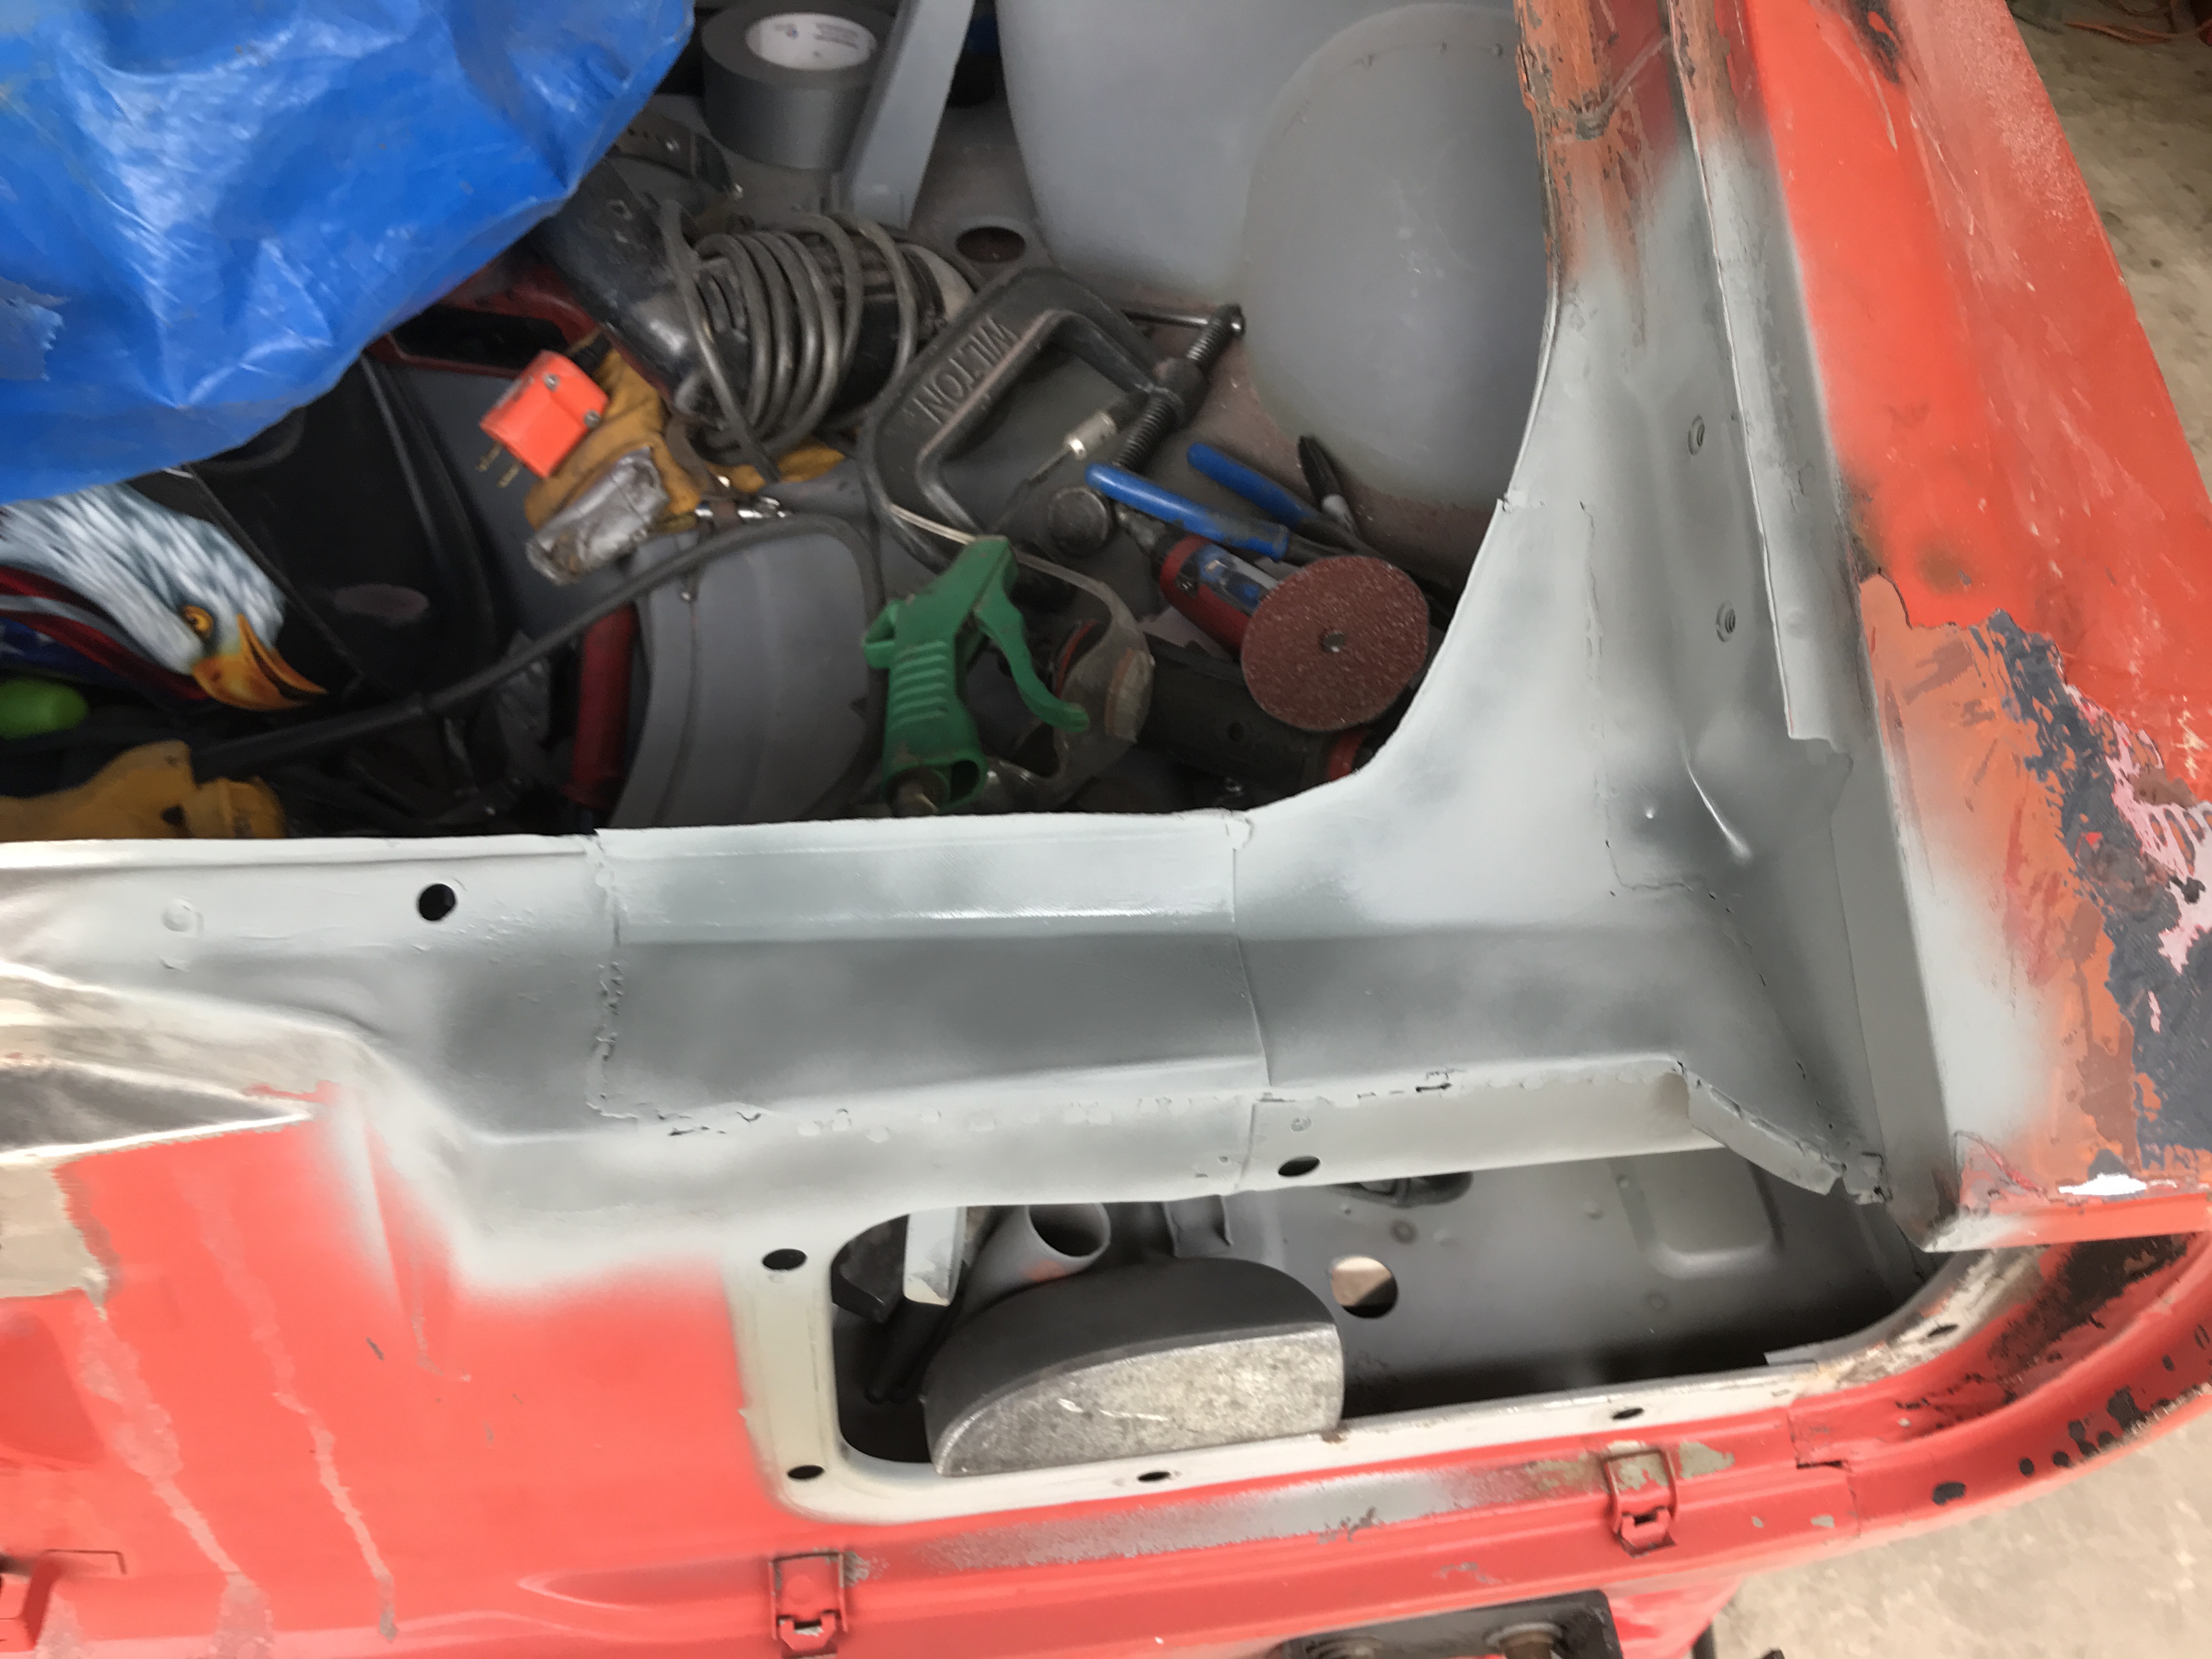
While working on this Z, one problem that coming up was the presence of wax type of rustproofing. Even when I tried to clear the rustproofing around the area of repair, it sometimes would melt and spoil my weld. I tried scrapping and using lacquer thinner but it still was not effective. One of body shop guys told to try Barbeque Lighter Fluid. So I bought some from Walmart. It was only $3 a quart. Well. it works good as it does not evaporate as fast as lacquer thinner and allows time to soften the rustproofing. A stiff parts brush also helps also. The fluid doesn't seem to leave a residue too. For areas with thick rustproofing, use a plastic scraper to remove the heavier deposits first then use the fluid. Pic of rustproofing on the inside of left quarter panel Lighter Fluid After cleaning with lighter fluid, the seams were scrapped out with thin scraper. A 1000 degree heat gun was also used to soften the seam sealer. Left rear quarter panel pocket Right side pocket after cleaning. Brushed on OSHO in the seams then neutralized it after 24 hours. Lighter fluid seems it work well and allow me to remove the factory seam sealer in the panel. Have not decided on what type of rustproofing to use after painting though.
-
Heavy Duty frame rails and connectors
toolman replied to toolman's topic in Gen III & IV Chevy V8Z Tech Board
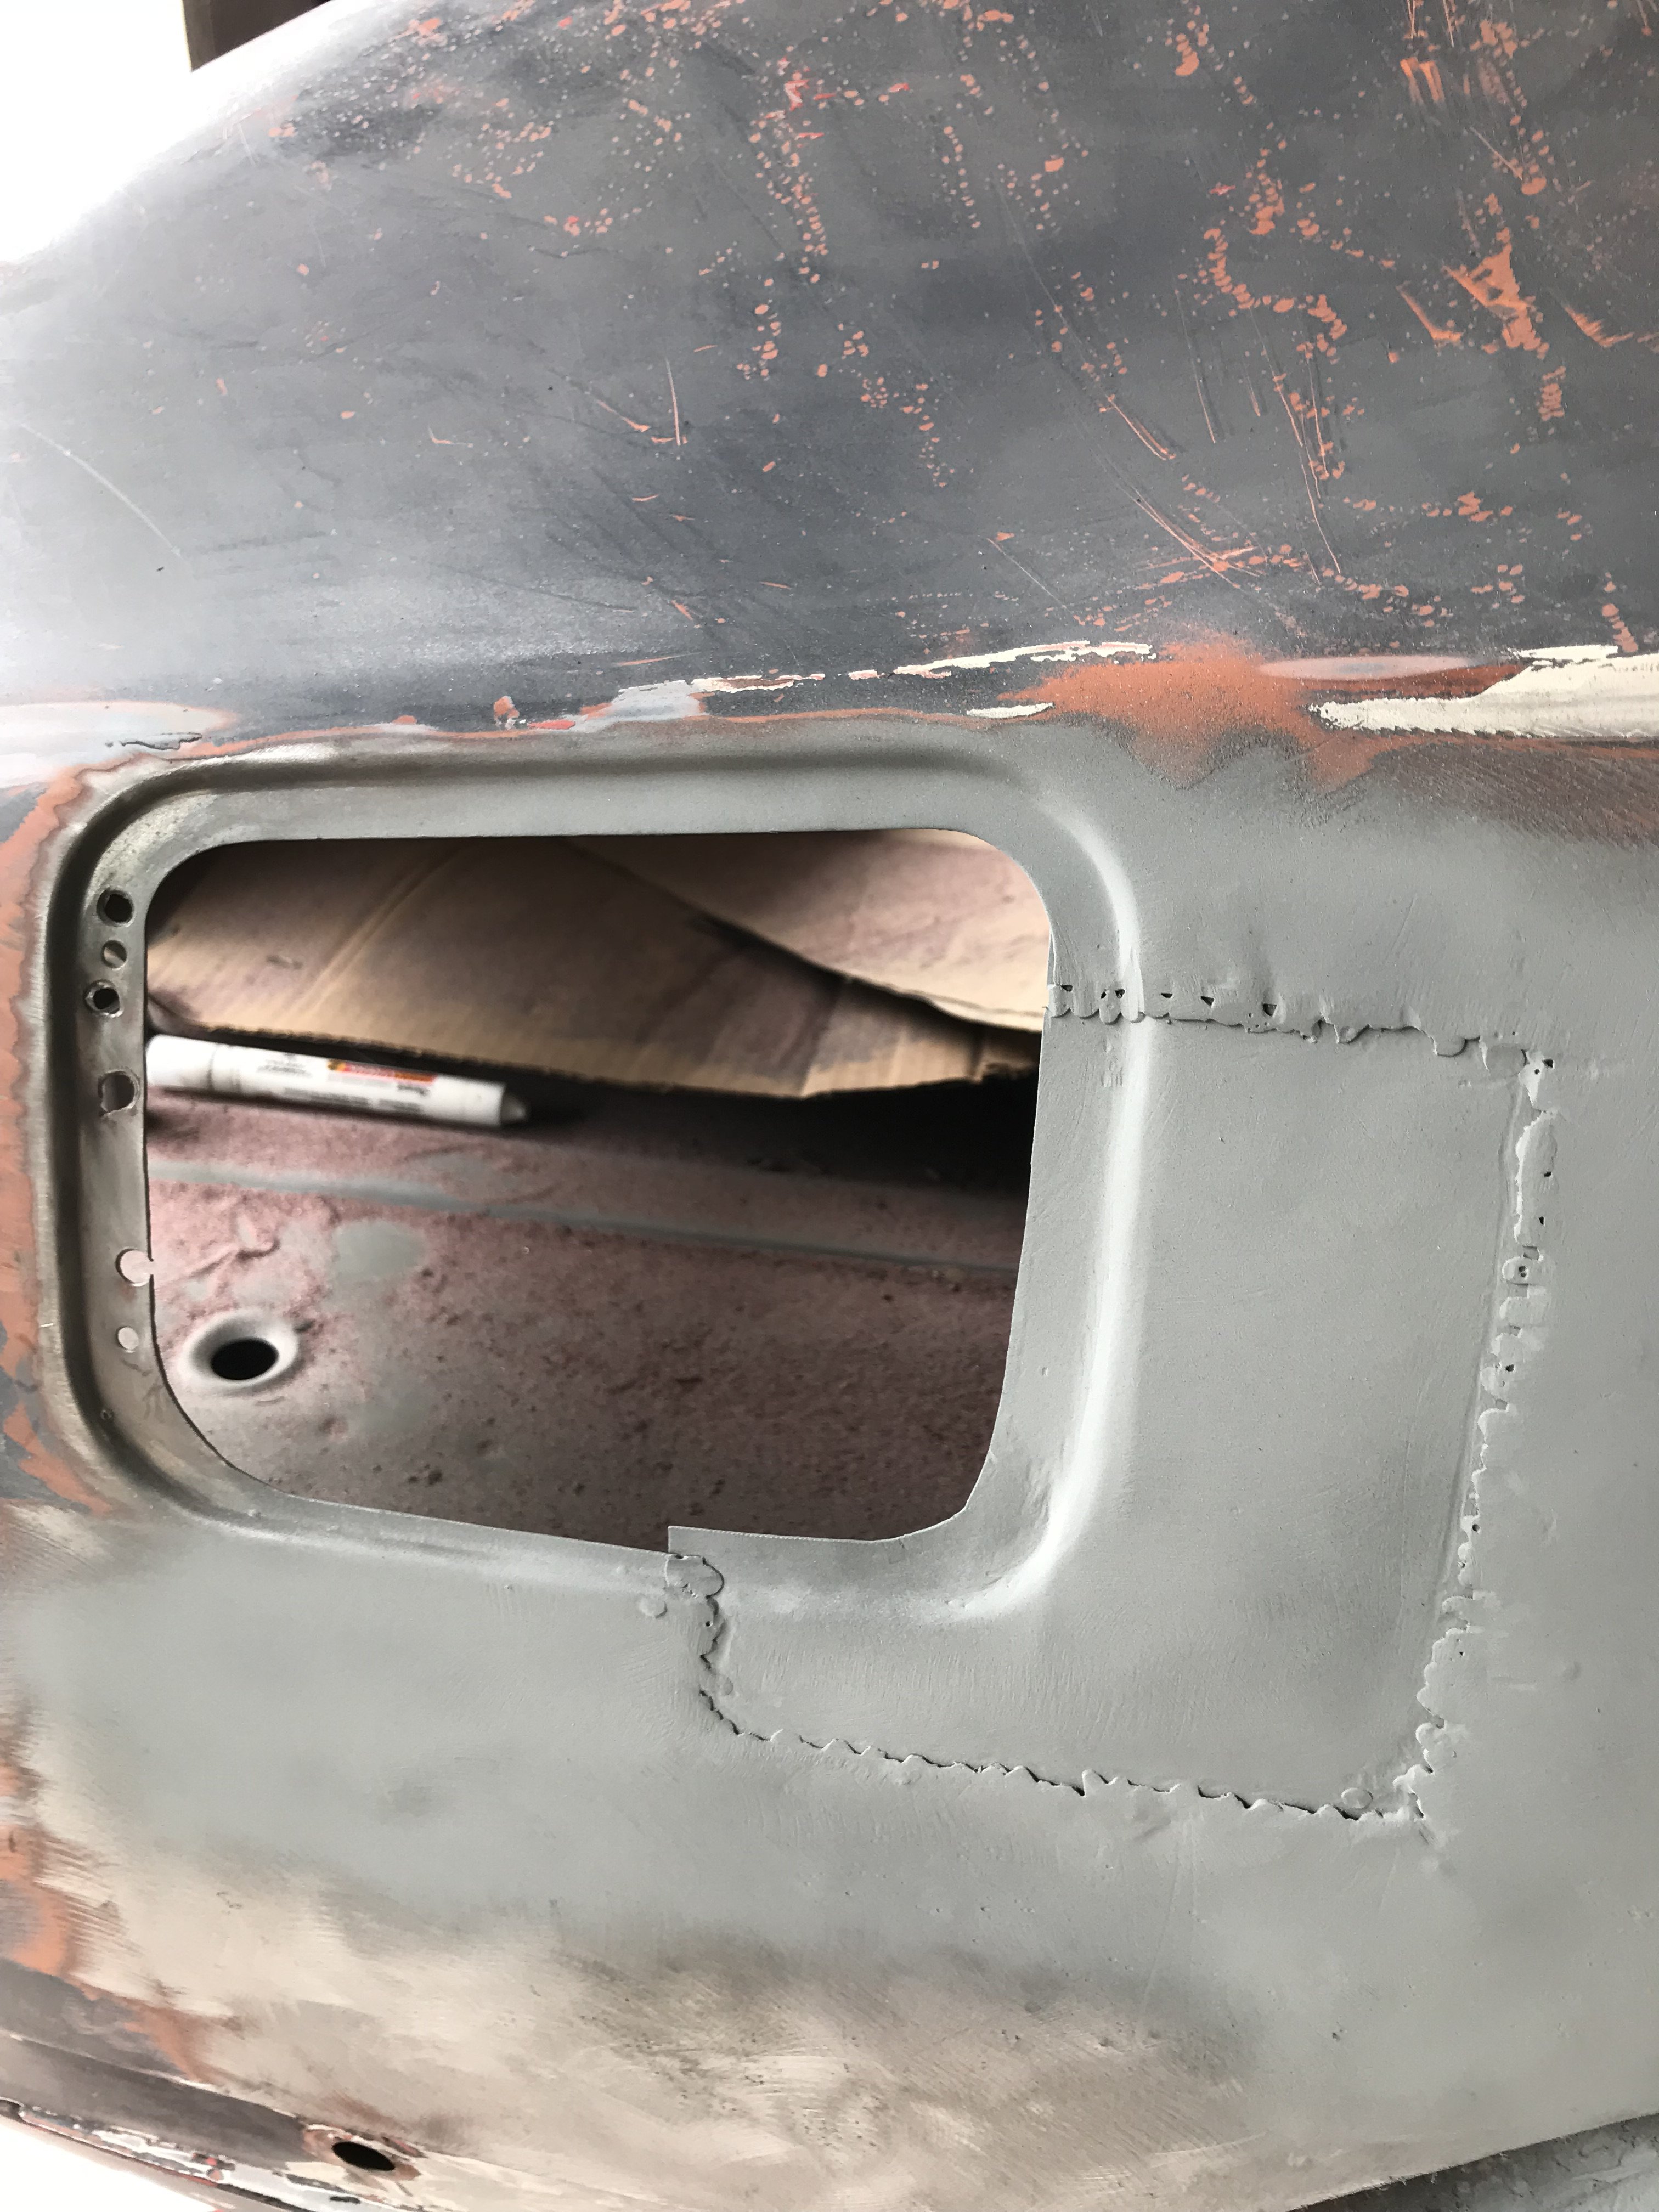
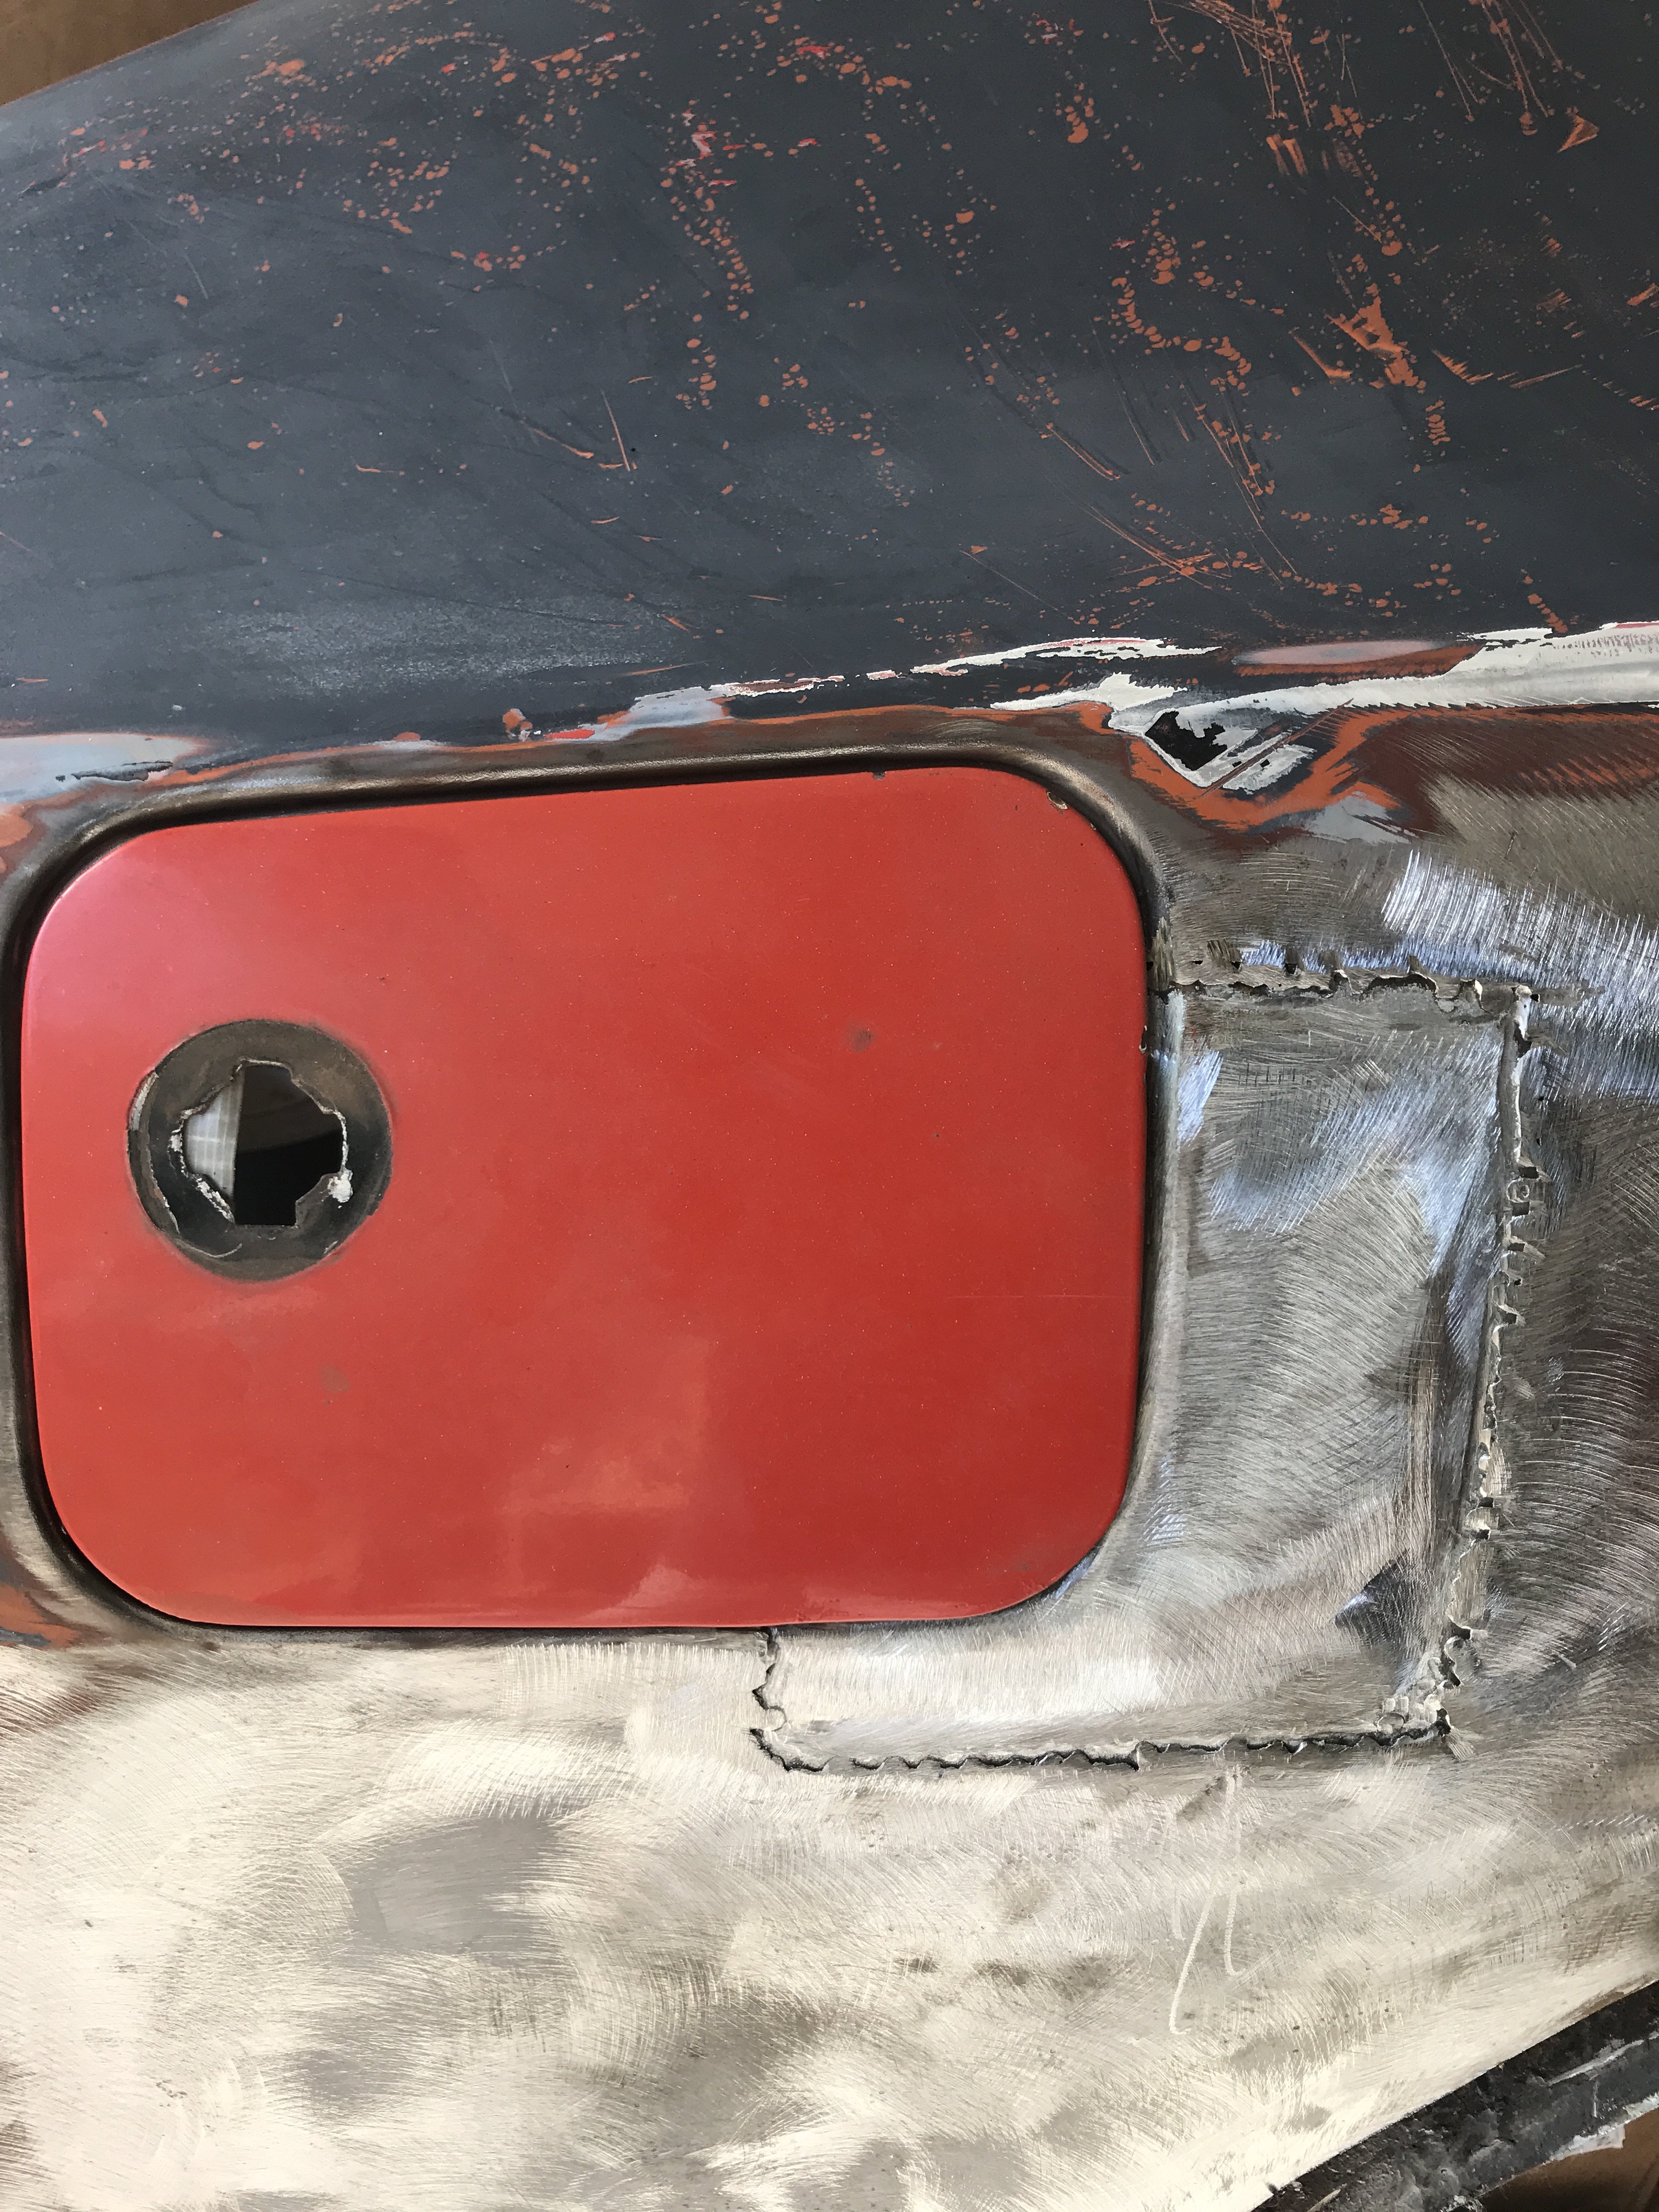
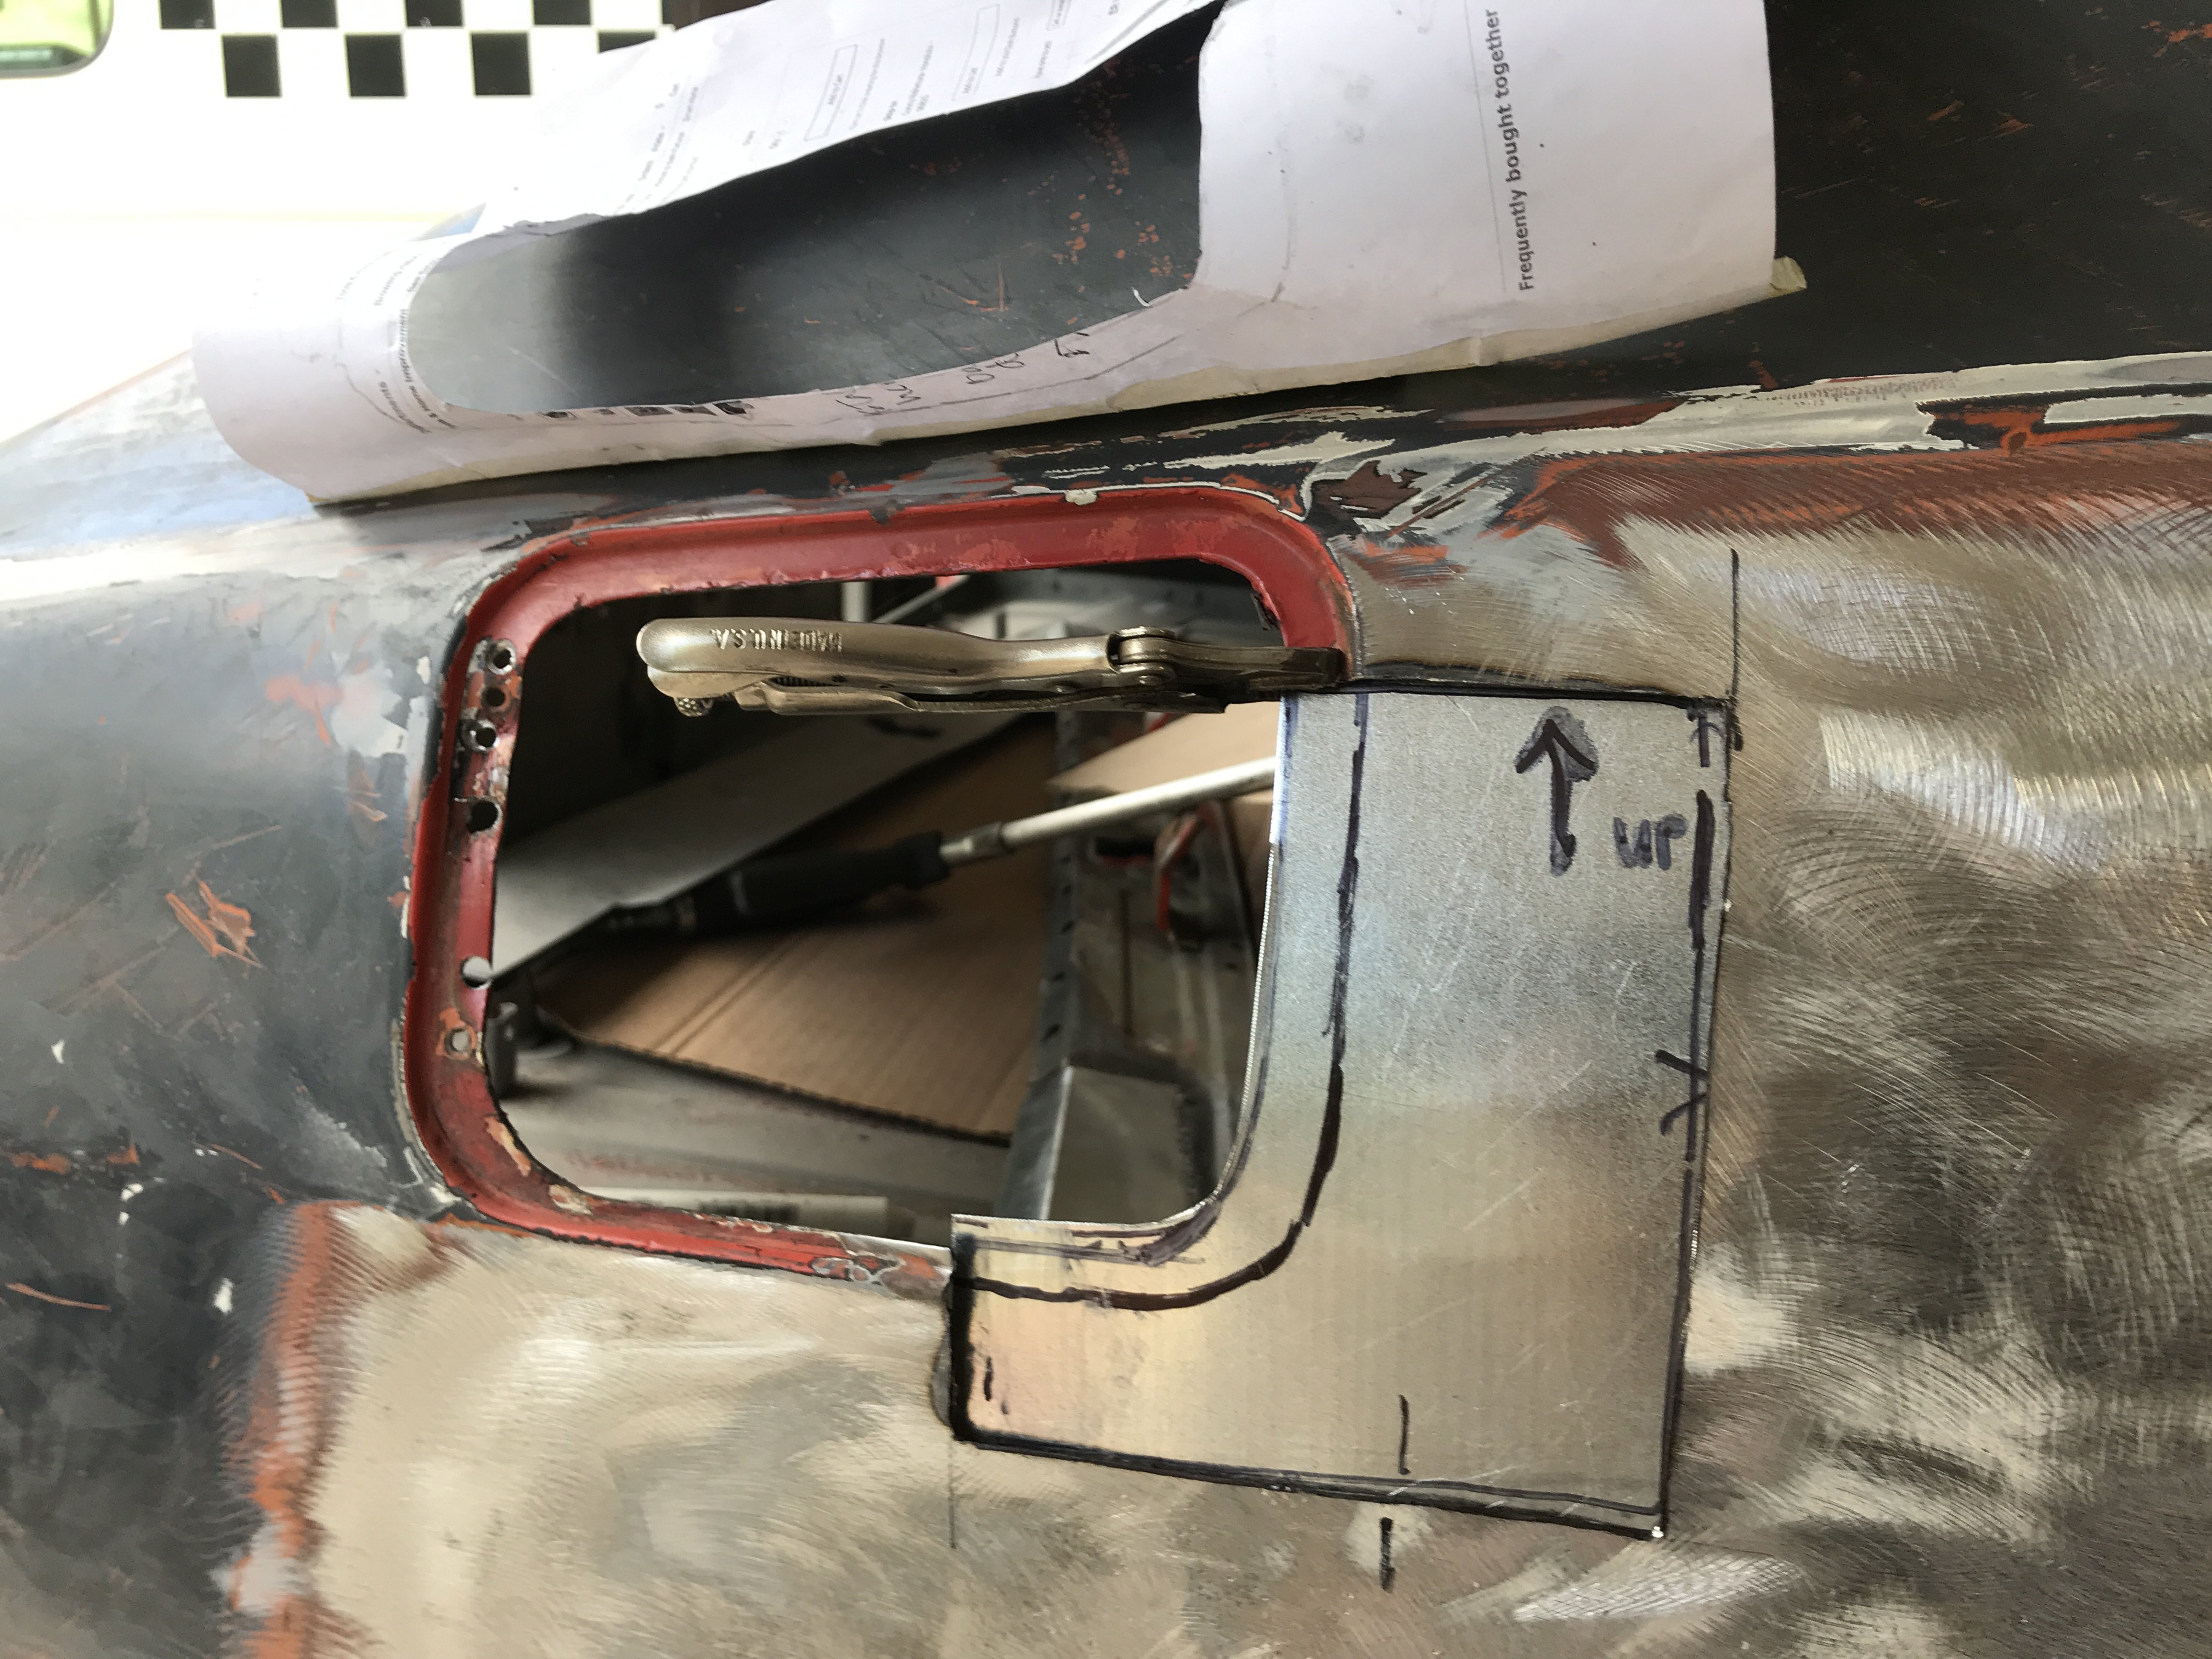
The contour of the inner edge was time consuming. Utilizing a large c-clamp and pieces of 1/4" steel plate to make a temporary screw press. As you can see, the method is very effective and very low cost. Guide lines and position marks are very important for correct alignment. The patch was ducted taped to the quarter panel and fuel filler was test fitted before welded on. The patch was welded on and painted with welding primer. The fuel filler door was doubled checked on the exterior patch. The exterior patch was also tack welded from the inside. It will be seam sealed after media blasting to prevent corrosion.
-
Heavy Duty frame rails and connectors
toolman replied to toolman's topic in Gen III & IV Chevy V8Z Tech Board
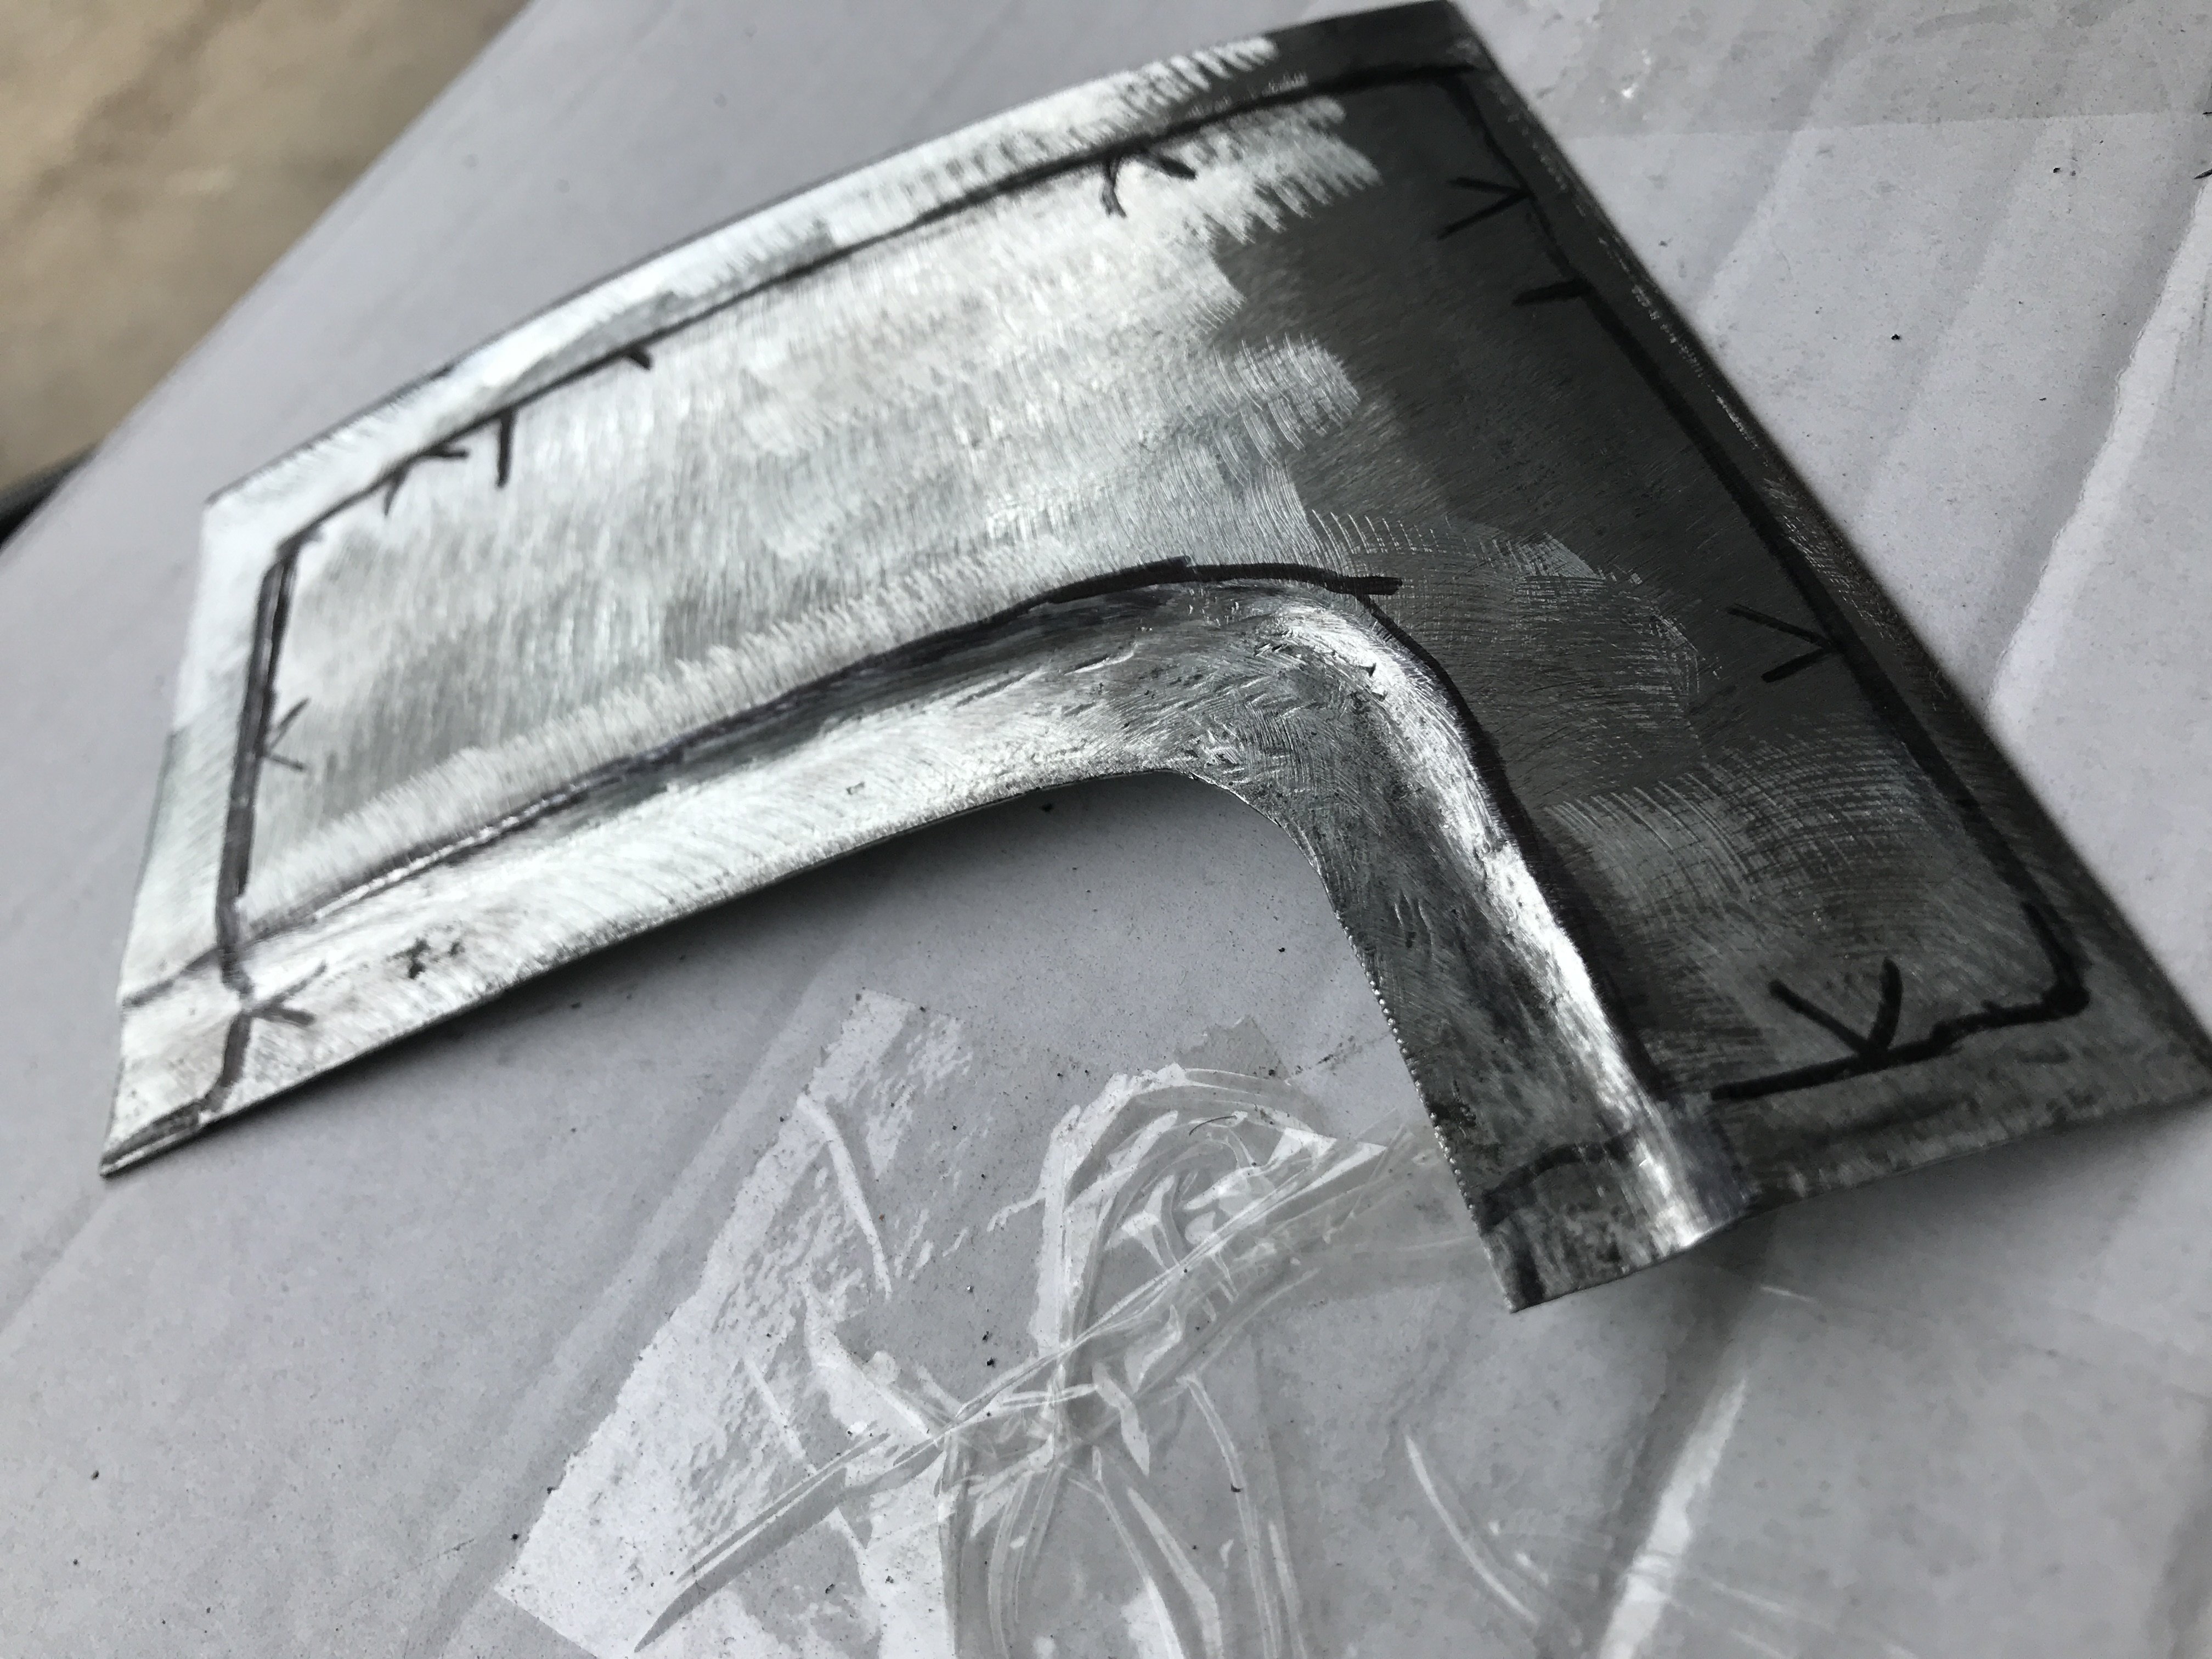
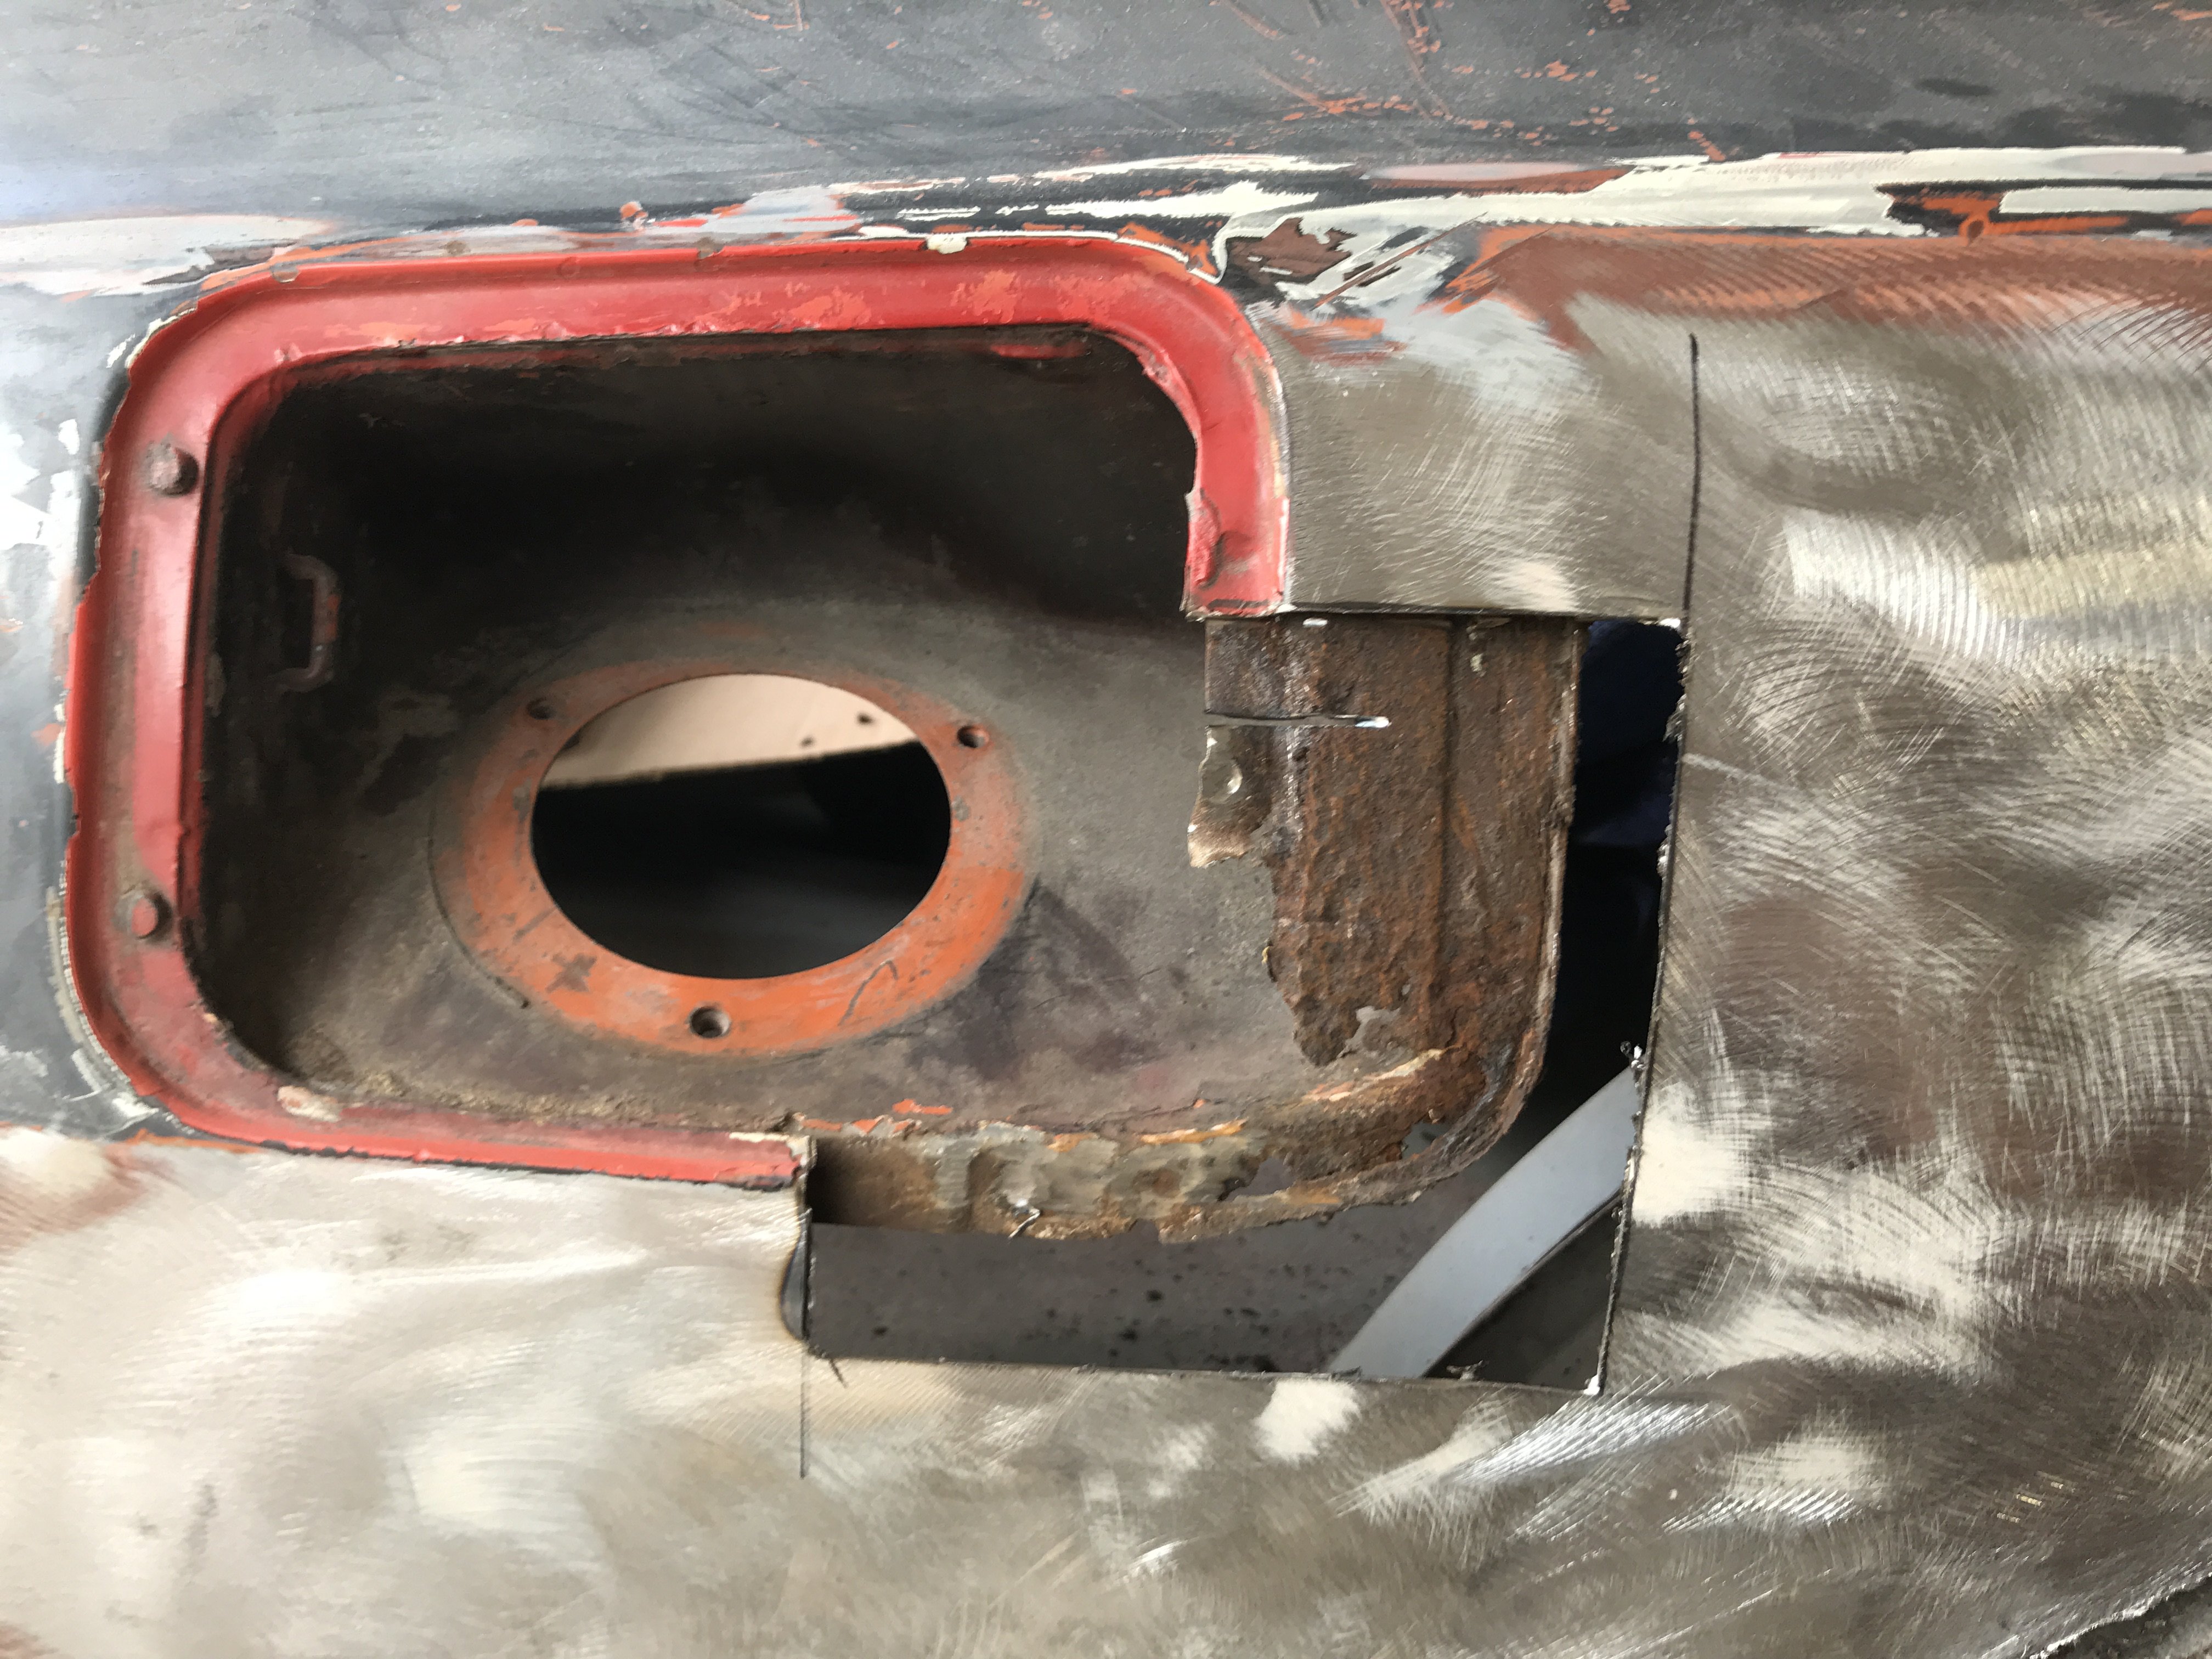
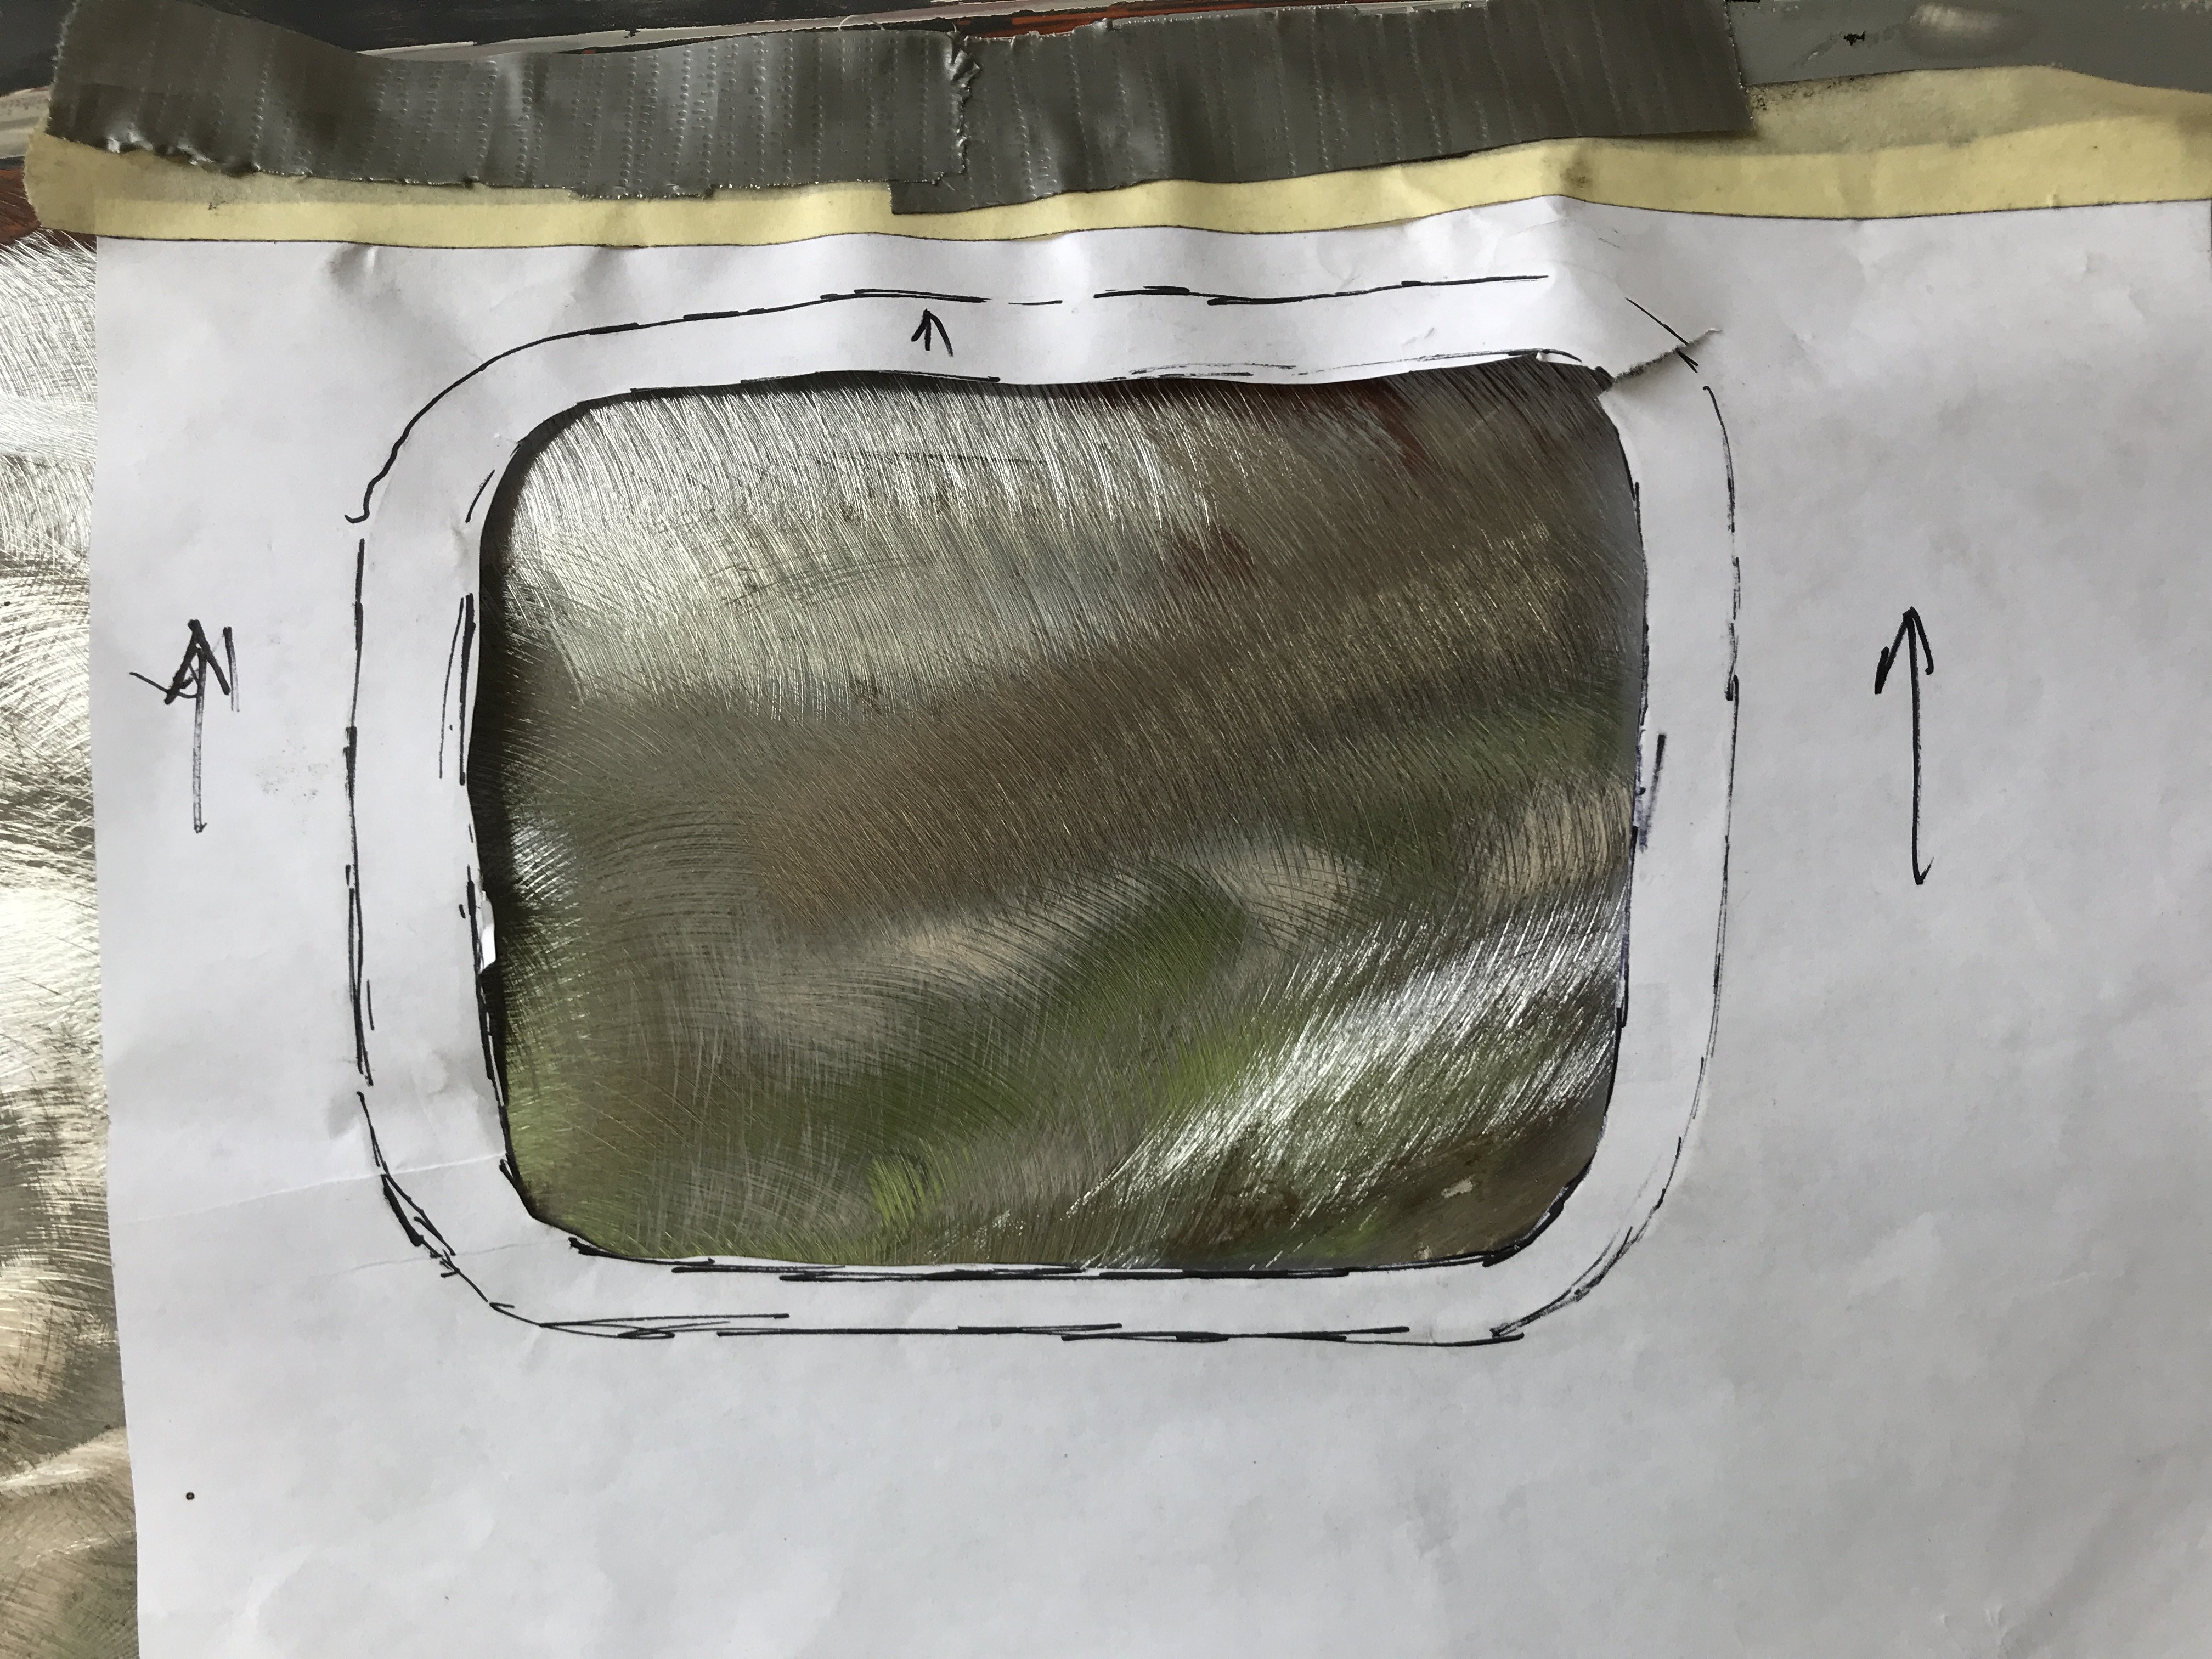
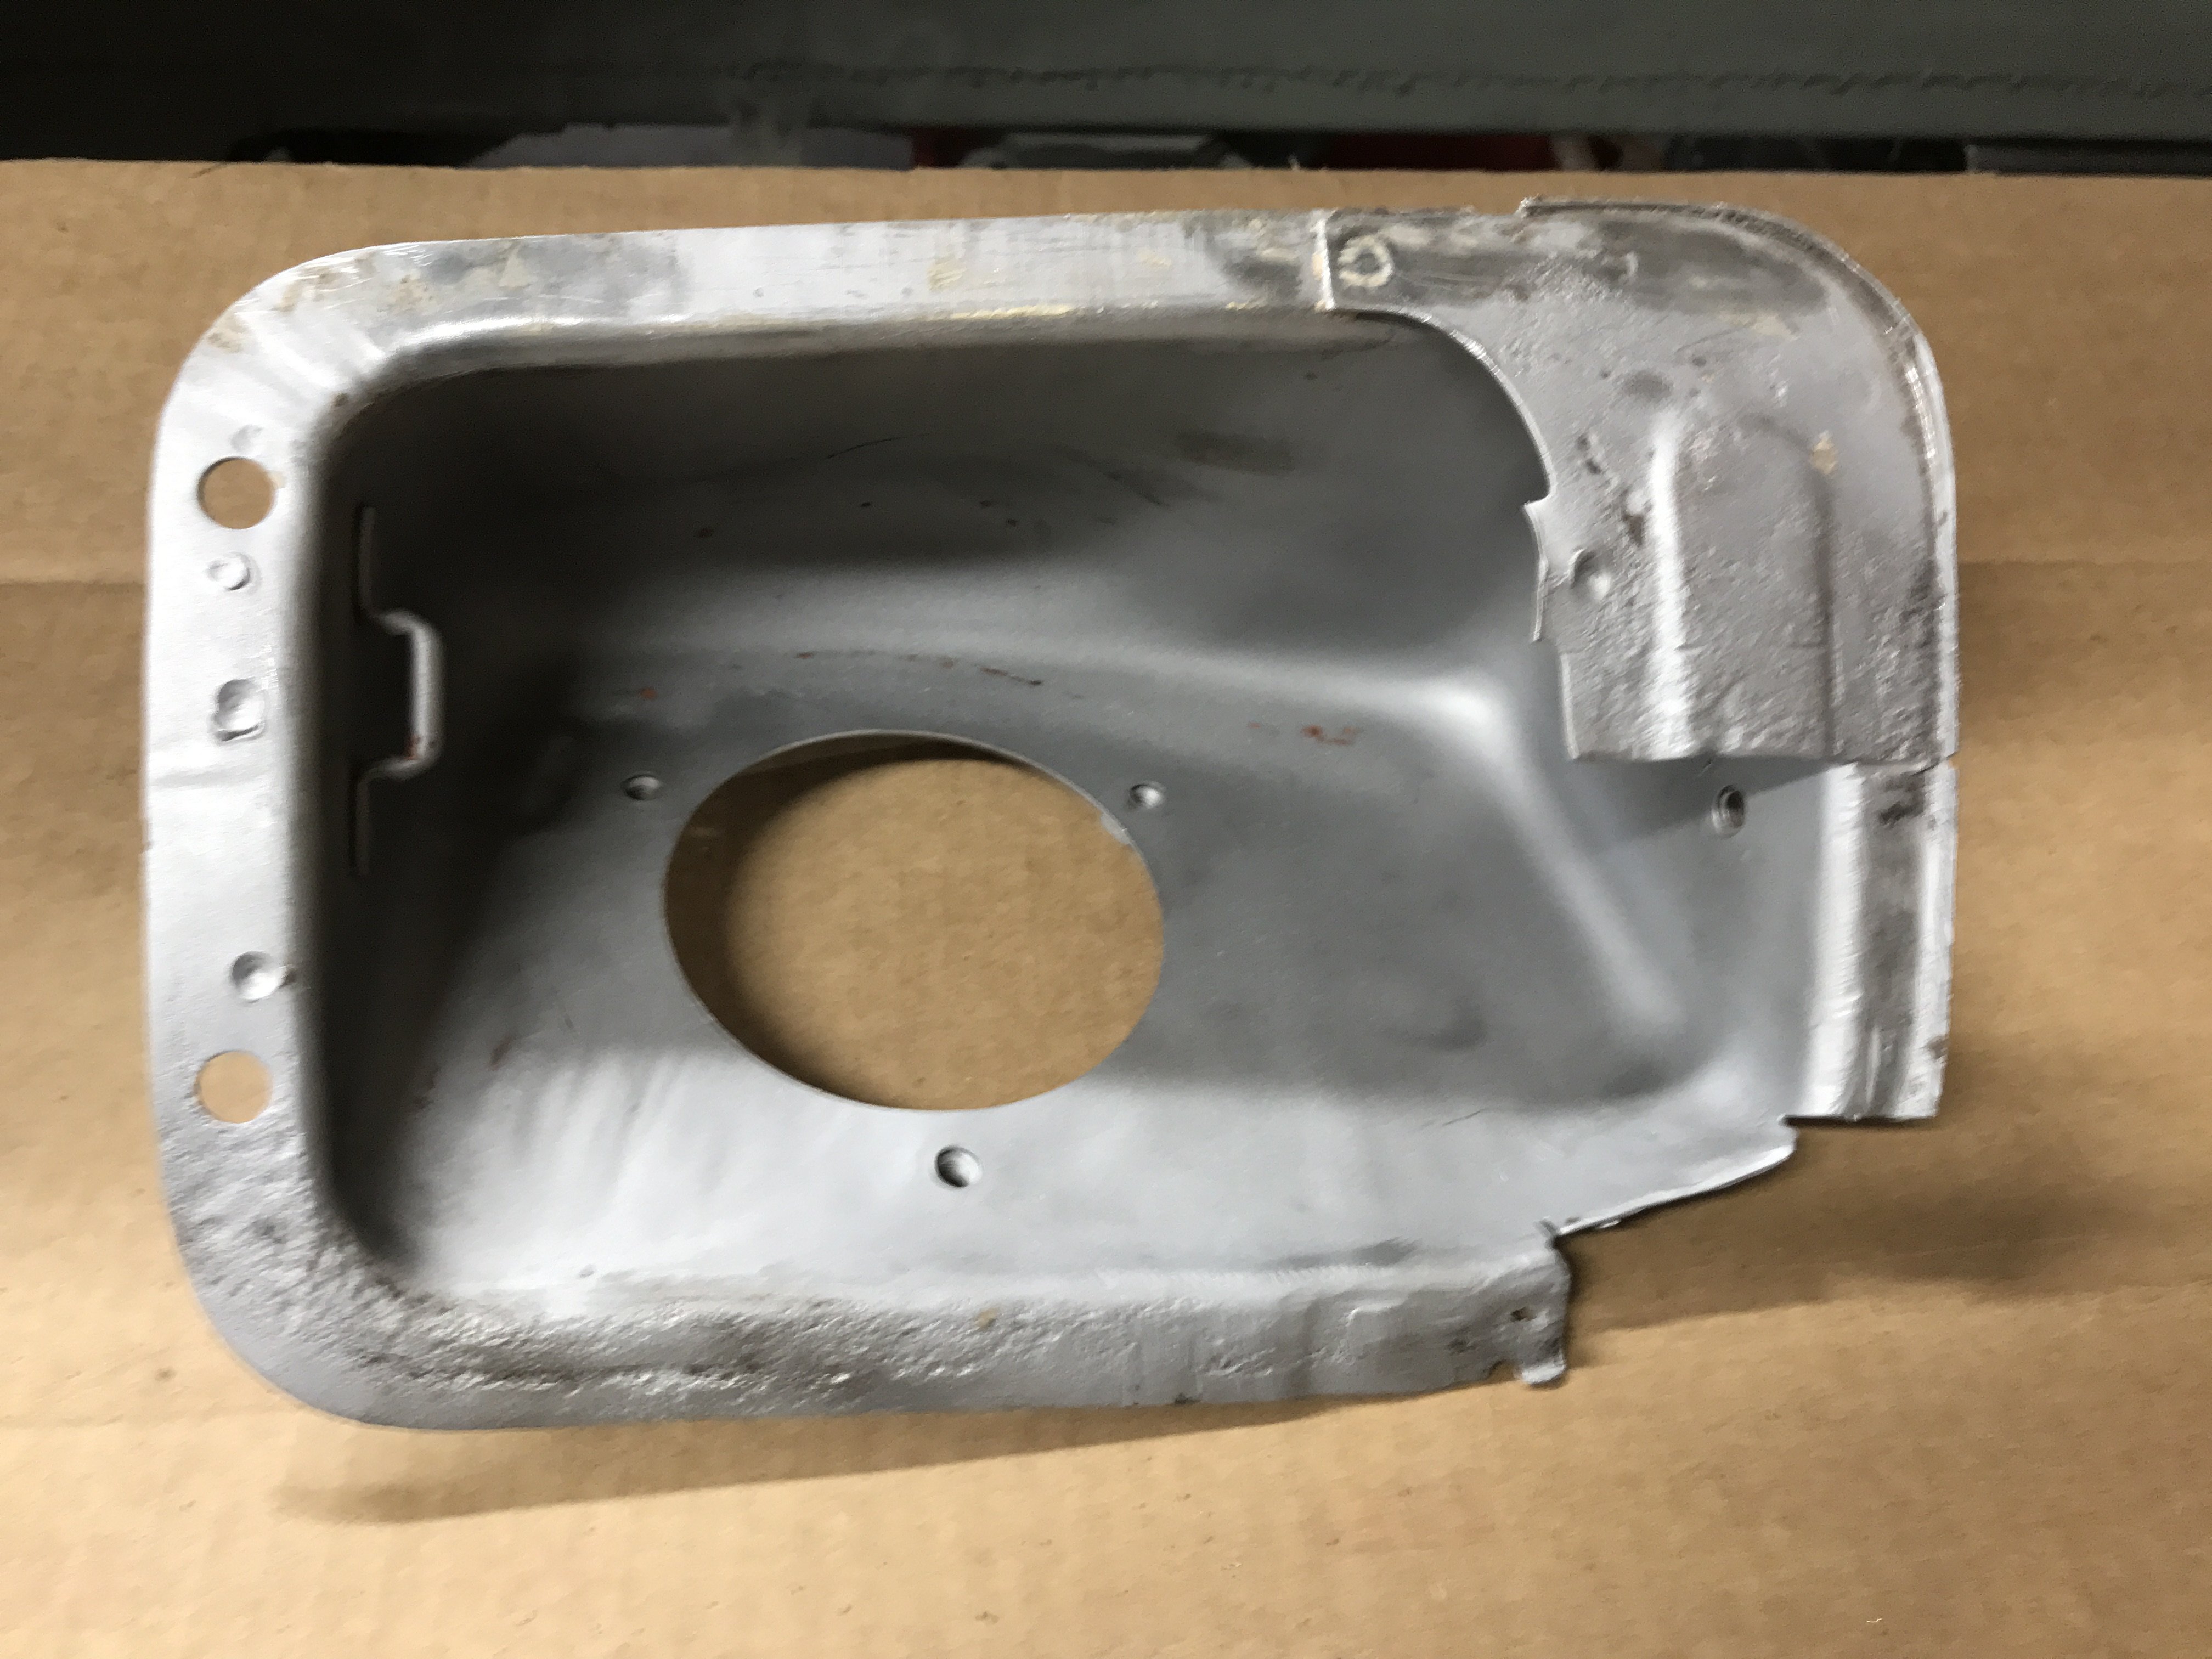
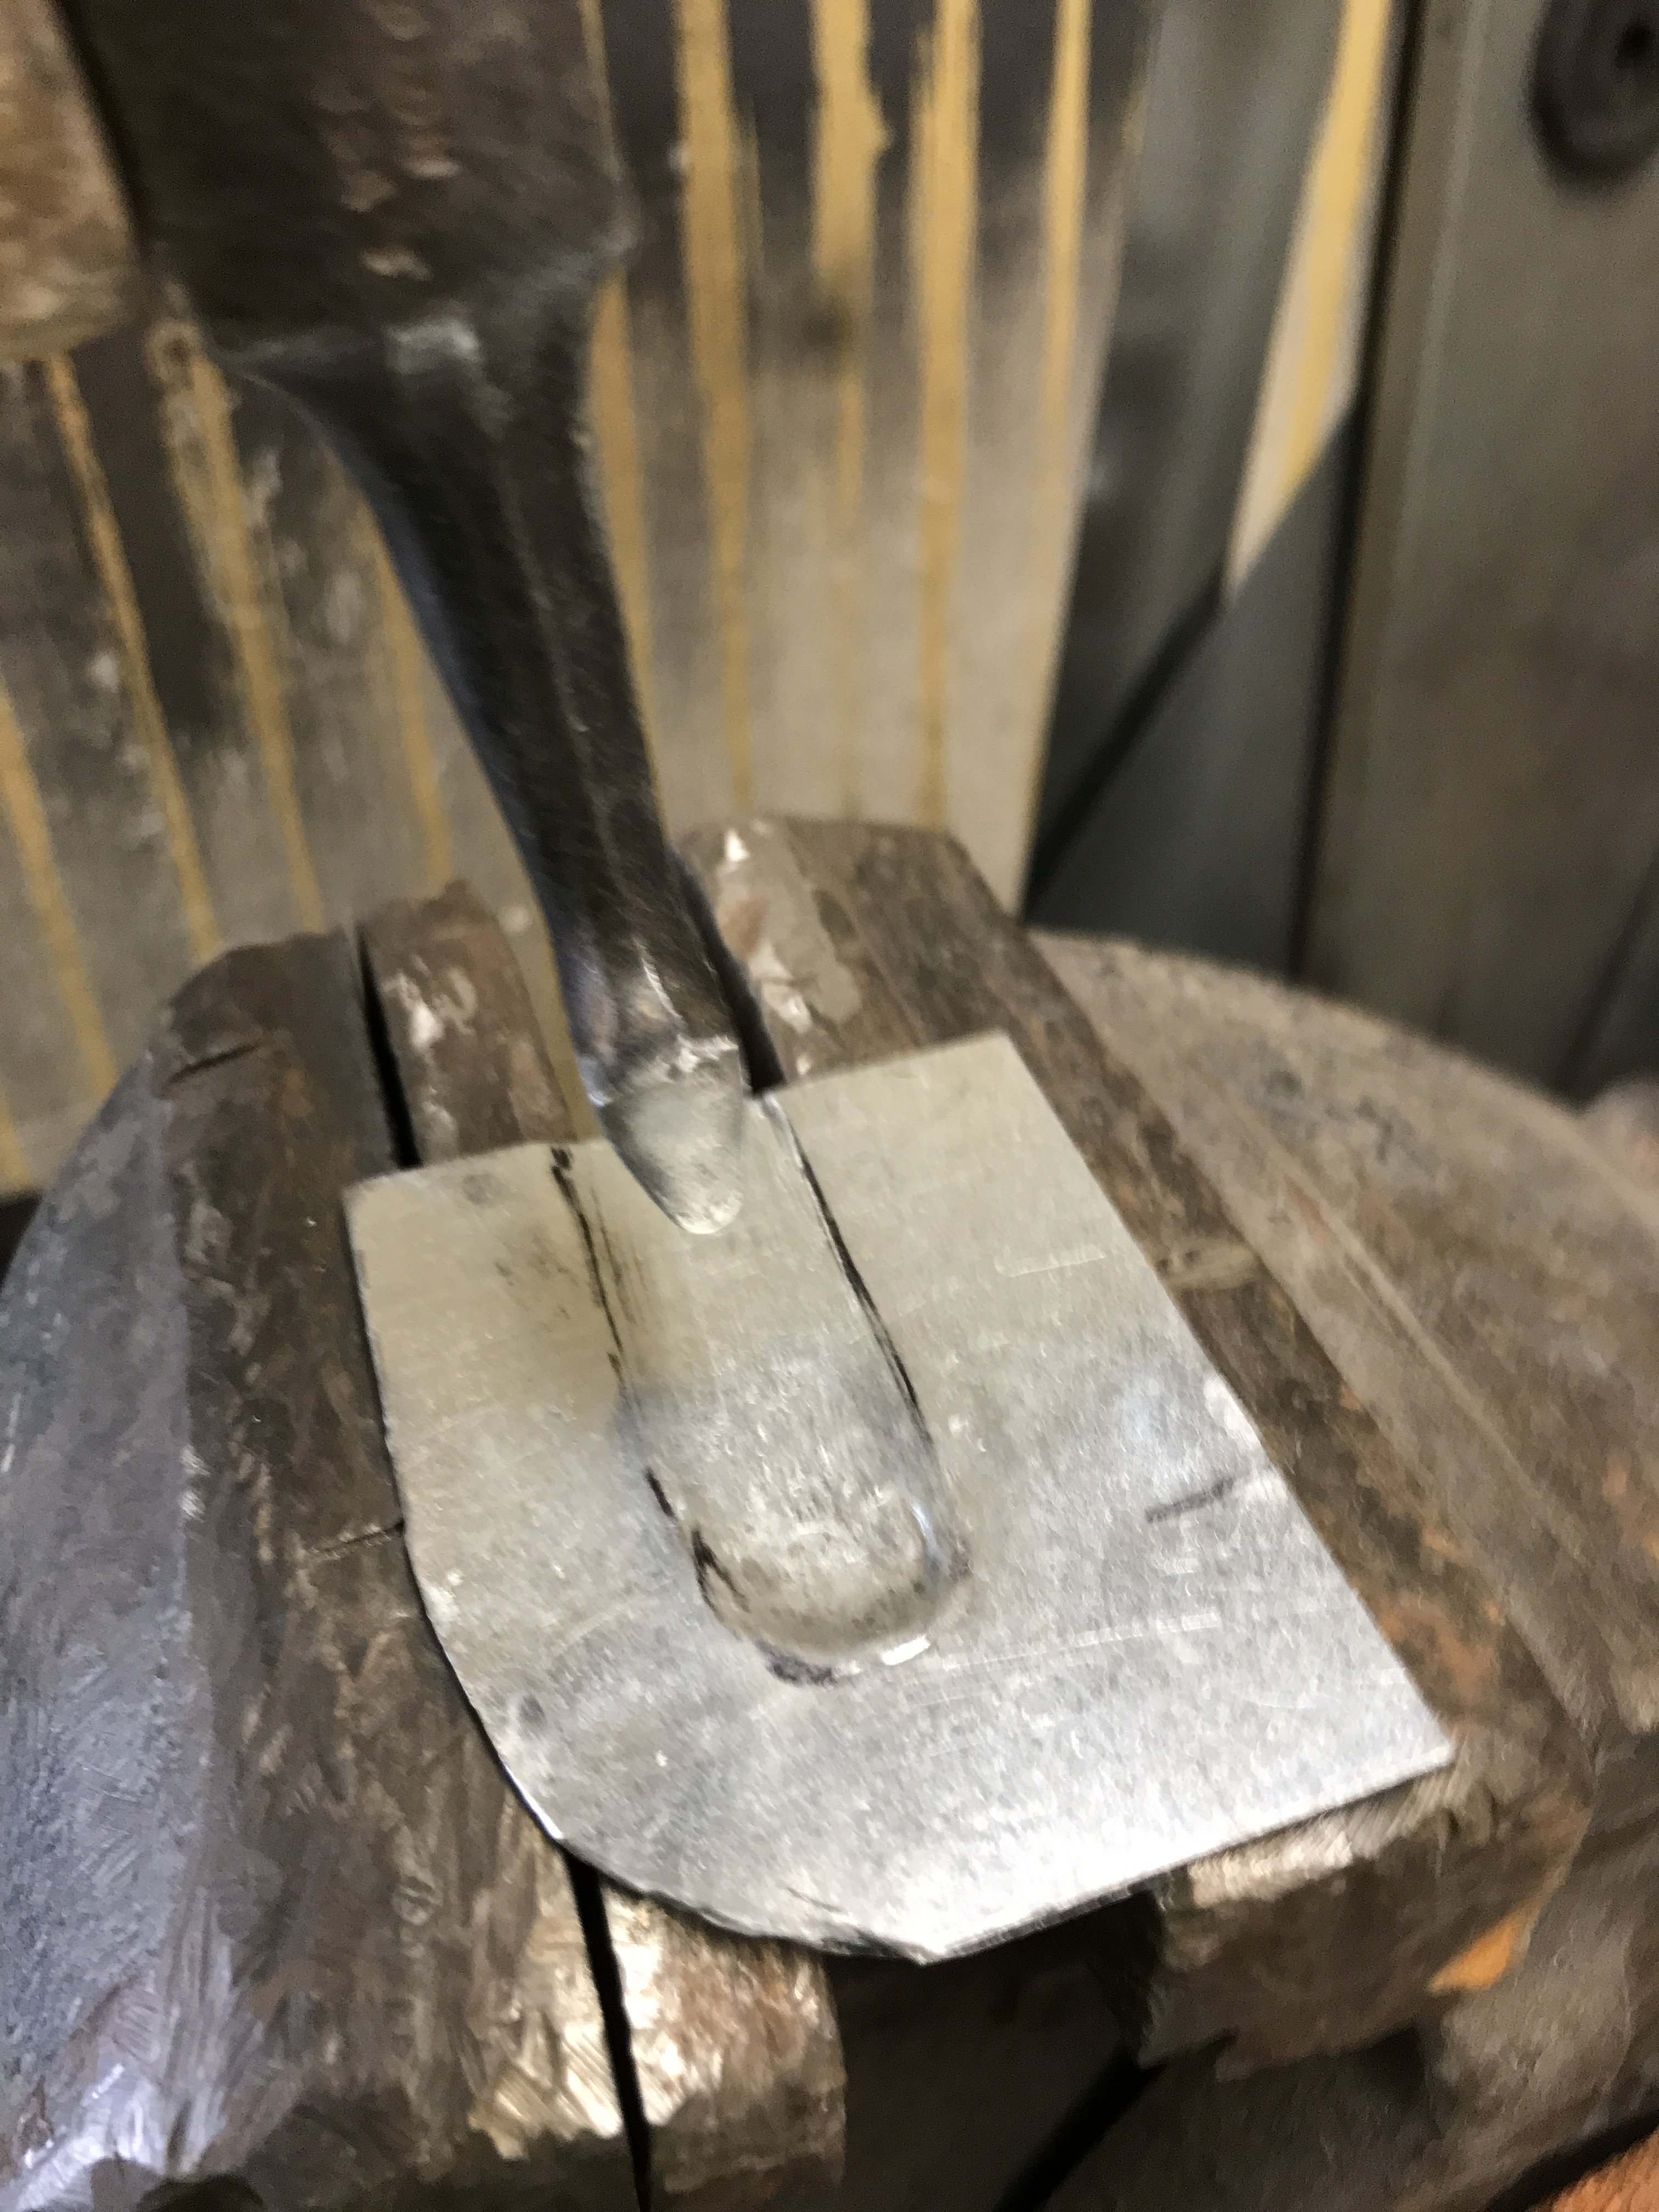
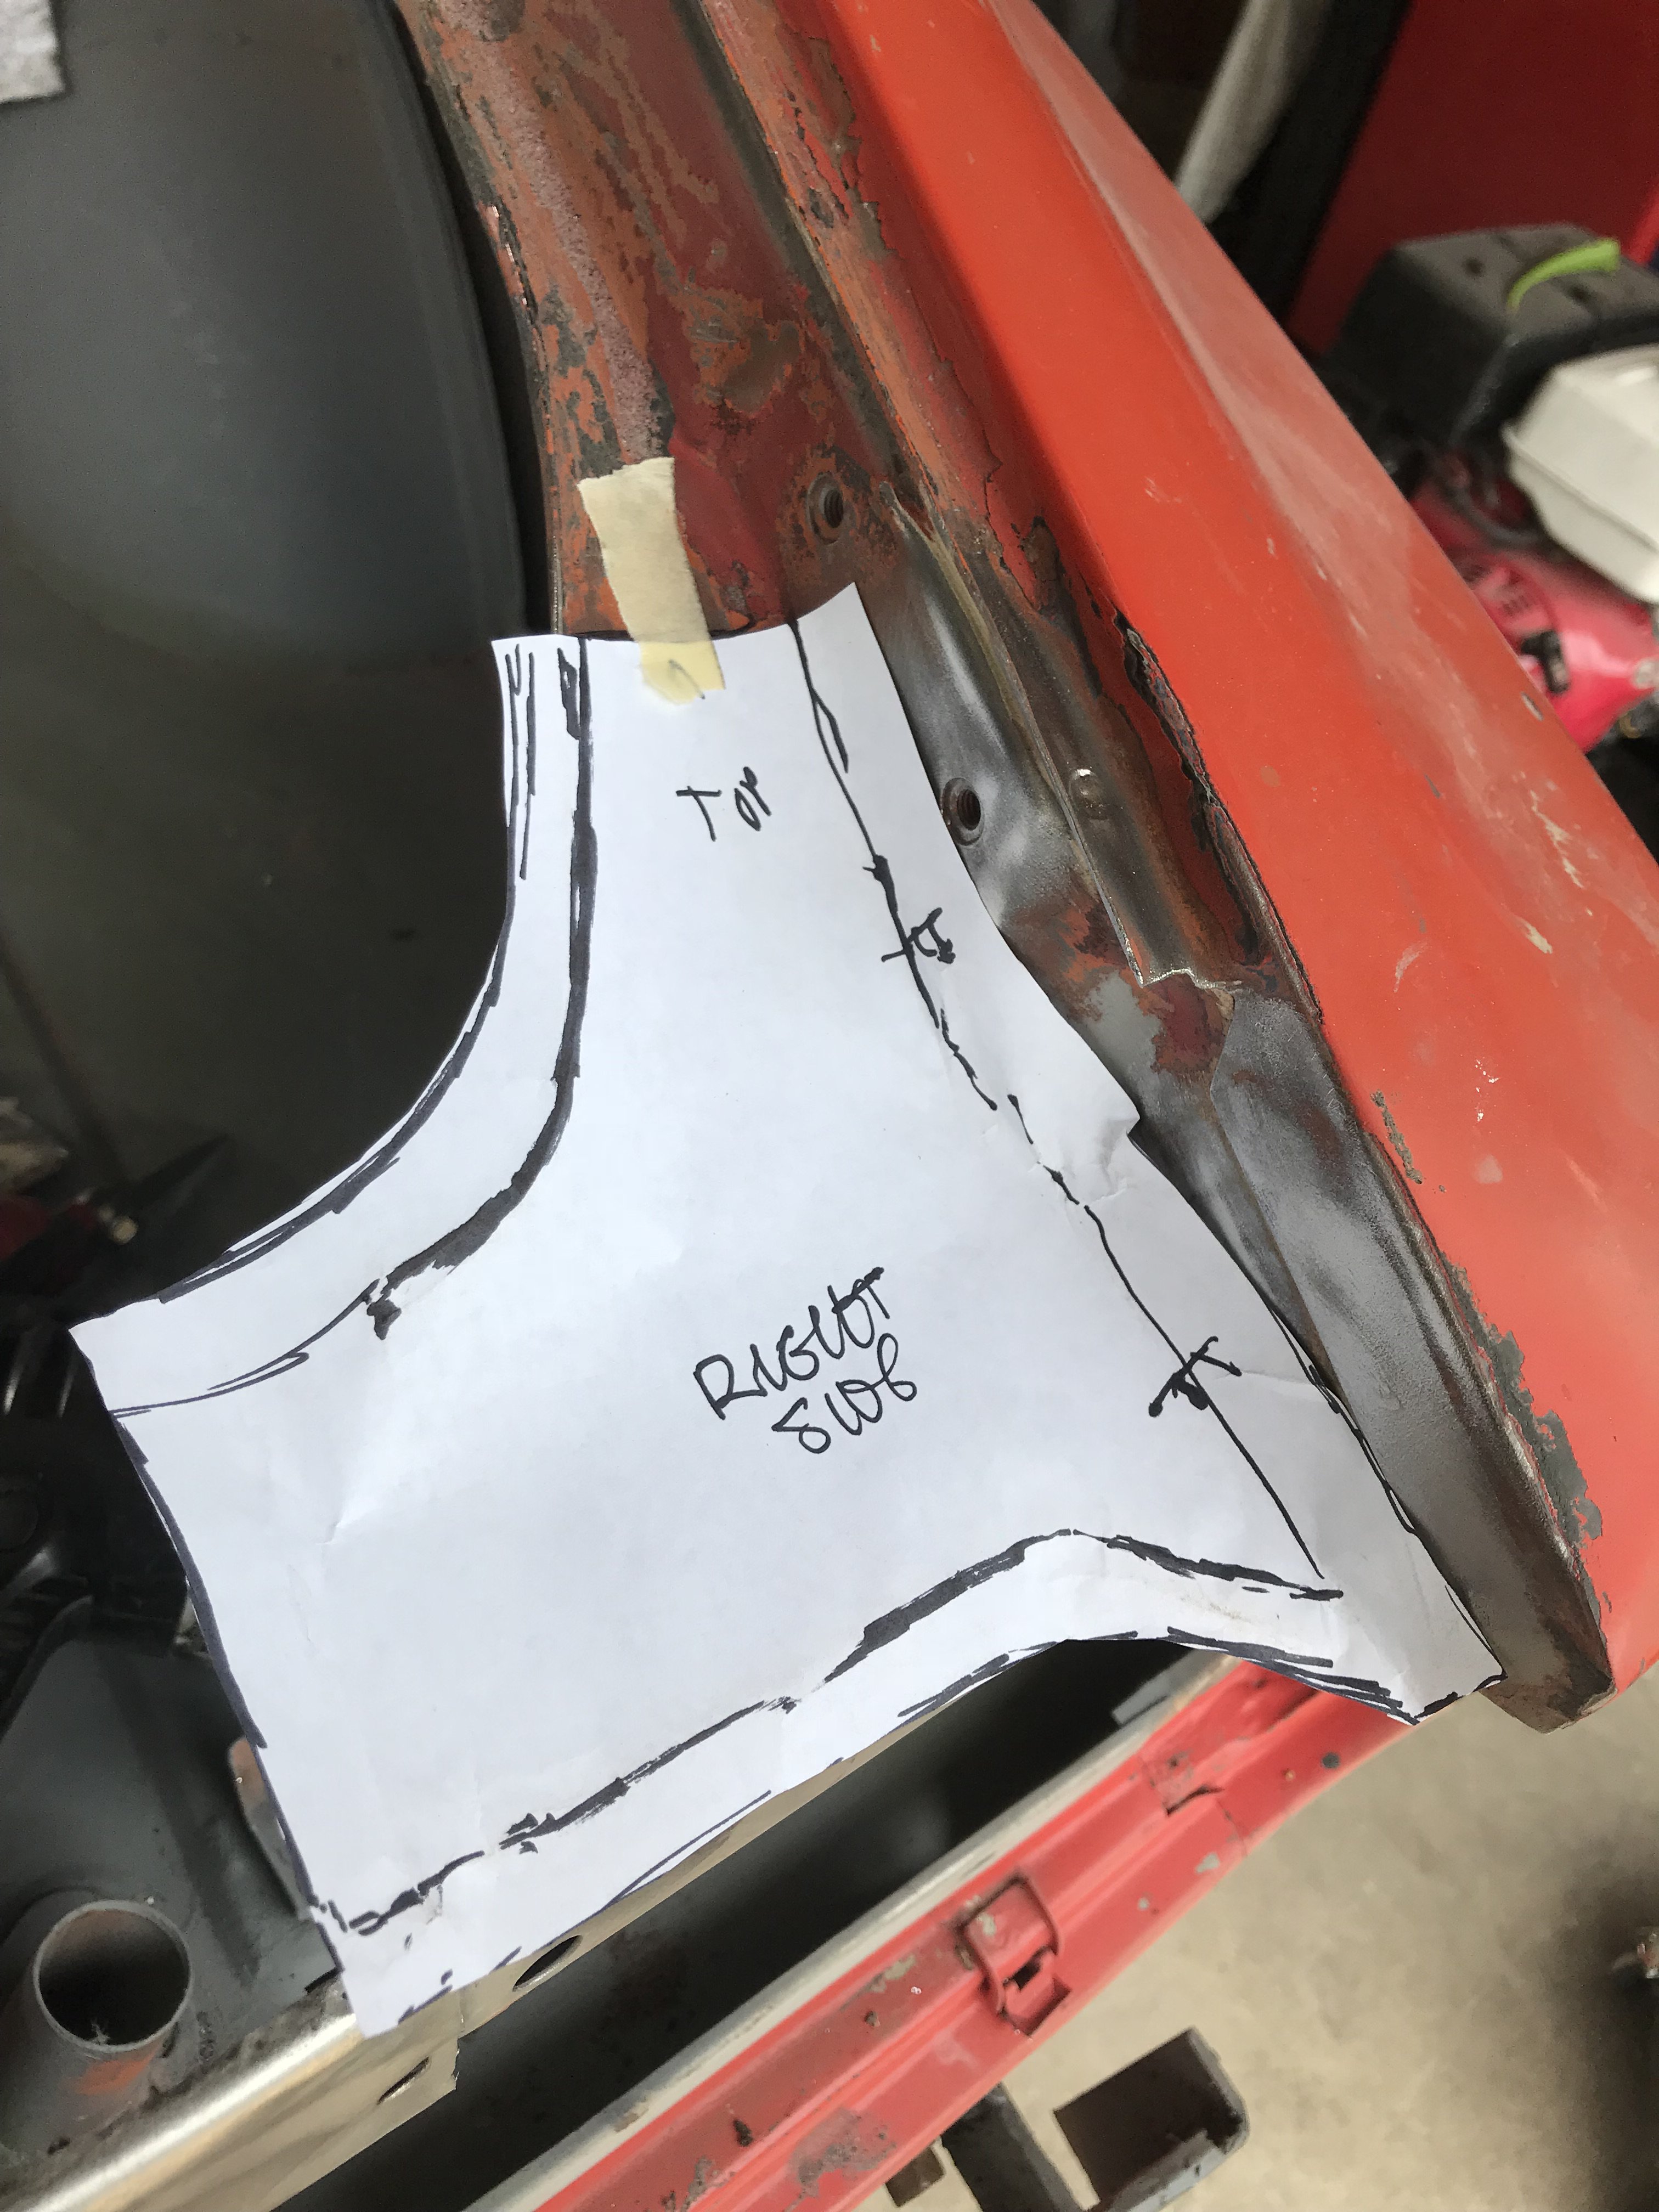
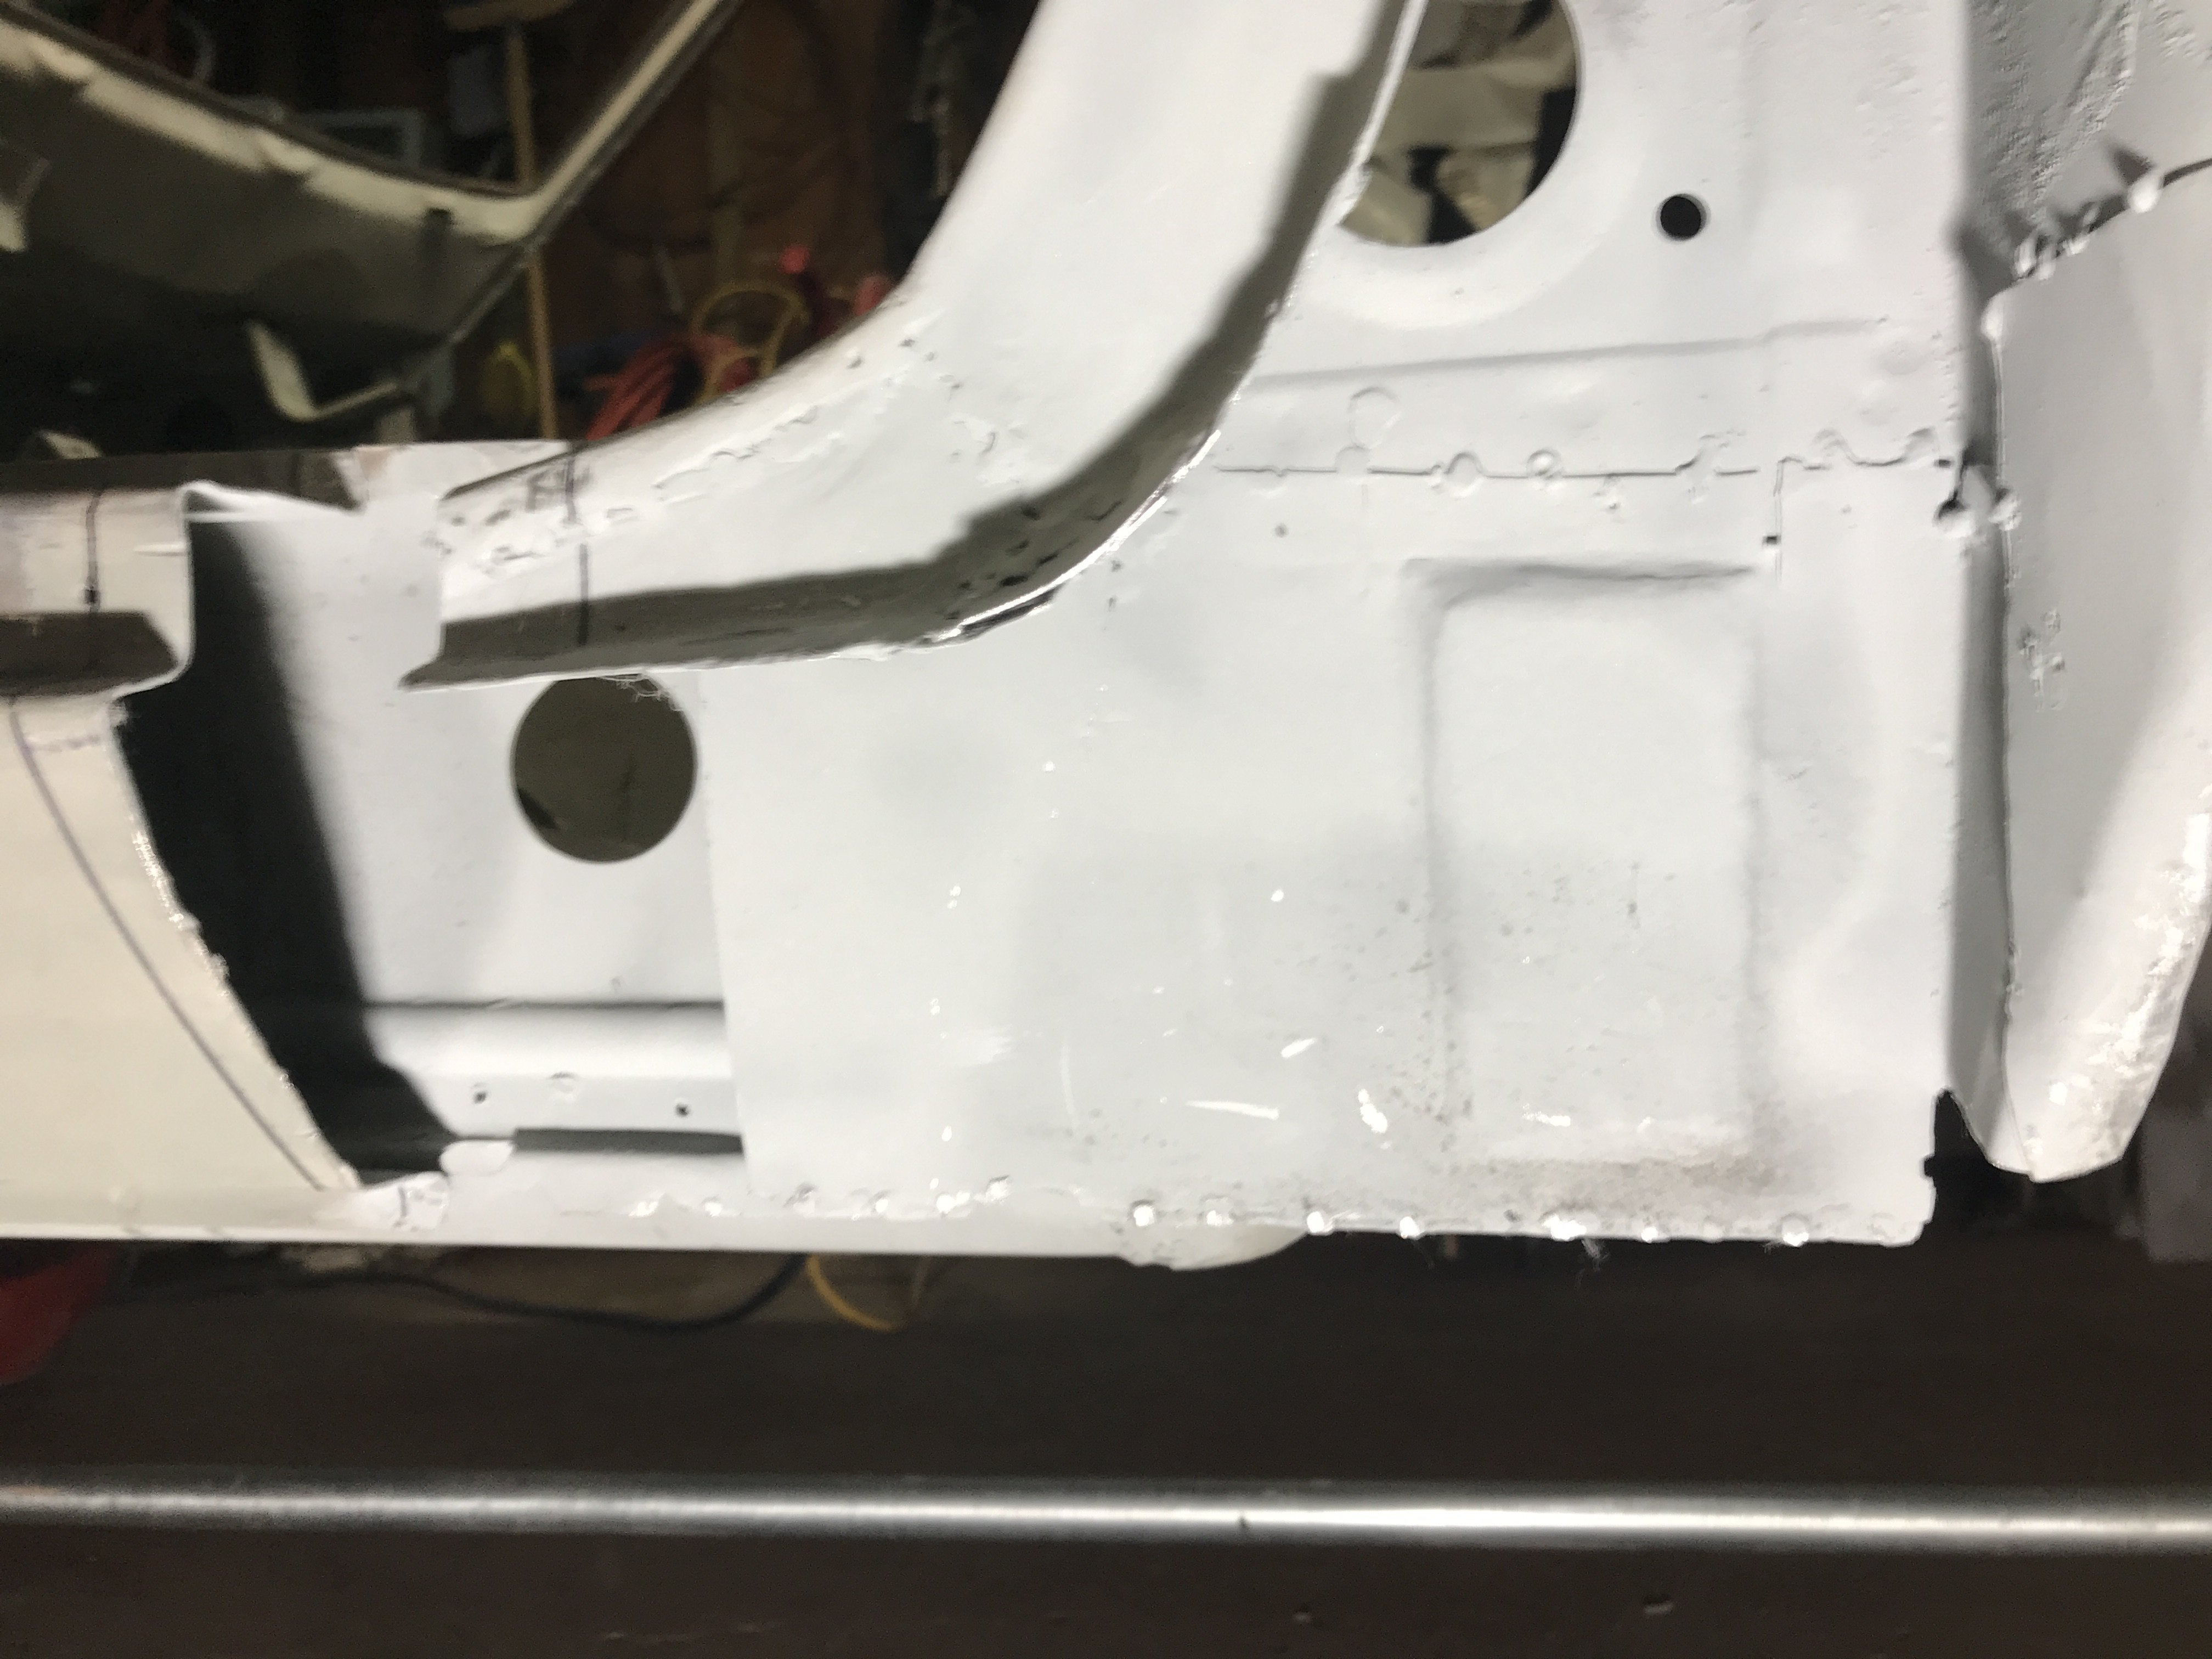
While waiting for the replacement dog leg panel to arrive, I decided to add an additional drain hole in rear area of the inner rocker panel. A corresponding hole will added to the replacement panel which goes over the rocker panel. Also, as the wheel housing side will be open till flaring I will spray seam sealer to protect this area from corrosion. Replacement panel ready to be welded on. I found additional corrosion on the bottom front edge of the fuel filler door area. Additional corrosion was discovered on the innerbox section too. A template was made to create a sheet metal patch. This photo shows the inner fuel filler box corrosion. The replacement section had to hammer formed to match the original. The exterior replacement panel being mocked up before shaping work.
-
Heavy Duty frame rails and connectors
toolman replied to toolman's topic in Gen III & IV Chevy V8Z Tech Board
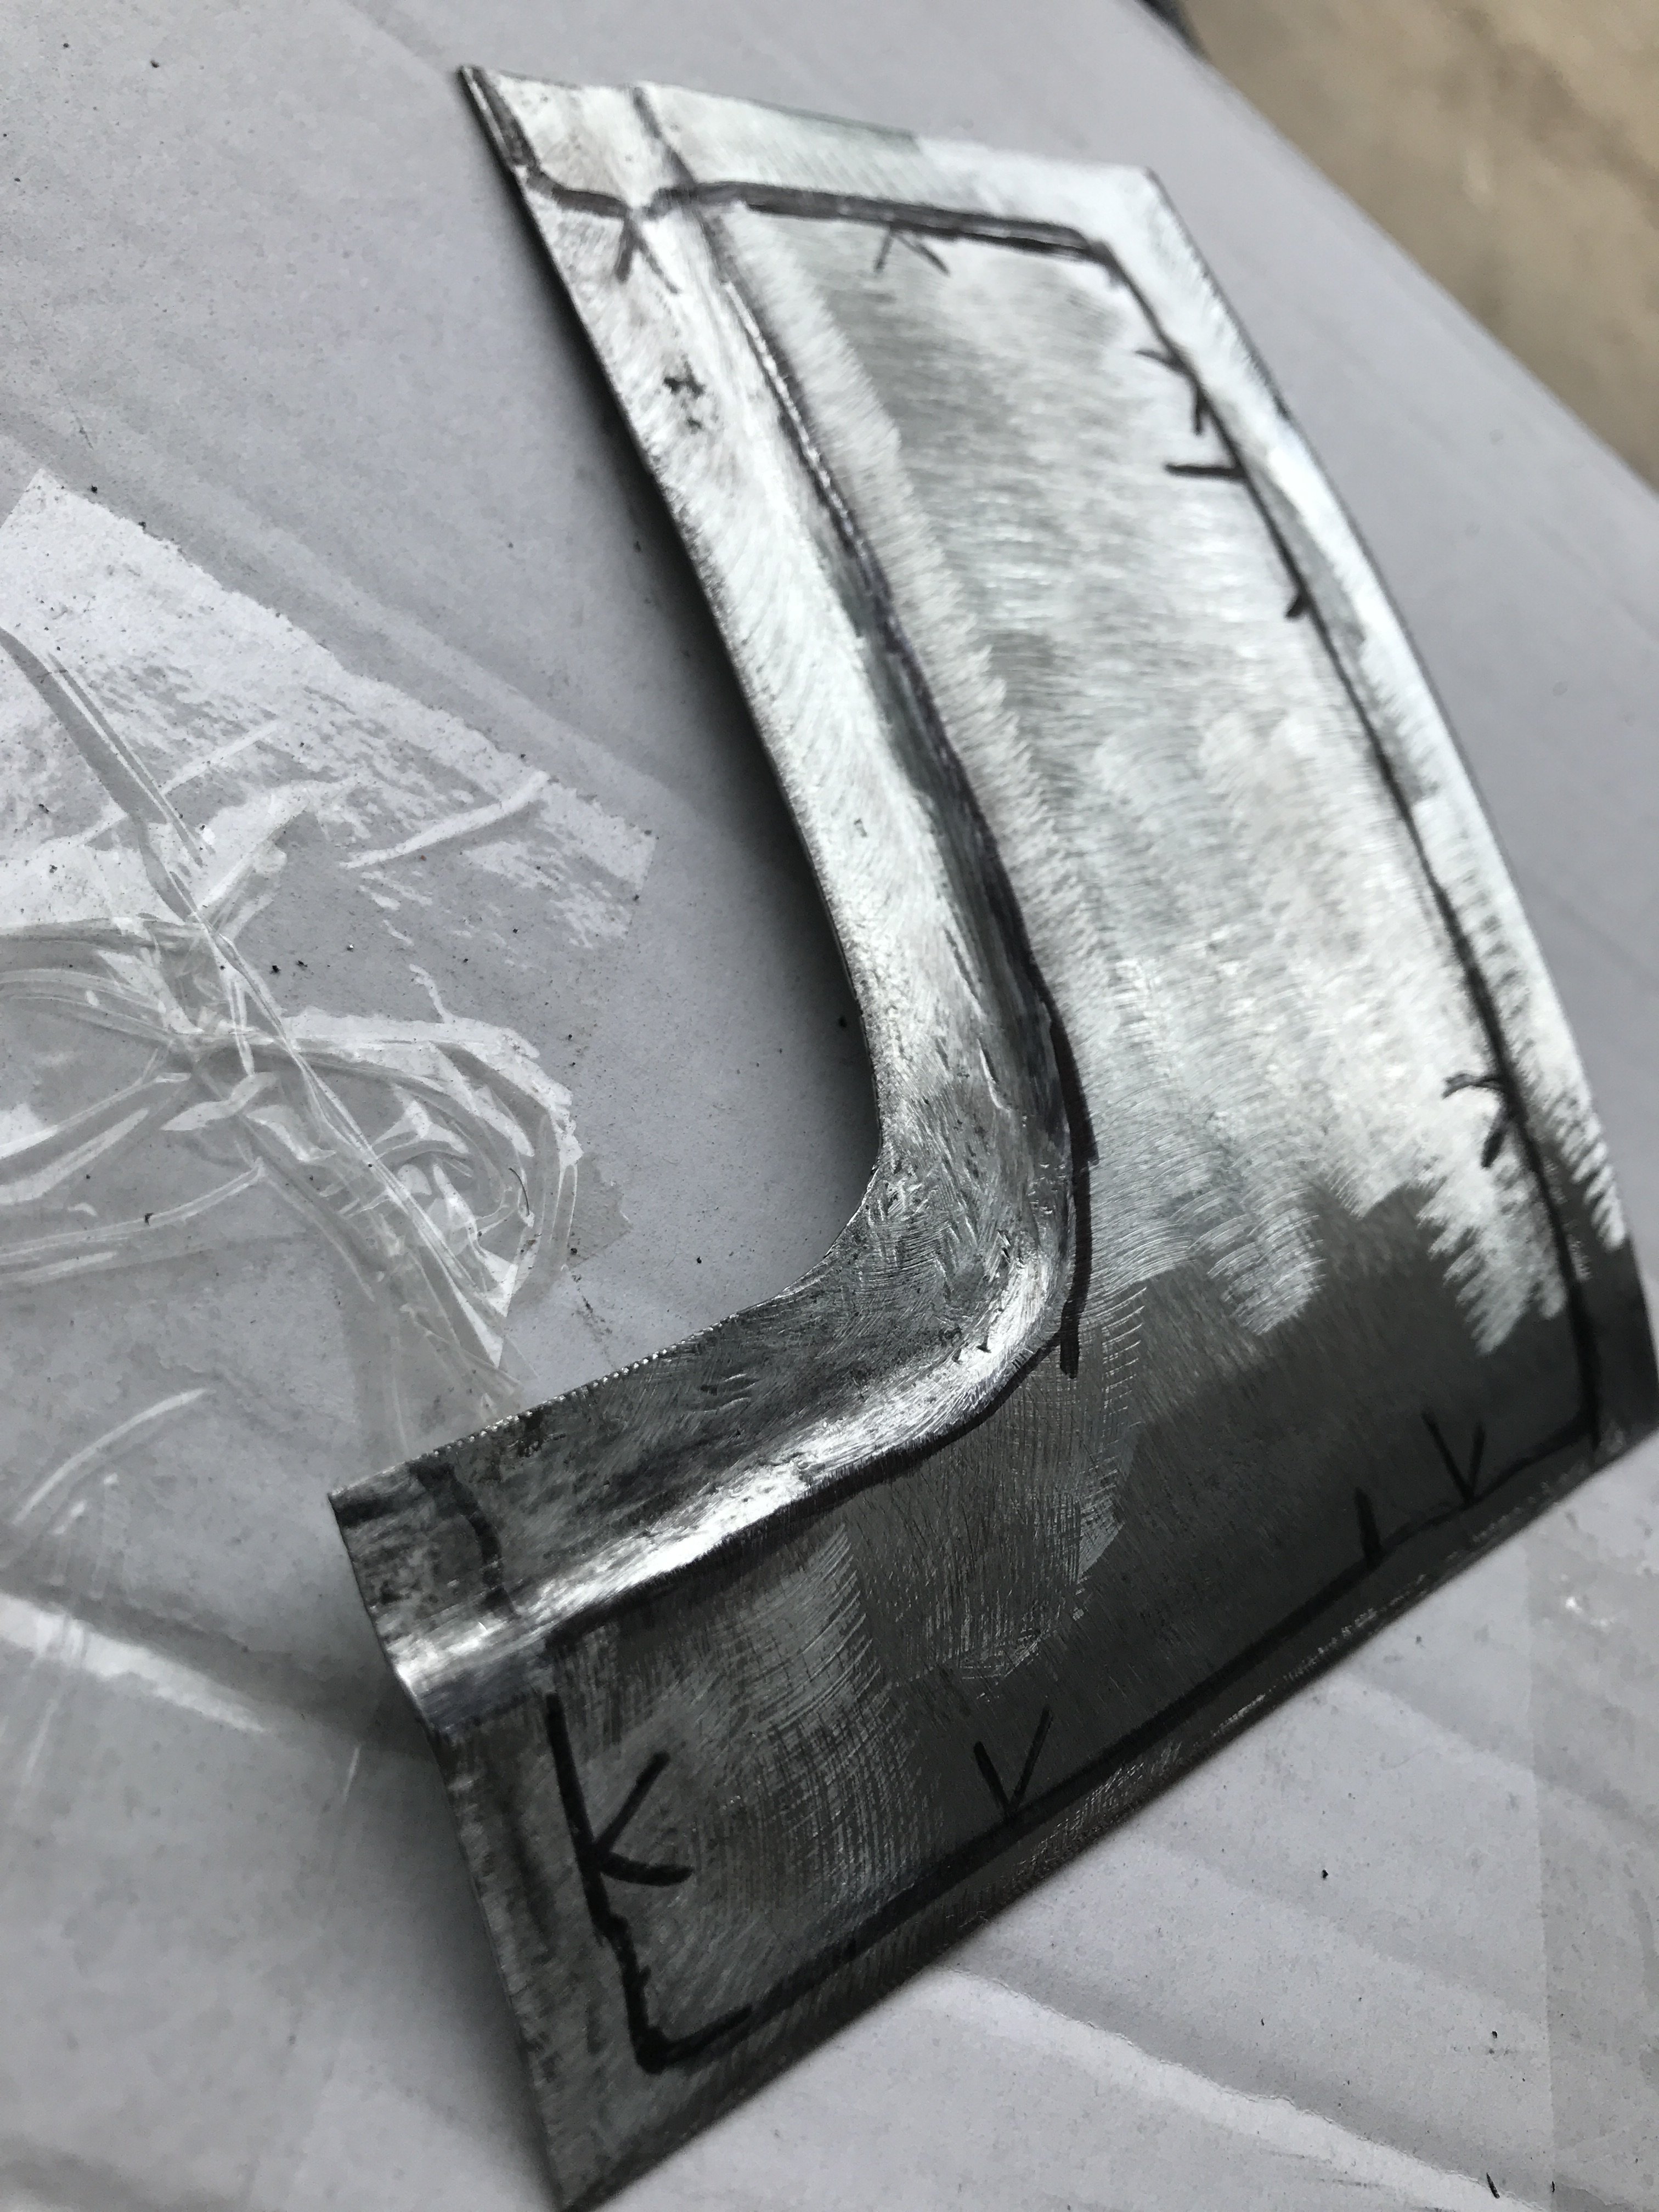
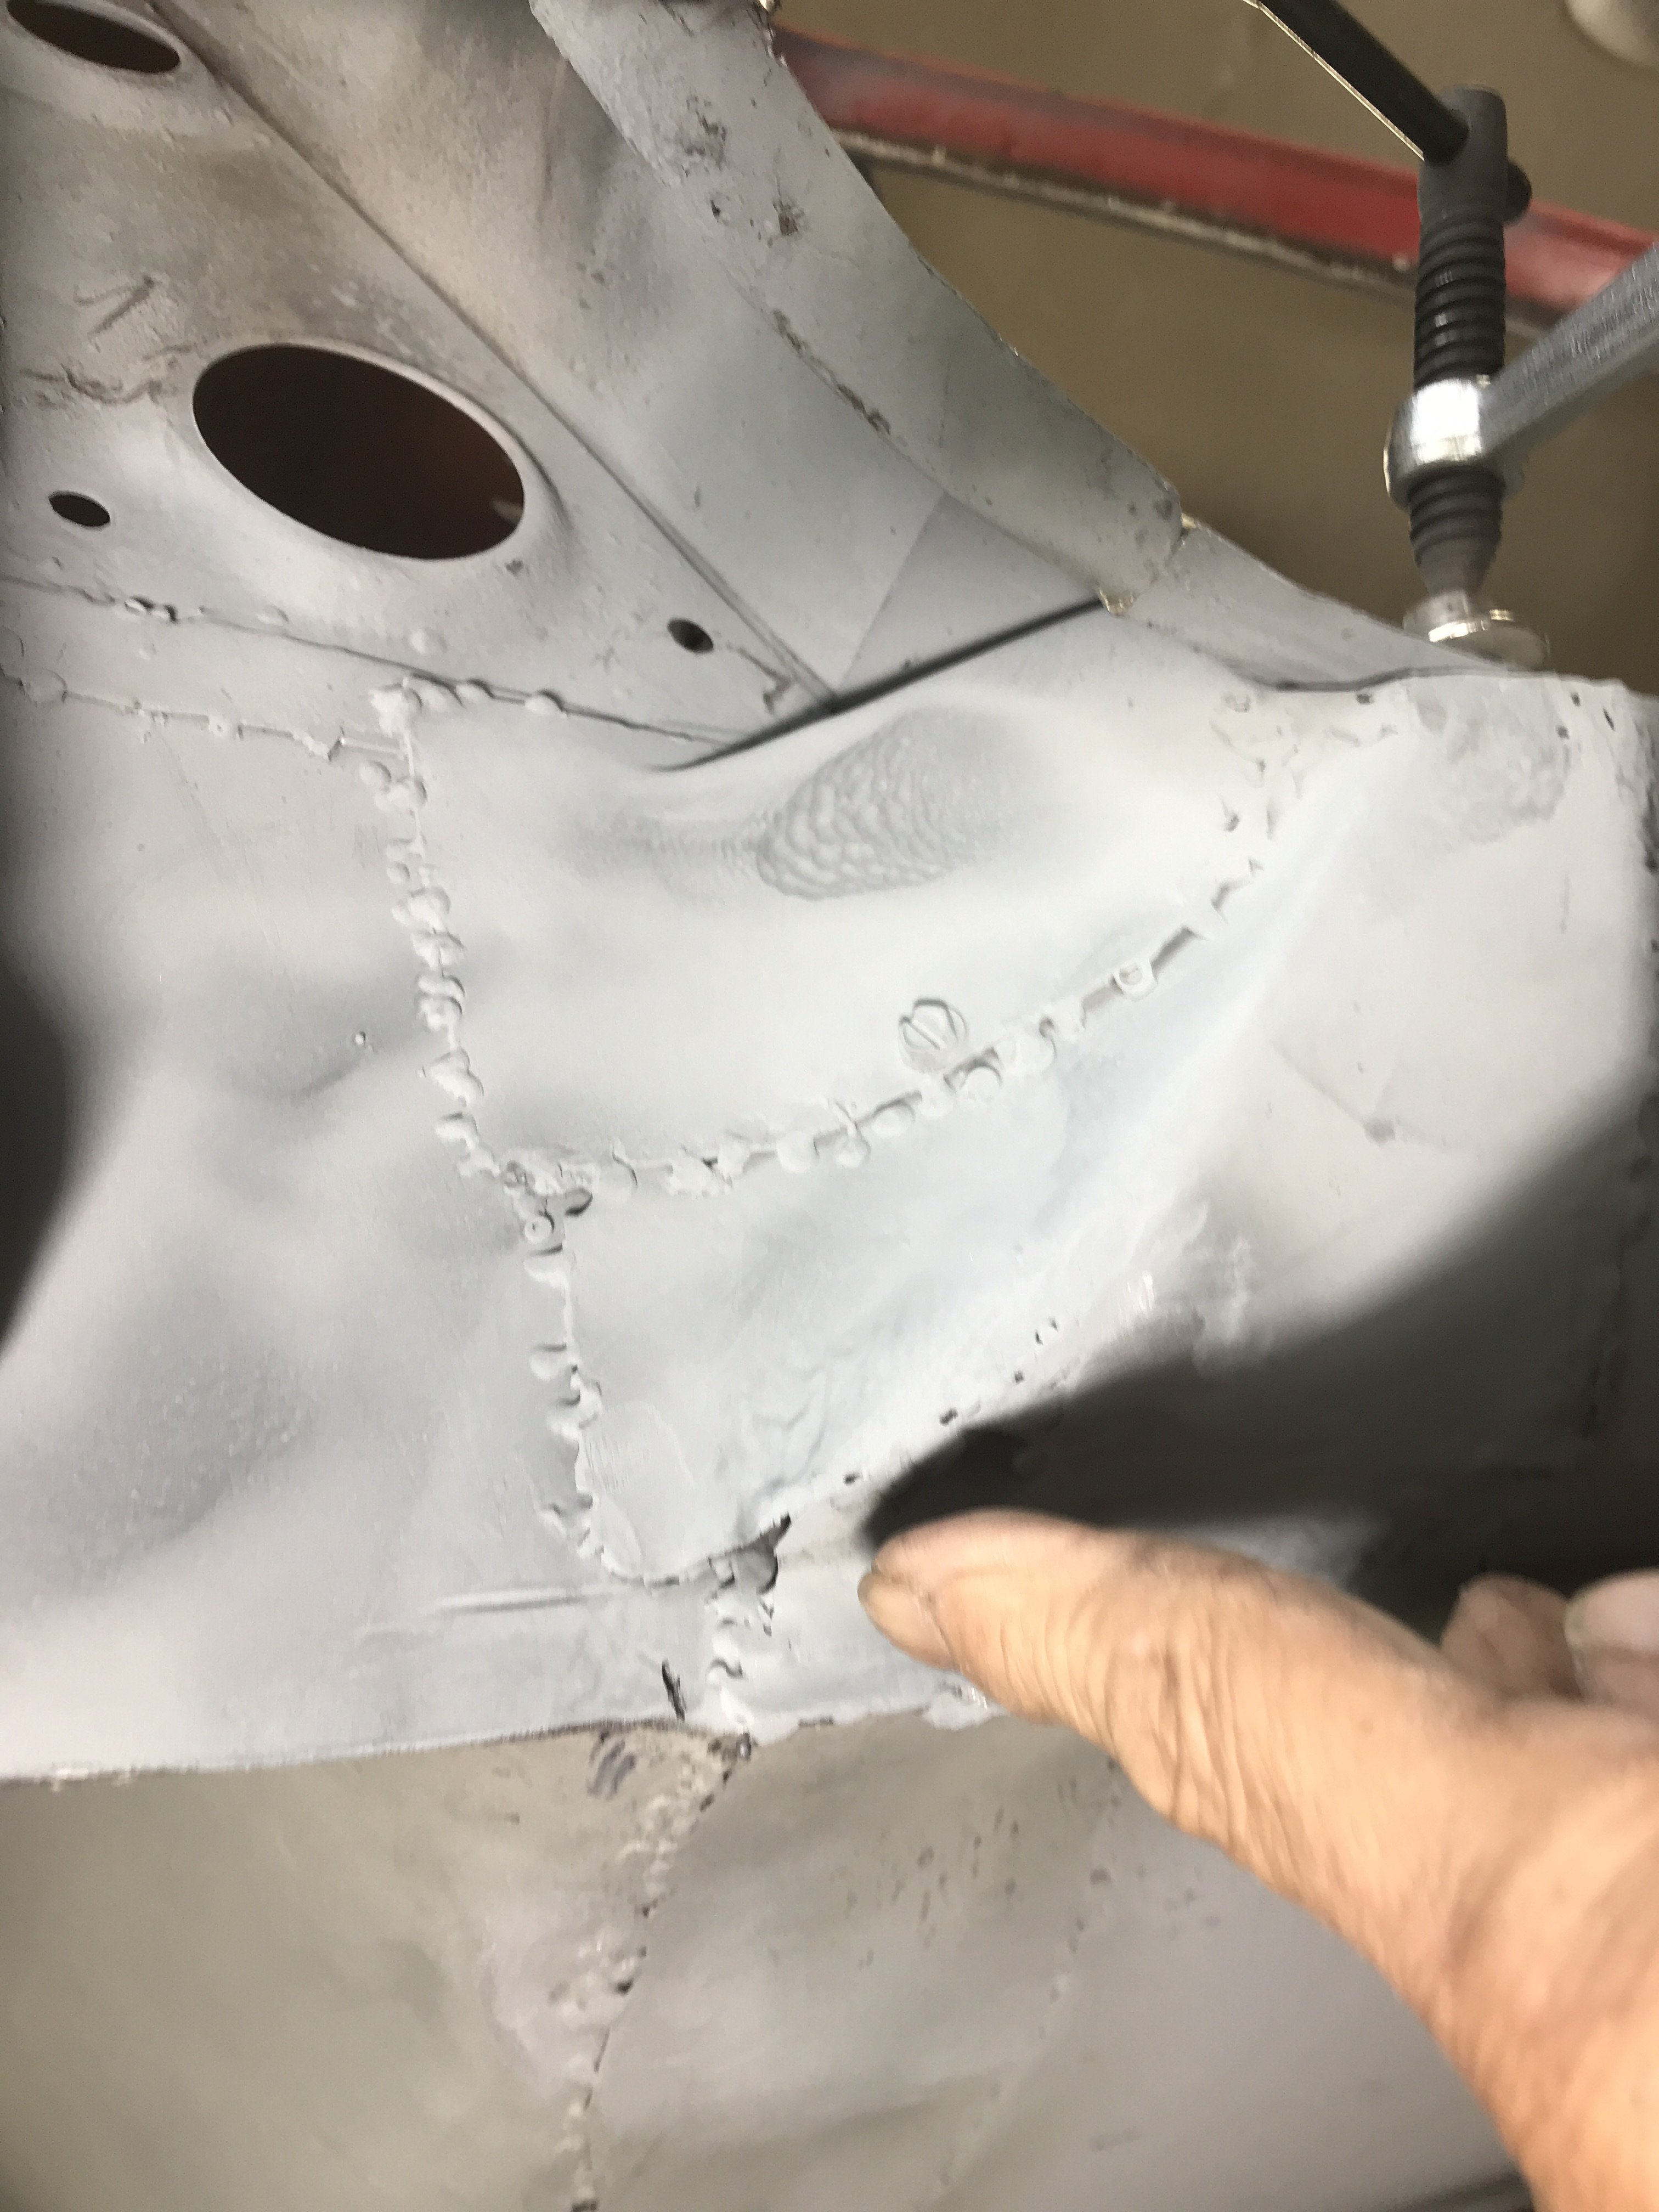
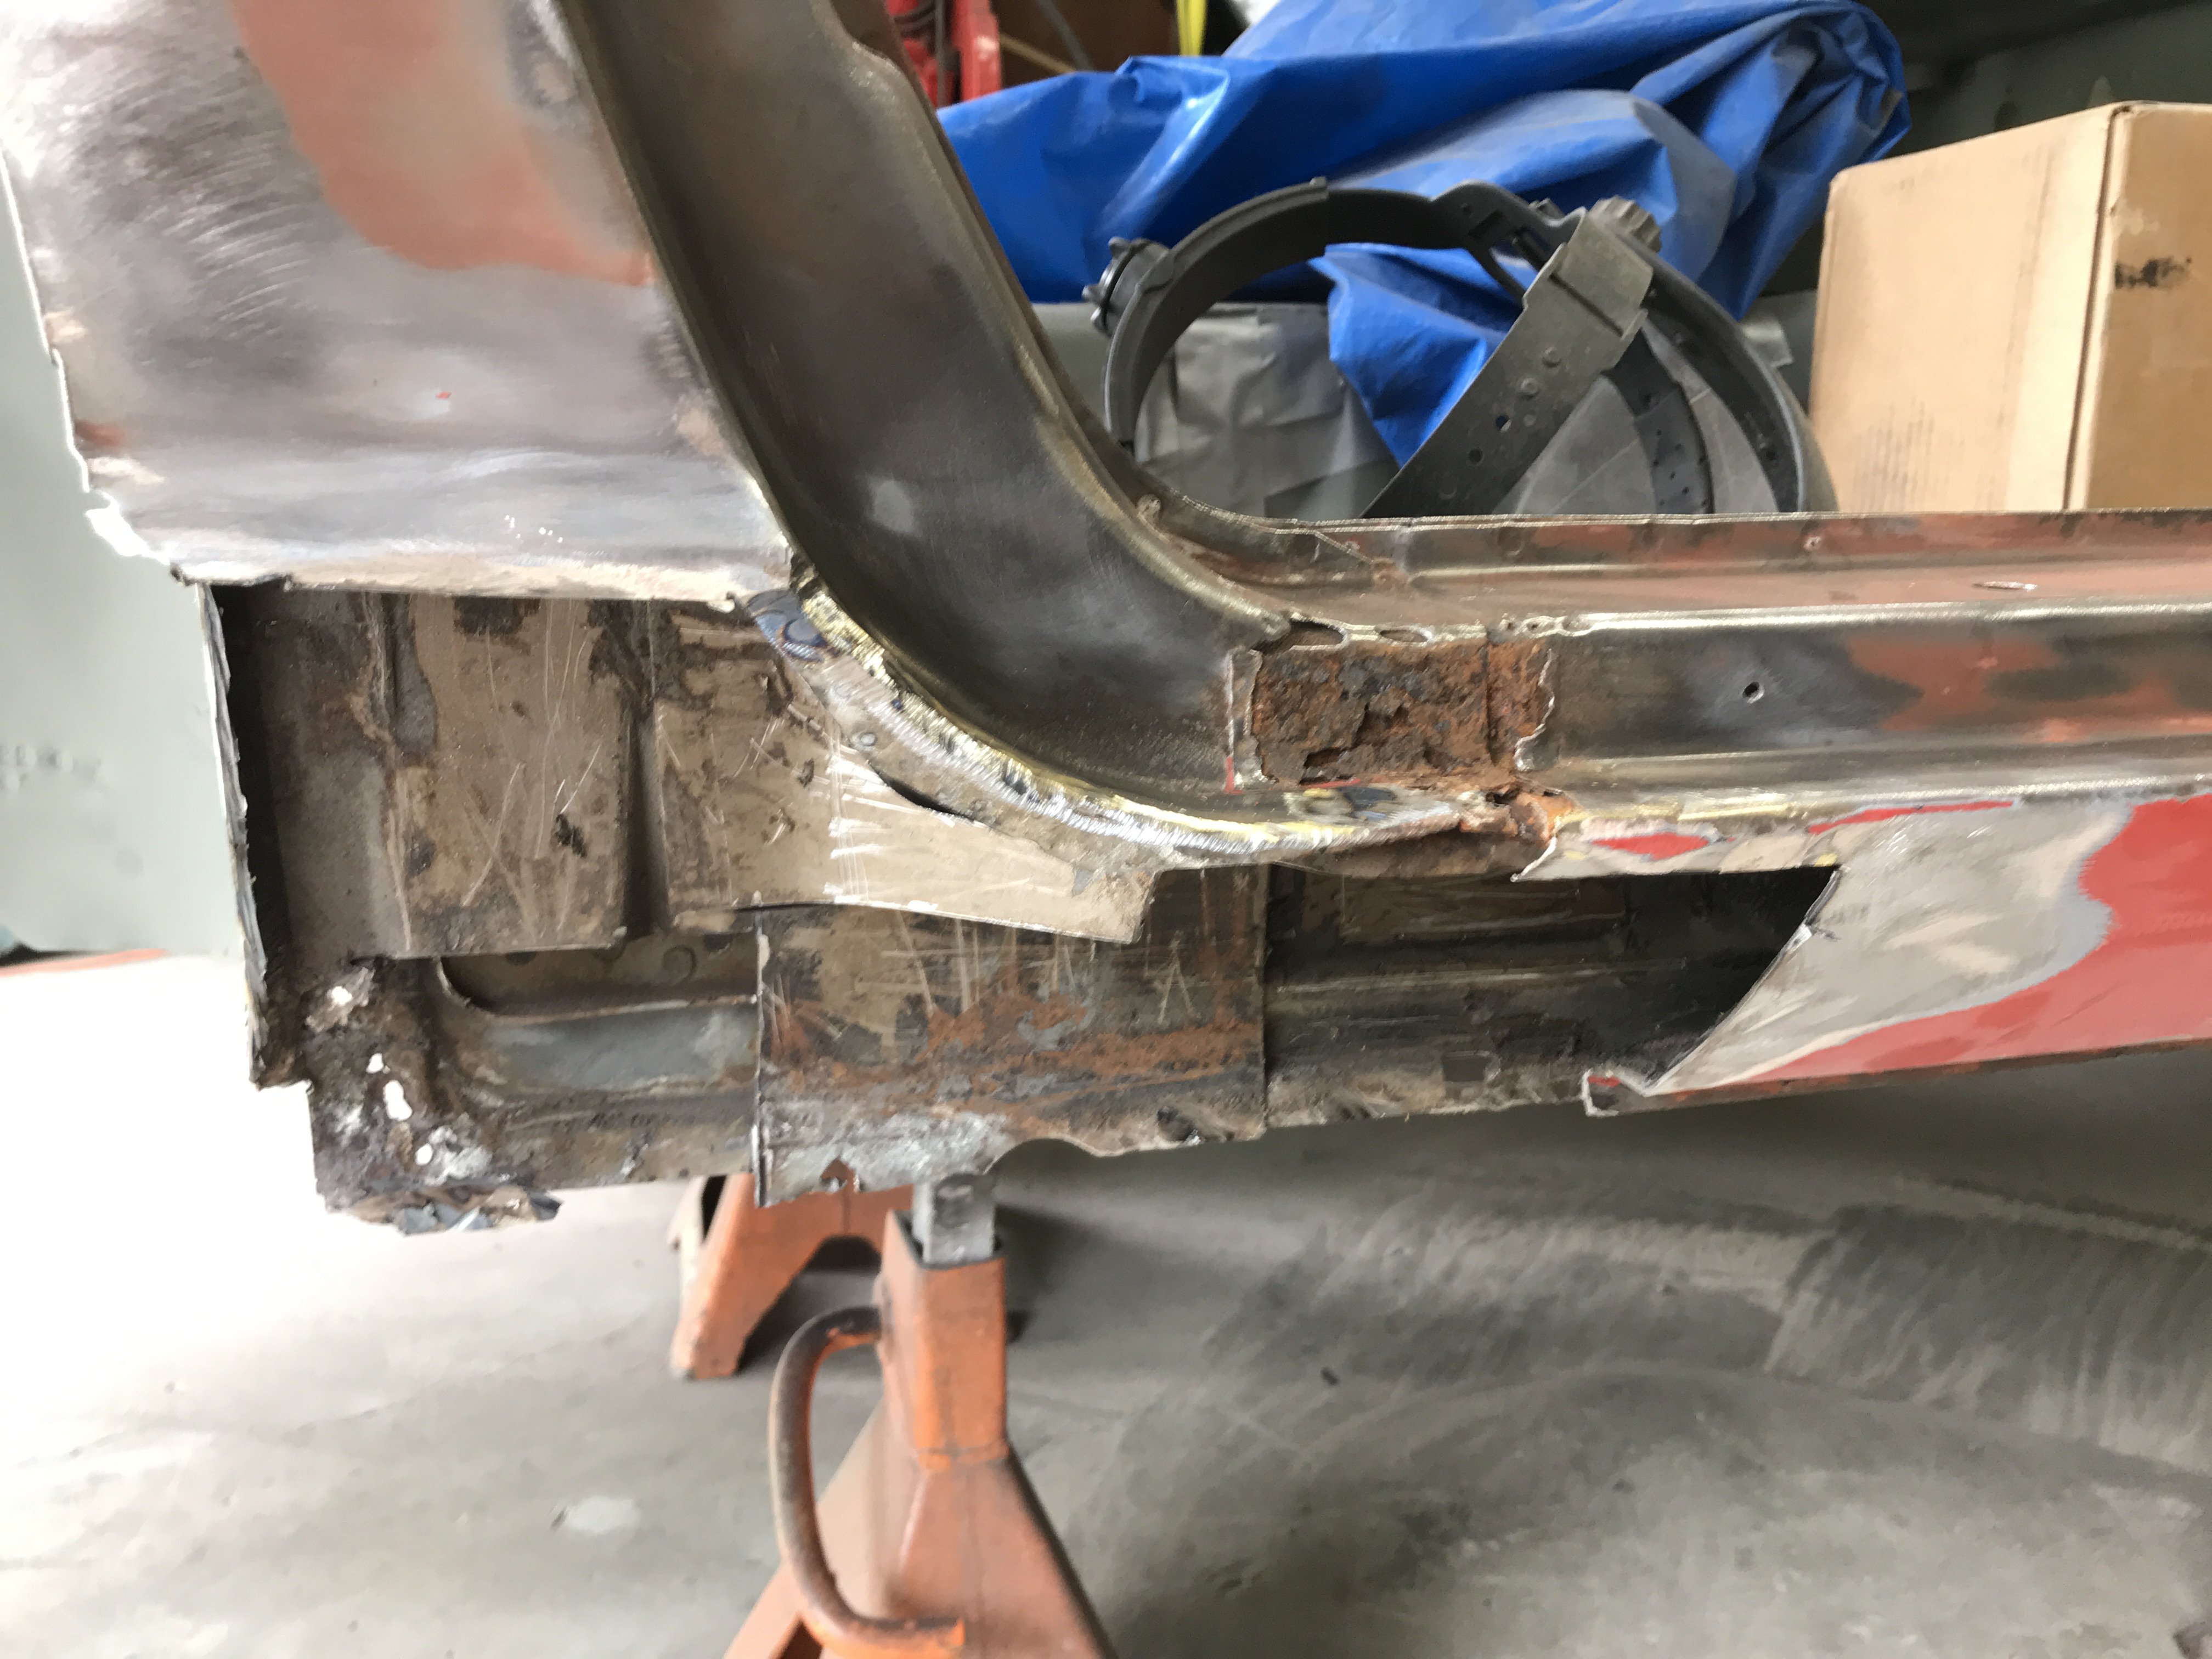
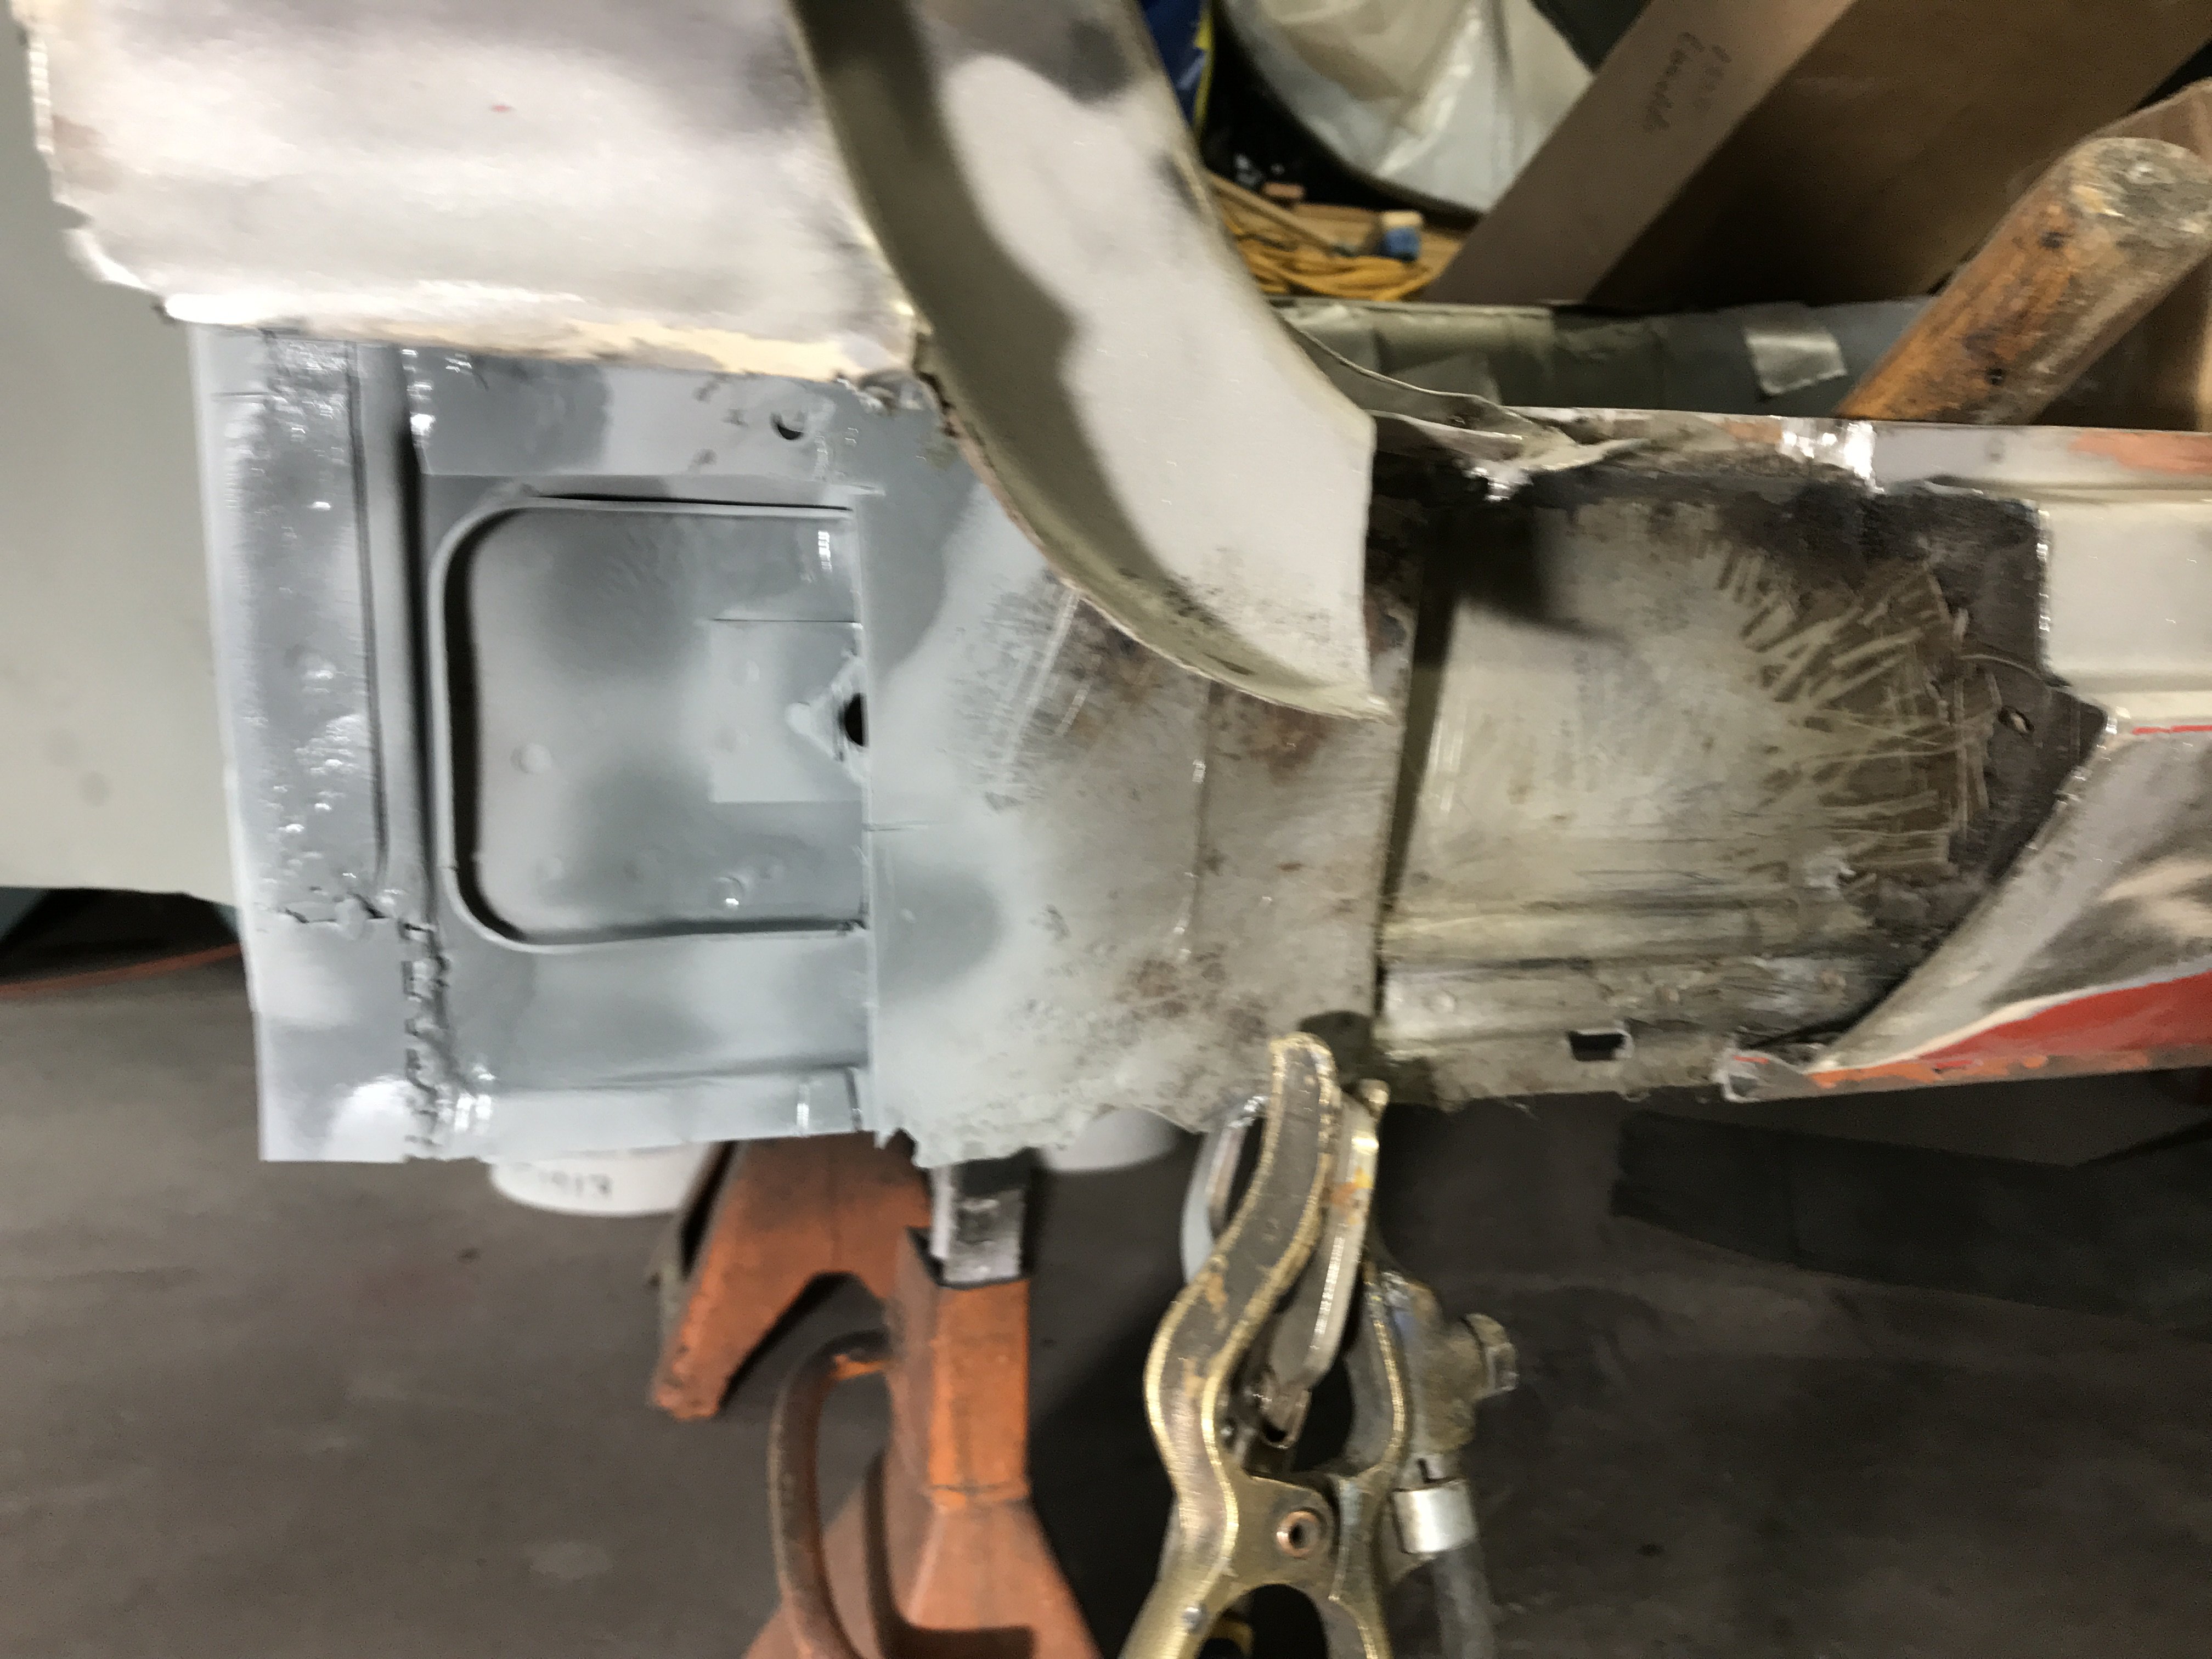
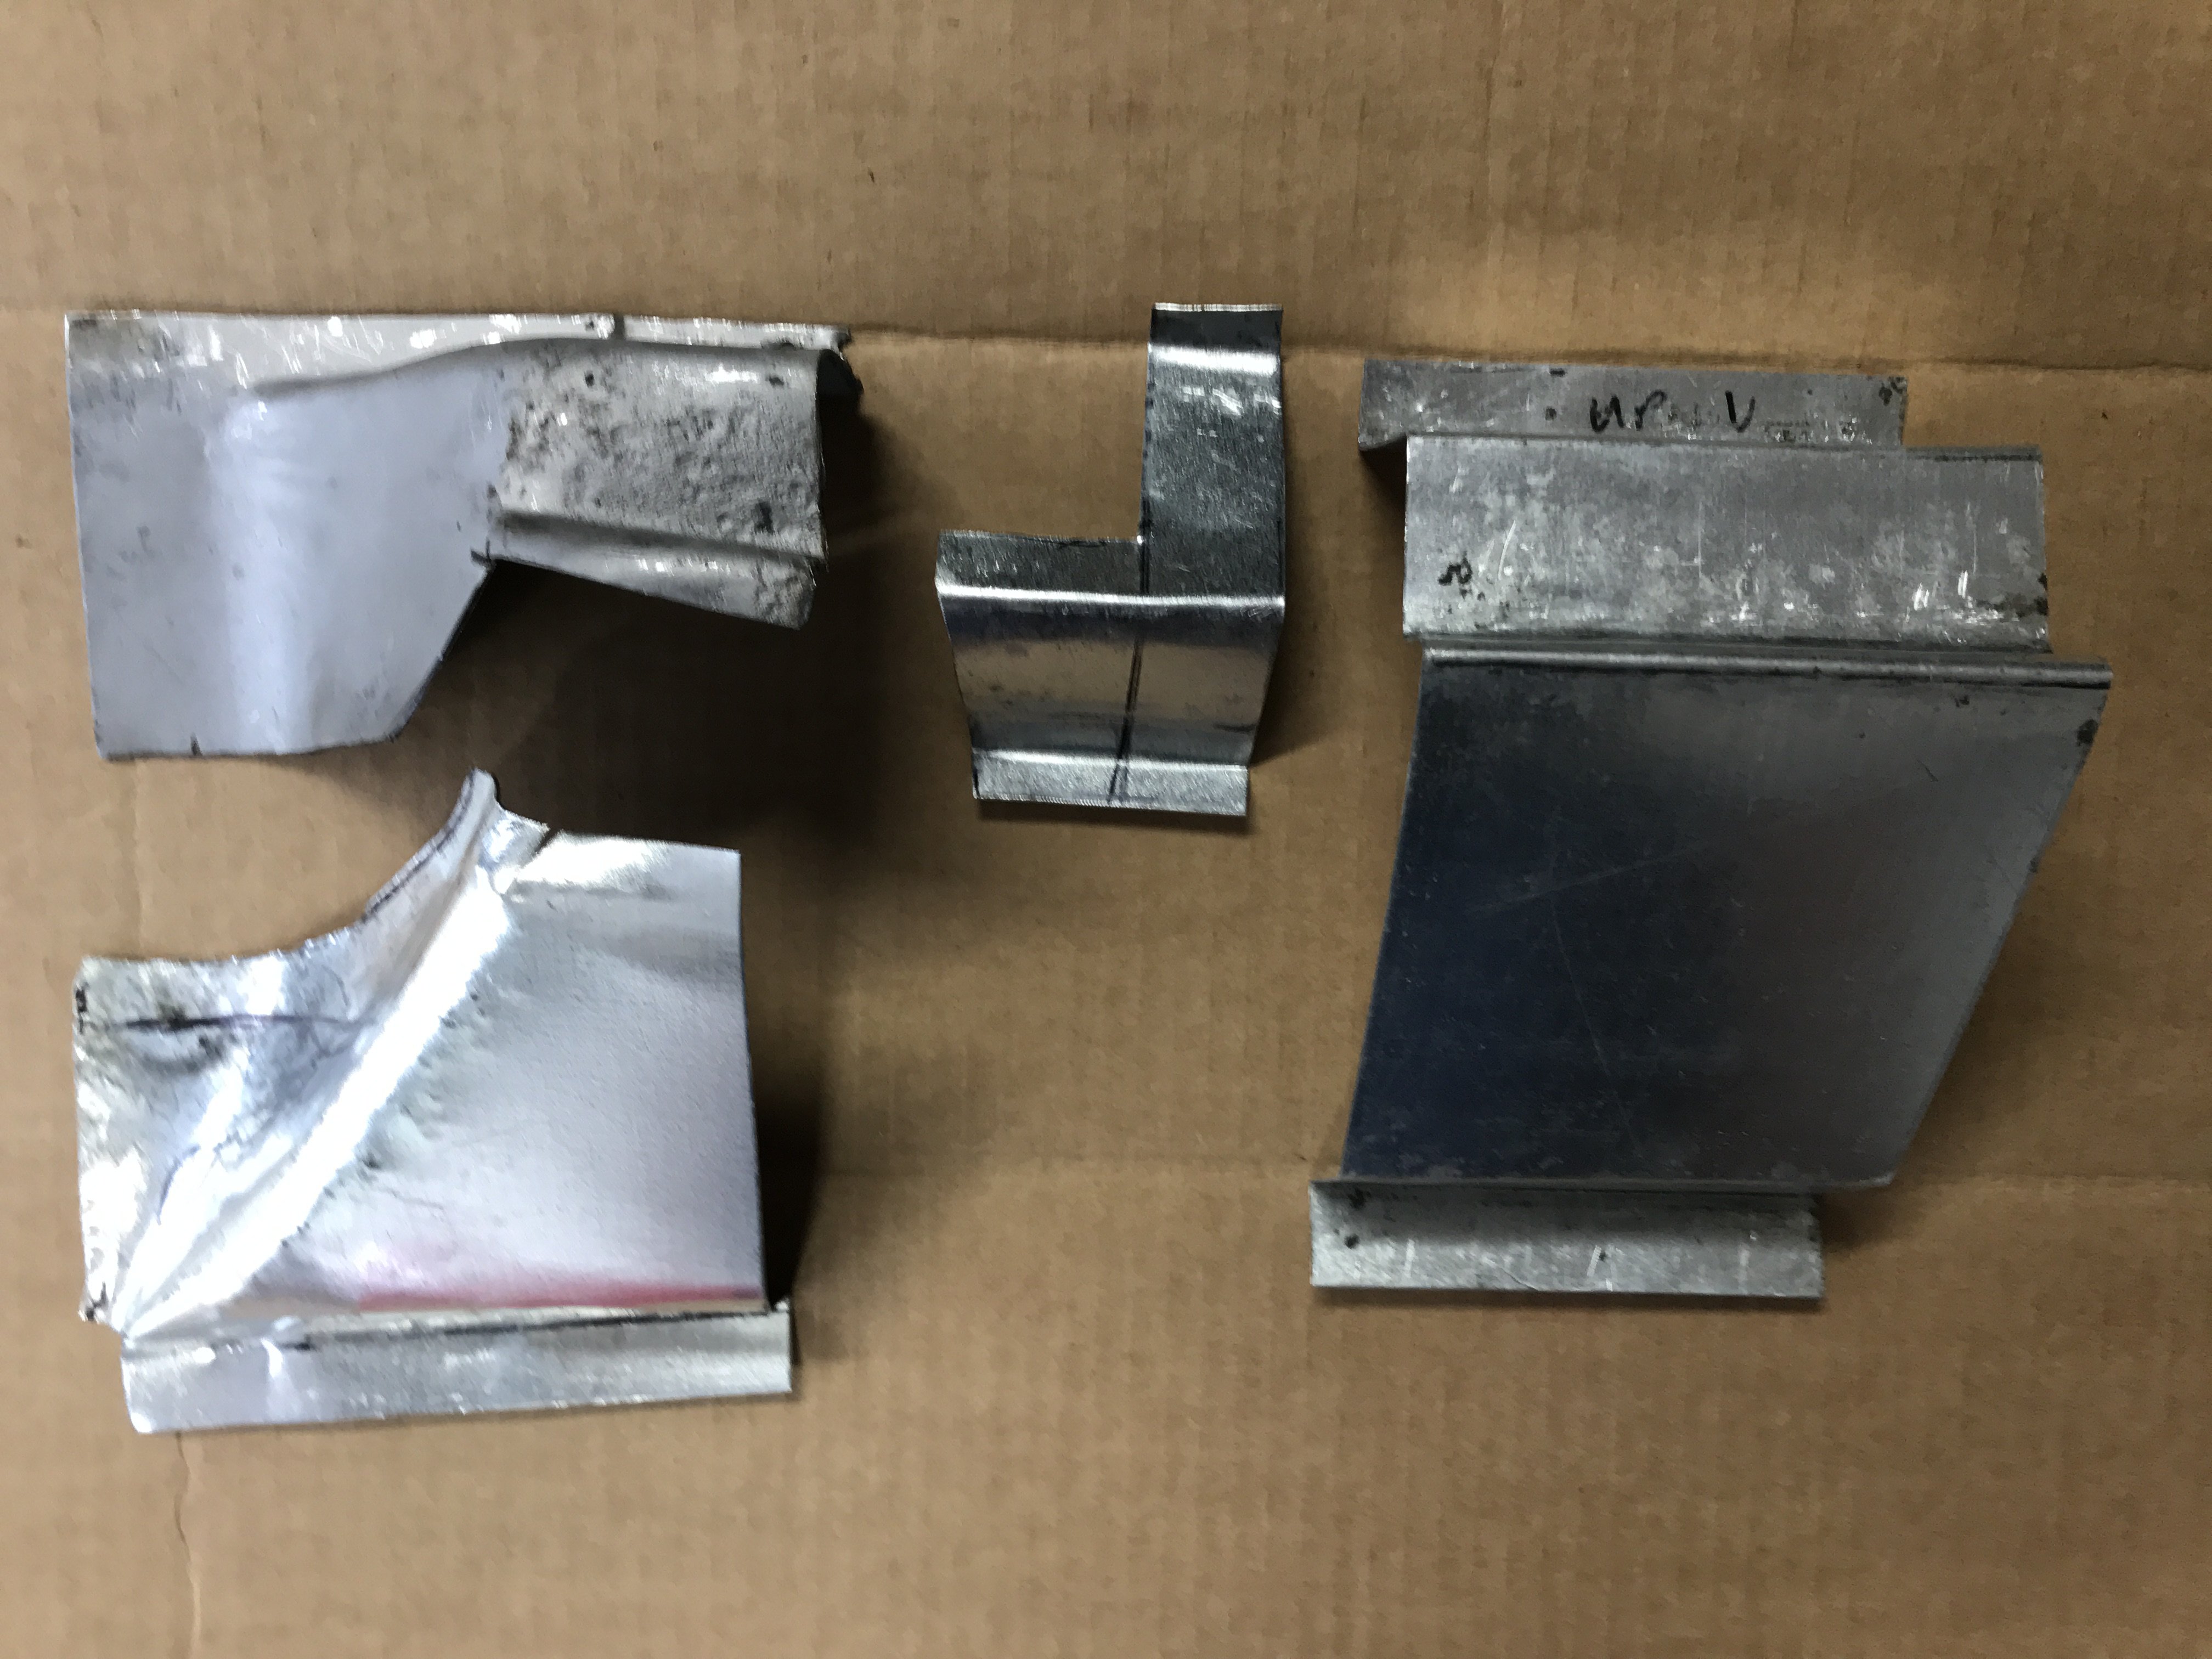
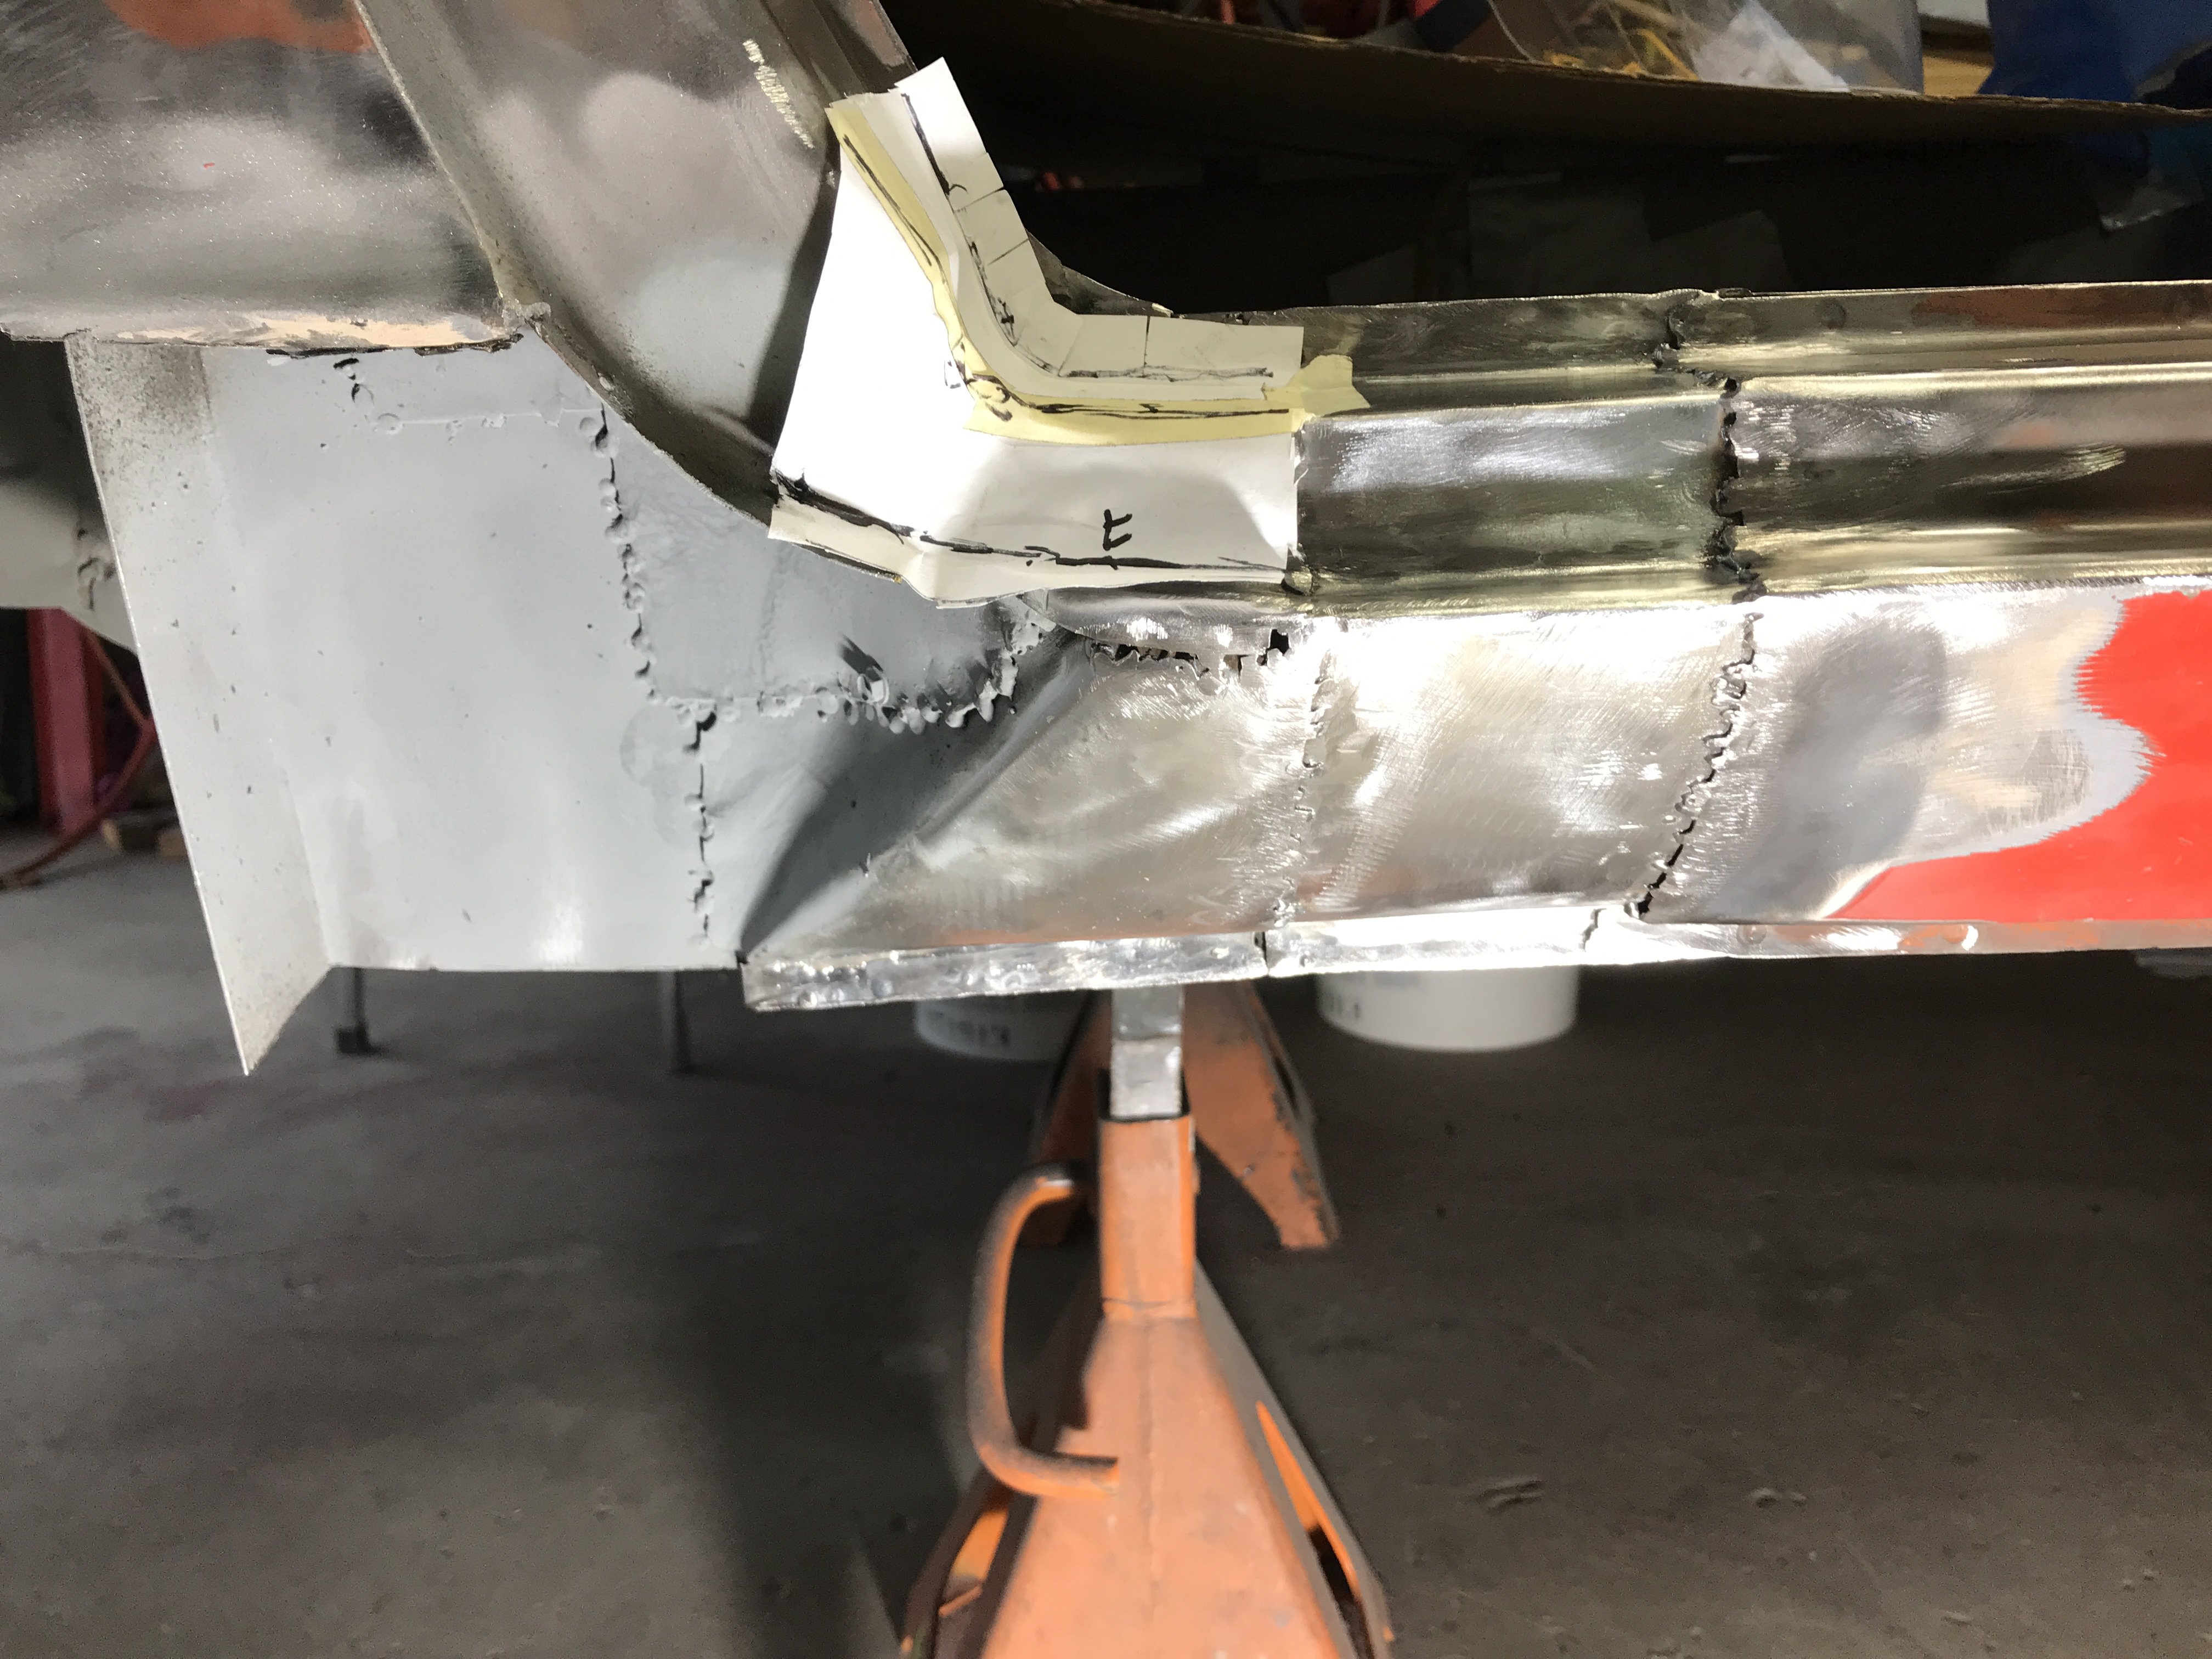
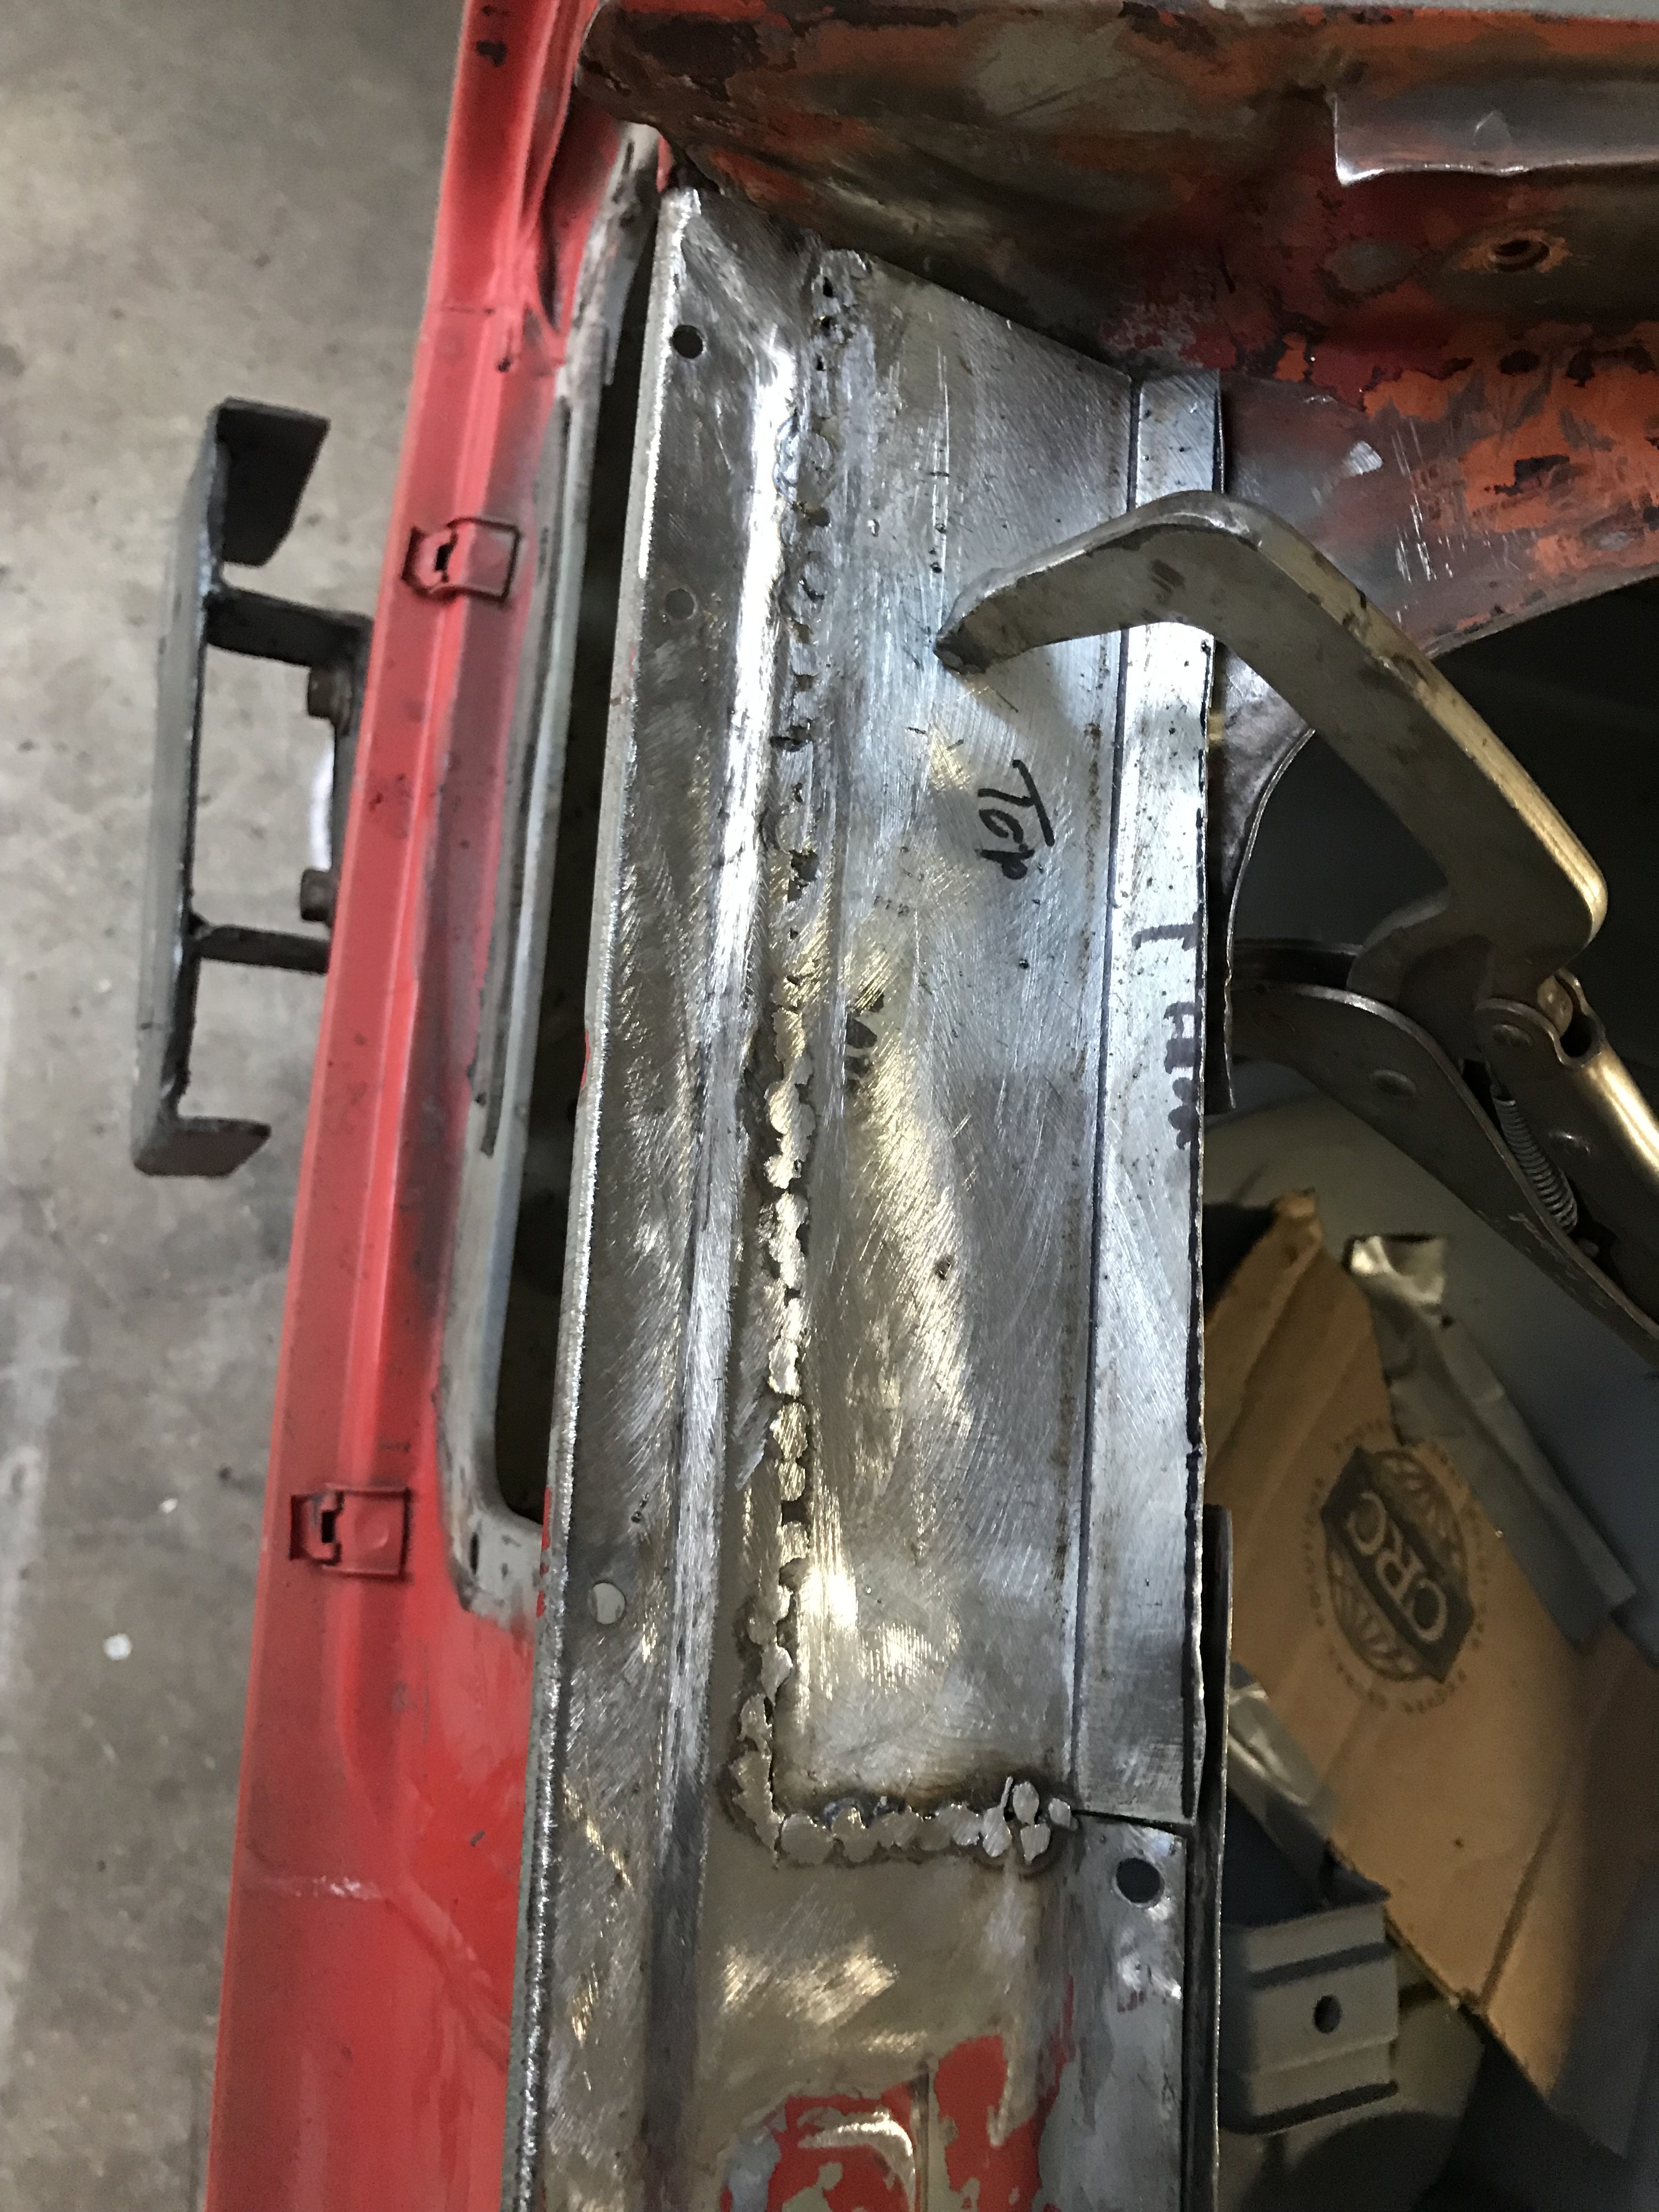
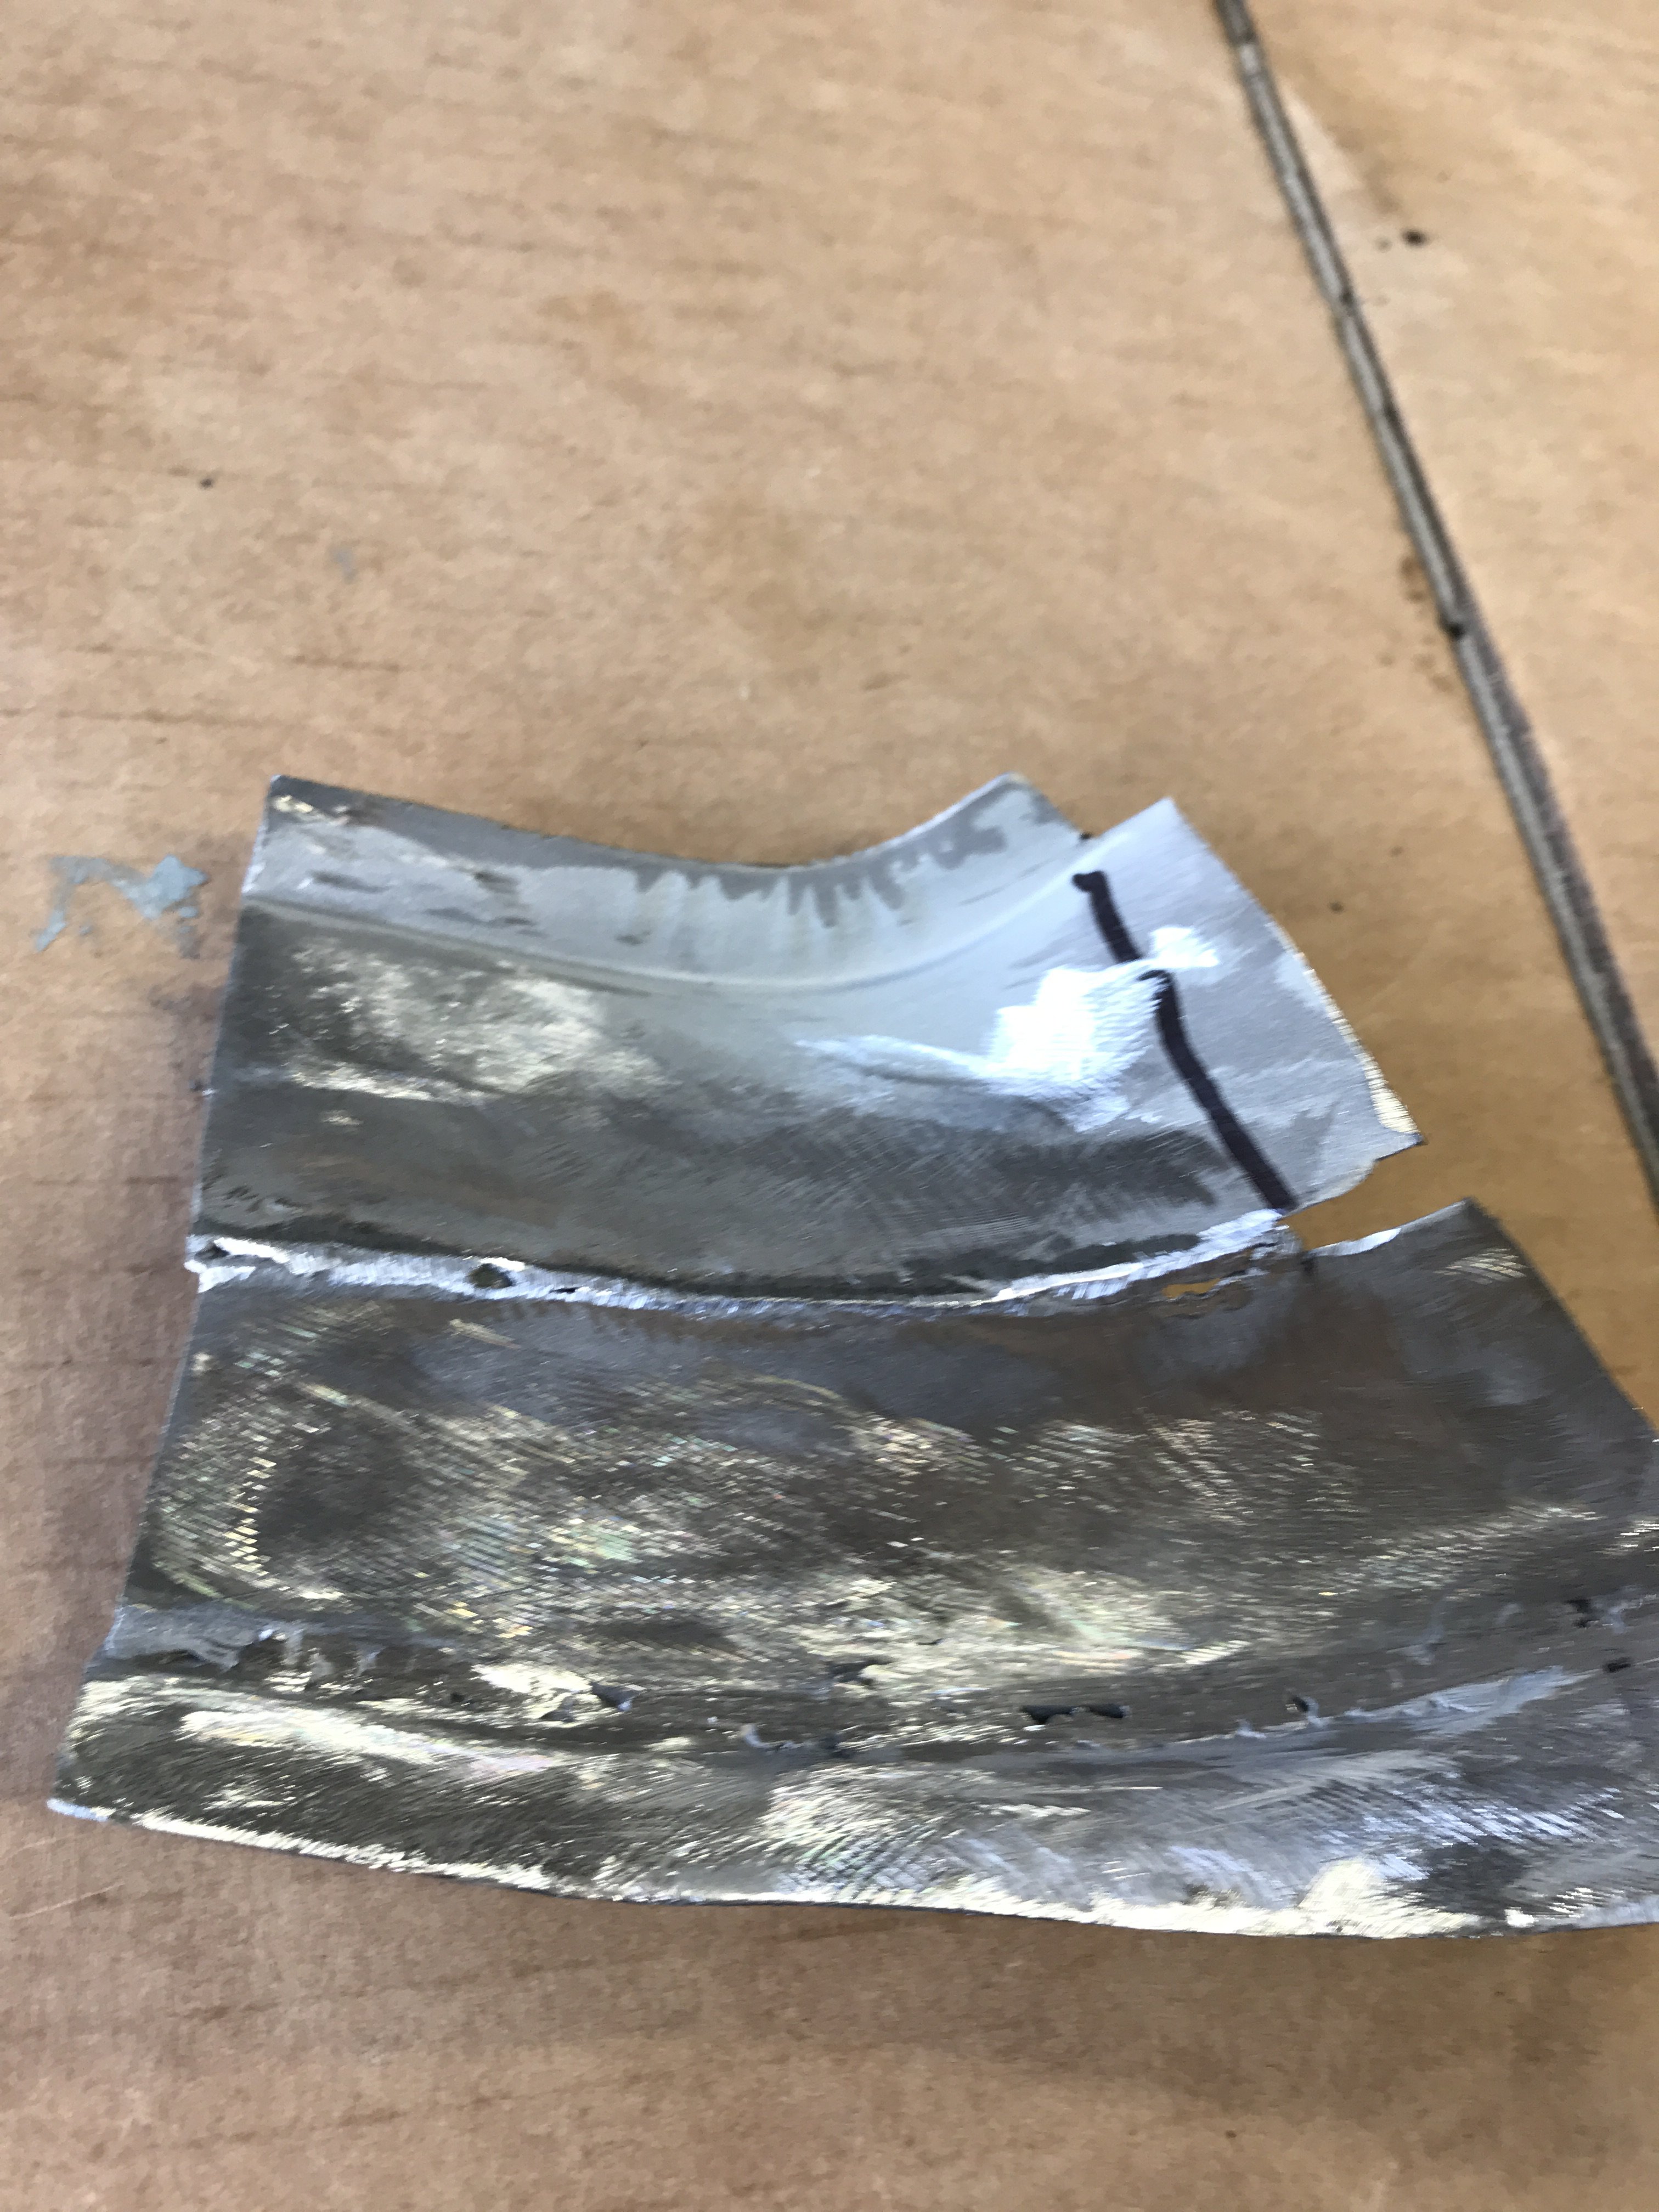
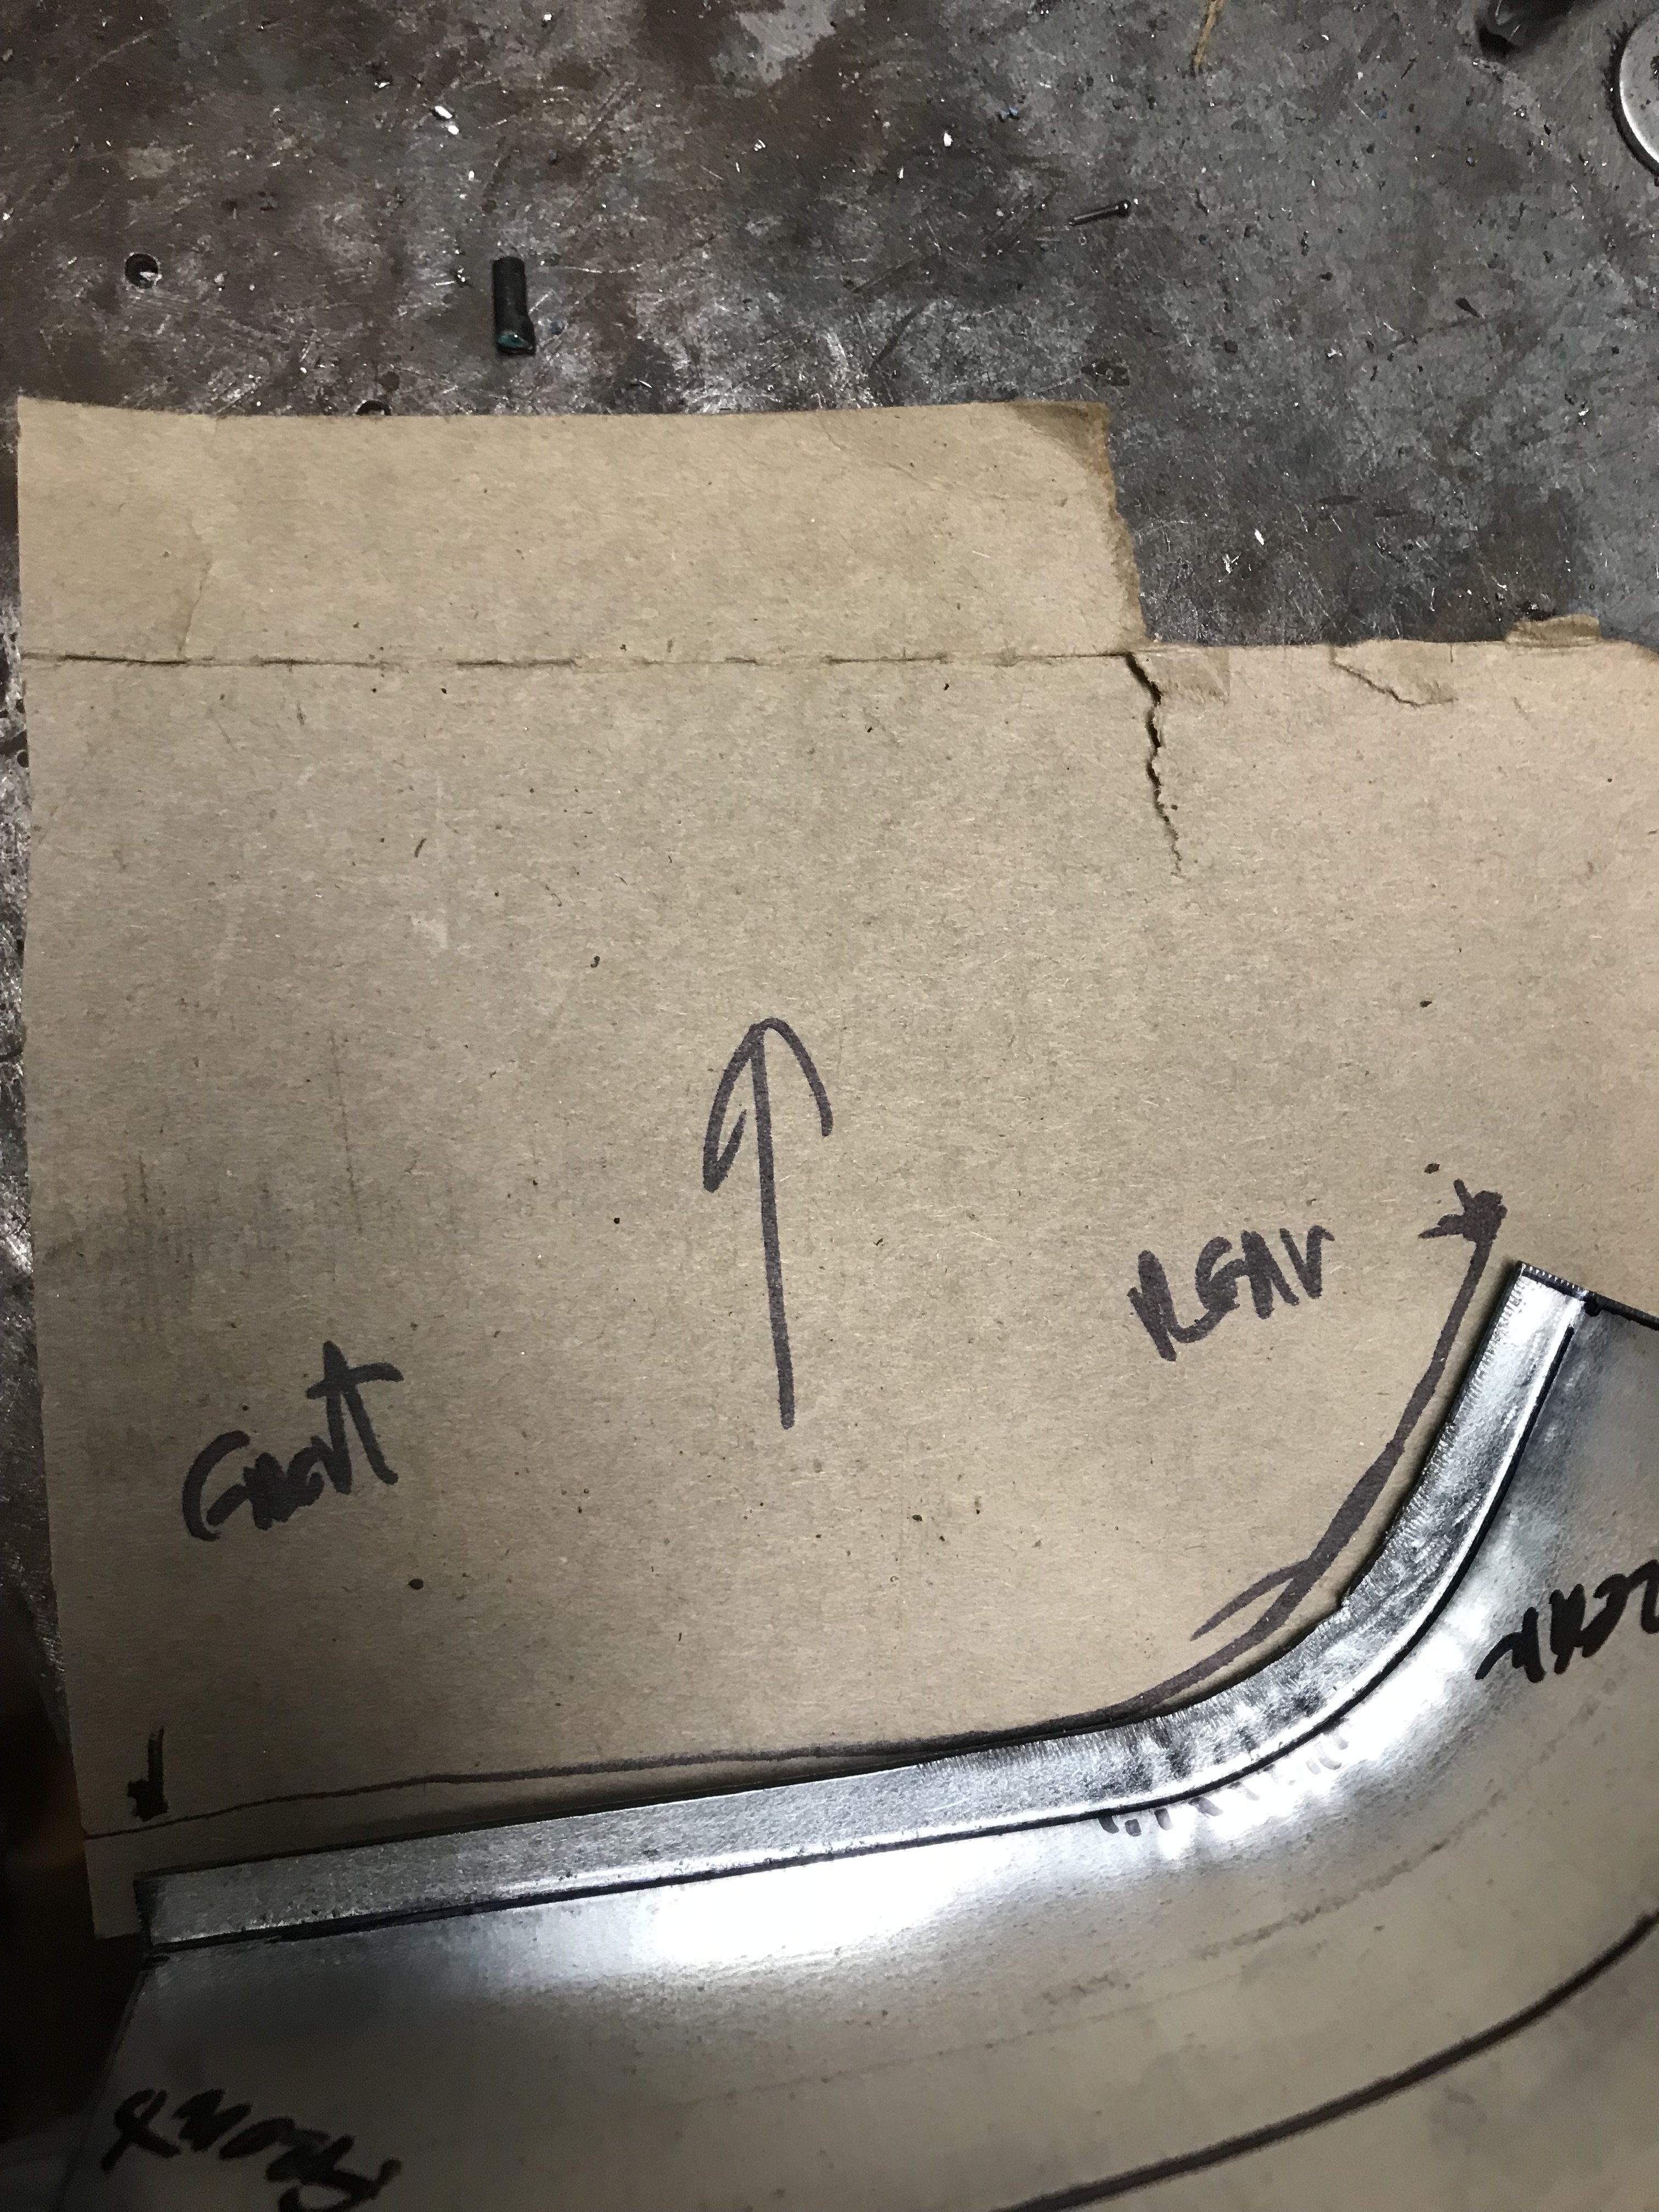
I found similar corrosion on the right side door dogleg. Had remove more of this side rocker panel due to rust. The wheel housing also had to patched. In my opinion, this type of wax type of rustproofing was not thin enough to get in those tight cervices and pockets. Also, the use of weldable primer will help to prevent corrosion from the mig welding process. The pictures show the sections of patches for this repair. Only the upper left section is left over from the original rocker panel. The other three parts will be fitted together like a puzzle. A different view of the patch sections to give a better idea of the different sections. Utilized 20 gauge metal for the wheel housing patch to resist corrosion. Marking a template for the curved section of dogleg. This is the second patch for this section because I had cut the upper potion of the original curved section to allow welding of the rocker panel. Also, still have do more welding of patches. Waiting for the replacement corner section of the dog leg from Z Depot which cost almost $100 because of freight. We call it the "Paradise Tax".
-
Heavy Duty frame rails and connectors
toolman replied to toolman's topic in Gen III & IV Chevy V8Z Tech Board
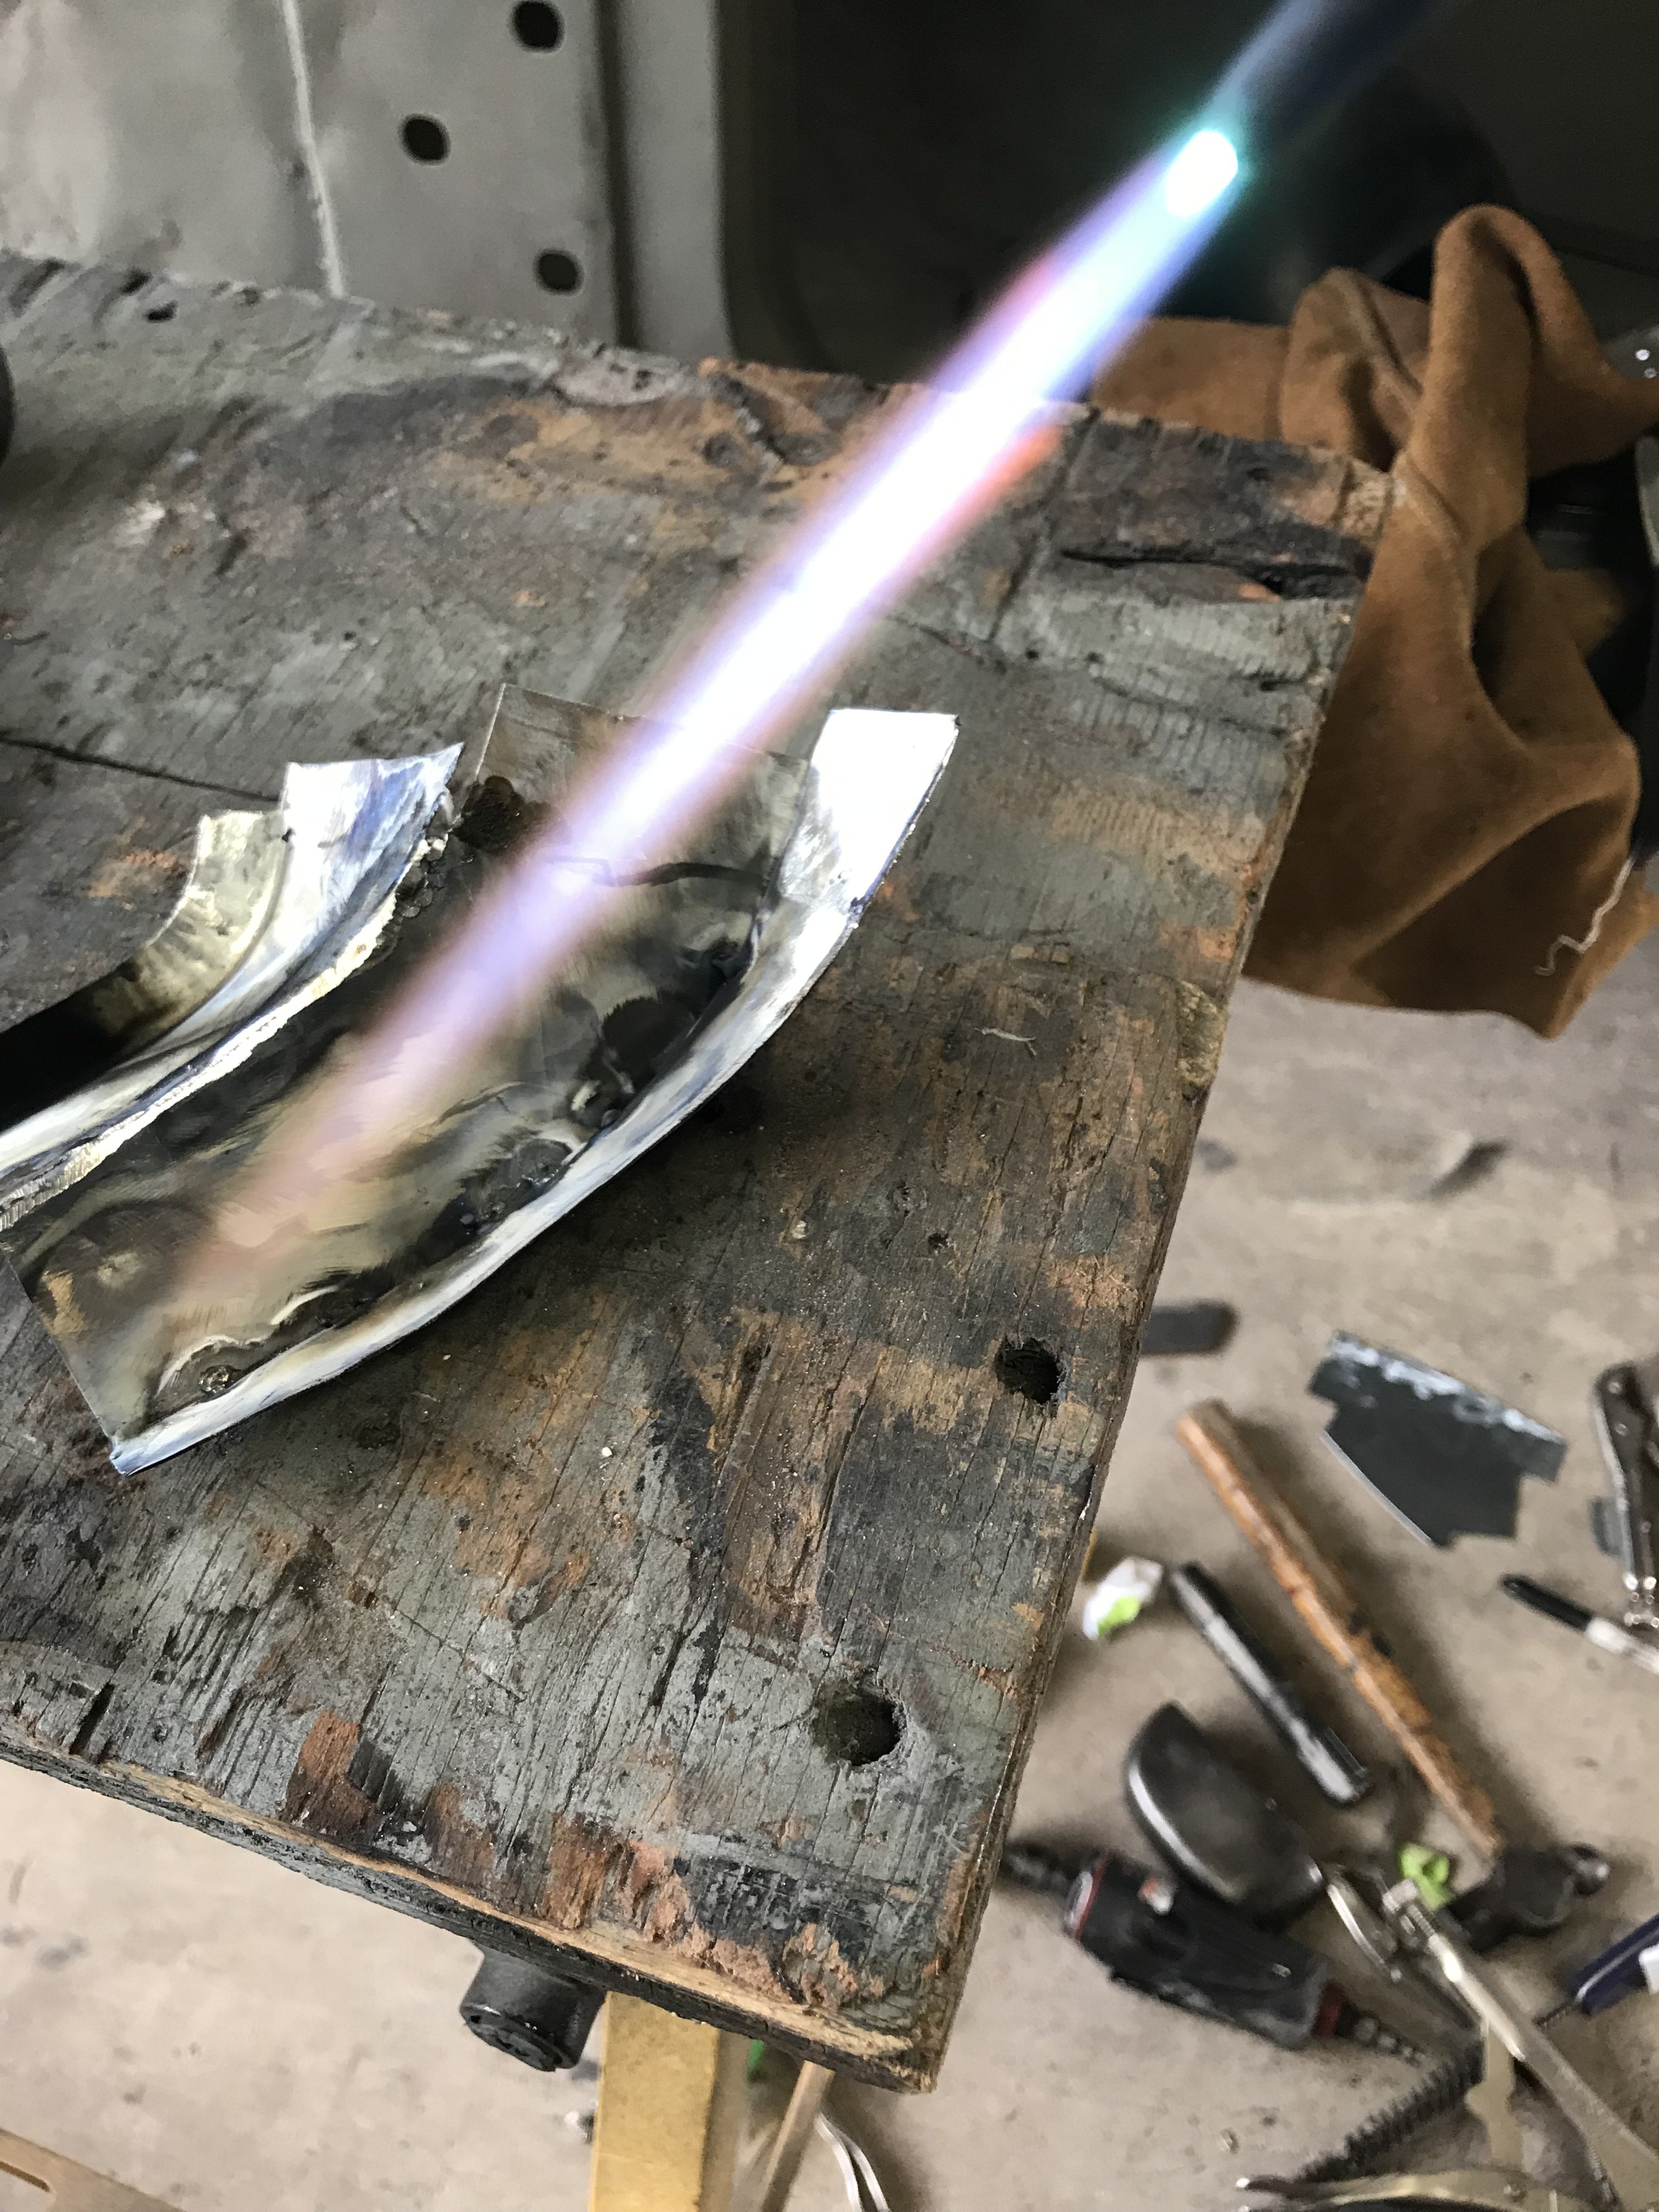
This is a photo of the left side of the rear hatch panel after media blasting. Made template for patch for left side. Right side template Had to even to use a Dremel to hard to cut tight areas. Right side dog leg section finished. I utilized a gas torch and butt welded the joints to provide a smoother finish. Left lower section finished. Still working on the horizontal panel between both quarter panels. \ Also, repaired this hole by butt welding with gas torch with 1/16 steel rod. Butt welding provides a finished surface requiring very little body filler. With a Tig welder, you can get away sometimes with no filler at all. But the patch must close fitting thus time consuming.
-
Heavy Duty frame rails and connectors
toolman replied to toolman's topic in Gen III & IV Chevy V8Z Tech Board
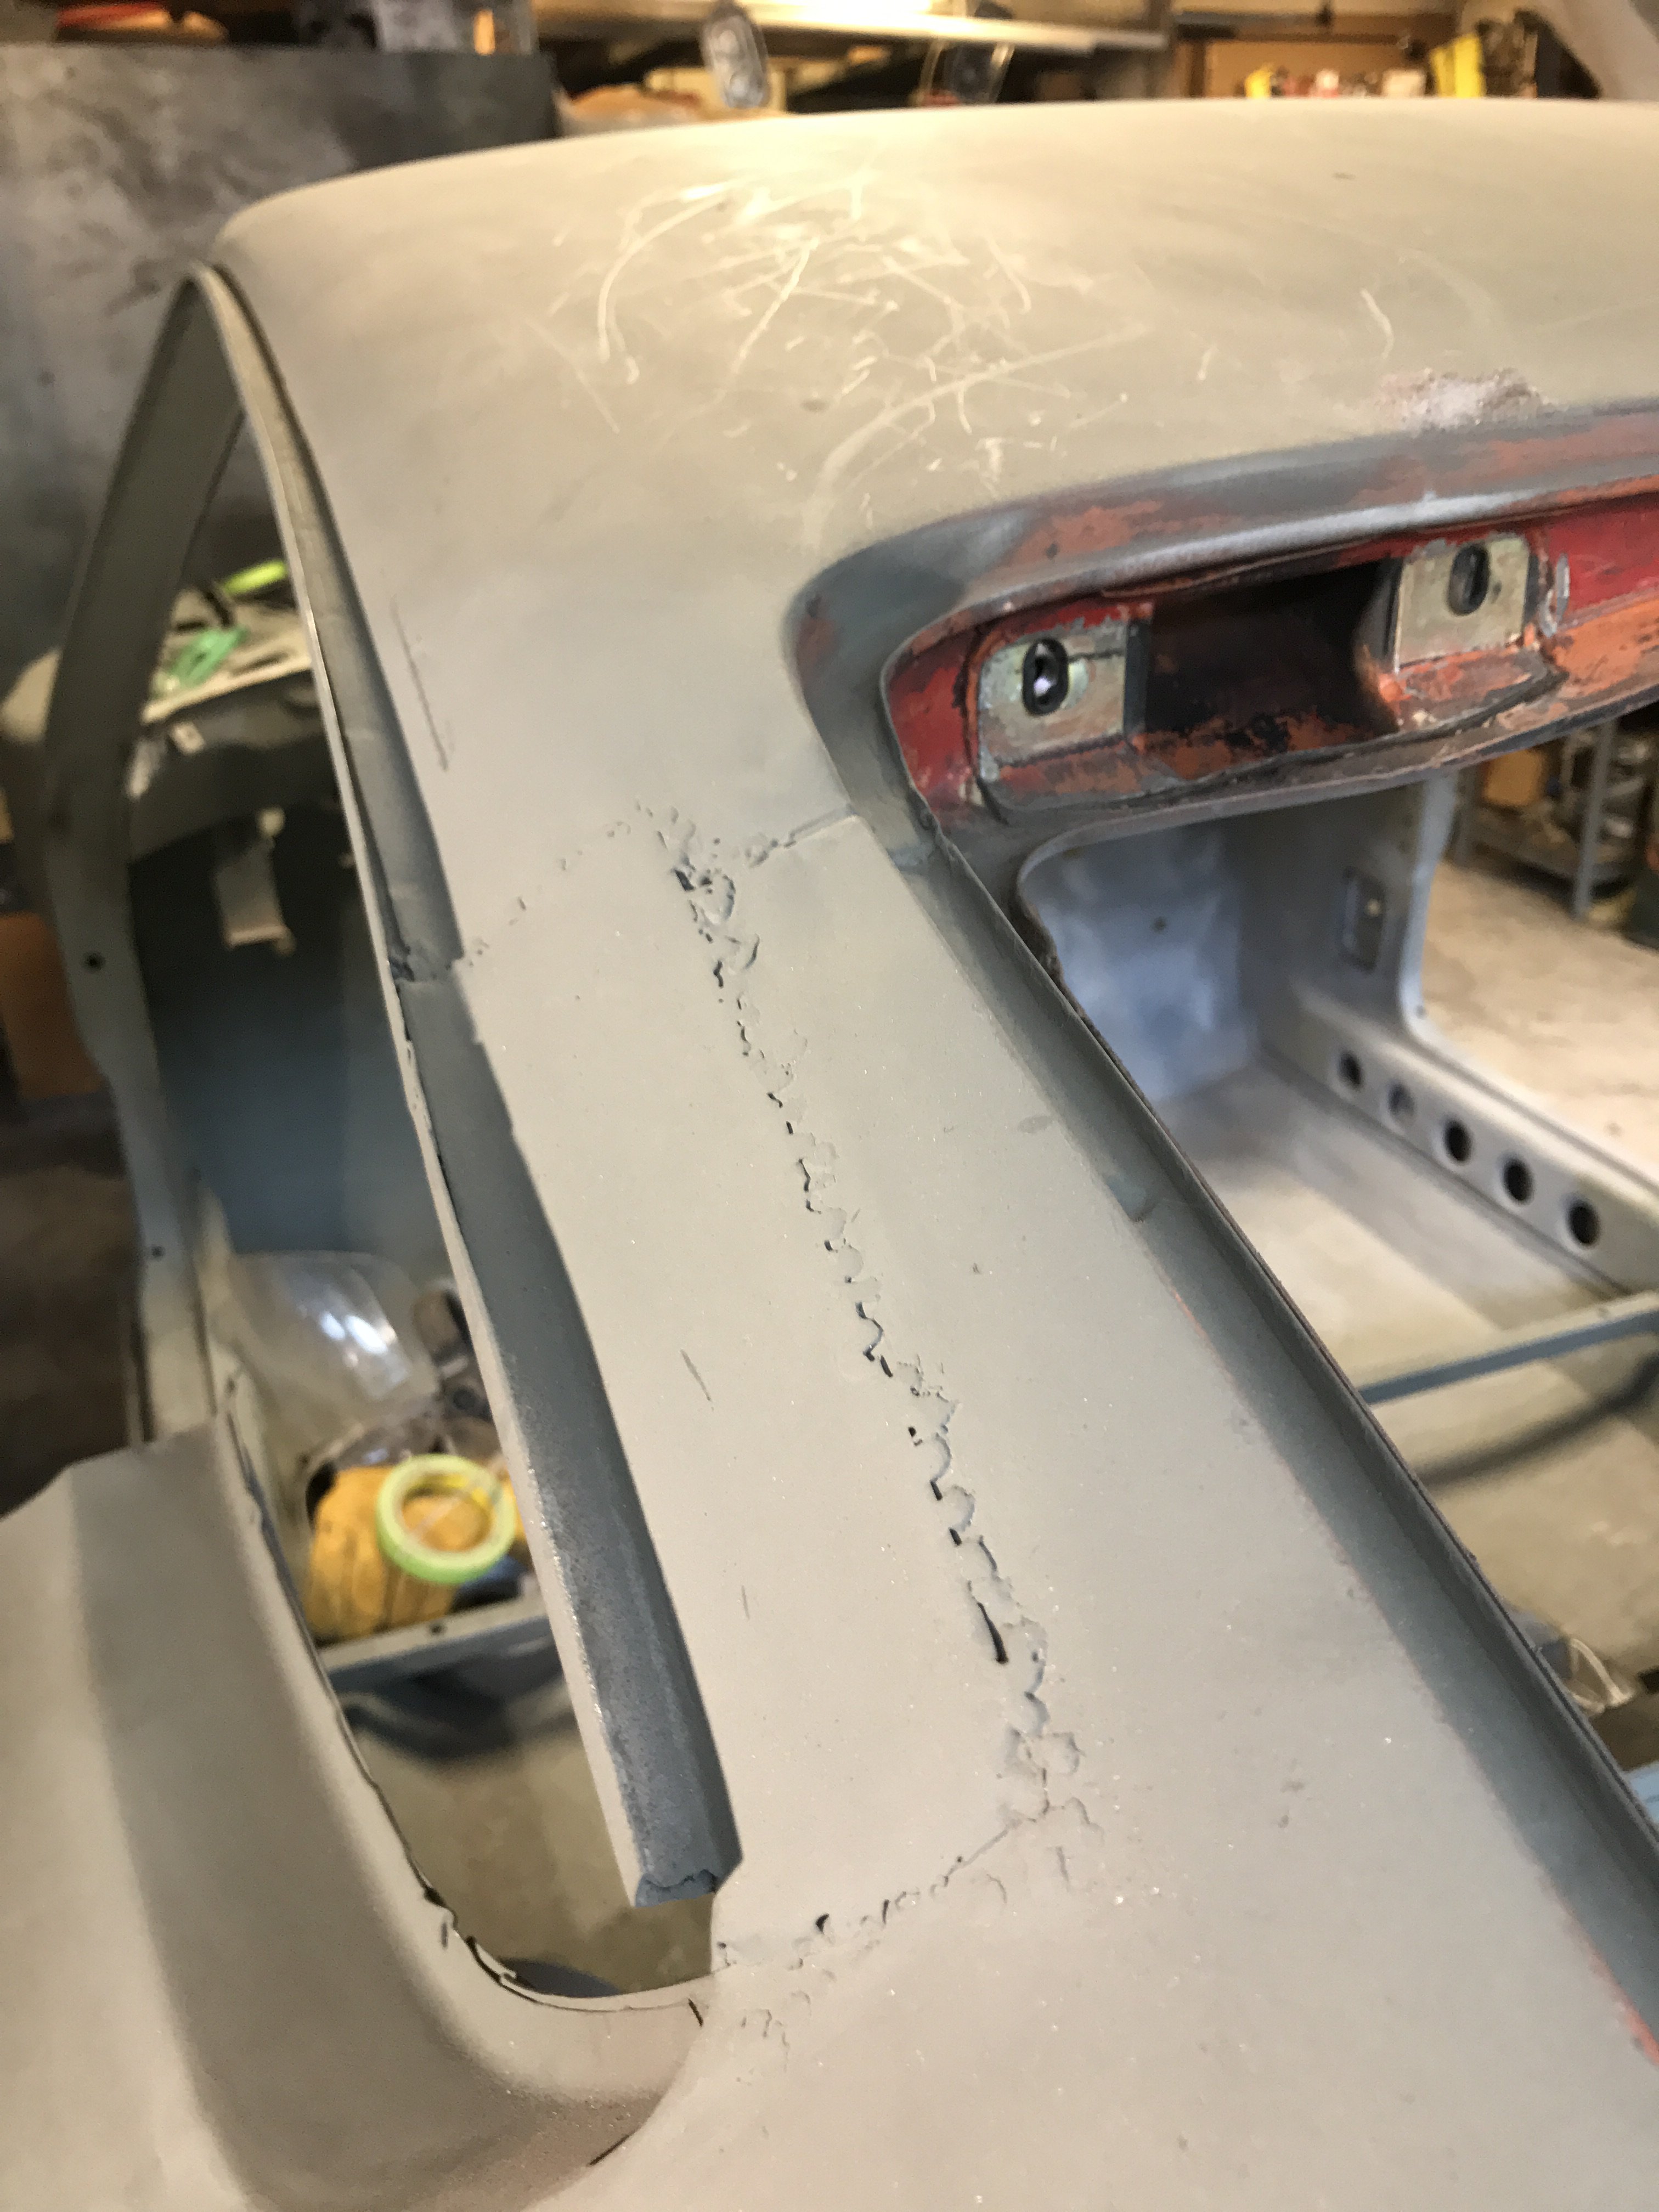
The next corrosion target was the rear hatch upper panel. Not a pretty sight. This is a common corrosion area for the 240Z. Left side view Right side view overall view of rear hatch upper panel Looks like I will be very busy this weekend!!
-
Heavy Duty frame rails and connectors
toolman replied to toolman's topic in Gen III & IV Chevy V8Z Tech Board
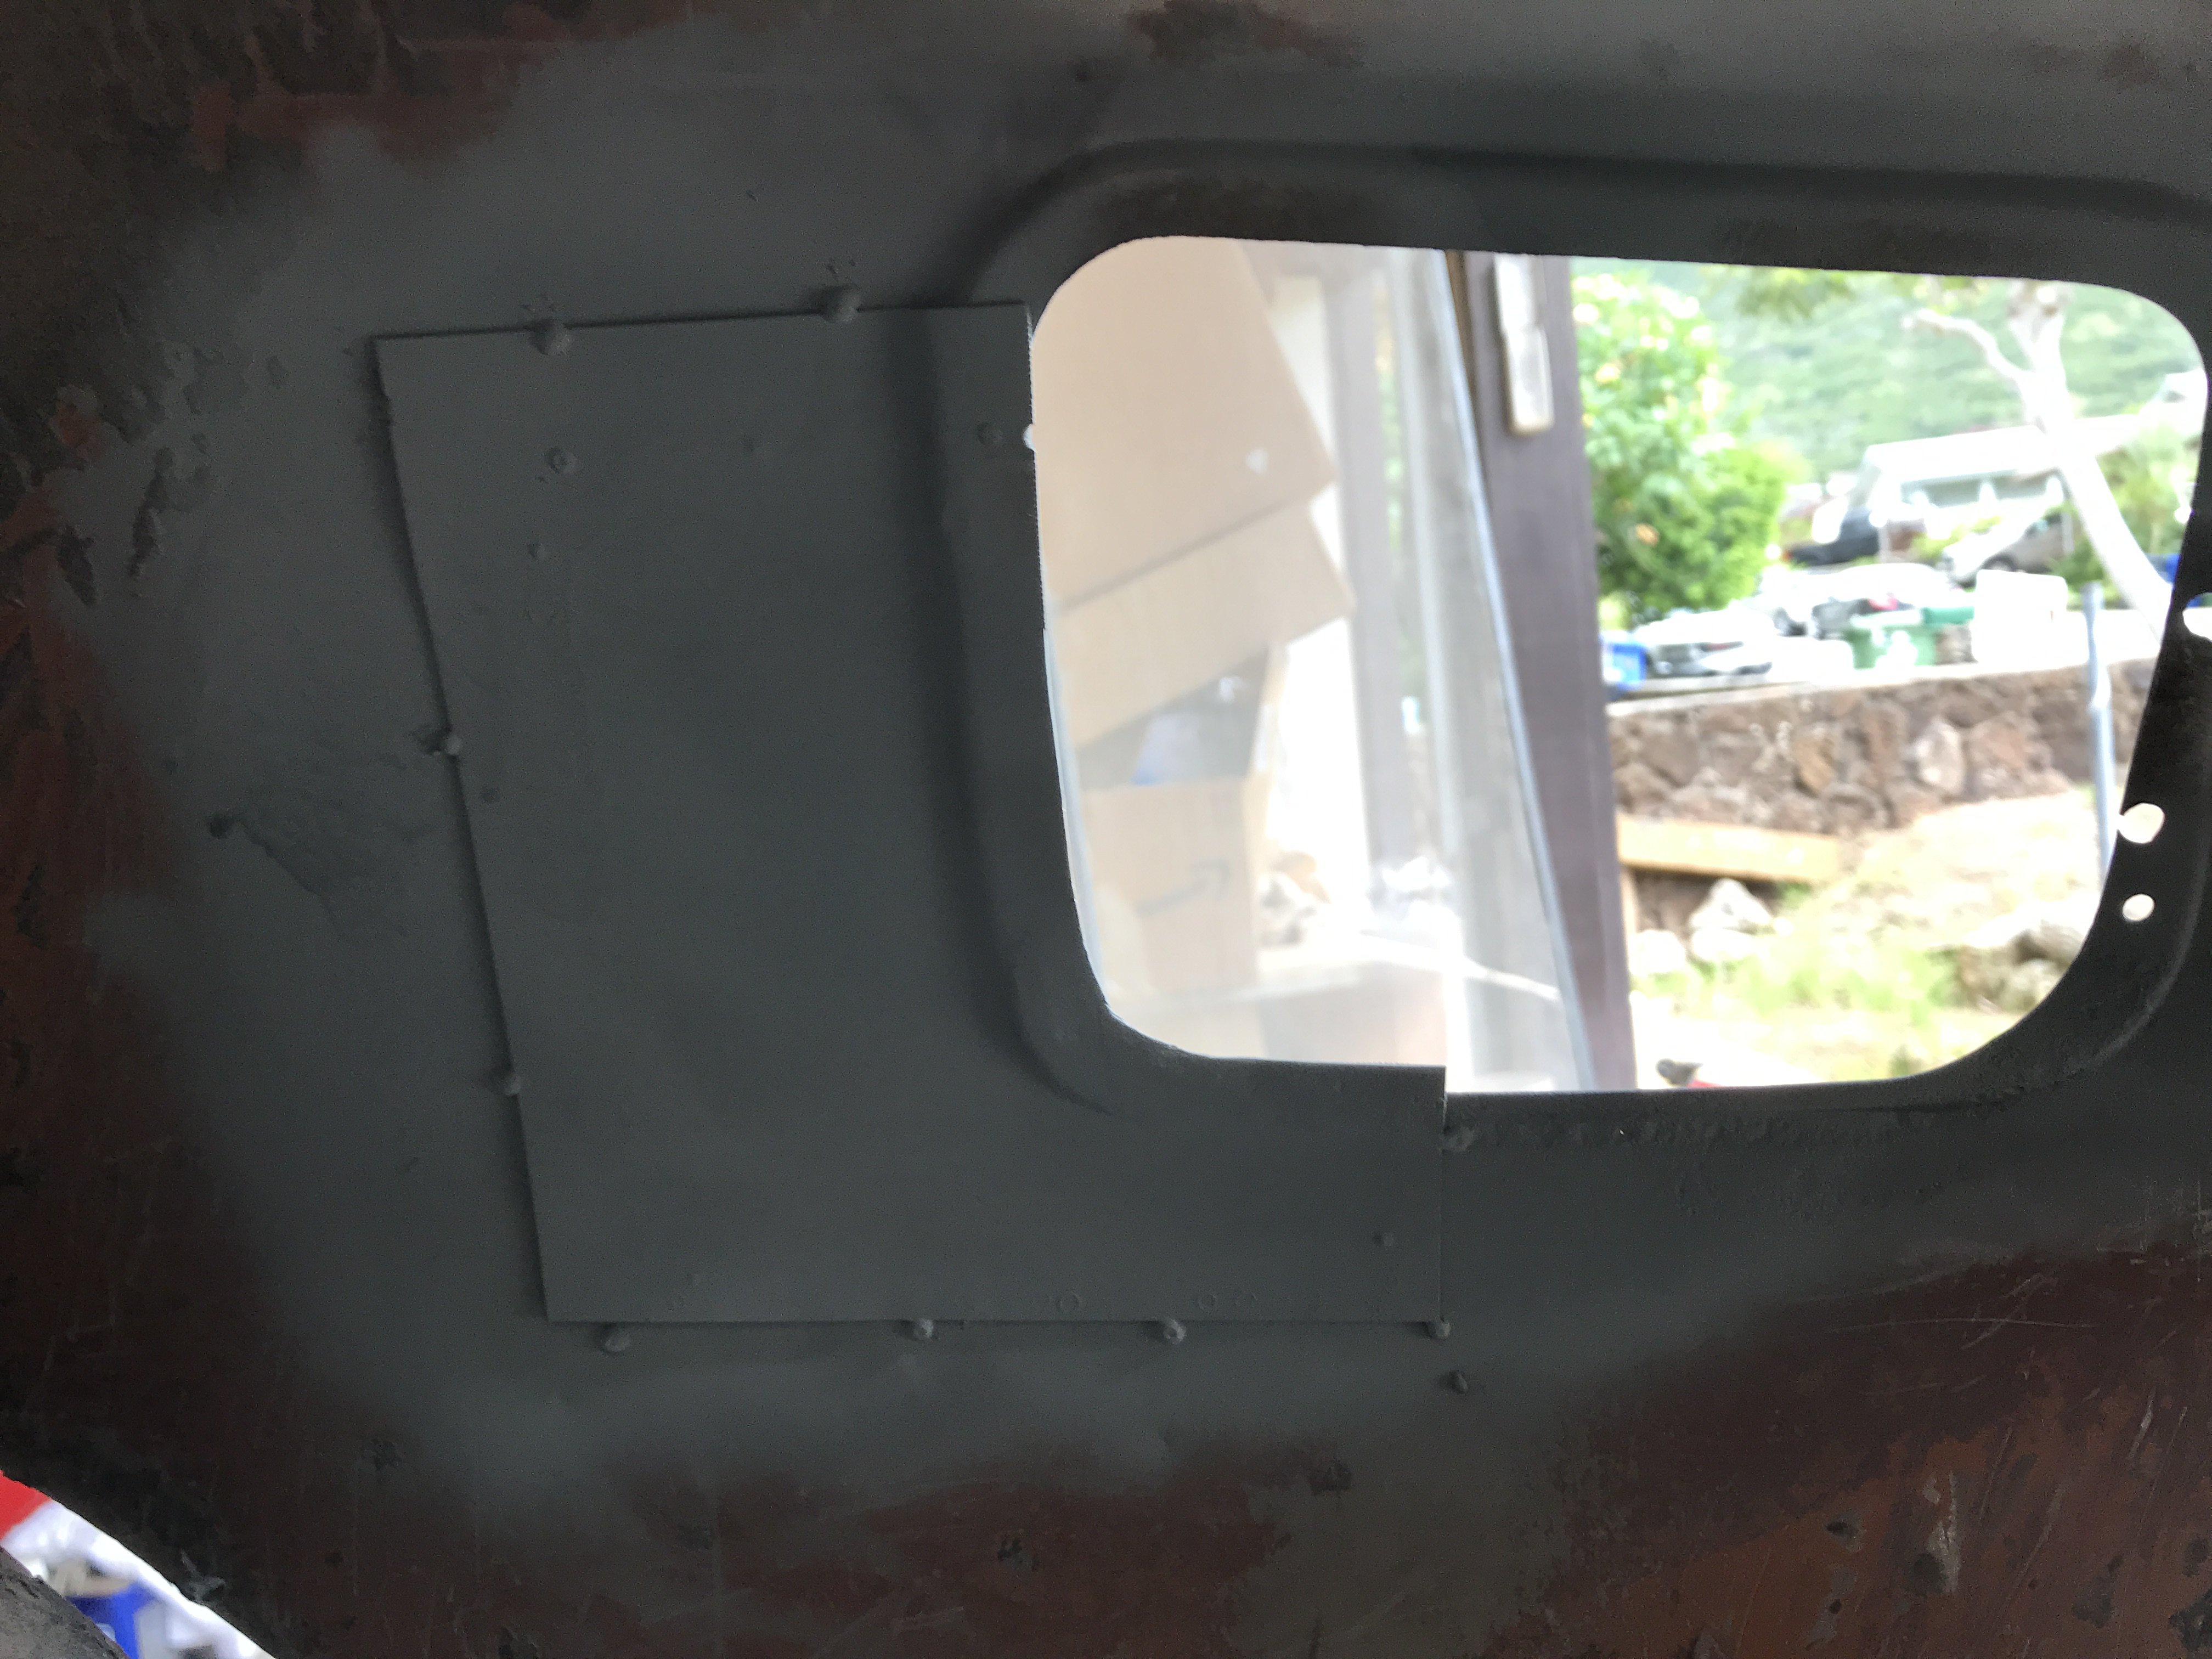
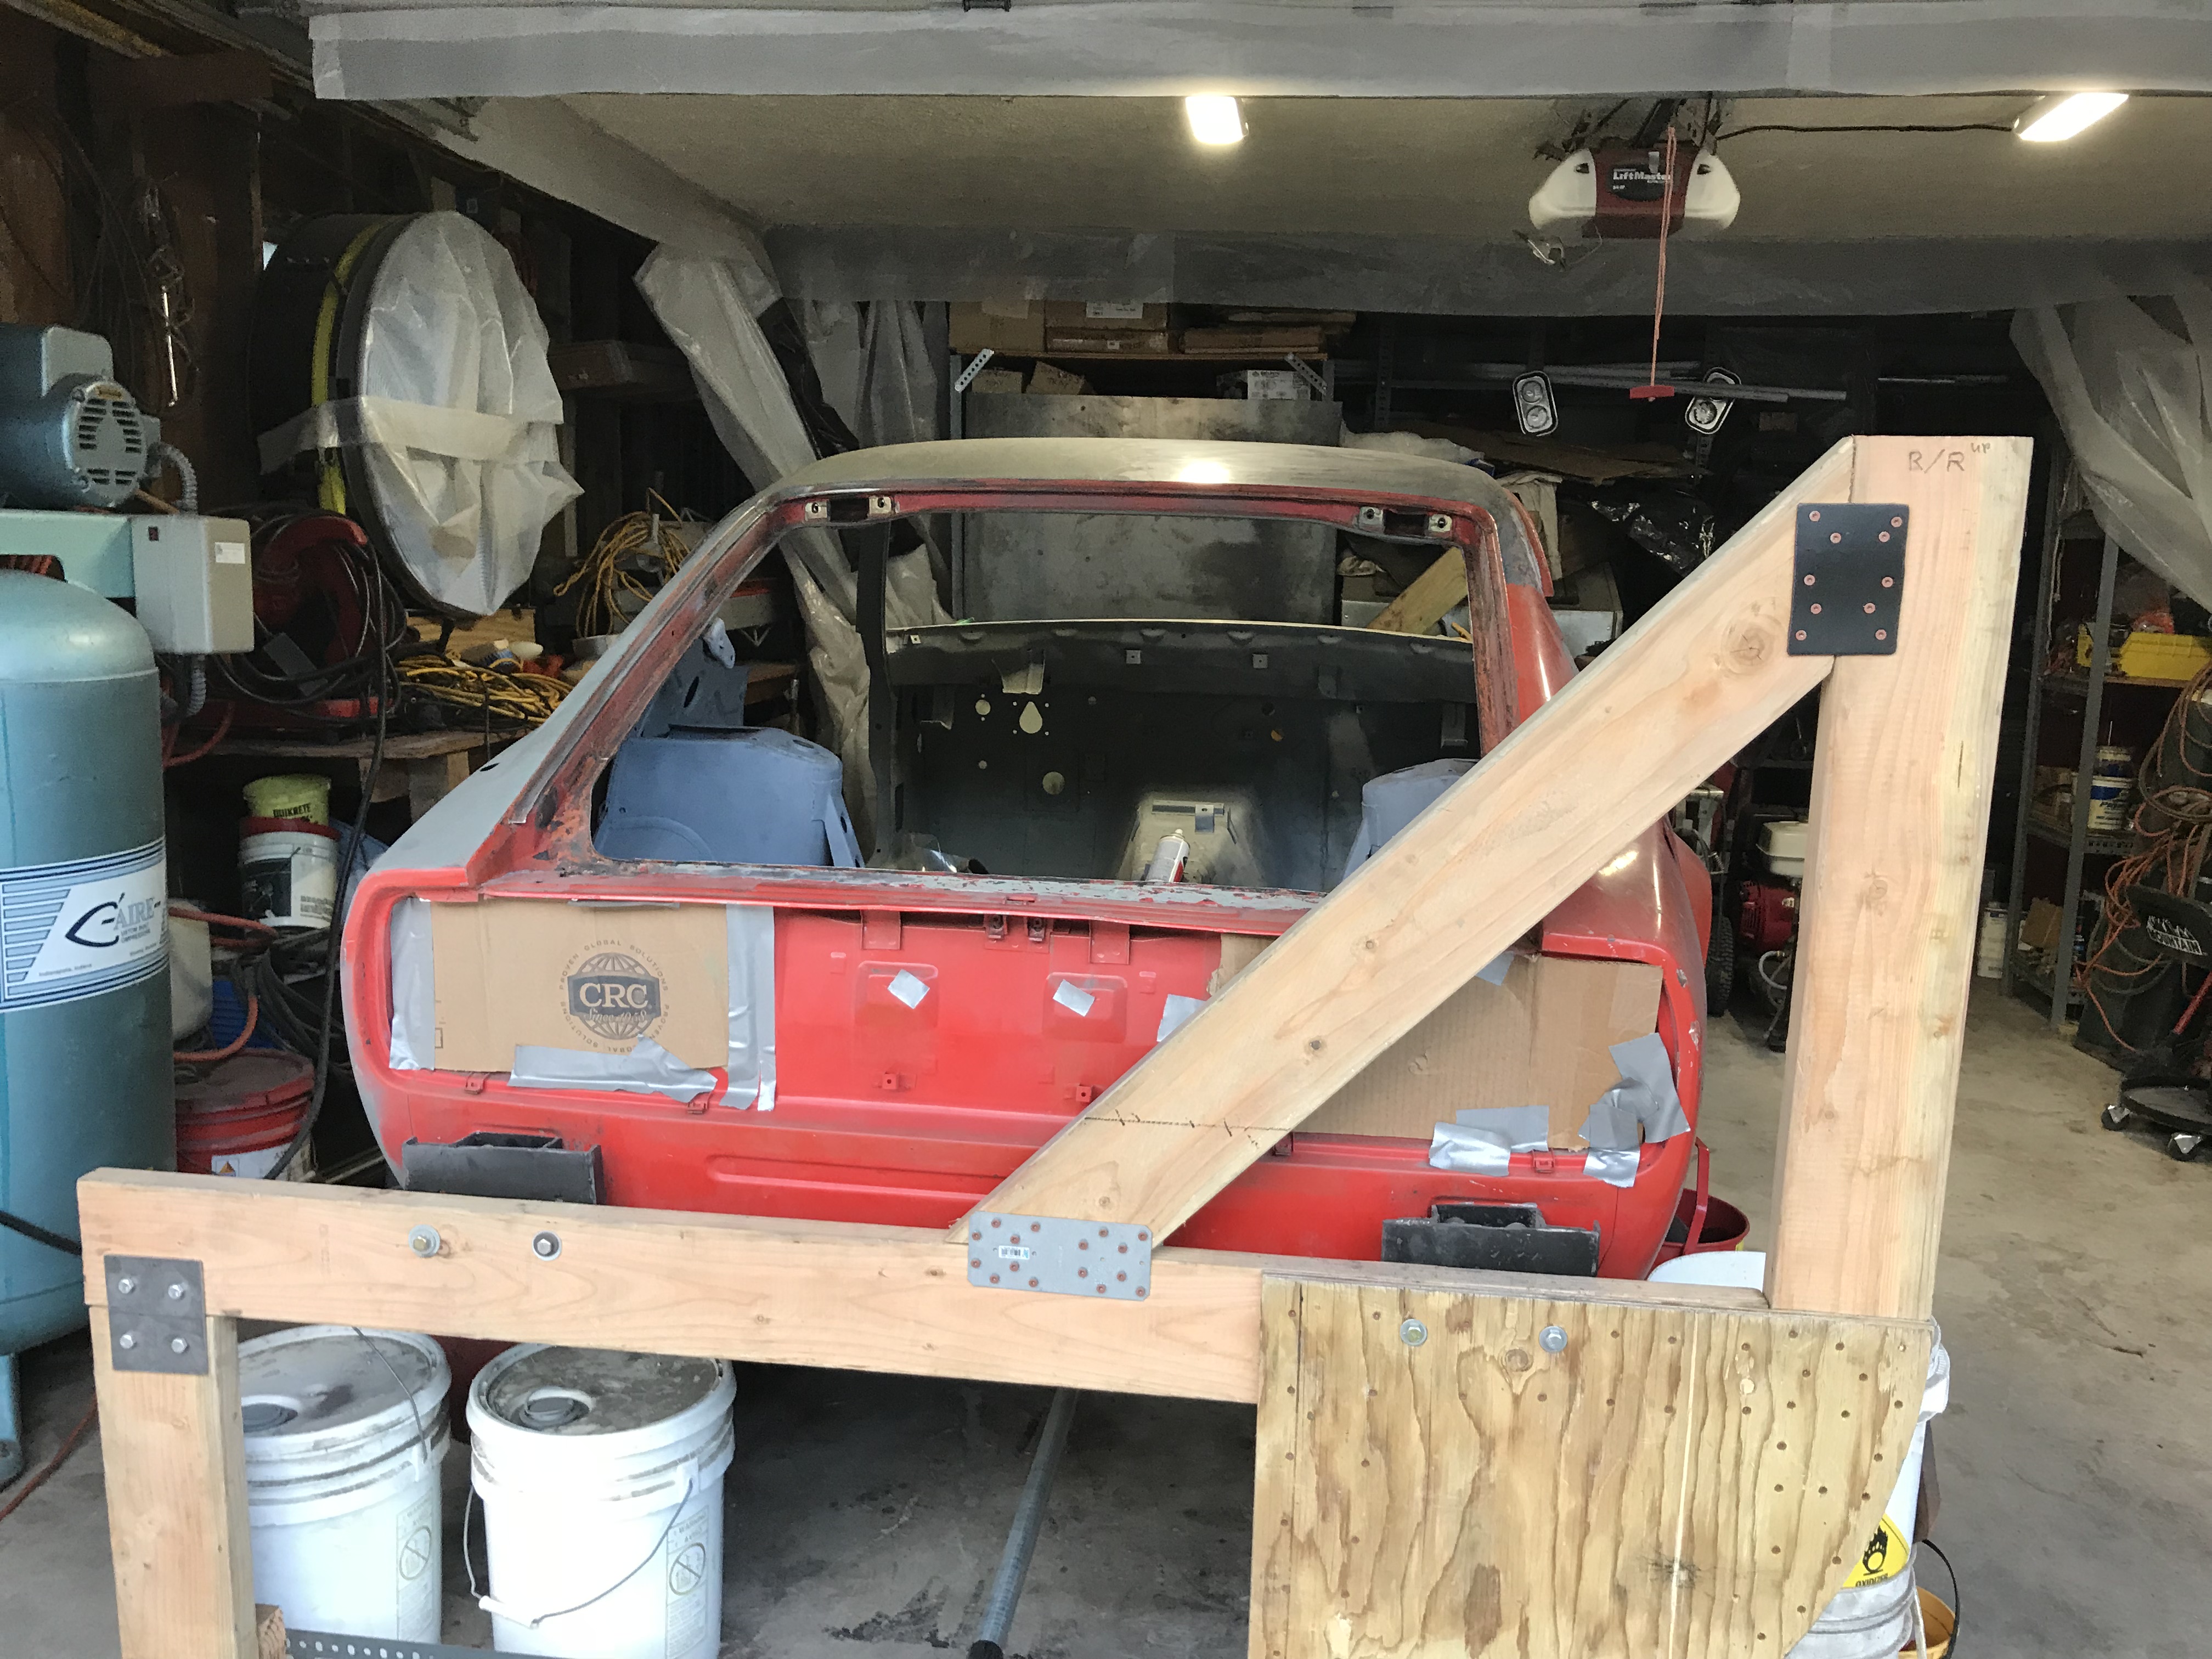
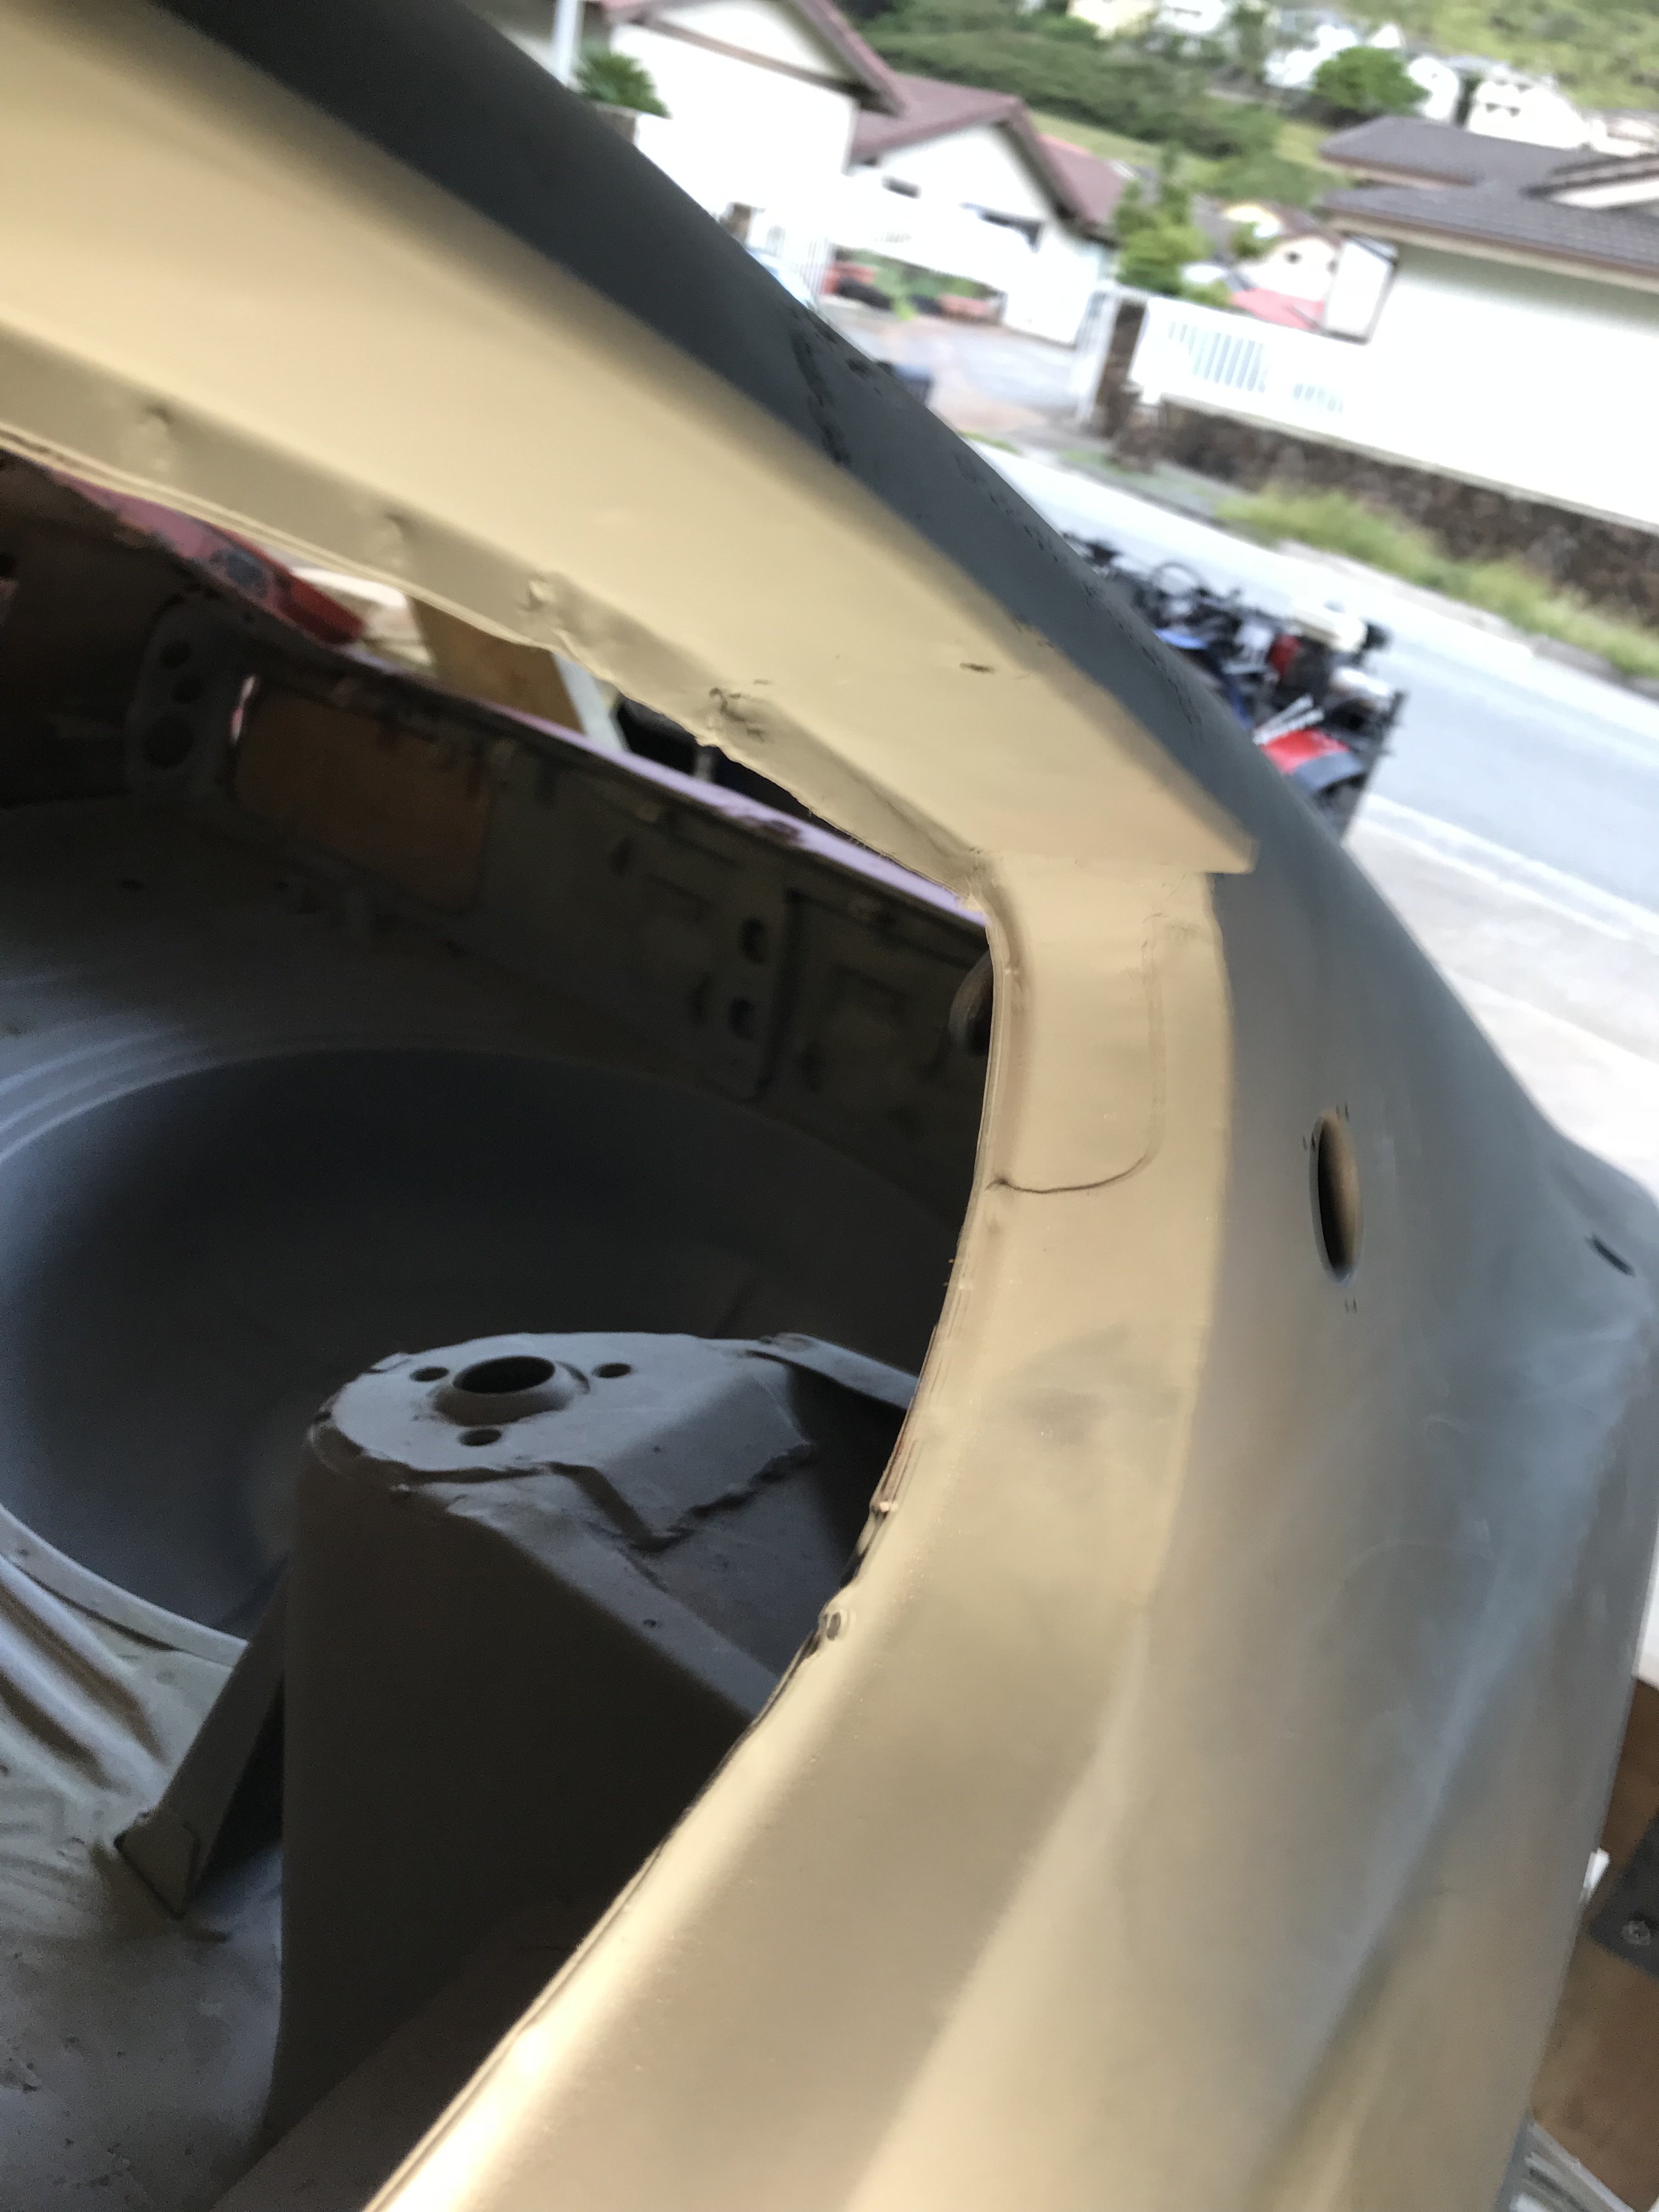
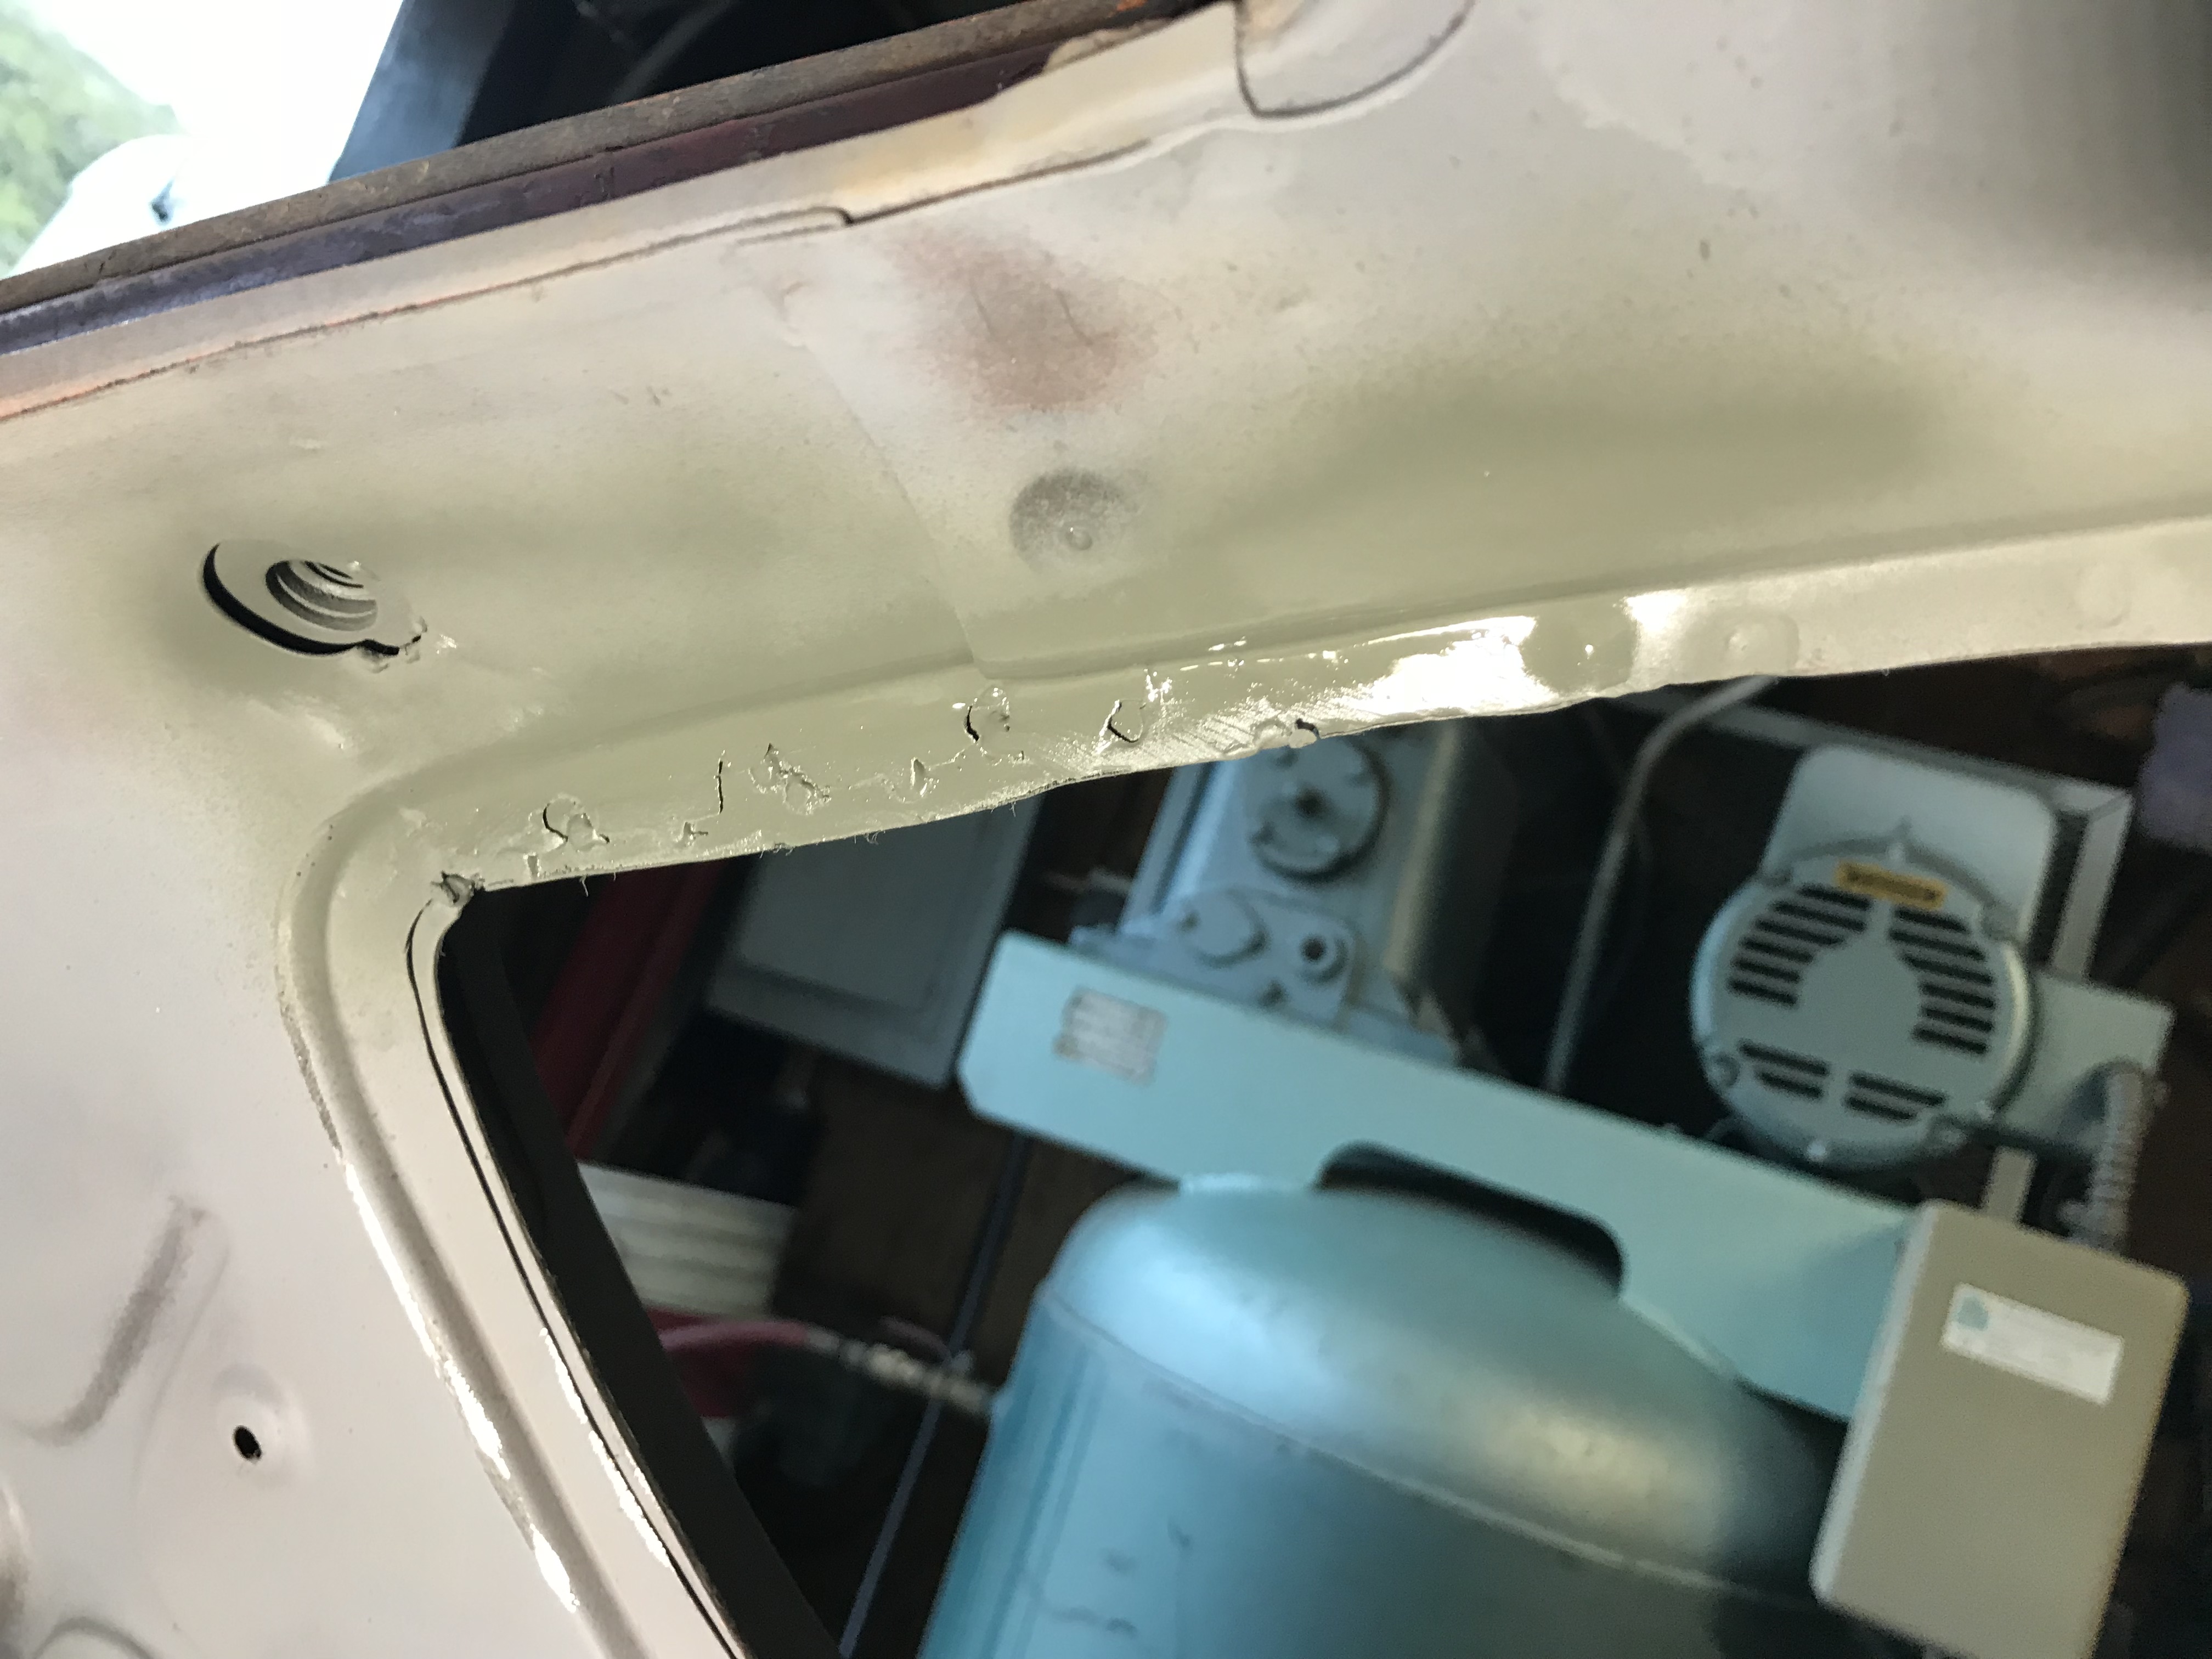
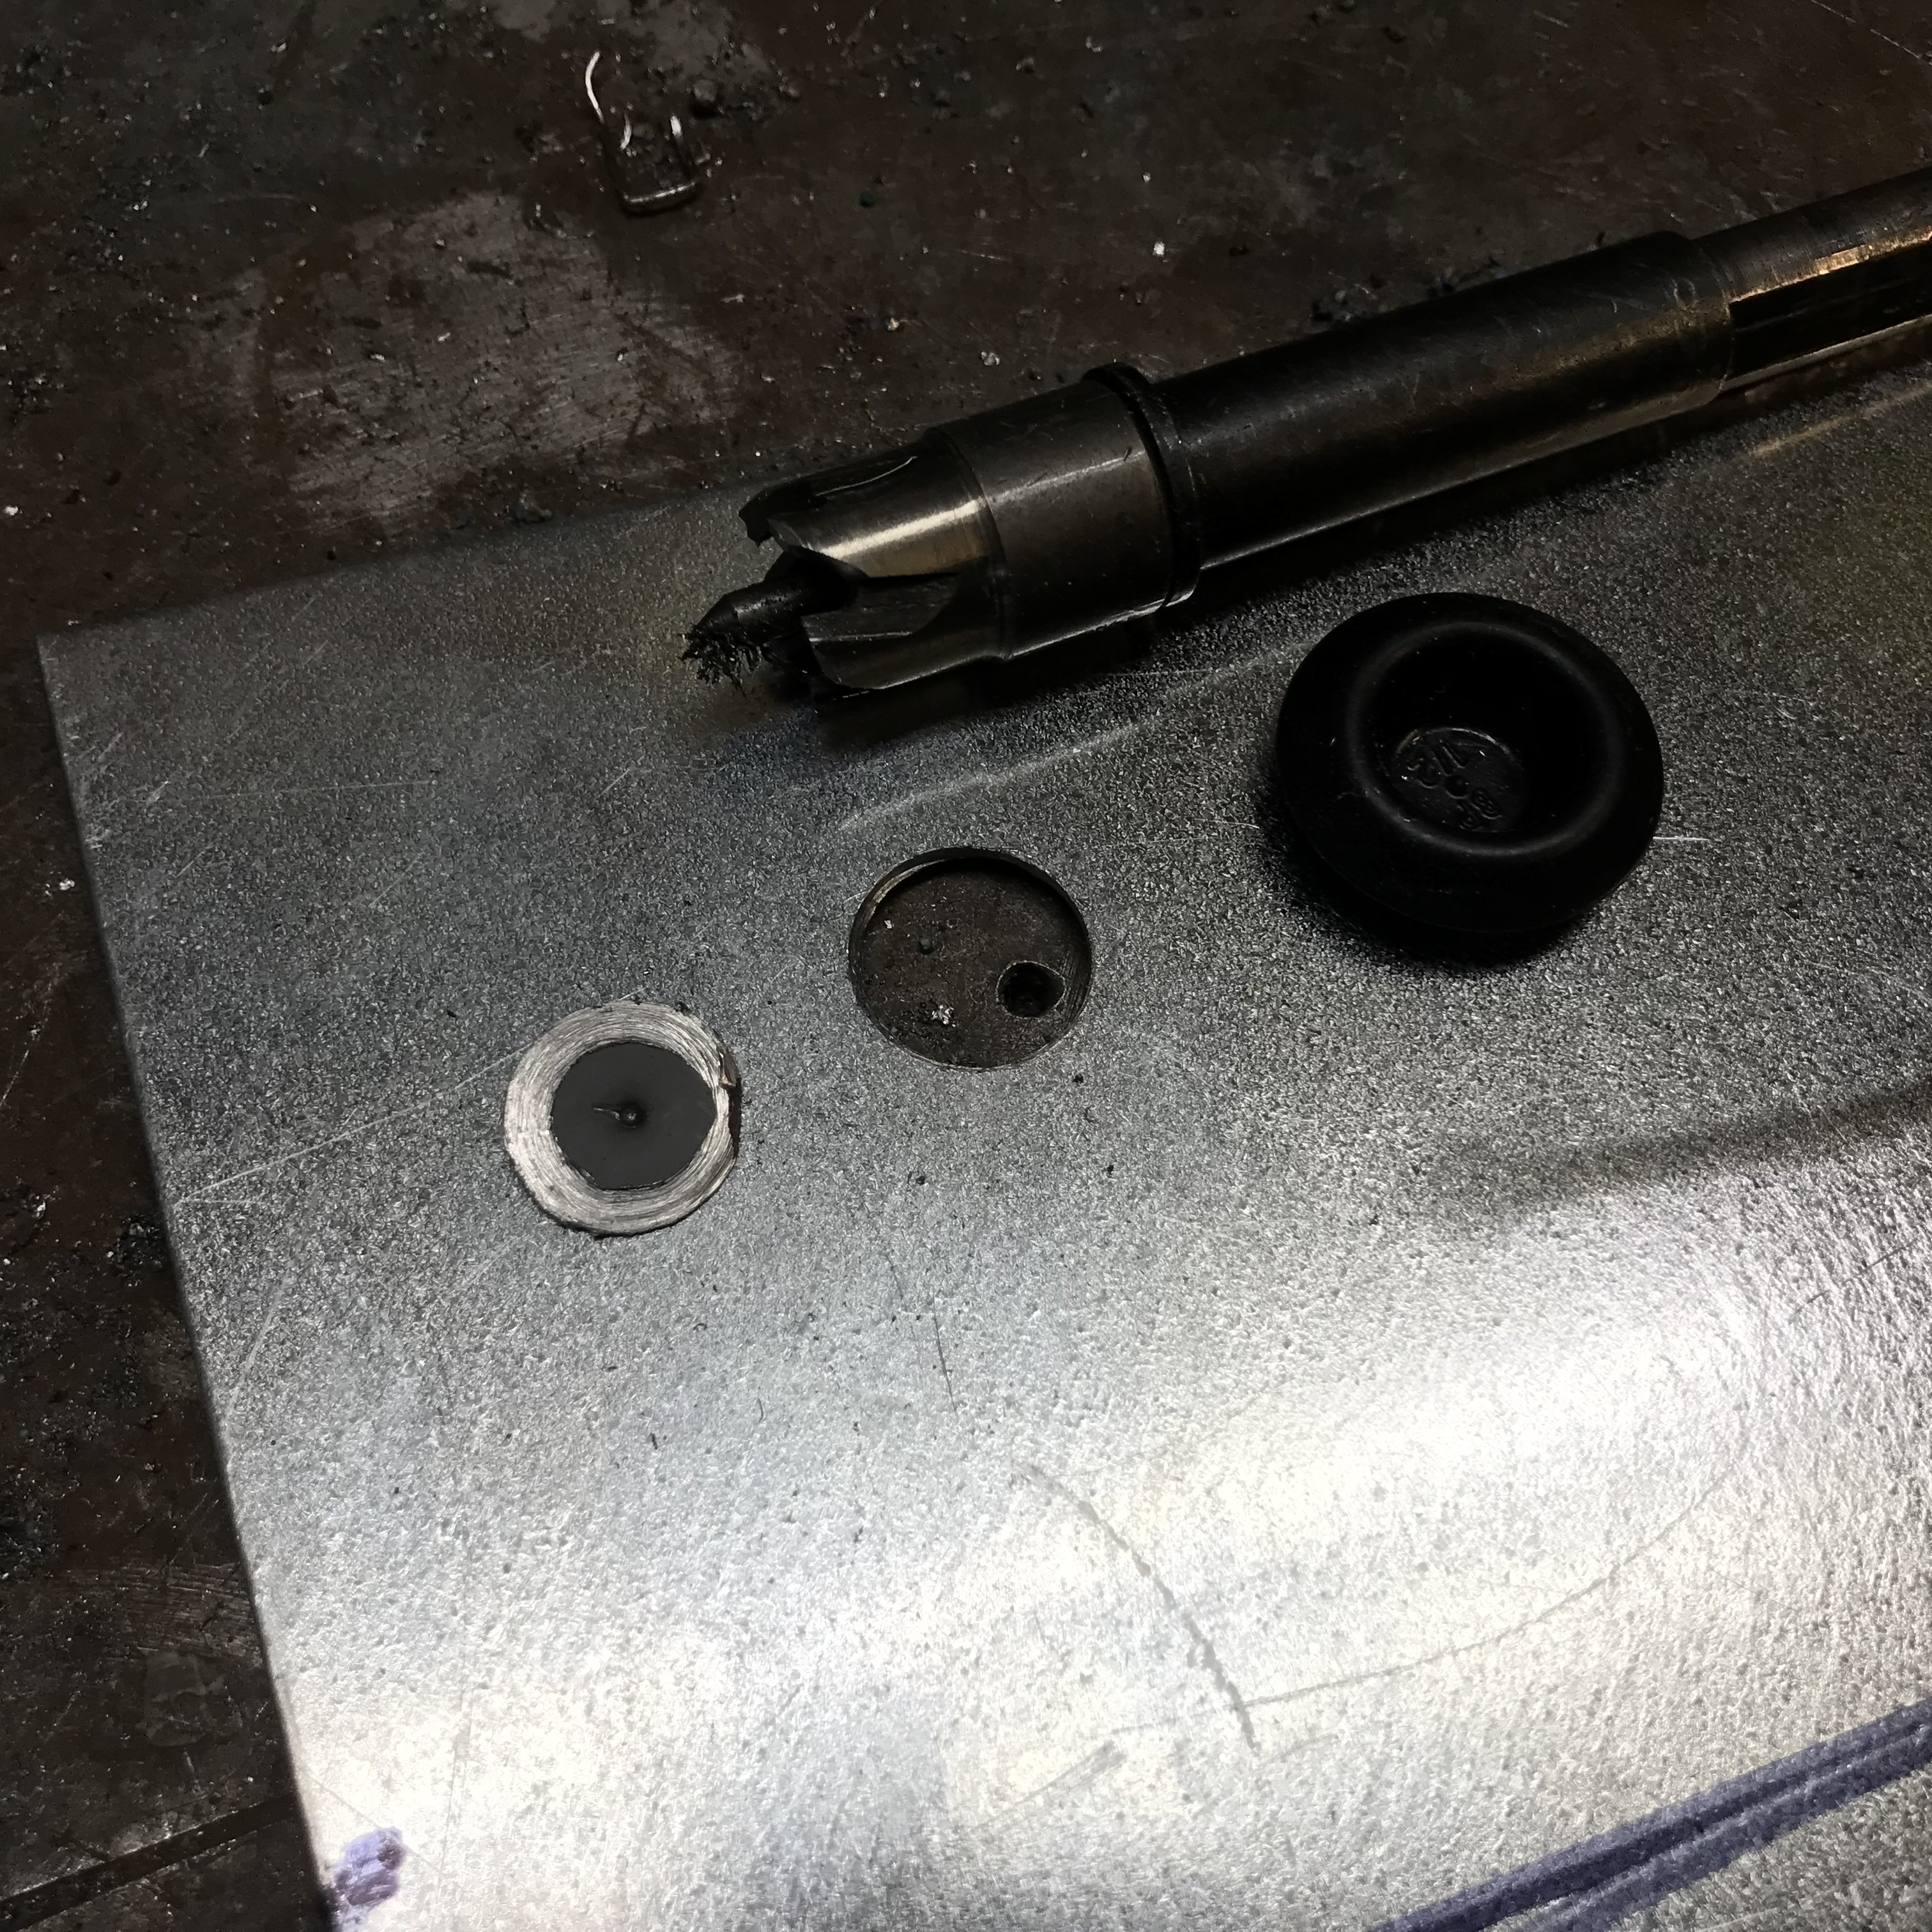
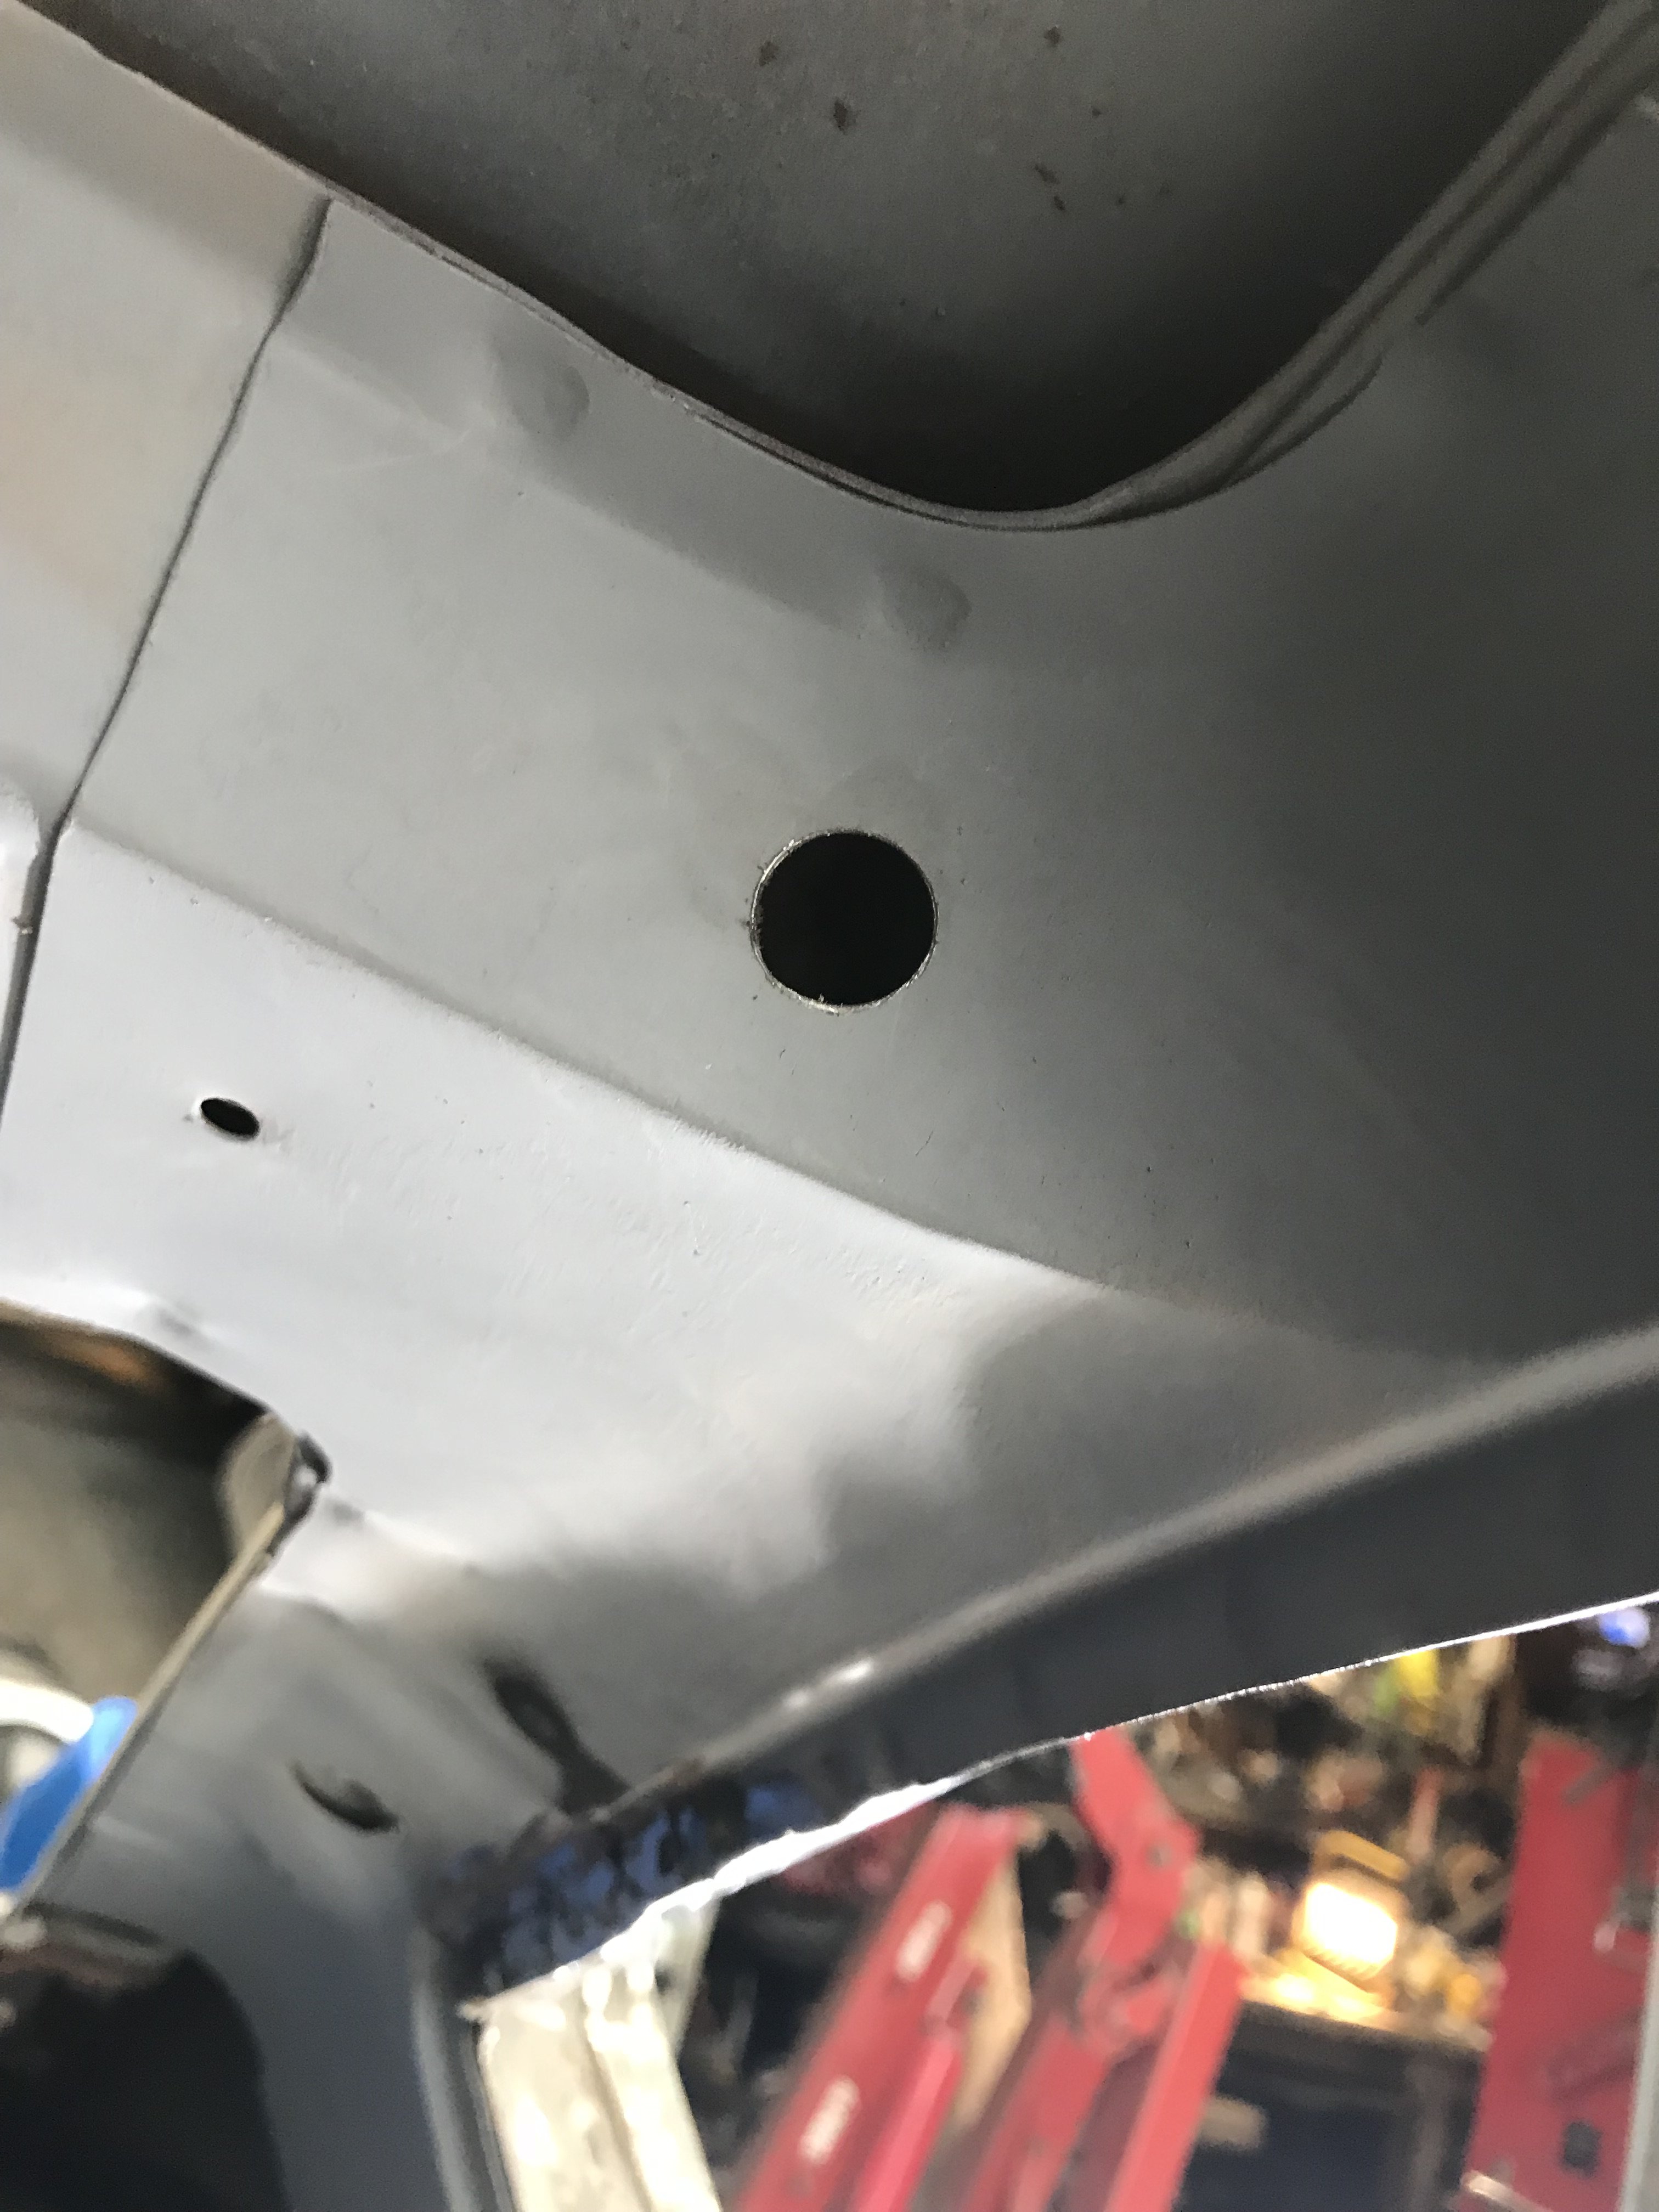
Today was the first day that my Z was turned around in the garage. It has been over 1 year since the restoration started. During that time, I was looking for another 240z or even a parts car. Because of our high humidity and being surrounded by saltwater, the 240Zs that I looked at were real "rust buckets". Only consolation that I have is that nobody here (that I know of) has went through such a complete restoration. The Z finally turned around in my garage. Only the right side of roof, rear panel and right quarter left to strip the paint off. Managed to finished the upper left quarter panel patch. The dip rail was made of 20 gauge metal. urethane seam seal will seal the drip rail after epoxy priming the whole car.Bottom view of patch Interior view of patch For extra protection, I used a 1/2" Blair hole saw to drill rust proofing access holes. A bendable magnet is used to recover the drilled out piece. The 1/2" plastic plug will seal the hole after rust proofing treatment is done. The rustproofing hole is just forwarded of the repaired area. Also, it will allow rust proofing of the hatch hinge area(another corrosion point). More access holes will drilled in potential corrosion areas through out the car. Rust proofing will performed only after final color painting . Thanks again for your praise. Most people do not realize how much work there is for 47 year old vehicle restoration.
-
Heavy Duty frame rails and connectors
toolman replied to toolman's topic in Gen III & IV Chevy V8Z Tech Board
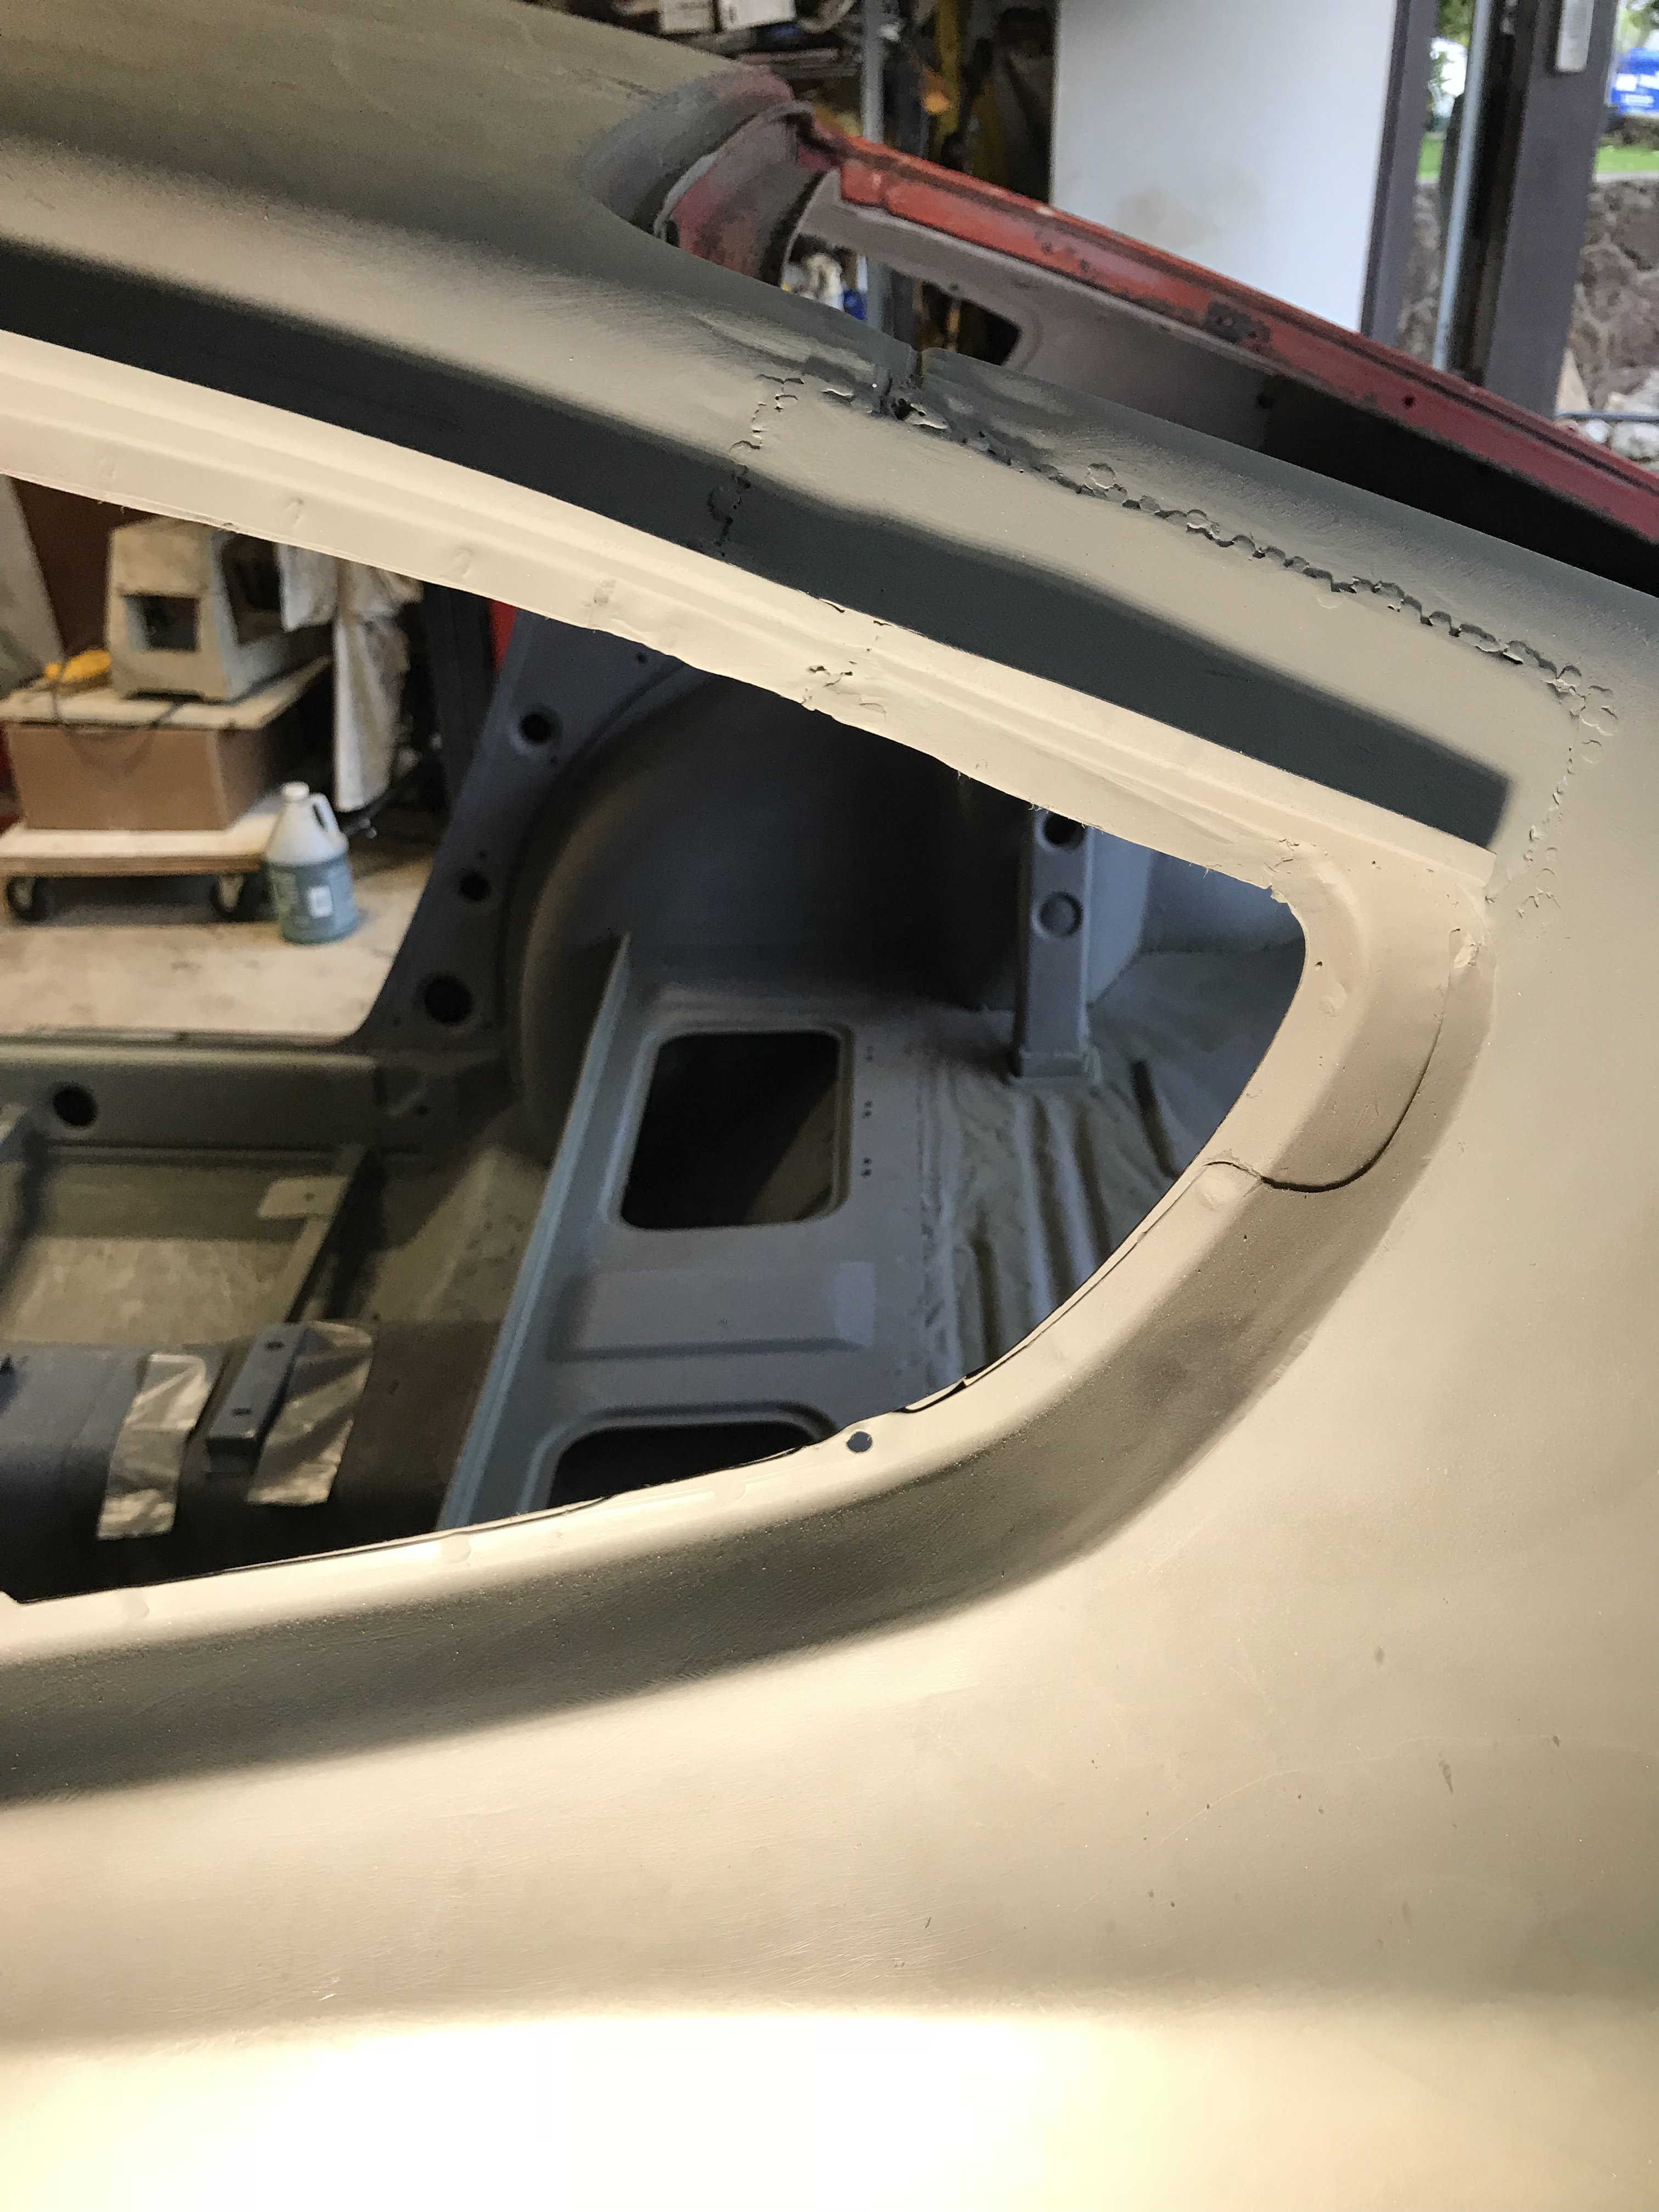
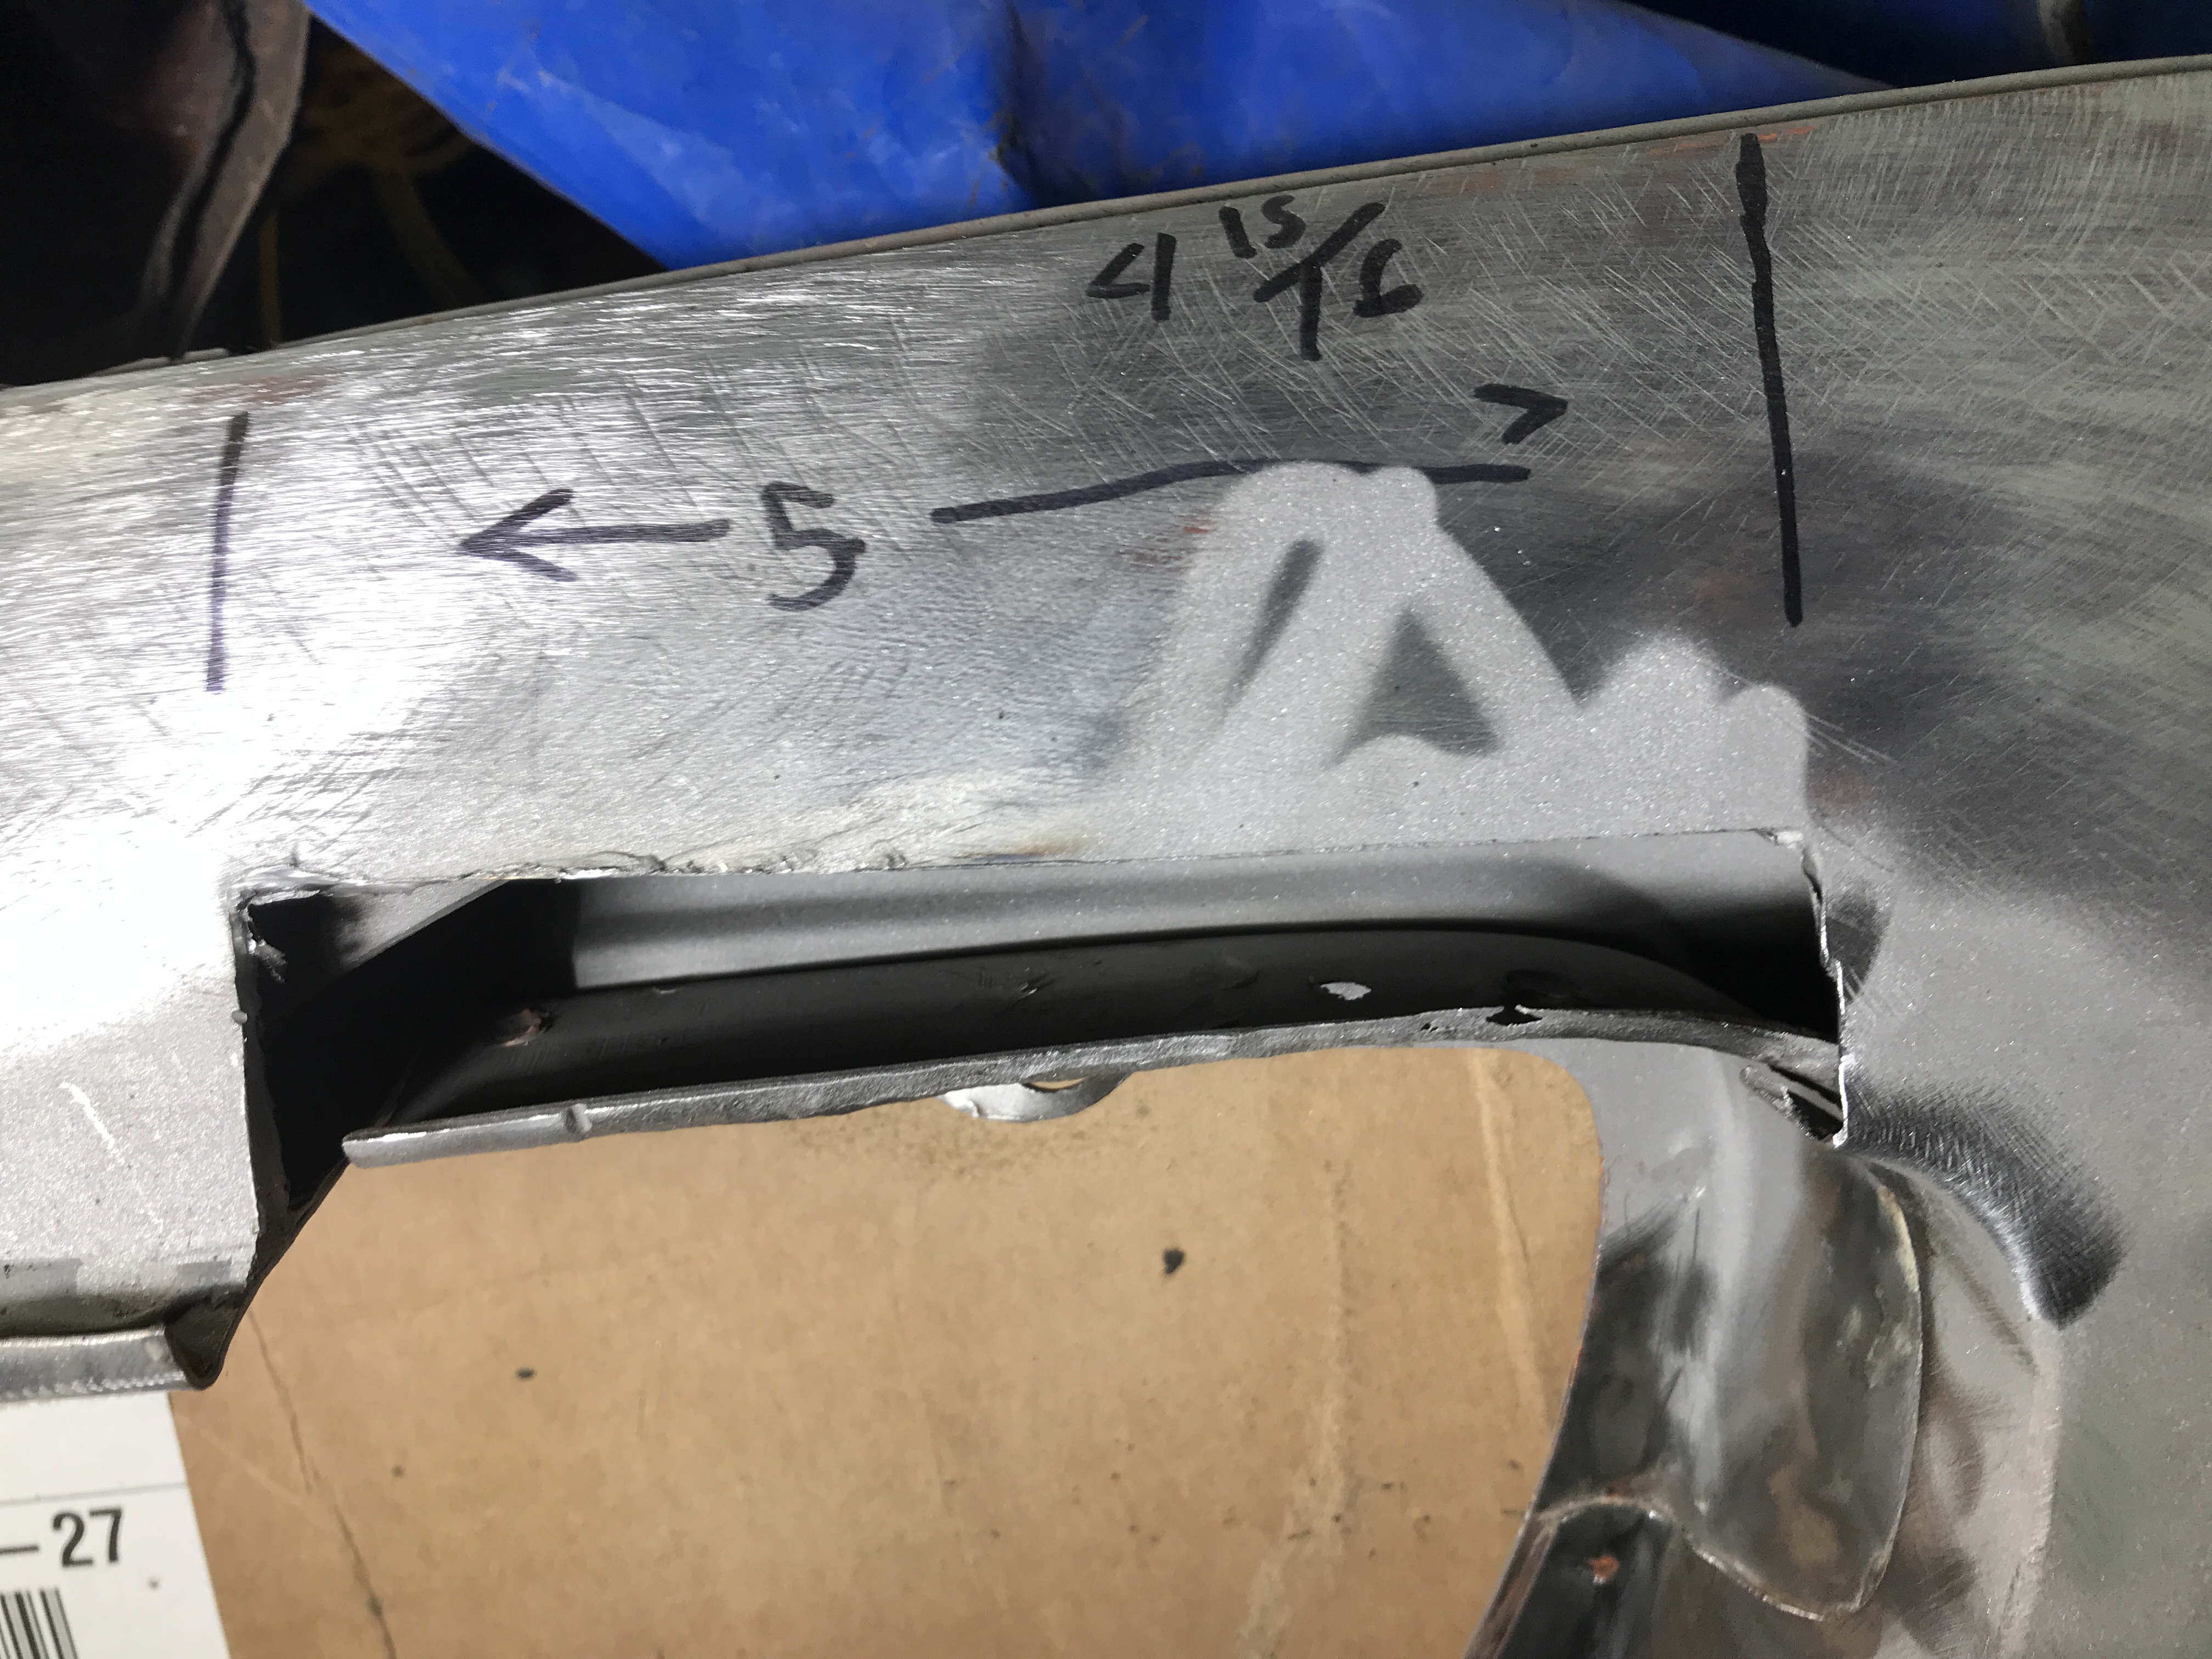
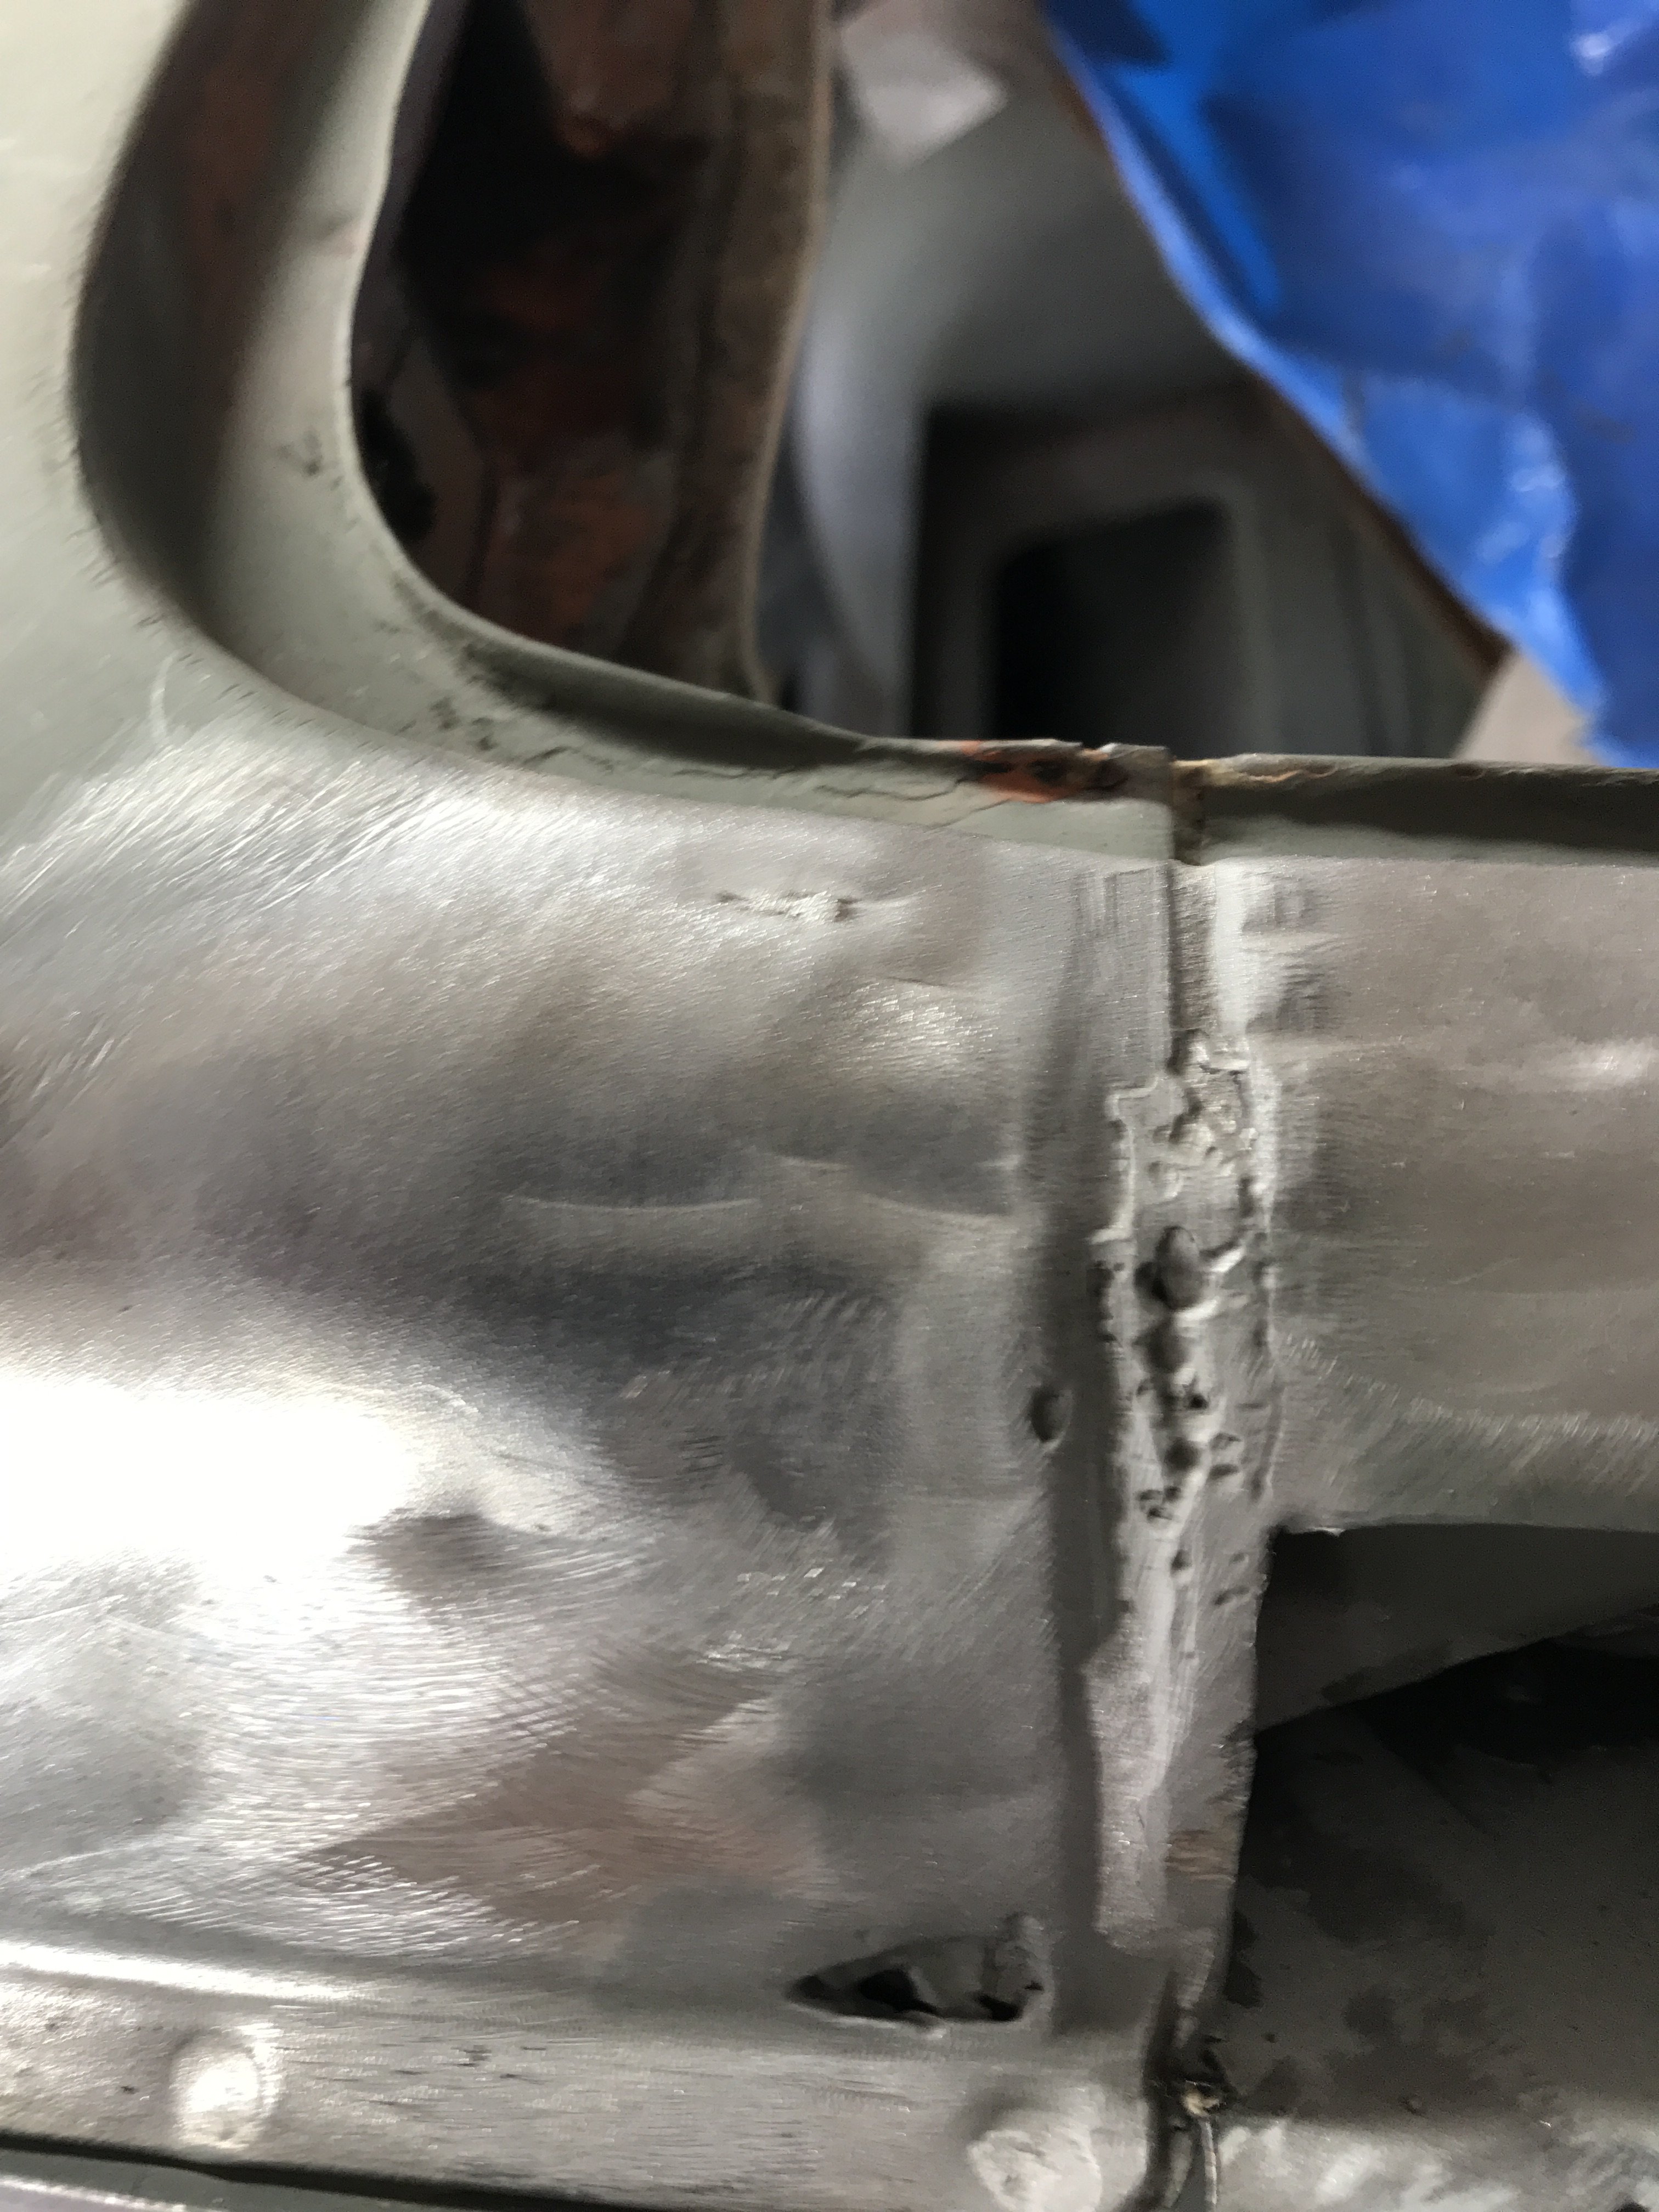
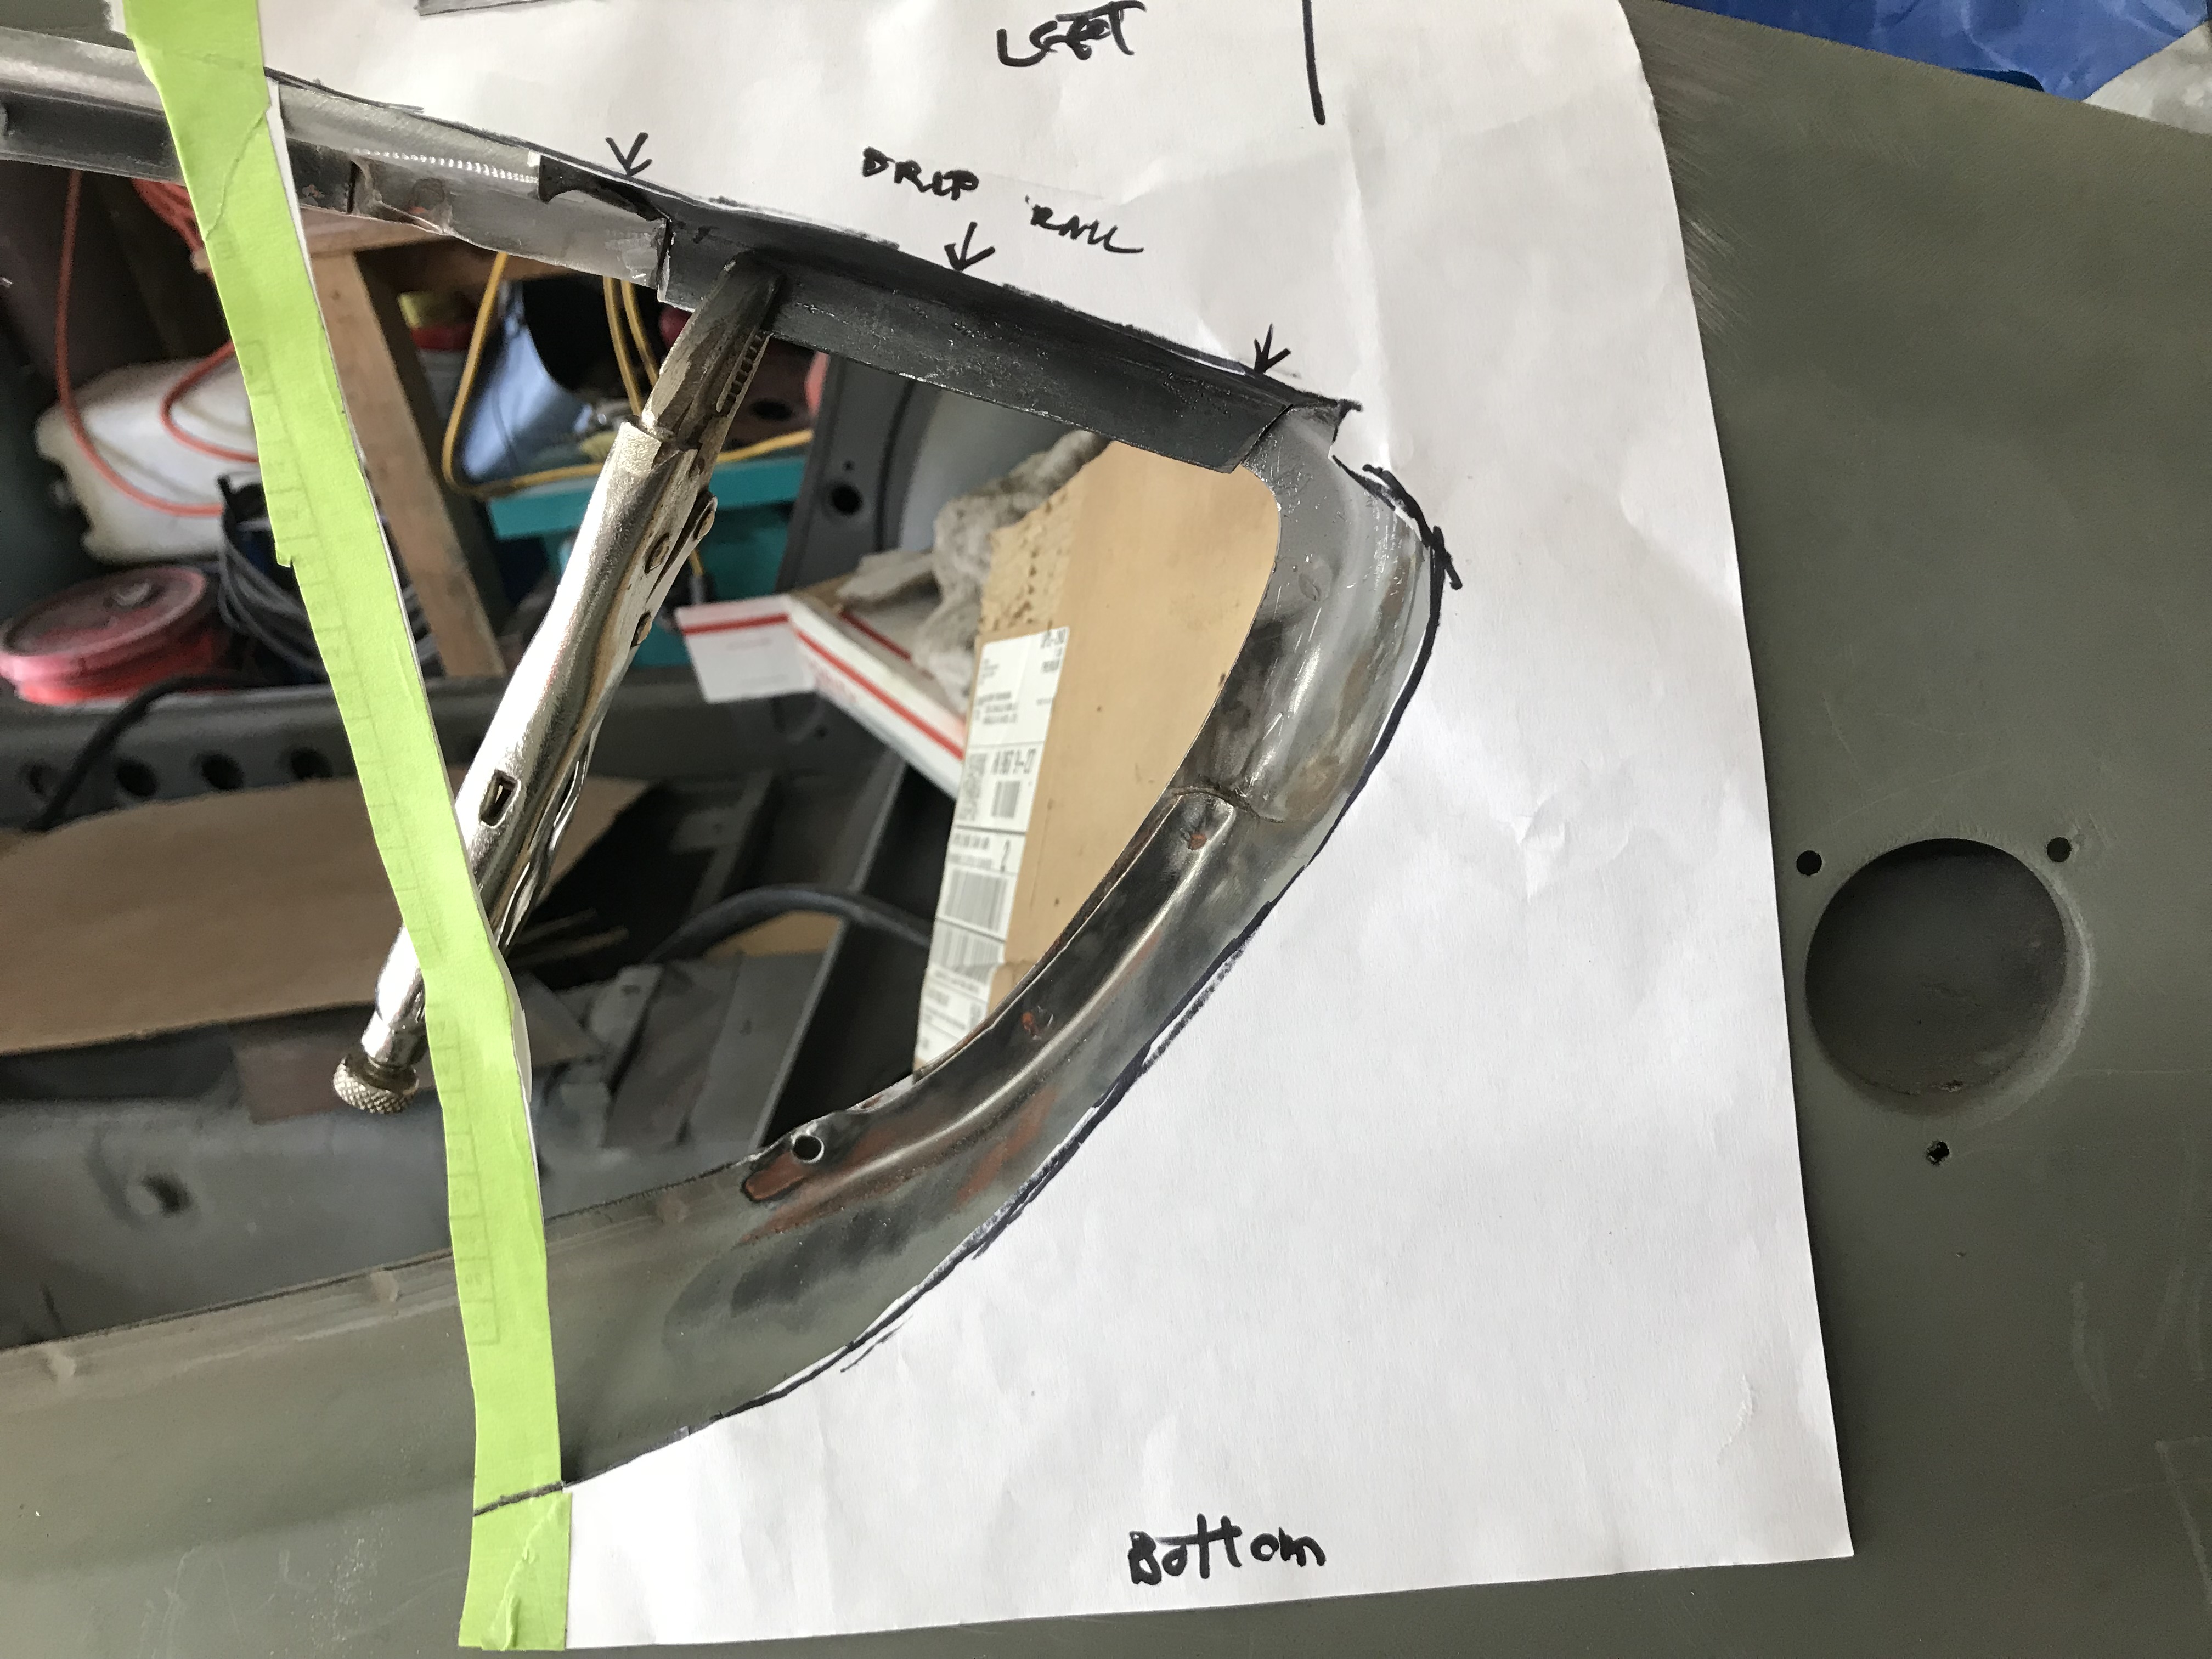
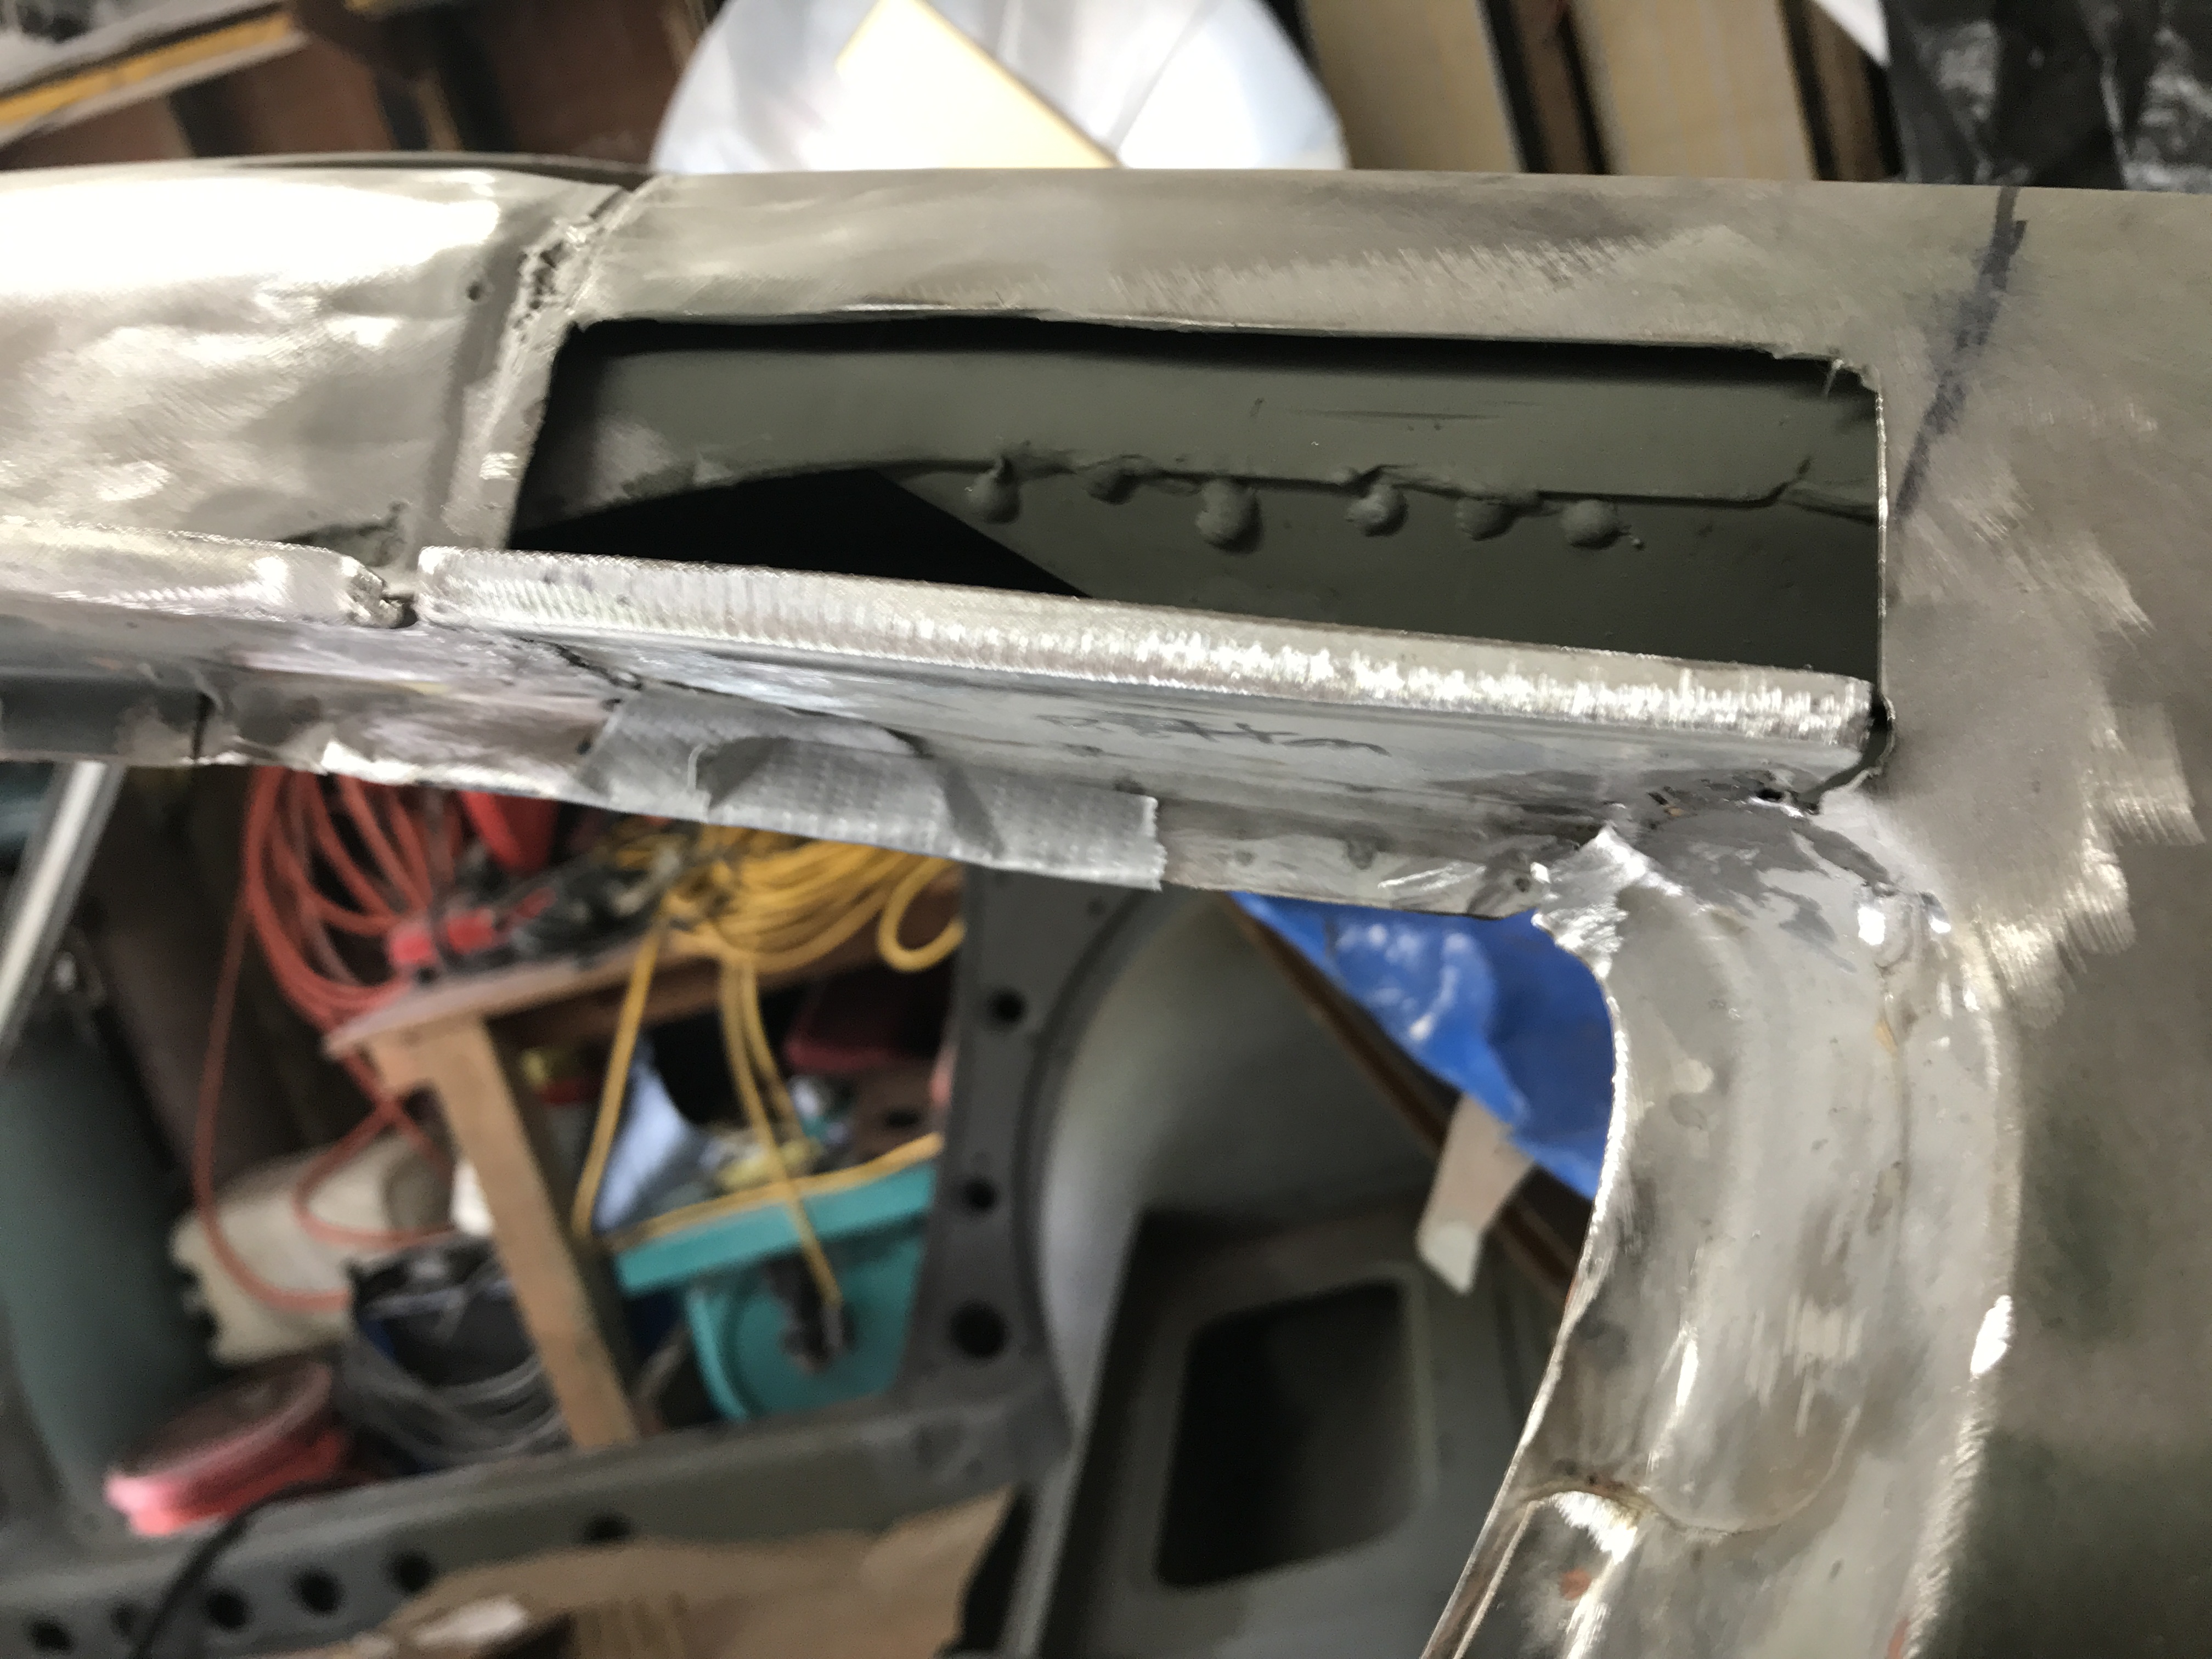
This weekend. I started on the corrosion on the upper section of the right quarter panel. This area was little heavier gauge(about 20 gauge) but had to be removed. The removed area, in this case, was about 5". Just the left of the front cut is the connecting area of the quarter panel and the roof. This joint was welded then lead soldered at the factory.All of the lead solder must be removed before work can be done. When this car was manufactured, using lead for the roof joints was common practice( even on US made cars). A template was made to provide reference points when reconstructing this area. In this case, the template was copied from the opposite (right side) and image reversed. The drip rail patch was constructed using several paper templates. Note: both front and rear ends of the patch have extra material to allow welding to original metal. If you notice that I marked directions on my work, it is because it is easy to get confused and place the patch the wrong way. The lower portion of the patch welded the body. Note: The drip rail is made taller and will be grinded down after everything is completed. The seams in the interior of the patched area were tack welded to increase strength. Then painted with welding primer.
-
Heavy Duty frame rails and connectors
toolman replied to toolman's topic in Gen III & IV Chevy V8Z Tech Board
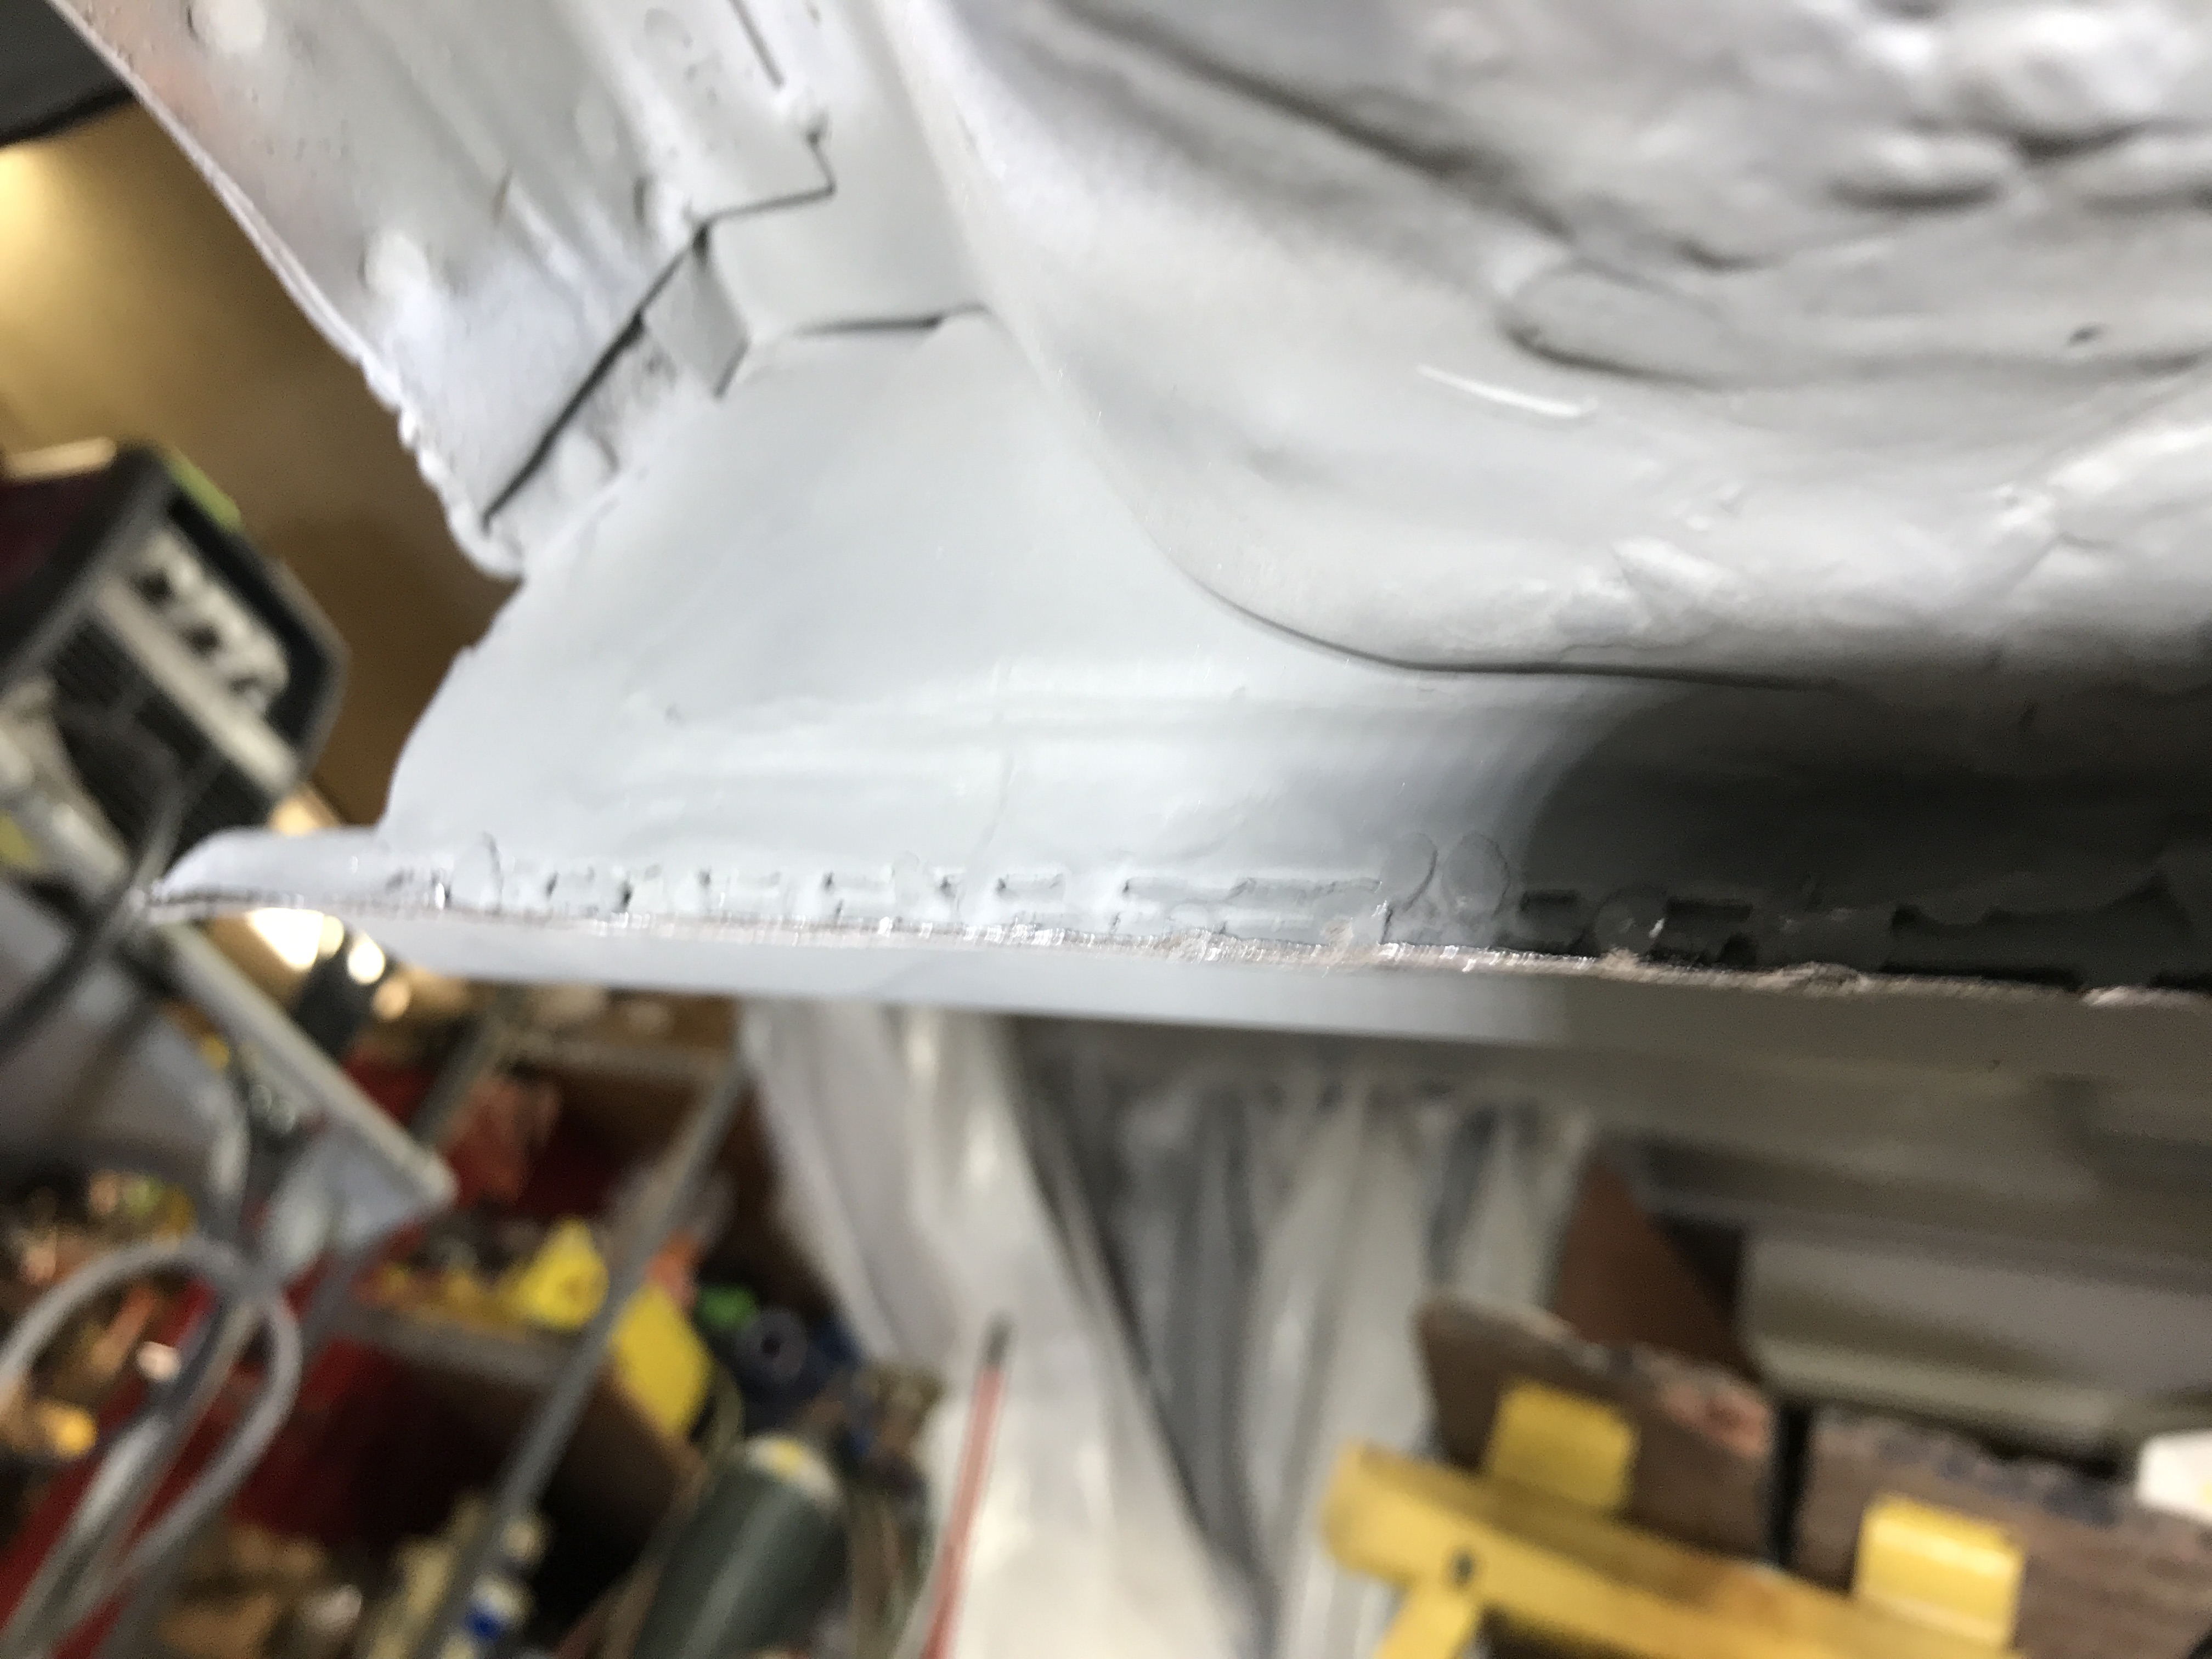
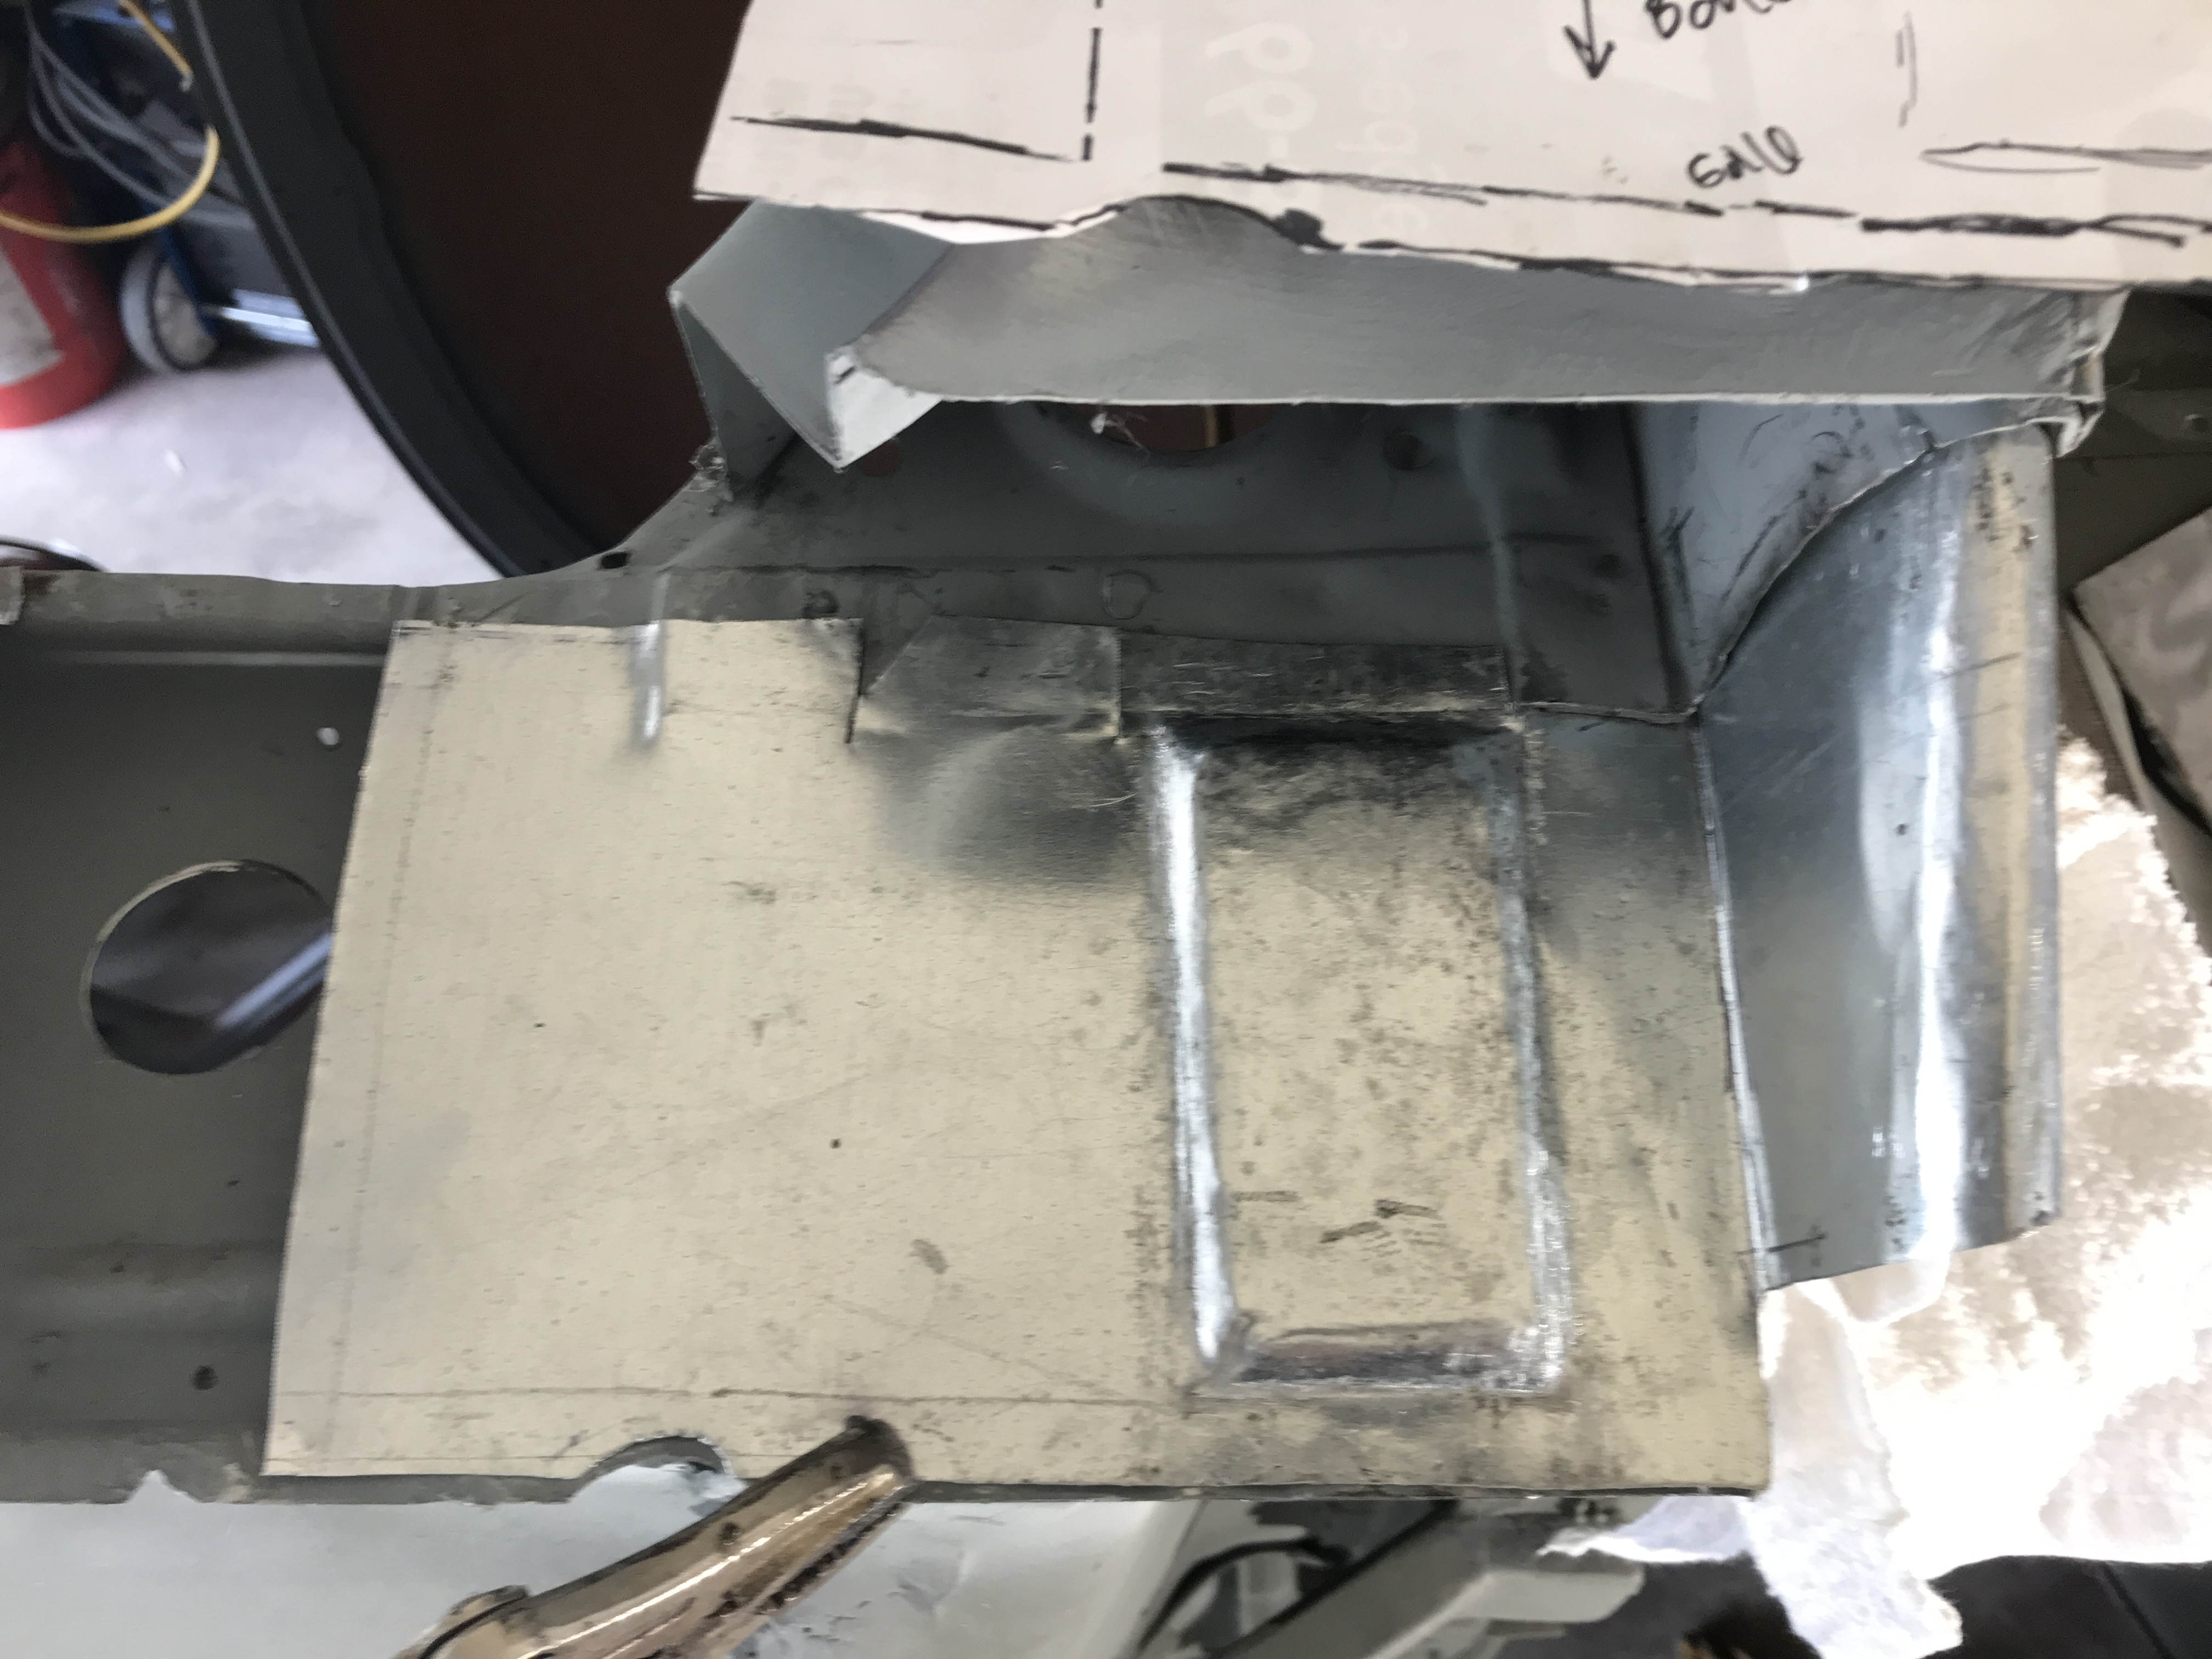
Managed to get in three hours to work on the Z. I installed the dog leg panel from ZDepot. Photo of underside of the dog leg panel.
-
Heavy Duty frame rails and connectors
toolman replied to toolman's topic in Gen III & IV Chevy V8Z Tech Board
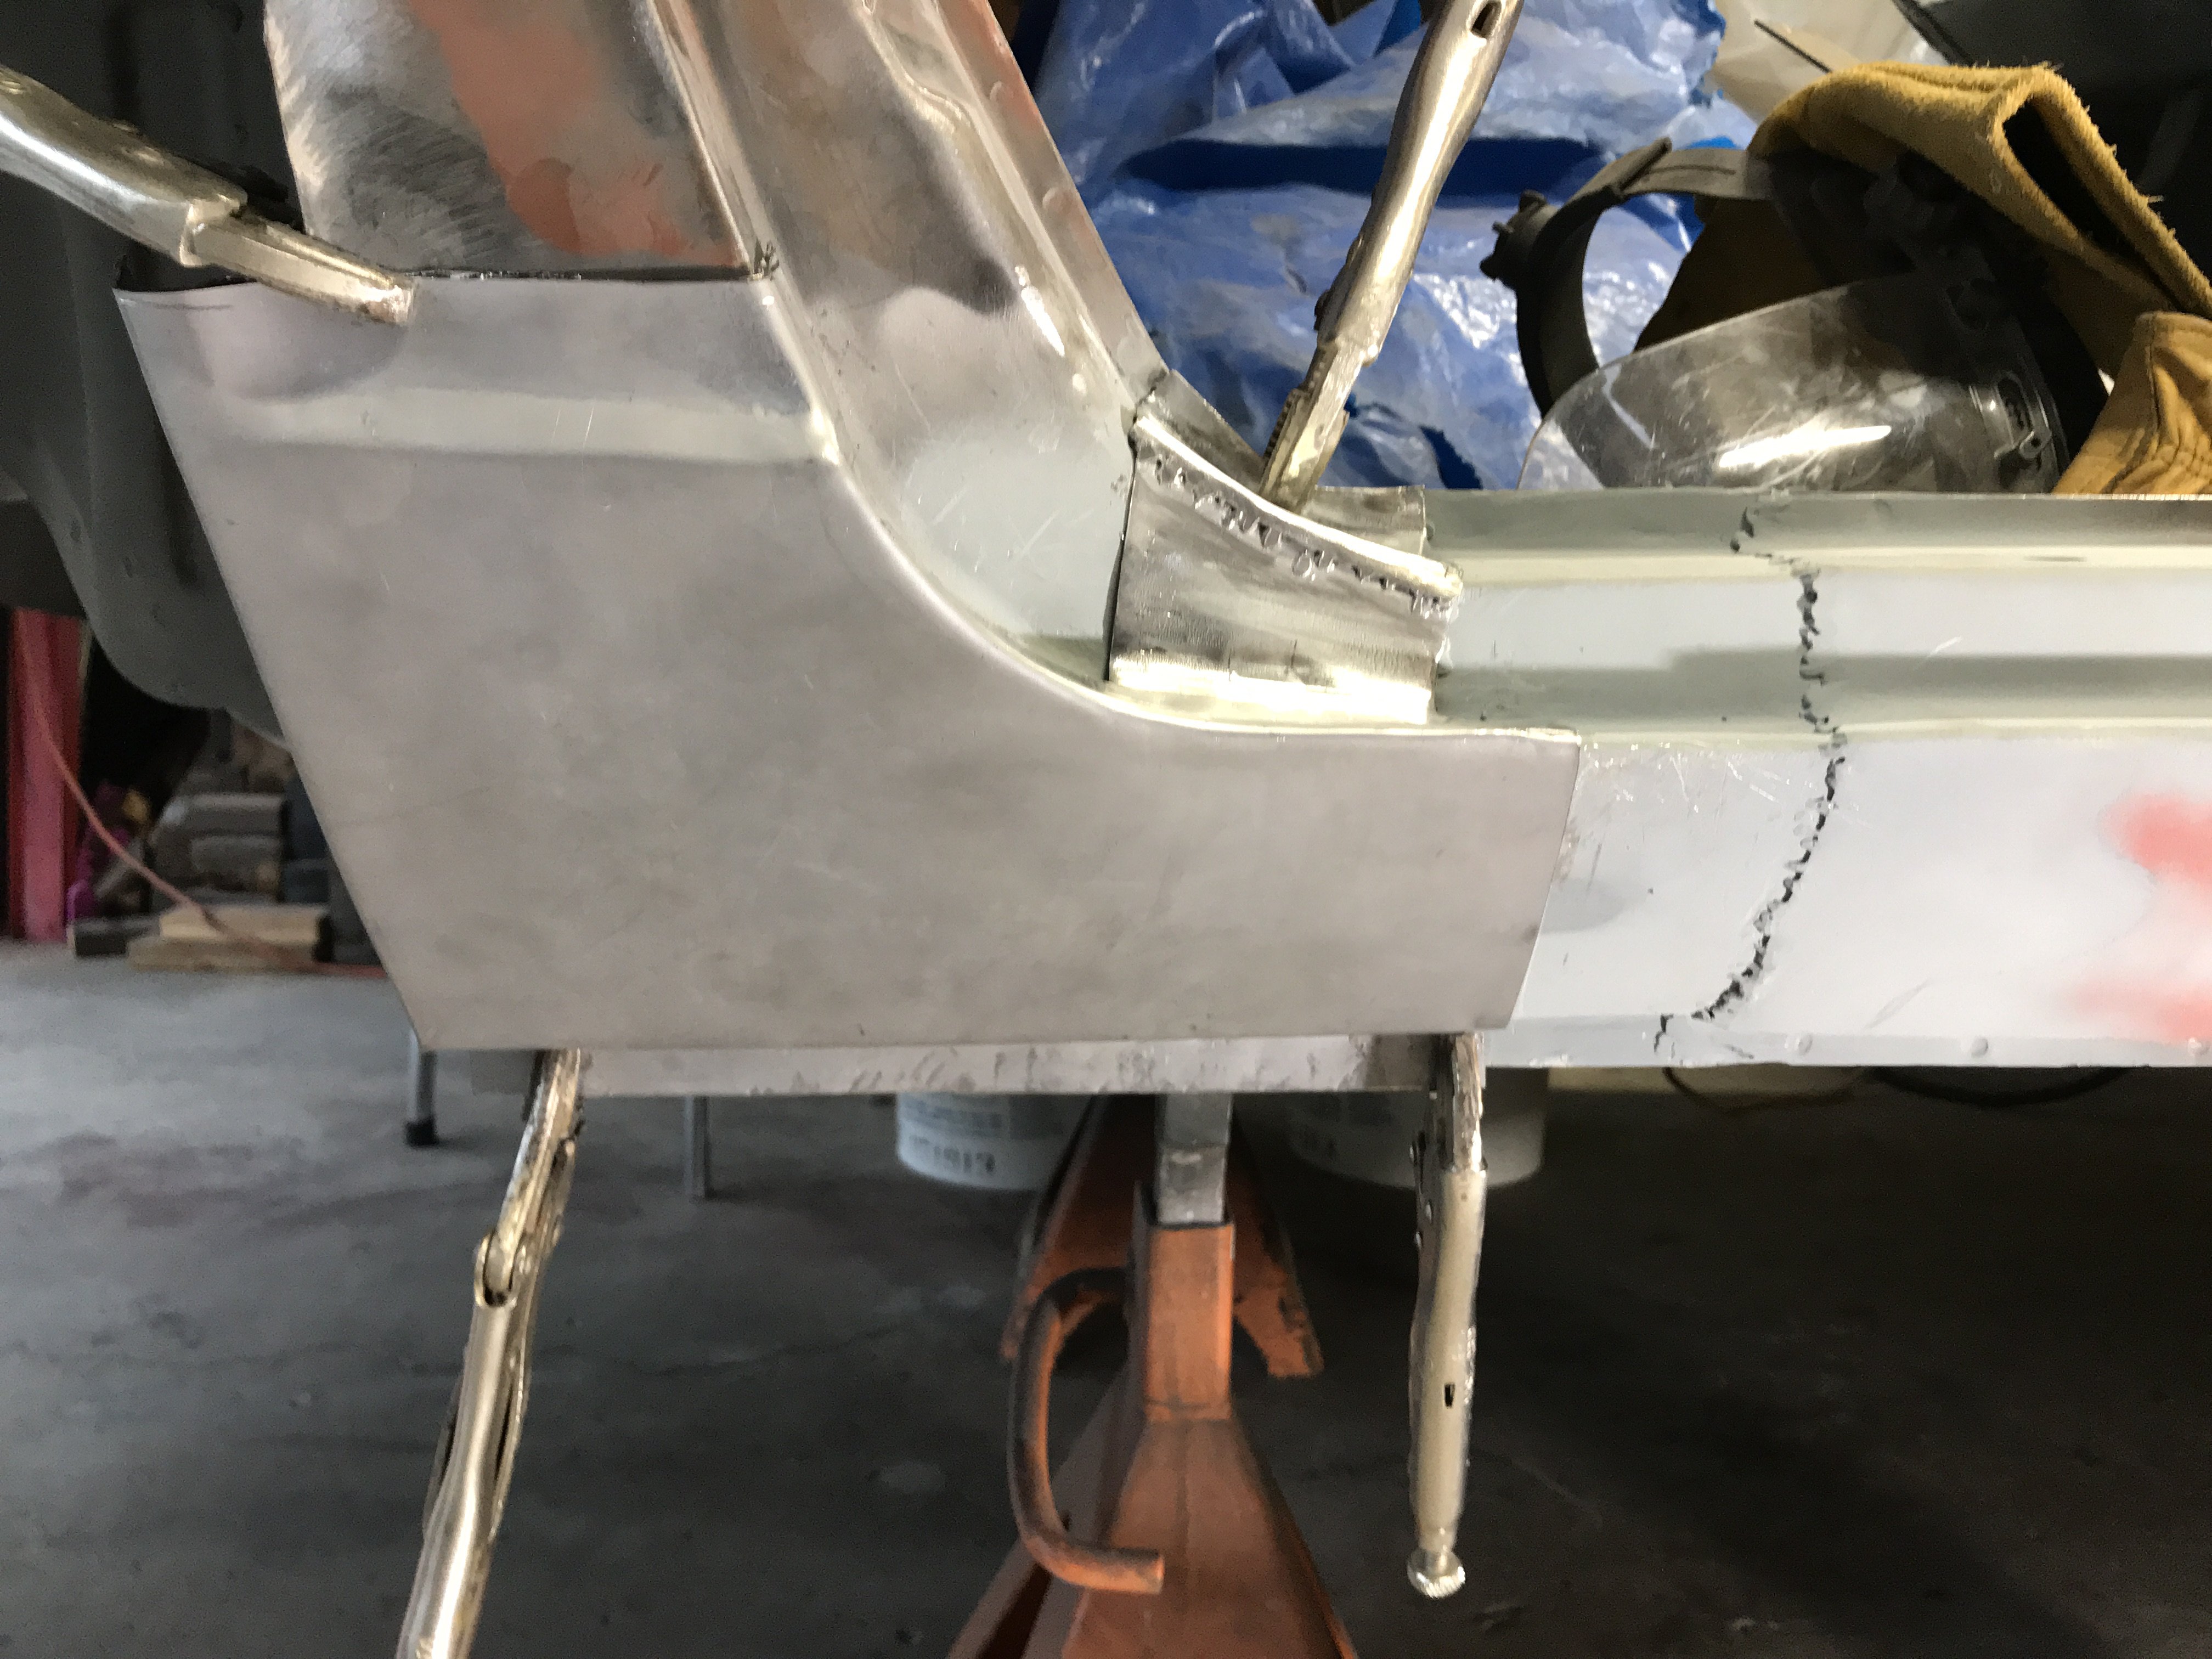
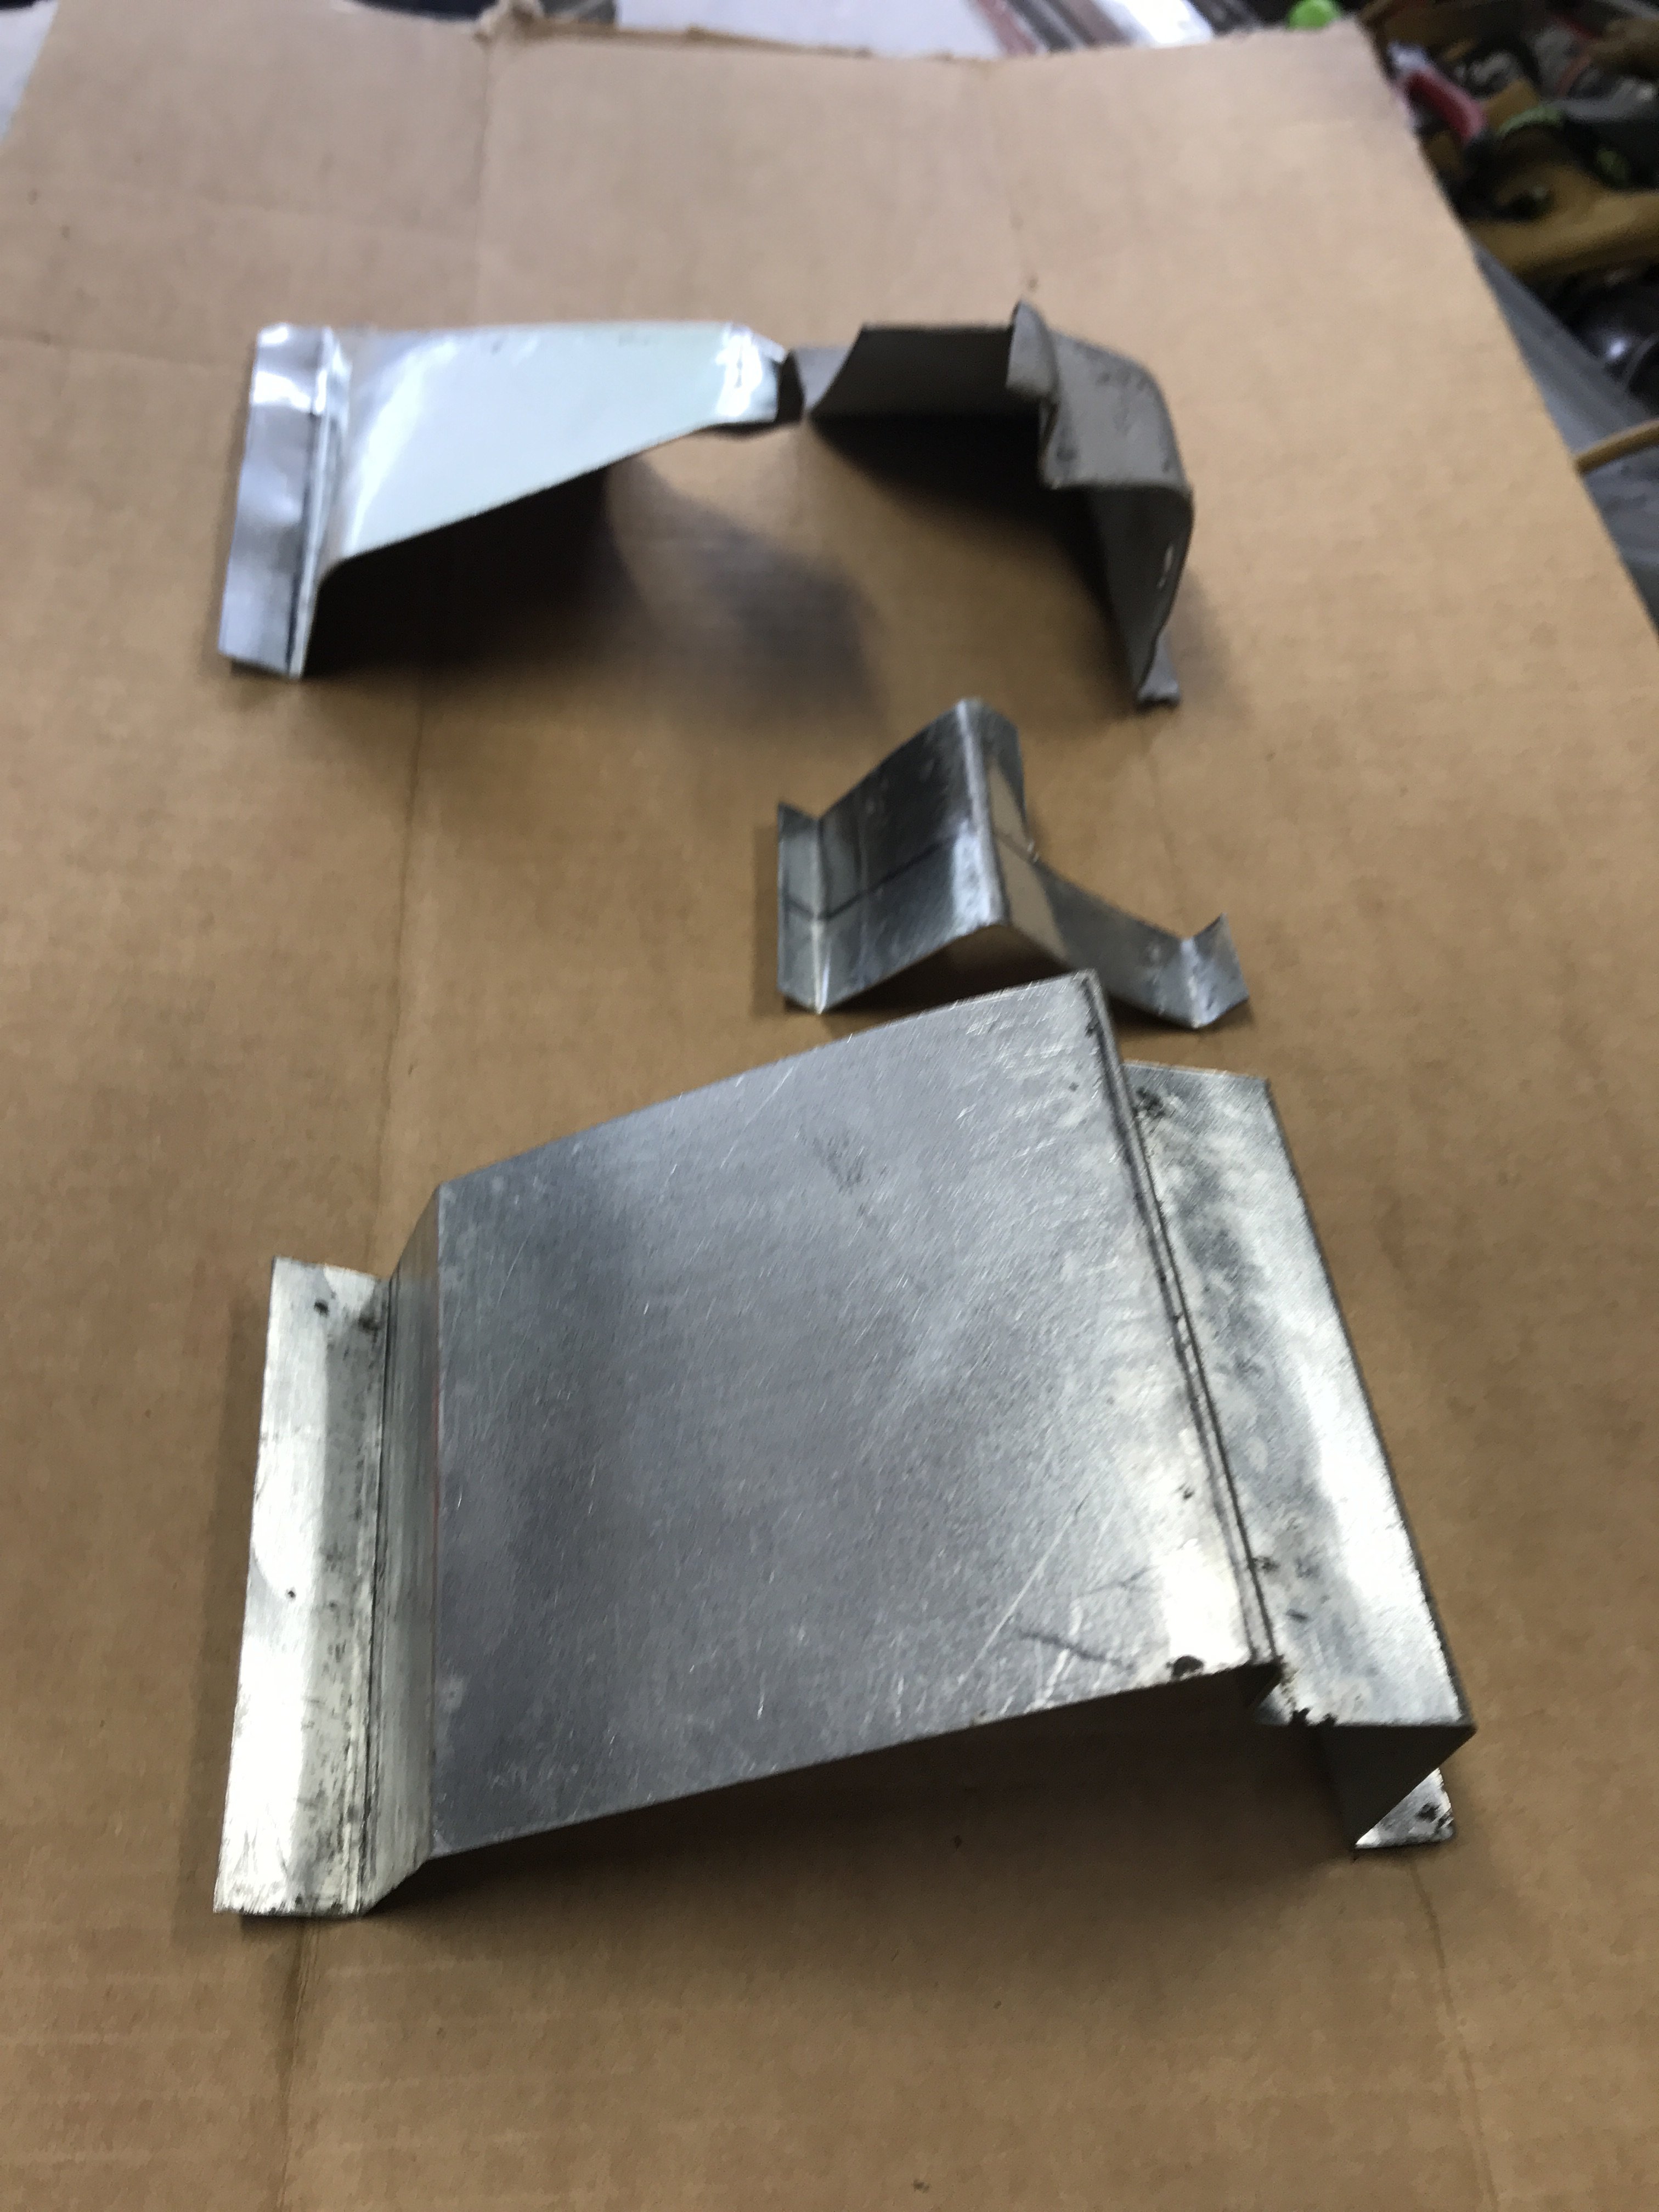
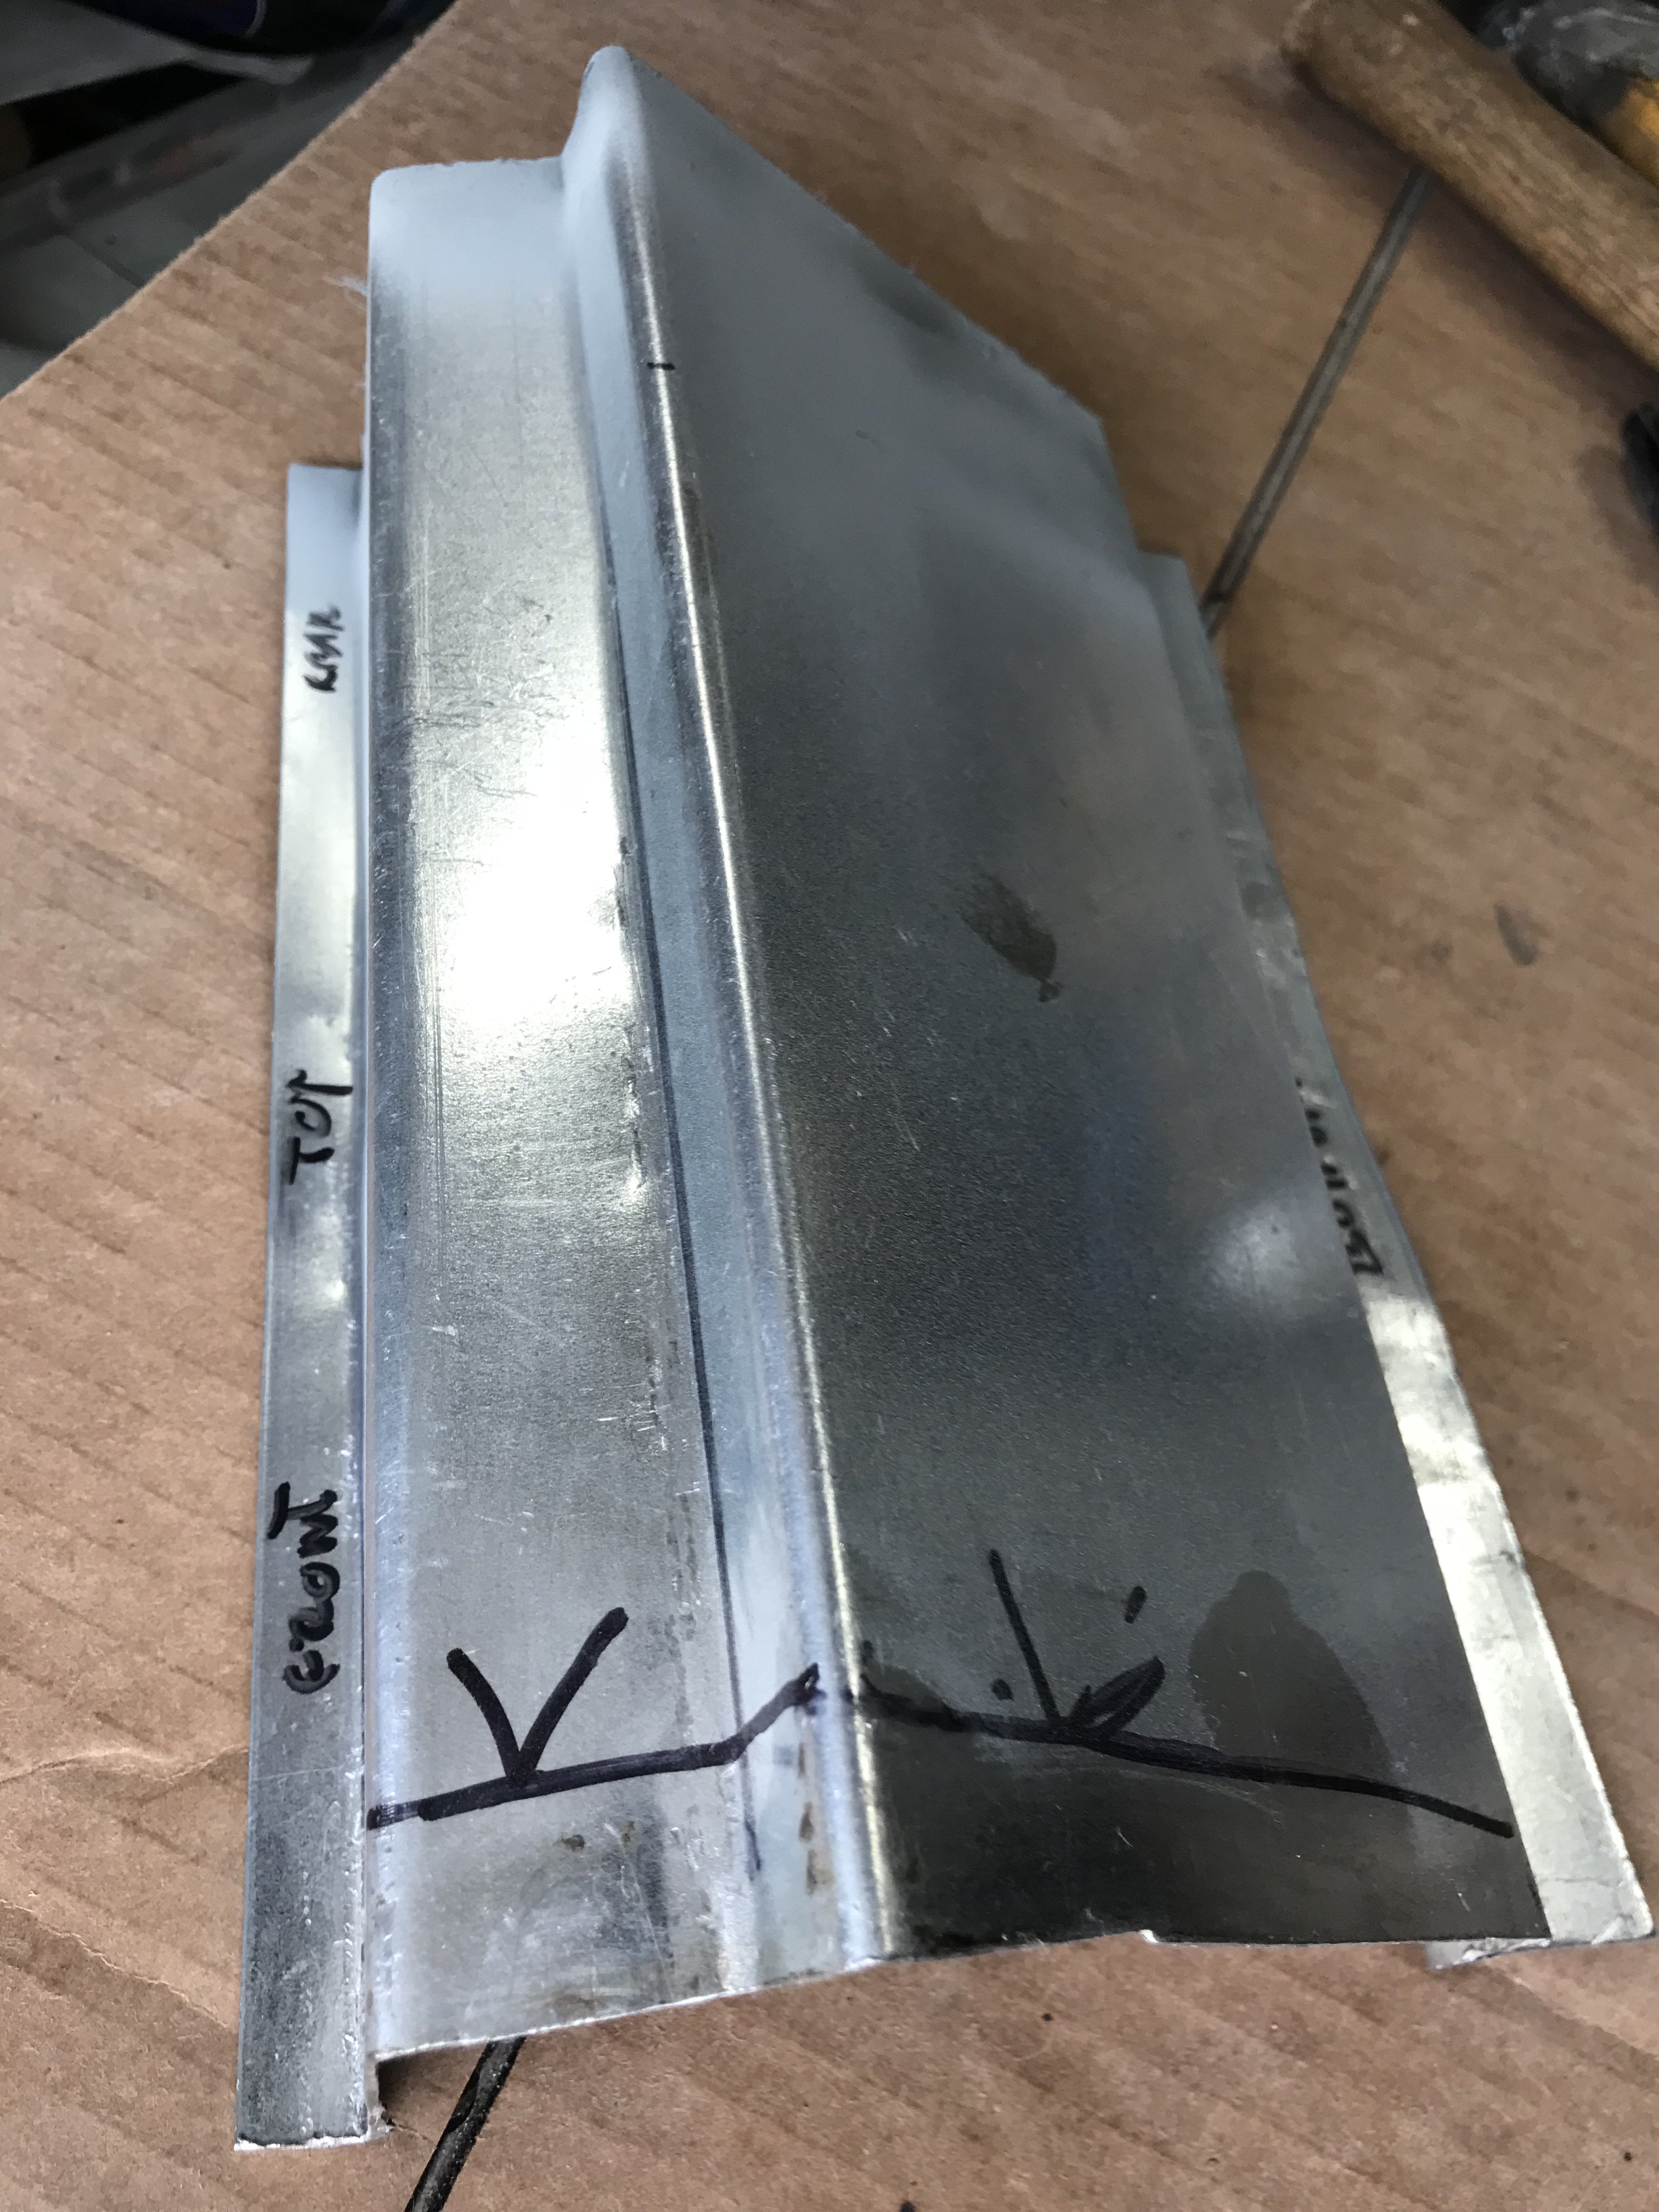
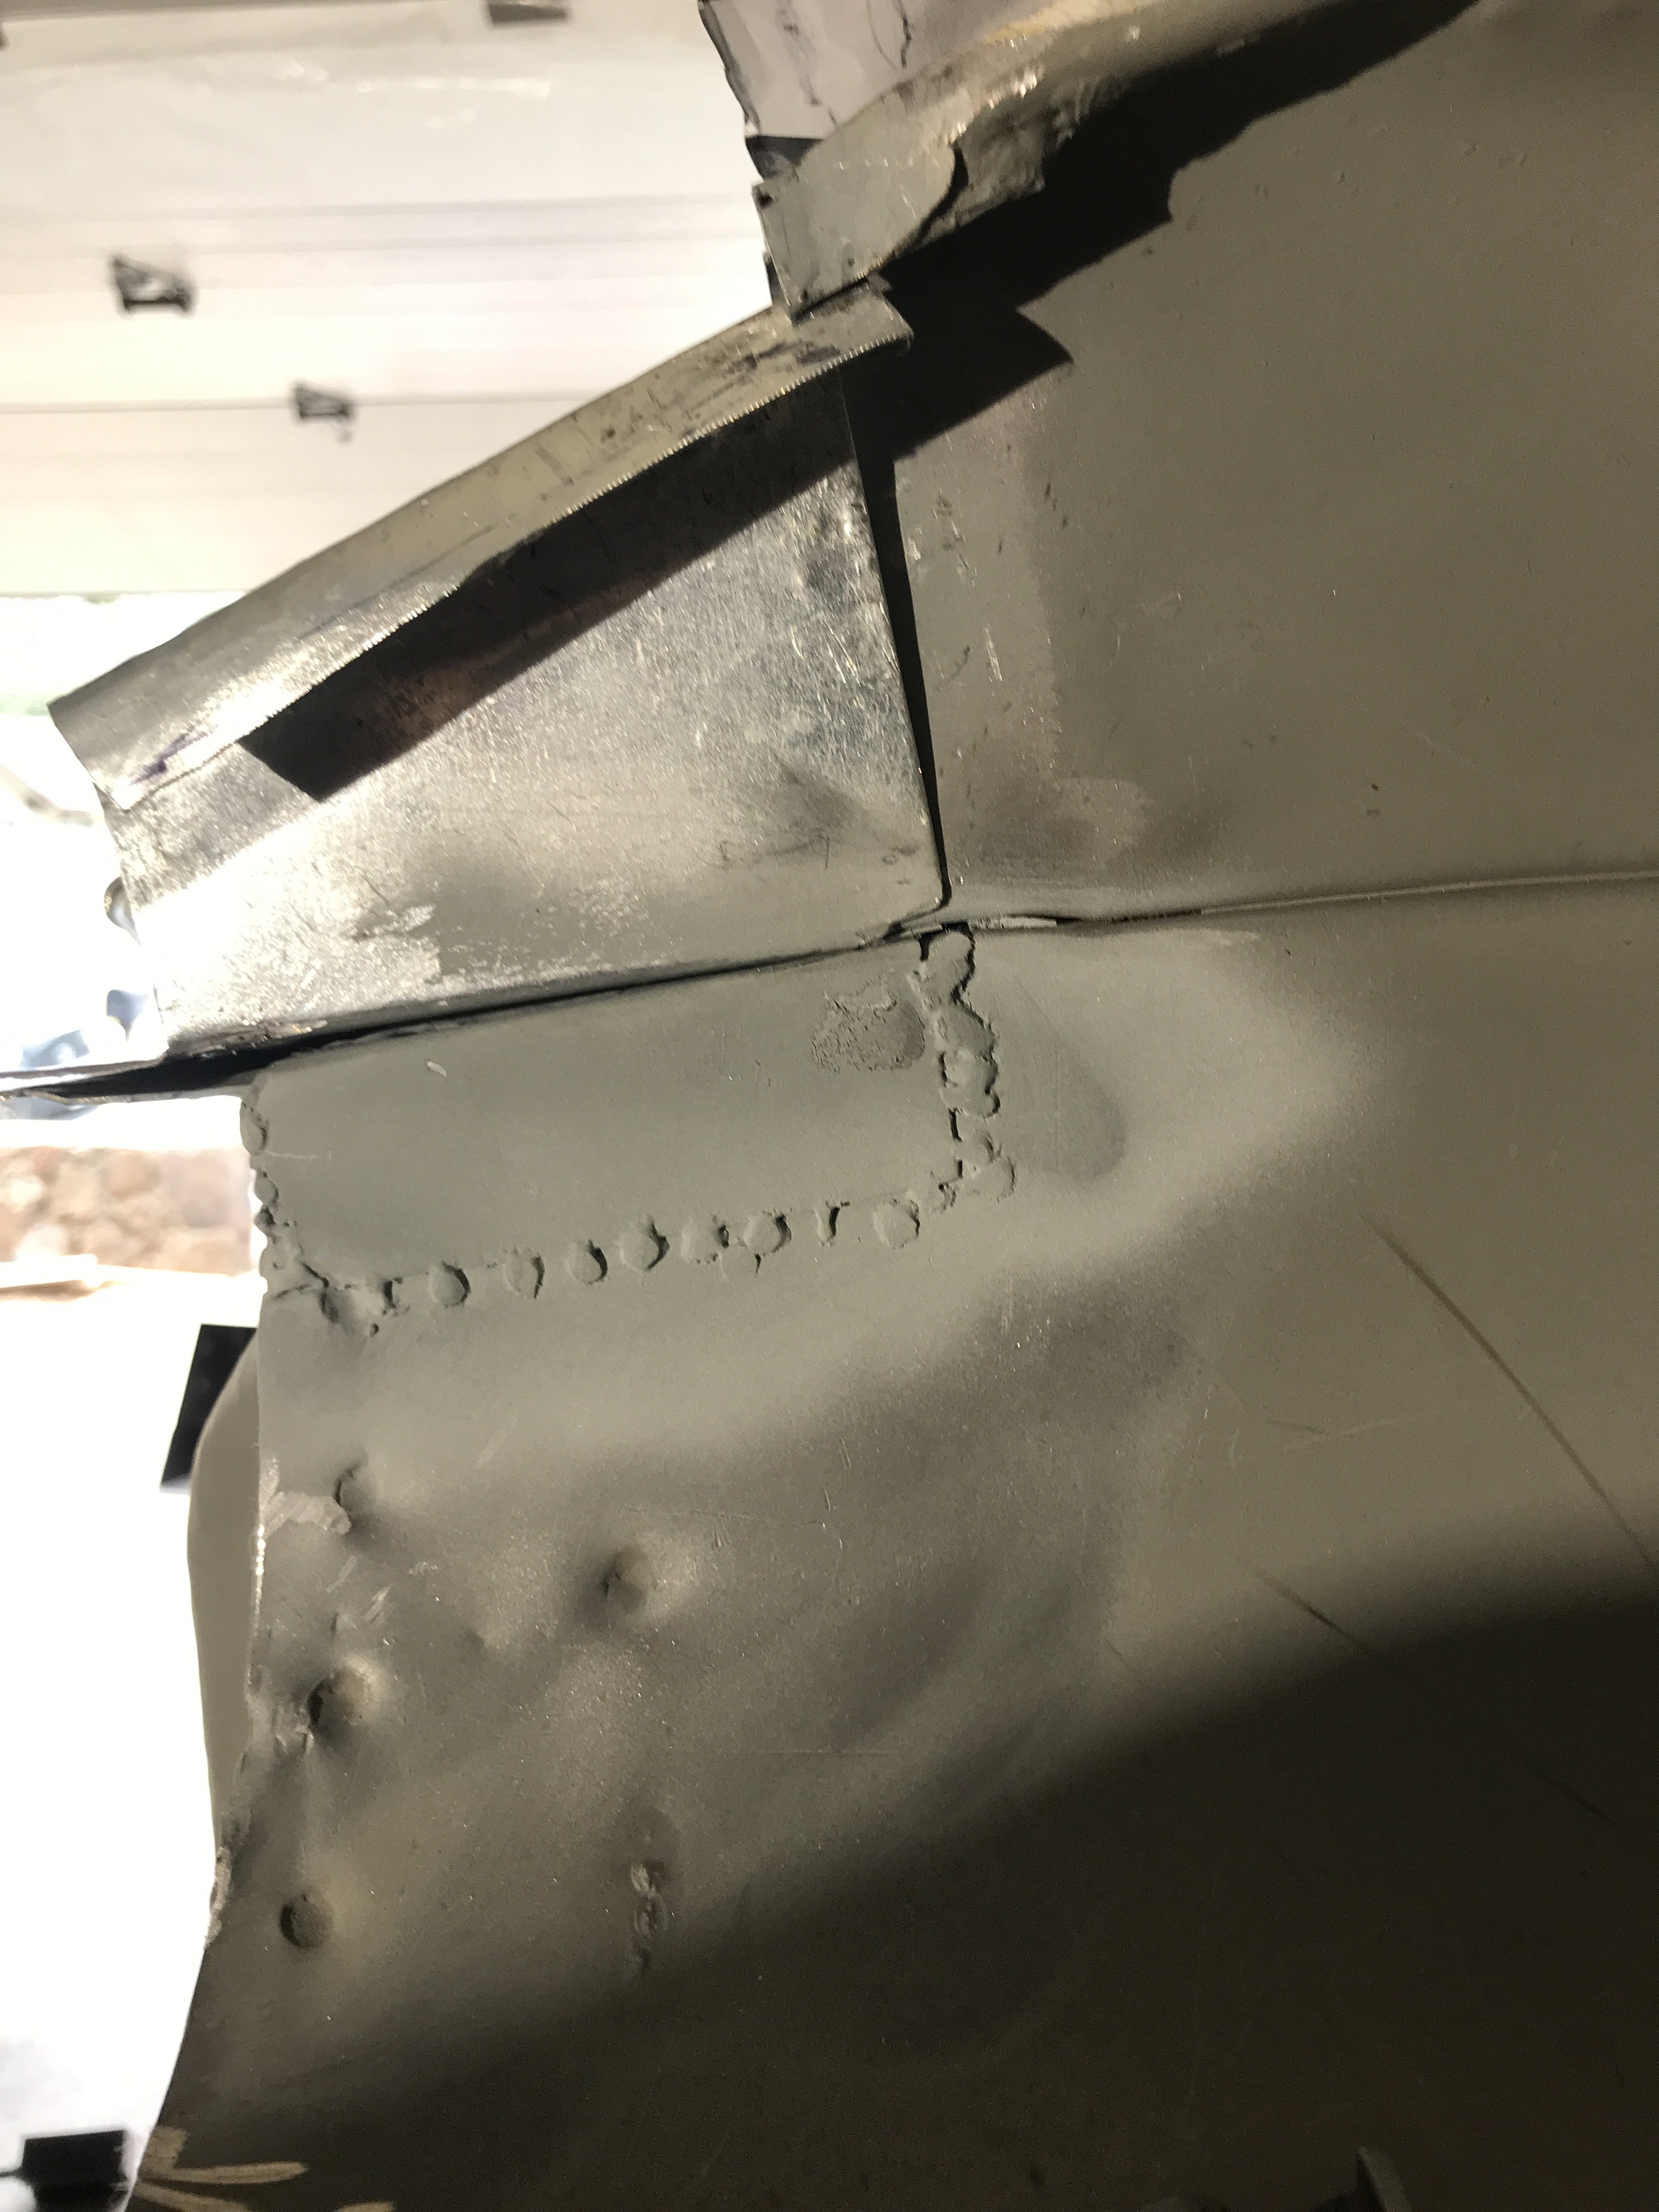
I almost made a mistake. When I was watching a video of 240z replacement of its rocker panel, I realized that my rocker panel had to be longer. So I constructed a new longer rocker panel section. This is a photo of what I can up with. Basically it is just longer than the old one. But the new rocker also had to be "capped" at the rear. Interior view of the new rocker panel. This pics shows the rocker panel welded in place. Now, templates were made to construct front upper and side step for the dog leg. This required three separate metal pieces to make this complex shape. Used a oxygen/acetylene torch with 1/16" steel rod as the metal was so thin. The finished front upper section of the door leg( three separate pieces of sheet metal welded together). The welded section was then welded to original dog leg and then painted with welding primer.
-
Heavy Duty frame rails and connectors
toolman replied to toolman's topic in Gen III & IV Chevy V8Z Tech Board
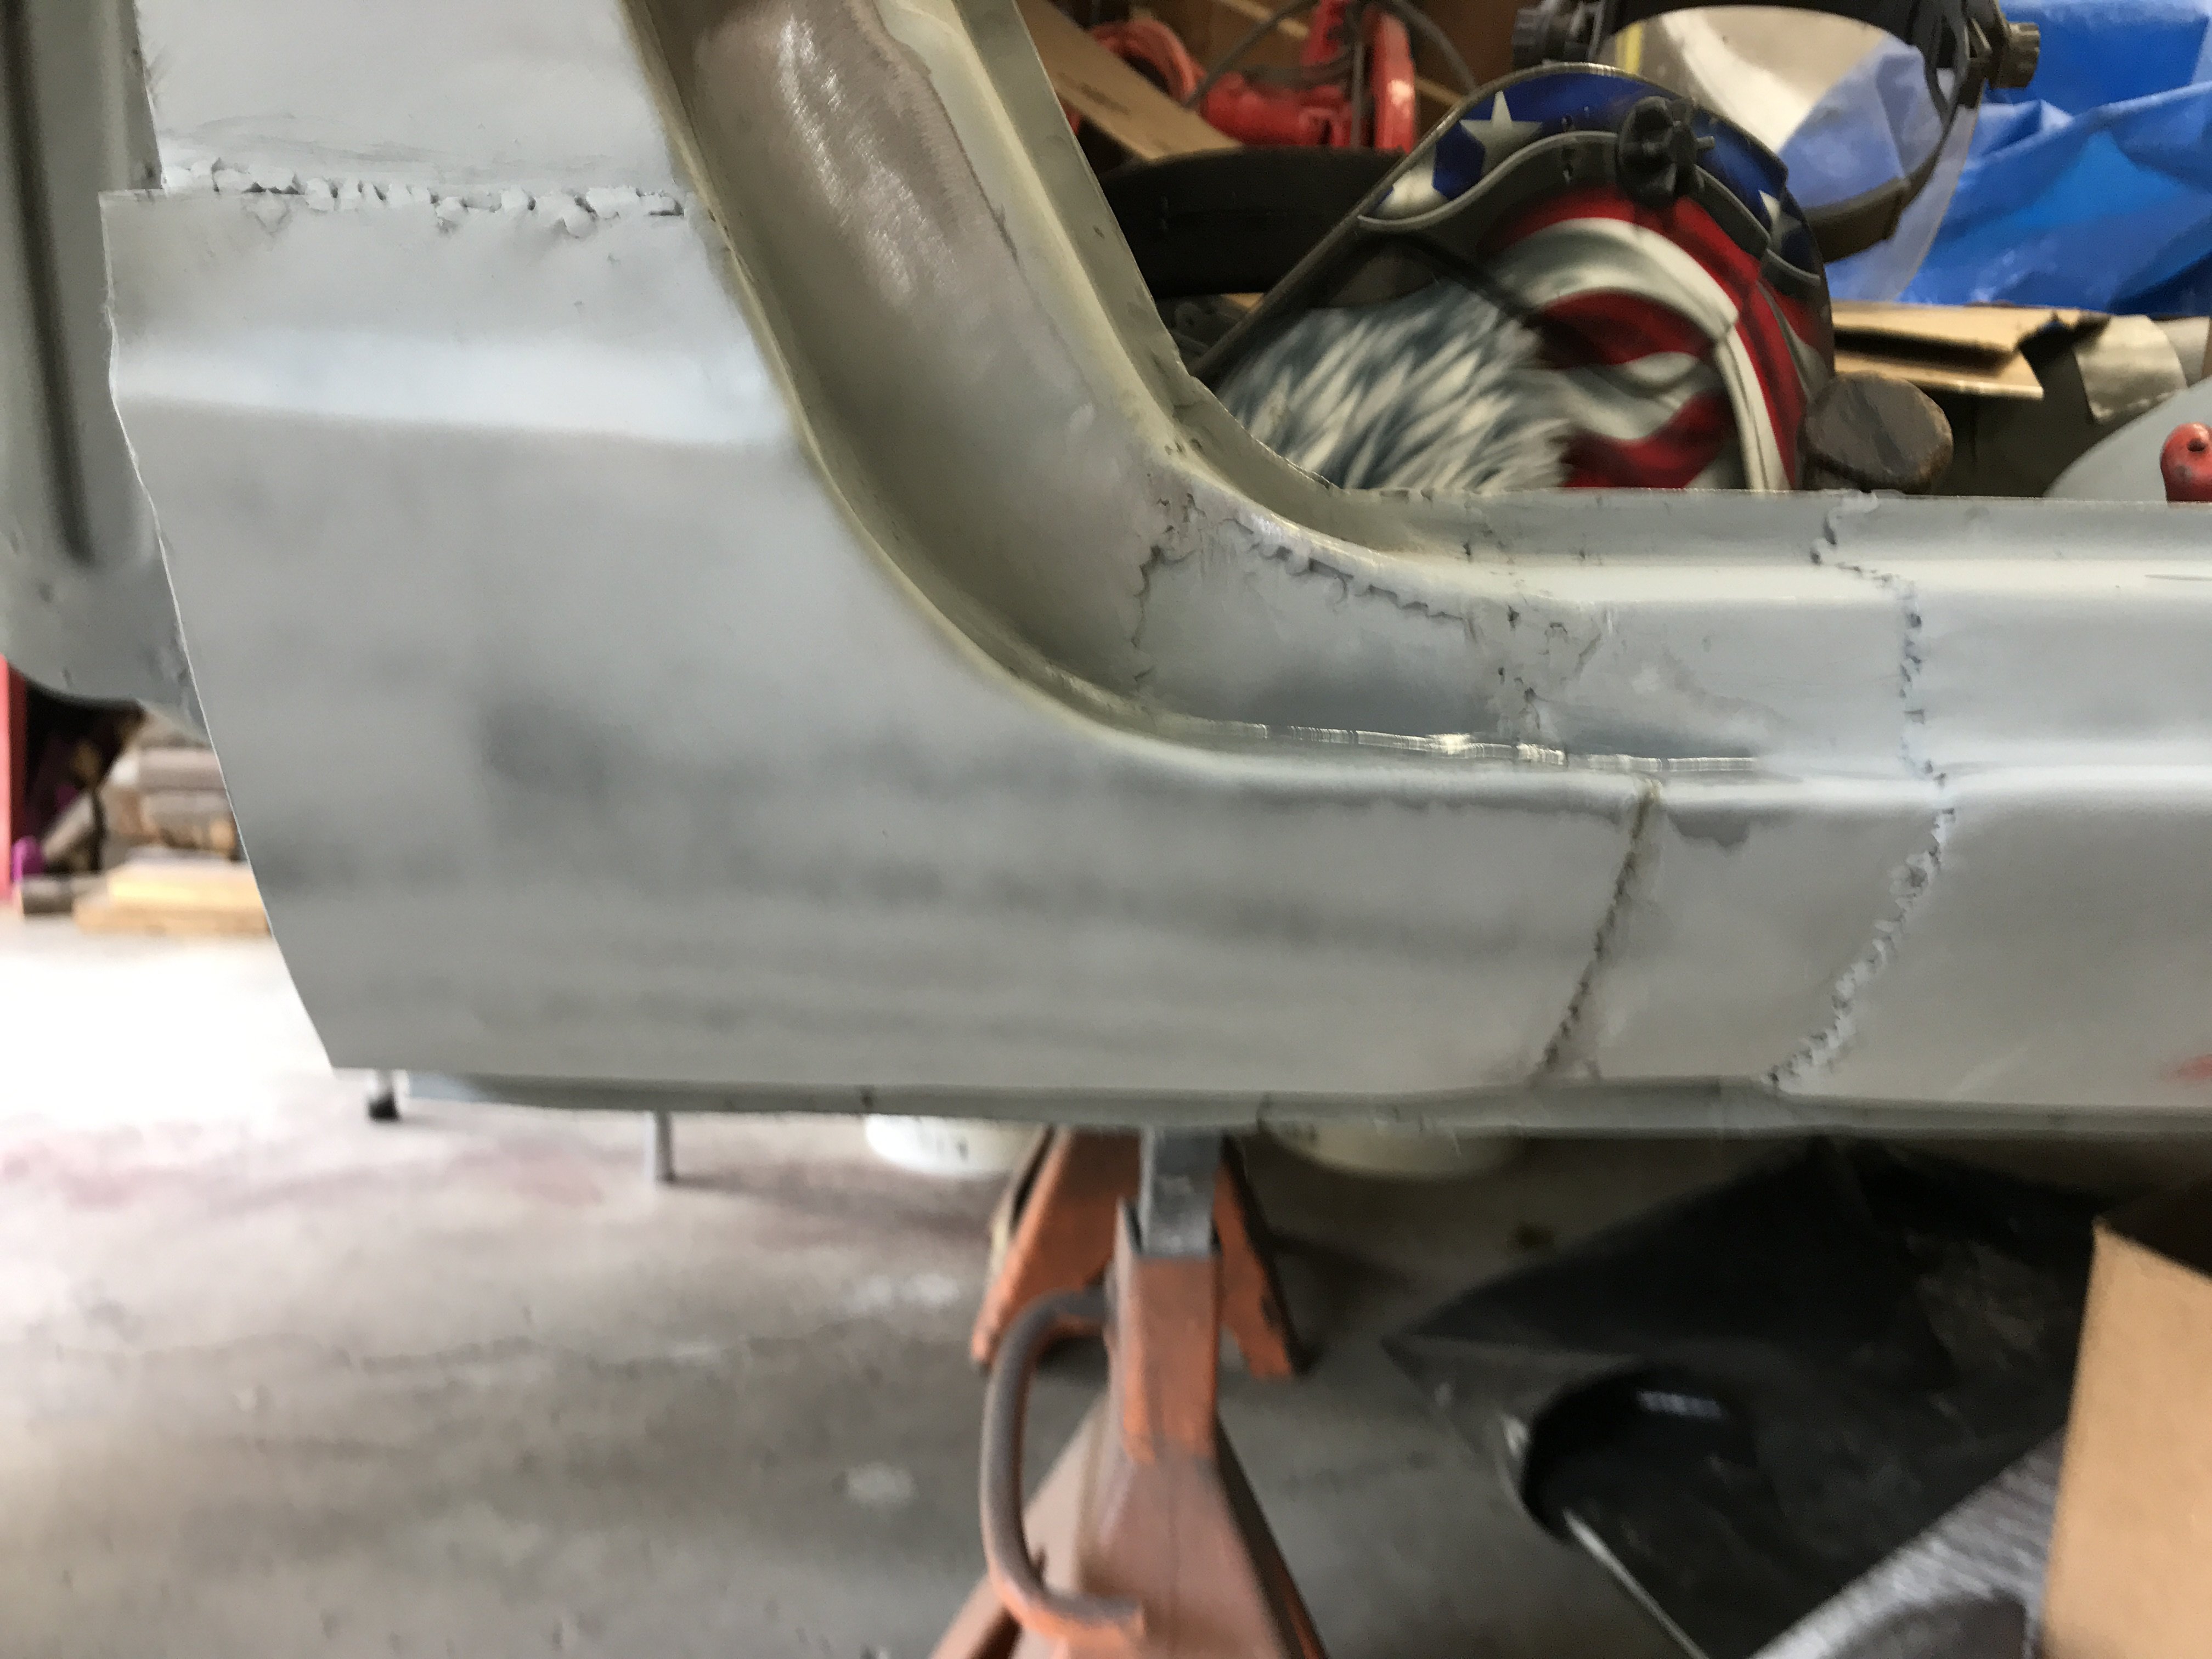
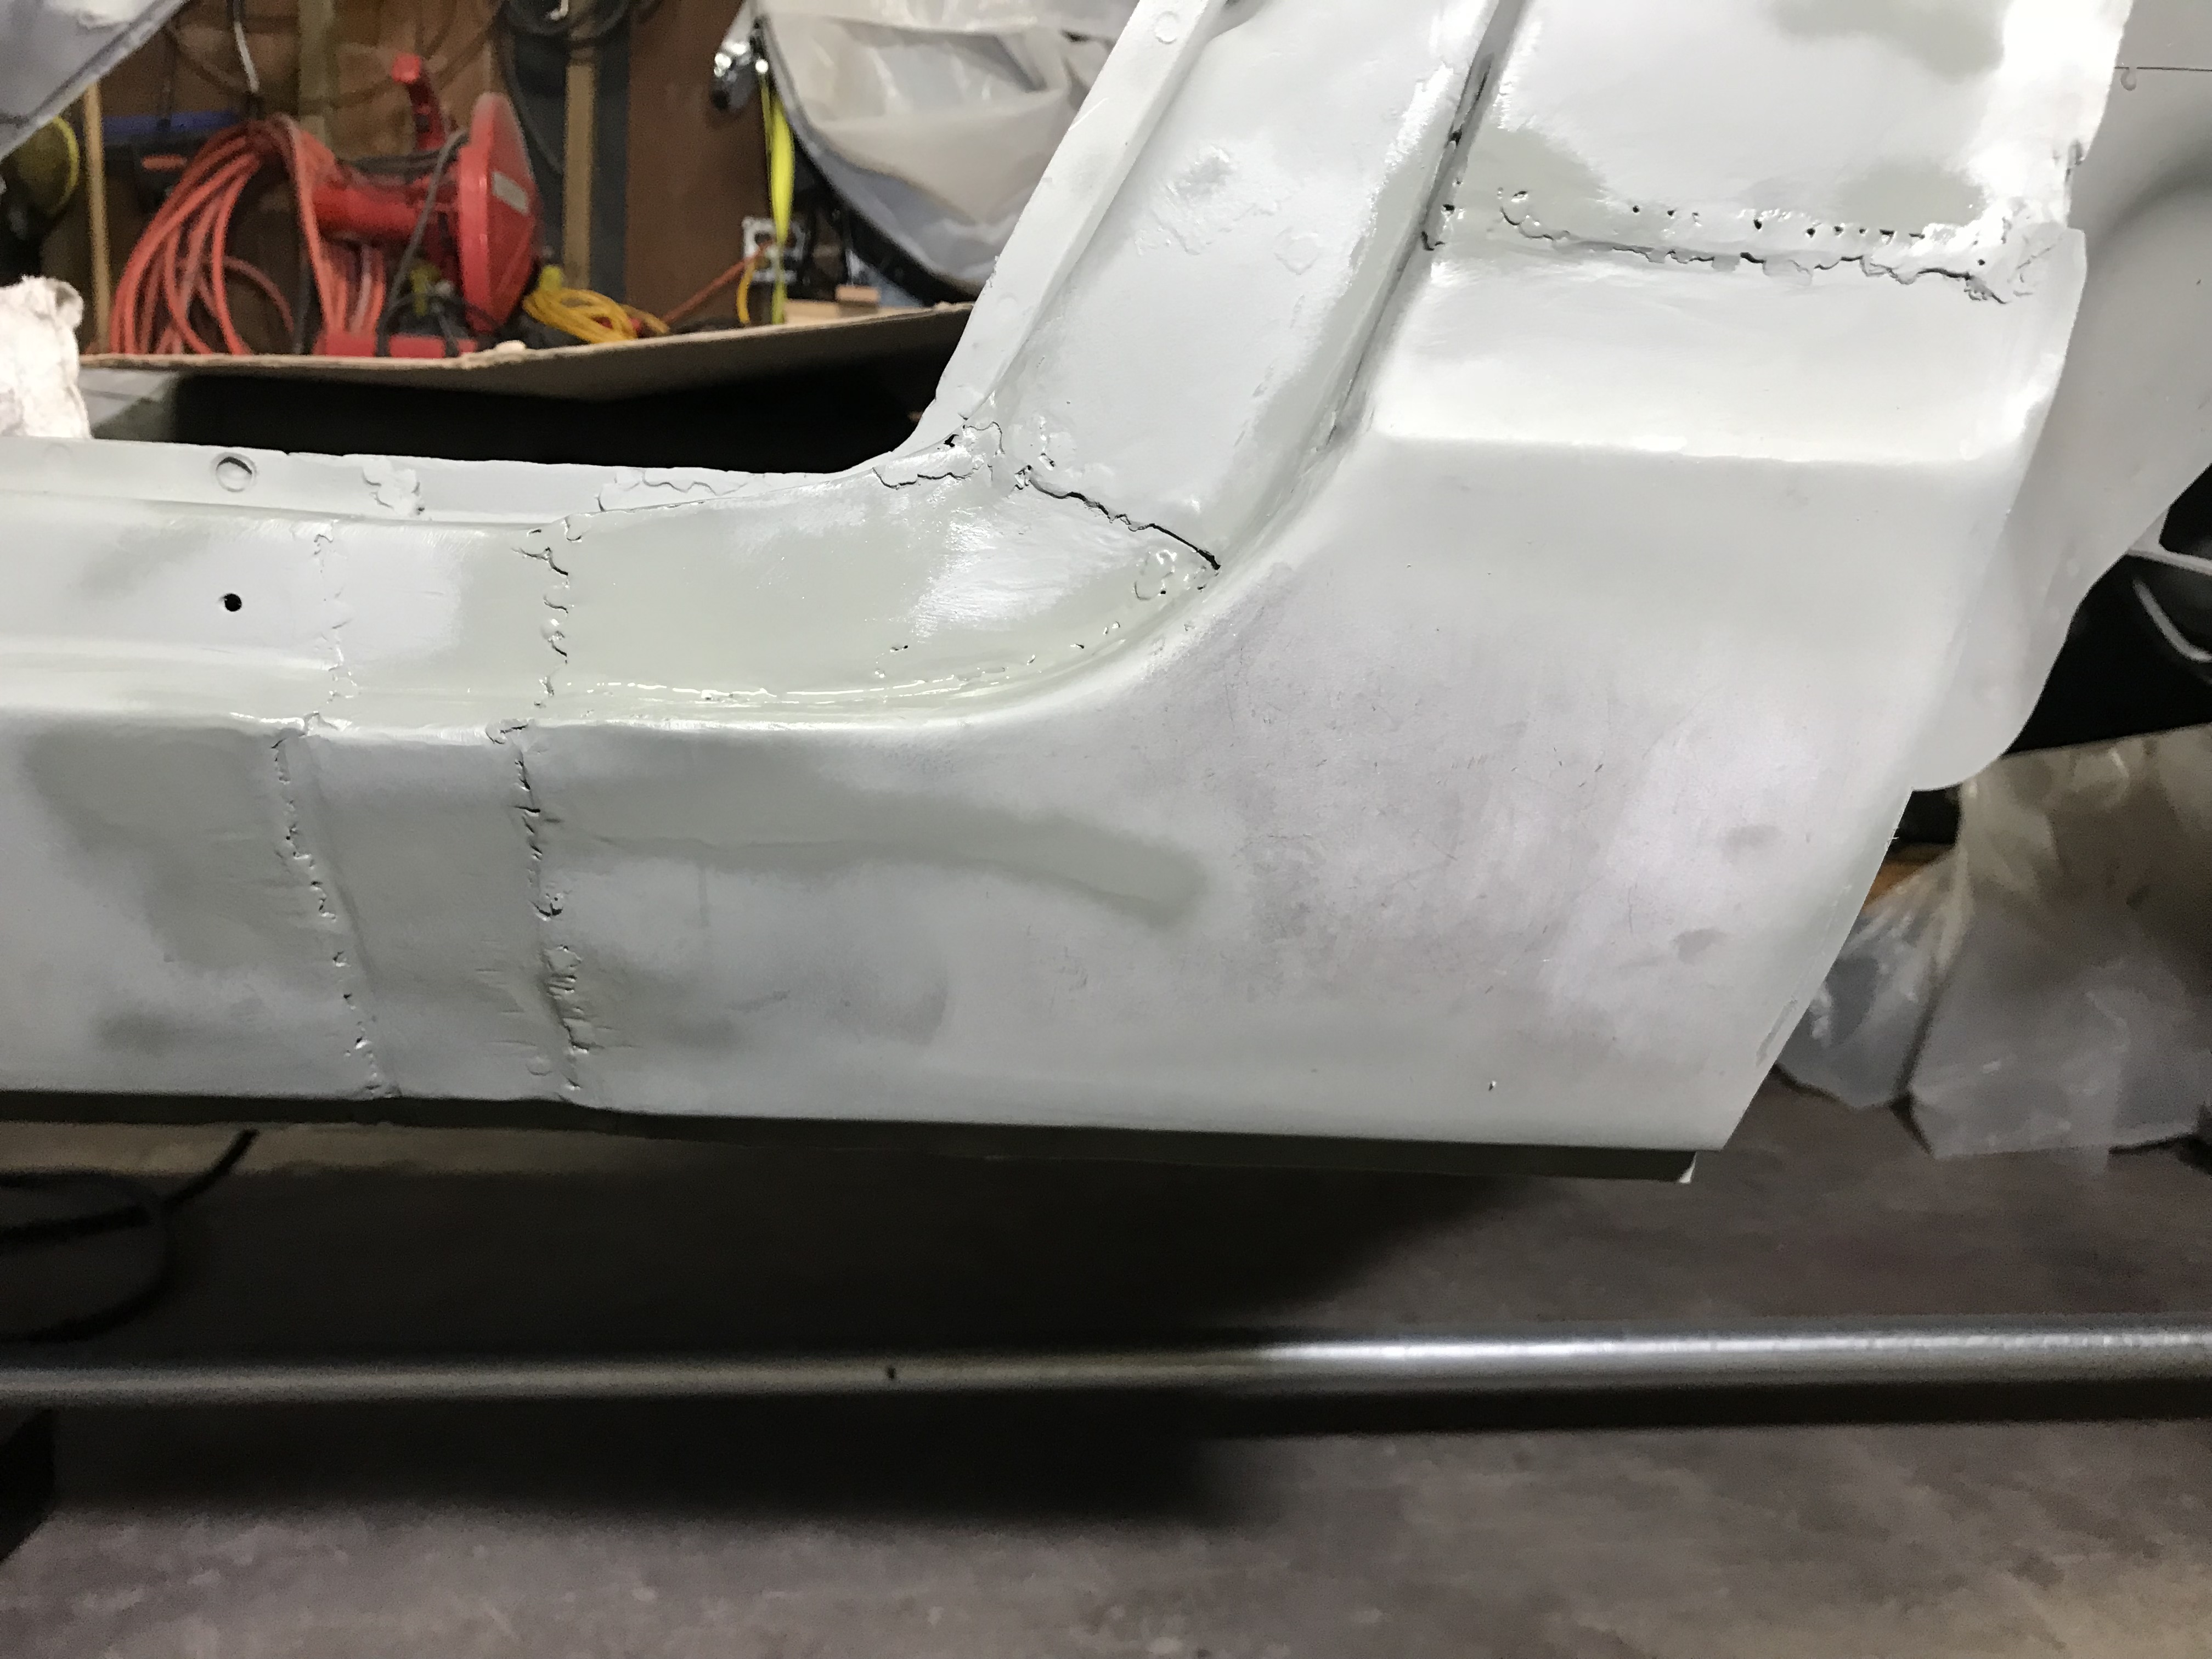
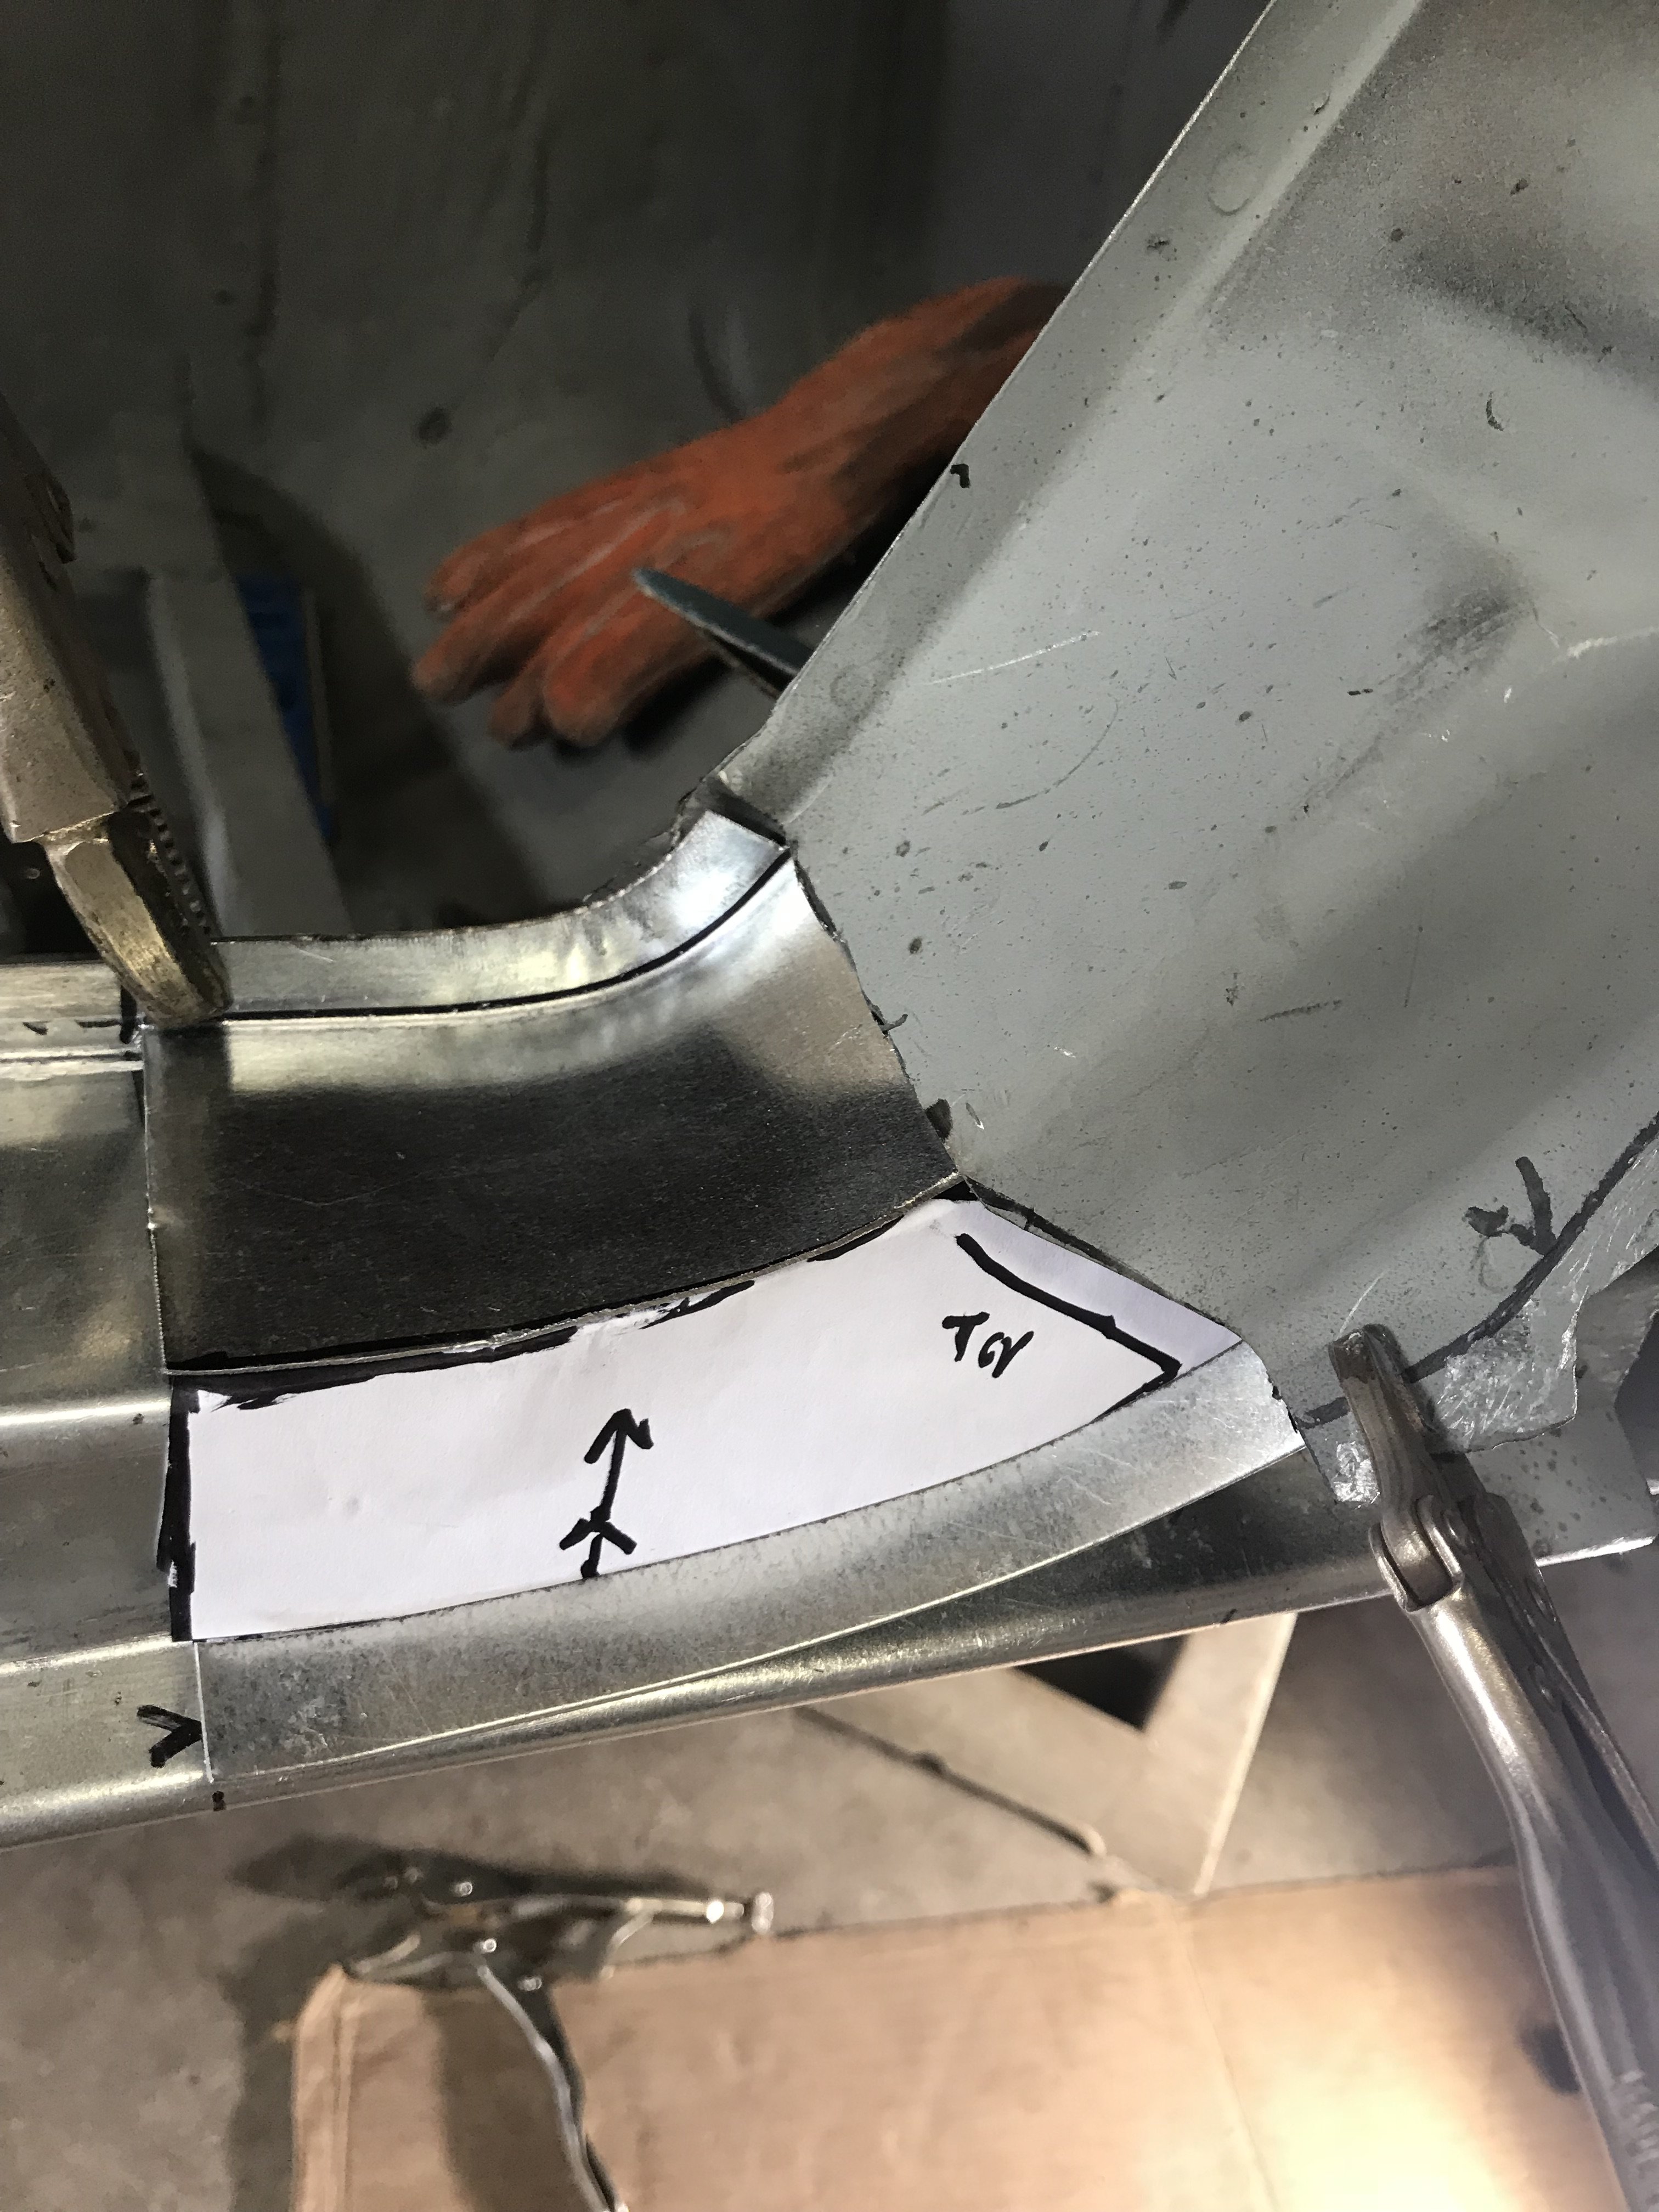
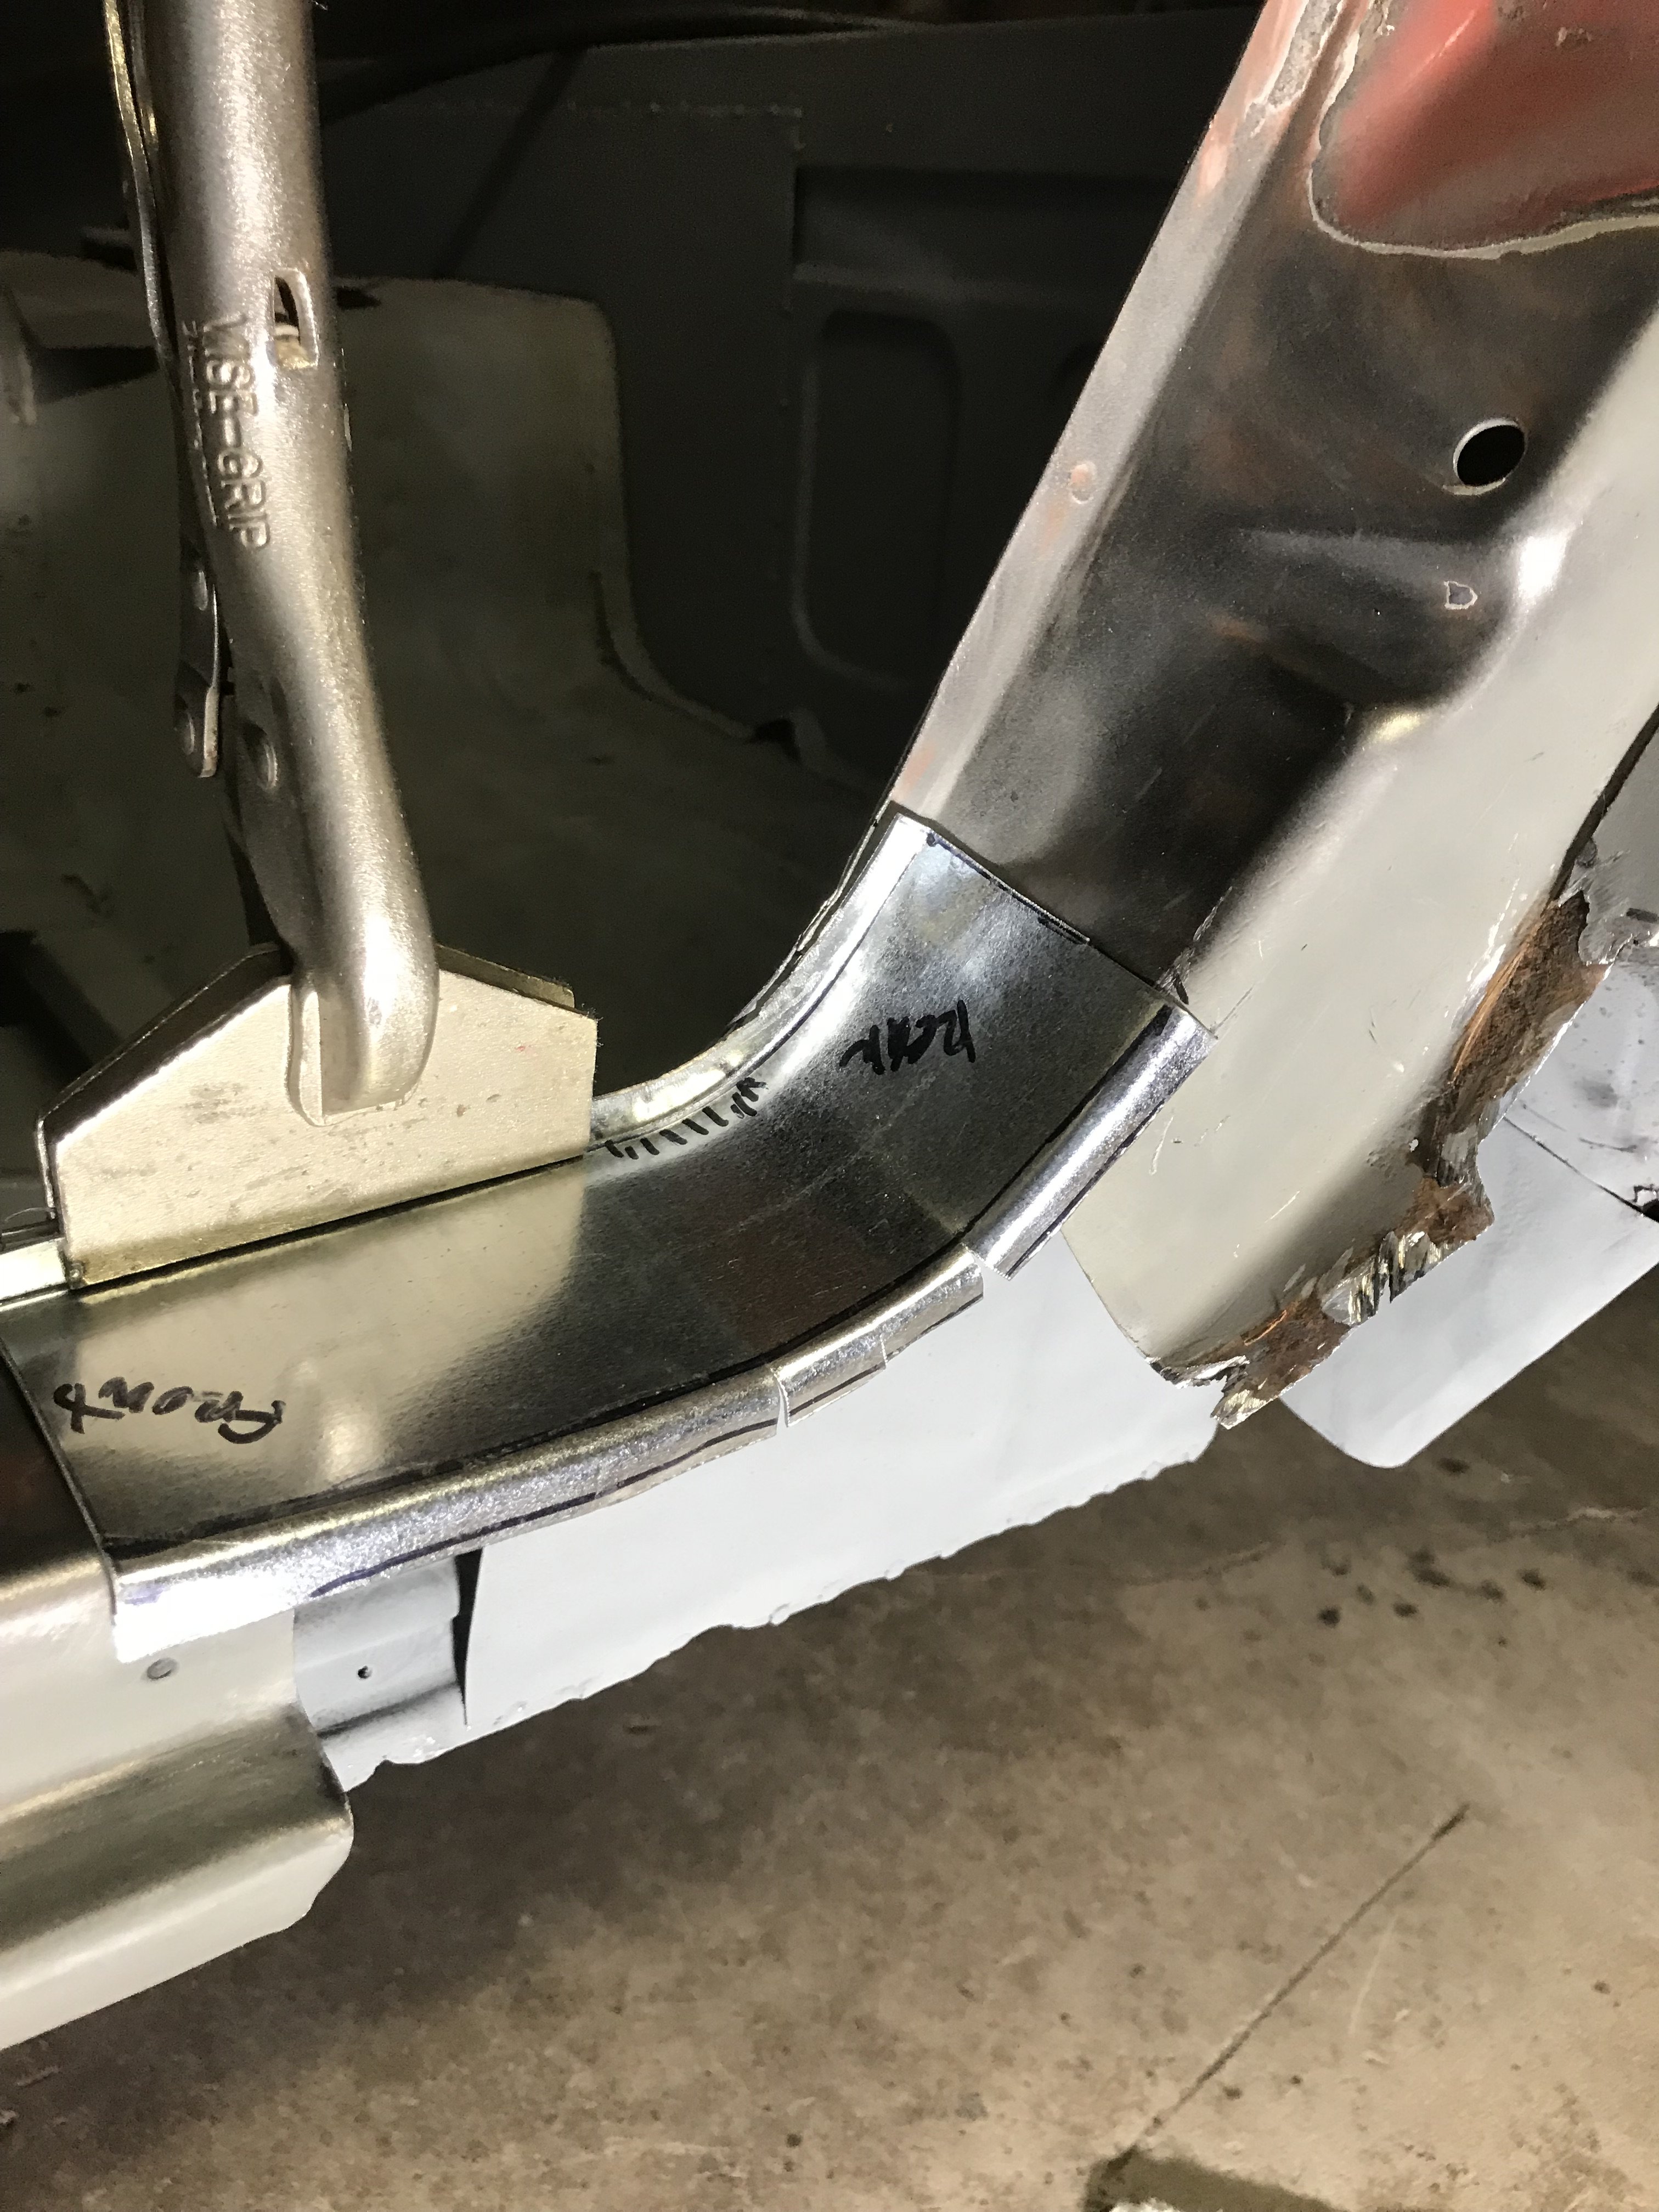
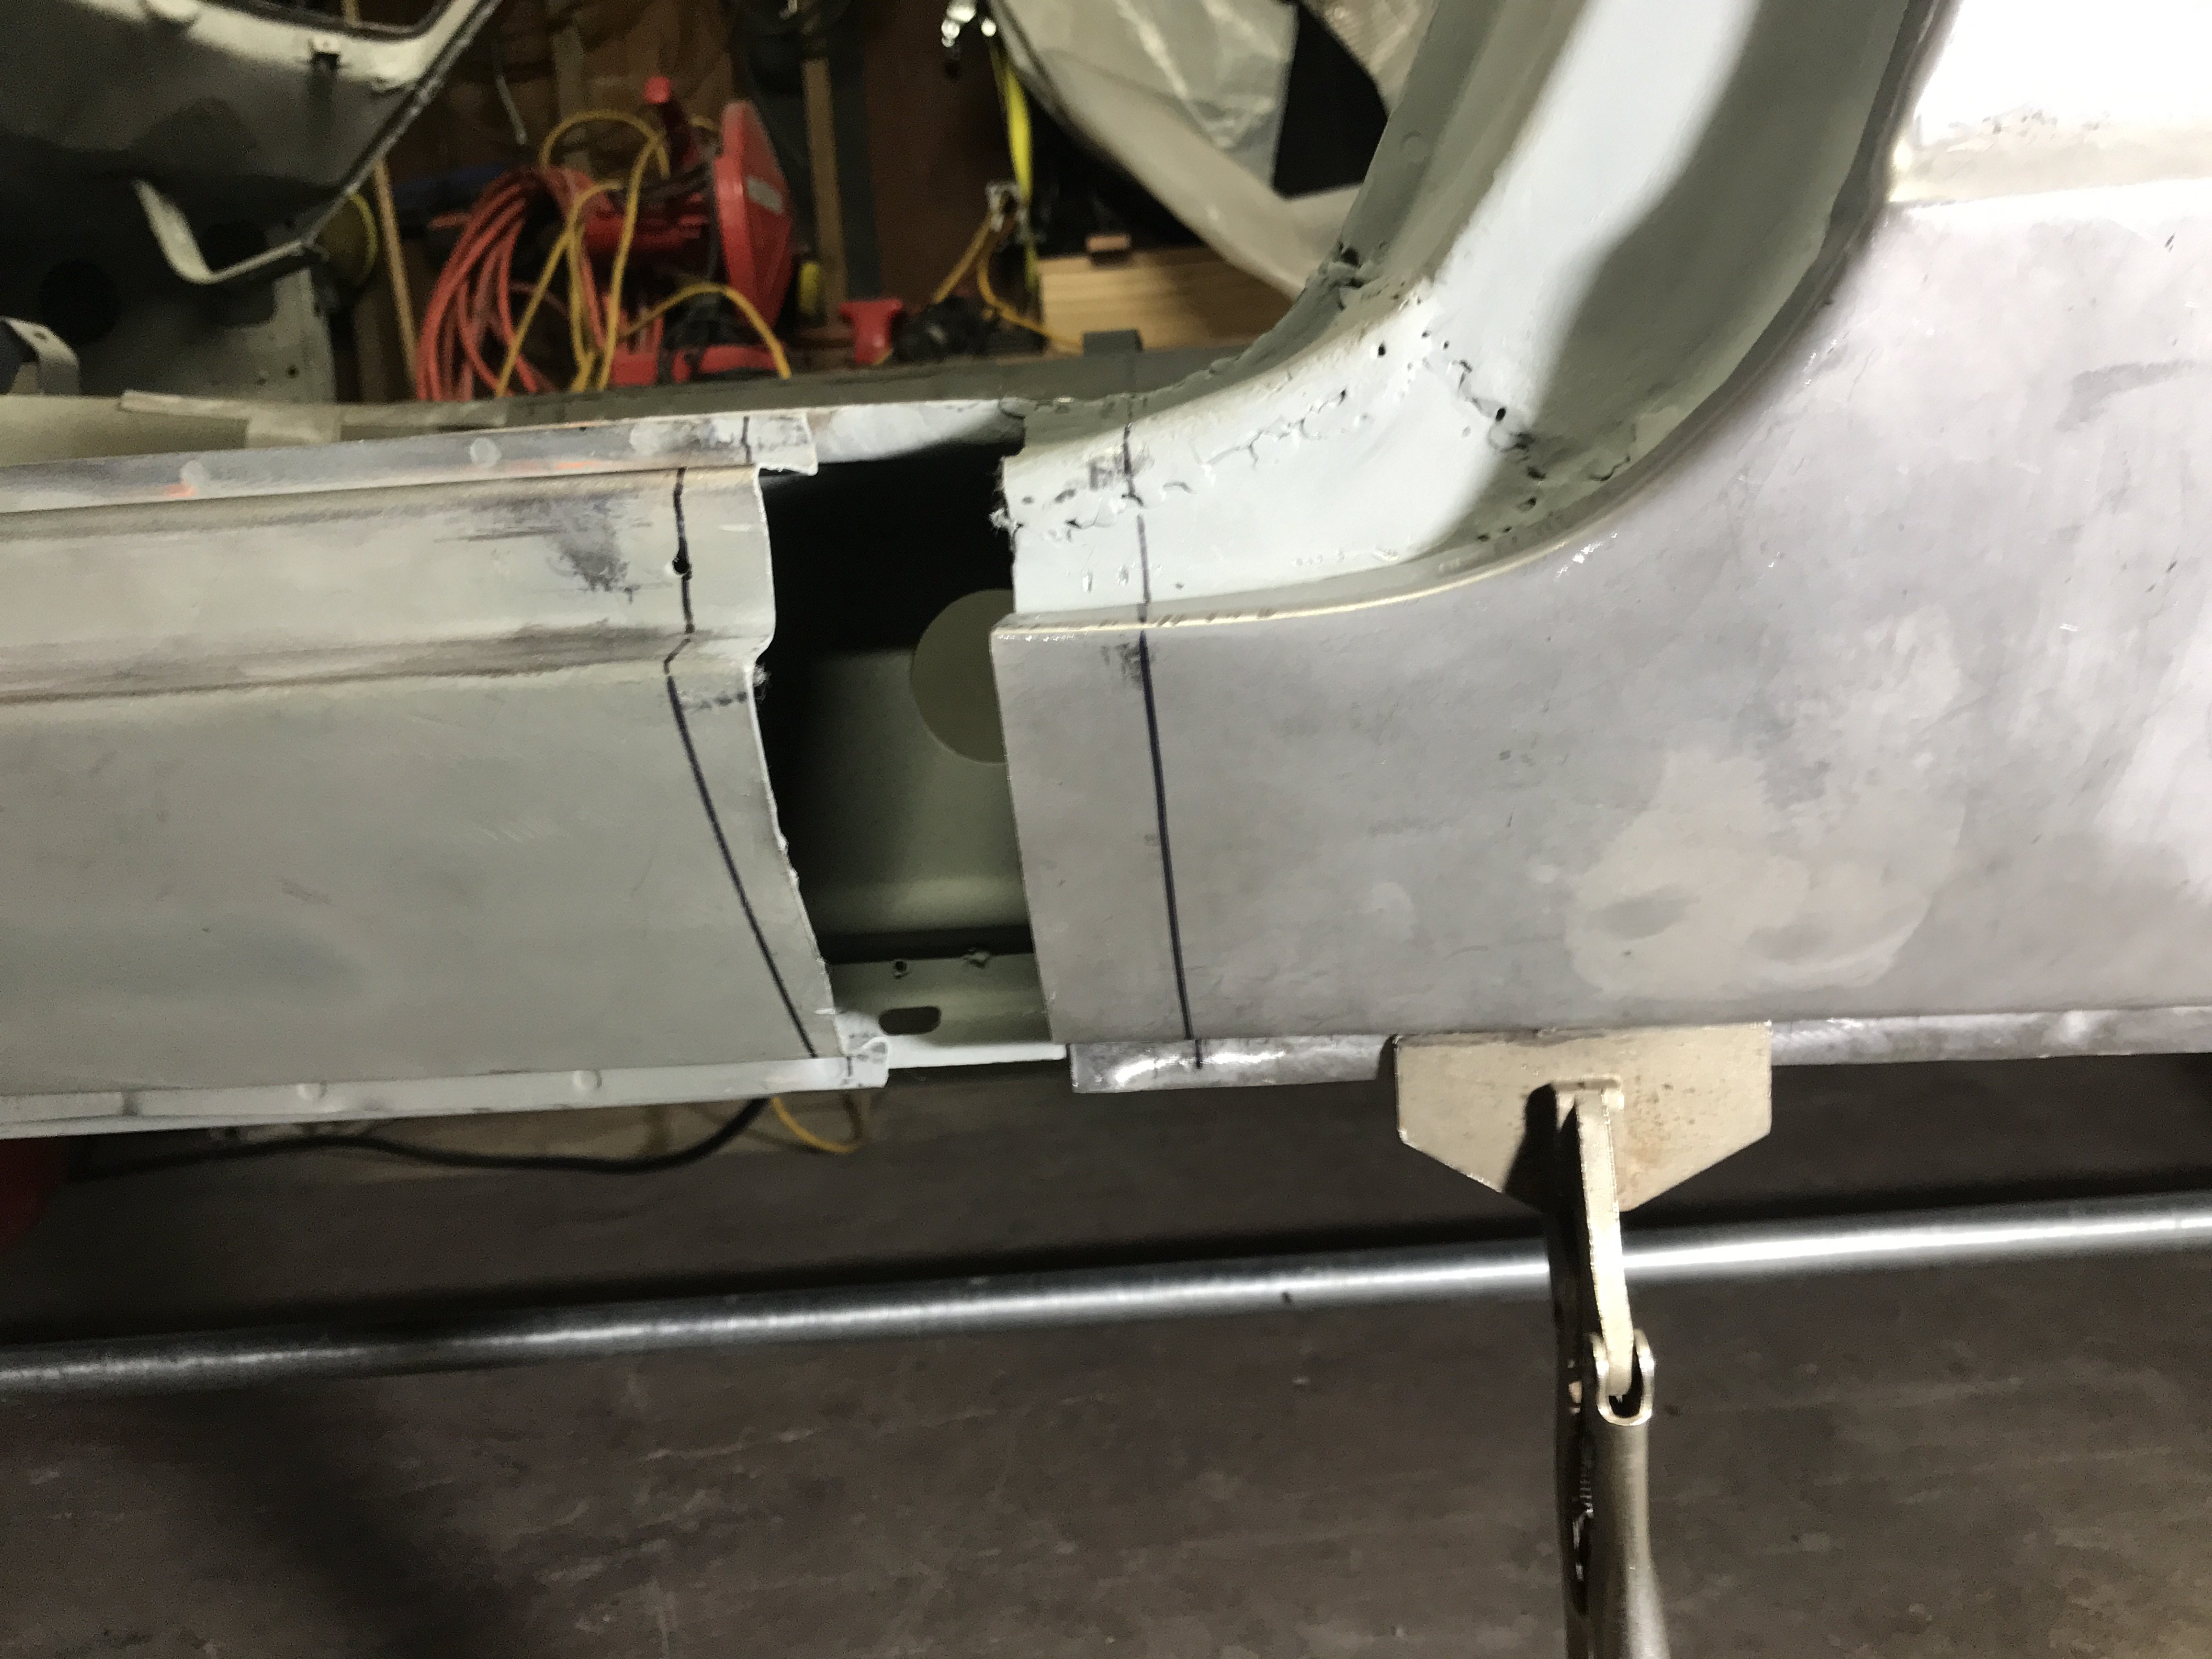
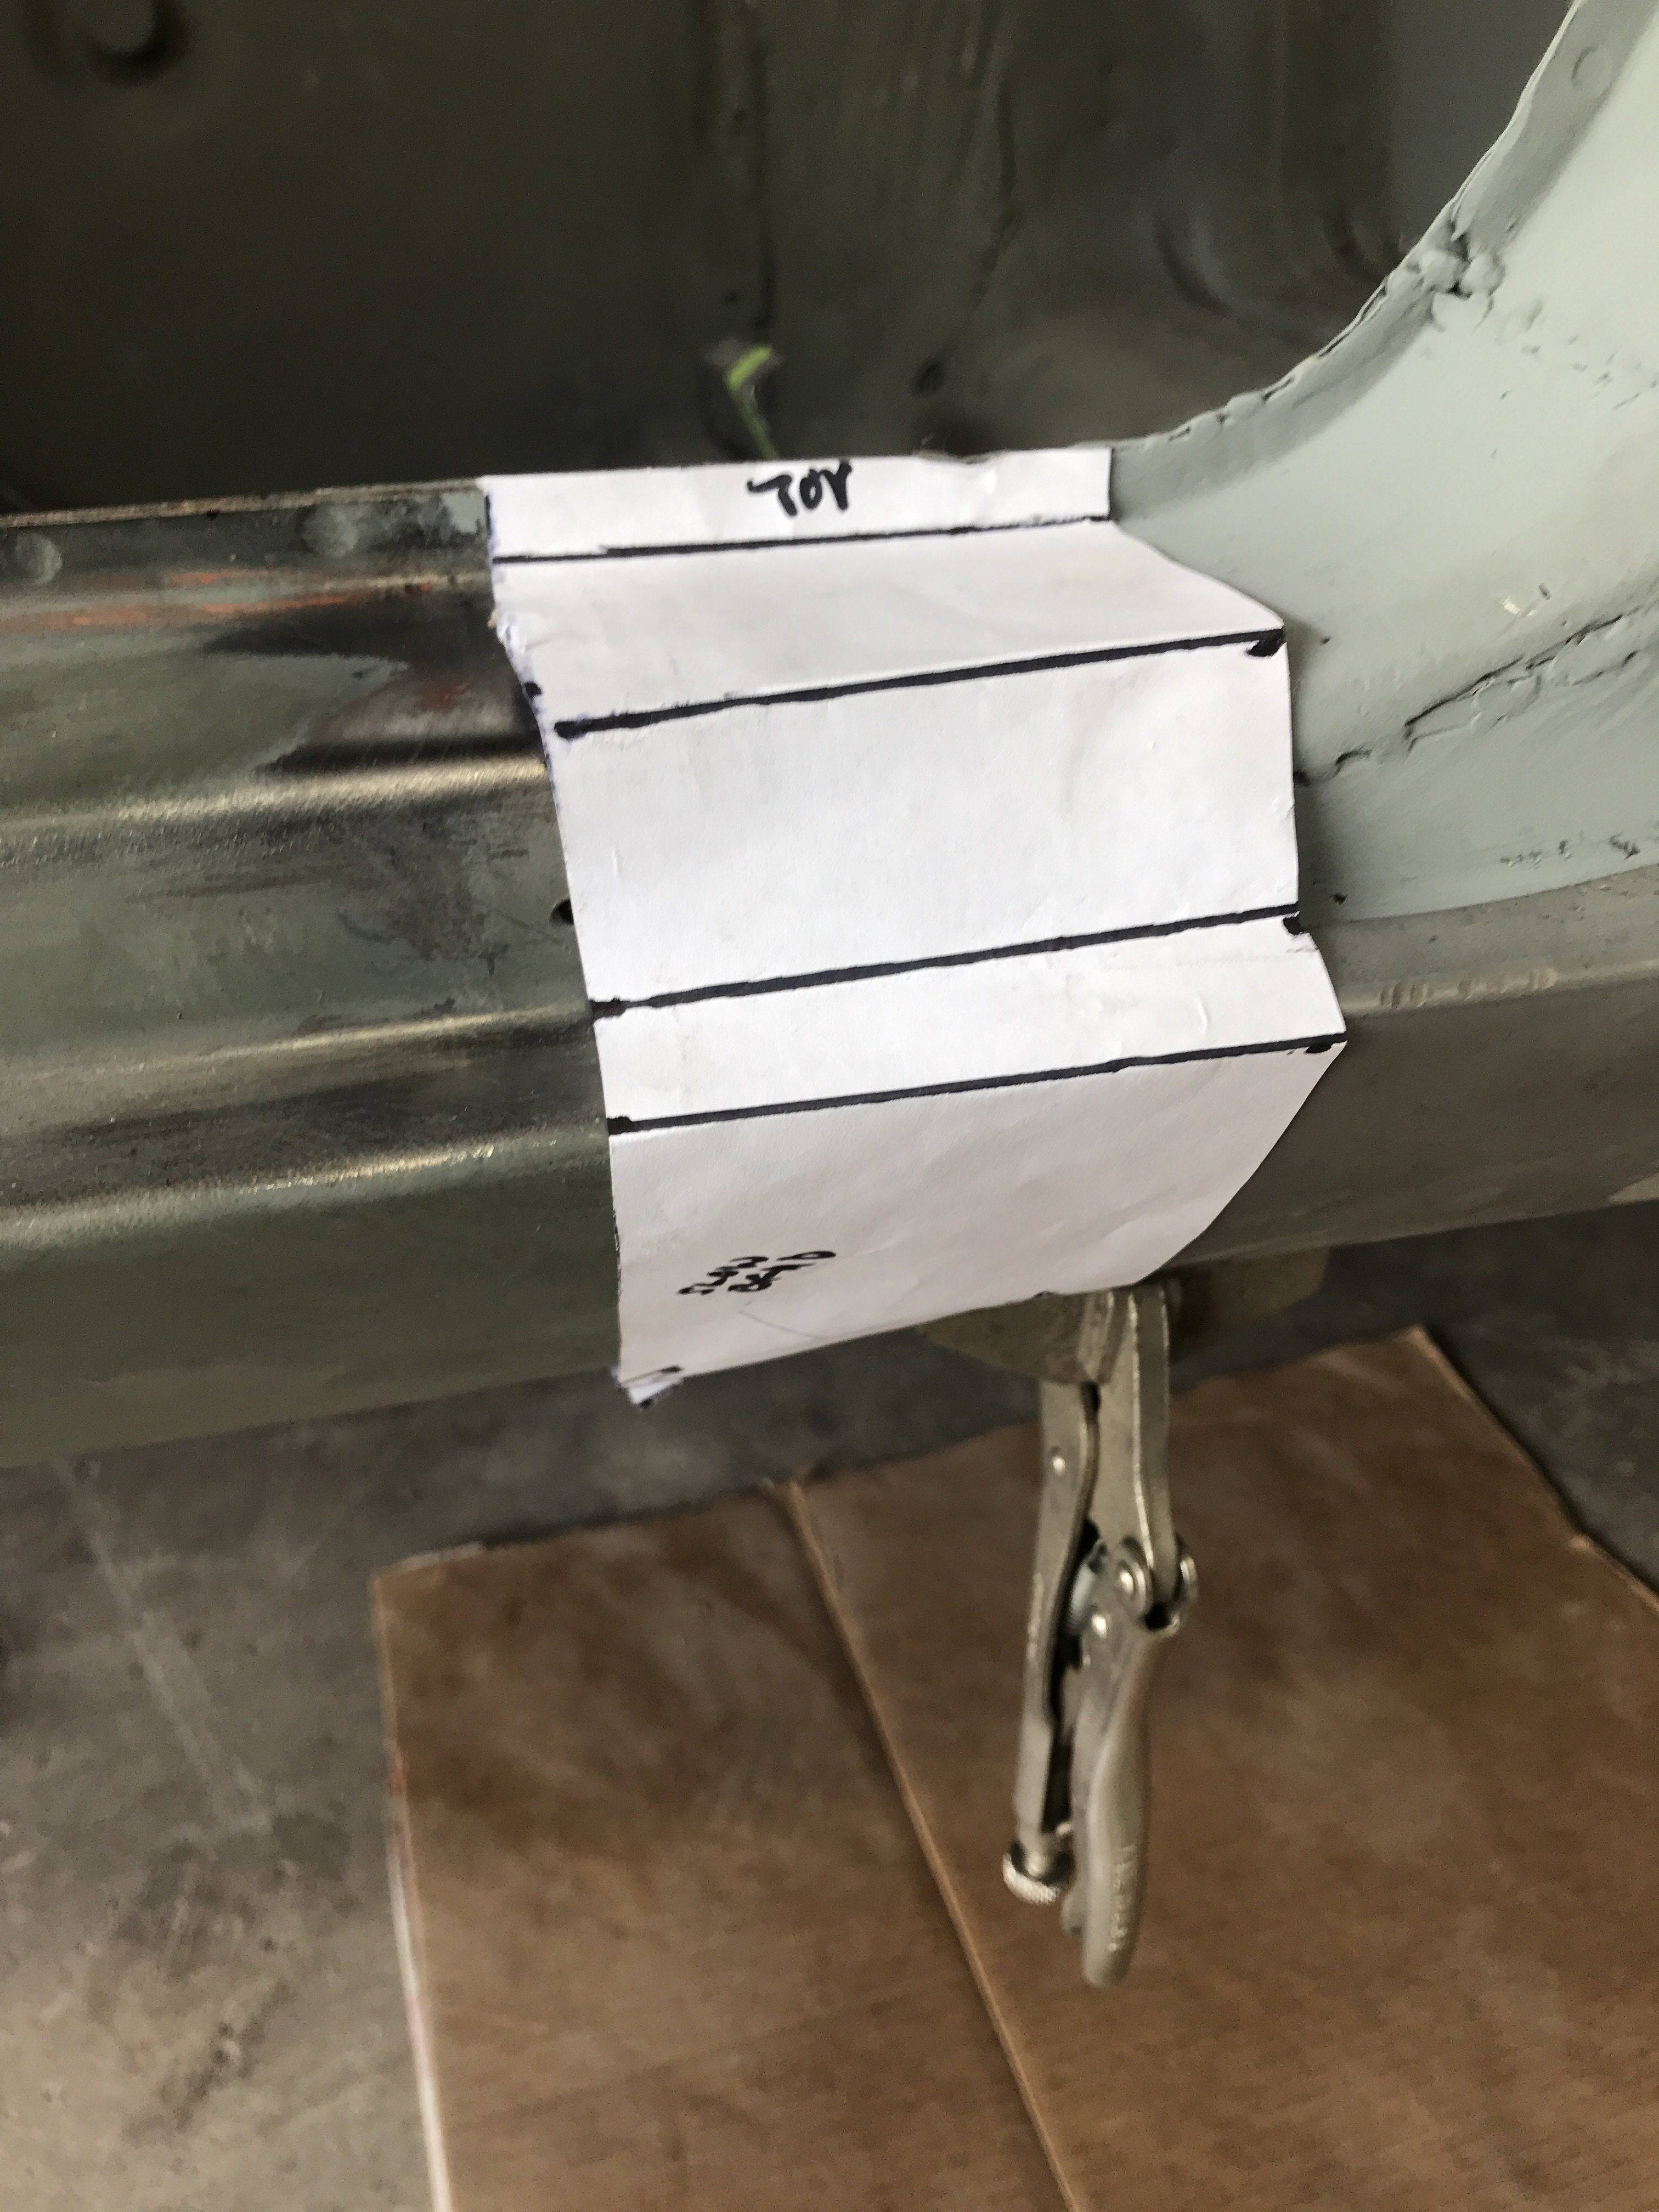
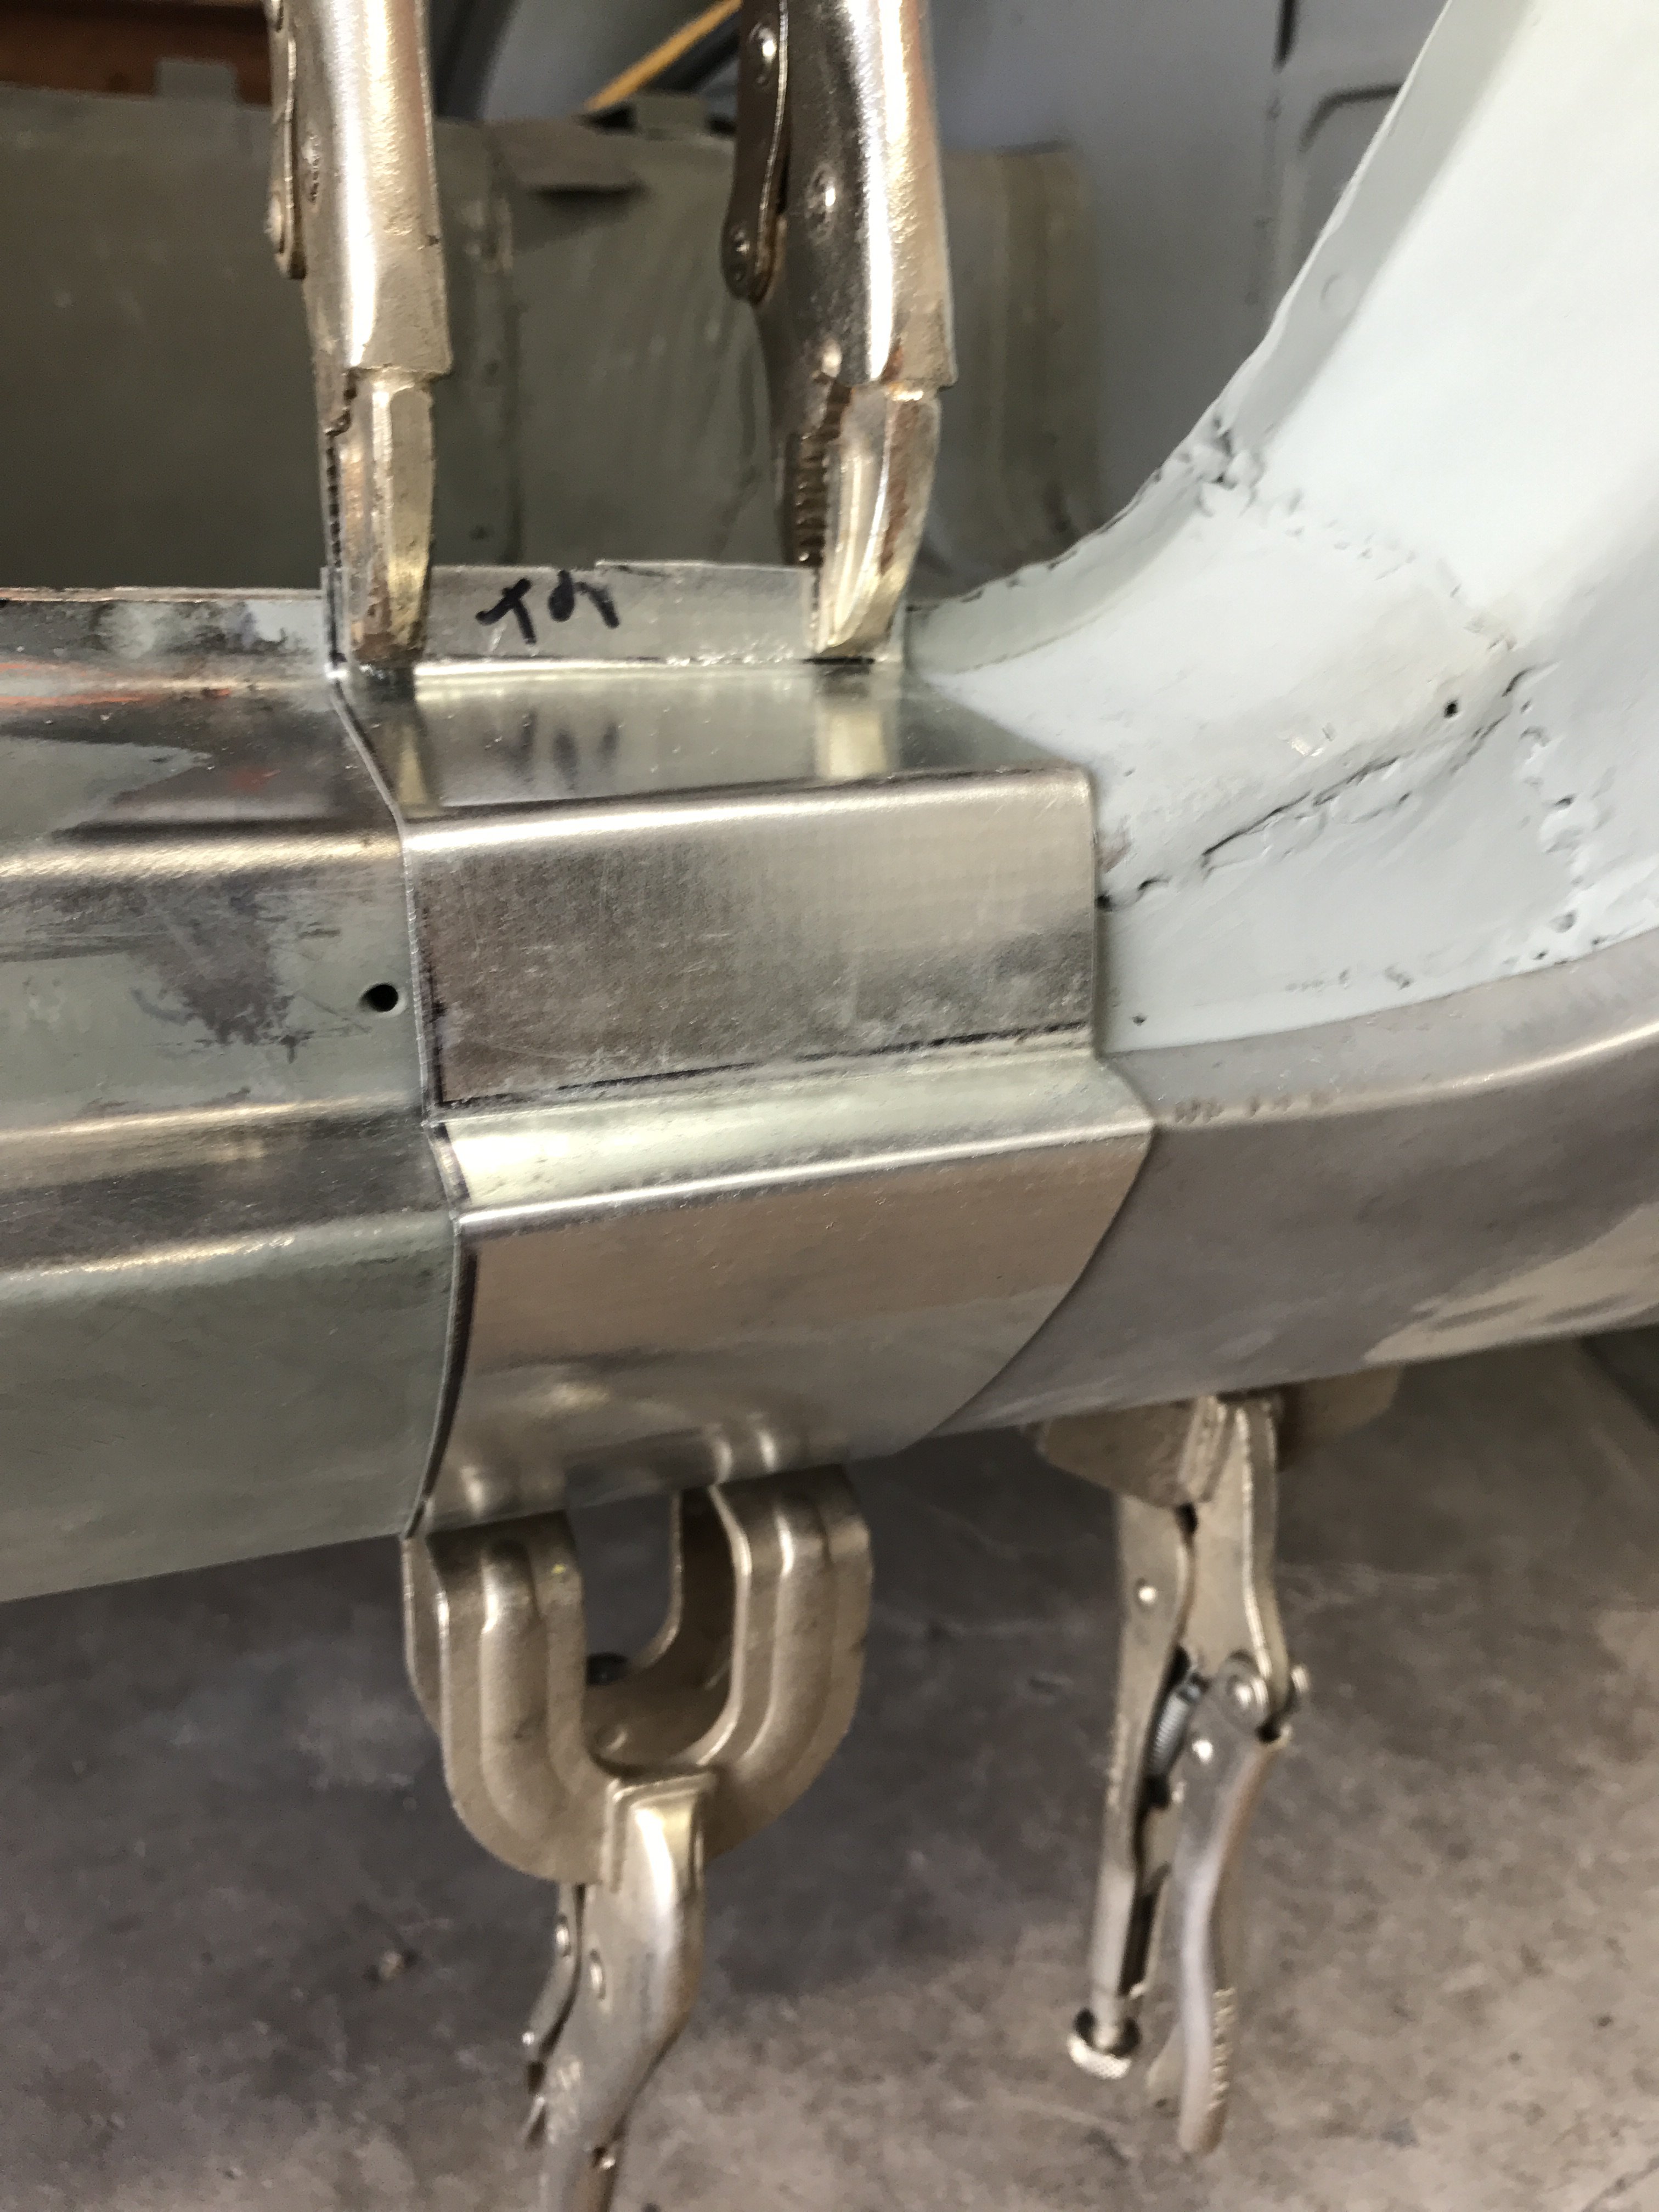
After waiting for my replacement dog leg panel for a month, I canceled my order with them. I then ordered the panel from Z Depot instead. It came in one week. Now I can finished up the corrosion repair. I welded in the inner reinforcement panel and painted with welding primer. Now to fabricating the upper portion of the dog leg. First , a template must be made . Using a metal shrinker , the upper dog leg portion is created. With the upper portion mocked in, the next lower stepped area can made. The picture below shows the dog leg and this stepped area together. Next, the gap between the rocker panel and the dog leg must be filled. Another template for this gap is made. There is six separate bends that required. Even with a template, mistakes can happen. Just straighten it out and rebend it. Sometimes even with metal brake, you have to use "red neck" technology to get the job done. Almost finished, the patch and dog leg ready to be welded. The wheel opening end won't be welded yet as the new flare size has yet to be determined.
-
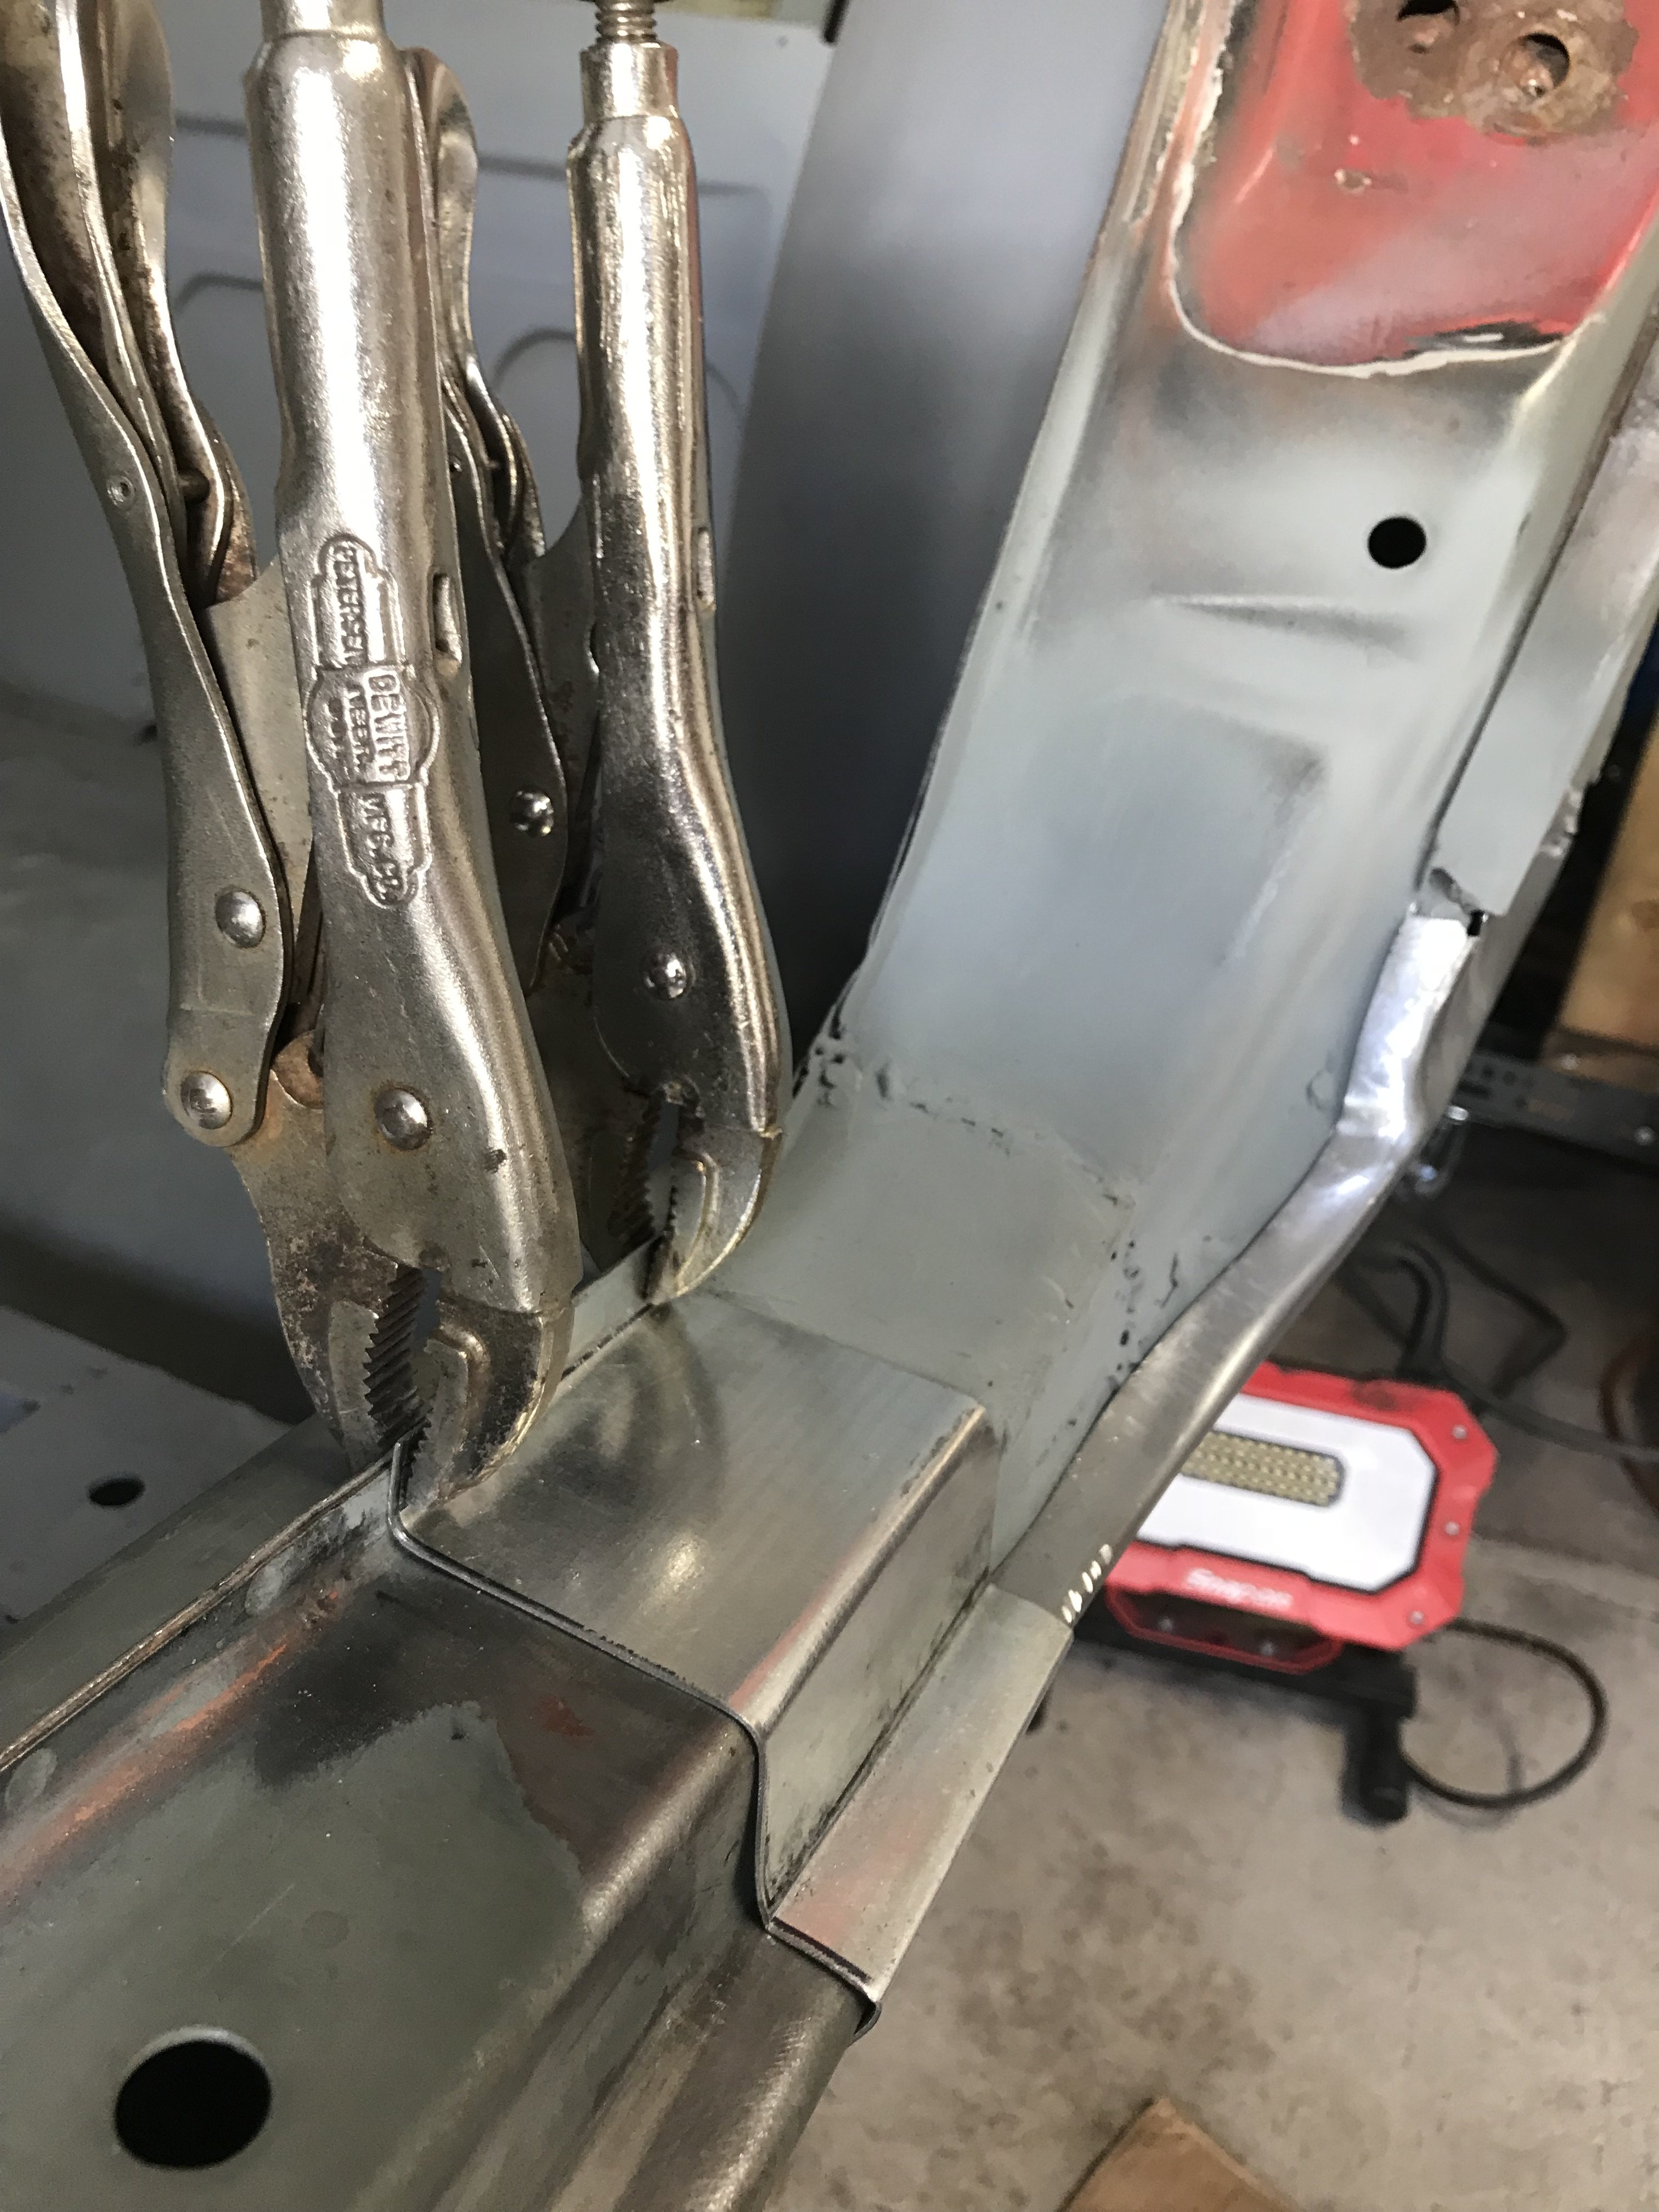
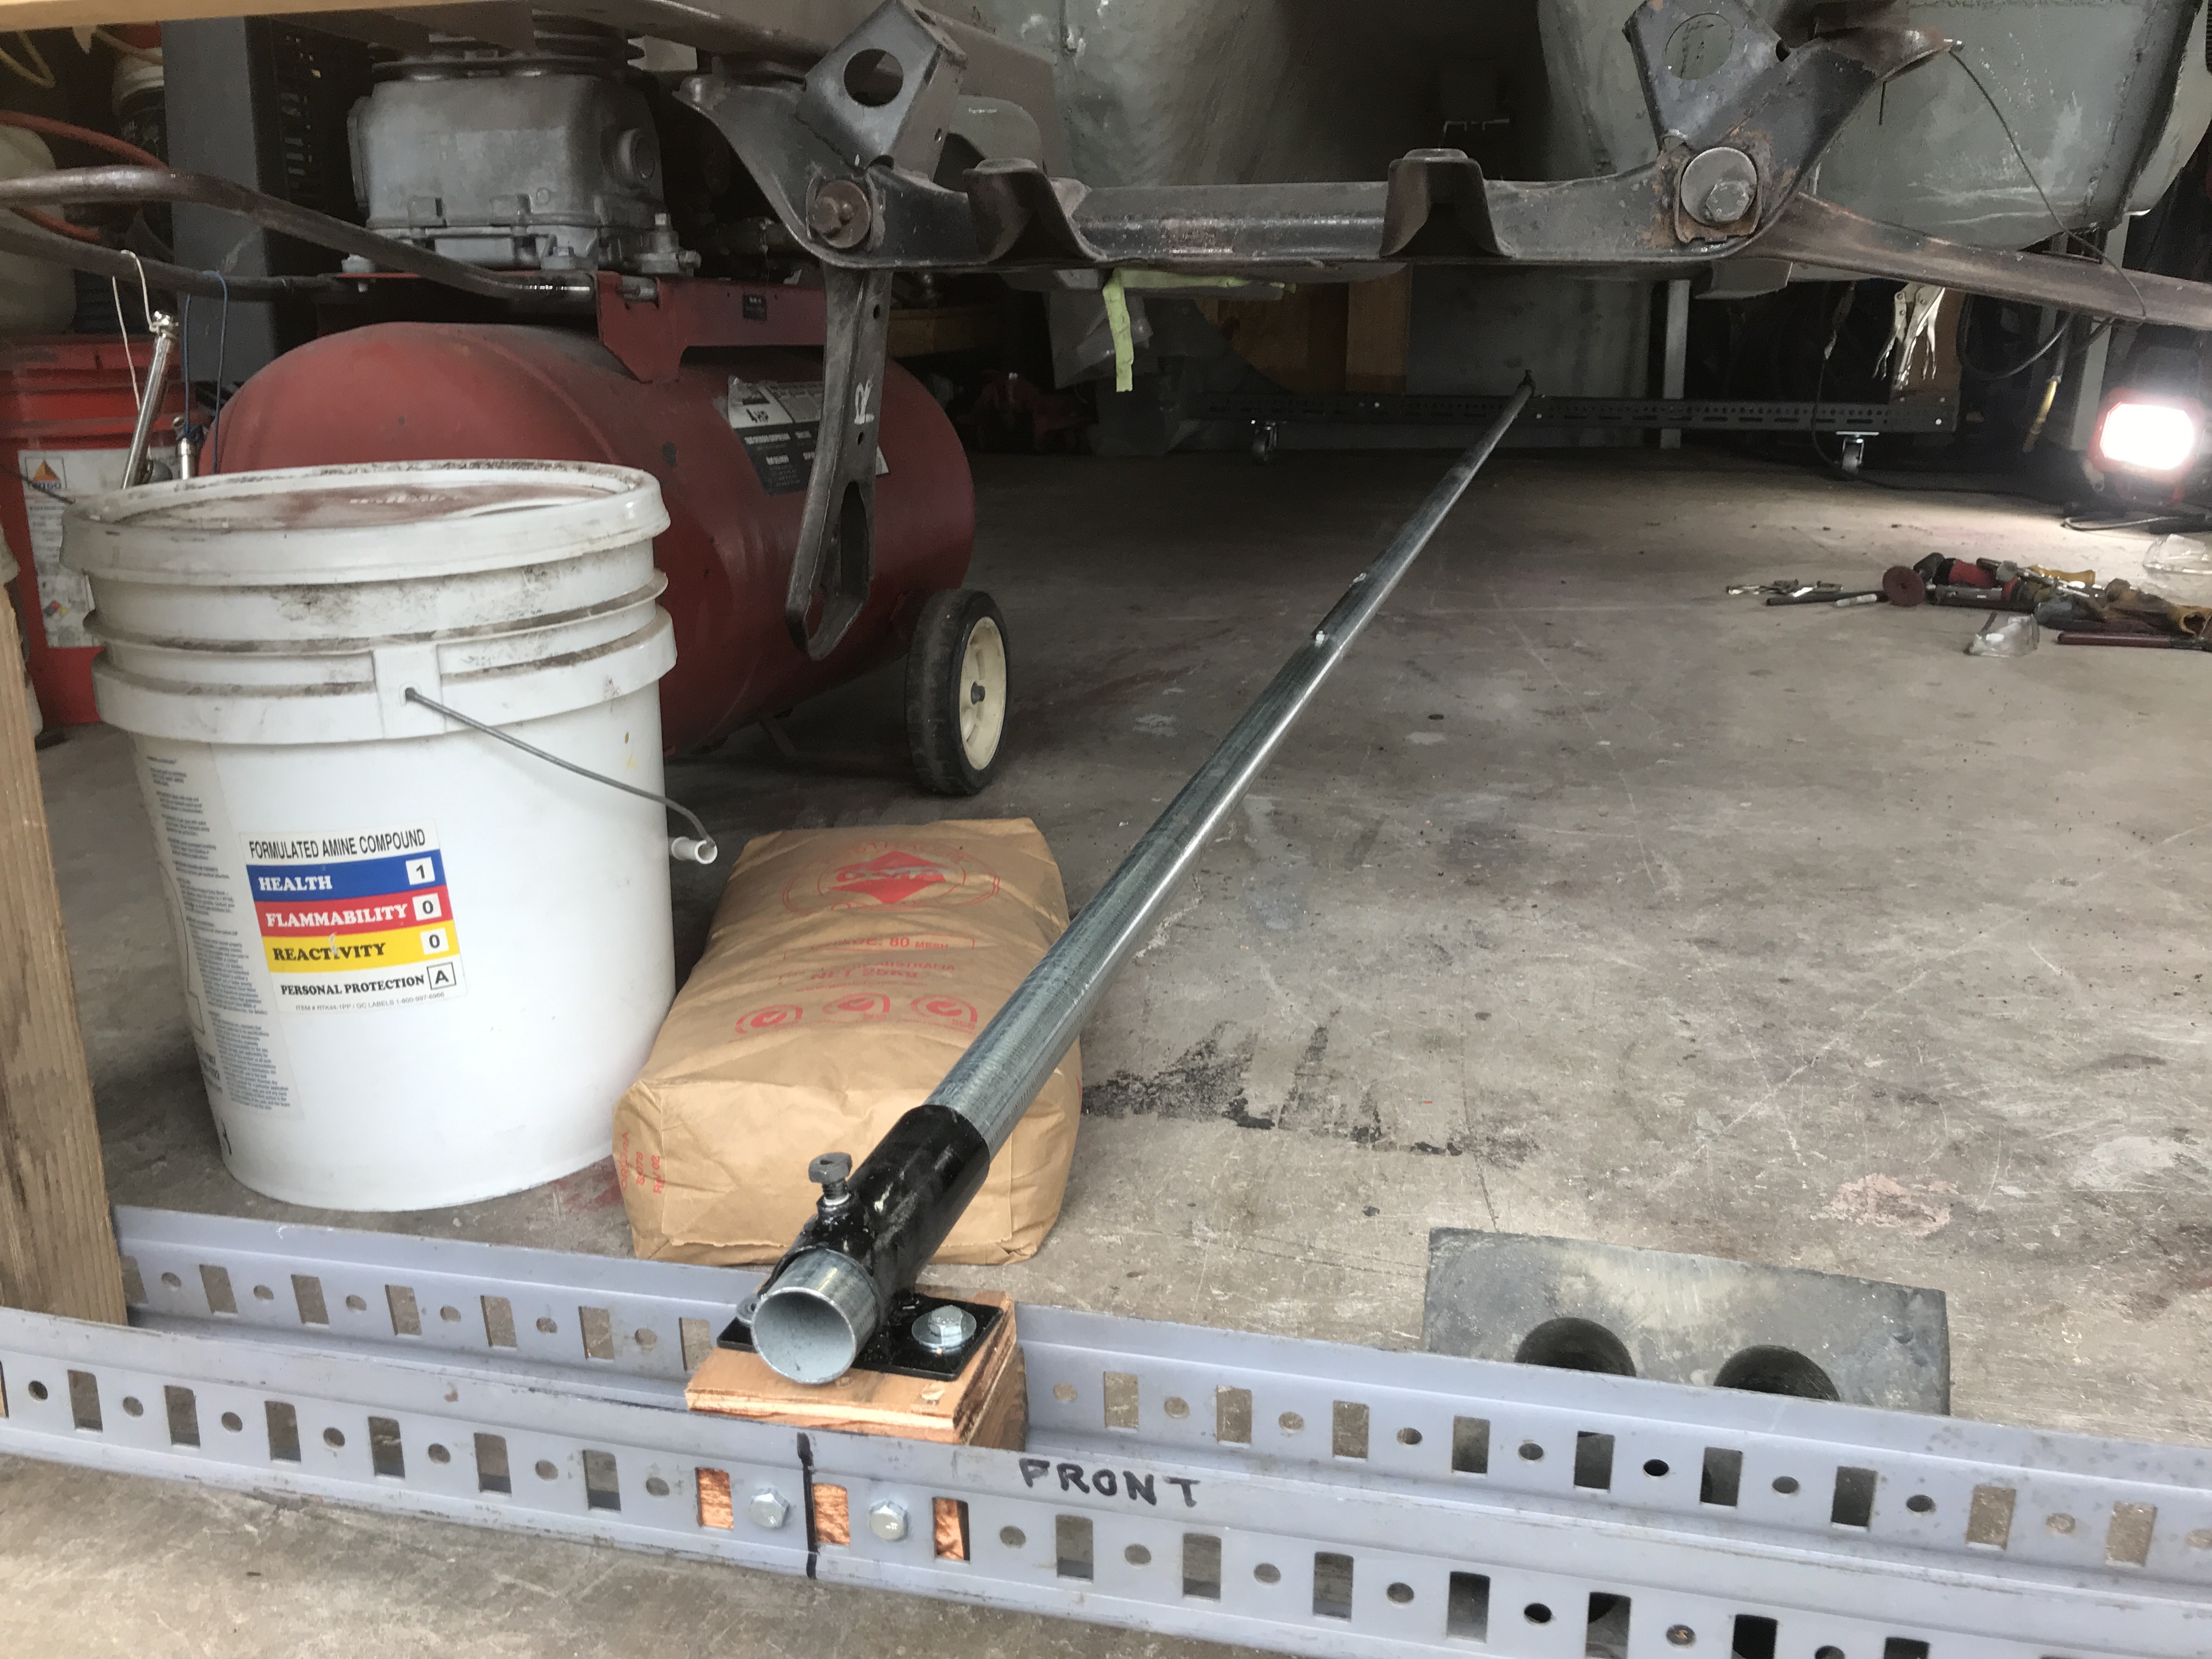
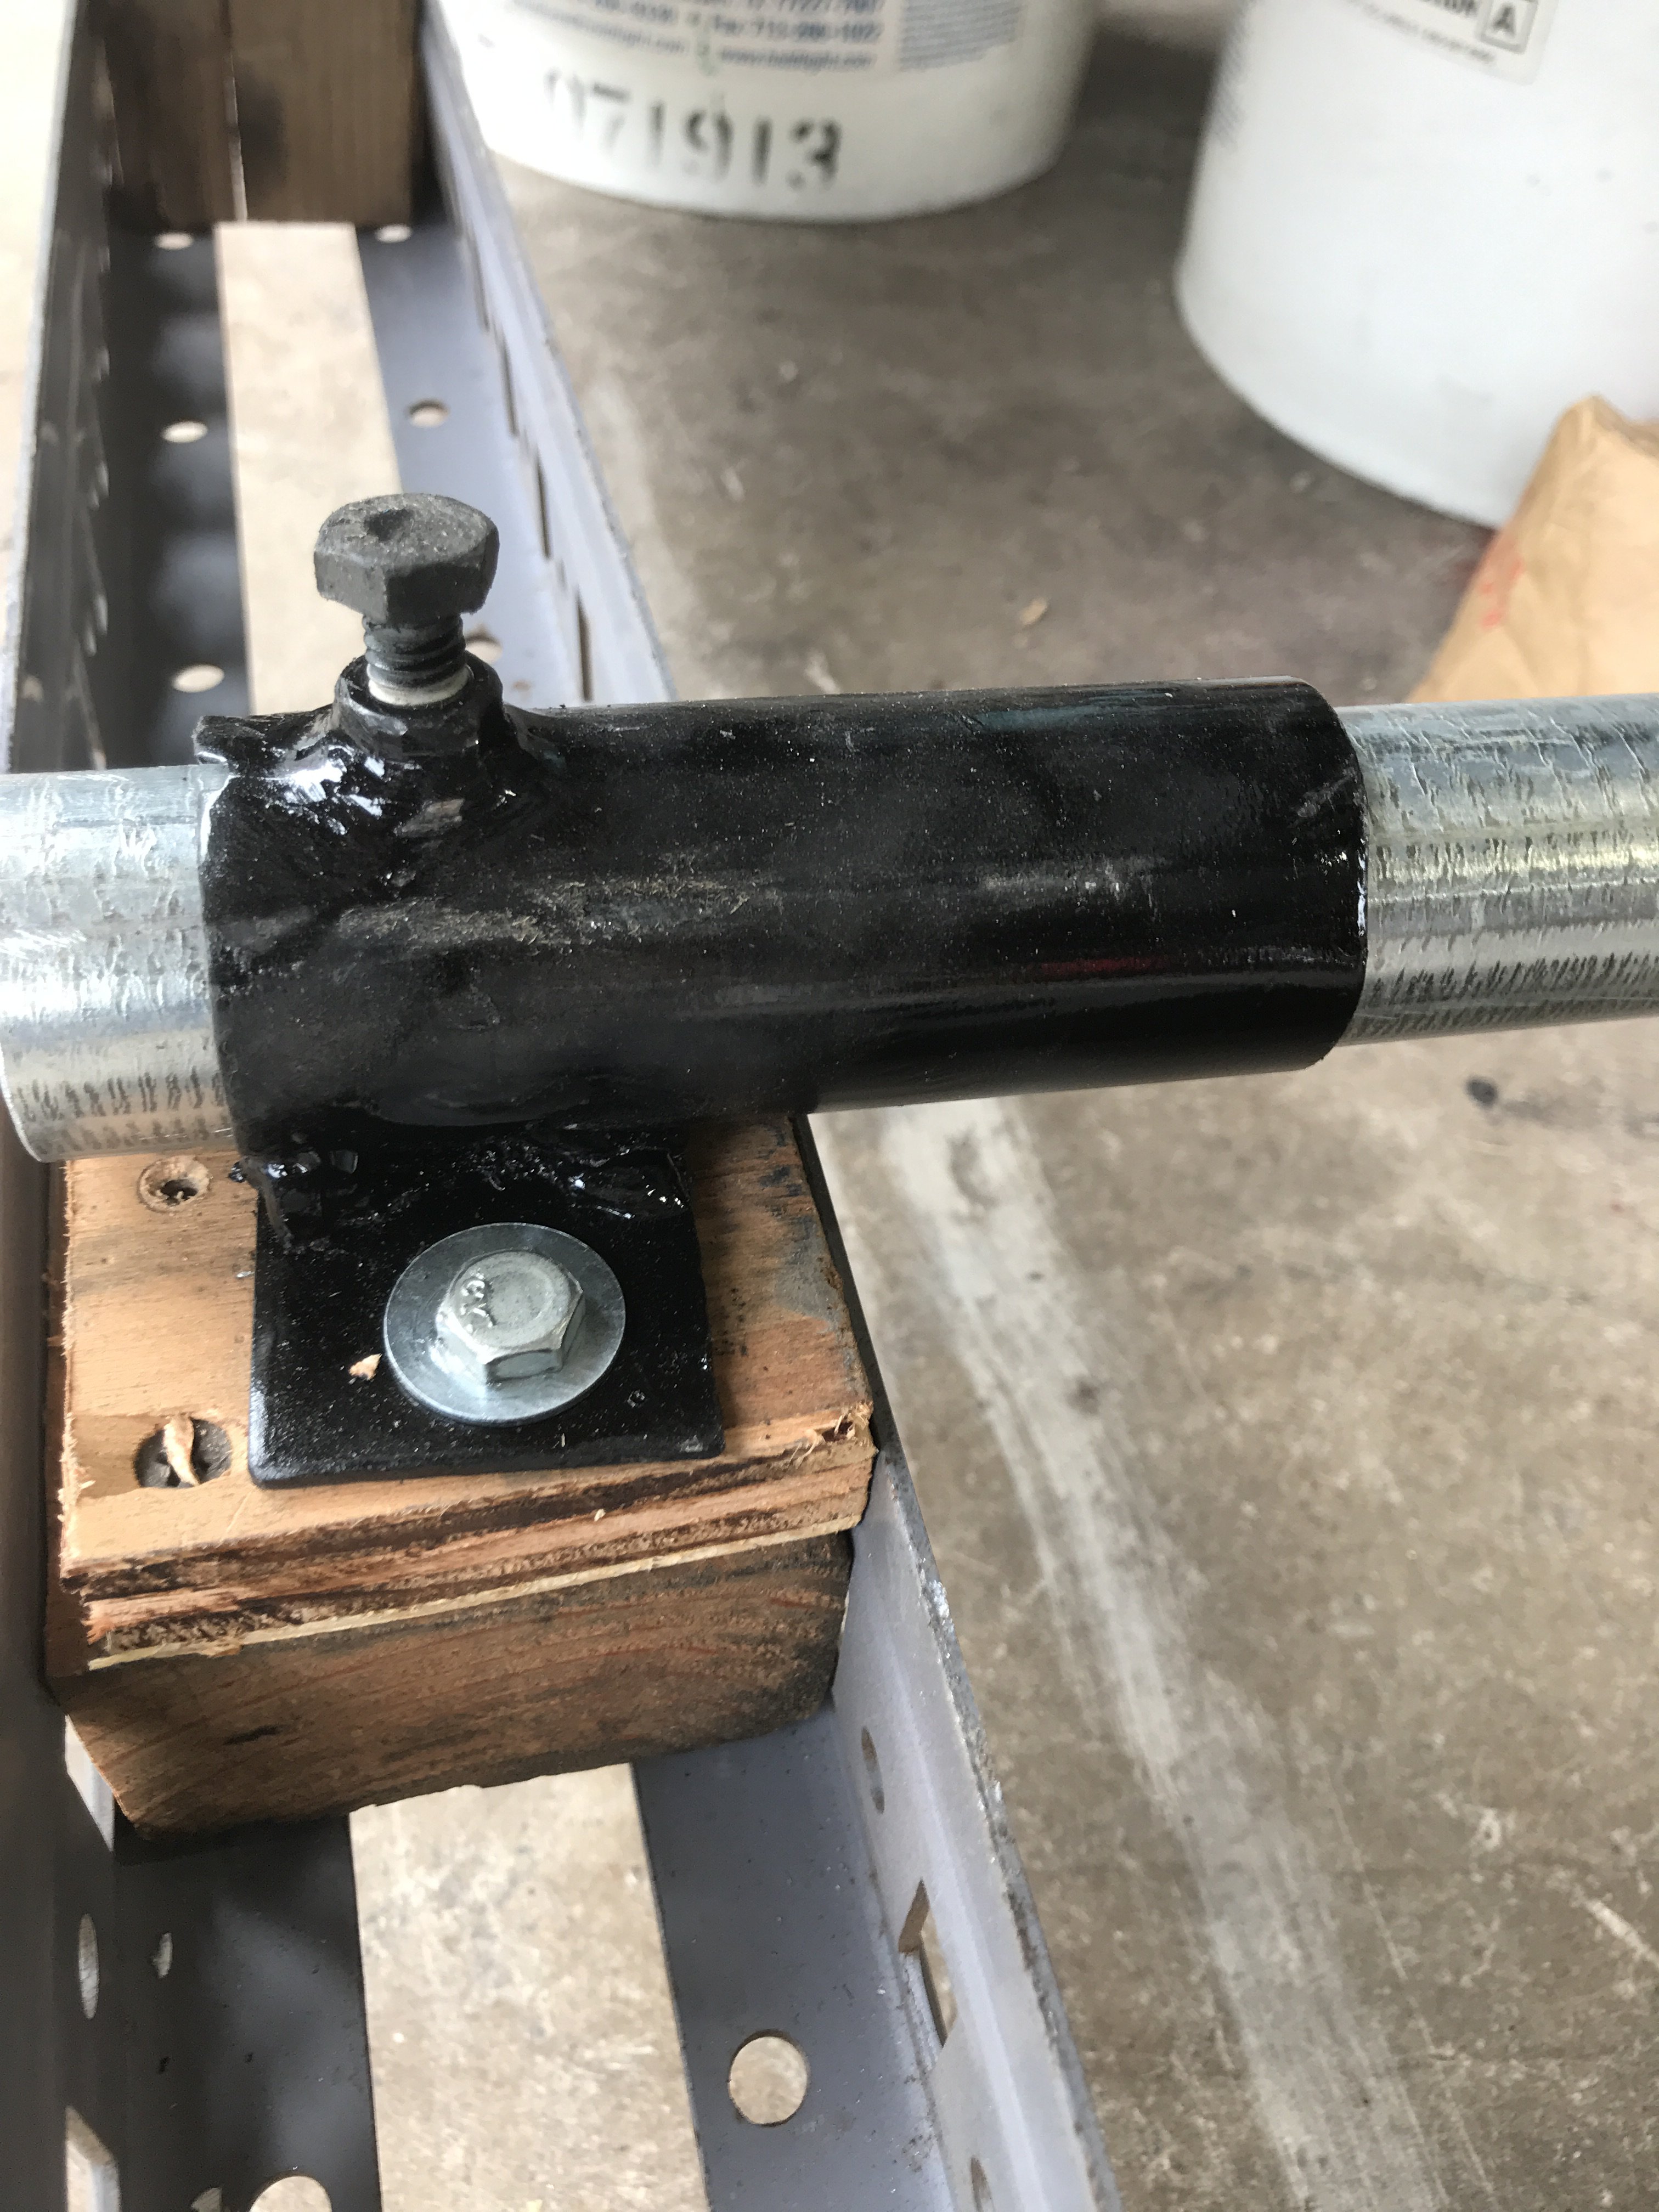
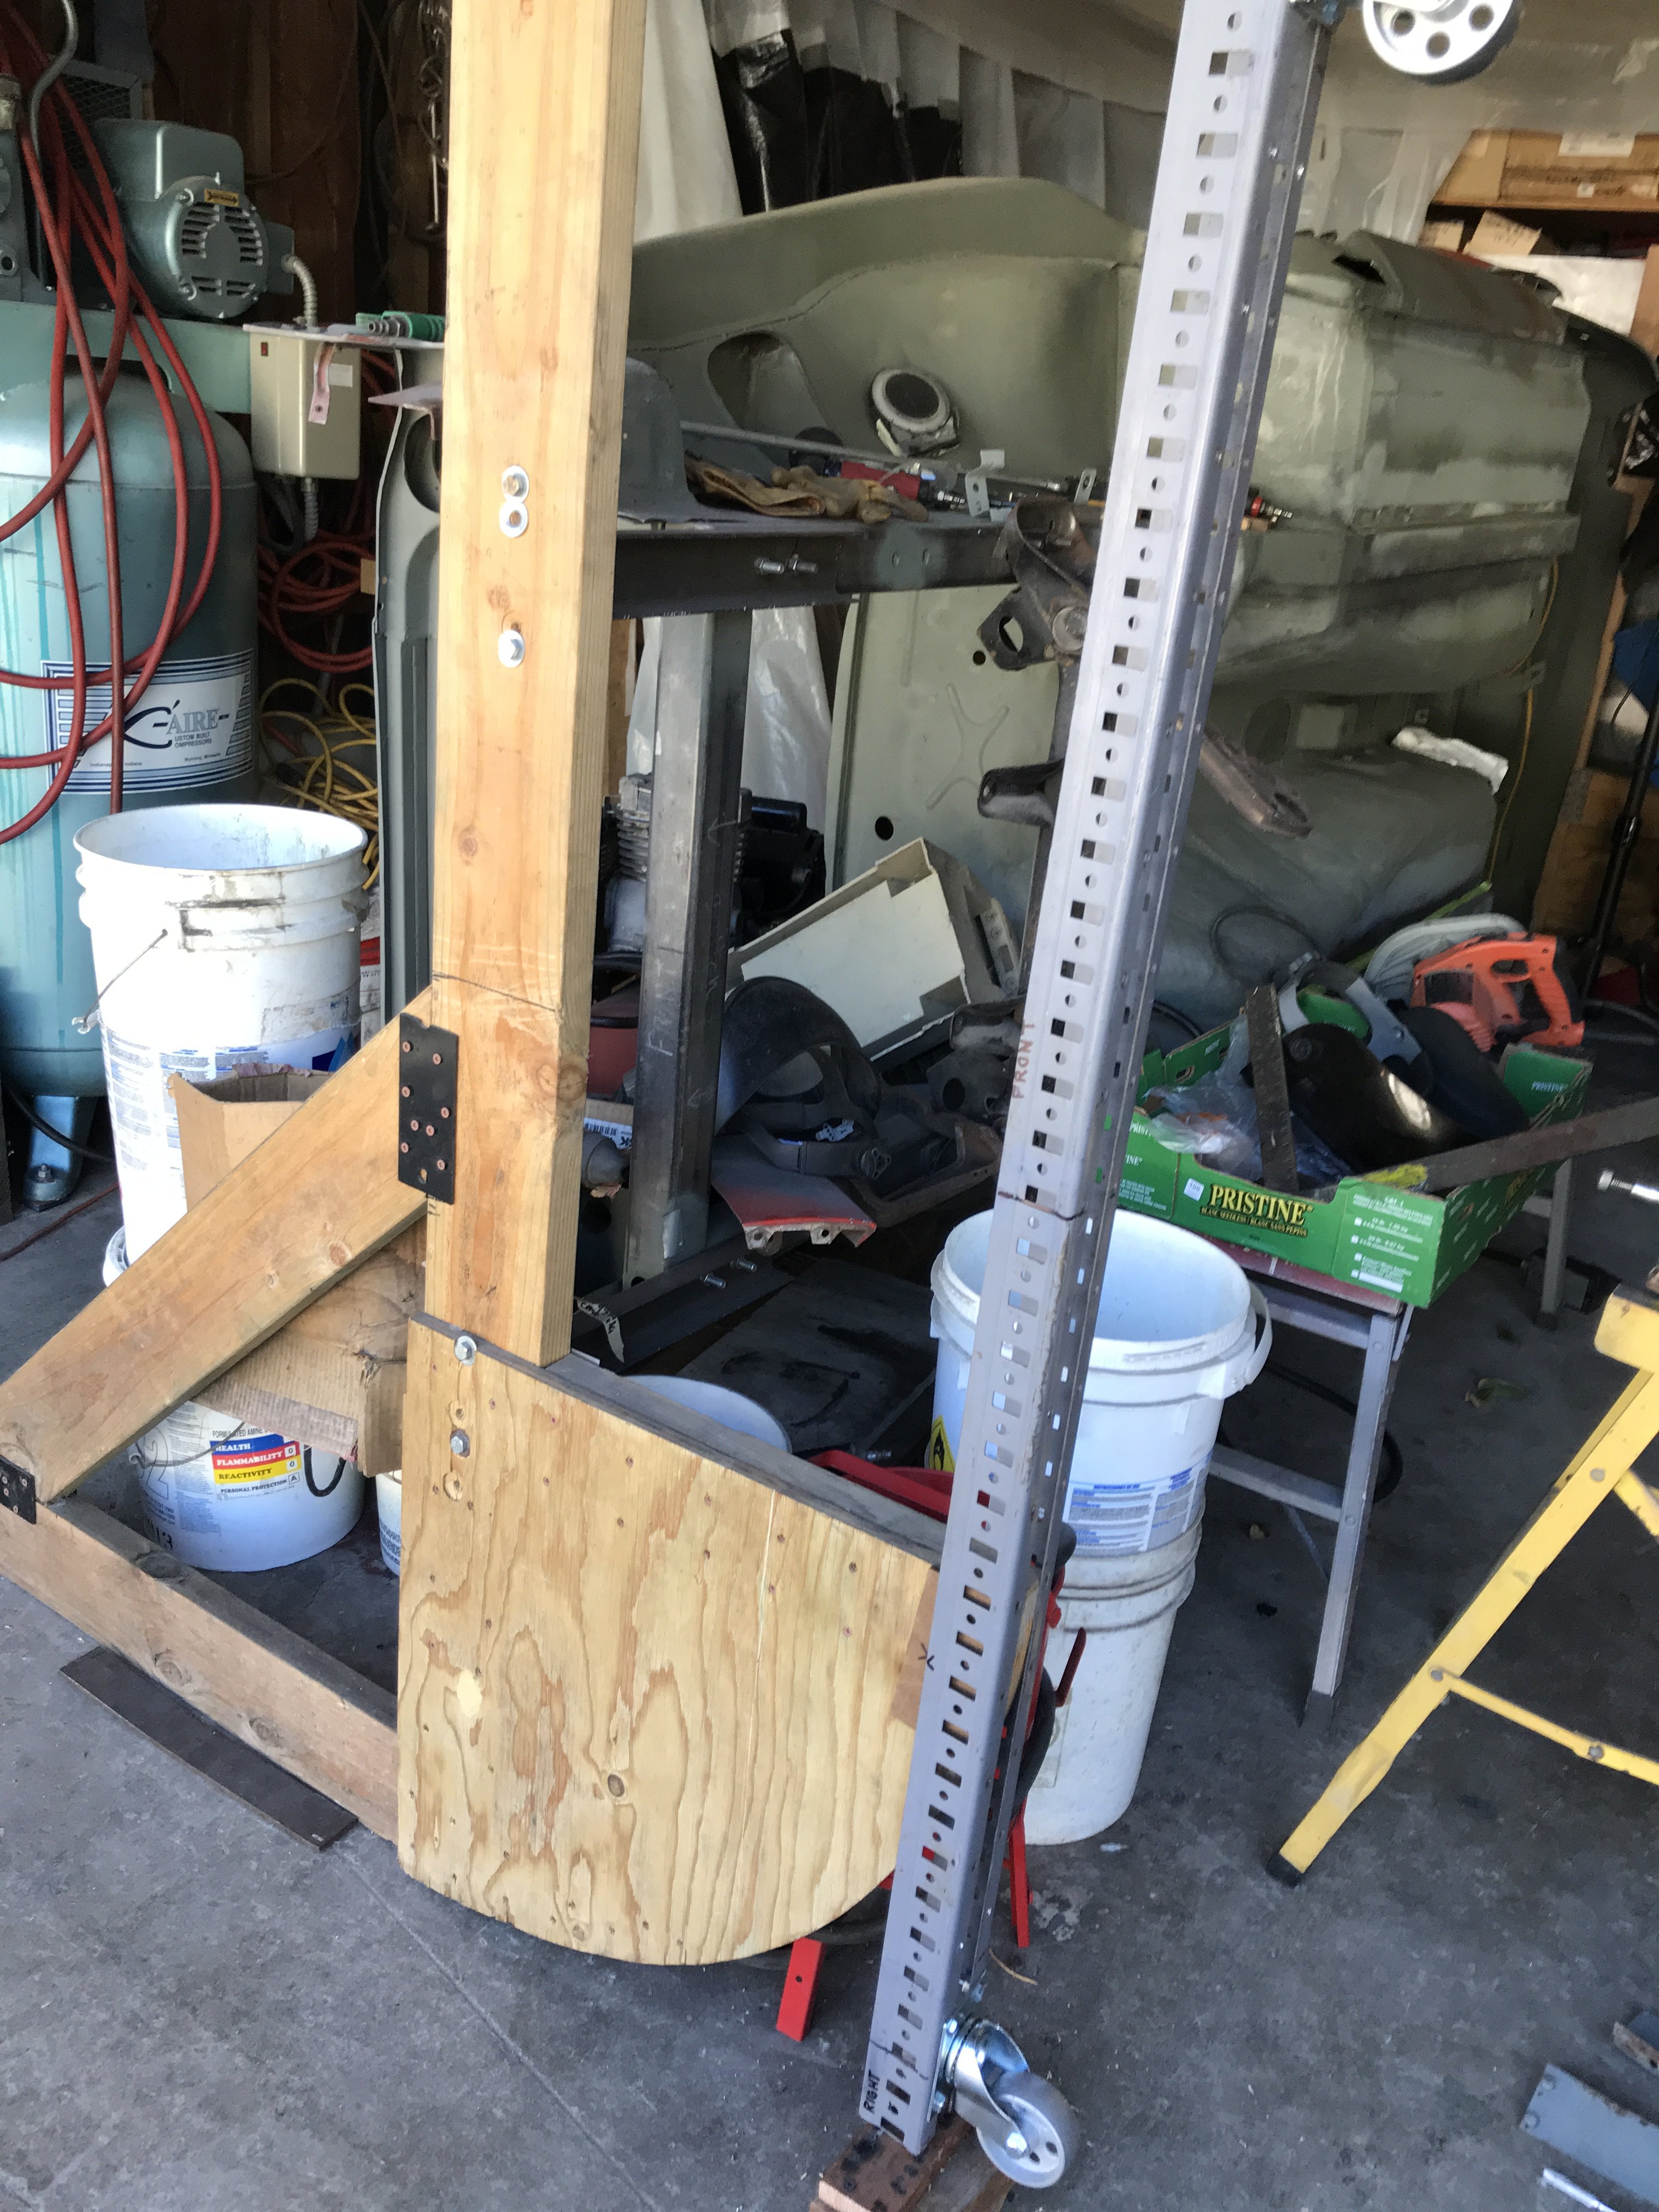
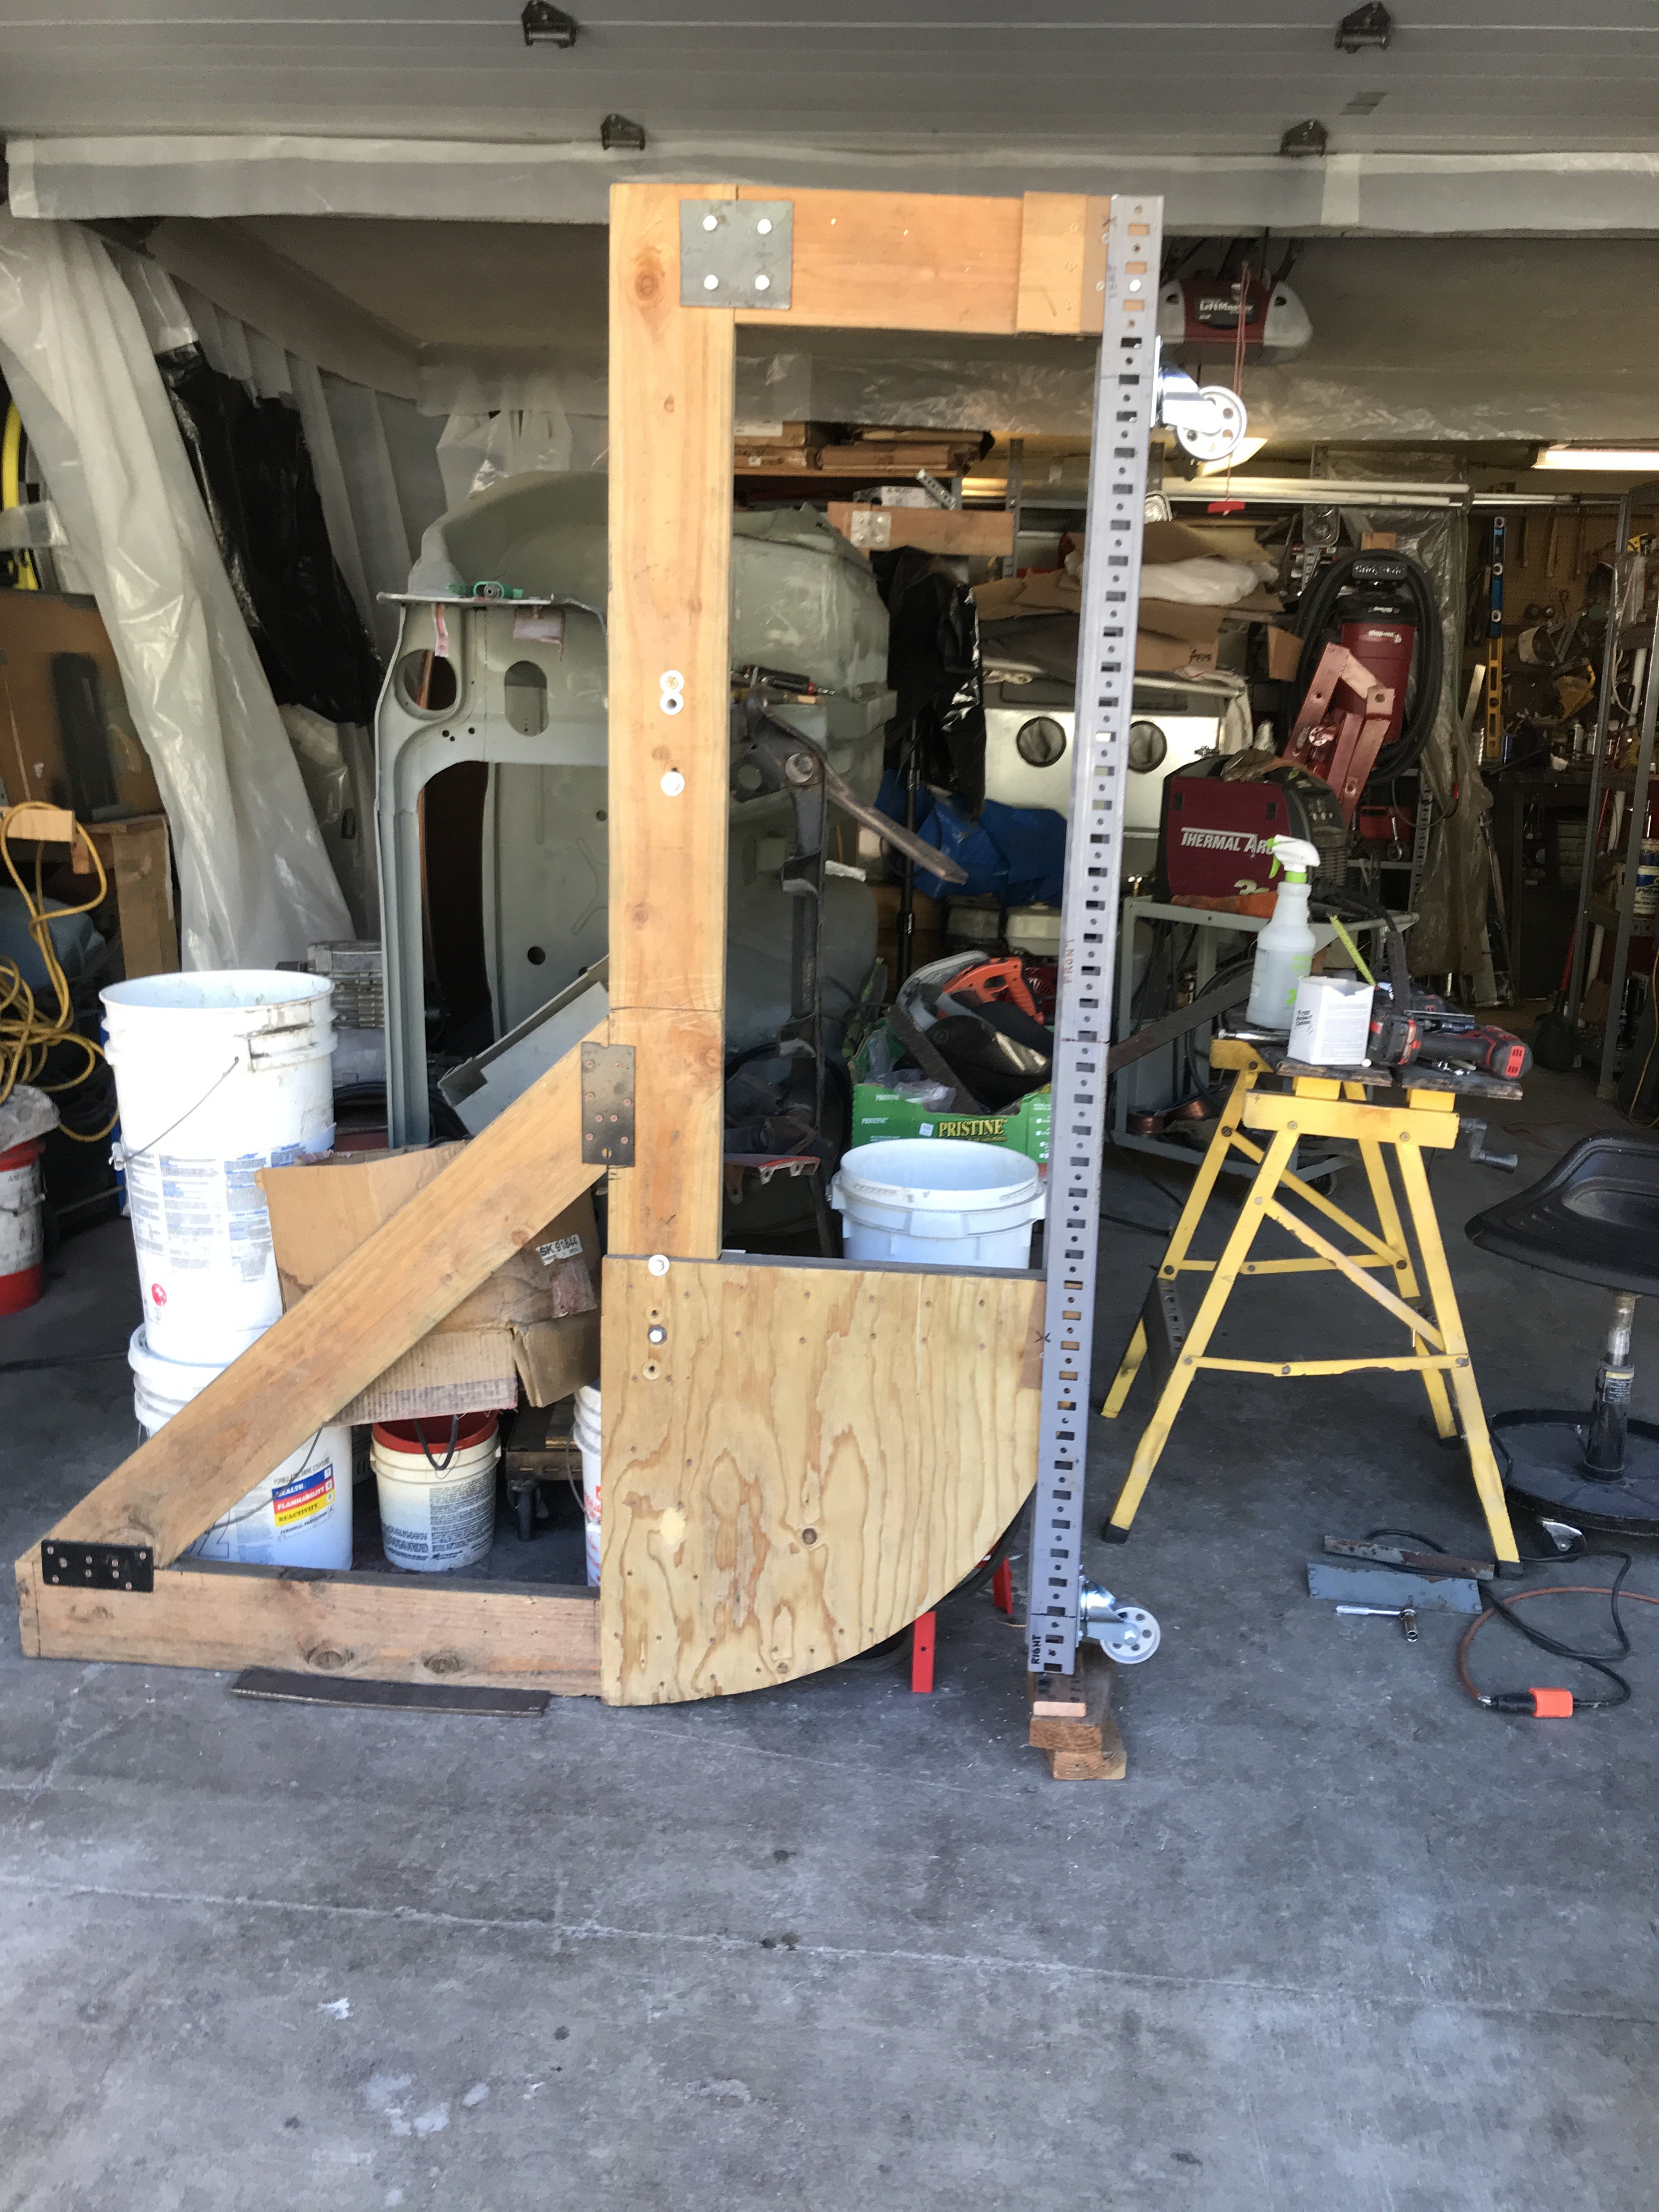
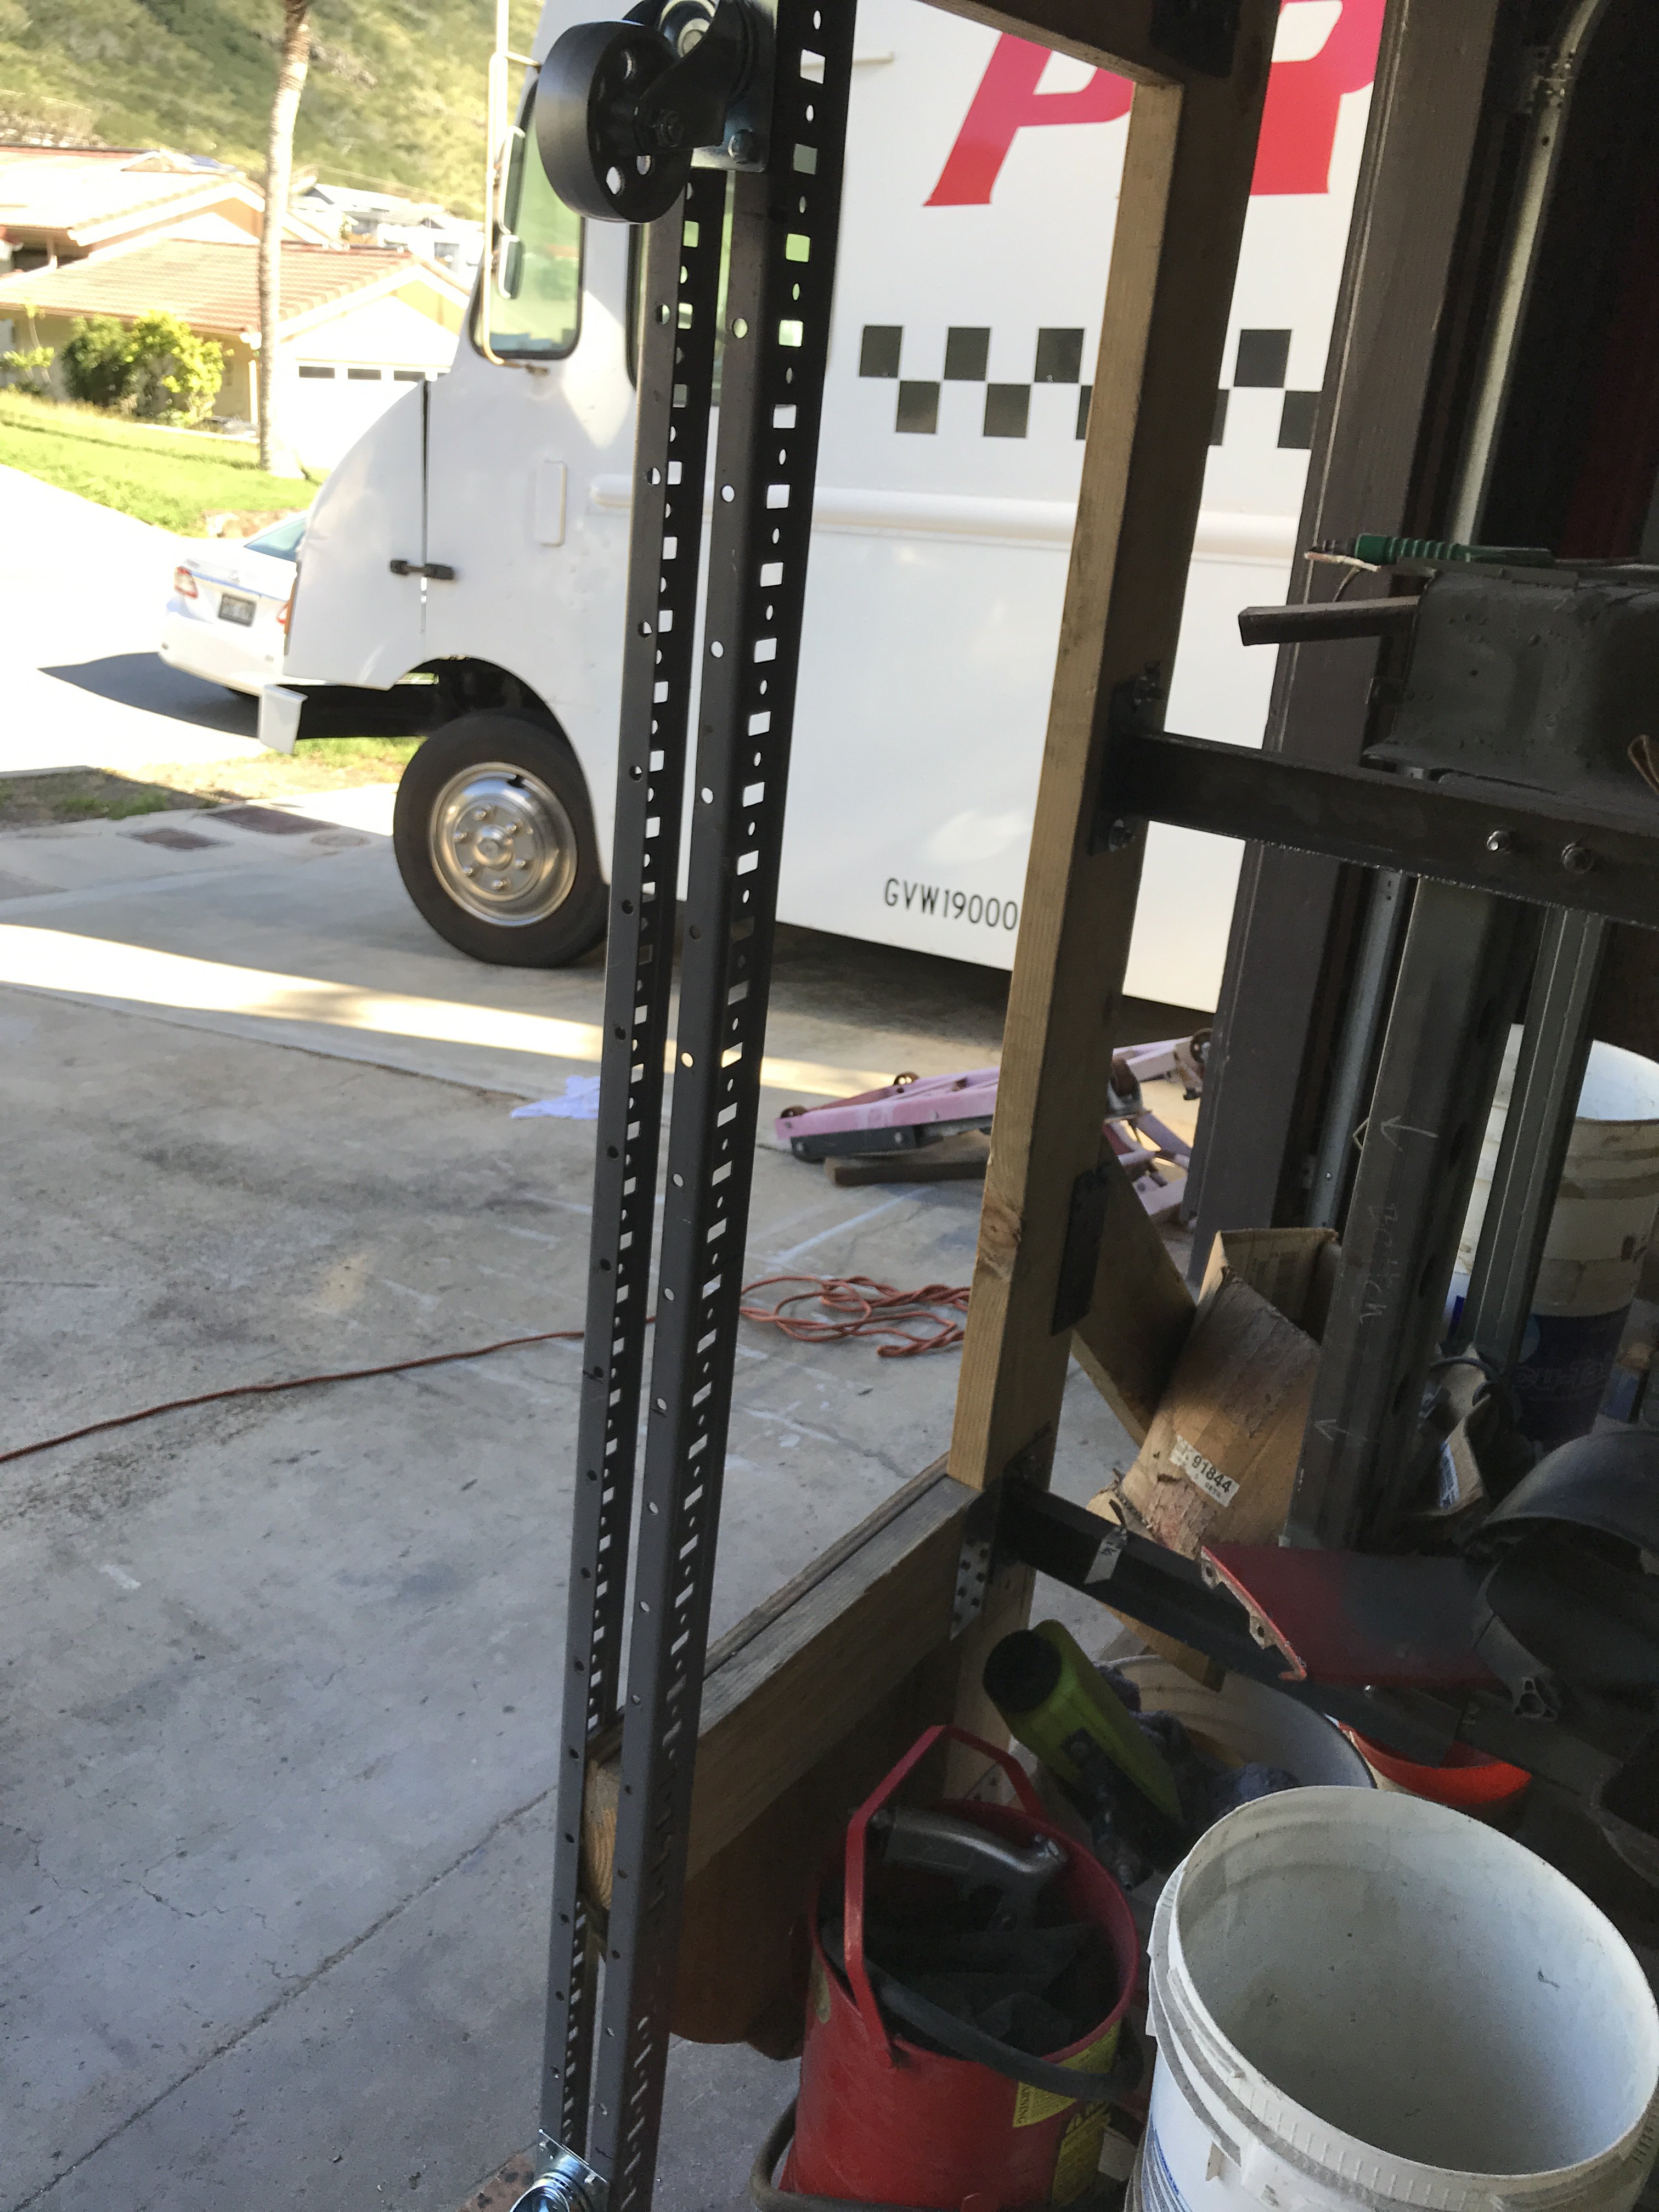
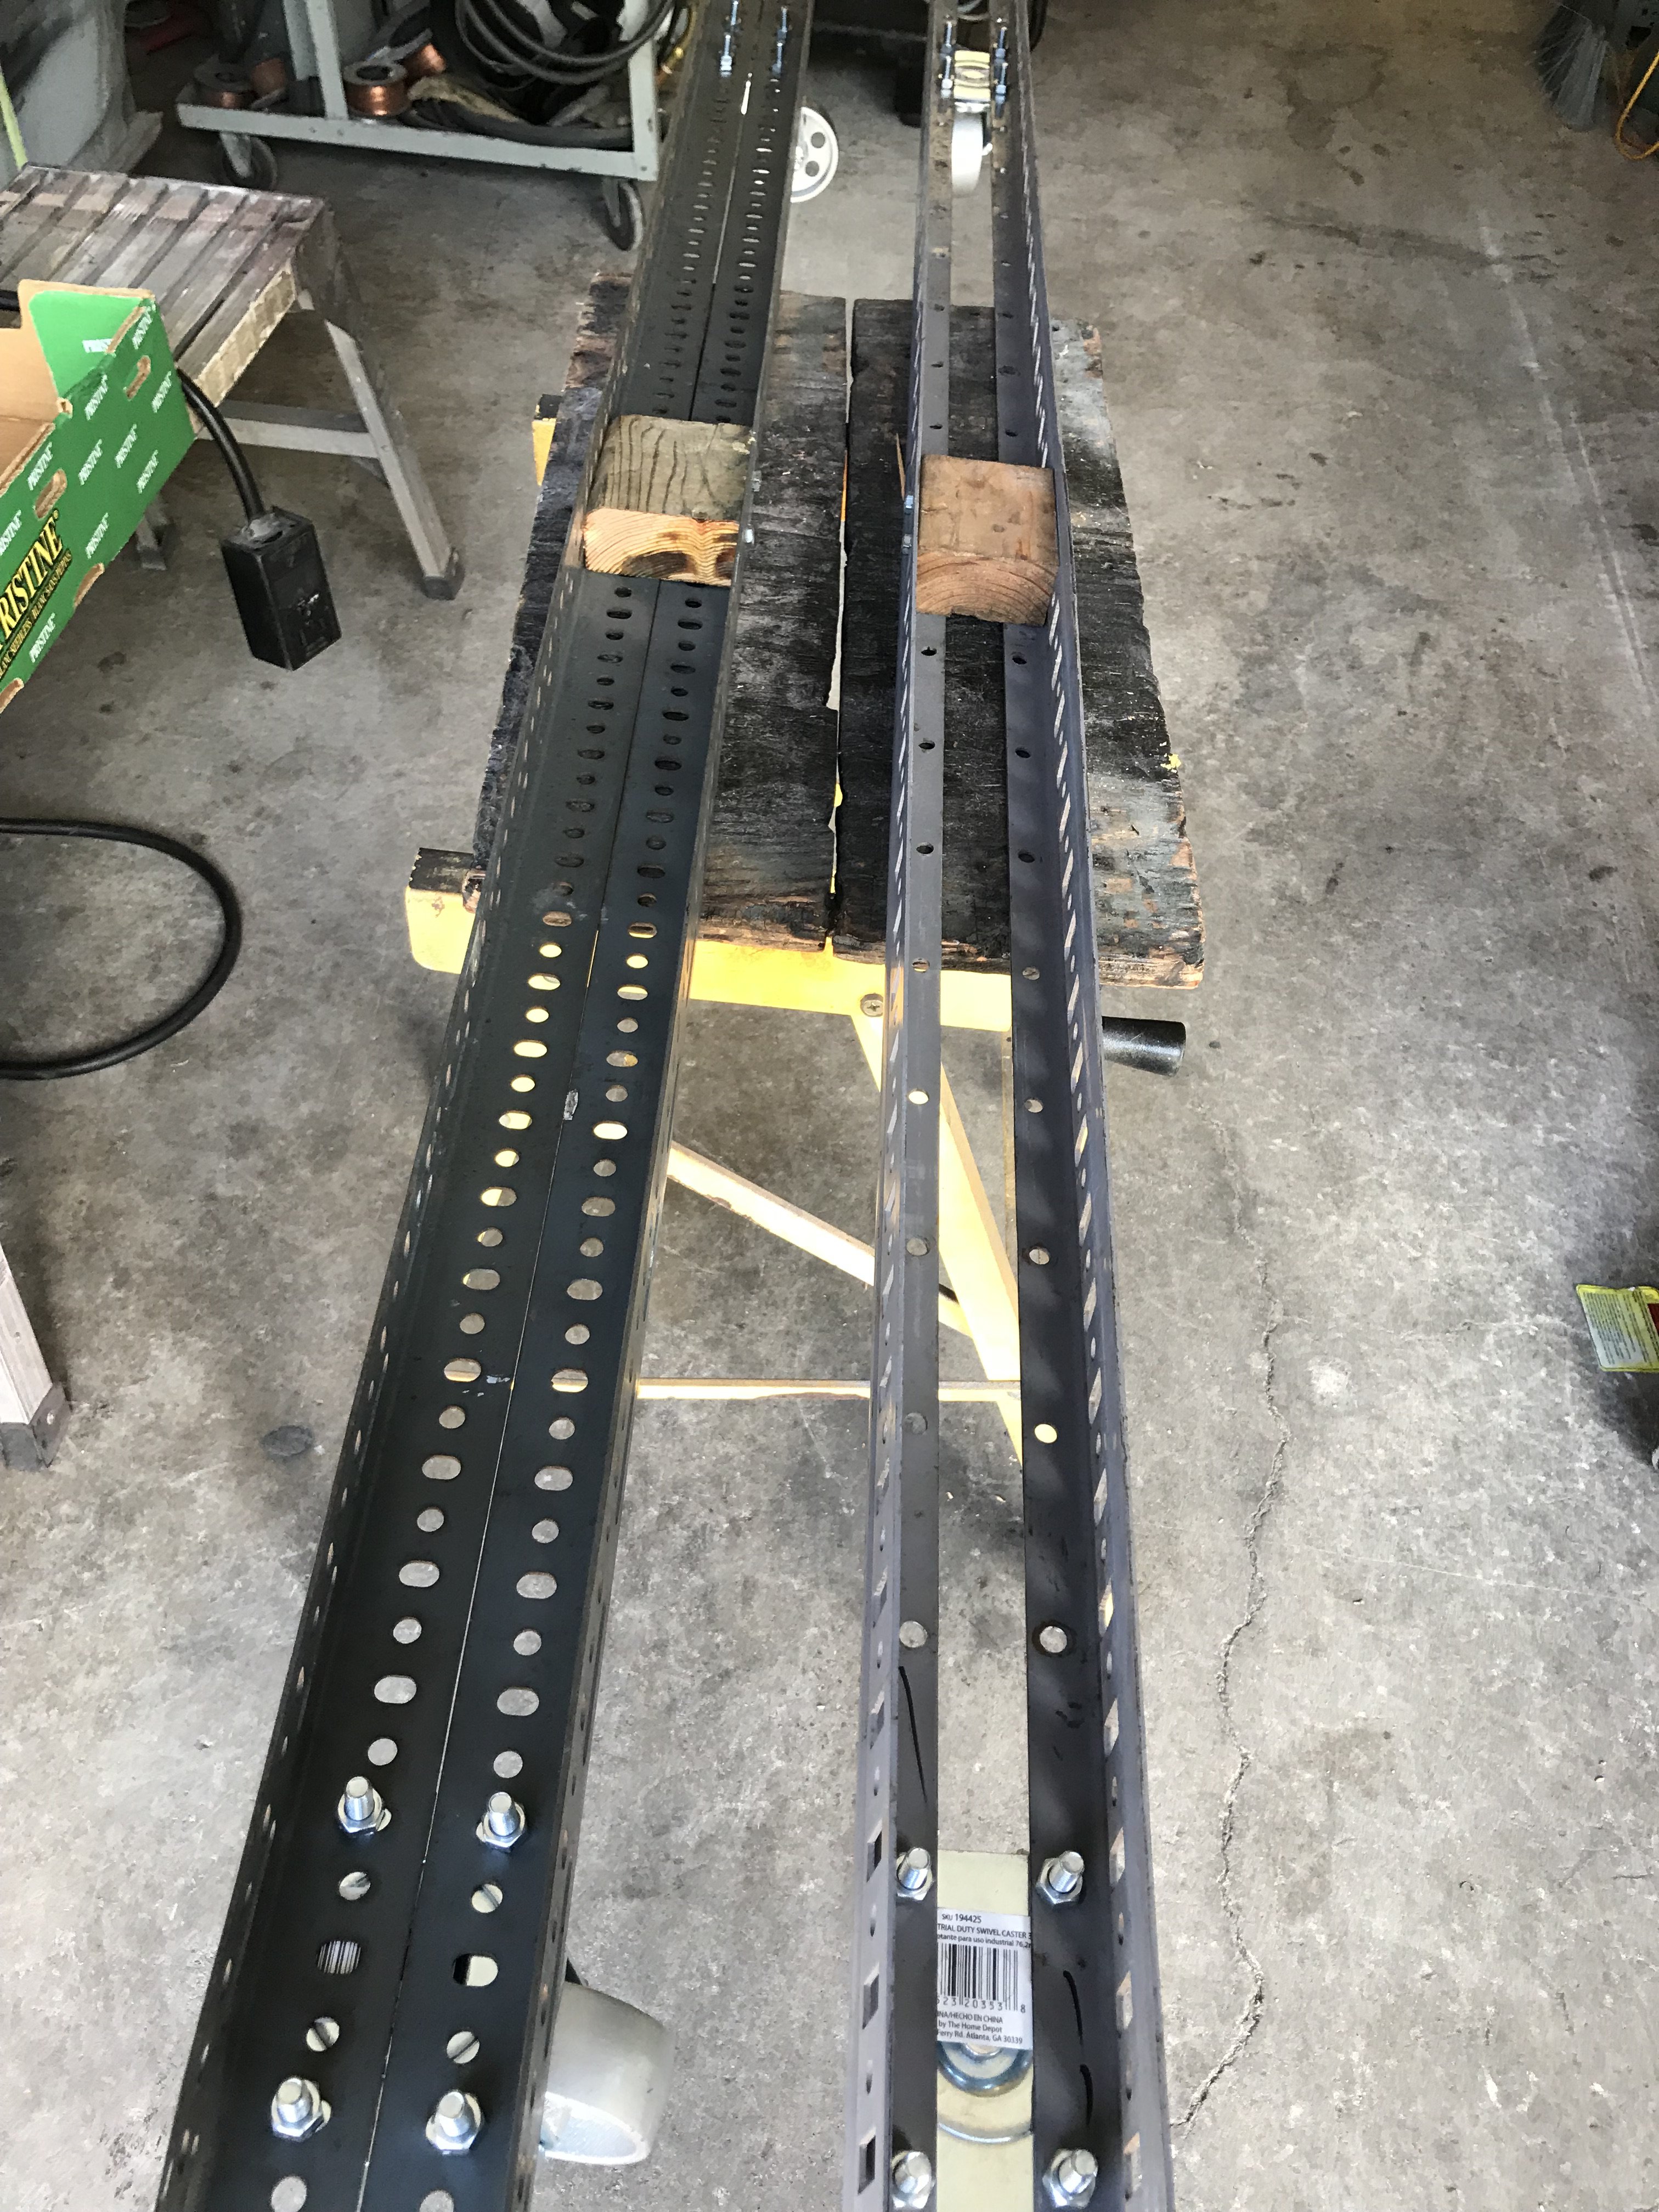
After rotating the car to the horizontal position, I attached the two caster cross members. Pushing the car around was fine but I noticed that the rotisserie was wobbly when moved. So I decided to add a 1 1/4" galvanized conduit between the two ends of rotisserie to solve the problem. Two mounts were made to hold the 15 feet of 1 1/4" conduit. Two 5/16" x 1" lag screws held the mount to the cross member.A 3/8" bolt with welded nut holds the conduit in place.
-
Heavy Duty frame rails and connectors
toolman replied to toolman's topic in Gen III & IV Chevy V8Z Tech Board
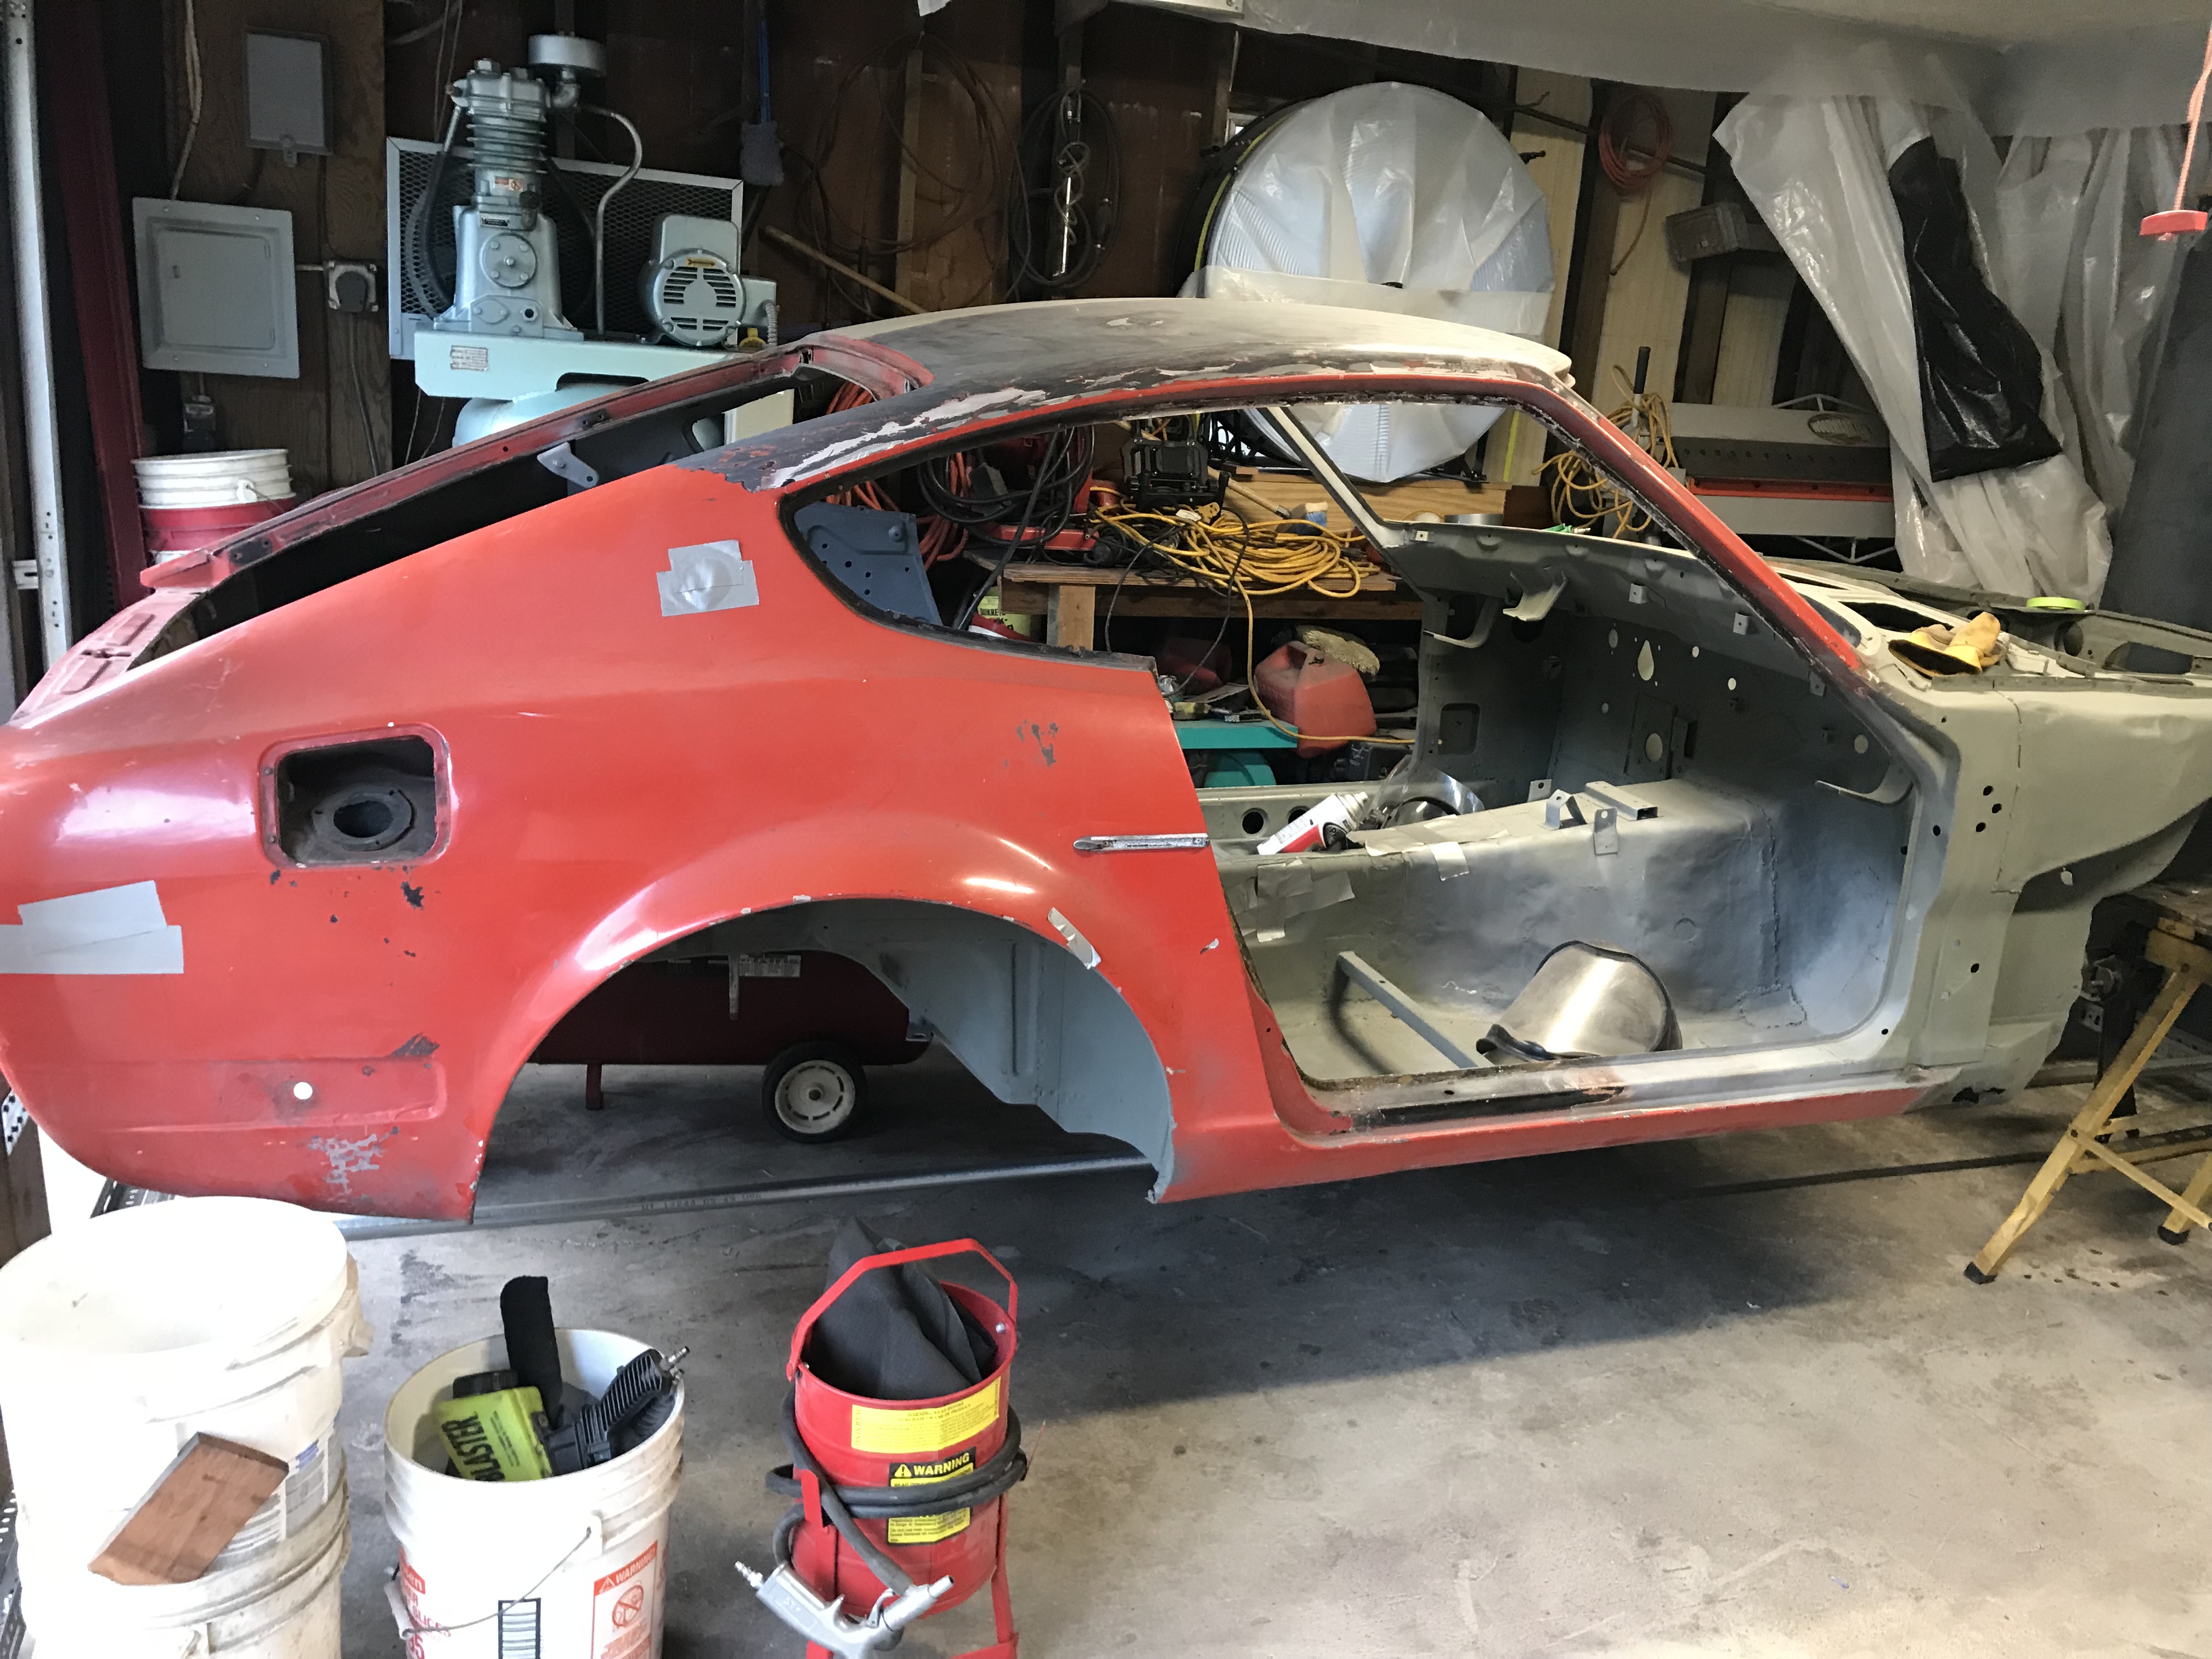
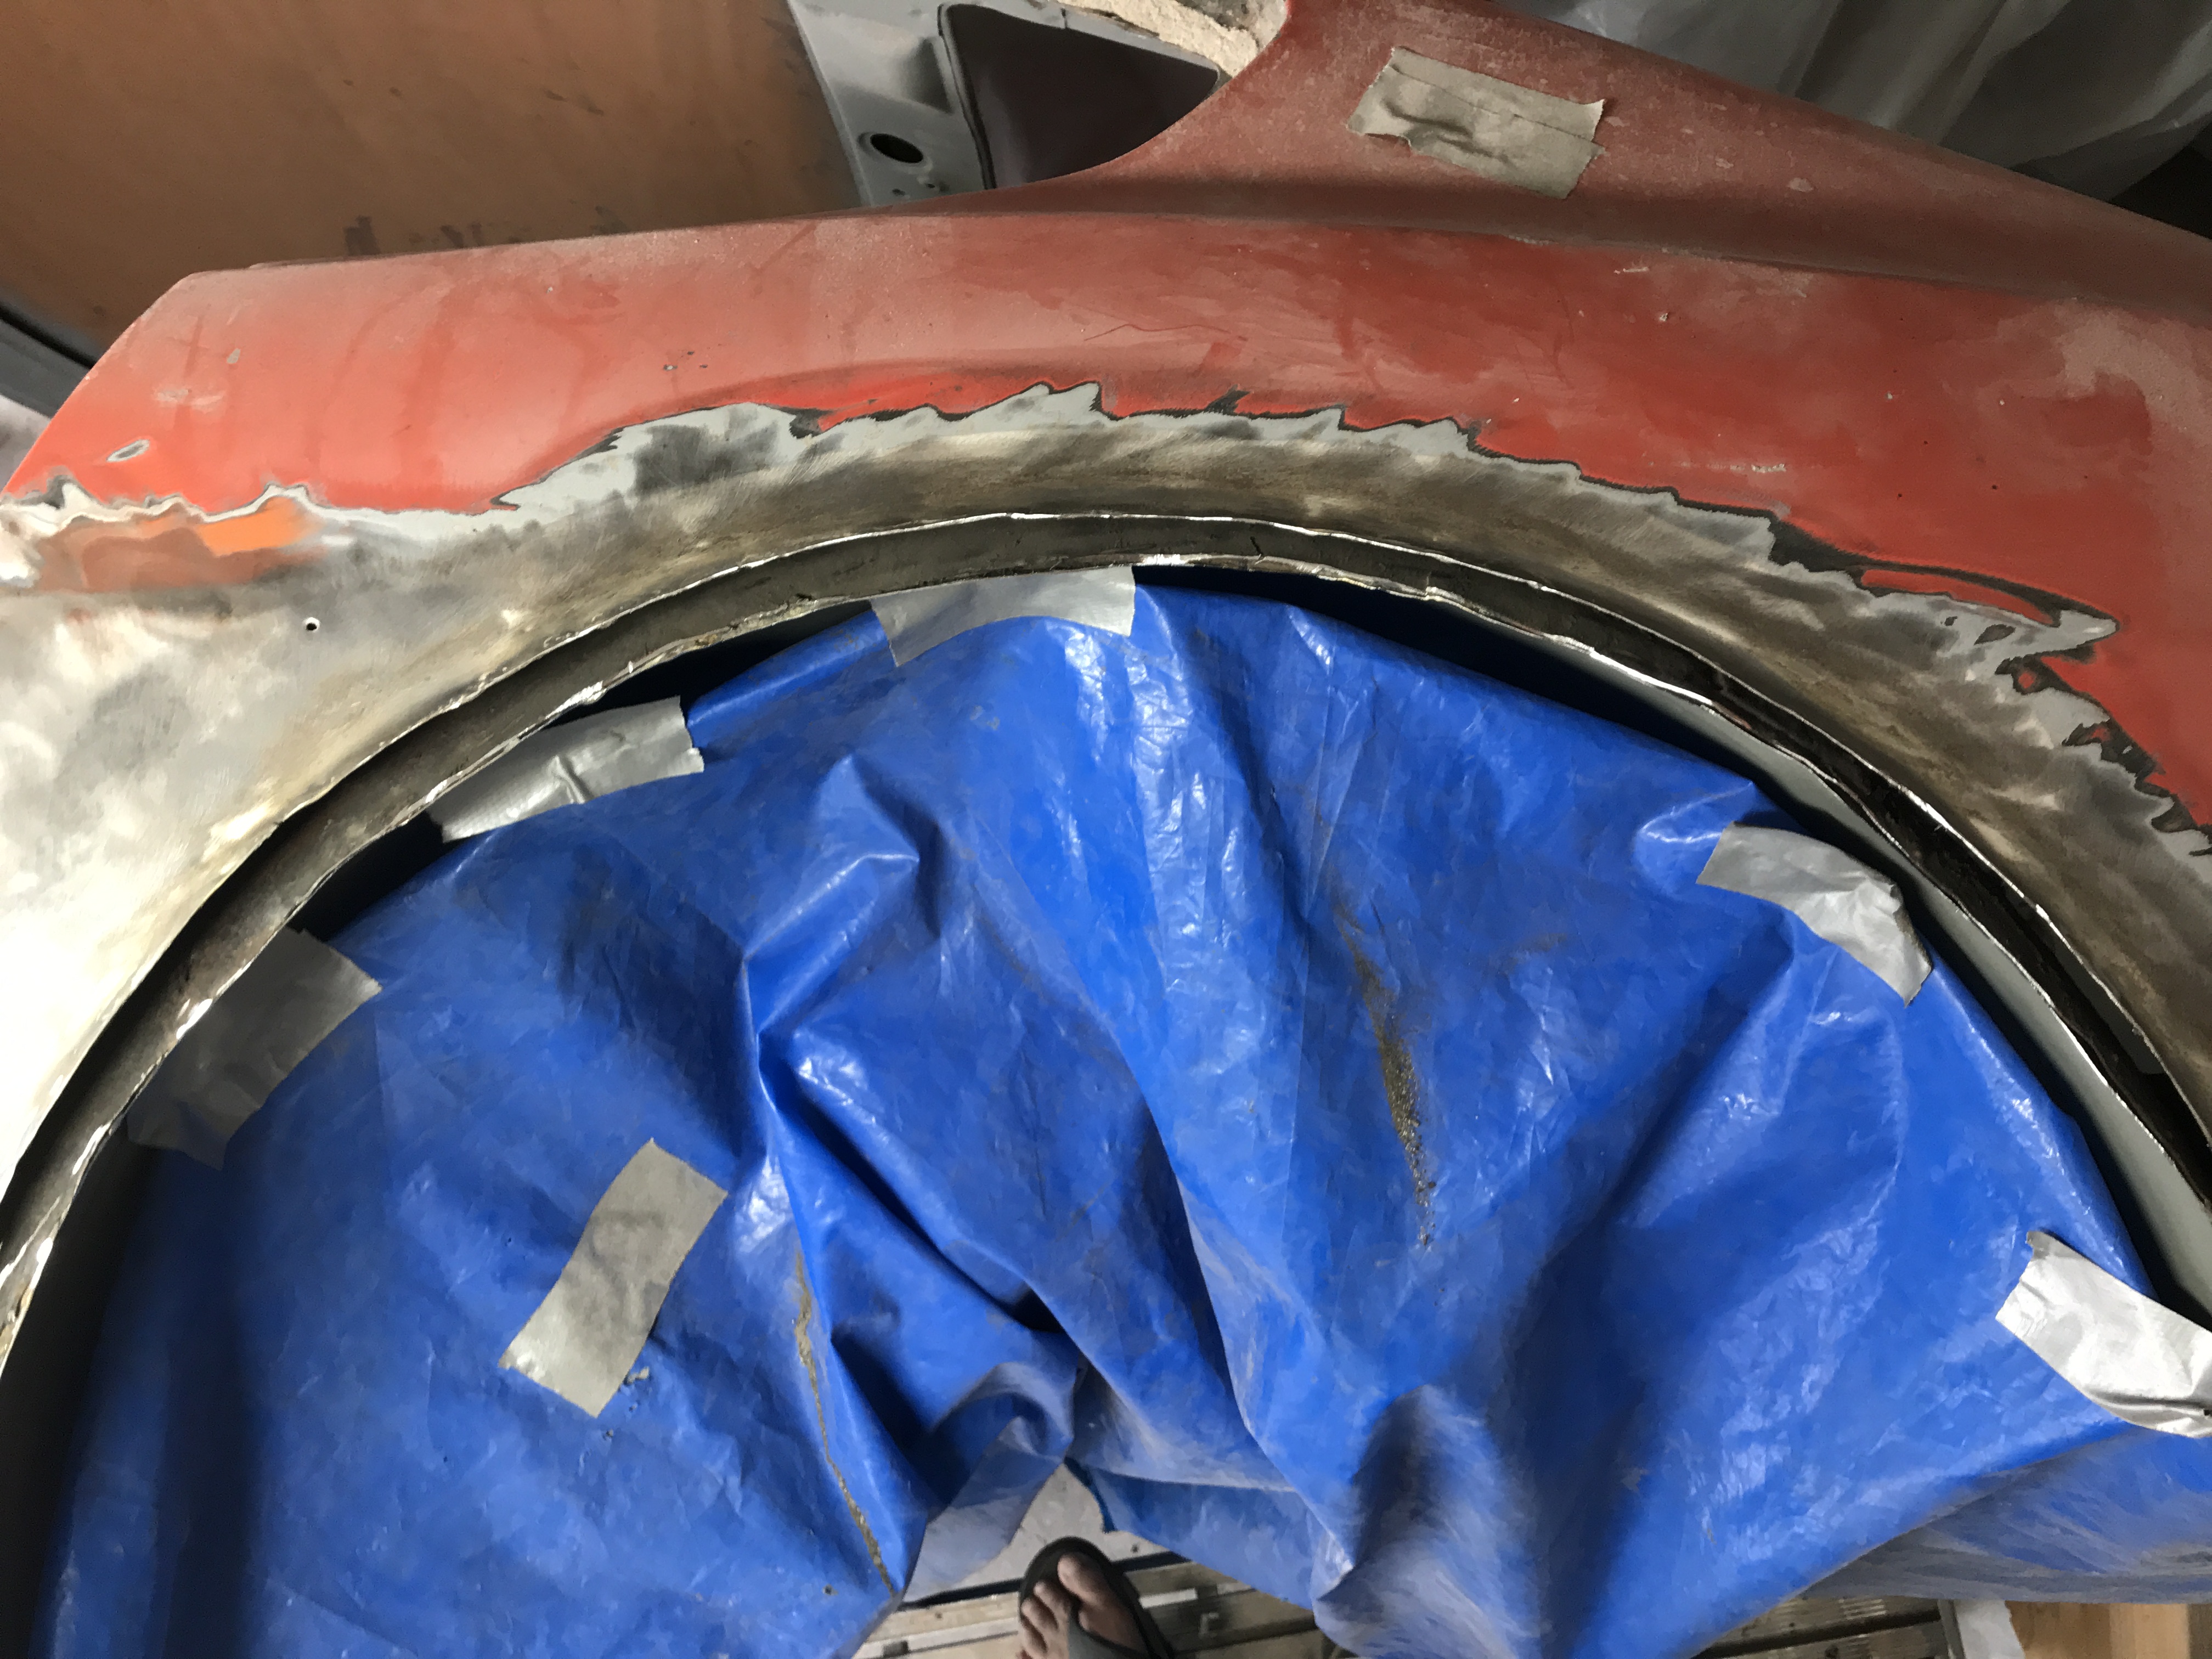
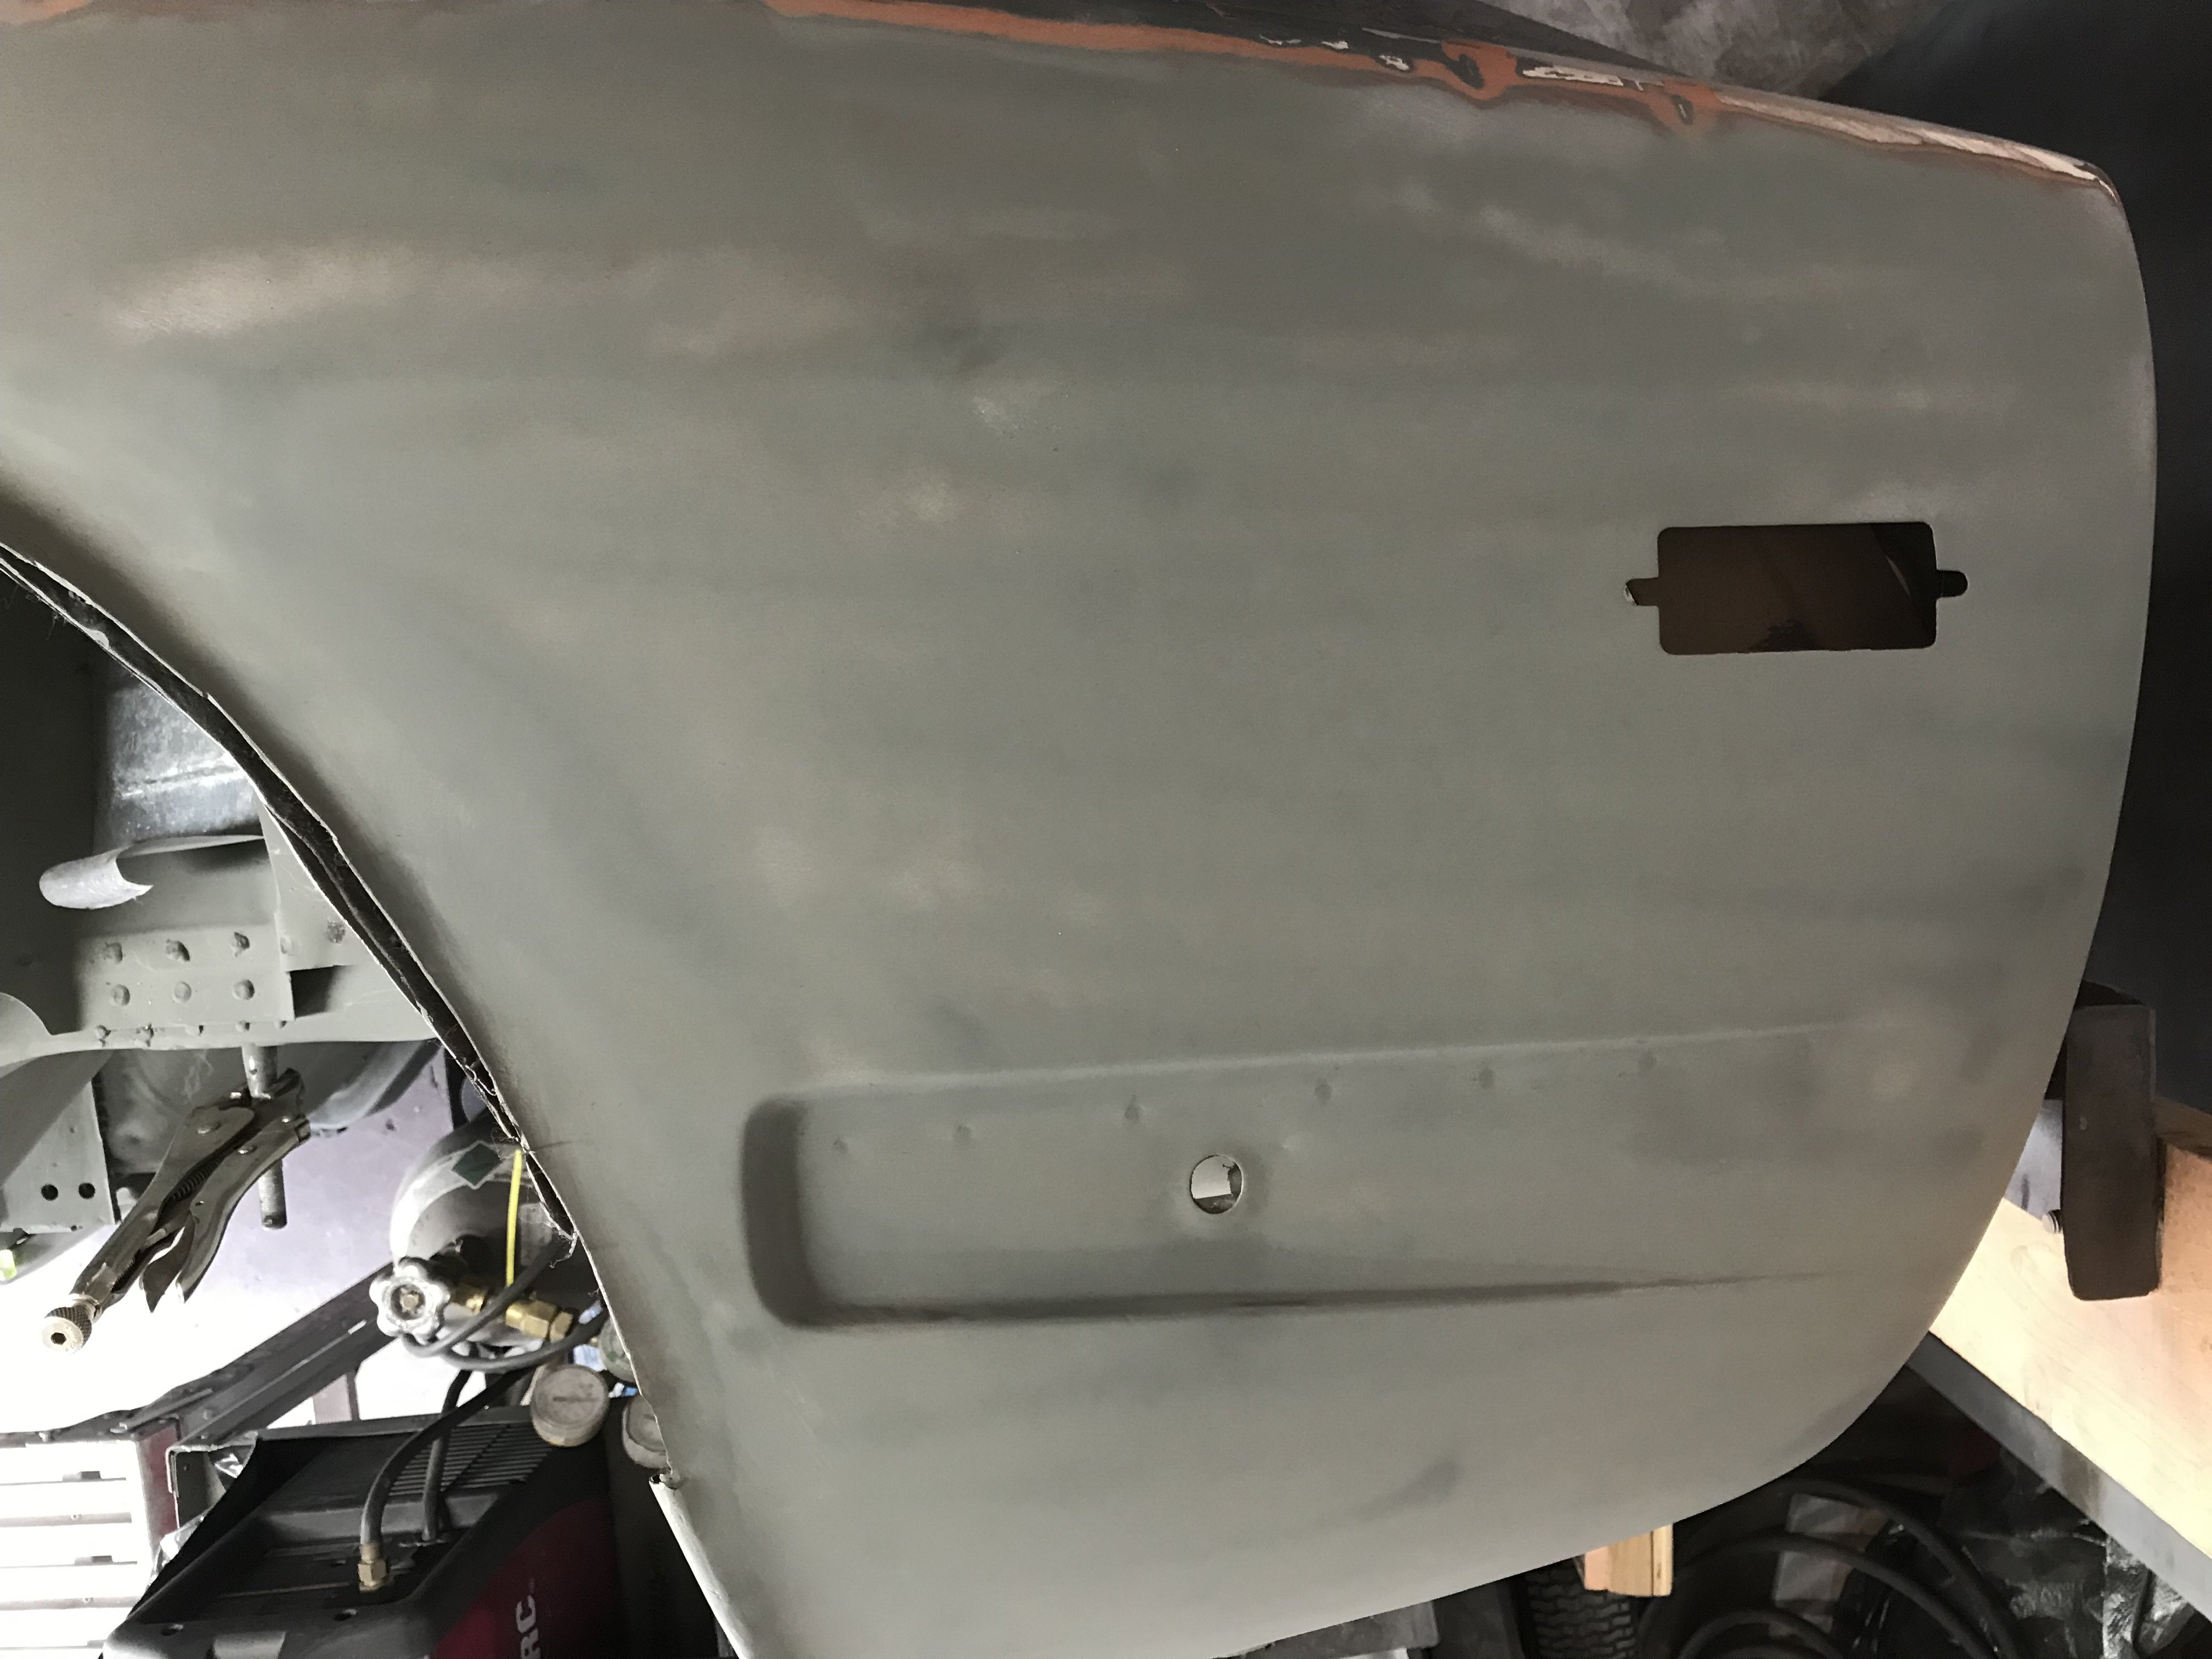
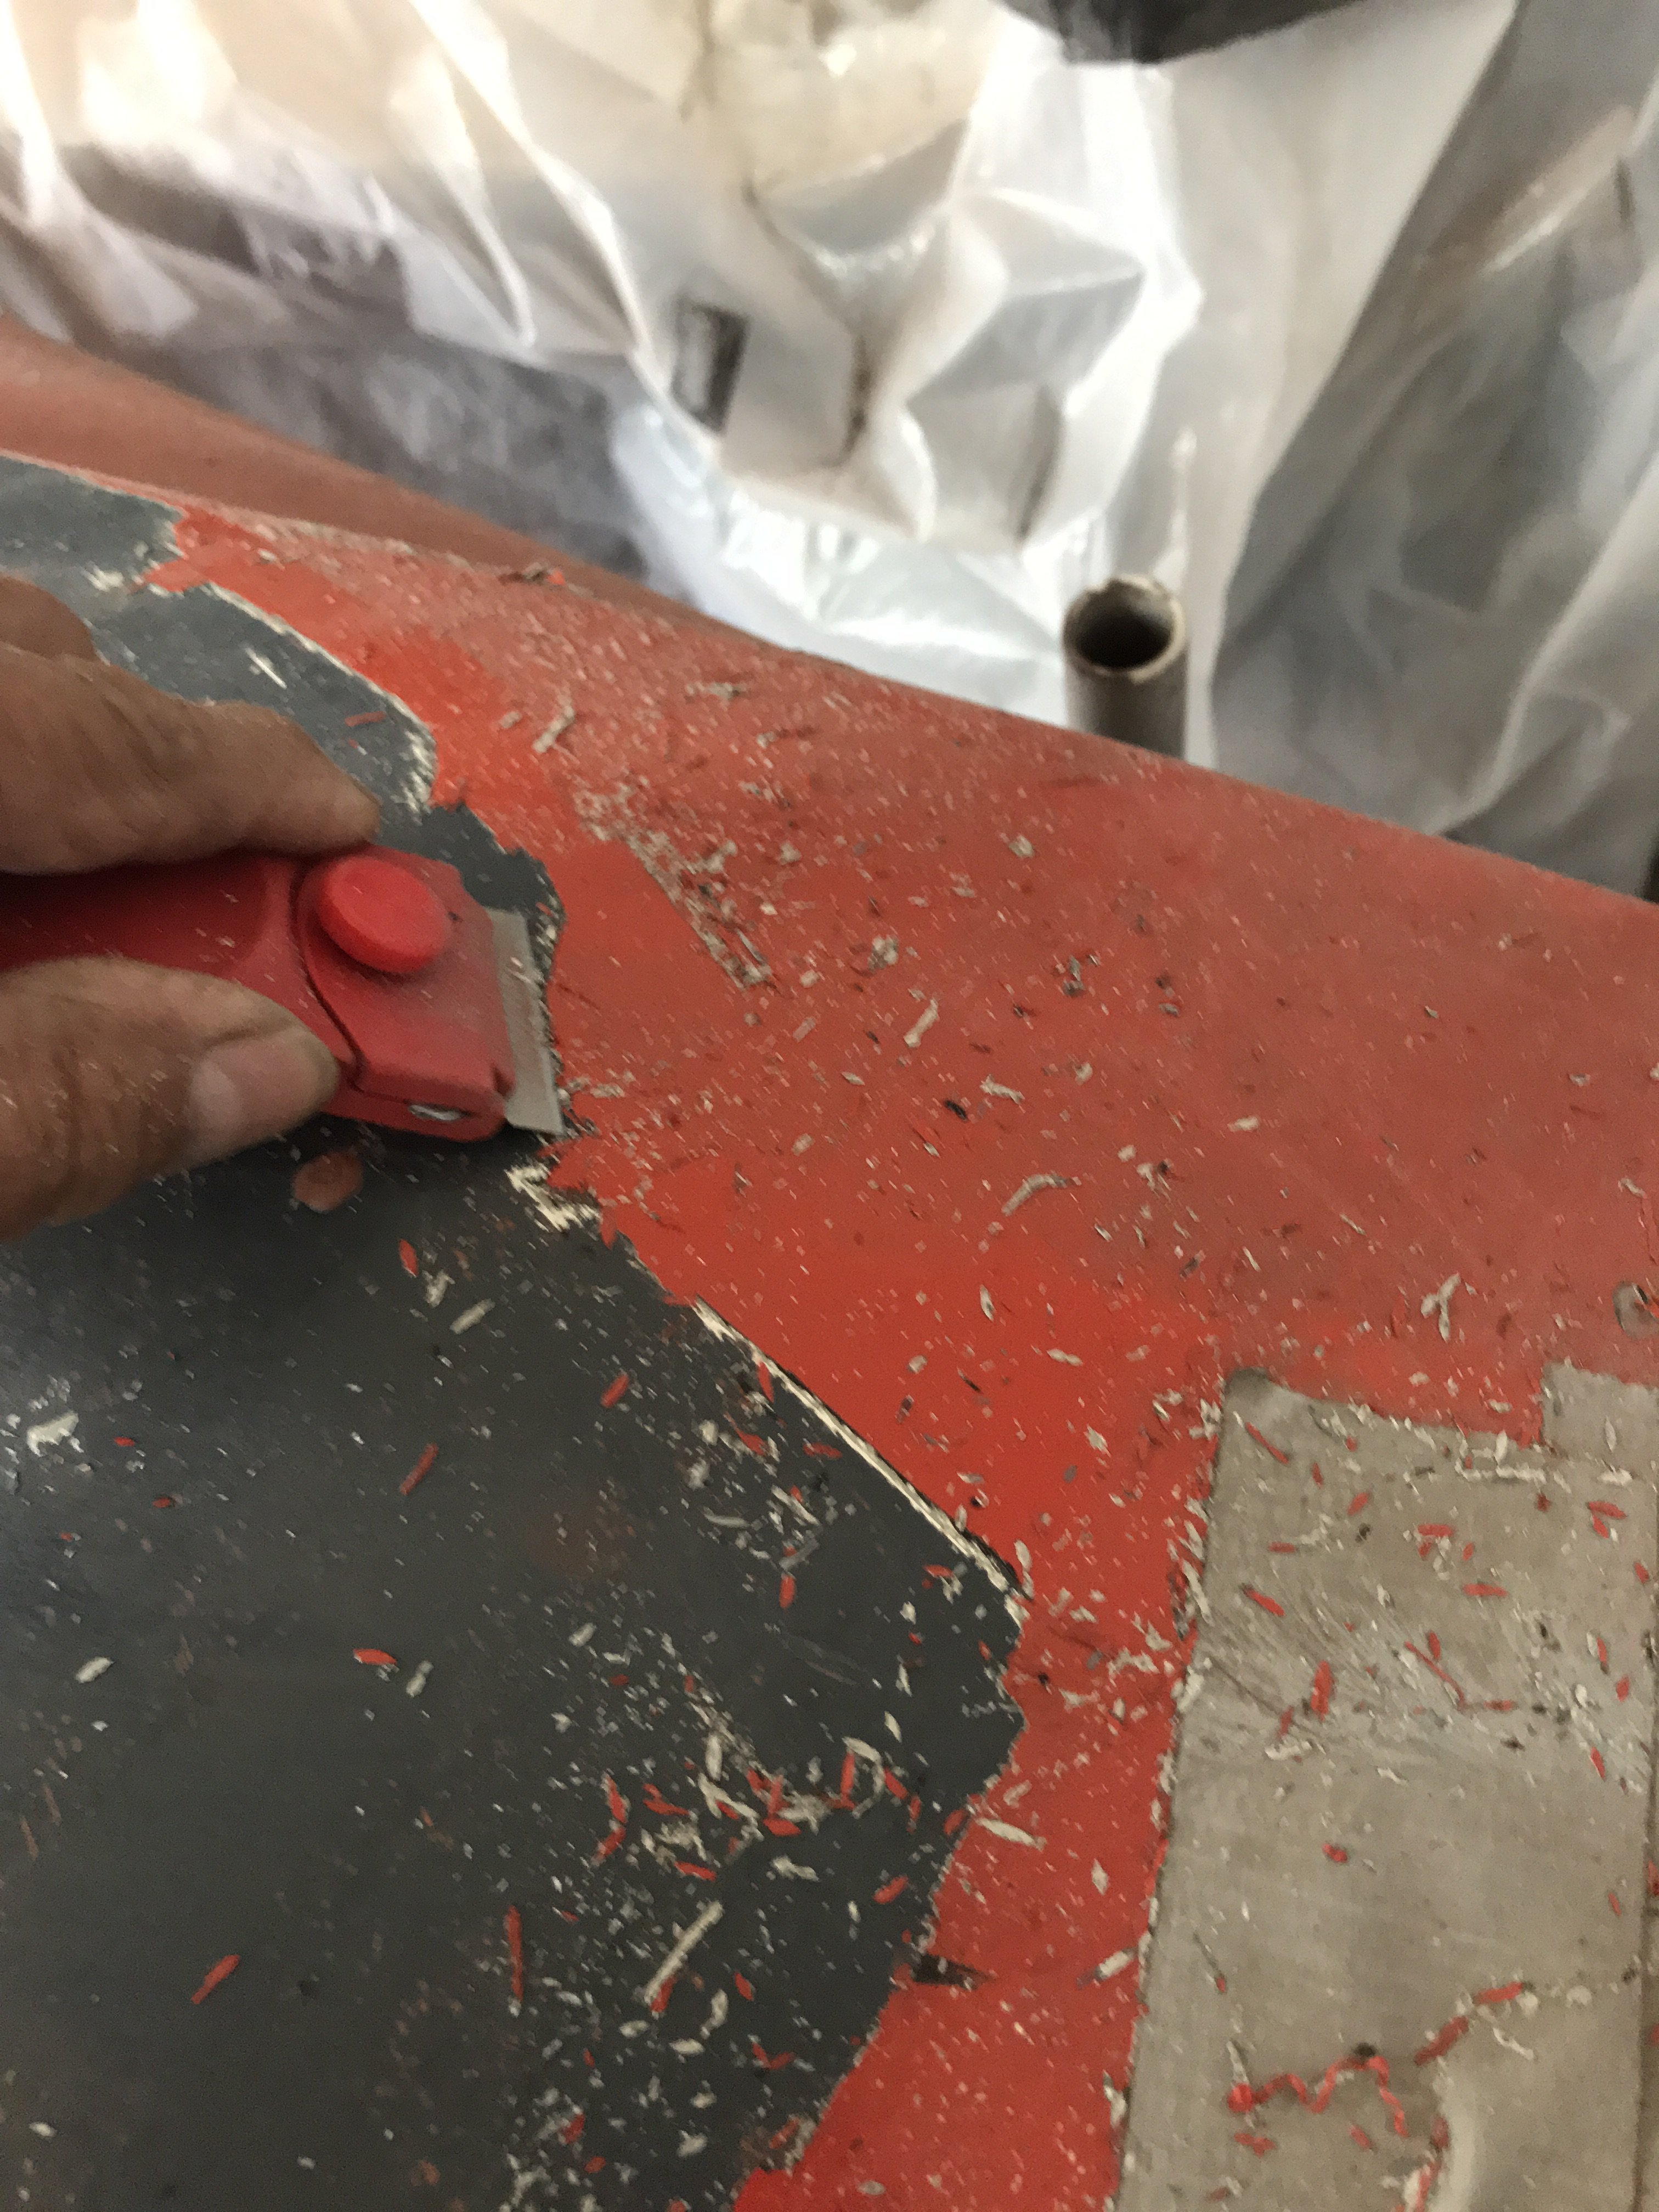
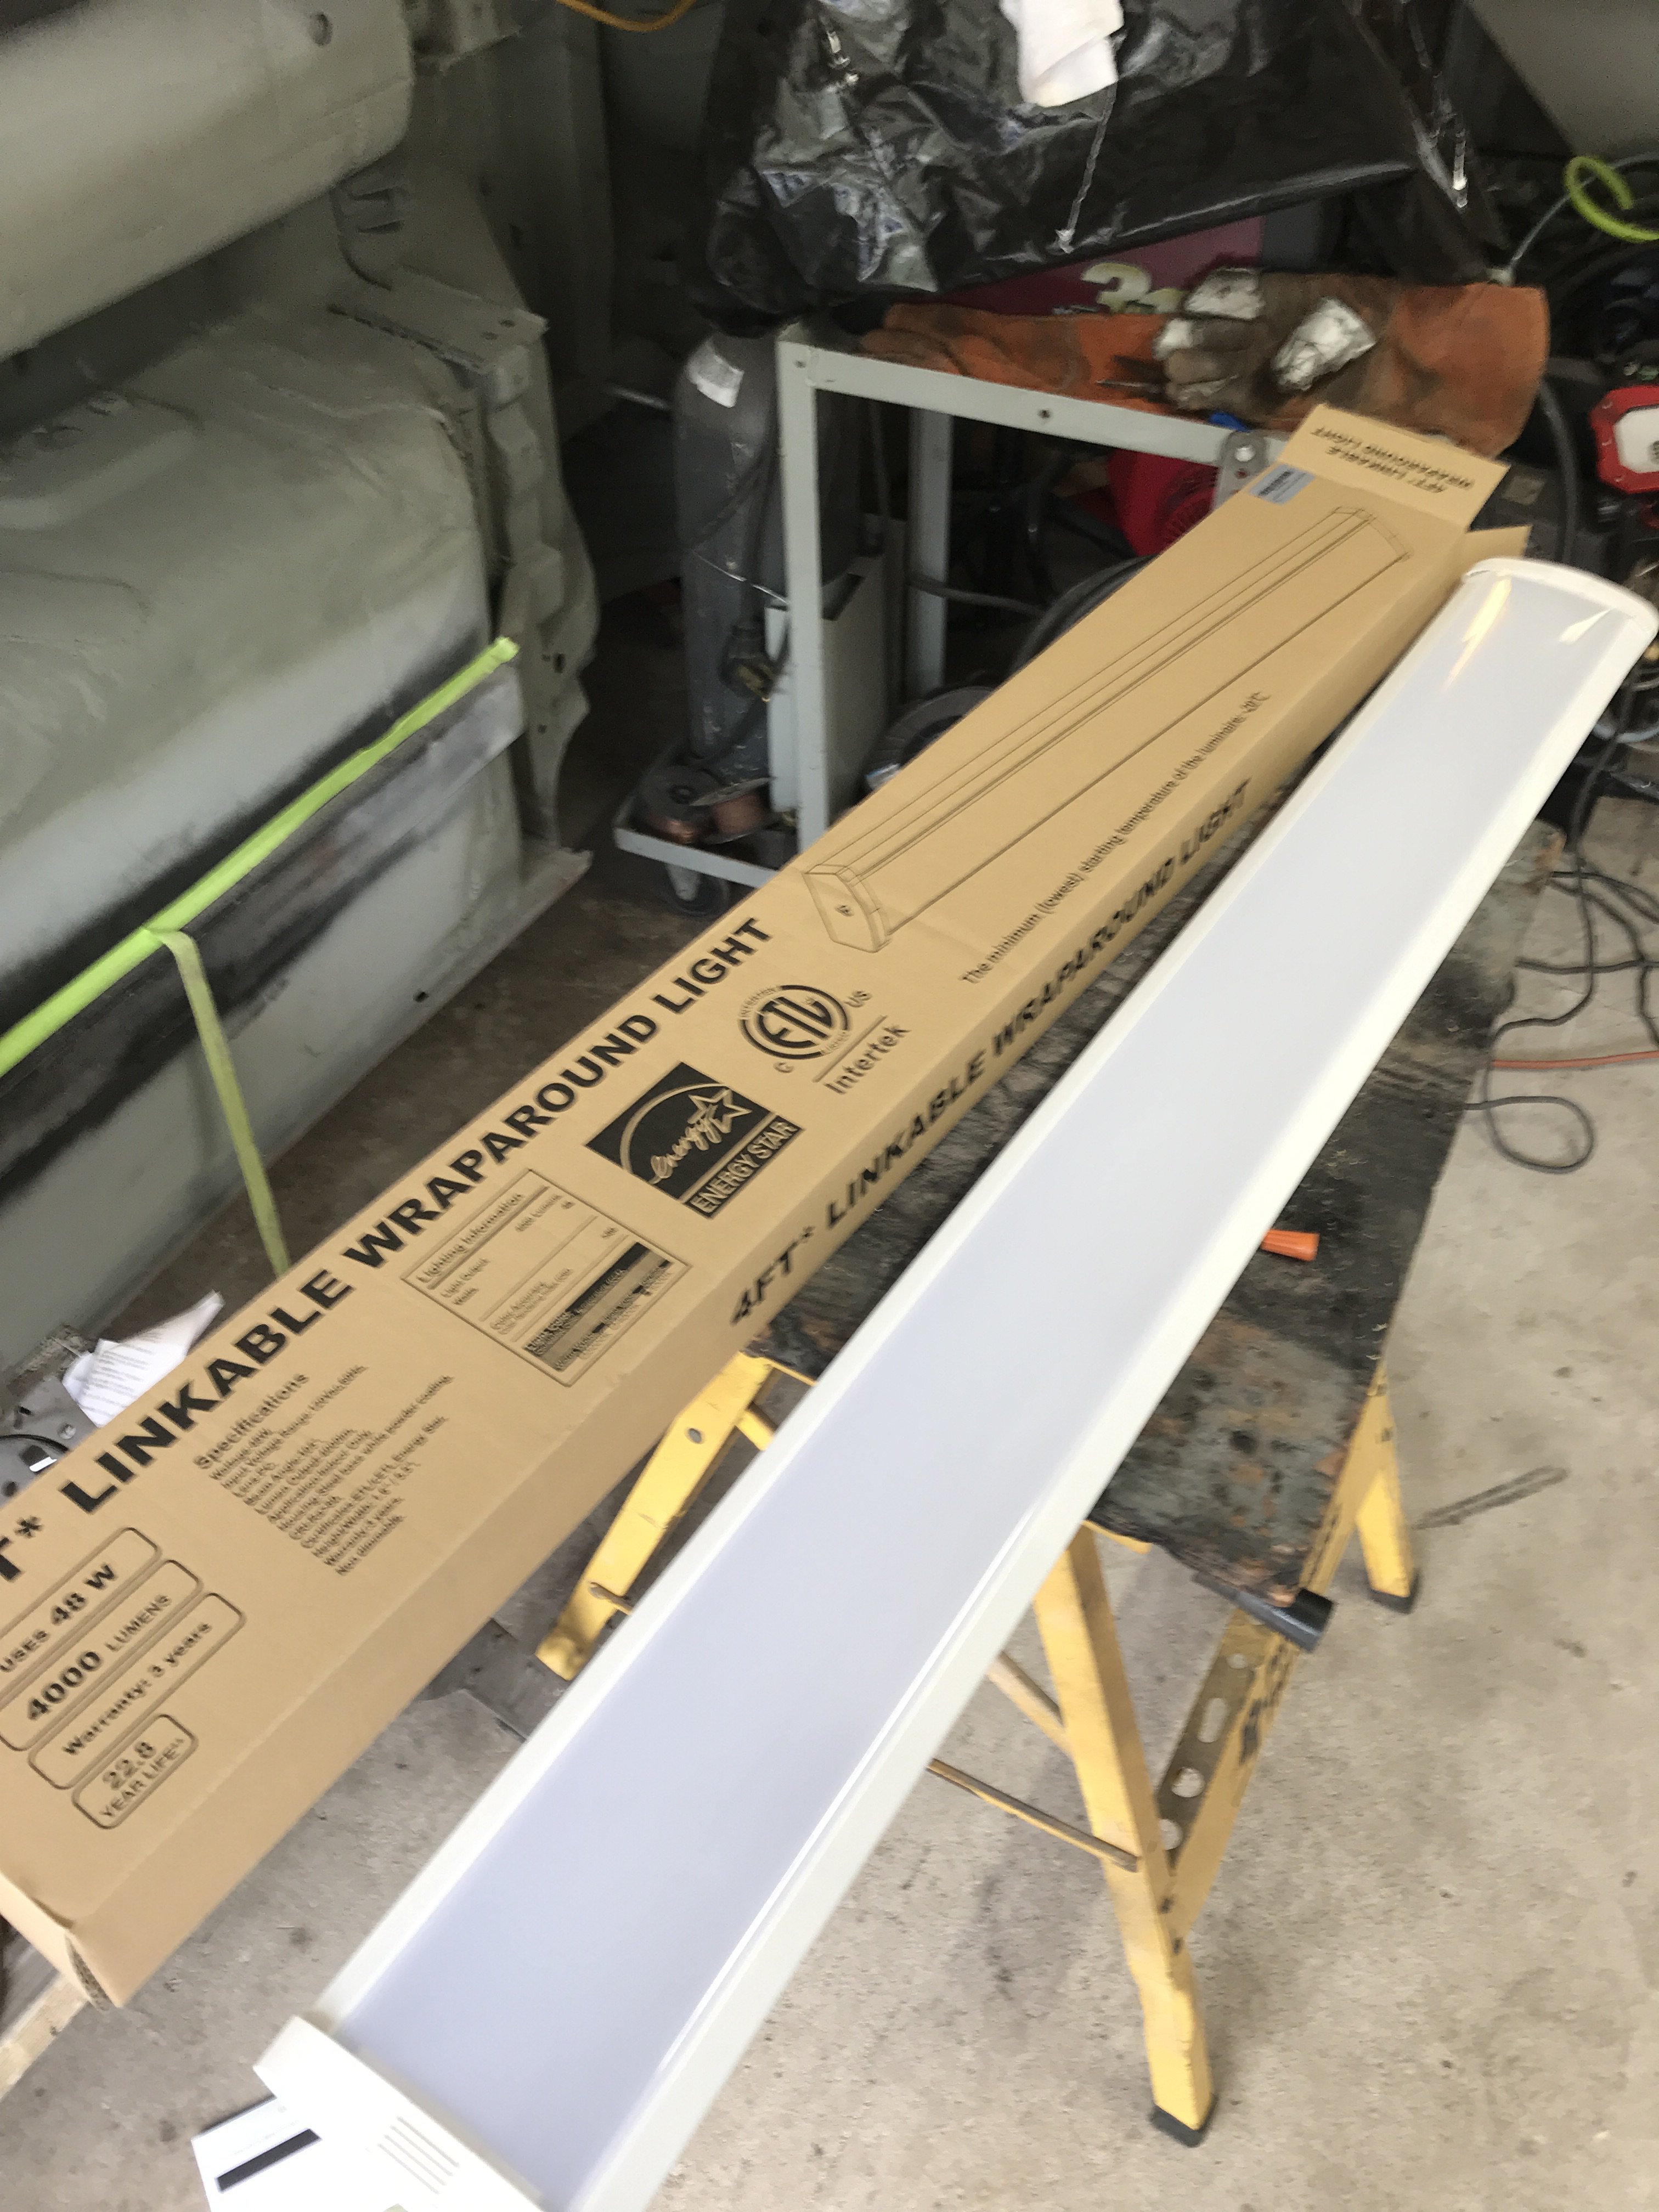
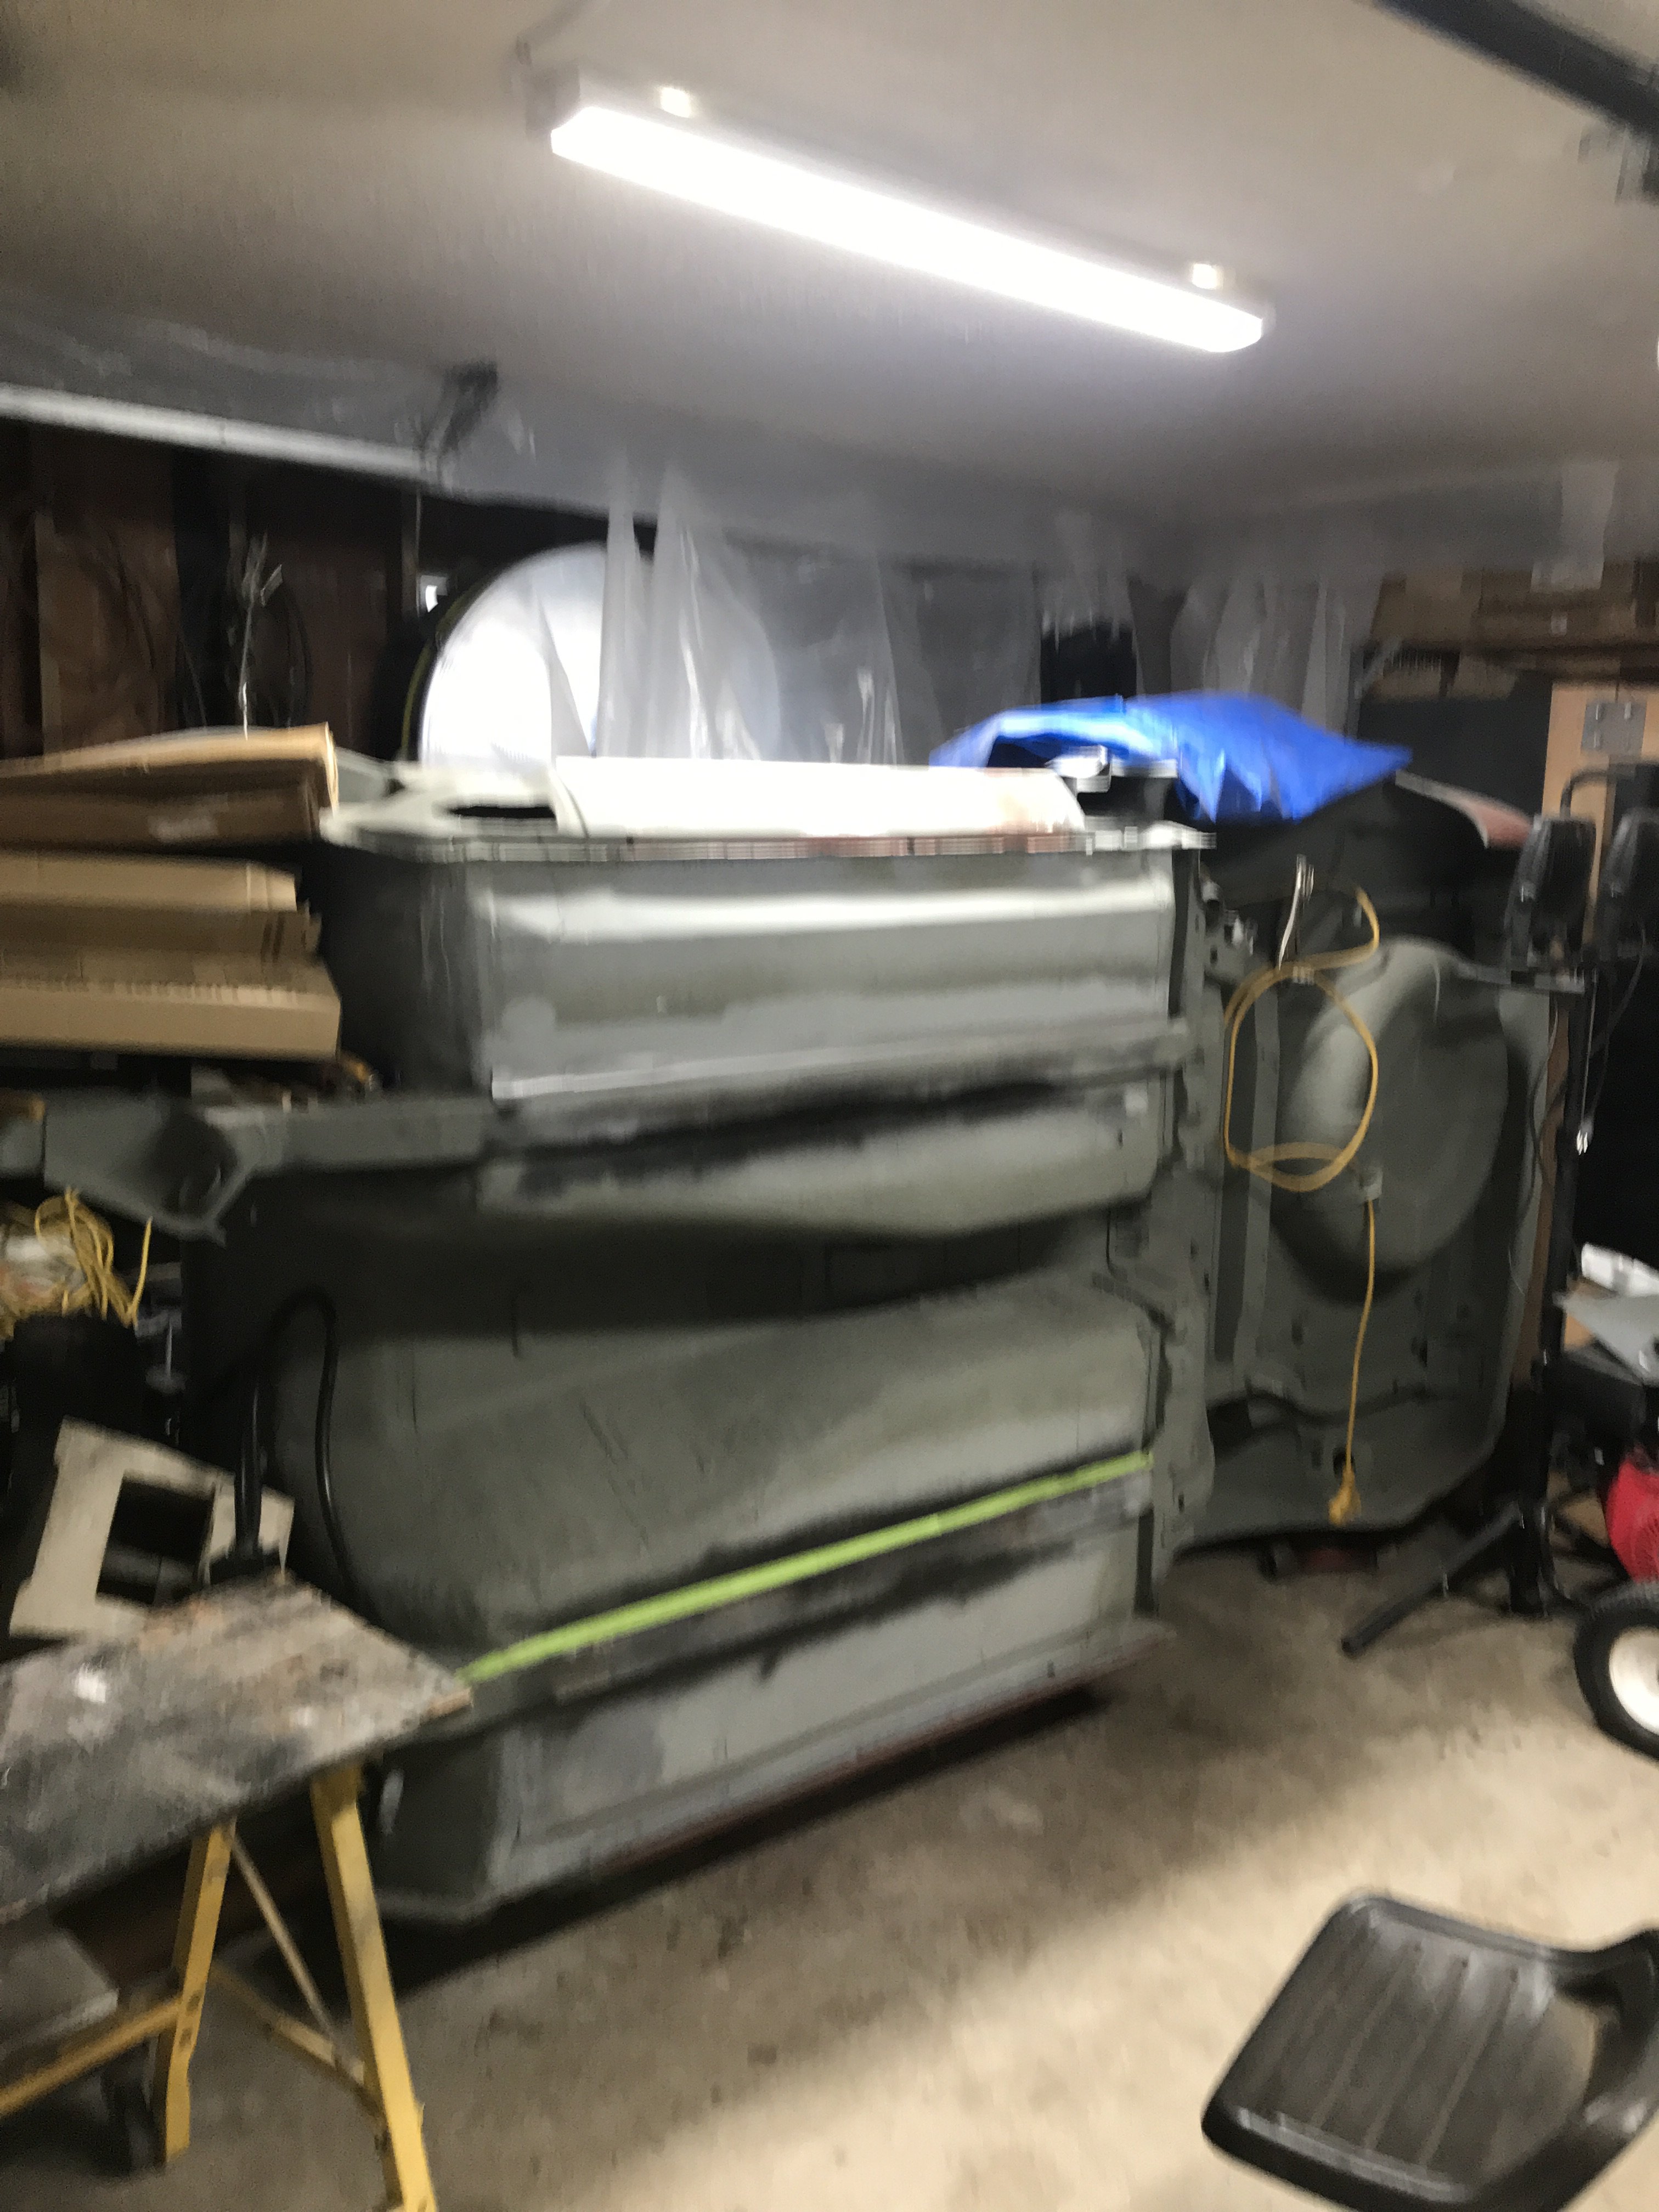
The quarter panel dog leg section is still on back order from the manufacturer so I just do other body work for now. Next, the old metal reat fender flares must be cut out with acutoff wheel and air saw. Additional flaring work must wait till the new wheel and tire configuration is determined. Inside view of cut out fender flare The left rear quarter panel was stripped of previous paint jobs (about three) plus the original primer and color. To aid in paint stripping, the addition paint layers( besides factory ones) can be removed with a single edge razor. In this case, the top 3 paint layers came off in one' thick piece leaving only factory color and primer left behind. Since I had some extra time, I decided to add additional lights to my garage area. Two 4000 lumens Led Shop Lights on Amazon for only $30 each were installed. As you can see the two LED lights really brightened up the garage. I will probably add a couple more to light the sides of the car when I am painting.
-
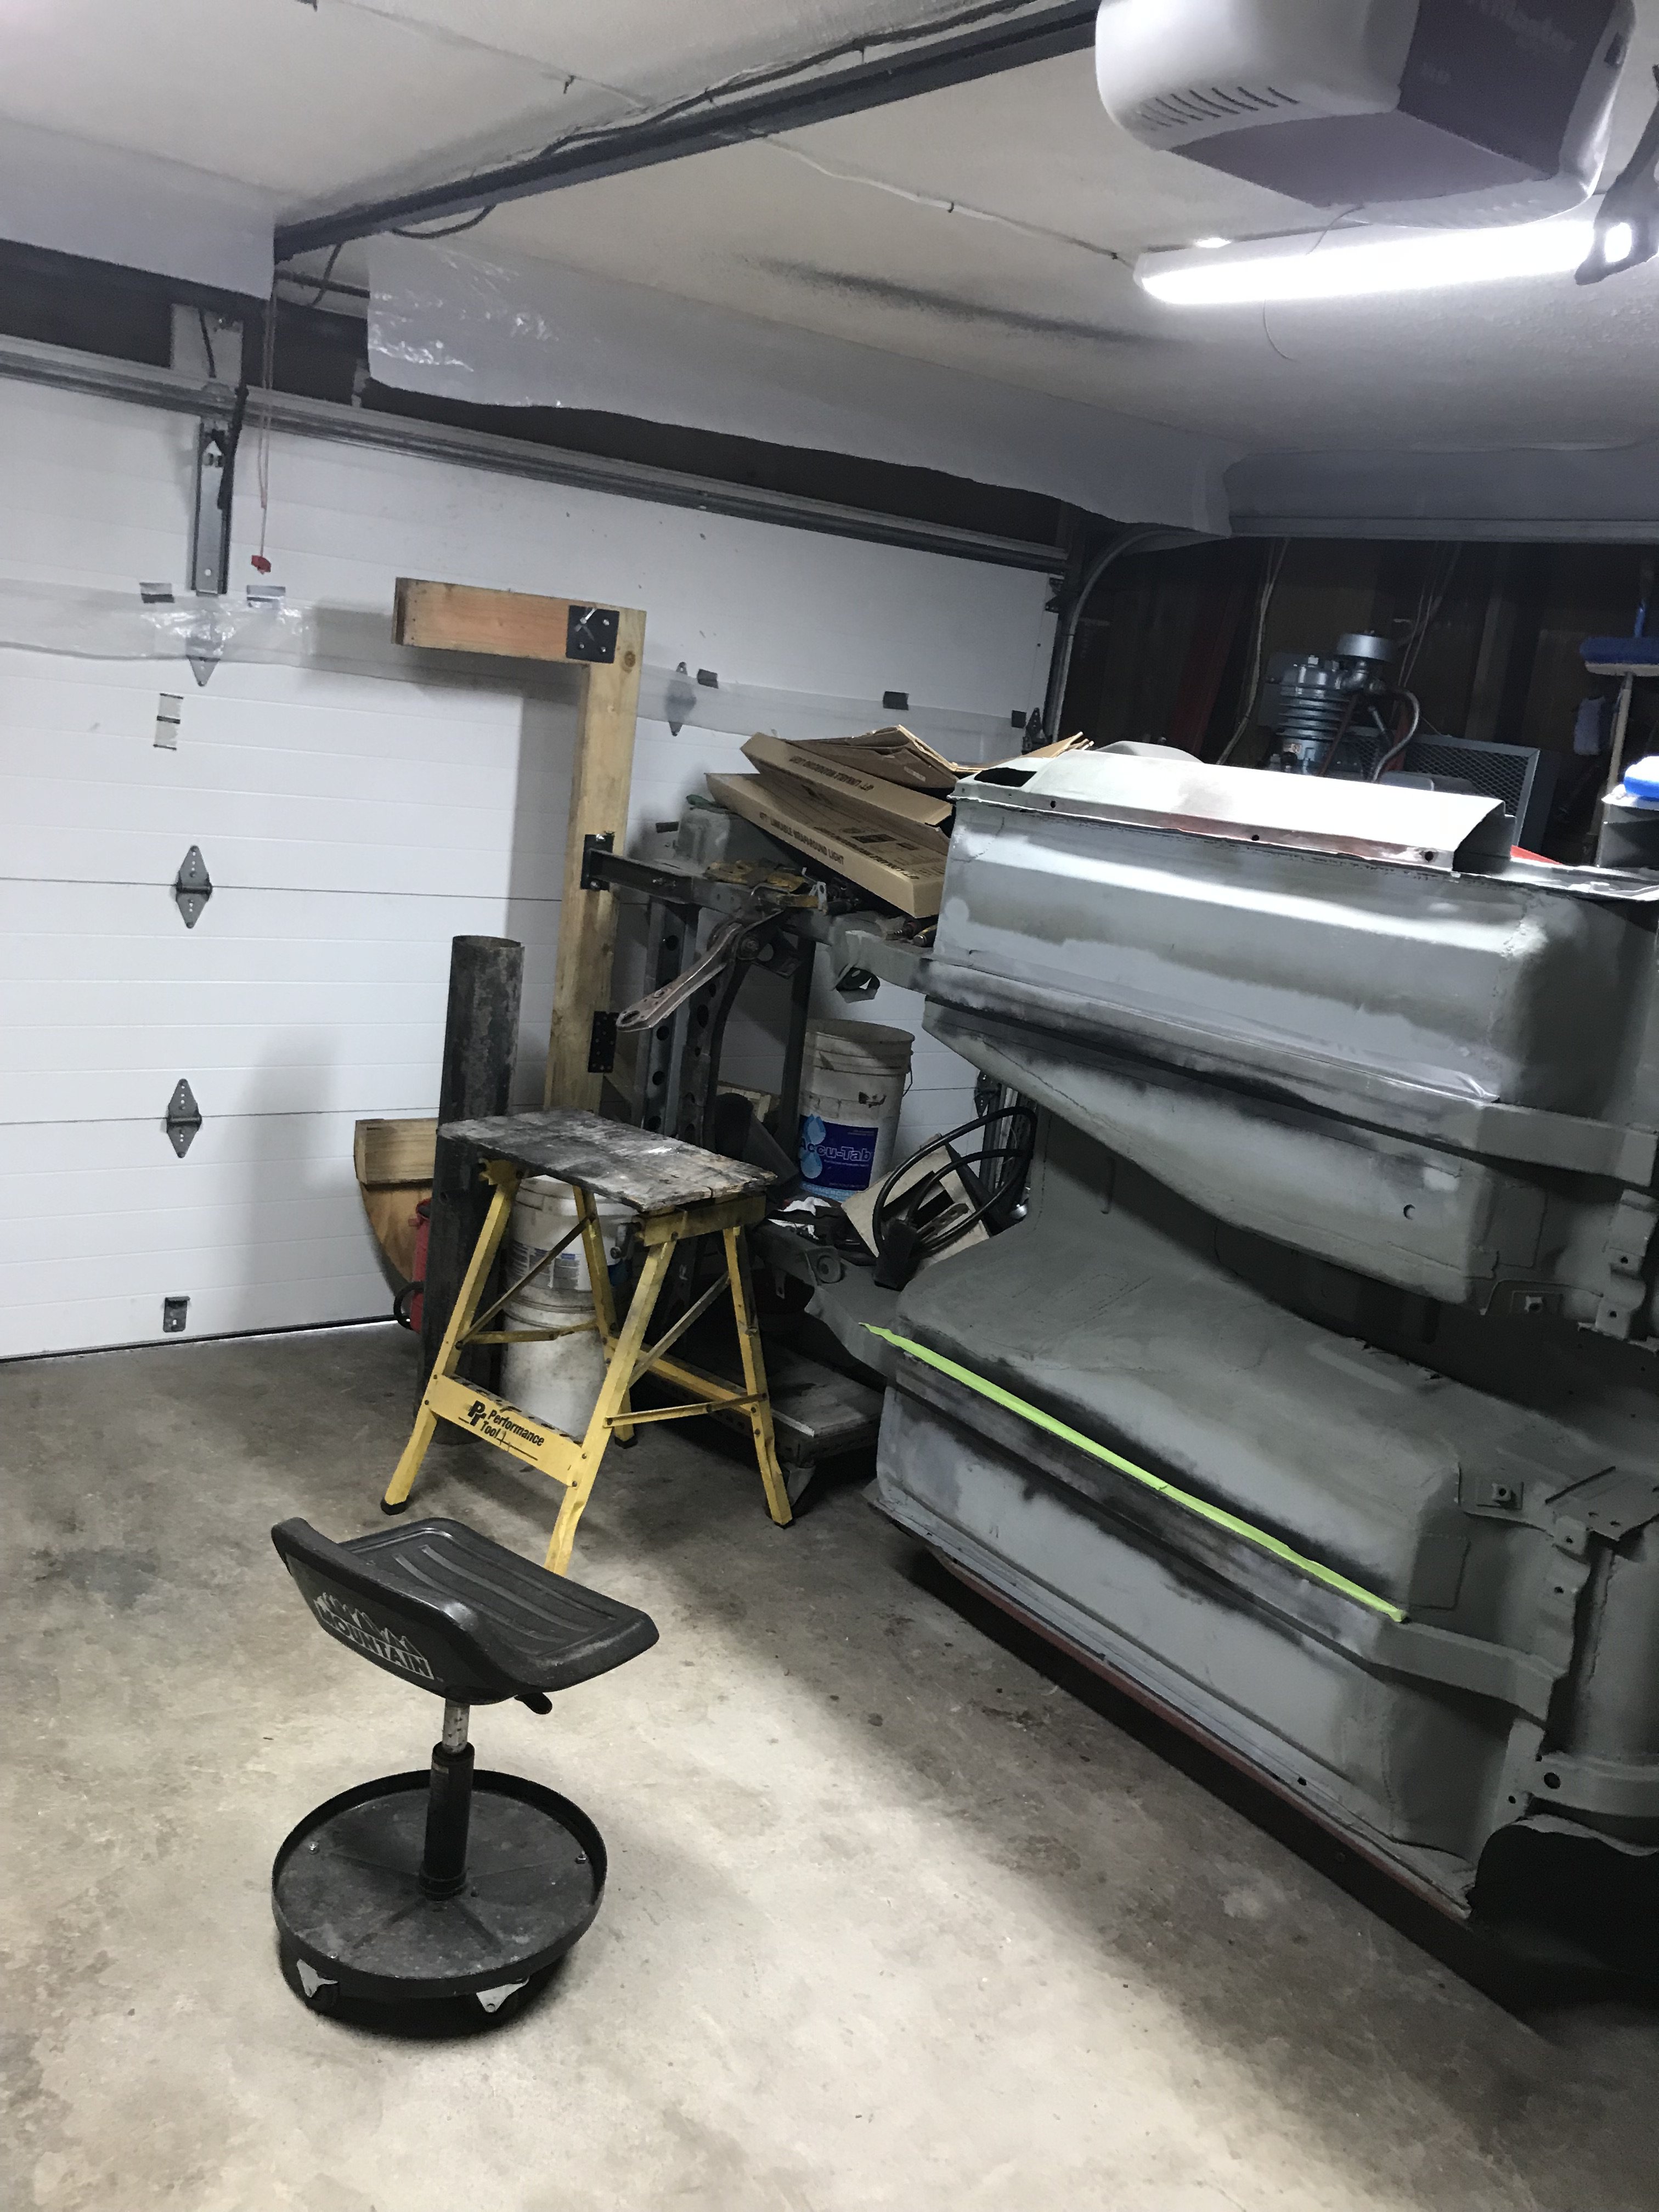
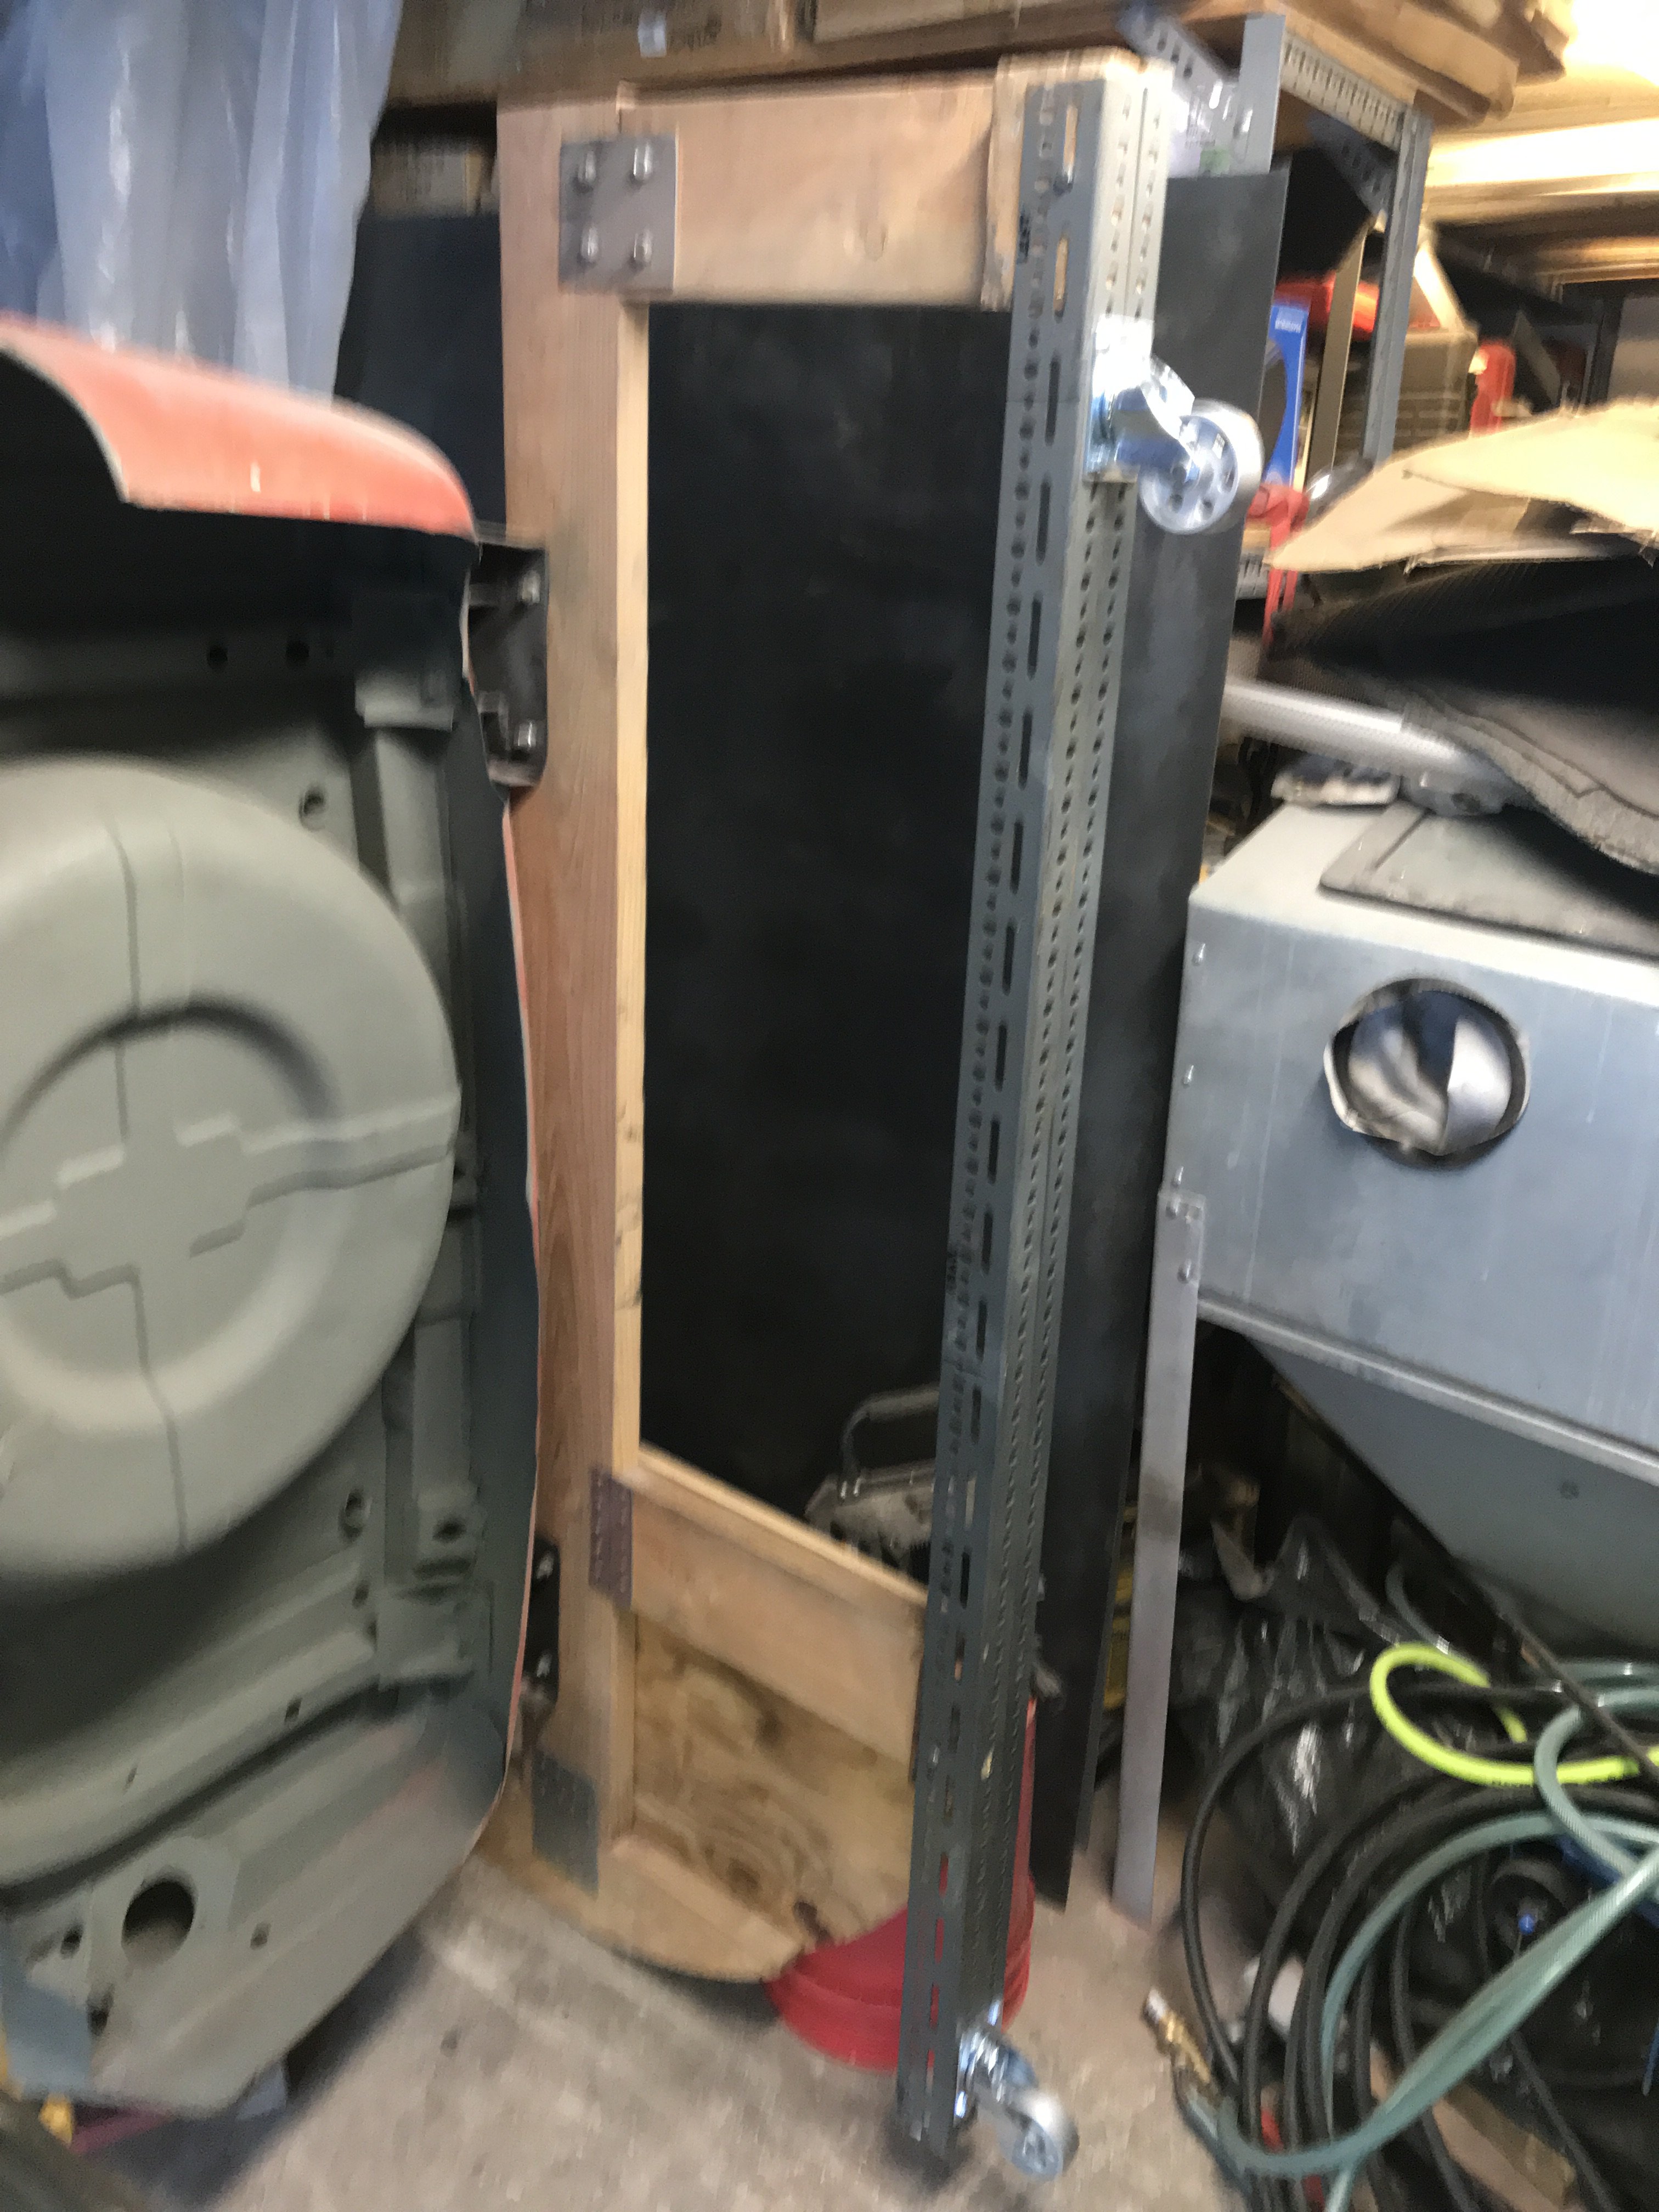
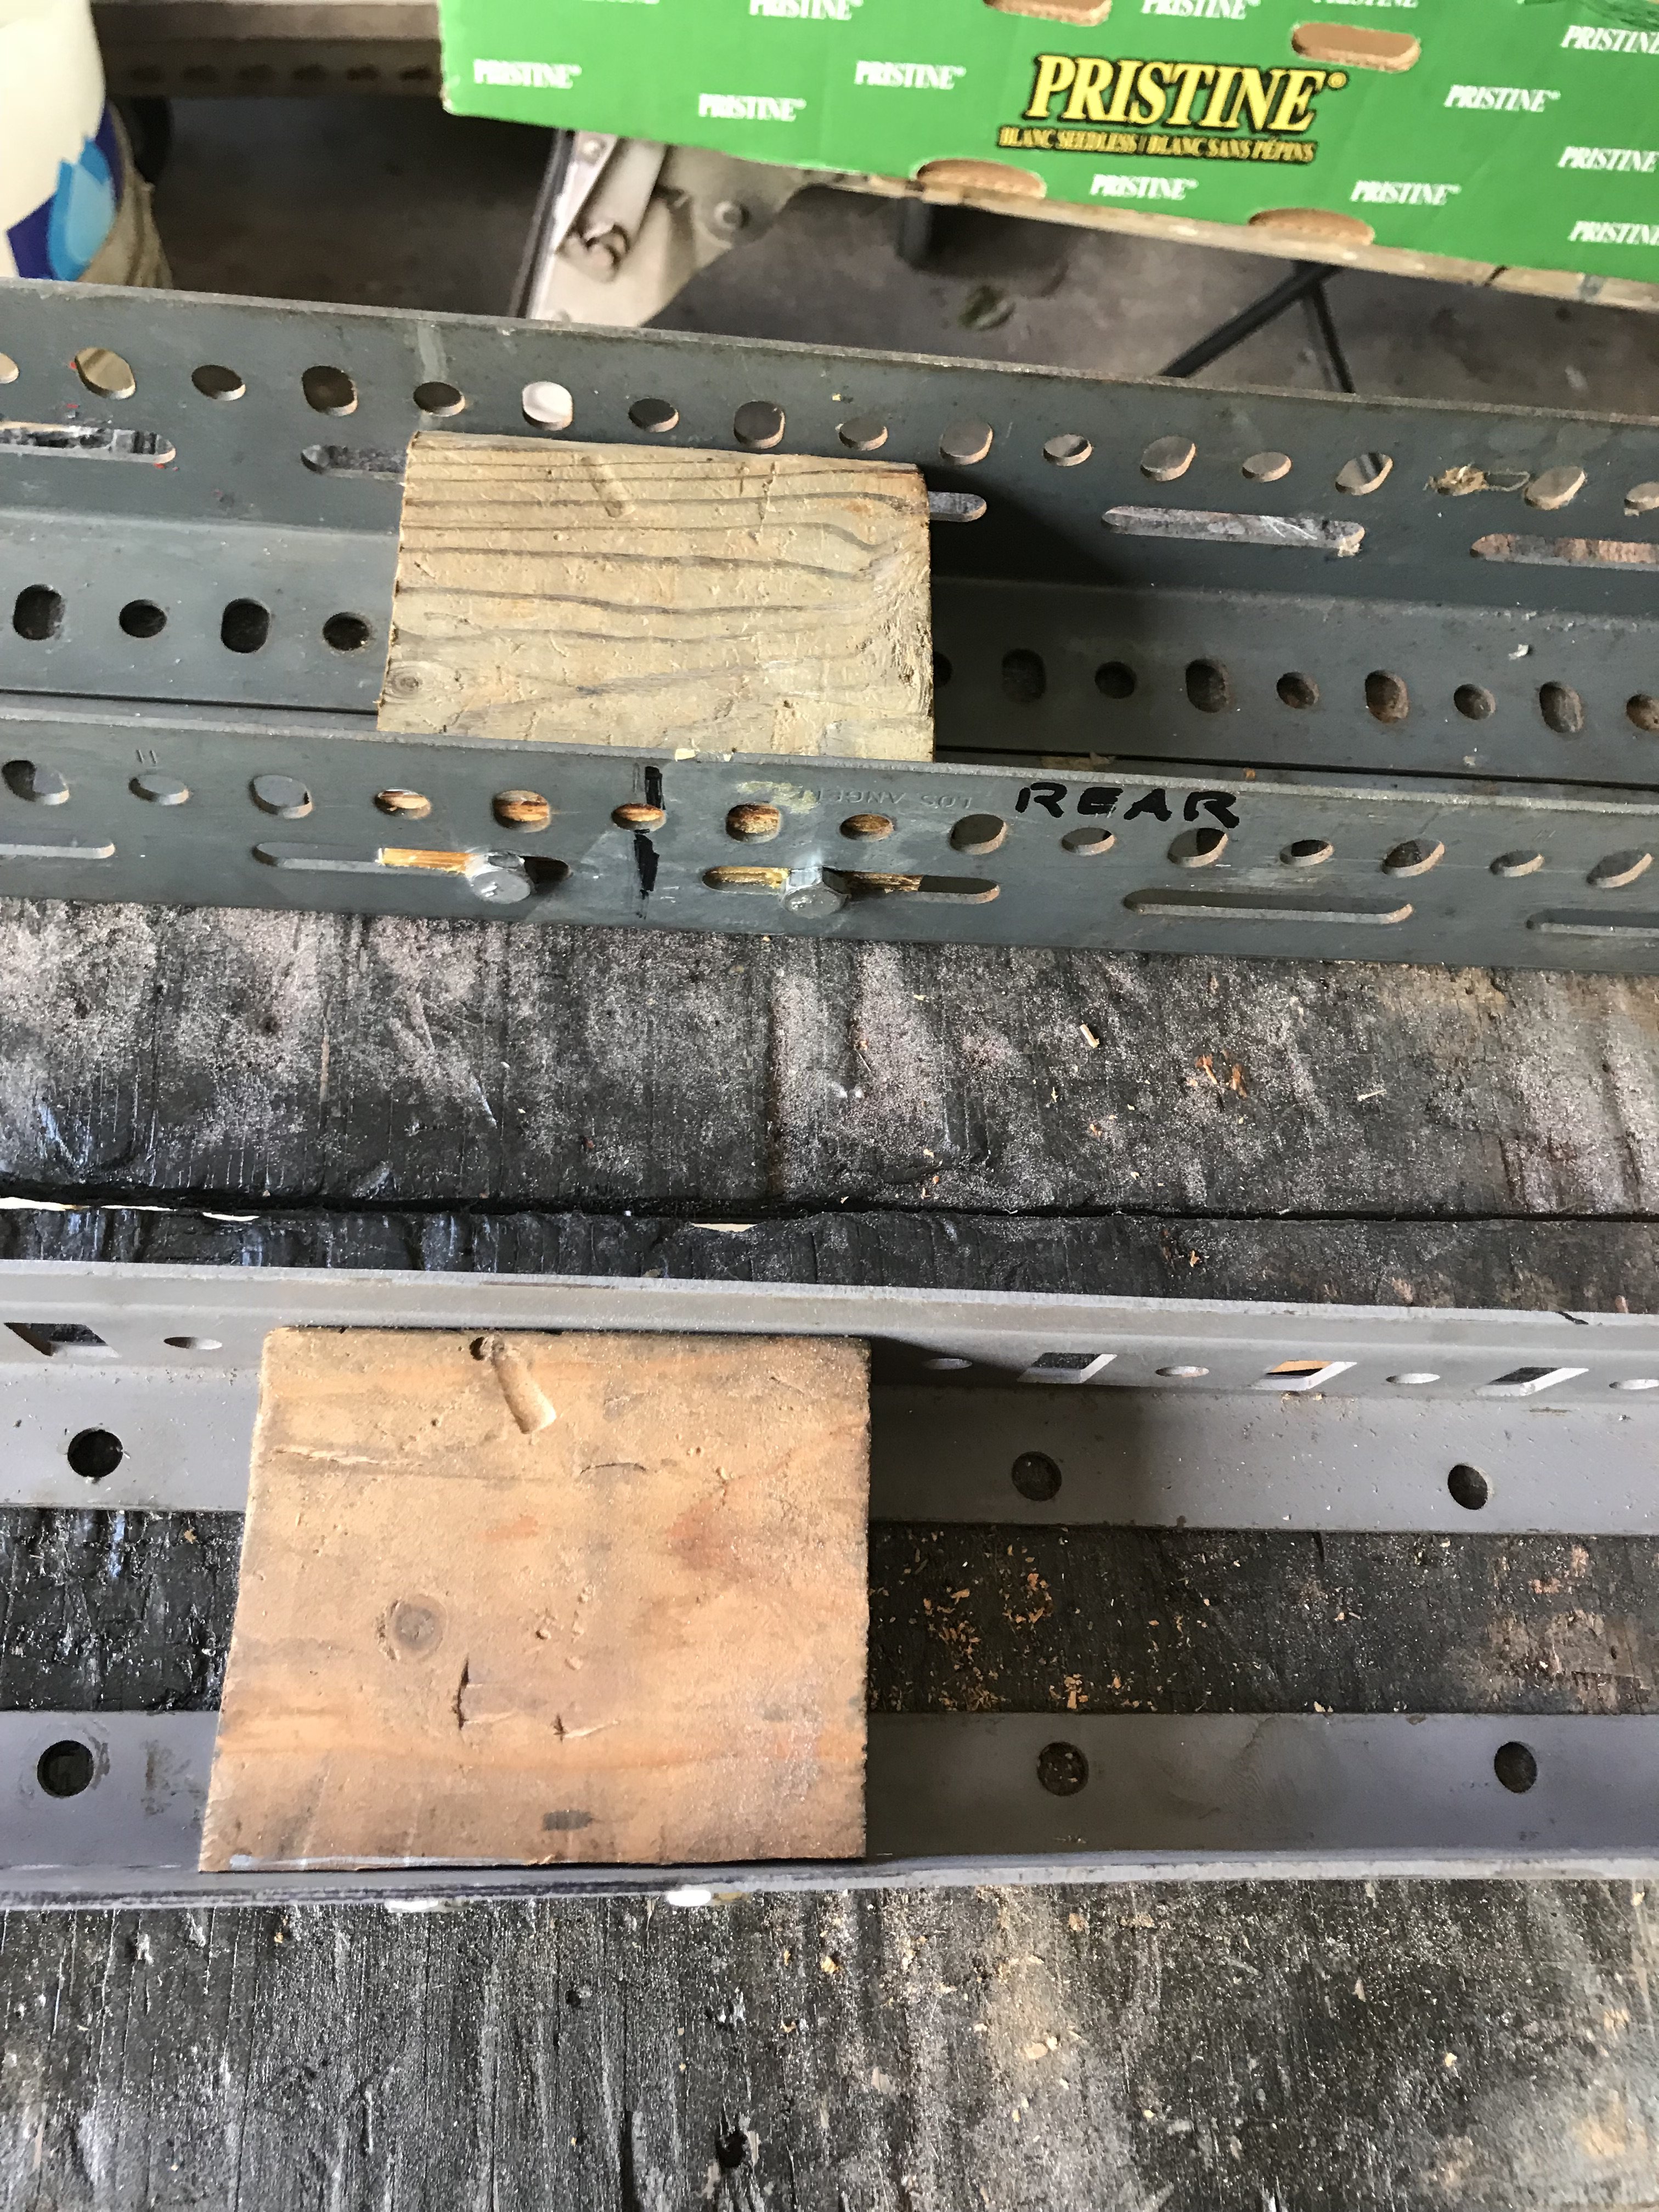
Returning to Low Cost Rotisserie topic after almost a year. Preparing my Z for media blasting. I decided to work on the rotisserie. As the car will probably be in the normal upright position for the most of the rest of the restoration, casters must be added to provide easy movement. Utilizing two 2" x 2" x 1/8" right angle shelving brackets formed into "U" shaped channel support between the two vertical supports of the rotisserie. Two 4" metal casters were added to bottom of the channel. Support channel is about 88" in length. Each side of the channel us attaches to the rotisserie with six-5/16" x 1" lag screws on both sides. Back view of front caster support channel. Each 4" caster has a load rating of 250 lbs. Pic of rear caster support channel These caster channels will be slid in position/ bolted down after car is in the horiziontal postion and jacked off the ground. These 4 swivel casters will allow the vehicle to be turned completely around with ease. Cost of casters was $10 each-Home Depot and shelving brackets were free(dumpster diving) A 2" X 4" board was cut down to fit in the center of the support bar and bolted to frame with four 5/16" x 2" lag screws. This was to provide additional strength when floor jacking on the bar. ' Overall view of addition to support bar
-
Heavy Duty frame rails and connectors
toolman replied to toolman's topic in Gen III & IV Chevy V8Z Tech Board
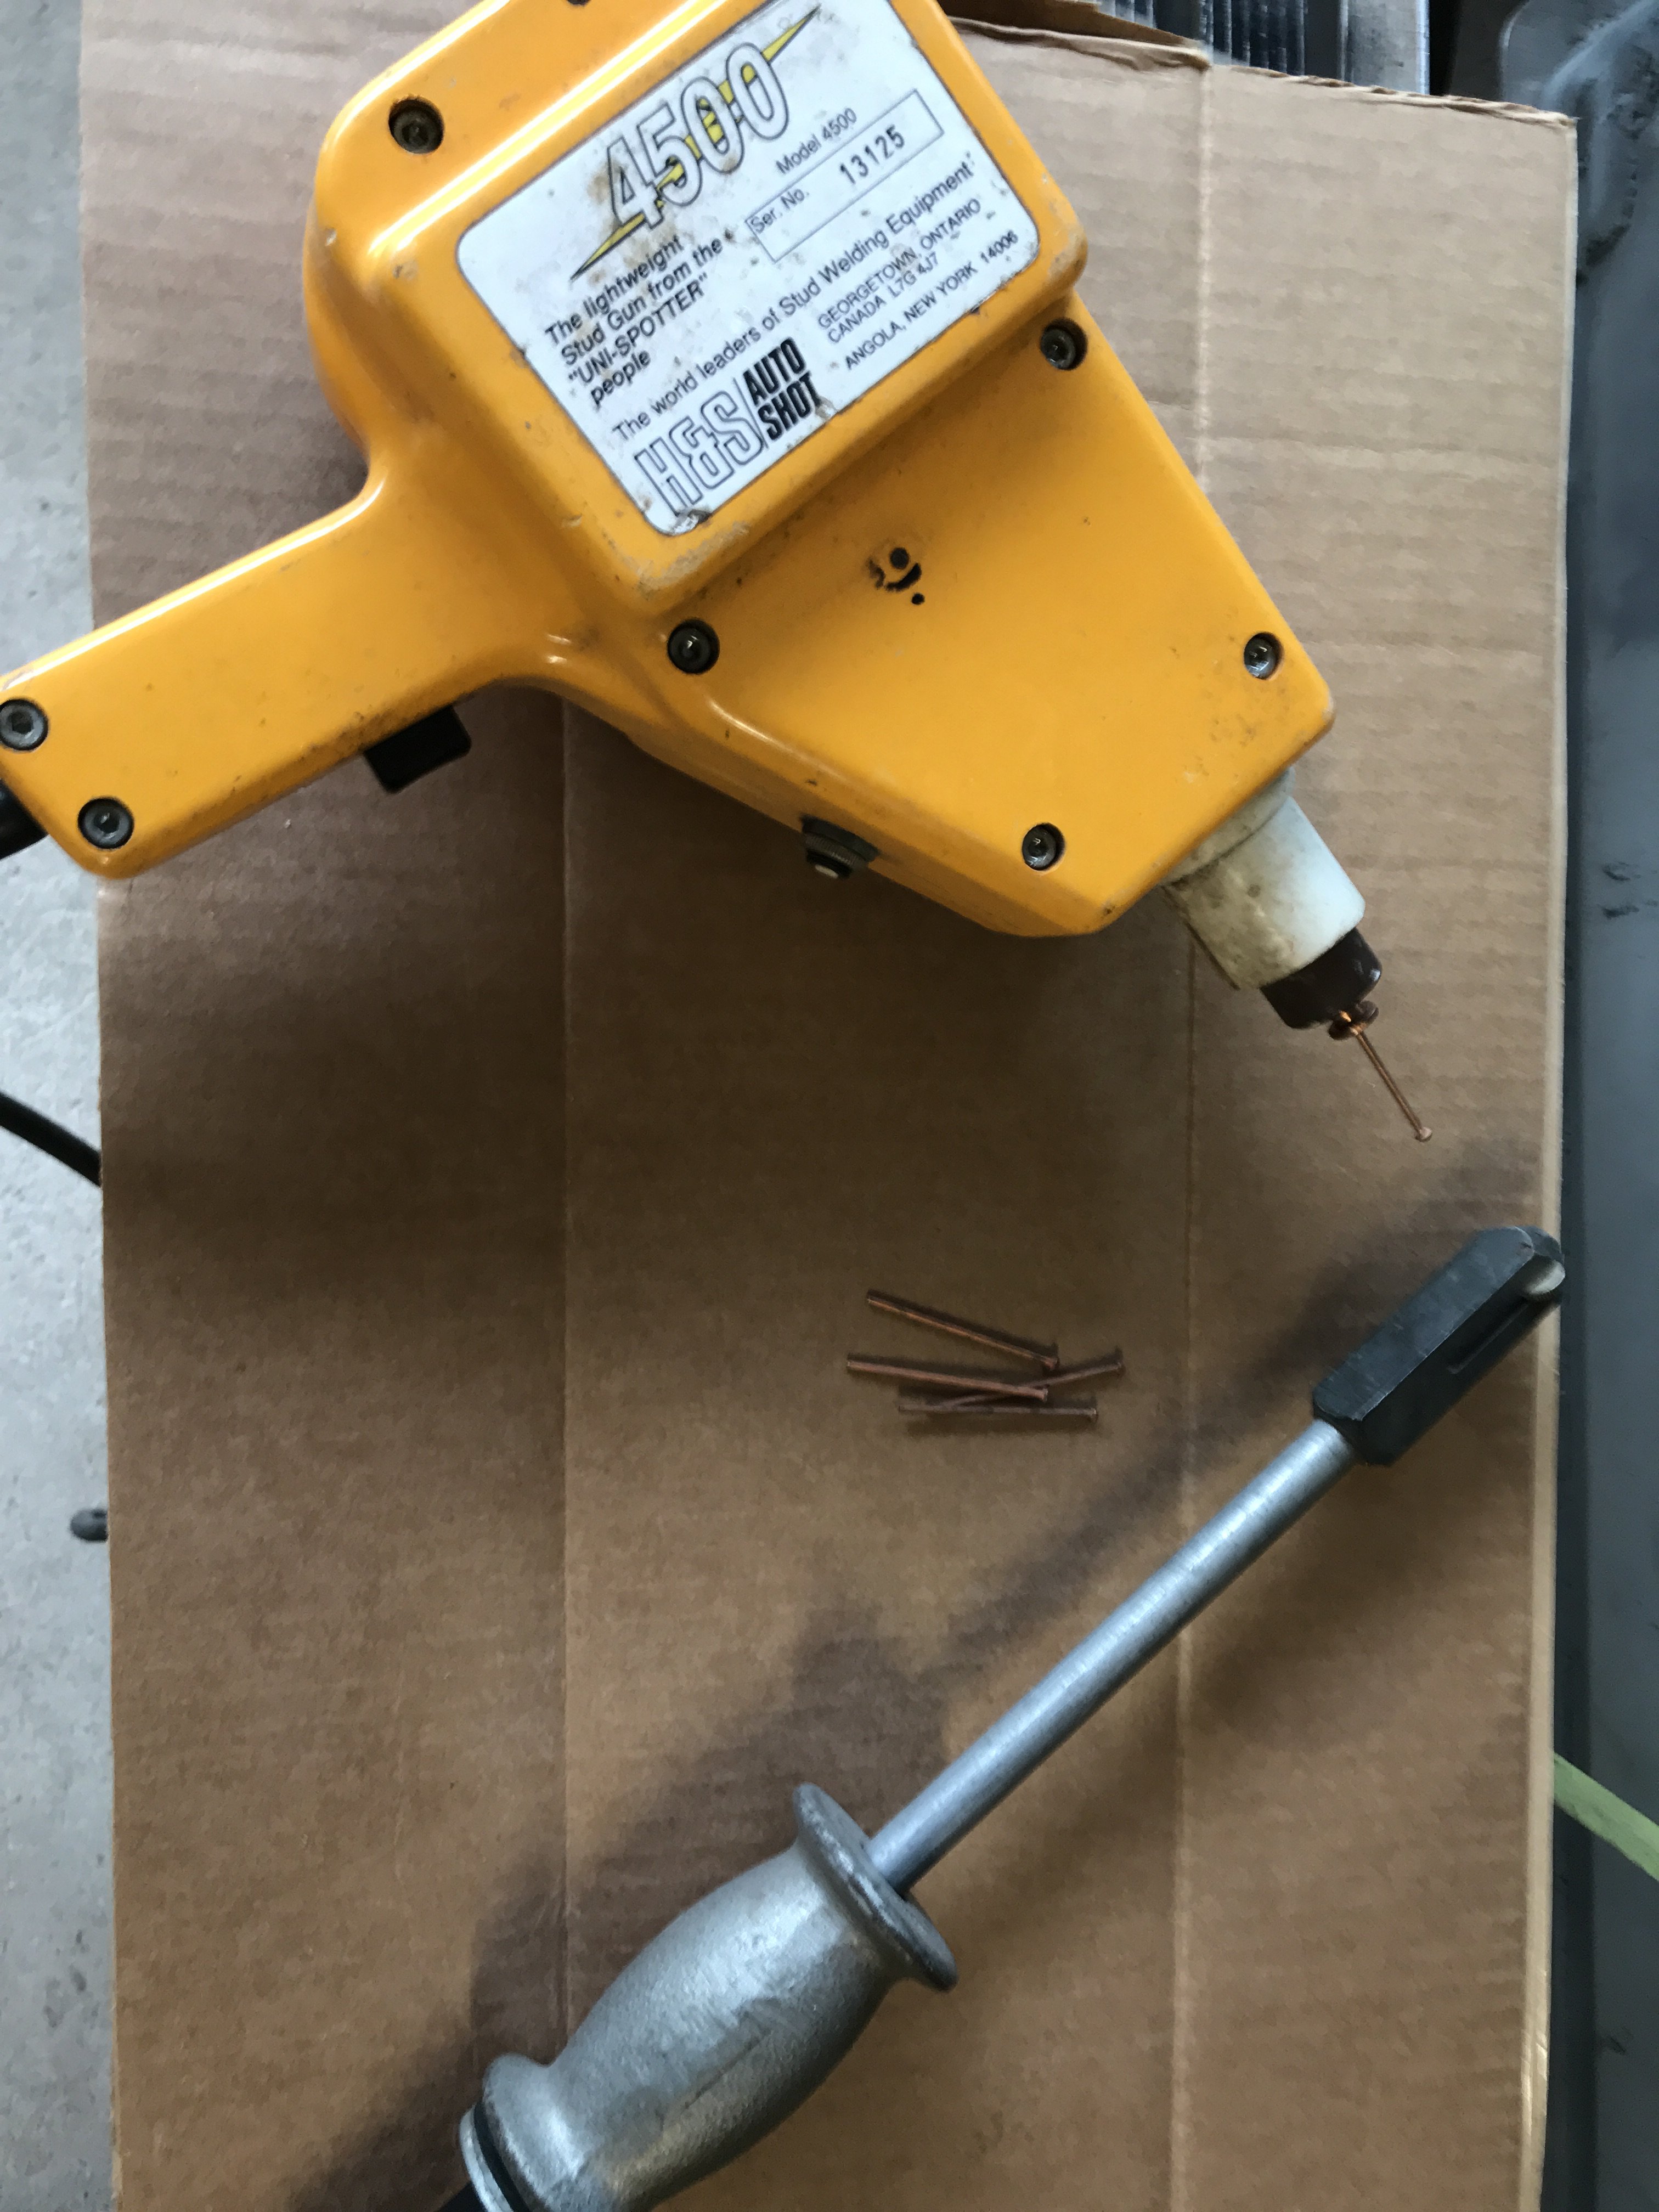
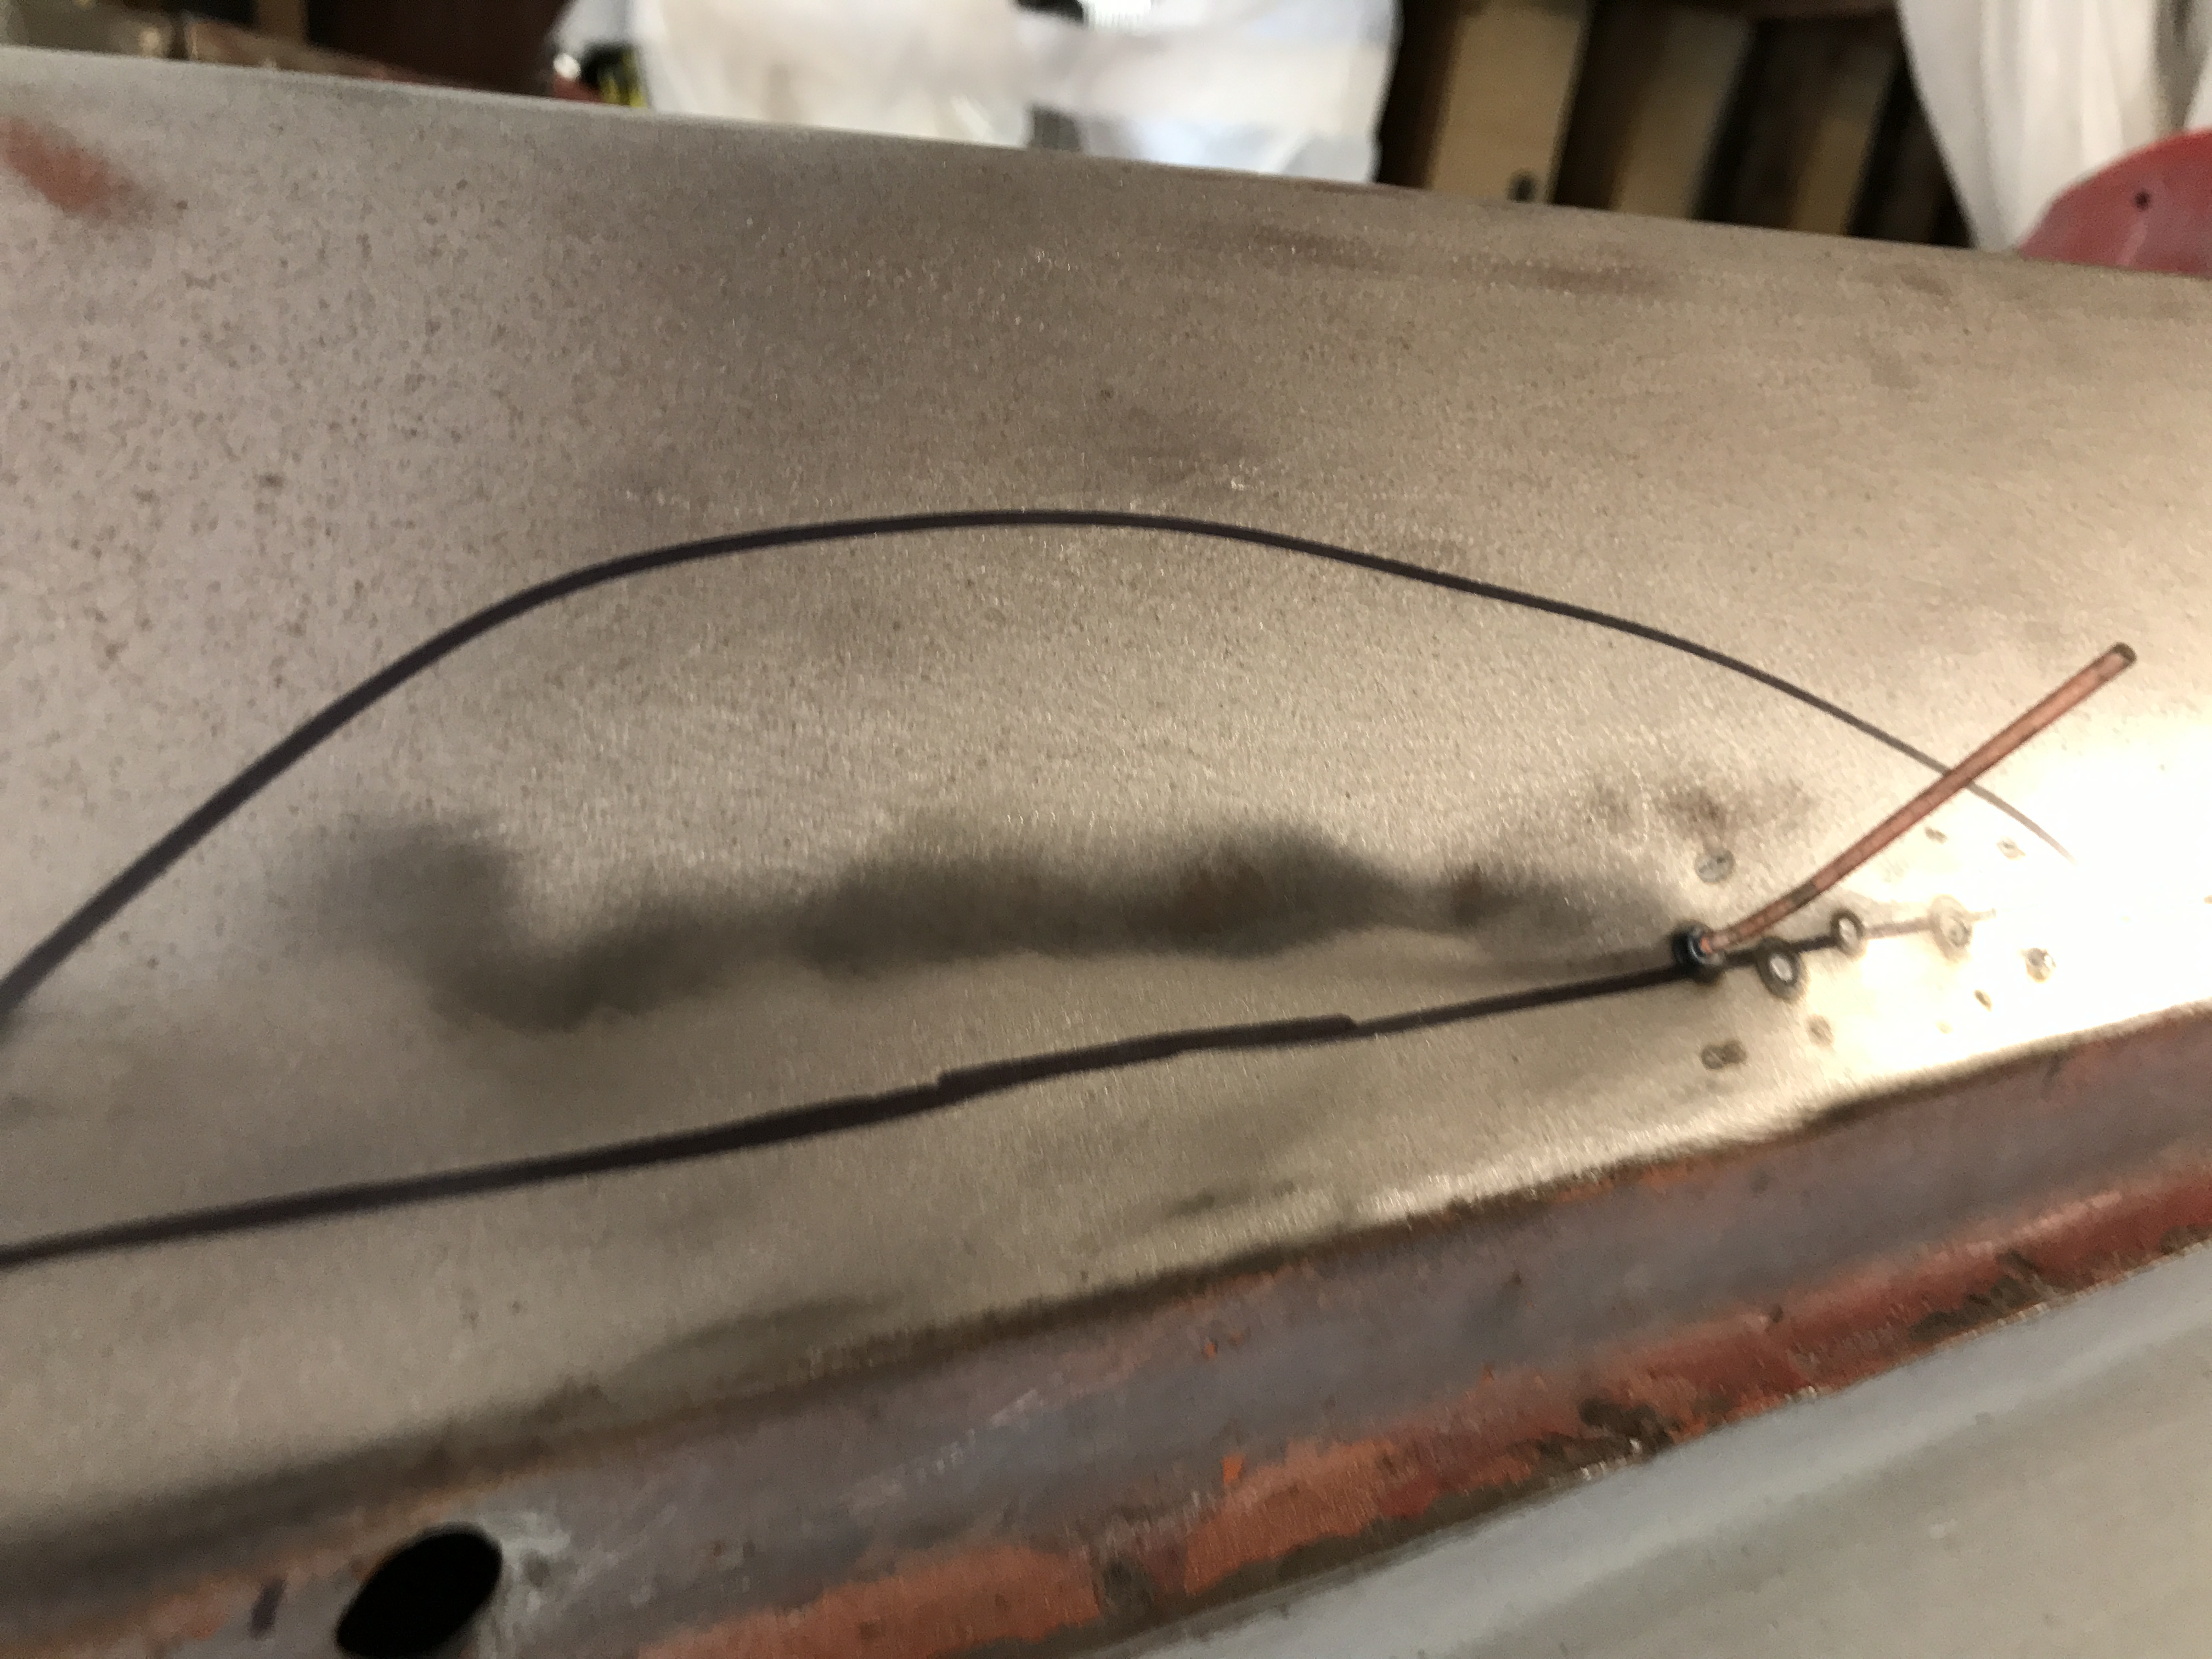
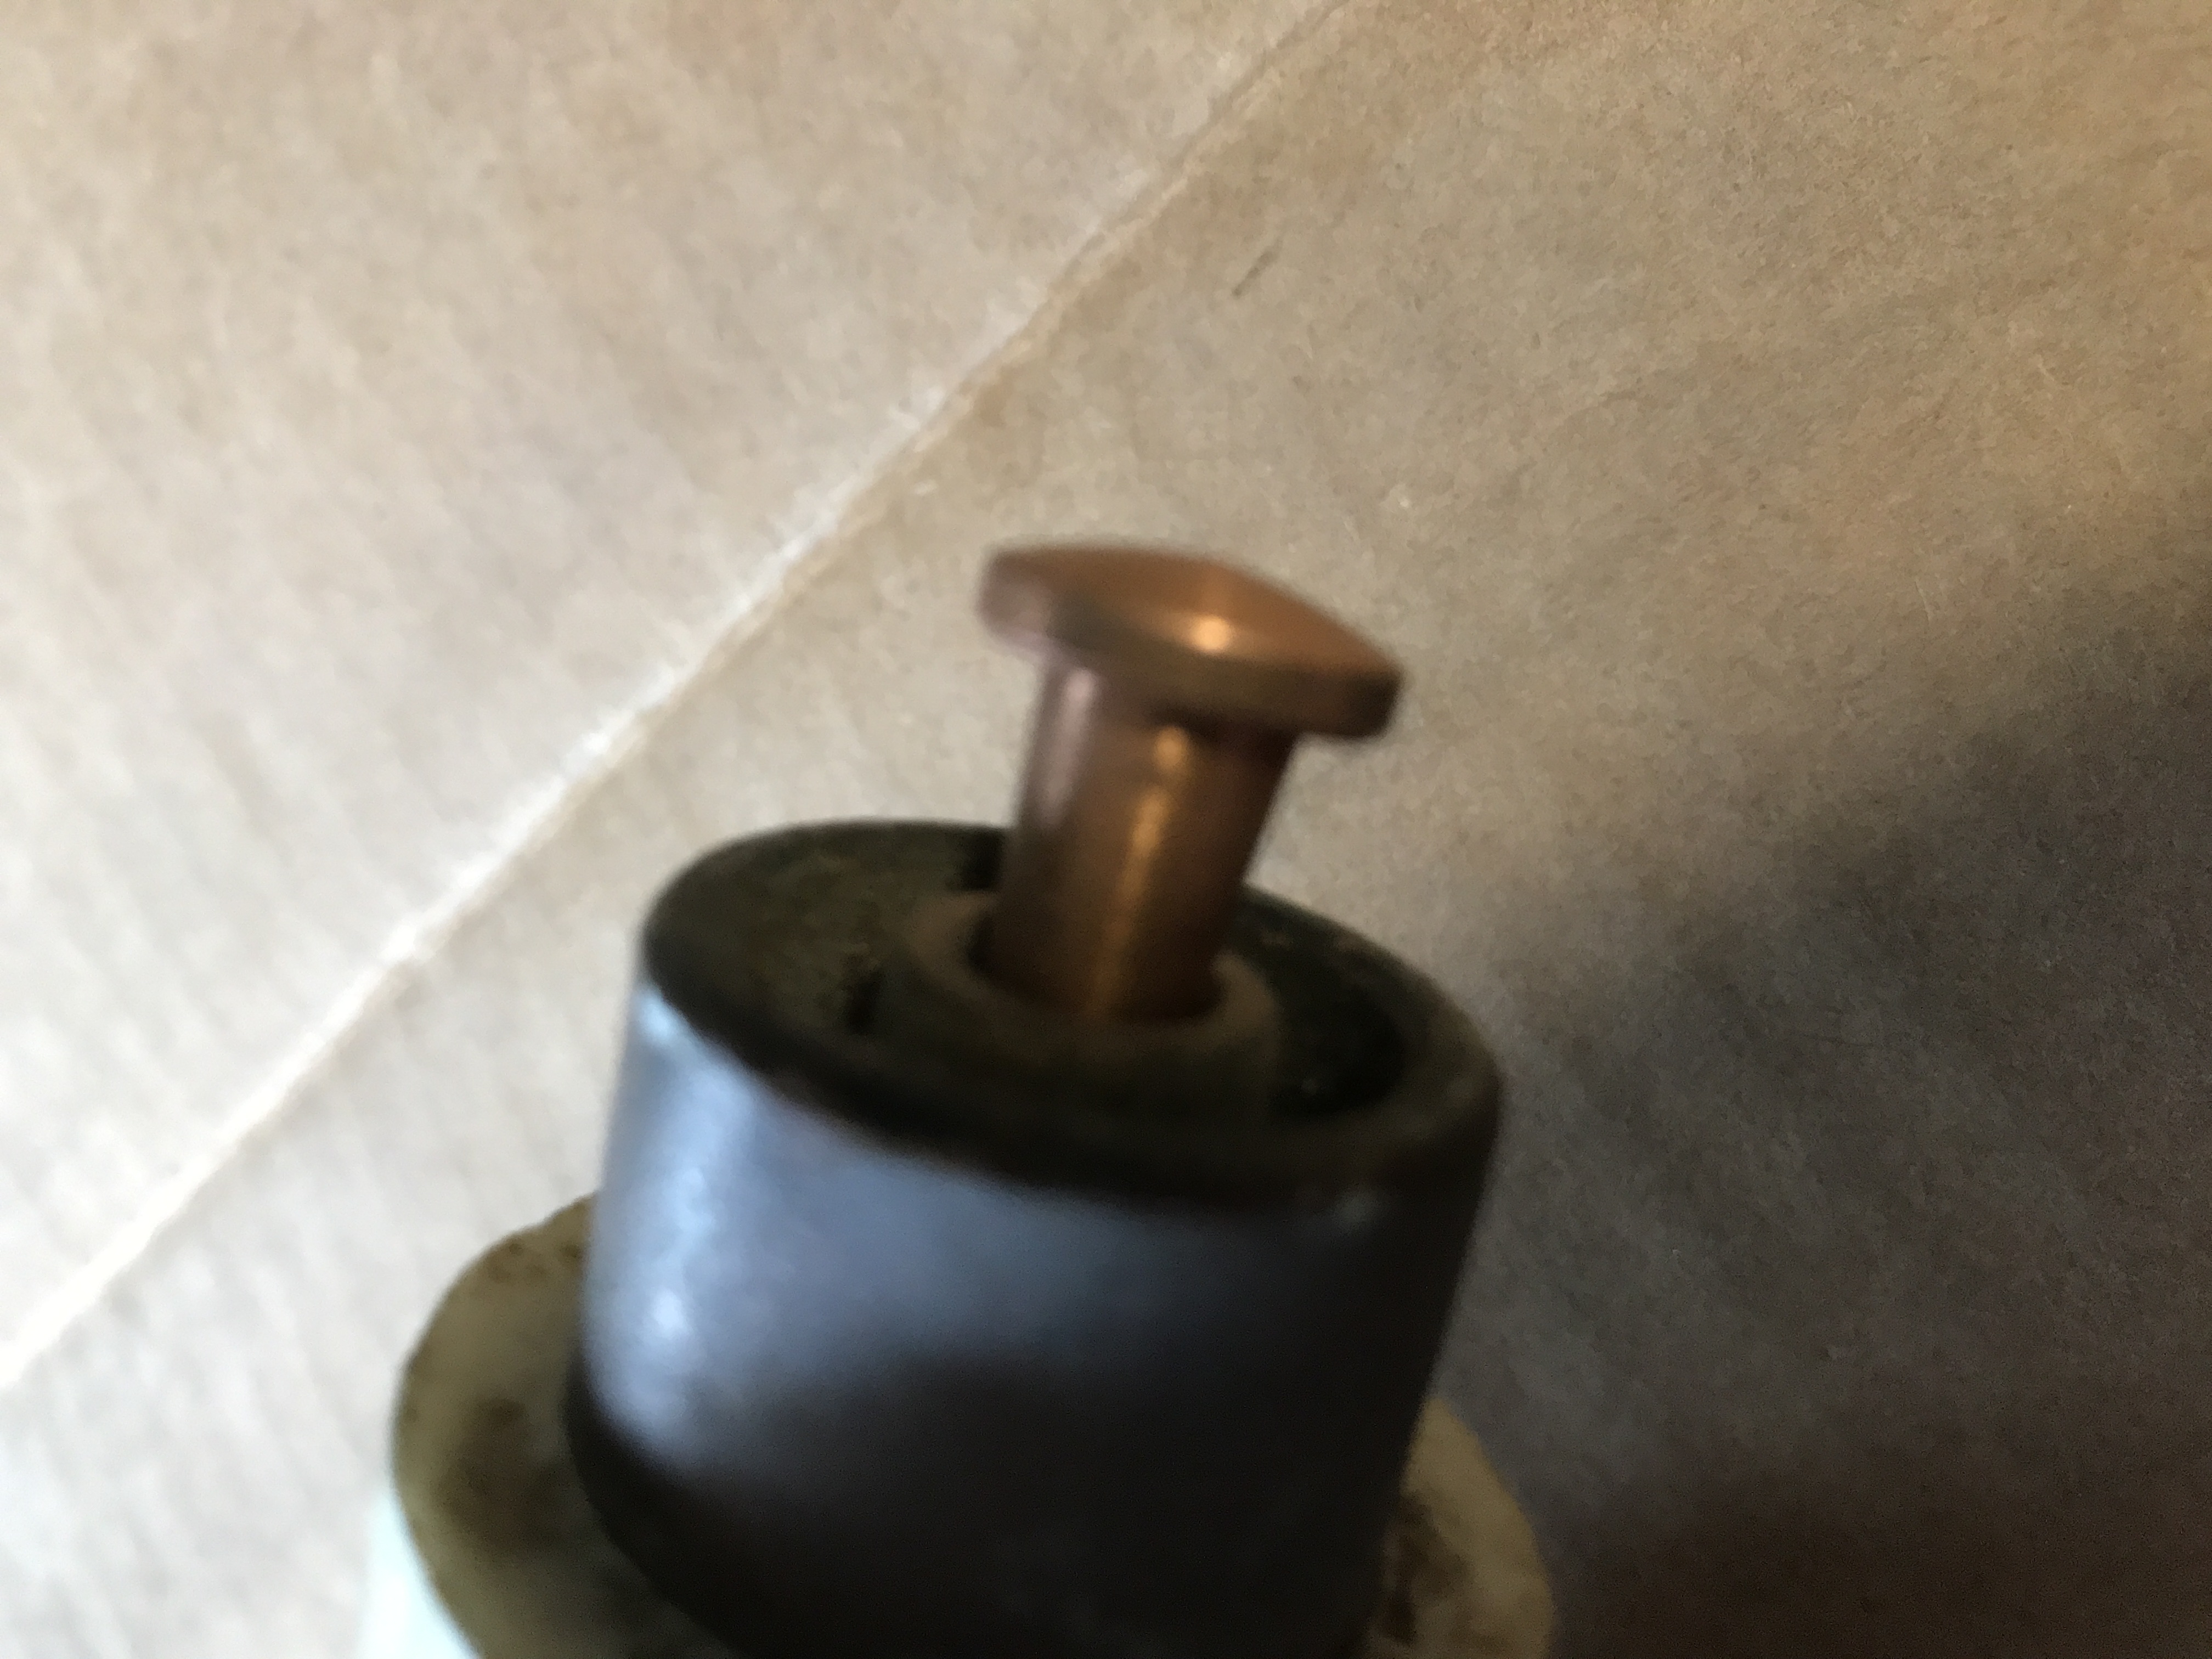
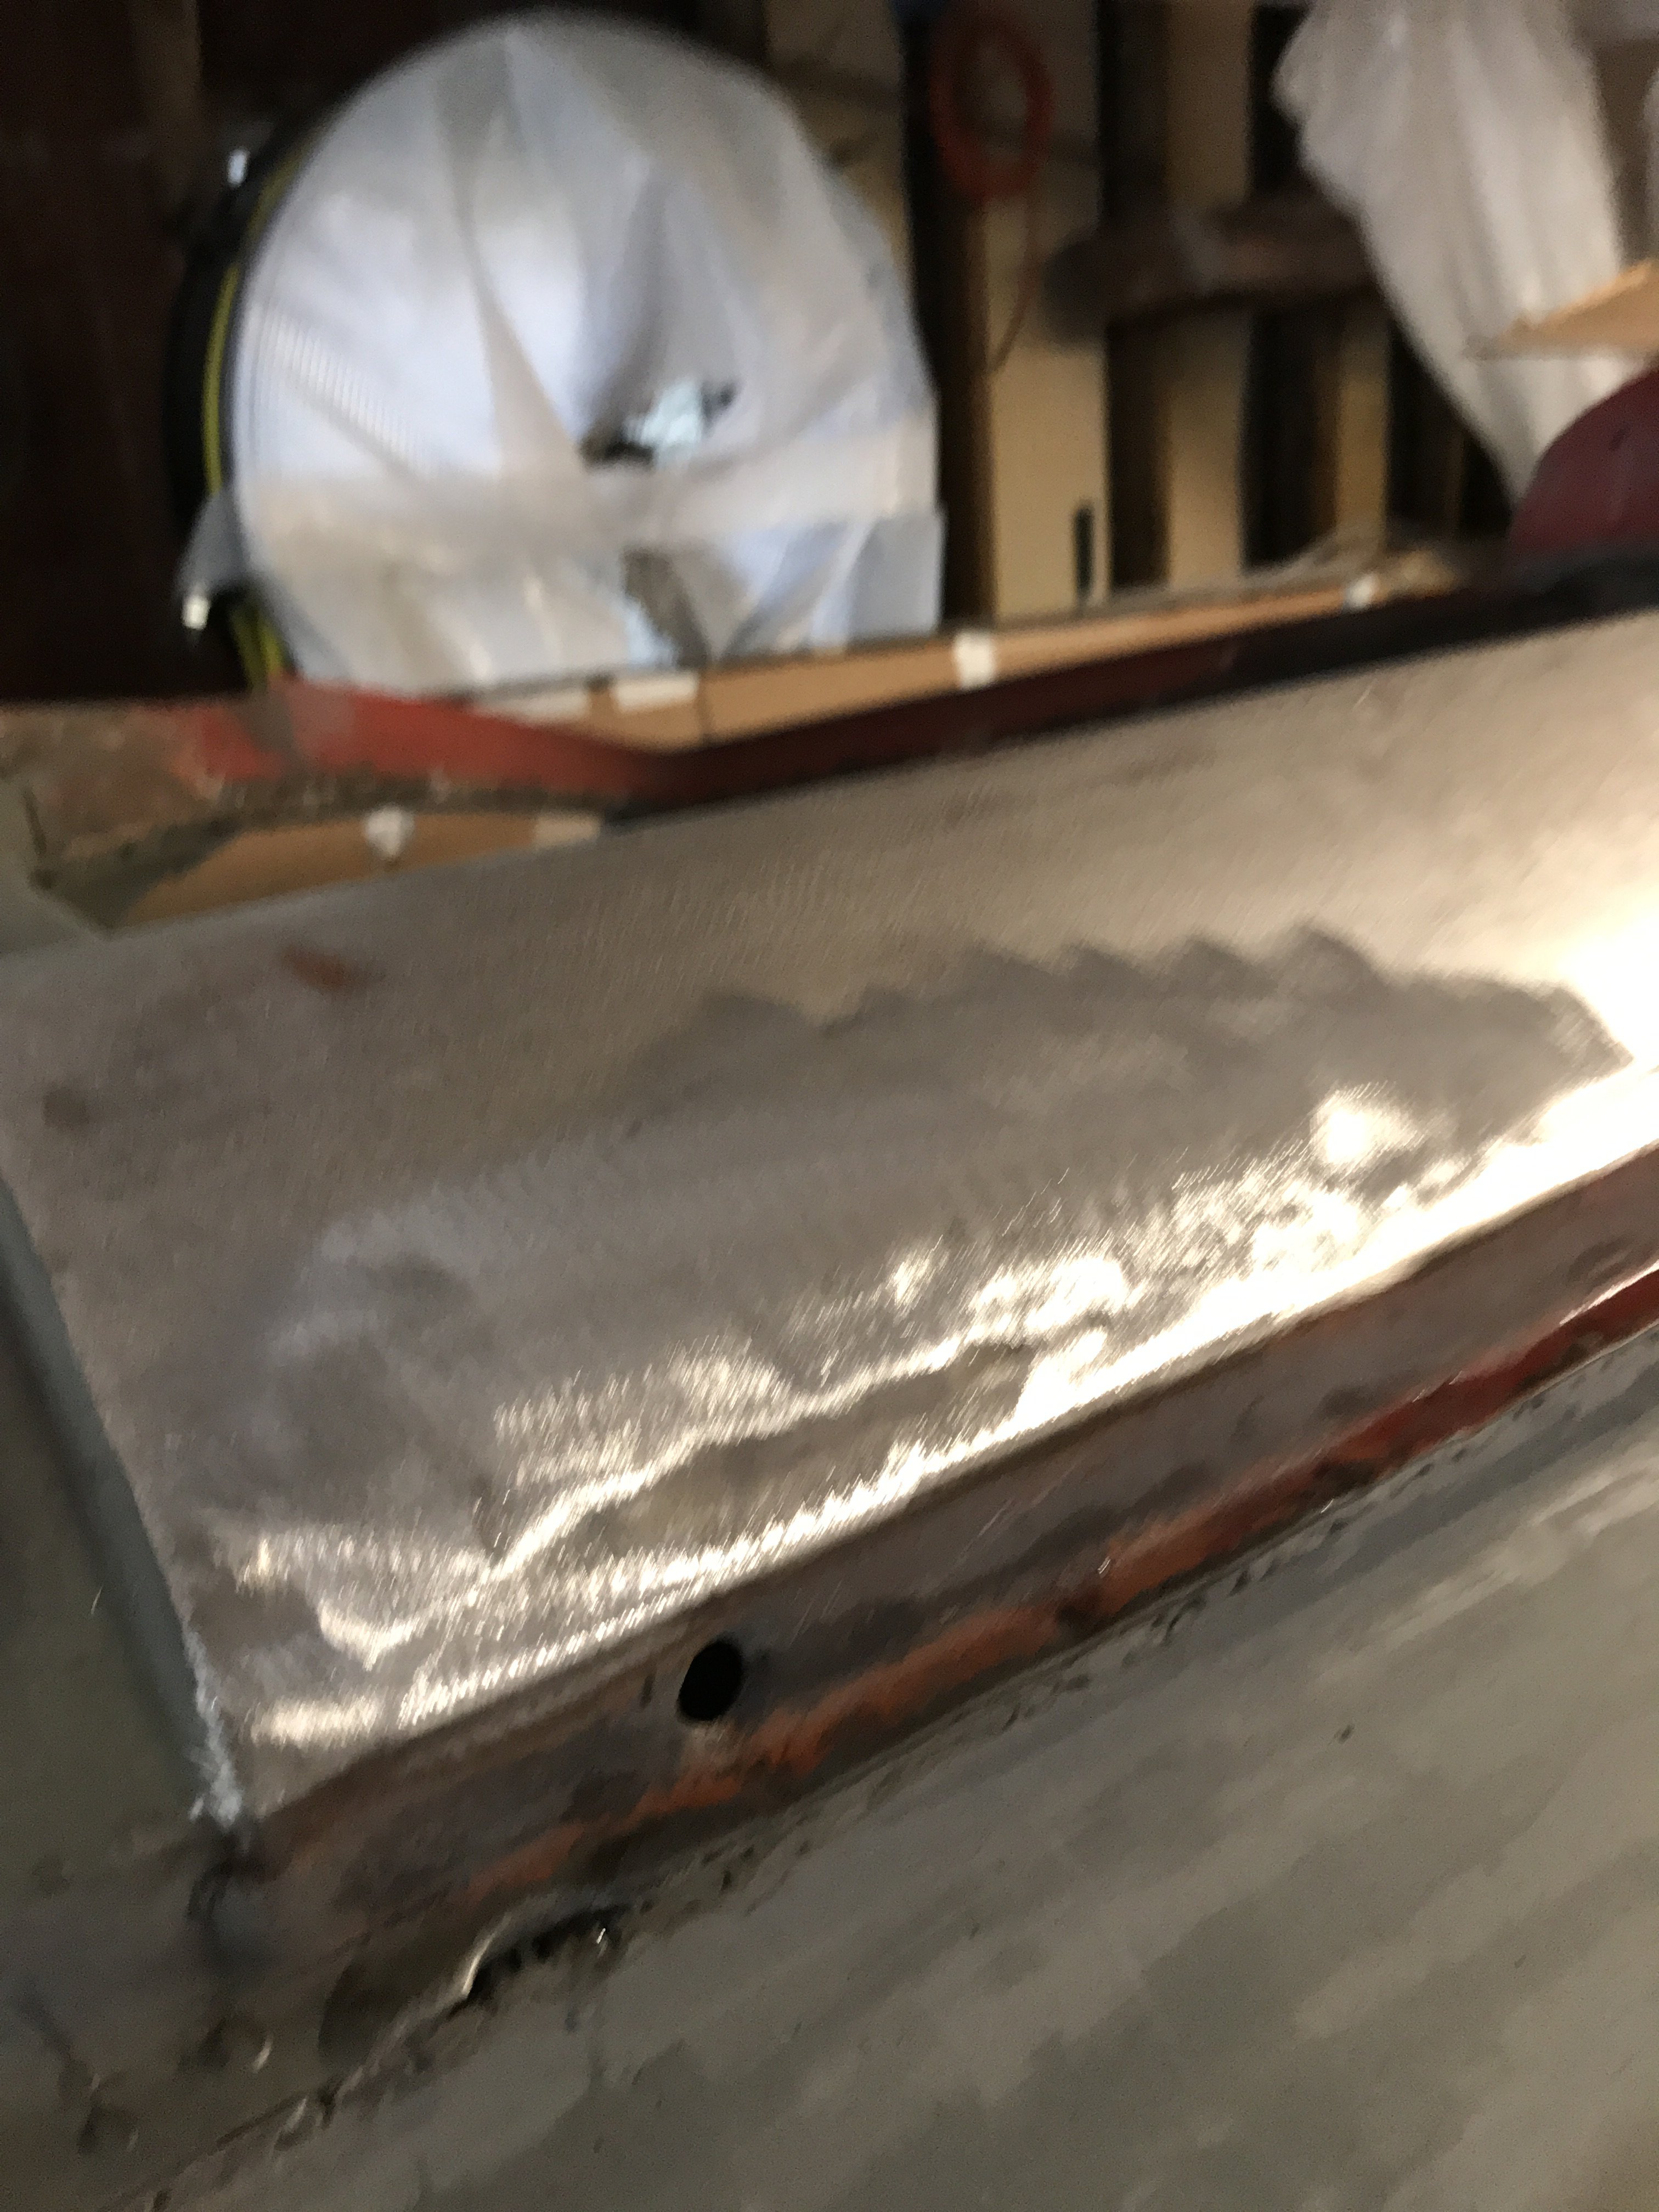
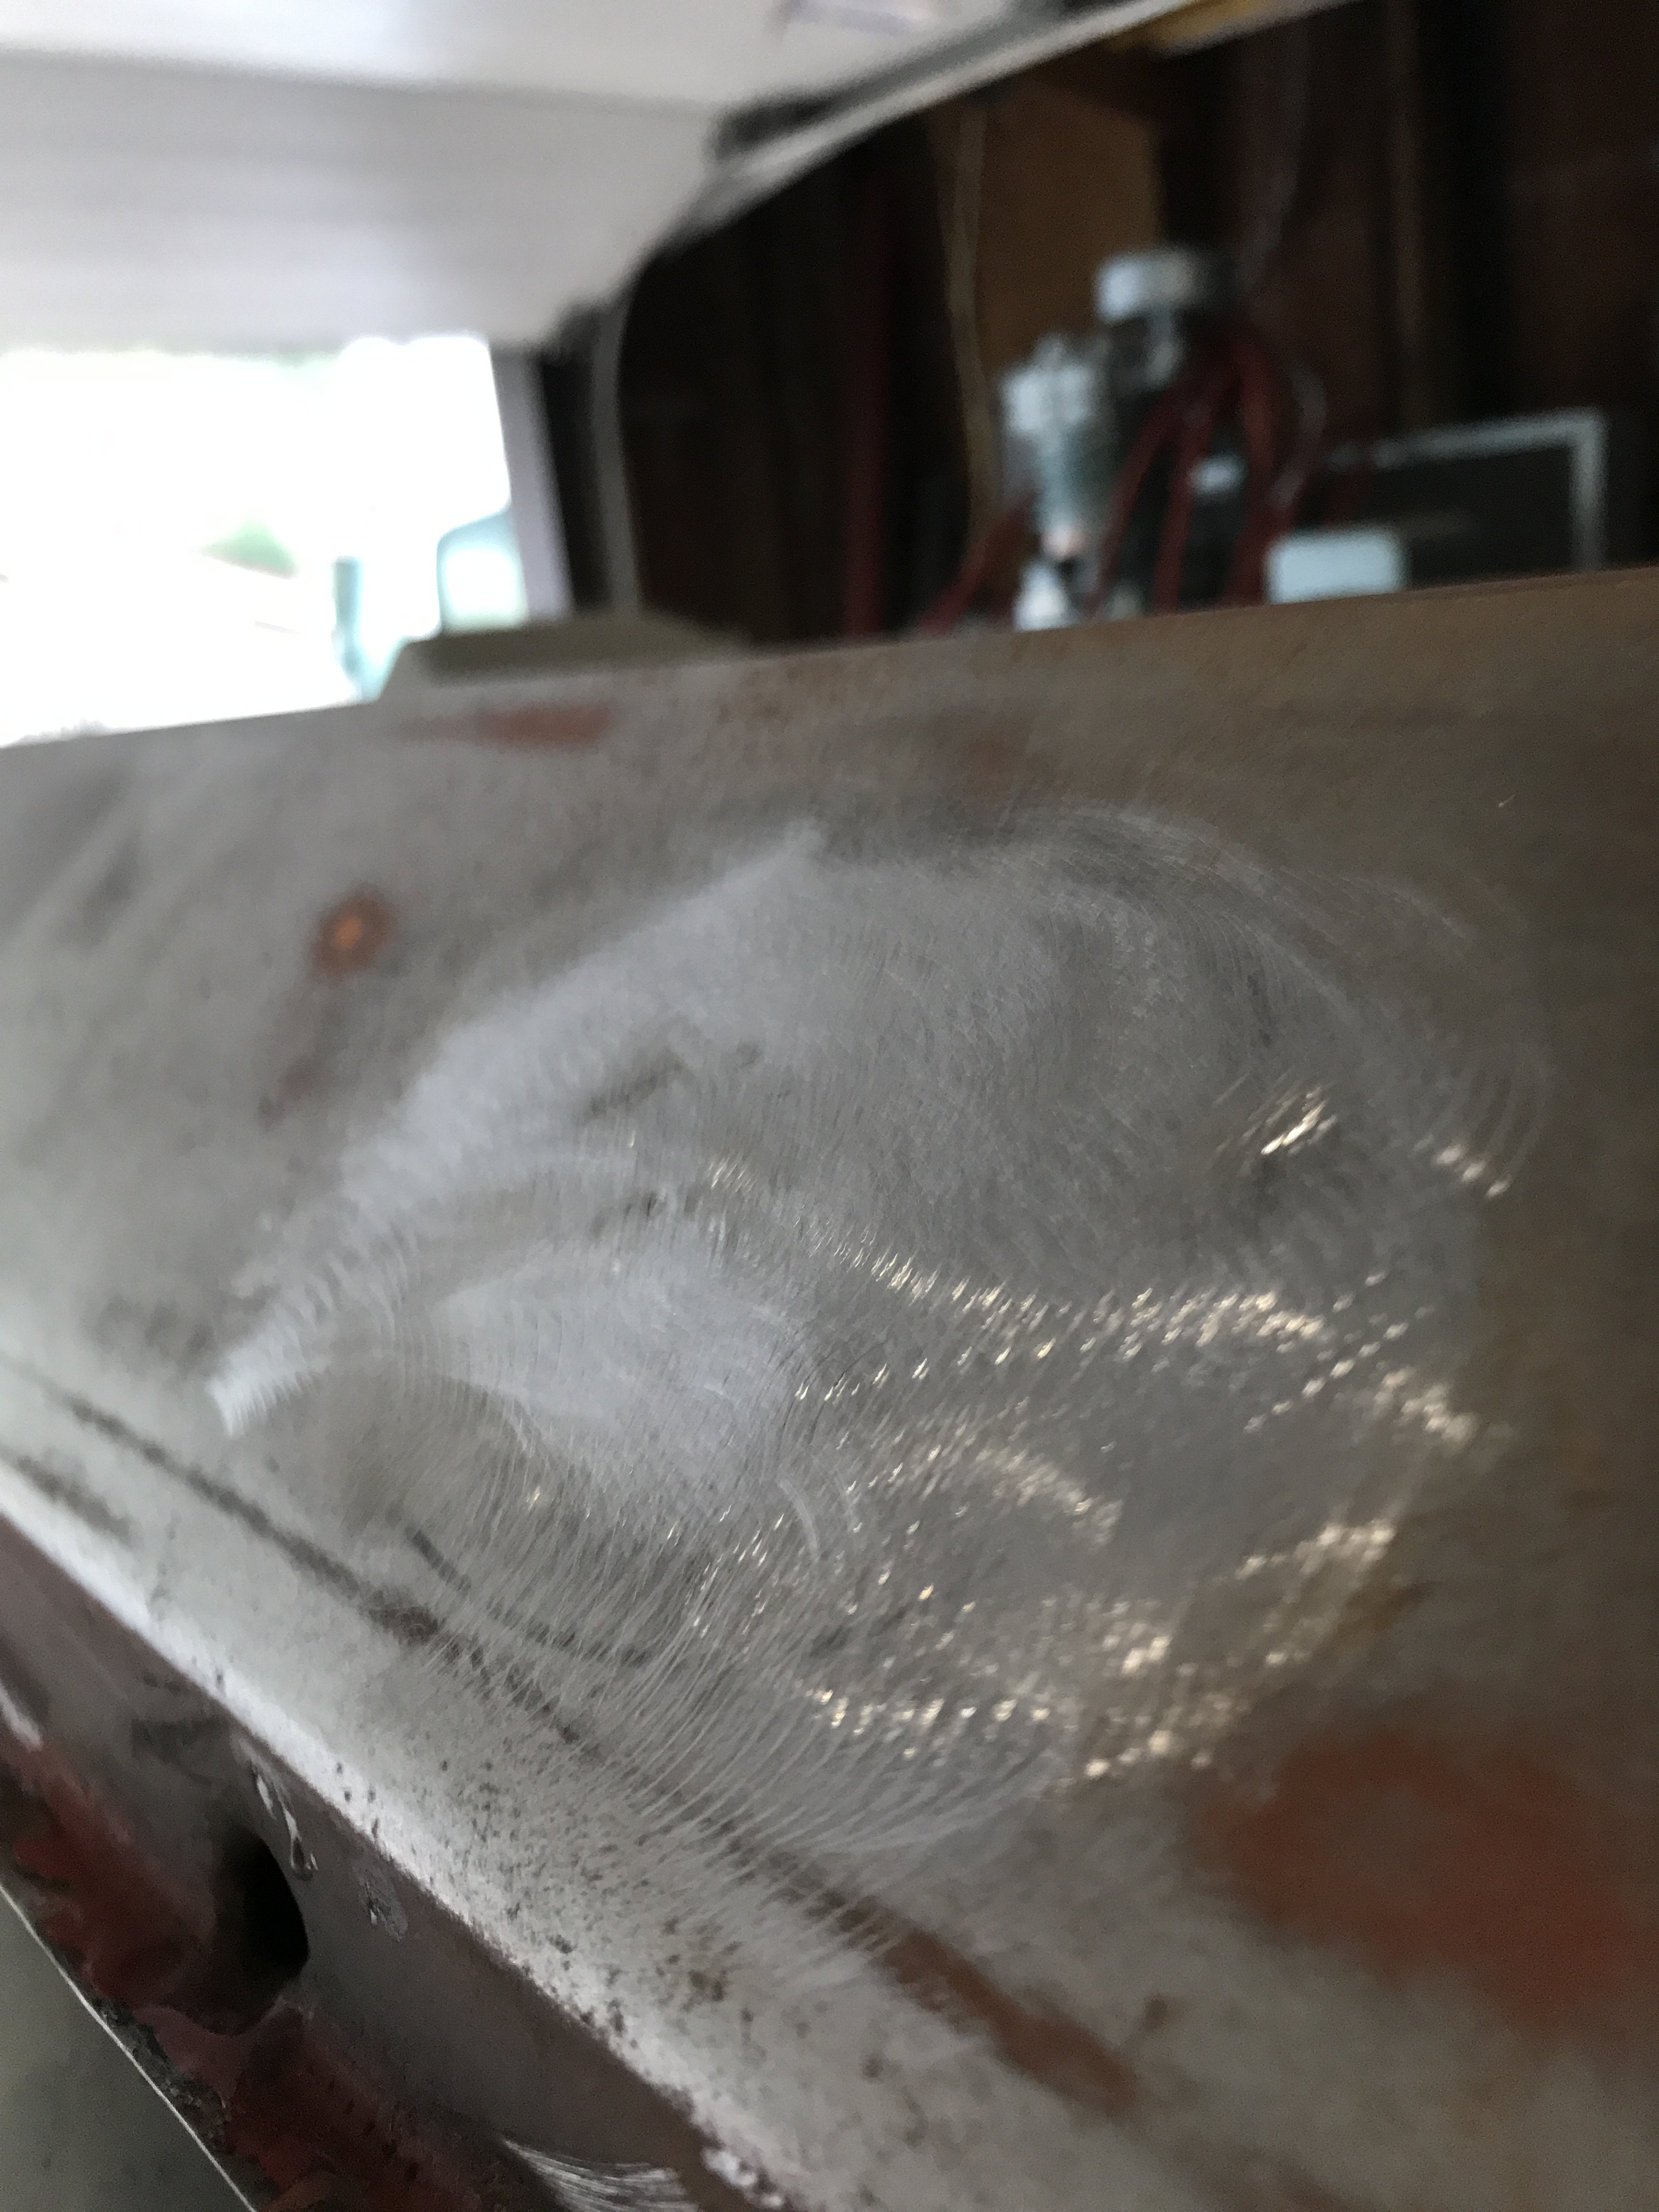
Returned Sunday from a convention in Las Vegas but managed squeeze three hours of Z work time in. As I was waiting for the front lower quarter panel leg, I decided to pull out two dents on the same rocker panel. To do this, a 110vt stud gun was utilized. The gun spot welds copper studs to the damaged area then the sliding grabs and pulls the dent out. Pic of crease on rocker panel. Another angle of stud pulling. If the repaired becomes "high" , there is also a shrinking tip that can be used. This flat tip will heat a small area "red hot" then tap this area with a body hammer down. Next, "quench" the area with a wet rag. This will create the shrinking action to occur and lower the area. Repaired area after grinding with#24 grit paper Pic of the other dent repaired with stud gun
-
Heavy Duty frame rails and connectors
toolman replied to toolman's topic in Gen III & IV Chevy V8Z Tech Board
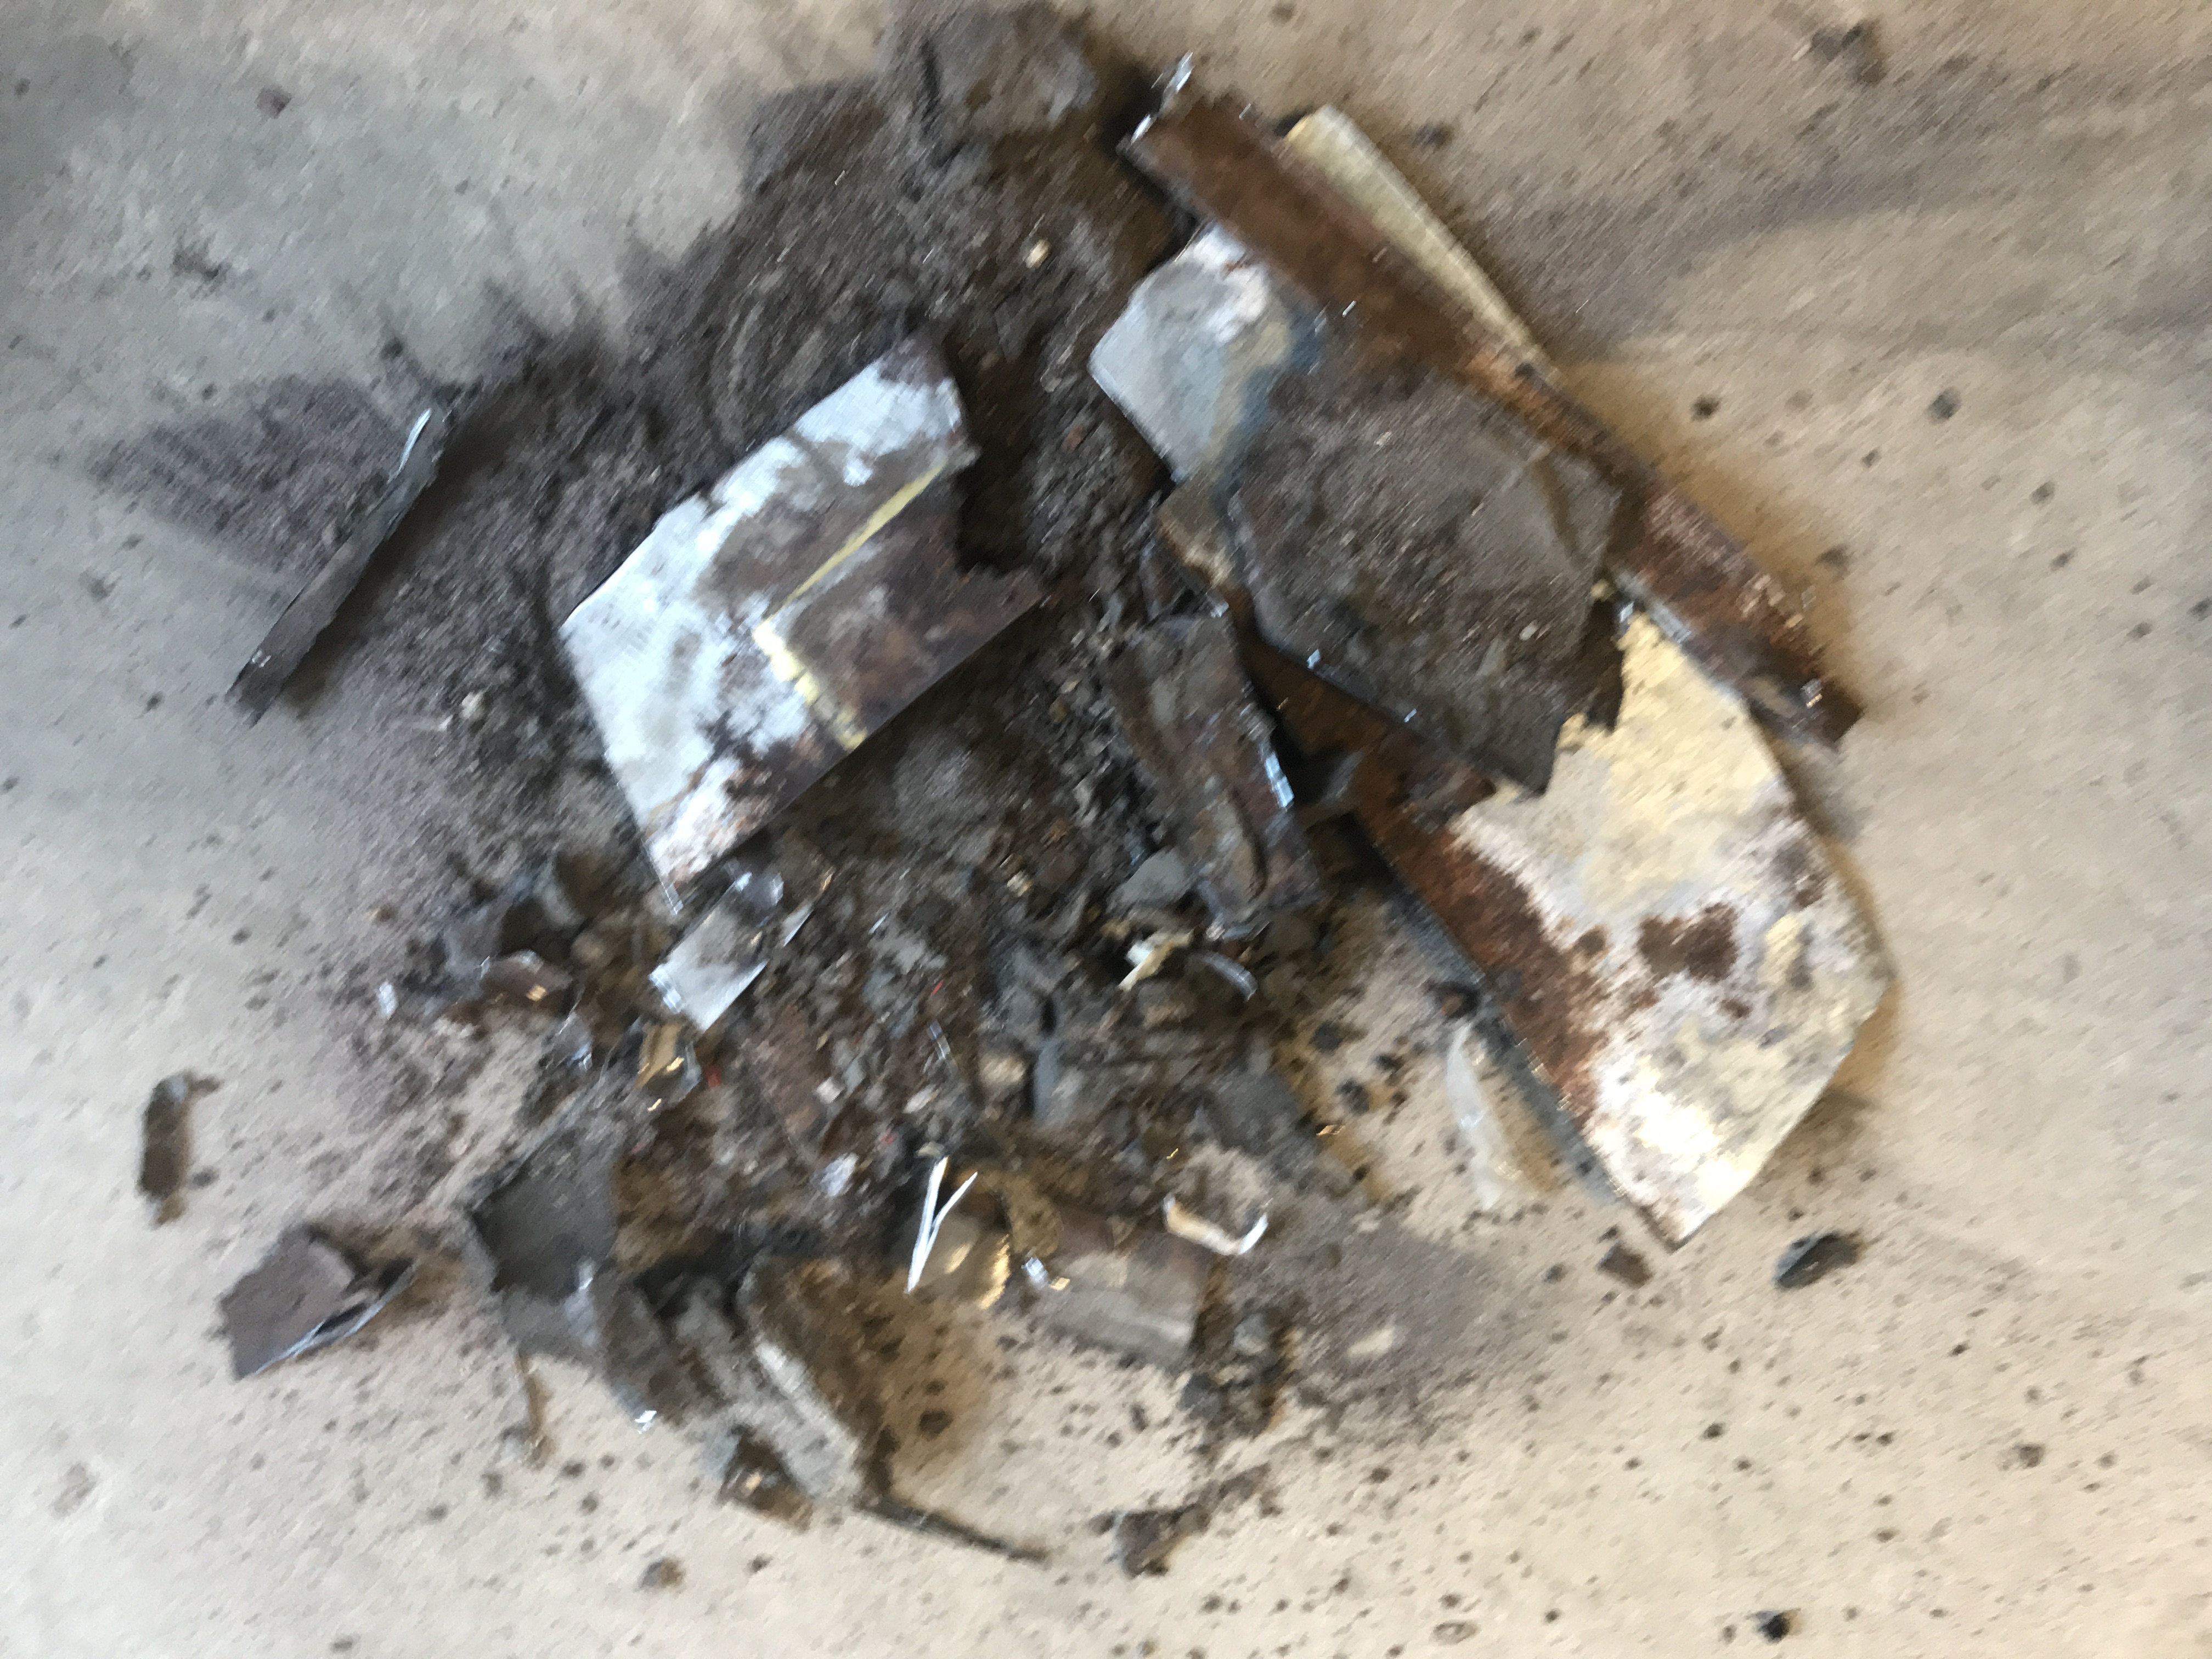
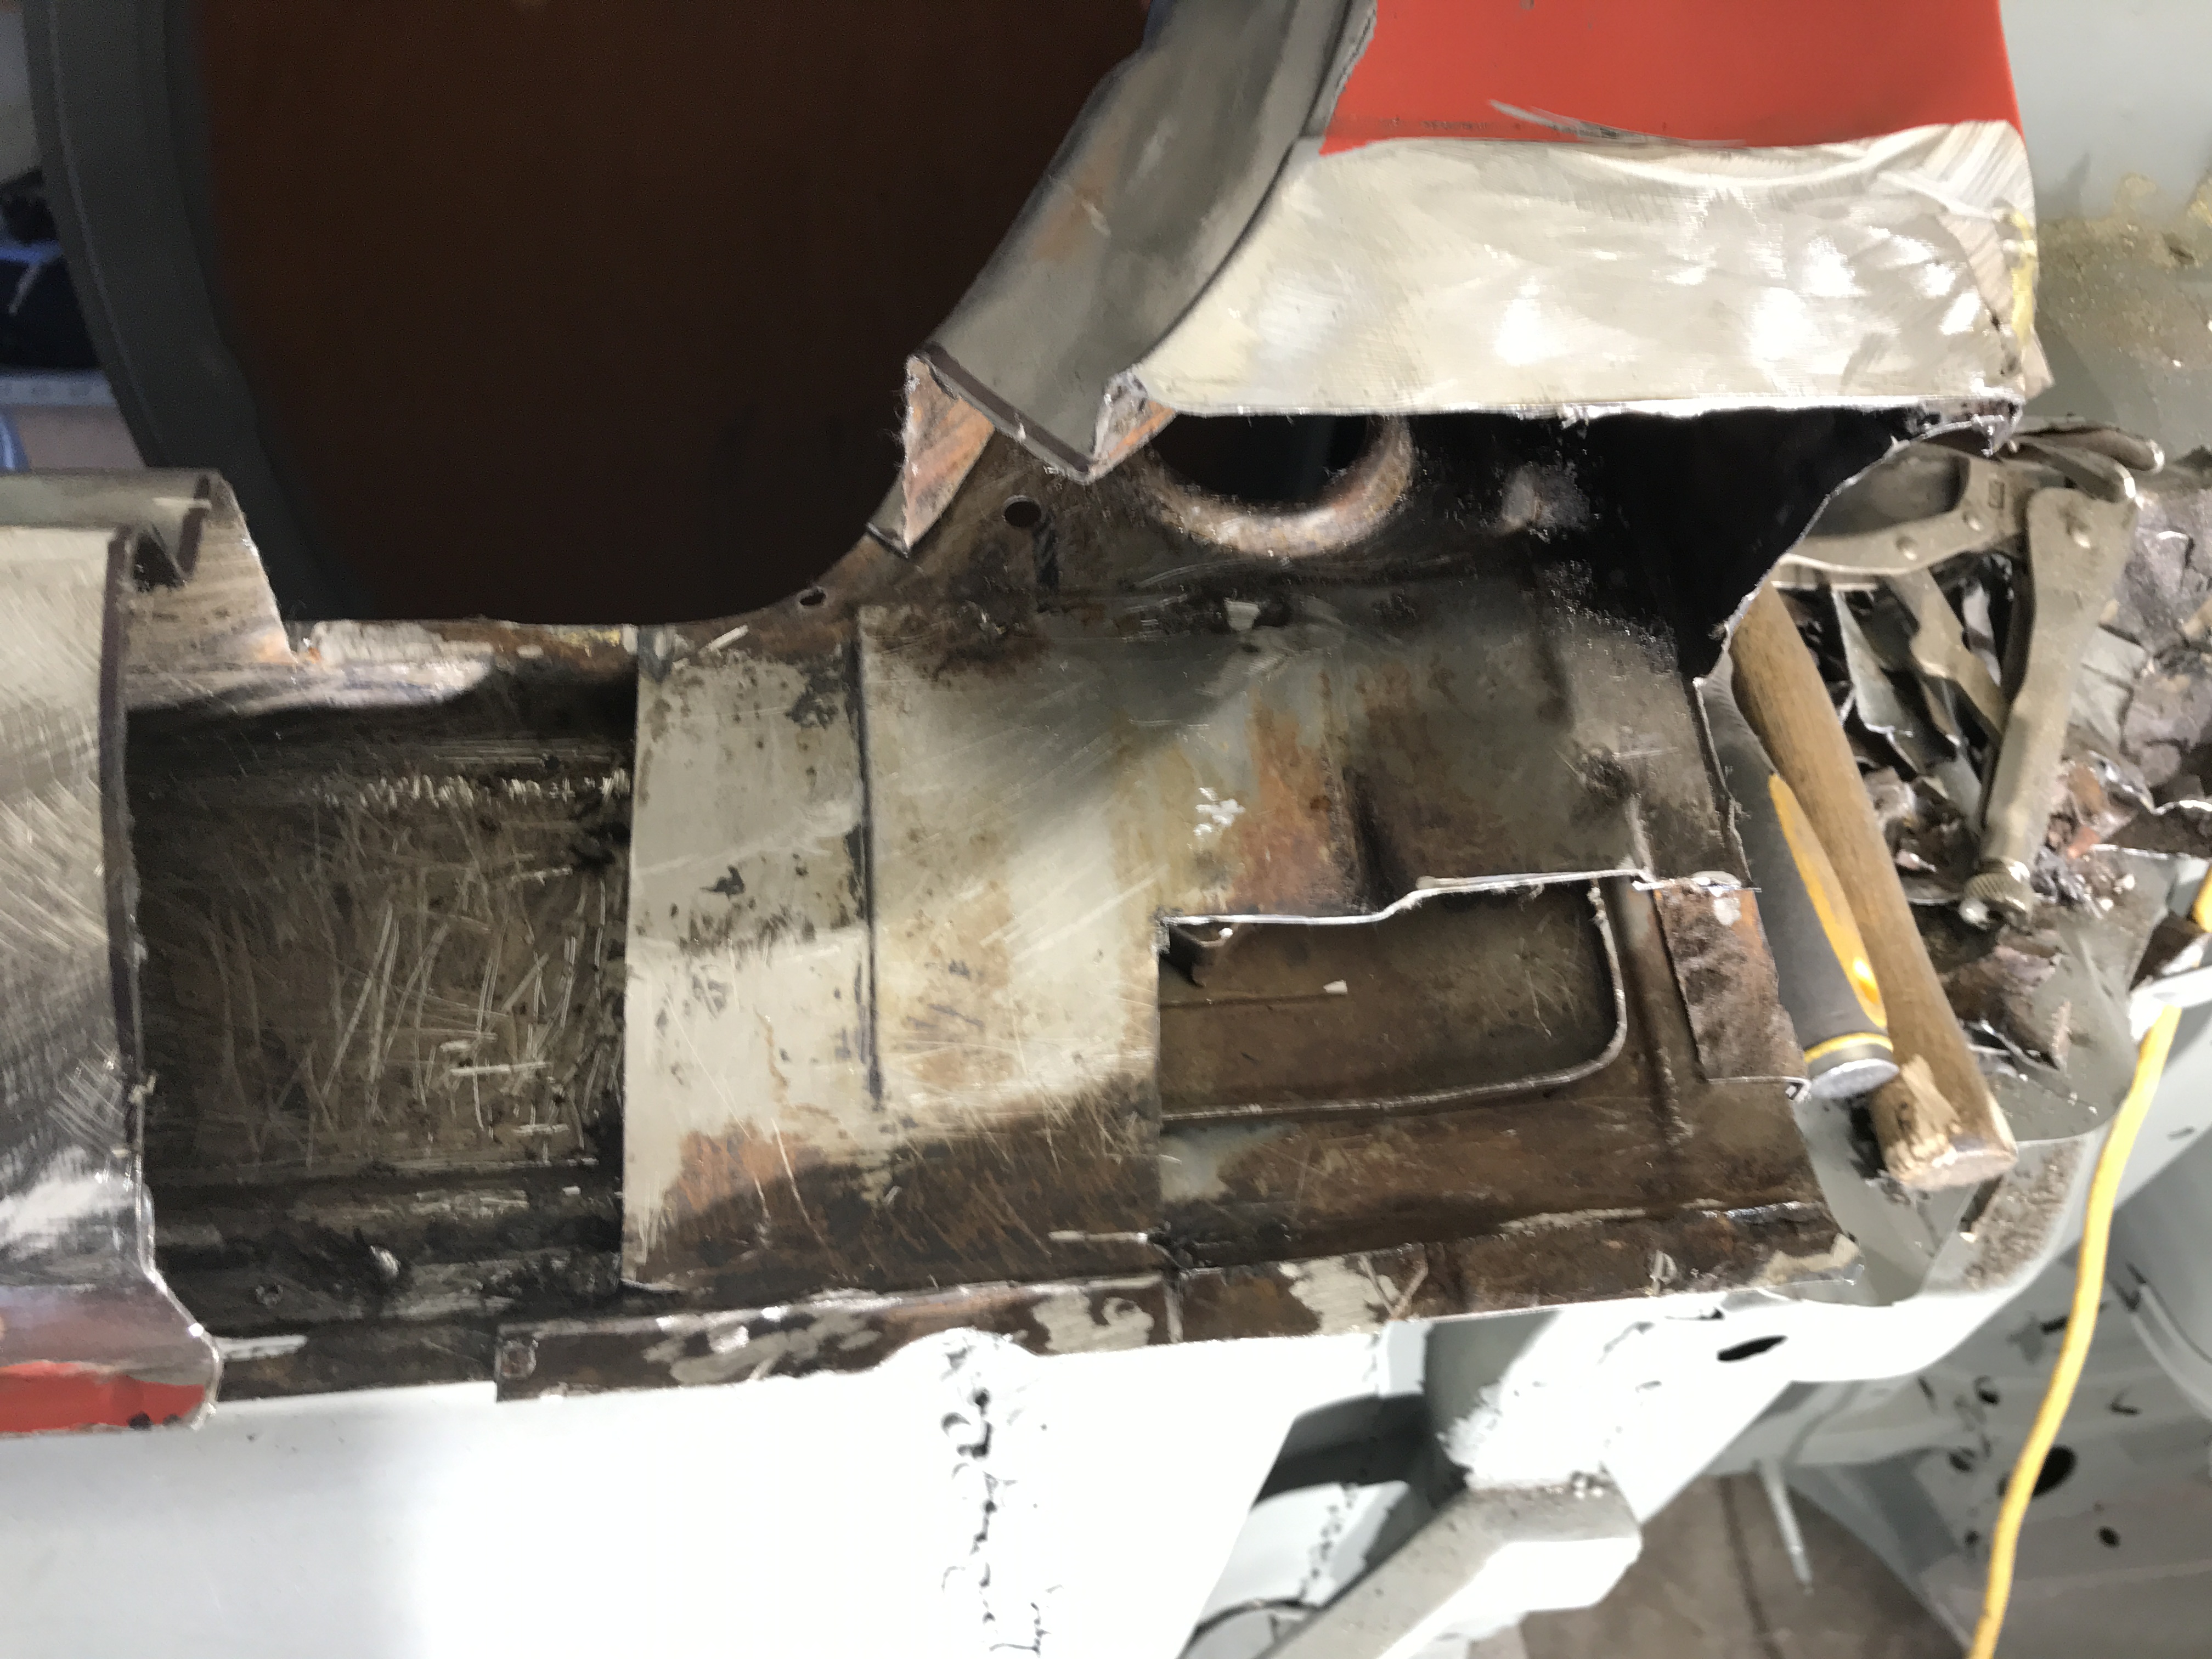
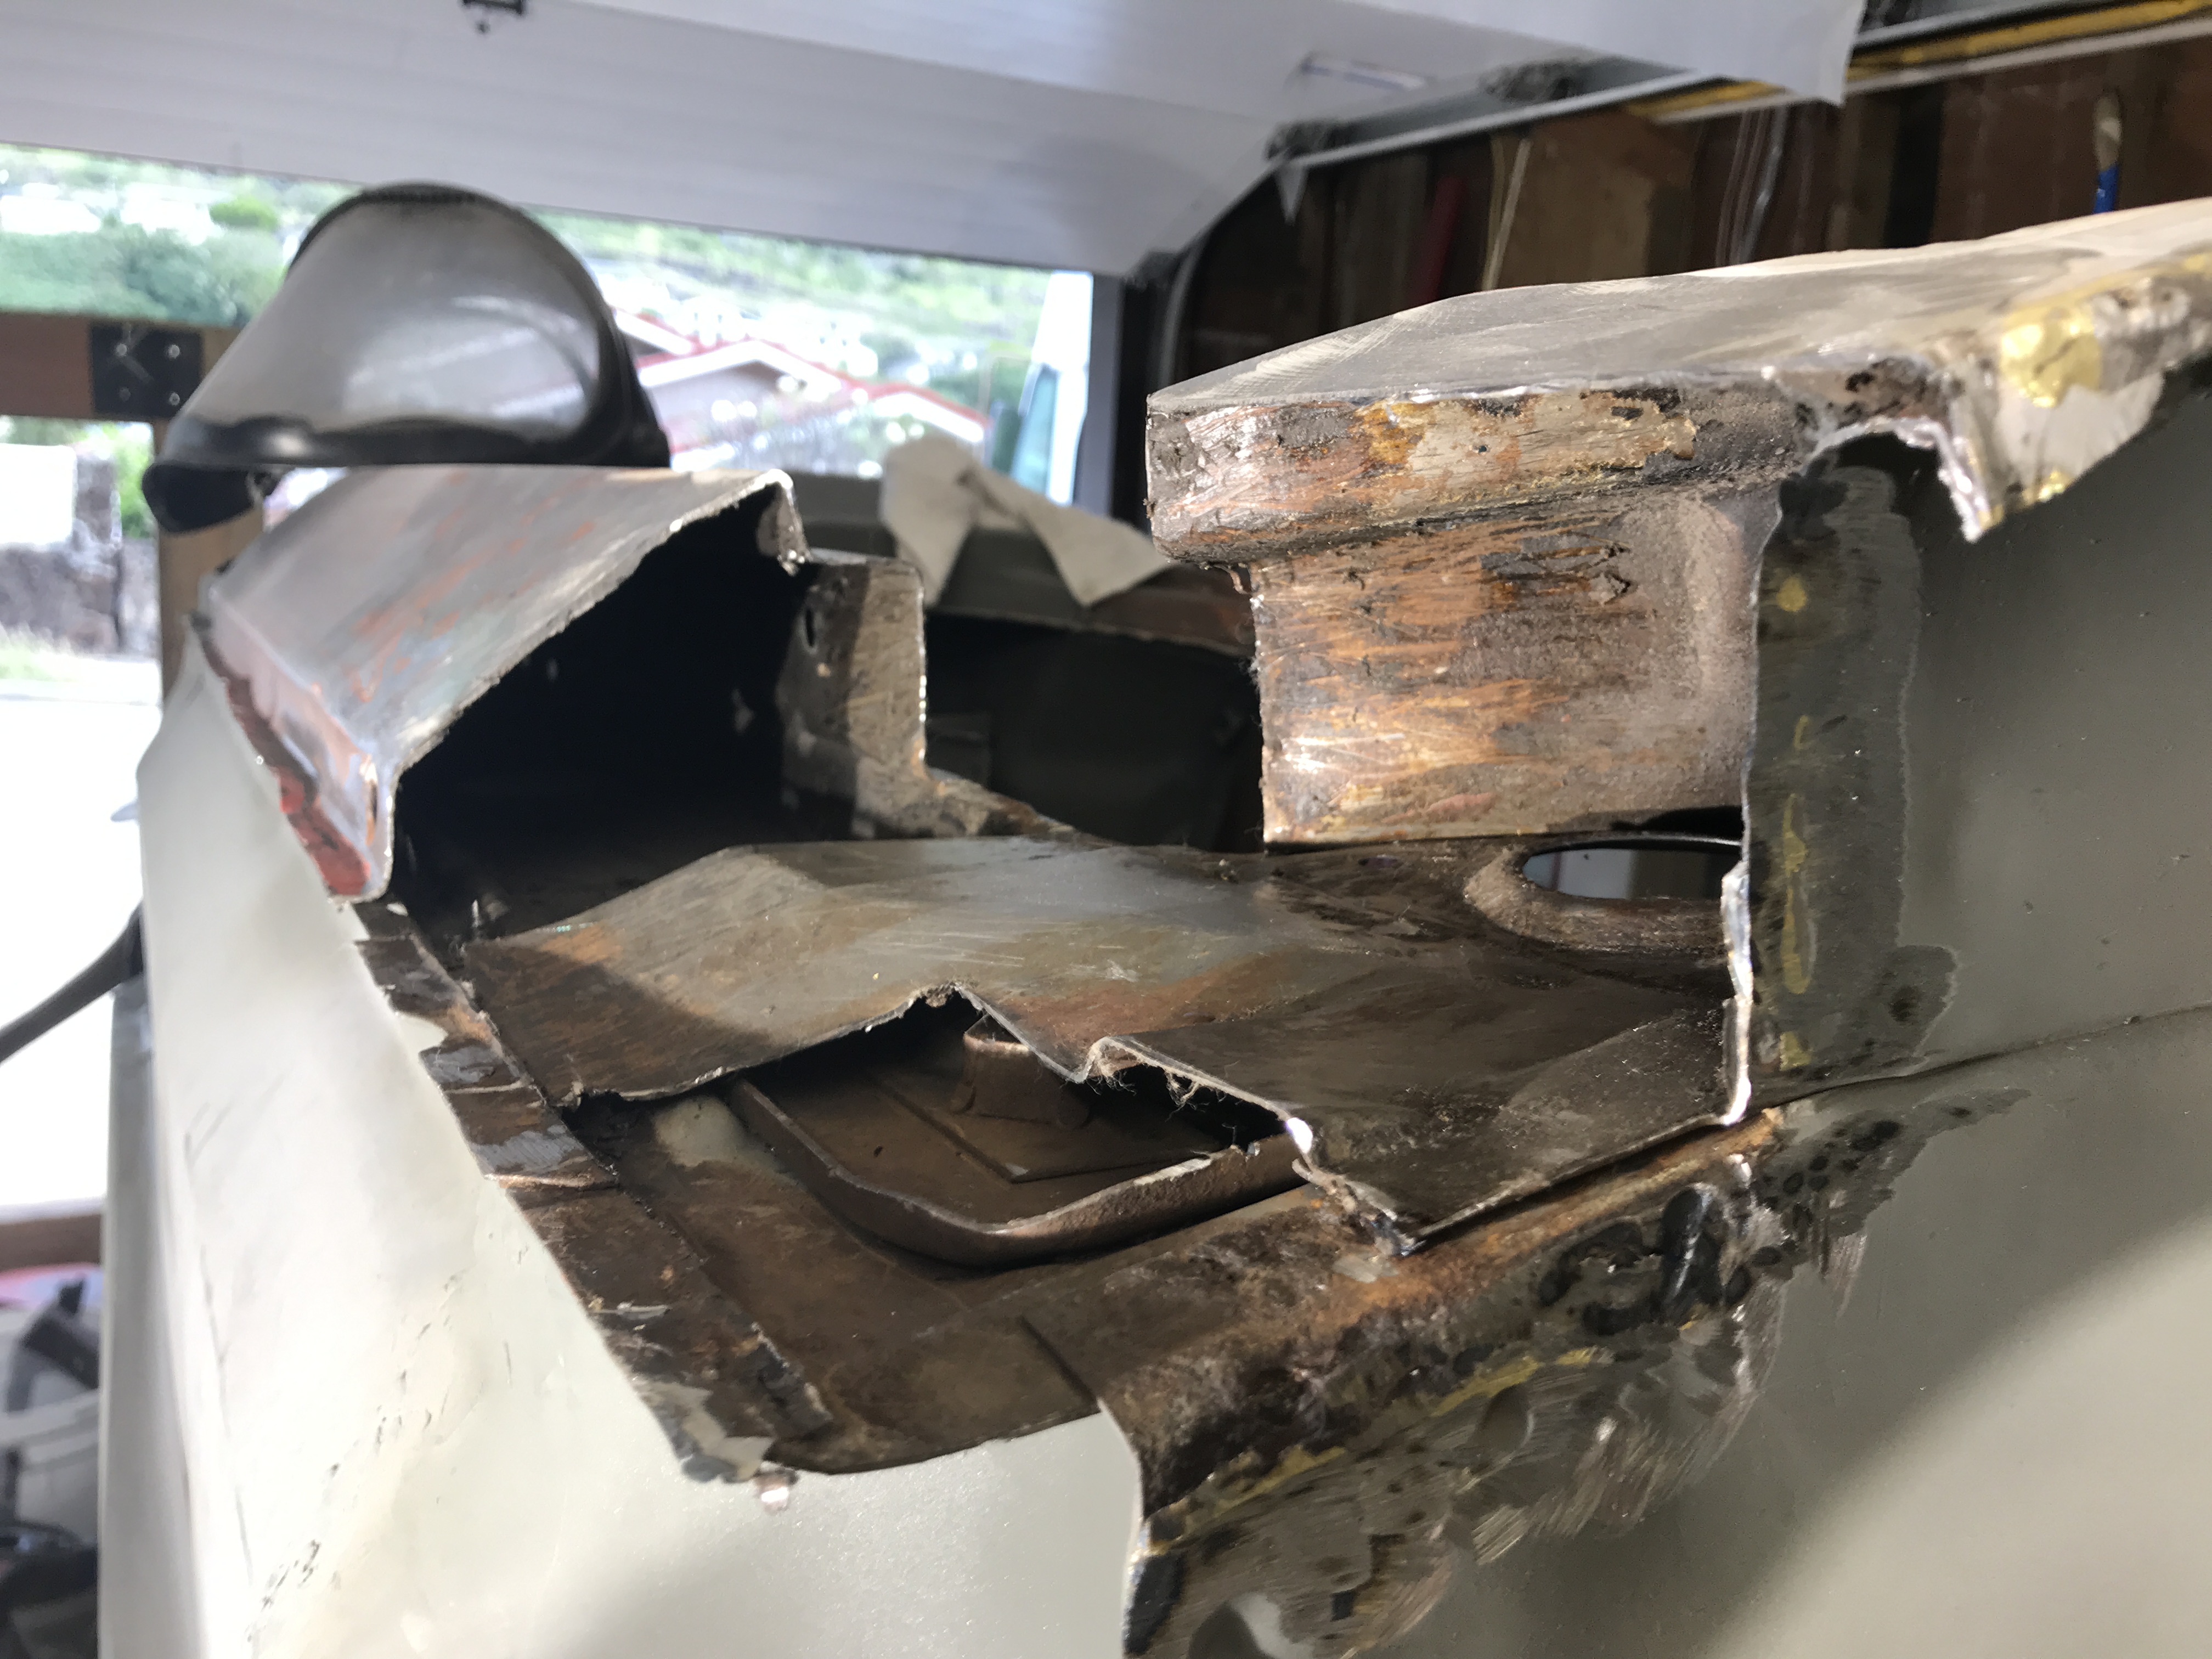
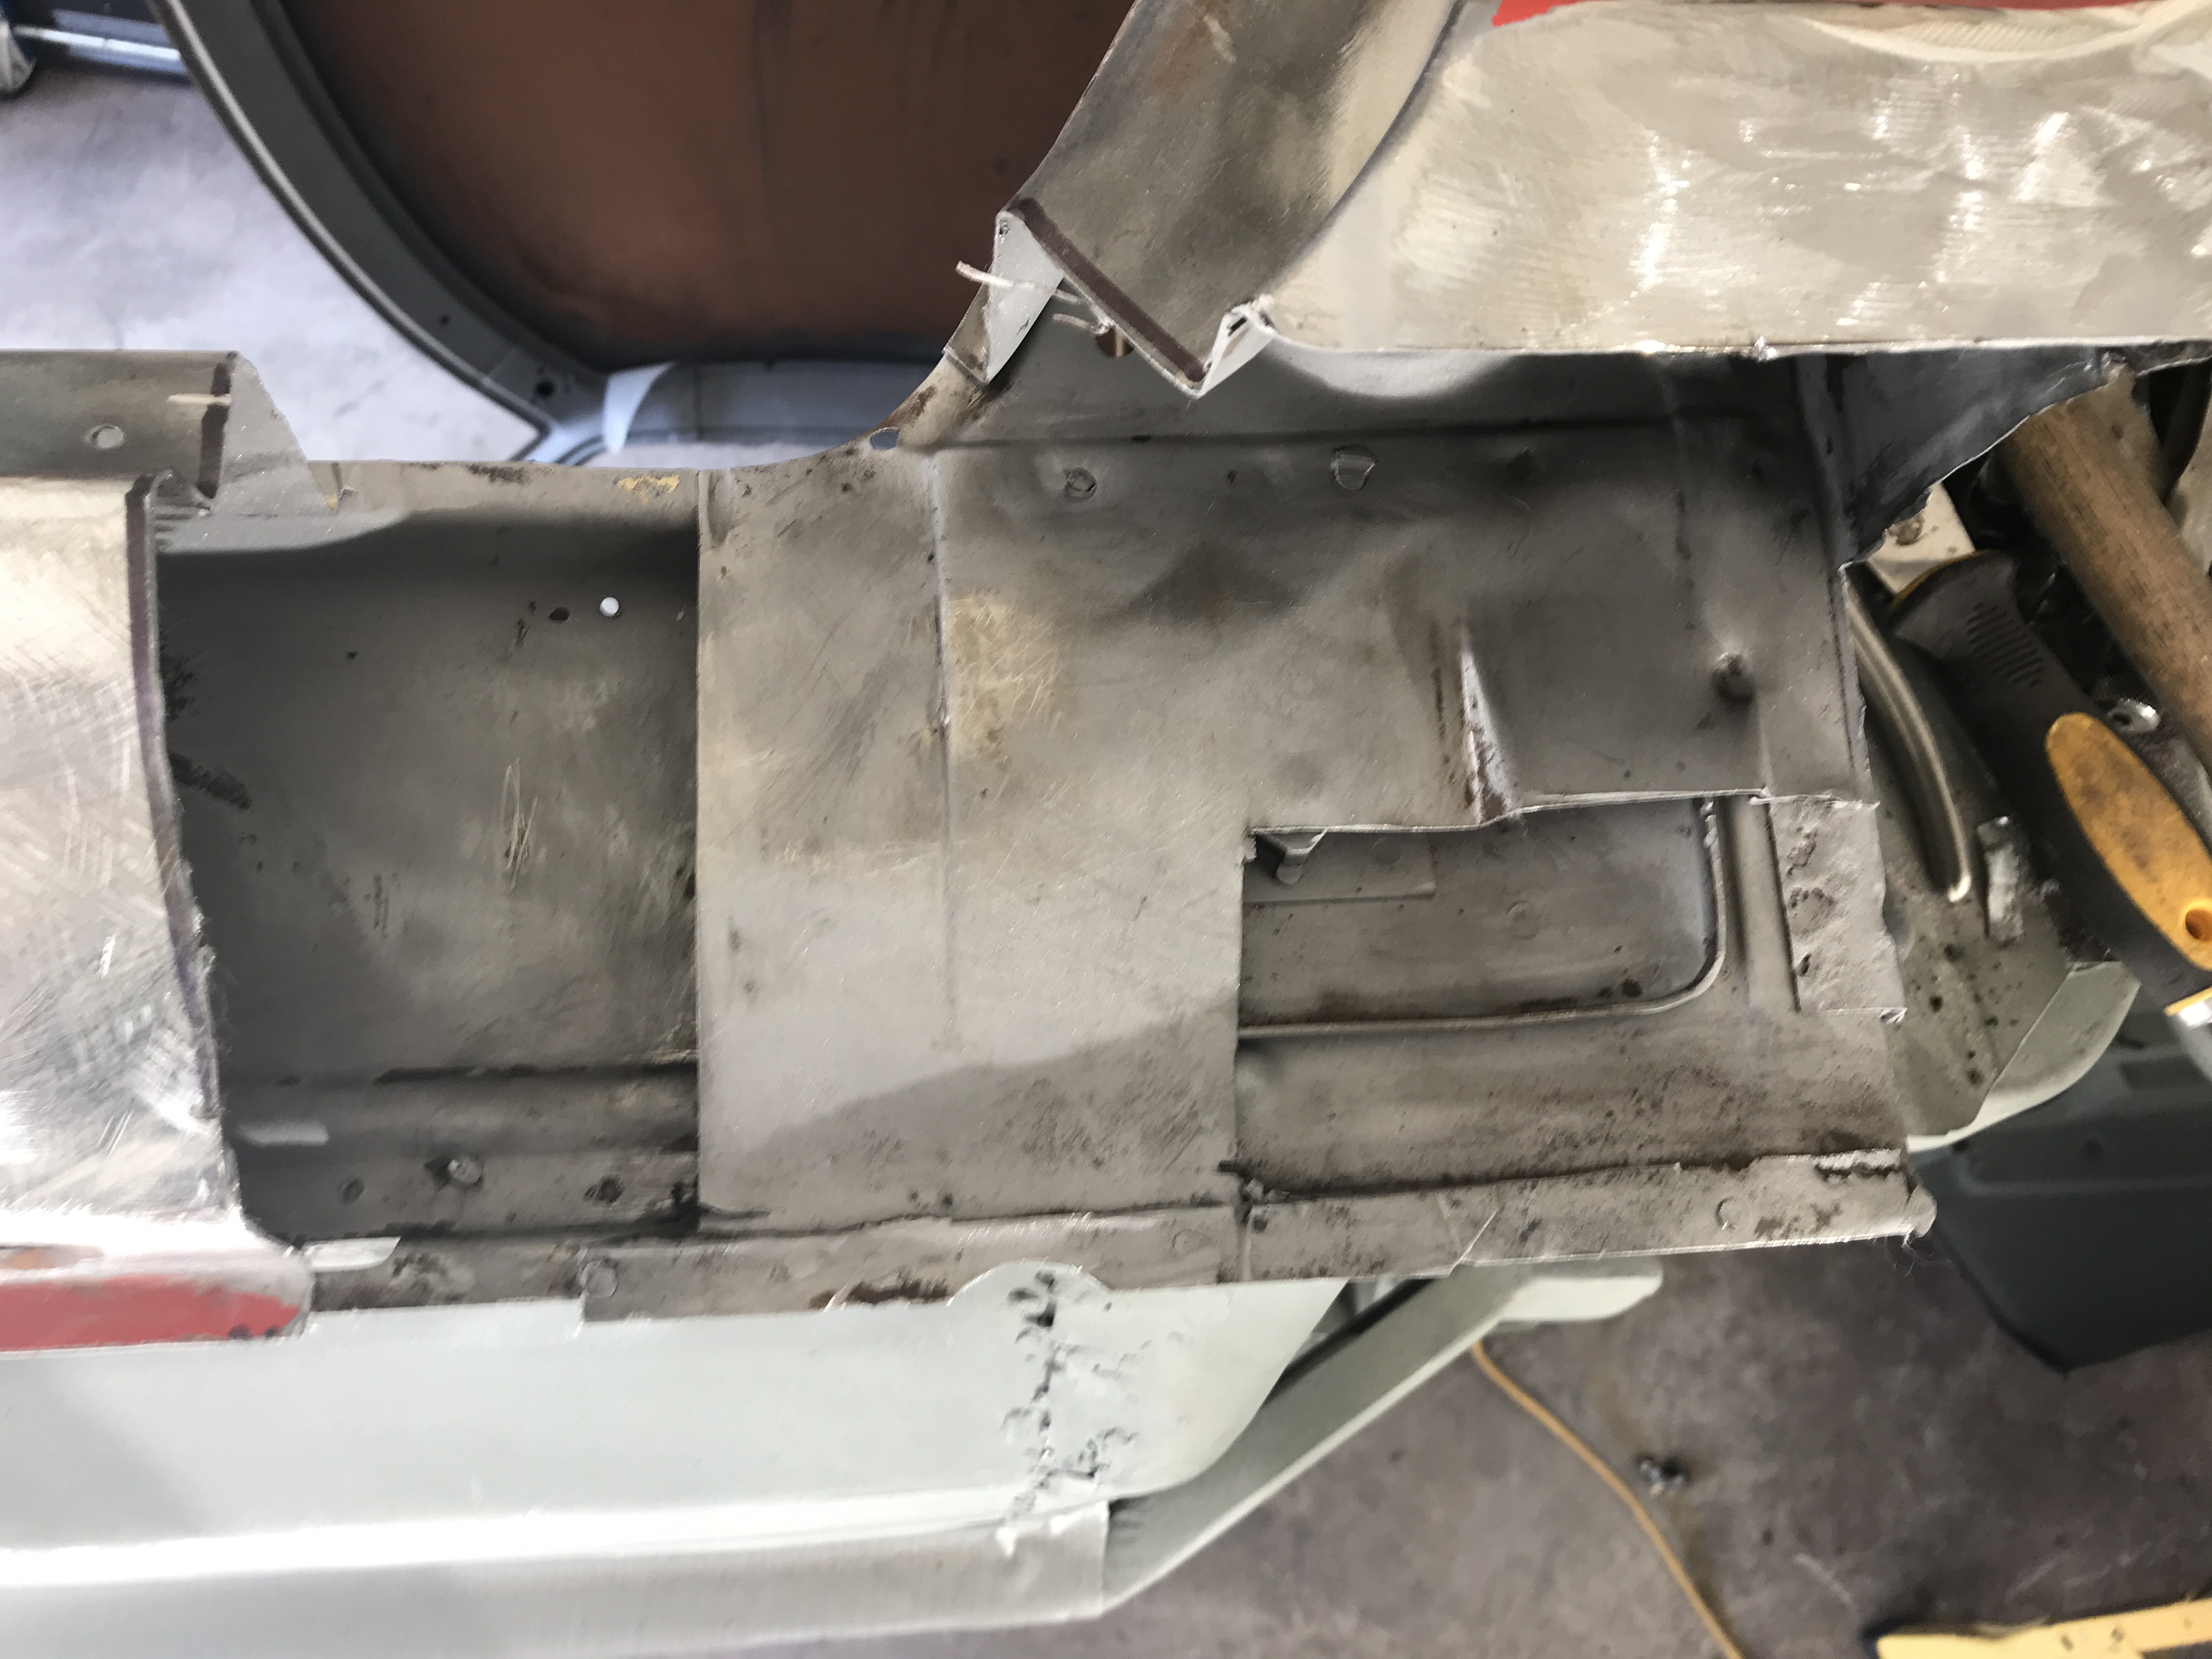
Back to rust repair-on Left Rear Rocker Panel. First pic shows all the dirt and rusted metal that was cut out. Pic of area that was worked on. What made this job harder was the rustproofing inside the panel. Scrapping took most of off then removed the rest with lacquer thinner. Then the area was sandblasted clean. My new curtains helped as they kept the media spreading even further. Rear view of repaired area. Also, found additional rust on wheel housing. Note-raised area above seat belt anchor bracket After sandblasting the area. Made temp[ate for panel patch. Note: the raised area had to be hammered formed. This was necessary so the patch would not touch the seat belt reinforcement plate. The factory plate has similar raised area. I also made the wheel housing side one piece to prevent future leakage. Patched the wheel housing area, I drilled a 1" hole near the seat belt bracket so I can rustproof this area after painting the car. 240Z usually had corrosion problems on front and rear of left/right rocker panels. I think more though rustproofing and urethane seam sealing will do a better job against corrosion.
-
Richard Oben LS1 series 1 240Z build
toolman replied to Richard Oben's topic in Gen III & IV Chevy V8Z Tech Board
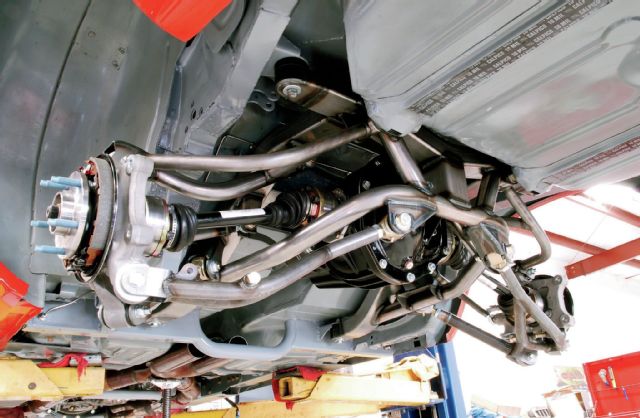
Camaro IRS swap Richard, Thanks for the Rapid Answer. Before I heard about some guys using Ford 8.8, I was thinking about putting in the whole rear suspension from a late model Camaro and basically narrow it to fit. That way you get a beefier wheel hub( although 5 lug). Also, it would limit machine work to shortening both axles. Most of late model cars use an independent rear with four bolt mounting system so it could be possible. I was looking for a wrecked Camaro so I could take measurements to even see if this swap was possible. But I got diverted to the paint booth build and still got more rust work to do. Anyway, somebody might already done the swap already. Toolman factory Camaro IRS suspension
-
Richard Oben LS1 series 1 240Z build
toolman replied to Richard Oben's topic in Gen III & IV Chevy V8Z Tech Board
Richard, Looks like a nice installation! Roughly how much did it cost you? I am considering it for my car. What rear gear ratio are you going to run? I would guess about 3.90 with a T-56 trans. Is there a lot of these swaps out there? Toolman -
Heavy Duty frame rails and connectors
toolman replied to toolman's topic in Gen III & IV Chevy V8Z Tech Board
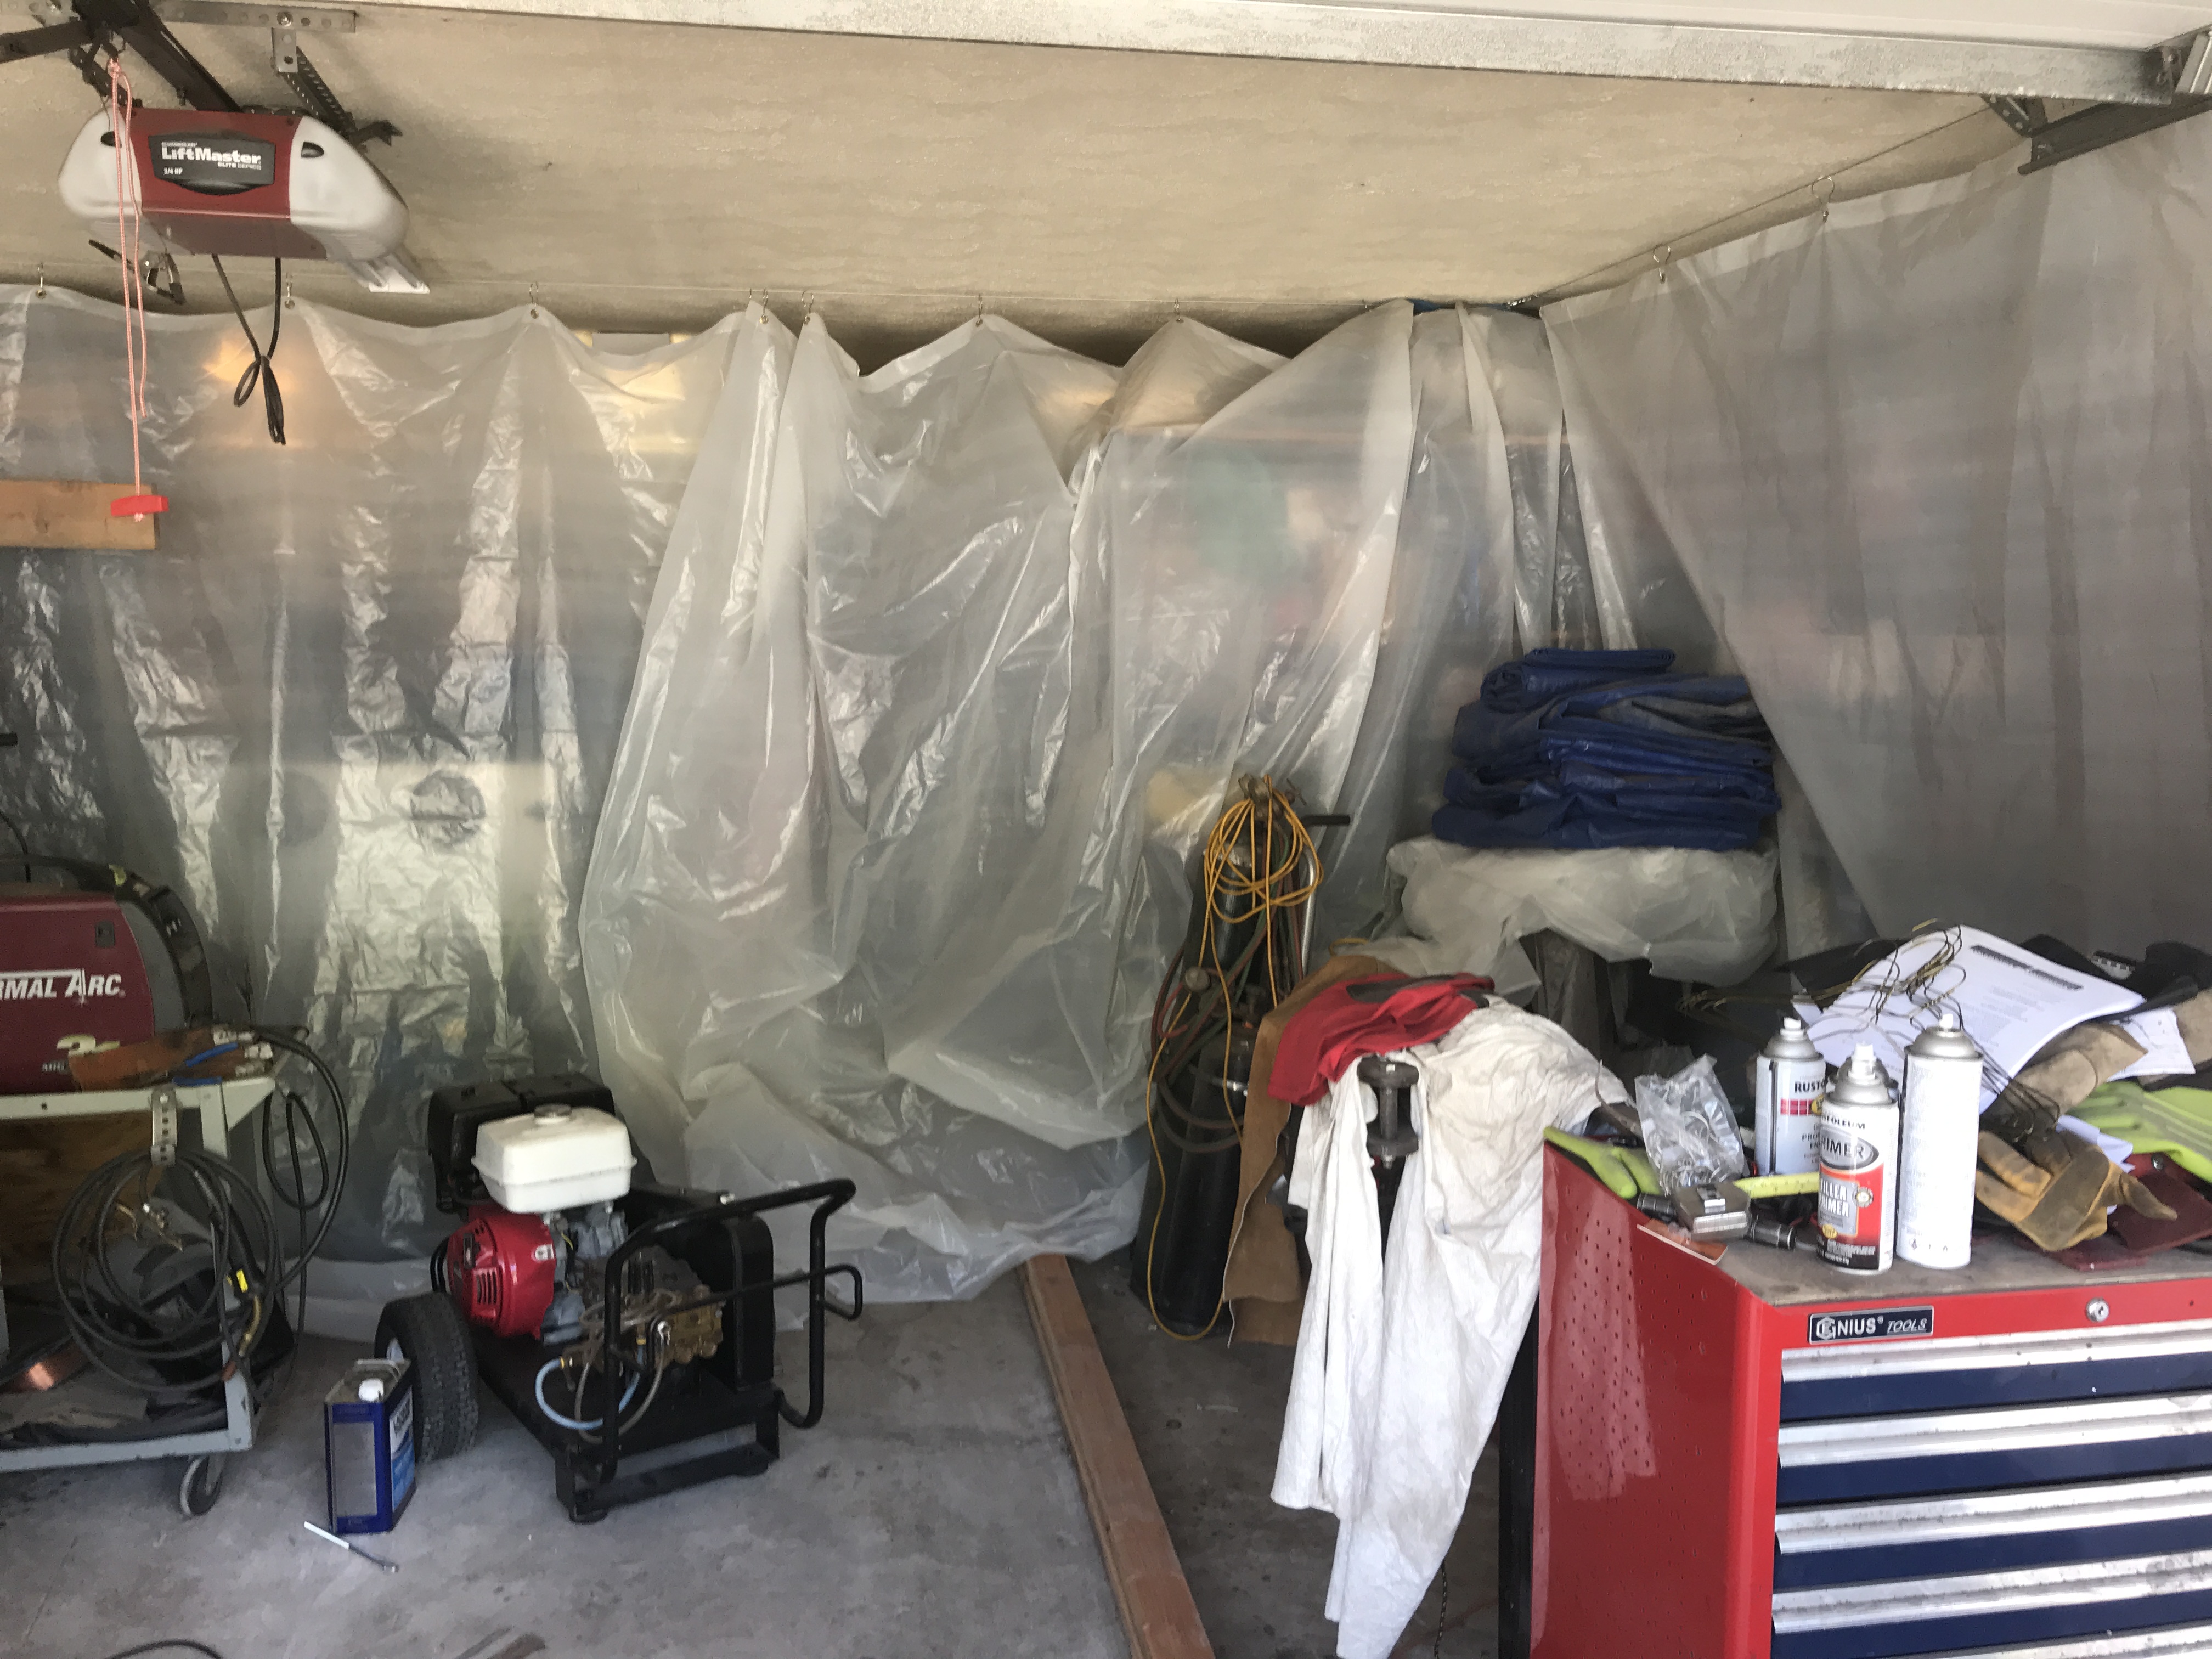
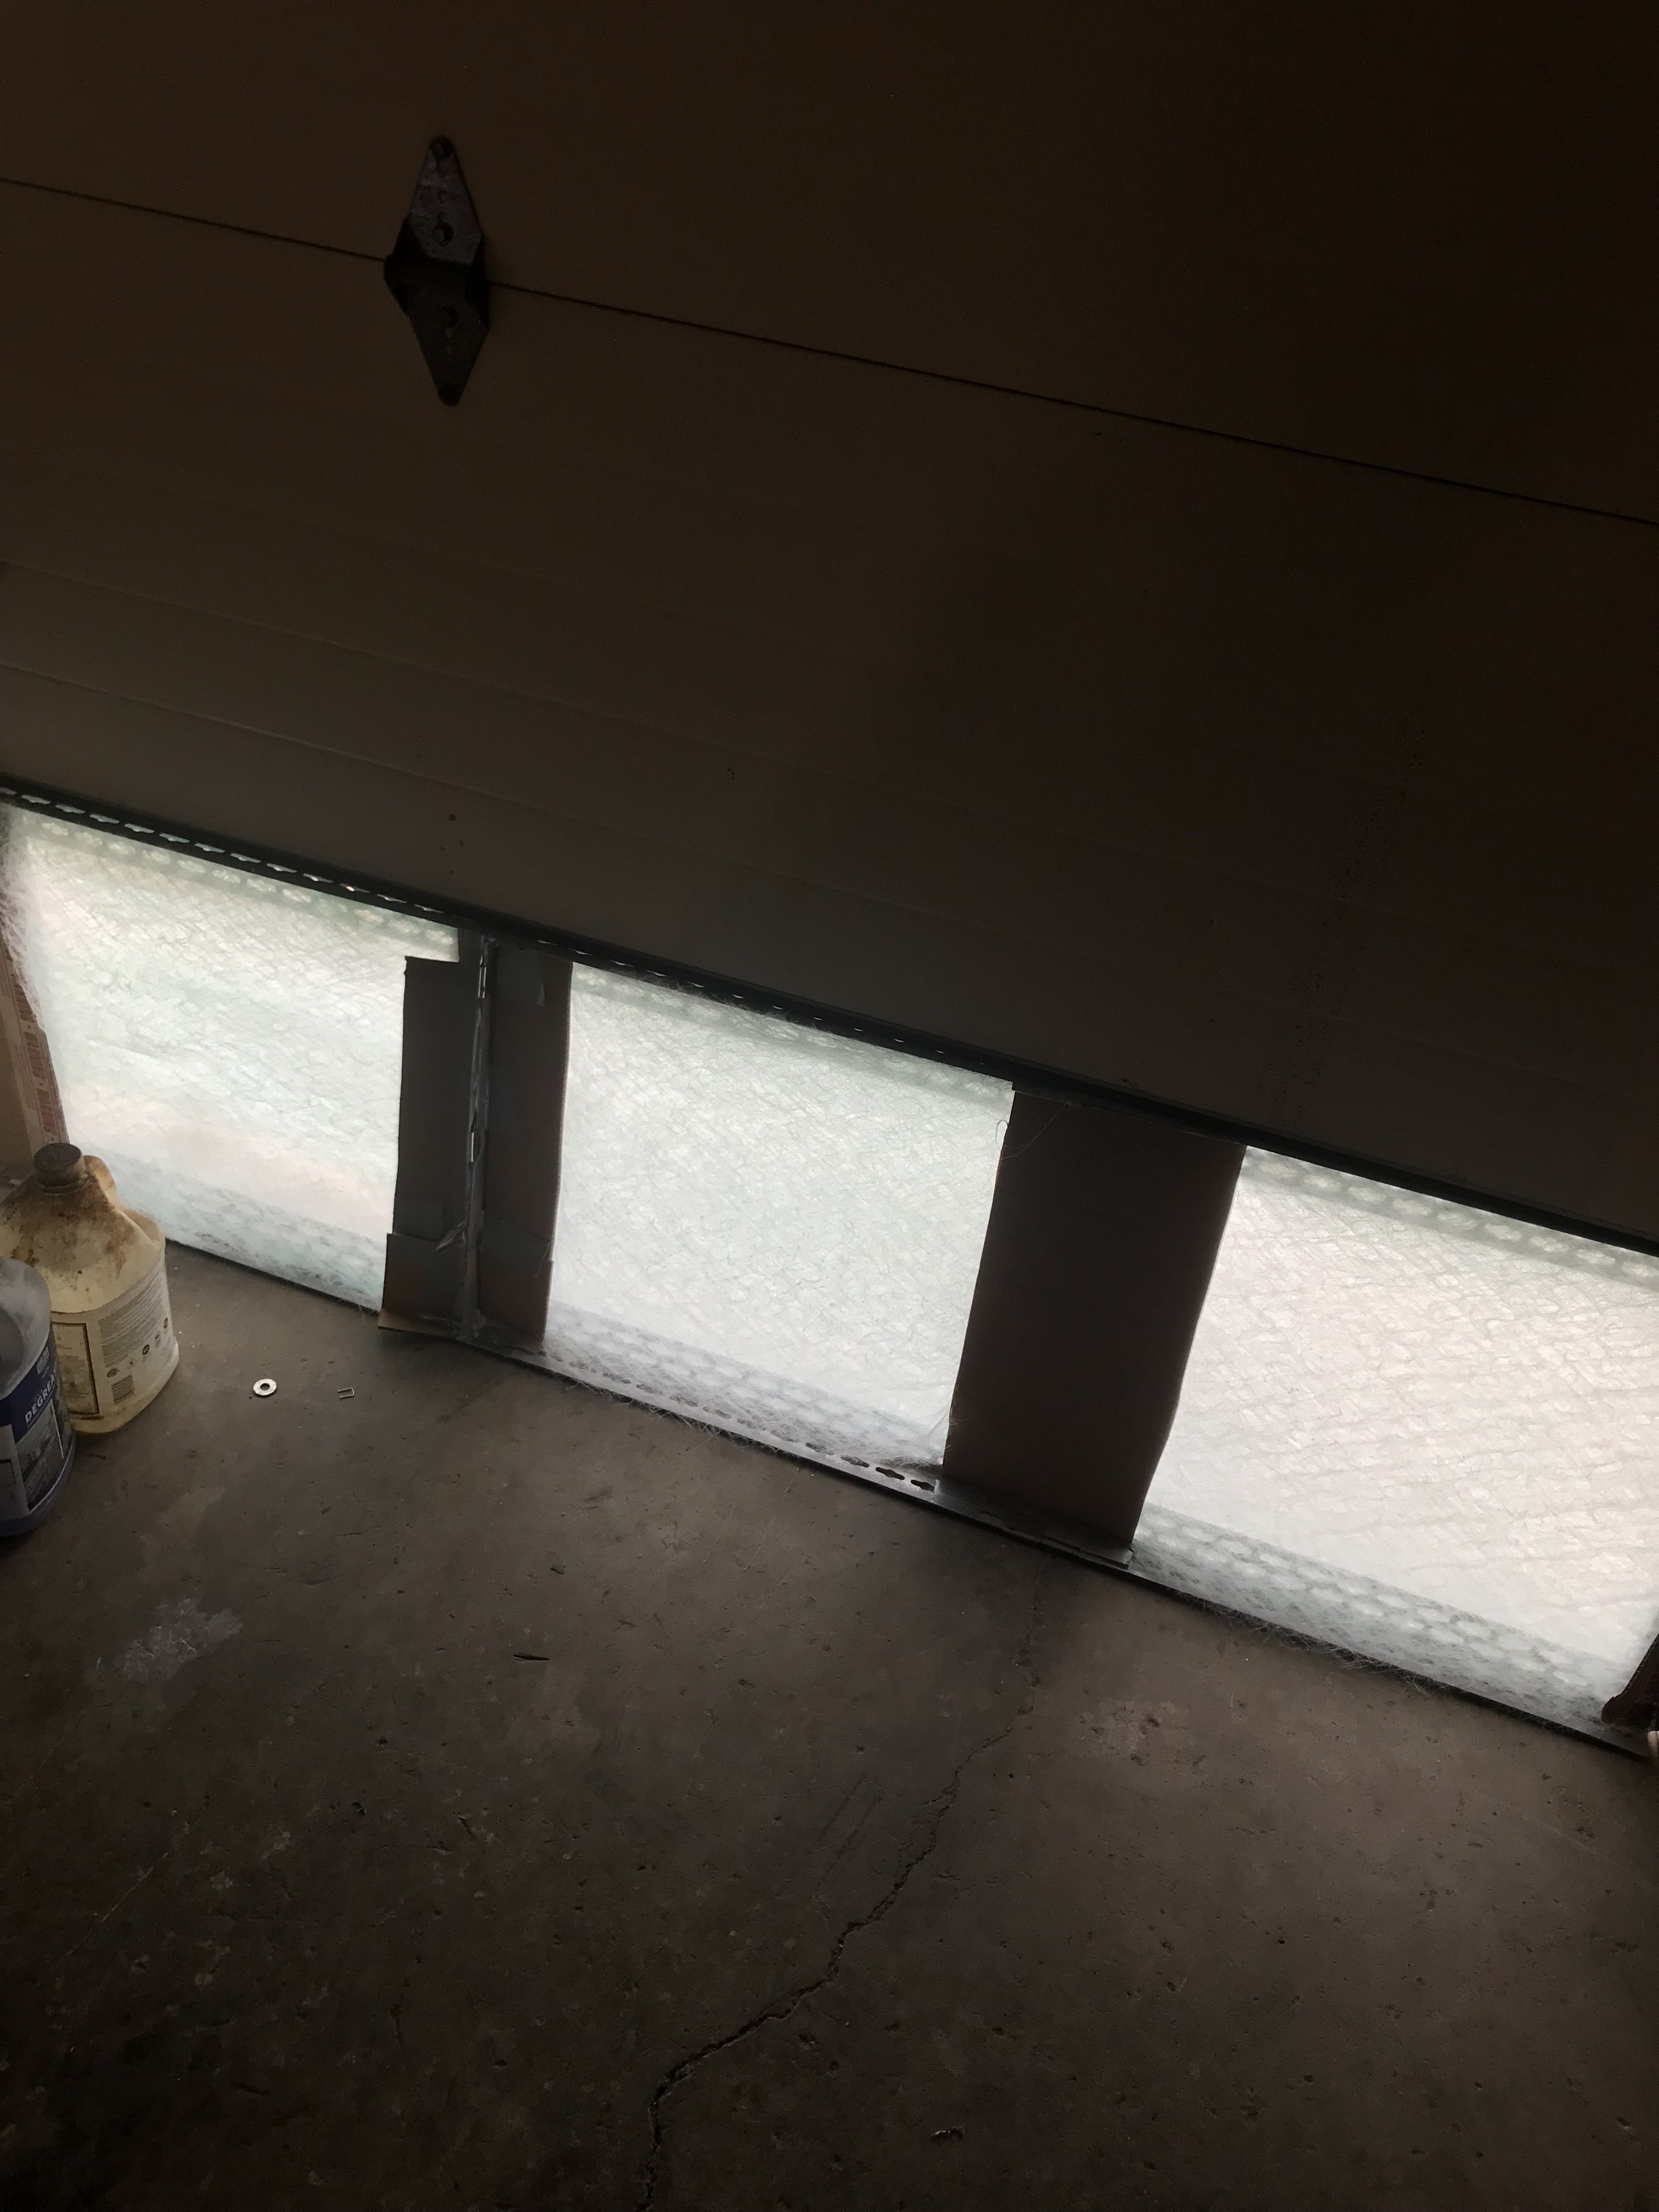
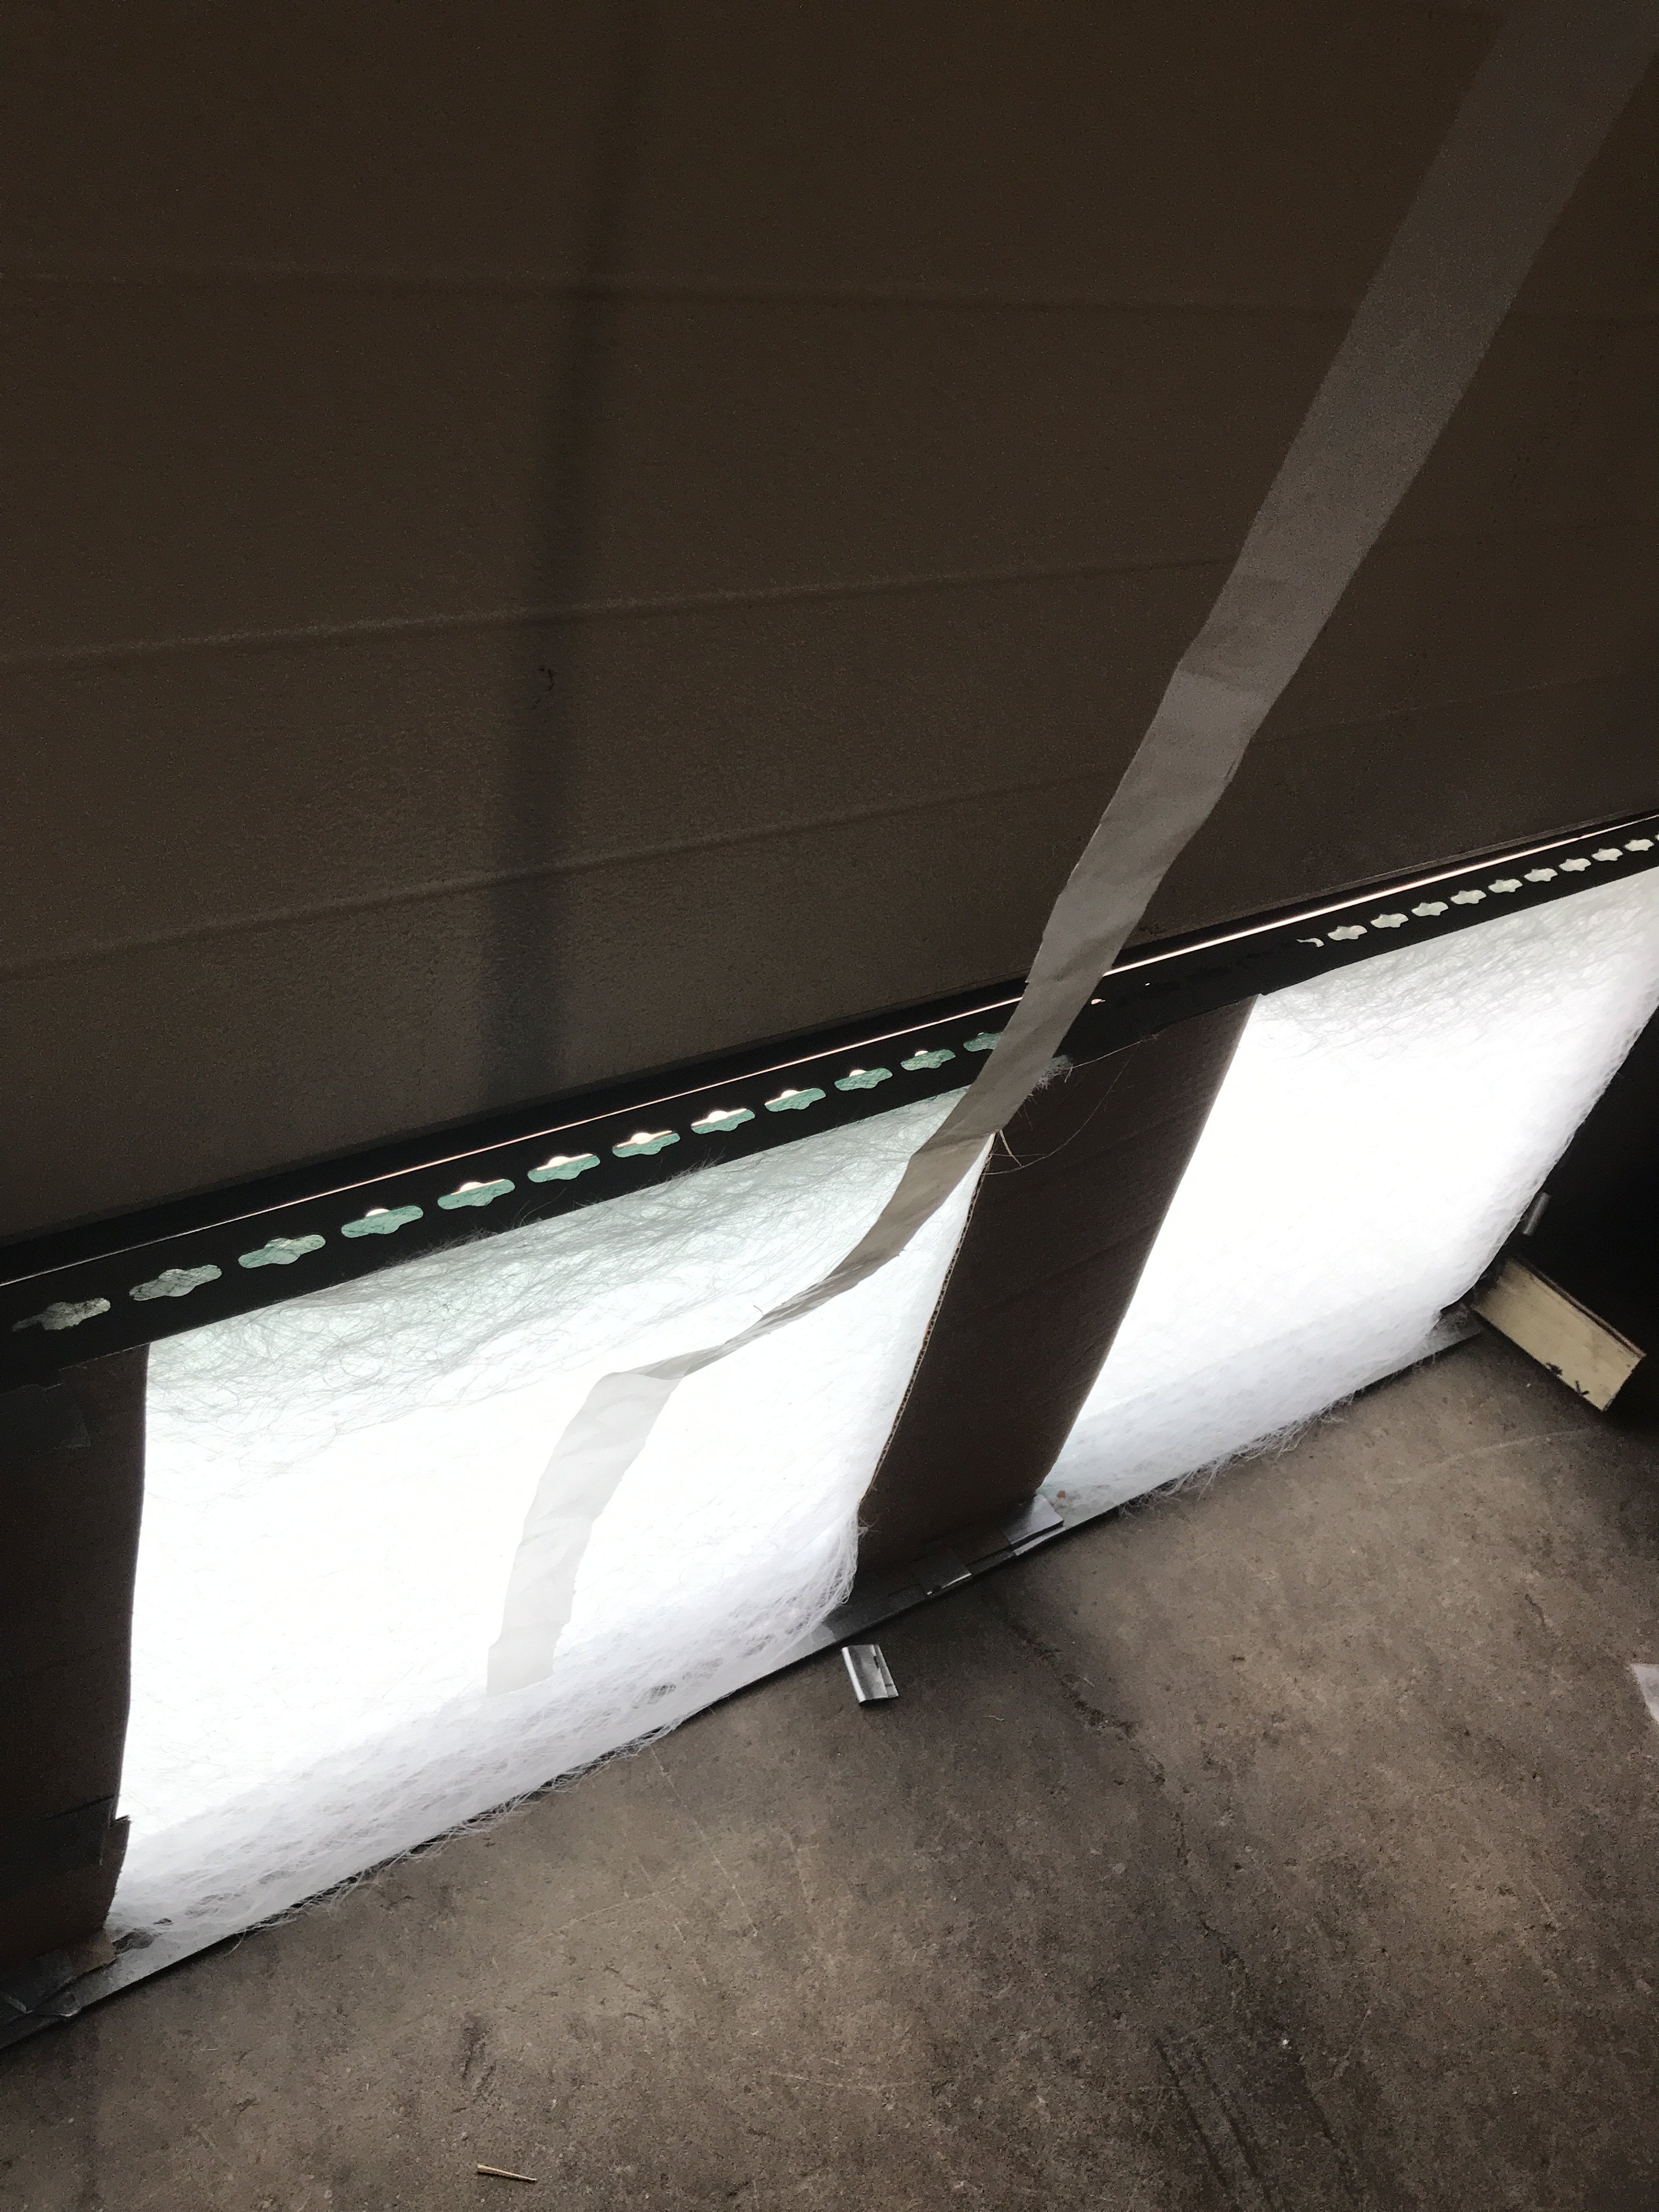
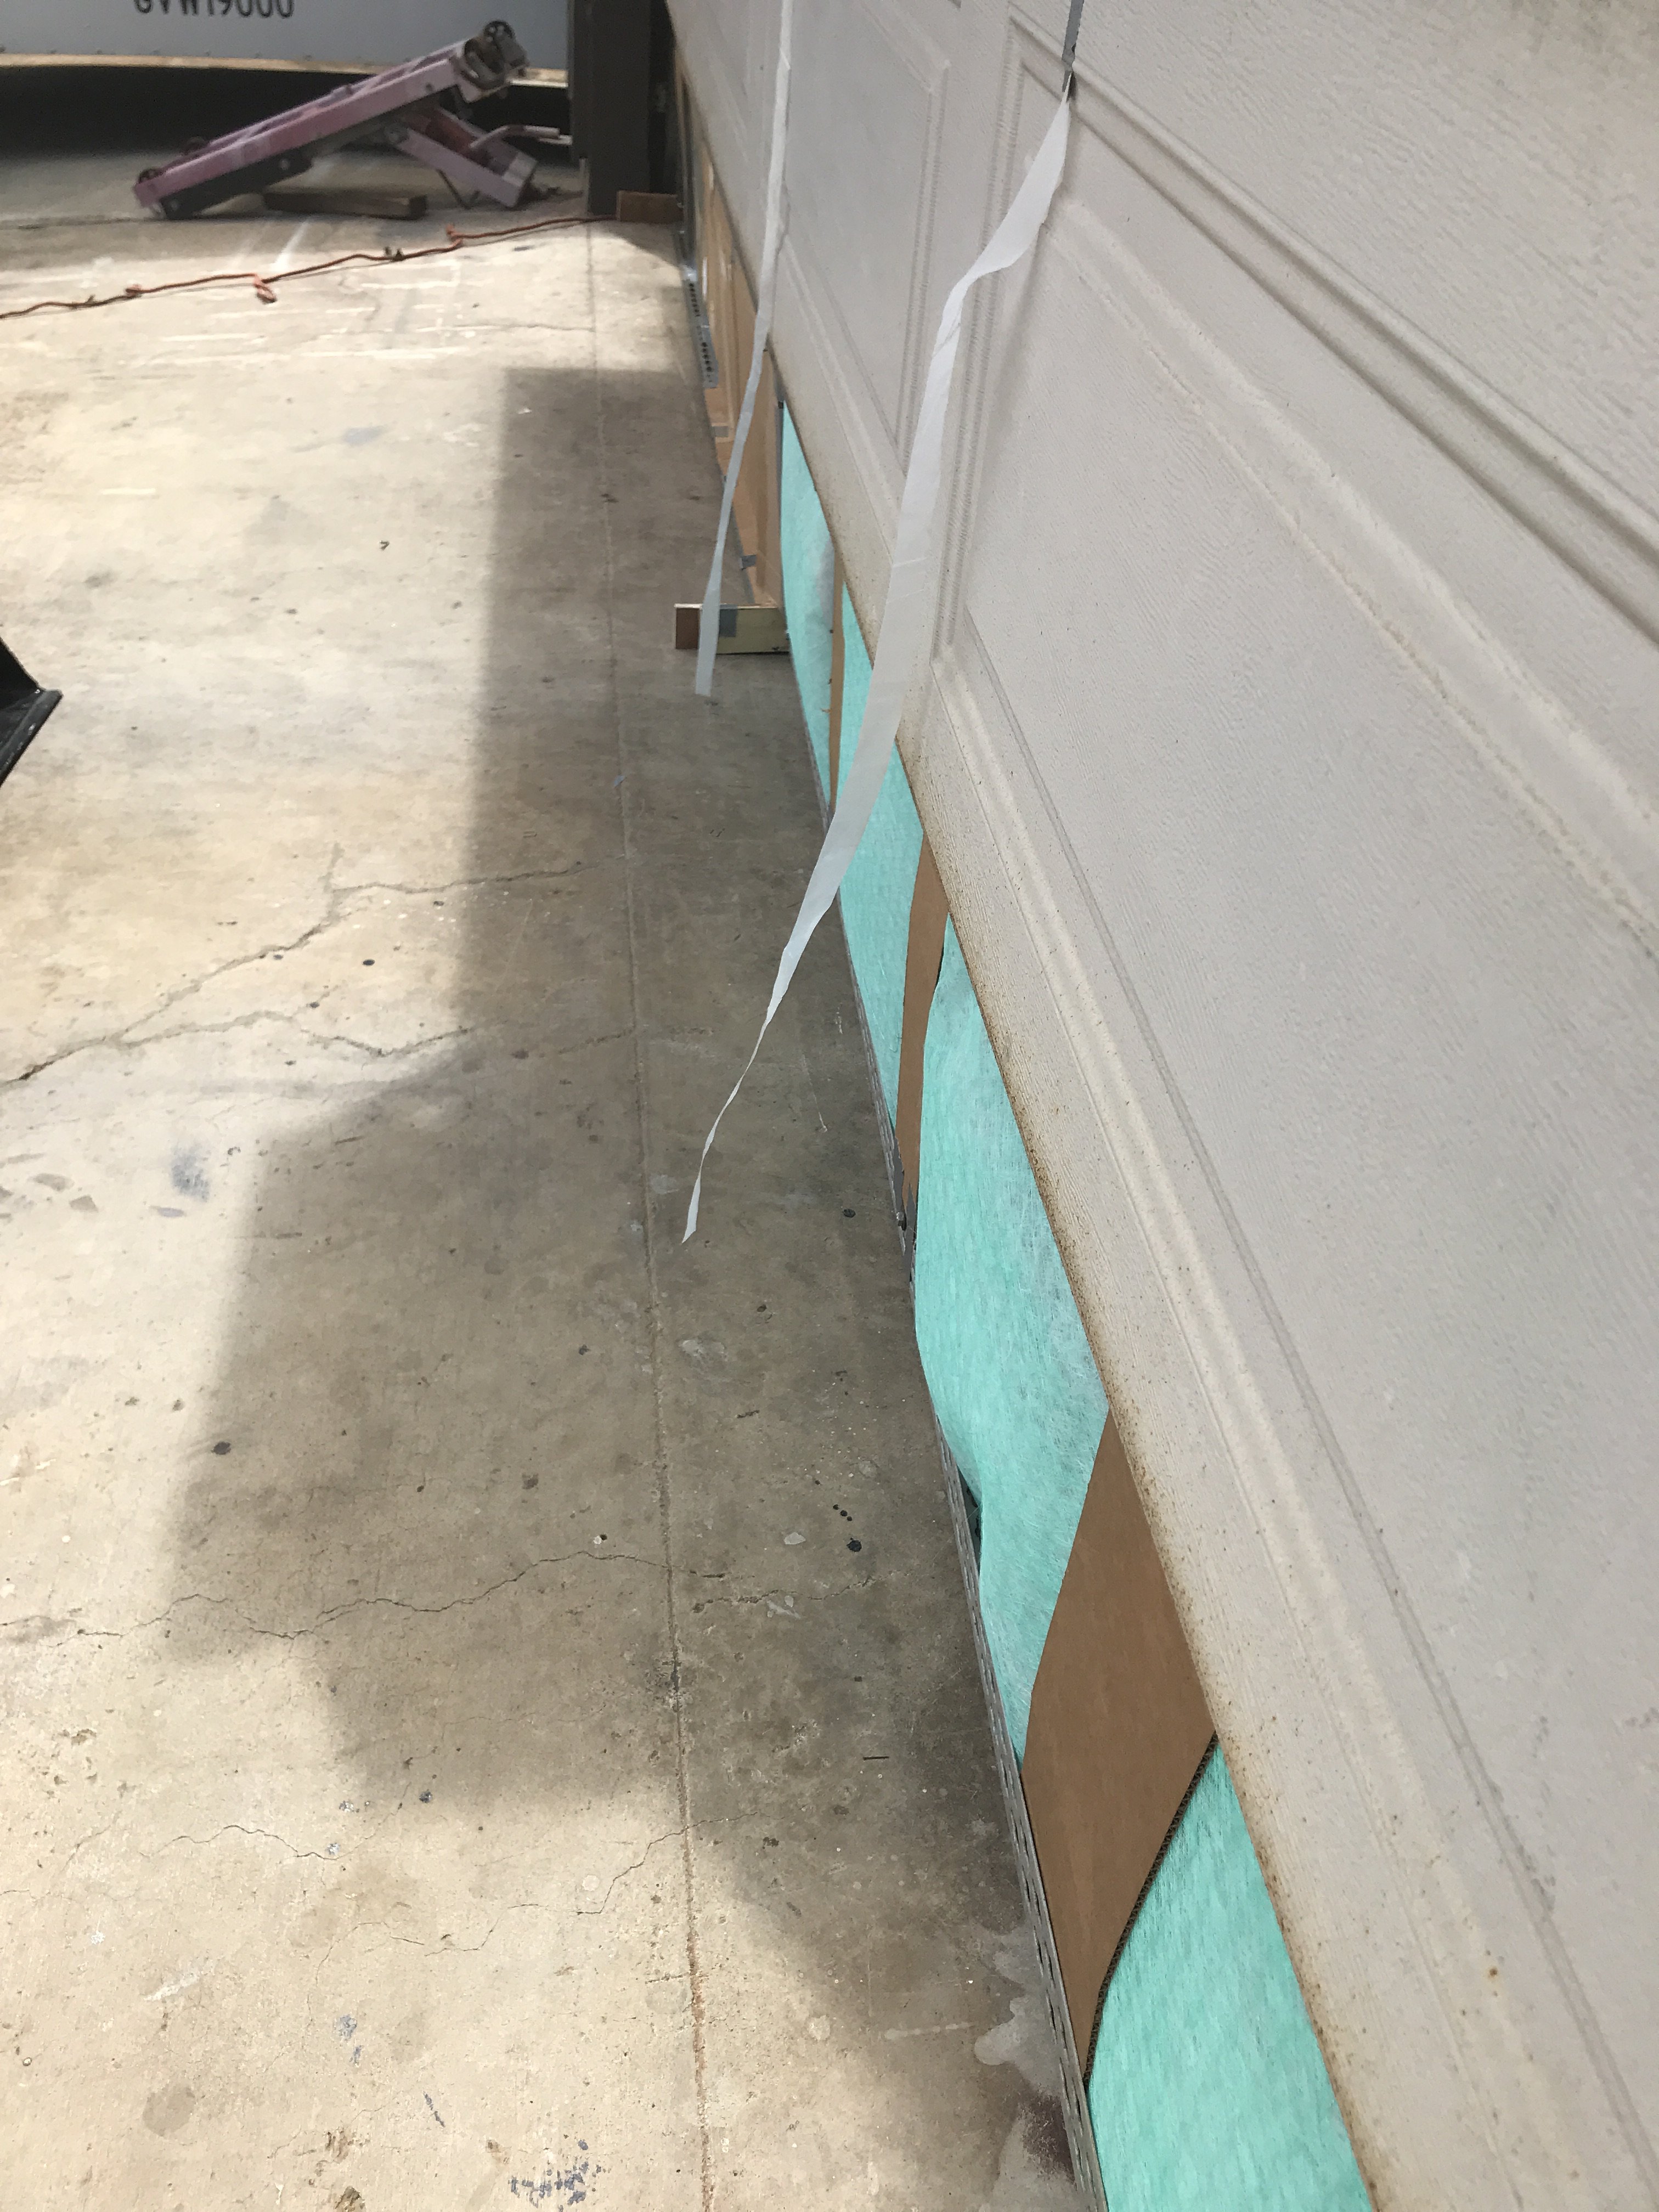
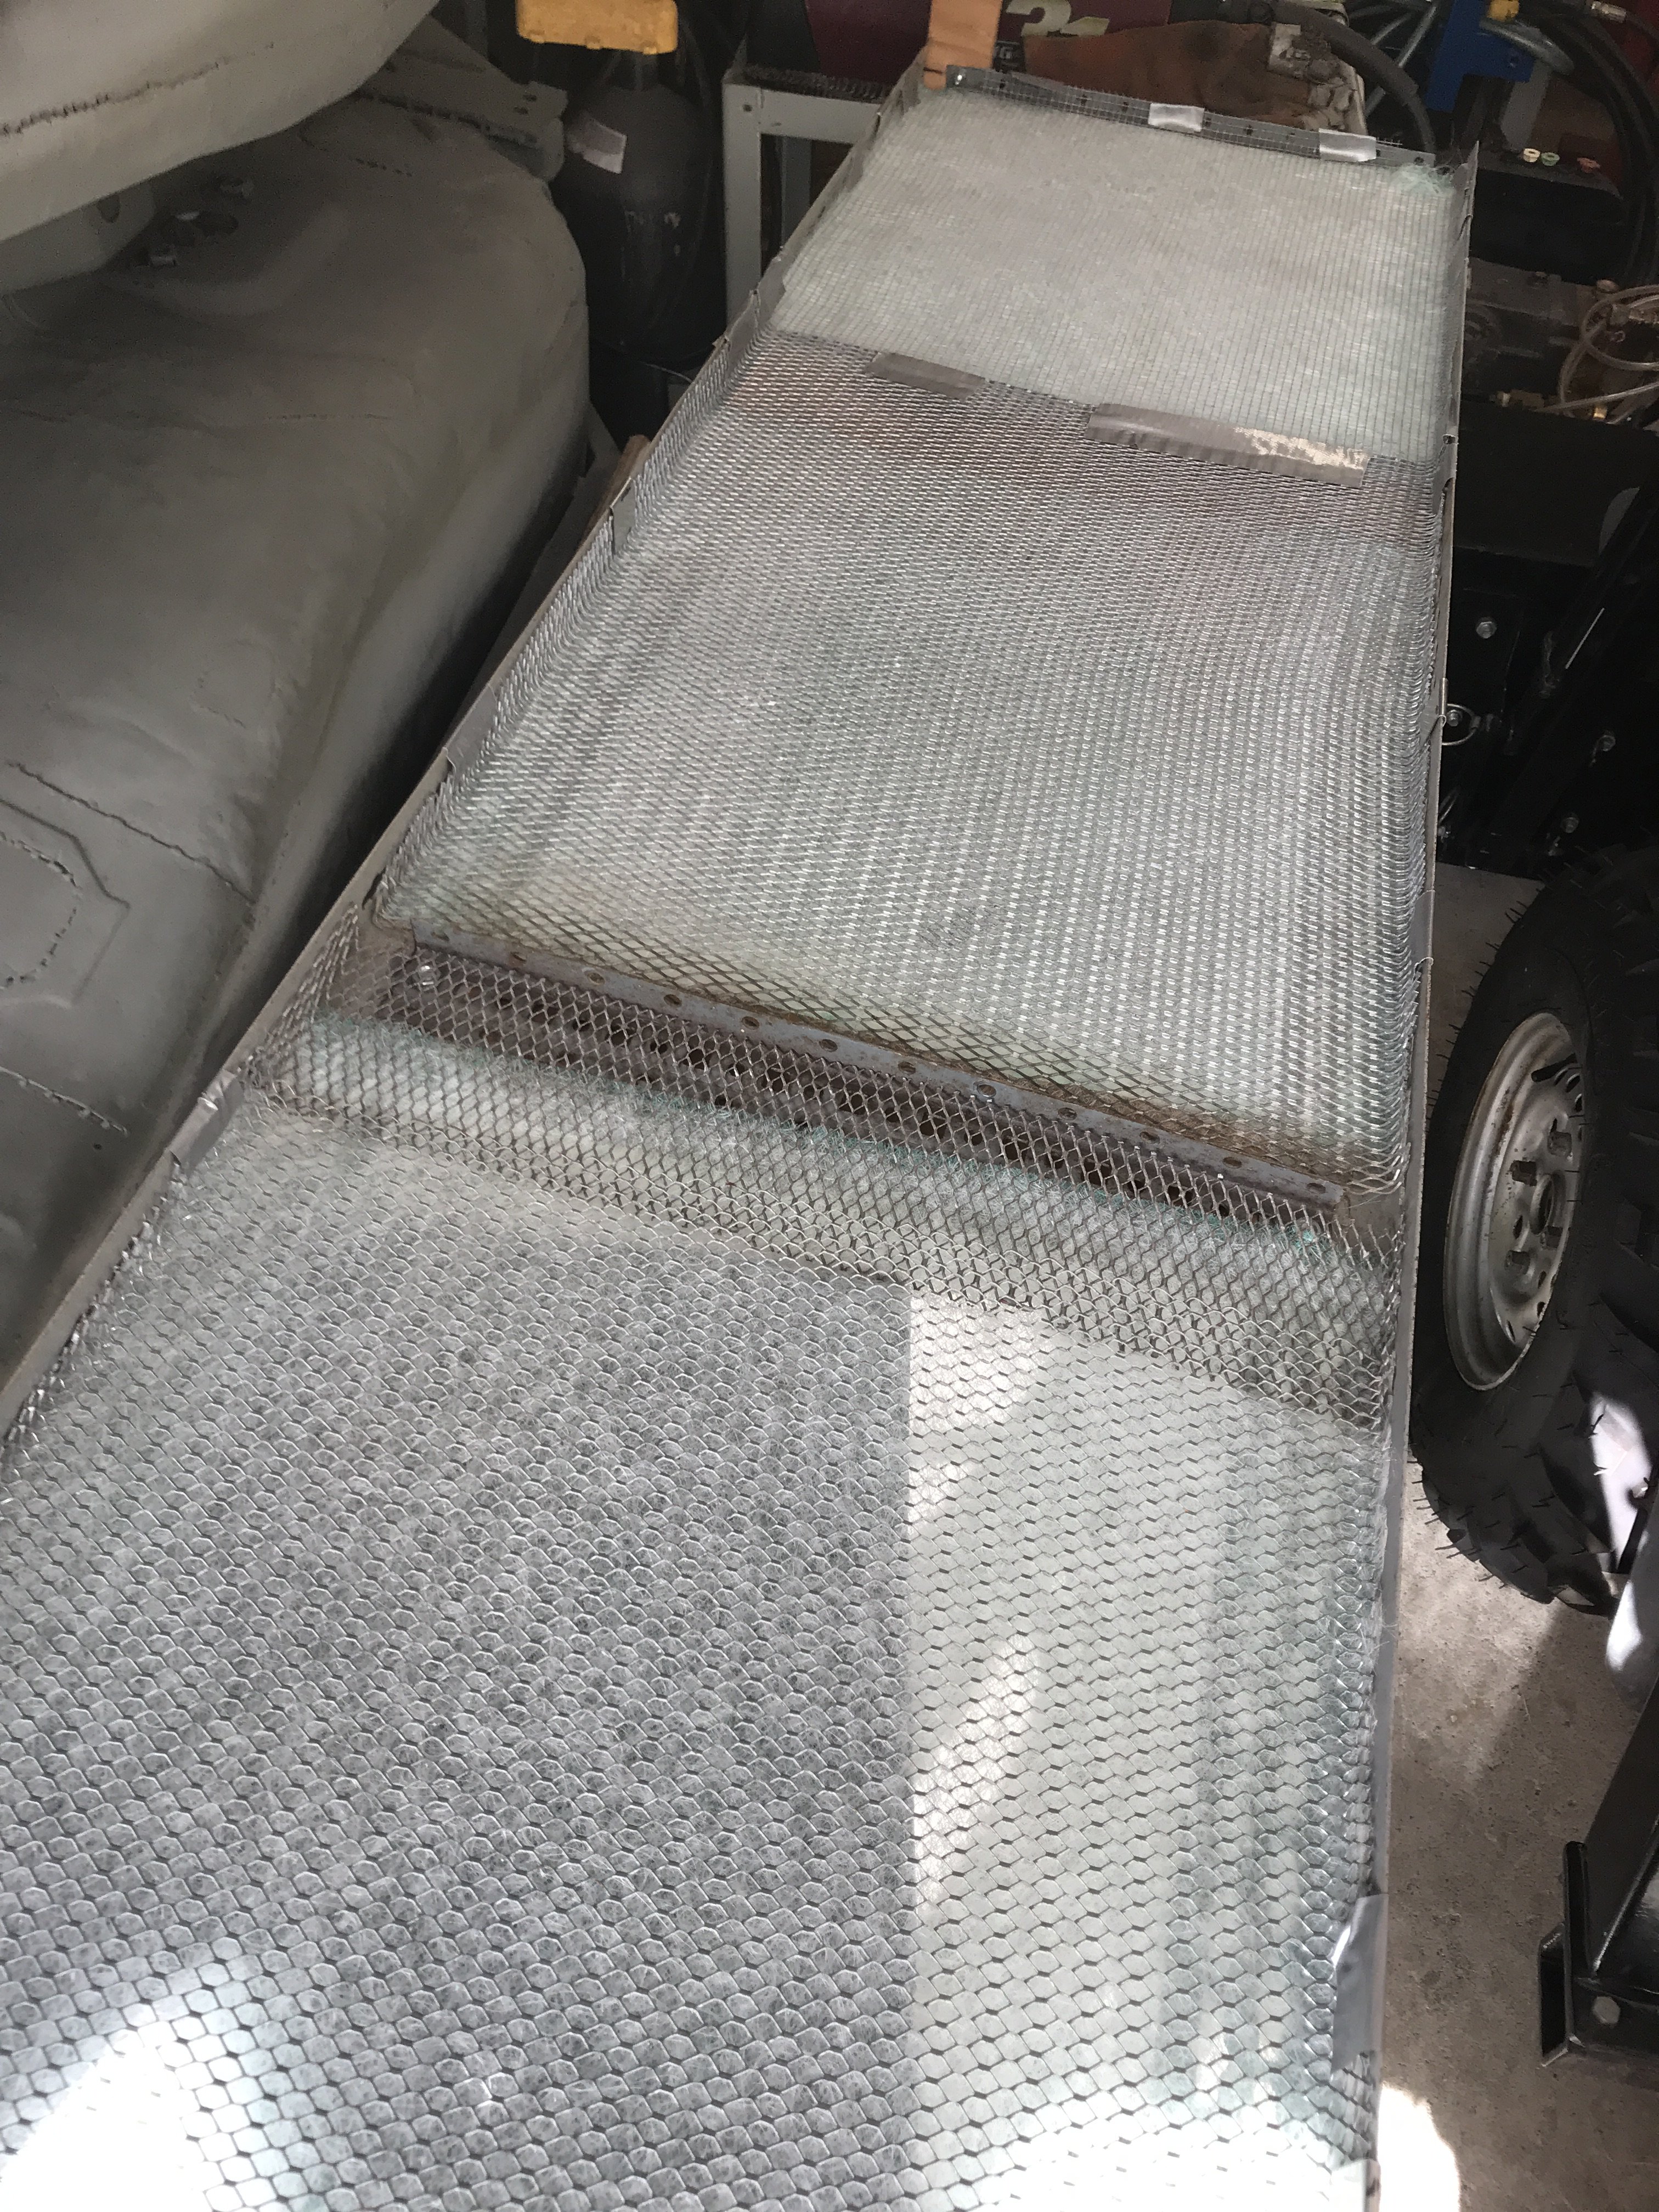
Picked up four intake filters 20" x 20" and four exhaust filters 20" x 20". Fabricated a metal frame out of some right angle 1/8" vertical shelve poles. I hung a 10" strip of sheeting about 3" in front of the curtain cable by stapling to the ceiling. The gap was necessary to allow curtain movement but be close enough to seal the curtain to the ceiling. With the fan running, you can see the fan pressure is sufficient to seal the curtains. Outside view -The garage door was lowered to the #1 exhaust filter frame and #2 block off frame. Inside view of exhaust filters The booth airflow test consisted of hanging thin strips of plastic sheeting in the air to observe its movement. As you can see, the test strip near inside exhaust filter is being drawn against the filter-indicates sufficient airflow leaving the booth. . The outside test strip indicates outward airflow also. After more testing, I found one of the exhaust filters had pushed out of the frame. So I added some metal screen on the inside to stiffen the exhaust filters. That seem to solve that problem. I spent a little more than $200 of materials to build to this booth( mostly from Home Depot). This booth suits my needs and requirements. I hope you guys found its construction interesting. Added screen wire to stiffen the filters.
-
Heavy Duty frame rails and connectors
toolman replied to toolman's topic in Gen III & IV Chevy V8Z Tech Board
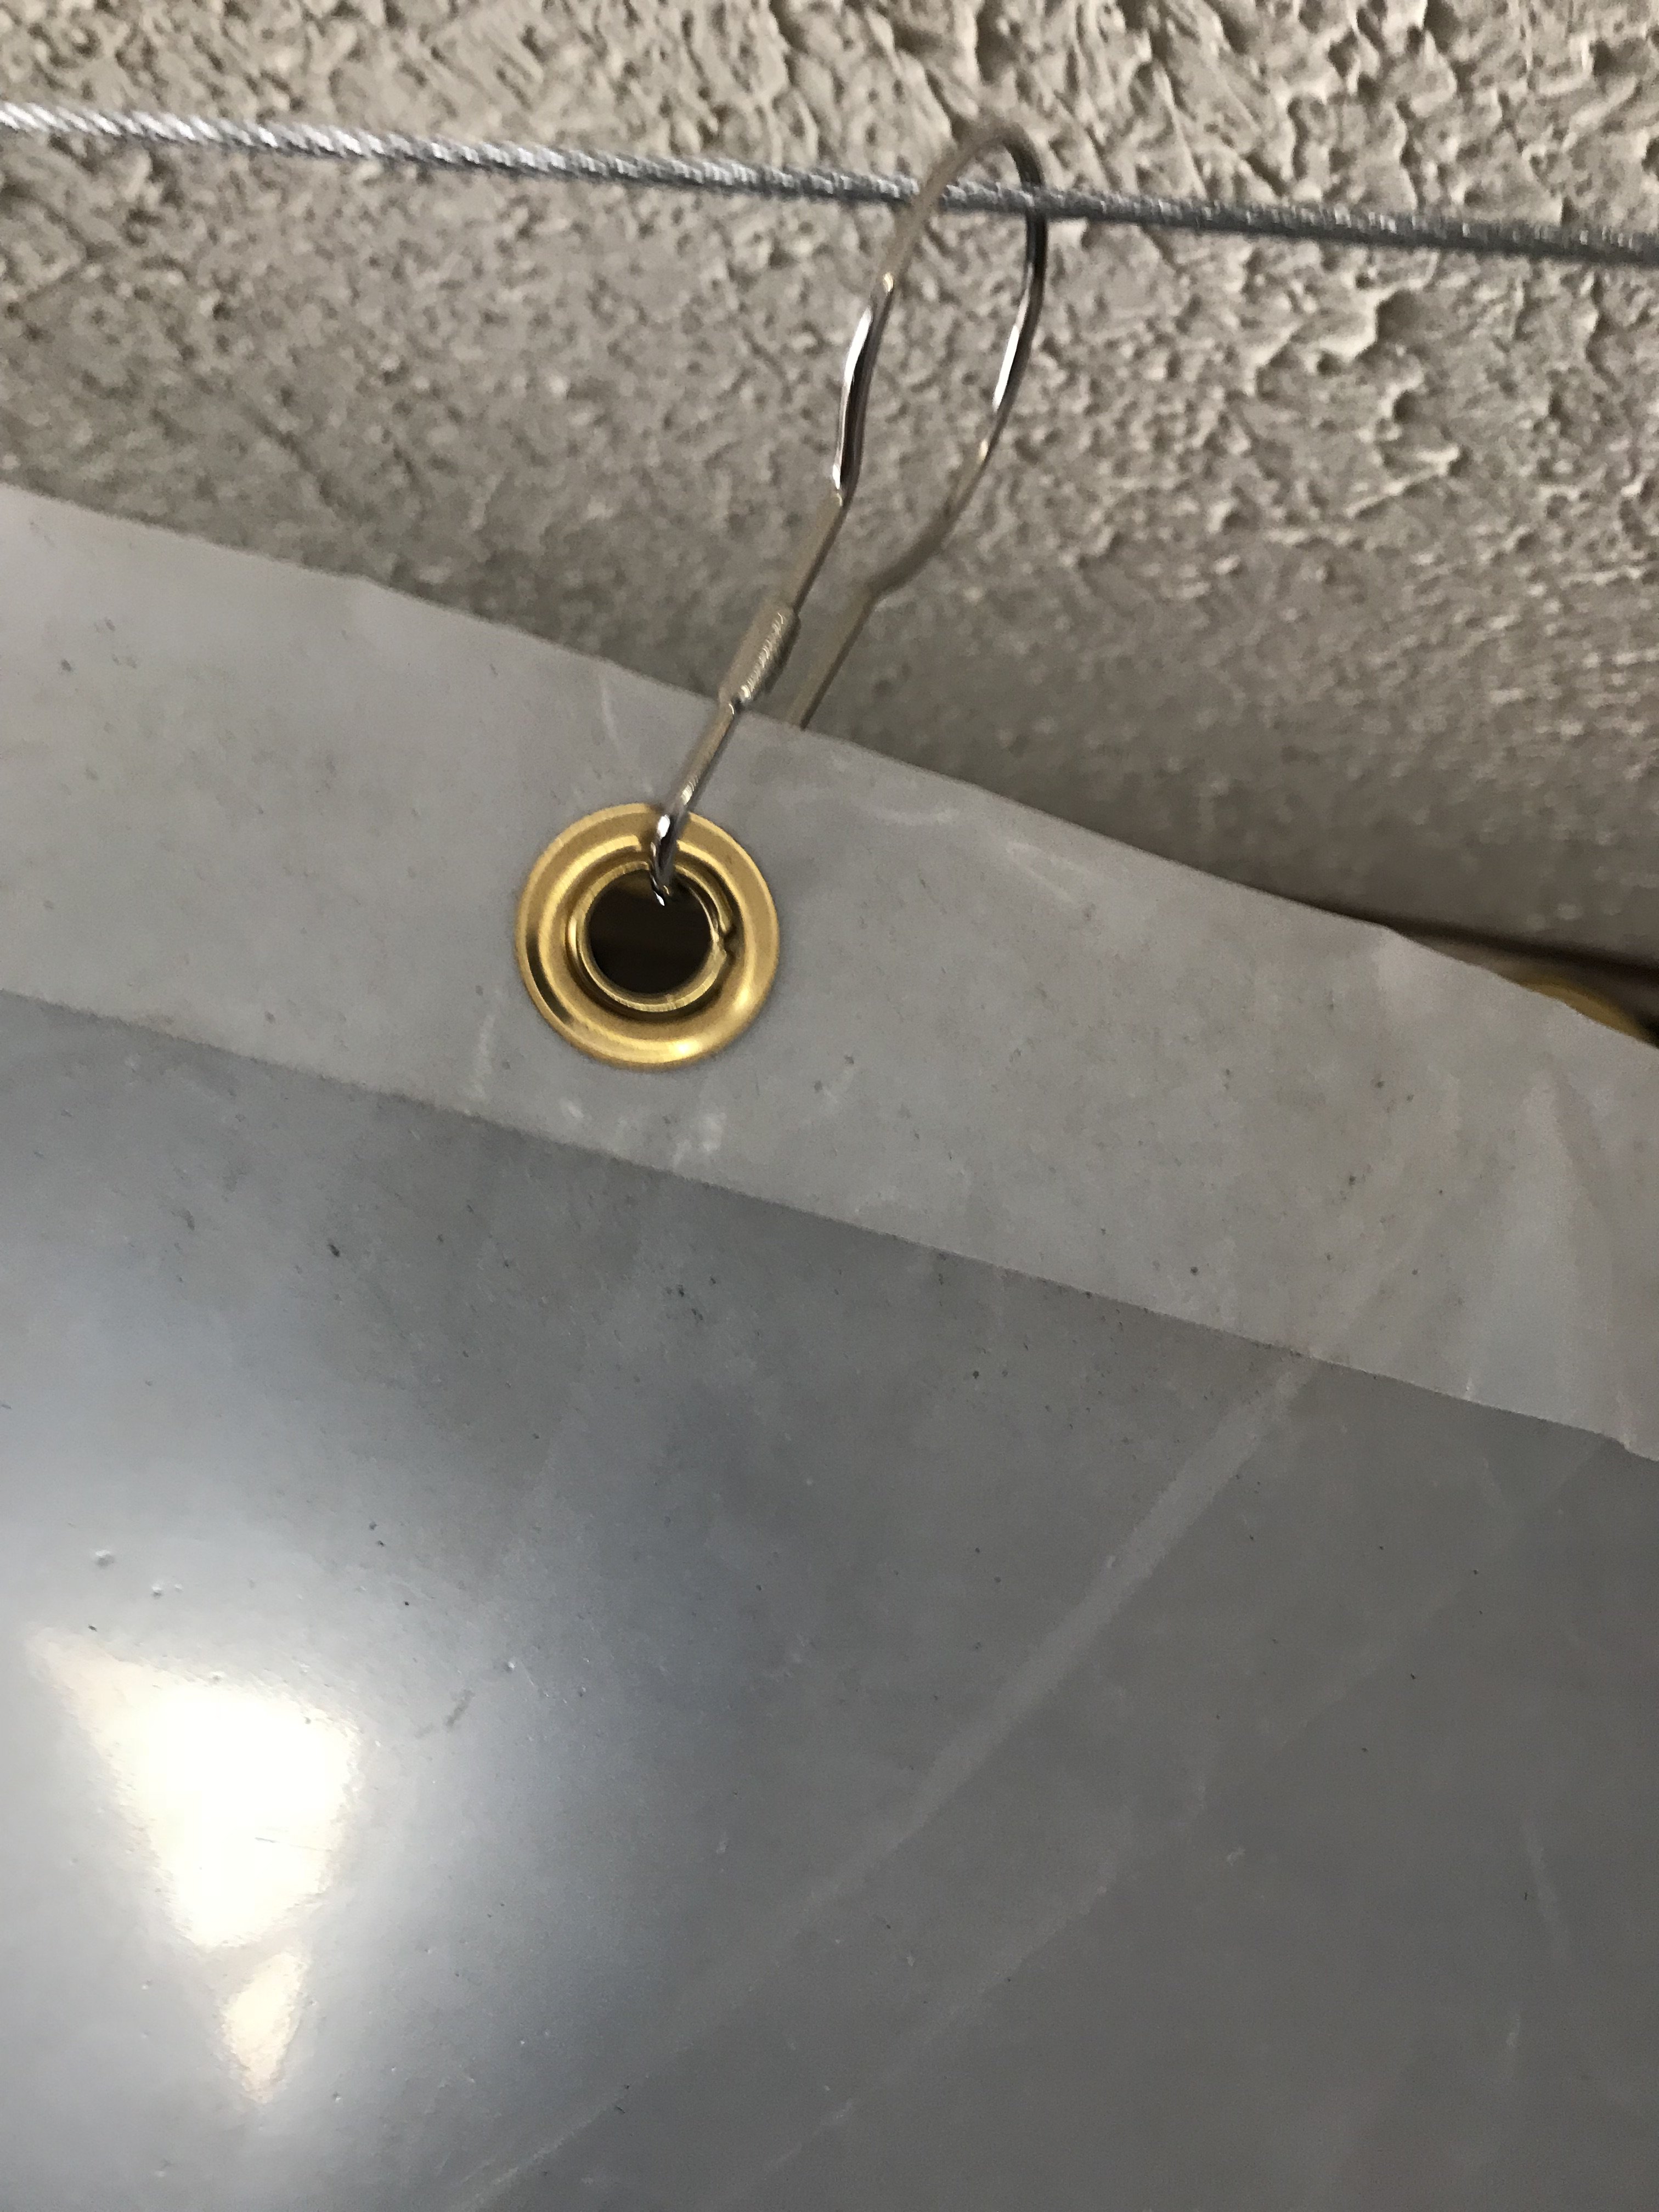
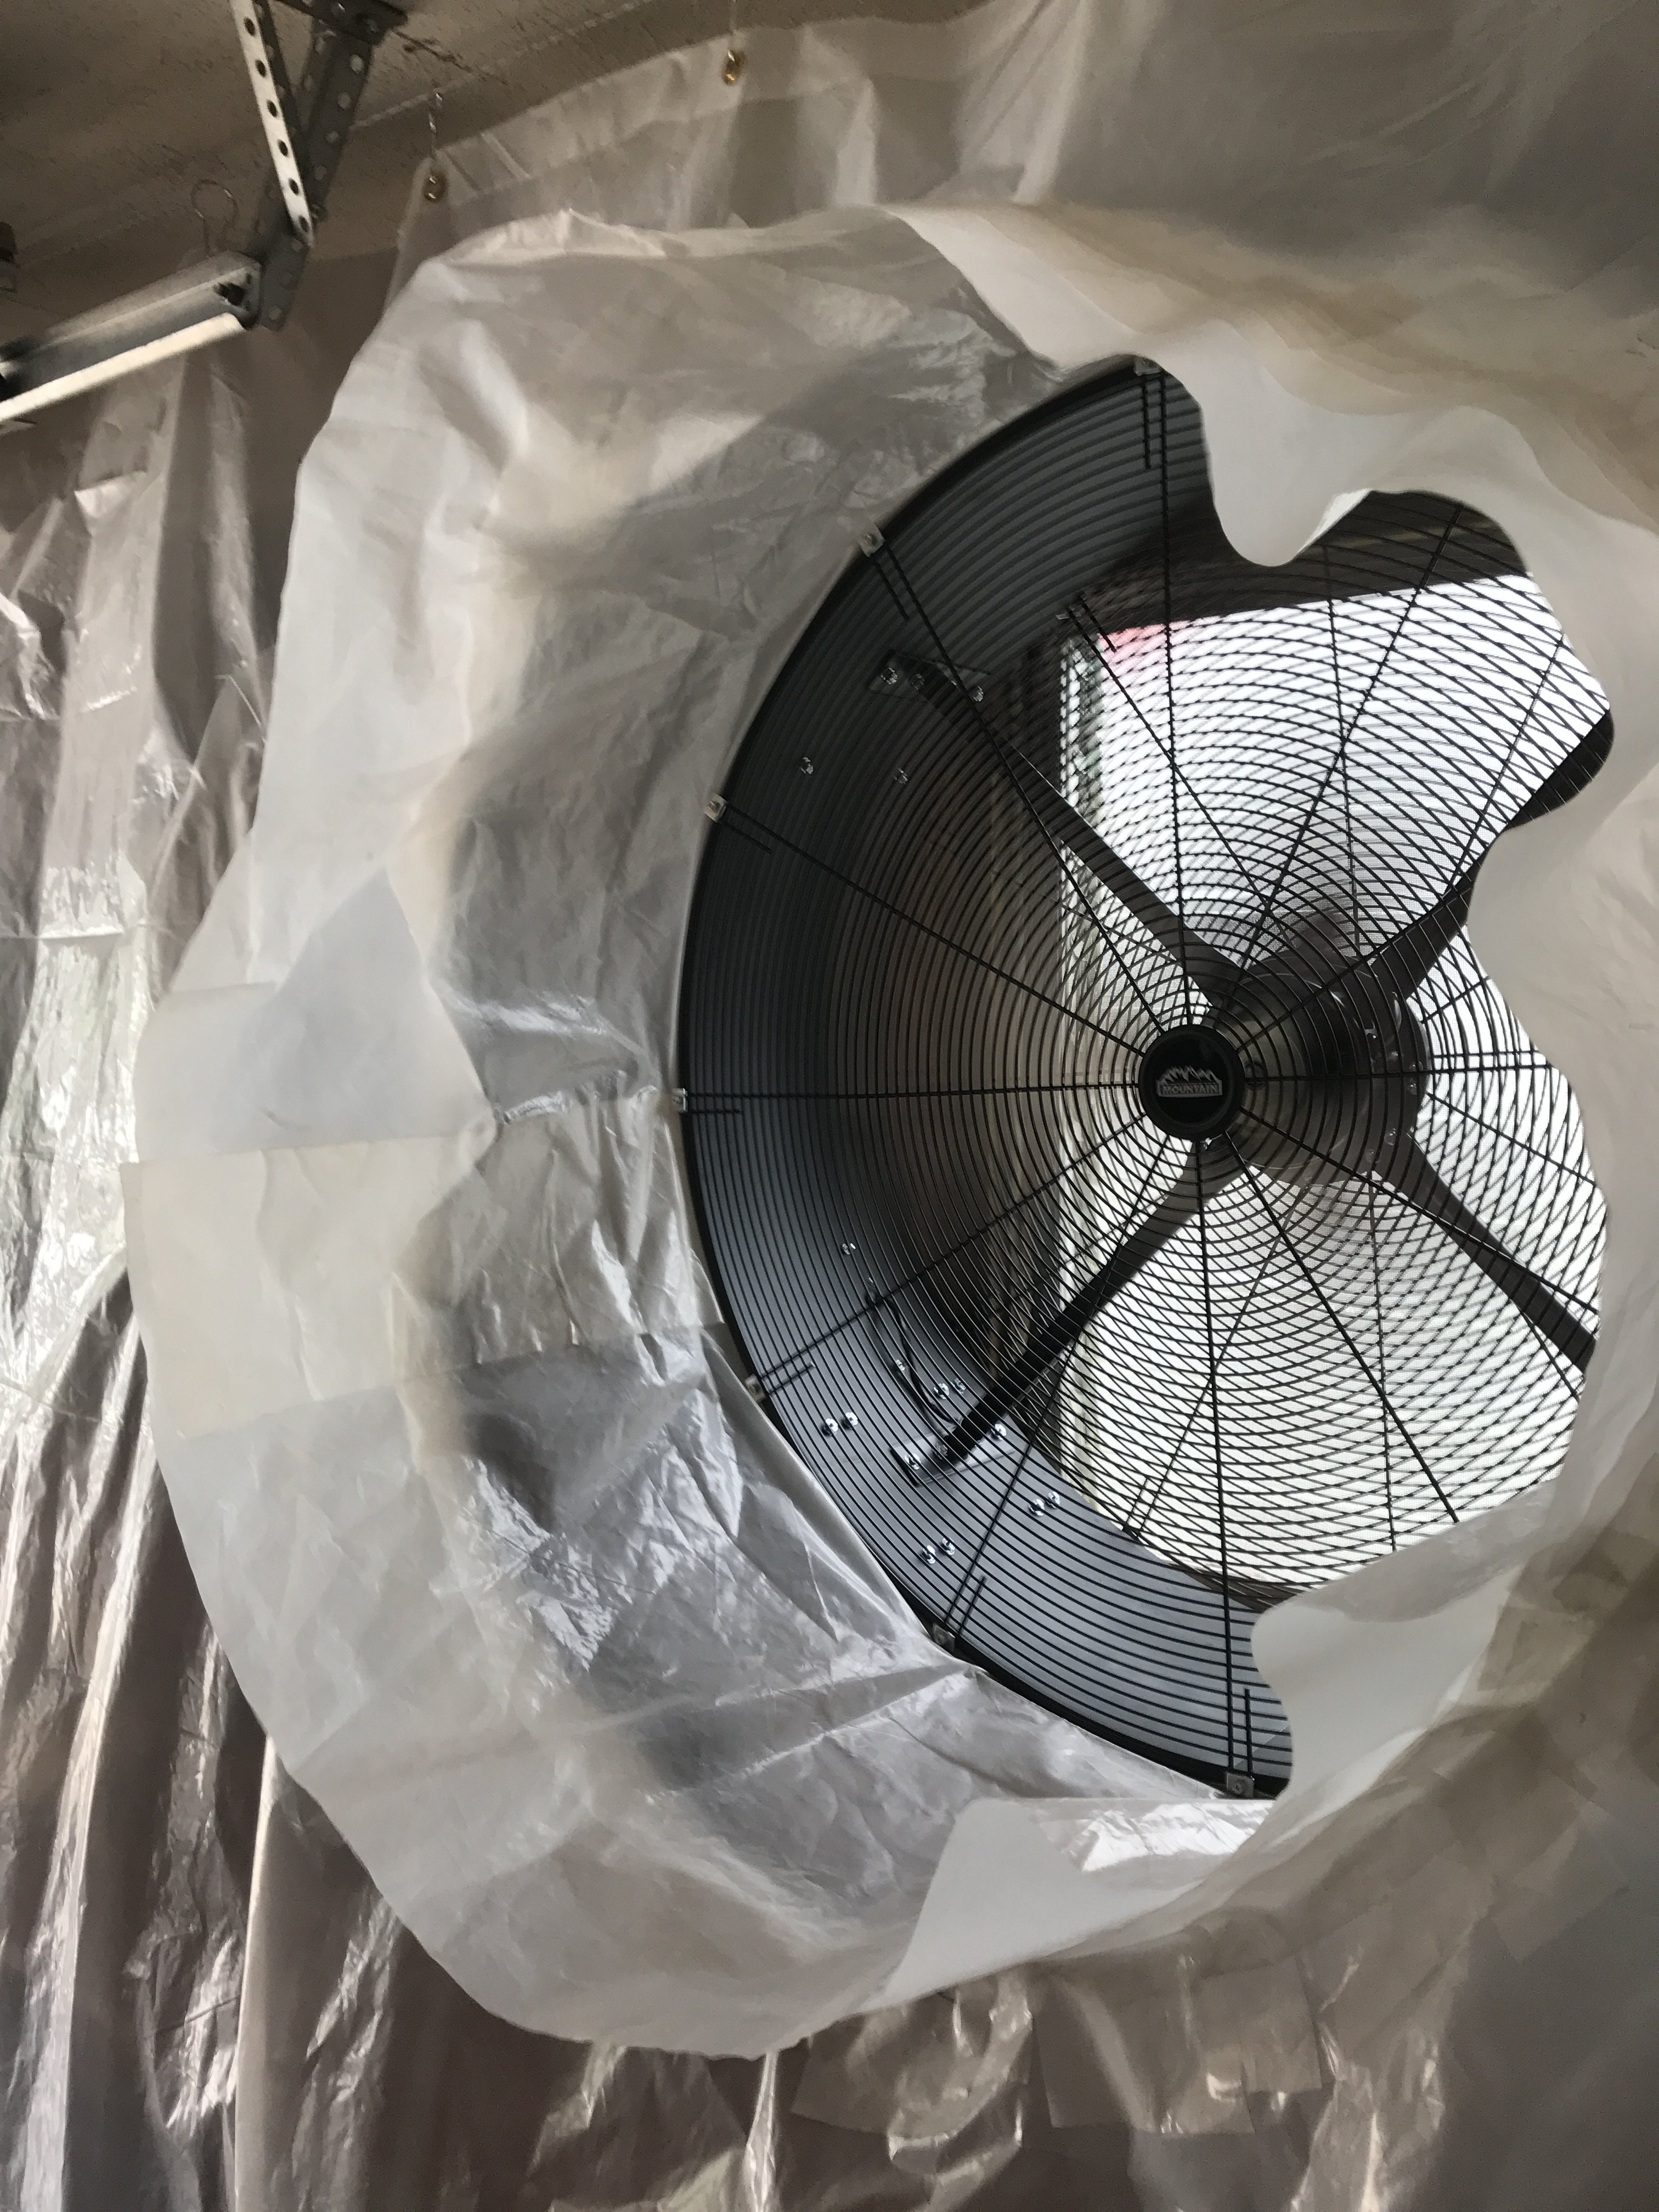
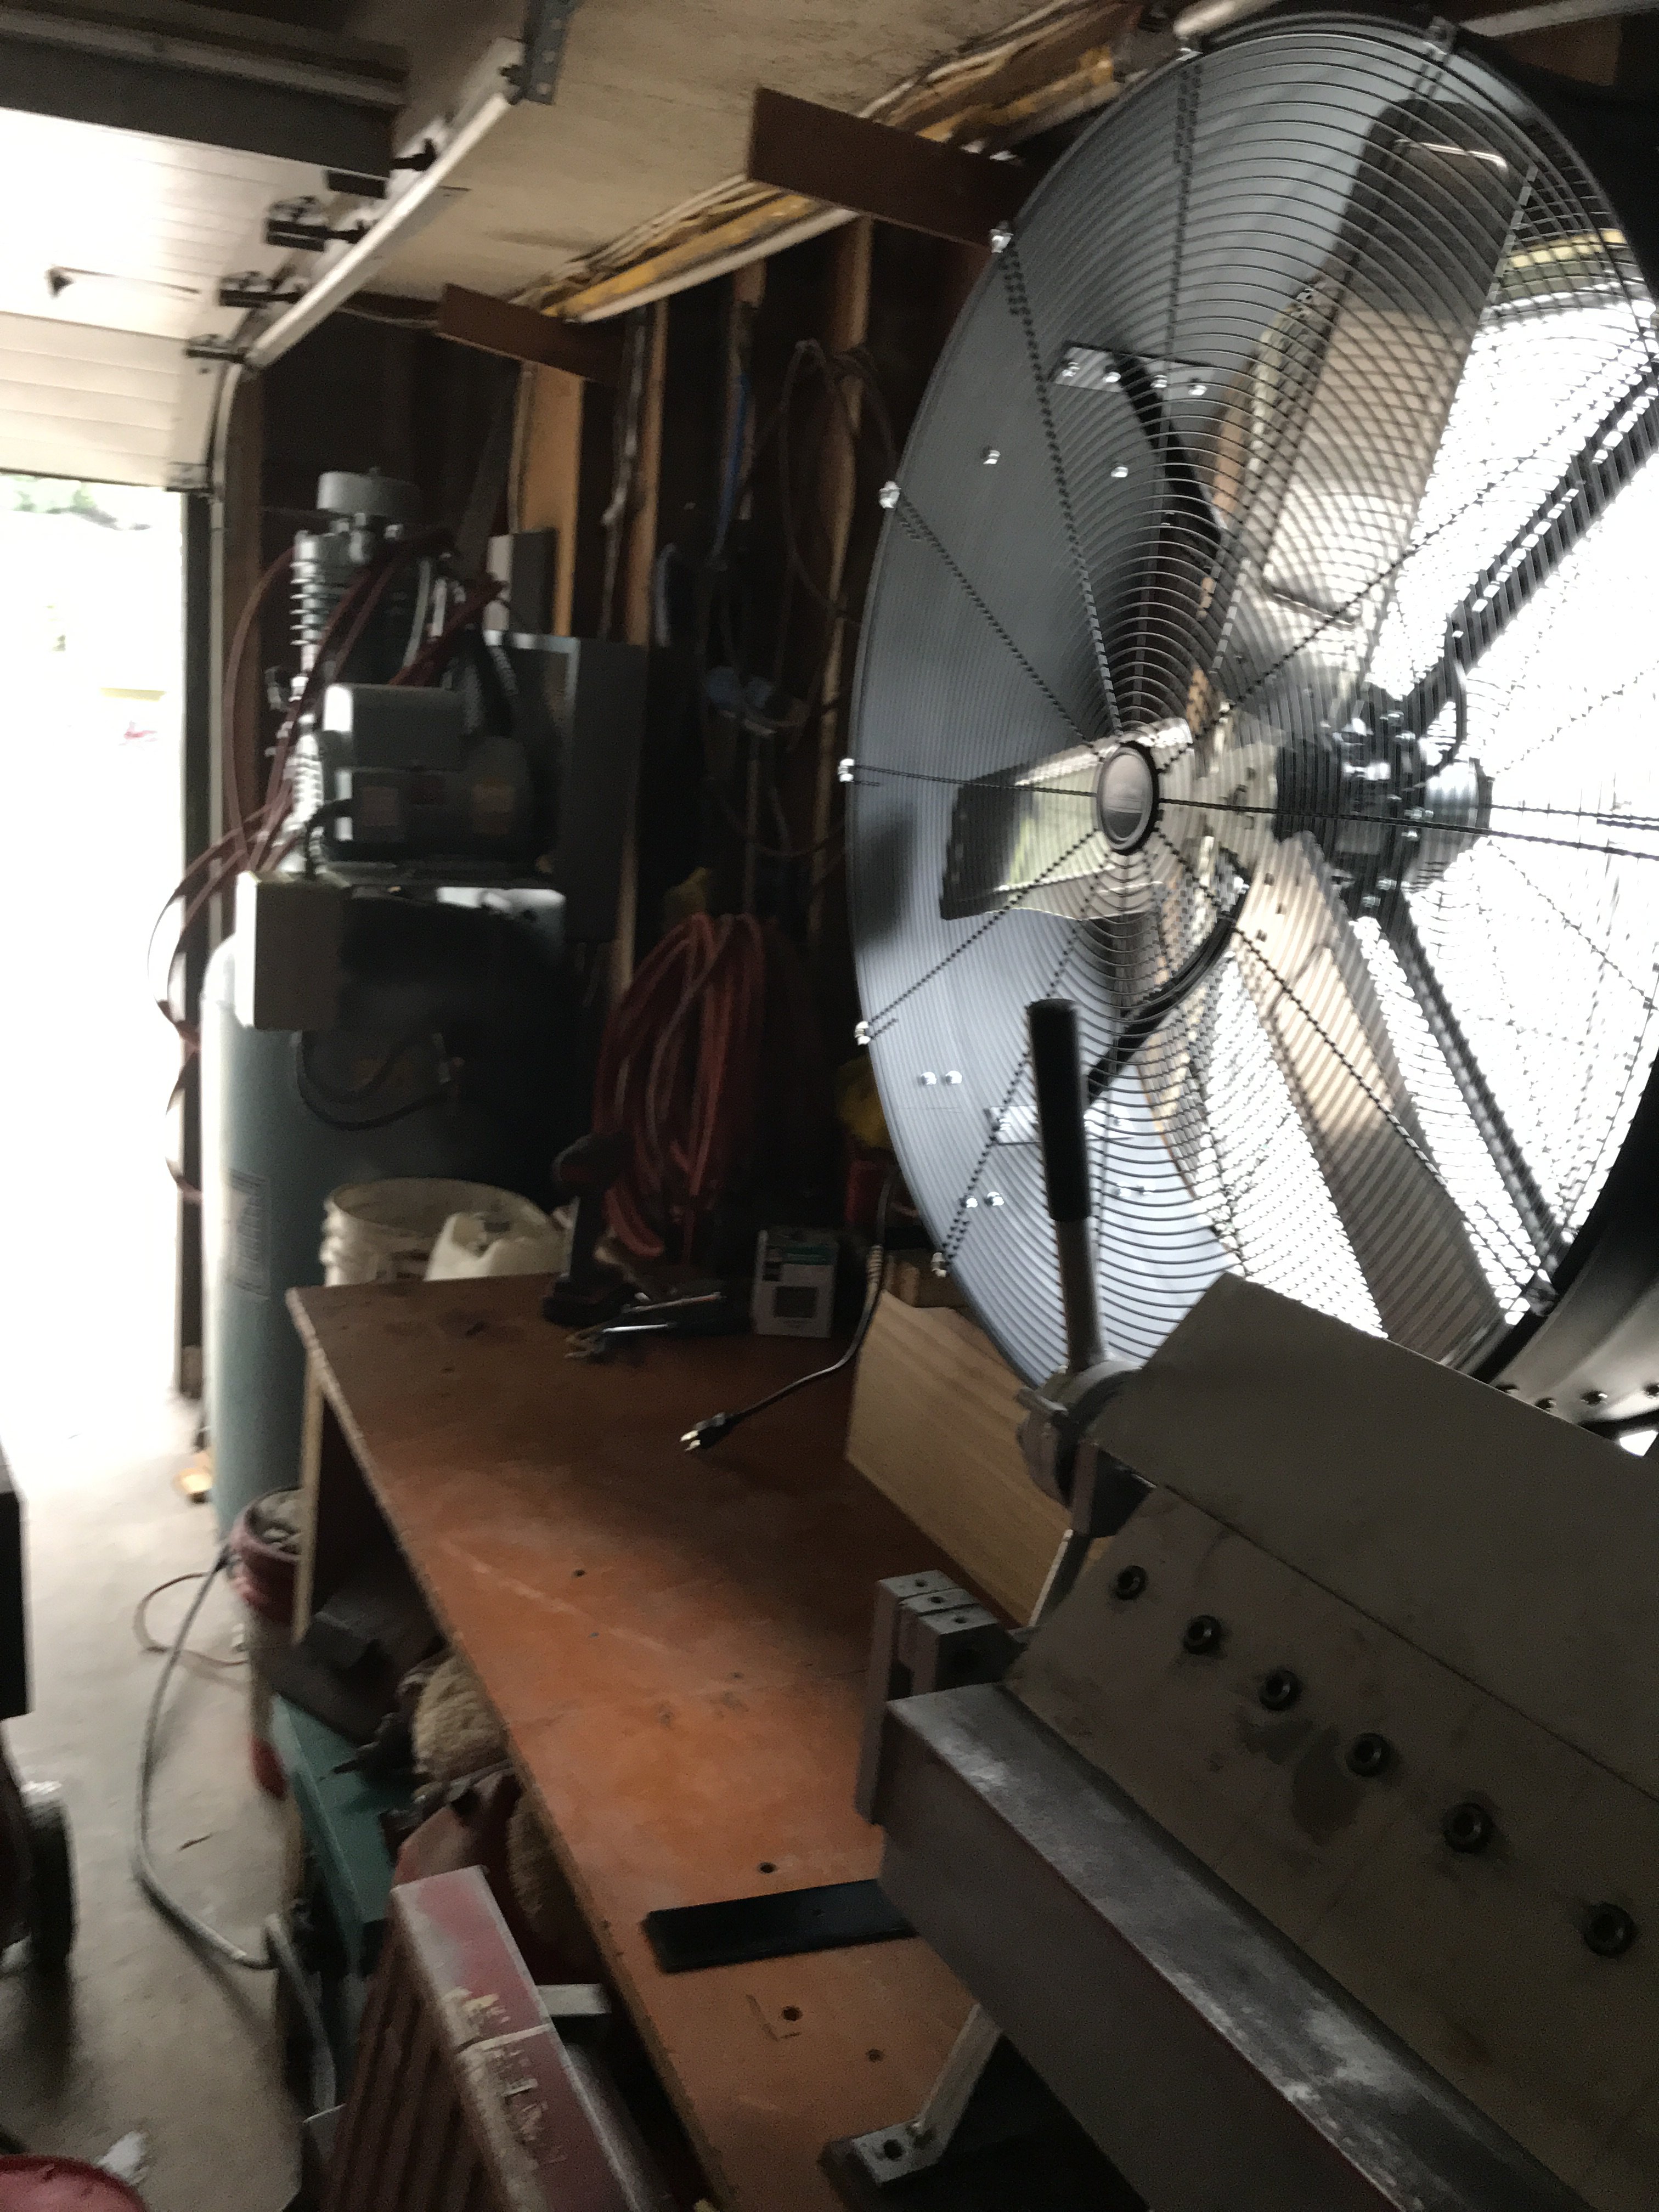
The photo shows the fan duct folded up and held in place with 3" wide strap. The strap is duct taped to fan body and the other end is velco attached to opposite side of fan. Extra grommets were added the area above the fan for more support. When the curtain is open and aligned with the fan, it looks like this. Once the fan is switched "on" , the incoming air pressure basically seals itself in the curtain wall. It works like those inflatable bounce houses for kids. When finished using everything folds up nice and neat.
-
Heavy Duty frame rails and connectors
toolman replied to toolman's topic in Gen III & IV Chevy V8Z Tech Board
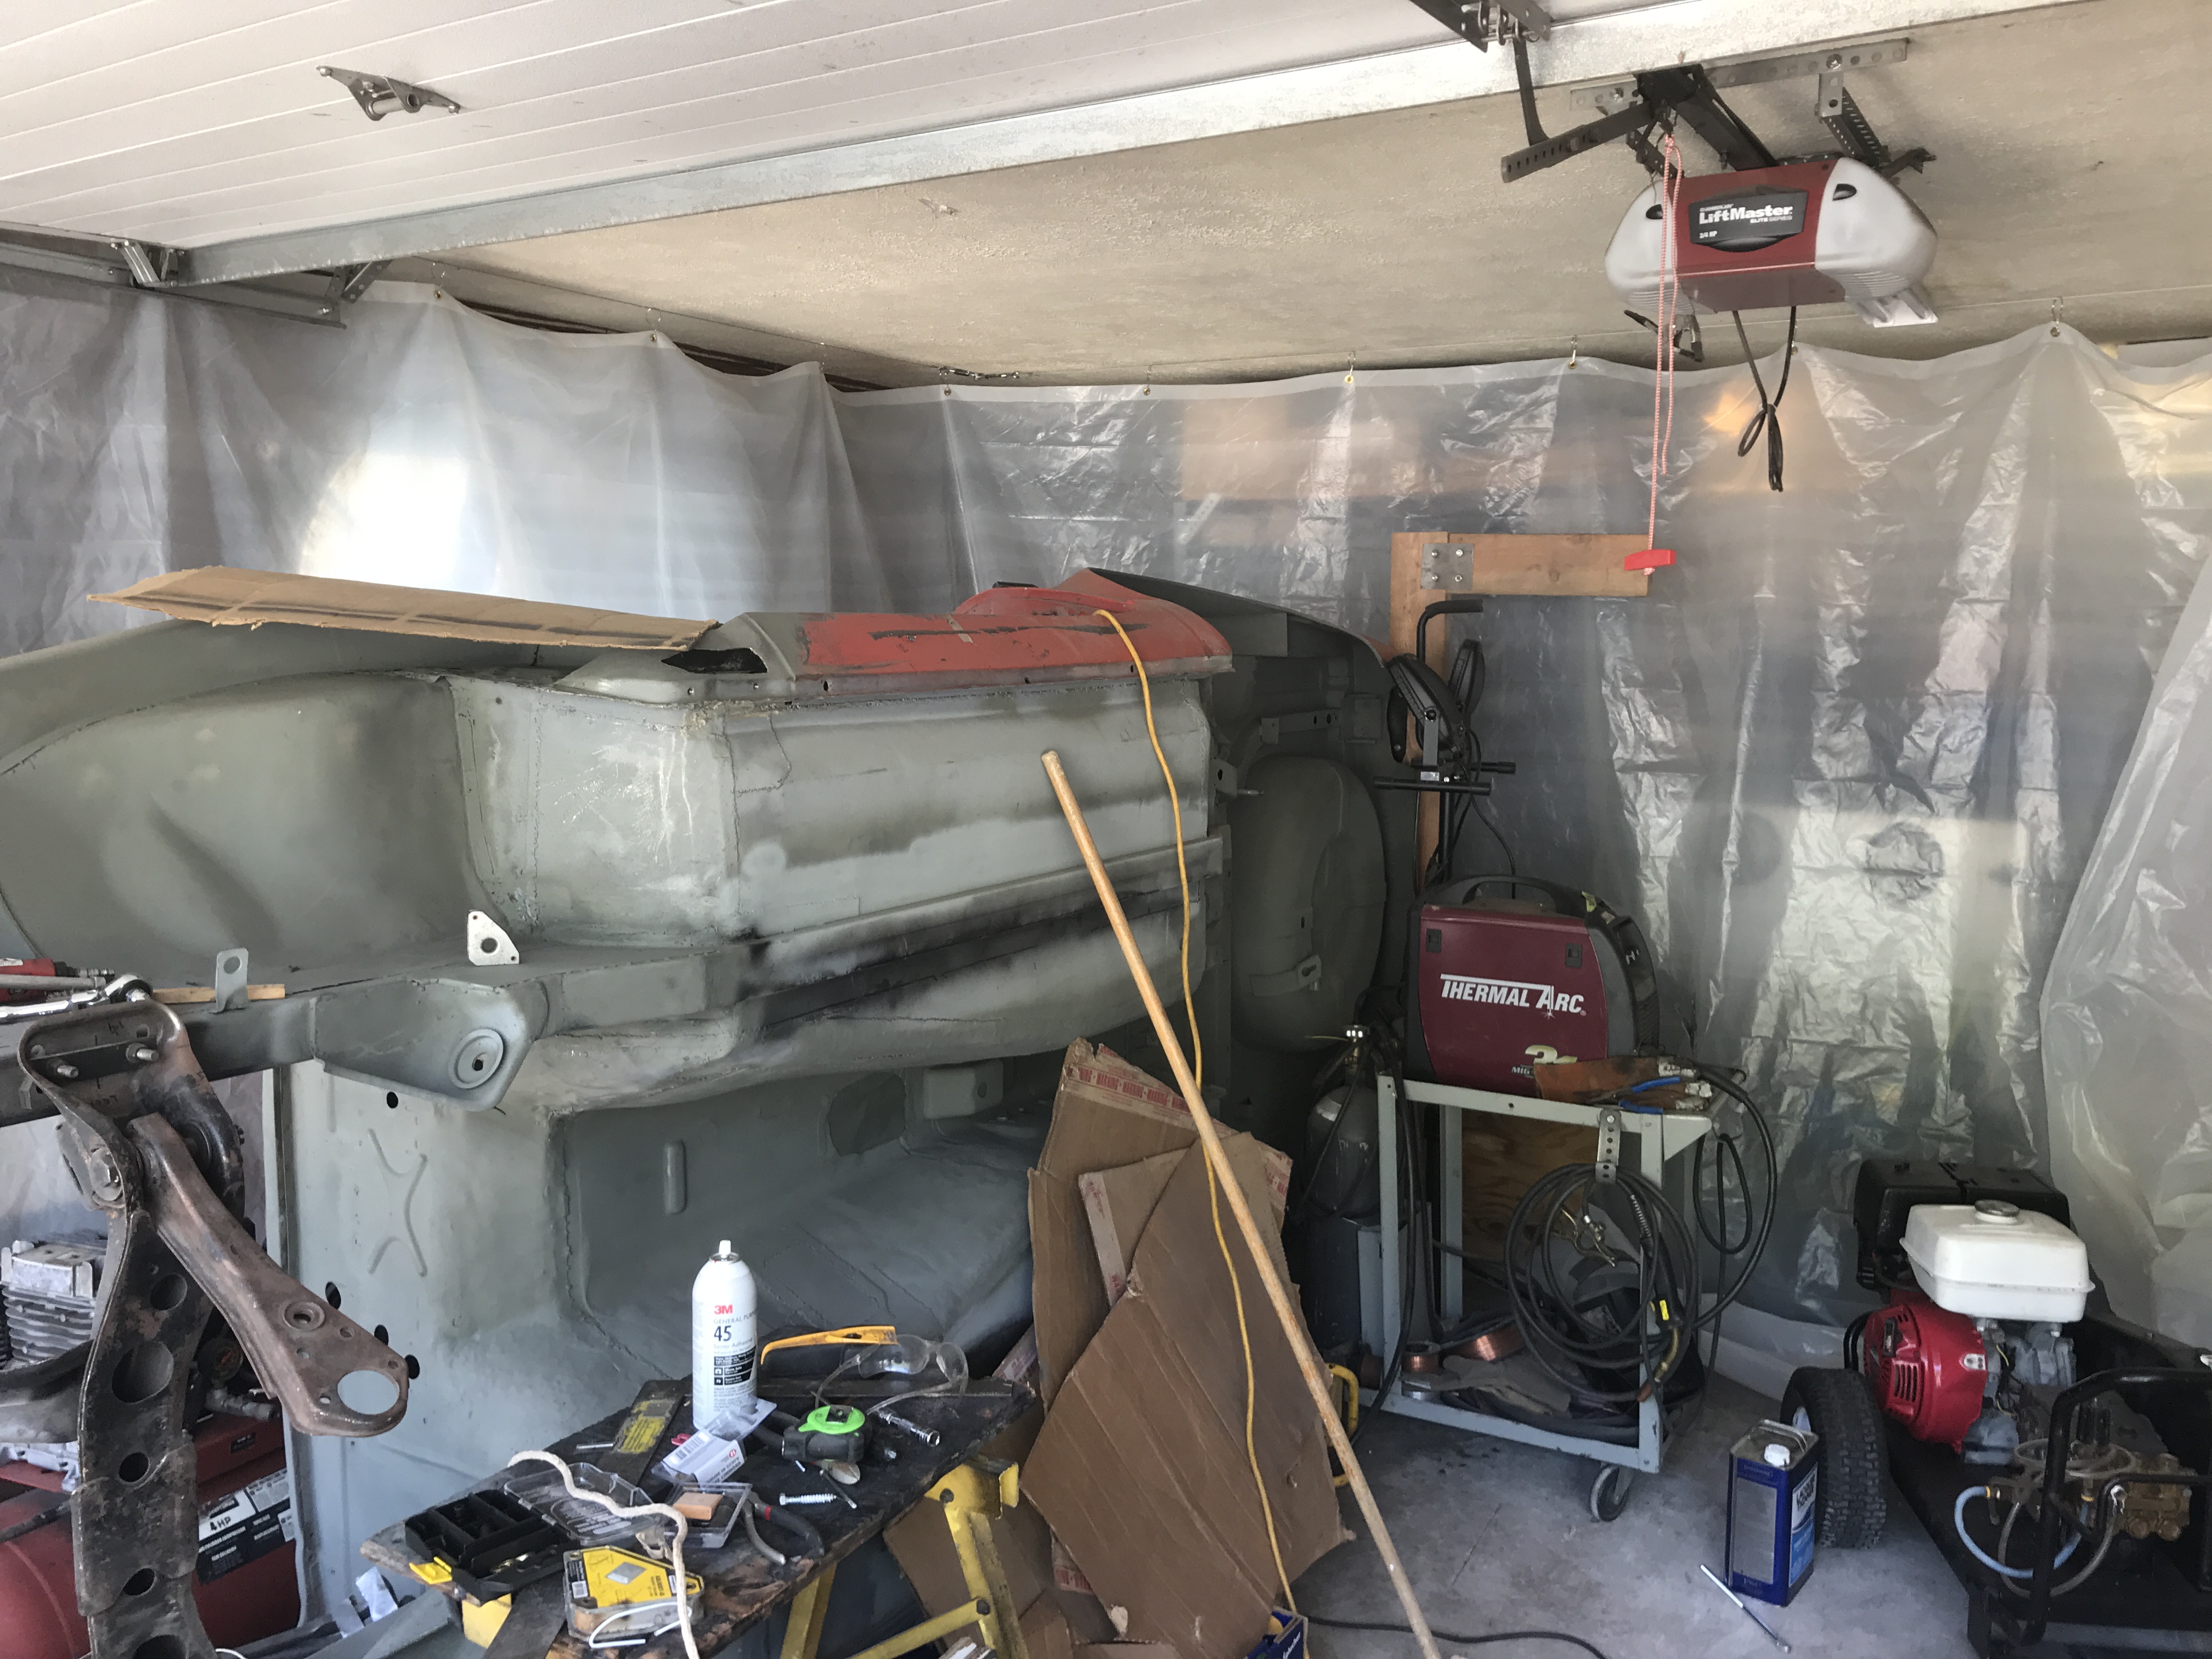
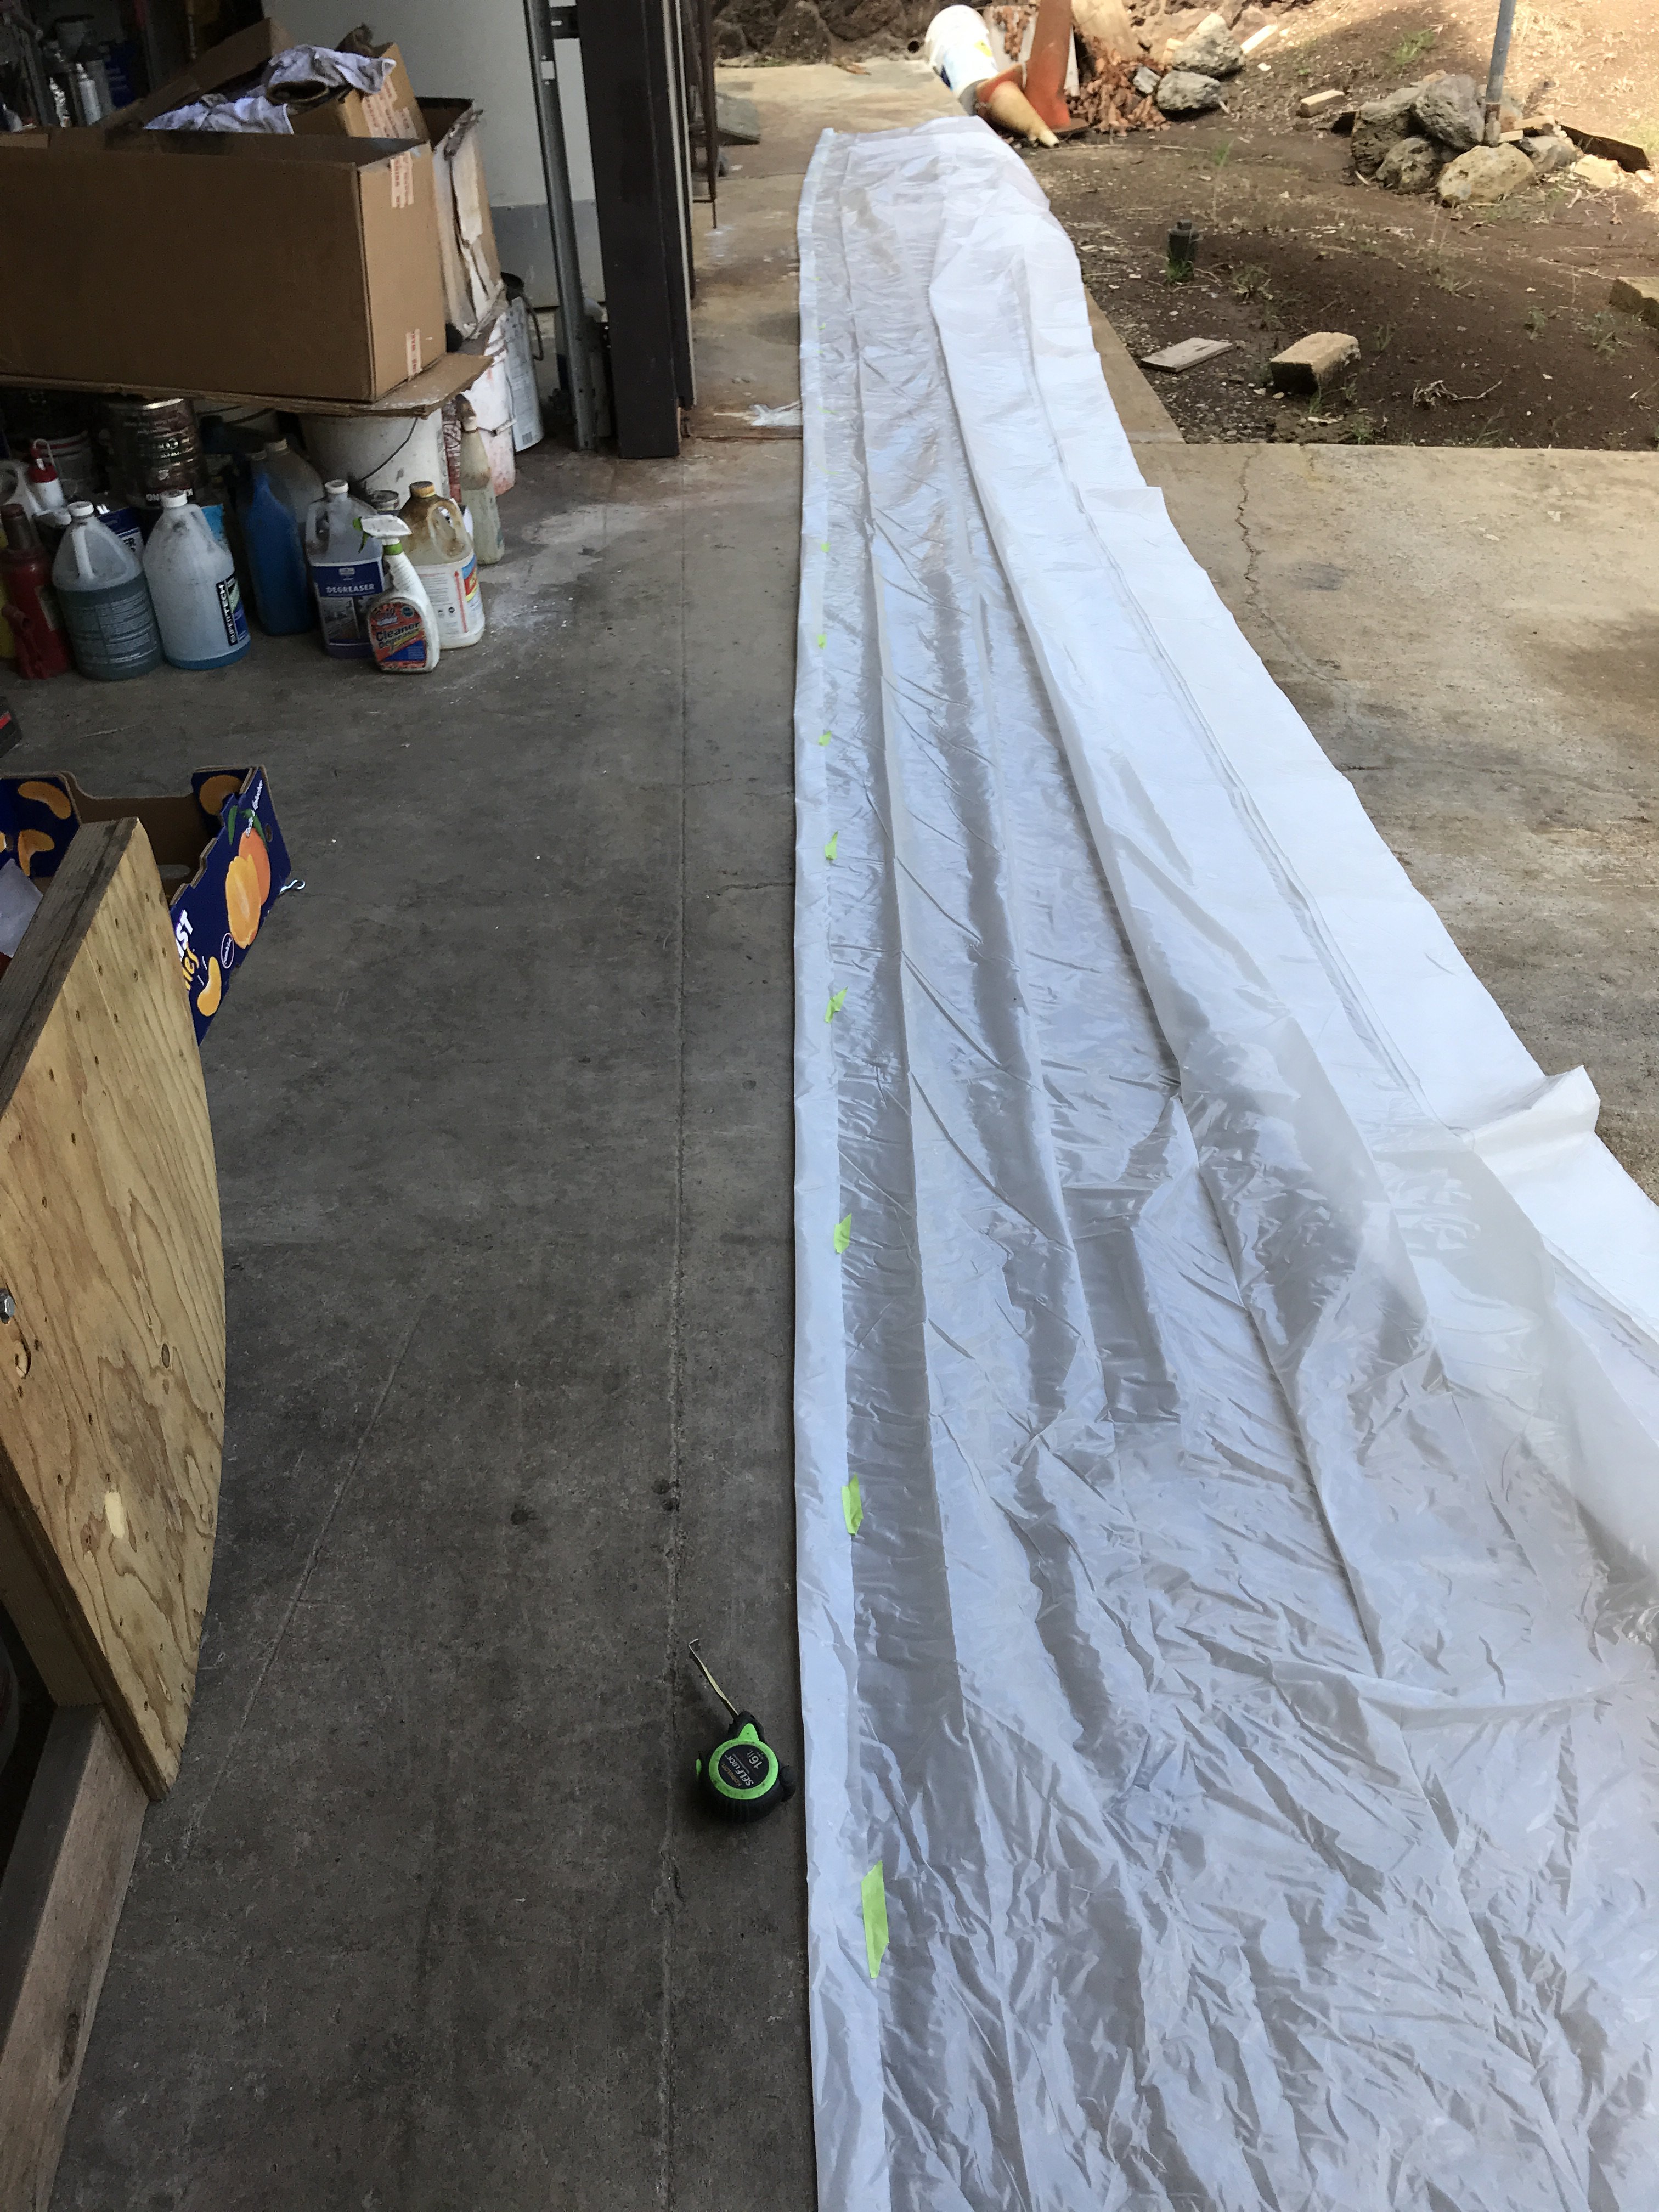
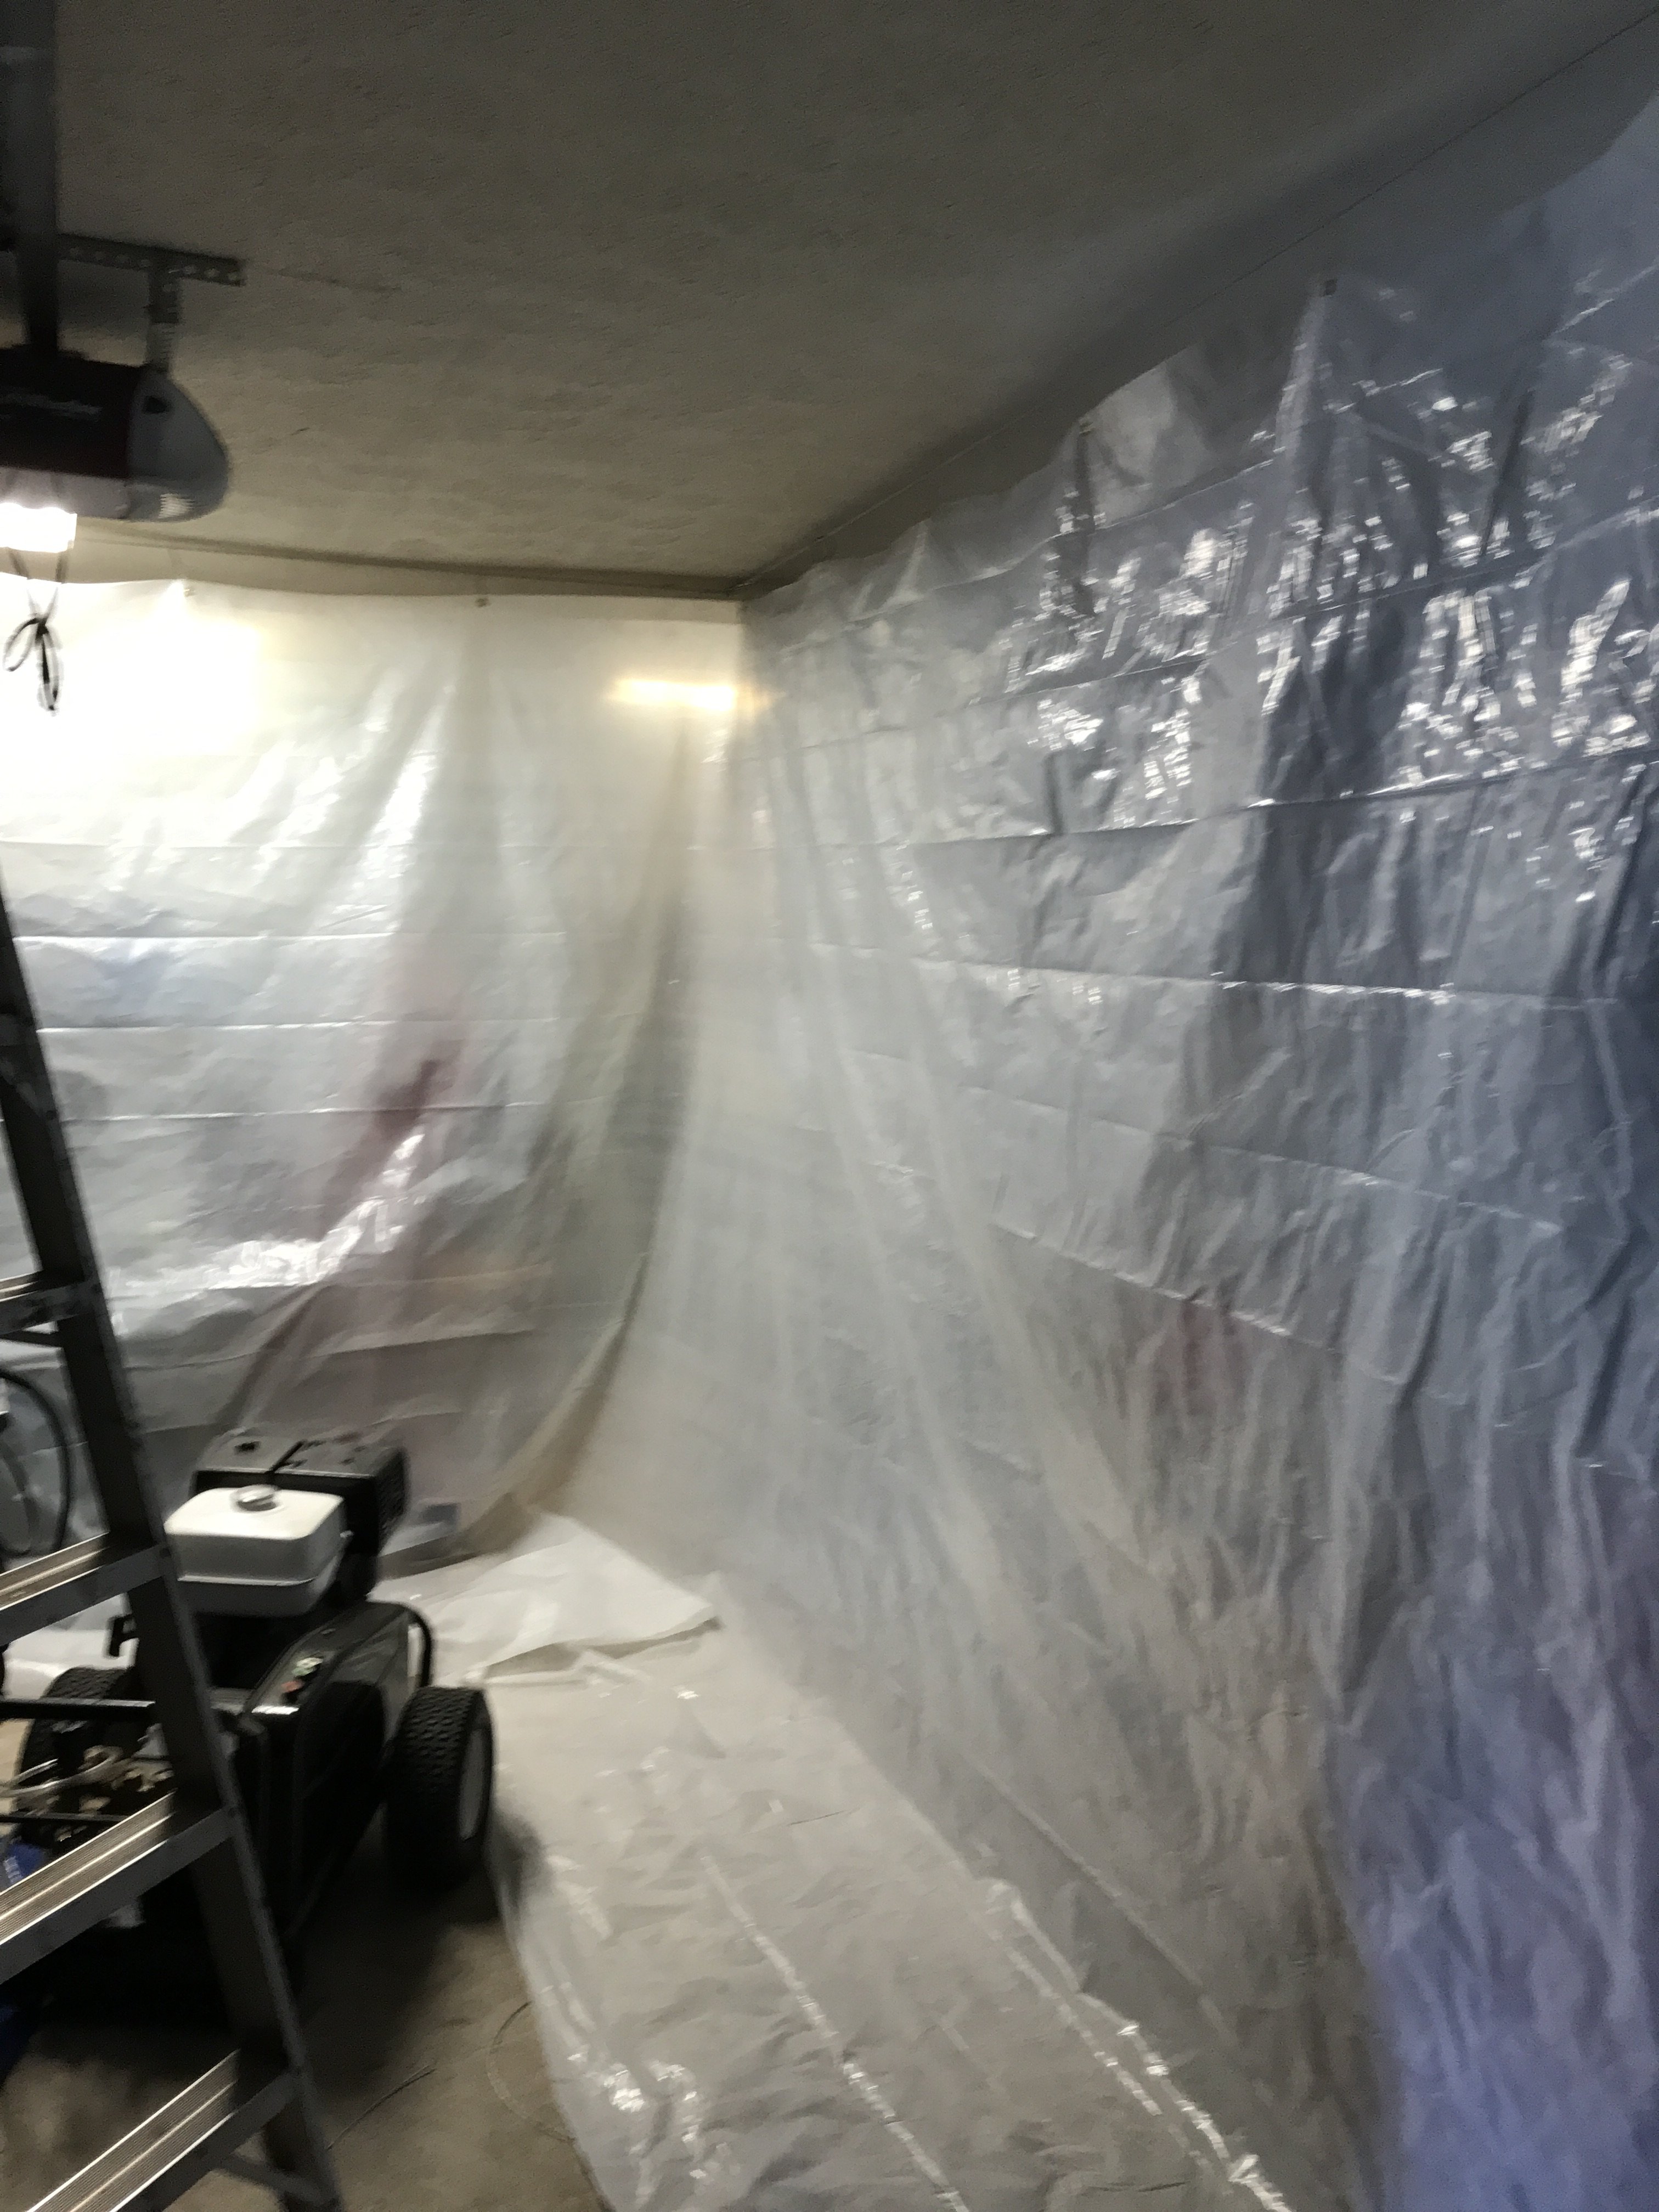
Decided to enlarge the booth size from 1 1/2 car to 2 car size for various reasons: more room to paint, left side curtain closer to fan and easier to use. Also, now the garage door does not have to be closed to utilize the curtains. The following photos show the improved booth design. After trial fit, 24" was removed from the bottom of the curtains. 4" was allowed on the bottom to be held by a 2 X 4. Made a duct out of scrap sheeting to connect fan to curtain. No sure how to attach duct to curtain. Might try putting the duct hose into another hose section attached to the curtain. Left curtain must also be modified for fan to blow through but still allow to be folded up.
-
Heavy Duty frame rails and connectors
toolman replied to toolman's topic in Gen III & IV Chevy V8Z Tech Board
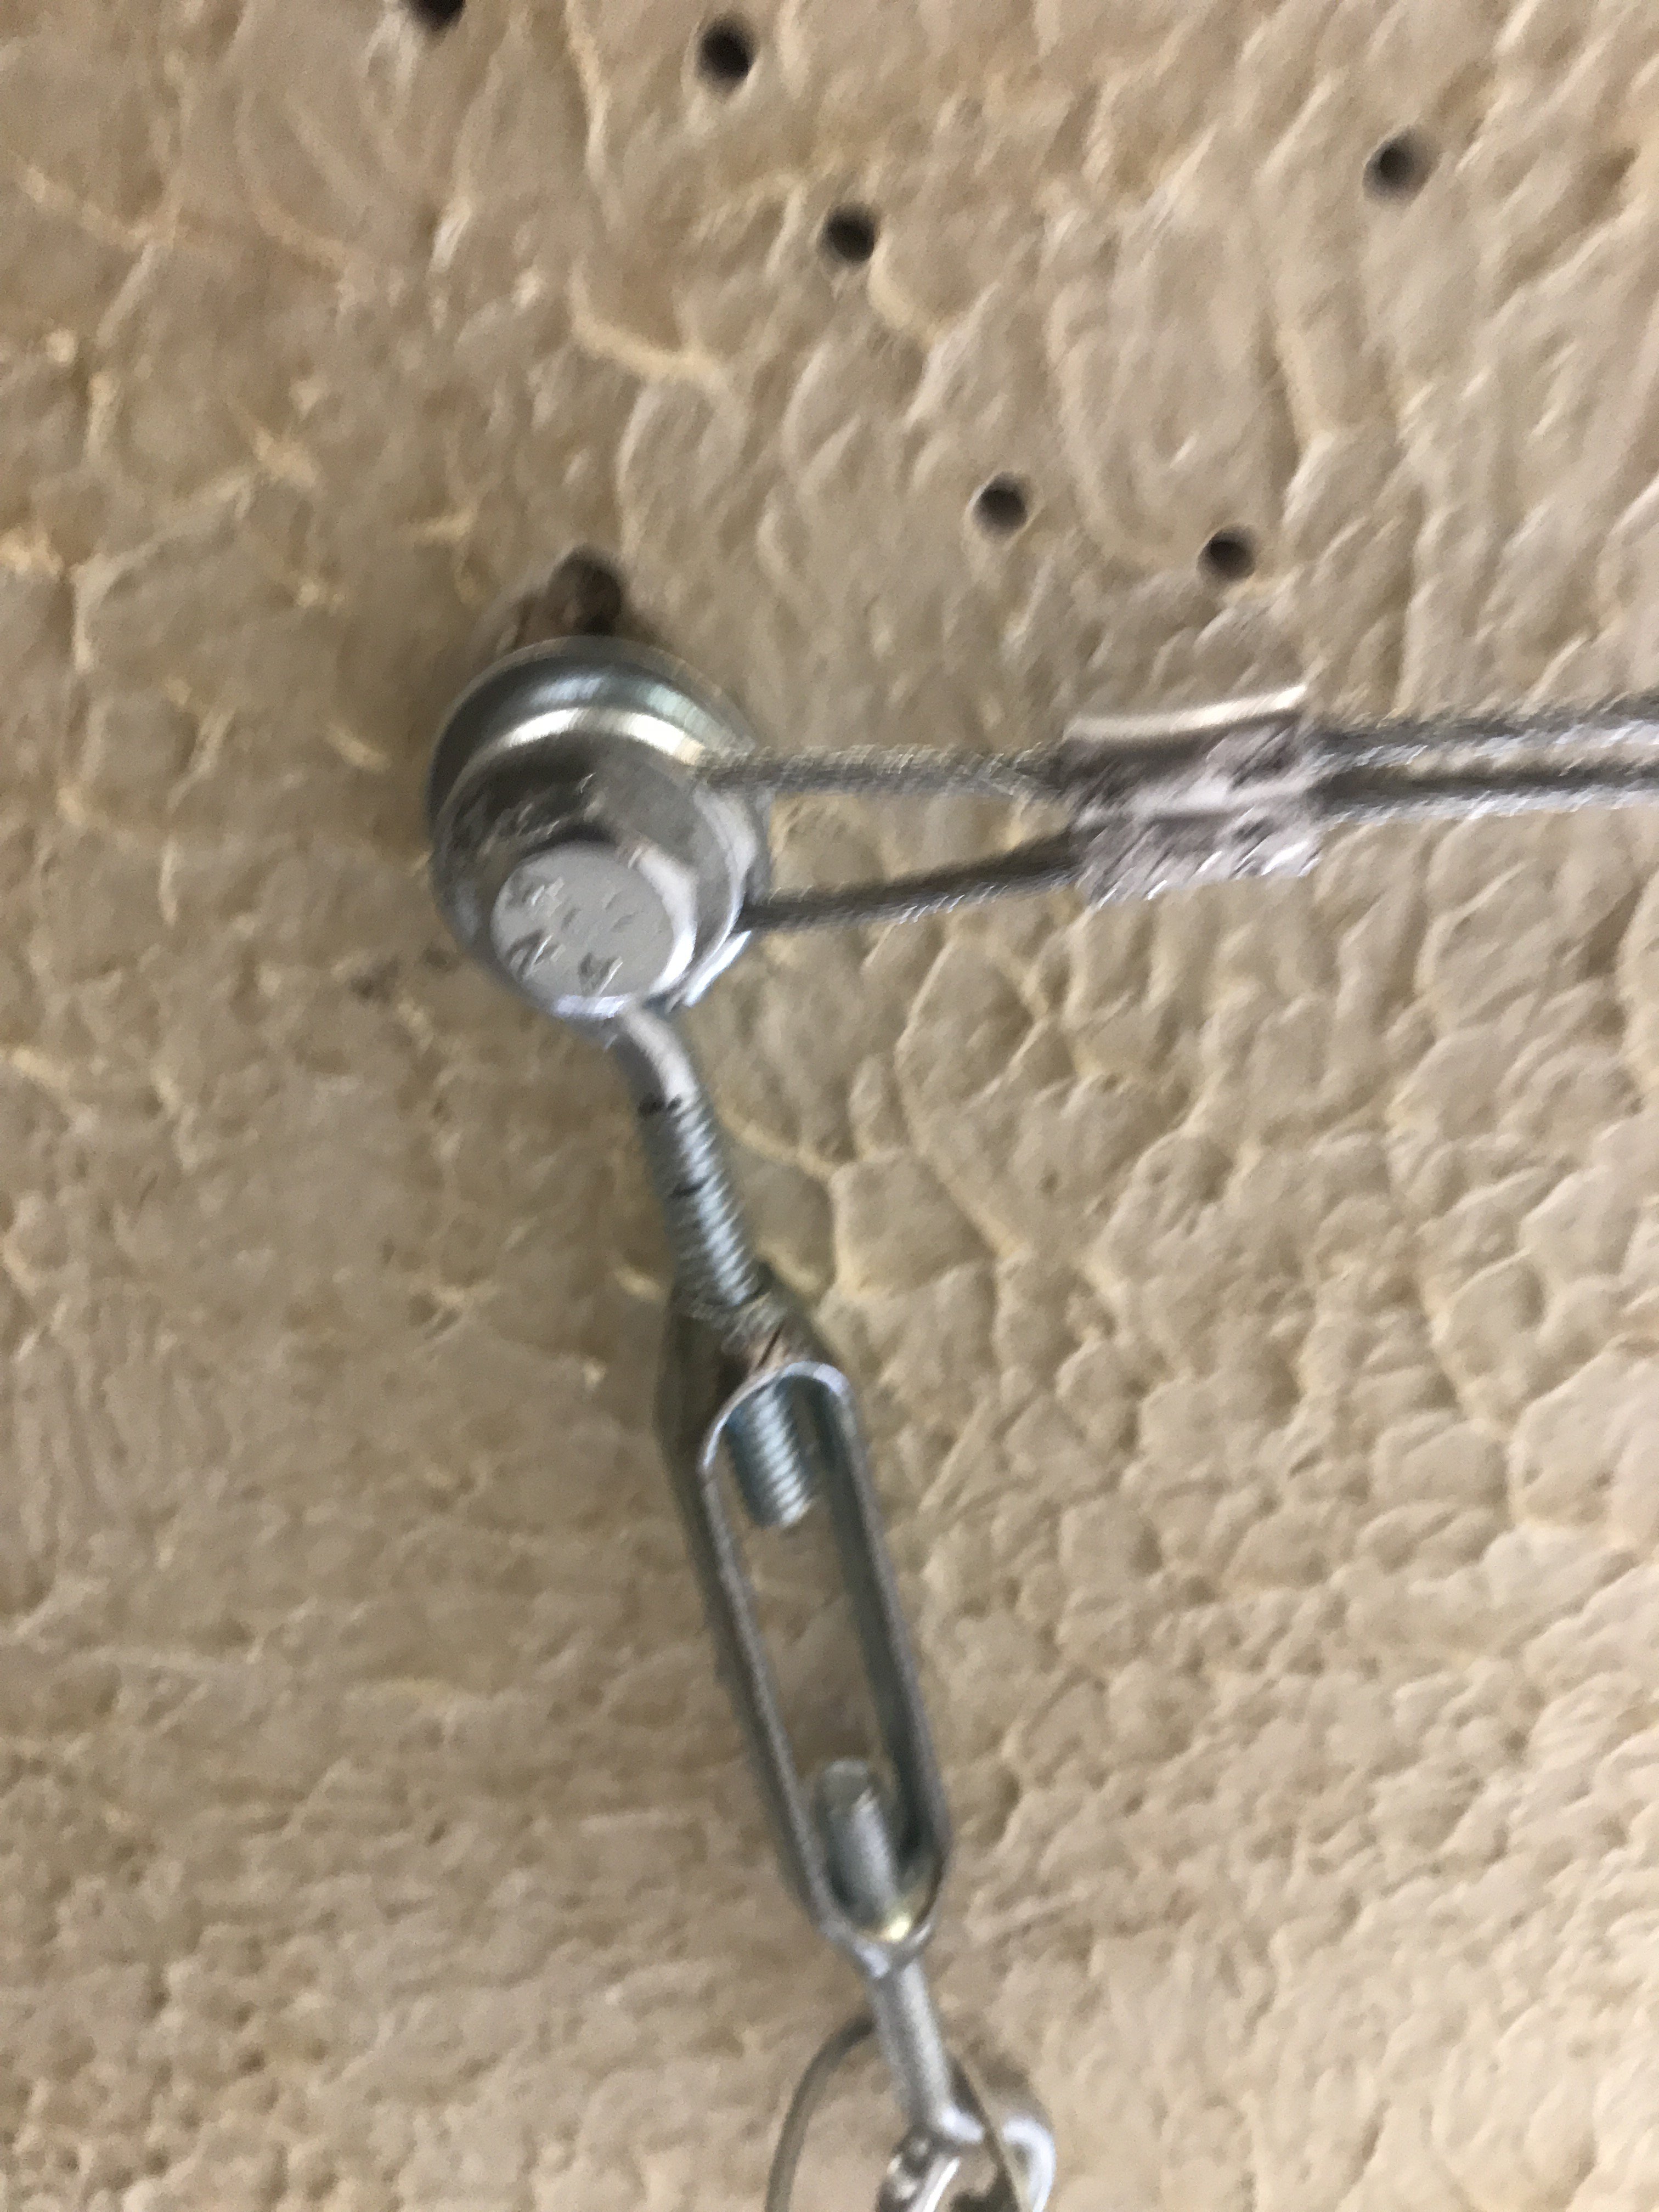
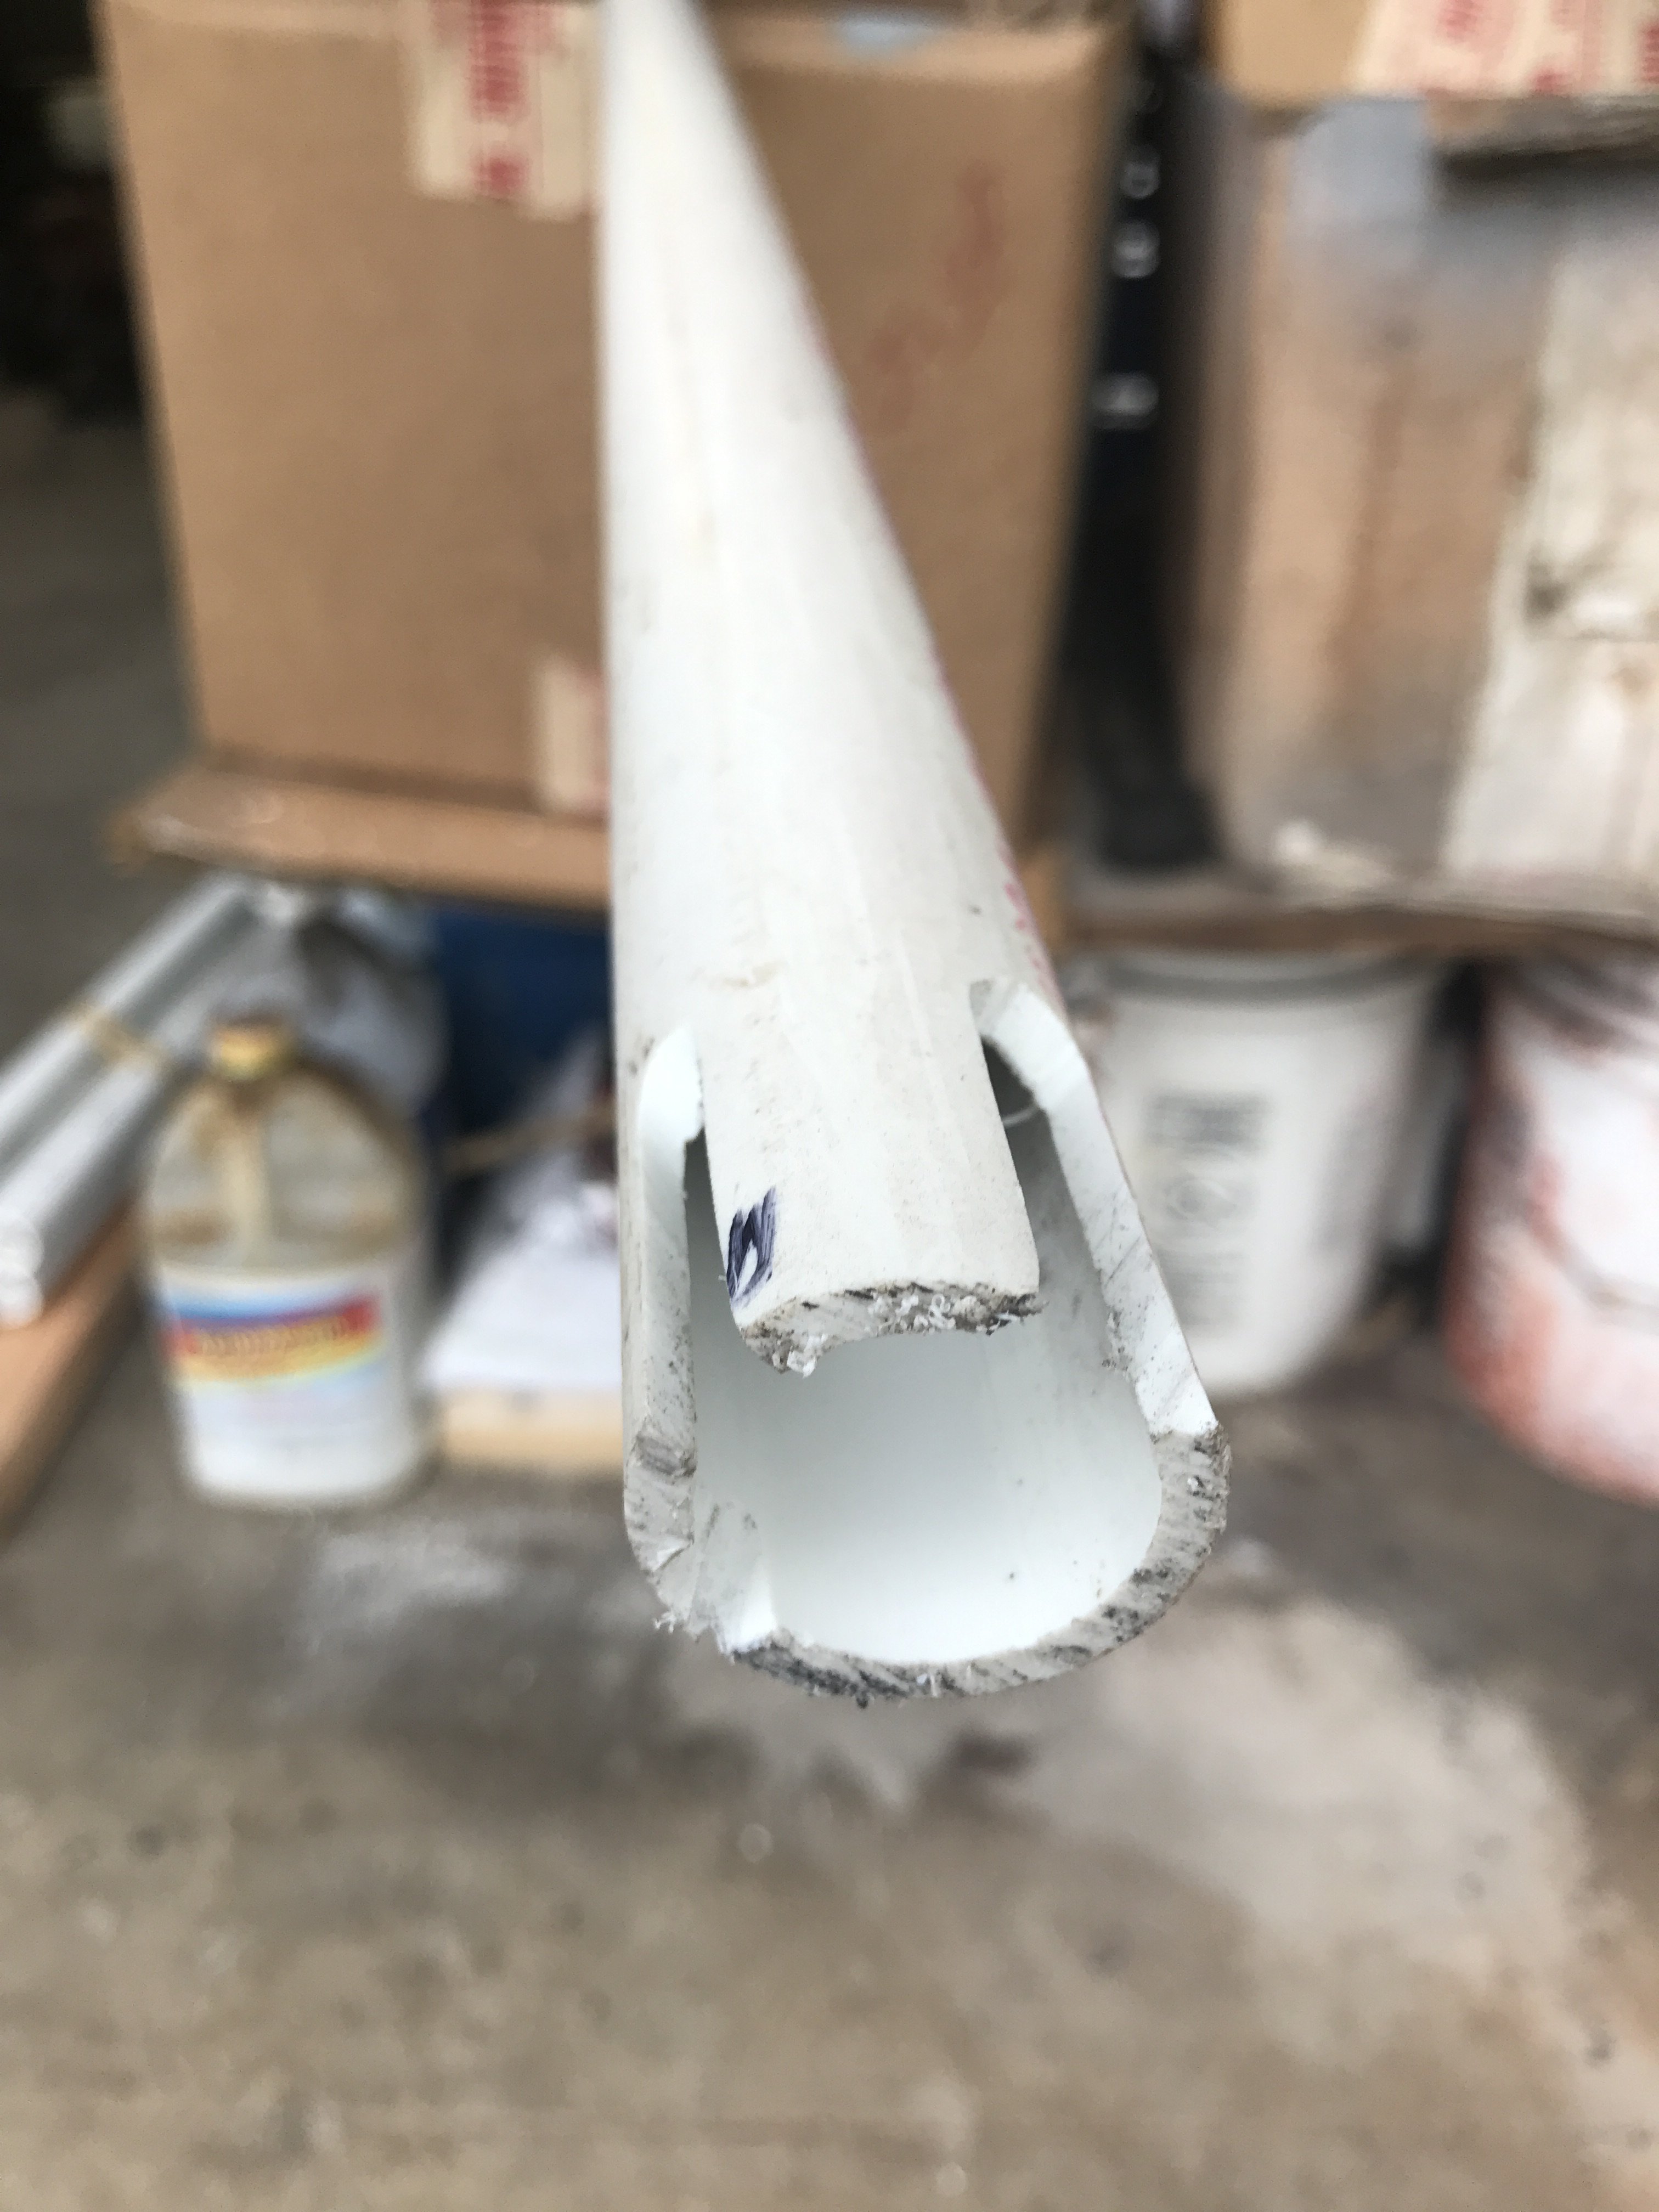
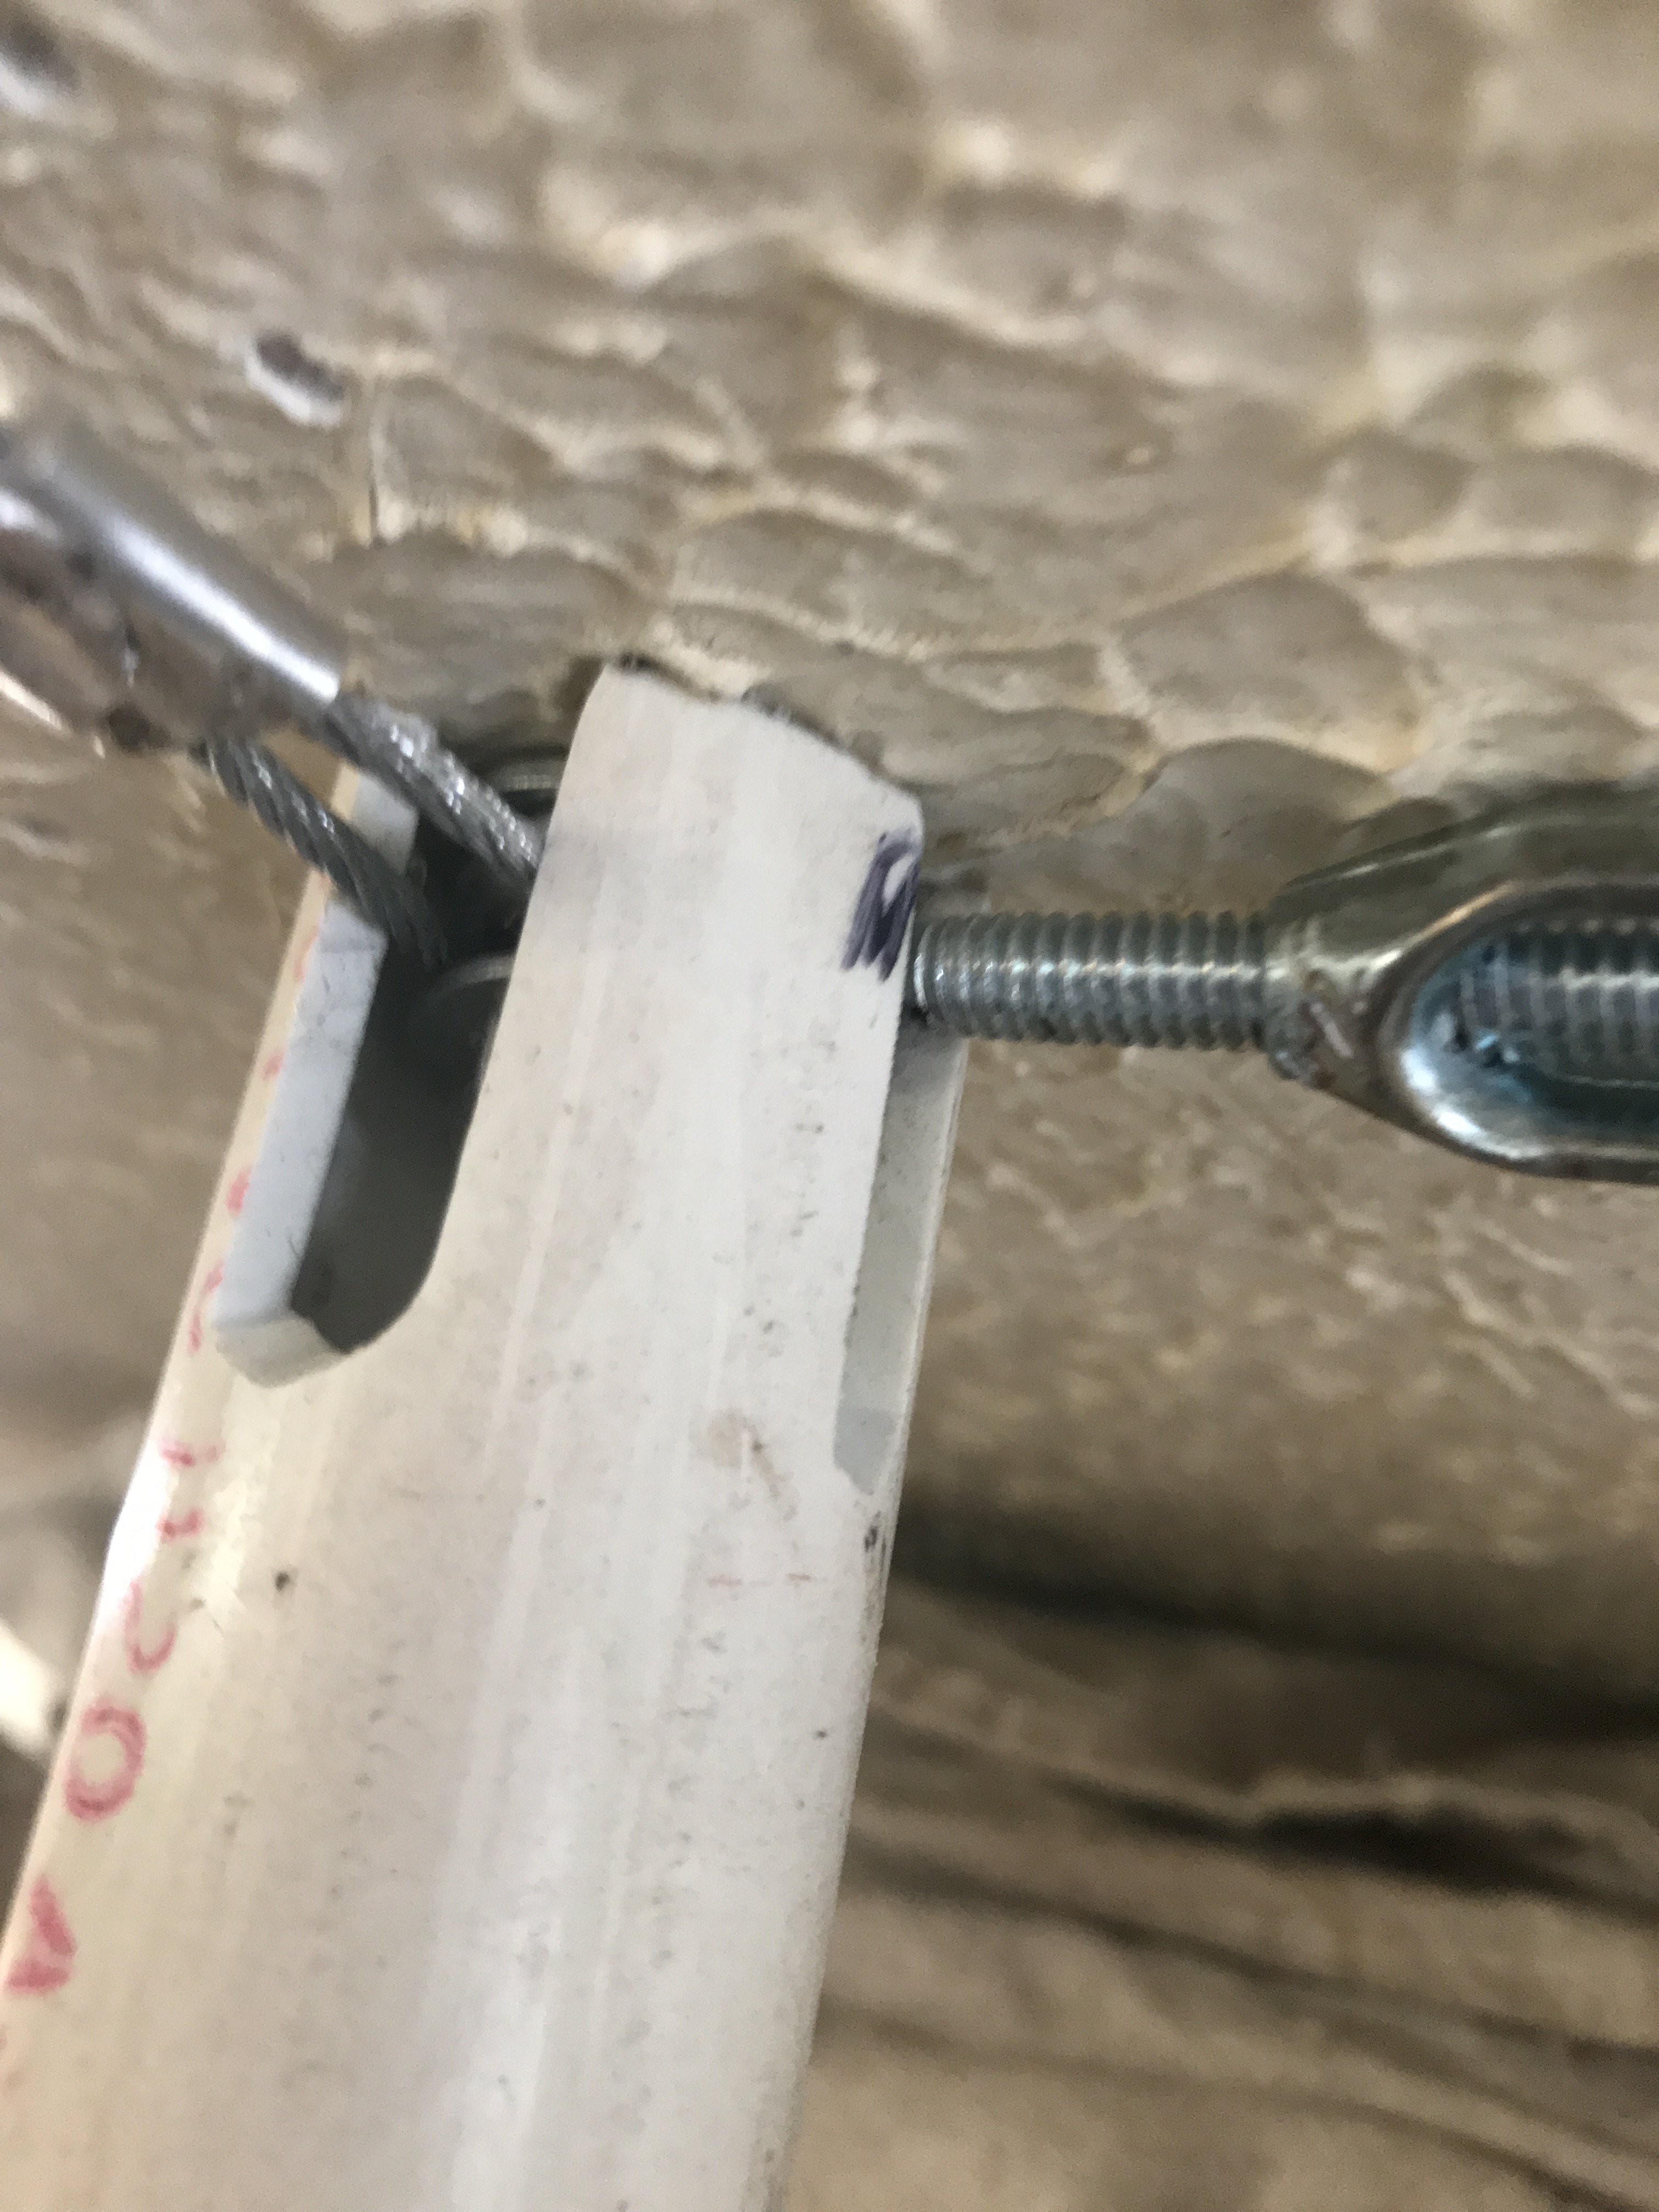
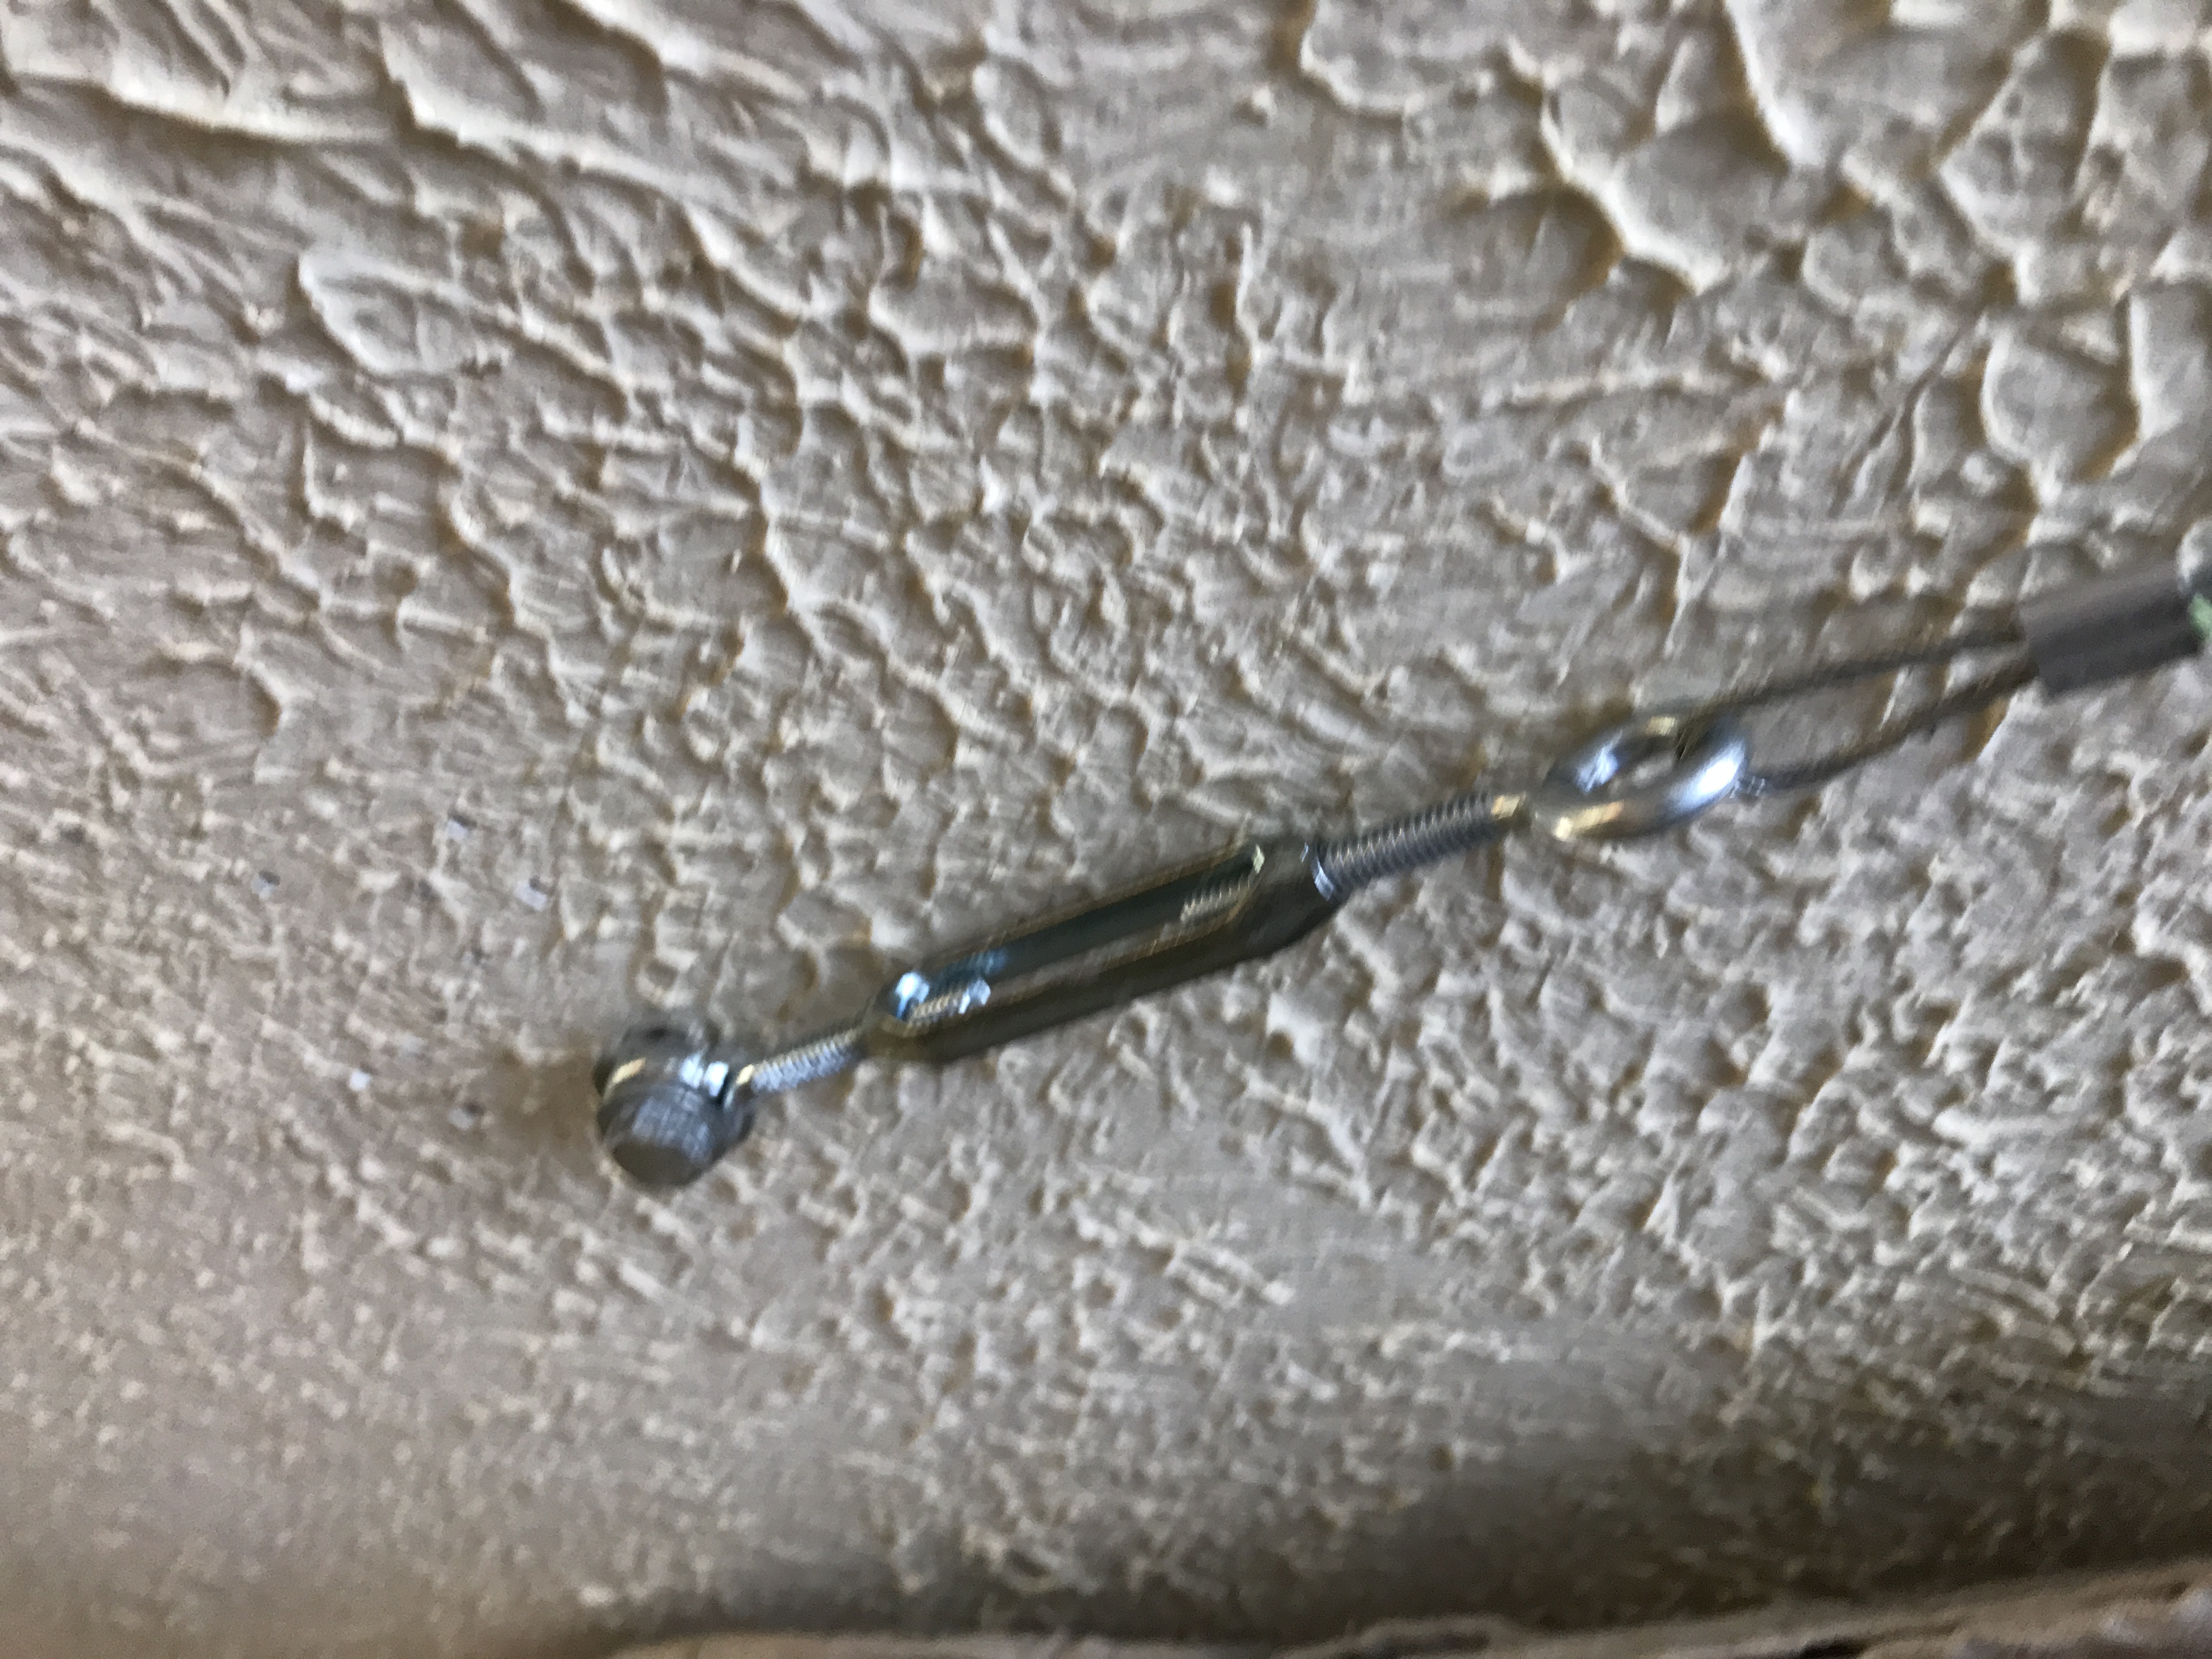
Sorry about the inconvenience, I deleted the Garage Booth-continued post and am reposting it here. Closeup of the right corner of garage booth It uses a 2 1/2" lag screw to fasten two 3/ 32" curtain cables in garage roof rafters. The turnbuckle provides cable tension adjustment. A 1" PVC pipe is used to be booth corner vertical support. It is slotted with a cutoff tool to fit tightly into the corner cable arrangement. The slotted PVC provides a stable vertical brace. Next a bottom mount of this PVC pipe must constructed.
-
Heavy Duty frame rails and connectors
toolman replied to toolman's topic in Gen III & IV Chevy V8Z Tech Board
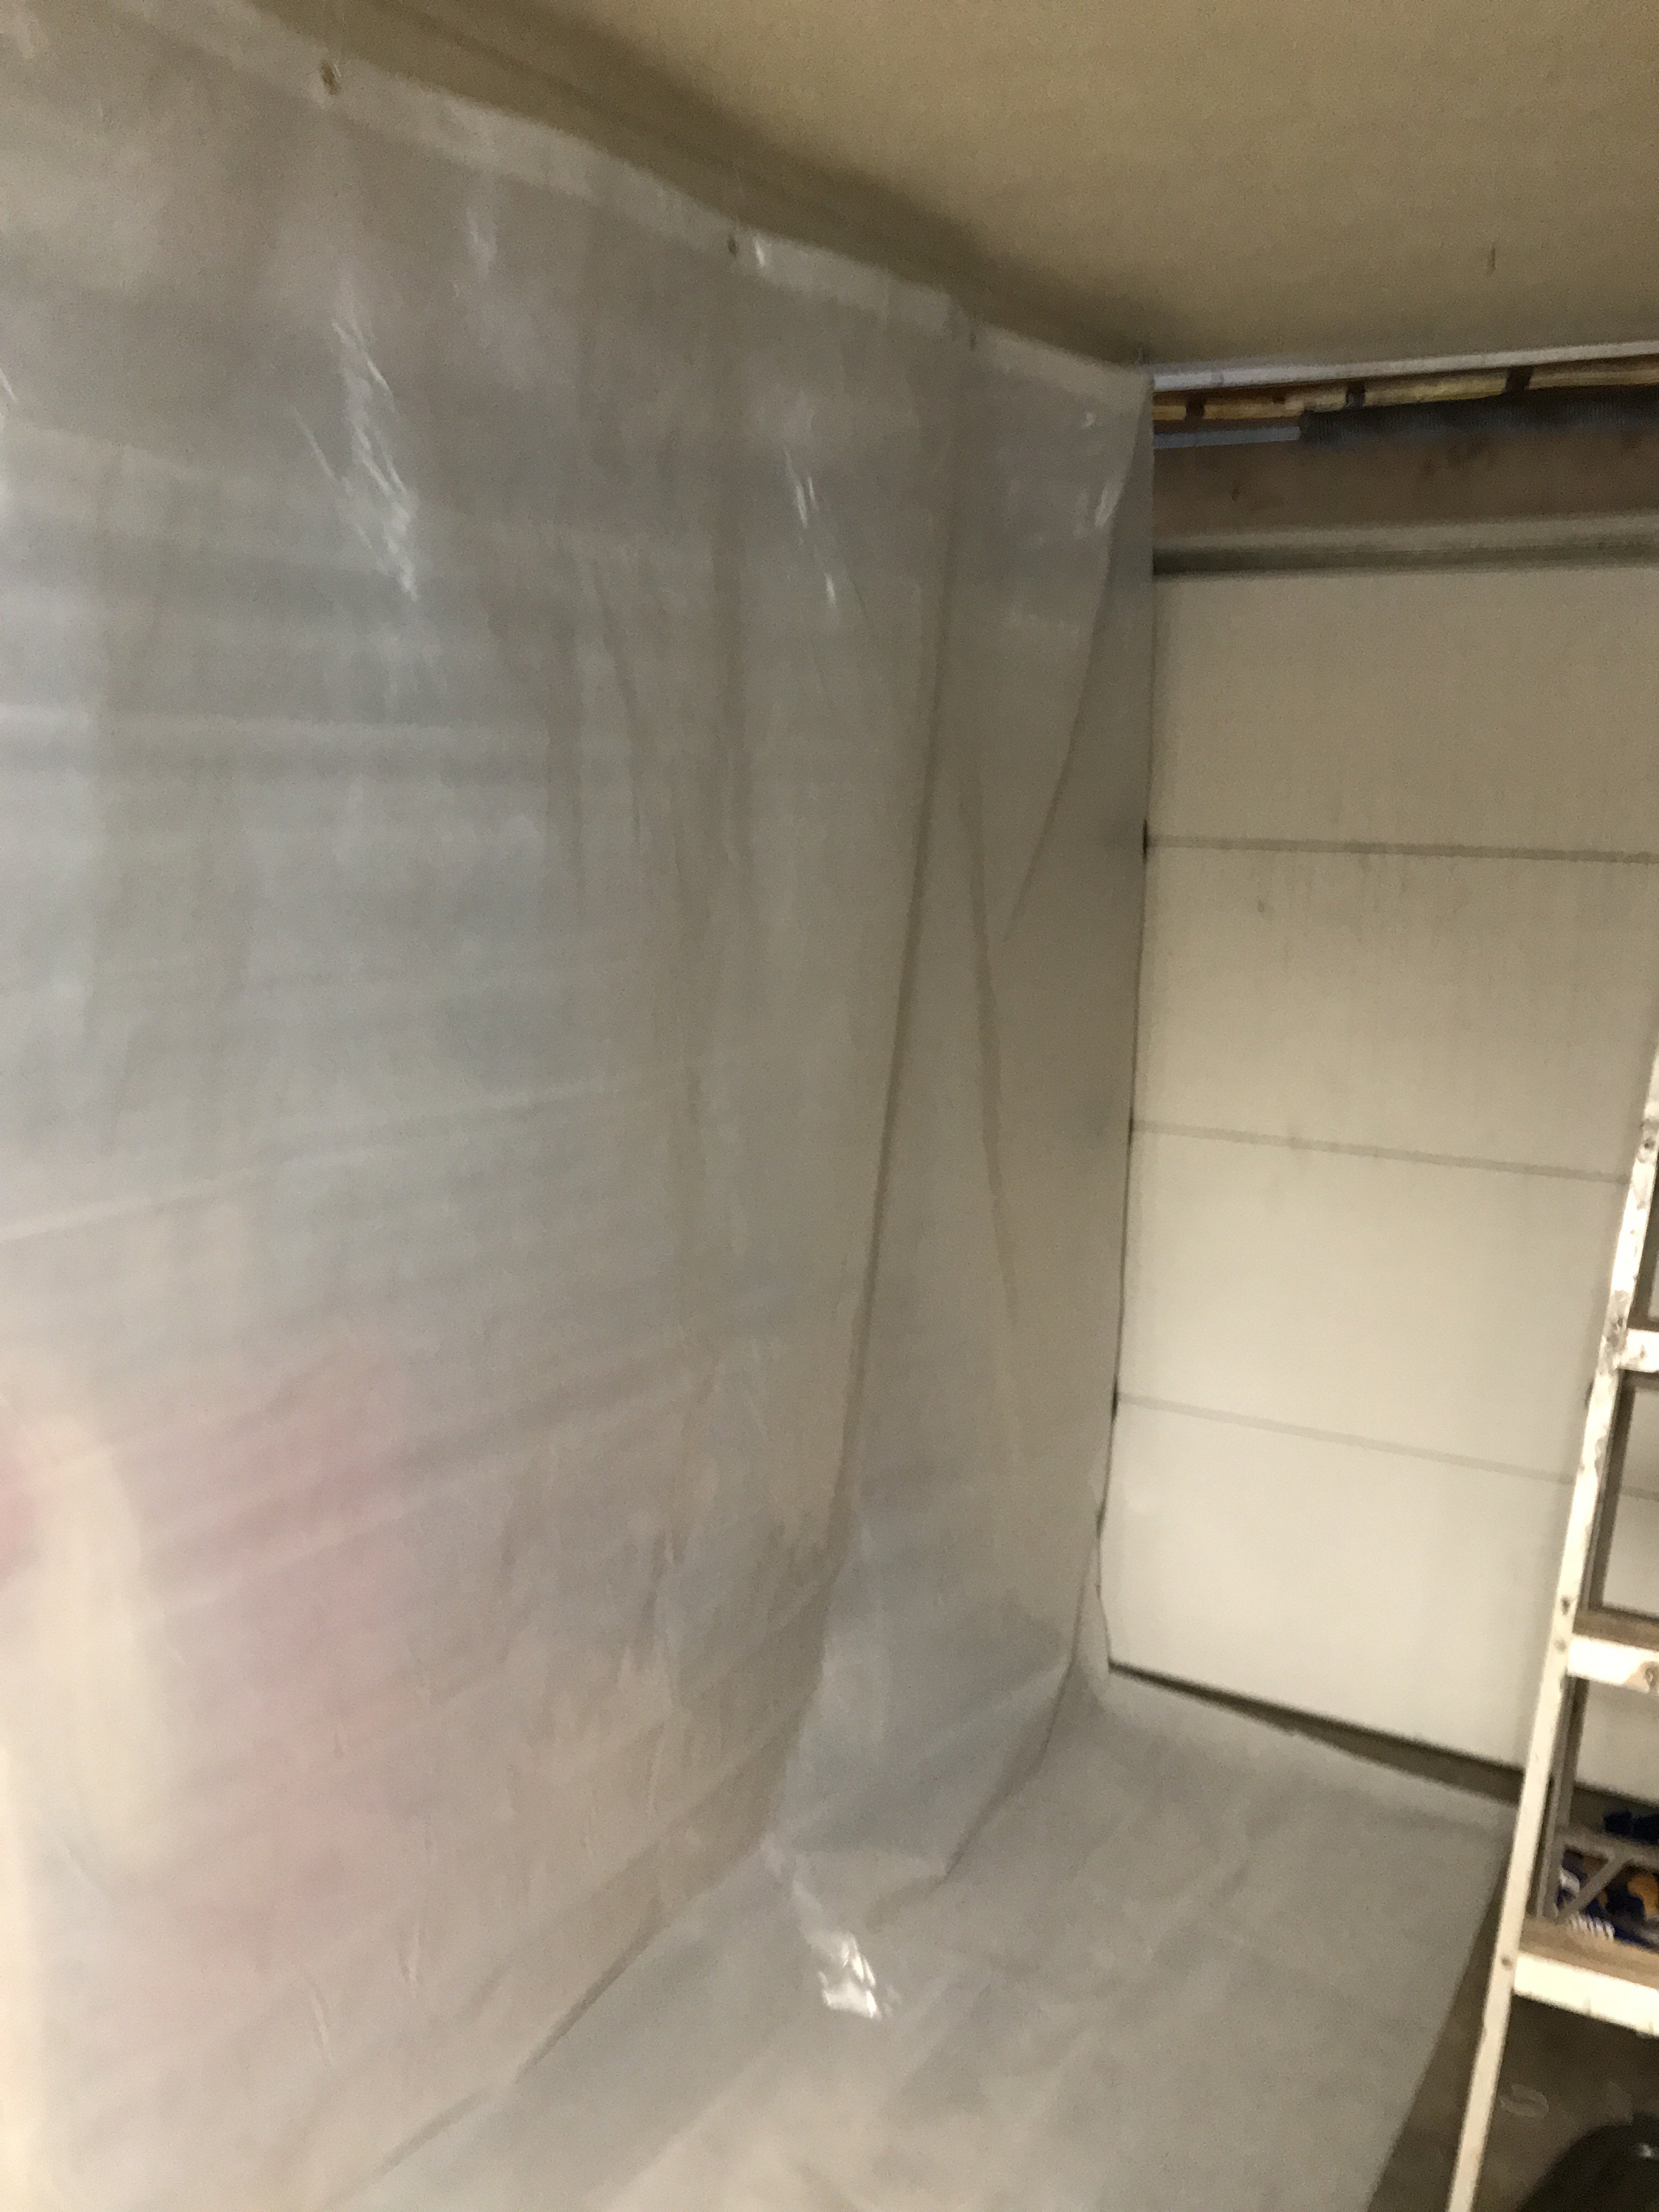
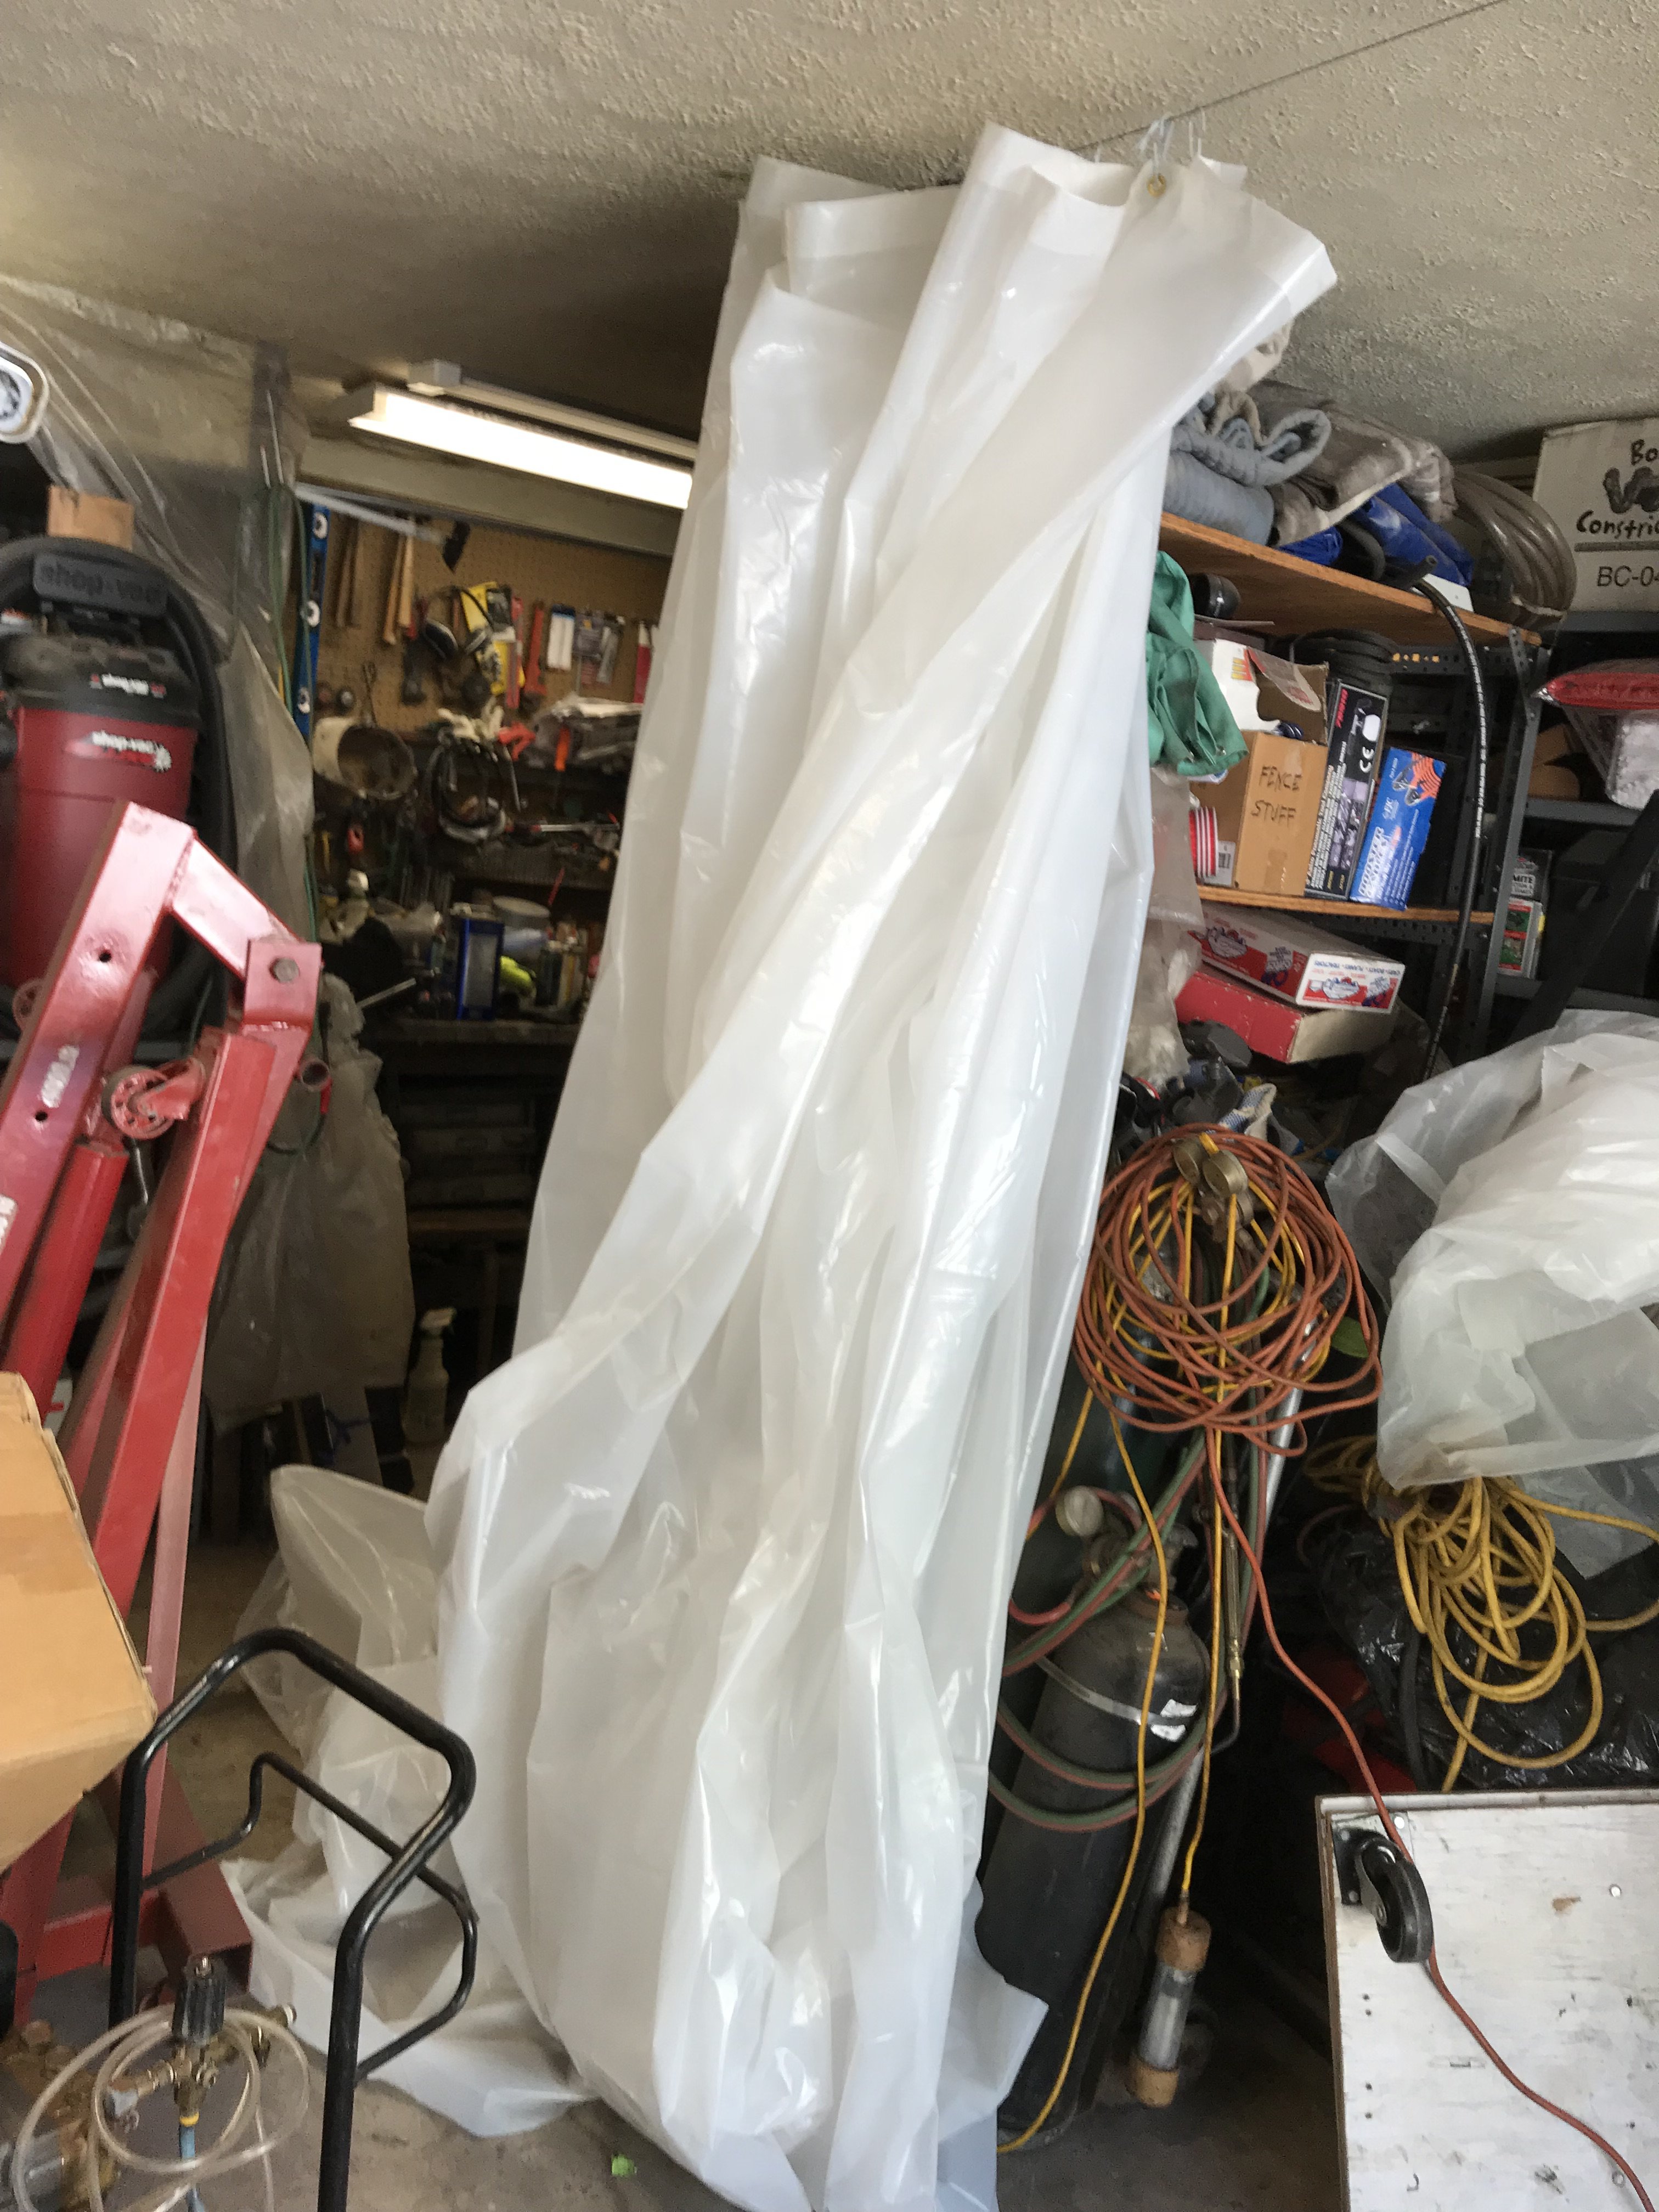
Right front side of booth Right curtain closed up. When the bottom of curtain is trimmed. the curtain close up into a much smaller bundle.
-
Heavy Duty frame rails and connectors
toolman replied to toolman's topic in Gen III & IV Chevy V8Z Tech Board
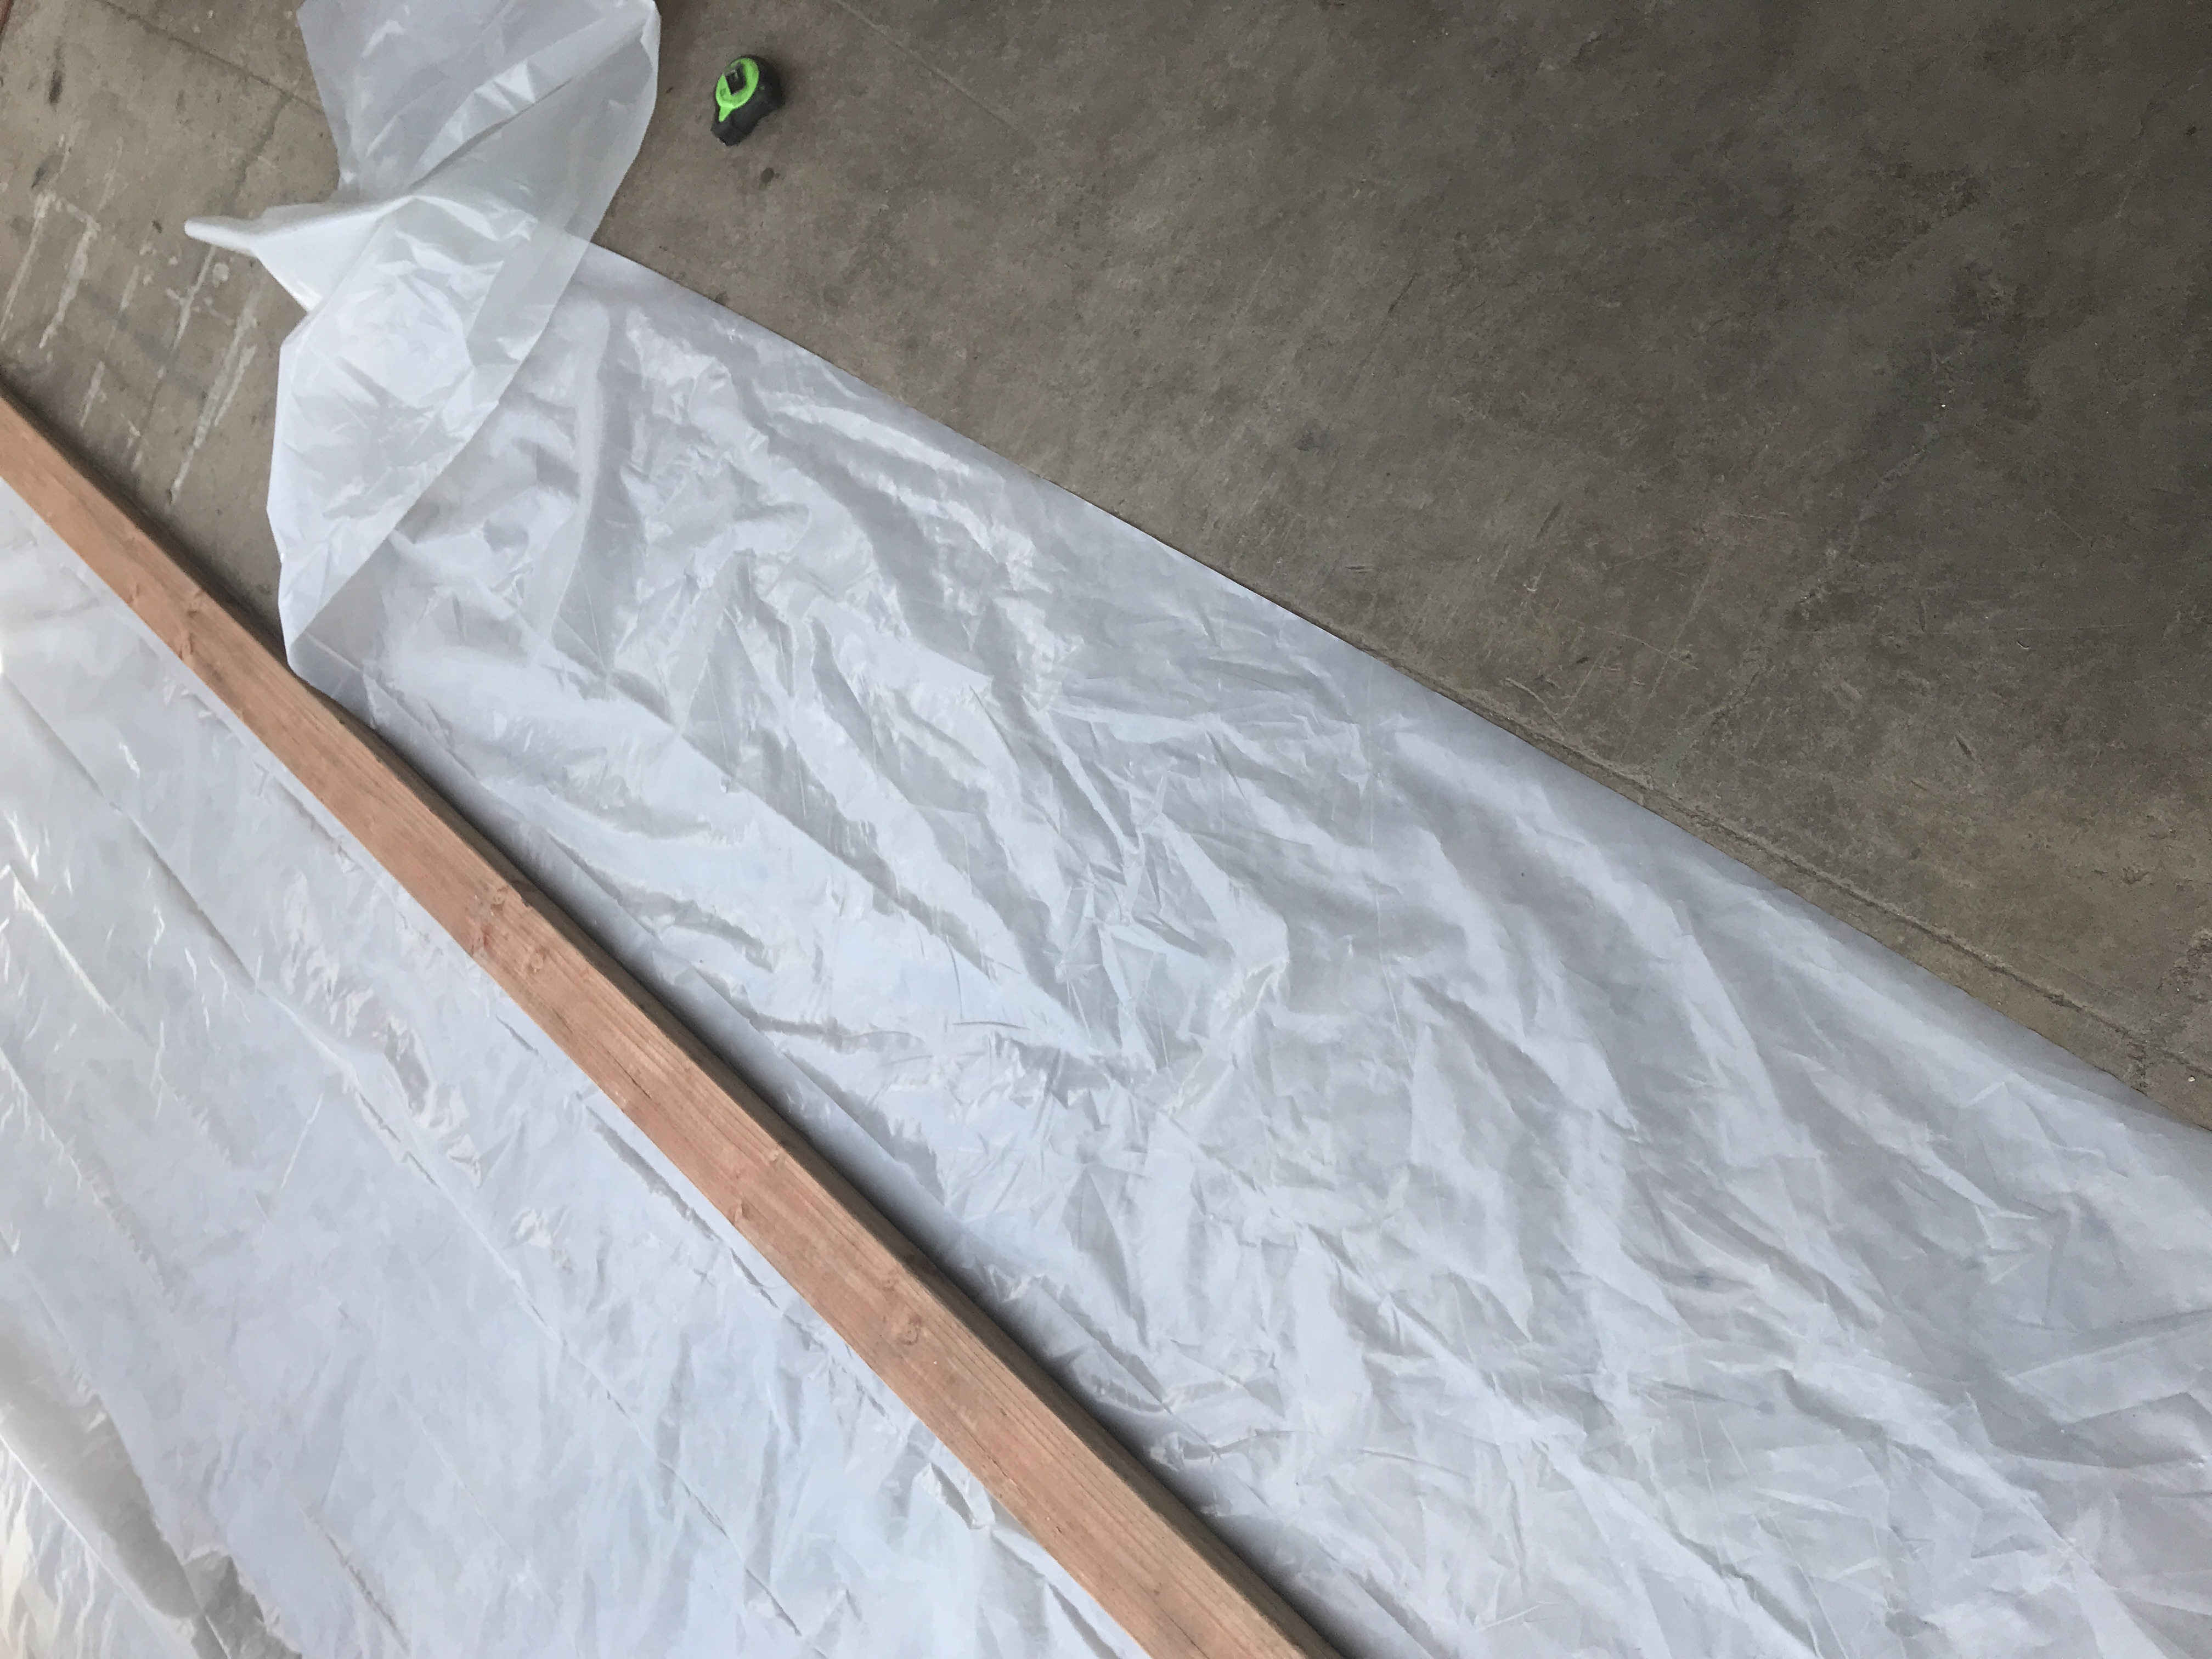
I wanted my spray booth to be easy to utilize and store away. After searching the Internet for ideas, I decided to just build the booth that would be the best fit my situation. The booth would consists of basically four 5/16' x 4" lag screws inserted into the garage rafters. One reason being that this method will completely clear the garage door when it is closed. Also another advantage of this design is its versatility. The booth dimensions can be changer just by moving these four bolts and 3/32" cables. I used plastic sheeting 25' long x 9' high and 6 mil thick. I think the thicker sheeting is superior unless the booth was going to be used only once. The top edge of the sheeting was folded over 2" and glued to add strength. General Tool 3/8" brass grommets were installed into this edge area. They were spread apart 24". More grommets can added if necessary for support. A 5/16" x 4" lag screw is installed in the garage rafter. All four 3/32" cables has one 5/16" turnbuckle to adjust tension to prevent sagging.The rear and right side booth walls assembled. Note that final trimming of the bottom edge of the sheeting has not been done yet. Still waiting for sheeting top hooks to determine final height.
-
Heavy Duty frame rails and connectors
toolman replied to toolman's topic in Gen III & IV Chevy V8Z Tech Board
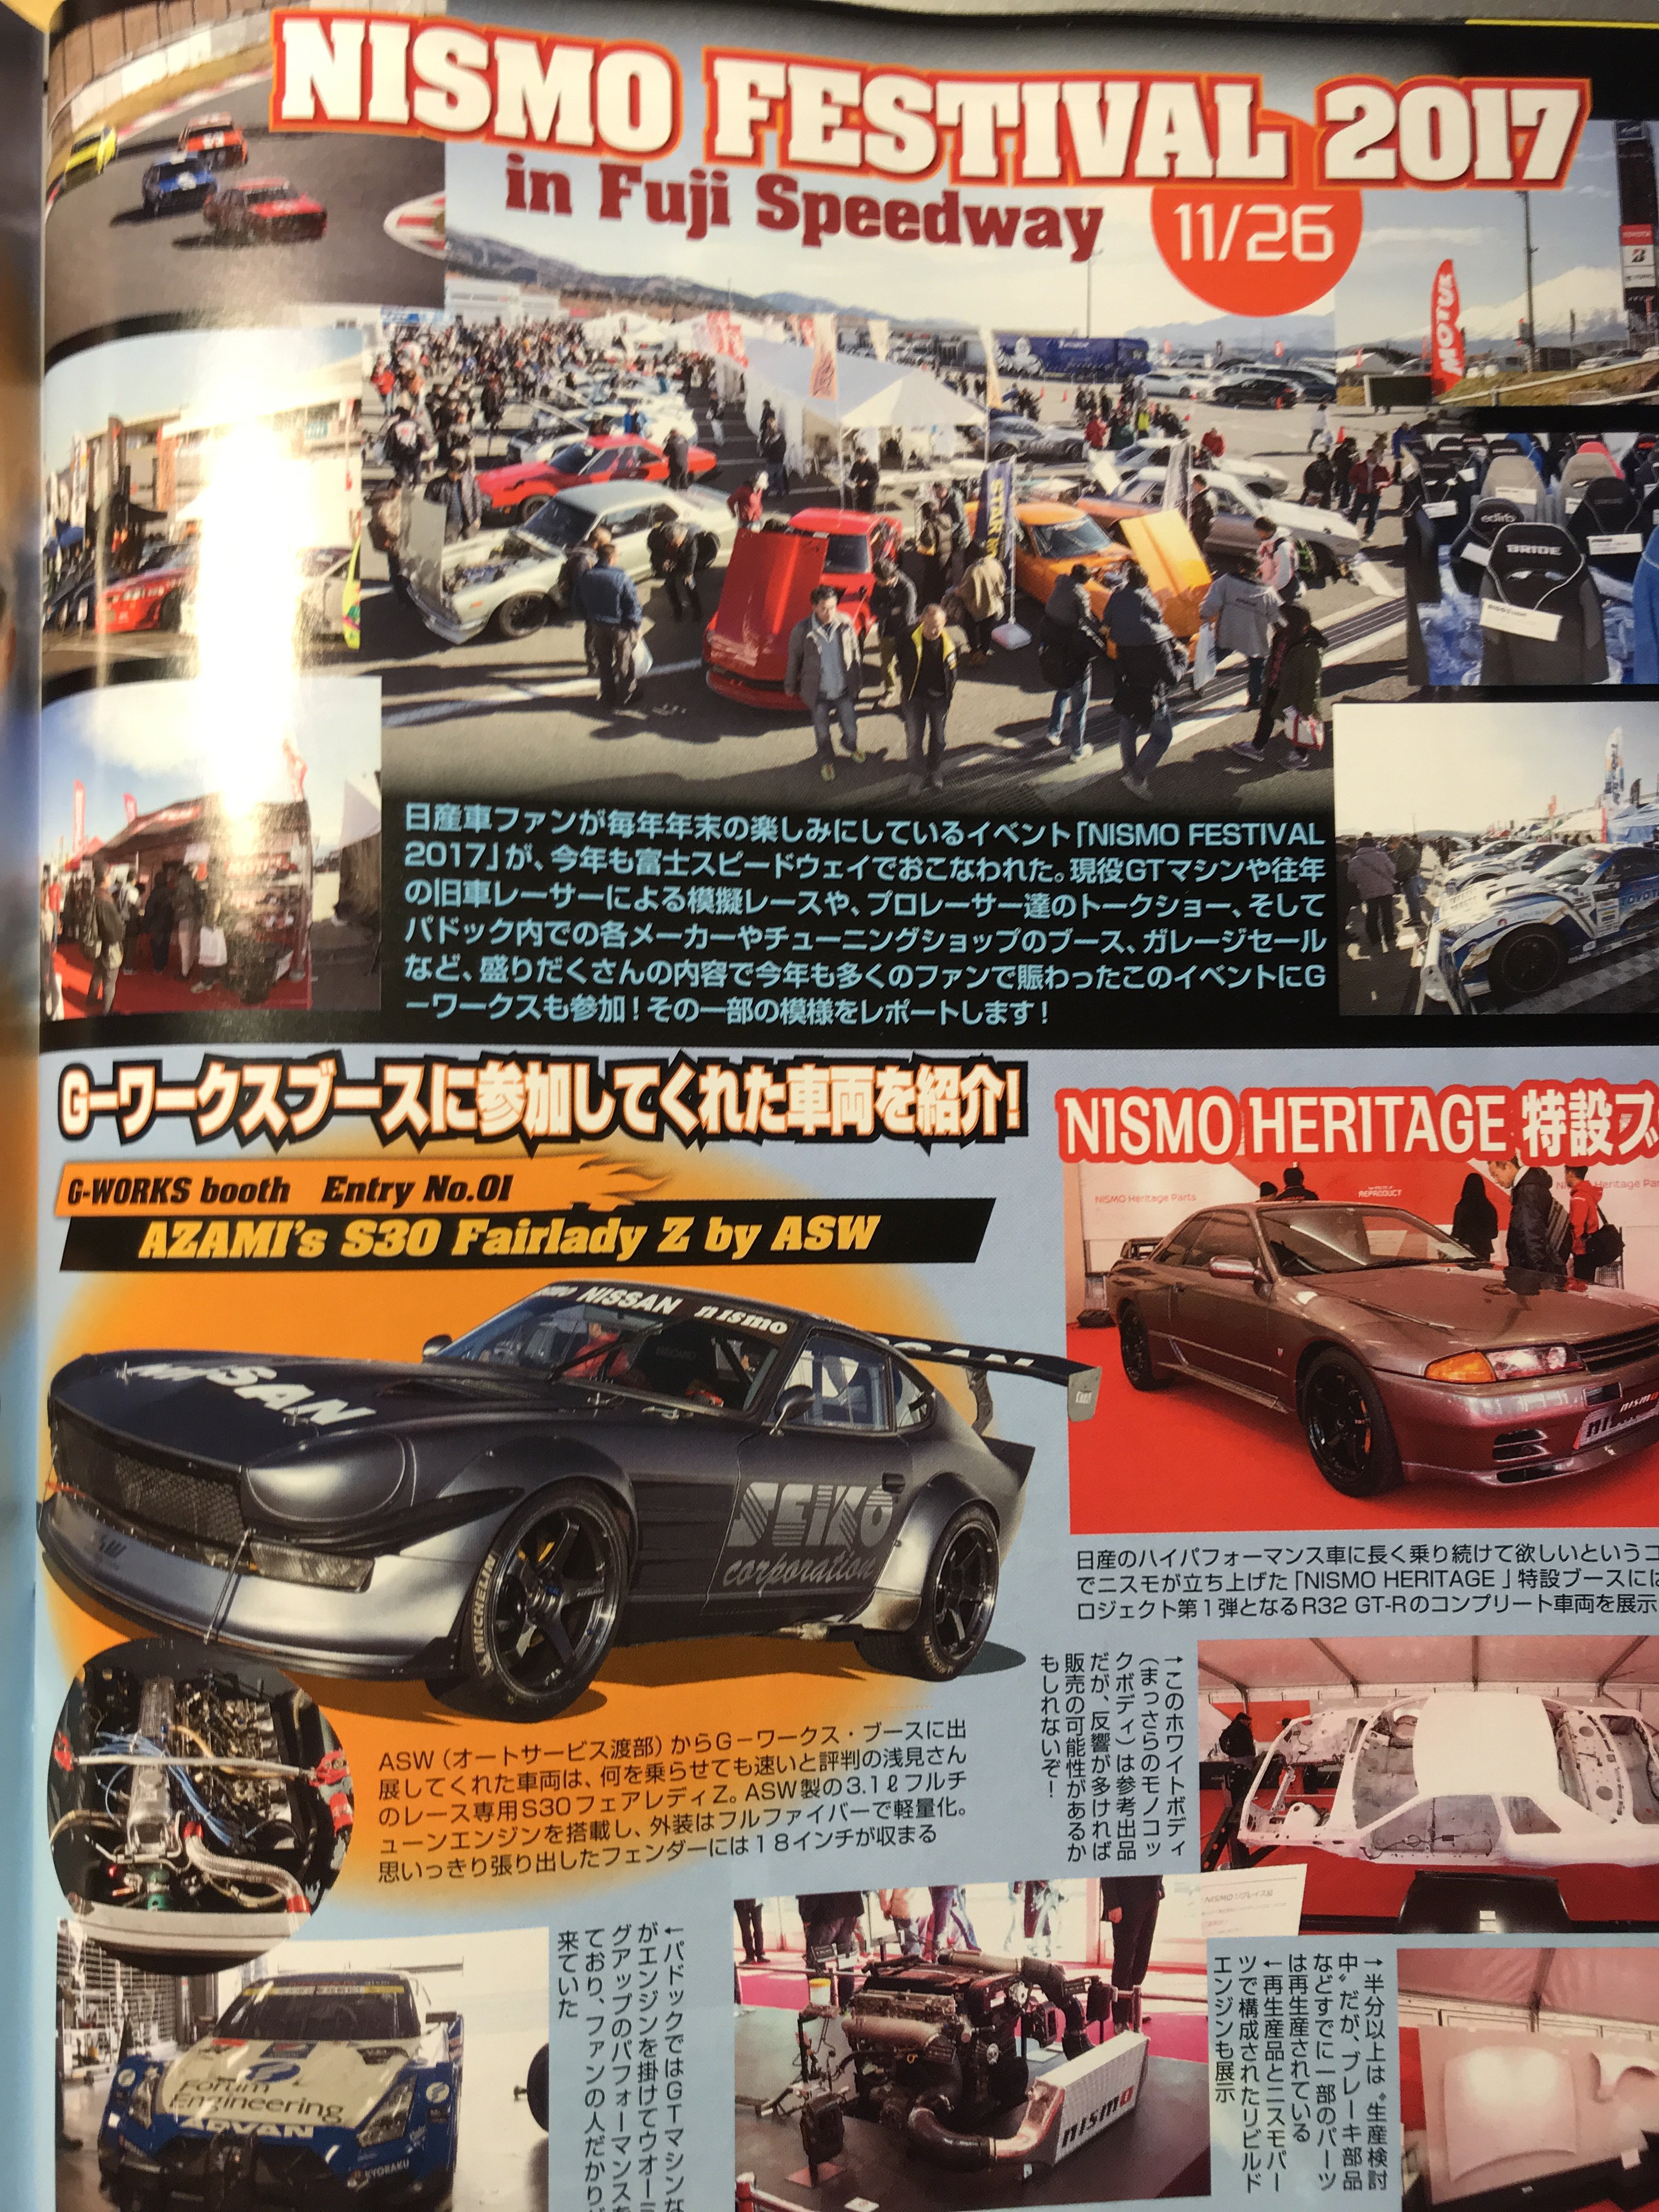
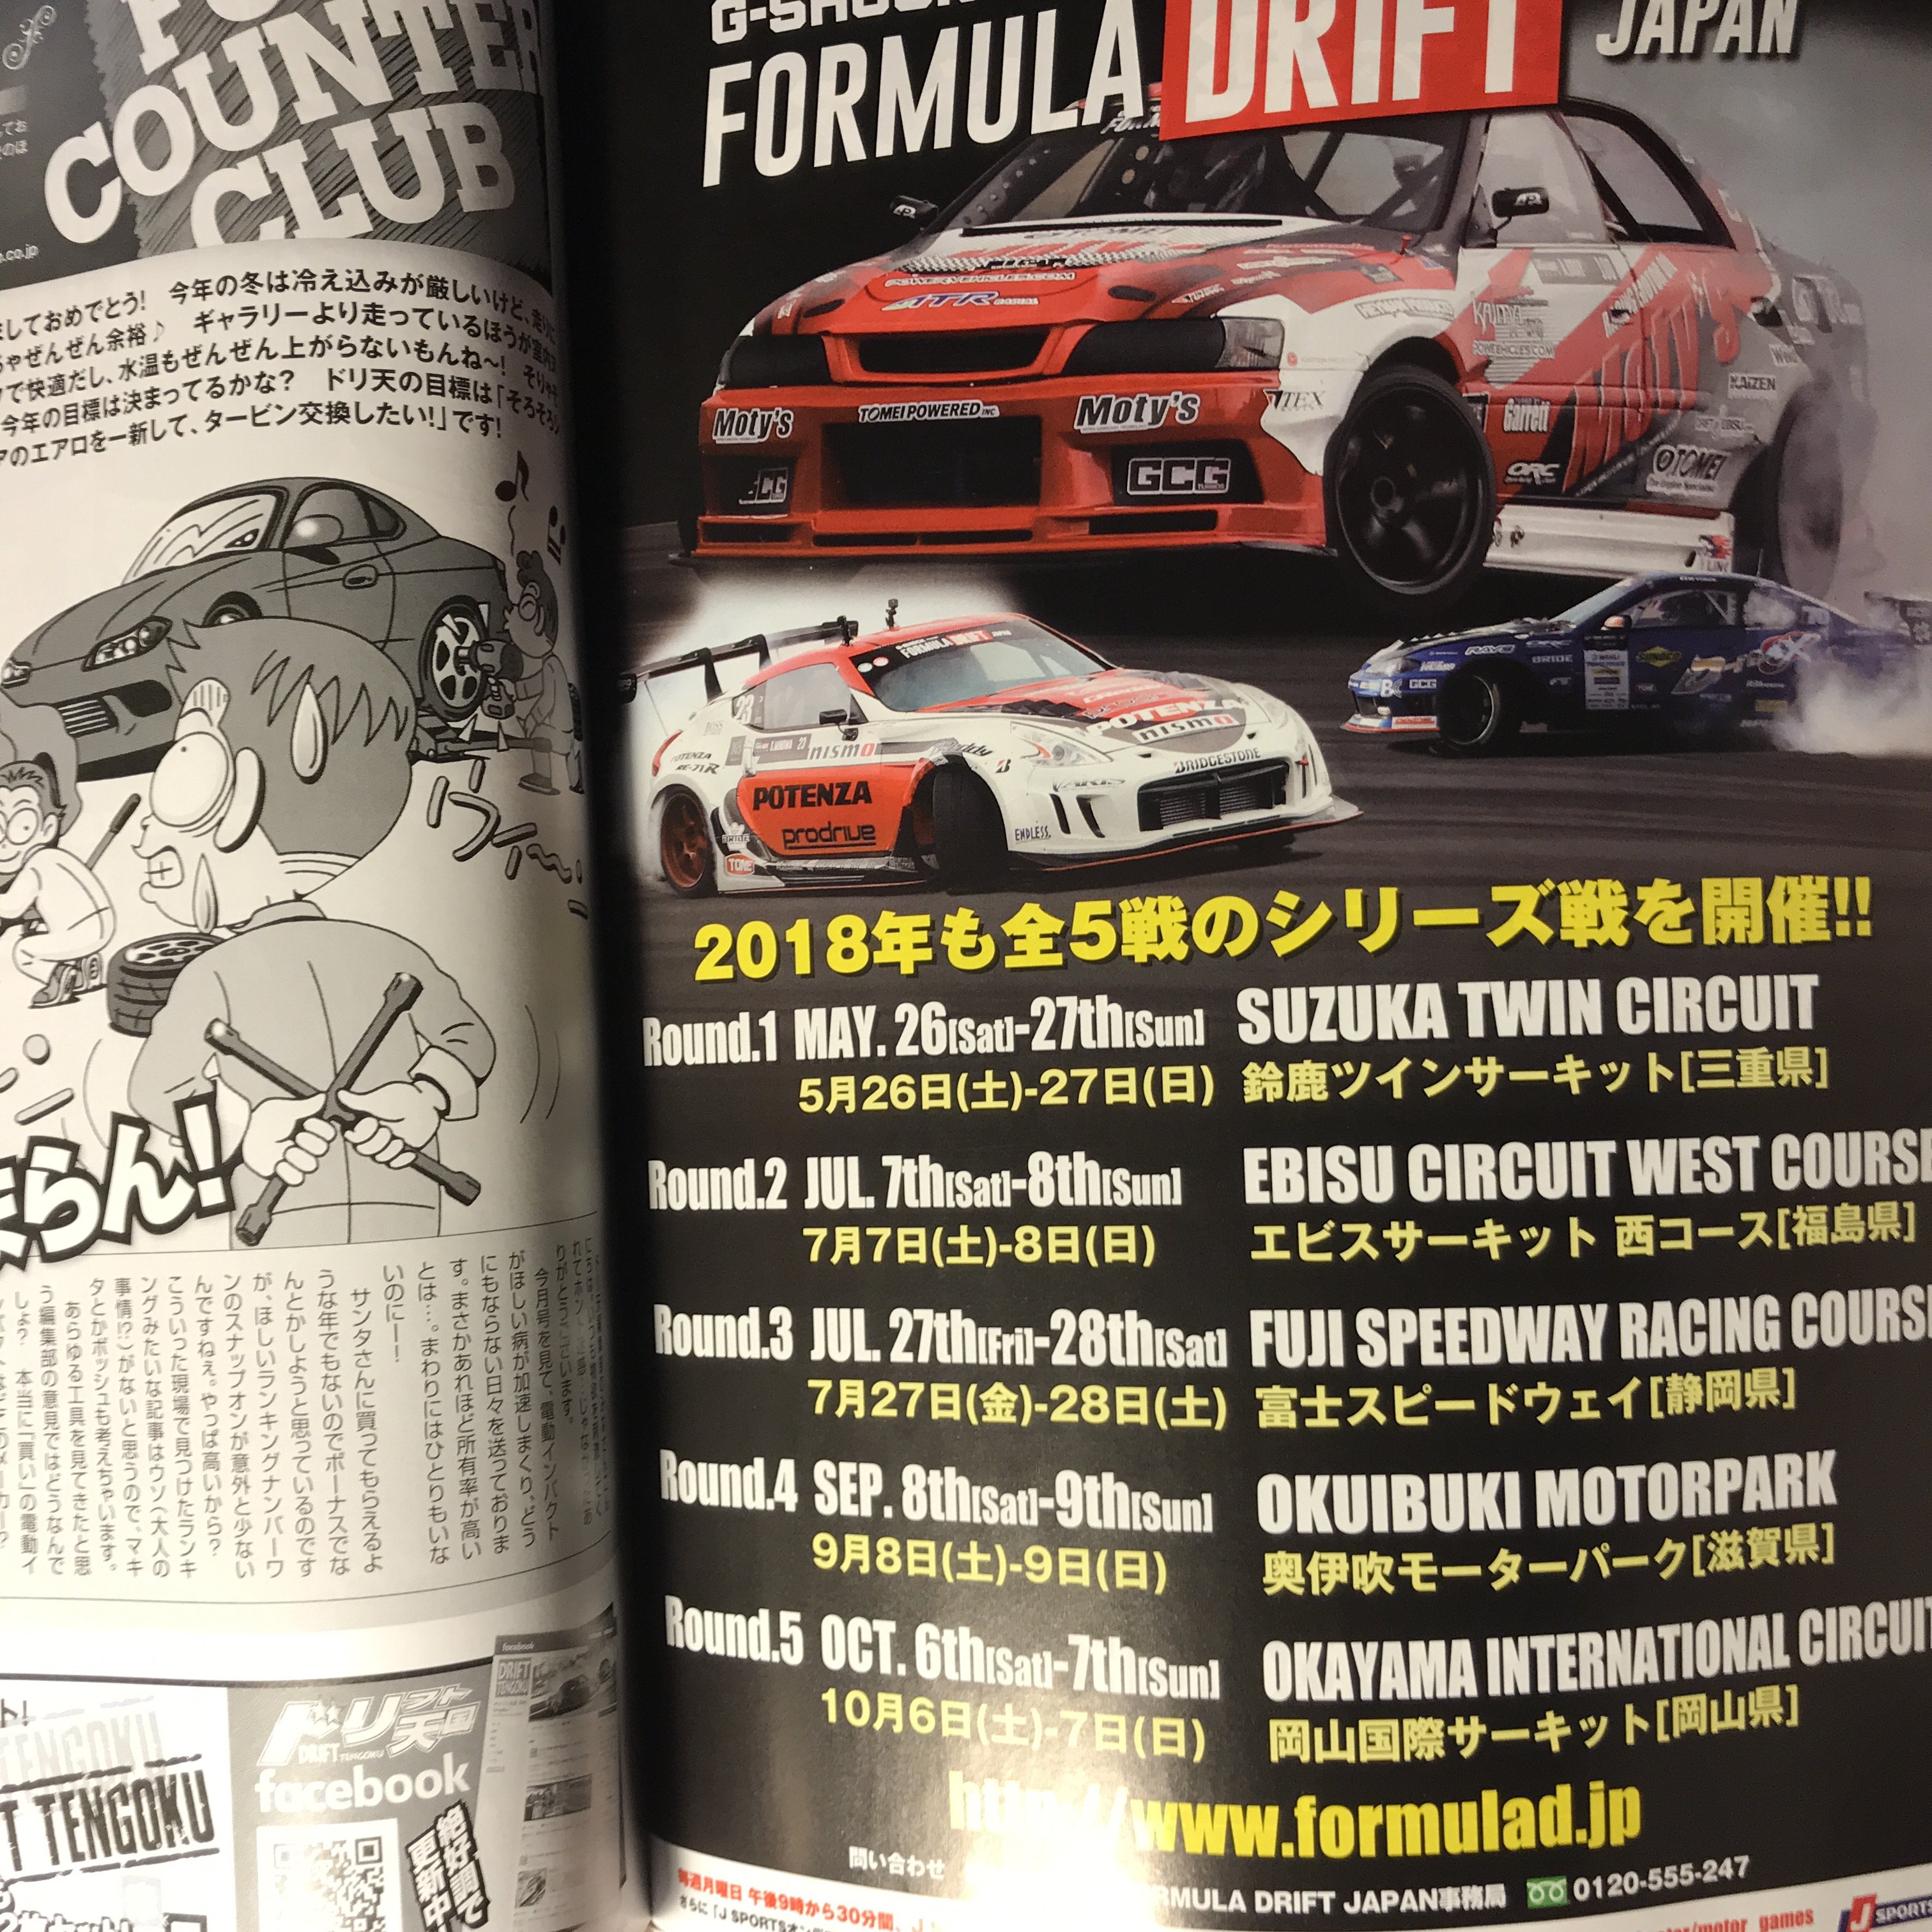
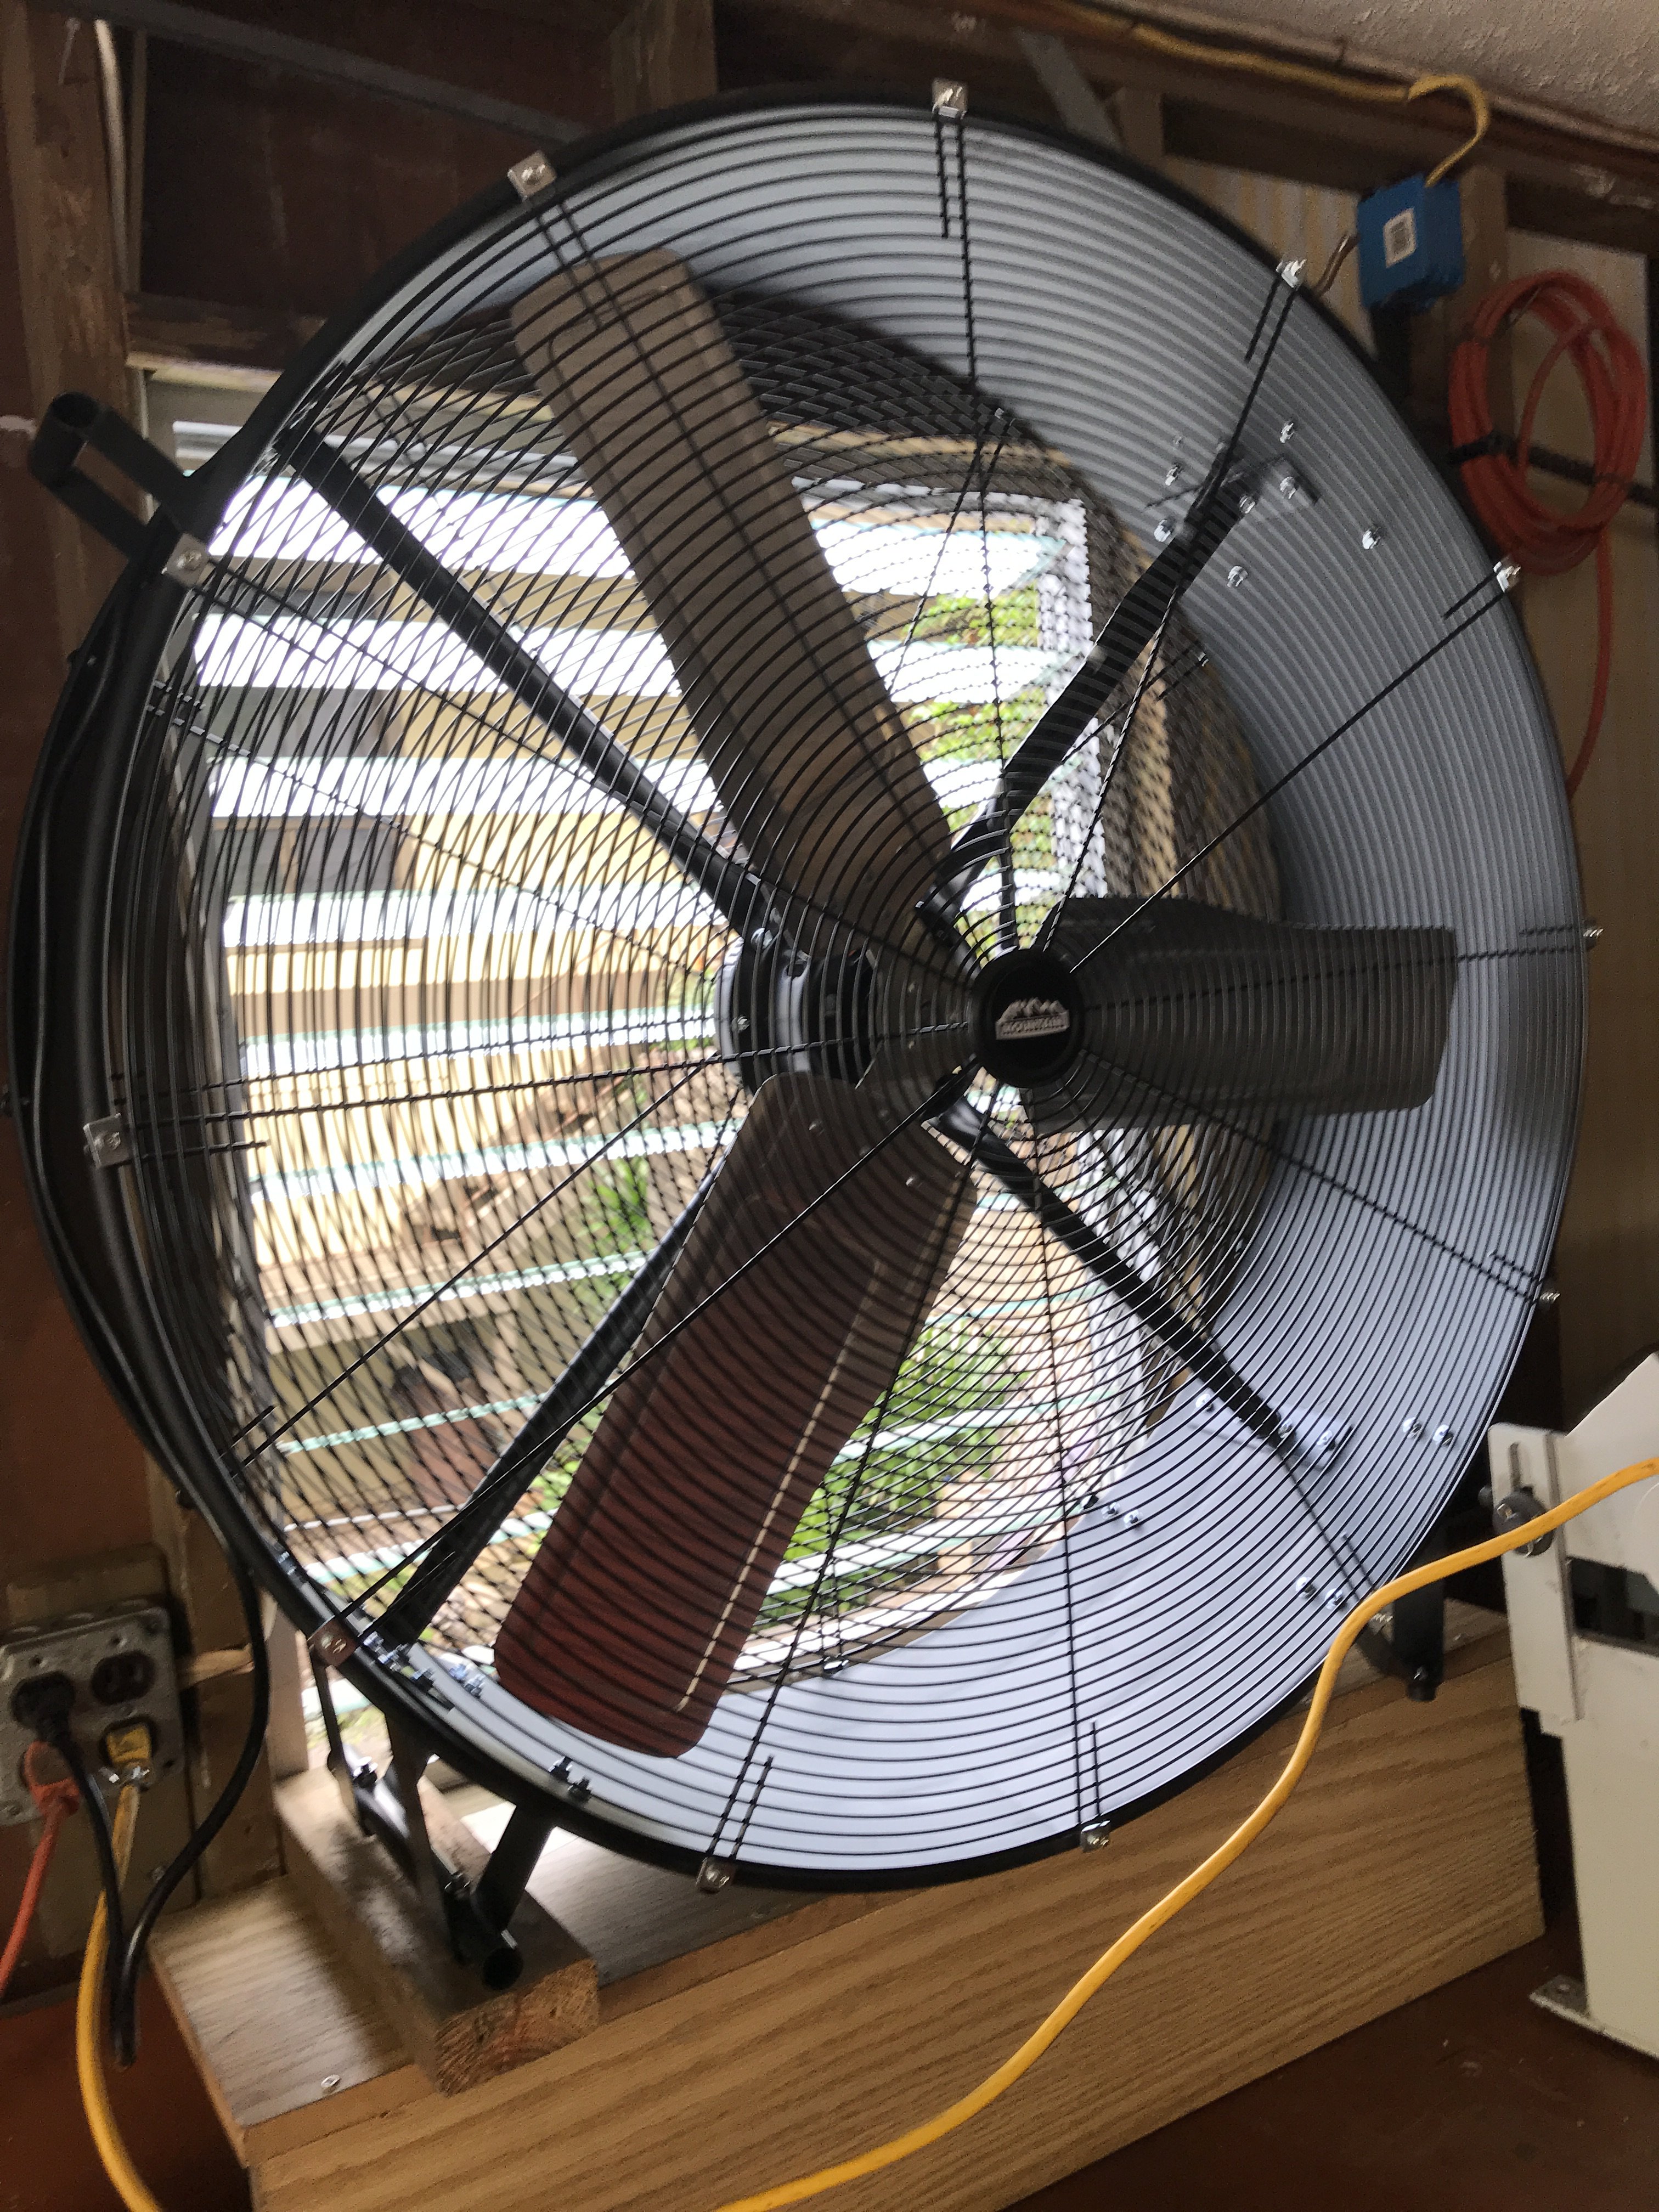
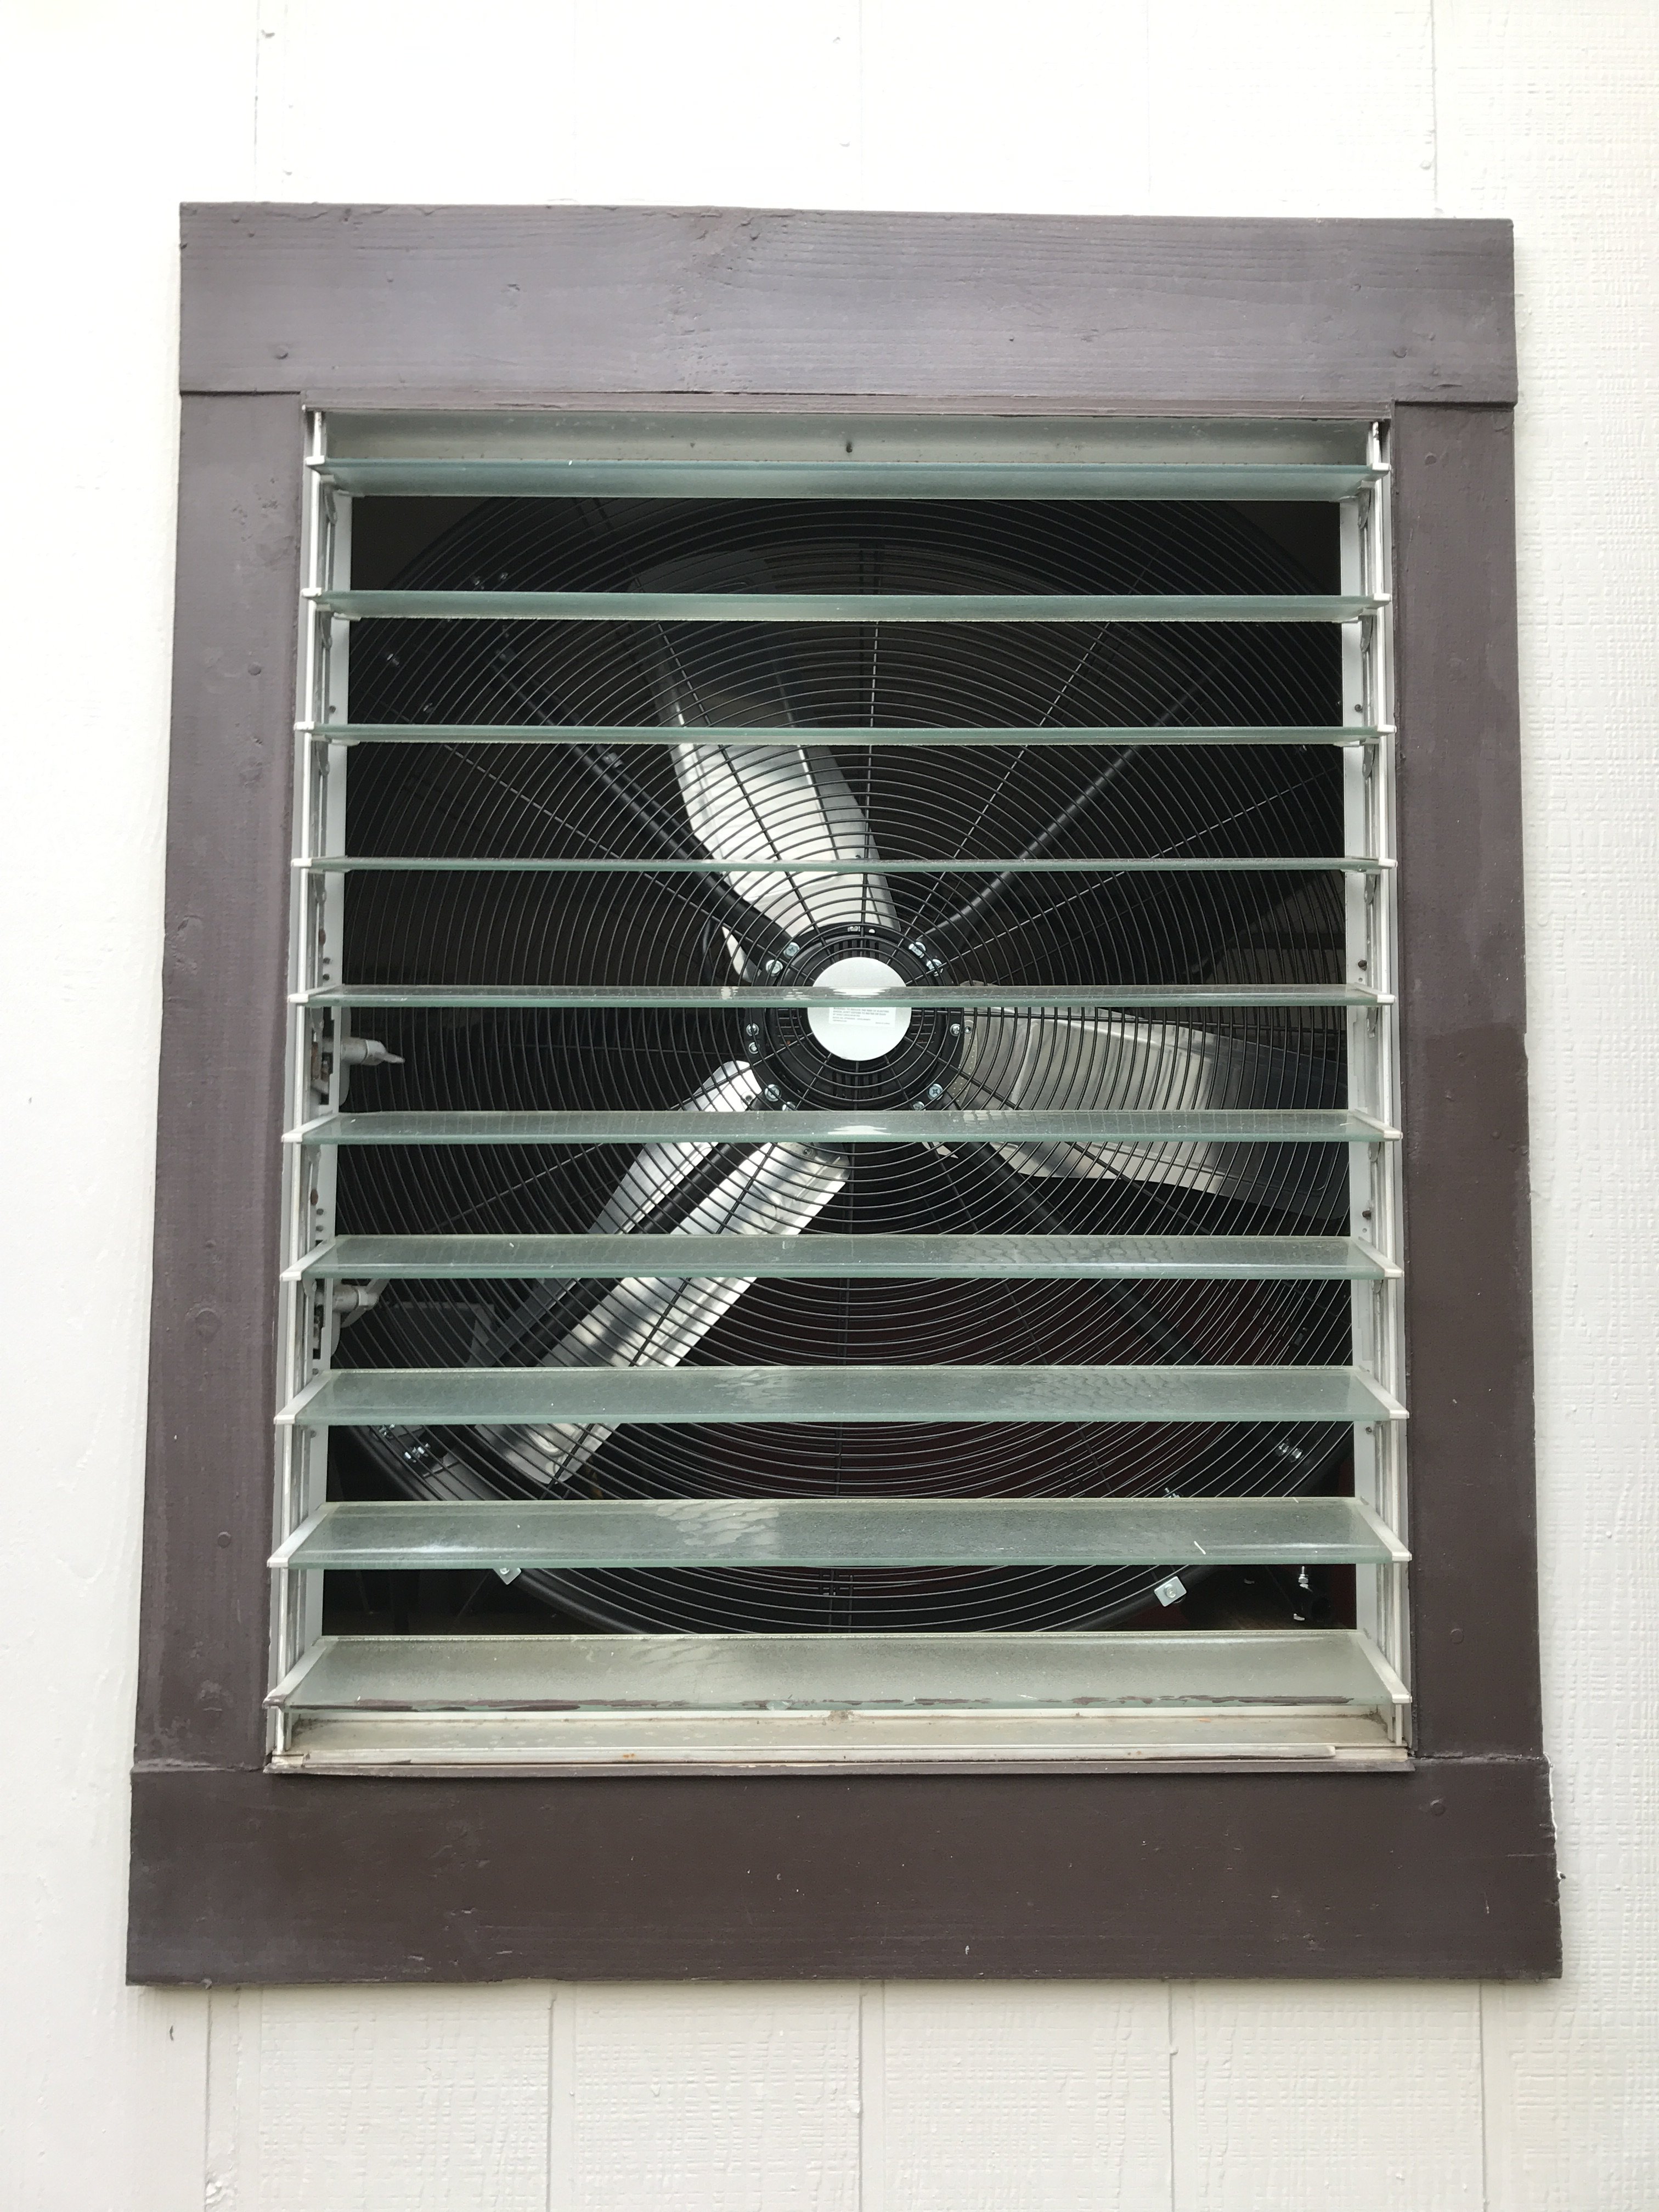
Sorry for not posting in awhile. Had rewire my Honda ATV, paint patio railings and my wife hit a parked car. Then we went to Hokaido Snow festival in Japan. Nismo Festival had all sorts of Nissan car-street to race carsDrifting is very popular in Japan. Probably because it does not require a large race track. Also, the locals can participate in drifting as it is not as costly as road racing and use basically flat and empty parking lot. Now back to the Z project. I decided to make a temporary paint spray booth in my garage. It will be only for epoxy priming for my Z. Not sure how radical that I will go with this booth. Might use 1 1/4" PCV pipe to build the booth frame. It will have intake and exhaust filters and lights probably LED ones. As you can see,it will be a positive pressure booth. The main reason for the booth is to prevent epoxy primer from going on everything in my garage. That stuff is impossible to clean off. My Man Cave is getting more elaborate quickly. inside view of booth fan Outside view of fan with louvers open


.JPG.4224a78c69813b275c1b5f849483a208.JPG)
.JPG.831e84e6e328a866c0f3bd911cf0d5b3.JPG)
.JPG.ee79cb08406e1cabd5e21fa2e379f02b.JPG)

.JPG.f8338ea093088b87b21e1a9619e7fa04.JPG)
.JPG.418c3021c844cef48d0bc3169f7c5ac2.JPG)


.JPG.51352df3e9125b8e19117526f96d4b01.JPG)


.JPG.3b3033cebac5e0d37443b2533eff5045.JPG)


.JPG.fbd6430e2d451e6cf77eeb526bf708b5.JPG)