
toolman
-
Posts
616 -
Joined
-
Last visited
-
Days Won
25
Content Type
Profiles
Forums
Blogs
Events
Gallery
Downloads
Store
Everything posted by toolman
-
From the album: PREMATURE RESTORATION
<br /> -
Using Dry Ice to remove undercoating
toolman replied to toolman's topic in Gen III & IV Chevy V8Z Tech Board
[sharedmedia=videos:videos:301] Another video of the results of using dry ice to remove undercoating. Anybody has a good method of removing the paint on the interior of the car? I was planning to using the 4 1/2 grinder with a wire wheel to do the exposed areas. The confinded area would be sandblasted outdoors. Sunny -
From the album: datsnz
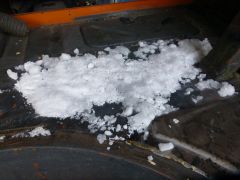
dry ice with alcohol was very effective for undercoating removal. -
datsnz
-
-
Removing undercoating is usually one of most labor intense jobs when restoring a vehicle. So when I heard about using dry ice to remove undercoating, I decided to try it. Dry Ice is usually found at industrial welding stores. The price runs from $2.00 to $3.00 per pound. When using dry ice, gloves and safety glasses worn to prevent frostbite. First, I tried using dry ice right from the package and just laid the block on the undercoating. The undercoating got to 15 degrees but didn't really remove large chunks of undercoating. So I tried the next method- put the dry ice in a 5 gallon plastic bucket and smash it till it resembles snow. Then I poured alcohol-92% (bought from CVS) into the bucket and mixed it till it was mud like. I checked the temperature and it was minus 15 degrees. I packed the mixture on to the undercoating( packing snow). After couple of minutes, undercoating made a cracking sound. The undercoating was so frozen, it cracked. Now all you have to do is to hit the undercoating with a hammer. The undercoating came off in small to large chucks. Inspecting the area shoes that there was hardly any undercoating remaining( came off very cleanly). I worked a small area 12" x12" at a time to get the most of the dry ice-kept moving the ice around slowly. I used about 15 pounds of dry ice and two bottle of alcohol to do the interior floor of the car. Haven't tried this procedure on the undercoating on the bottom of the car yet. Building the rotisserie now. Sunny [sharedmedia=videos:videos:297]
-
From the album: PREMATURE RESTORATION
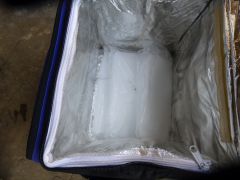
<p><p>Using dry ice to remove underseal is very effective and laborsaving.</p></p> -
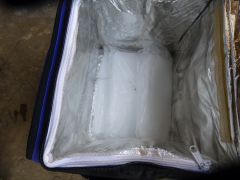 Dry ice can be purchased from industrial welding stores even some food markets have it.
 -
From the album: PREMATURE RESTORATION
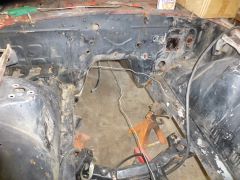
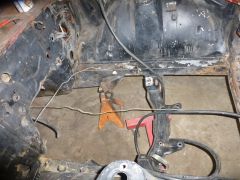
finished out engine compartment-all wiring,hoses and brake lines -
From the album: PREMATURE RESTORATION
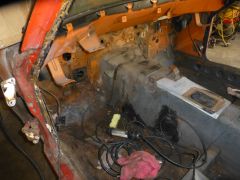
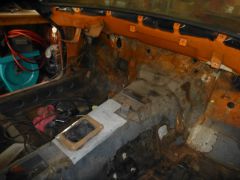
<p>stripped out passenger compartment-seats, dash board, heater blower, AC evaporator and wiring harness</p> -
From the album: PREMATURE RESTORATION
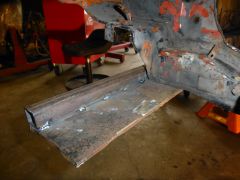
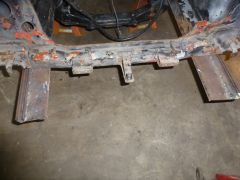
close up view of rotisserie brackets -
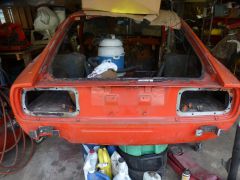
From the album: PREMATURE RESTORATION
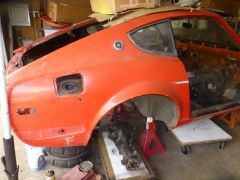
stripped out rear of car-interior panels,carpet,taillight assemblies,fuelntank and wiring harness -
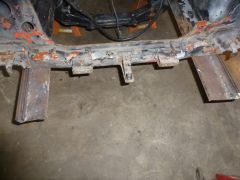
From the album: PREMATURE RESTORATION
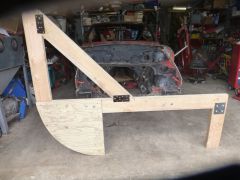
mounts for rotisserie -made of 3/16" mild flat steel and 1" x 1/8" square tubing -
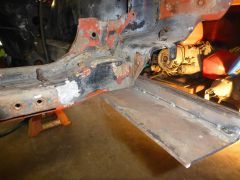
From the album: PREMATURE RESTORATION
<br /> -
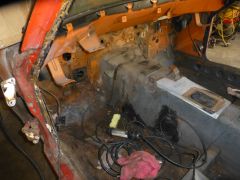
From the album: PREMATURE RESTORATION
-
From the album: PREMATURE RESTORATION
-
From the album: PREMATURE RESTORATION
<p><br /></p> -
From the album: PREMATURE RESTORATION
<br /> -
From the album: PREMATURE RESTORATION
Constructed two mounting brackets for mounting the rotisserie on front end. -
From the album: PREMATURE RESTORATION
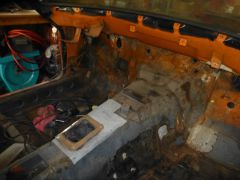
Removed dashboard from car. As dash was cracked badly not sure to put a full dash cover on or build a complete new dash out of metal. -
Overall the body is not too bad and repairable. On the right side rocker panel might have be replaced on further inspection. I might even cut the firewall and move it back 4" to 5" for better weight distribution. Also might install square tubing into the frame rails and extend the rails to the rear cross member. Checking out Hoke and other mount guys. I wanted to try out a new method of repairing my cracked dashboard but it was too far gone, Anybody make replacements? Sunny
-
hatch hinge-no rust right lower hatch rust but repairable left lower hatch-rust but repairable right side floor board and sub frame-rust but repairable hatch hinges-no rust right lower inner ender-rust but repairable right side seat-repairable but might repace
-
More pics Made part shelve to store the parts during the build as I have only a two car garage. The shelve is made of 3/4" plywood 48" X 43" supported by 2" X 4" boards anchor bolted to cement wall. Top shelve will hold hood, fenders, doors, hatch, and etc. Below the shelve the front and rear suspension parts will go.
-
window cowling-no rust left lower door post-rust but repairable engine compartment right side lower inner front fender-rust but repairable cowling panel-no rust left lower hatch panel-rust but repairable
-
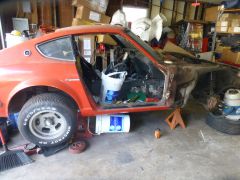
Starting to strip down the car to check how the corrosion is. Sunny
-
From the album: PREMATURE RESTORATION
Stripping the vehicle in proess