
nullbound
-
Posts
1184 -
Joined
-
Last visited
-
Days Won
4
Content Type
Profiles
Forums
Blogs
Events
Gallery
Downloads
Store
Posts posted by nullbound
-
-
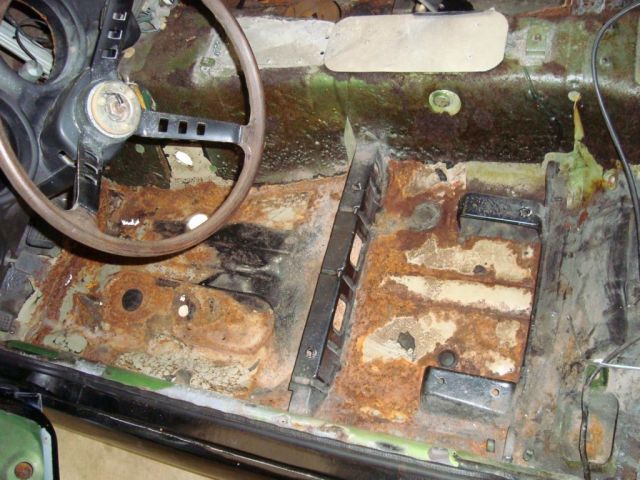
I haven't really been able to do much on this project since finding the following:

The driver side isn't really that bad, but there were a few spots where the floors were pretty thin, especially in the area where my jtr transmission crossmember needs to bolt to the floor.
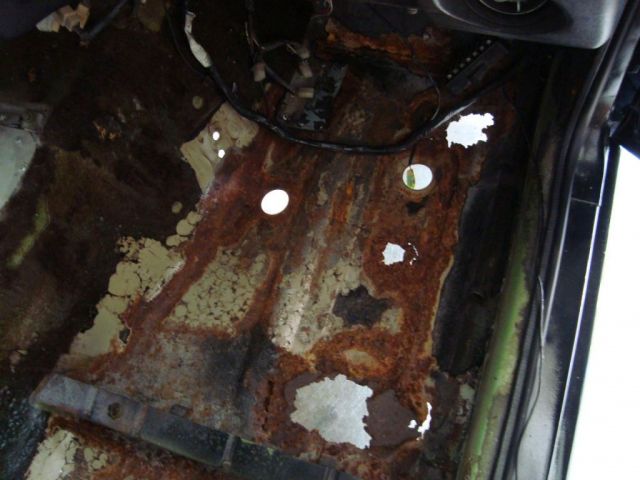
This was the bad side:
I kind of wish I had found this before I had the car repainted, but oh well. I must point out that it didn't start out looking like this. A previous owner had covered most of the floor pans with fiberglass. It was a pain to get off, but I want my transmission to be mounted safely when the jtr bracket gets bolted to the floor.
So, zedd pans and bad dog rails are going in. It took me a while to find someone locally I trust to do it right. I know some welders locally, but I wanted someone who has actually replaced floor pans before. We talked to the guy who is doing my transmission. He's done floor pans a number of times and has done great work. And, thankfully, he had a slot open at his shop to do my floors today.
My transmission rebuild is still pending, but there hasn't really been a rush for that due to the floor situation. I do, however, have a full manual valve body and billet servo on order.
Also, I sold my weld wheels. My 260 was looking way too much like my 240, so they had to go. More on that later.
-
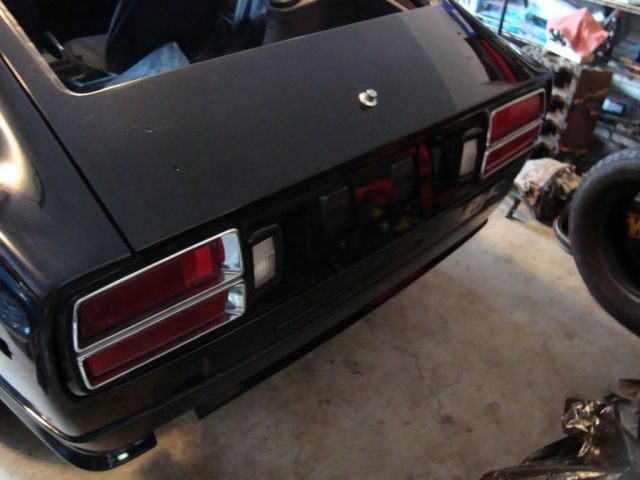
i know this is an old build thread and idk if you're still working on the goon, but the emblem holes are where there used to be a "nissan automatic" emblem. can't find a picture of it right now though...
I've been daily-driving the wagon, so haven't been able to work on it lately. Thanks for the info. I ran across a pic of that emblem a while back, but haven't been able to find one for sale.
-
The only piece I've seen sold is MSA's pricey Lower Rear Repair Panel (which apparently they don't have right now anyway): http://www.thezstore.com/page/TZS/PROD/30-7240
I agree with cockerstar... find a donor car.
-
If that's a ferrari, then it's time I put my ferrari collection on ebay.
-
Awesome pics... thanks for sharing!
-
I knew I wasn't the only one who wanted chrome slacks.
-
Wow, that looks great.
-
haha, awesome
-
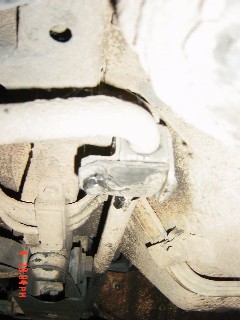
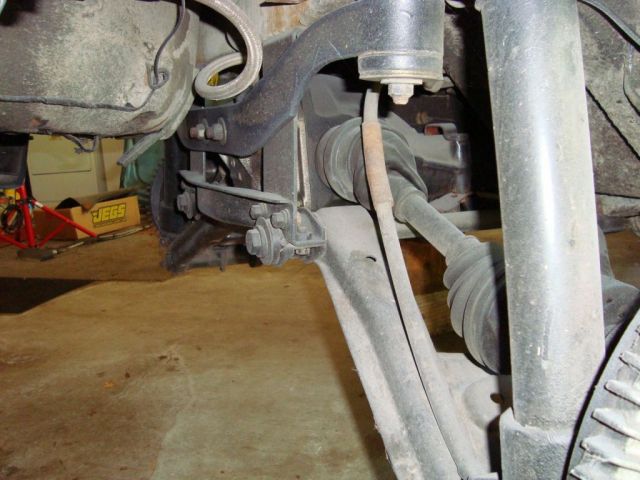
You've got it right in the pics, though that looks like the 280 bar. It just needs to be above your exhaust and closer to the diff like Jon said. I'm not sure what year your car is, but I believe there were brackets from the factory from '73 up. They look like this, but are in slightly different positions depending on the year:
'78 280:
'73 240:
The above pics were both taken from the passenger side. You can see how the brackets face different directions and how the 280 one sits farther forward and slightly higher.
If you're making your own brackets, you should be able to make it work fine.
BTW, I have that same bar on my 280, though not in lime green:
-
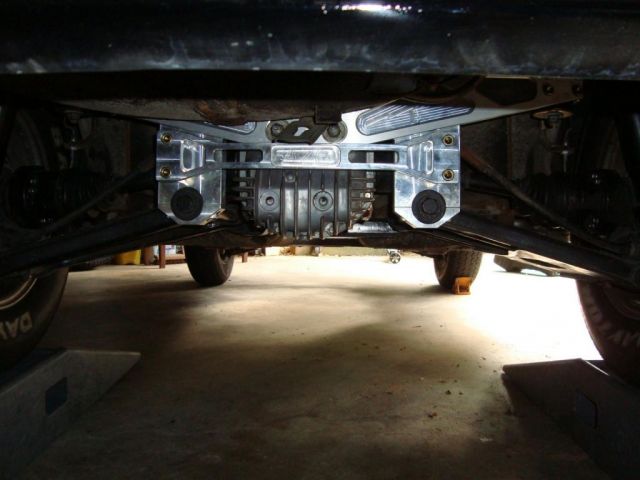
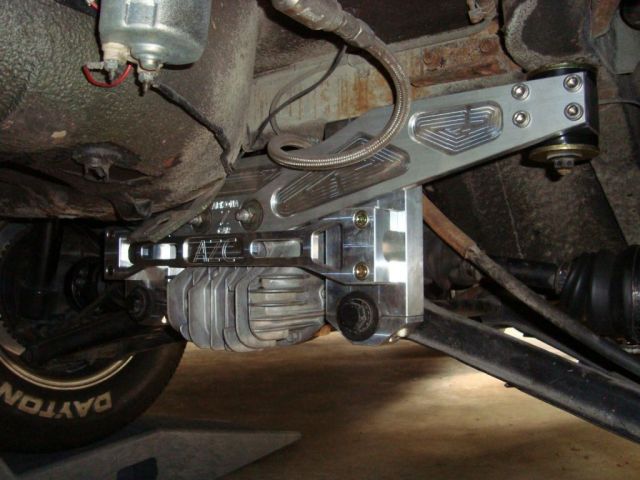
Got my lsd installed, along with AZC components and RT mount. I thought this would go quicker than it did, but hit a few snags here and there. Since this car is a 260, I had the annoying exhaust hanger to deal with before I could put in the RT mount. I also had a little trouble getting the 280zxt CV joints out of the old diff. Everything came together fine, though I wish I had a little more time to clean and undercoat the rear of the car.
AZC parts:
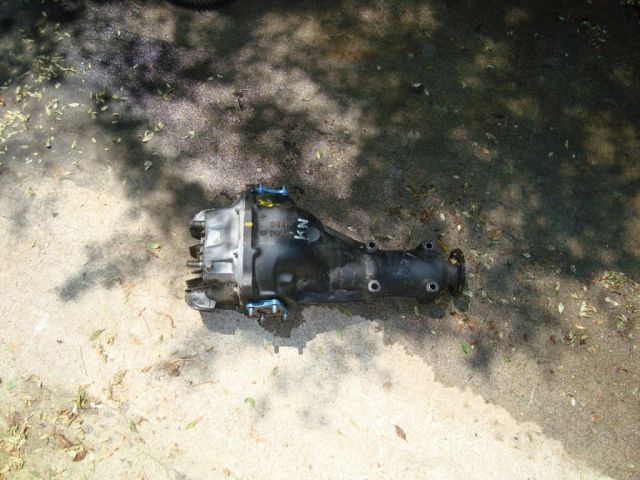
Z31 LSD (looked quite clean to start with, but once I started scrubbing, there was a good bit of junk caked on):
RT mount (glad I had 2.. 1 fit a little better than the other in this car)
Before:
After:
-
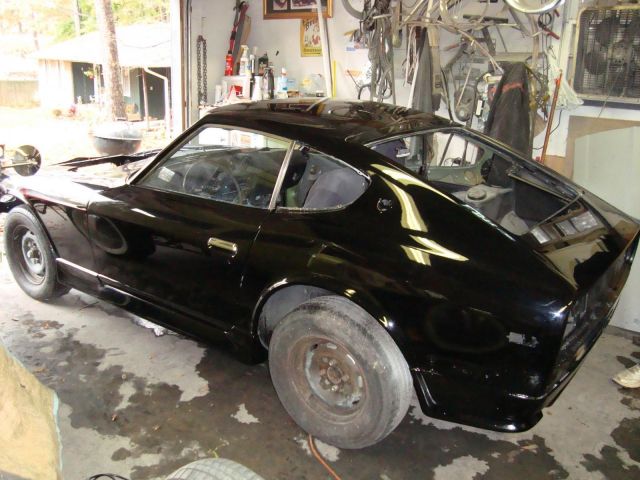
It's been a while since I've been able to work on this car. Not much to report, but here goes.
I got my tail lights reassembled and put back on the car:
I also got the motor cleaned up, repainted, new cam installed, and mostly back together:
The windshield and rear hatch glass went back in today with new seals from Nissan. That was not the most fun I've had. My fingers tips are a bit numb from messing around with that metal trim. At least I know a good way to do it now. I'll be doing it again later this year with the 280.
Next weekend, I'll put in the r200 lsd, after cleaning it up and putting in my ron tyler diff mount. Also, still waiting on my 200-4r to come back from being rebuilt/upgraded.
-
Looks good! What kind of cooling fan are you using? It looks to fit really well with the radiator.
-
It's been a long time since I have been on here. Does anyone know who if anyone sells a 3"-5" cowl hood for a 240Z? I am having clearance issues trying to fit a Super Victor intake under the 2" cowl hood I am currently using.
Thanks,
Mike
Beta Motorsports sells a 4" cowl hood. Check here: http://www.betamotorsports.com/products/products.php?cat=4
-
As far as I know those only work with the engine in the MSA position and possibly the Scarab position. They will not work with the JTR kit in the set back position.
On that note, rsicard, what position is your engine in?
Those are s&s headers. They work with jtr, but hang pretty low.
-
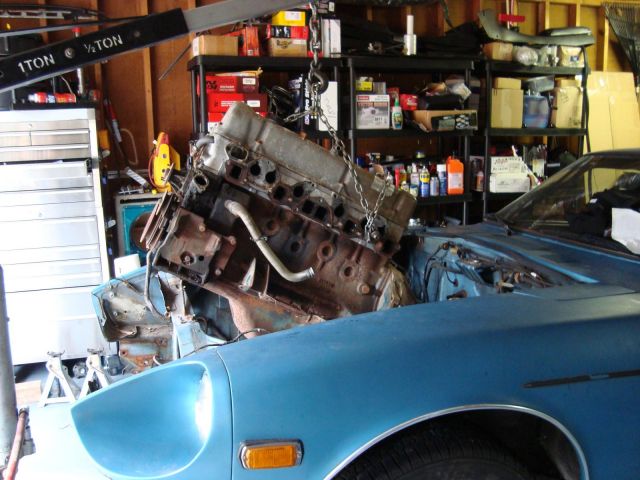
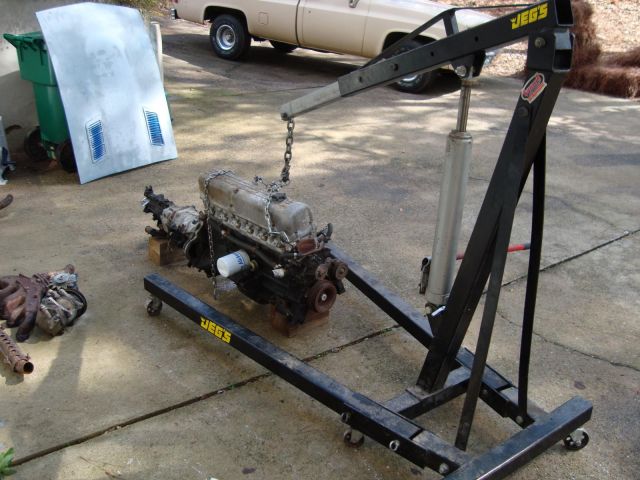
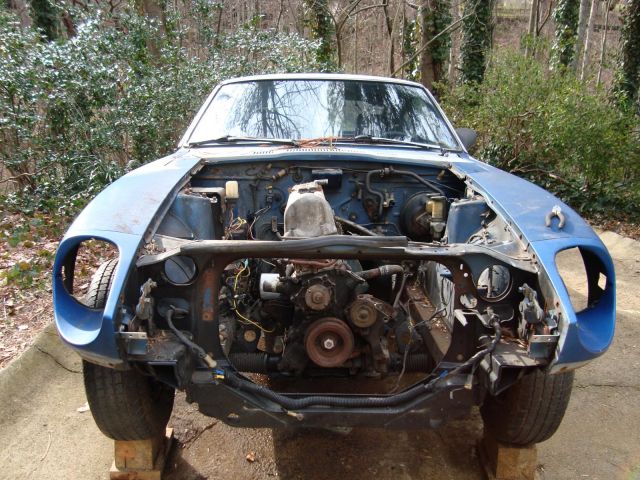
My friend Paul came over with his cherry-picker today and we got the engines swapped around.
We first pulled the motor and transmission from the '76:
Lots to clean up here. Before it goes to paint, I'll be removing brackets and whatnot that I won't need. I'm going to try to hide the wiring as much as possible when this thing goes back together.
'76 motor out set to the side:
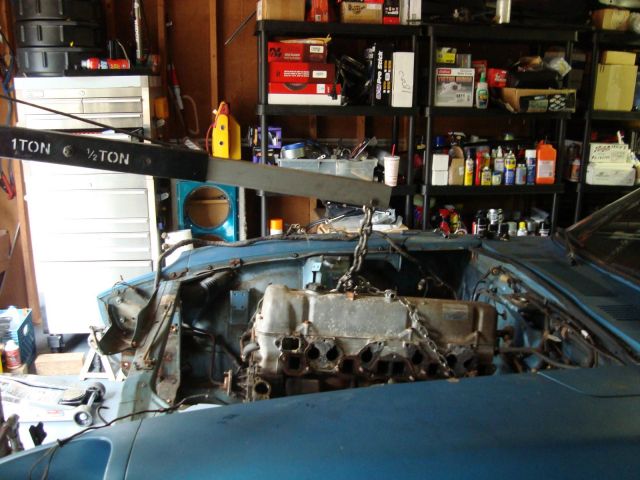
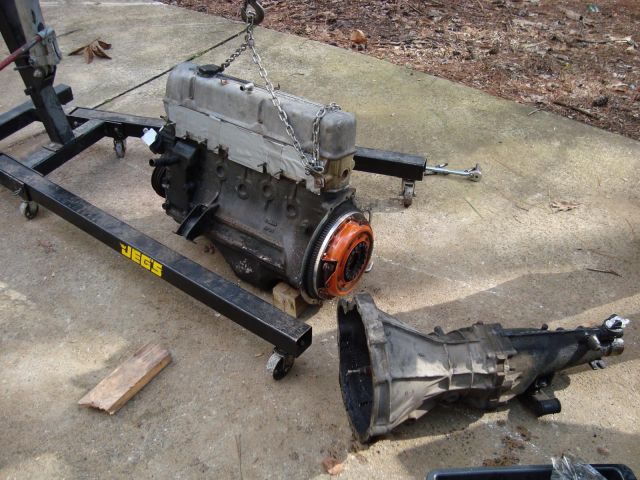
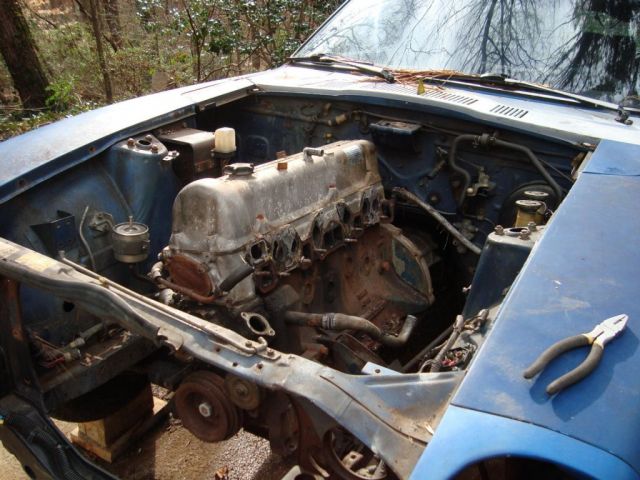
Then we pulled the engine and transmission from the '78 and separated them:
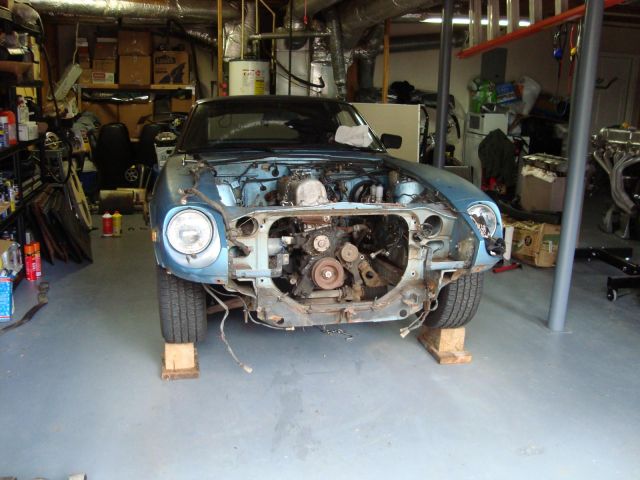
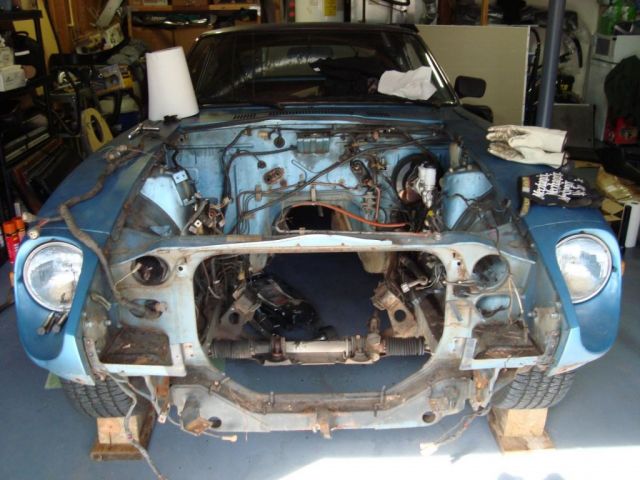
Engine-less '78, but not for long:
Finally, we put the '76 motor in the '78:
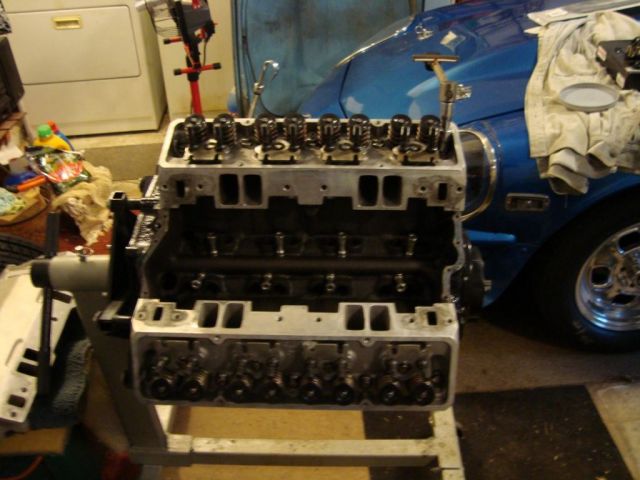
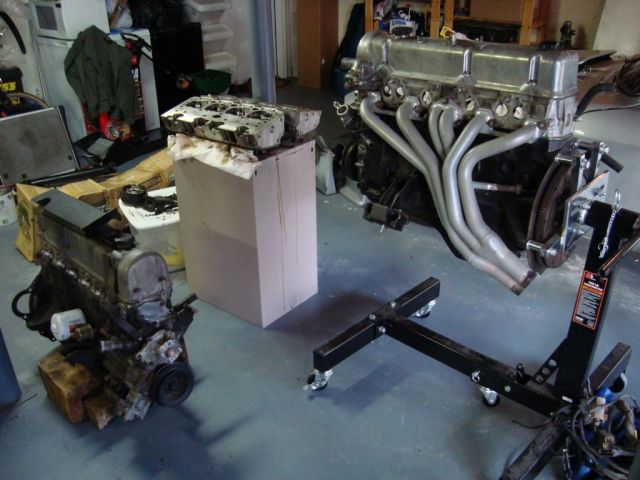
'78 motor sitting on wooden blocks in the garage:
The motor on the stand is what will eventually go back into the '76 car. Both are n42 block/head, but the one on the stand only has less than 100k miles, with no rebuilds. The hood is now back on the '78 and it's ready to go down the road. Hopefully, it will be out of here next weekend. I'm sure my neighbors will be sad to see it gone, though.
Also in the above pic, my Canfield 195's are on top of an old filing cabinet, getting cleaned up for my 260z.
-
Yesterday, I replaced my ratty interior door handles with some replacements I got off of ebay.
Before:
After:
The new ones are so much better. The old ones felt like they were going to break at any time. These feel way more solid.
-
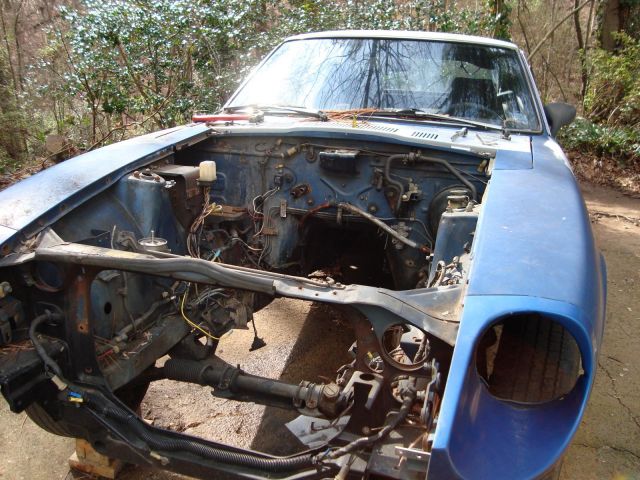
Last weekend, I got almost all the rest of the parts off the '78 280 that I want to keep. The only things left are the ECU, FI wiring harness, engine and transmission, which I'll remove tomorrow.
I'll also pull the engine and four speed out of the '76 car, but they'll go right into the '78 car.
This is the motor from the '78 car.
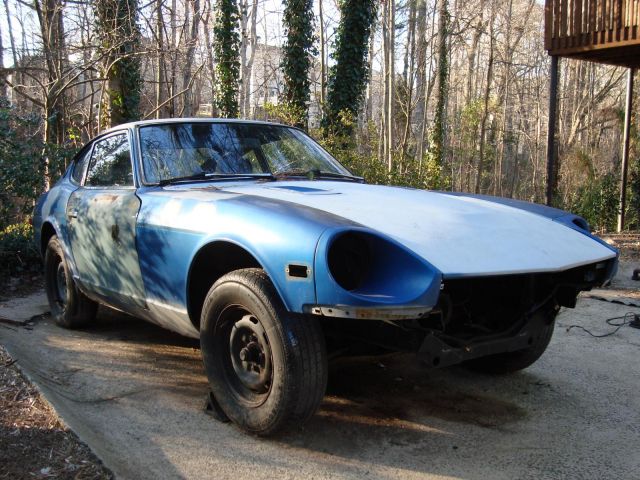
And a few shots of the stripped '78:
Some of the keepers:
-
Do a search for s&s headers. They hang low, though, as mentioned by jay.
-
looks like it has a bigger front splitter/lip than the MSA type 1 ducted...
Kaminari.
-
I'm a company computer interweb guy and thought I was doing it the right way
Is there a different way that you recommend for future posts?
Also, I would edit my existing posts to update the pic URLs, but don't see the option to do that...?
Appreciate all that you've done here. I know these sorts of upgrades always have surprises.
Thanks,
Ryan
-
I noticed the same in my build threads. Pic urls are currently in the threads like:
http://album.hybridz.org/data/500/medium/DSC02392.JPG
But, they should be like this instead:
http://forums.hybridz.org/uploads/500/med_DSC01395.JPG
Or, this for full size:
http://forums.hybridz.org/uploads/500/DSC01395.JPG
Thanks,
Ryan
-
I'm also getting this on IE8.
-
I've used suspension techniques springs and tokico catridges in most of my builds. I have friends that have used the tokico springs (including deja above) on their v8 with good results.
-
Yes, I followed the manual. I don't think it matters, but I went with what they described. My S&S headers barely touched the spacer on the driver's side, but I added some clearance on the spacer with my dremel. I'm doing my 260 install the same way.


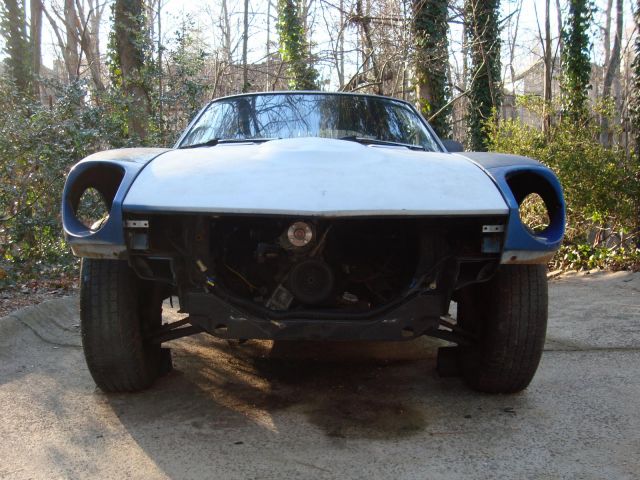


74 260Z Resurrection
in S30 Series - 240z, 260z, 280z
Posted
Thanks for that. I've been a bit discouraged with this build lately, especially given how it started out as what I thought would be a pretty quick turnaround. I'd like to have been a little better with my pics and details so far, but I usually am more focused on getting the work done. There are more pics in the picasa album in my signature than I've posted here, thought, if that helps.
Good luck with your 260 and hope my thread and pics help. I also hope your rust situation isn't like mine.