strokerzedd
-
Posts
76 -
Joined
-
Last visited
Content Type
Profiles
Forums
Blogs
Events
Gallery
Downloads
Store
Everything posted by strokerzedd
-
I haven’t checked this site in years and just thought I’d update this build initiated over 10 years ago!
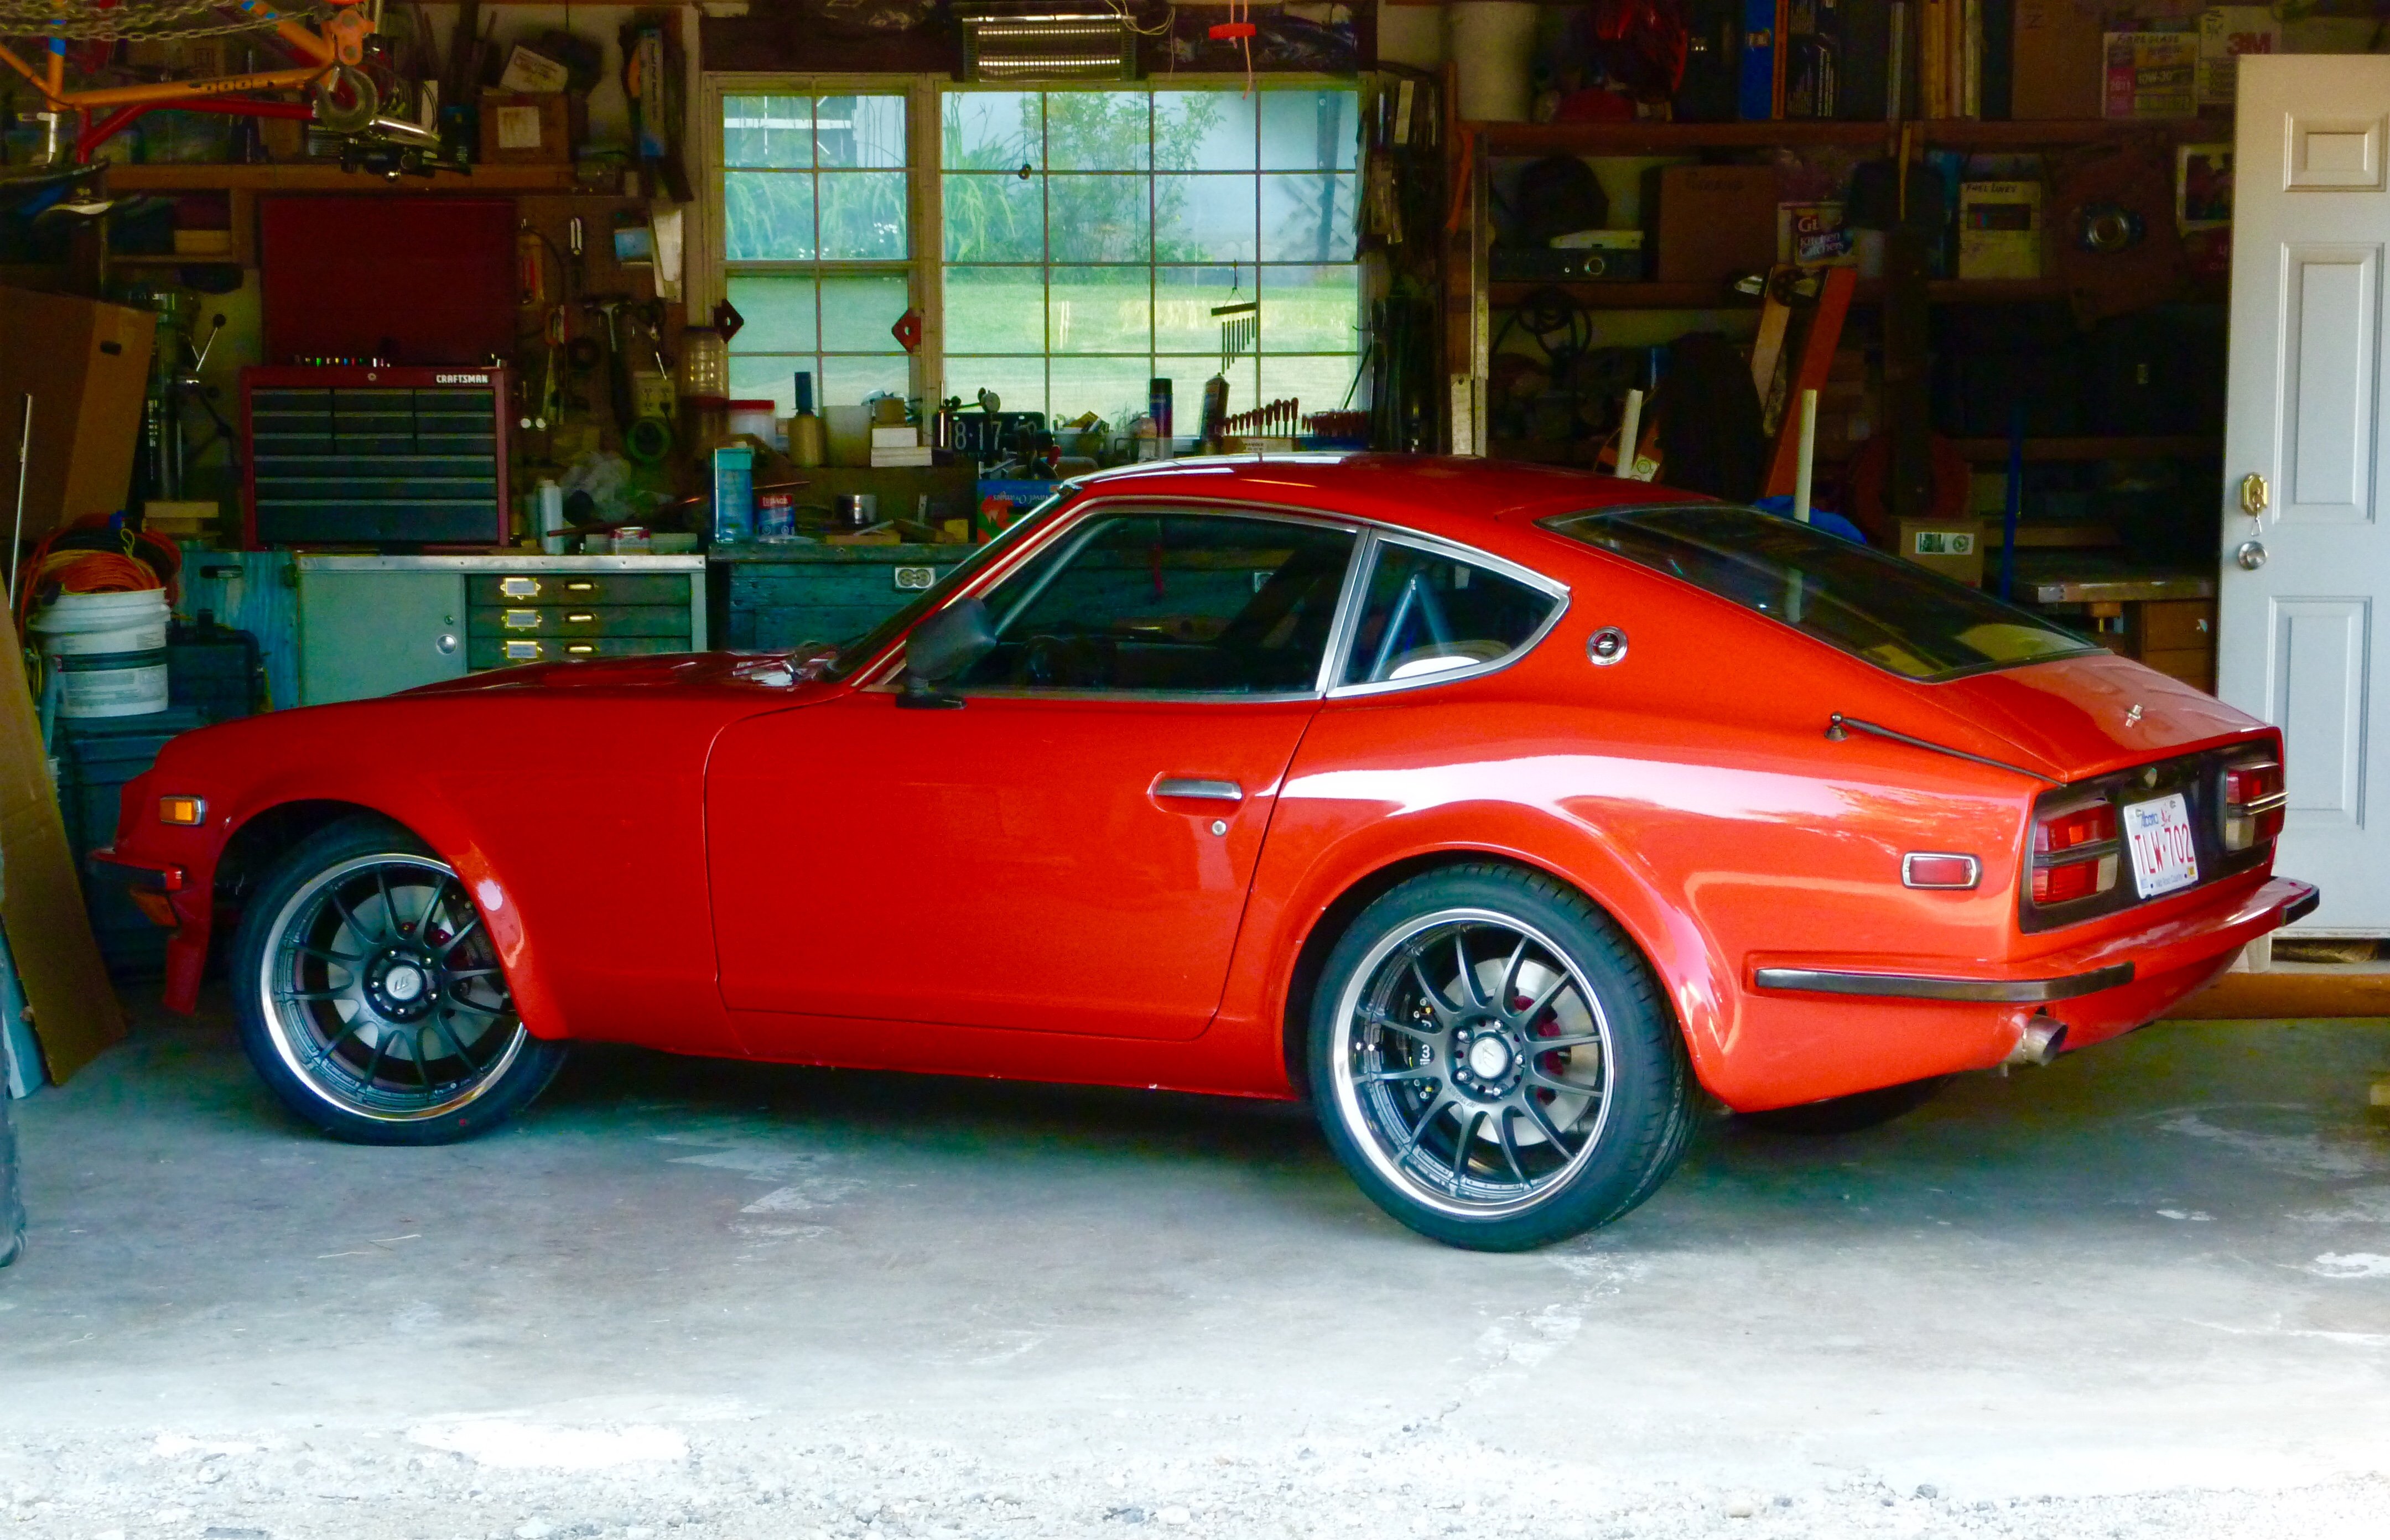
I’ve owned the car since 1975, and continually updated it culminating in an amazing 3.1 litre L28 conversion that was the best sounding motor I’ve ever heard. I started this RB26 conversion ten years ago, had to build so may pieces and convert everything, business and life got in the way but it will hit the road this spring. Ironically, 3 years ago tuning it on a Dyno and on one run while decelerating from an 8500rpm run it spun a bearing and I had to rebuild it after 100 miles! Turns out that having a very difficult time getting the car running due to wiring, change to throttle body intake and other issues, the oil pan had accumulated a lot of unburnt gasoline that doesn’t lubricate bearings very well! Damn. Surprised the — out of me!
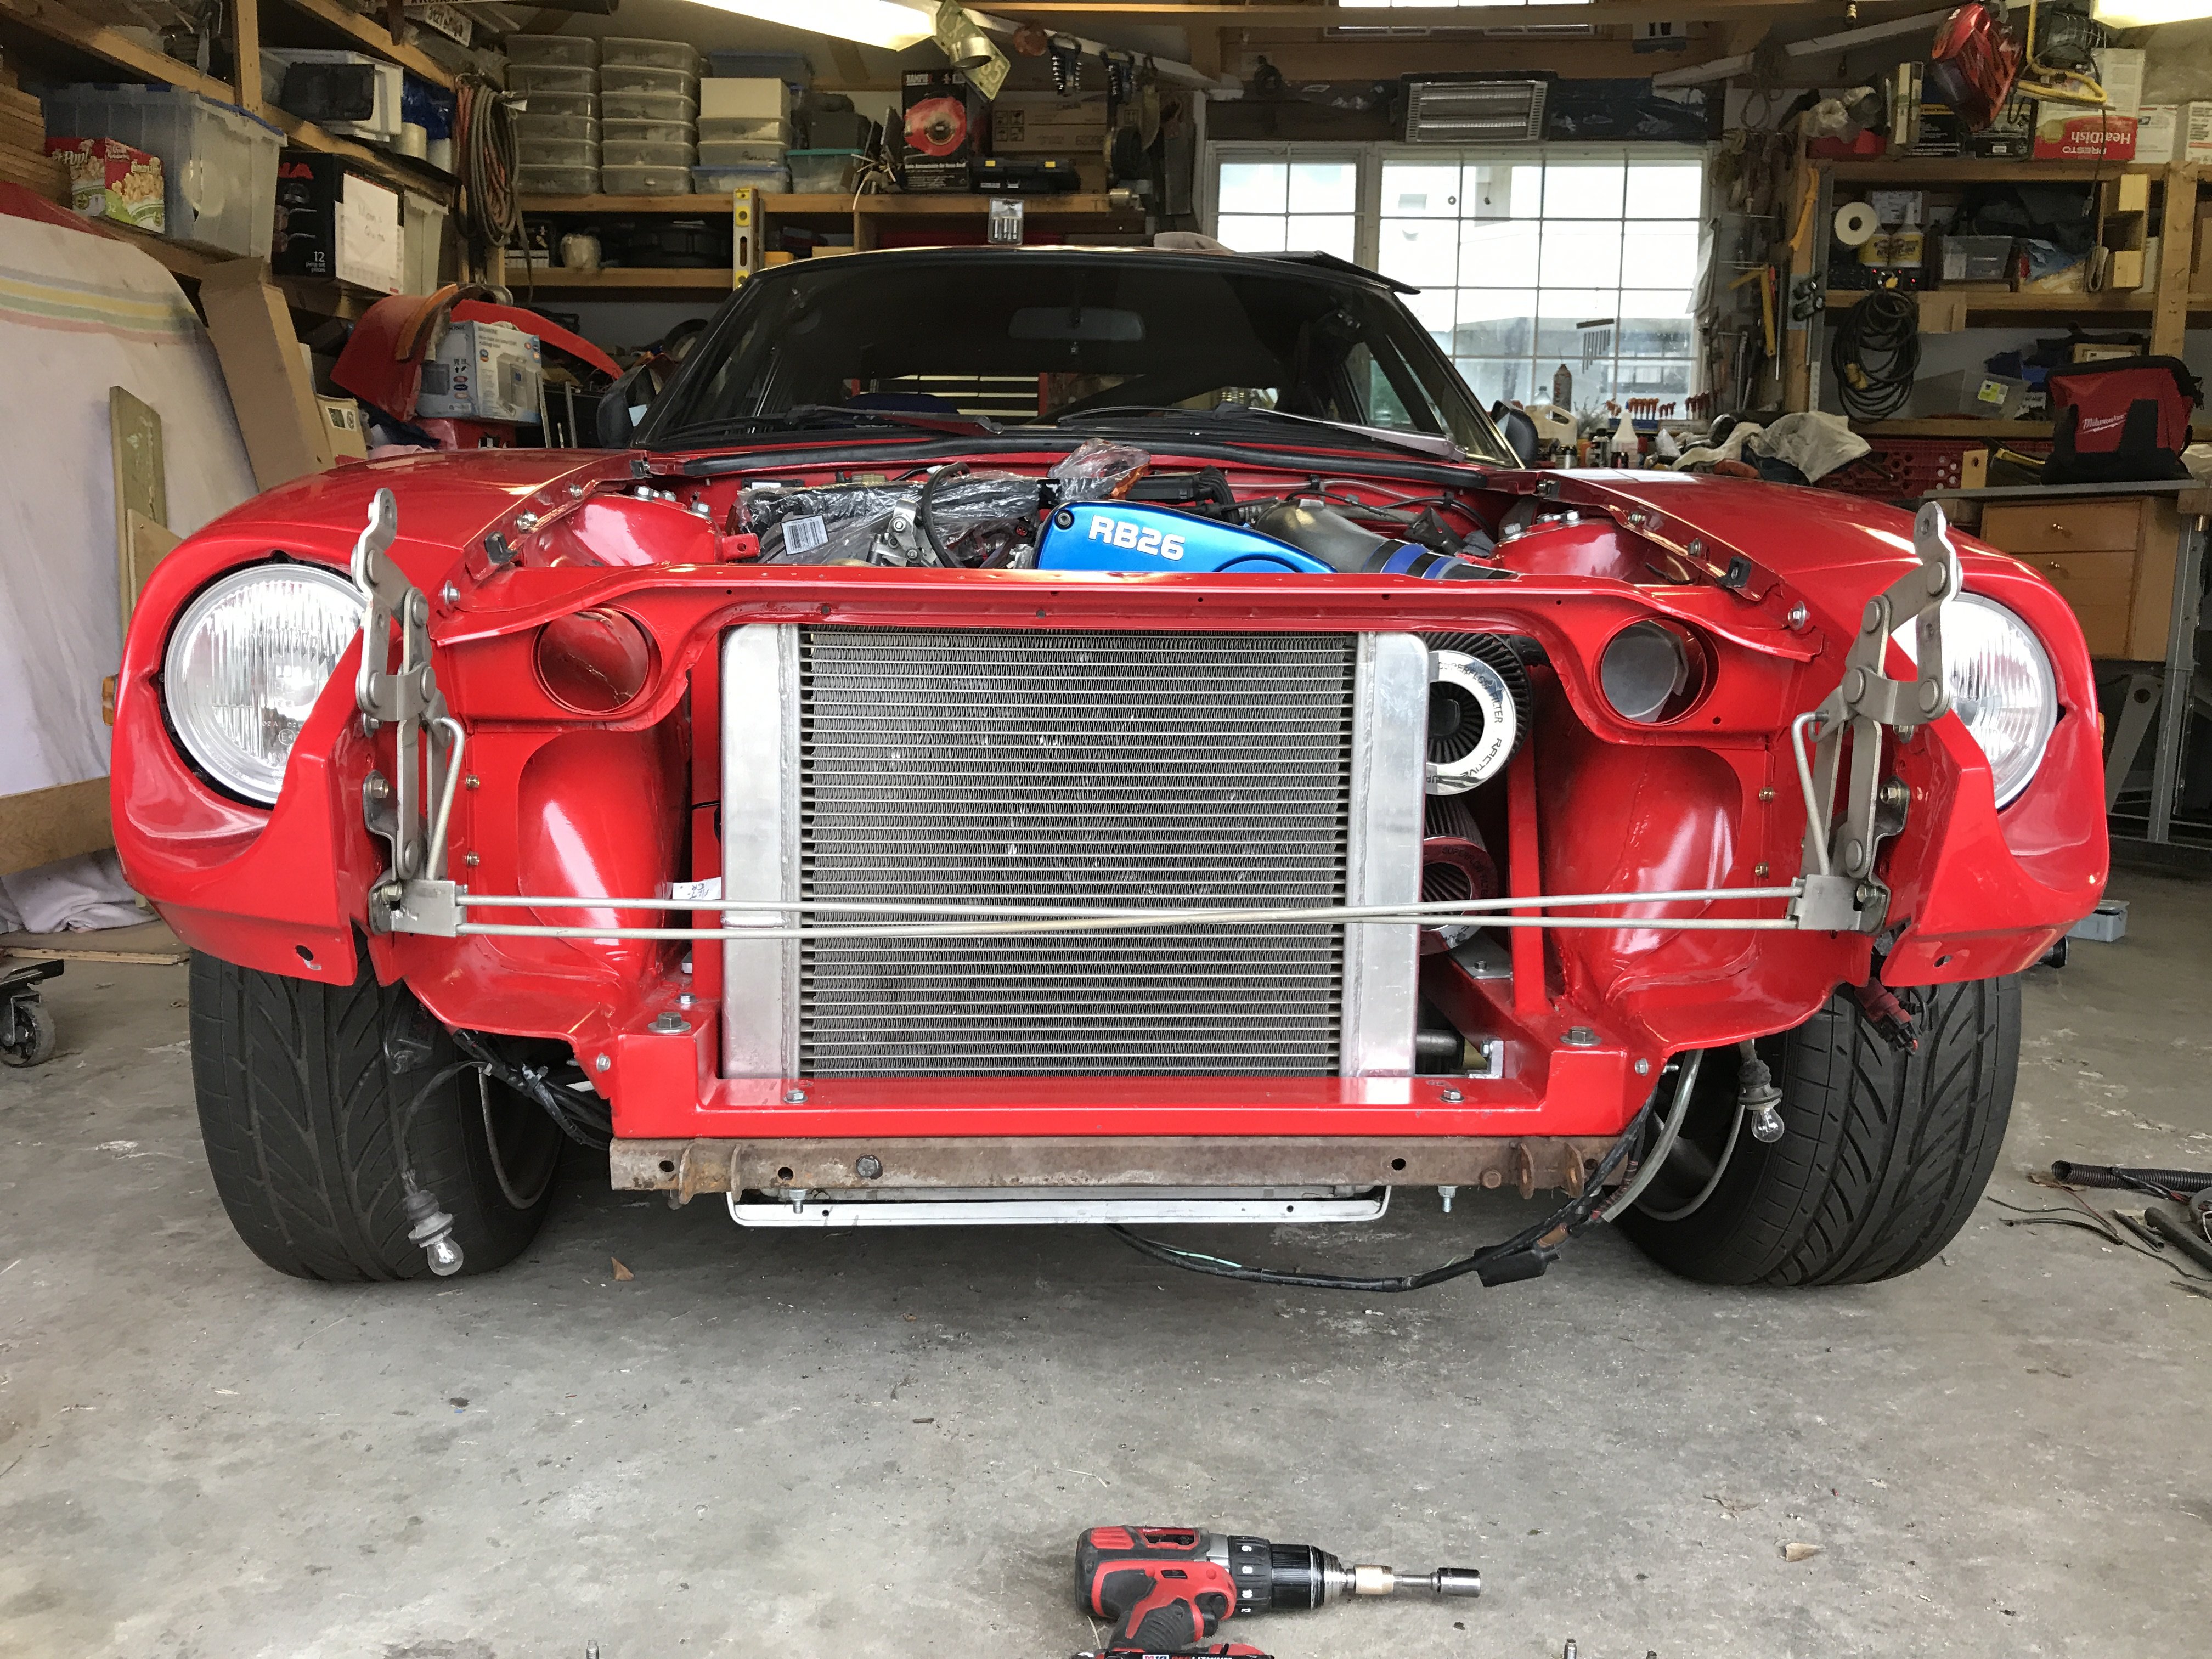
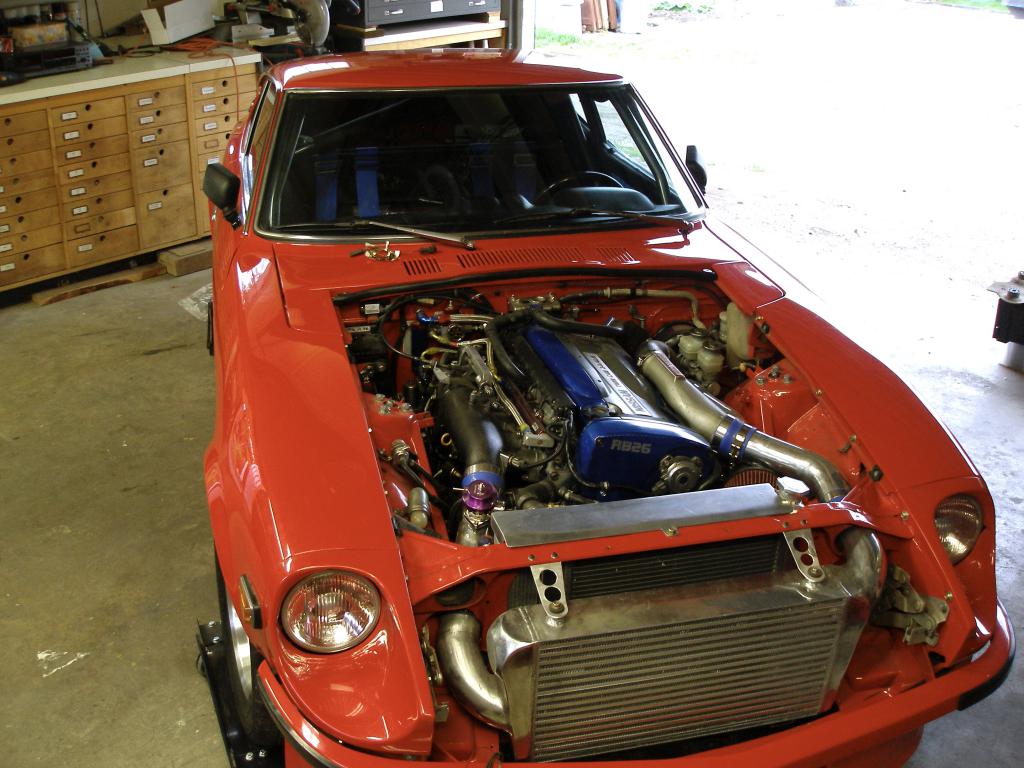
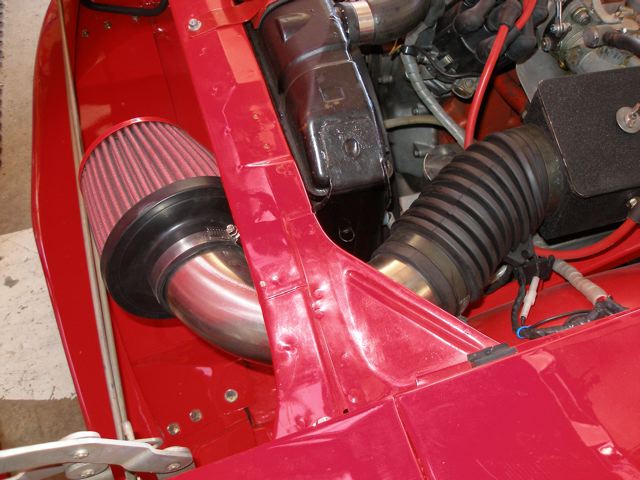
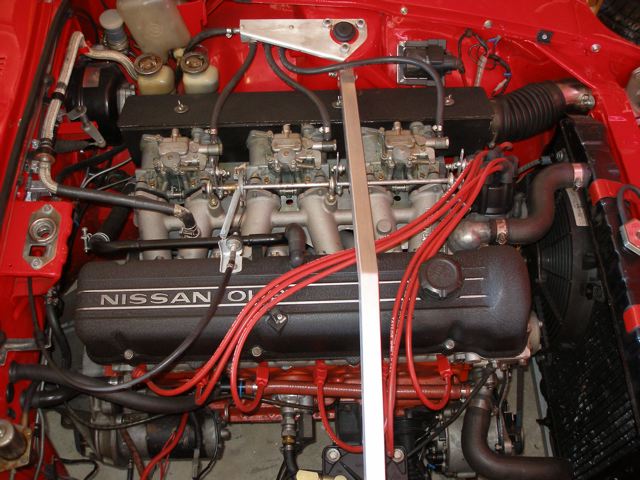
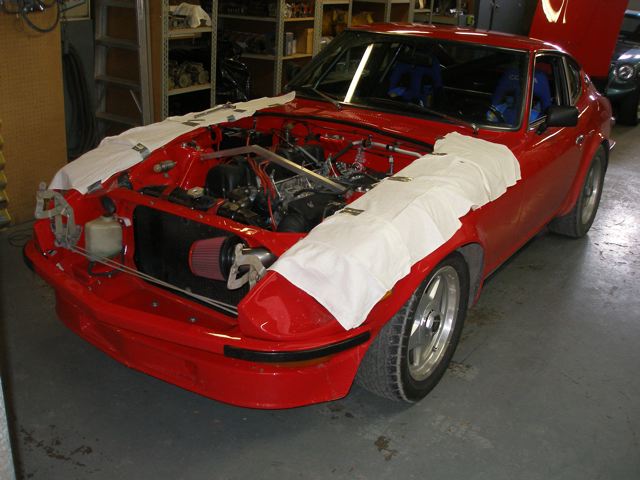
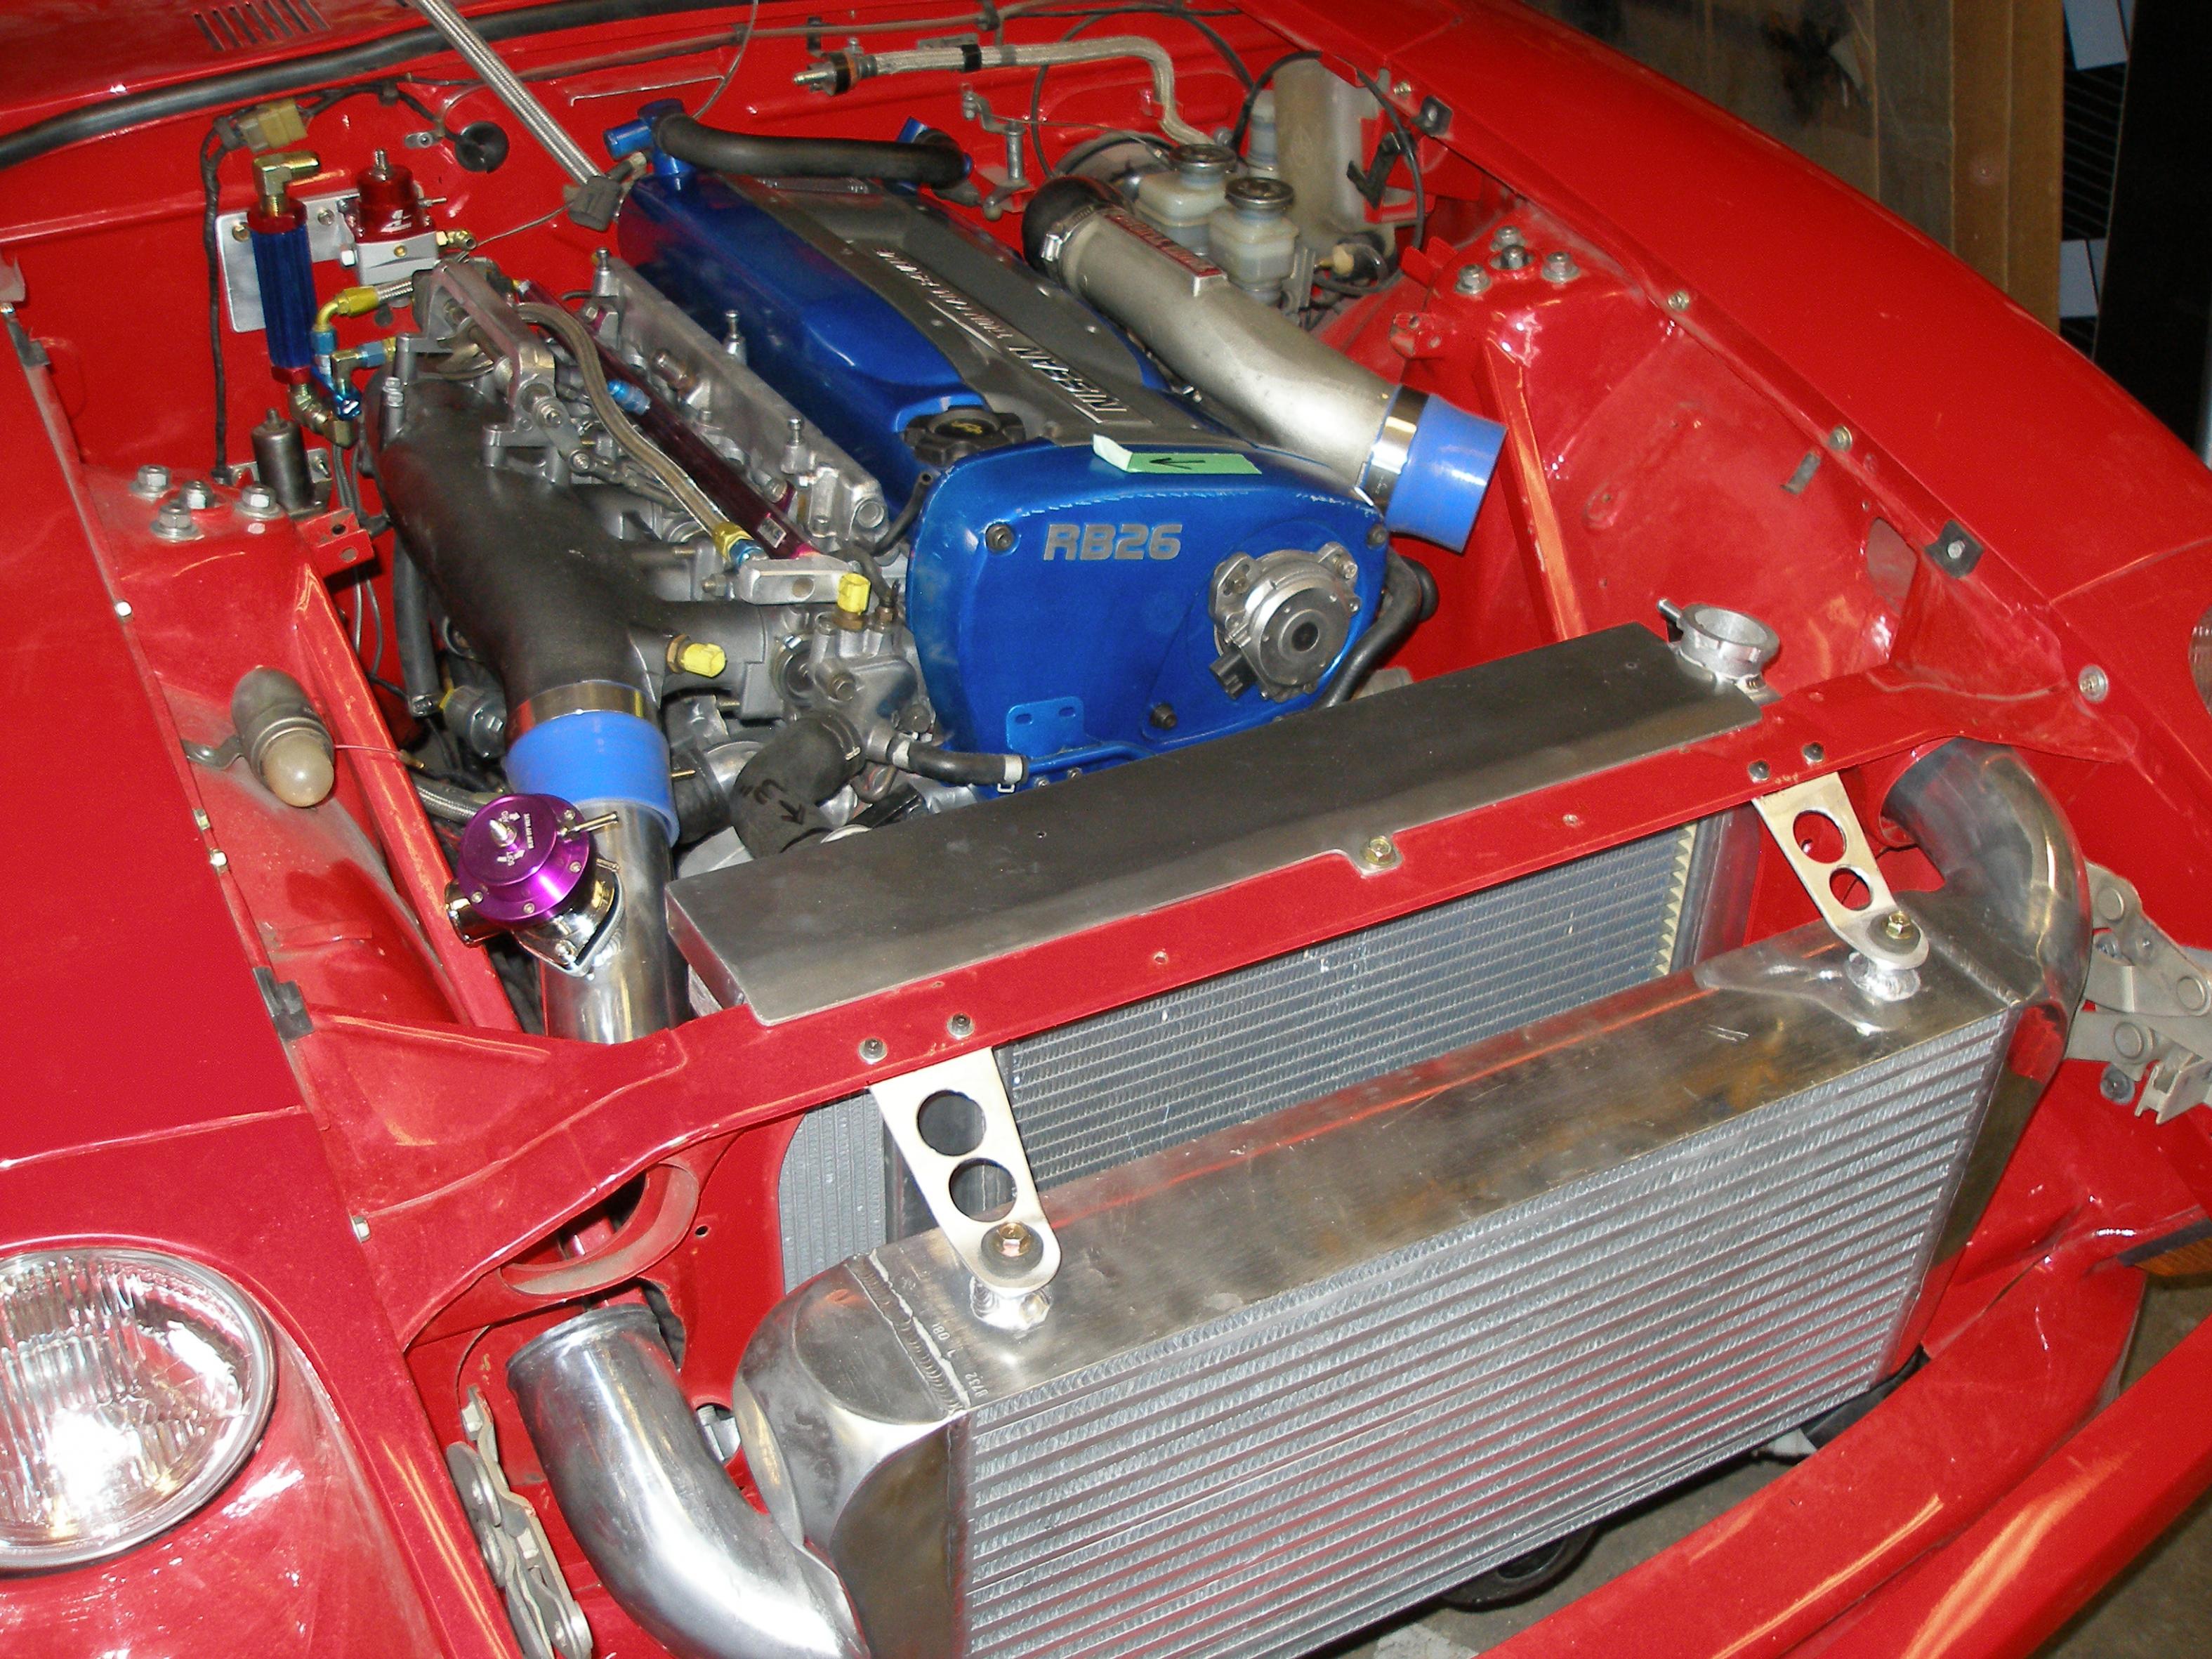
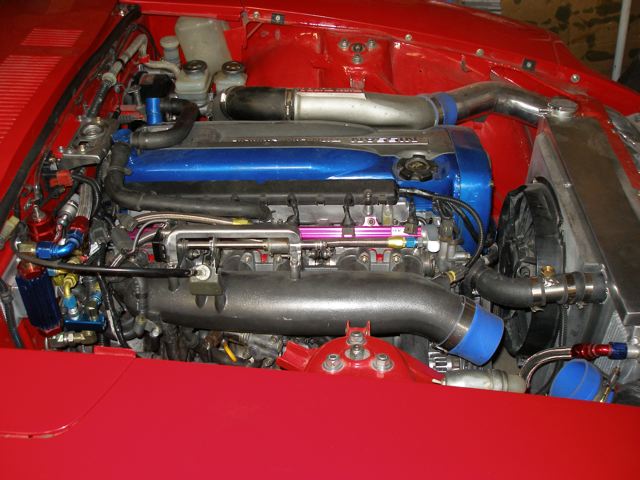
While rebuilding the motor I decided to address several issues. Firstly I’ve cut out most of the radiator support to give me more room for the rad-intercooler and turbo intakes. Next, I re-installed the original 6 individual stock intake system, Nissan built a great system and the throttle body conversion I installed didn’t function well and didn’t give me enough tuning latitude.
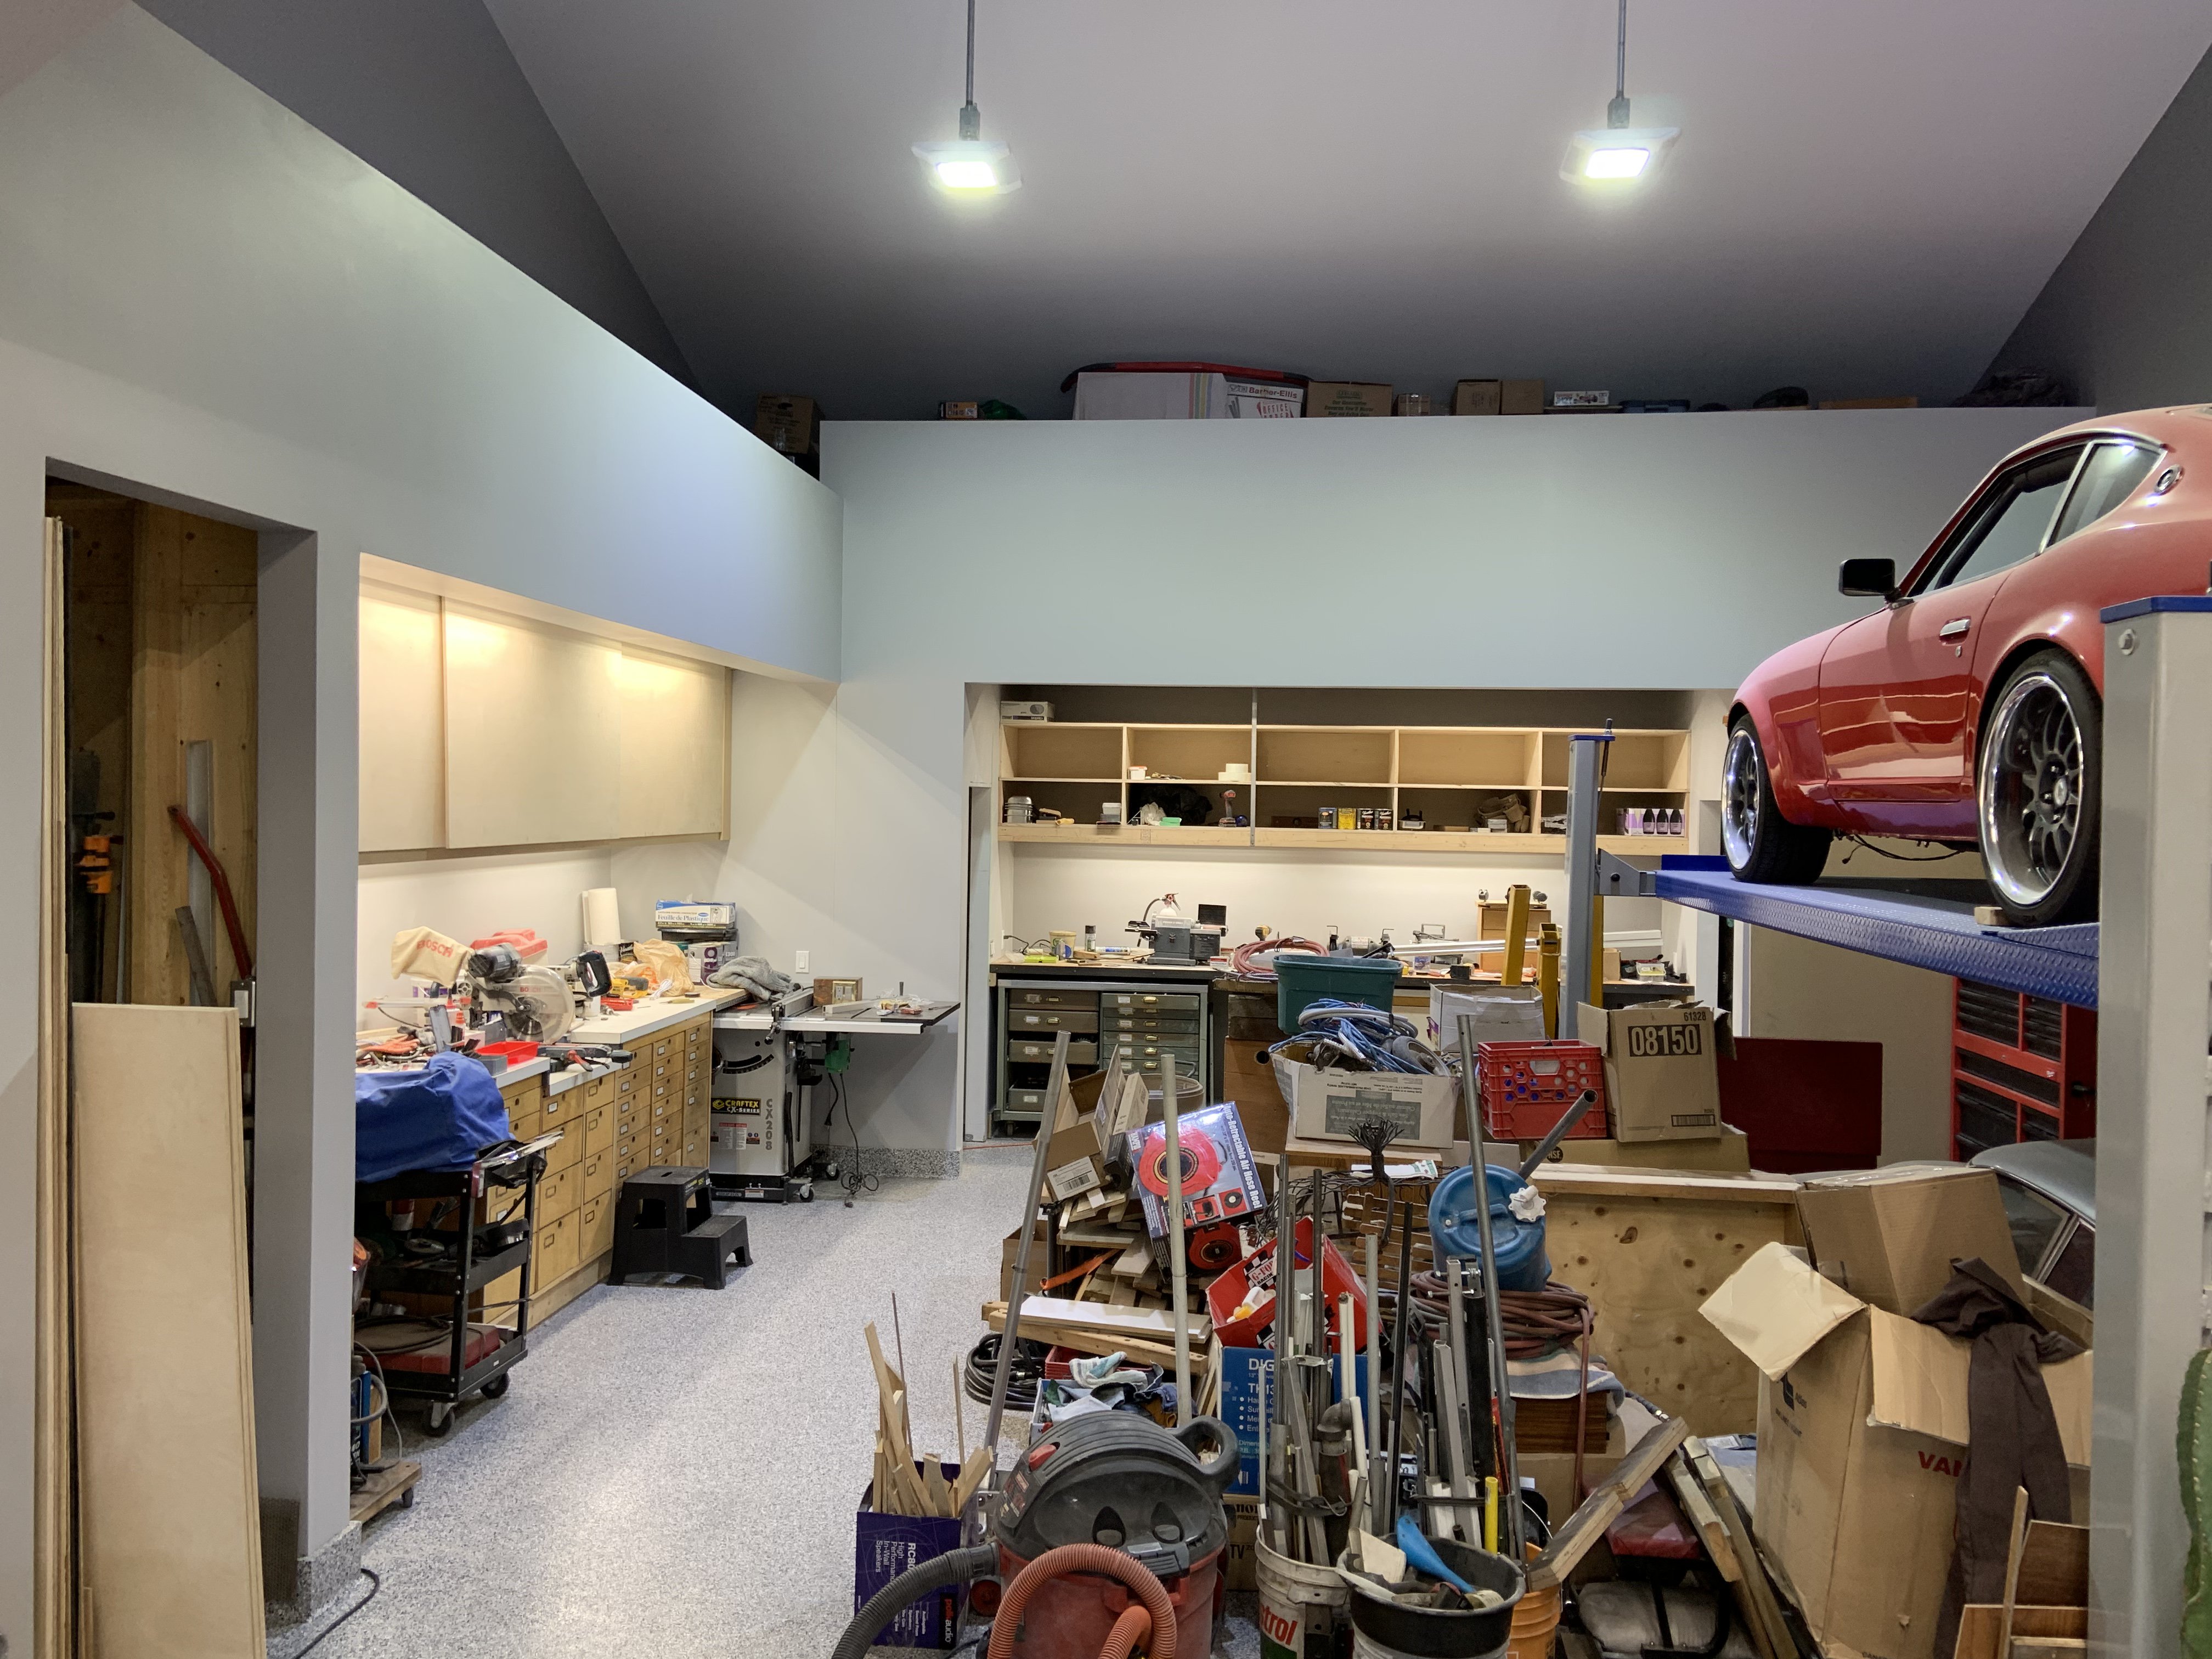
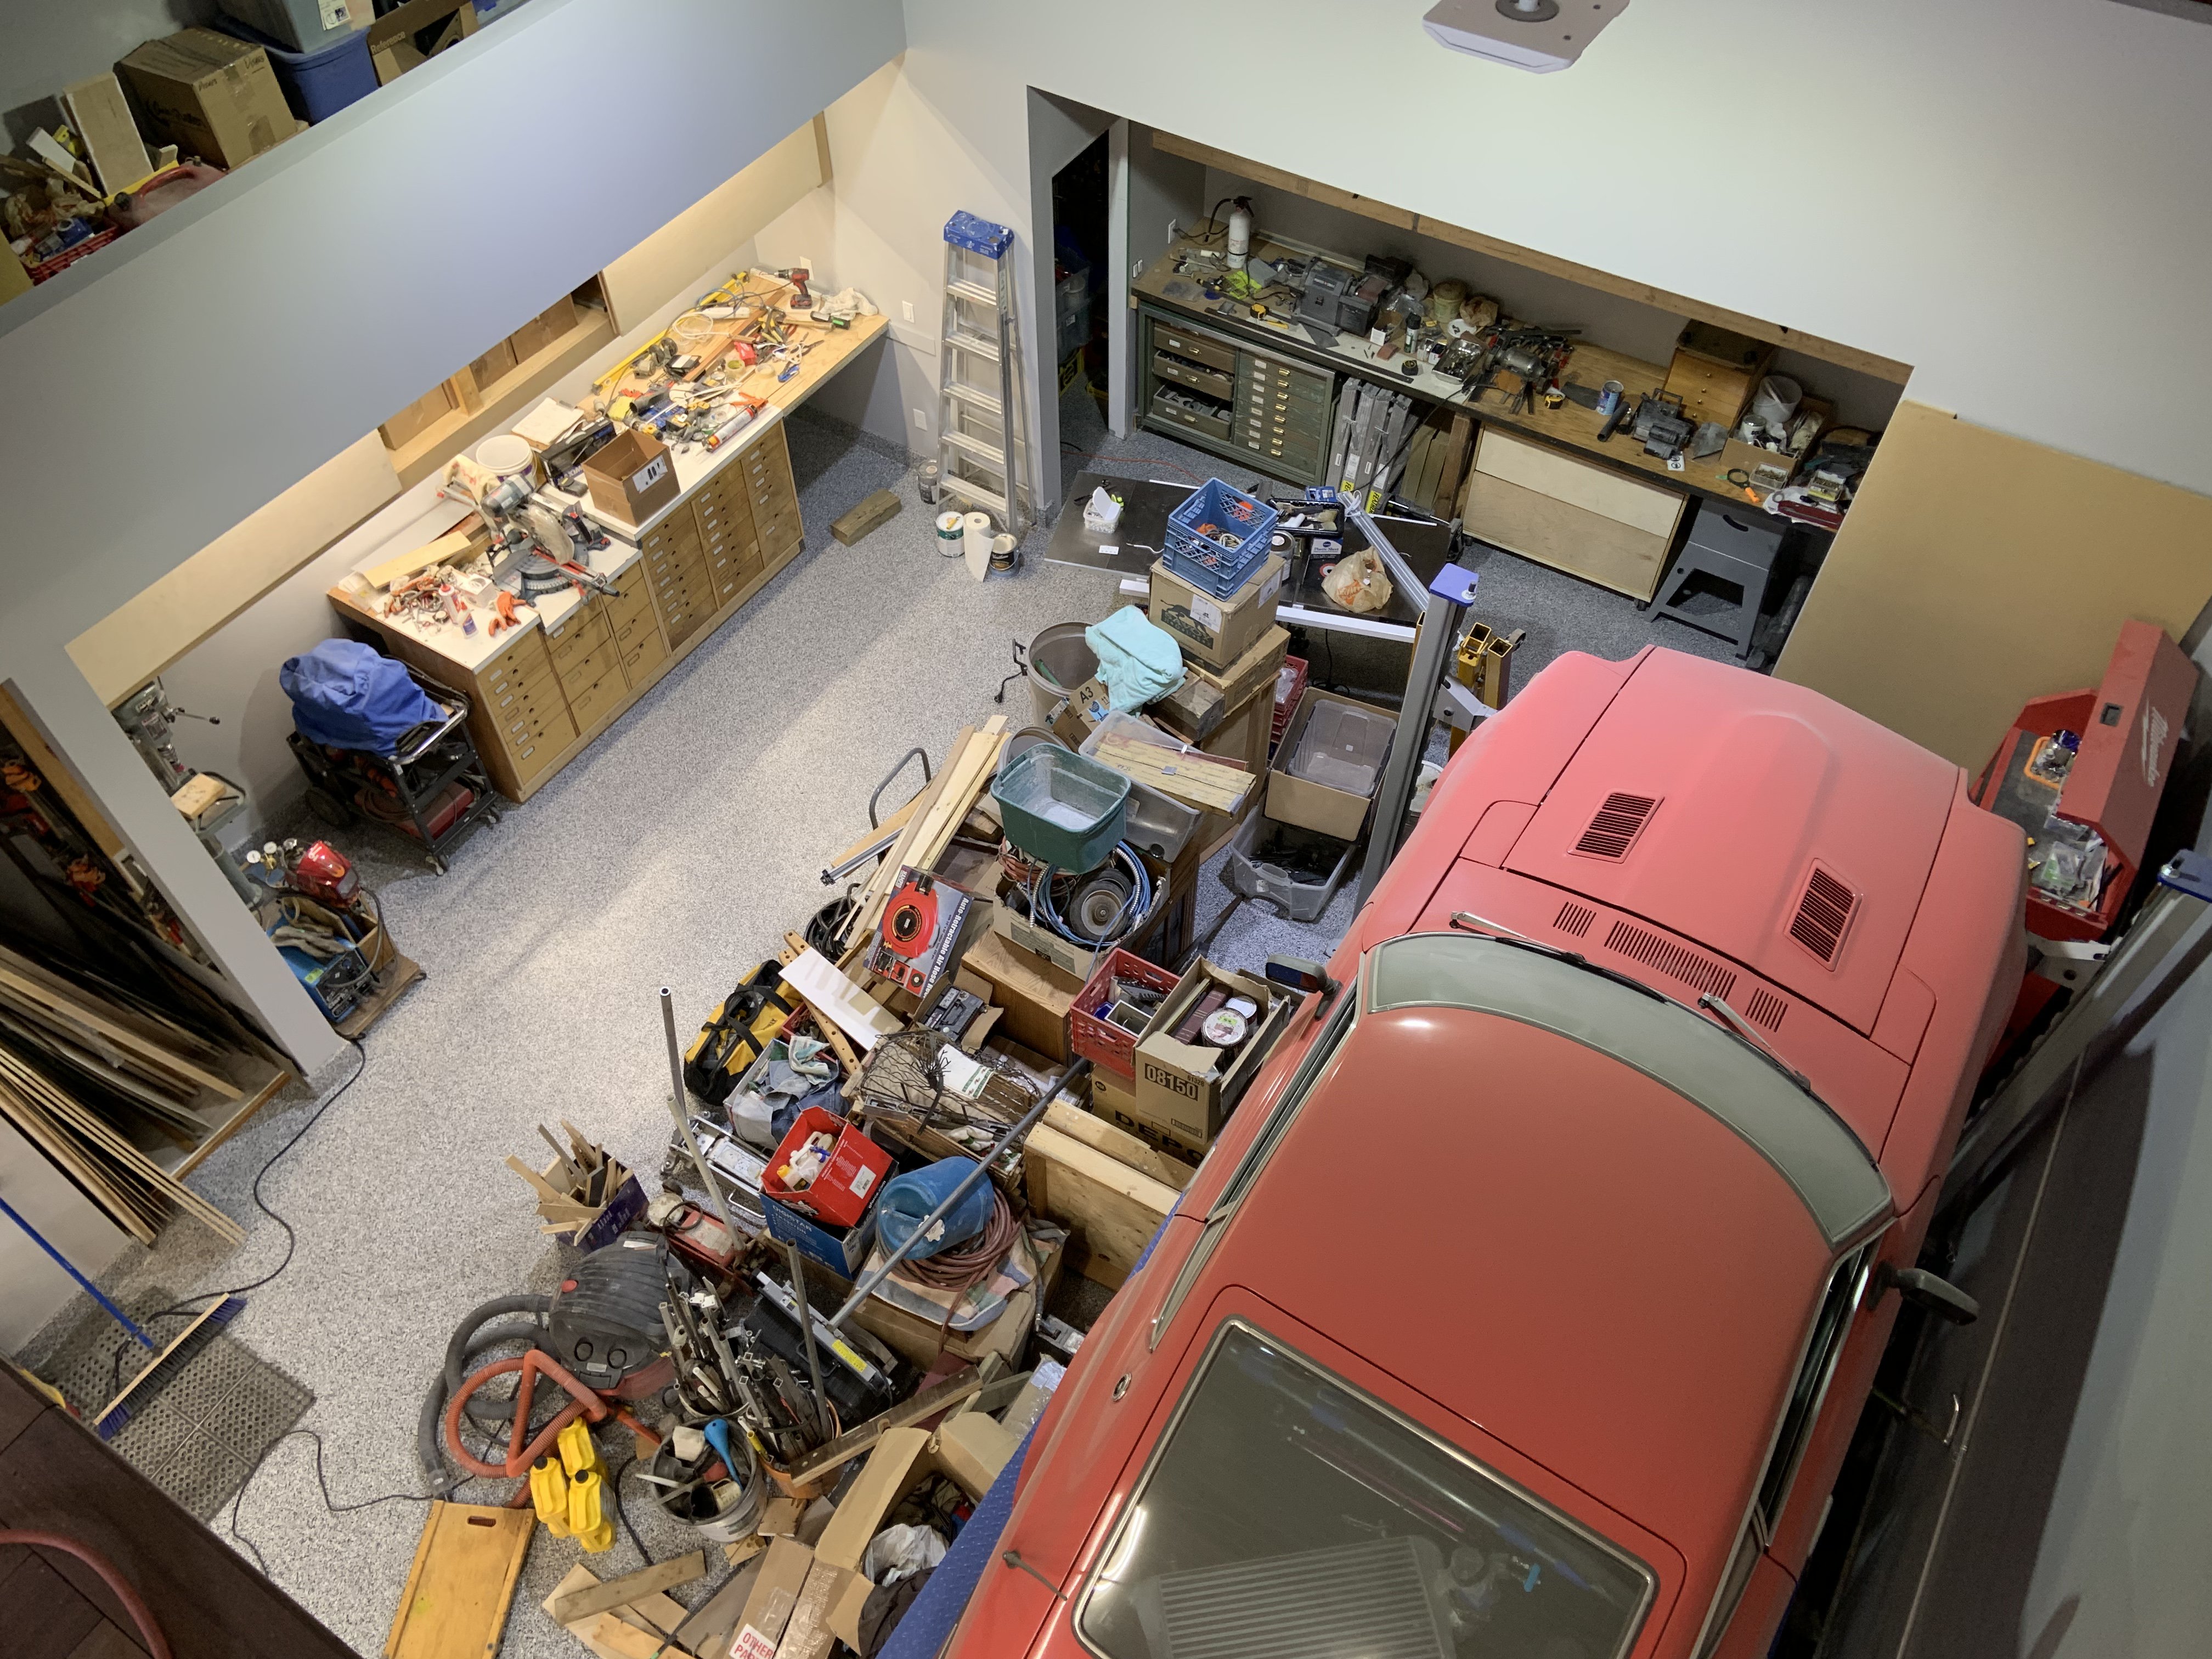
Benn building my dream car condo near Calgary for the last year, I’m really close to finishing it and then I can tackle finishing the Z and the other cars I’ve been collecting. Having tow car lifts now is going to make working on the cars so much easier!

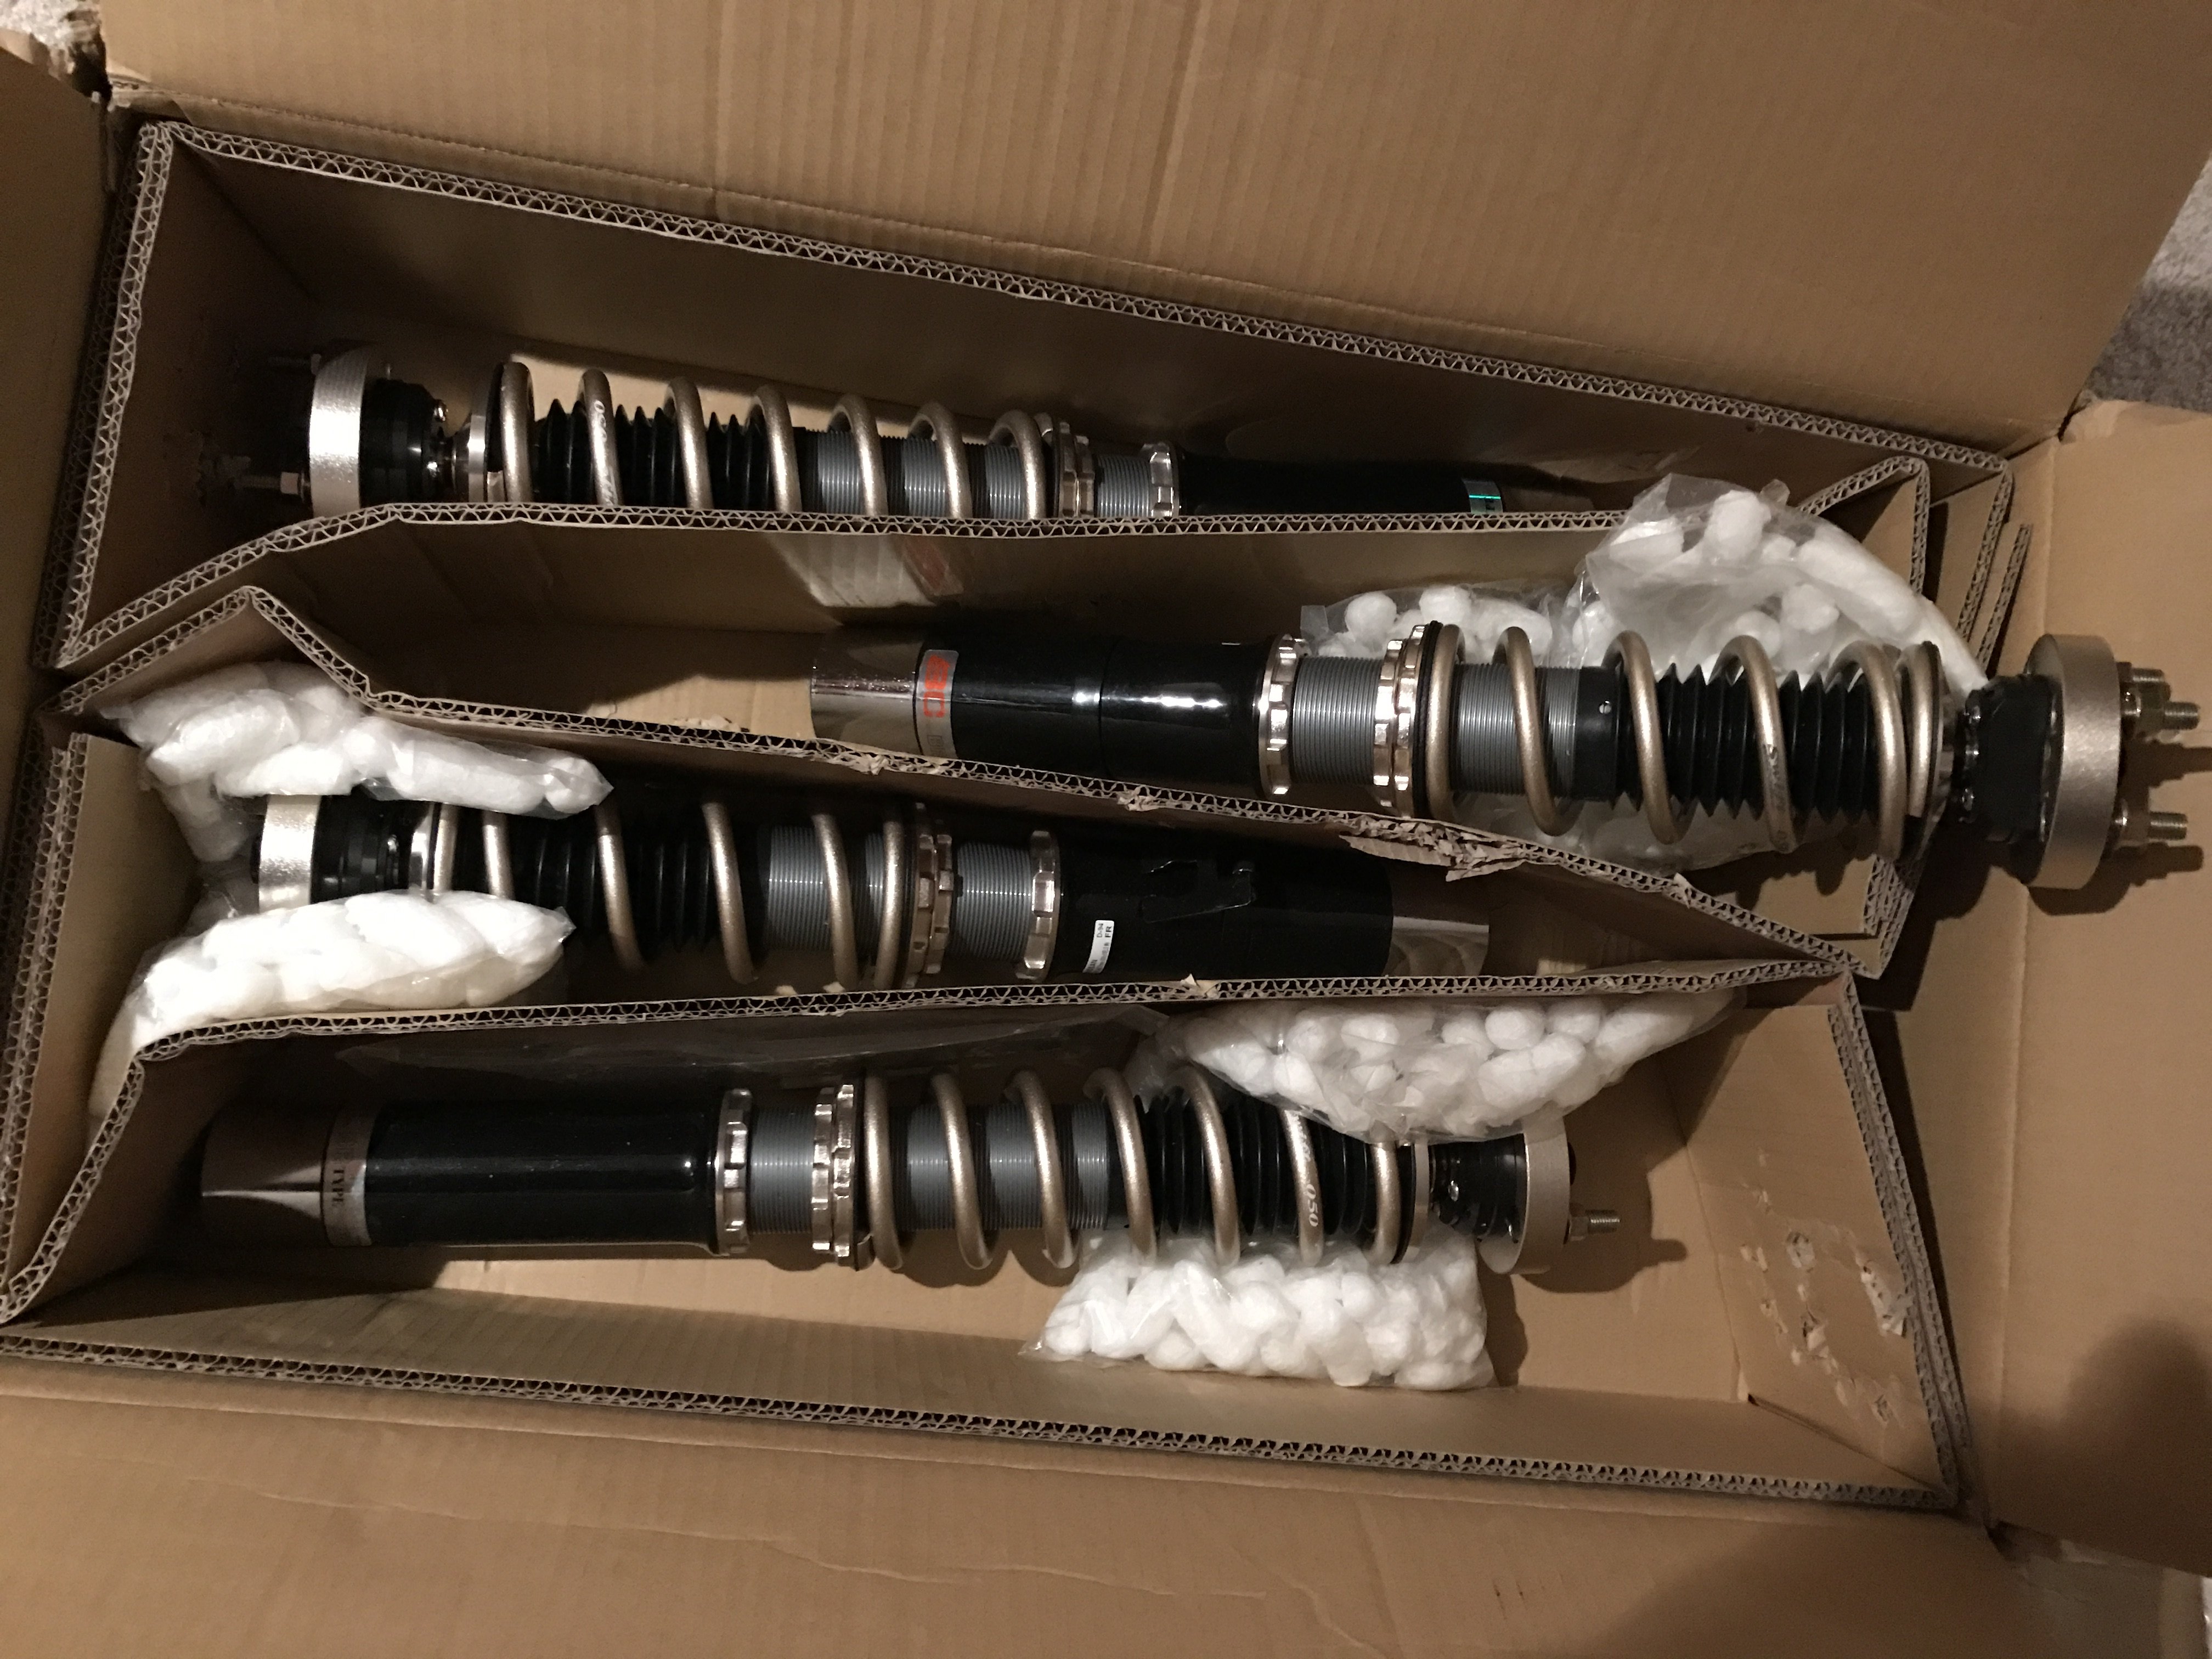
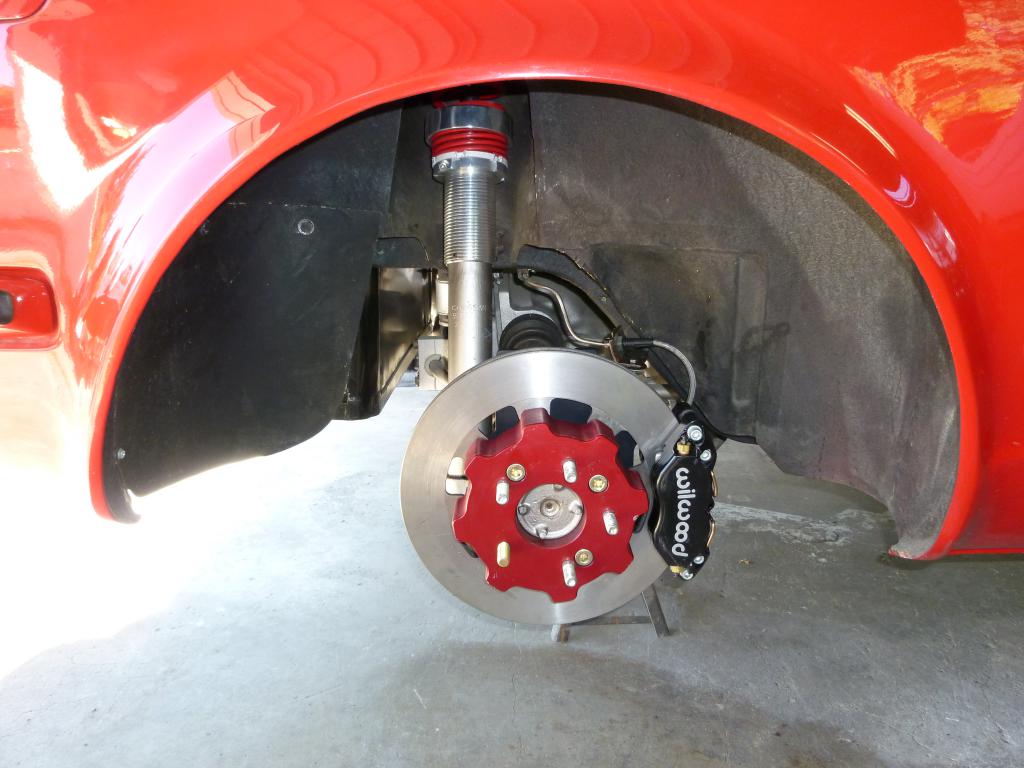
Next I’m going to install the BCE Racing Coilovers that are replacing the simple Cosmo Coilovers conversion that didn’t cut it. Looking forward to driving the car after so long!
-
My '72 240z has Cosmo coil over conversion with even softer springs and it's insanely stiff, broke the lower adjustment nut in 100 miles! What feedback has anyone got for complete coil over struts?
-

Autometer Electronic Tach to RB26 in 240z
strokerzedd replied to strokerzedd's topic in Nissan RB Forum
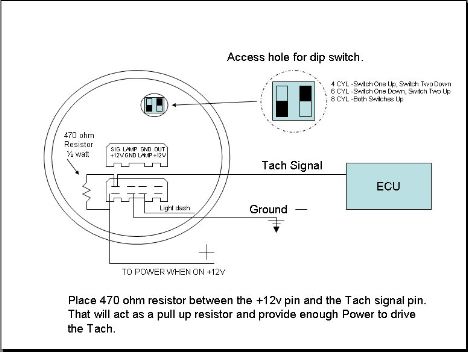
I followed this diagram but the tach still doesn't move.
-
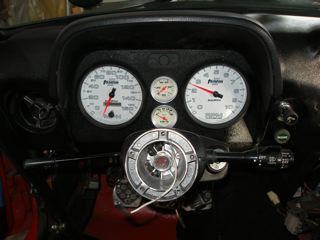
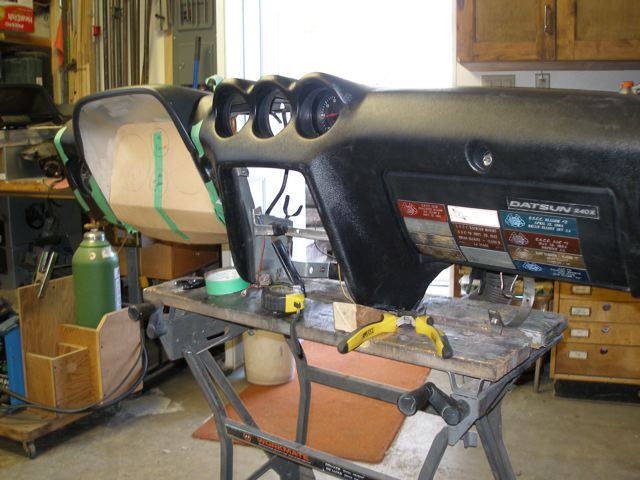
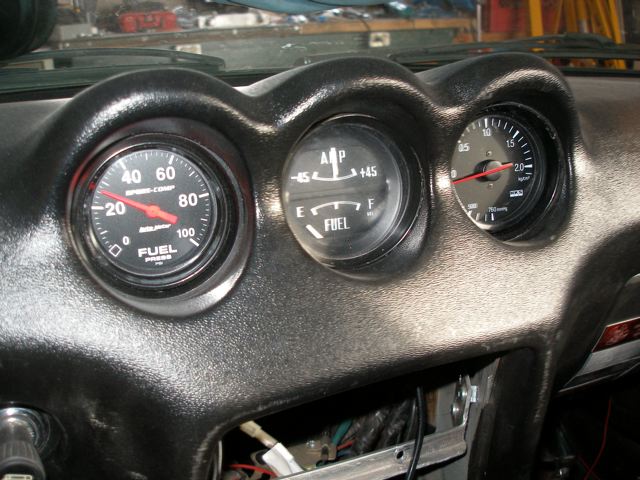
I've searched and even posted in the past for the definitive means of hooking up an Autometer Electronic Tach (Phantom II) to and RB26 in 240z (1972). I'm using an AEM 1621u ECU. Some of the info I've cut and pasted from various blogs follows: 1.Tach - When you add an Autometer tach you might need to use a tach adapter. For the most part you can just follow the directions, but you do need to find the main power wire to cut so the adapter can intercept the signal and give a good reading to the tach. In the case of the RB it is the main power to the coilpacks. 2.Be very careful about using the tach adapter. I actually fried out the 52 ohm resistor in the ECU for the tach signal. I believe the stock Z gauge needs a 12v signal but an Autometer or other aftermarket tach needs a negative pulse, you don't want to use a tach adapter. Basically the tach adapter takes the negative signal and converts it to a 12v signal. Check if your particular Autometer tach needs a 12v as the signal or a ground, cause I'm sure they make both. The instructions should tell you. 3. Everyone I met could never get the tach adapter to work their tach. I got part from Summit it's an msd tach translator part #8918 (Toyota Dealership Part Number is 83420-16020. Out of a: Toyota Camry 2.0 L4 88-91 Toyota Camry 2.0 L4 LE 88-91 Toyota Camry 2.0 L4 Le All Track 88-91 Toyota Camry 2.0 L4 DLX 88-91 Toyota Celica 2.0 L4 GT 86-89 Toyota Celica 2.0 L4ST 87-89 Toyota Celica 2.0 L4 GTS Sport 86-89. Just tell them you're trying to get your Autometer tach working for your diesel truck and you want the thing that taps on your positive injector wire, it's $30, and you just tap that onto the little two wire plug that's by the ignitor, tap it on the white wire. My tach finally works perfectly. If you wire in an Autometer tach and tap the ecm's tach signal you'll pop the resistor in the ECU! Three different answers. So no definitive answer. Is there someone who has successfully adapted and electronic Autometer Phantom II gauge in a 240z that is running an RB26 with an AEM 1621u? I'm sure someone has and they've found a solution. Please! I made a new gauge pod, so much easier to mount and work on the gauges.
-
the TV business is a cruel and shallow money trench where pimps and thieves run free and good men die like dogs. There's also a negative side......
-
Chris Rummel's easy follow RB into Z wireing guide
strokerzedd replied to Rumnhammer's topic in Nissan RB Forum
Absolutely brilliant! I wish that someone had put the same together for an R32 RB26 into a 1972 240z, it would have saved me so much trouble. -
Show Off Your Engine Bay! Pics Wanted, L-series
strokerzedd replied to philipl's topic in Nissan L6 Forum
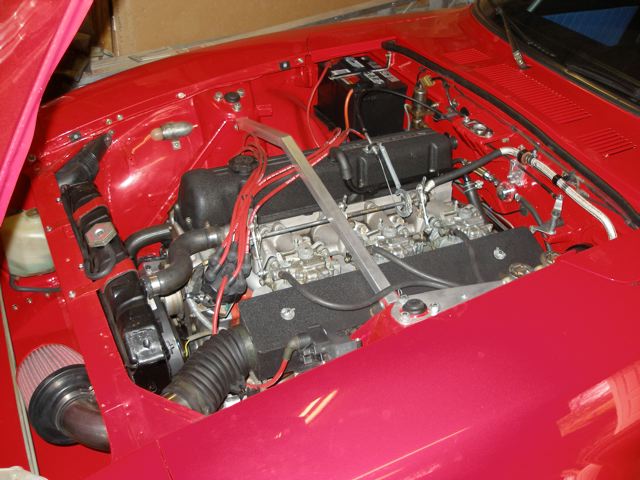
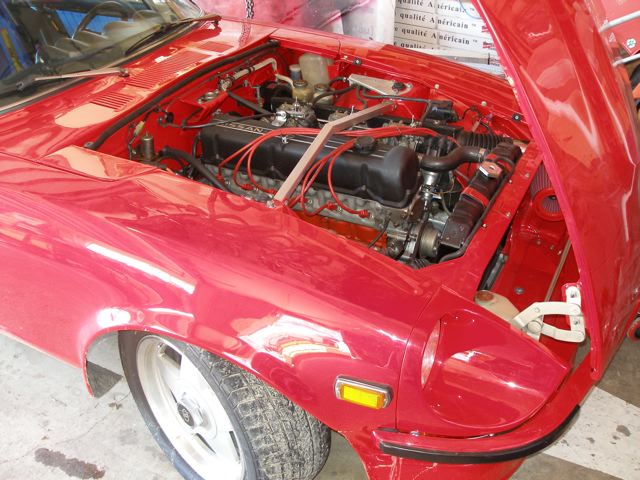
This 3.1 l stroker has been replaced with an RB26 but it was a great motor.
-
What motor mounts fit well for a RB swap?
strokerzedd replied to cachanilla86's topic in Nissan RB Forum
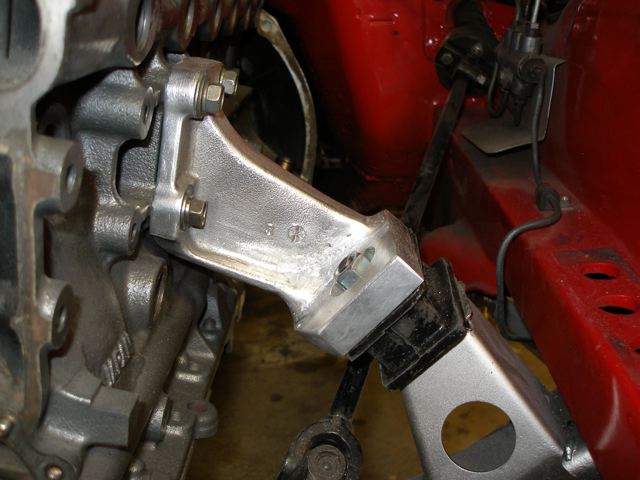
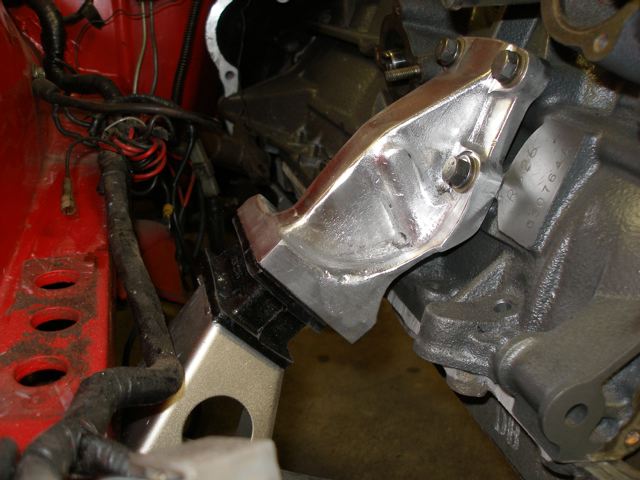
You want to mount the motor as far back as possible because it weighs 250 lbs more than the L block. There are many threads about mounts, here's a few comments that I cut and pasted: Motor Mounts I've got the billet engine mounts Rick Wong makes for my rb-z project which require 86-87 Toyota Supra Turbo rubber insulators. What I did was went online and ended up getting them from Advanced Auto Parts for a lot less than oem ($75 each) price, and they worked fine on my car. The part number was 12361-42030. Rick goes by the name skyline240z here. You can PM or email him through the site. http://forums.hybridz.org/private.ph...pm&userid=8634 Or buy aftermarket insulators for $3 each and they’re 2/3†lower http://www.partsamerica.com/ProductL…part number=2265 or Pioneer Inc. part# 602265. Also interchanges with # M2265 and 270-2265. Or use the stock JDM driver side motor mount with a fabbed USDM driver side is about as low buck as it comes. Use the tranny to set the motor in straight and fabricate in place. I cut and welded the original aluminum mounts.
-
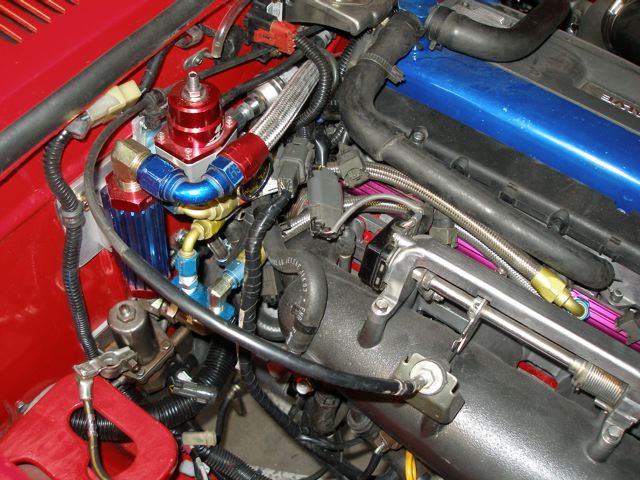
Last question. Since I don't use the clutch booster vacuum line this would probably be the best line to supply vacuum to my fuel pressure regulator and boost gauge since it's the largest diameter and directly off the air chamber, does this sound right?
-
Wizardblack, excellent thread this should be "stickied". Right now I've got my MAP and FPR feeding off of the rear inlet on the balance tube, but I think that I'll change that and put the FPR and boost gauge on the same line. Mike, thanks for your help. It's not "pretty", but I consider it a work of art, Datsun gave us something amazing to start with, that's why I bought this car 34 years ago! A good friend of mine has helped me build things for my various rides, he crew chiefed my years of road racing in GT2 and FF. He kids me that he builds something that works, something that he calls made of "unobtainium", I'll take it home and take it apart and make it pretty, then he'll take it and make it work again!
-
I'm getting so close! I've got a mechanical HKS boost gauge, where's the best place on the intake manifold to take the pressure?
-
I'm getting so close! I've got a mechanical HKS boost gauge that came with my motor, where's the best place on the intake manifold to draw the pressure?
-
Thanks for clearing the air, best description I've found!
-
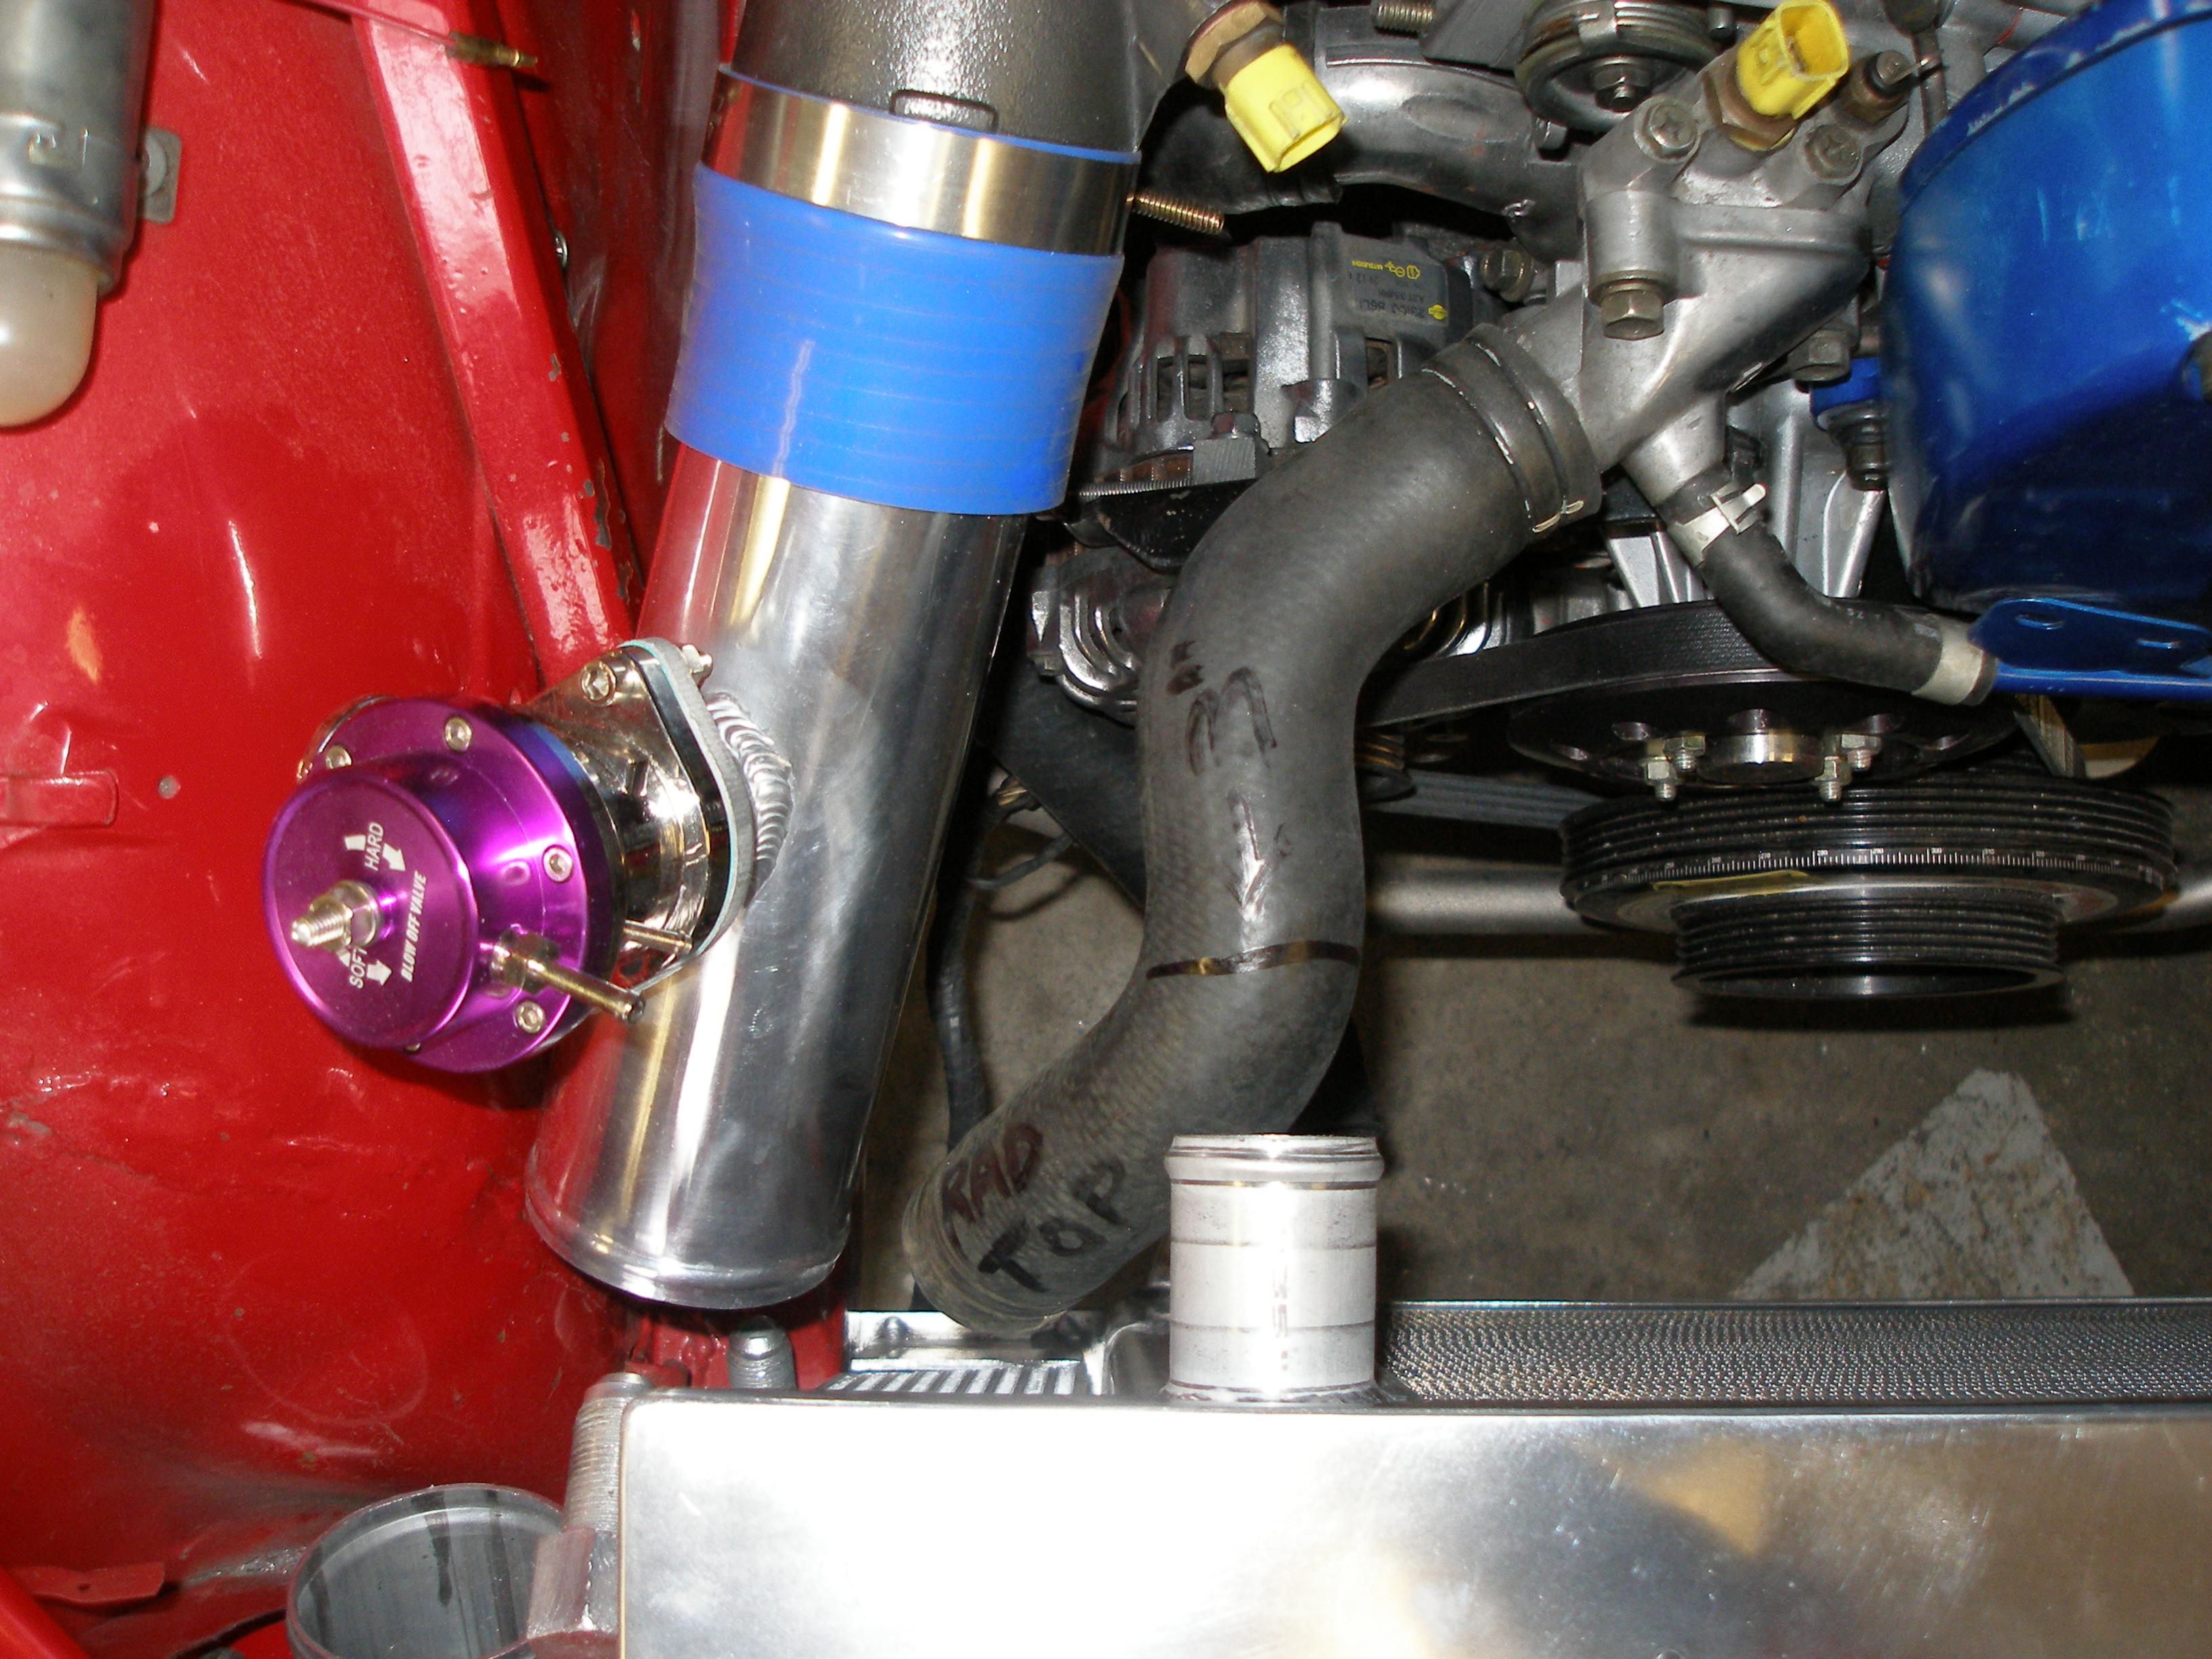
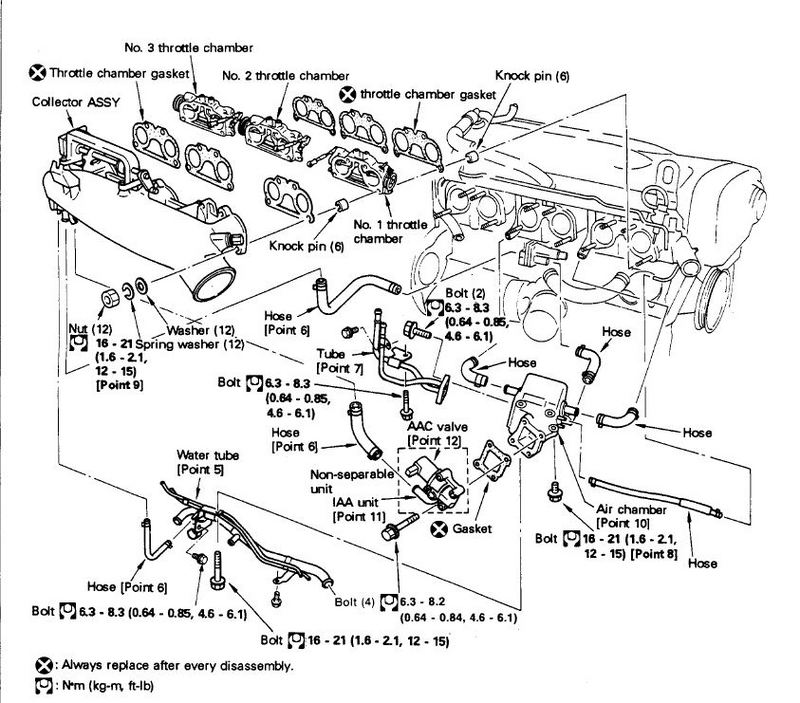
I found this diagram which has been modified from it's original form. The beige line is the one I'm trying to follow. Is this a vacuum line to my aftermarket BOV mounted just in front of my intake manifold? "from air chamber below evap control to BOV".
-
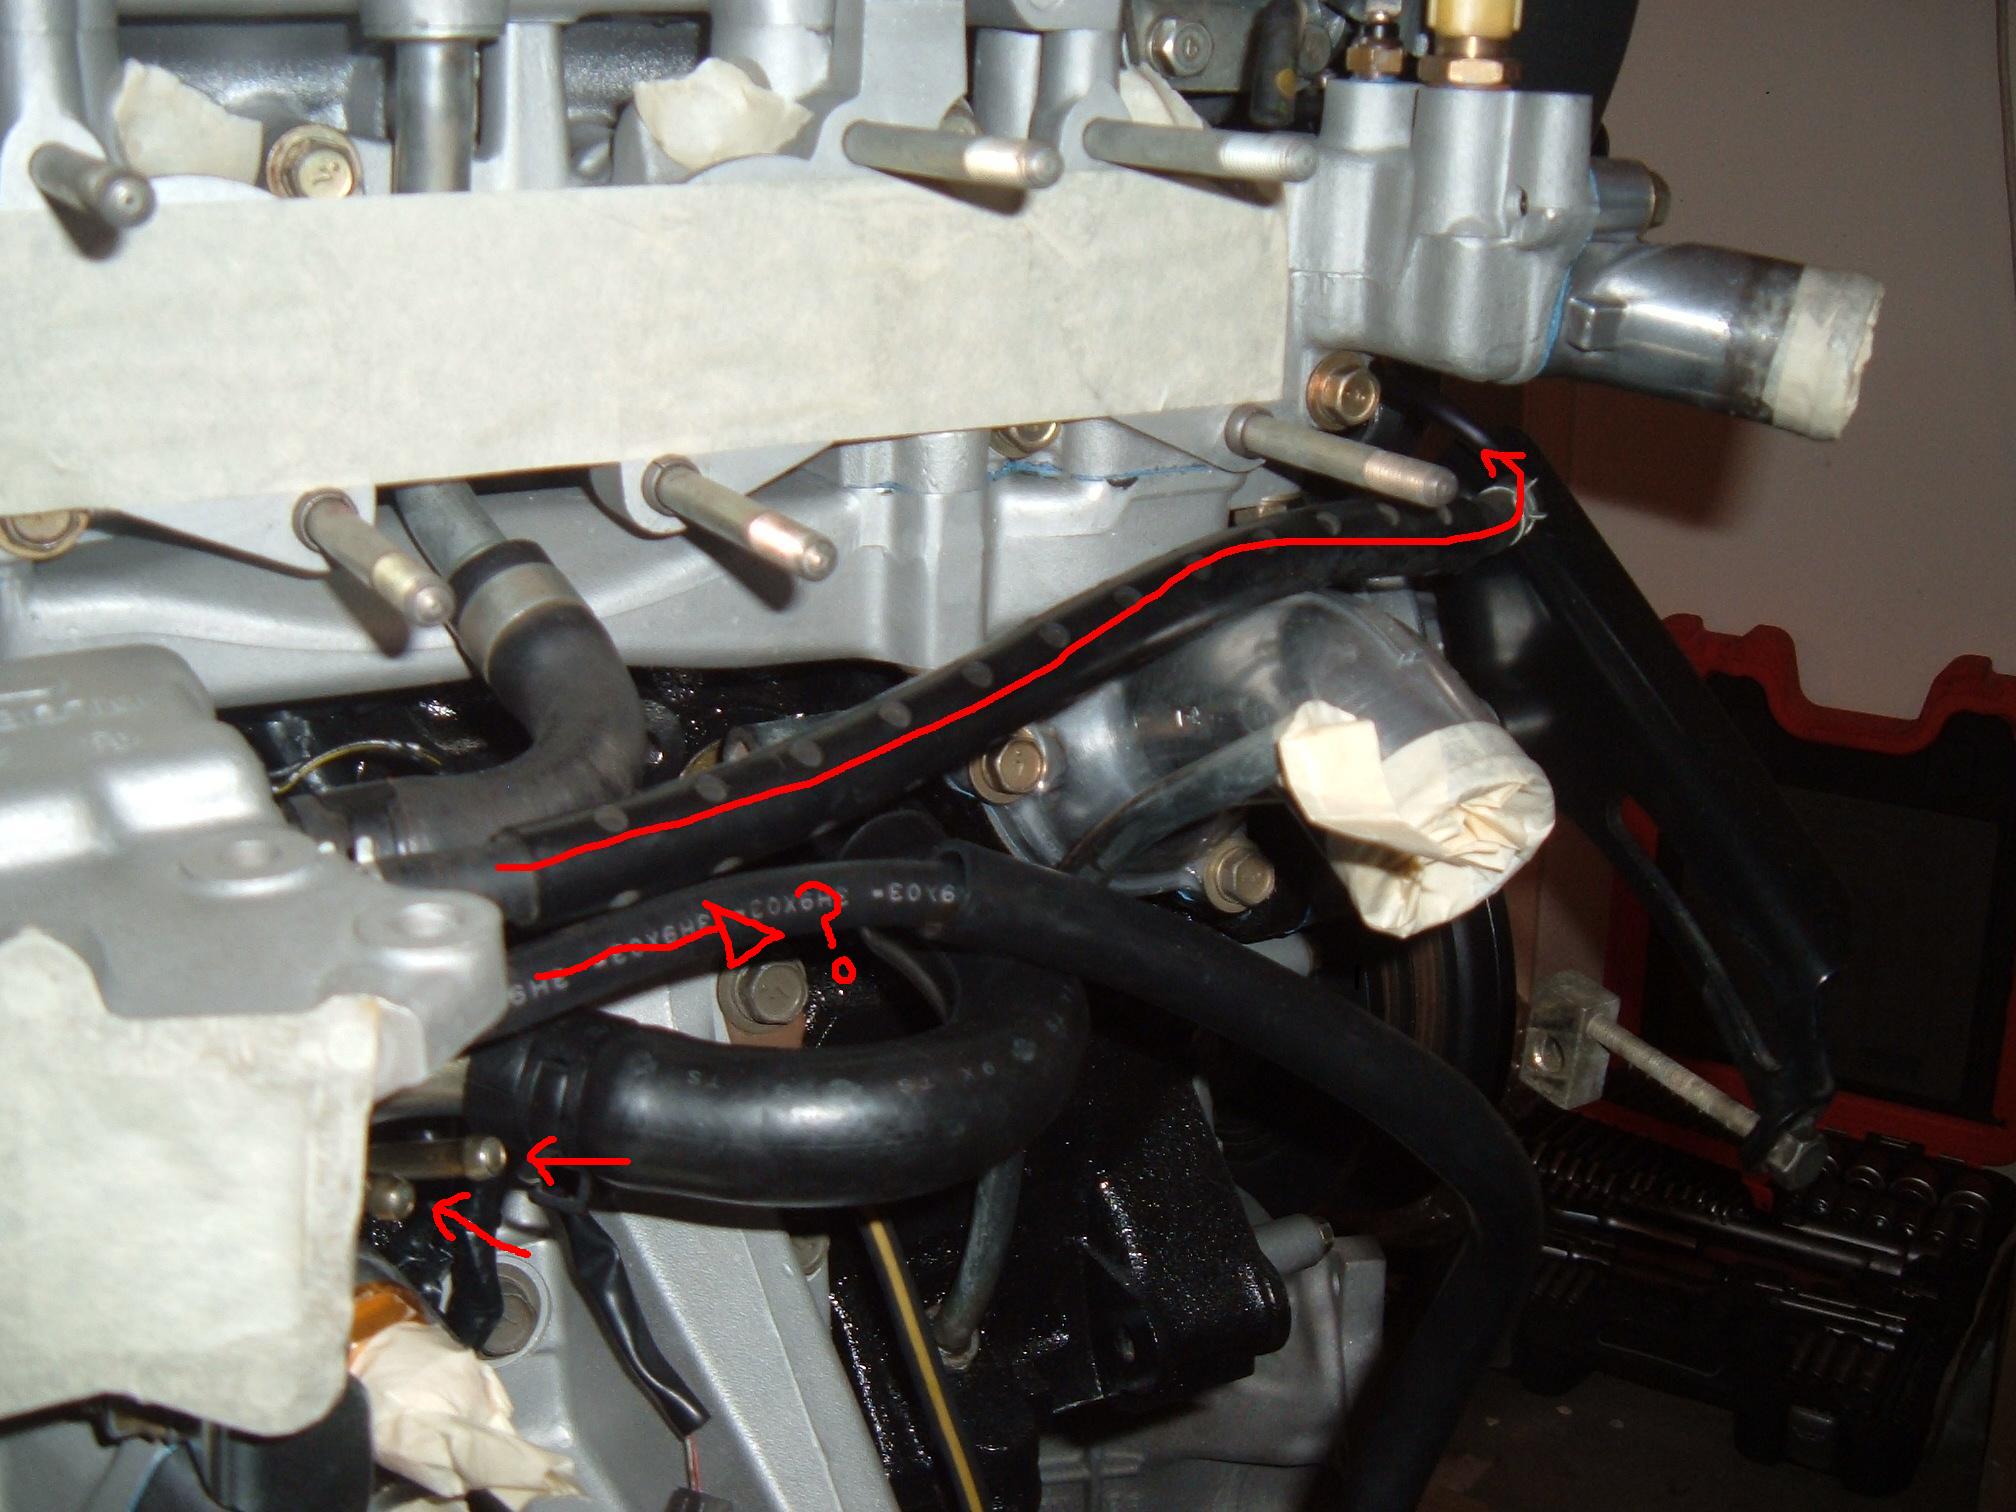
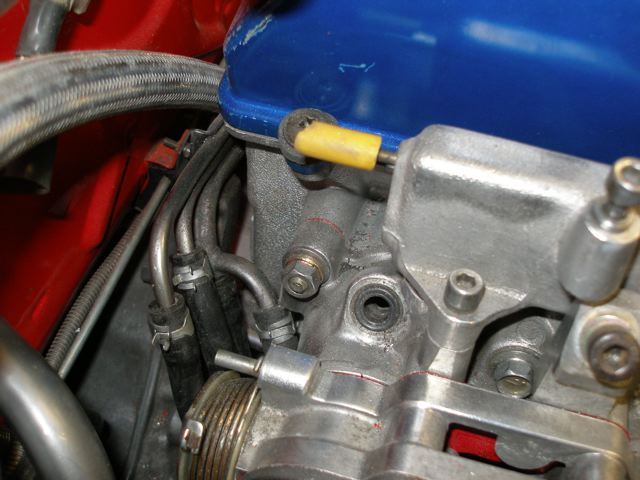
I found this photo on another thread where someone was trying to identify the hose and it's destination. Anyone know where the where the line with the question mark off the air chamber goes? The other tow are the boost solenoid connections. Someone has to know?
-
Of the 309 photos that I've collected off the net of RB26 motors some have the aftermarket blow off valve mounted before and some after the intercooler. Some are vented, some not. I just read that the expelled air should vent back into the intake system so that the ECU can properly manage the boost. Is this correct? I'm using an AEM 1621U ECU and a MAP sensor. Does it make a difference using a MAP sensor instead of a MAF? Does it matter where I mount the BOV and should it vent back into the intake?
-
Show Off Your Engine Bay! Pics Wanted, L-series
strokerzedd replied to philipl's topic in Nissan L6 Forum
My 3.1 stroker before I sold it, it wasn't fast enough! I'm just finishing my RB26 installation.
-
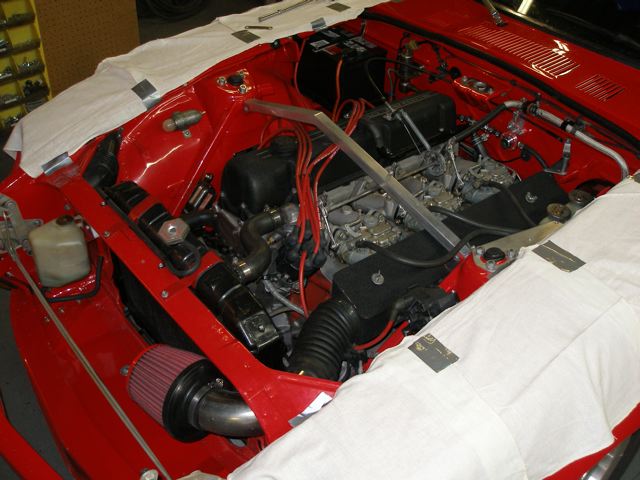
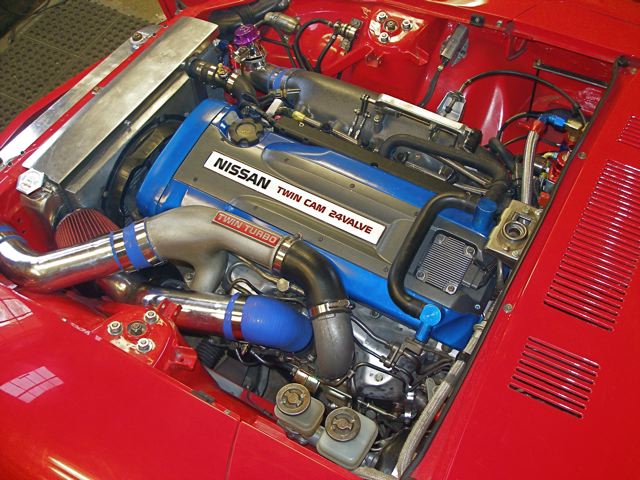
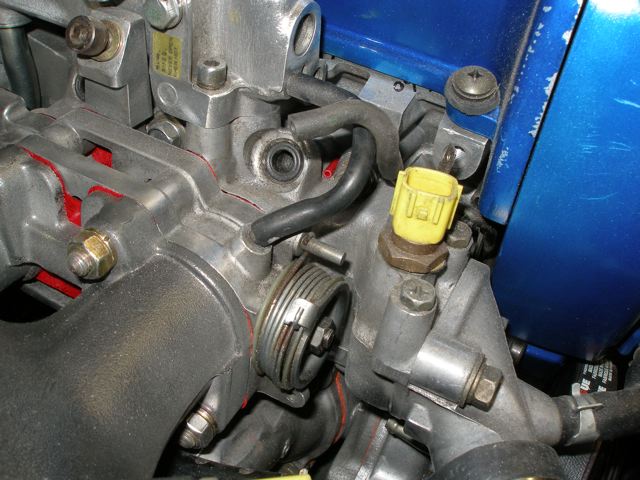
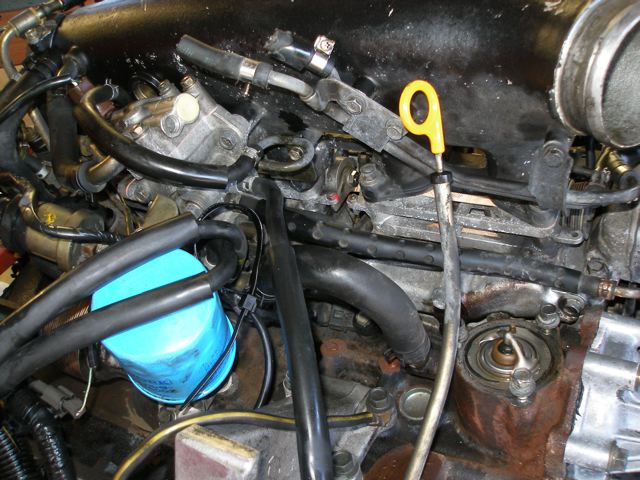
The biggest problem that I've encountered in this build is reconnecting vacuum lines and wiring. I've got an RB26 in a 240z with mods so the stock locations don't always work. I've spent countless hours looking through online manuals and RB26 sites looking for the answers. I'm down to the final details but I need help hooking up the remaining vacuum lines: -I don't have the vacuum line charcoal canister so how do I hook these lines up, to and from the canister? One comes from the AAC valve? and the other? Do I need the canister? -I put a "T" in the vacuum line at the back of the balance tube to provide vacuum to the Aeromotive fuel regulator as well as the MAP. Is this okay? I don't use the stock fuel rail so should I just cap off the vacuum line at the front of the balance tube that used to go to the stock fuel regulator? Or where do all of the vacuum lines in the photo go with an aftermarket fuel rail with the MAP drawing vacuum from the rear of the balance tube? I've included some photos. In the close up of the AAC valve where does the line coming to the bottom middle of the frame go, the other goes to the connector behind the front cover and then the vacuum canister. Any help that I can get with diagrams or photos would help although I'm sure that I've looked at all of the available diagrams to no avail. Please!!!!!!!!
-
Anyone? Someone out there has installed an Autometer tach into their RB26 harness and not popped the resister in their ECU.
-
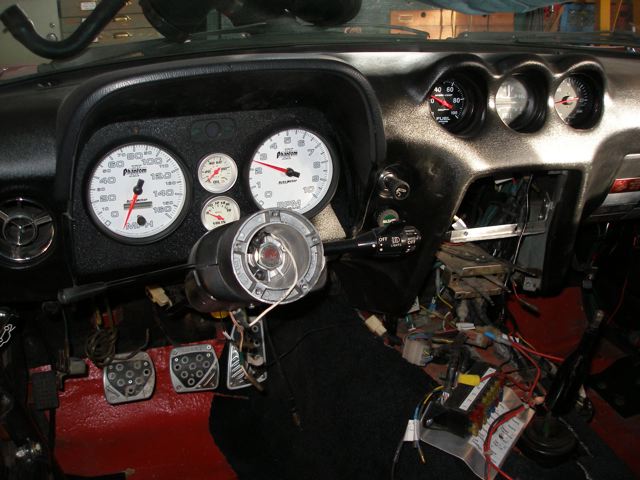
Lots of great info. I'm just completing a 2 year long RB26 conversion and I did a serious gauge makeover. Despite being able to put 4 gauges where the original tach and speedo were, I've still run out of room. I just purchased an AEM Serial Gauge as well that reads 19 parameters and had to put it in the fuse box cover.
-
I'm looking to replace my ammeter in my 240z with a 280z gas gauge/voltmeter
-
I posted this in the Chris Rummel wiring sticky but wasn't sure if it would draw any response there. I'm close to firing my car up but still a little confused about wiring an Autometer Tach to an RB26 harness in my '72 240z. This is what I've gleaned from the whole thread from several people: • An Autometer tach wired to the ecm's tach (Pin 7) signal will pop the resistor in the ECU. The Autometer tach needs a negative pulse as the signal, the stock Z gauge needs a positive 12v signal. Don't use a tach adapter. The tach adapter takes the negative signal and converts it to a positive 12v signal and will fry the 52 ohm resistor in the ECU for the tach signal. Summit Racing sells an msd tach translator #8918 to get an Autometer tach working for a diesel truck. Tap this into the white positive wire on the little two wire plug that's by the igniter, it's $49. My tach works perfectly. • The "shunt" is a connector that is used by the dealer to plug a factory style timing light, could probably be tapped for the Autometer tach...It's the big white wire that goes from your coil plug, attached on the rear of the coil cover, through a splice, to a white connector with a little black box plugged on it that doesn't seem to have any purpose... • This sounds like what is needed does anyone know if this would work for the tach? http://store.summitracing.com/partde...2&autoview=sku • This is what I did to get my Autometer tach working: Place 470 ohm resistor between the 12v pin and the Tach signal pin on the back of the Tach itself. This will act as a pull up resistor and provide enough power to drive the Tach. So my question to those of you that have successfully wired an Autometer Tach to the RB26 harness, which hookup is safest/easiest/works and won't blow the ECU resister; and where's the best place to get the signal to run to the tach? I'm using an AEM 1621U ECU. Thanks.
-
Chris Rummel's easy follow RB into Z wireing guide
strokerzedd replied to Rumnhammer's topic in Nissan RB Forum
I'm close to firing my car up but still a little confused about wiring an Autometer Tach to an RB26 harness in my '72 240z. This is what I've gleaned from the whole thread from several people: • An Autometer tach wired to the ecm's tach (Pin 7) signal will pop the resistor in the ECU. The Autometer tach needs a negative pulse as the signal, the stock Z gauge needs a positive 12v signal. Don't use a tach adapter. The tach adapter takes the negative signal and converts it to a positive 12v signal and will fry the 52 ohm resistor in the ECU for the tach signal. Summit Racing sells an msd tach translator #8918 to get an Autometer tach working for a diesel truck. Tap this into the white positive wire on the little two wire plug that's by the igniter, it's $49. My tach works perfectly. • The "shunt" is a connector that is used by the dealer to plug a factory style timing light, could probably be tapped for the Autometer tach...It's the big white wire that goes from your coil plug, attached on the rear of the coil cover, through a splice, to a white connector with a little black box plugged on it that doesn't seem to have any purpose... • This sounds like what is needed does anyone know if this would work for the tach? http://store.summitracing.com/partde...2&autoview=sku • This is what I did to get my Autometer tach working: Place 470 ohm resistor between the 12v pin and the Tach signal pin on the back of the Tach itself. This will act as a pull up resistor and provide enough power to drive the Tach. So my question to those of you that have successfully wired an Autometer Tach to the RB26 harness, which hookup is safest/easiest/works and won't blow the ECU resister; and where's the best place to get the signal to run to the tach? I'm using an AEM 1621U ECU. Thanks. -
I'm looking for help with 2 wires on the RB26 engine electrical harness, my harness has been cut up a little. The first is where the tan wire connected to both the front & rear o2 sensor goes? I know that the shielded brown wire goes to Pin 29, the shielding and Black to ground but I can't follow/read the tan wire on the available wiring schematics posted (I think that it's wire AF97 & Pin #115?, but pin 115 on the ECU plug is empty) and I believe that it's the o2 sensor heater control wire. How does the o2 sensor heater control wire work and where is it connected? I'm using the AEM 1621U ECU & Bosch o2 sensor (only one used with UEGO). Secondly I'm trying to determine where the Black/Yellow Air regulator wire goes. Any ideas? It's really a shame that the pdf wiring schematics posted aren't better quality and easily read, I've printed them & zoomed in to no avail. Any help would be appreciated. This wiring mess is the toughest part of this build!