JCan
-
Posts
196 -
Joined
-
Last visited
-
Days Won
1
Content Type
Profiles
Forums
Blogs
Events
Gallery
Downloads
Store
Everything posted by JCan
-

Newly rebuilt engine with loud tapping noise even at idle?!!?!
JCan replied to JCan's topic in Nissan L6 Forum
Thanks... The lash caps are in place. I'm really dumbfounded. I measured piston to head space and got approx 0.027 in . Maybe, just maybe the noise is the pistons crashing into the head? either way, I have to remove the head to take a look.... 2 days more of work! sigh... Jim -
Summary: After starting our rebuilt L28 the engine we heard an extremely loud tapping coming from the head. Debugging the tapping required removing the head twice and going through the head with a fine tooth comb to determine the problem. This thread documents the work we did in an effort to find the problem (of course the answer is at the end of the thread and in this summary). We found (and another member confirmed) the problem is caused by not dressing (slightly grinding) the rocker arm face that is in contact with the new lash pad such that the rocker arm touches the lash pad in the center of the cap. The new lash caps are shaped like a U, the stock lash caps are shaped like an H. The valve side of old rocker arms wear in the middle but not on the edges. When you replace the old lash cap with a new flat lash cap, the rocker arm touches the lash cap at the edges and not the middle. The reason the valves are noisy is due to the fact that you cant properly gap the rocker arm as caused by the rocker coming in contact with the lash pad at one edge and not in the center. (This causes torque on the rocker arm when the cam depresses on the valve. Take a look at pictures on page 3. The engine sound can be found on page 2 and pictures of the rocker arms and lash caps can be found on page 3. Enjoy reading the thread, if you have a problem with your valve train making lots of noise and you replaced the lash caps with new ones and did not grind the valve side of the rocker arm, then: 1) read page 3 of this thread 2) remove your rocker arms (be sure to number them along with the lash caps so you can replace them in the proper order) 3) slightly grind the valve side of your rocker arm such that you remove the high spots on the edges (make sure the rocker arm only touches the center of the lash cap) 4) reassemble, warm up your motor and carefully gap your valves Please document your findings. Best of luck - Jim On to the original thread. ________________________________________________________________________ Hey Hybrid - Z team... I'm stumped and would appreciate some suggestions. I have just started my L28 and have a very loud tapping noise. sounds like it is coming from the head, it also sounds like it is a very bad valve. but the folks that rebuilt the head are very good at what they do! Background: Engine - 1978 L28 with flat top pistons with a P90 head, milled 0.080, plus new valves and cam tower shims, compression set at 10:1, mild cam (head work done at Valley head service in LA. Carburators and Electronic ignition are working great... Just have to figure out what this tapping is... I have done the following: - adjusted valve clearance - checked the oil pressure and ensured oil is flowing through the holes in the cam. - I have removed spark plugs turned the engine with the valve cover removed. (no noise, looks like the valve geometry is good) - I reinstalled the valve cover and checked compression and have 190 - 230 psi compression on each piston. I am at a loss of what to do next, It looks like I might have to remove the head? Any suggestions would be appreciated. Thanks Jim

-
My car rides like a skateboard
JCan replied to SUNNY Z's topic in Brakes, Wheels, Suspension and Chassis
All. I recently purchased tokoko illumina springs and shocks. The insrtuctions suggest that u cut the stop in half before installing. My car isn't on the road yet so I can not comment as to the ride... FYI Jim -
I agree that a wideband sensor is optimum and will likely purchase one AFTER the car is completed. However, I plan to use the inexpensive sensors to adjust the air/fuel ratio. The adjustment : matching Air flow at 700 & 2500 RPM and Matching Air fuel mixture between both carbs using the narrow band sensor at 2500 RPM) Once adjusted, because of the nature of the carb design (needle to manage air flow mixture through all demand curves) I expect the adjustments to be optimum. Once completed, for fun, I will get access to a wideband and compare my results and post them here. Jim
-
Tony will be aluminum tubing corode? Isnt the block aluminum, i know the heads are. How long will it take to corrode? I can easily swap to stainless tubing Thanks for the feedback.
-
Checking in with progress.... I received the low pass thermostat from thermomegatech. This device is designed for 3/8 in tubing in and out. Unfortunately it is a little long to connect up this way so I purchased a special tap 9/16 - 20 and drilled and tapped the intake manifold to accept this thermostat directly. I plan to use 3/8 inch aluminum tubing and route it behind the motor to the return side of the water. Attached are pictures of the intsallation. FYI Jim\\
-
Regardless.... What you prescribed (in my mind) should work no matter what speed you travel. Cameras are so cheap right now.... Once our car is assembled, I'll do an experiment and add it to this thread (I do not expect to have the car assembled till march) FYI. You have given me great things to think about. Jim
-
Okay, On my 6-2-1 headers, we will place two bungs on the 2-1 pipe and populate with narrow band 02 sensors then measure using a multi meter. This $30 solution will allow us to tune the carbs in the garage and get them pretty close. Moving to wideband sensors is a costly approach (> 10x). I am taking this approach as I expect the money would be better toward the purchase of new seats. or other nice things we have not budgeted for. this approach allows us to eventually move to wideband sensors in the future with little modifications to the car. Thanks for your inputs. Over the months during re=assembly of the car I will continue to research wideband O2 solutions. Jim
-
WOW! This is a great idea. I could place a camera and focus it on the shock and add a measuring stick to look at what each shock does as a function of speed. Regarding alignment, you suggest I align all 4 wheels to stock specifications at speed? (50MPH for street and 100MPH for racing ?) thanks Jim
-
I will add the air dam and aluminum ducting from the air dam to the radiator. However your comment on running the front suspension toe in resonated with me. Once the car is assembled, (March 2013) I will attempt to try running it toe in a bit and testing it at high speed. Thanks Jim
-
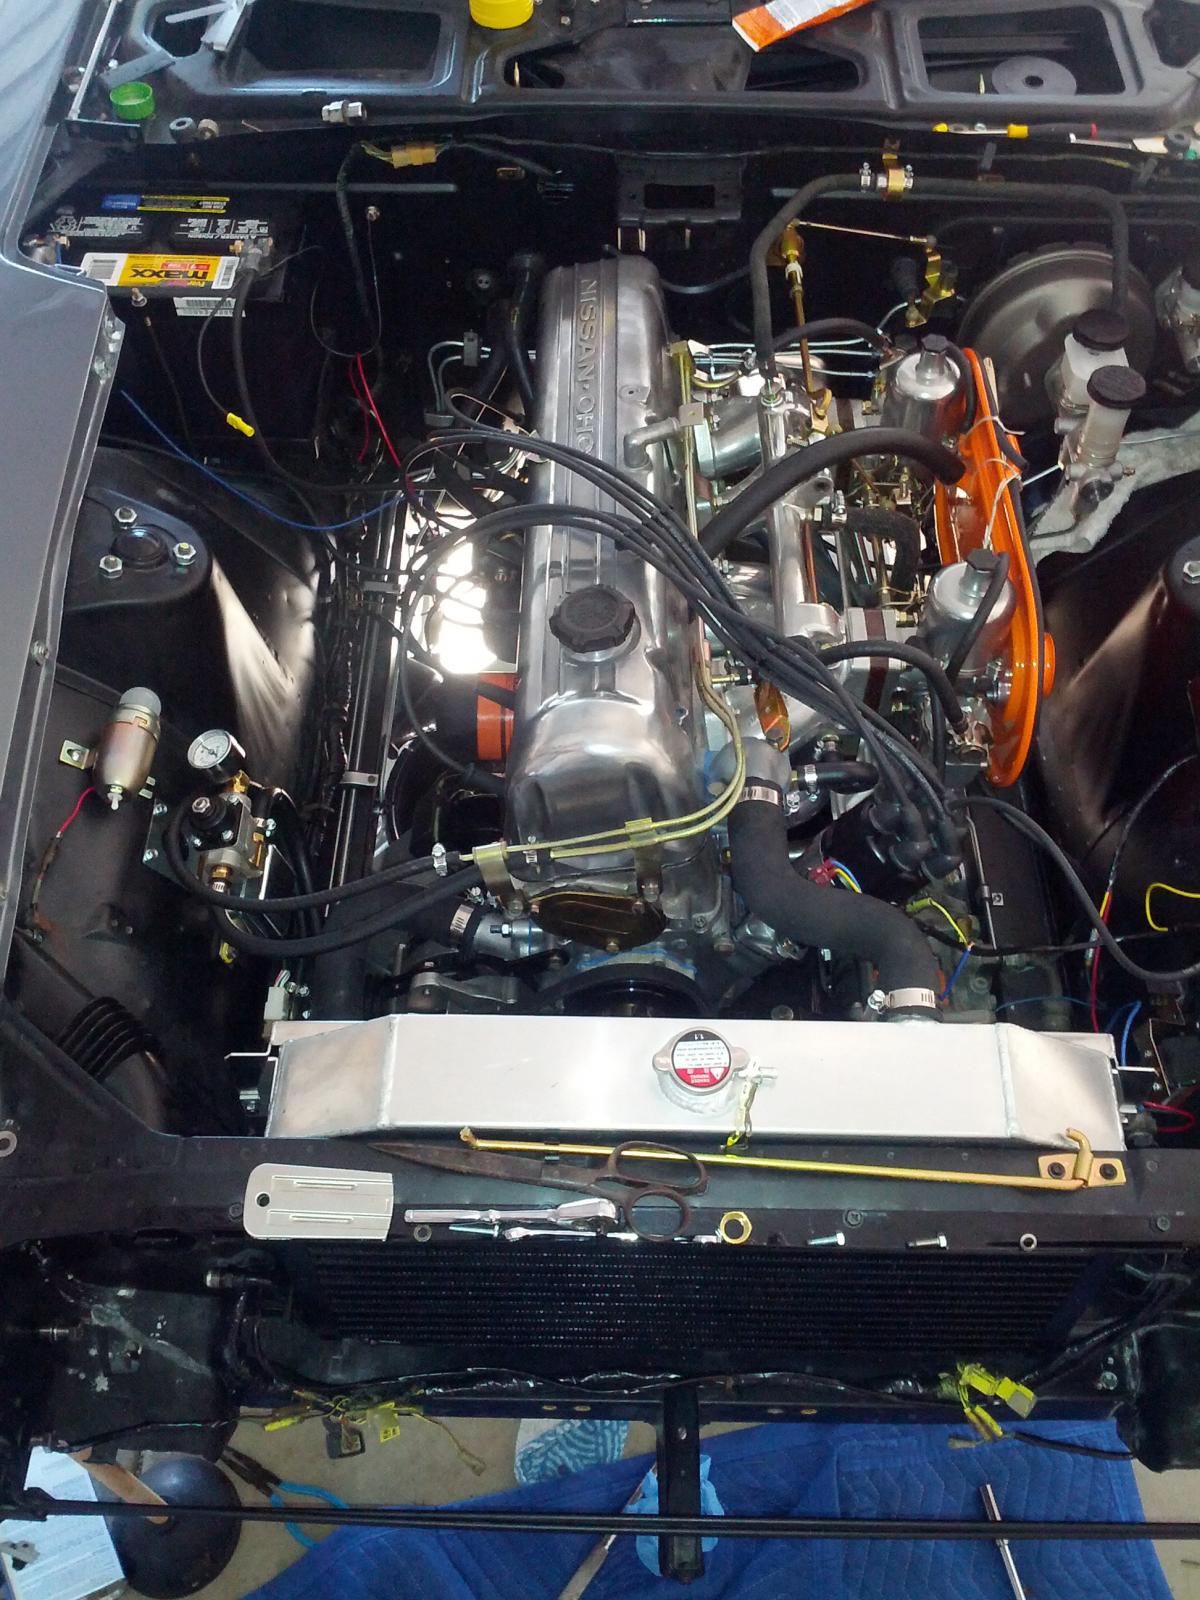
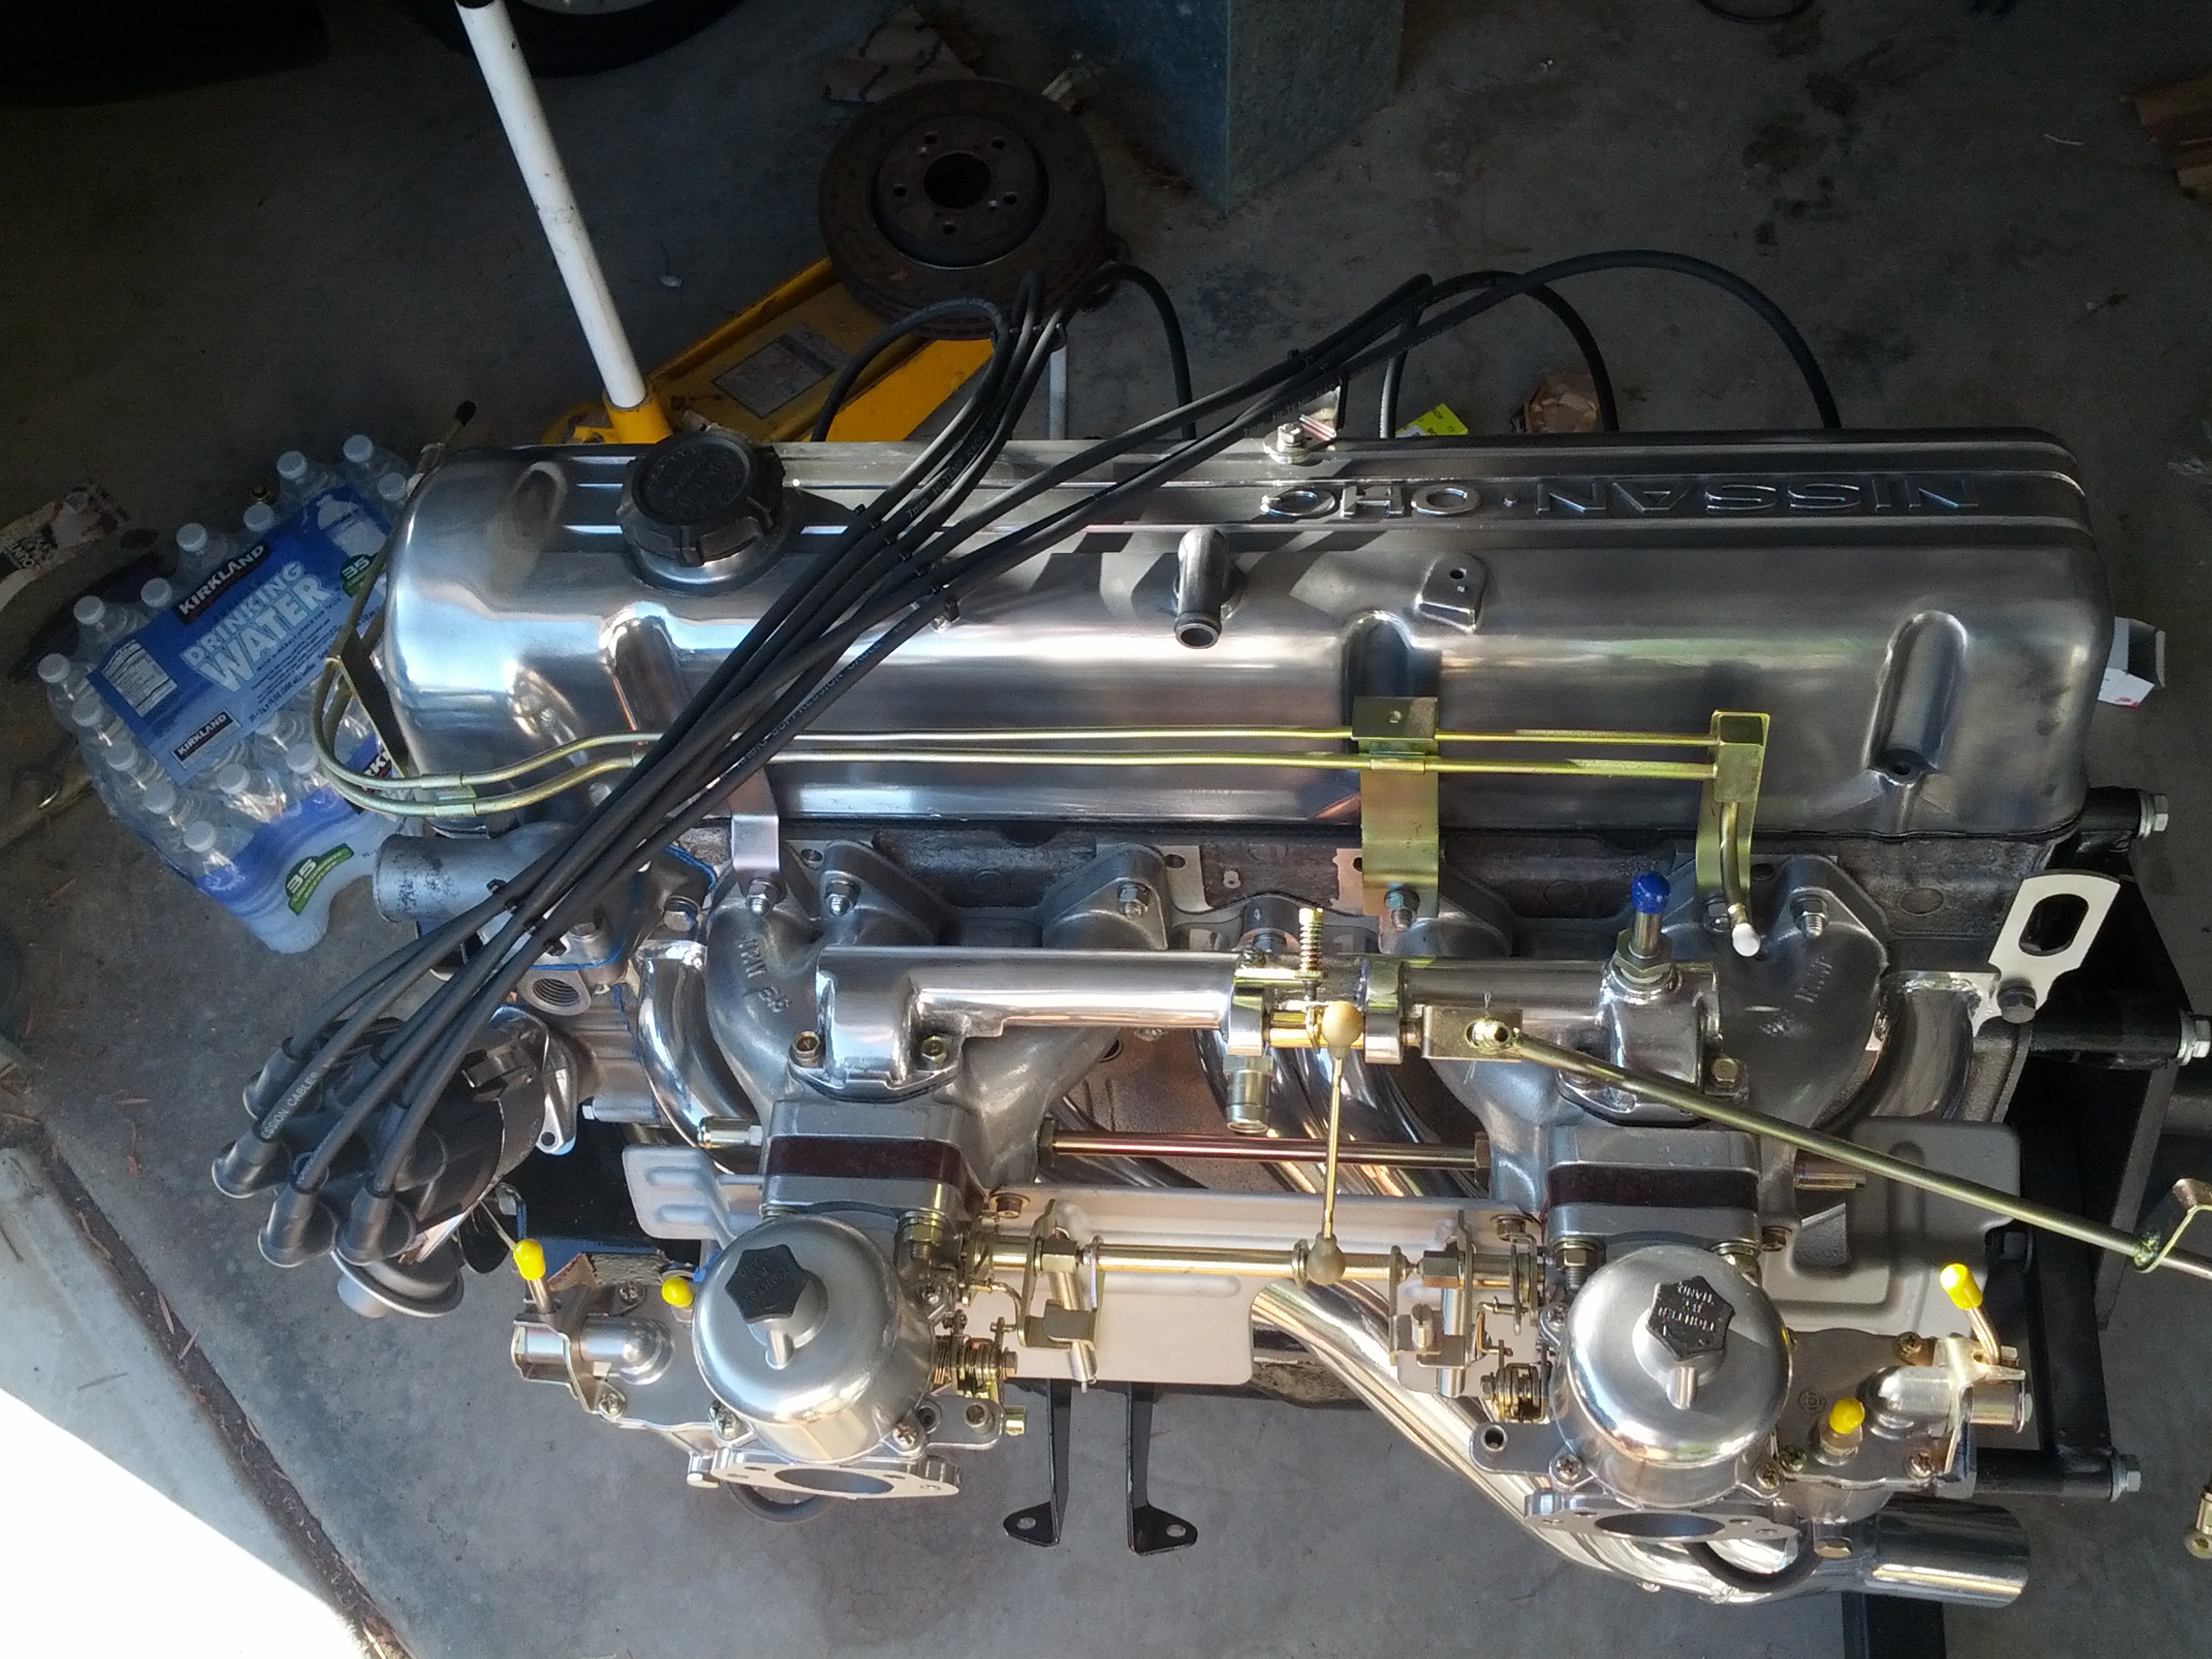
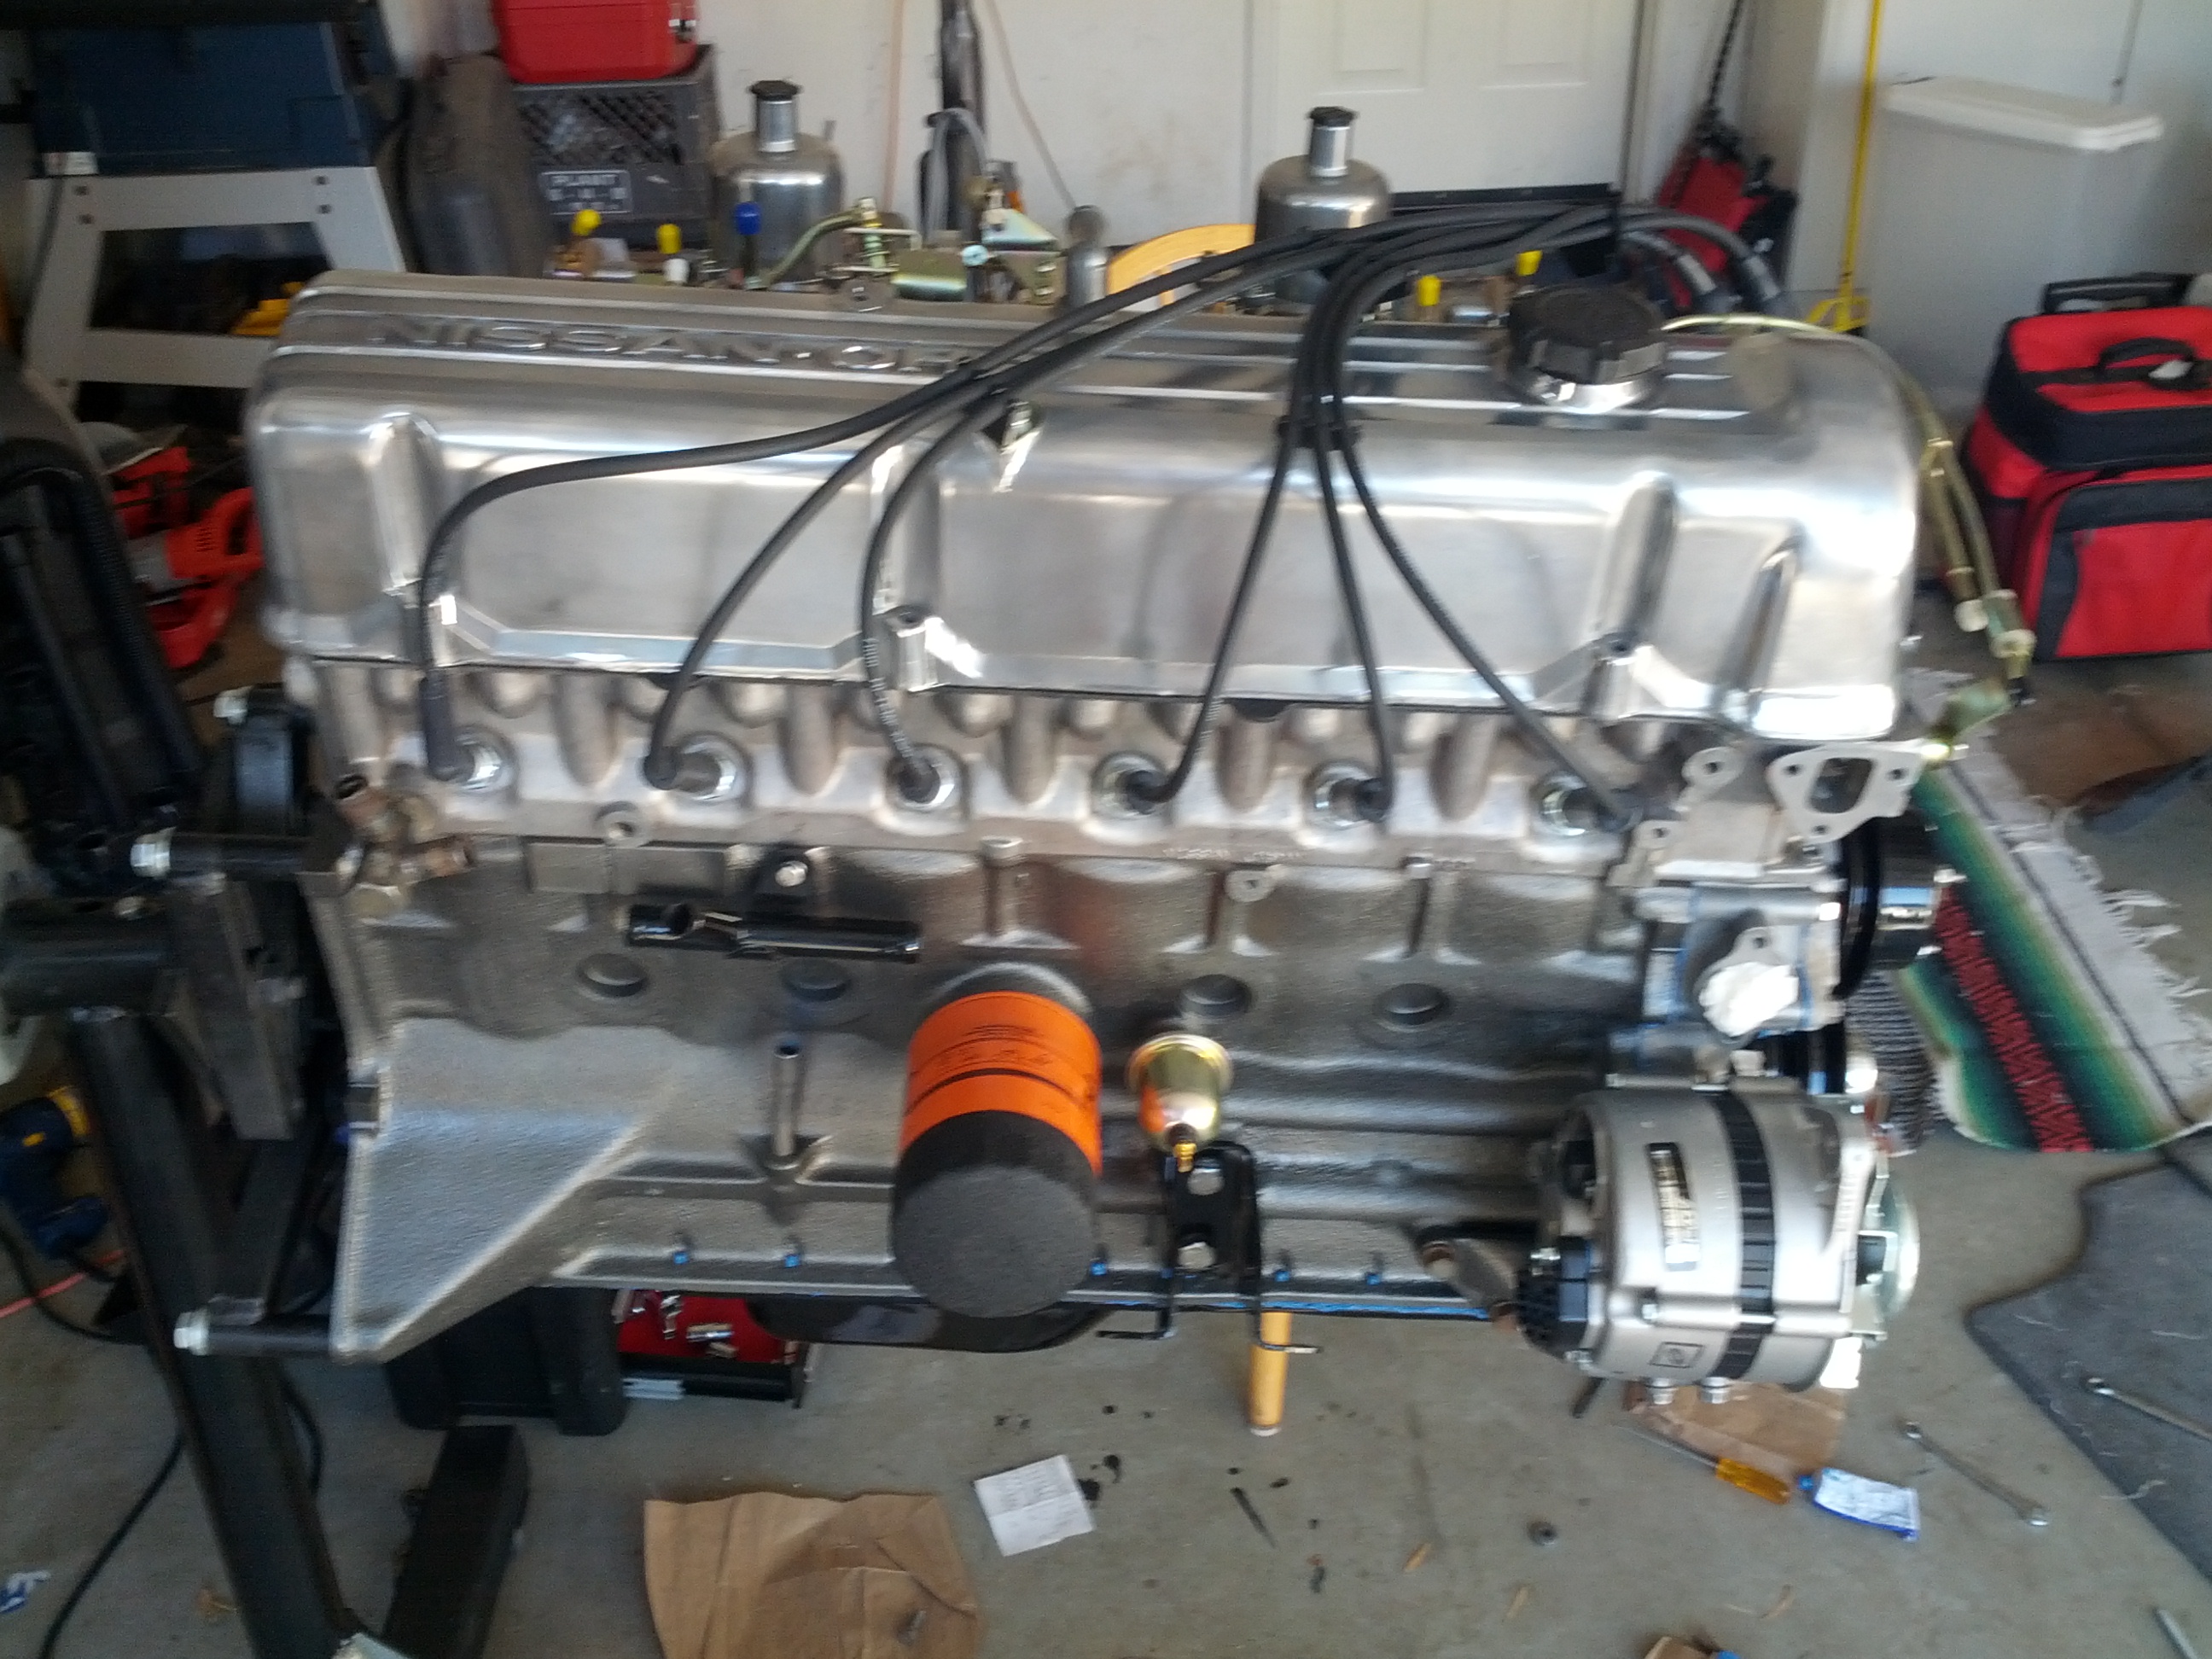
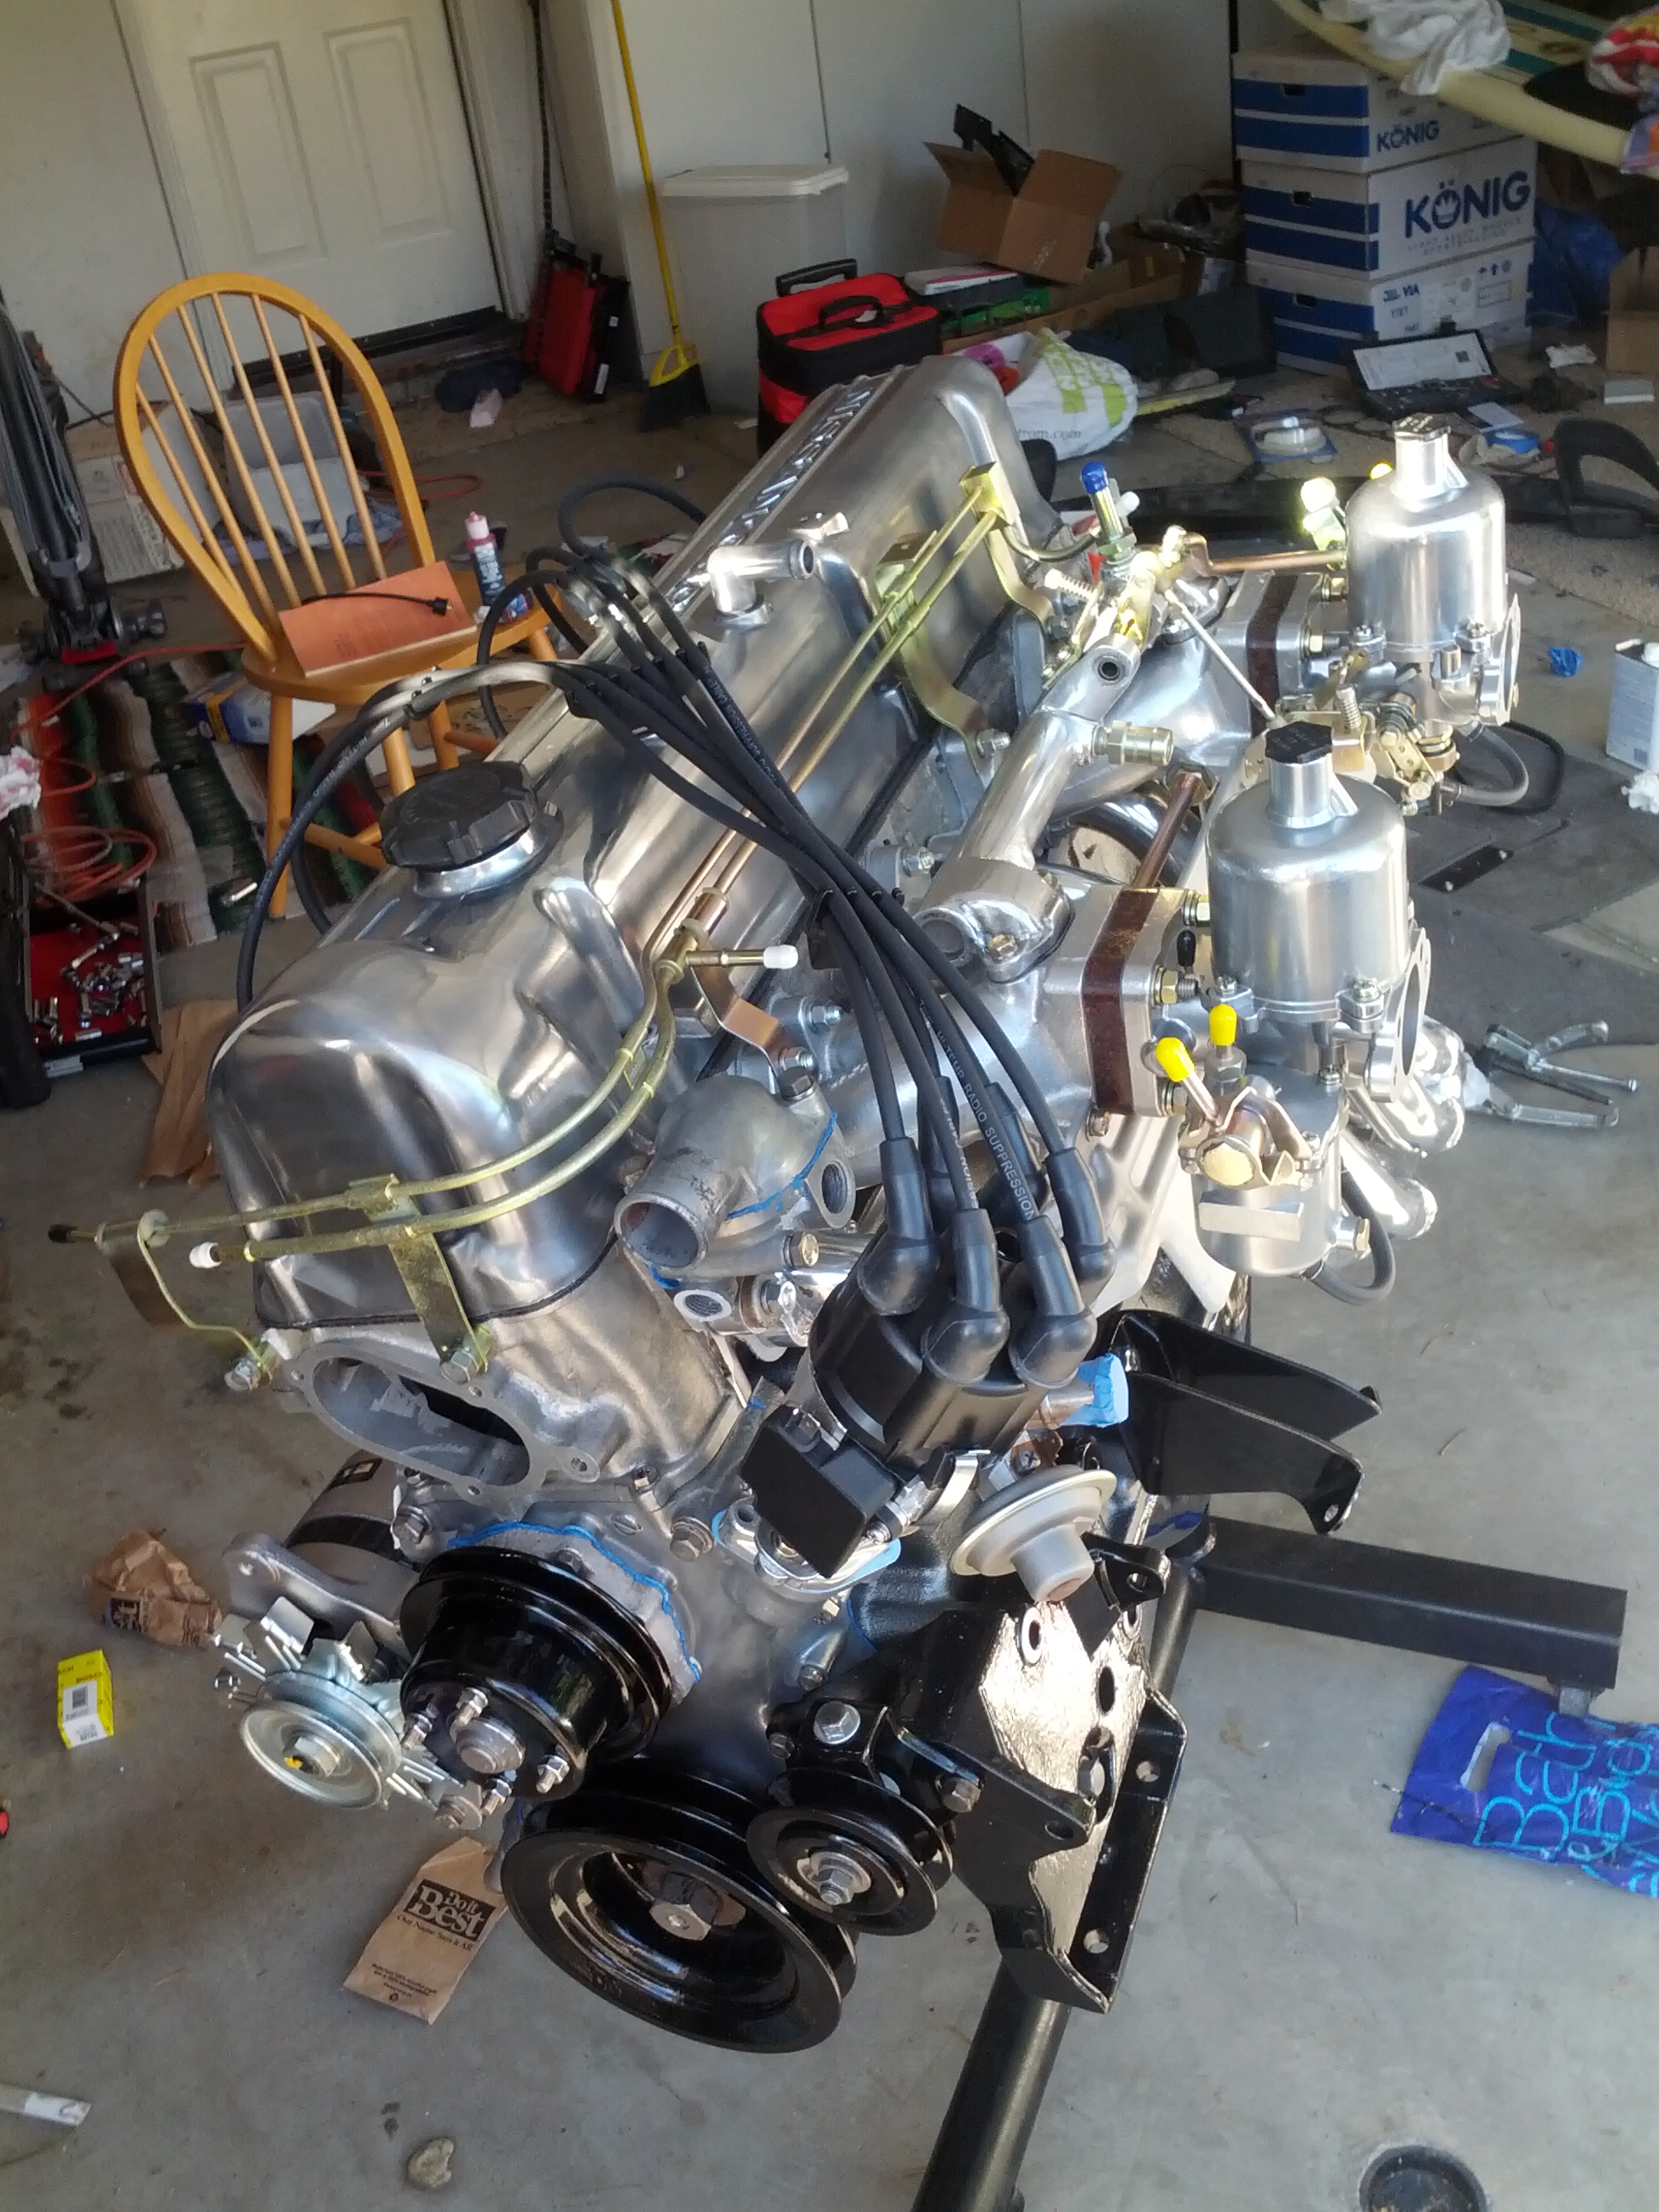
John C I purchased Ztherapy carbs and Steve modified needles based on our discussion of engine size, cam, and compression ratio. I expect that I will not need to mess with the needles. As you know, there are adjustments that I can make and need to be made once we start the engine up. These include float bowl level, linkage (both at idle, 2krpm, and choke) and most importantly, fuel mixture (the screw on the bottom of the carb). It is the setting of the screw at the bottom of the carb that i am referring to (and also balancing float bowl level between the front carb and the rear carb). I think I might be able to spend a couple dollars ($30 for 2) and dynamically measure the fuel mixture with the car under load (driving up hill at constant speed for instance) and compare the front carb setting with the rear carb setting and adjust. What do you think? Attached is a picture of the motor we are building. Jim
-
Over the past couple of days, I have been reading about 02 sensors (wideband vs narrow band) and how they can be used as feedback to adjust air/fuel mixture. Really cool stuff!. I have also learned that a narrow band 02 sensors were inexpensive and one could use a volt meter to read the result. We are running 6 - 2 - 1 headers on our L28 with dual SU carbs. And the ex-manifold combines cyl 1,2,3 and cyl 4,5,6 into separate tubes! Am I correct in thinking that If I placed two O2 sensors in the 2-1 pipe that I can measure and adjust fuel mixture of each carburetor at idle/3000rpm using my volt meter? (noting the SU carbs air fuel mixture is only adjustable at idle and when driving). I would greatly appreciate your input on this Thanks Jim PS I plan to take the car to a dyno shop anyway, they will mostlikely remove my sensors and place their own wide band sensor... right?
-
Zippy. Nice pistons! how did you do it? did they really kiss the head? what was your piston to head clearance? I am building a motor now, 2.8 with flat tops. Measured piston to head gap is 0.030 to 0.026. P90 head, This is the first time I have have designed the engine to have squish. Franky. I contend that you should continue to use the cast pistons if you are going to use the car for street and if your cam does not have intake/exhaust valve overlap (a mild to close to medium cam). Jim
-
For what it's worth. Back in the day, my brother and I used cast pistons on our '72 240z(s), and I chose them for the rebuild I am doing right now with my son. My brother's car was very balanced. He raced through 8k RPMs all the time (street) and didn't have a problem the thing ran like a top! His engine was 11.5:1 2.8:block, flat top pistons, 0.327 lift and ~280 duration. Intake, tripple webbers, stock exhaust manifold mated to a 3" exhaust pipe (helps out at the high end I think). We used chromium rings (require more time to seat, but once you do they last a long time!). We used a 4 row radiator to keep engine cool. On my car, I also used cast pistons in a 2.8L motor, turbocharged to 14PSI. I did break my pistons once when street racing a porche turbo. ( My car pre-detonated in the middle of the race (I ran out of water), after engine disassembly, I found vertical cracks along the side of 2 pistons which started at the top of the piston side and ran through the first and second ring (including cracking rings). I purchased a new set of pistons, checked the rods and crank (they were fine),and reassembled the engine). This is the only time I ever broke a piston. My car was a daily driver and I liked street racing. One last thing - Back in the day, Forged pistons were noisy as they clacked against the cylinder walls. The majority of this noise went away once they warmed up. I hear today's forged pistons do not expand as much as a function of temperature. If you are not building a car designed for racing only I would save the money and use cast pistons. They are inexpensive, quiet, will take 8k RPMs as is my experience. FYI - Jim PS - Try cast, if you break a piston, no big deal, Right? This car is so easy to work on, 10 days and you'll be back on the road.! PSS - it is fun to race next to guys driving V8s, once you start pulling away and continue revving through 8k RPM. In the heat of the race, some of your opponents will try to copy (let the engine run to high revvs) with sometimes disastrous results....
-
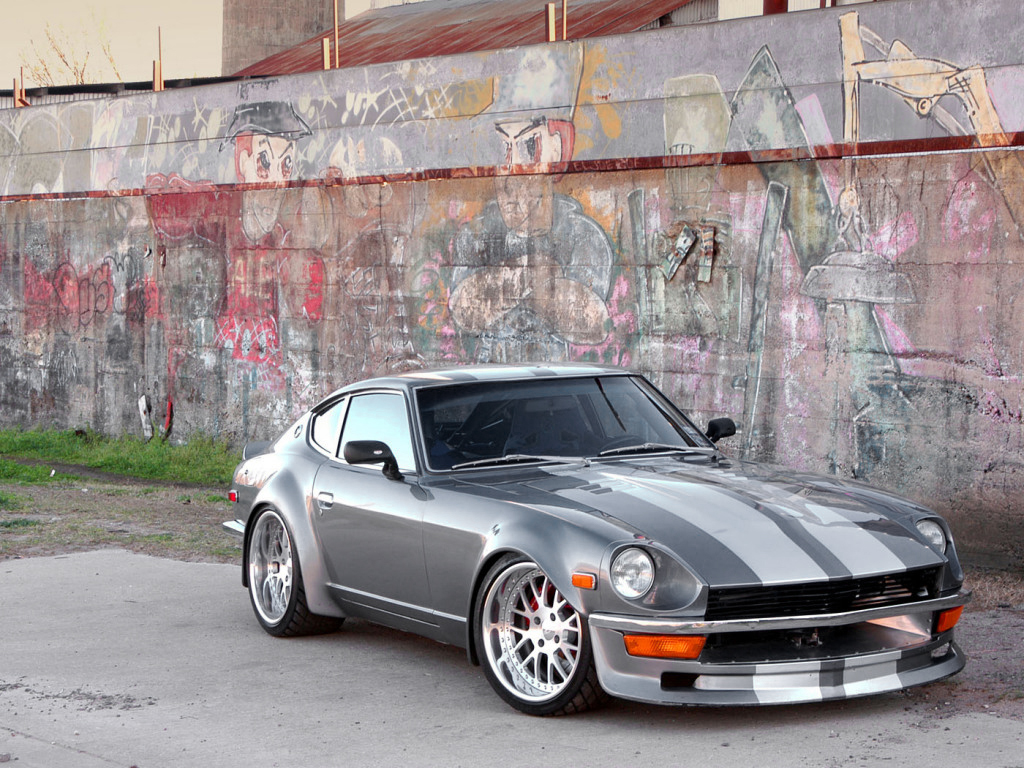
Vega's car is 40 years old. I am sure during its 40 years somebody got ahold of the head and added a mild cam and possibly increased the compression ratio. 130MPH should be easily possible on the car. Regarding how a z handles at 130MPH well it is my experience that the car floats. I am also very interested in learning how to better handle air around the front of the car. Referring to the below picture. Notice how the aluminum is fitted ontop of the air dam and (if you look closely) runs all the way back to the radiator. I think this is what people are talking about. On the car my son and I are working on, we are planning to put the aluminum underneath the top lip of the air dam as I believe it will make mounting the aluminum (sides) onto the bumper brackets and center bracket easier. Jim
-
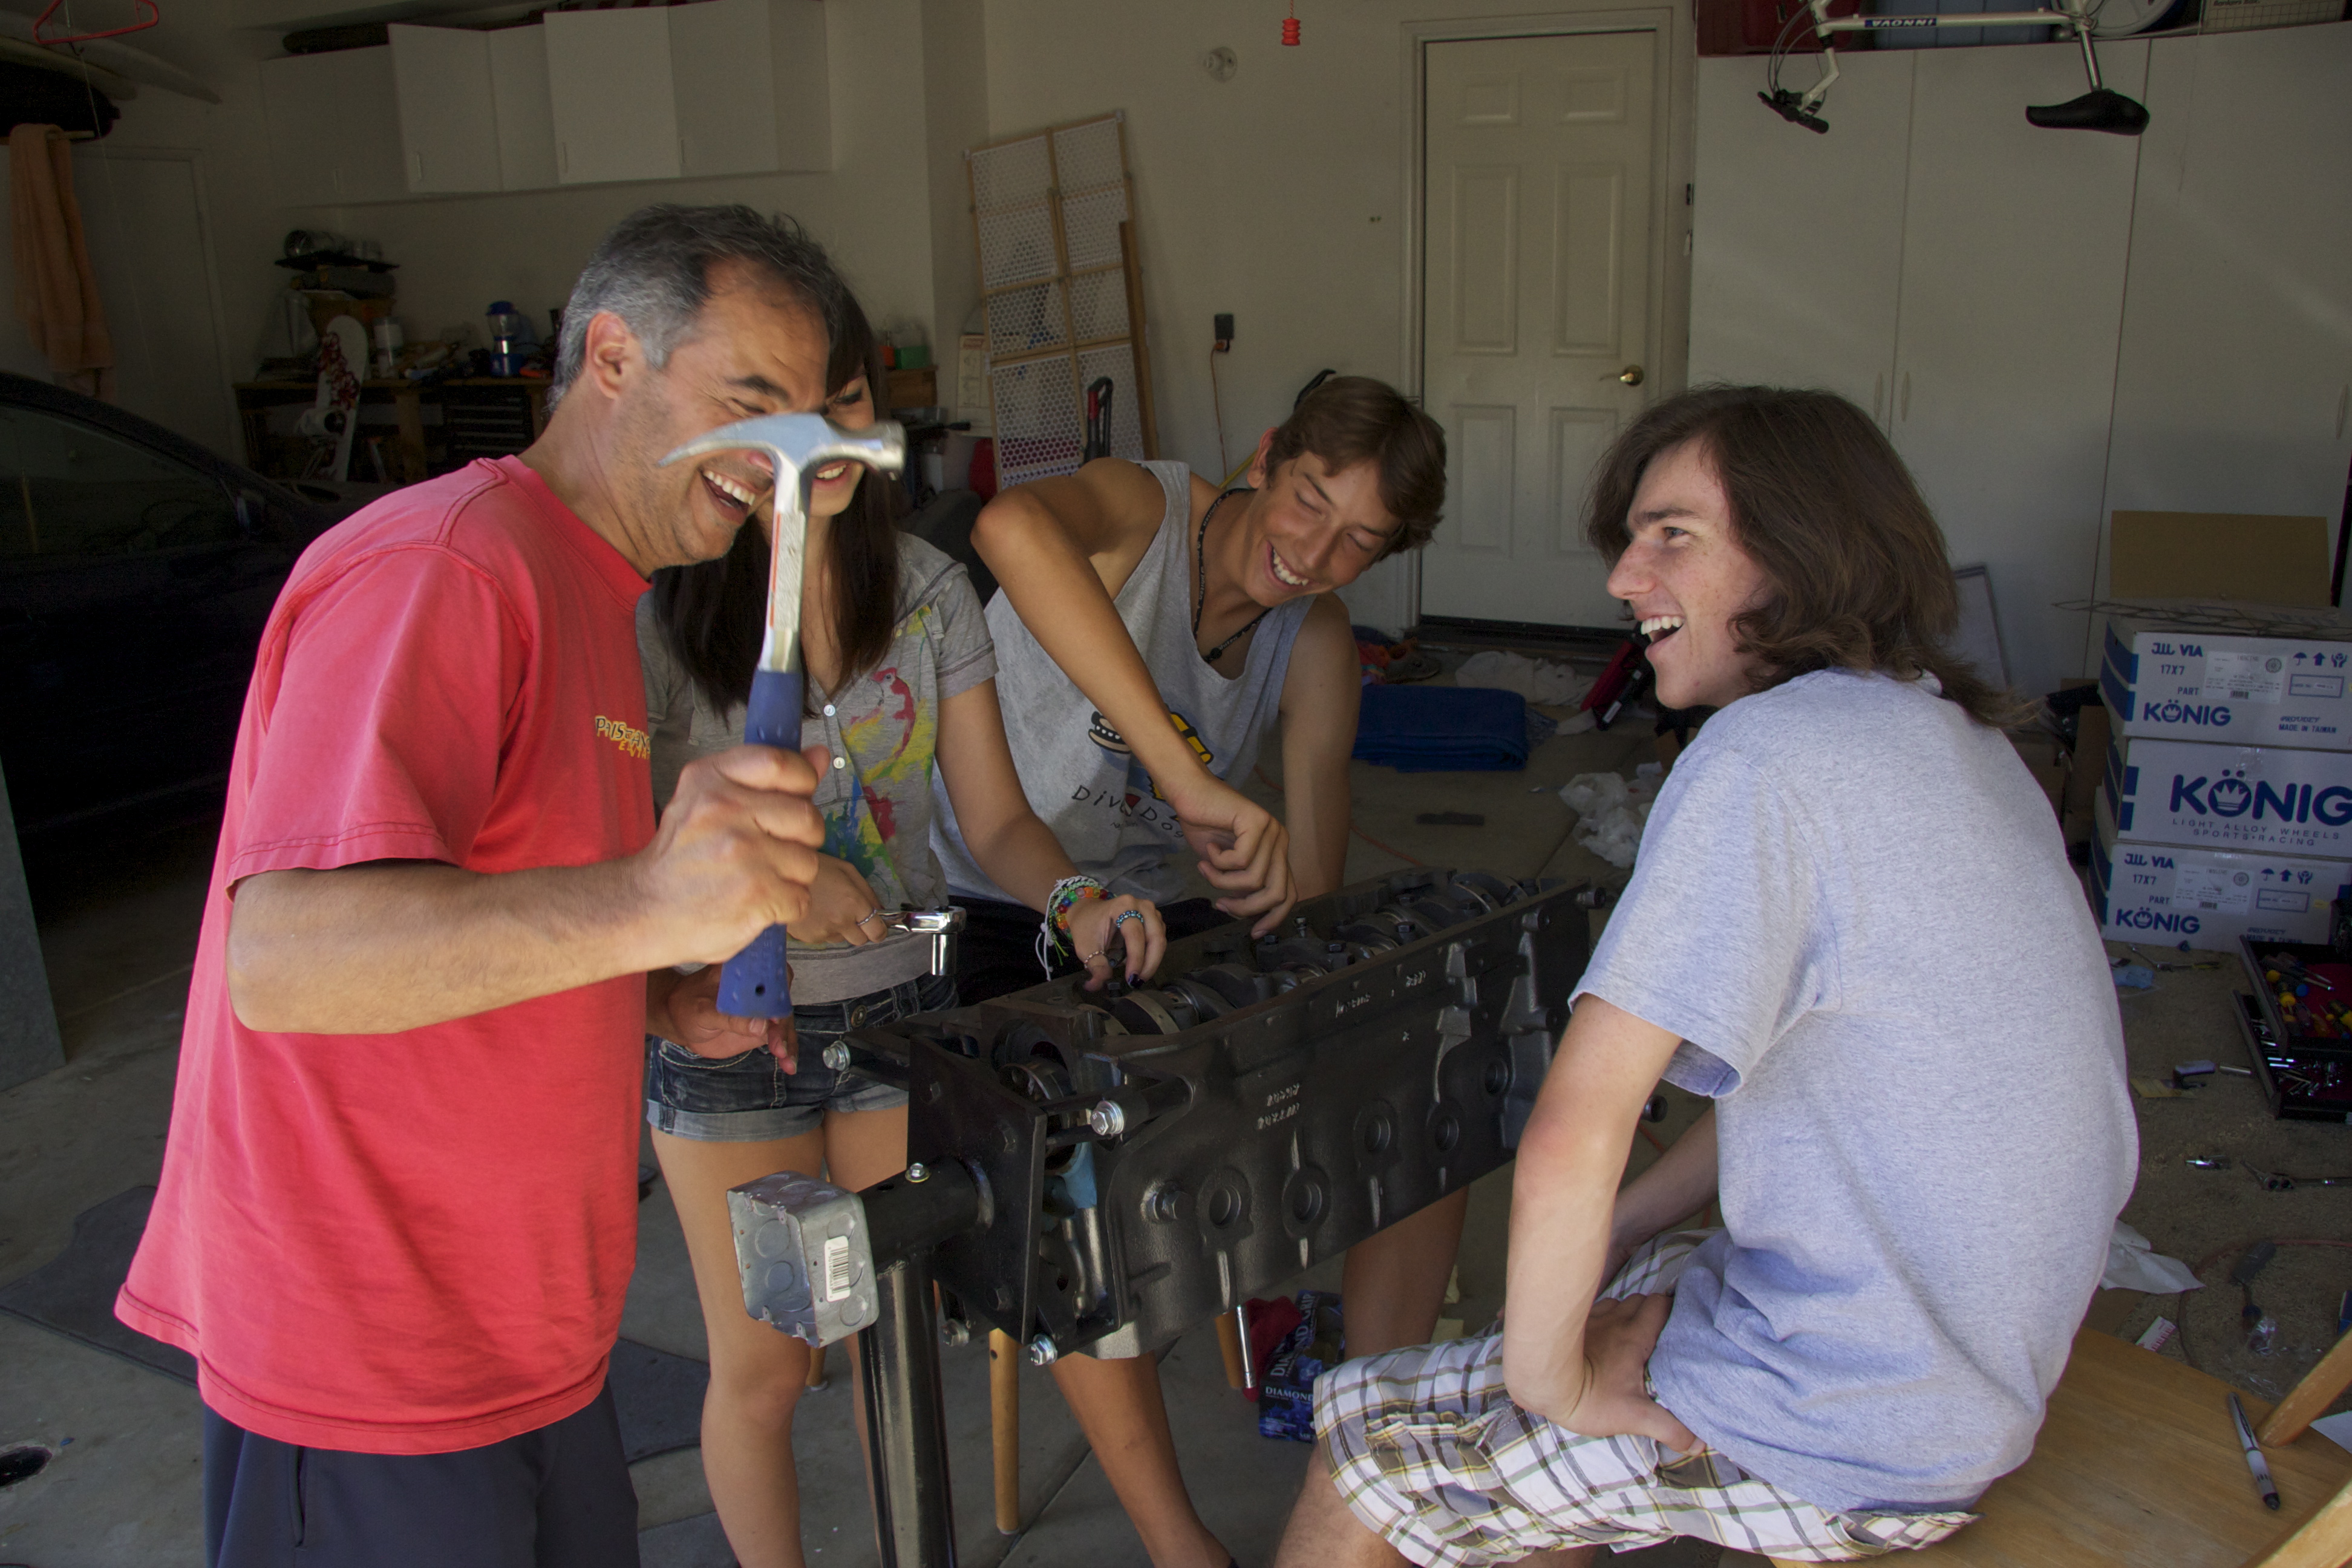
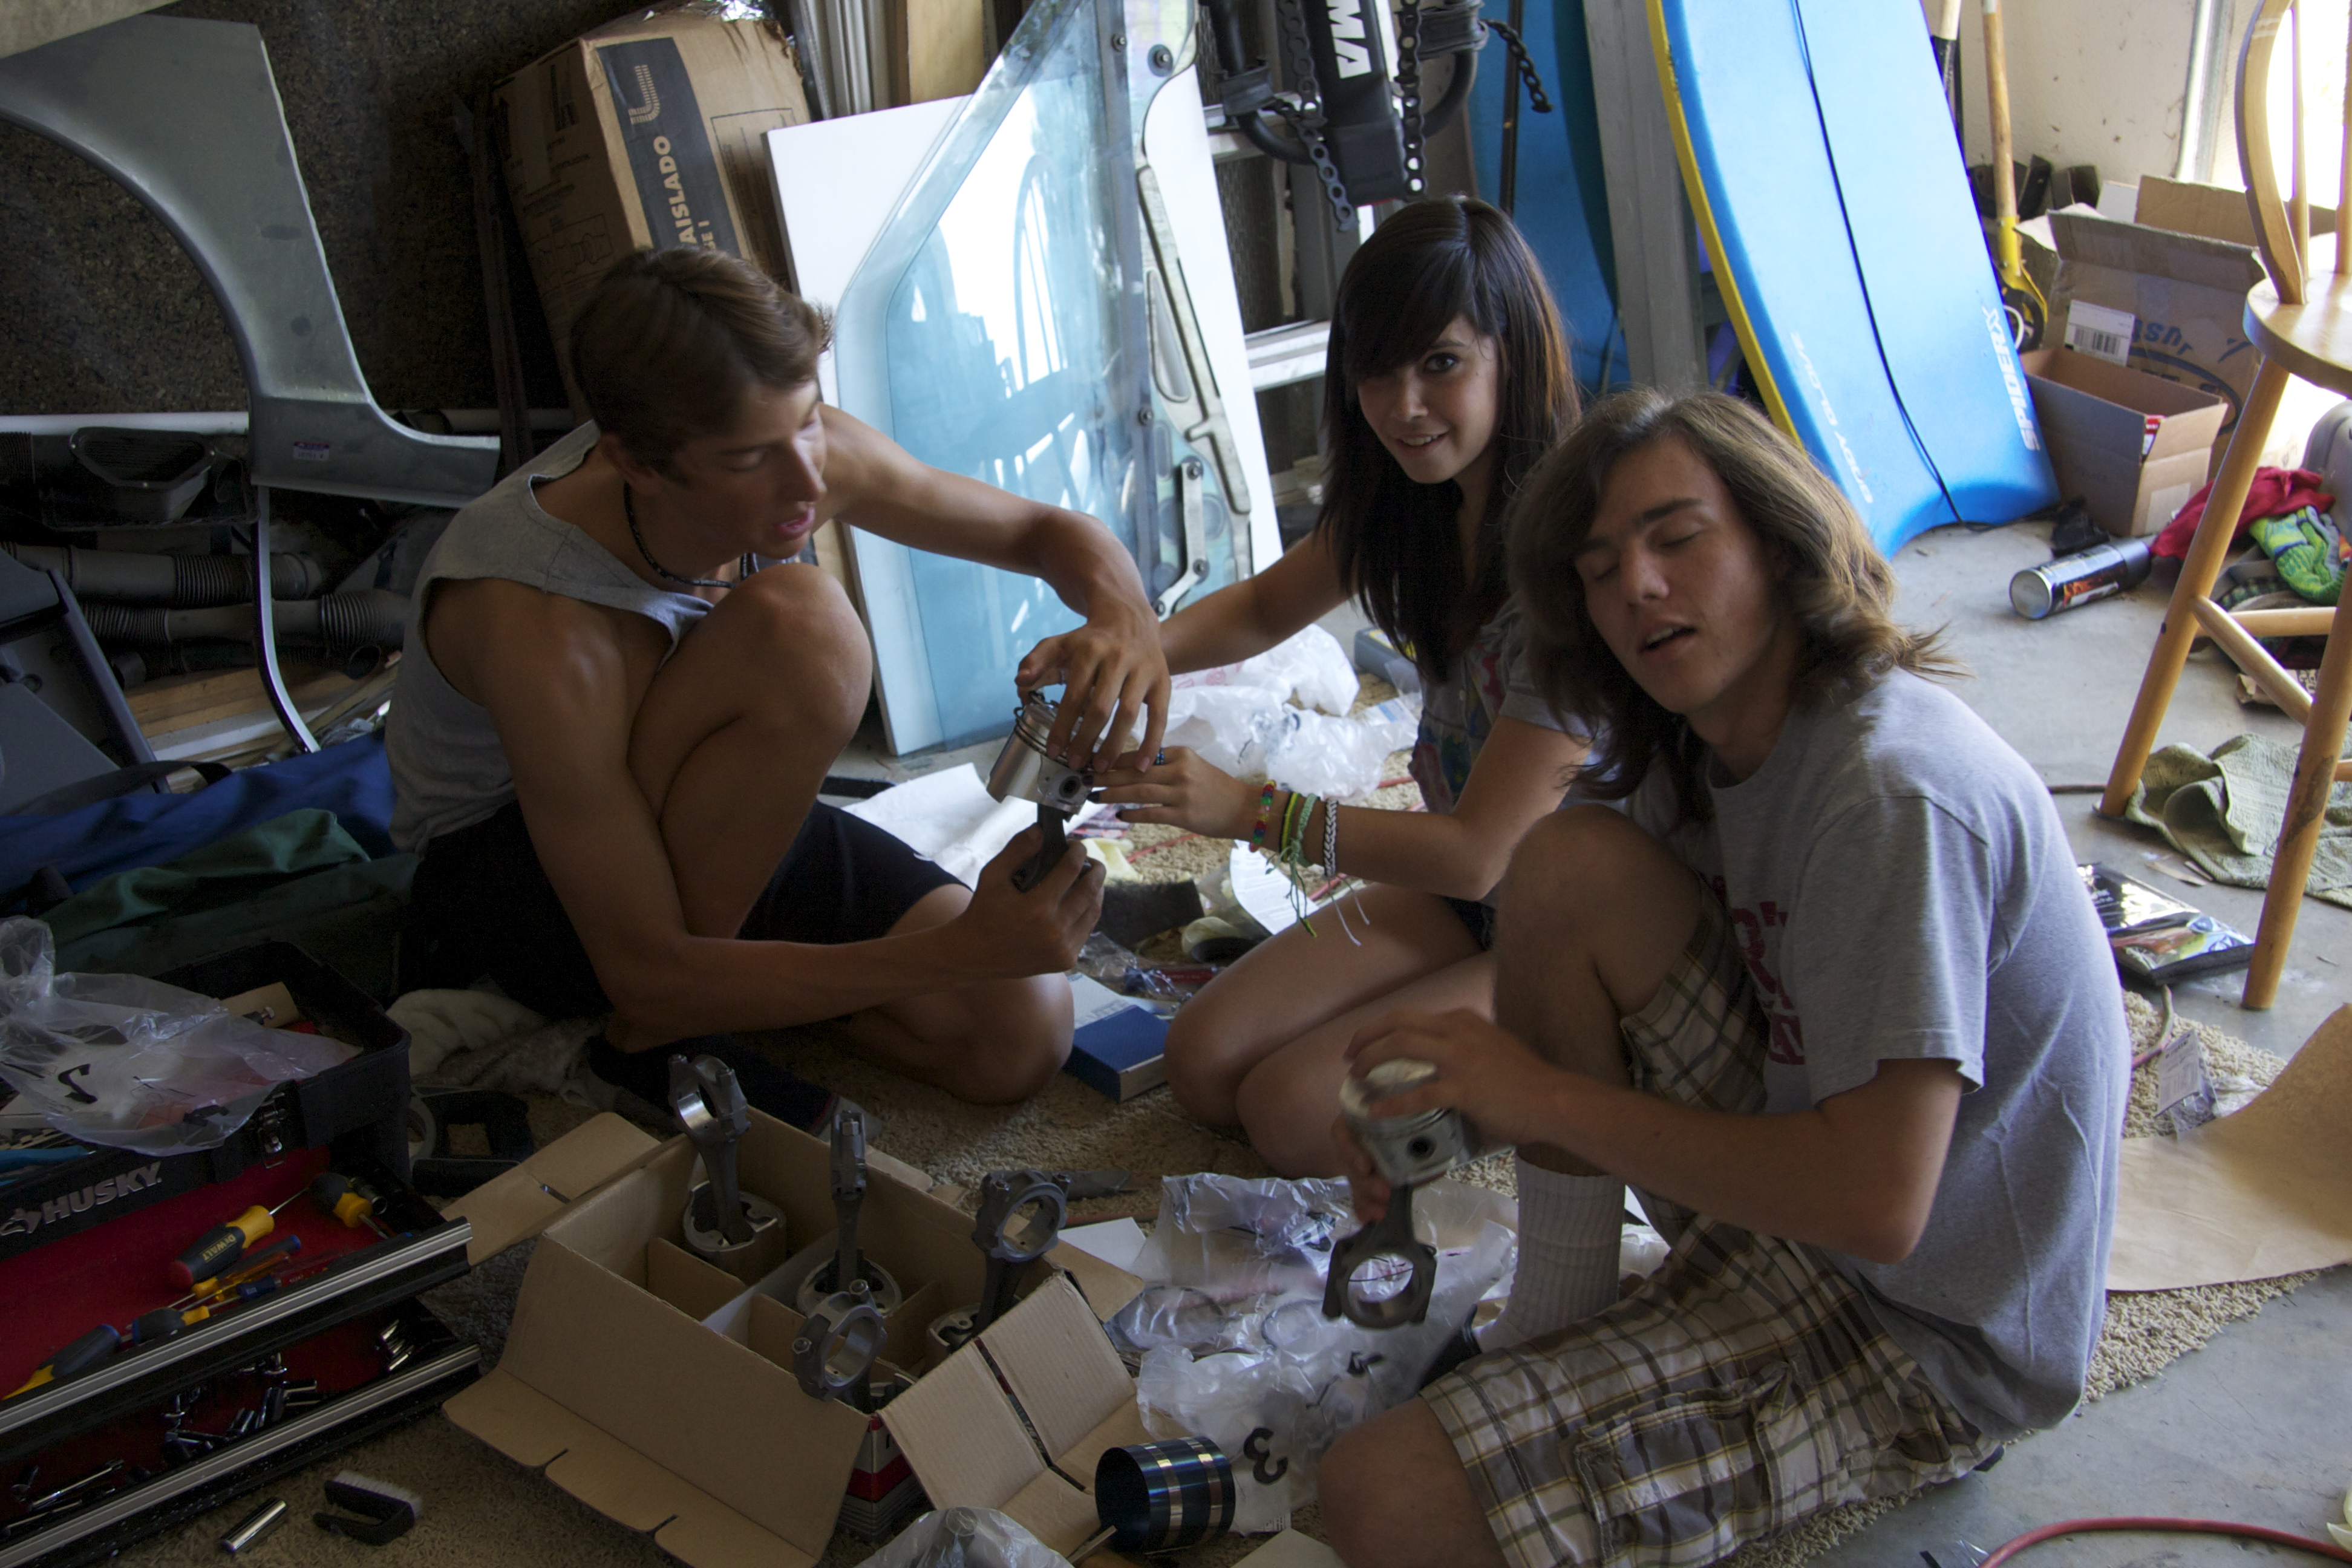
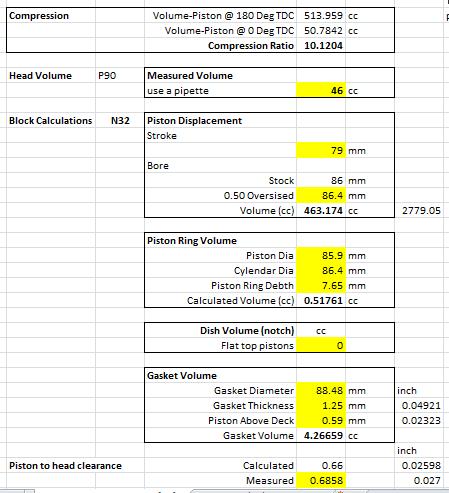
Brian and I next focused on the Engine, Transmission, and Rear end. We found a 5 speed transmission for $150 on craigslist and purchased rebuild kits from Drivetrain.com and had a shop rebuild both. The engine was the fun part. There are many ways to set up a Z. Everything from Stock to a supercharged V8. As this is a car for my kid, I am more interested in the process than building a rocket. Additionally we chose to keep the car as close to stock looking as possible while paying close attention to coaxing the best performance we could from a 2.8 block . Datsunzgarage.com is really an amazing resource. Back in the day (80s) my brother and I both had '72 240zs. His - 2.8L Webbers, 11.5:1 compression, Cam, balanced (so well he would race to 8k RPM before he would shift). Mine was a 2.8L, fuel injected, turbocharged, monster that would pull your head into the soft recaro headrest then pull the skin off your face distort as turbine delivered its 12-14 PSI boost. Back to today... For my son, we decided on building the motor at 10:1 compression and limiting horsepower by using SU carbs. Additionally we have a goal of using regular gasoline. Using DatsunZGarage as a resource, we swapped out the dish pistons for flat top pistons and swapped the head for a P90 head and milled it 0.080 to give us the compression we designed AND to ensure we had a piston to head clearance between 0.030 and 0.022 to have the proper squish (look it up) to keep the engine from detonating. As this car will be a daily driver, we chose an isky cam. Valve lift is 0.480 with semetrical duration at 280 deg. Carbs were done by ZTherapy and electronic ignition distributor was done by Advanced distributors. In summary- N42 block, P90 Head, 280zx electronic ignition Distributor, 4 screw 1970 SU carbs with modified needles, 6-2-1 headers running 10.2:1 compression and controlled with an Isky cam. Machine work was done at Vally Head Service in the san fernando valley (LA). The bottom end was balanced and the head was milled, I ordered special cam shims to raise the cam and had the head completely rebuild valves, seats, springs etc (note - I did not have the intake/exhaust ported or polished). AFter this work was completed, we took the parts home for assembly. During assembly we measured clearances (bearings, Piston/head) and came up with a 10.2:1 compression (attached spreadsheet). We completed it all over the weekend and had a great time (my kid, my brothers kids, my brother and I). During assembly we measured as many clearances as we could find to ensure the engine was within spec. It took some time to find / clean / polish / paint the remaining hardware that is required to complete the engine. we had the valve cover and front cover bead blasted then ran a buffer to close the pores and provide a shine. Misc parts were slow to come. Front pulleys and tension bars were powder coated, the air cleaner was cleaned and is currently being powder coated the original orange in preparation for final assembly. Pictures are fun! Also... I tried to upload the excel spreadsheet I used to calculate compression ratio, however I do not have permission, therefore I took a picture. If you email me I will send you a copy.
-
I wish the shop was mine. I am using a body shop in Santee, Marck Motors Body Shop (talk to chris). It is a production body shop with a couple amazing craftsmen working on the car. Chris and took the job as filler work consequently they have had the car from may through end of October 2012. - FYI Jim
-
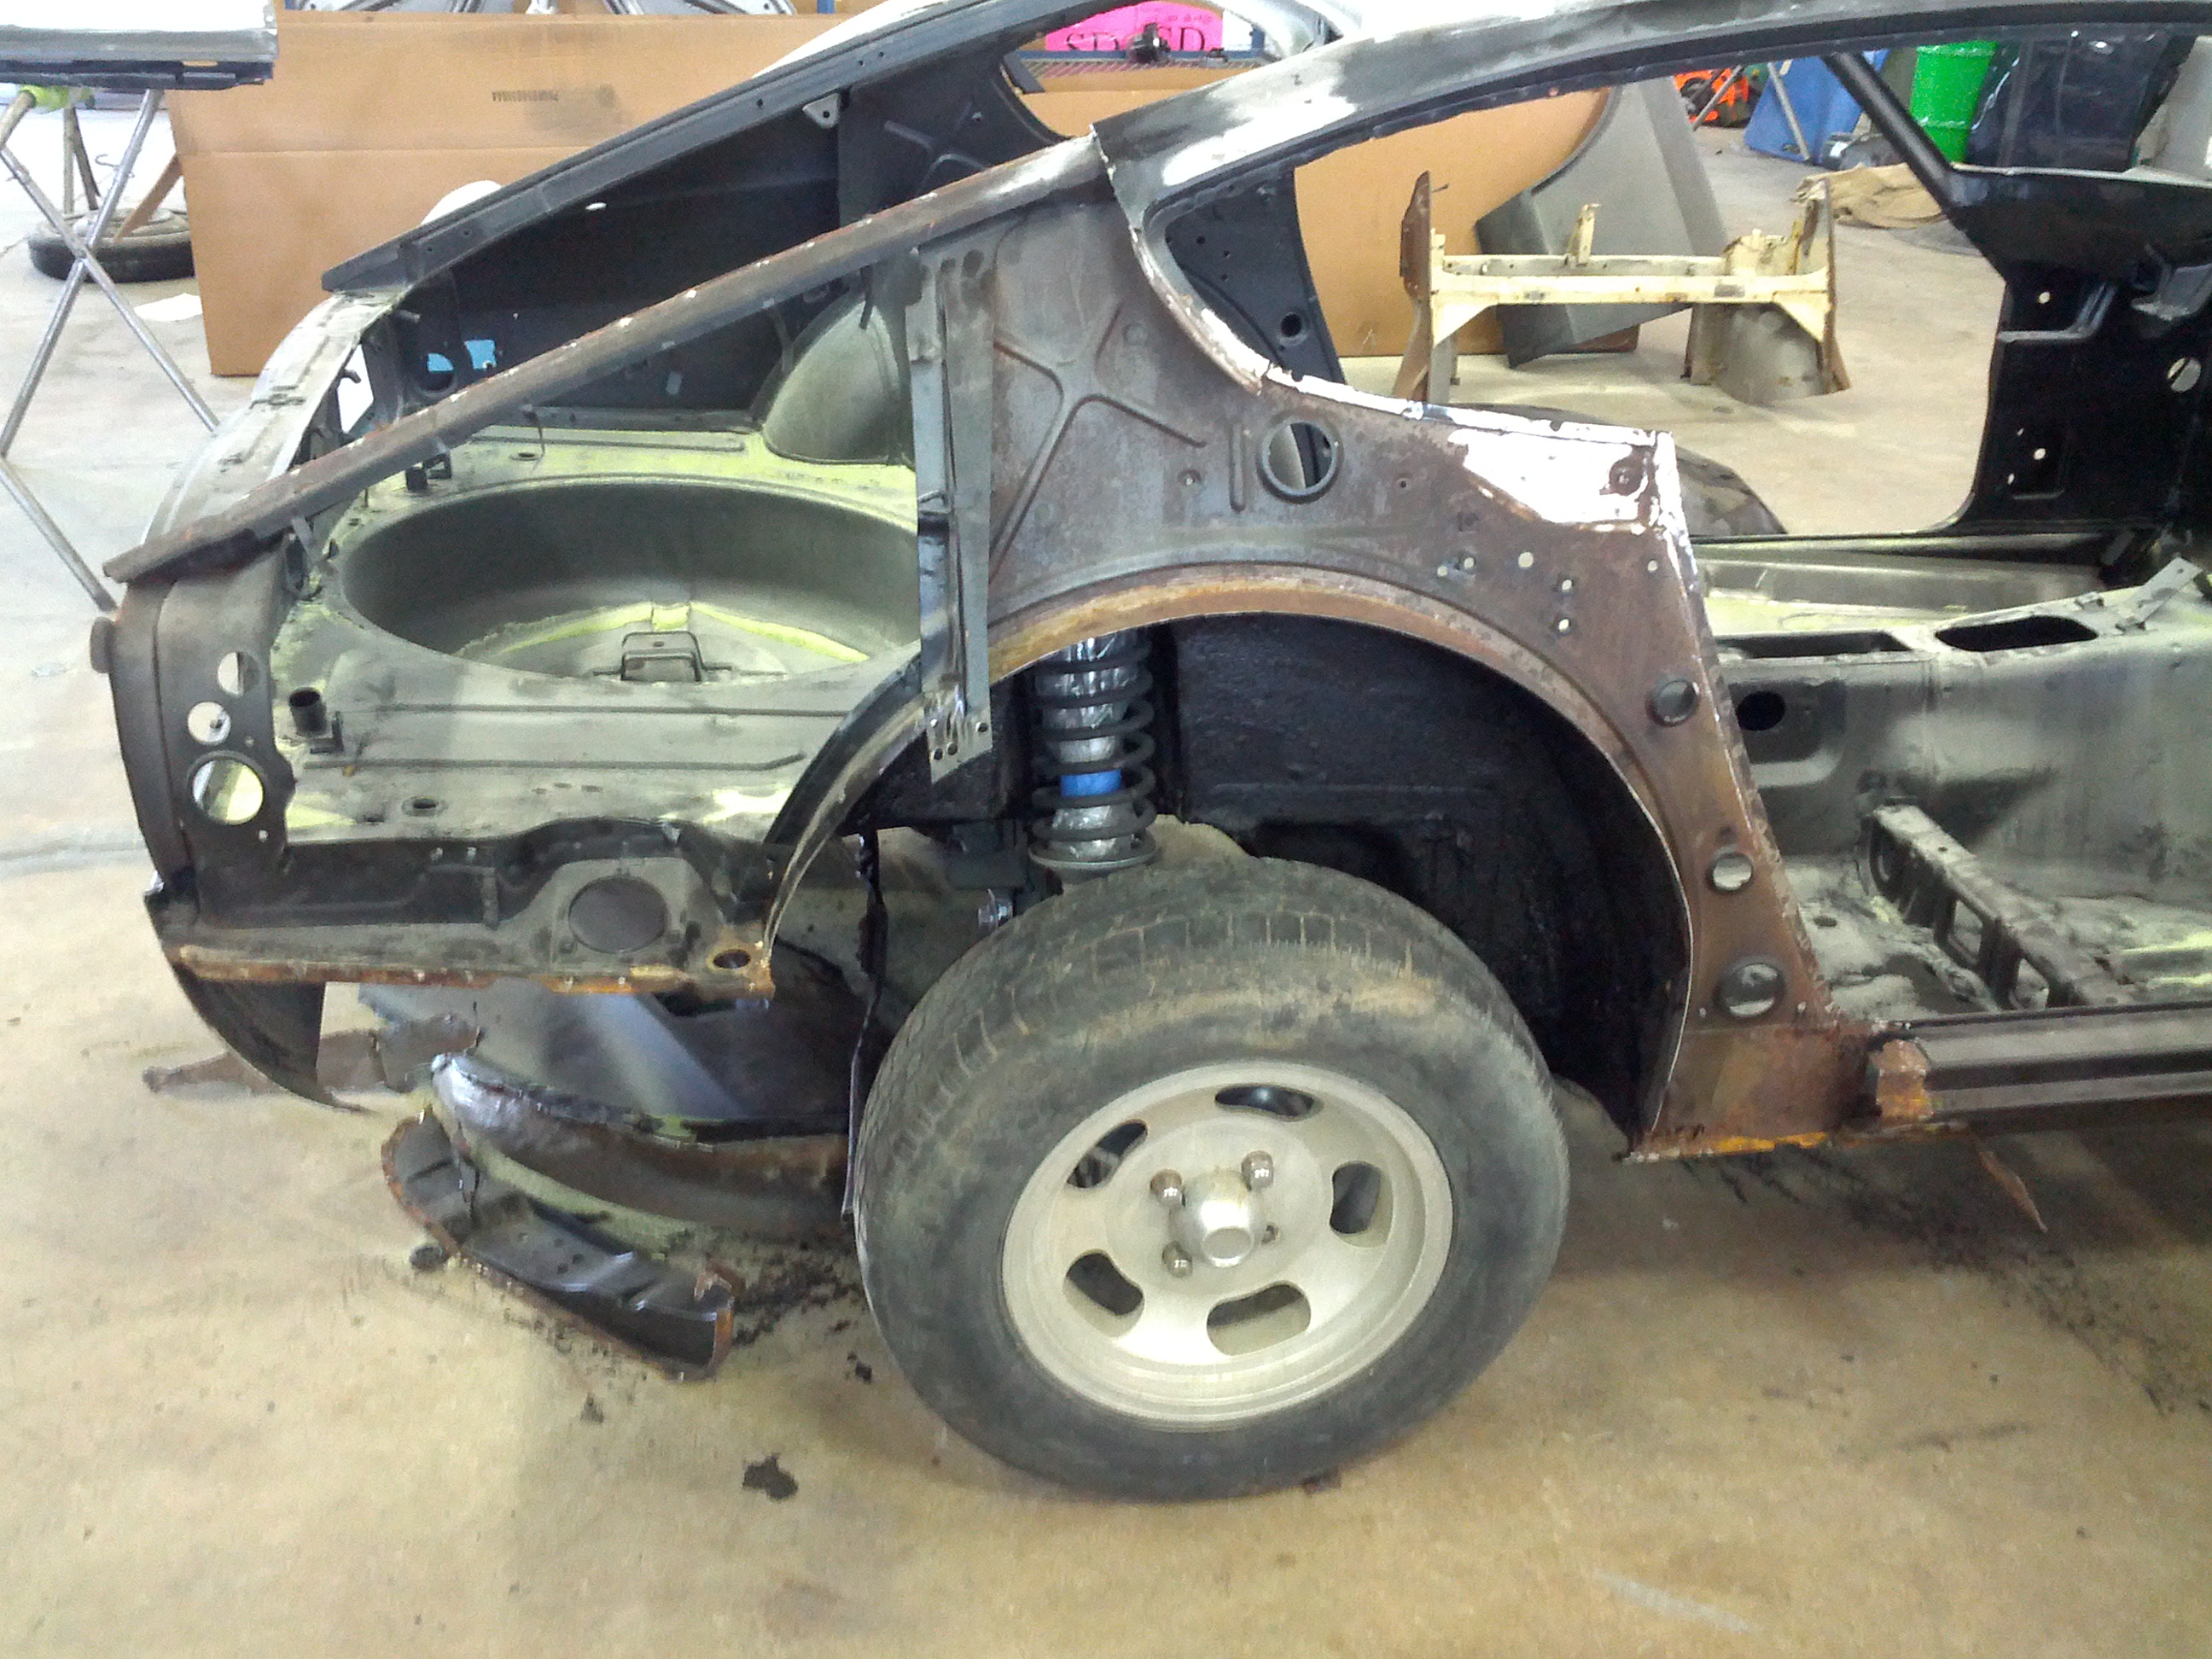
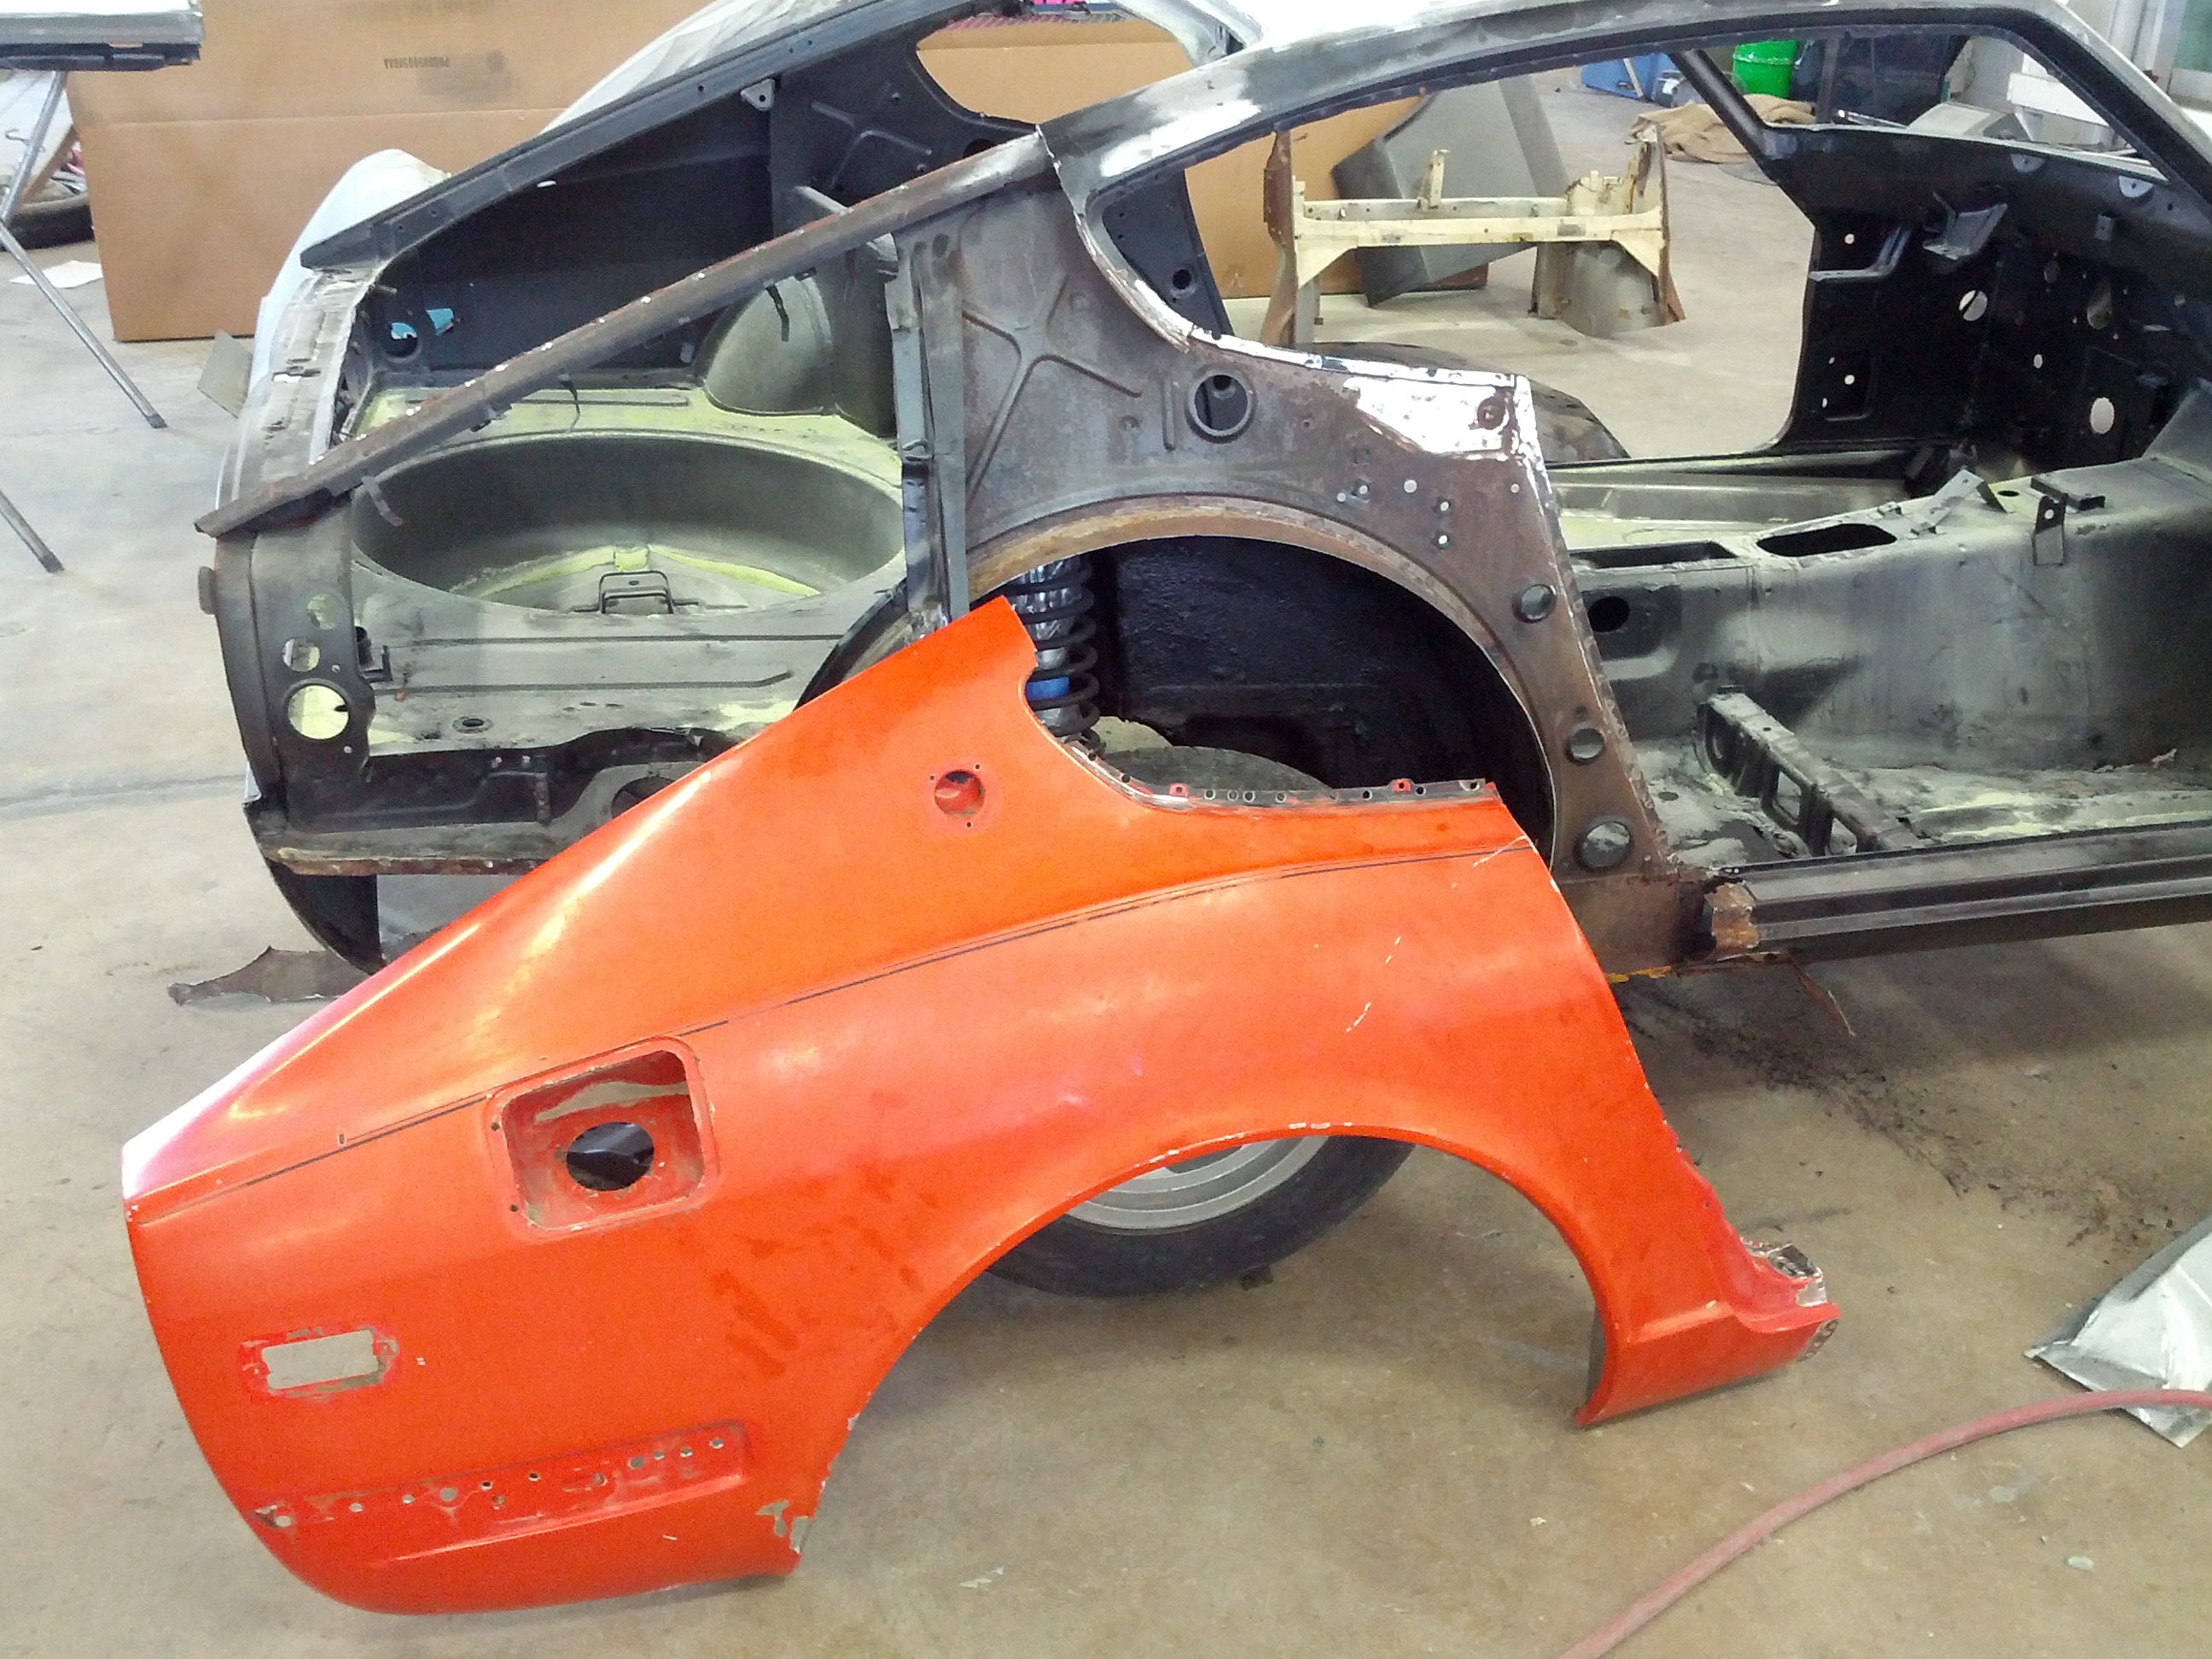
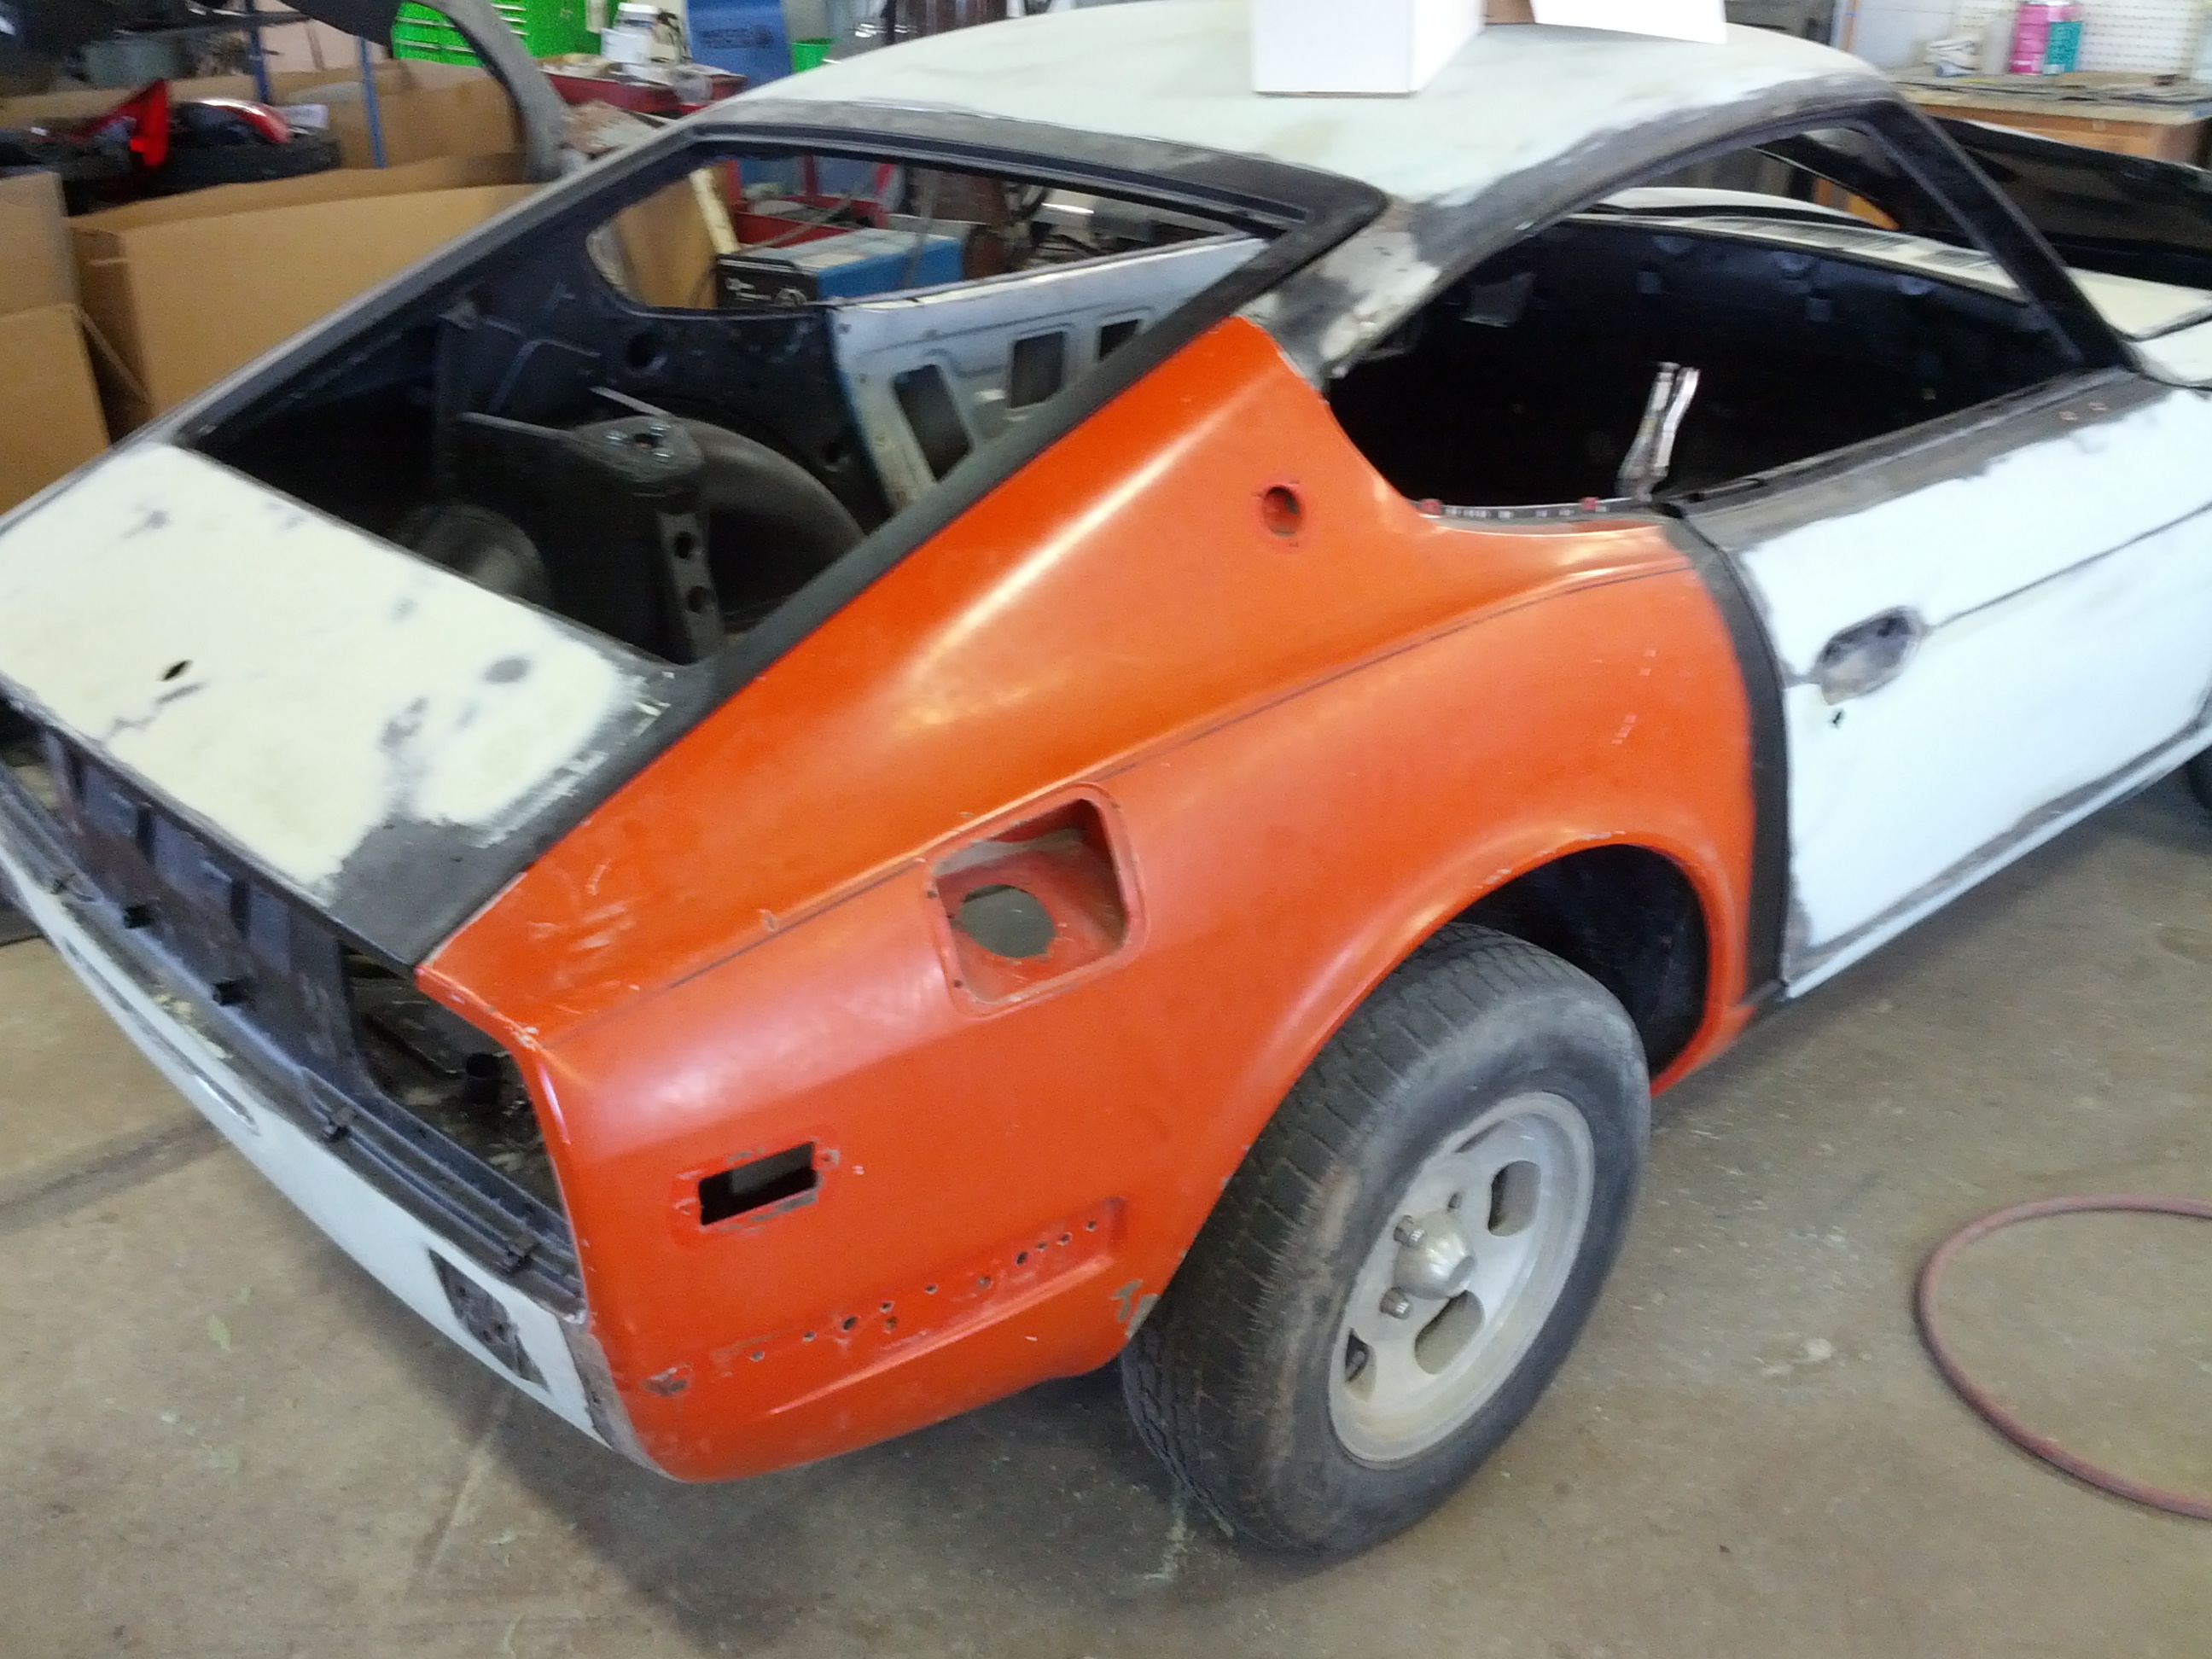
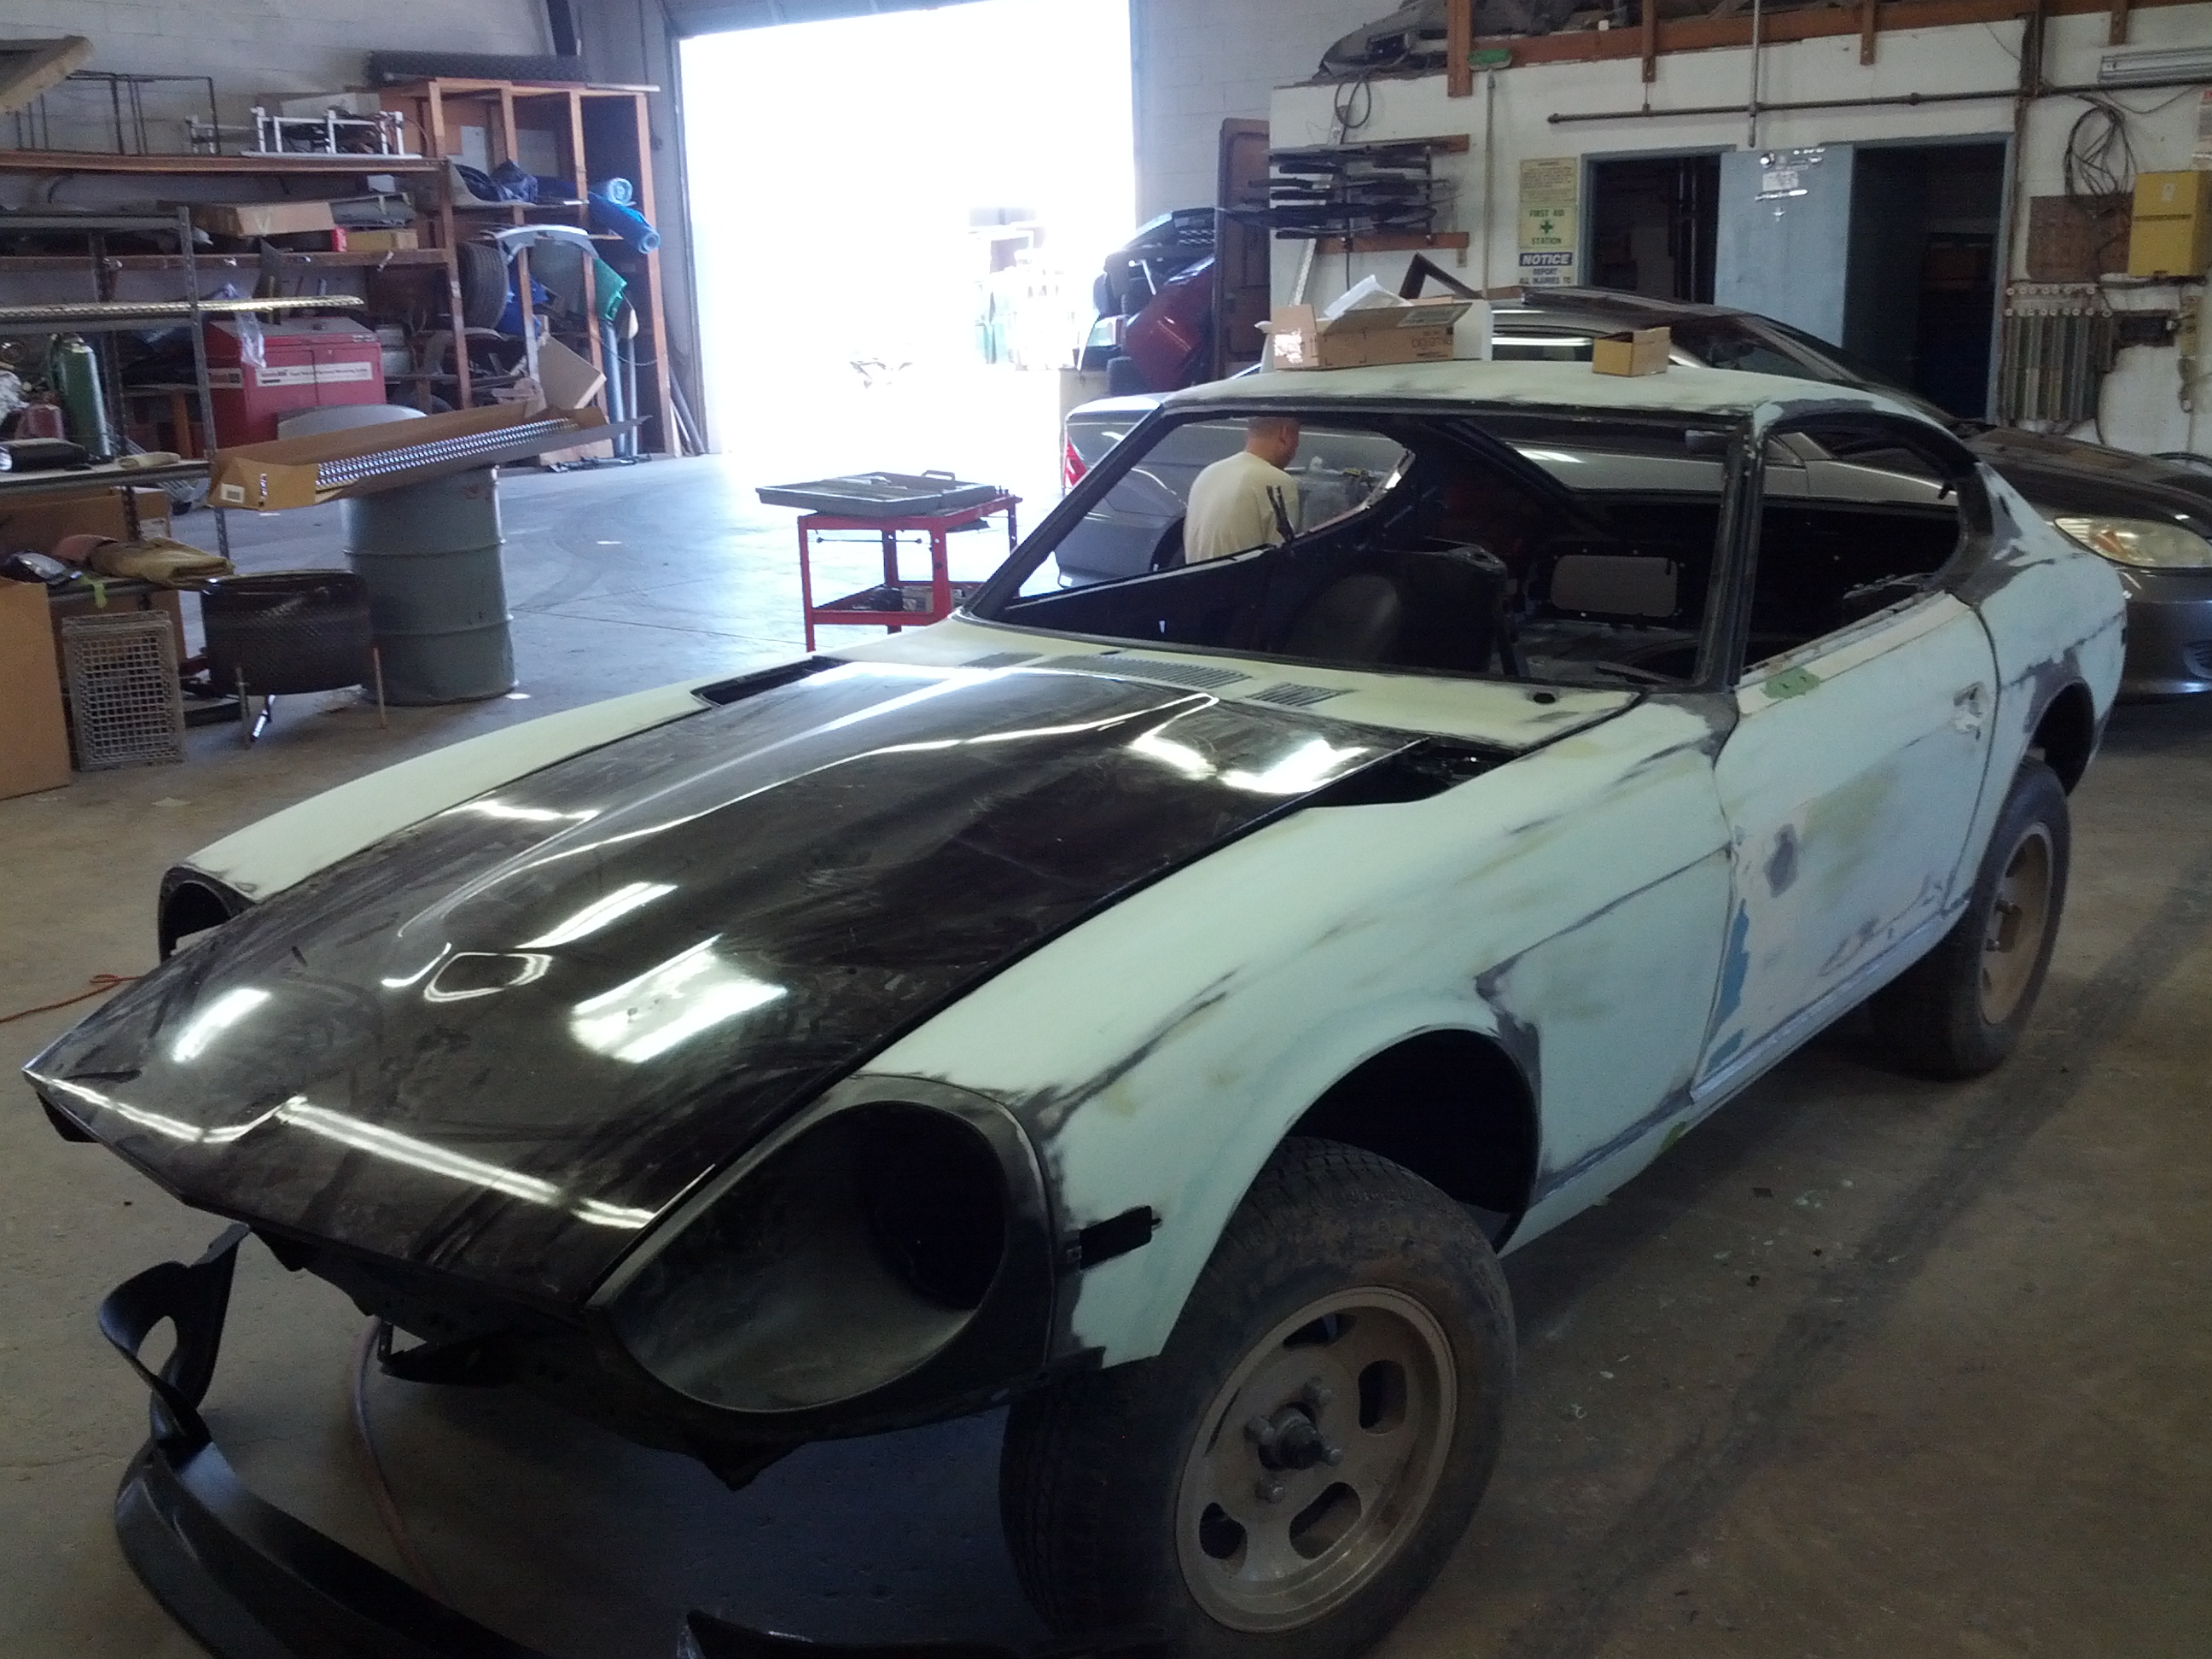
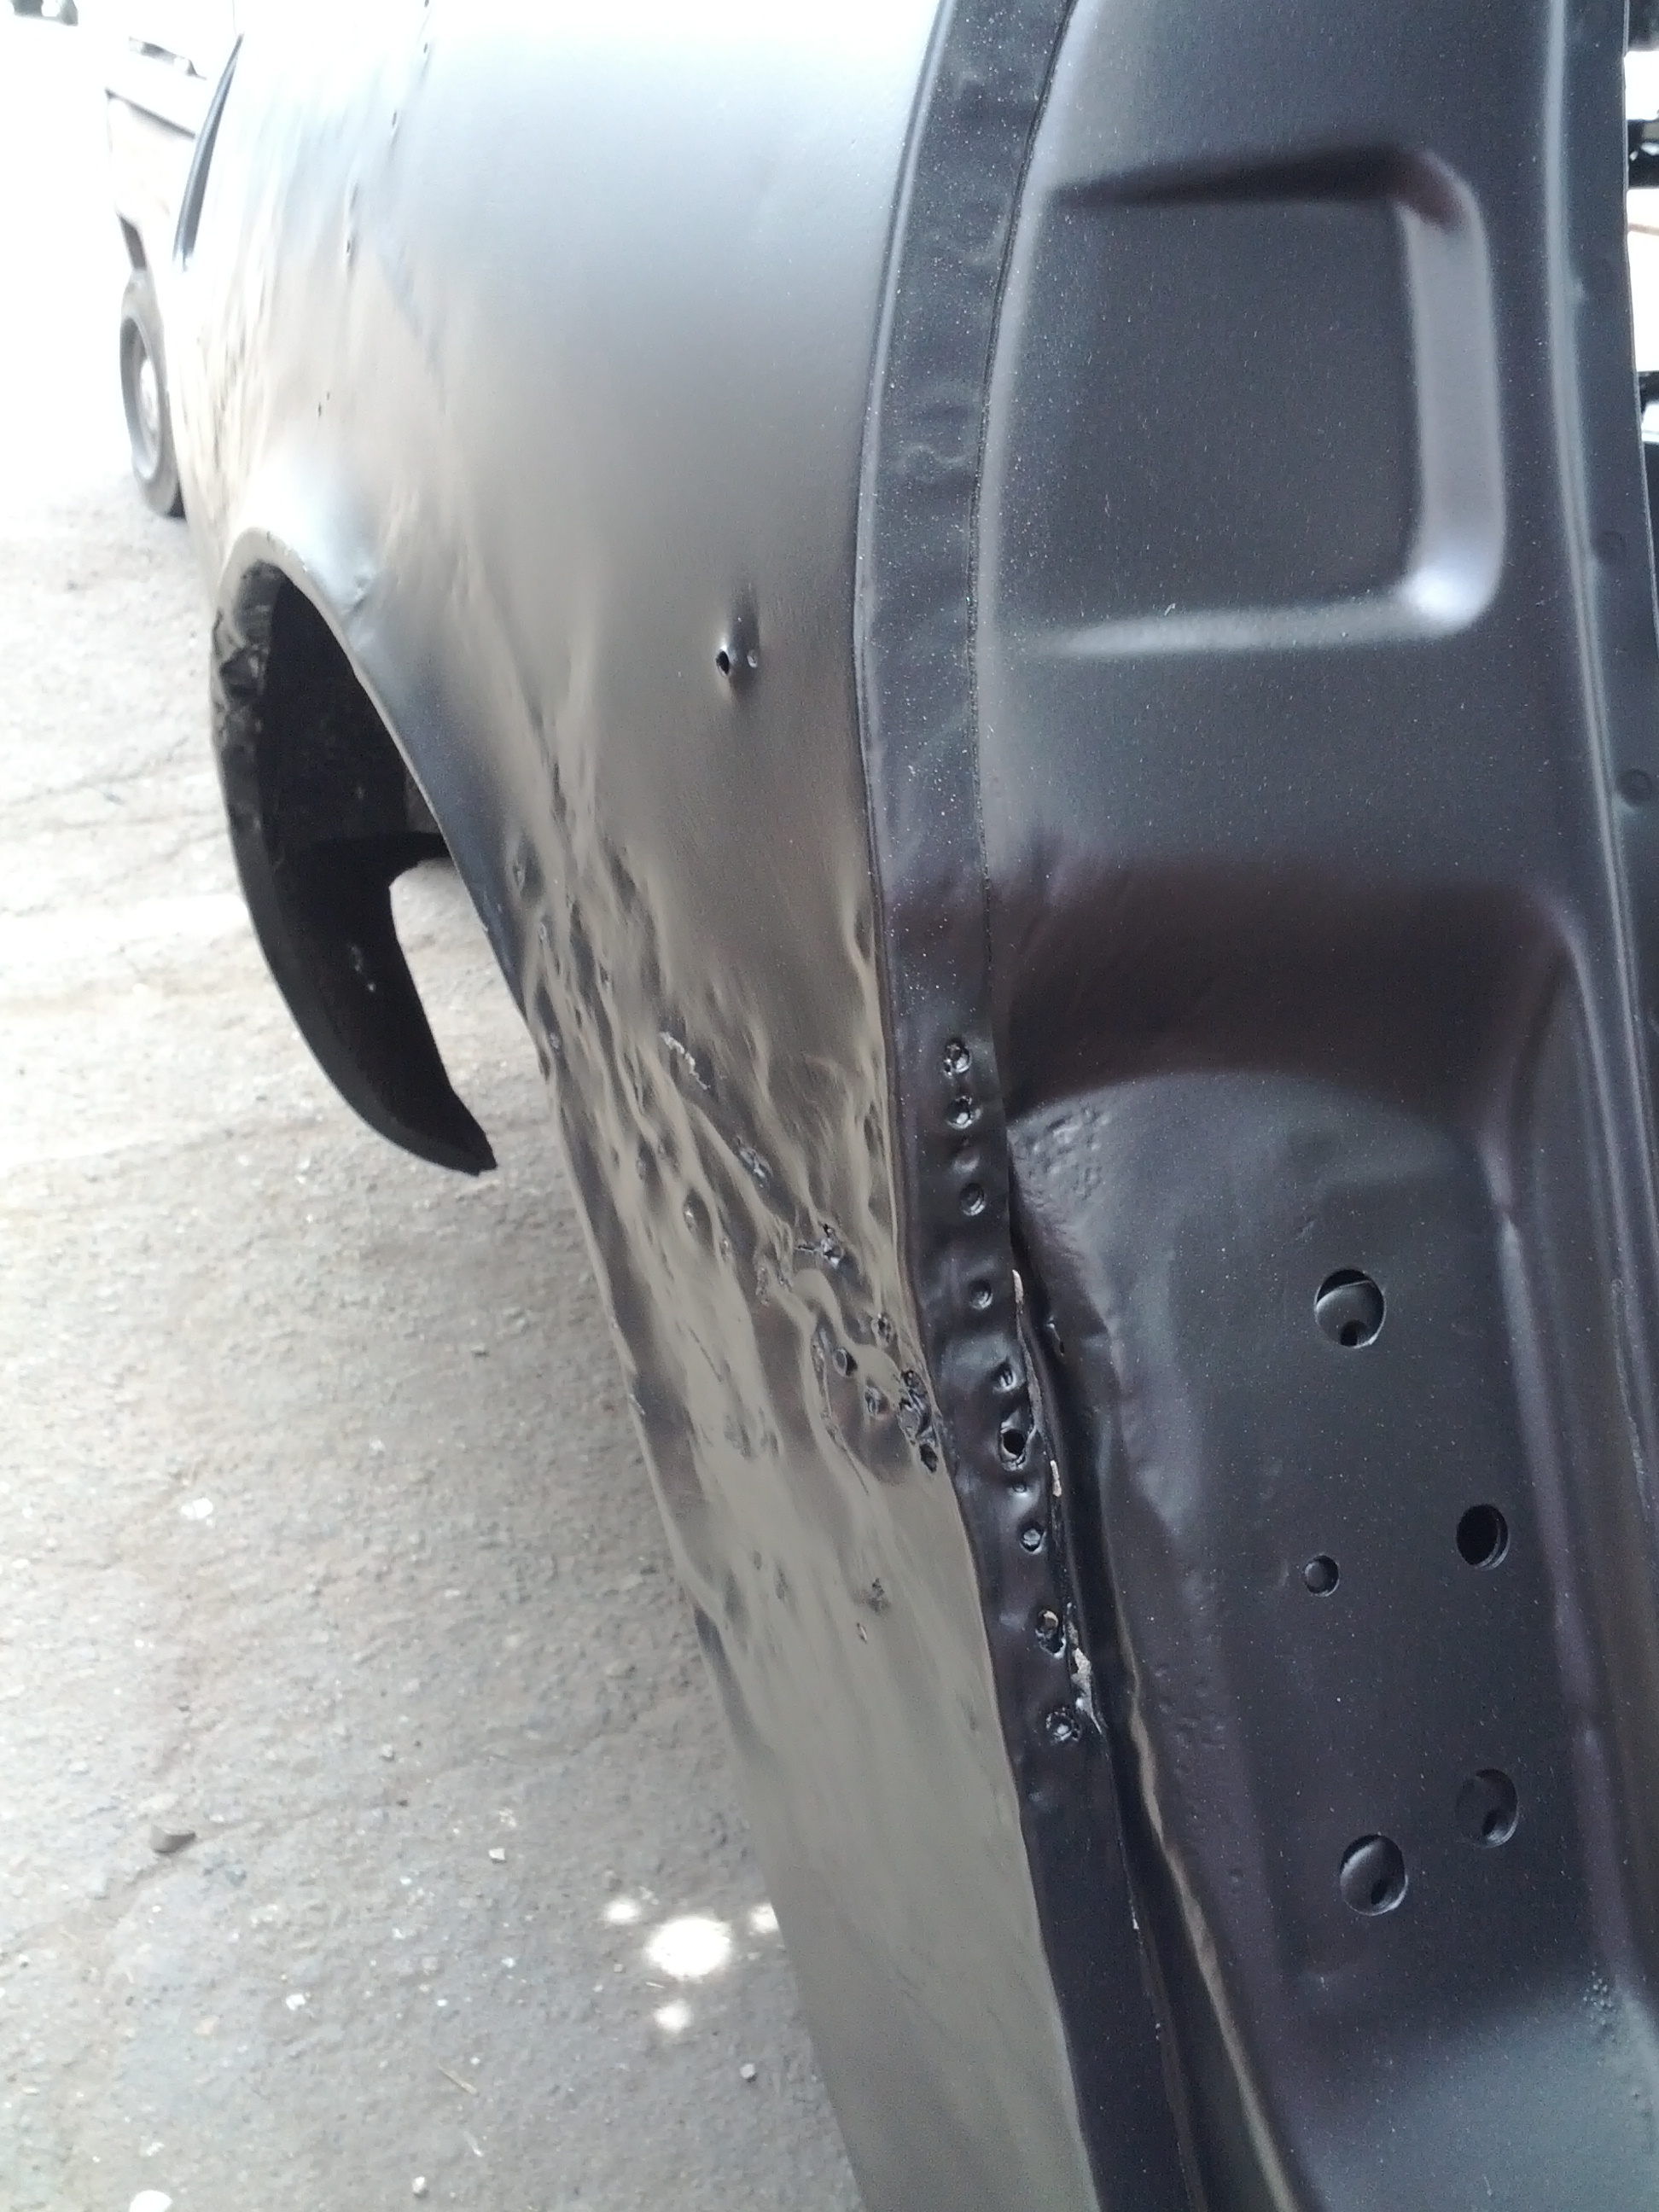
Once the rolling body was delivered to the body shop, we had a task to find replacement parts. We were able to purchase after market floor pans, and the rest was purchased used from craigslist adds. It is amazing how many people are purchasing old 240/60/80zs and selling parts. The hardest parts to get were the hood (getting a clean hood is difficult) and an un-damaged rear passenger quarter panel and an un damaged front clip. Once purchased, the specific metal pieces we needed were removed and welded onto our body. for completeness, we installed the following pieces - 2 floor pans, passenger rear quarter panel, and front right headlight area. Automobile panels that were replaced include hood, hatch, metal passenger headlight cover, and door. Attached are pictures of the car being repaired and a thin layer of polyester applied in preparation for paint. The hood turned out to have too much paint and had to be stripped (caused us a major time delay) Pictures of the process are below.
-
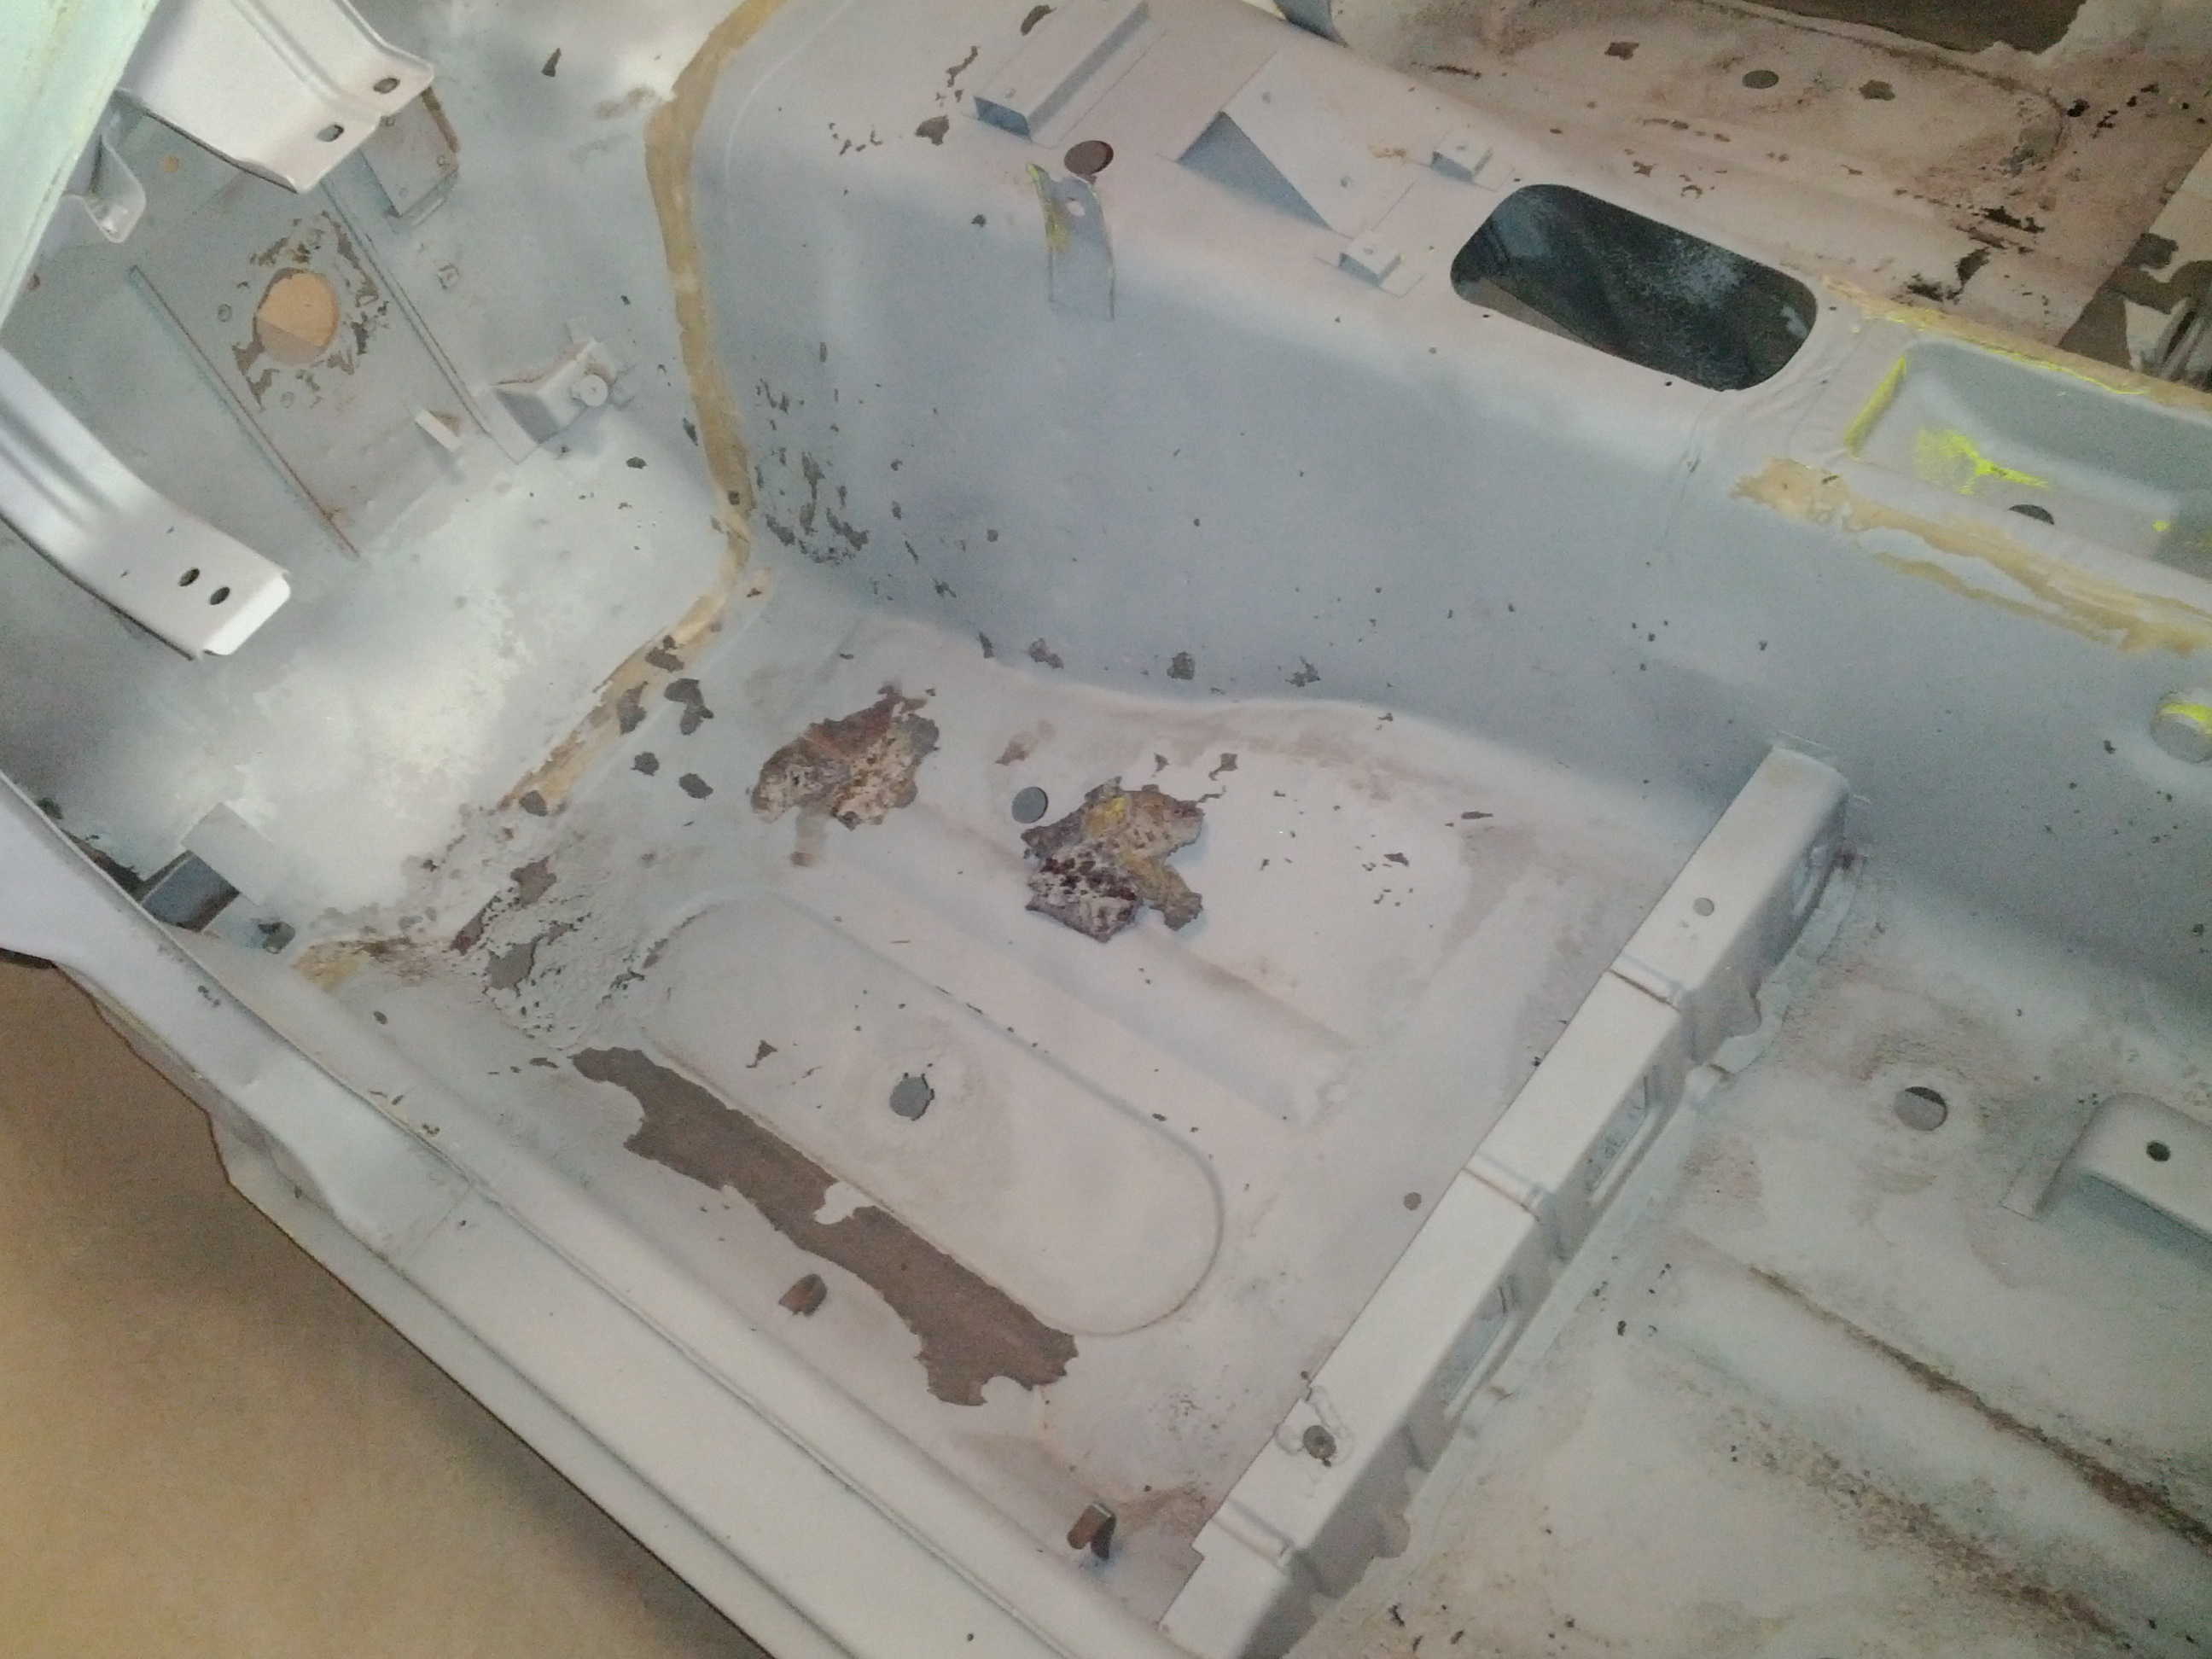
Thanks! Originally I thought I would be able to throw paint on the body and clean up interior along with fix engine and suspension. However when you step on the floorboards and interior screws are rusted shut... plans change!
-
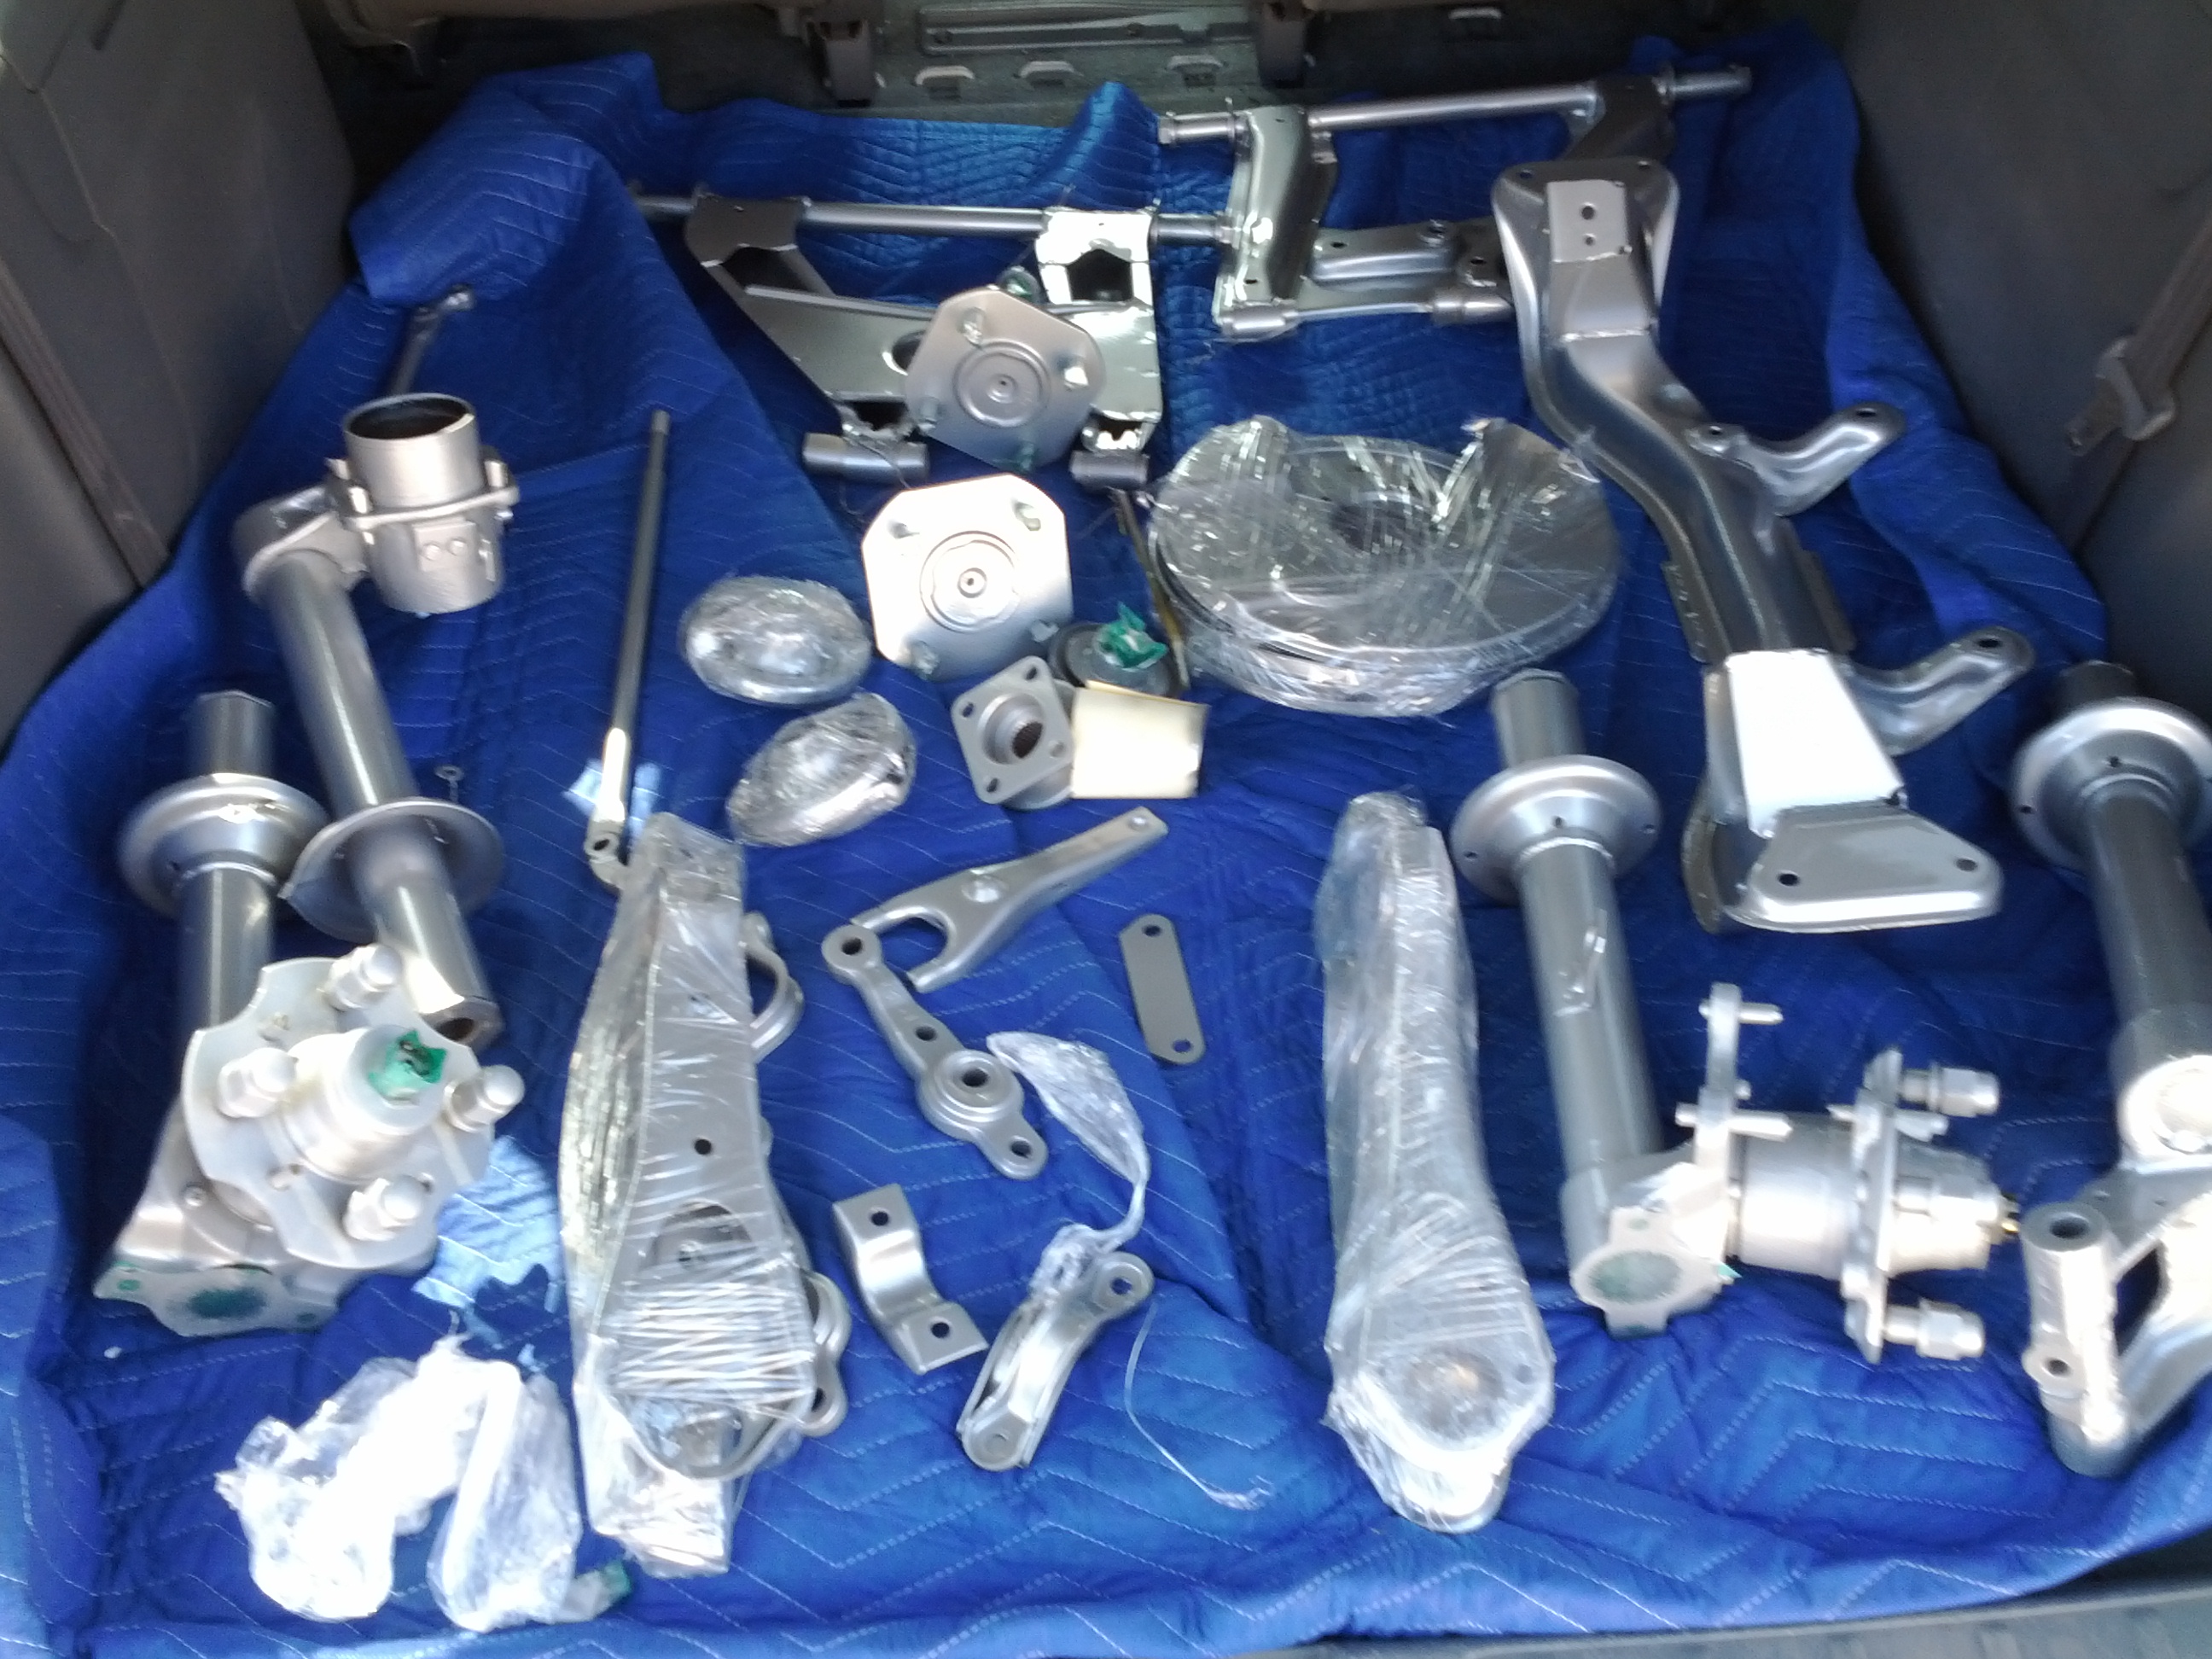
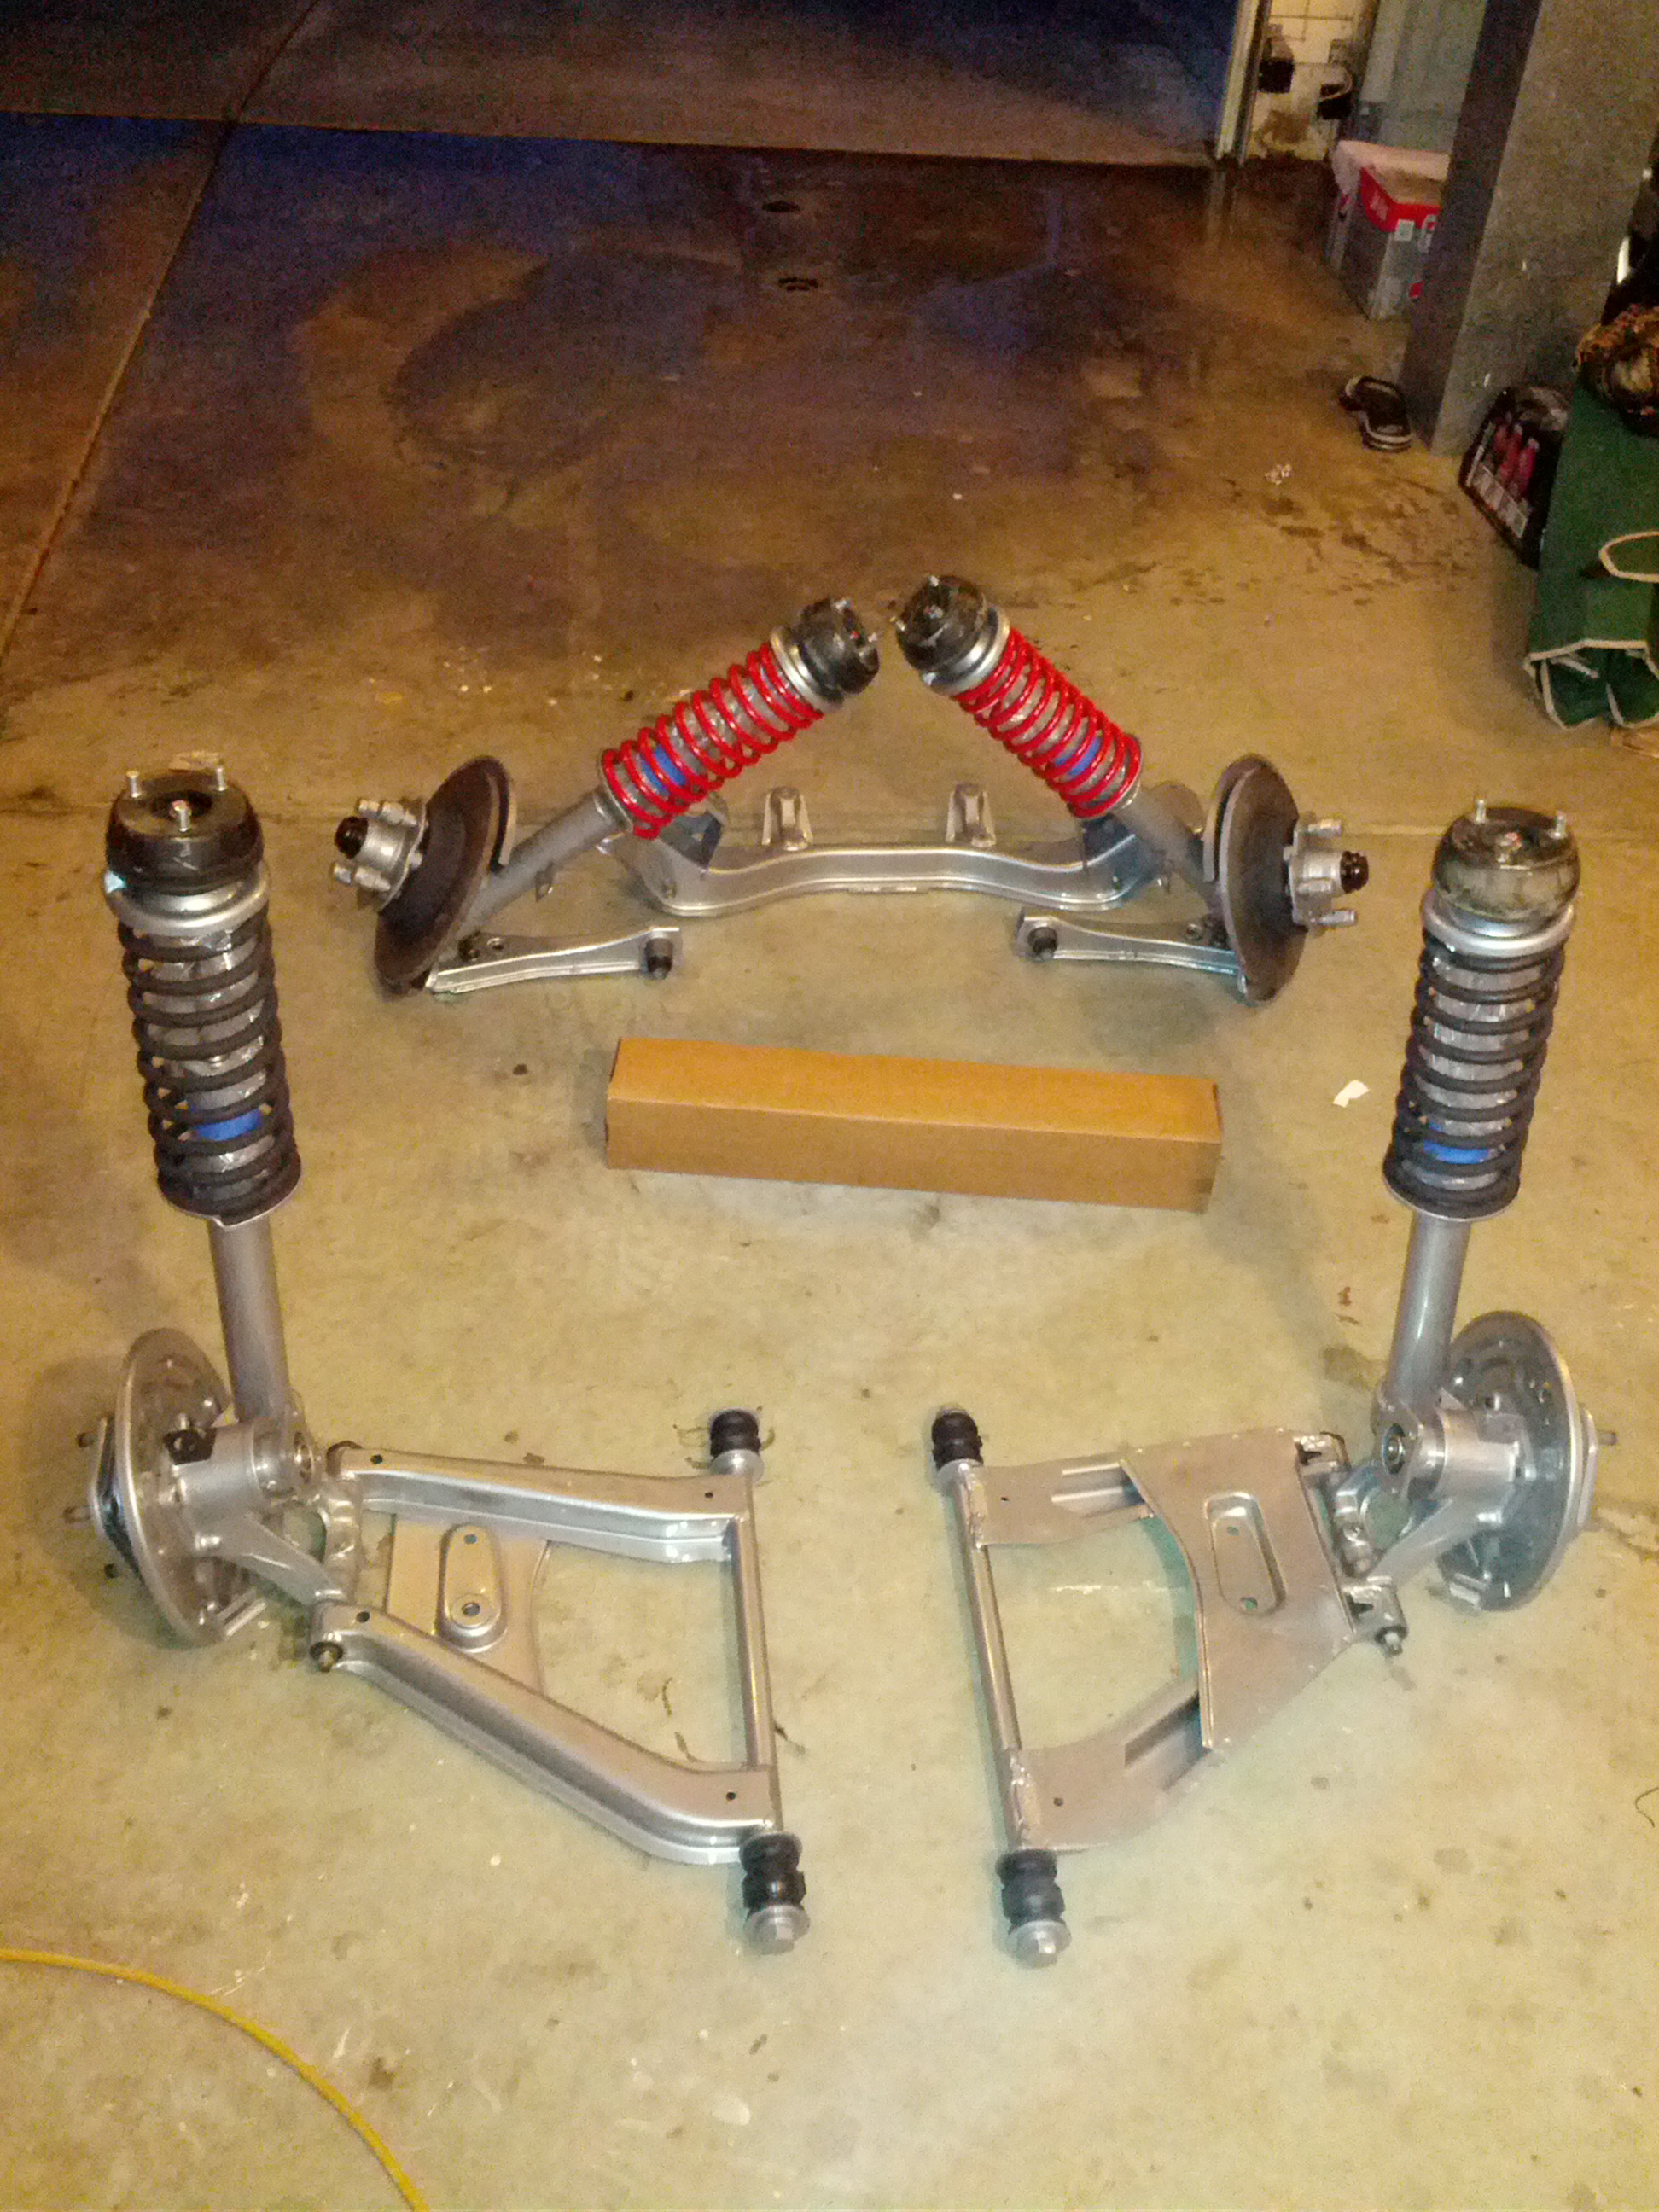
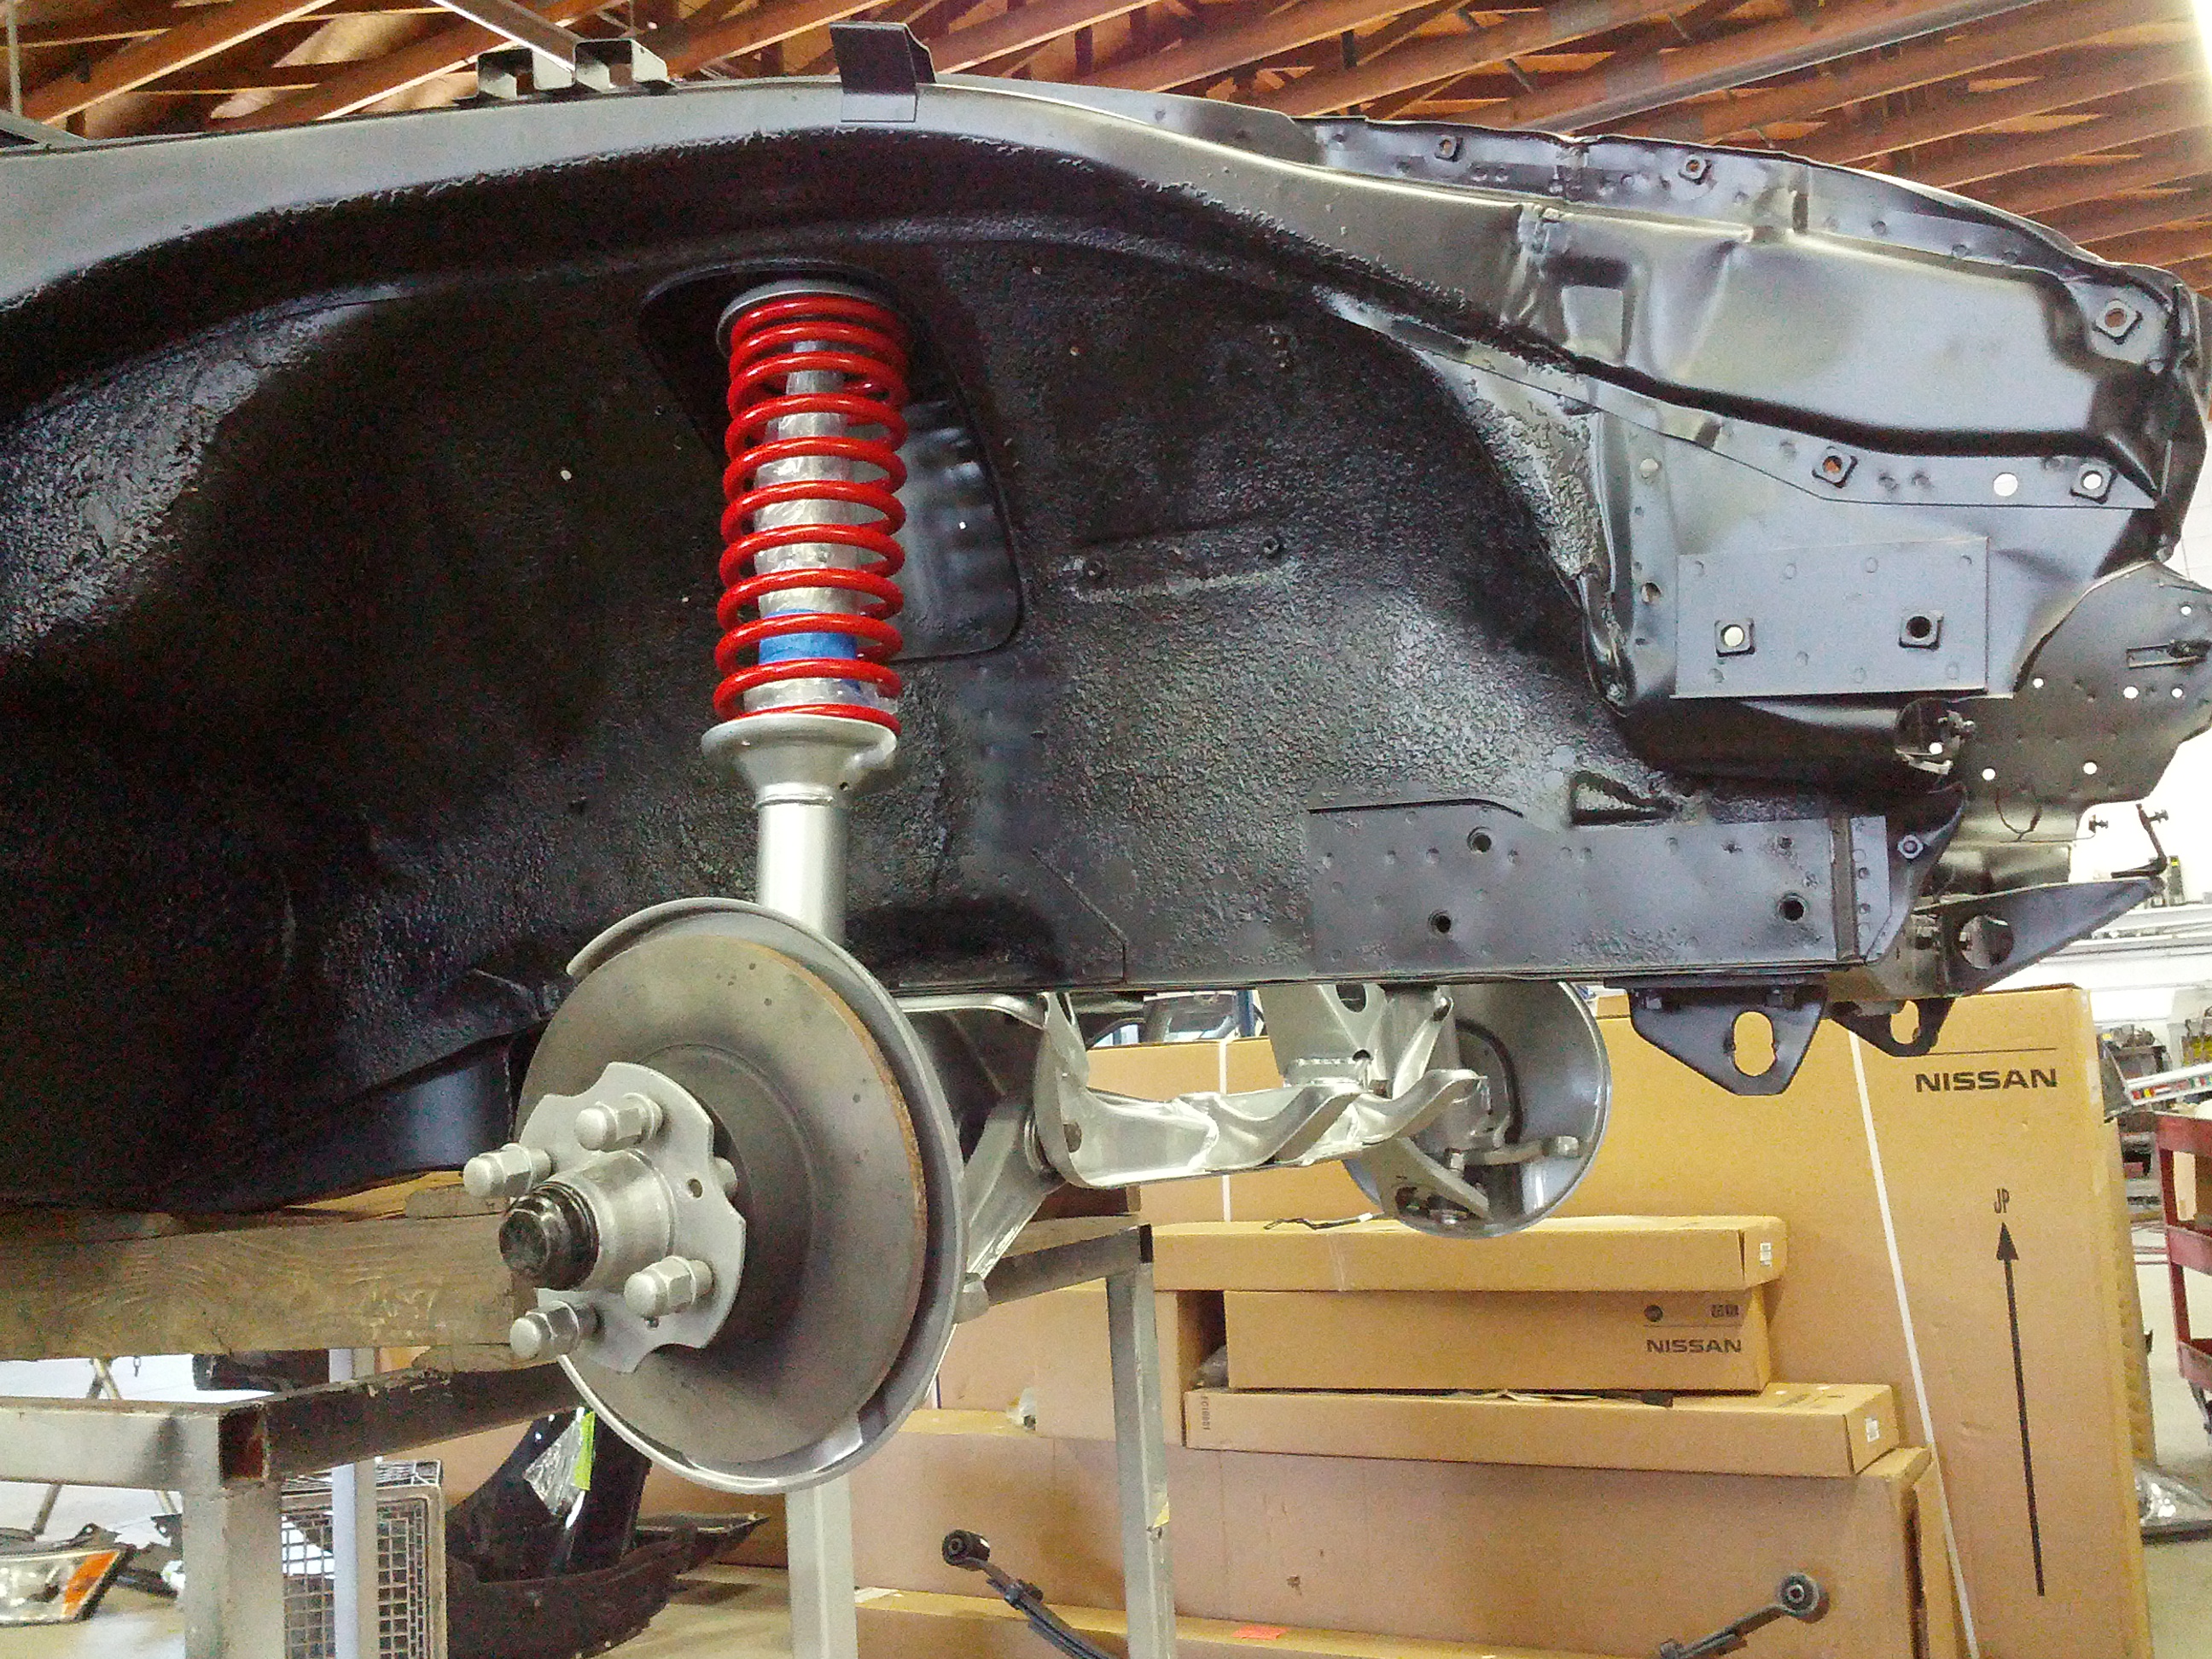
The next thing we did was start work on the suspension. Needless to say, after 11 years of soil dust mixed with fertilizer, the suspension made our garage smell like a farm! Brian and I disassembled the suspension as far as we could and sent it to the powder coater. We purchased new bushings, bearings, and shocks and reassembled the suspension. It turned out pretty good! (please note these pictures are incomplete as the shocks do not have the bumpers, shock dust covers, and the rear springs have not yet been replaced).
-
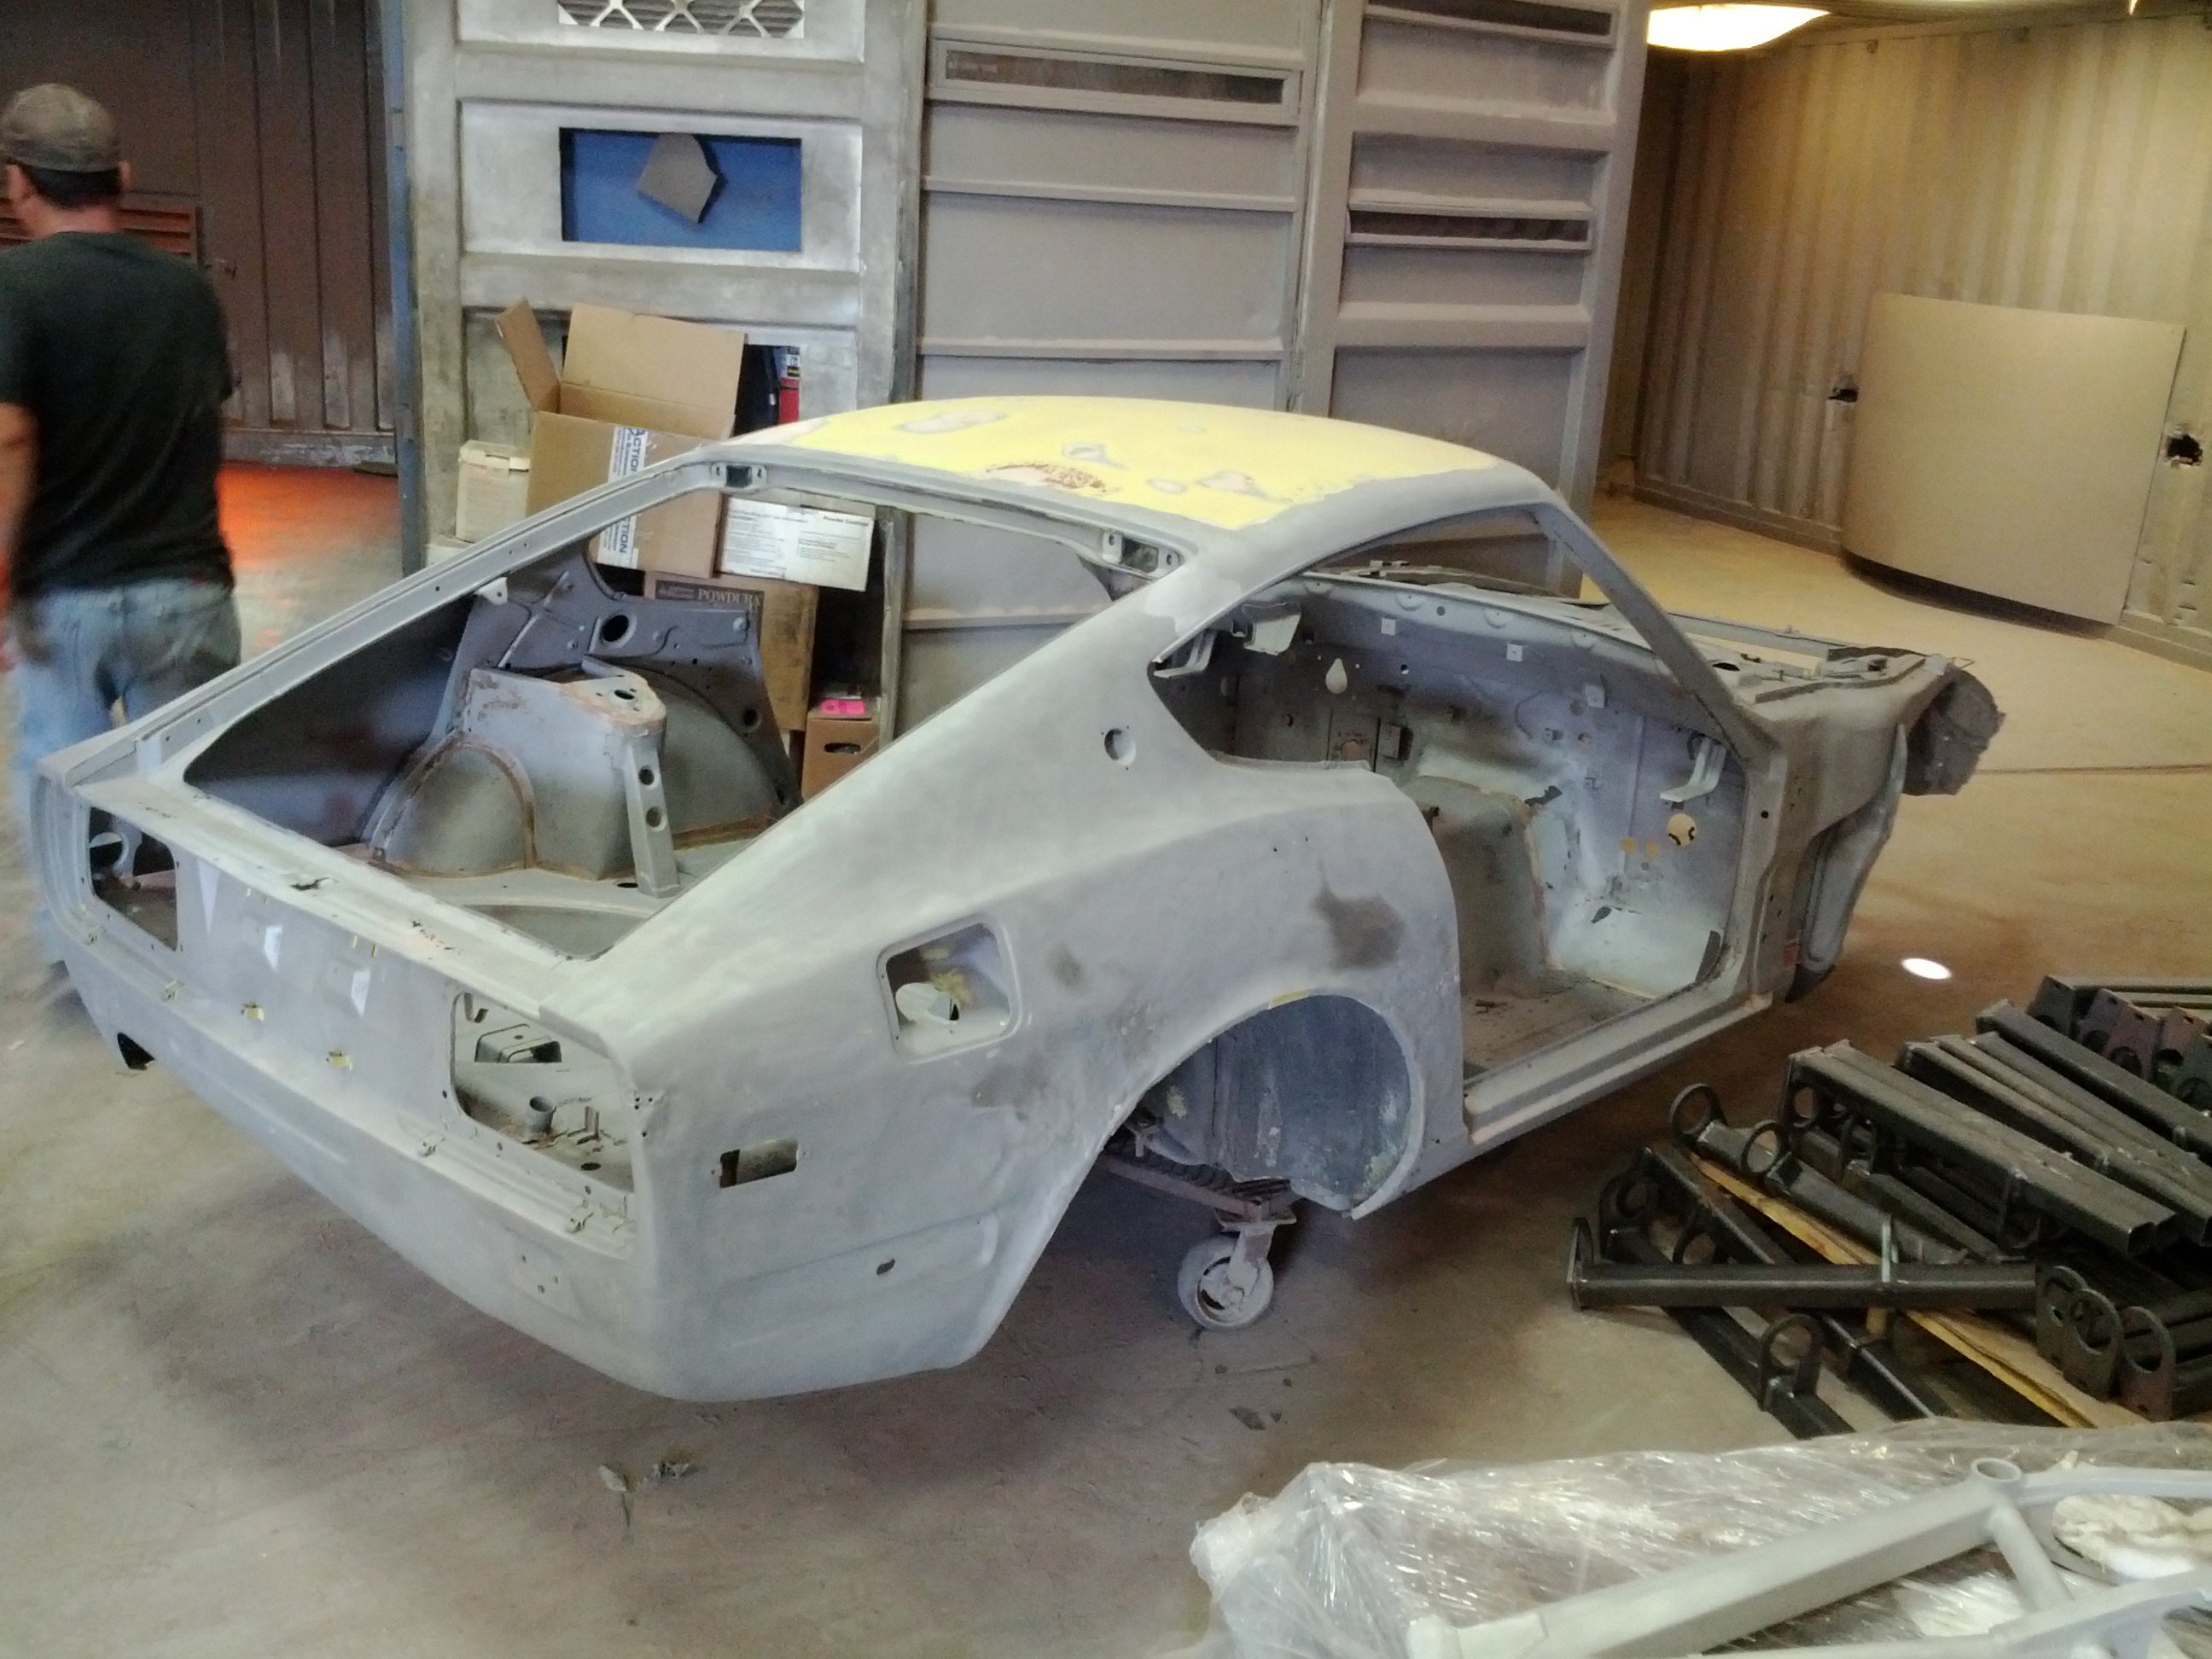
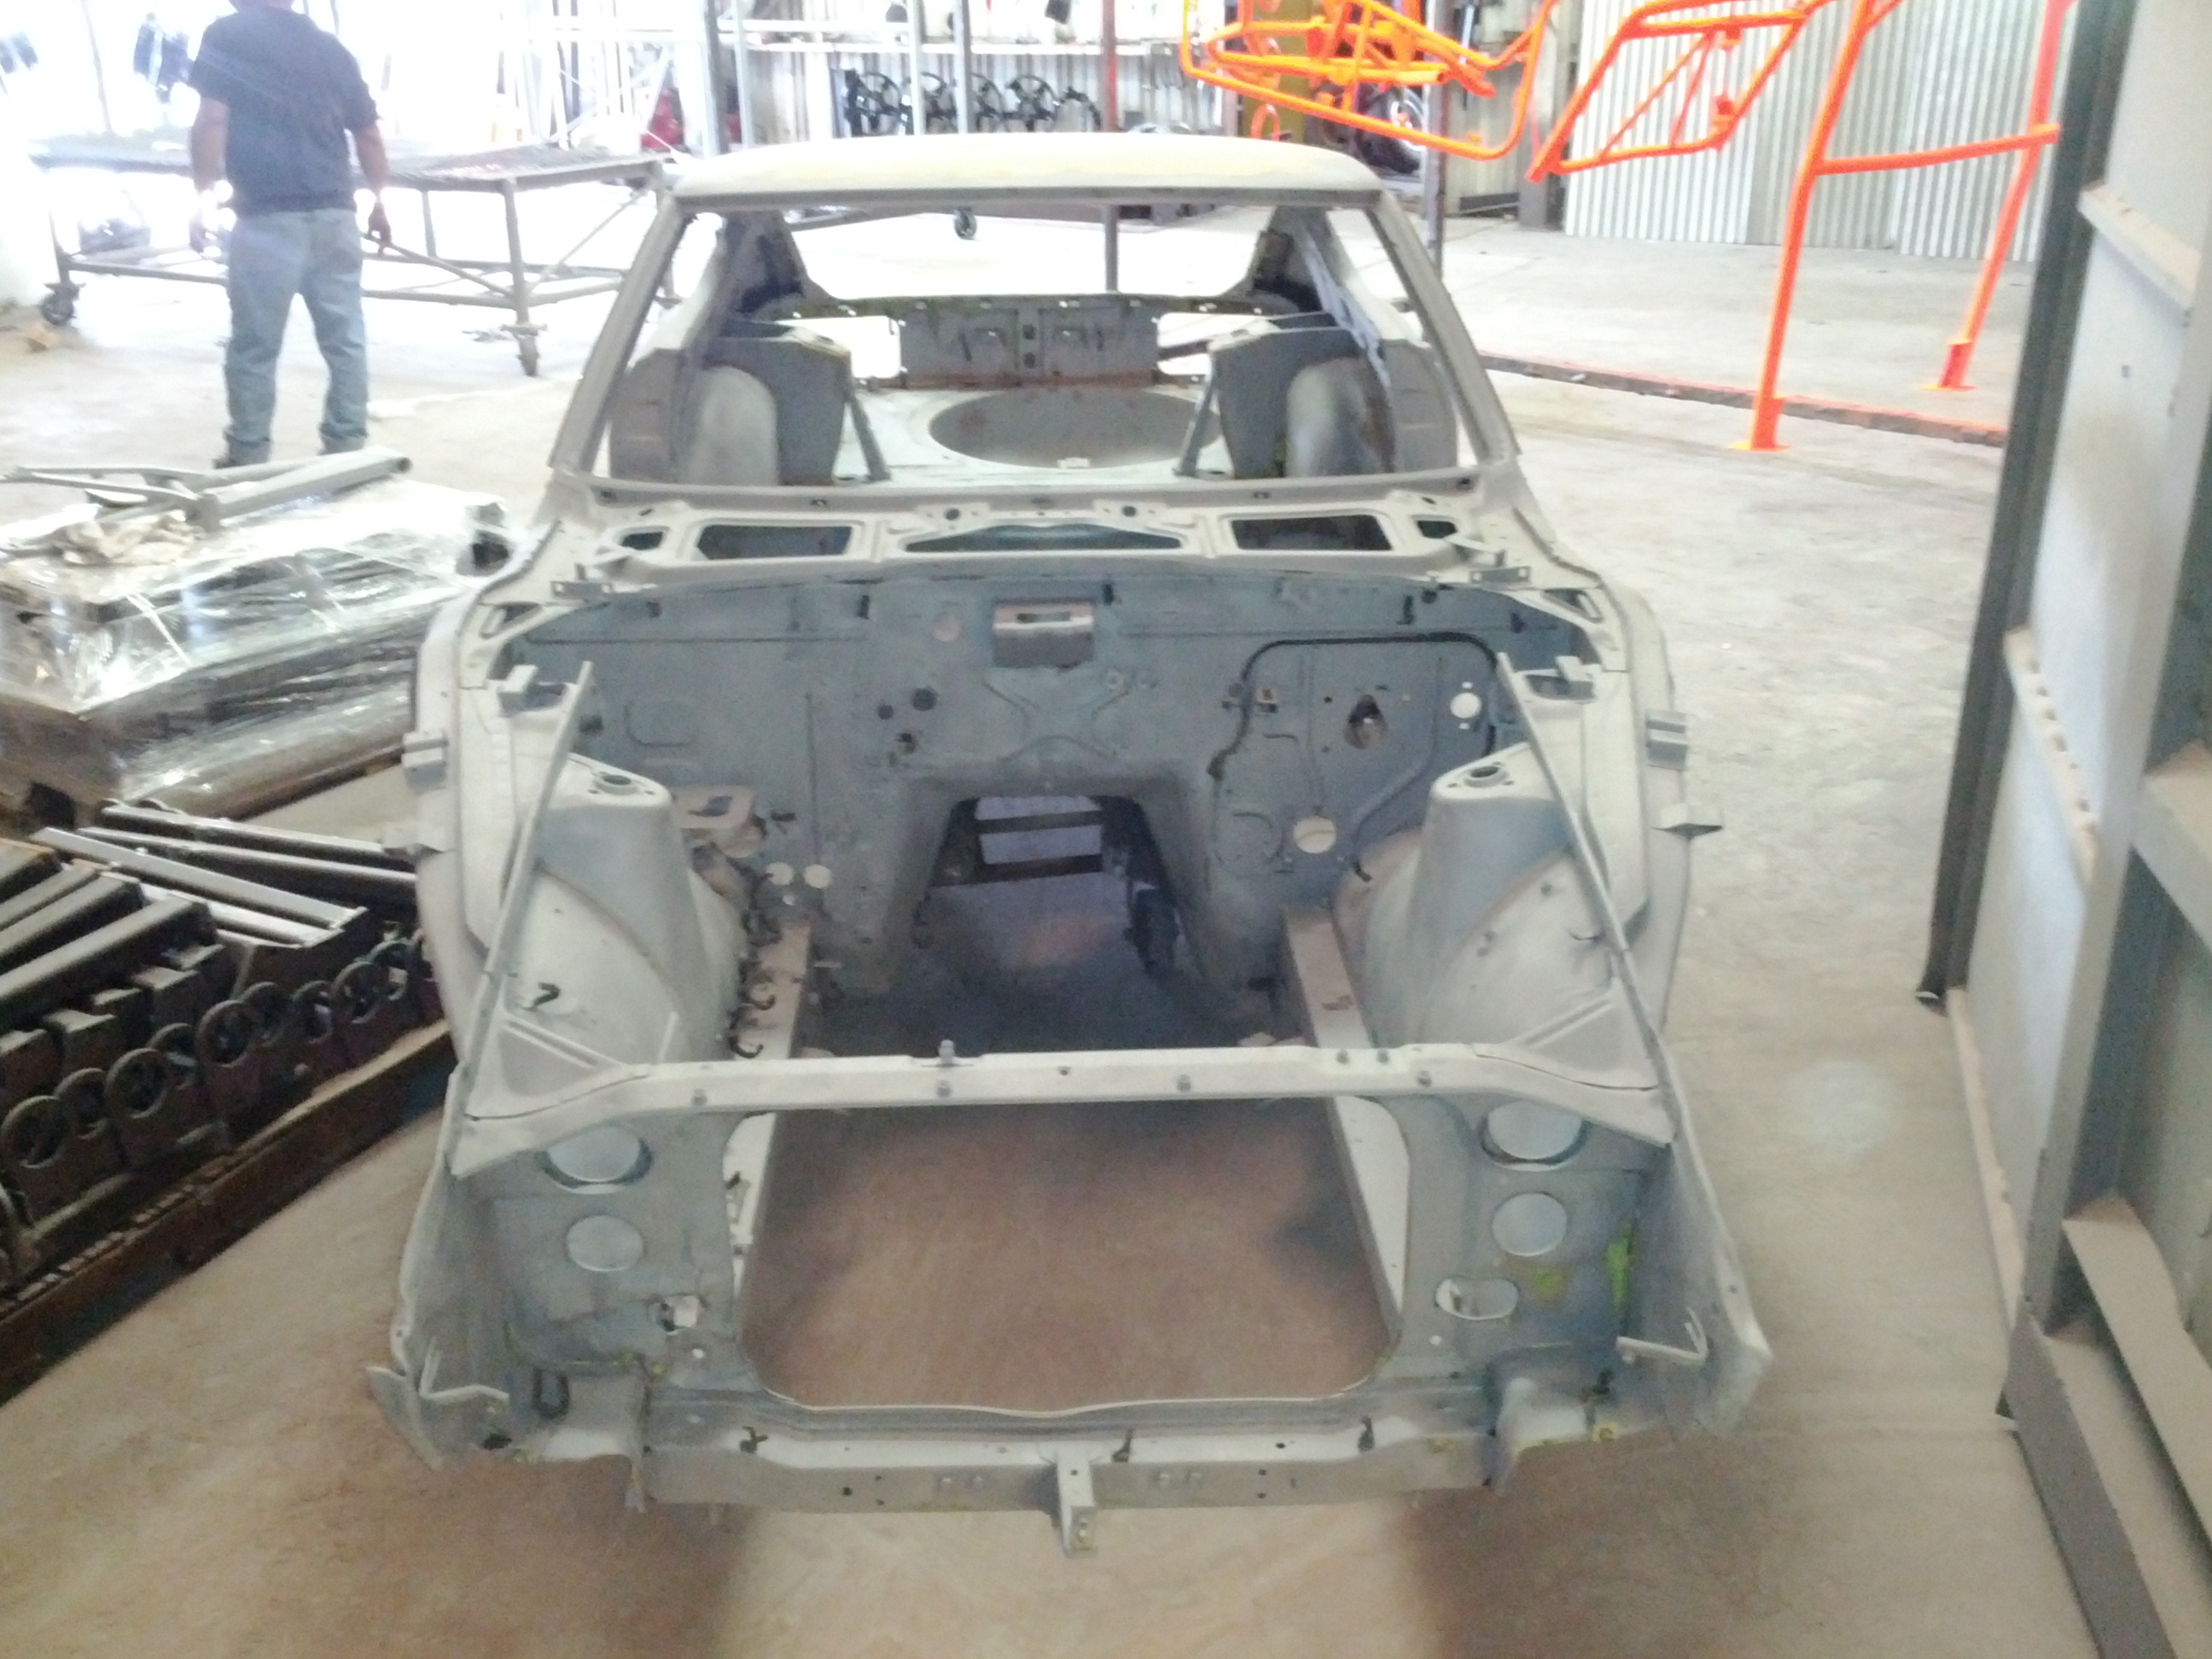
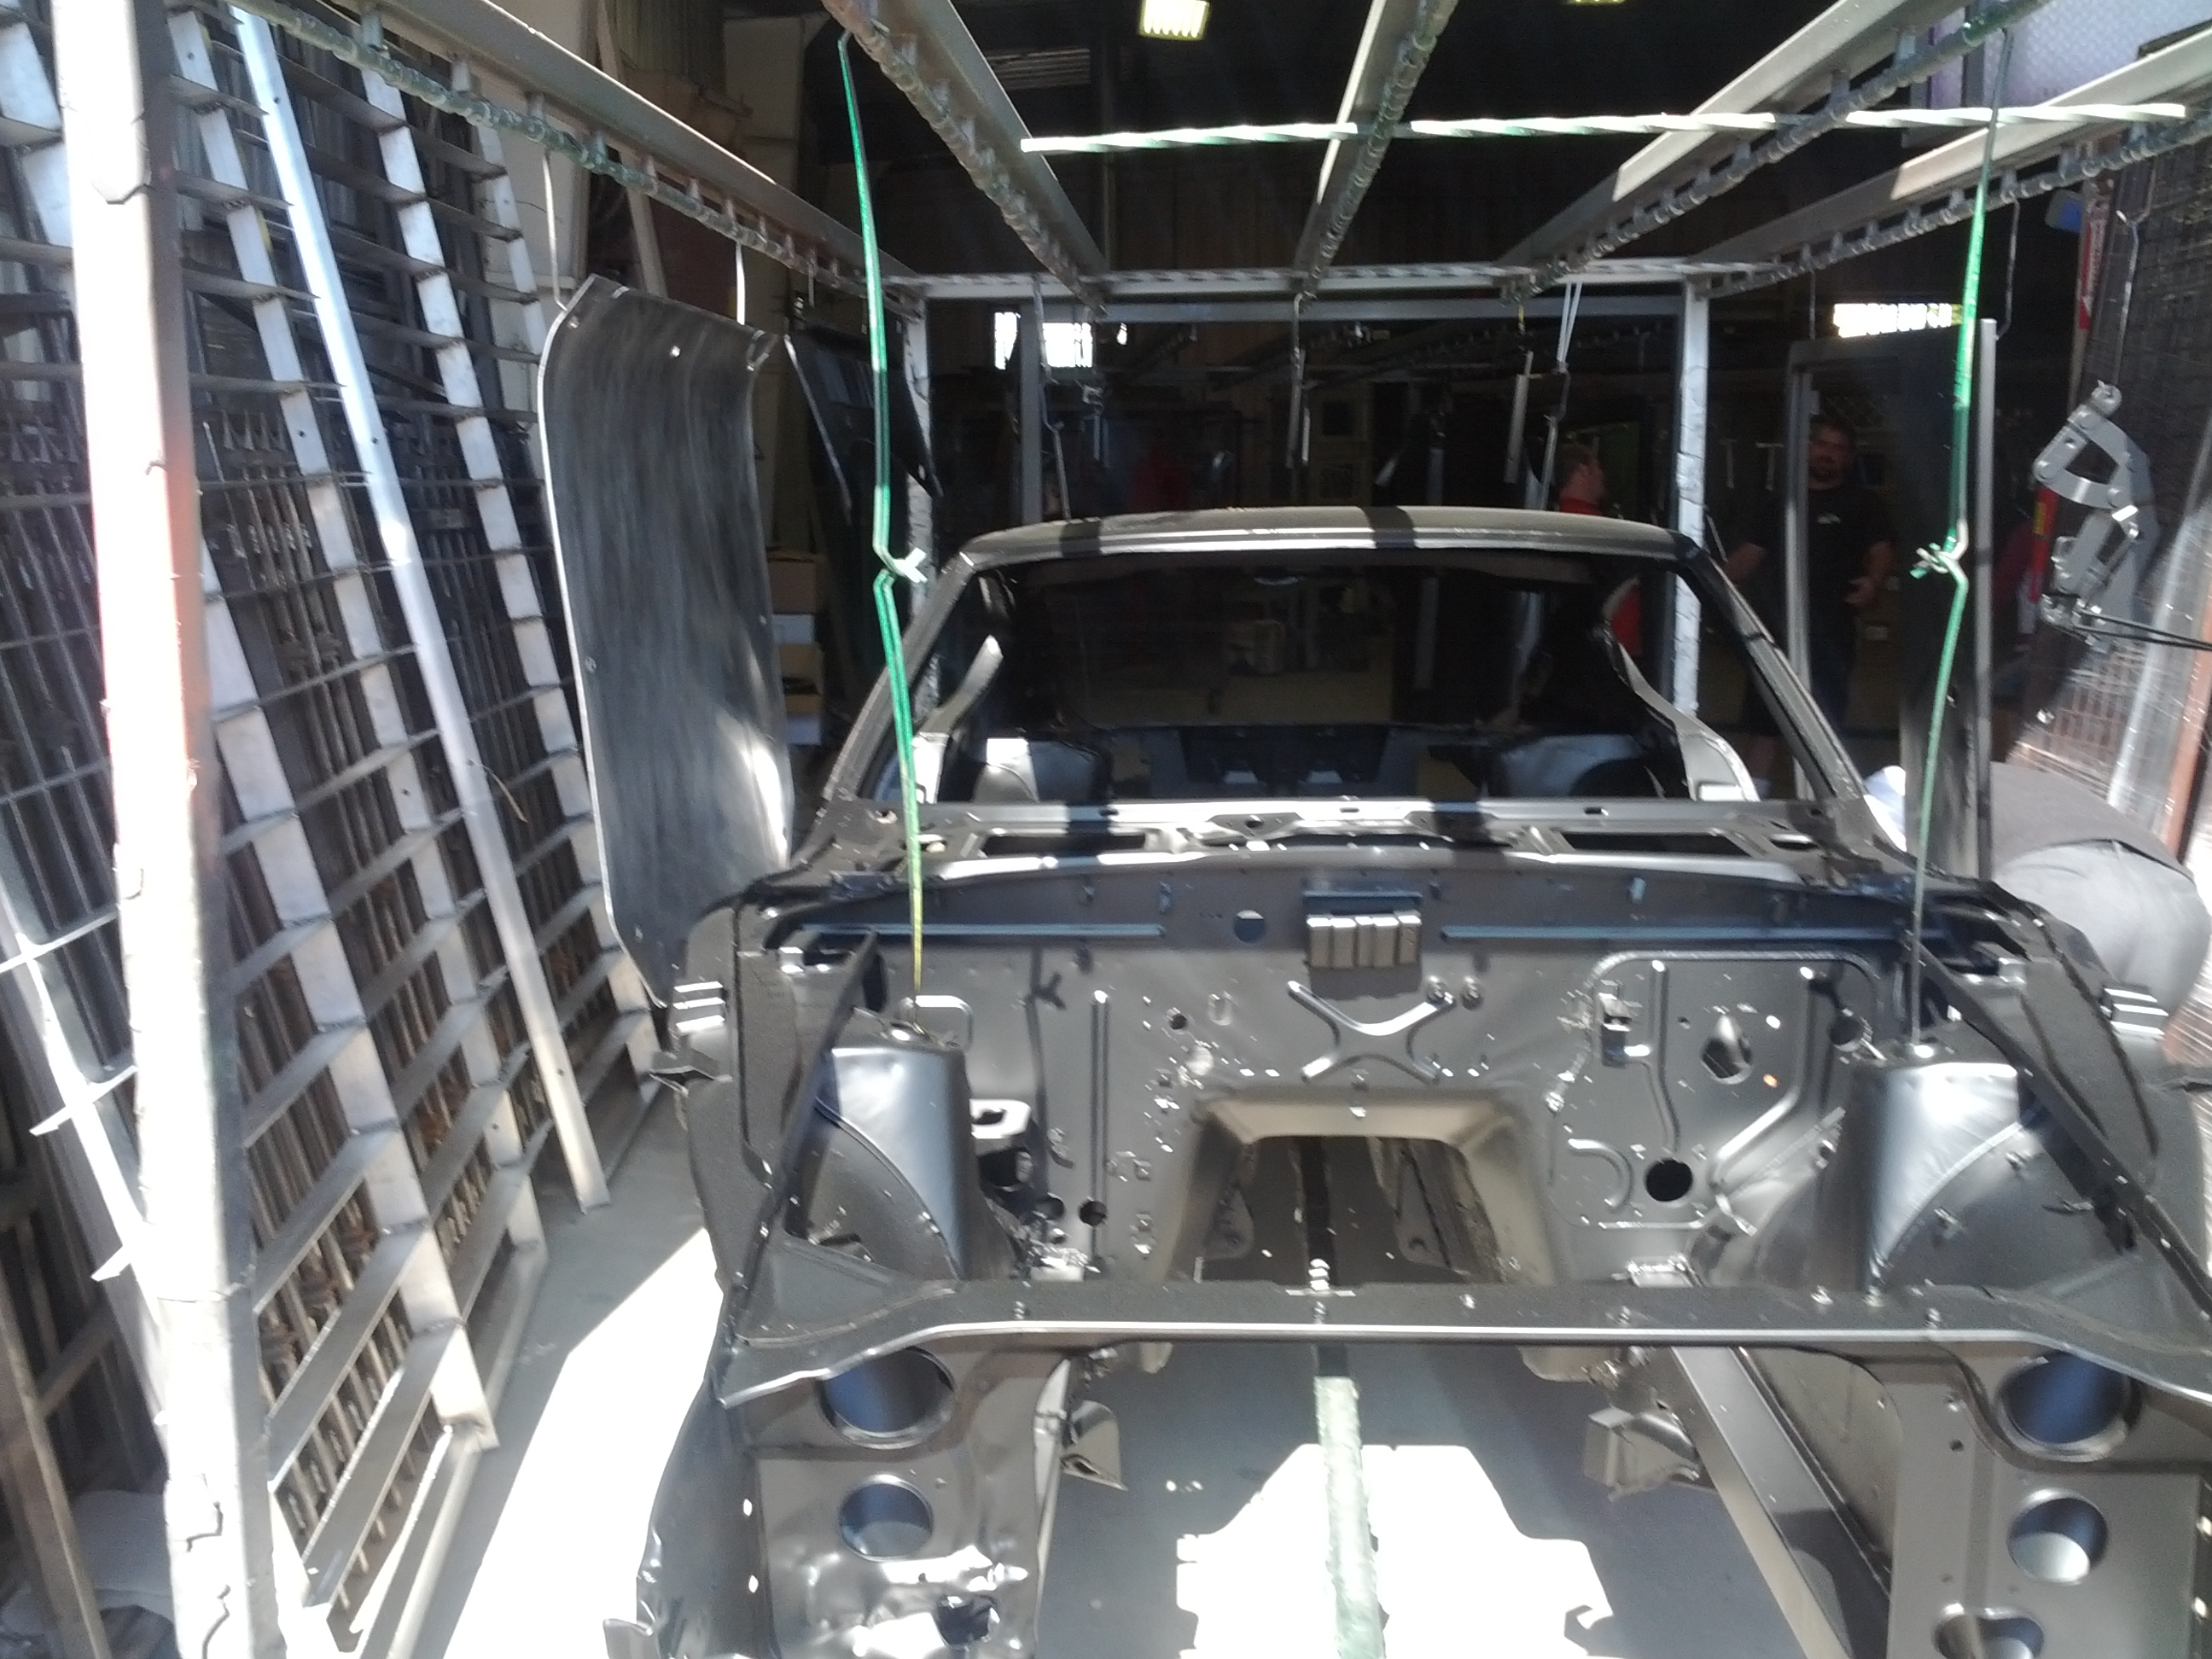
Next step was to strip the car down to the frame. It took two weekends with my son and his cousins doing most of the work. We wheeled the car onto a carrier and off to the sand blaster to remove the paint down to the metal. We did have the car sand blasted, unfortunately it warped some of the thinner metal pieces of the car and required us to replace them. When I do it again, I will media blast the car. After sand blasting, we had the car powder coated (powder 1 in santee) with a flat black epoxy that would protect the metal and act like a primer. Please note the underside was not sand blasted except for some key spots where we believed rust was forming. (therefore we left the undercoat in tact and powder coated ontop of the original undercoat) Attached are pictures of the car after sand blasting and after powder coating:
-
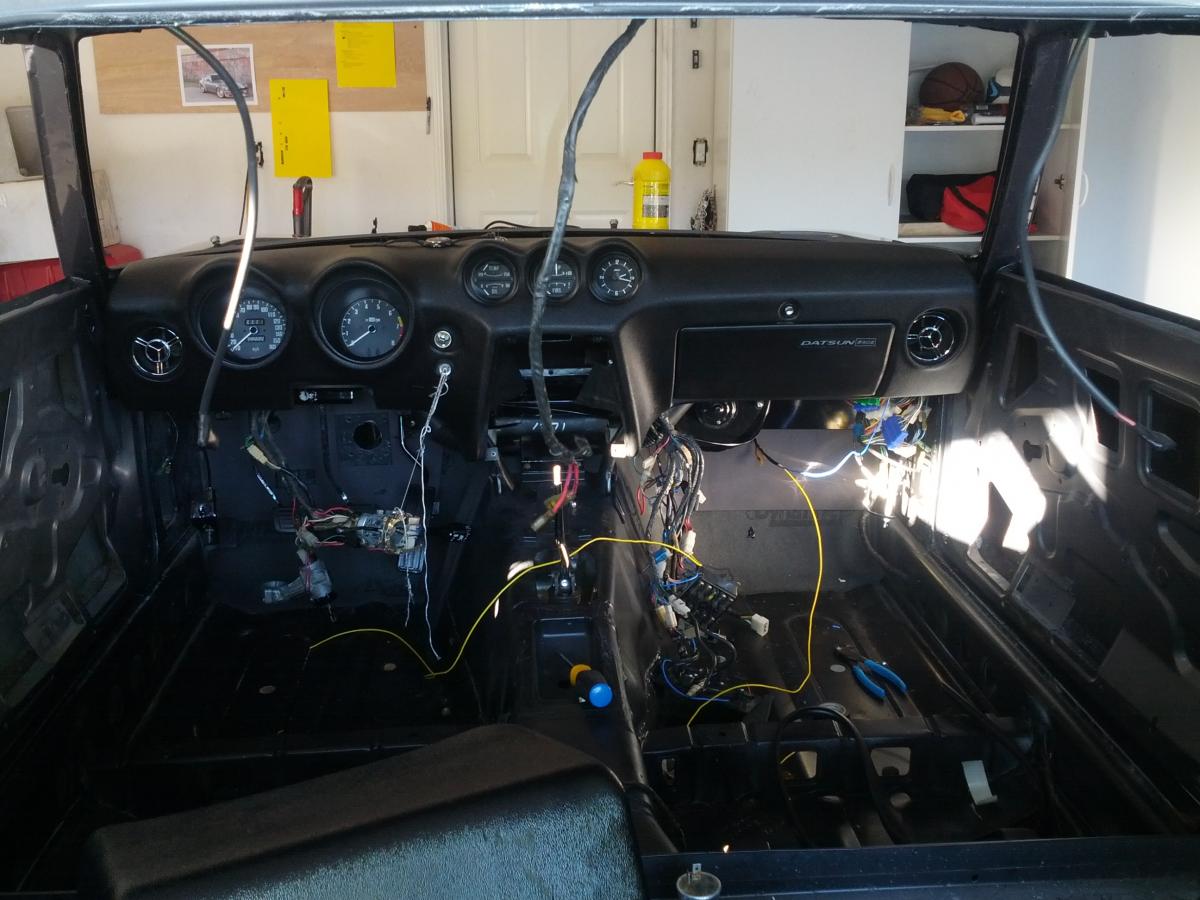
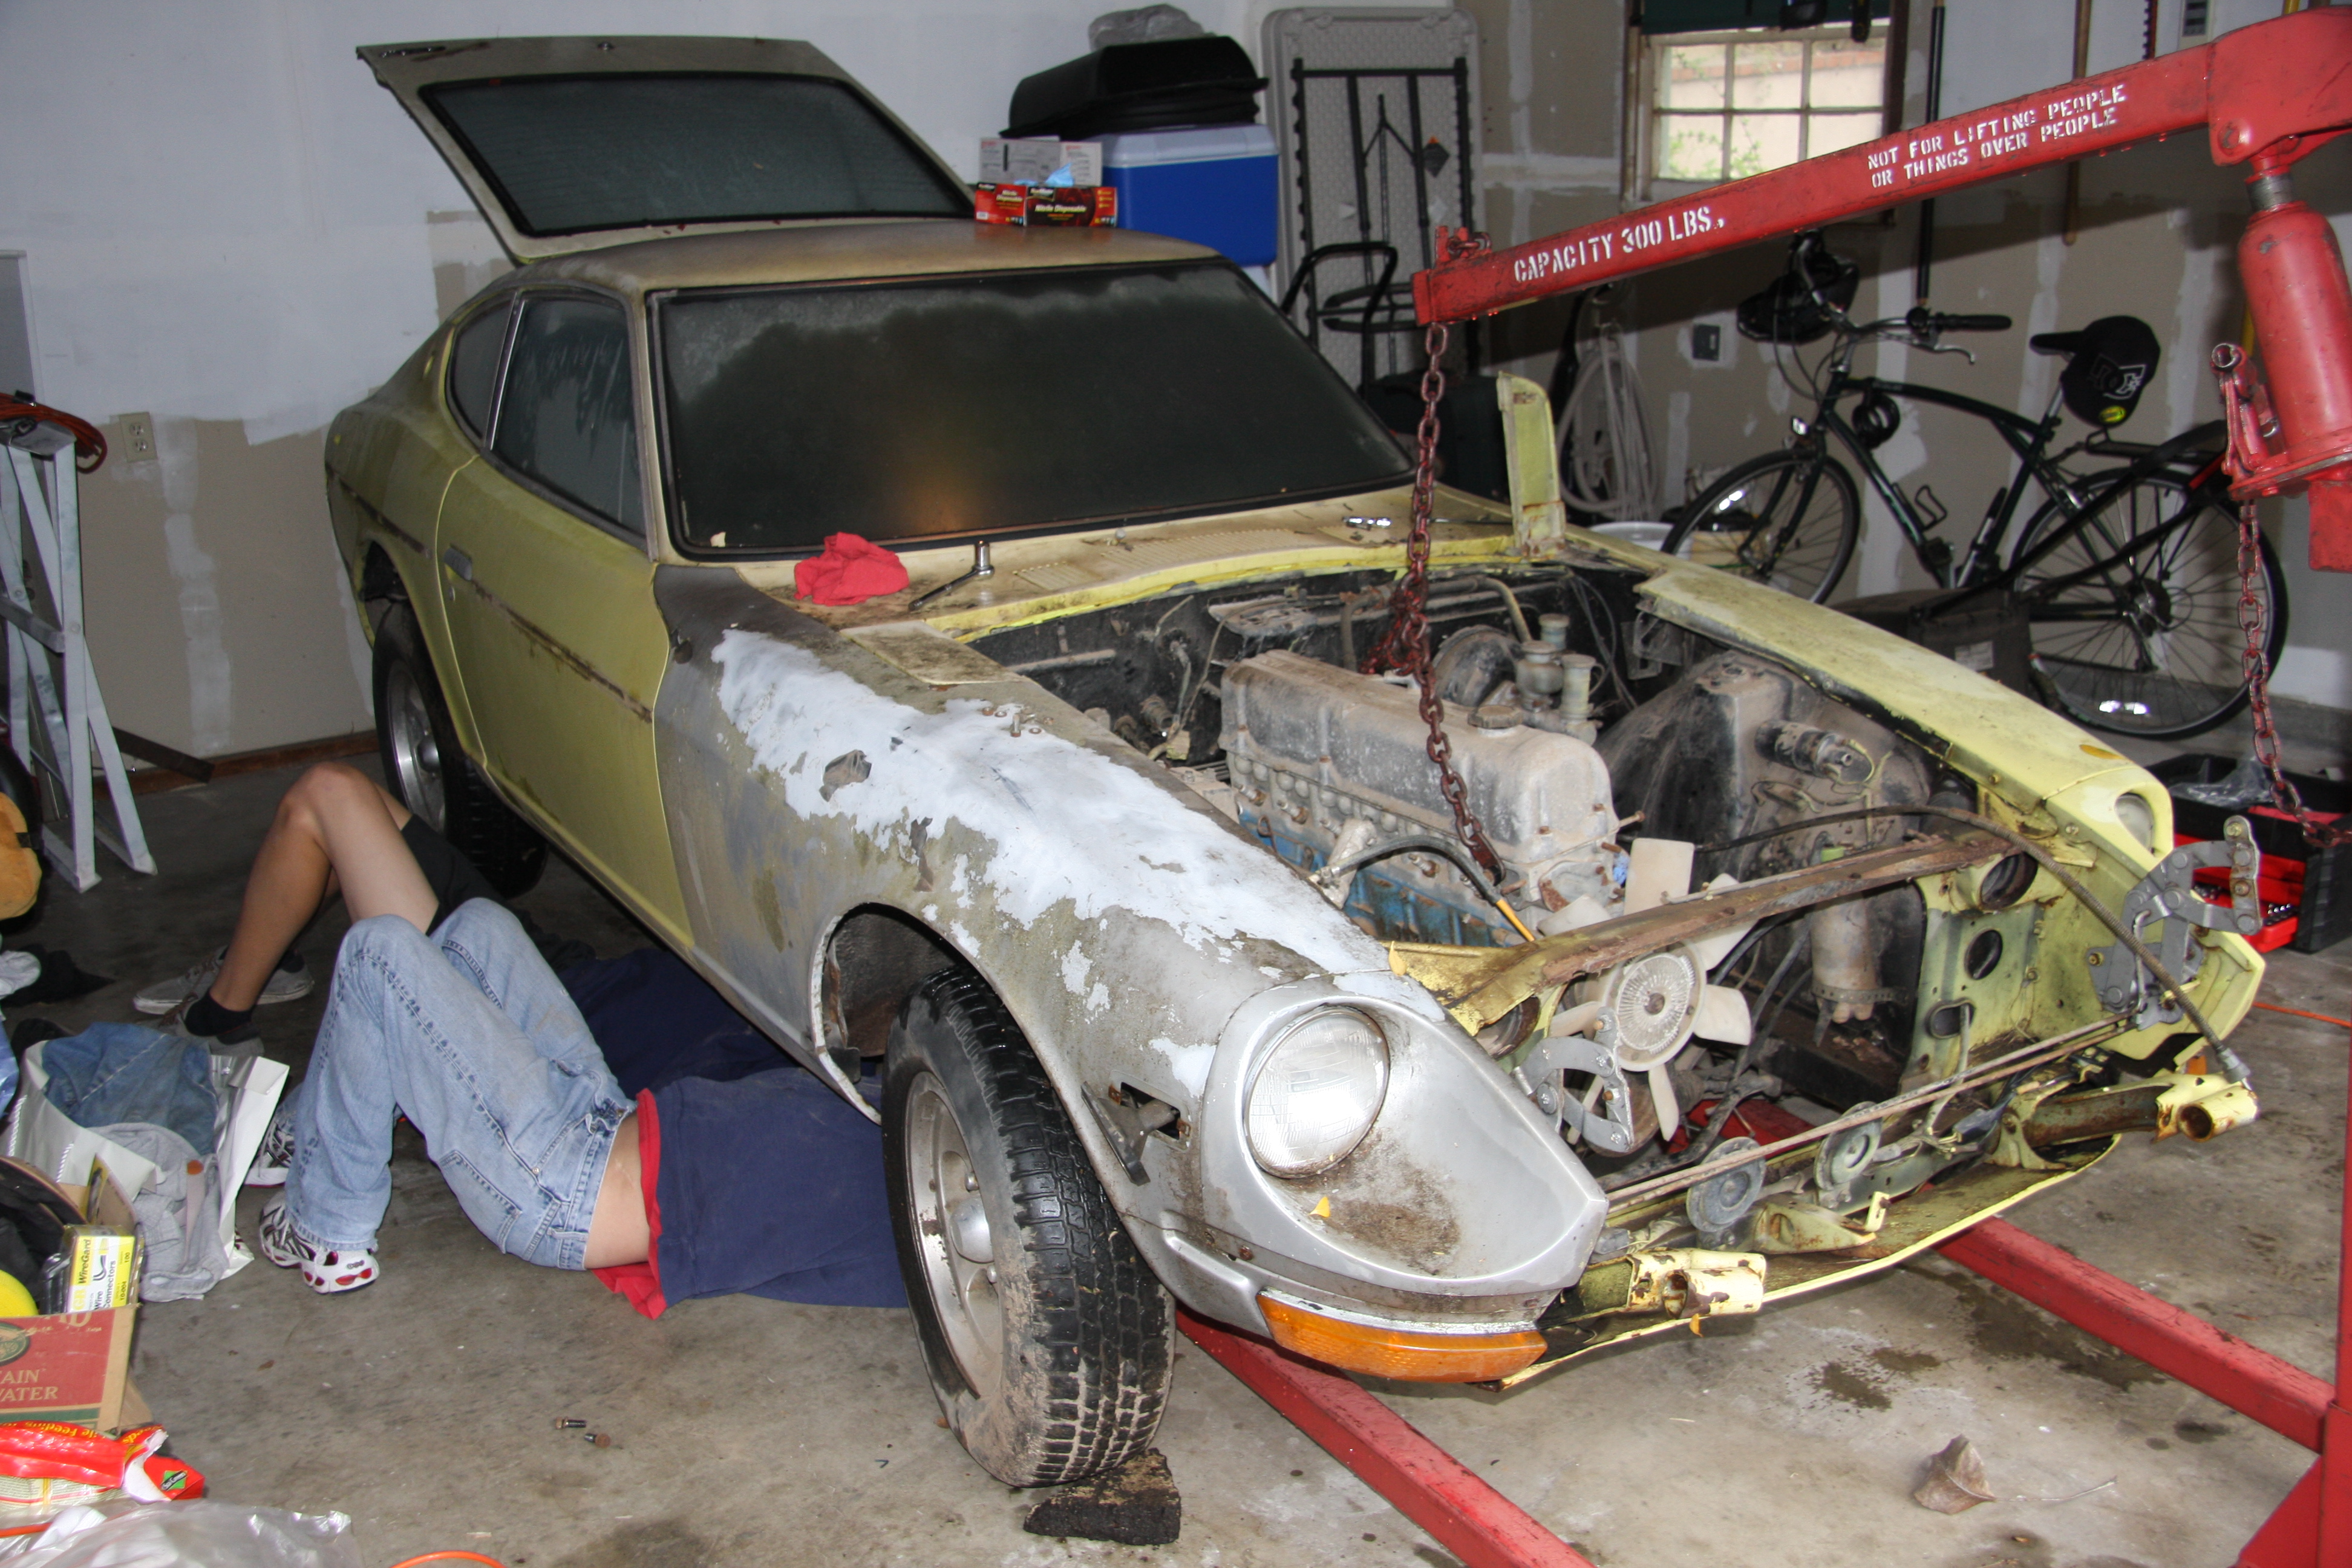
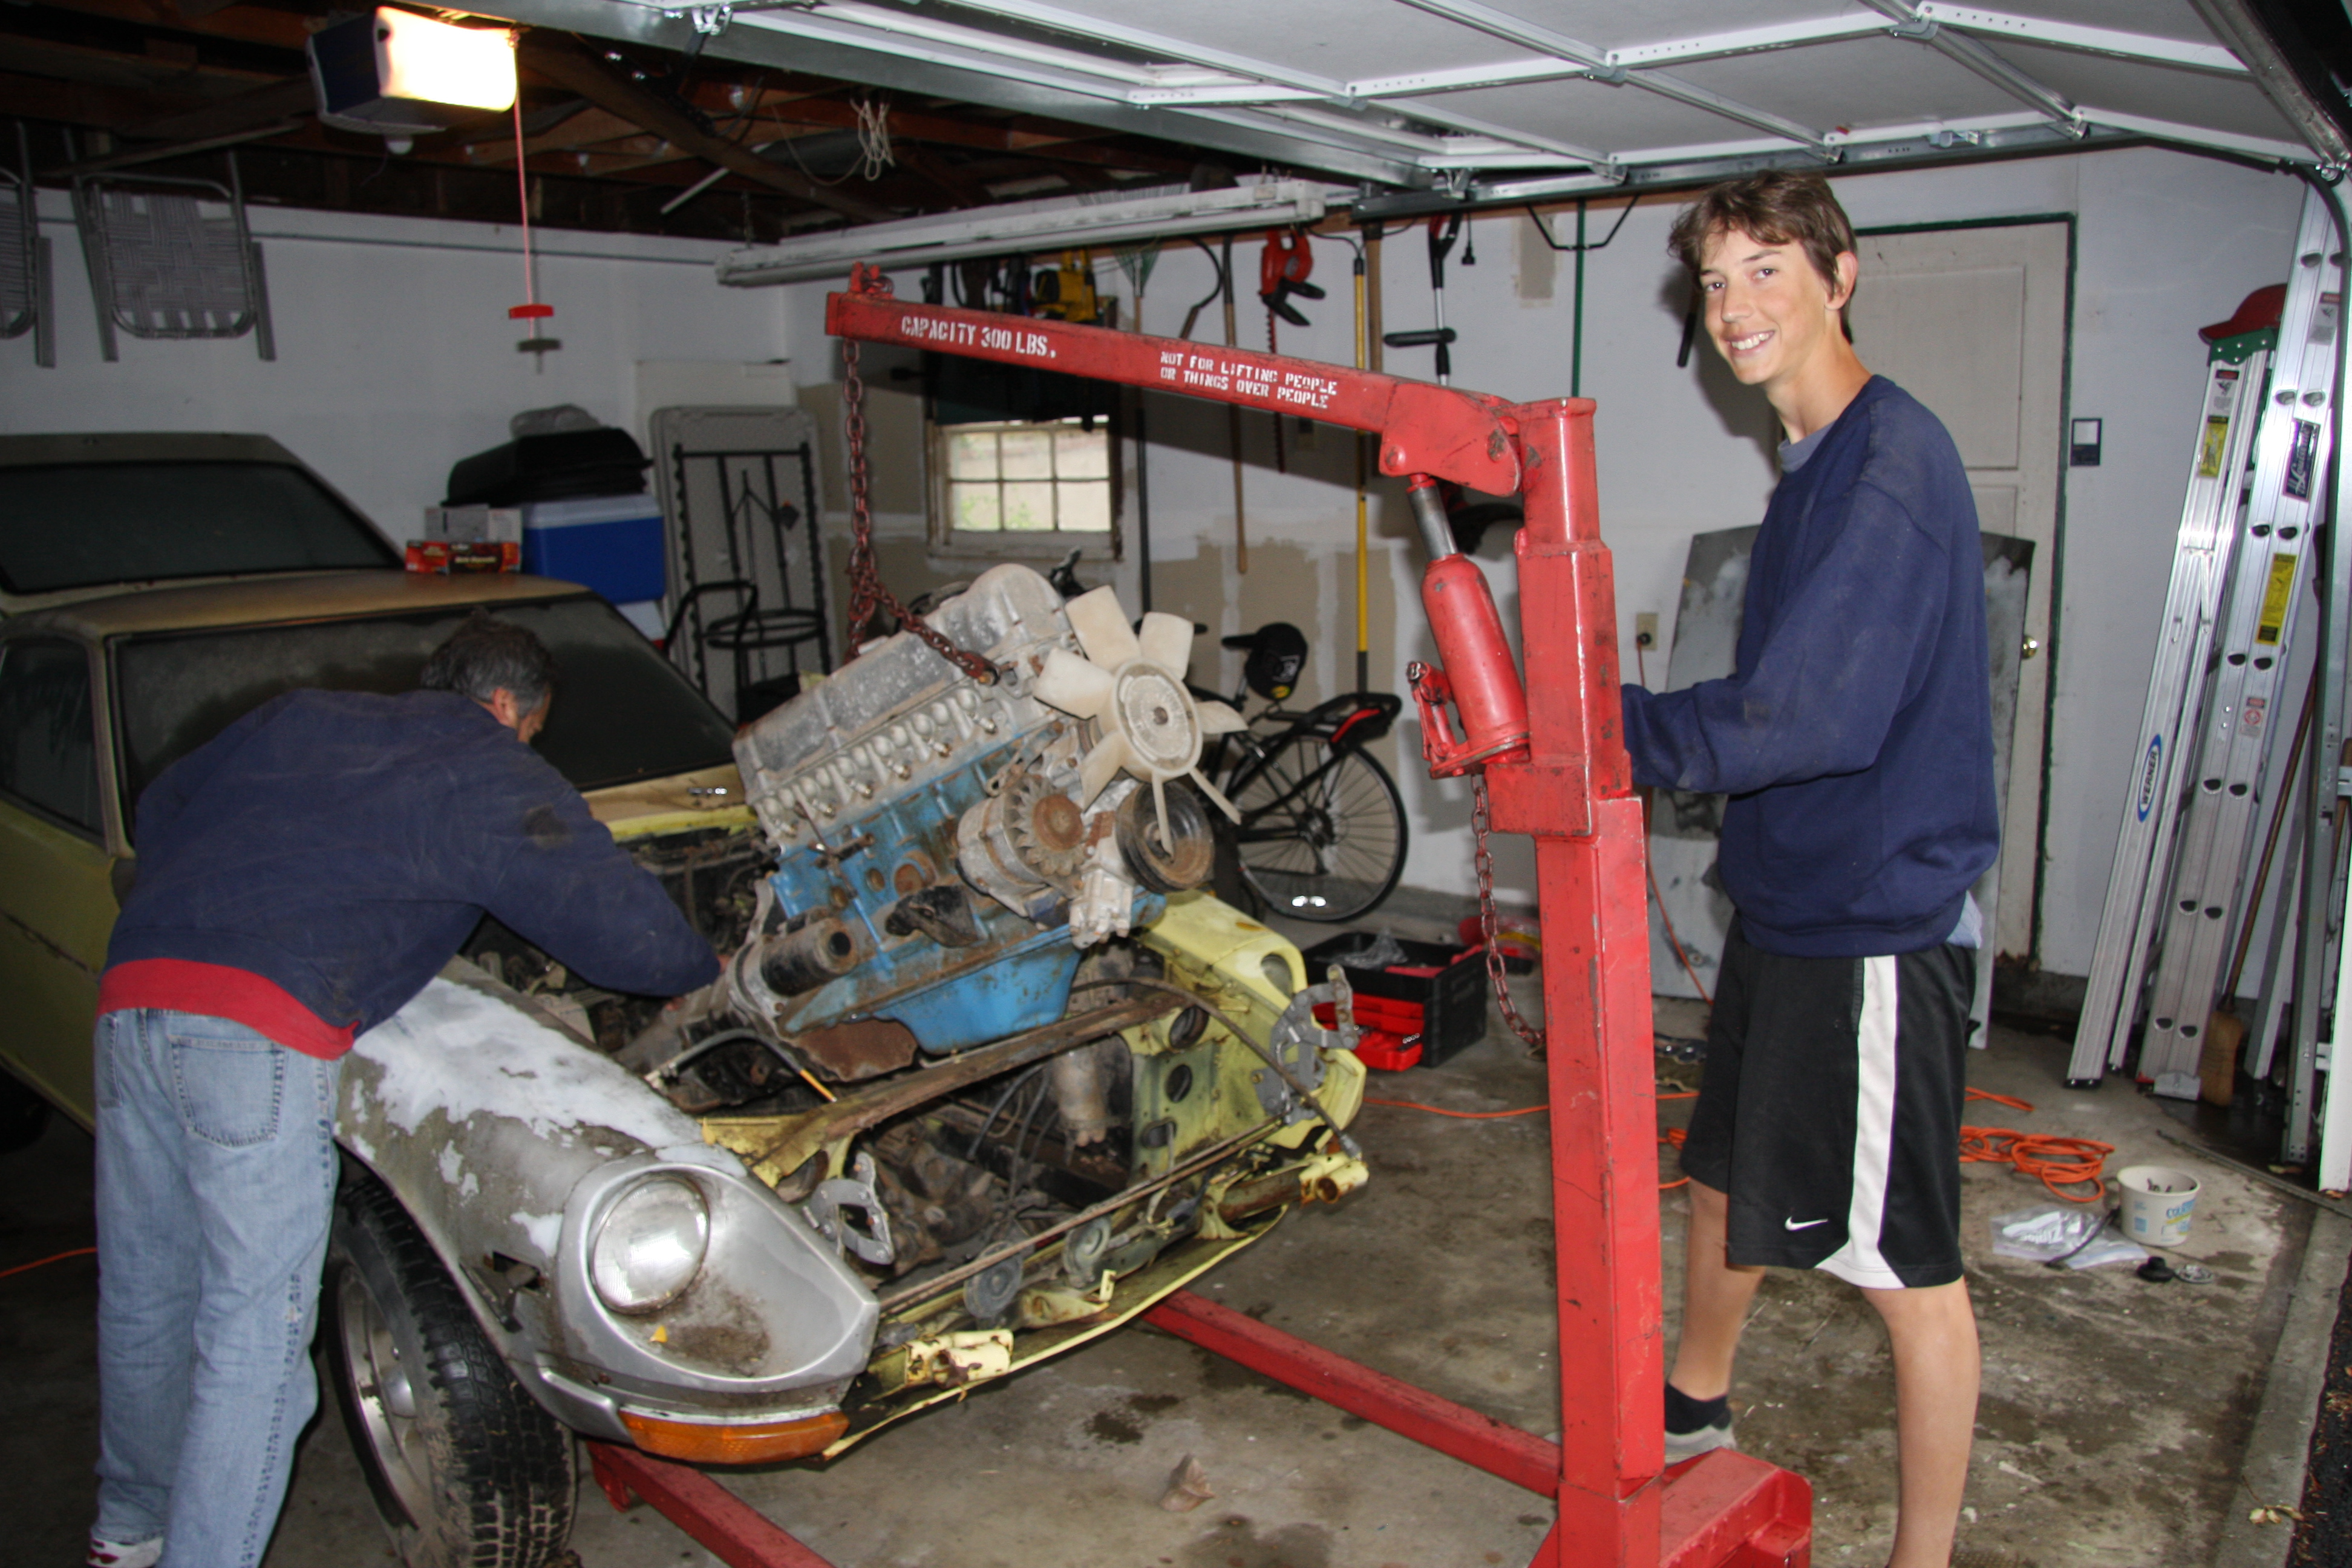
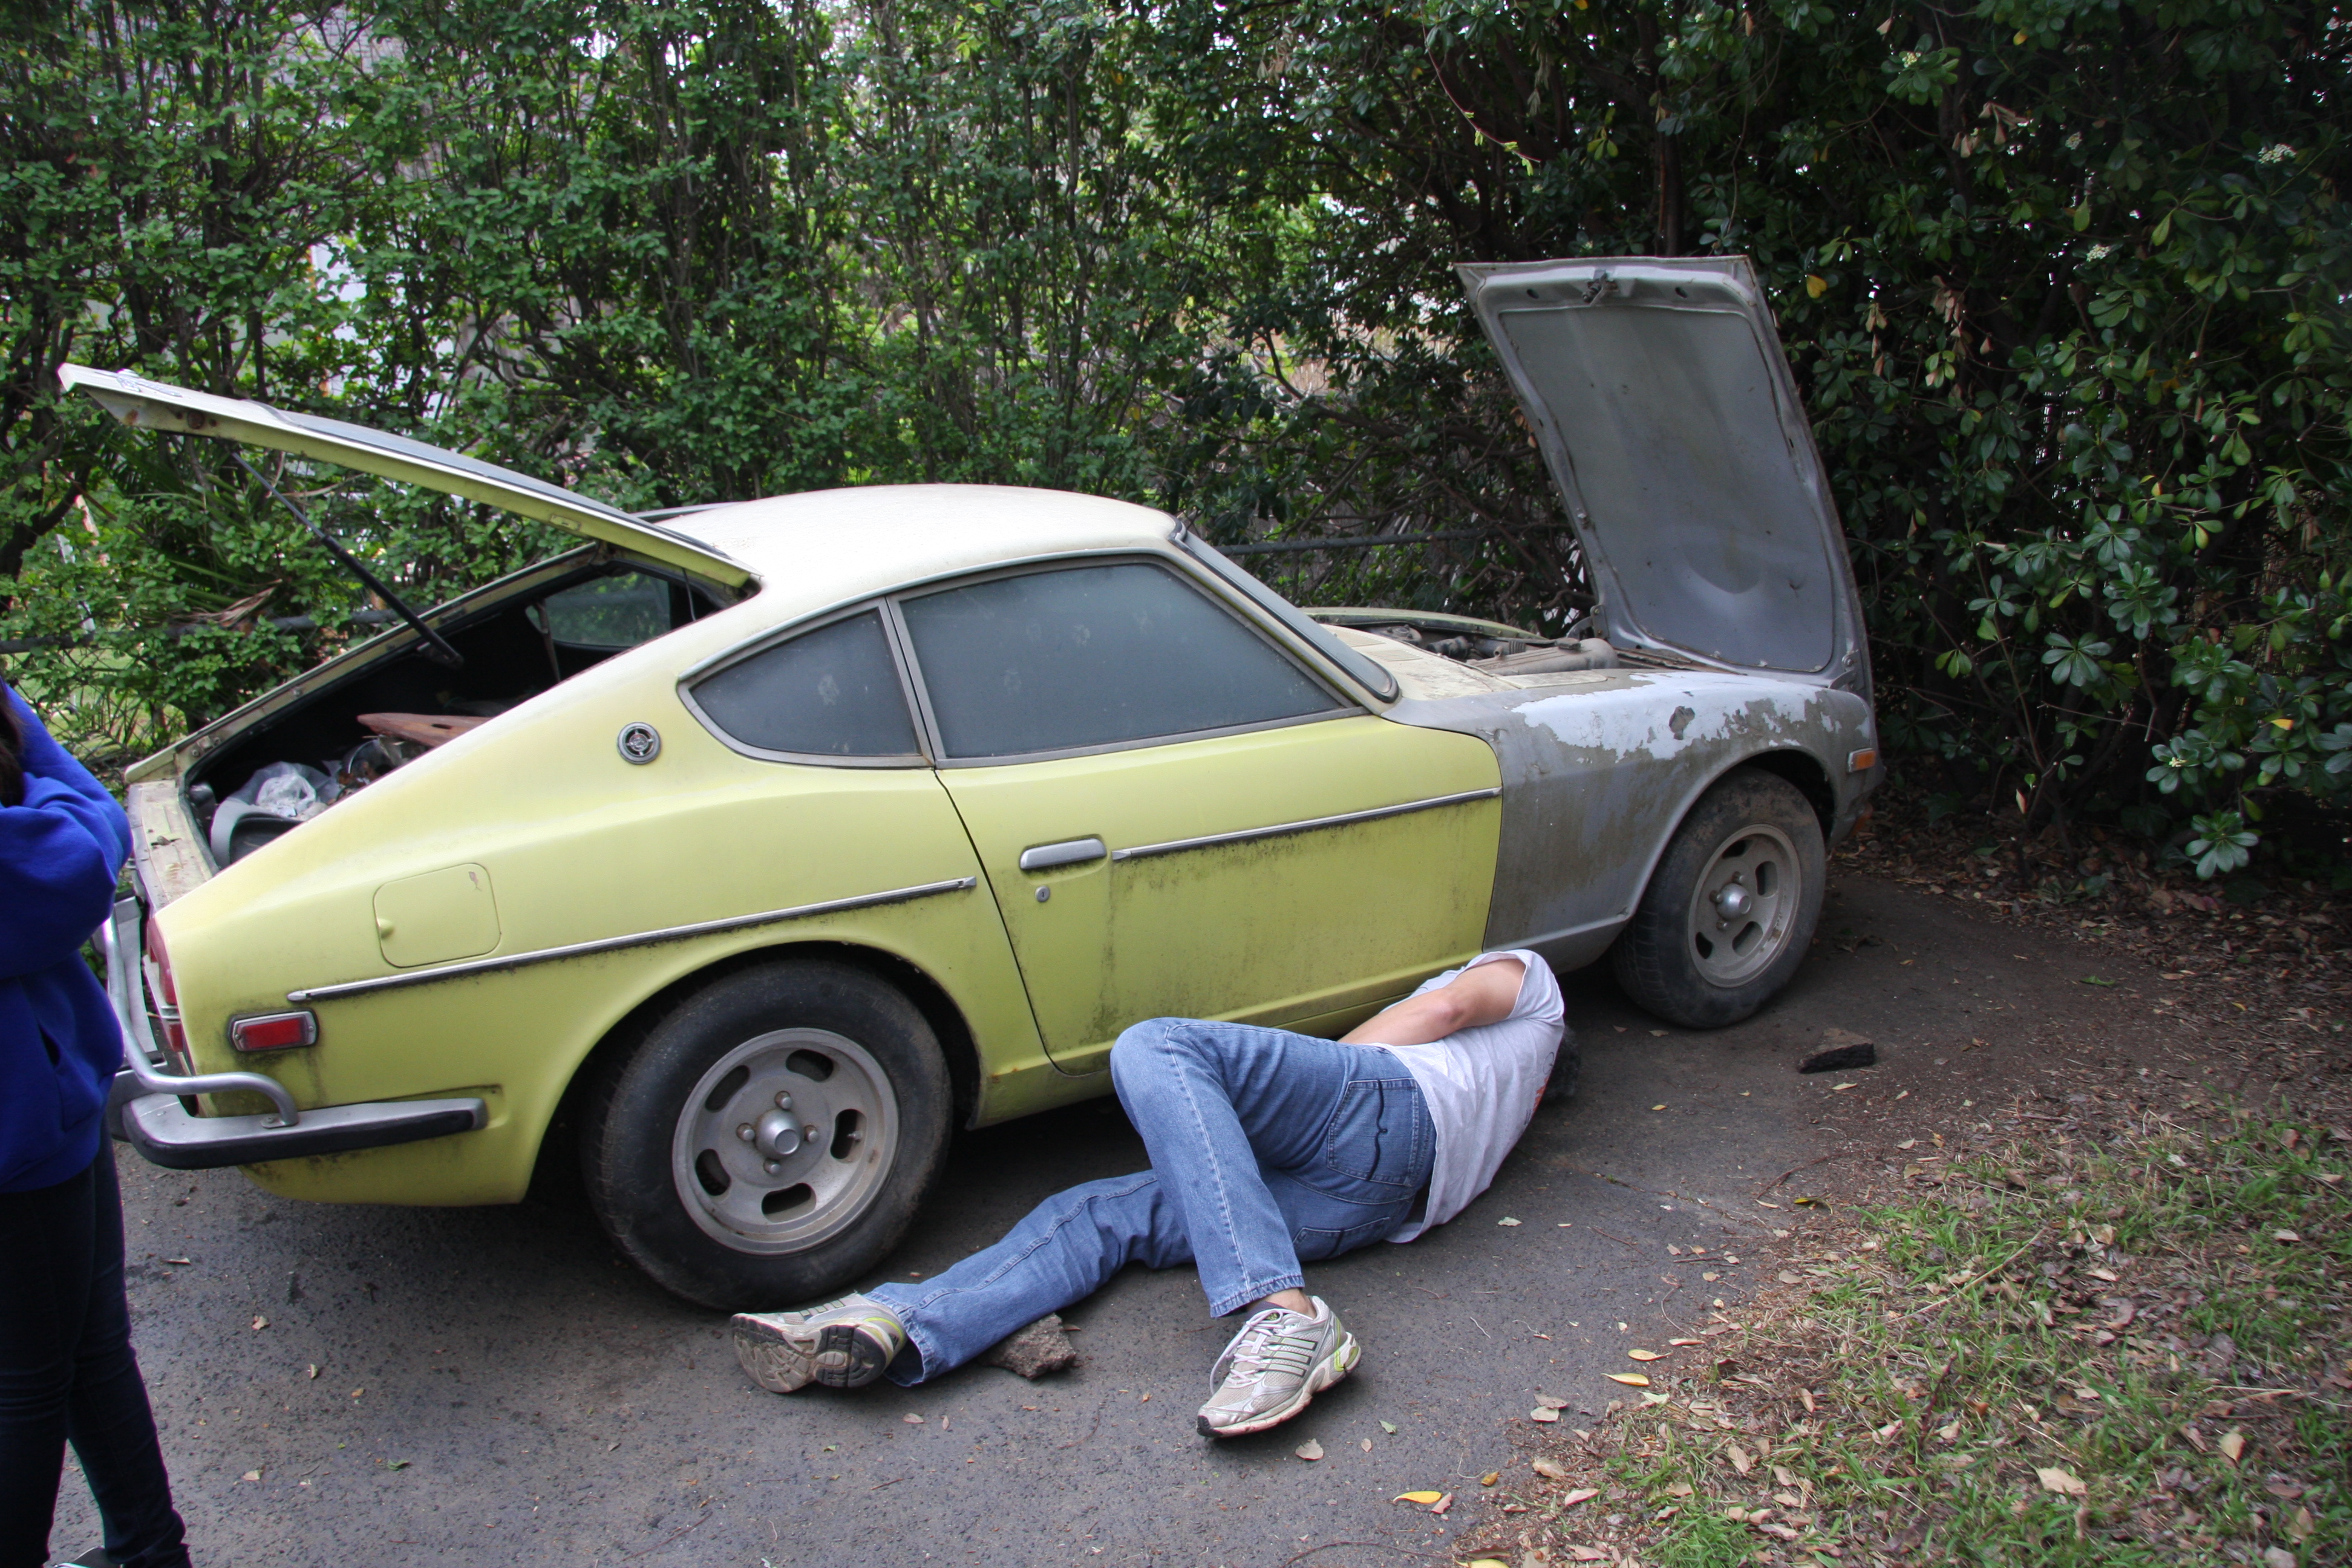
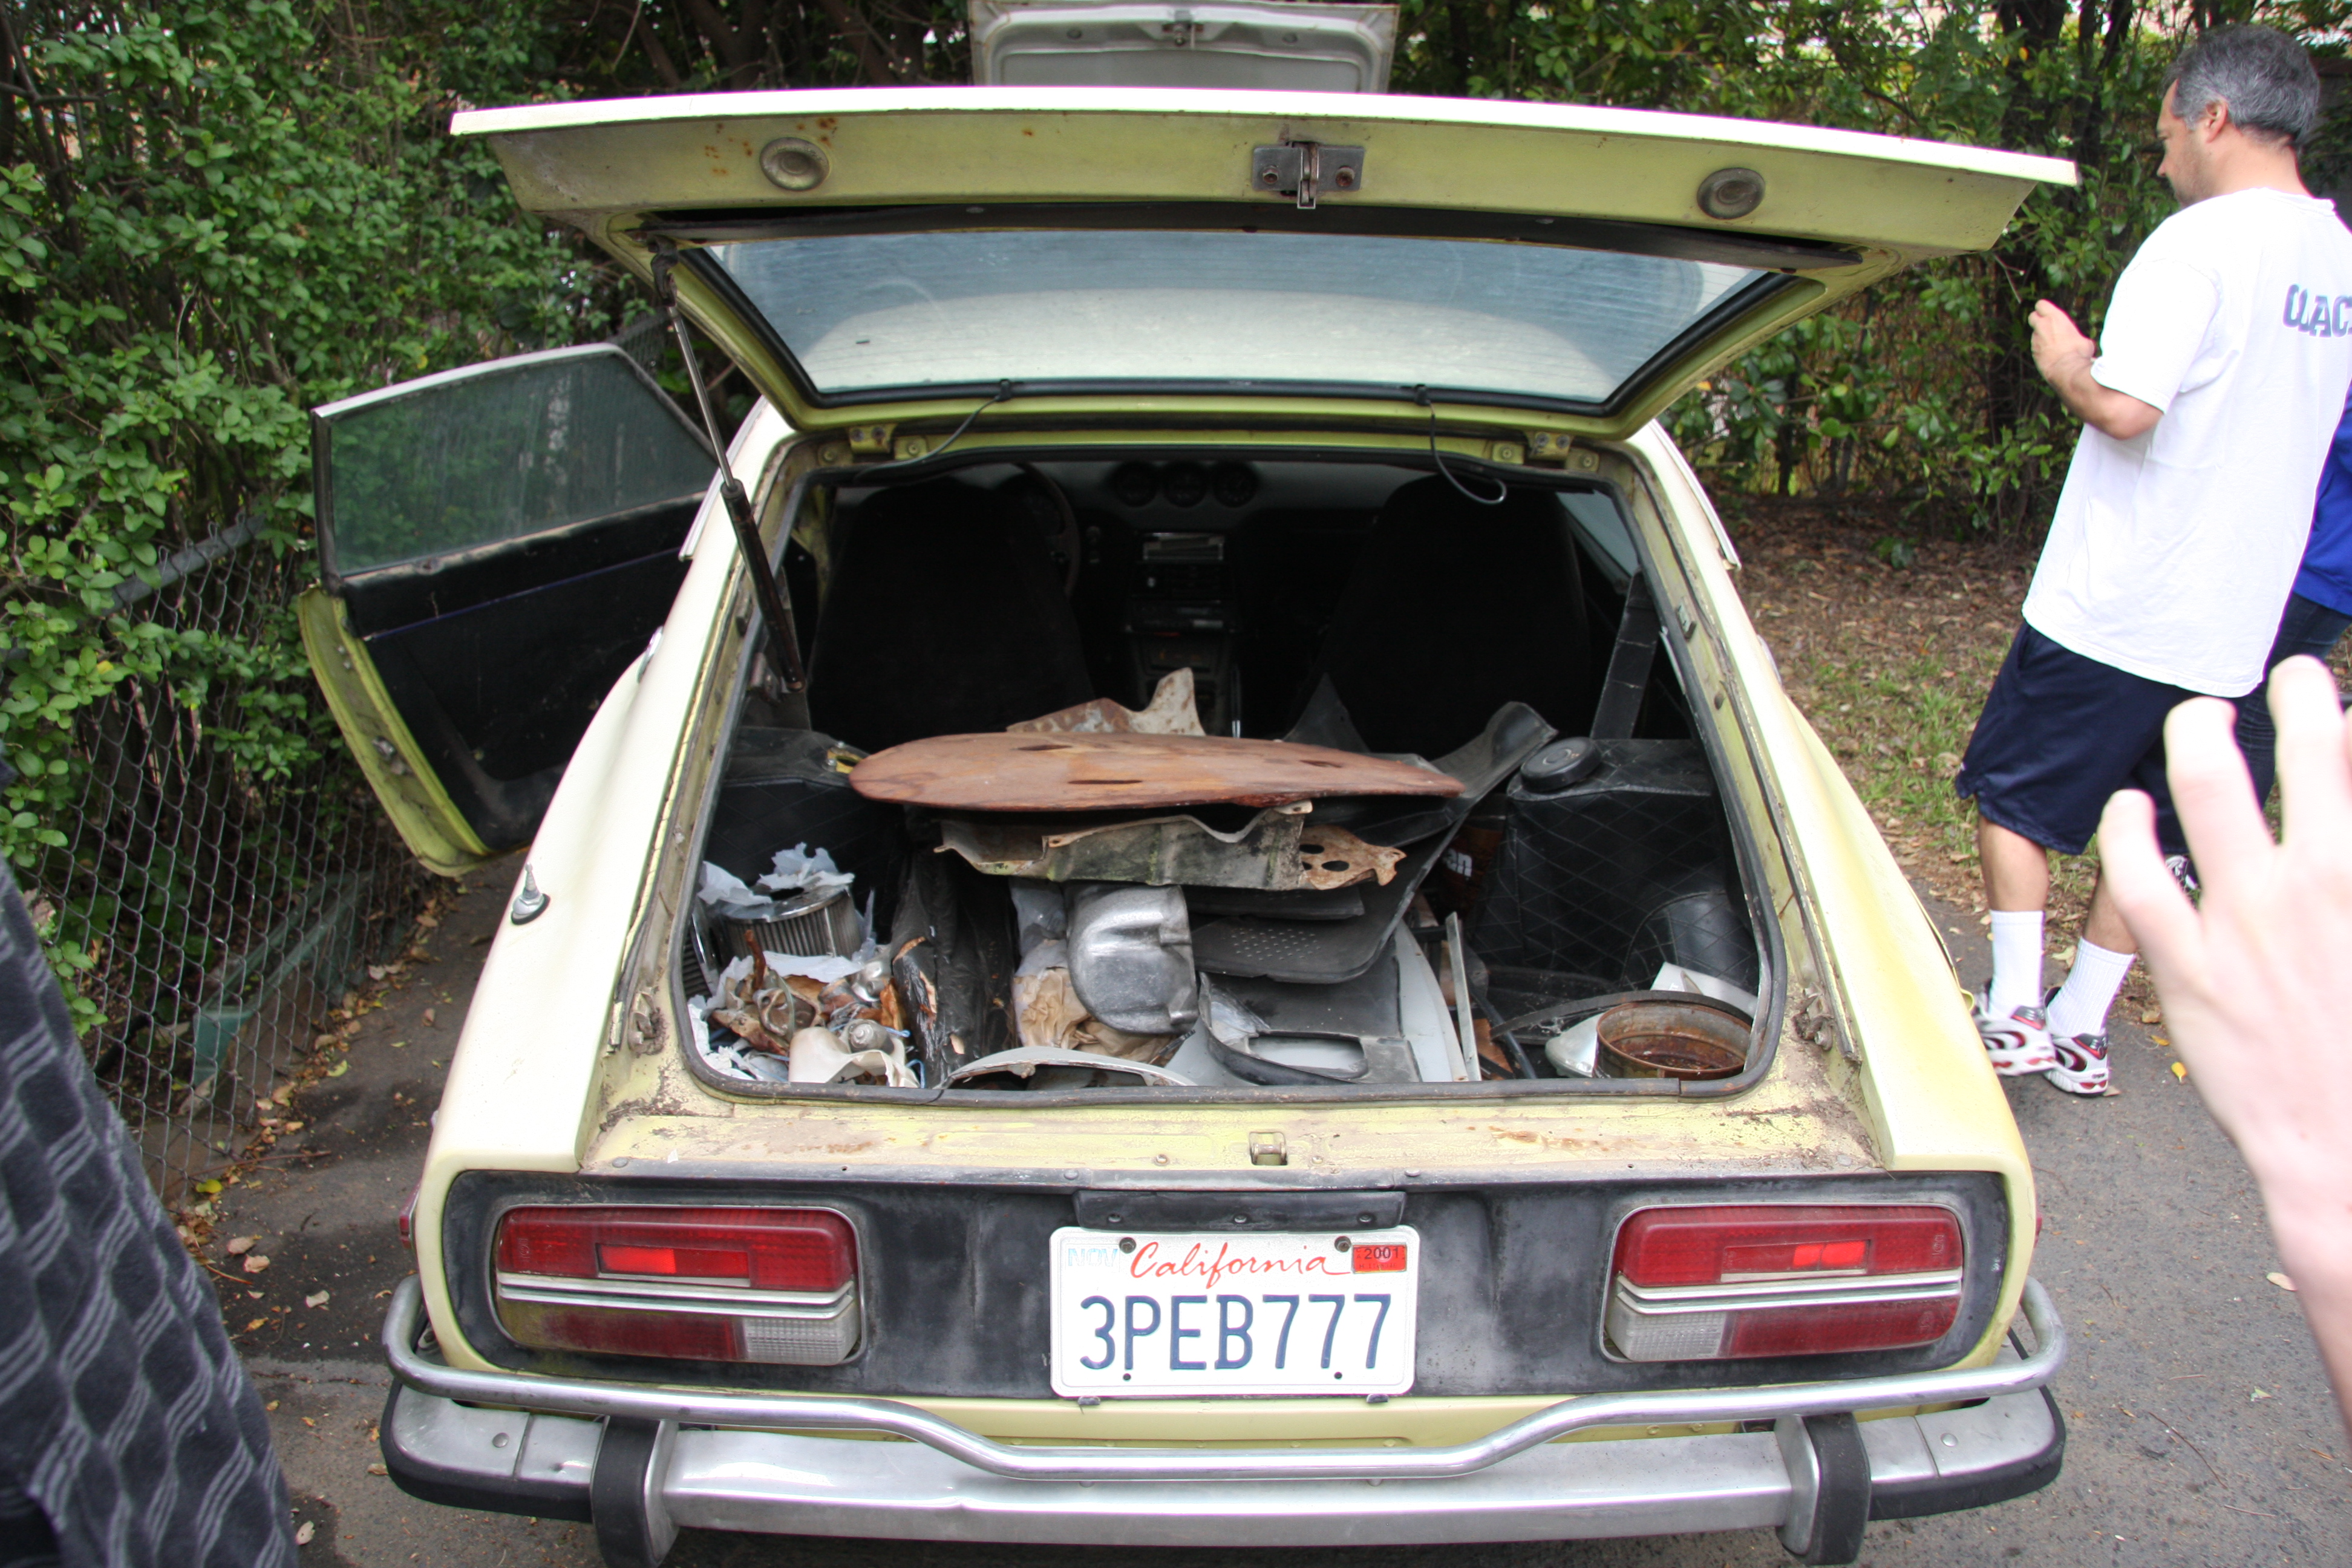
The following posts will include pictures of what we have done to the car. Lets start out with what we purchased. A car sitting for 11 years on a farm in Stockton CA. When I first saw it the frame looked in great condition as it seemed not to be in any accidents and seemed not to have rust. As we started tearing it apart, we found the floor pans needed replacing, the passenger rear quarter panel was hit and the passenger front of the car also needed some repairs. Attached are pictures of the car when we purchased it...
-
It seems like we are all in violent agreement. Heating the intake manifold is a good thing as it improves engine performance during the corner operating conditions of startup and cold driving conditions. Perfect! Jim
-
IT seems to be the trend to eliminate the manifold heater for SU applications on 240z. I contend that it is a mistake and will attempt to address it here. Before I start, I would like to introduce the opposing view as copied from an email I recently received. "However, if I'm not mistaken, this (manifold heater) regulates the intake manifold temperature, heating it to make sure that all fuel is vaporized (evaporated) by the heat generated by the conduction from the coolant bypass. That being said, this will deteriorate performance as the density of the fuel air mixture once heated is reduced. To maximize performance the mixture should be as cool as possible. This is the reason for turbo chargers, Intercoolers and fresh air intakes. I would delete this emission system component and completely block off the water flow to the intake manifold. You should enjoy a noticeable increase in performance on warm days and a slight increase in mileage. The only downside is a slightly longer warm up, but that is what a good manual choke is for!" While it is true, The inclusion of a manifold heater for your 240z with SU carburetors may work just fine in moderate climates >60 degrees, an engine designer must cover all corner cases. It is these corner cases I will address: Startup - When the engine is started in the morning, the engine thermostat is closed however the manifold thermostat is open allowing water to flow thus keeping the water pump from cavitating. Once the manifold has been heated, the manifold valve turns off and shortly afterwards the engine thermostat starts regulating engine temp. The addition of the manifold heater keeps the water pump from cavitating and improves warm up time. Driving in Cold temperatures - Lets go skiing! We start up our engine, it warms up then we drive to the mountains. Air temperature is 32deg F plus wind chill. What happens to your engine? well, the engine thermostat almost turns off and because of gasoline evaporation, the intake manifold gets very cold, Air/Fuel mixture deviates far from norm, more importantly the water pump cavitates (pumps but there is no place for the water to flow) and your car runs poorly. Feathering the choke wont hell. Conversely with the manifold heated , the water pump does not cavitate, and more importantly performance is maintained. Now lets rebuff the expected benefits of eliminating the manifold heater: Noticeable Increase in performance and better gas mileage can be had without a manifold heater - This comment makes no sense. During a moderate temperature day (70 deg ambient temperature), the intake manifold temperature is heated by the head (it is bolted to it) and stray heat from the exhaust manifold. I have not measured it, however I expect the manifold to heat above 150deg. Therefore there is no temperate difference and no improvement in HP. Now it has been several years (20) since I worked on my or my brother's z. Brian and I have just assembled our engine and I will pull out a thermostat and make some measurements. I welcome your comments Thanks Jim
-
Hello all. My son Brian and I (Jim) found a '73 240z (Nov 72 build date) on a farm in Stockton. We purchased it because we believed it had little damage and would make a nice project. Little did we know at the time we would have to completely strip the car and restore just about everything.! I would like to take a moment to list some of the better resources I have found on the web. This type of information was not available in the 80s when I worked on my '72 240z and I have found it very valuable in the restoration of our Z. Datsun Z garage. www.datsunzgarage.com (for non turbo engines) !!! Excellent information on many facets of the car !!! More Engine info: . - A great article by Racer Brown reprinted here http://www.datsport.com/racer-brown.html . - Lengine.exe Compression calculator http://www.atlanticz.ca/zclub/techtips/enginemodellingsoftware/index.html <- note use this as an approximation then build your own spreadsheet like I did! On our build, we found the following parts stores plus craigslist! . - Transmission and rear end rebuild kits Inexpensive and High quality can be found at: http://www.drivetrain.com . - OF course you cant ignore these stores either!: http://www.thezstore.com/ http://www.zcarsource.com http://www.rockauto.com/ For completeness, below is a list of the machine shop / restoration folks we used: . - SU carburators - www.ztherapy.com Steve is great! Talk with him, Some customers replace their webbers for his carbs!. . - Engine Machine Work - Valley head service in LA. Great guys with YEARS of experience! www.valleyhead.com . - Cam shaft - www.iskycams.com or www.webcamshafts.com I used the former. . - Advanced Distributors Restore / modify centrifugal advance curve http://www.advanceddistributors.com/index.htm . - Suspension - Tokiko / rogerdanielsalignment.com . - Dash restoration http://www.dashboardrestorations.com/ - He's not fast, but his work is great!