JCan
-
Posts
196 -
Joined
-
Last visited
-
Days Won
1
Content Type
Profiles
Forums
Blogs
Events
Gallery
Downloads
Store
Everything posted by JCan
-
From the album: '73 240z HLS300135272
-
From the album: '73 240z HLS300135272
-
From the album: '73 240z HLS300135272
-
From the album: '73 240z HLS300135272
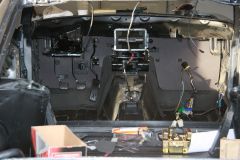
We added 1/4 inch insulation to the firewall prior to adding the stock cardboard. -
From the album: '73 240z HLS300135272
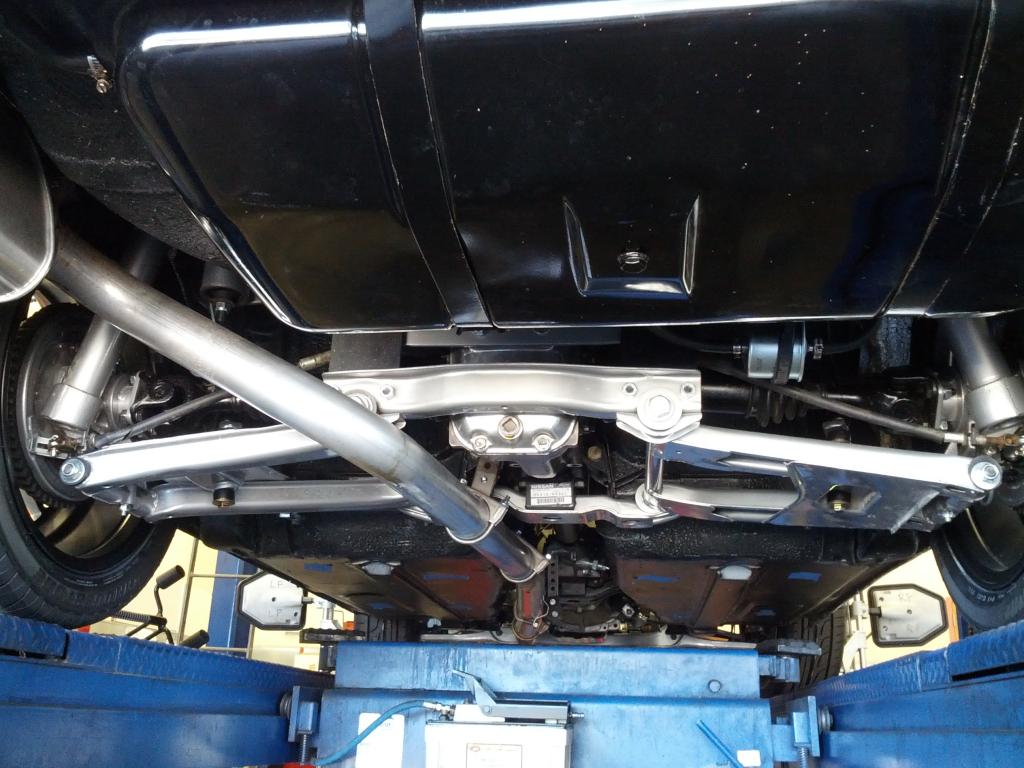
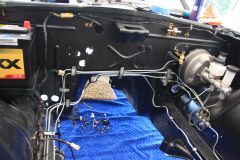
New brake lines, cleaned up gas lines. Note we left the engine compartment, undercarriage, and interior flat black. This is not paint, it was powder coated.. remember? I think it looks good! -
From the album: '73 240z HLS300135272
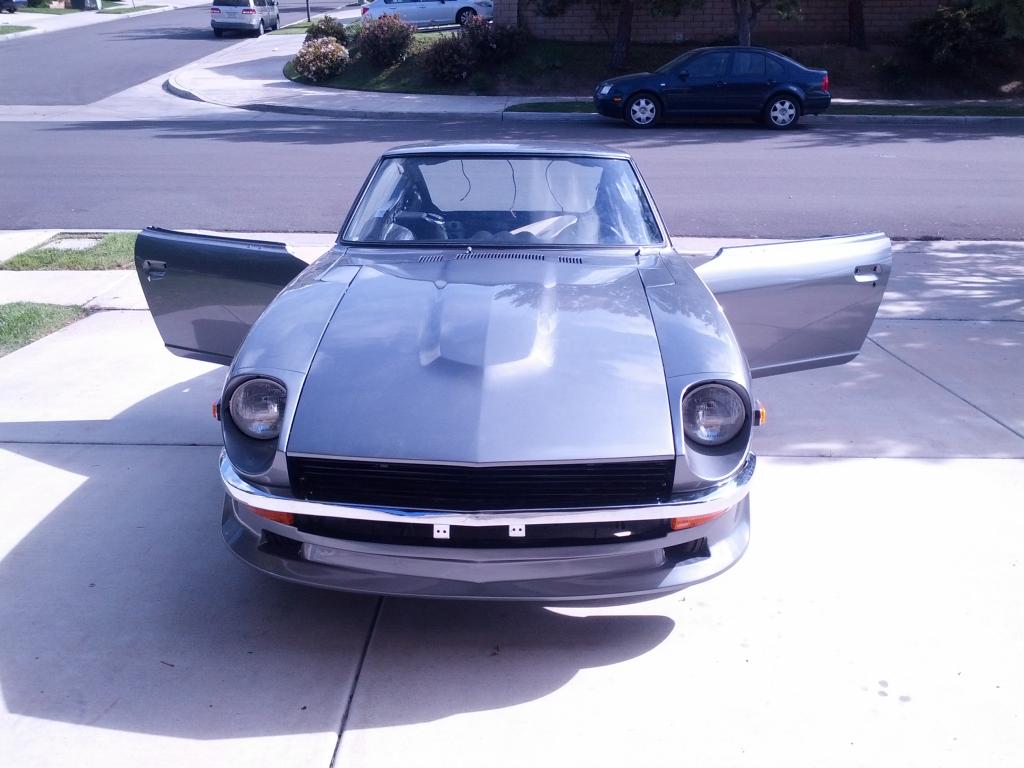
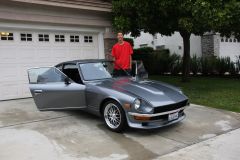
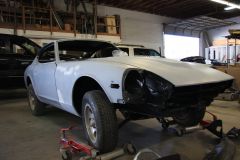
Picture of the car in the garage. It's home for 6 months while we re-assemble it., -
From the album: '73 240z HLS300135272
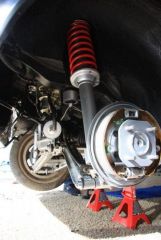
New shocks and springs, suspension was sand blasted and powder coated. As this car is meant to be a learning experience for Brian, I thought it would be good for him to learn about drum brakes. -
From the album: '73 240z HLS300135272
-
New rear quarter panel skin. Looks like it grew there!
JCan posted a gallery image in Members Albums
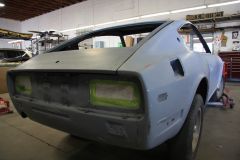
From the album: '73 240z HLS300135272
-
Newly rebuilt engine with loud tapping noise even at idle?!!?!
JCan replied to JCan's topic in Nissan L6 Forum
This is great news! On my car the tapping noise continued to become quieter and quieter as time progressed Please keep us informed as to how your car runs after you tune it up. I think we are on to something here! -
Newly rebuilt engine with loud tapping noise even at idle?!!?!
JCan replied to JCan's topic in Nissan L6 Forum
Lazeum. What you did looks great! When mine were done, Valley Head Service ensured that there was a slight rake (slope) from the edge to the center of the rocker arm. This ensured that the rocker arm touched the valve in the center. I think that what you did should work! Good luck with re-assembly. Be sure you warm up your engine and re-gap it warm. I have my fingers crossed! -
LOL That was a long time ago!
-
Great rims! I'm going to send a picture to my brother! when he crashed his z they towed it away and miraculously next morning the rims were stolen from the car. I guess there is not a high demand for 4 bold rims these days... What are the odds? I guess great minds think alike? See you at JCCS. Jim
-
Leon. If you're coming out to the show, of course I'd drive the Z. It would be nice to meet you! I would really like to learn about the cam you are specifying (maybe you will make one for me also? ) and learn more about tractive effort. Regarding rims... you like the the old 14 inch rims? I have a set of 4 in my garage (see below pic). Back in the day, I powder coated them flat black then polished the outer edge of the rim (mounted the tire on the rear axle and idled the car in 2nd gear and used sandpapaer then a polish rag. The rims looked so nice when I was done. You could do the same to my rims, if you want them. I'll check to see if they are 6" wide or 7" wide. Regarding rubber for the tires, I suggest 195 65 14s for the front and 215 65 14 for the rears. 225 rims wont work on 6 inch wide rims, you need 7 inch wide rims for the rears to make that work.

-
Believe it or not, the car came with some really nice 14" rims. I would have polished them and kept them but today it is simple to purchase 17" rims and as a kid I always wanted to do that! Did you say you were going to come to long beach this year? That's not too far away from us, maybe we could meet at the show and you could show off your car?!
-
Newly rebuilt engine with loud tapping noise even at idle?!!?!
JCan replied to JCan's topic in Nissan L6 Forum
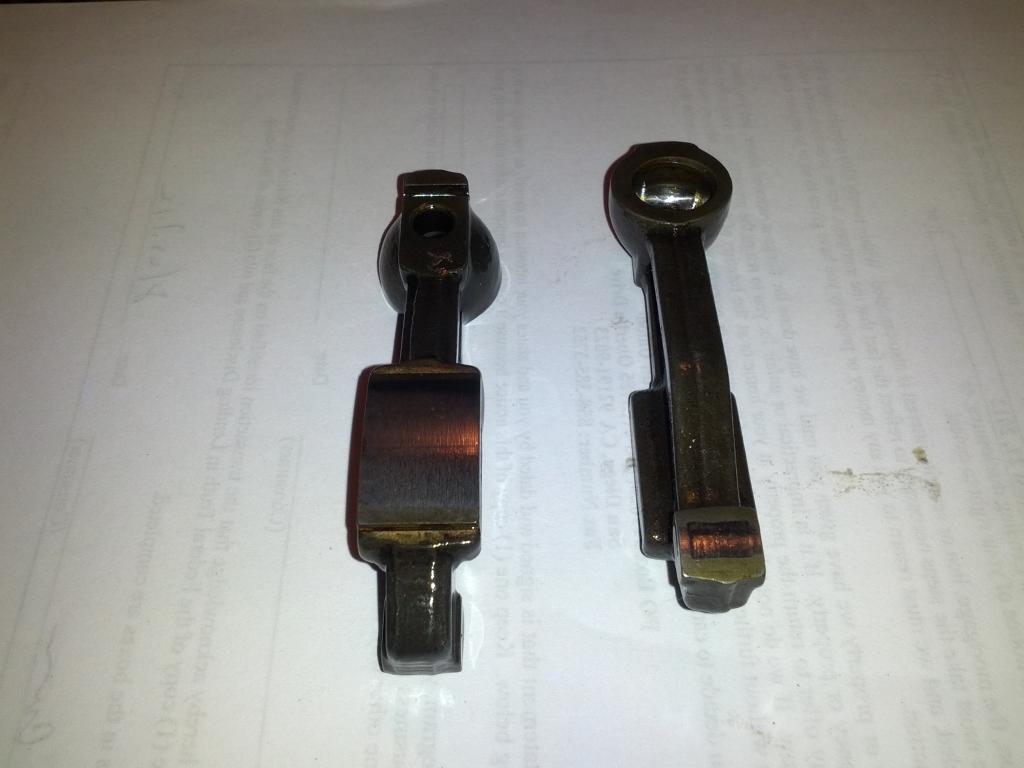
I just realized you were in France. if you have a file, you can grind the high points (edges) off your rocker arms. If you do so at a 5-10 degree angle you can watch the edge of the cut progress from the outside in toward the middle. I would stop once the cut edge passes the high point on the edges because the center of the arm is already parallel with the cam. Remember. we are doing this just so that you can gap your rocker arms properly. Gapping is a difficult process, I gaped mine after the engine was warm and was very careful to gap each rocker arm accurately. After gapping the engine, it was a bit quieter right after I completed gapping it, and continued to get more quiet as it broke in. Attached is a picture of what I am referring to. Good luck! Jim
-
Newly rebuilt engine with loud tapping noise even at idle?!!?!
JCan replied to JCan's topic in Nissan L6 Forum
Lazeum. you can grind them yourself it is a simple job using a fine grinding wheel. Valley head service did it by hand using medium-fine sand paper in a machine very similar to a power sander. The sand paper was about 2 inches wide. The goal is not to grind the rocker parallel with the lash pad but to grind it with a slight crown that is located approximately in the center of the lash pad.. This will force the rocker to hit the lash pad at one point somewhere in the middle. Break in of your engine will self grind the crown into a flat. My friends at Valley Head service in LA (http://www.valleyhead.com/) will grind your rocker arms for you. It shouldn't cost you too much. If money is tight, I suggest you grind the high point edges off of your rocker arms at a 10 degree angle and not even touch the center of the arm. I wish I had a picture of the arms after they ground mine. Tell me what you decide to do. Jim -
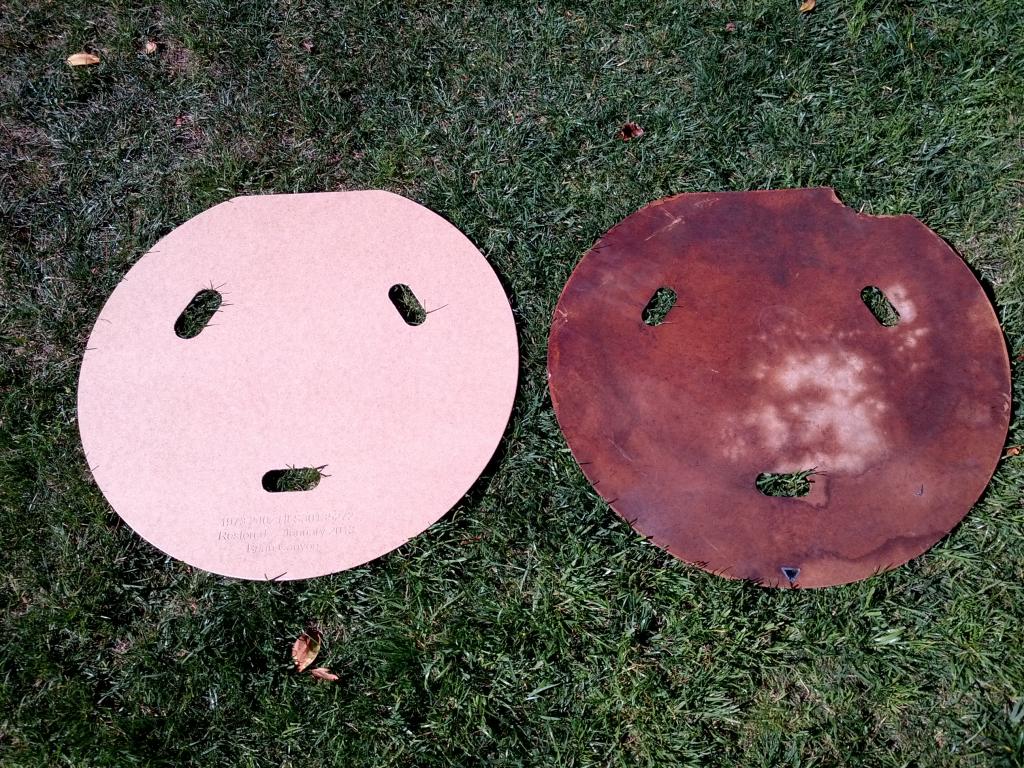
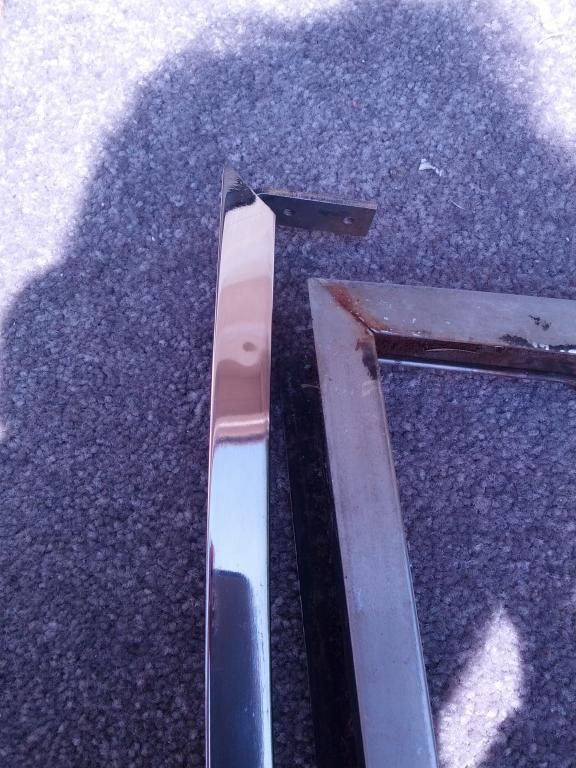
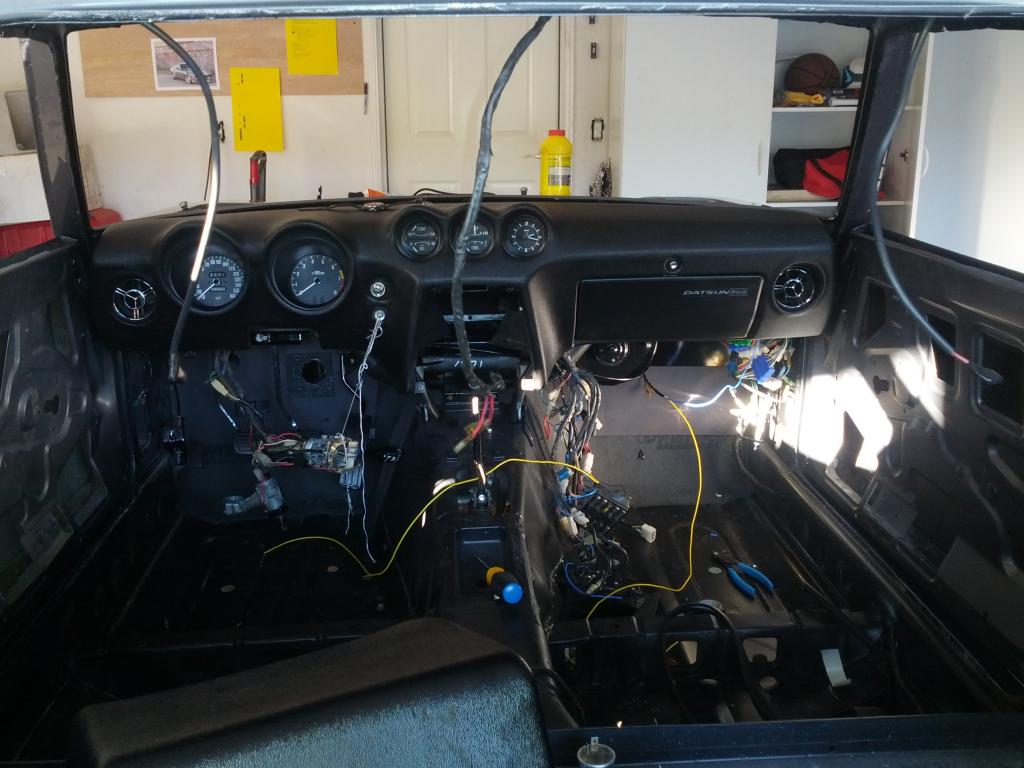
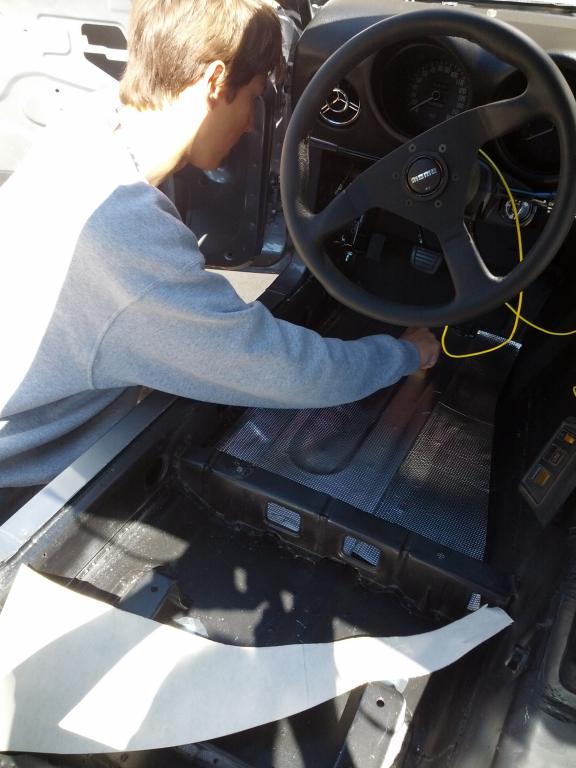
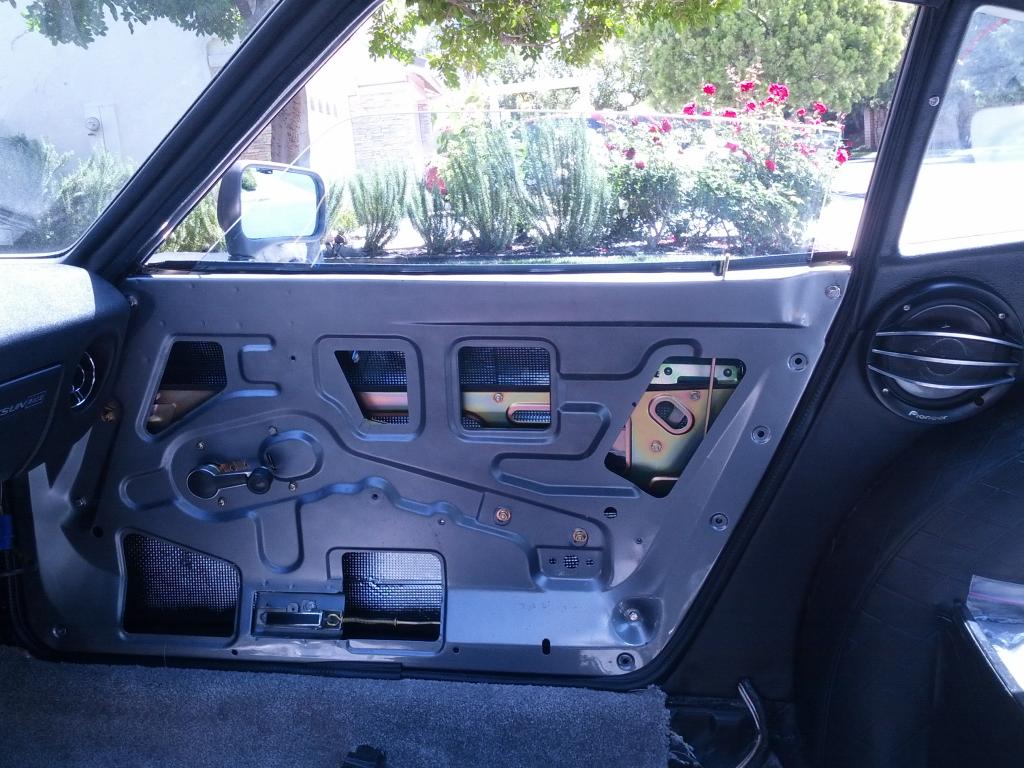
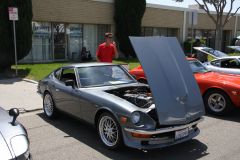
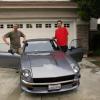
Hello all... It is time for an update. Since my last post we connected the dash electrical and mechanical, and have installed the interior, cleaned up misc wiring in the engine compartment and connected up gas pump in rear of car. Interior: We used new plastic panels and vinyl from motorsport. The Vinyl went in okay however the plastic panels needed to be trimmed prior to installation. We purchased 50sq feet of be quiet sound deadening and used it on the outer door panels, roof, floor, interior hatch, and as many places we could find where thin metal could vibrate. next we went to home depot and purchased 4 linear feet of carpet and glued it into the front of the car and laid it on the rear deck with no fasteners. Weatherstripping. We purchased weather stripping kit from Motorsport. Everything worked out great except for the hatch and door openings. The wetherstriping at the door openings seems too hard! Wehave to slam the hatch and the doors to get them to close. i hear this is a common problem and may revisit this issue. Doors. I made a mistake and cleaned two drivers side door mechanisms so I had to go back to the plater. I took advanntage of this by removing all metal inside the door and having it all replated! Additionally I took the old stainless steel and polished it around the windows. Metal is great cause you can sand away years of neglect and it comes back looking great! Spare tire trim. I used a CNC machine (I had a membership at Maker Place in San diego) so I went a bit overboard... _____________________________________ All in all, the car has taken shape and we displayed it at the Motorsport show two weeks ago. Today we have 200 miles on the engine, and as expected first gear goes from 0 to 40MPH, and the car is not tremendously (due to gearing) fast off the line as designed. However after about 30mph, the car pulls pretty good.! Last picture is the car at the Motorsport show. We had a great time!
-
Newly rebuilt engine with loud tapping noise even at idle?!!?!
JCan replied to JCan's topic in Nissan L6 Forum
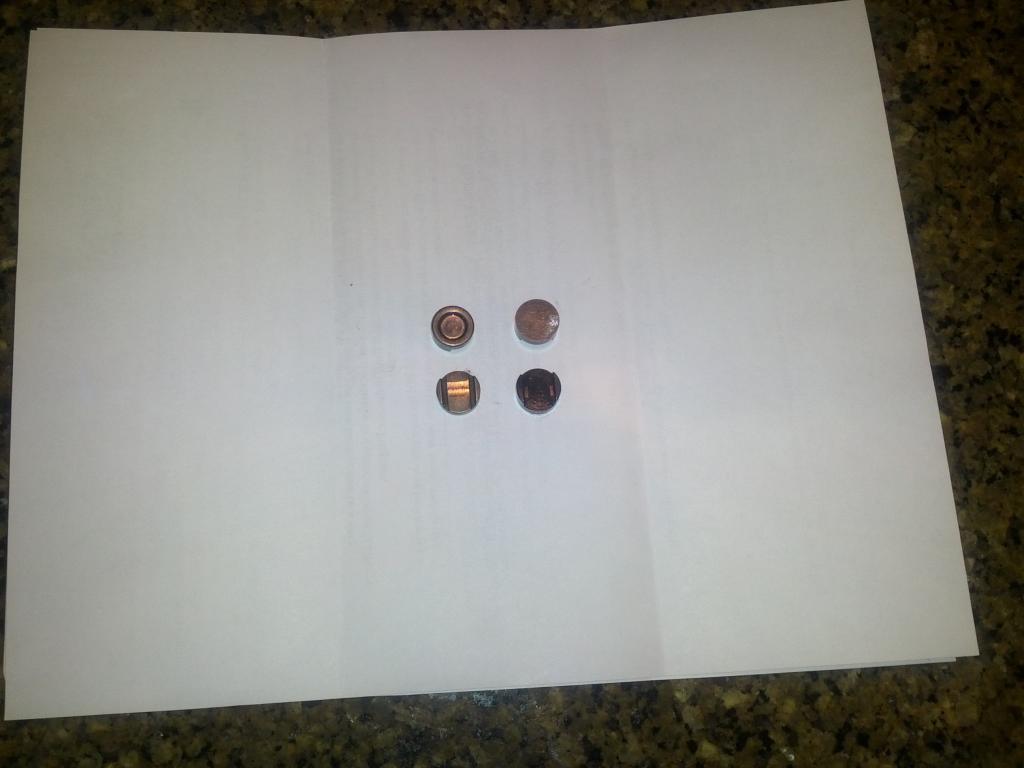
Lazeum. I am going to label your pictures 1-4 top left to bottom left then 5-8 top right through bottom right. Lets take a look at the first picture. Do you notice substantial wear at the edge of the lash pad and little wear on the center? This means that the rocker is riding on the ridges I spoke of instead of pushing at the center of the valve stem. It looks like the edges are being worn down rather quickly and by the time we look at image 5, it looks like the wear has sorted itself out. I suggest you file down the edges of the rocker arms to ensure you get contact at the center of the lash pad, then start your engine and warm up the car prior to re-gapping your rocker arms. I will tell you that now, the engine we are running sounds rather quiet. we have 200 miles on the motor and it is time to pull the valve cover and regap the valves. I can not guarantee that this will fix your problem, but it did fix mine. Best of luck! Jim -
Leon. On the rocker arms, if the wear looks good on the cam side, you may not need to regrind that, although better safe then sorry. regrinding on the valve side is a must, it is simple to do, just grind away the edges so that the center has a slight crown to it. This ensures that the rocker arm will be flat with the cam and contact the valve at one point thus as you break in the motor, the rocker arm will self seat against the valve side and there will be no torque on the rocker arm. Jim PS We went to the motorsport show in LA this past weekend, car ran great! Even with all my fancy tricks to limit HP (high gear ratio + SU carbs) once the car hits 30mph, the car pulls really well!
-
Lazeum. This is one of those esoteric things that I learned the hard way! http://forums.hybridz.org/topic/110671-newly-rebuilt-engine-with-loud-tapping-noise-even-at-idle/ If the rocker arm contact point with the valve stem is not parallel with the rocker arm cam shaft contact point (is that a lash pad?) then gapping the valves will be almost impossible. When the rocker arm is parallel with the cam lobe then it is not parallel with the valve stem. When the engine runs the rocker arm with twist slightly and the engine will have a loud tapping sound proportional to the RPMs (if you go to the above blog I think I stored a short video clip) This happened on my car. Referring to the pictures on my previous post, look closely at the wear on the rocker arm on the valve stem side, you can see wear in the middle with no wear on the edges. When I used the new lash caps that were completely flat, the rocker arm contacted the lash cap on the edges of the cap not the middle. Long story short, after 2 weeks of removing the head, cam shaft, rocker arms over and over again, I finally found this issue. simple fix, I just ground the rocker arms so that they would contact the lash cap at only one place and it worked! Car is quiet and runs like it should! If you have questions, please call me - 858 204 9422
-
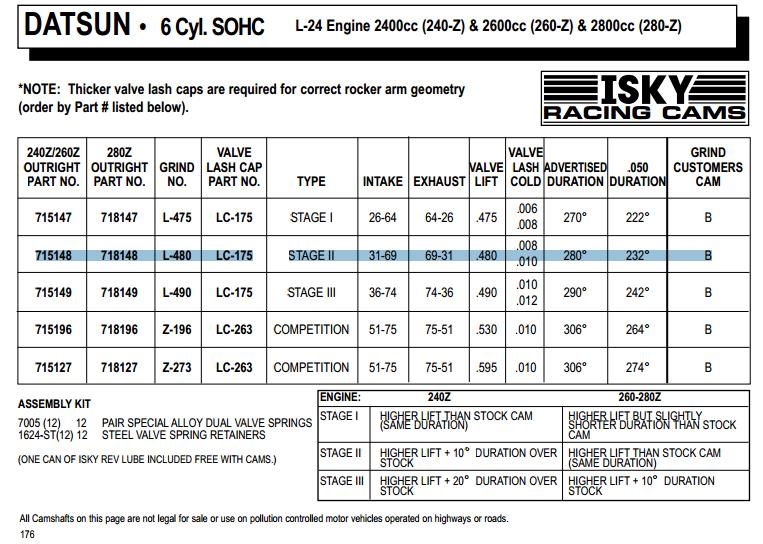
Wow! Great find! Some lessons learned from my rebuild. 1) be sure to grind your rocker arms prior to reassembly. I did not and had problems with the rocker arms not mating squarely with the lash caps and the cam. (see pictures) The old lash pads wore in the middle and not on the sides, the new lash pads do not have the indentation on the sides so an unground rocker arm does not sit properly on the cap. This caused me a lot of time to find out why my engine had a loud tapping sound. 2) if you are going to purchase an isky cam. I ended up with the Isky stage II cam 715148 (see picture below). With my SUs the car is too lopy and too loud. This summer I am going to swap back to the isky stage 1 cam. I suggest the stage 1 cam. 3) I used cast flat top pistons on my N42, 2.8L block. The crank/block combination pushes the pistons above deck by approx 0.025" (0.65mm). I purchased a custom copper head gasket which was 0.063" (1.6mm) which gave me a gap between the piston and head of 0.037". When I ran the stock head gasket, I believe the piston to head clearance was 0.025" which concerned me. My resultant compression ratio is 9.83 instead of 10.2 with the Felpro gasket. 4) Please find shims that are 0.040" and use two instead of four of the 0.020" shims. I had mine custom made. it was inexpensive. Thats all I have on the head rebuild. Good luck! Jim
-
There is a way to check to be sure your engine is timed properly. With the engine at 0degrees tdc there is a notch on the chain sprocket and a mark on the head. This notch is used to evaluate chain stretch. As Long as the line is in the middle of the v grove then your engine is timed correctly and your chain is okay. I think it is a good idea to look at this as a double check to ensure you assembled your motor correctly. Best of luck Jim I think it is a good habit to look at this alignment
-
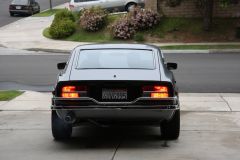
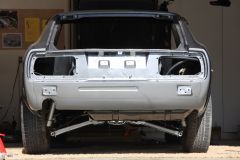
Leon. WOW - CLSD plus 3.9:1 plus higher gear ratios from the 5 speed... very nice! Regarding your tail section and grill section. I had mine powder coated satin black. They turned out looking just like new. and the cost was rather inexpensive ~ $50. I'll show off a picture below. Jim
-
Leon... your going to sell it to me... right? (just kidding)