locodrftr
-
Posts
59 -
Joined
-
Last visited


locodrftr's Achievements
")
Newbie (1/14)
10
Reputation
-
lol thanks no problem
-
280z custom turbo back exhaust with blast pipes
locodrftr replied to locodrftr's topic in Fabrication / Welding
thanks john -
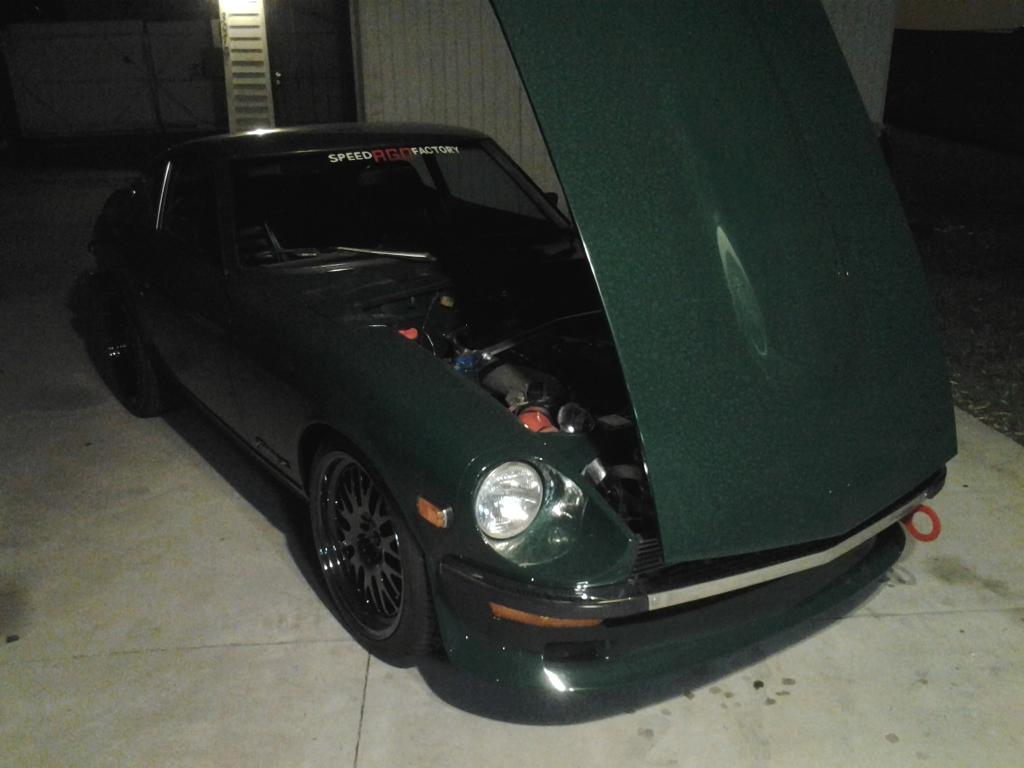
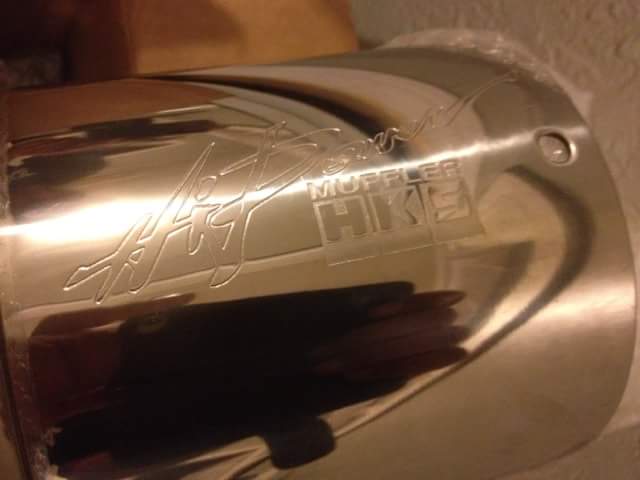
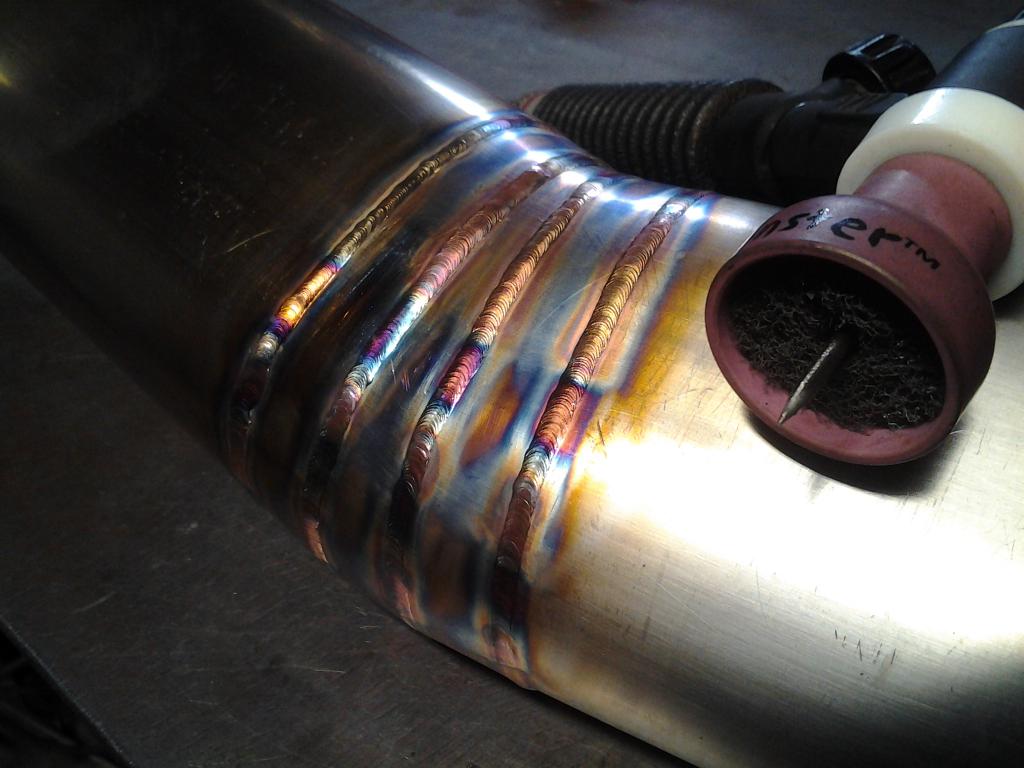
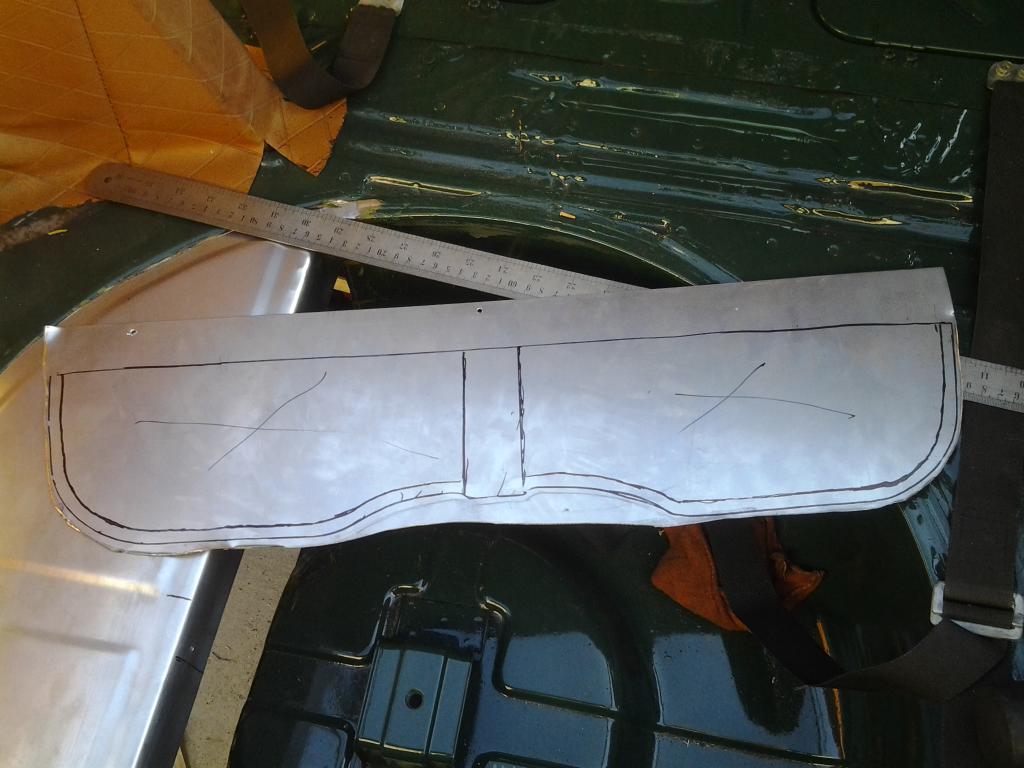
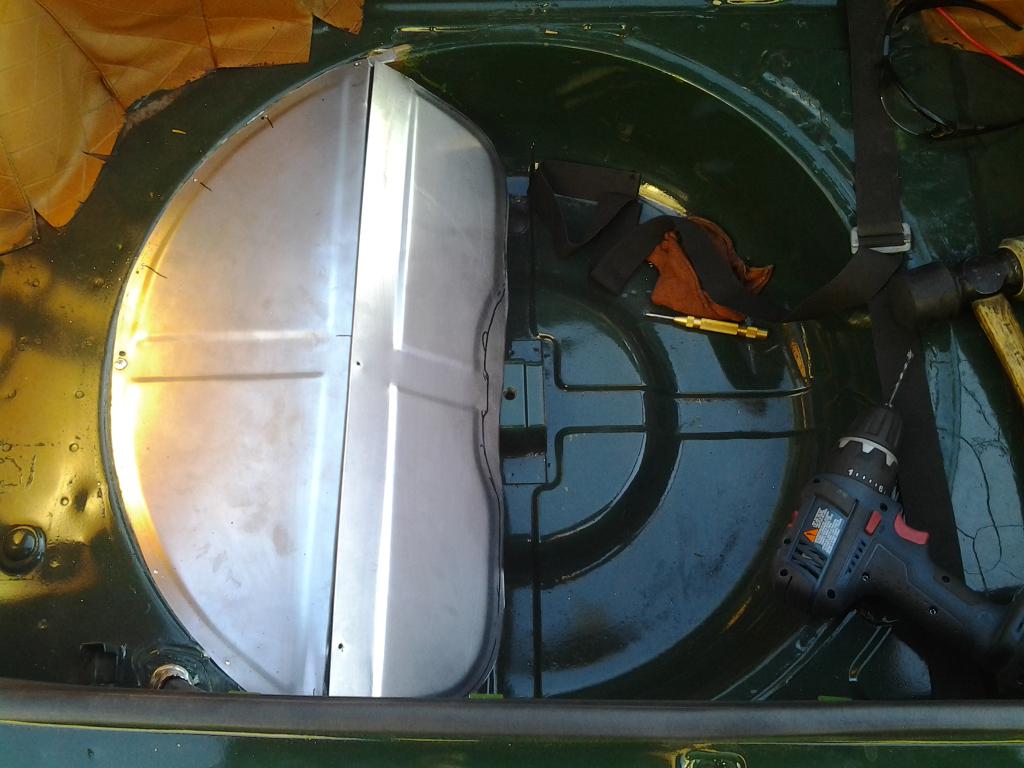
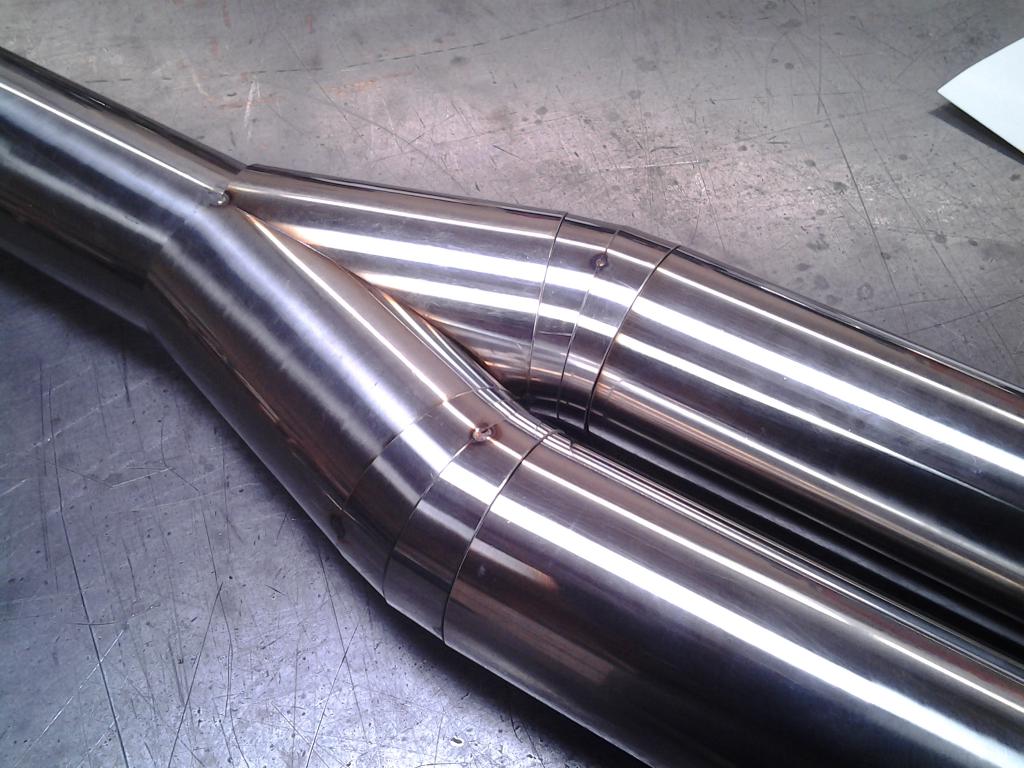
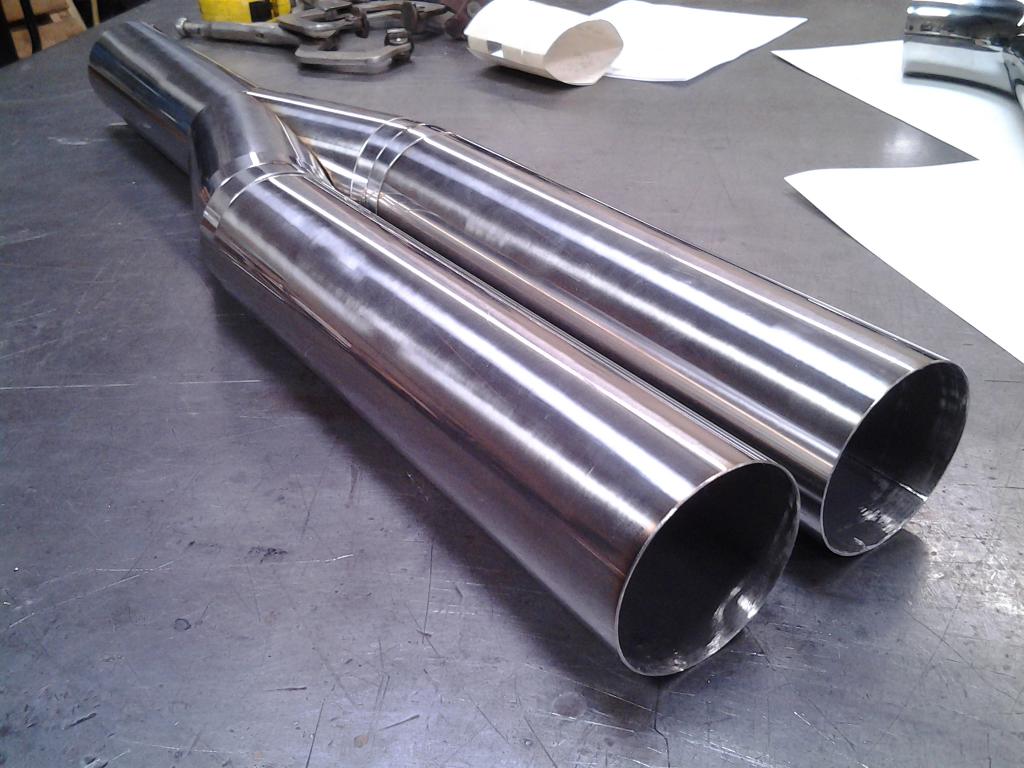
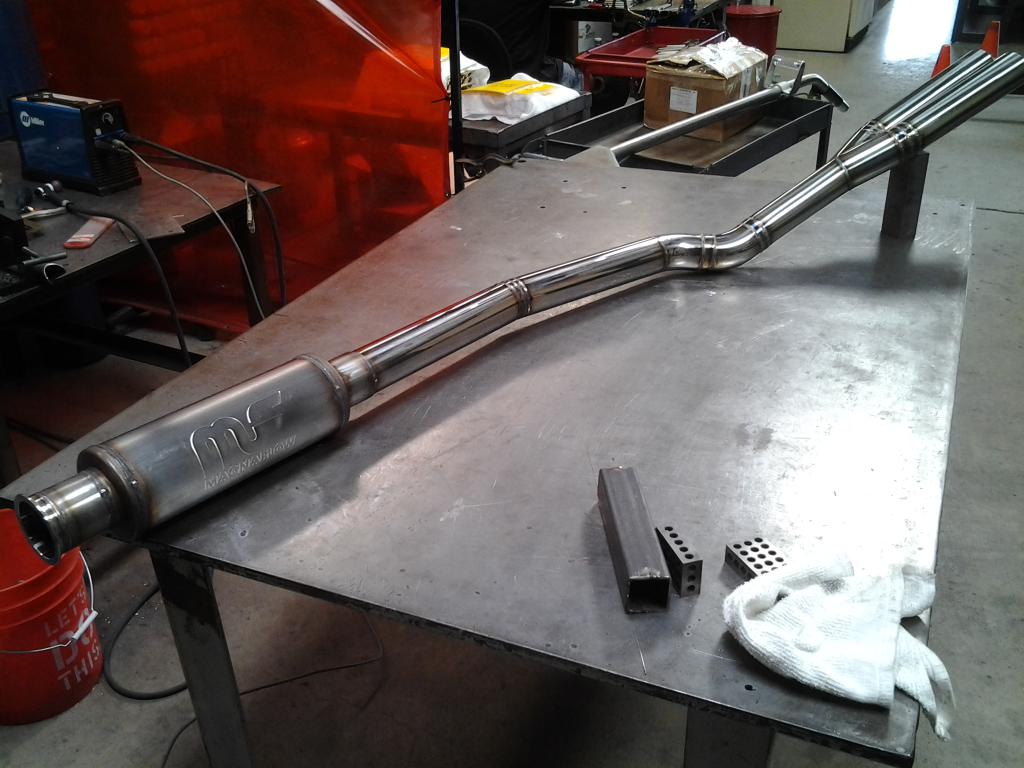
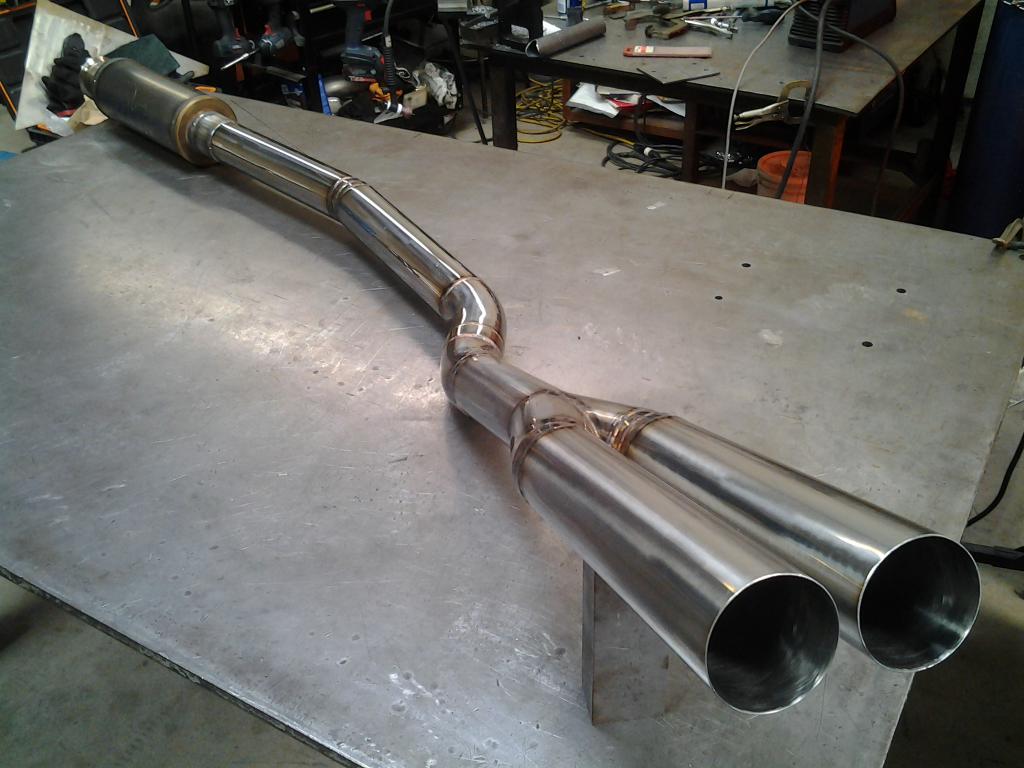
Made this turbo back exhaust for this Rb powered 240z, it's made from oval tubing and round tubing. Fully tig welded stainless steel. A HKS Hi-power muffler was used at the back. Rear spare tire well was cut in order to clear the enormous muffler ( customer didn't realize how big the canister was) Cut some sheetmetal and Beadrolled it for strength and style. Came out pretty clean and it sounds awesome! I will try and upload a video here or link to youtube.

-
280z custom turbo back exhaust with blast pipes
locodrftr replied to locodrftr's topic in Fabrication / Welding
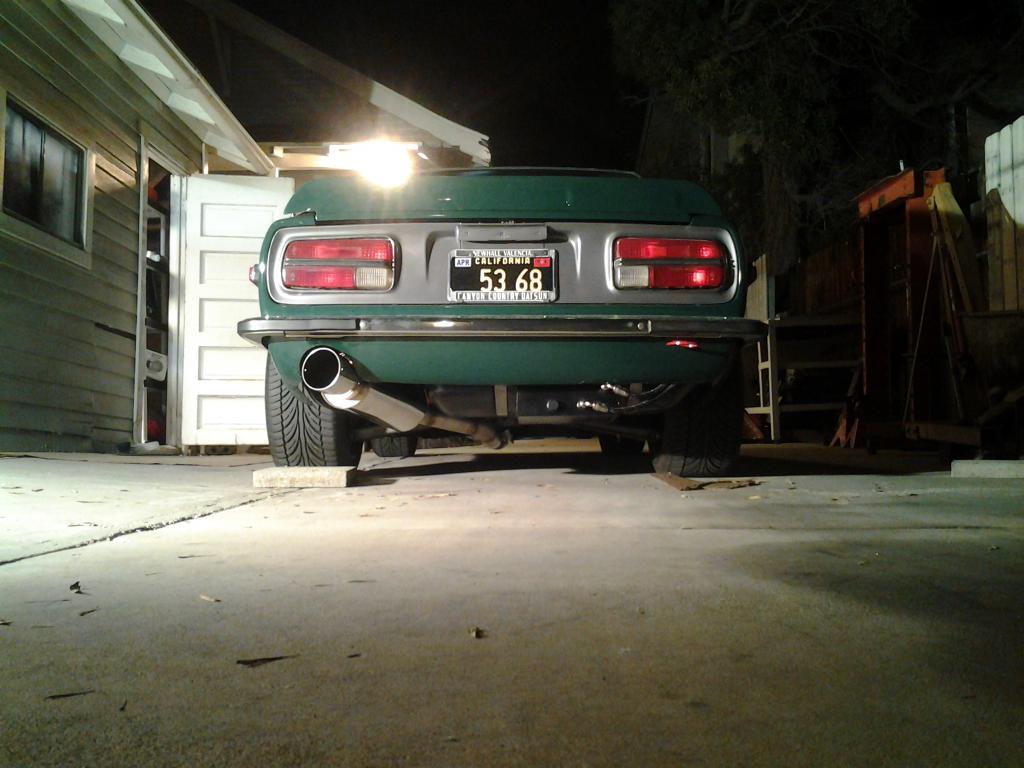
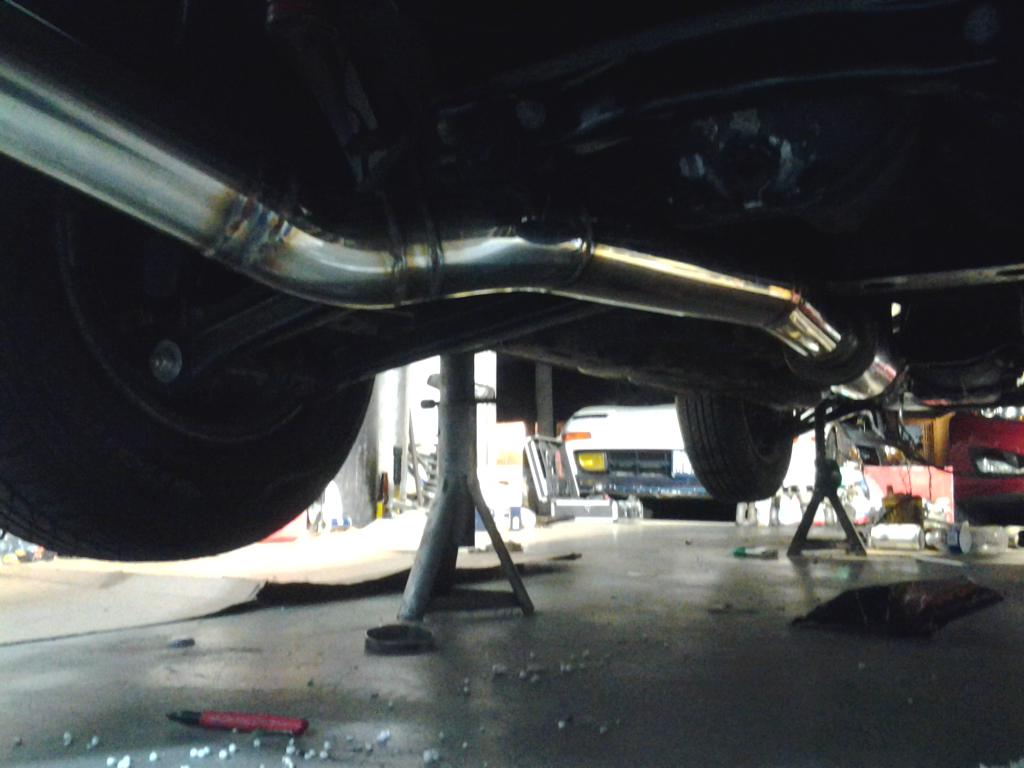
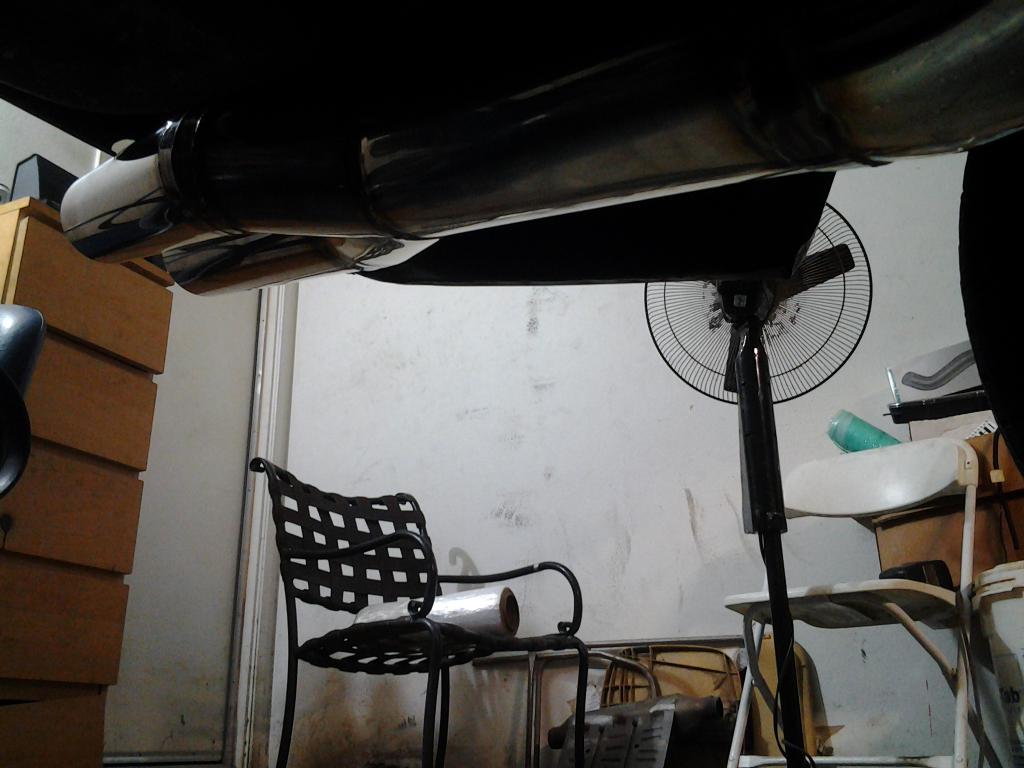
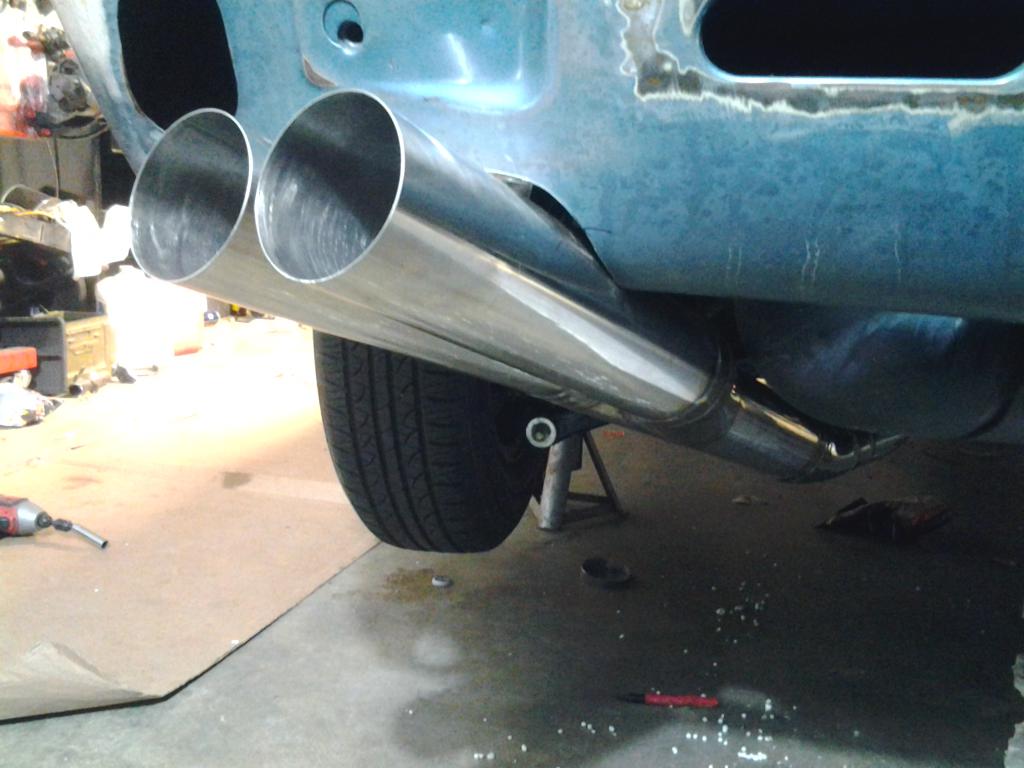
Heres some pictures, getting it tucked up nice and tight was a challenge but wasn't too bad. I'll post pictures of the rb25 240z exhaust i did as well on another post. Now that one was a challenge
-
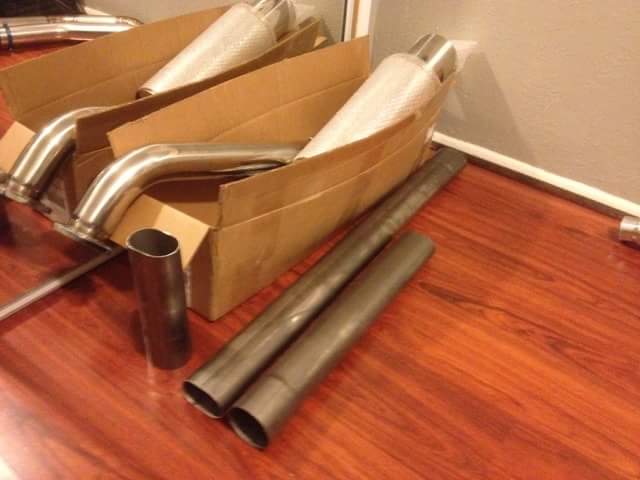
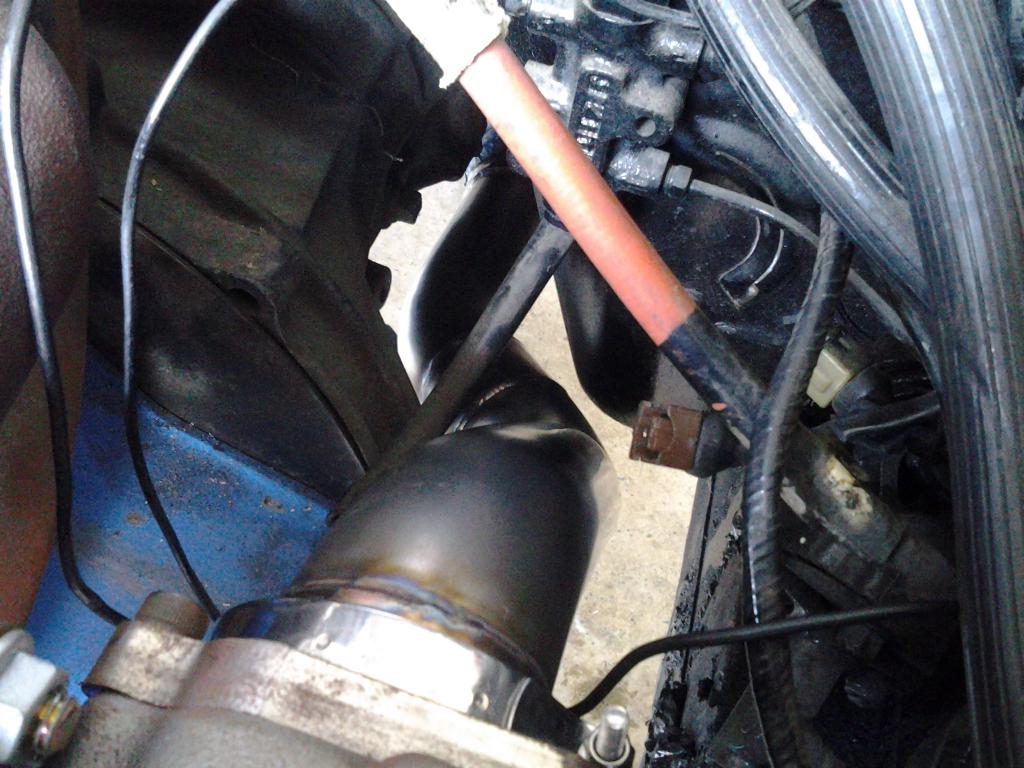
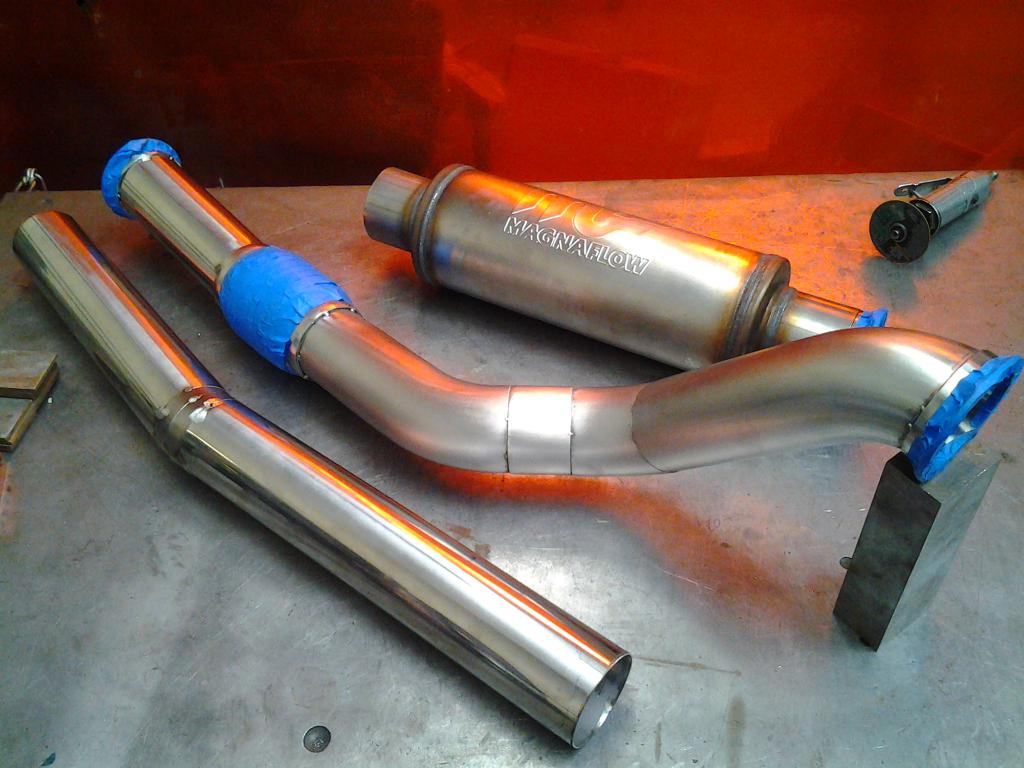
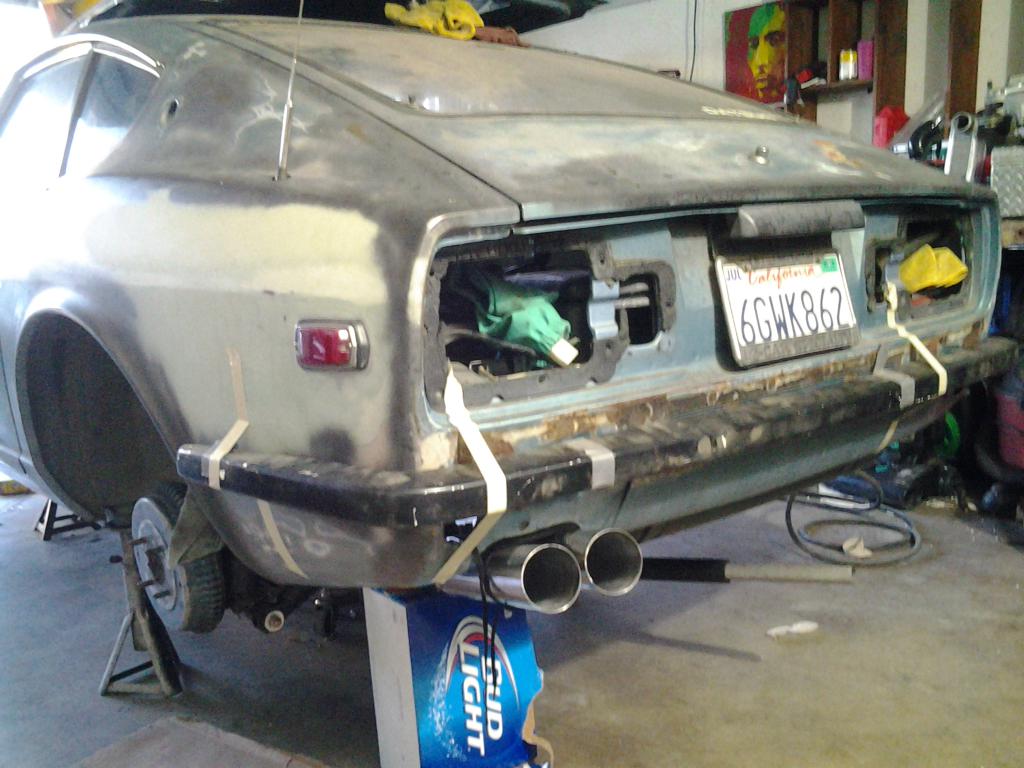
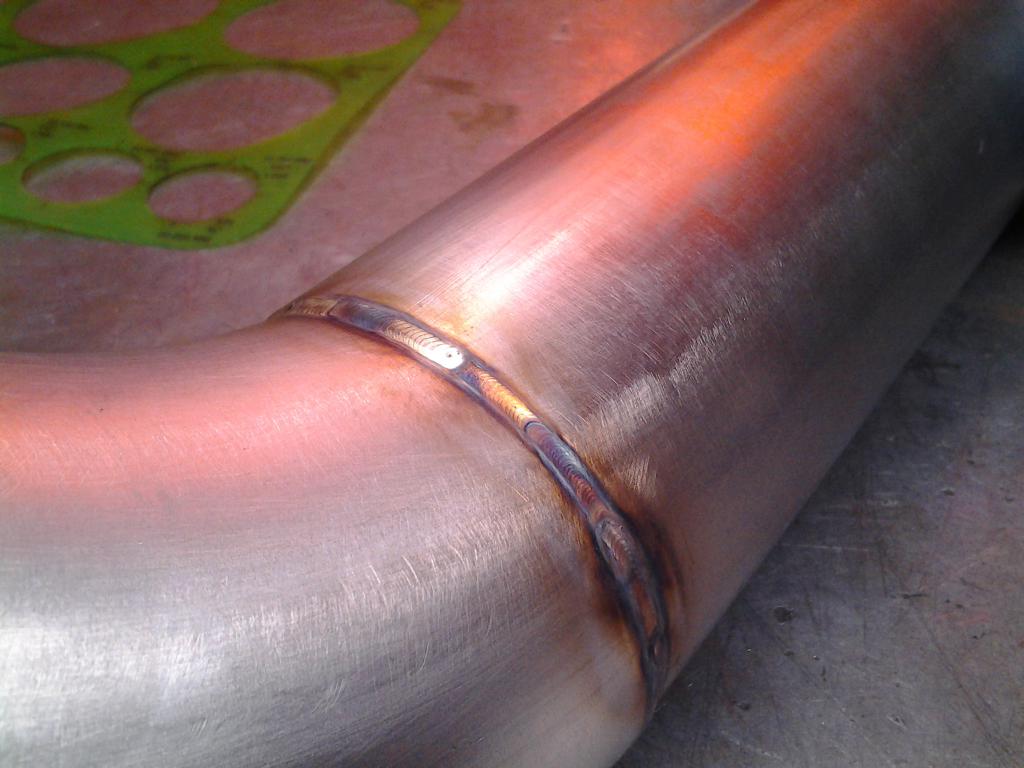
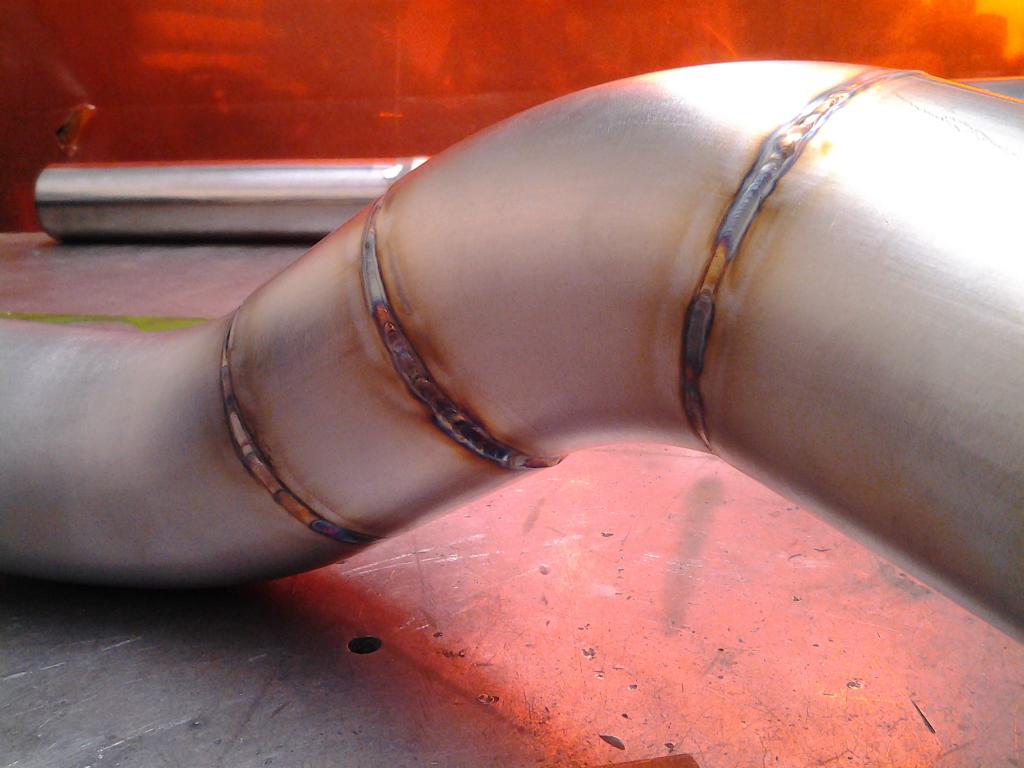
Heres a custom exhaust I built for a customer for his 280z turbo. Starting from the hx35 turbo back. Using v-bands, magnaflow muffler, flex pipe and all 304 3" stainless steel tubing. Everything was tig welded and hand fitted.
-
bead rolling datsun metal sign / bc coilover conversion
locodrftr replied to locodrftr's topic in Fabrication / Welding
Thanks -
bead rolling datsun metal sign / bc coilover conversion
locodrftr replied to locodrftr's topic in Fabrication / Welding
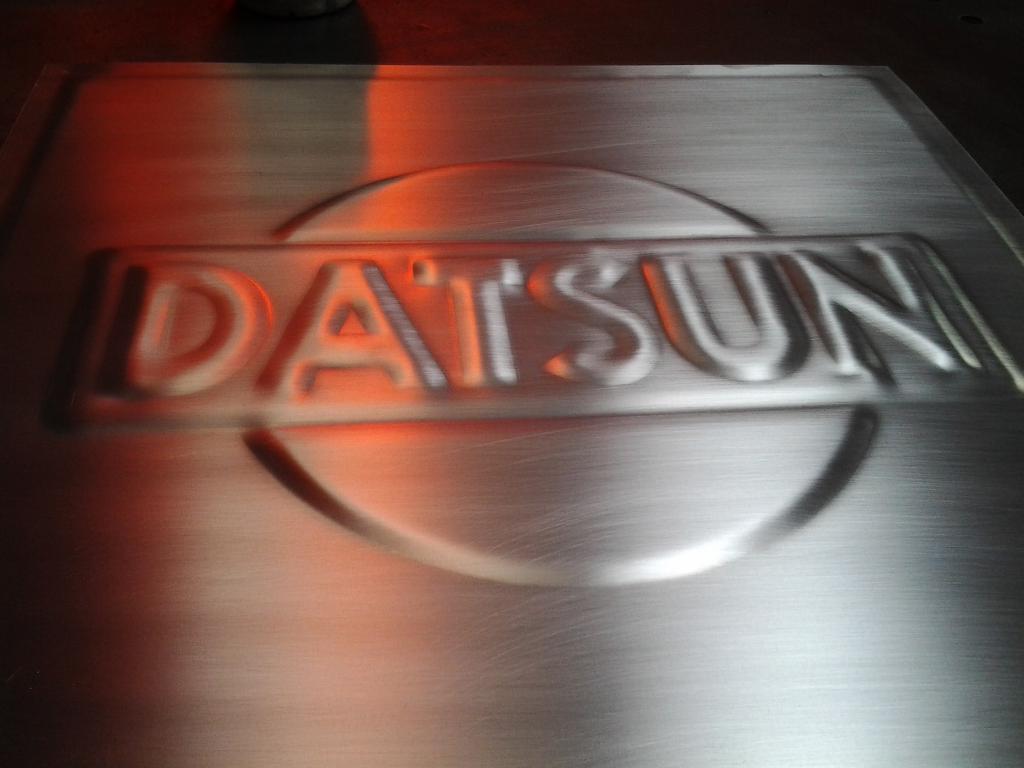
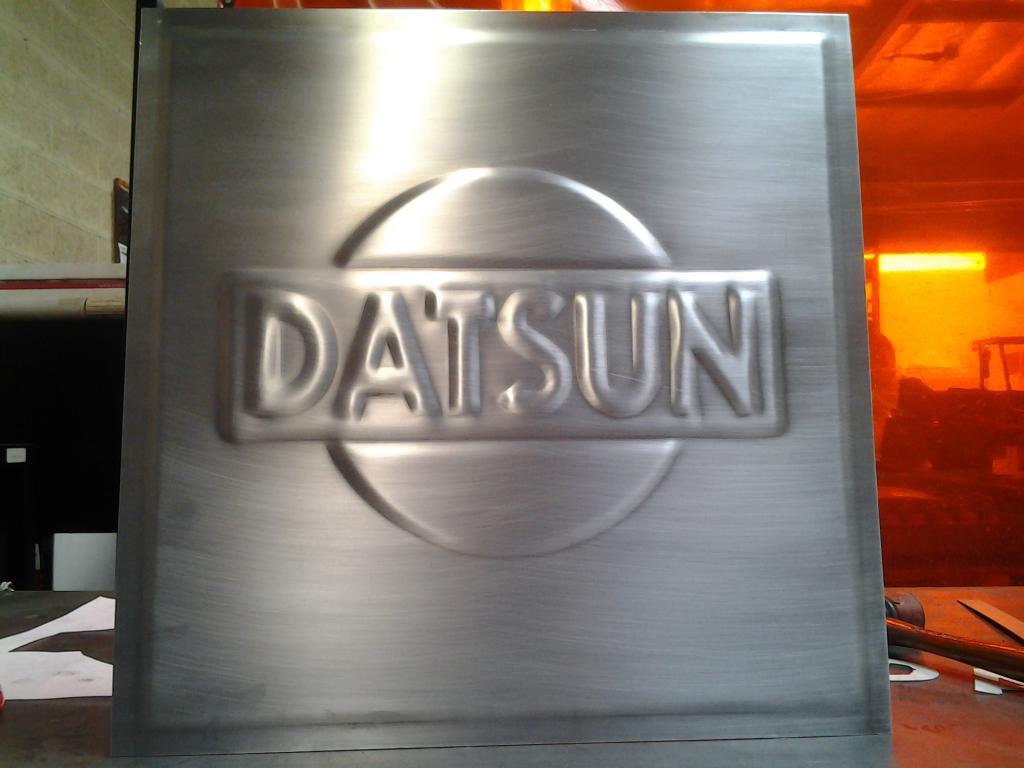
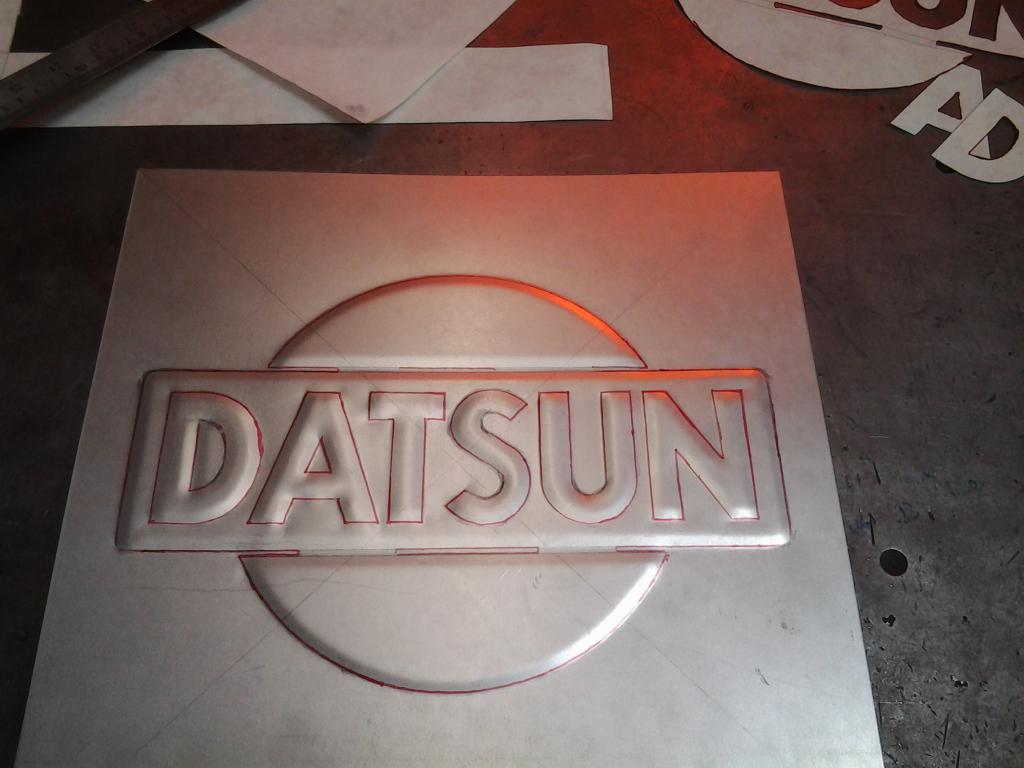
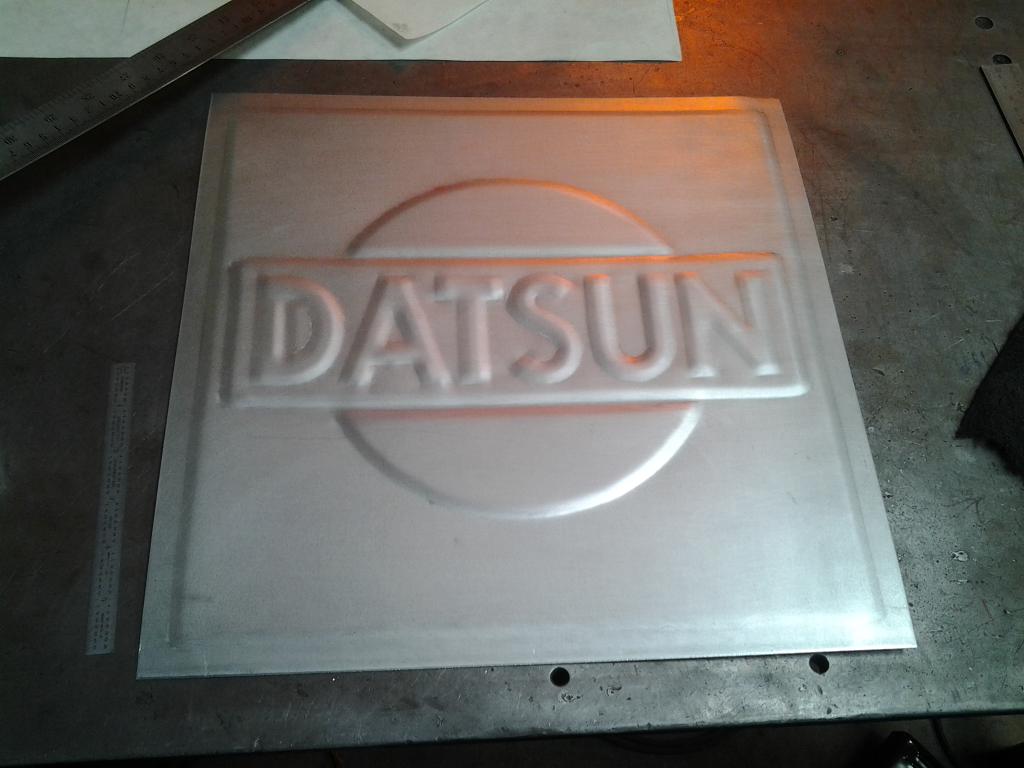
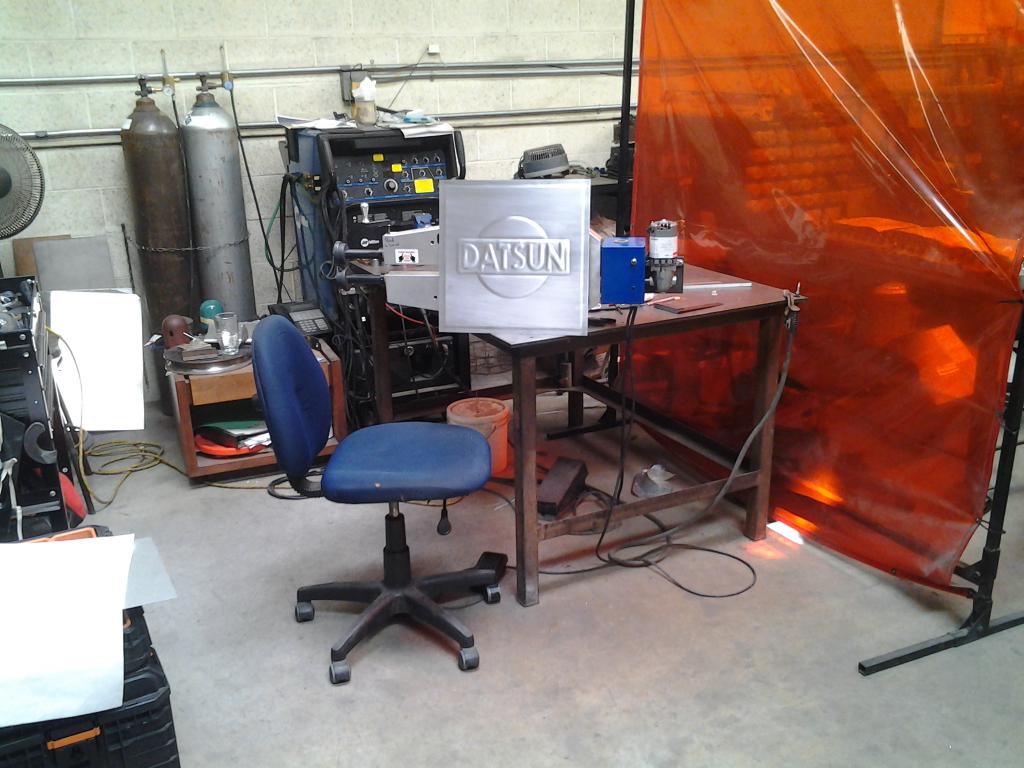
Better shots of the aluminum sign.
-
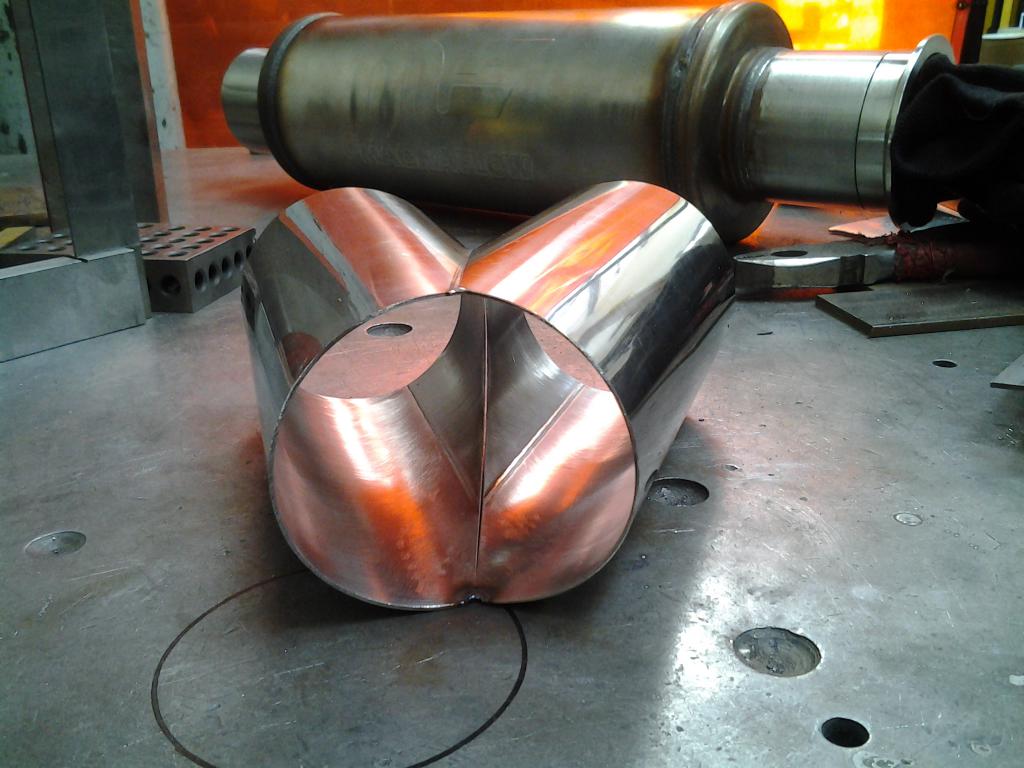
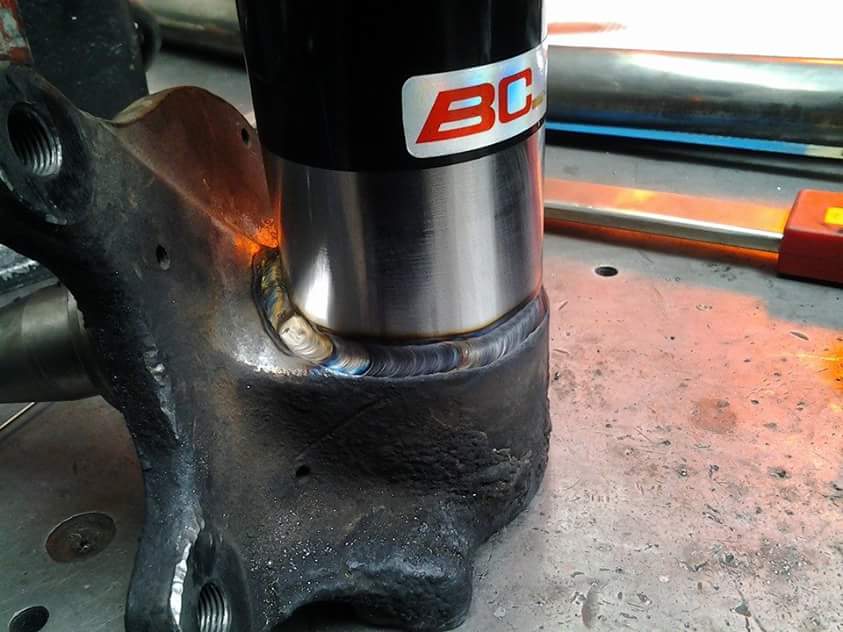
lol yeah no worries, I will also do a write up on the sectioning type. Here is a preview pic.Also I cant give all the secrets, please keep in mind its how I make a living. So I wont go into what filler material is used and what few other special steps are taken to ensure a strong weld. After all if something goes wrong peoples lives can be in danger!!! Anyway enjoy some general info picture browsing and general time wasting on my posts.
-
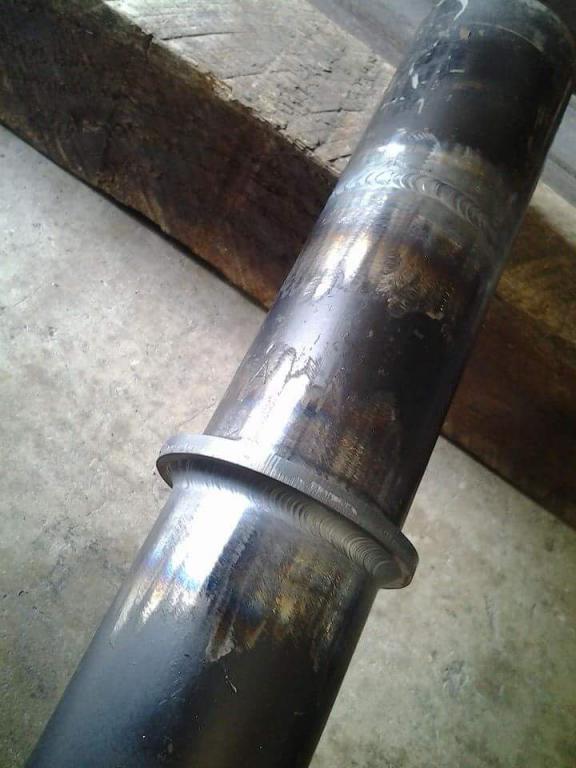
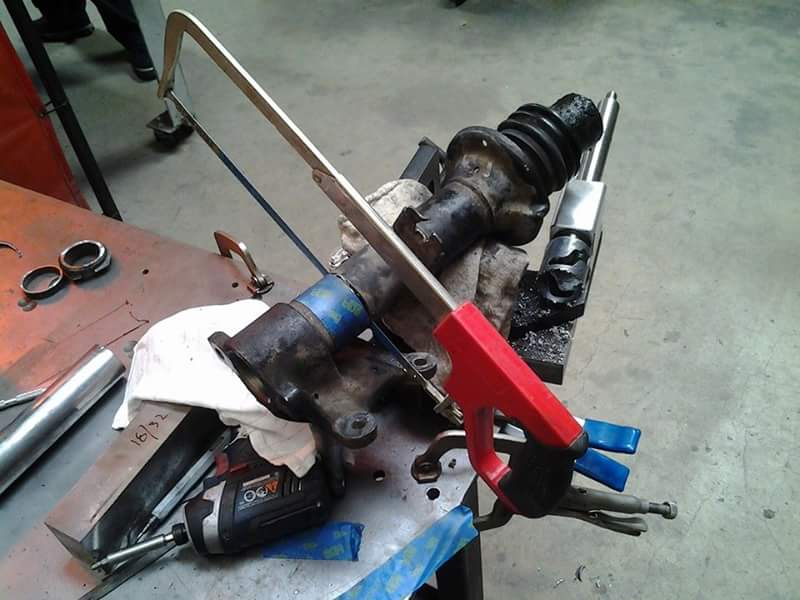
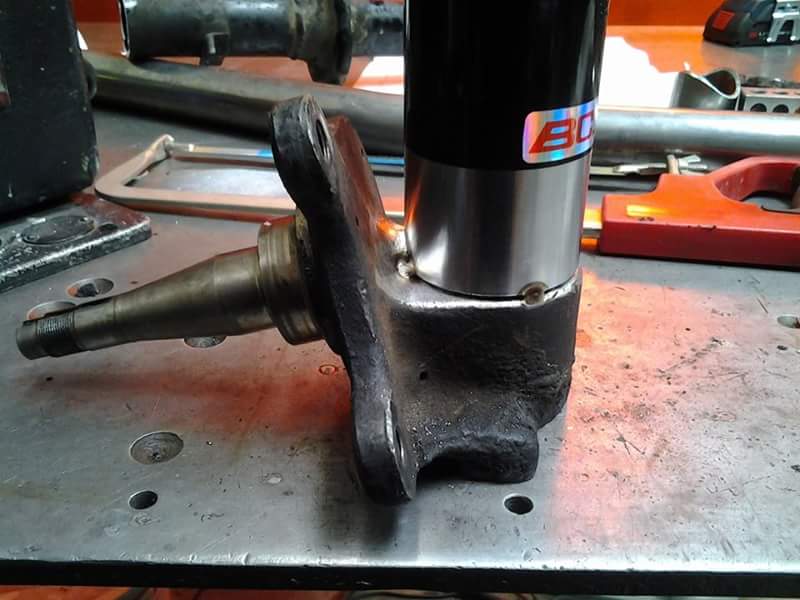
Oops, yeah forgot to add that picture. I did it at 1-3/4" up, you can probably go slightly higher or lower. It just helps locate coilover on knuckle. Also this process is not for beginners. Modifying, cutting and welding on suspension components should be done by a professional...like me.
-
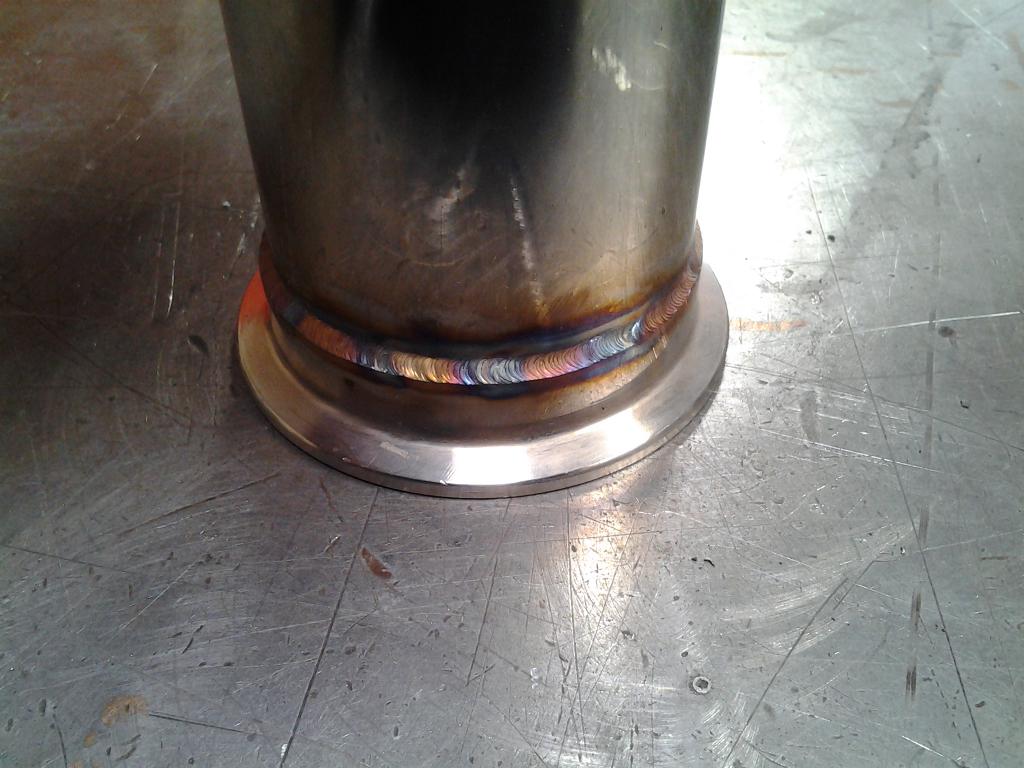
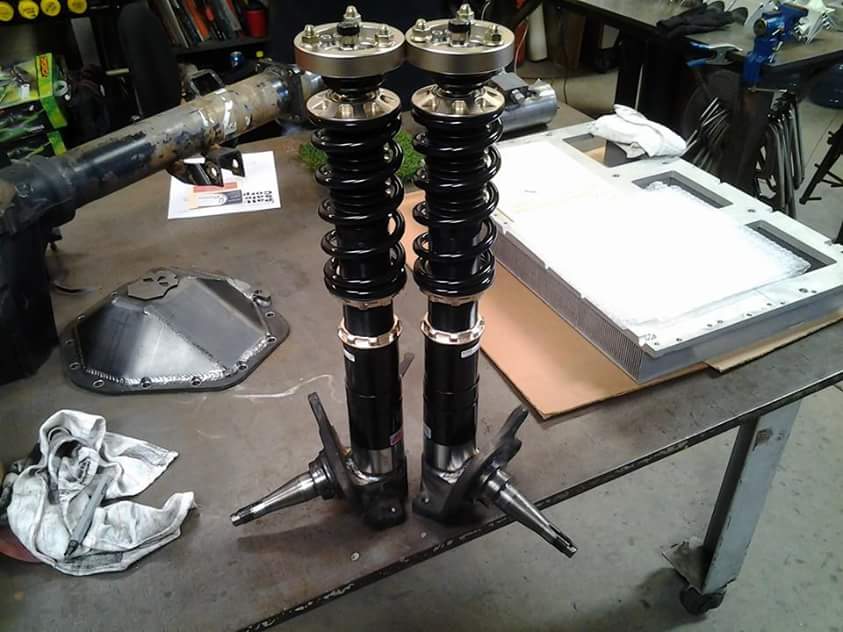
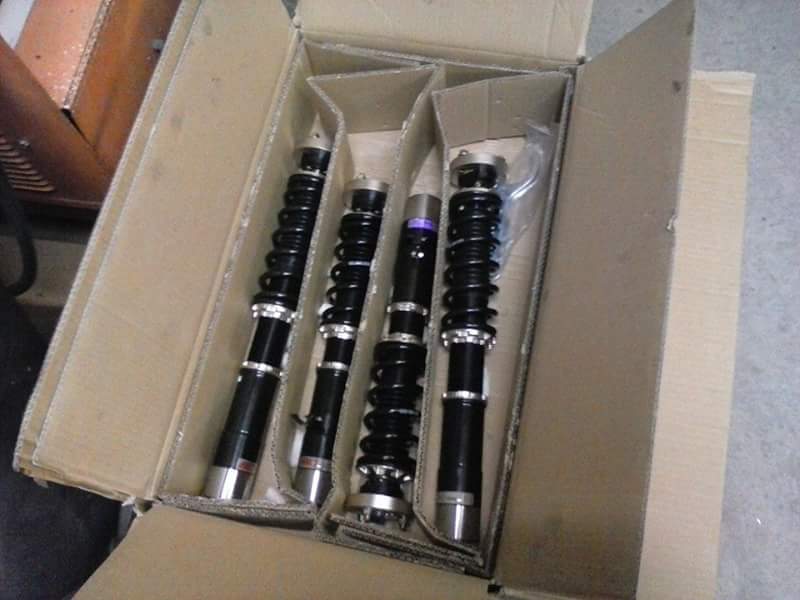
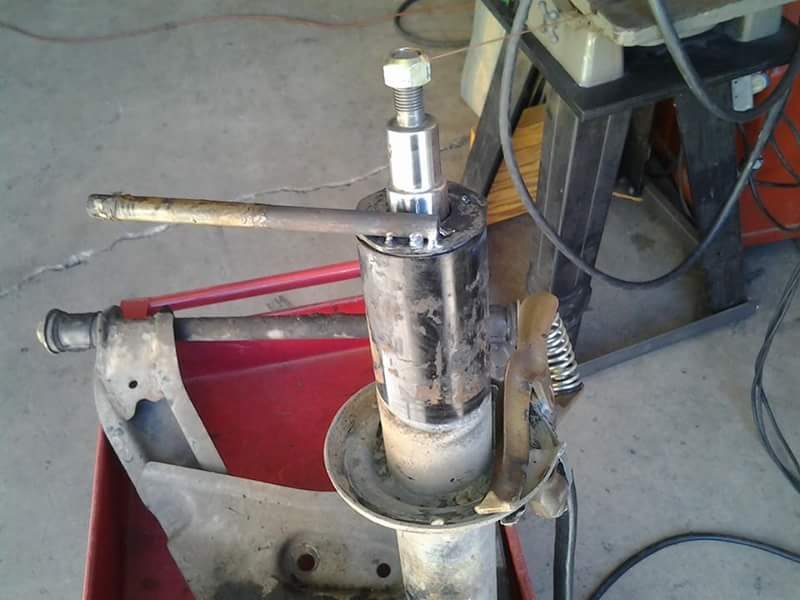
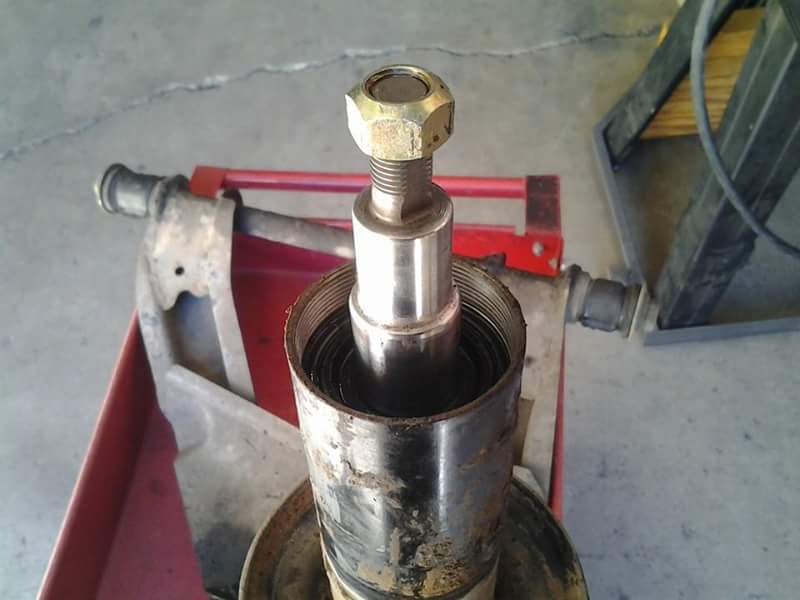
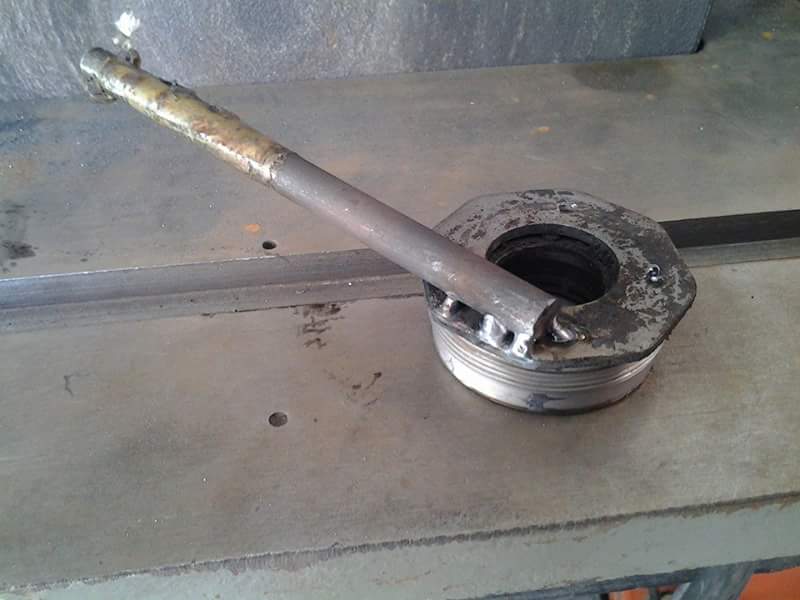
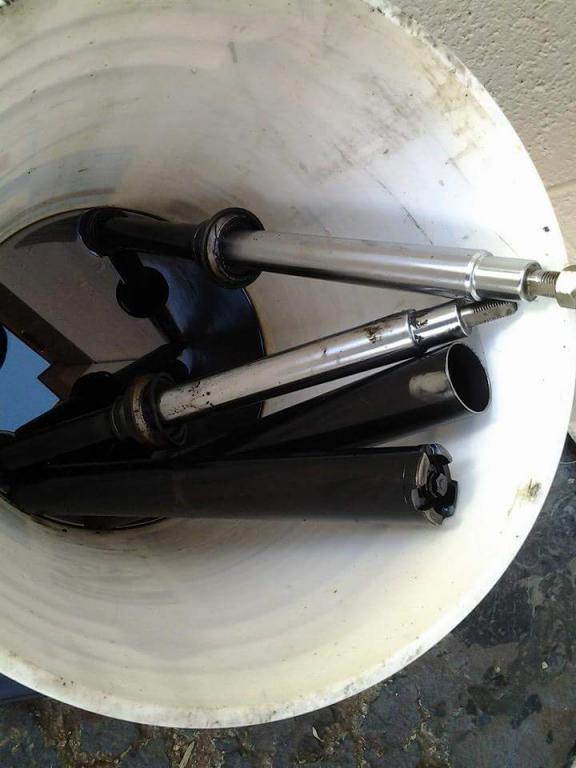
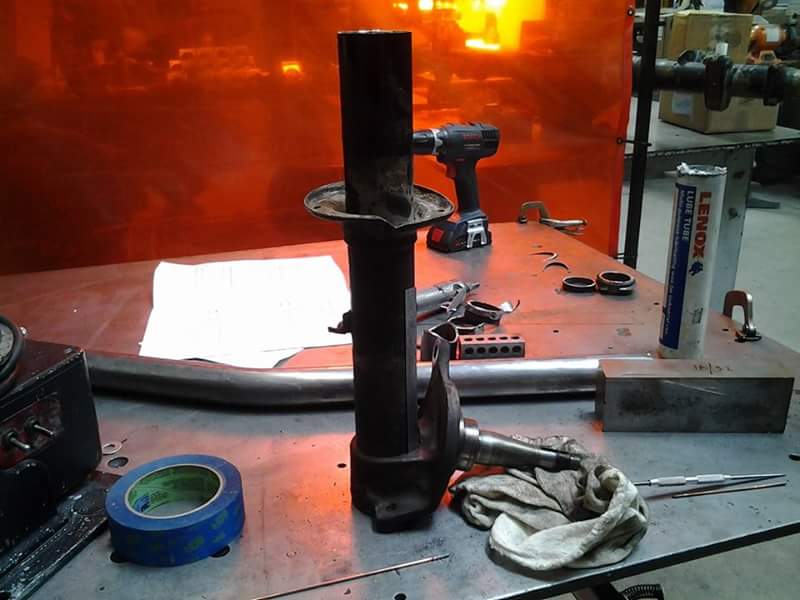
Going to share what it takes to install these things. I did a coilover conversion on a 280z using BC Coilovers 1st step was getting the gland nut off. Just tacked some round solid stock to gland nut the smacked it with a hammer to unscrew it. 2nd step was removing and draining the old strut cartridges. 3rd step was measuring where to cut strut tubes and cutting it up. Most of the cutting was done with a cut off wheel then finished last little bit with a hack saw. 4th step was cleaning up, deburring and prepping area for welding. Should look something like the picture. More pics and final steps coming soon.
-
bead rolling datsun metal sign / bc coilover conversion
locodrftr replied to locodrftr's topic in Fabrication / Welding
Thanks,Yeah it's always nice to do things by hand. Maybe not the most efficient way but it's a lot more fun sometimes. -
bead rolling datsun metal sign / bc coilover conversion
locodrftr replied to locodrftr's topic in Fabrication / Welding
Pretty simple, just step dies and tipping dies. -
Been years since I have posted but I have been busy welding, fabricating and started my own business! Here are some signs that I recently made. Will also be posting the BC Coilover Conversion for a 280z that I did. ** Sneak peak **
-
Try some starting fluid...see if it starts when you spray some in all the throttle bores....if it does then maybe the pump jets are not spraying fuel...check to make sure all bolts that should be tight are tight you could have a big time vacum leak. Use the chokes if you have the cable hooked up or just try and hold them manually while someone turns the car over...why did you get the bleed valve changed or taken out?
-
Nice video phil, i always enjoy them.Hope to see it running once you get your driveshaft....and make sure you do a nice burnout.lol Keep up the good work..hows the painting coming along?