mrk3cobra
-
Posts
136 -
Joined
-
Last visited
-
Days Won
2
Content Type
Profiles
Forums
Blogs
Events
Gallery
Downloads
Store
Everything posted by mrk3cobra
-
front sway bar hitting frame rail
mrk3cobra replied to mrk3cobra's topic in Gen III & IV Chevy V8Z Tech Board
I will cut the spacers at the sway bar links, when i get new outer tie rods. -
front sway bar hitting frame rail
mrk3cobra replied to mrk3cobra's topic in Gen III & IV Chevy V8Z Tech Board
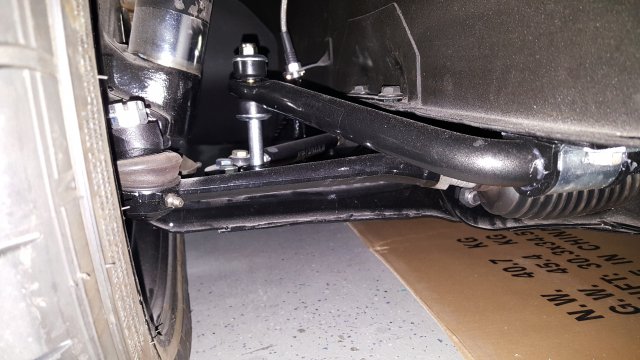
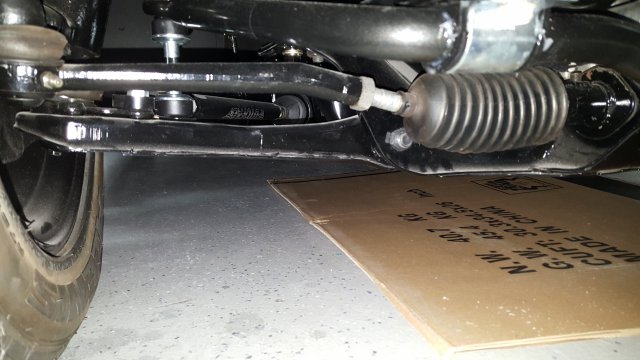
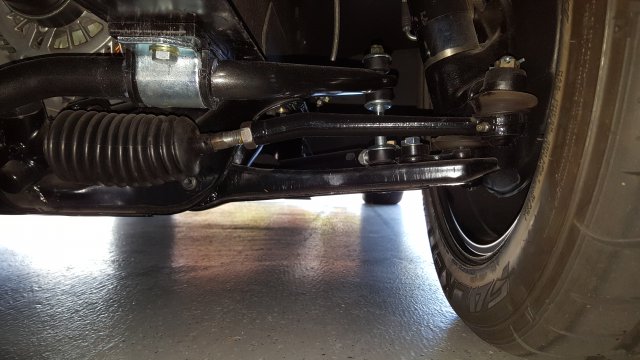
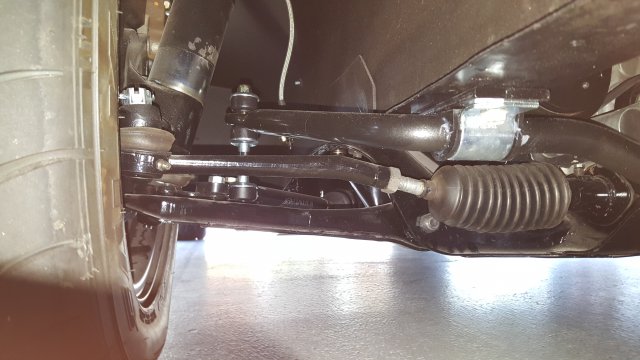
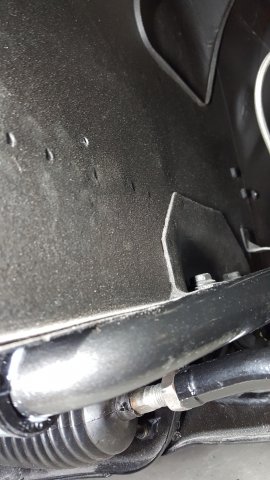
0This is a 1/4" spacer. I also do not like the angle of the tie rods.
-
After short test drive i noticed that both cooling fans were coming on. The second fan comes on at around 220.
-
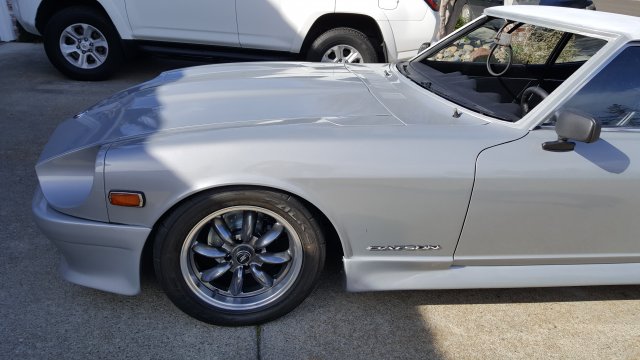
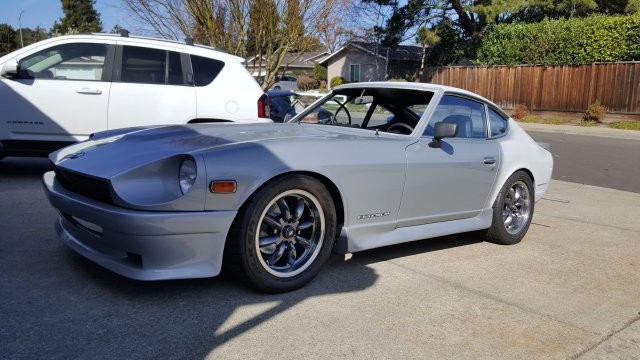
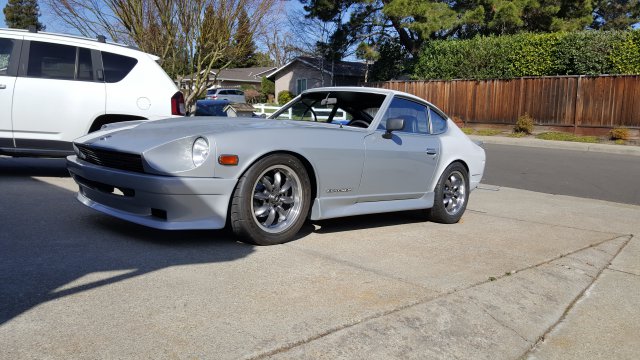
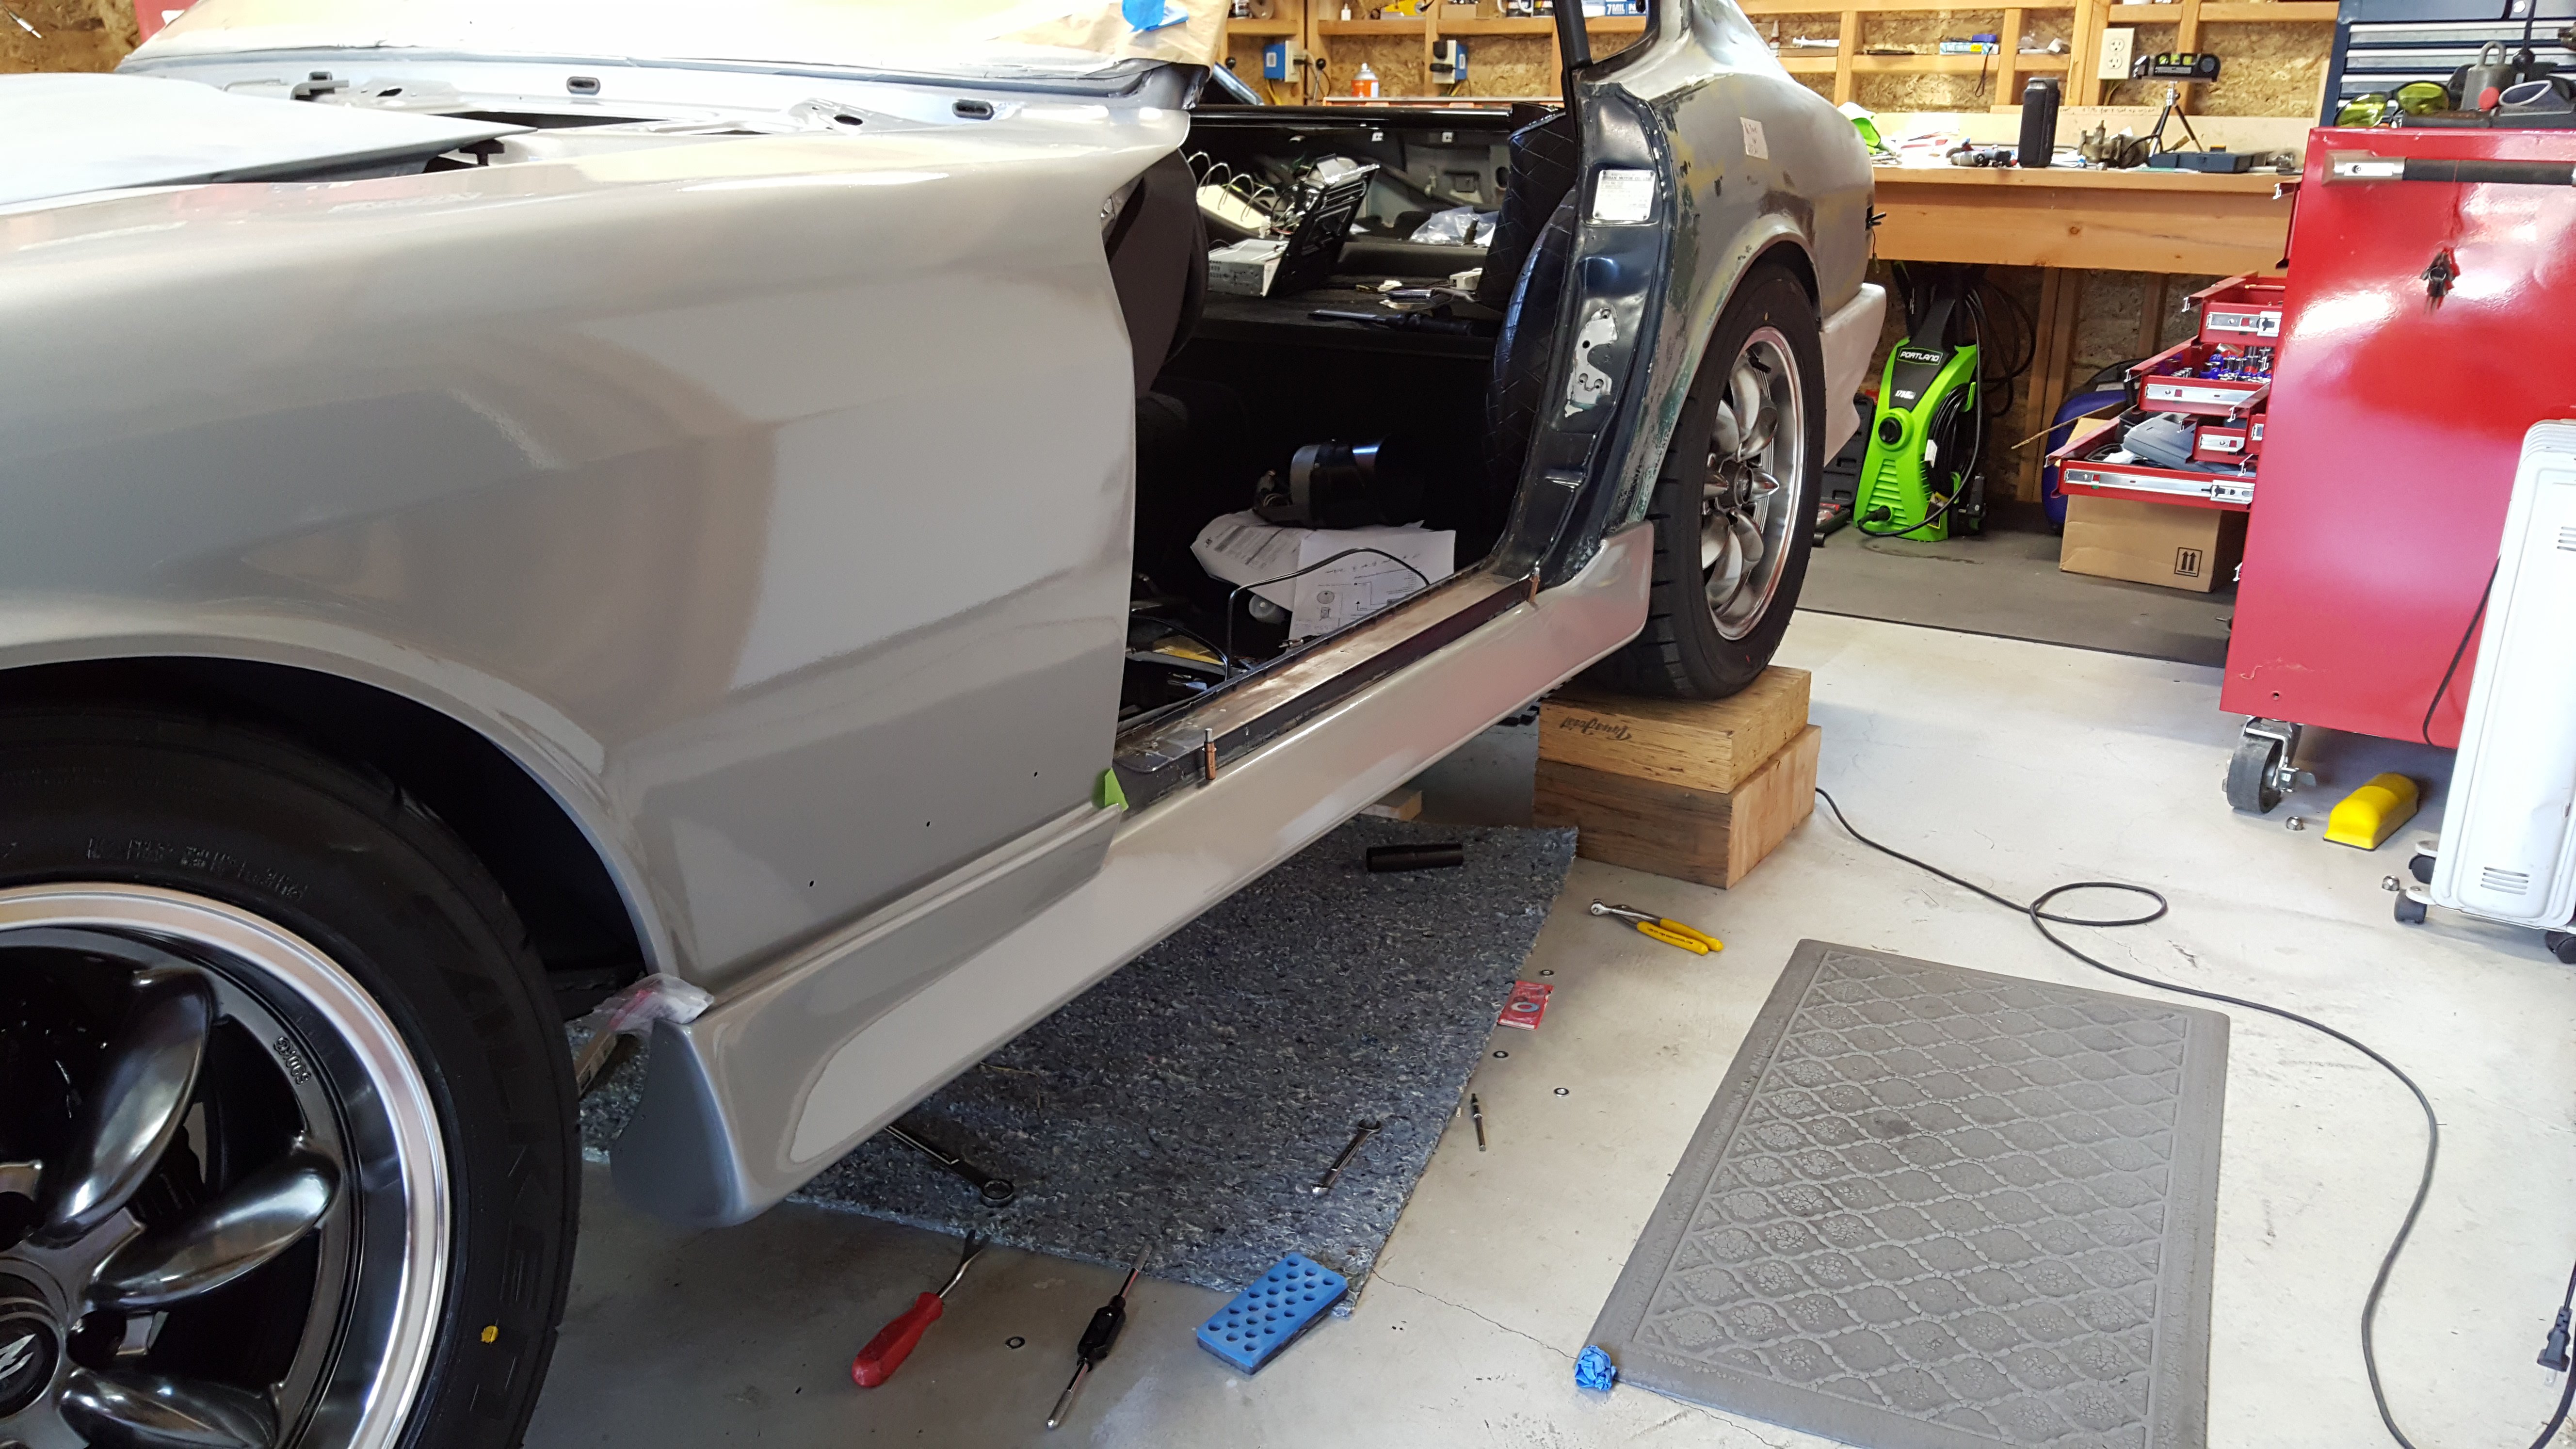
Today was a milestone, I drove the car for the first time around the block. Front and rear sway bars installed, alignment done. Brakes felt a little soft, car has tons of power. Would like to install power steering in the future. I do not like the angle of the outer front tie rods. Will need to find some adjustable tie rods. The car is 90% done, need to finish blocking the roof and rear quarters.
-
front sway bar hitting frame rail
mrk3cobra replied to mrk3cobra's topic in Gen III & IV Chevy V8Z Tech Board
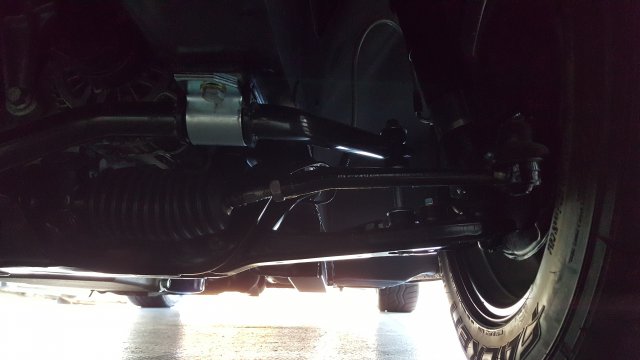
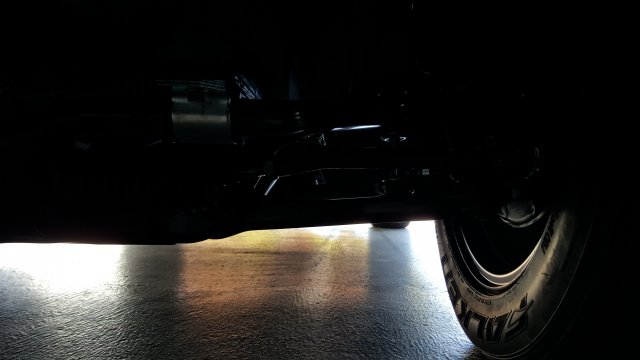
yes, both sides are hitting the frame rail. -
front sway bar hitting frame rail
mrk3cobra replied to mrk3cobra's topic in Gen III & IV Chevy V8Z Tech Board
I would think if all larger sway bars need a spacer to work, they would include in the kit. Most people would not notice and just install the kit and the bar would be hitting the frame and as the wheel goes through compression the frame would stop the bar from rotating. -
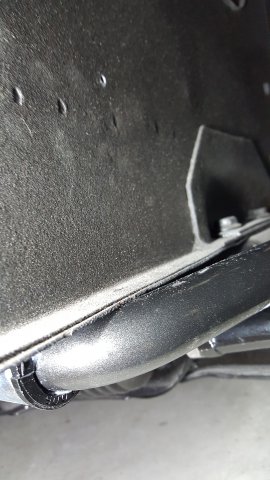
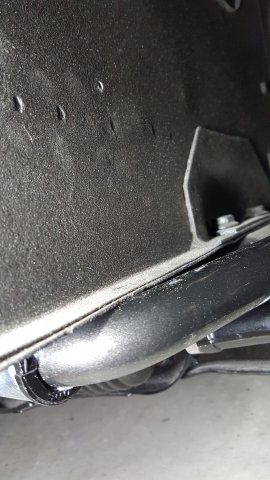
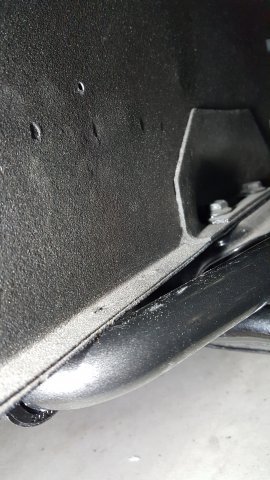
I just installed an upgraded St performance front sway bar on my LS2 240Z. The bar is a 1" diameter, you can see in the picture the bar is resting against the frame rail with the car sitting on the ground. Do I have to install a spacer at the frame rail to use a 1" sway bar?
-
New to the Forum... Just got a 260Z Shell
mrk3cobra replied to gitnmybelly's topic in Gen III & IV Chevy V8Z Tech Board
Hoke performance...... see my post. Pete -
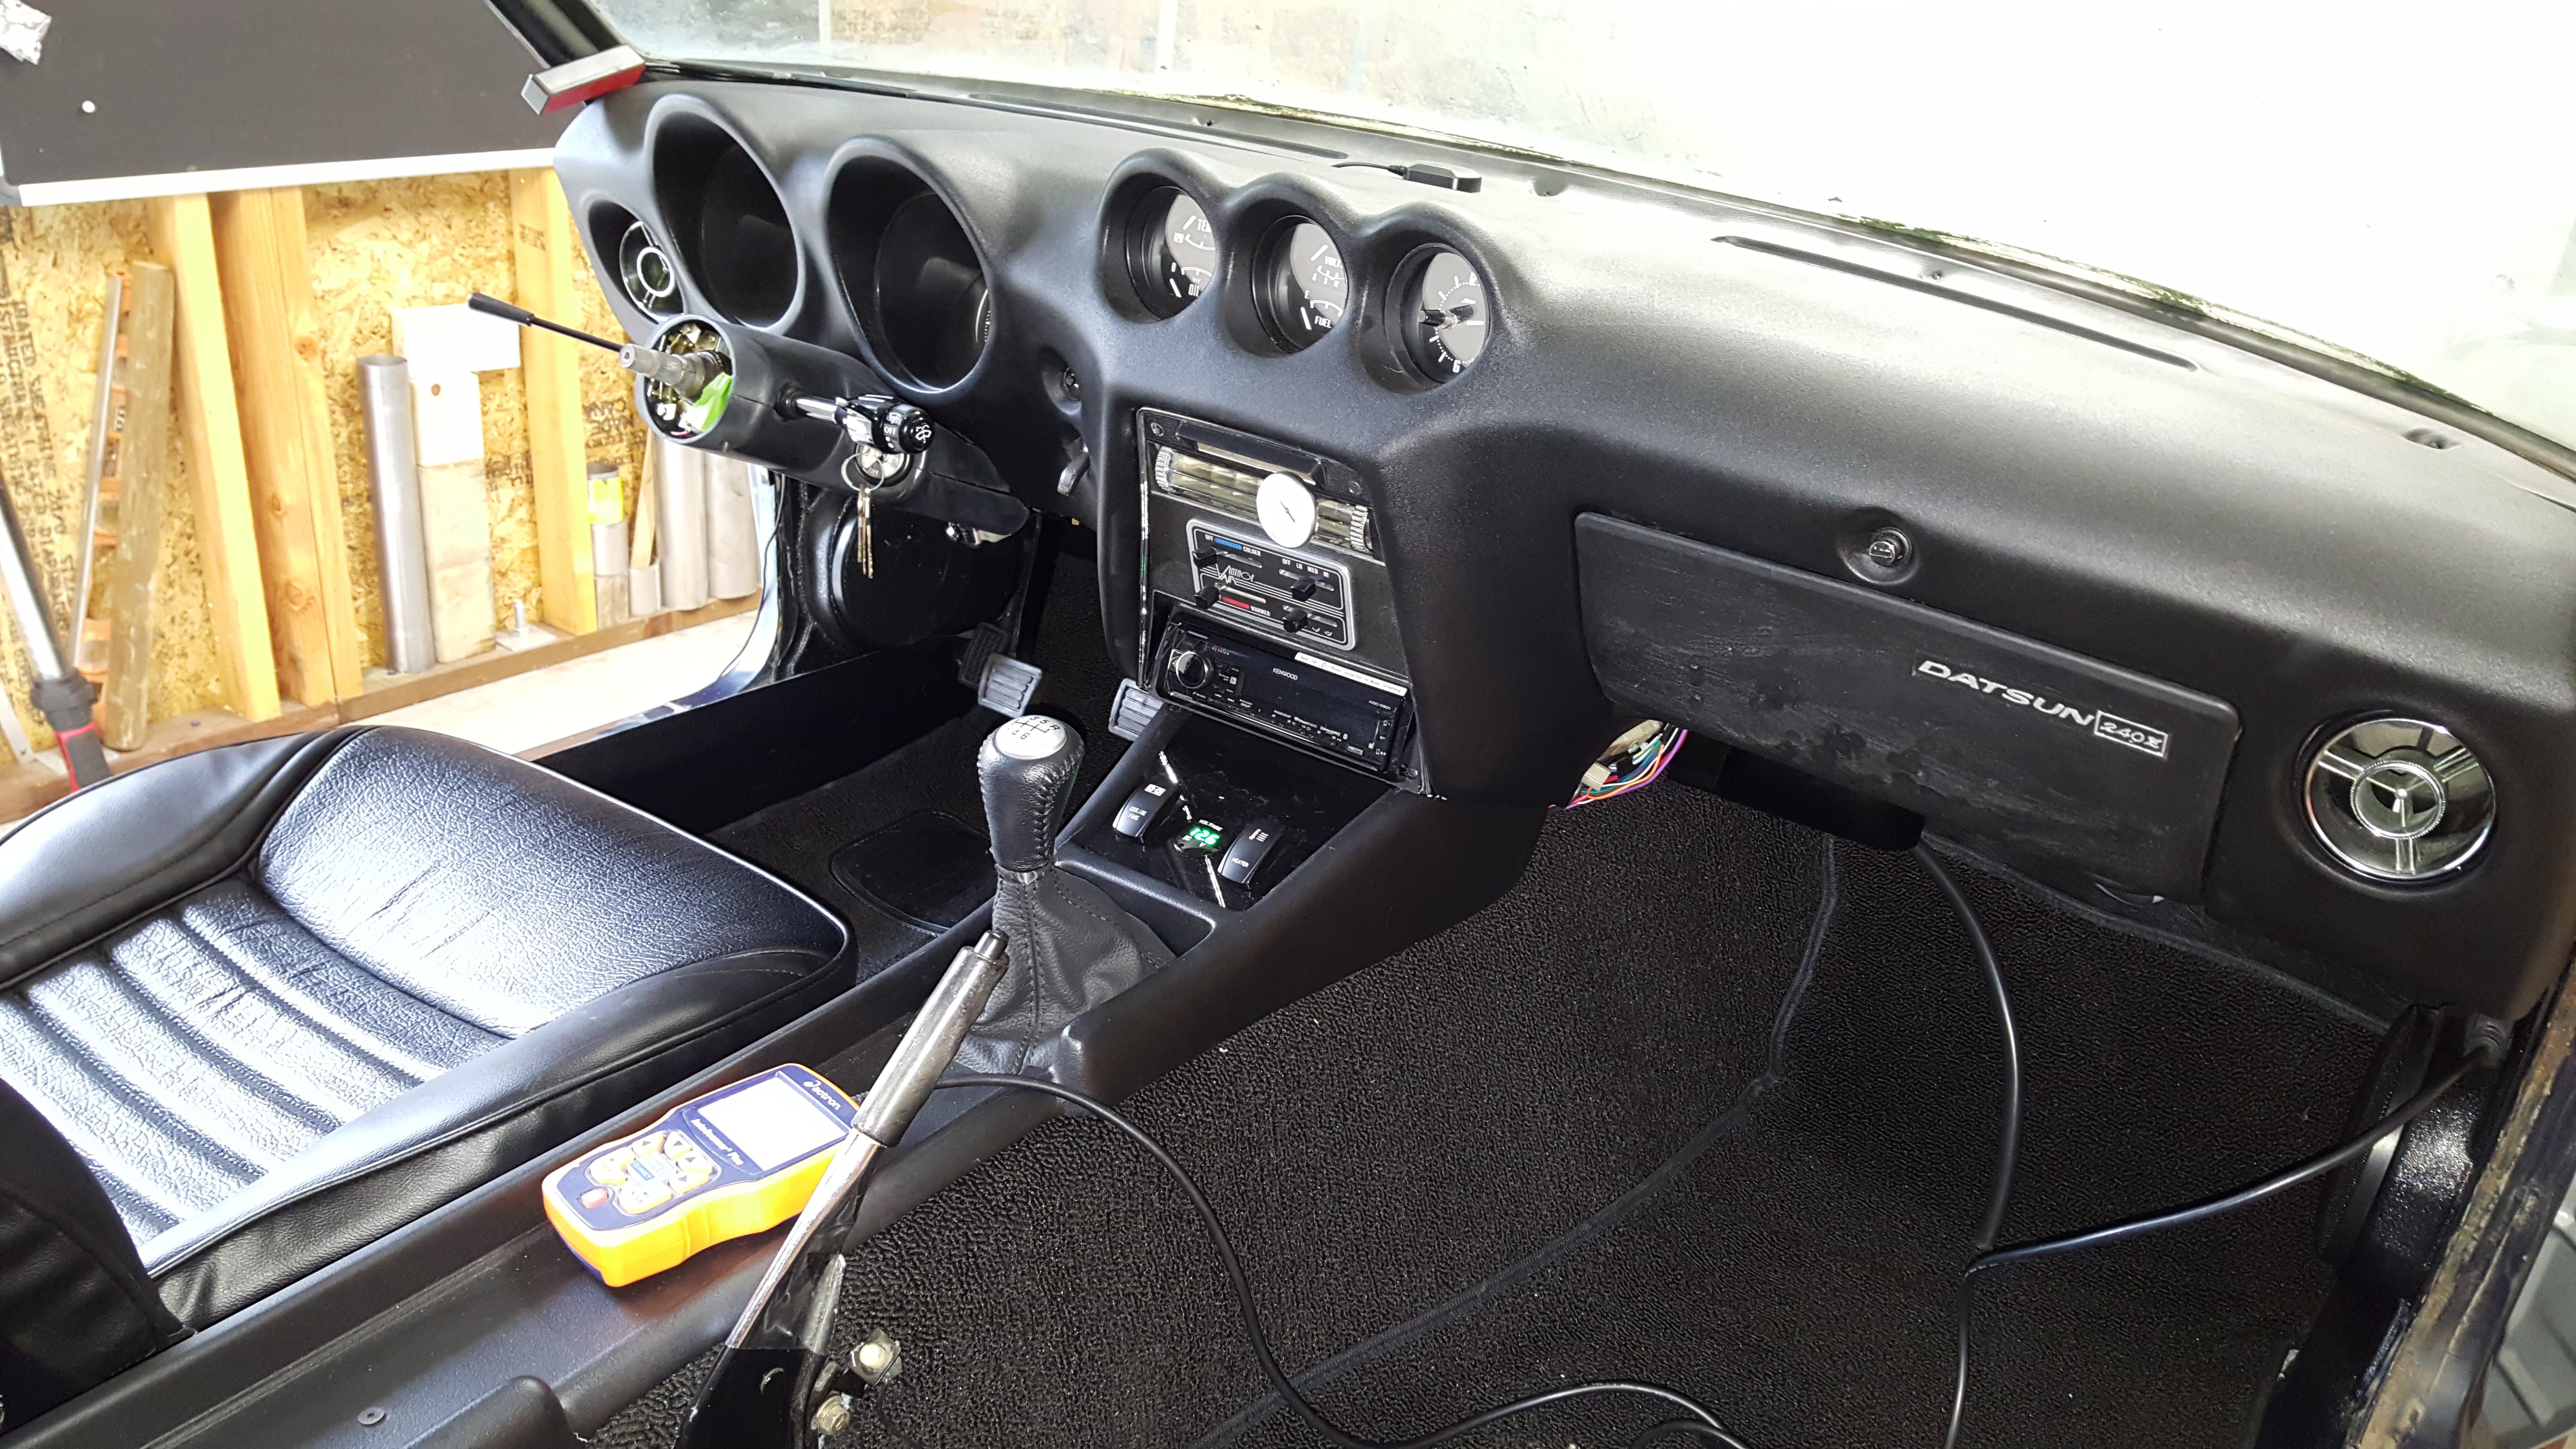
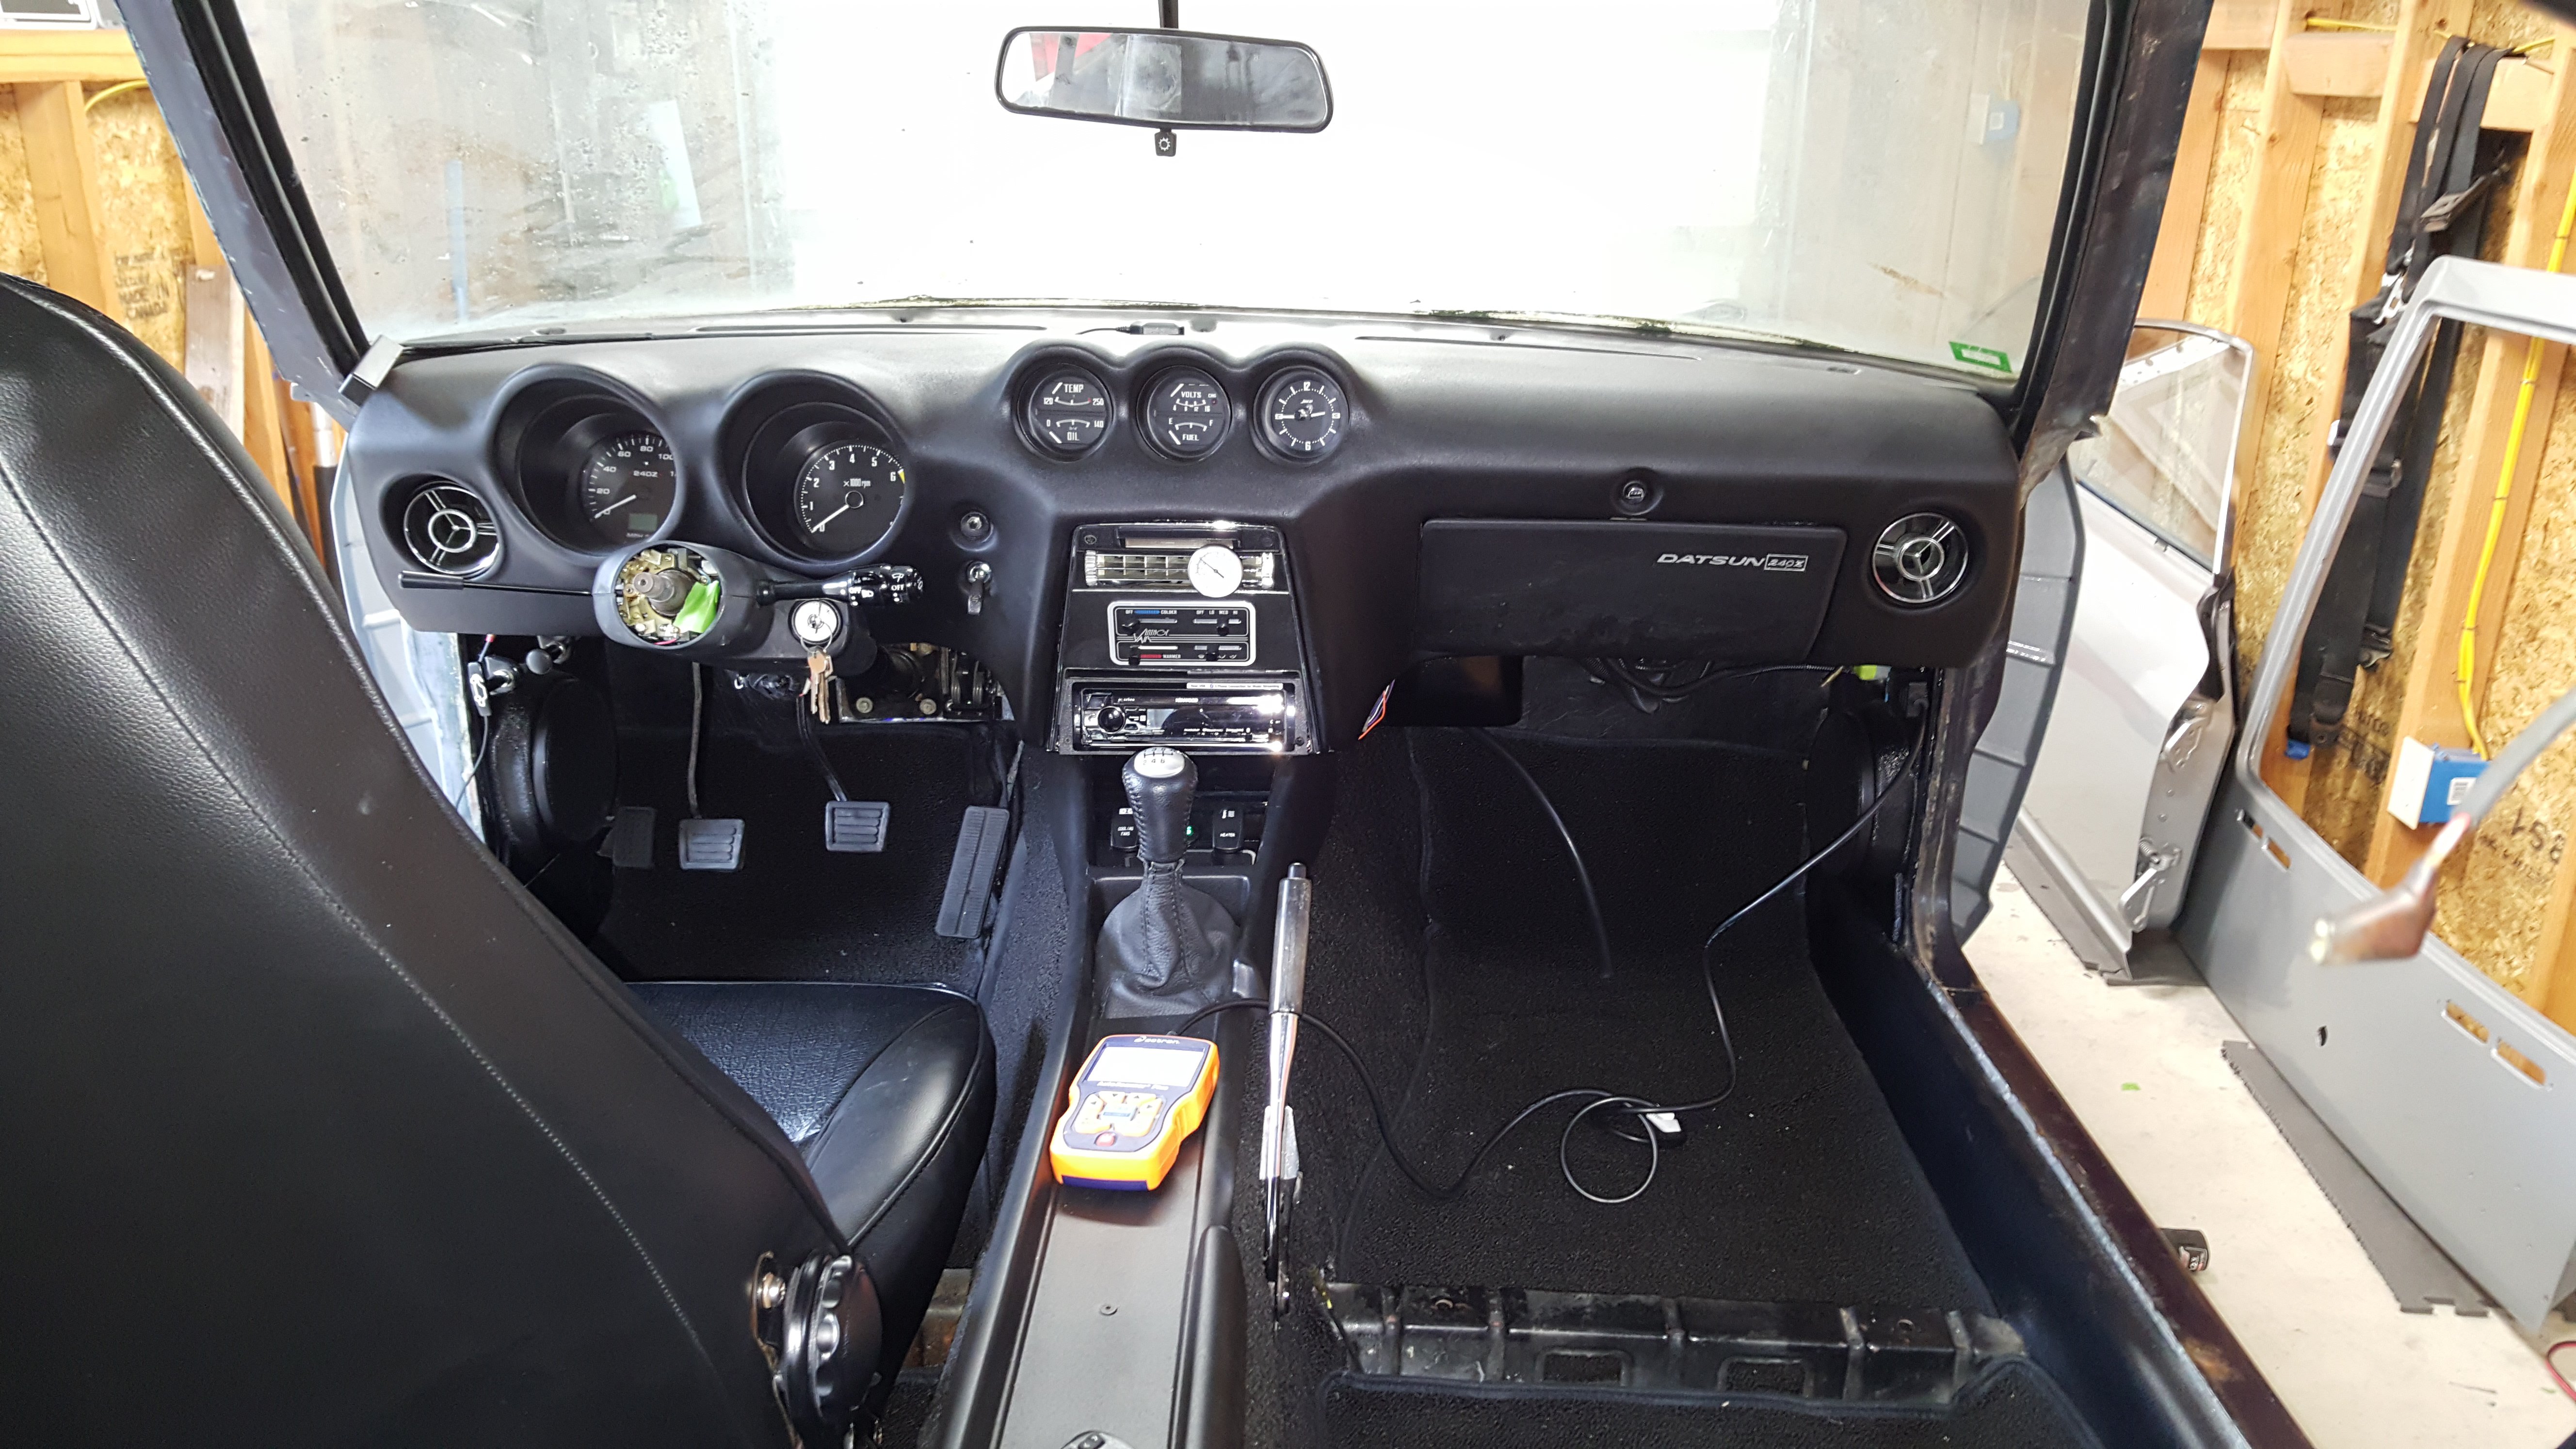
the clutch and brake pedals are from the original 240Z. I think I will bend the clutch pedal to move a little closer to the brake pedal to leave room to use the dead pedal. Pete
-
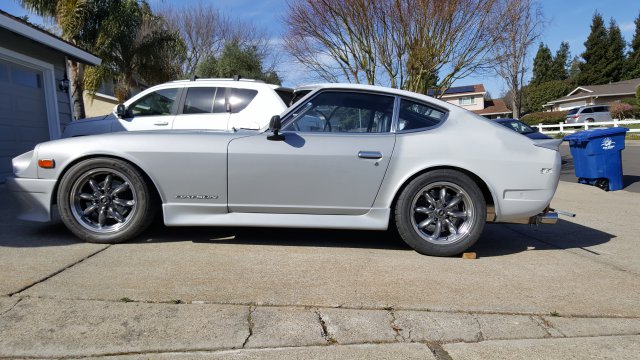
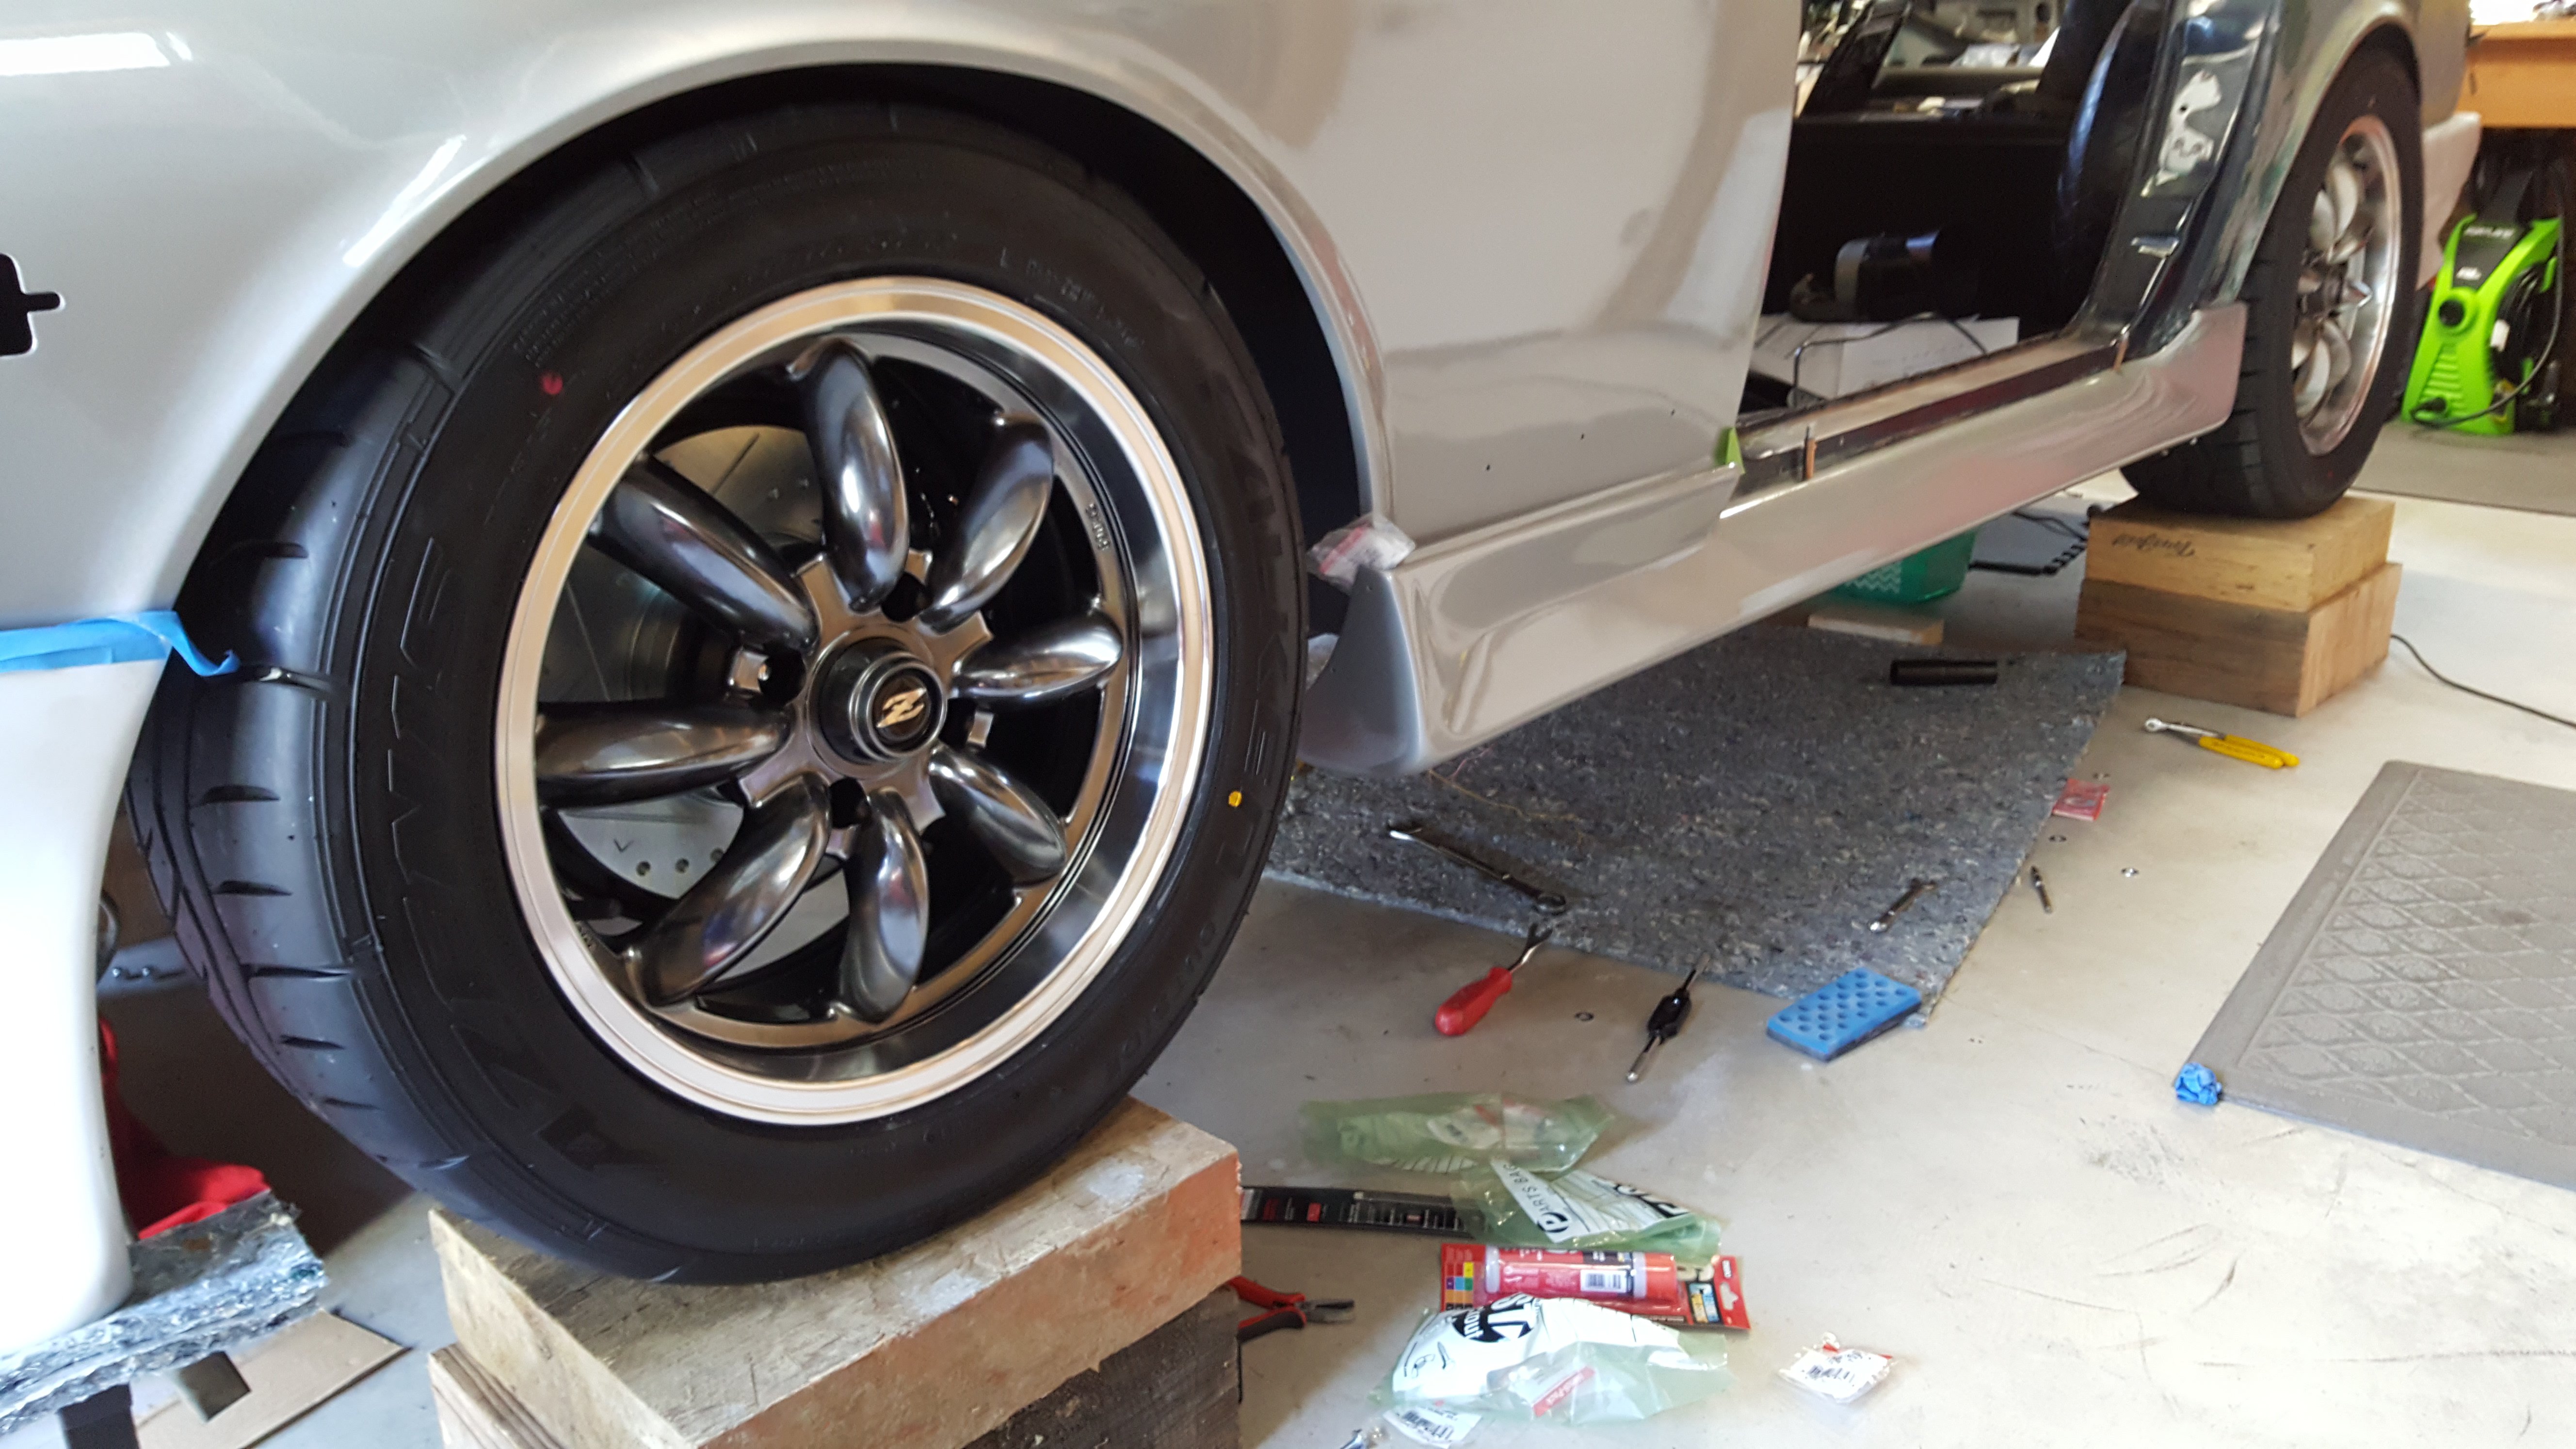
wheels and tires installed.
-
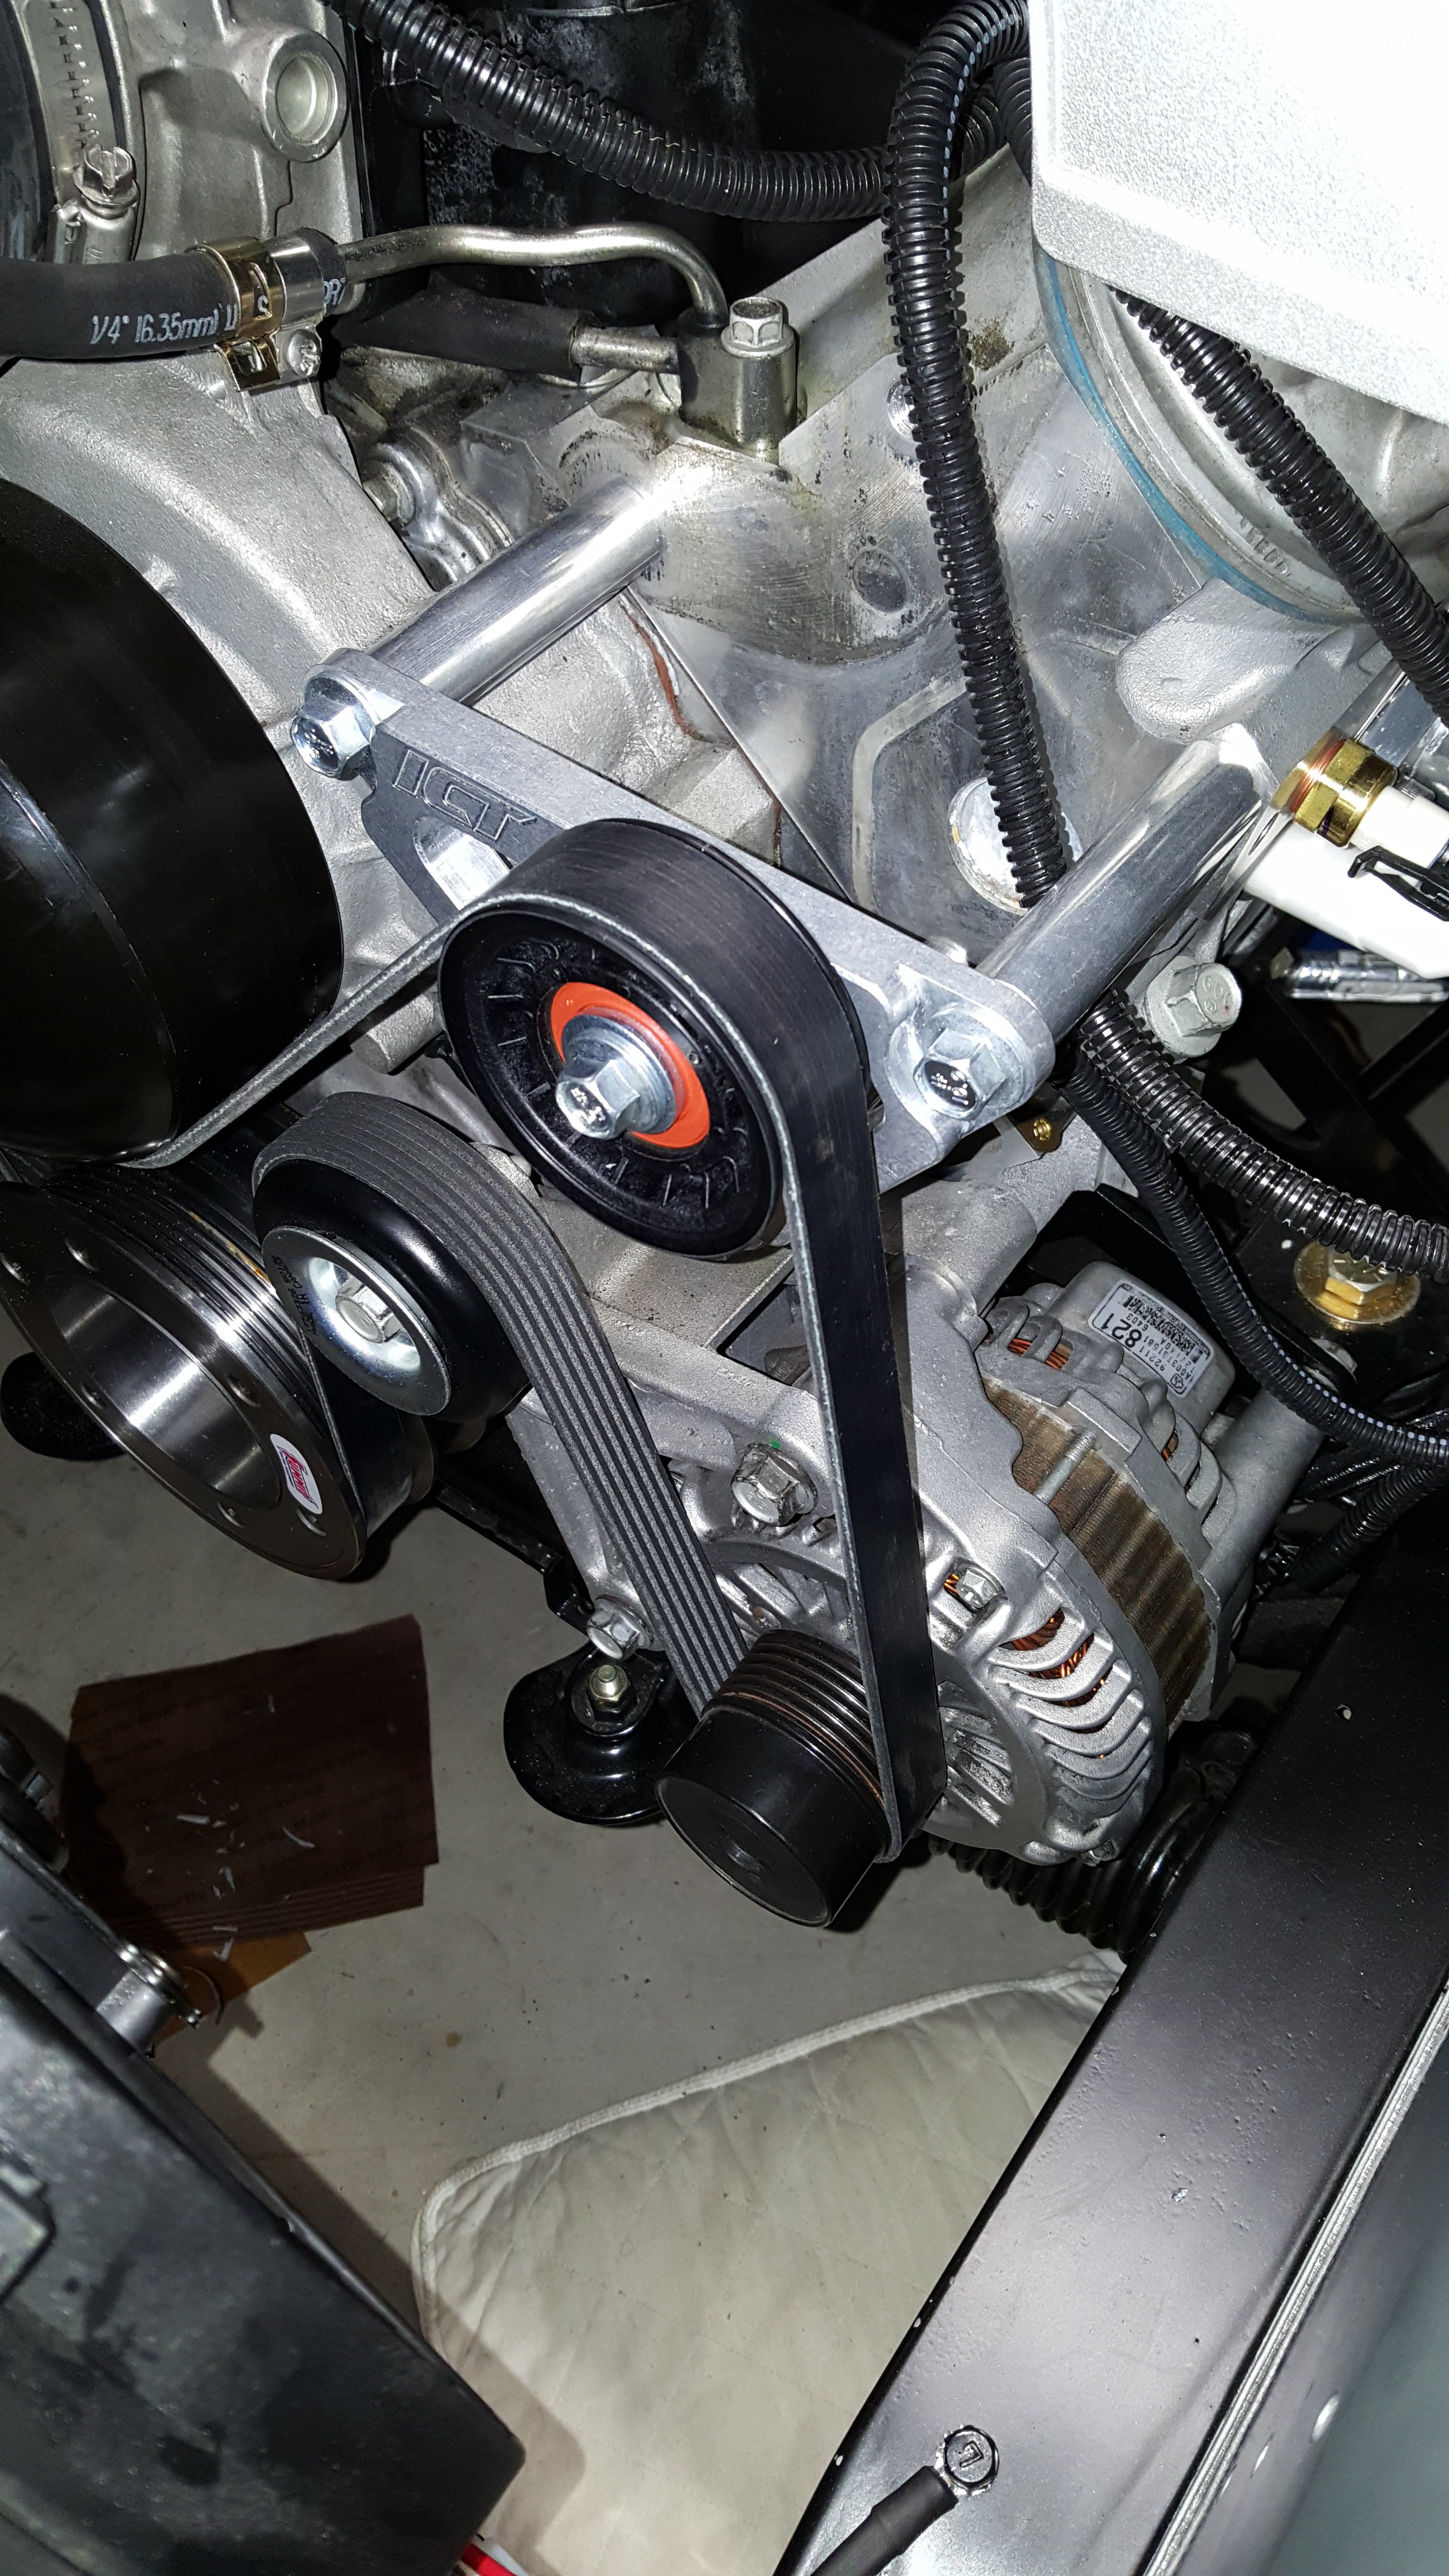
Finished running the AC lines. I ran the two lines to the evaporator through the passenger inner fender. I removed the lower passenger vent. I evacuated the system all went great. Next I will charged the system when the weather warms. I also replaced the gutted power steering pump and replace with a cleaner bracket and pulley from ICTbillet.com
-
The other problem I had was the fuel gauge is reading empty, there should be around a 1/4 tank of fuel. I installed a fuel gauge from a 280Z, I am reading 39 ohms at the sender. Not sure what is wrong, I grounded the signal wire and the gauge reads full. I will be trouble shooting this week.
-
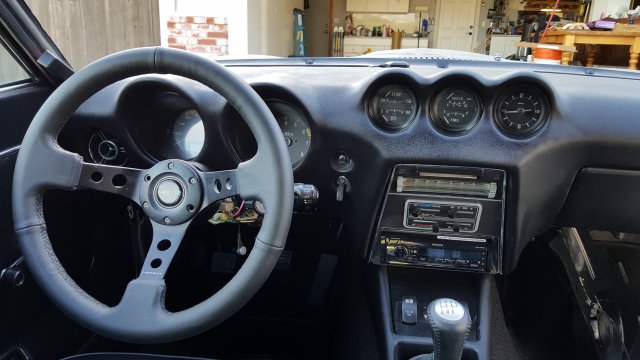
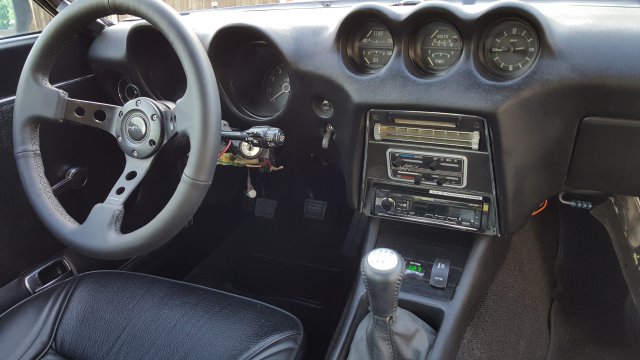
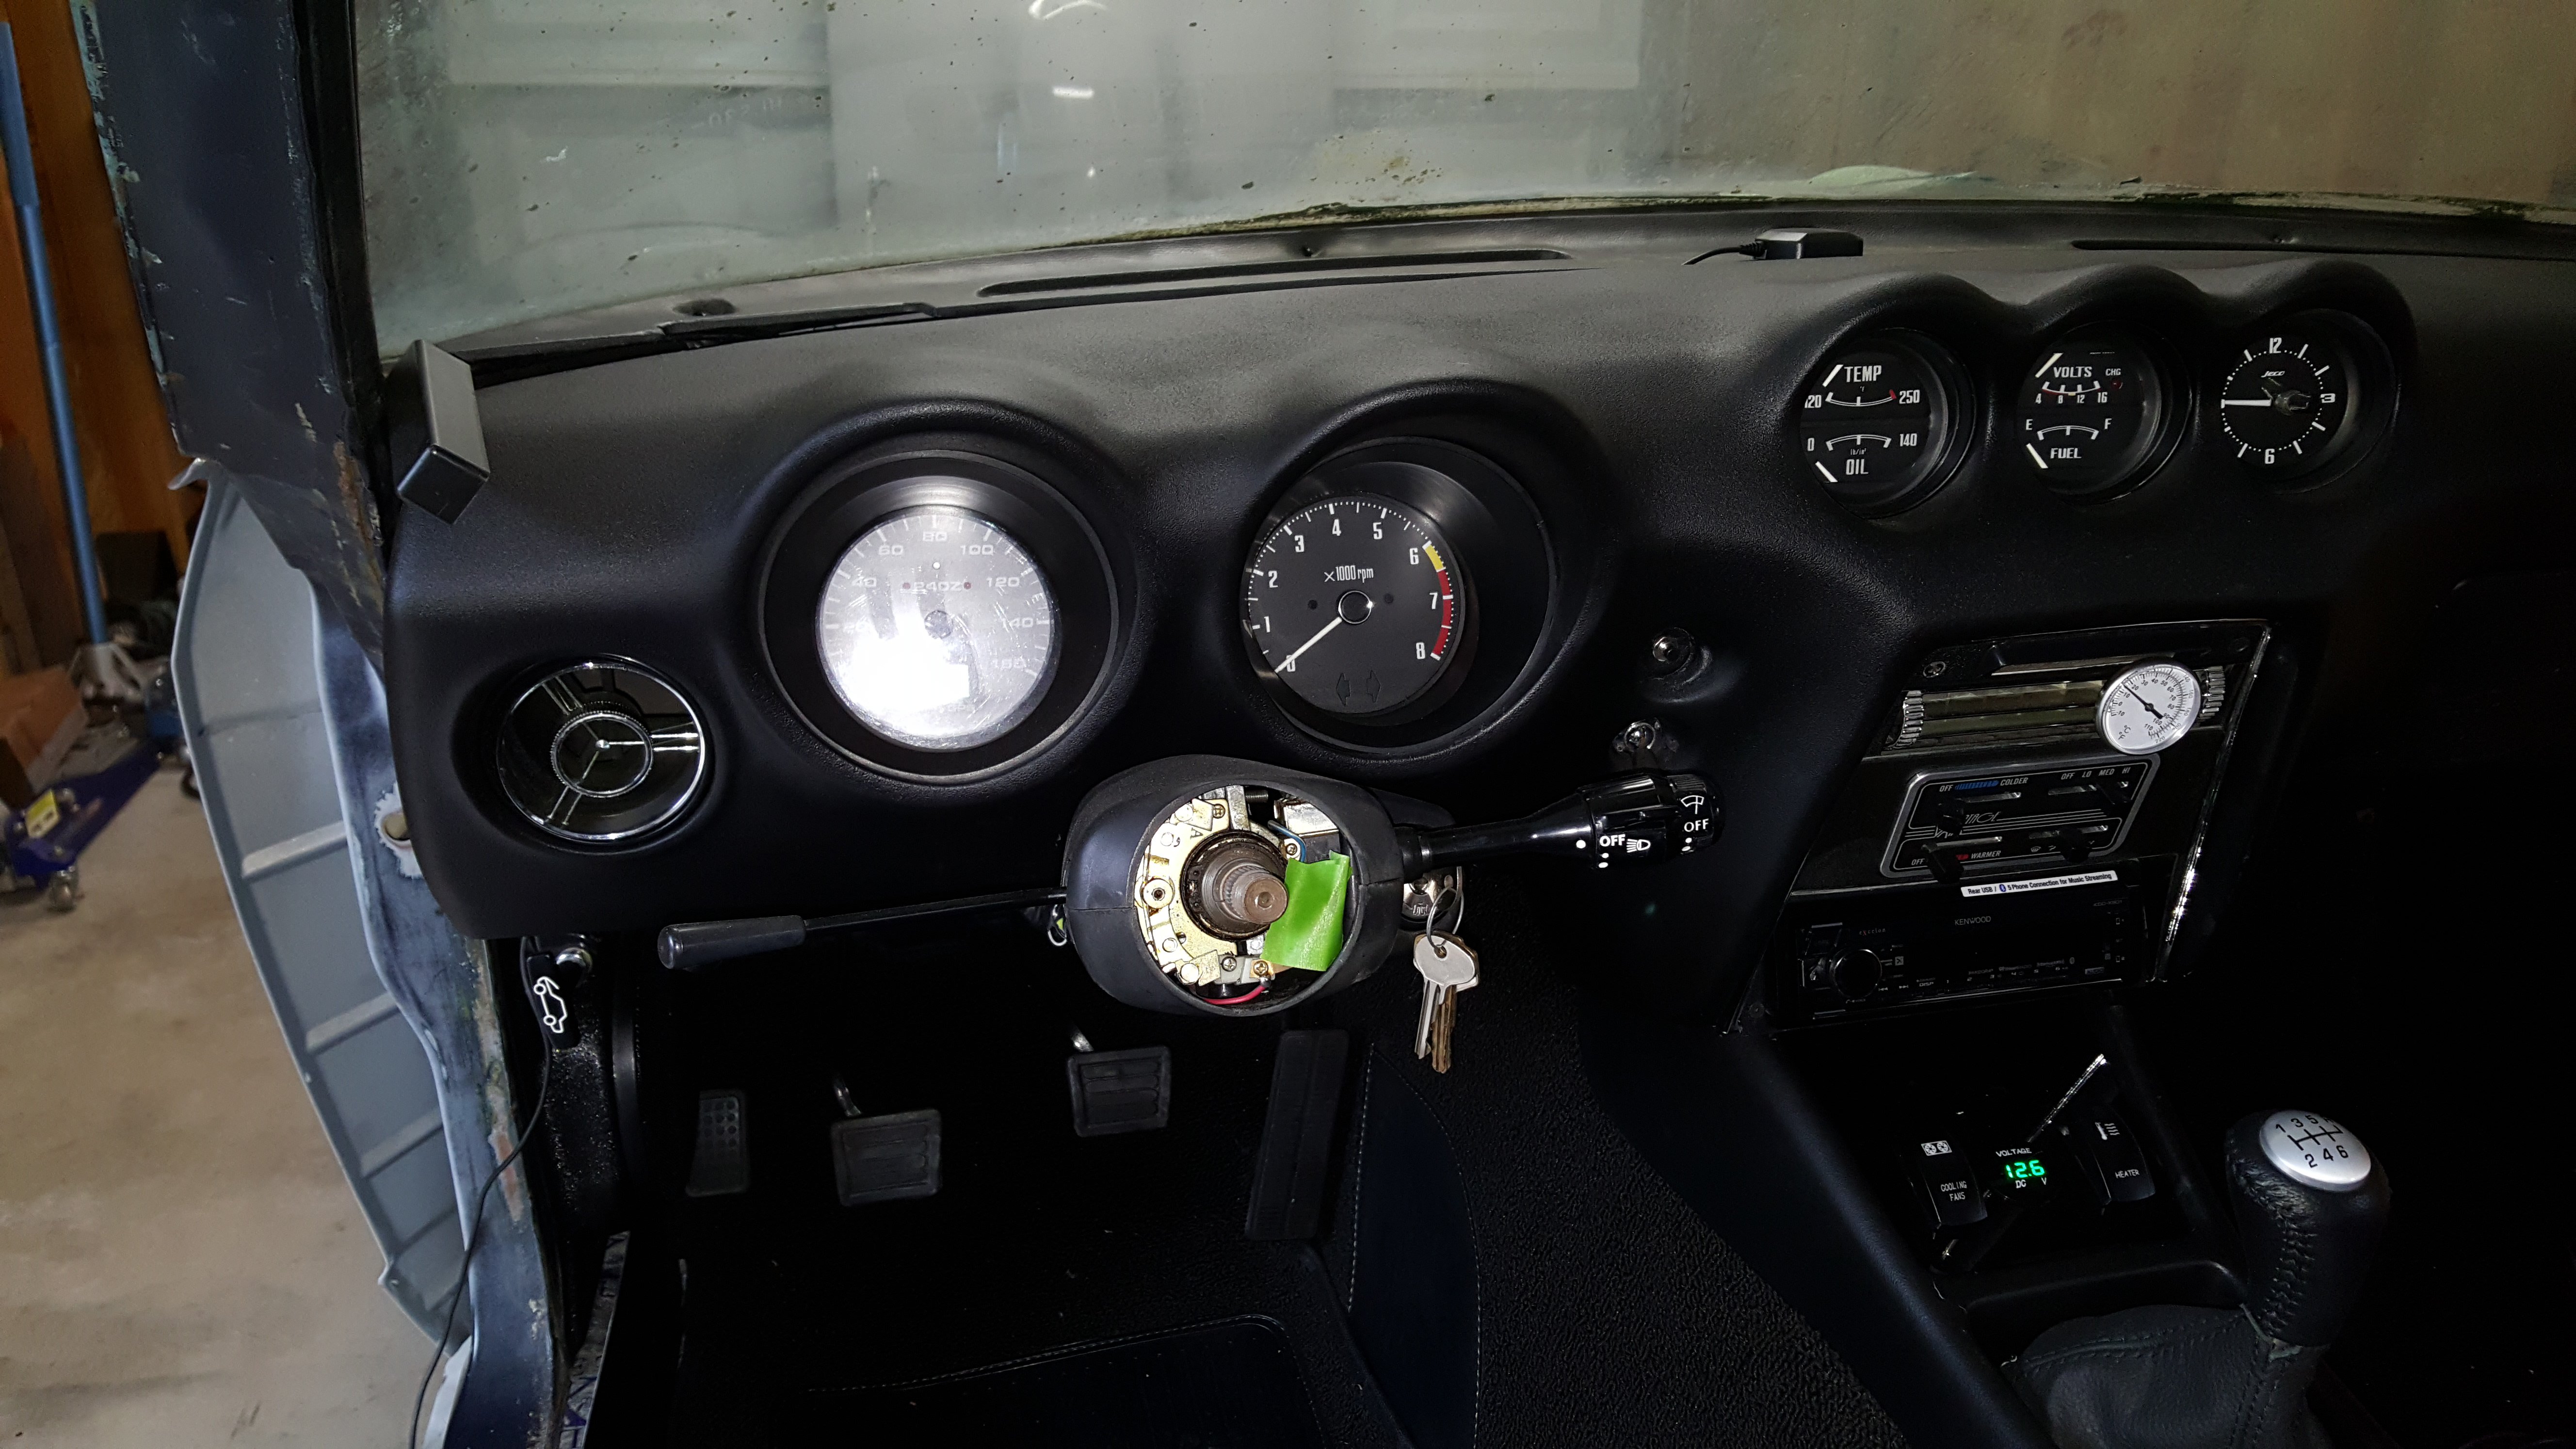
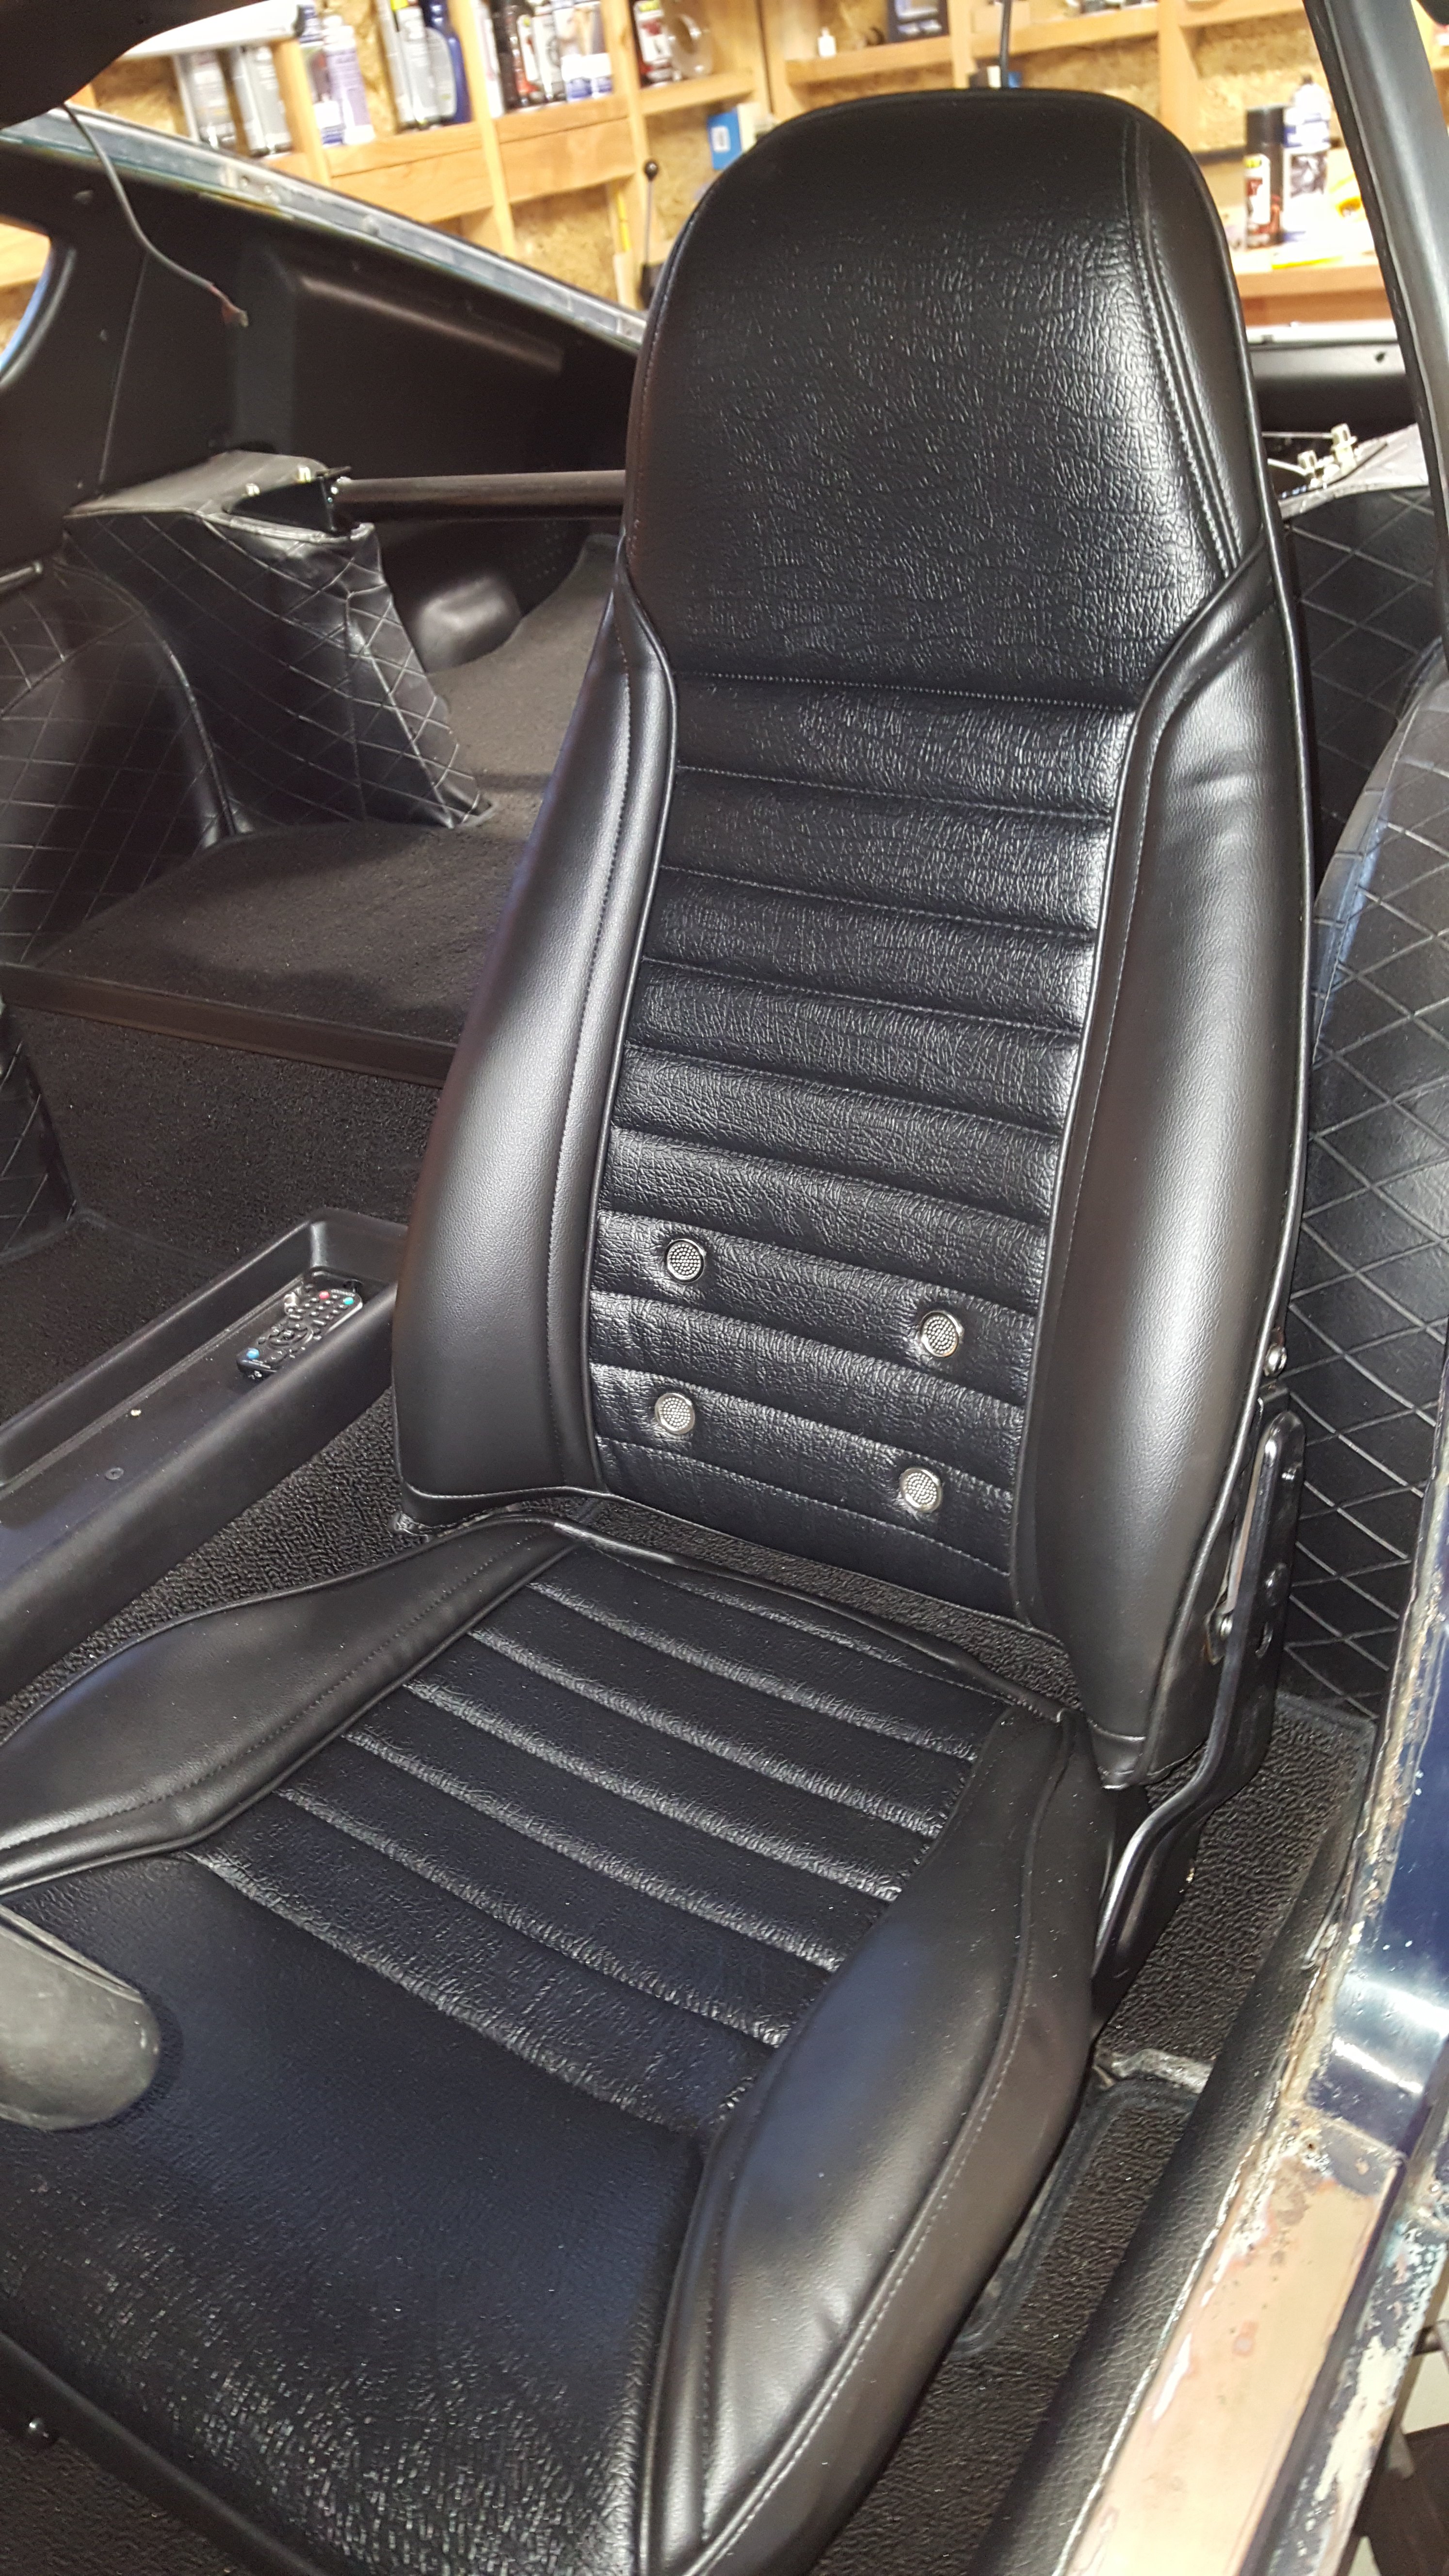
Here are some interior pictures. Just waiting for my new steering wheel from thezstore.com to complete interior.
-
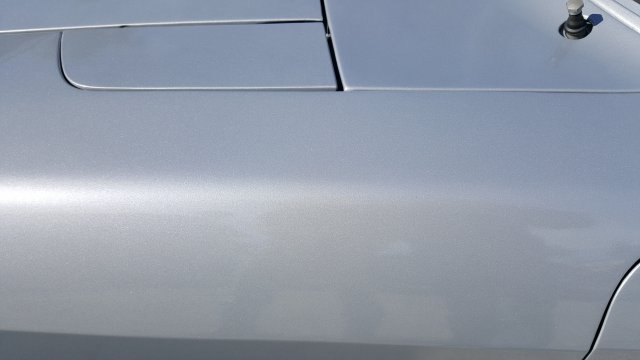
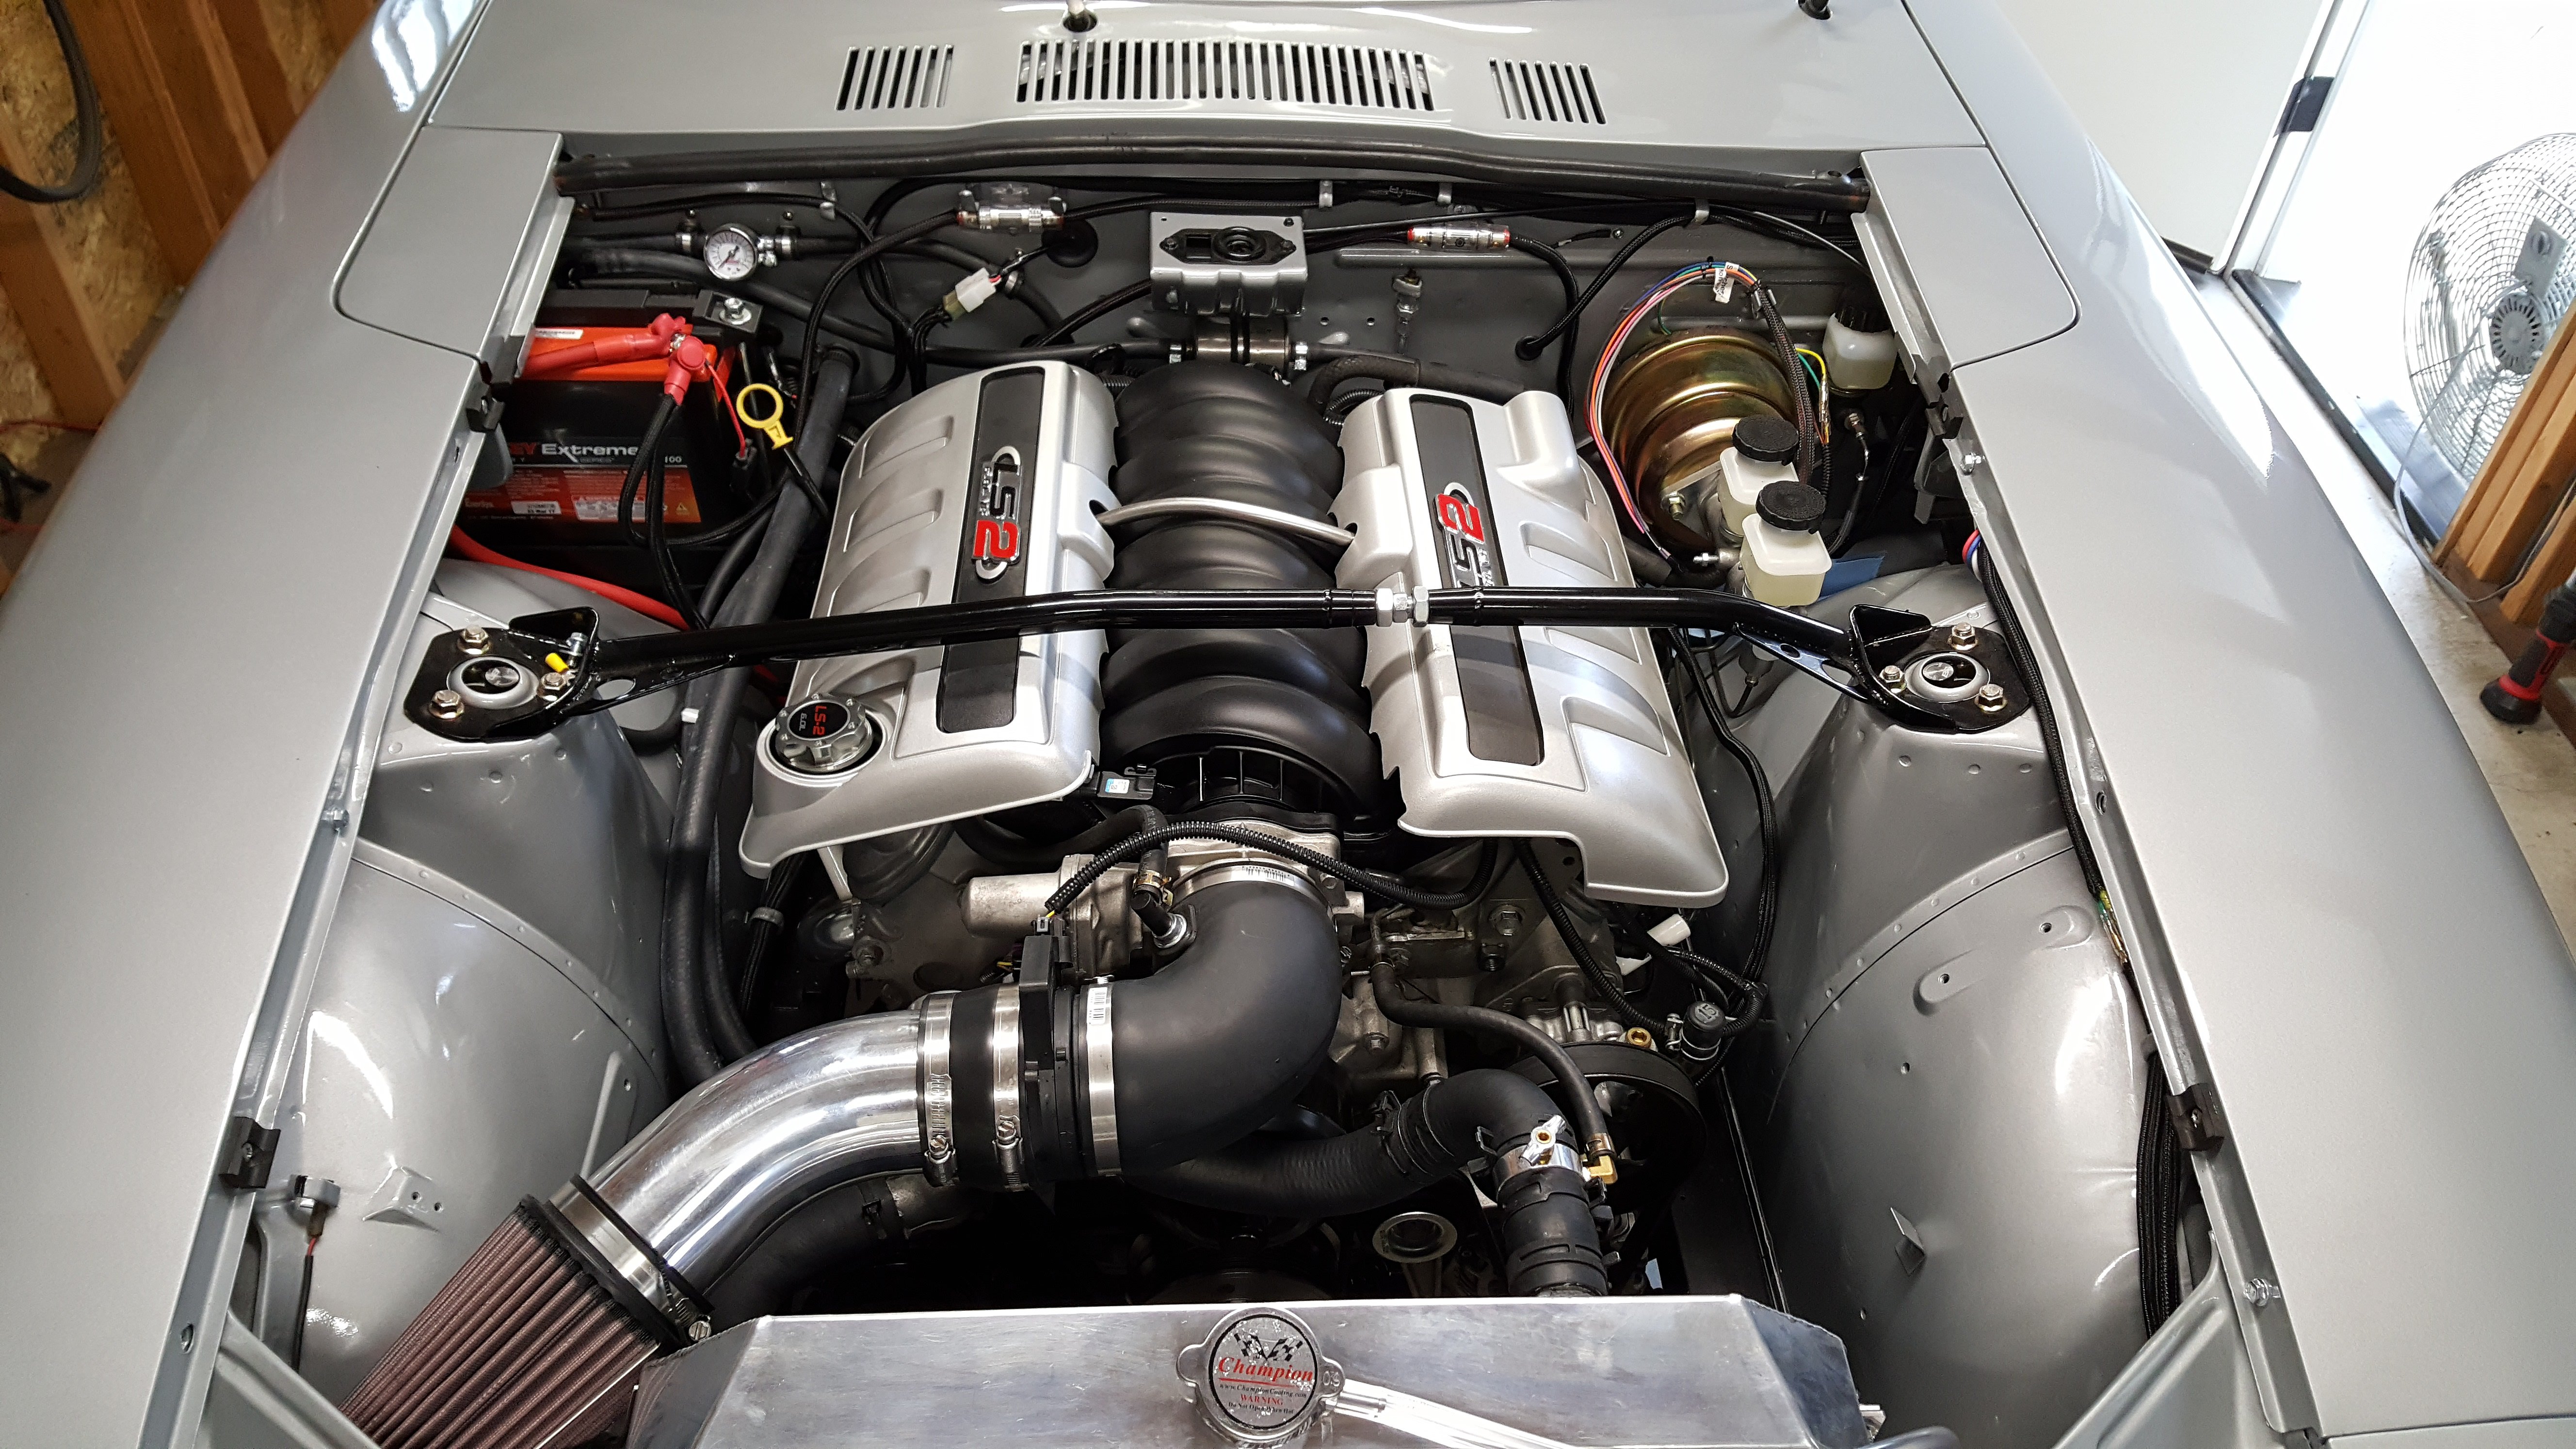
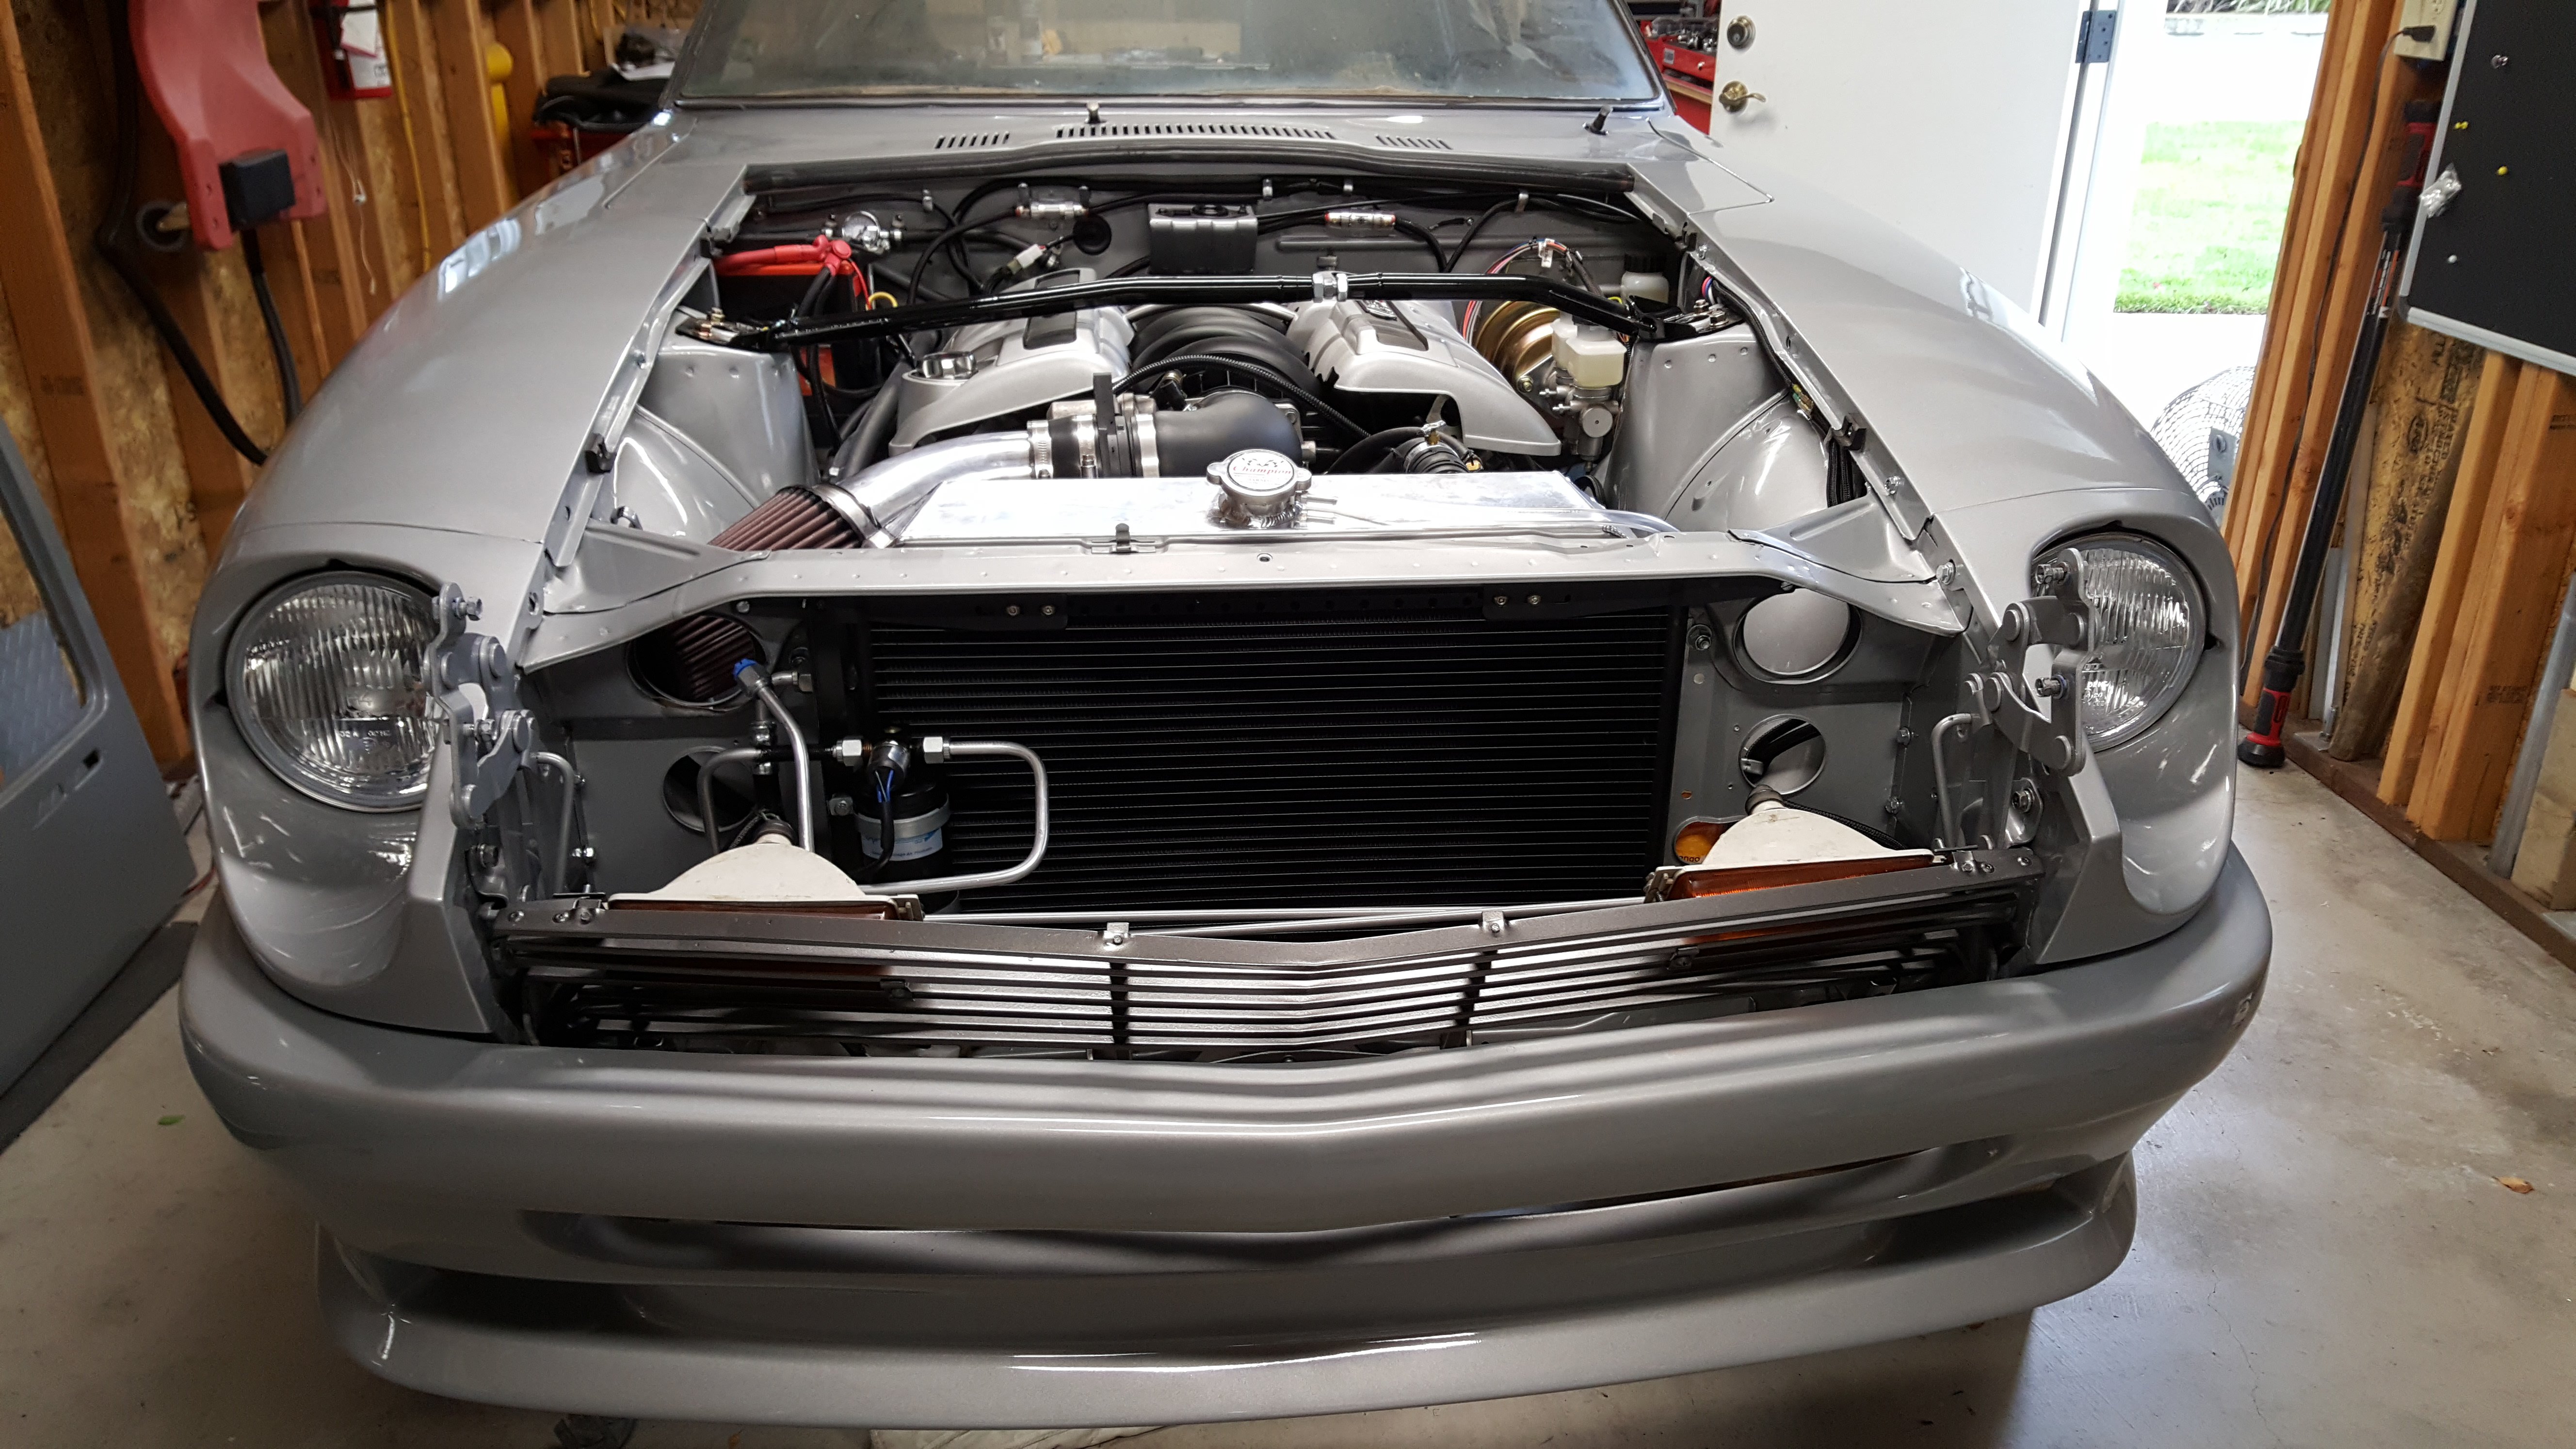
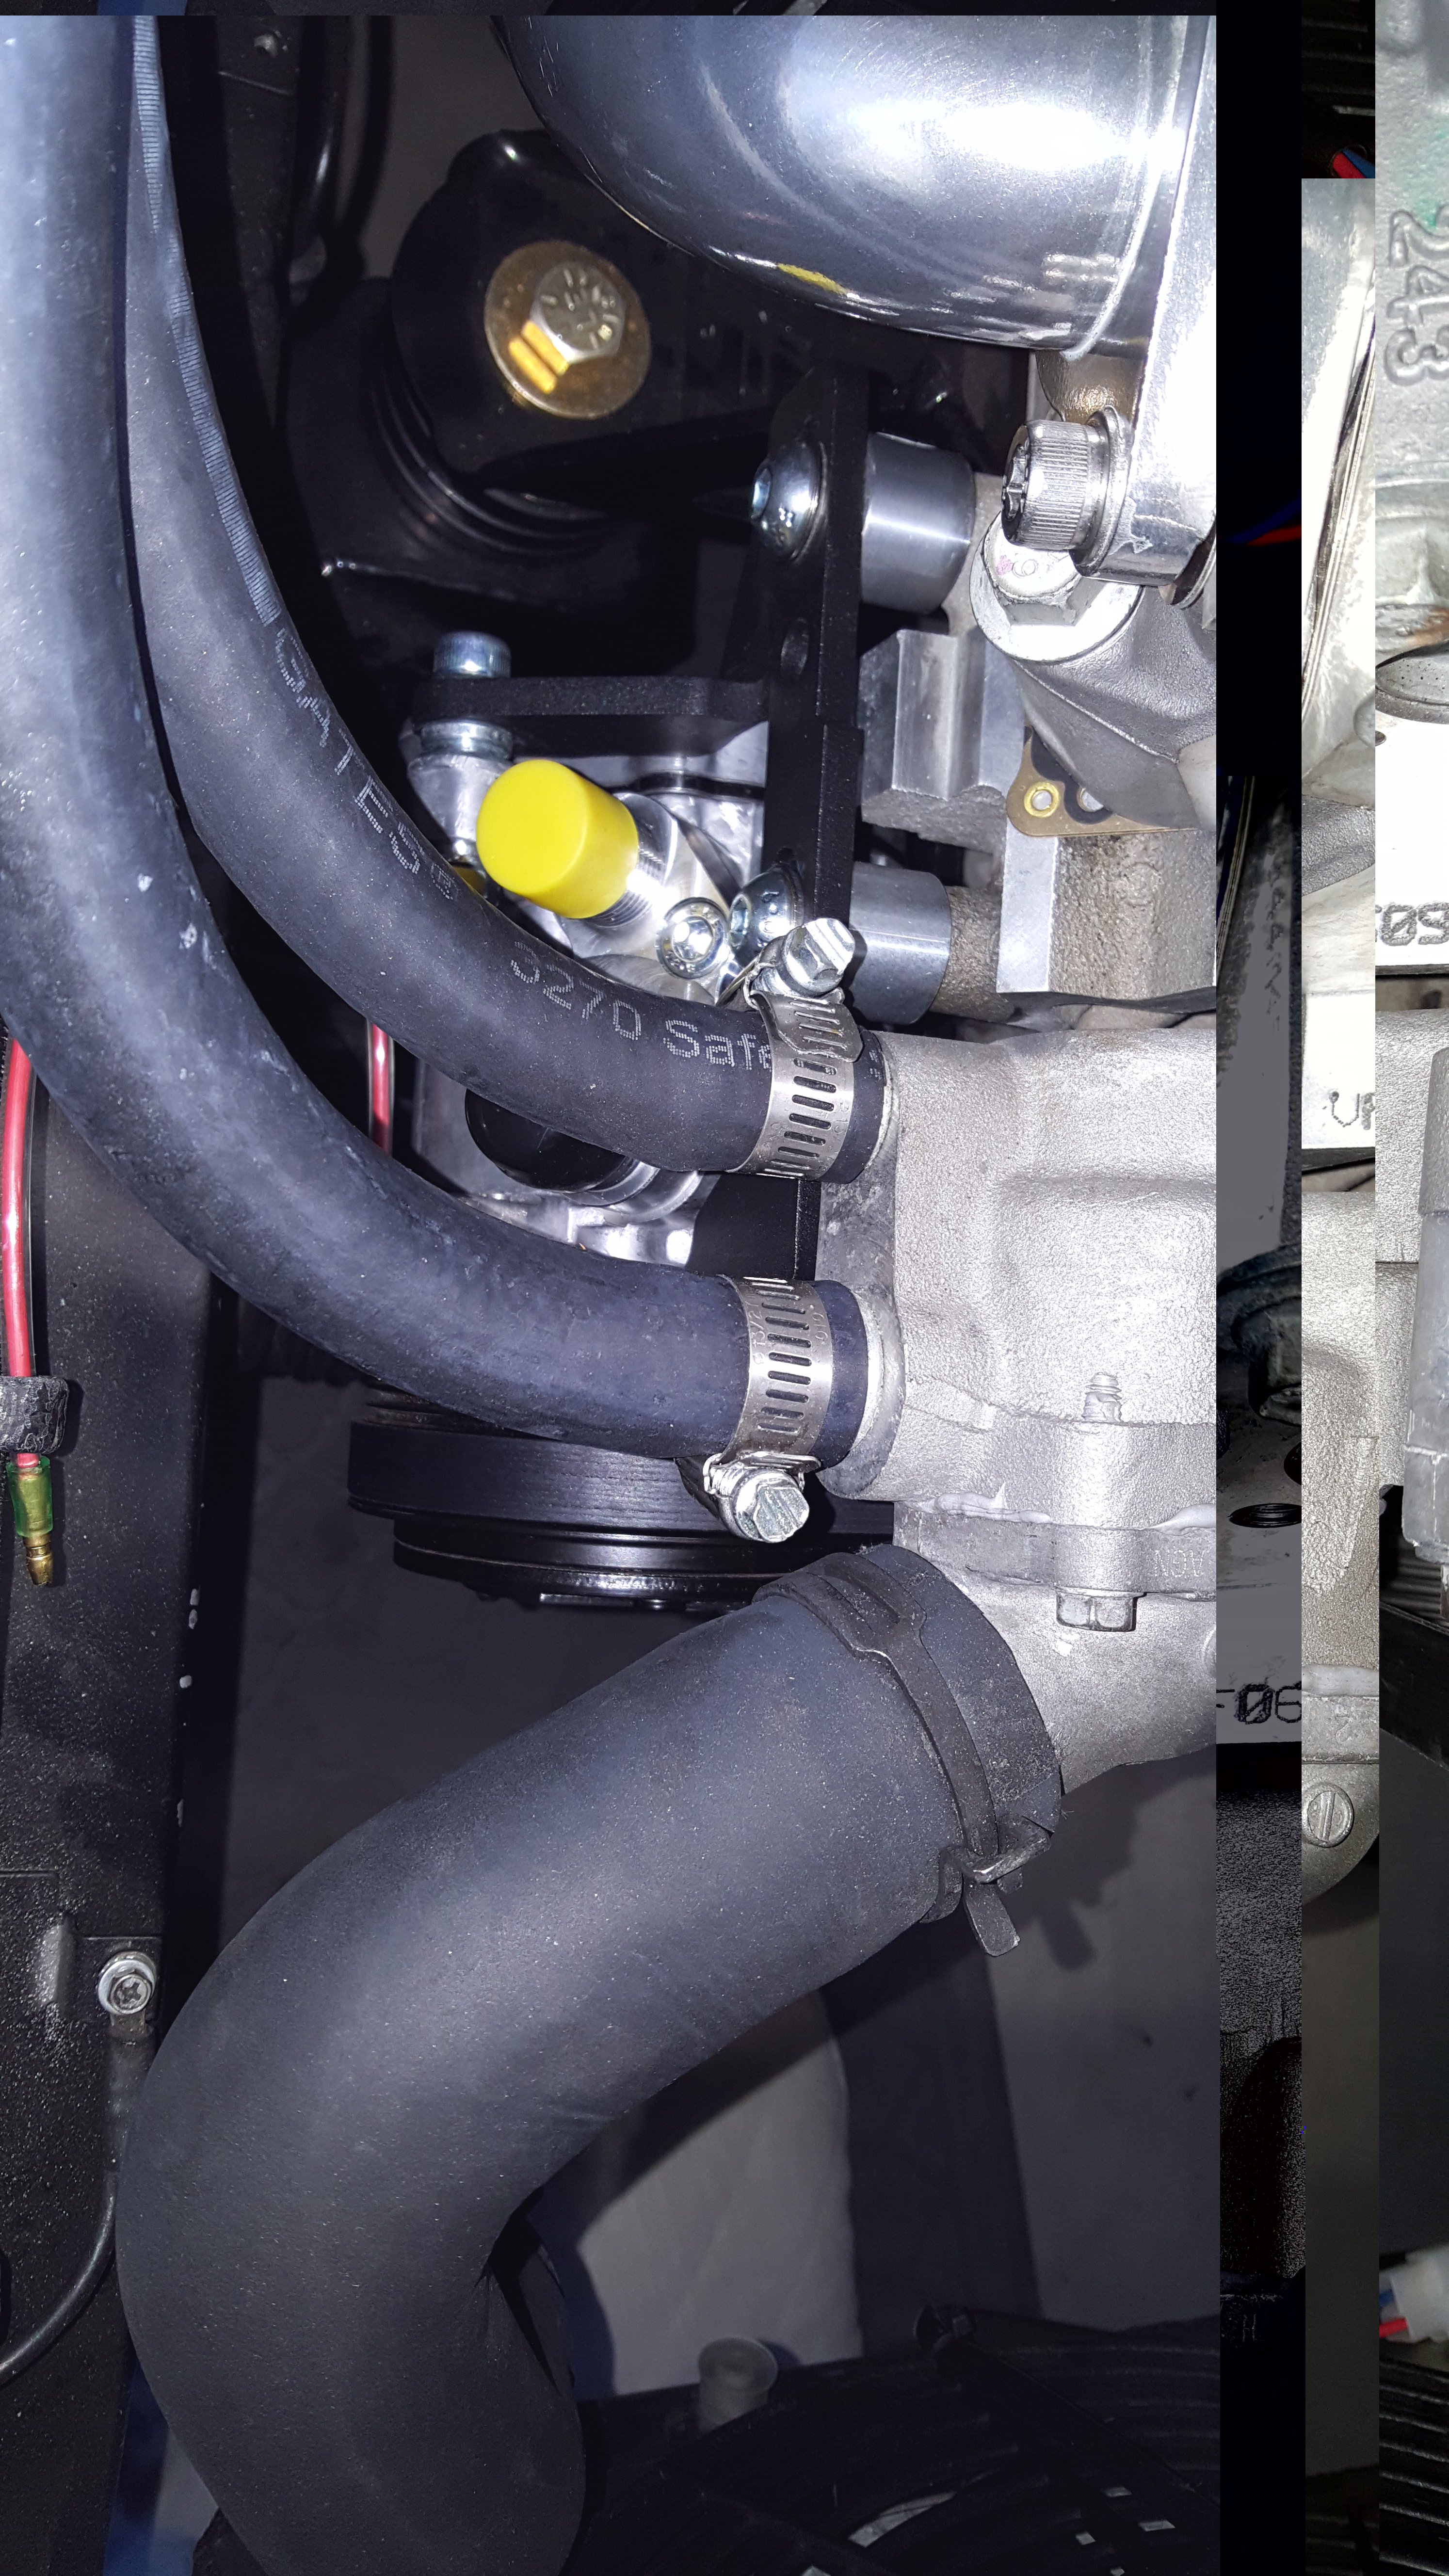
This weekend was the 1st real test for the LS2. I ran the engine for around 1 hour. The exhaust sounds great. The only problem I had was a small fuel leak at the carter low pressure fuel pump that feeds the Edlebrock sump located at the battery tray. The other problem was the LS2 thermostat was not opening until 215 degrees. The second fan was coming on at 217 degrees the engine would idle at a constant 217 degrees. I pulled the thermostat and put in boiling water and it opened at 215 degrees. The thermostat says 86 C looks like it is no good. I ordered a new delco 187 degree thermostat. My primary fan was coming on at 210 degrees, I will modify the ECU to come on at 200 degrees. Below is some pictures, the paint is about 60% complete. The color is the original metallic silver from 1971. The vintage air HVAC heater worked great.
-
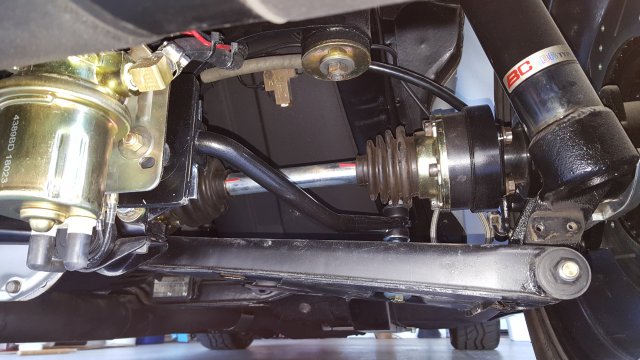
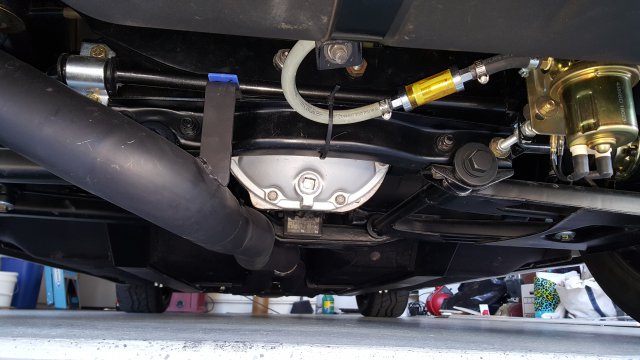
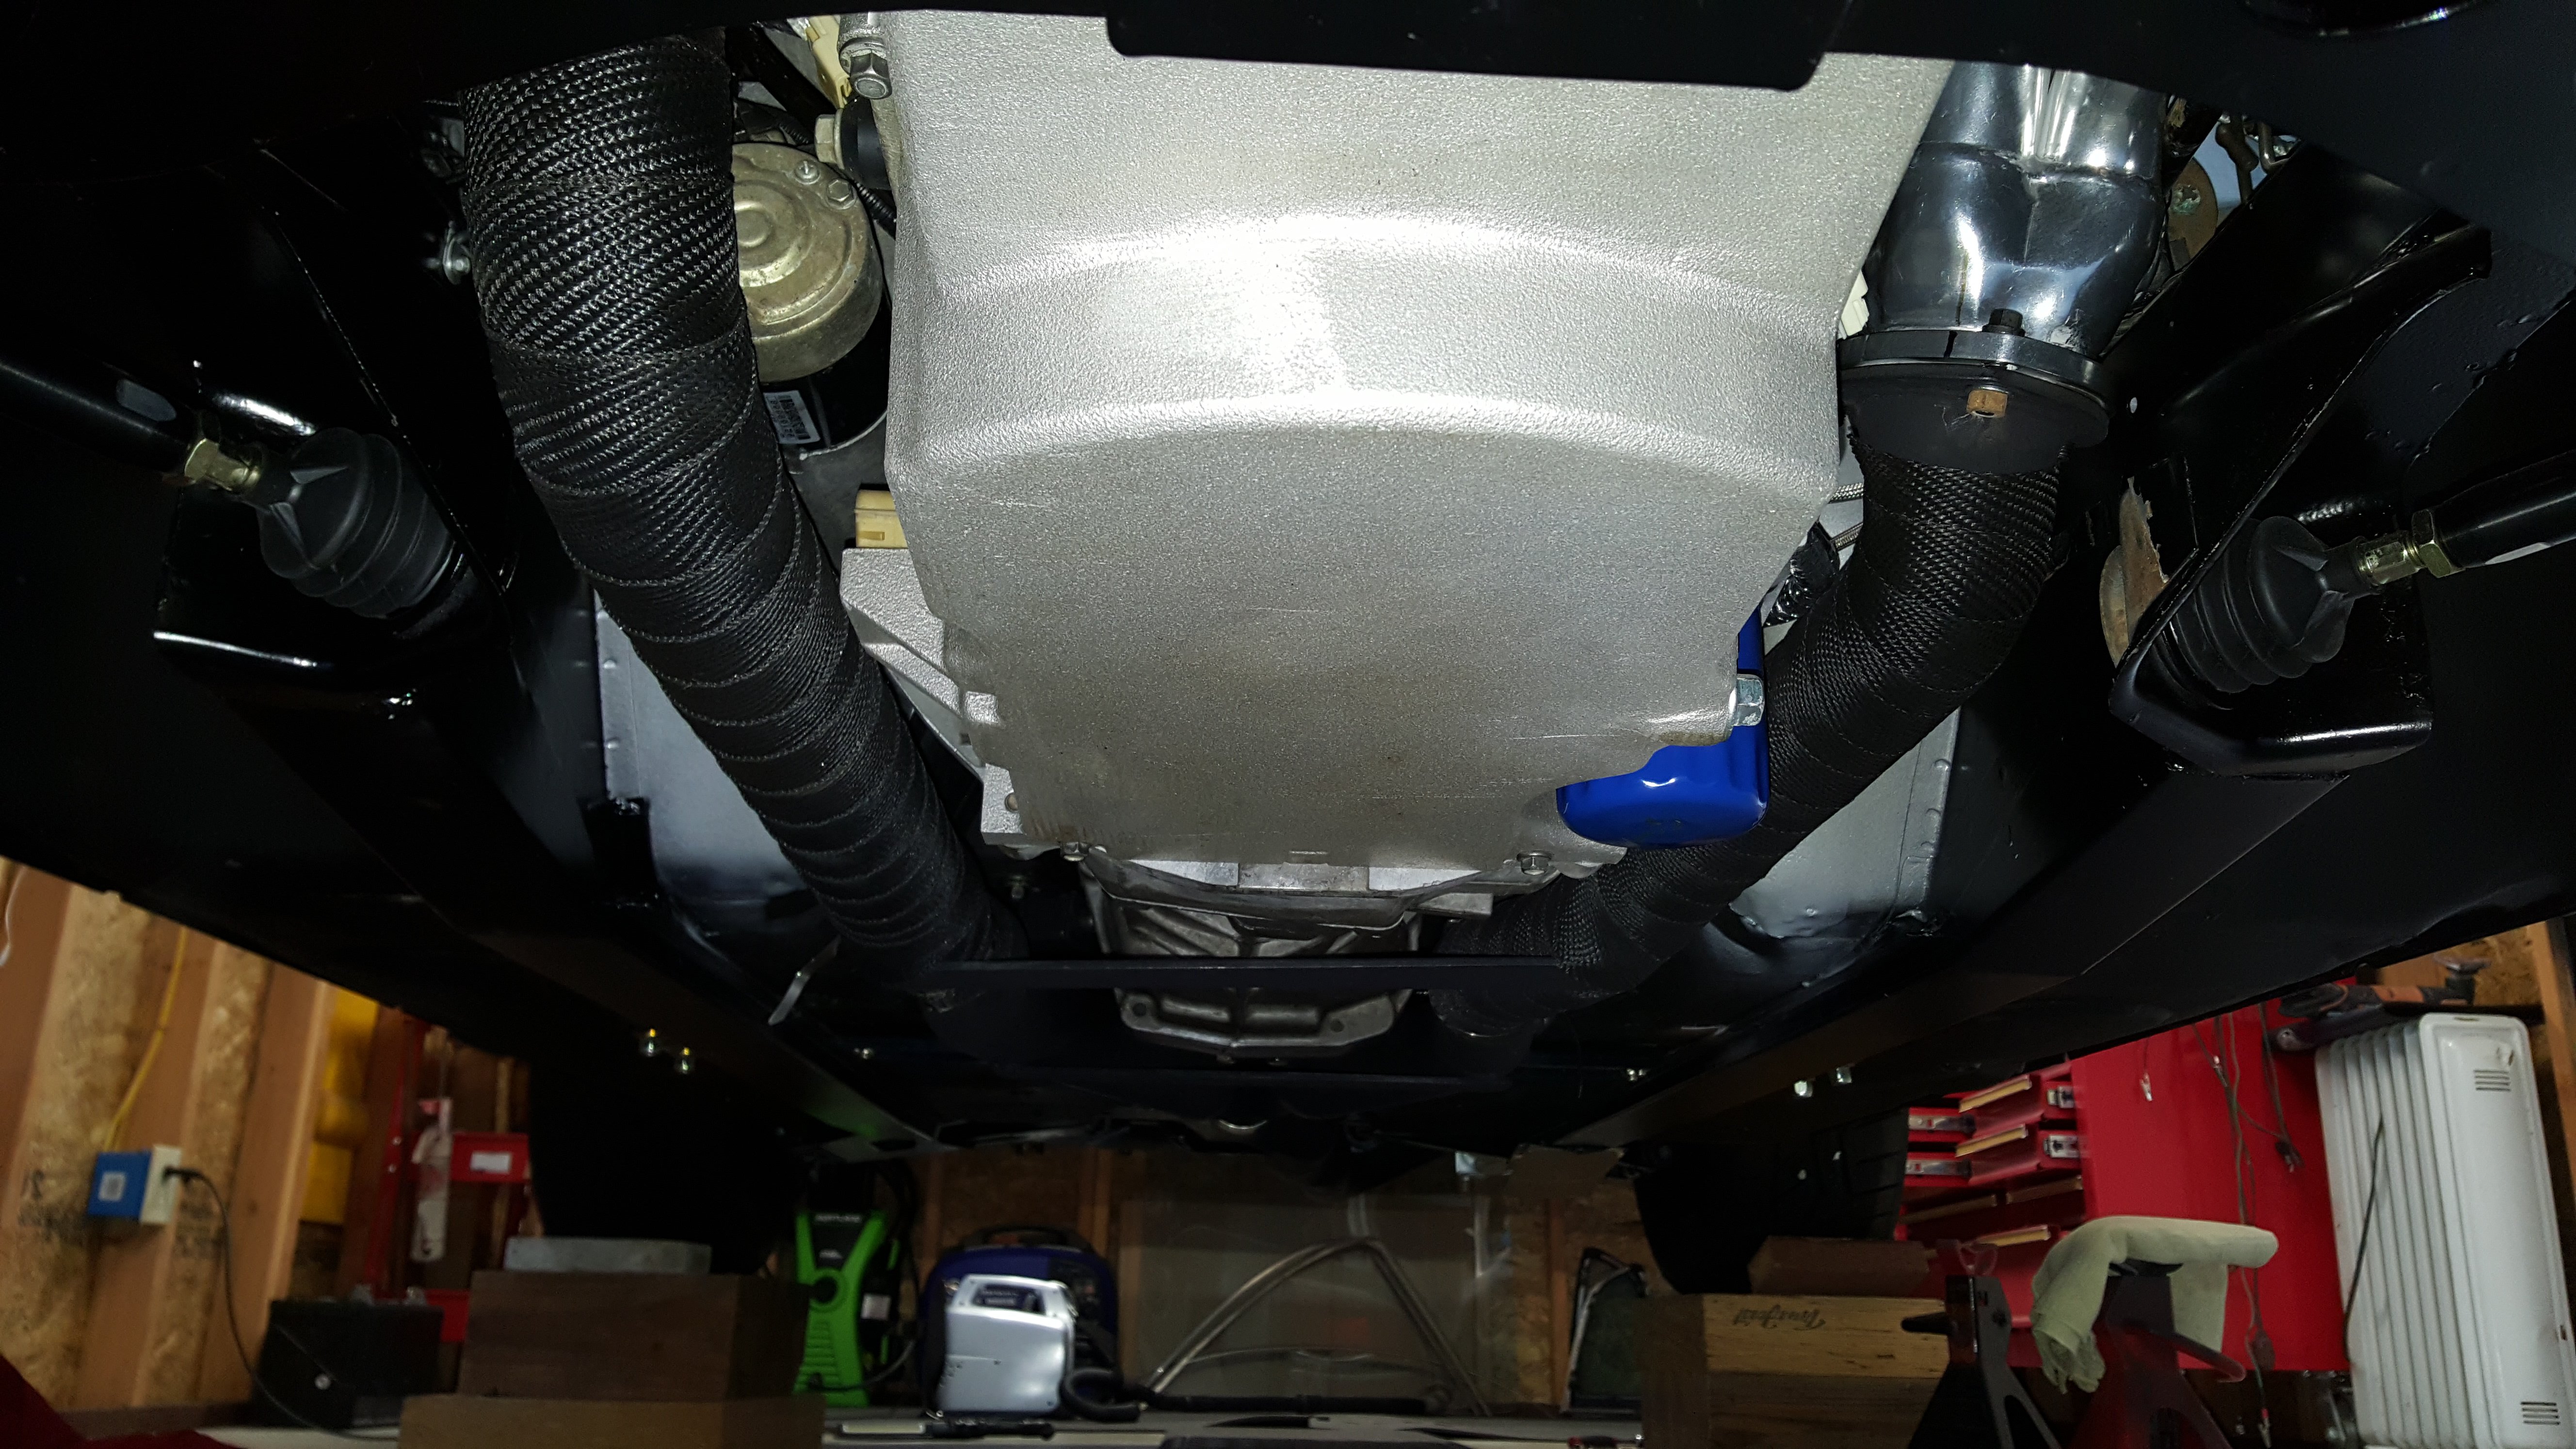
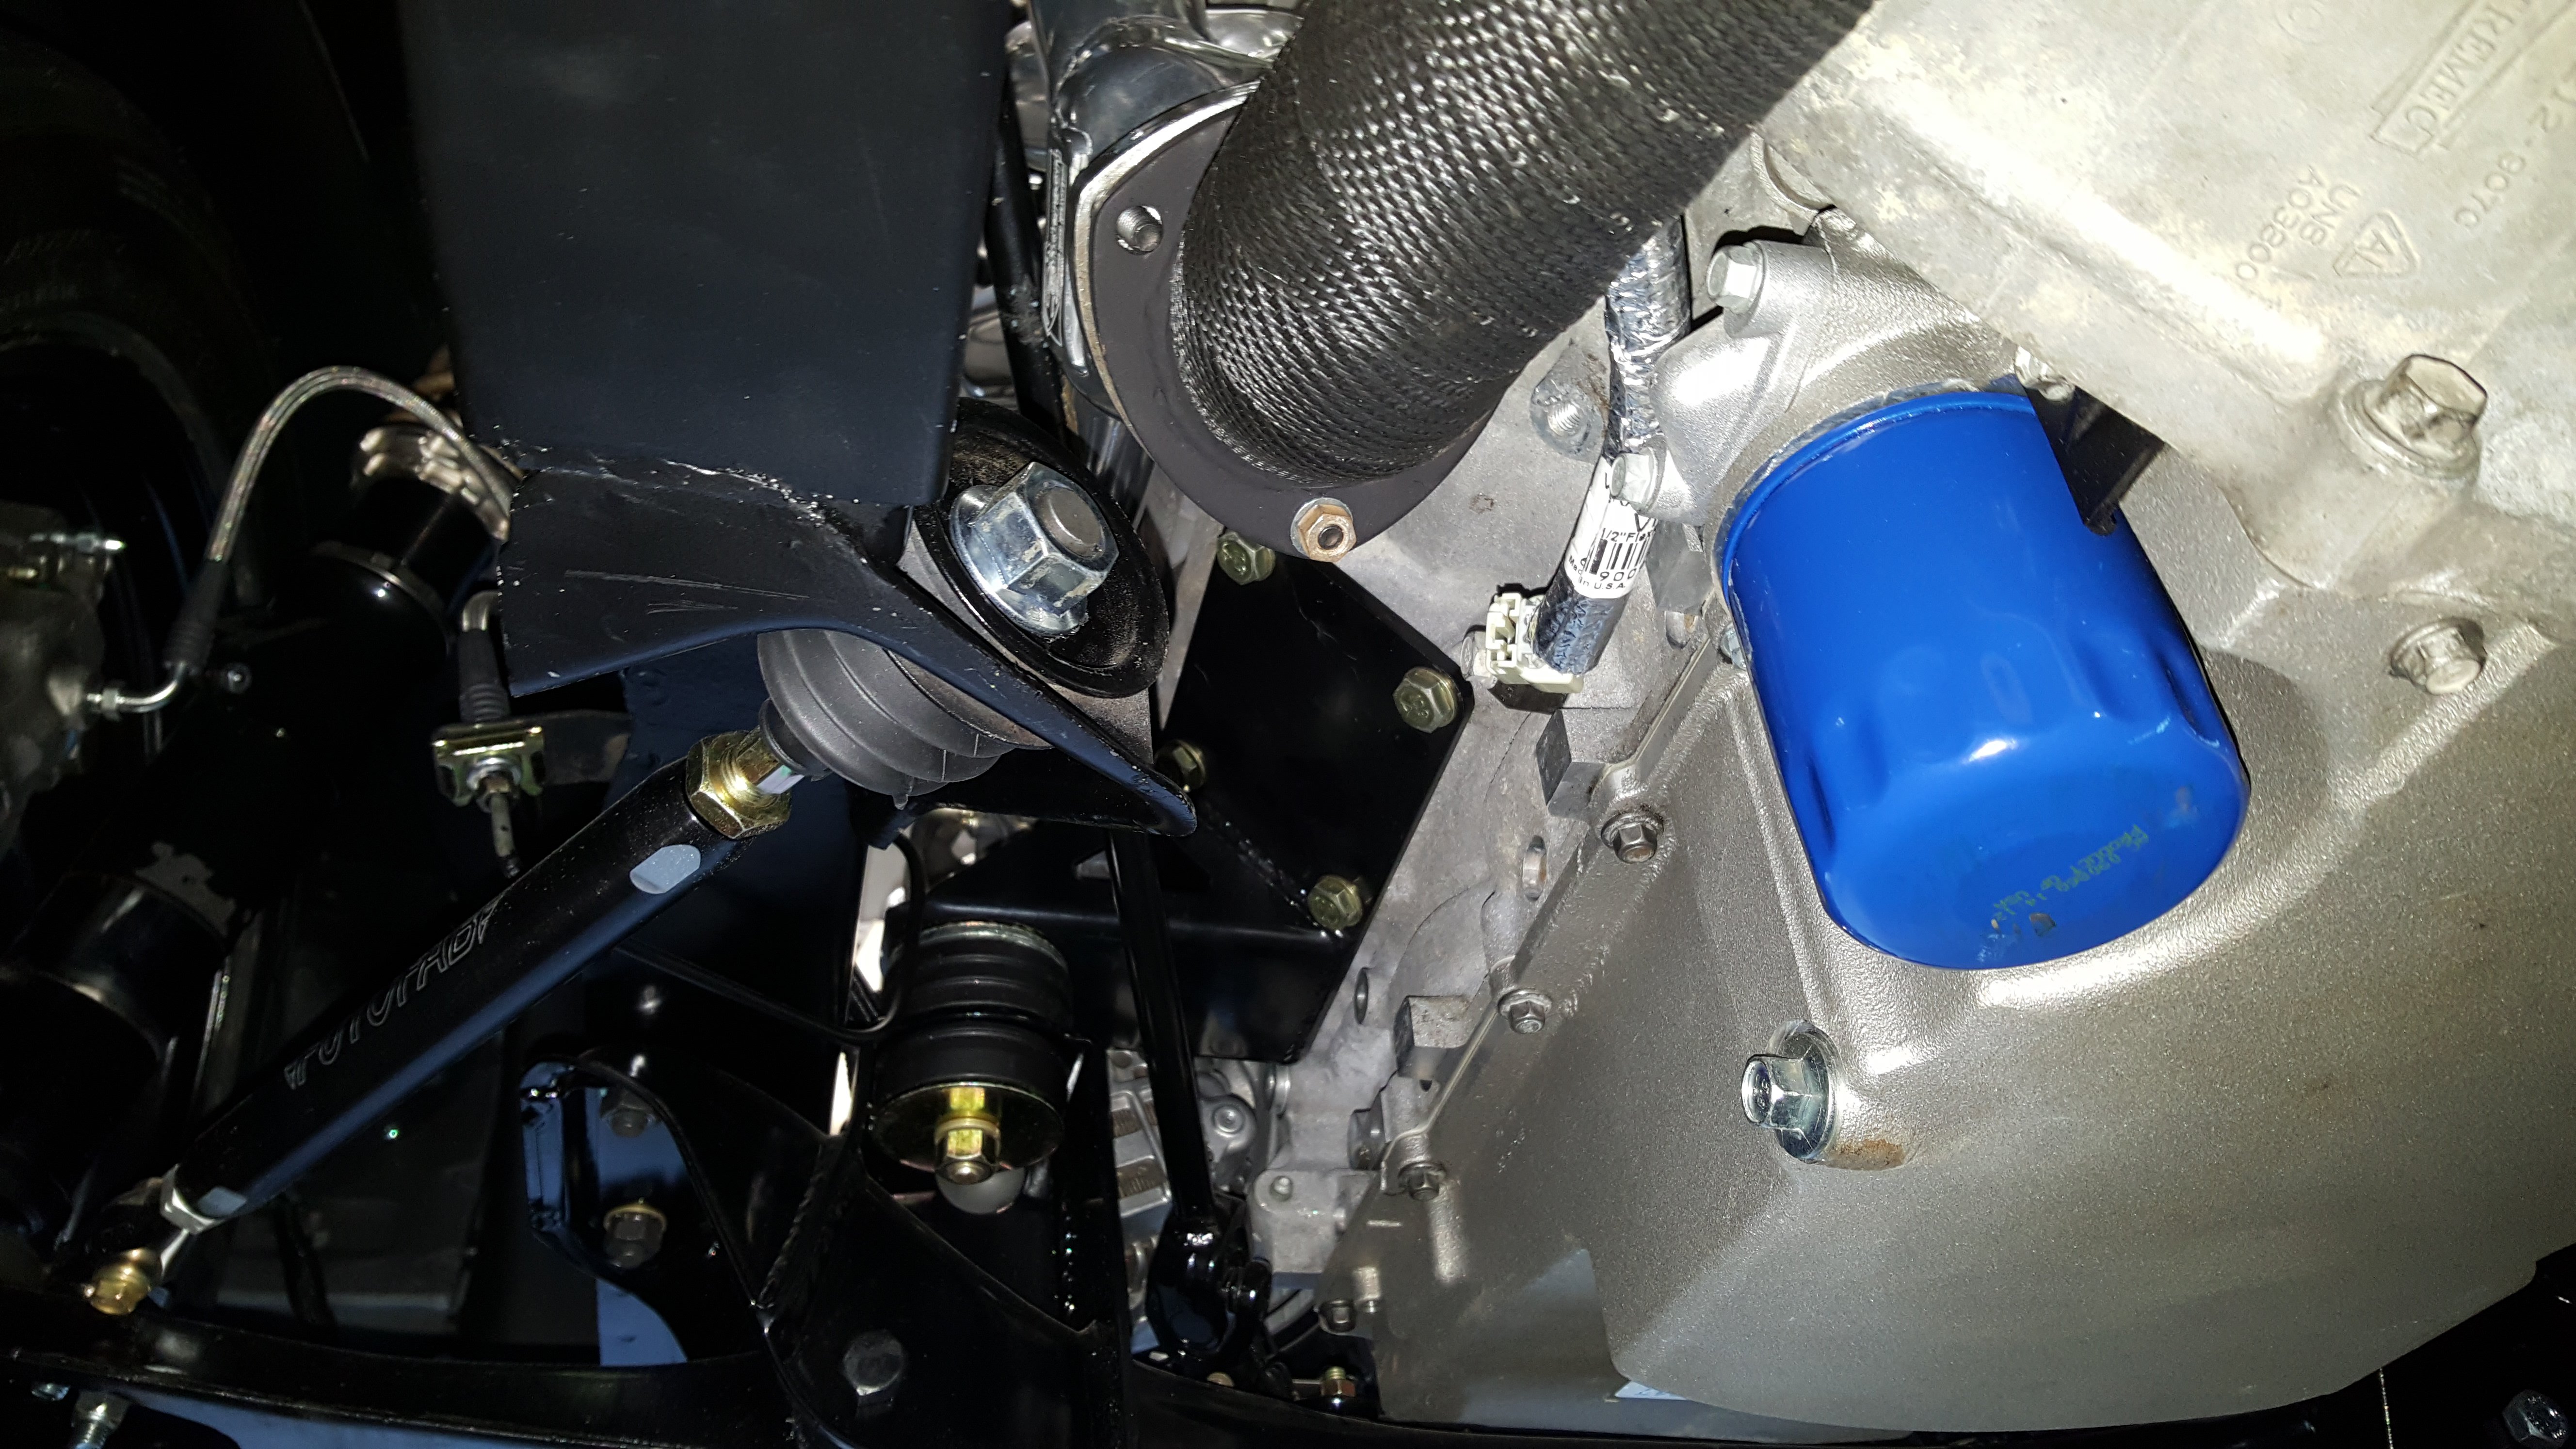
AC compressor installed. I bought the kit from DIrtydingo Motorsports. The kit mounts the AC compressor low on the passenger side of LS engines. The kit uses a Sanden SD7B10 compressor. I had to modify the lower bracket to get the tensioner to clear the steering rack. The compressor clears the 240Z frame rail, no modification needed. Next is installing the condenser and dryer, then running the AC lines through the passenger front fender vent channel.
-
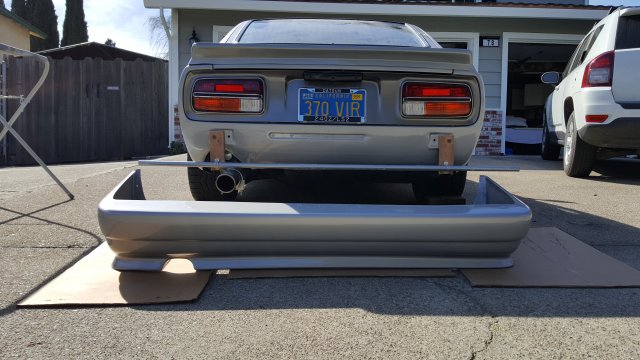
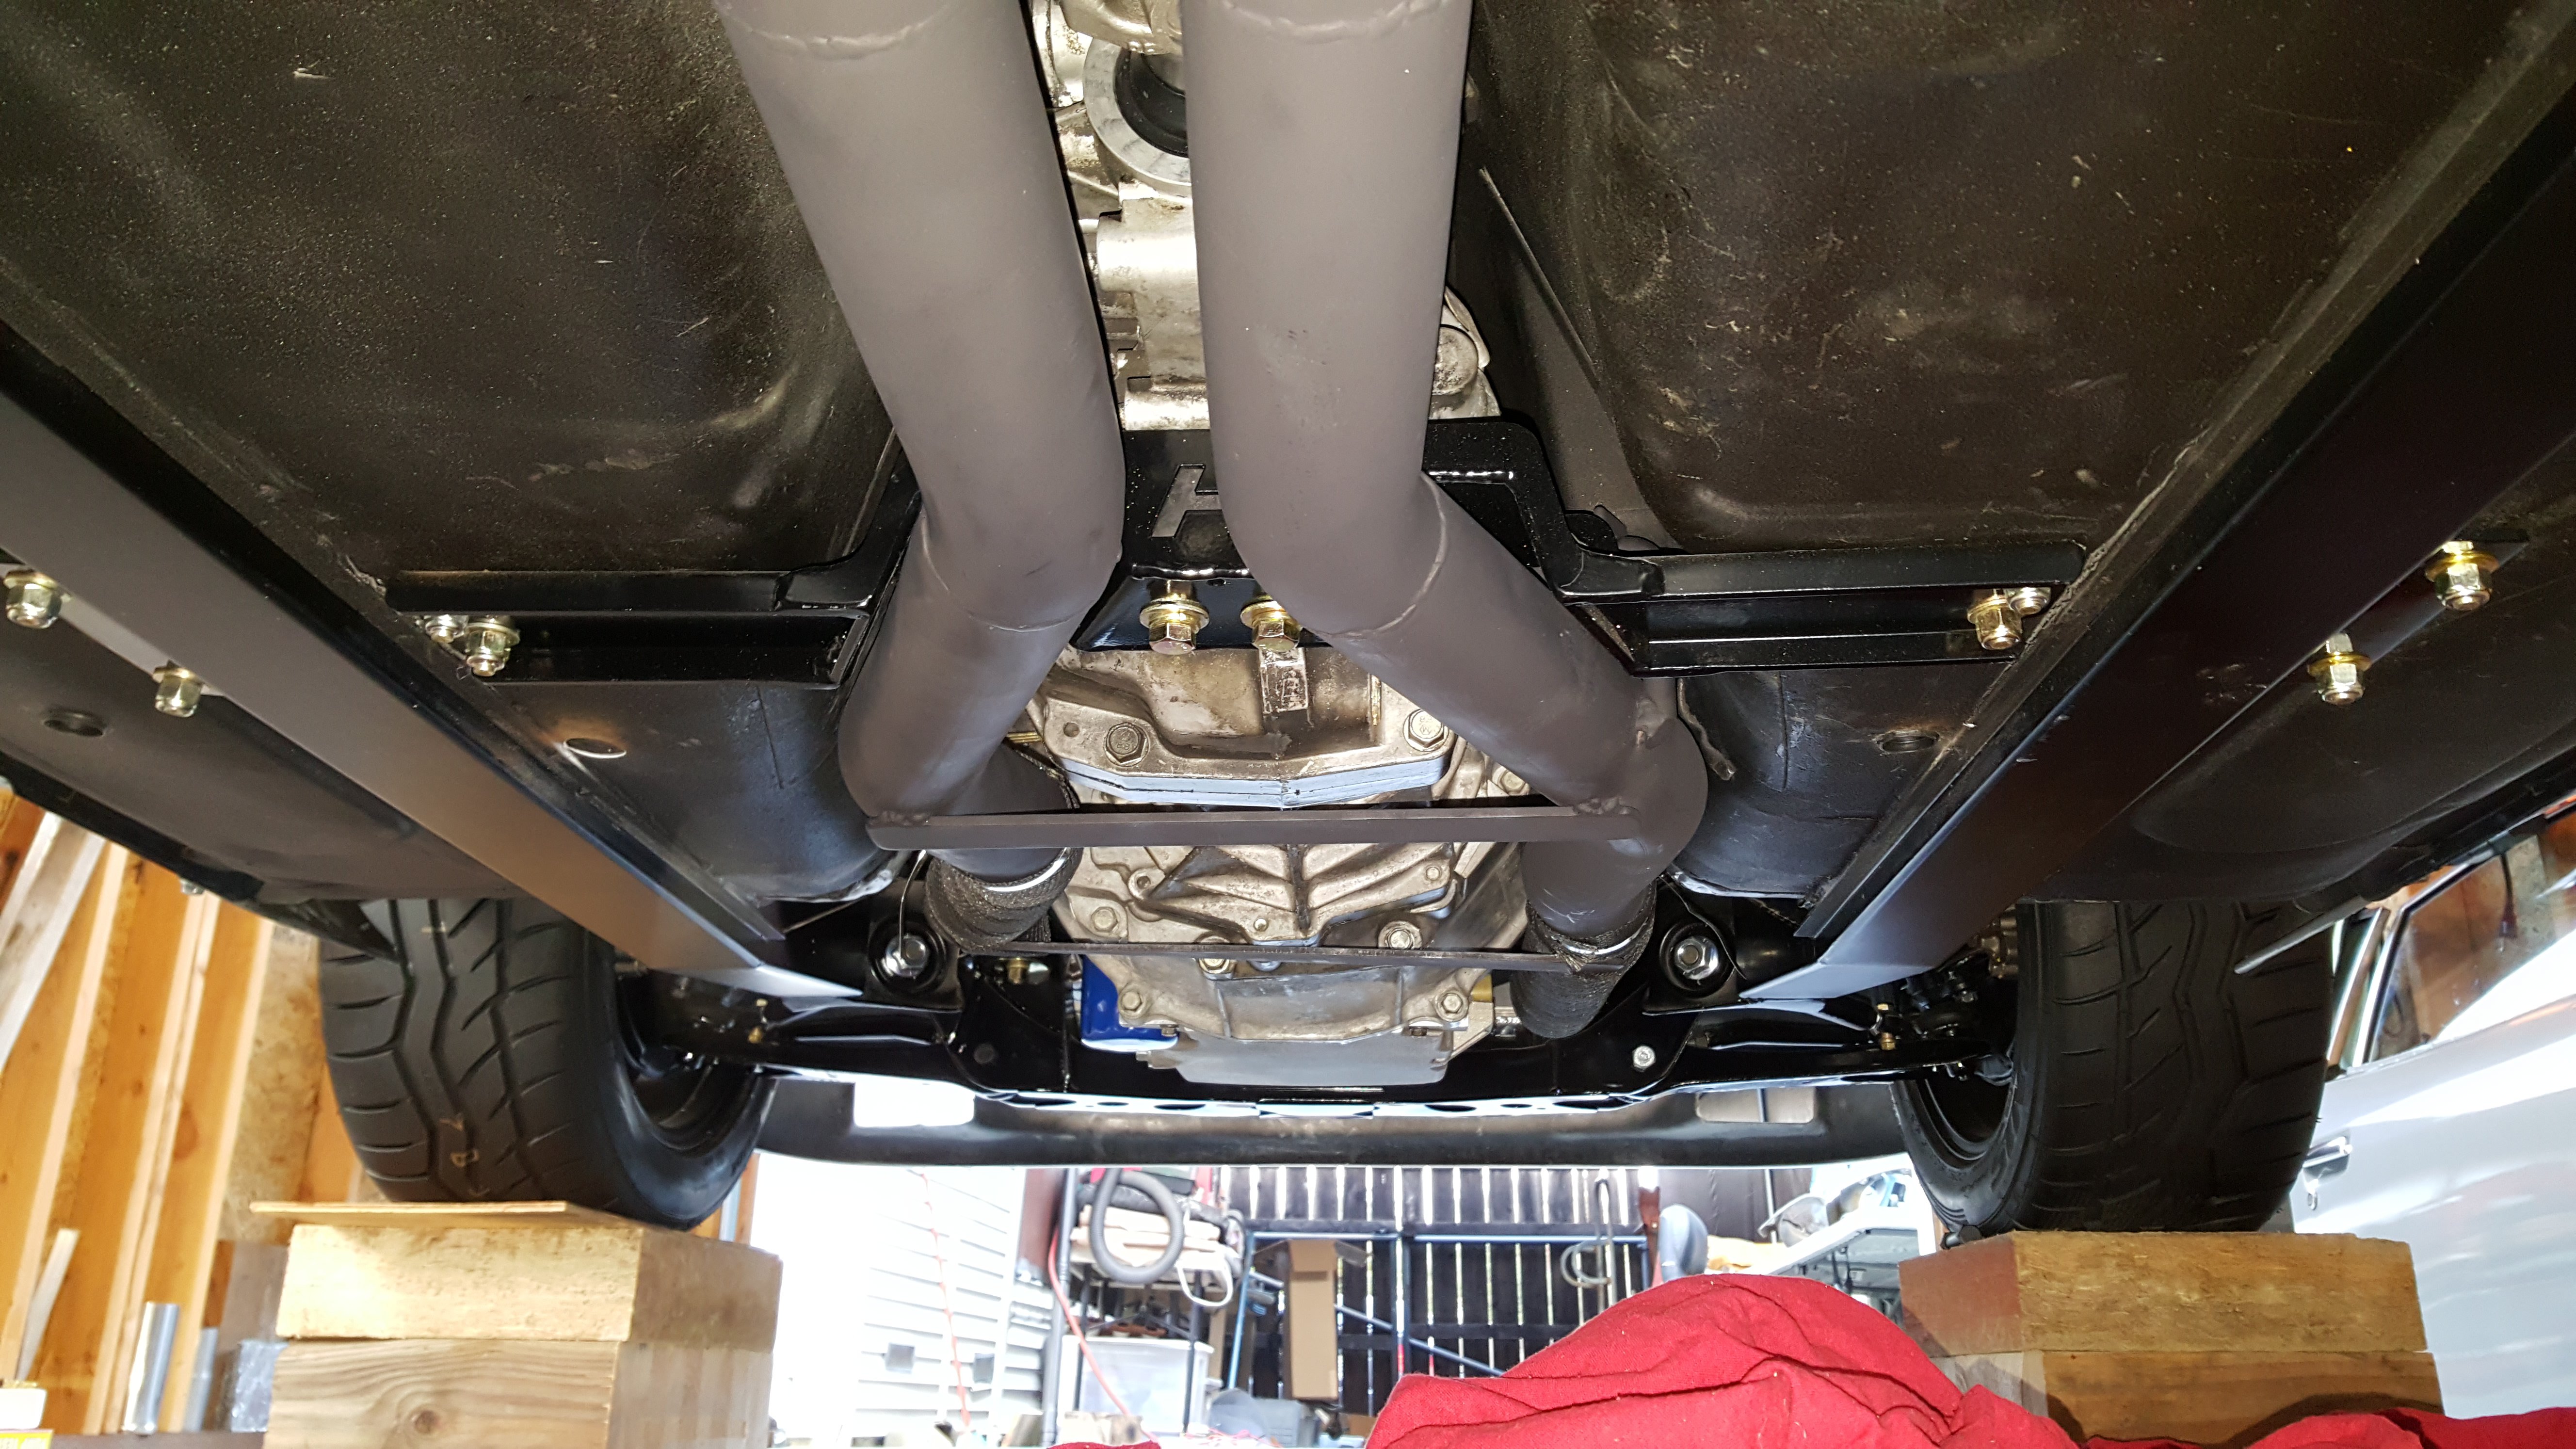
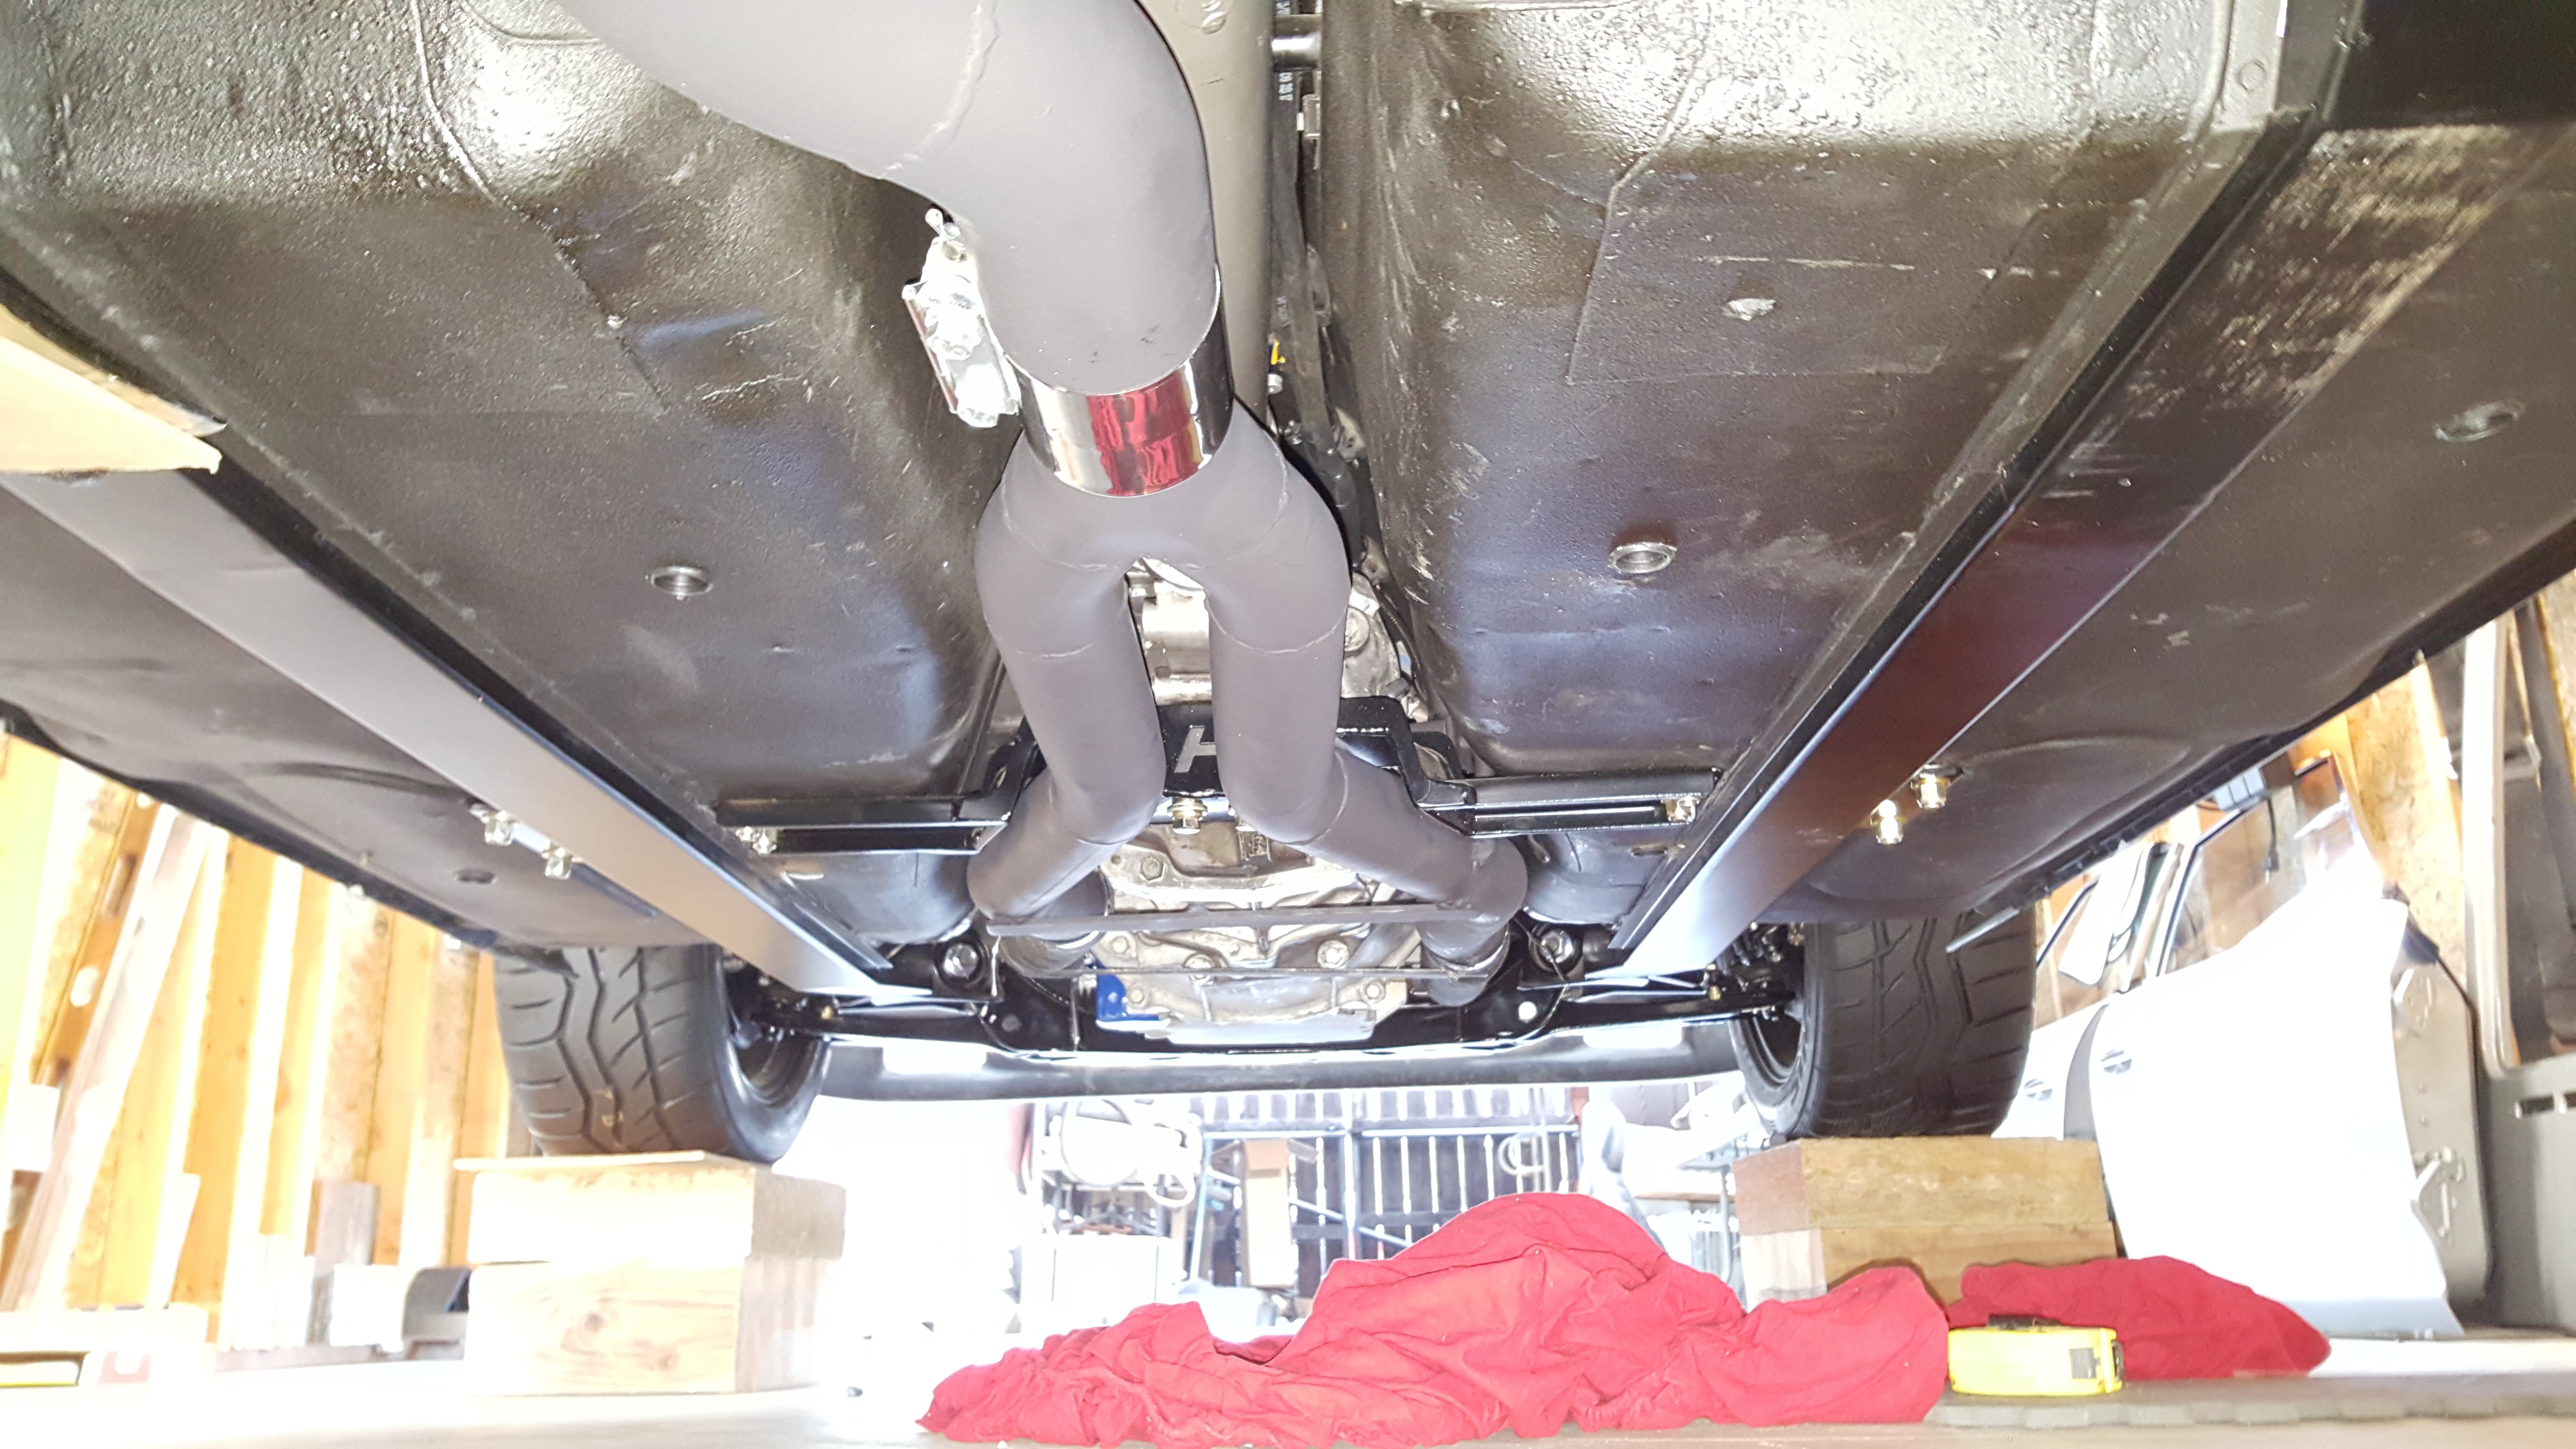
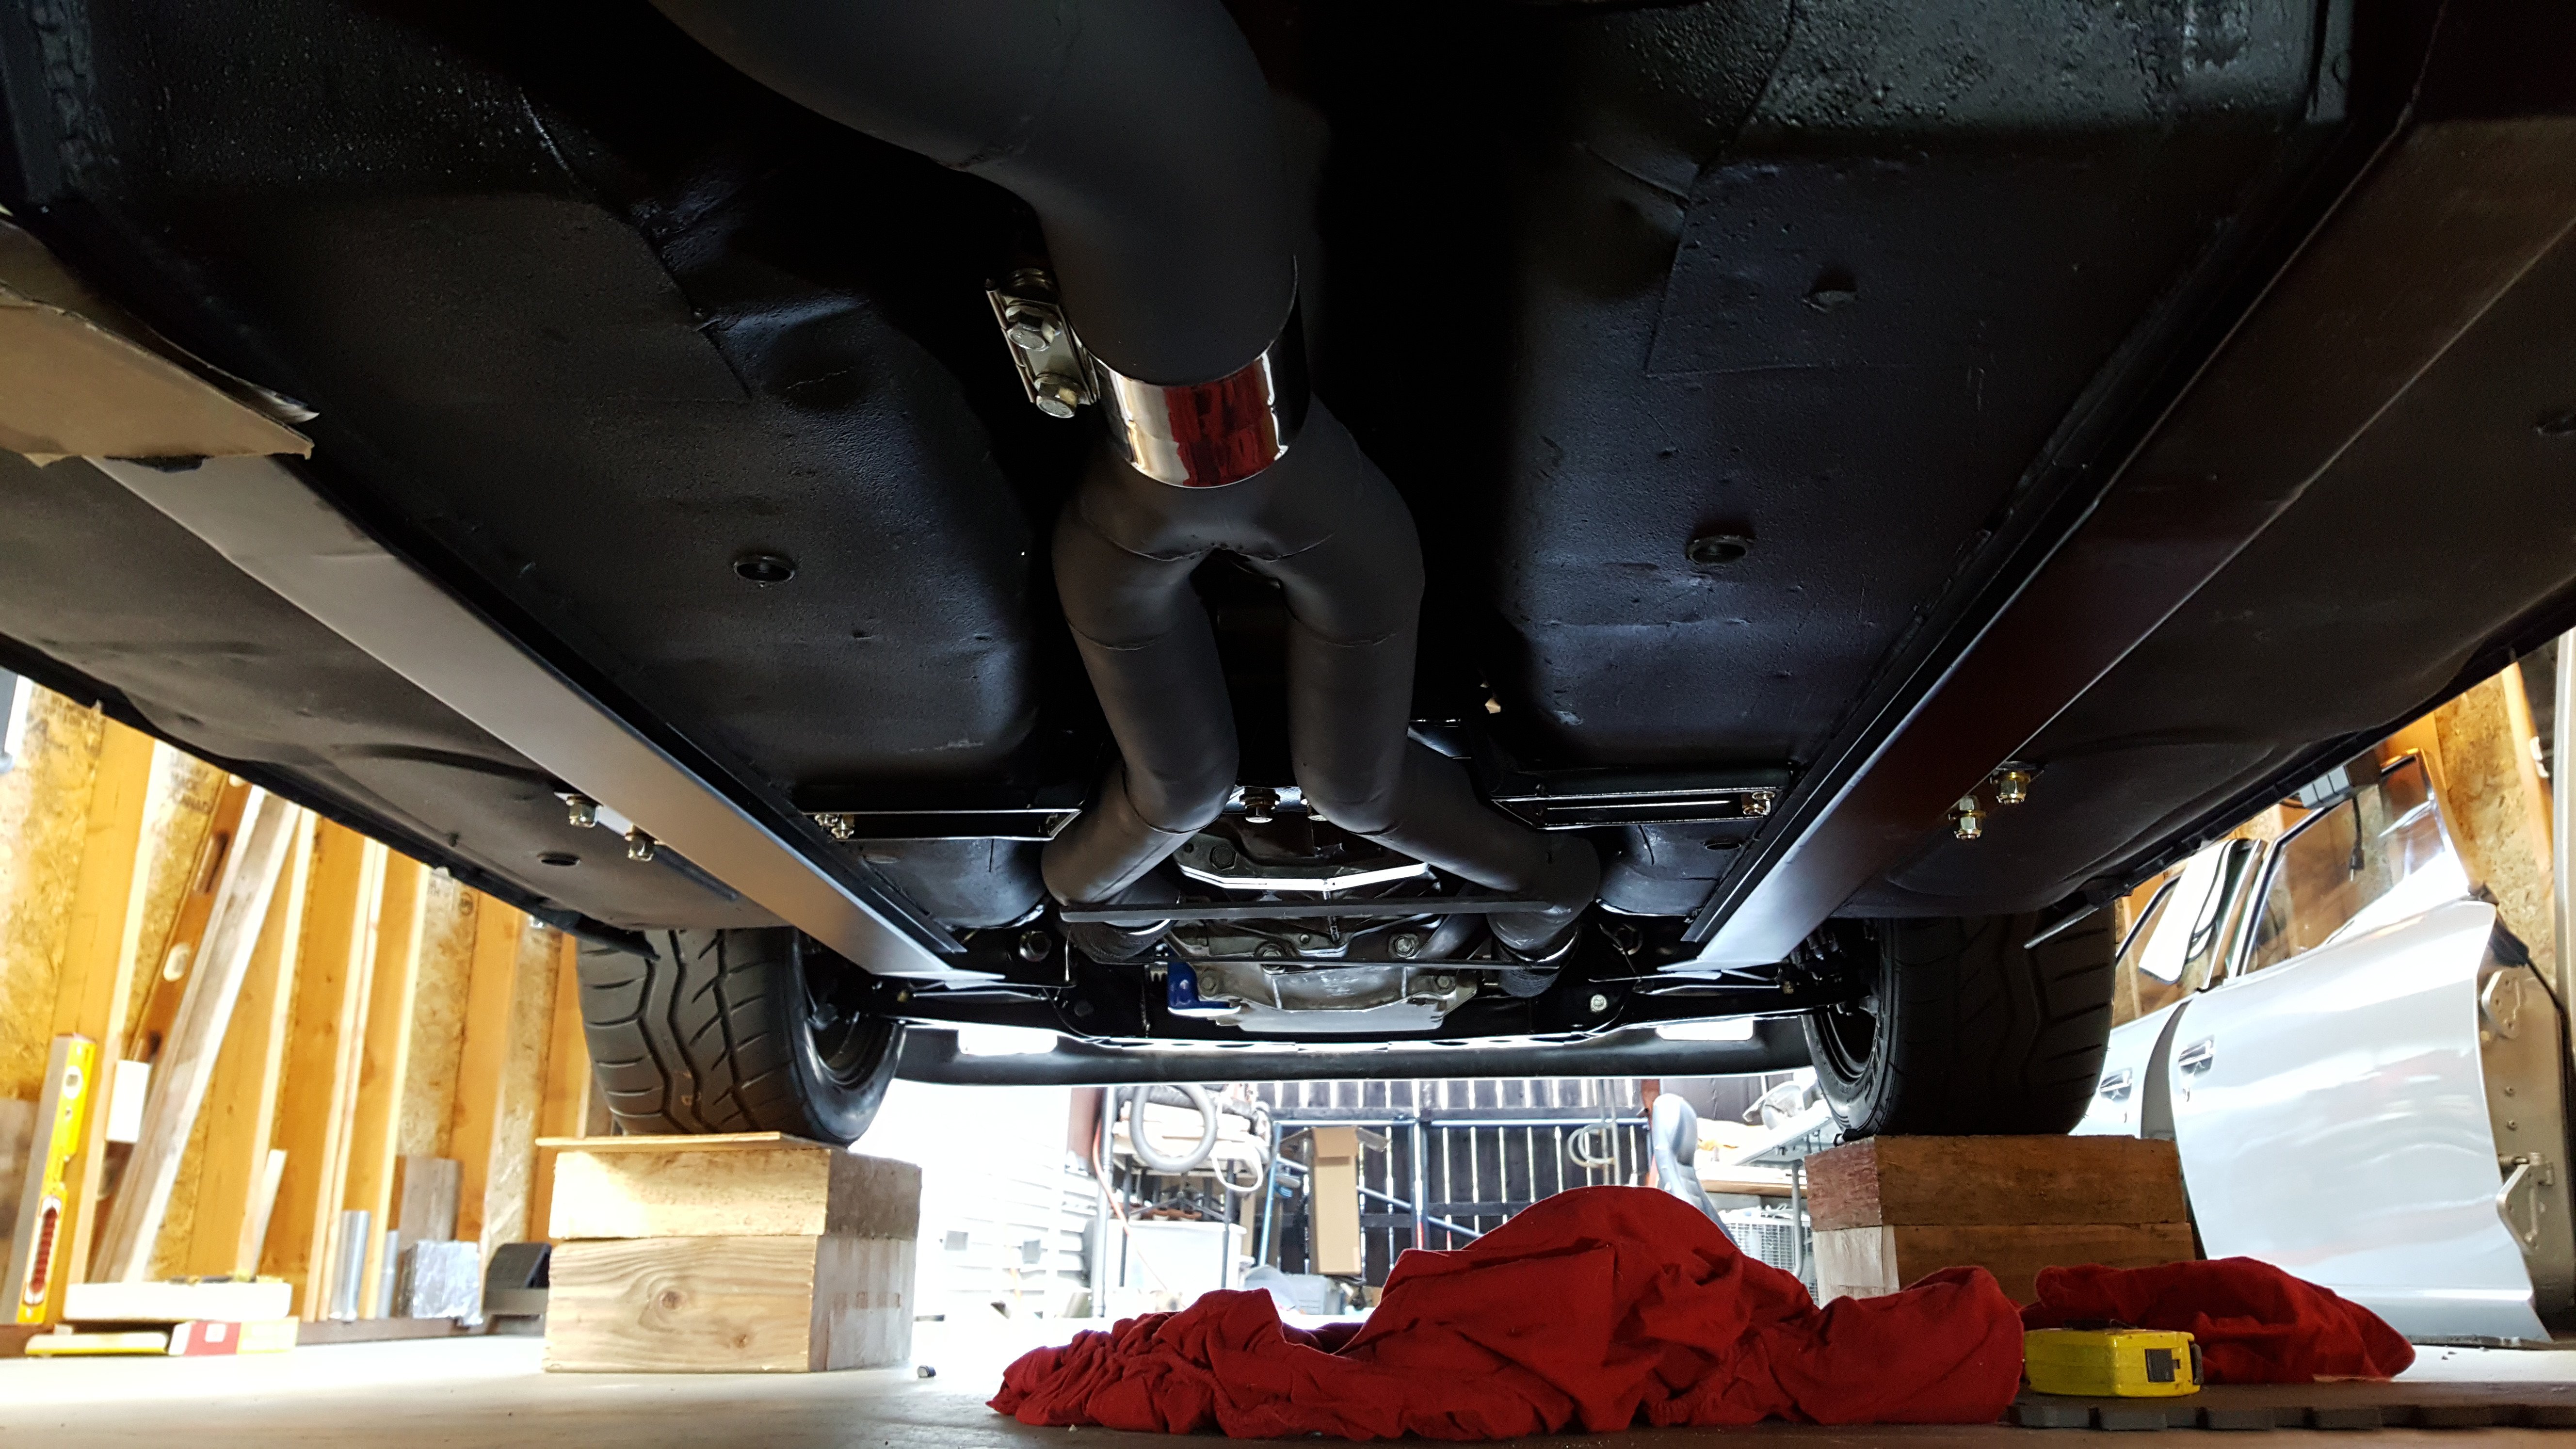
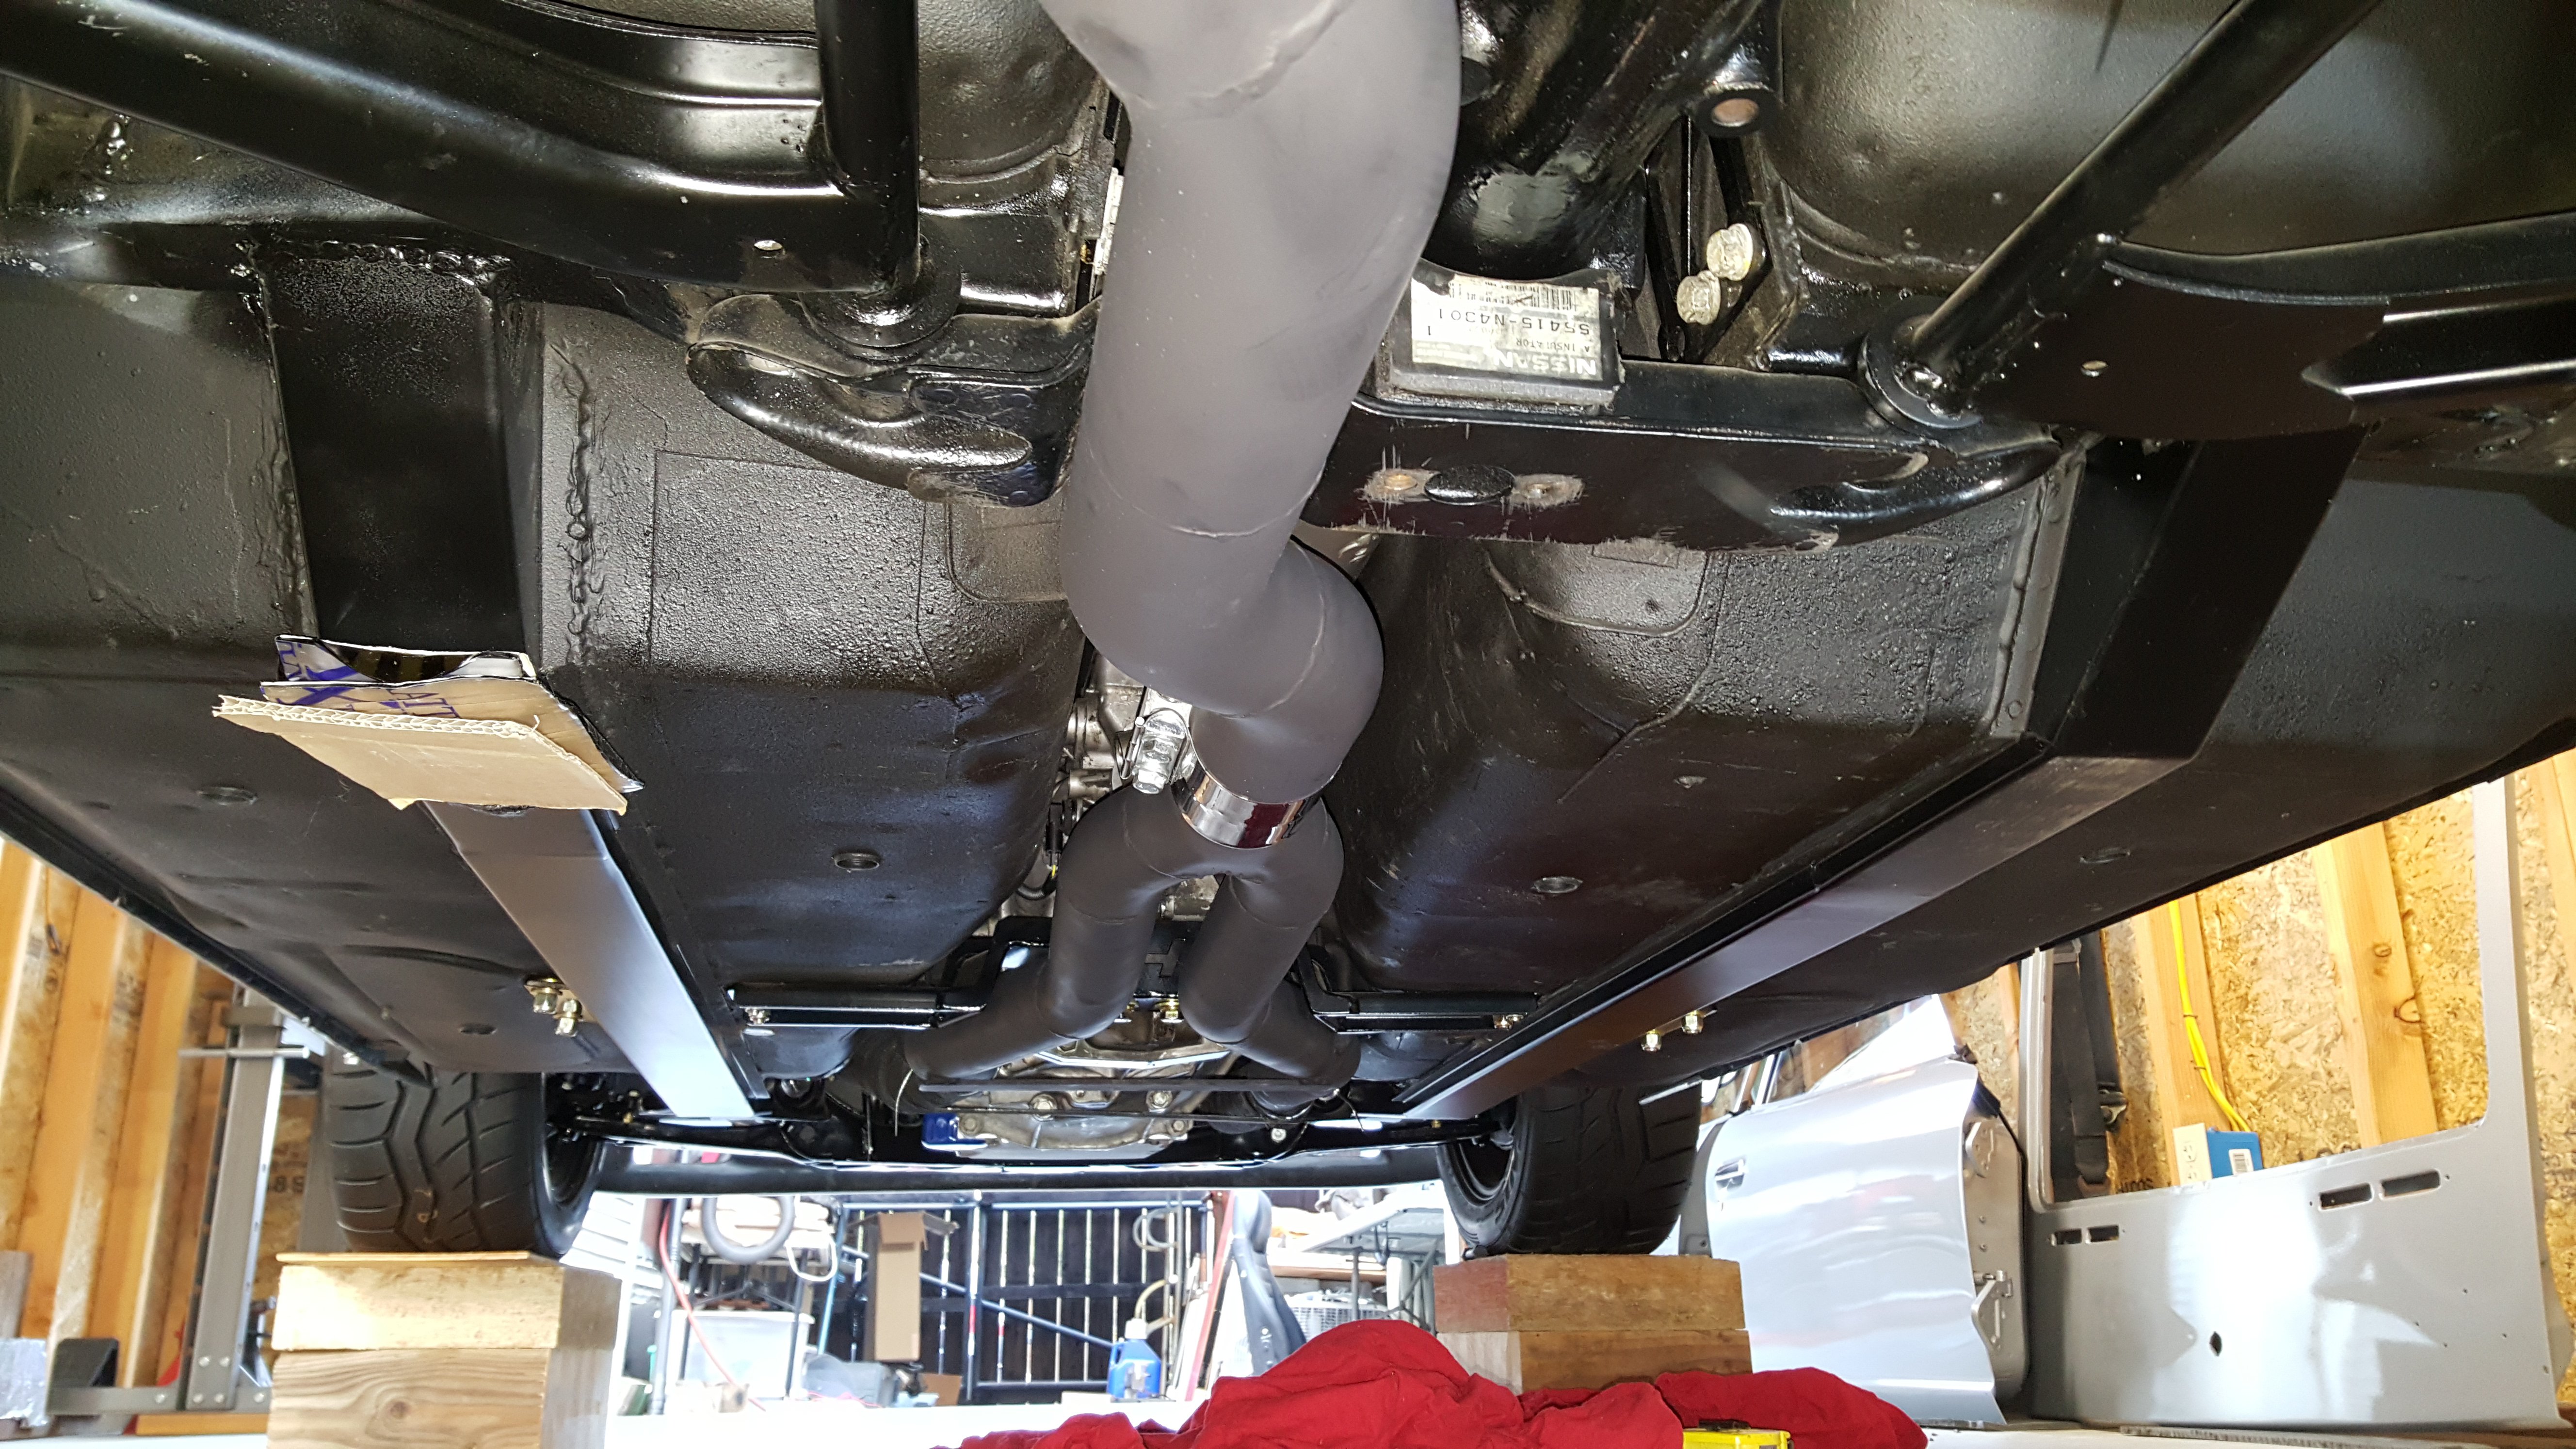
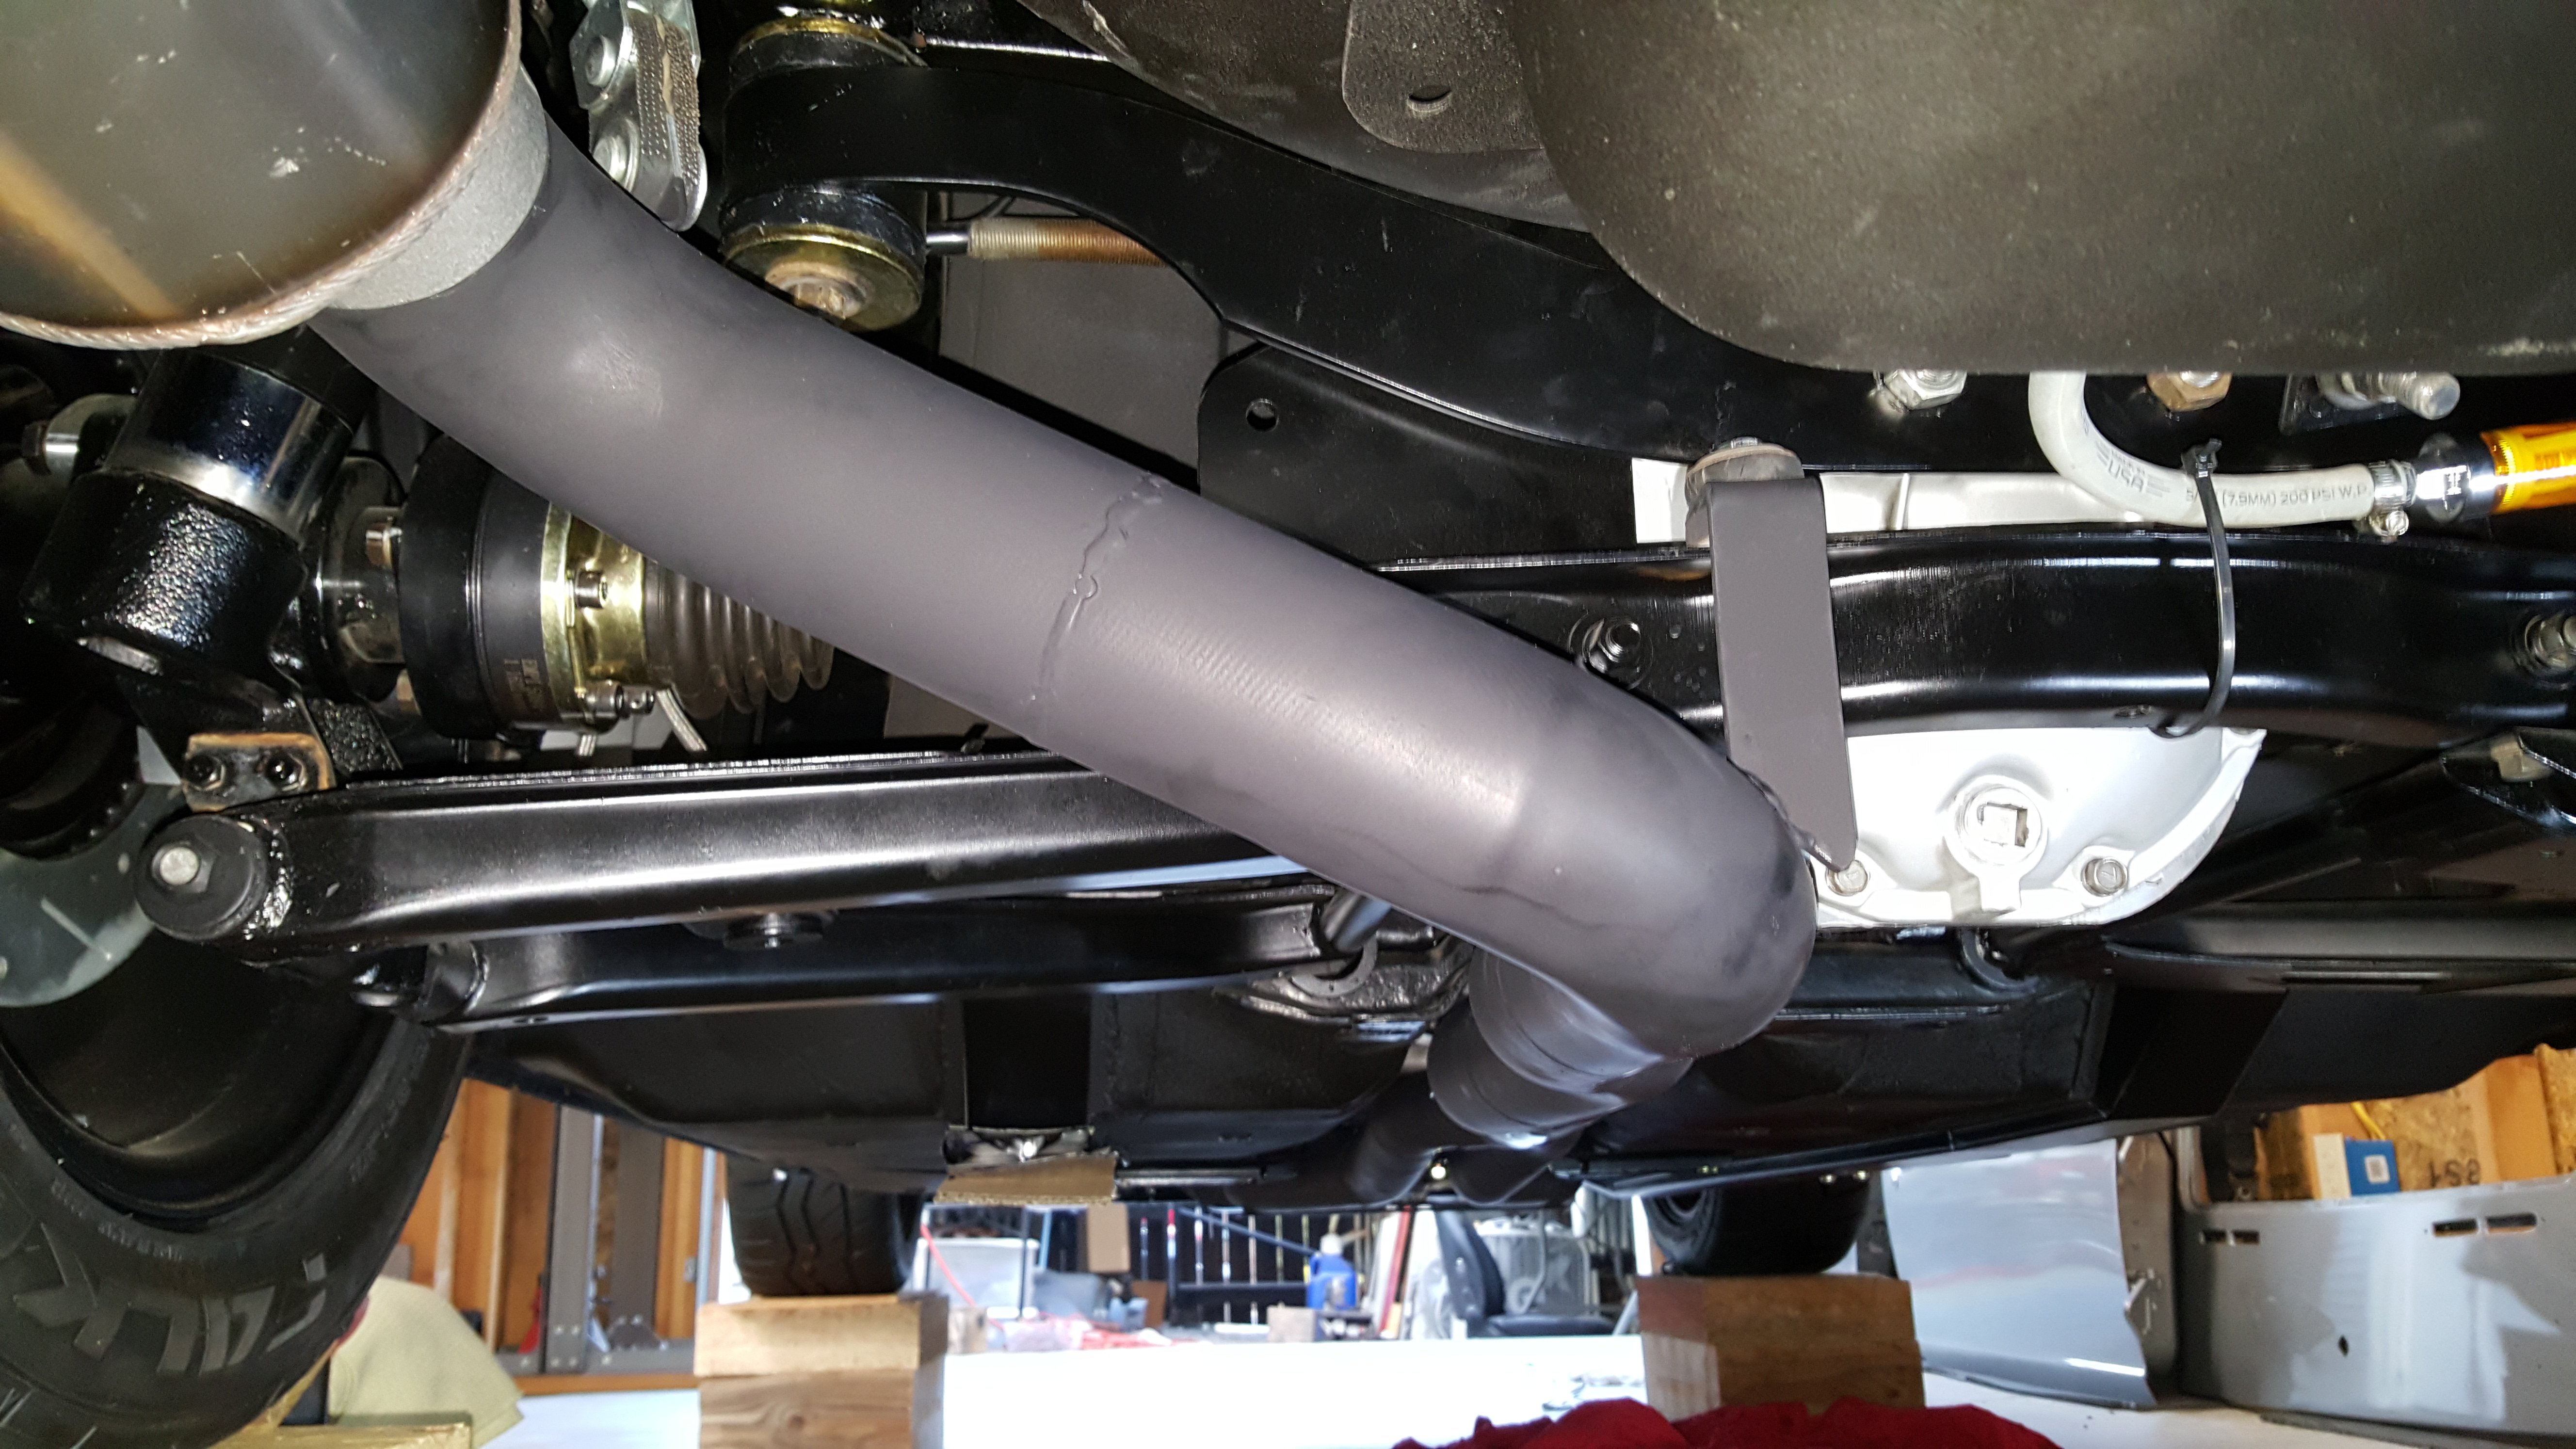
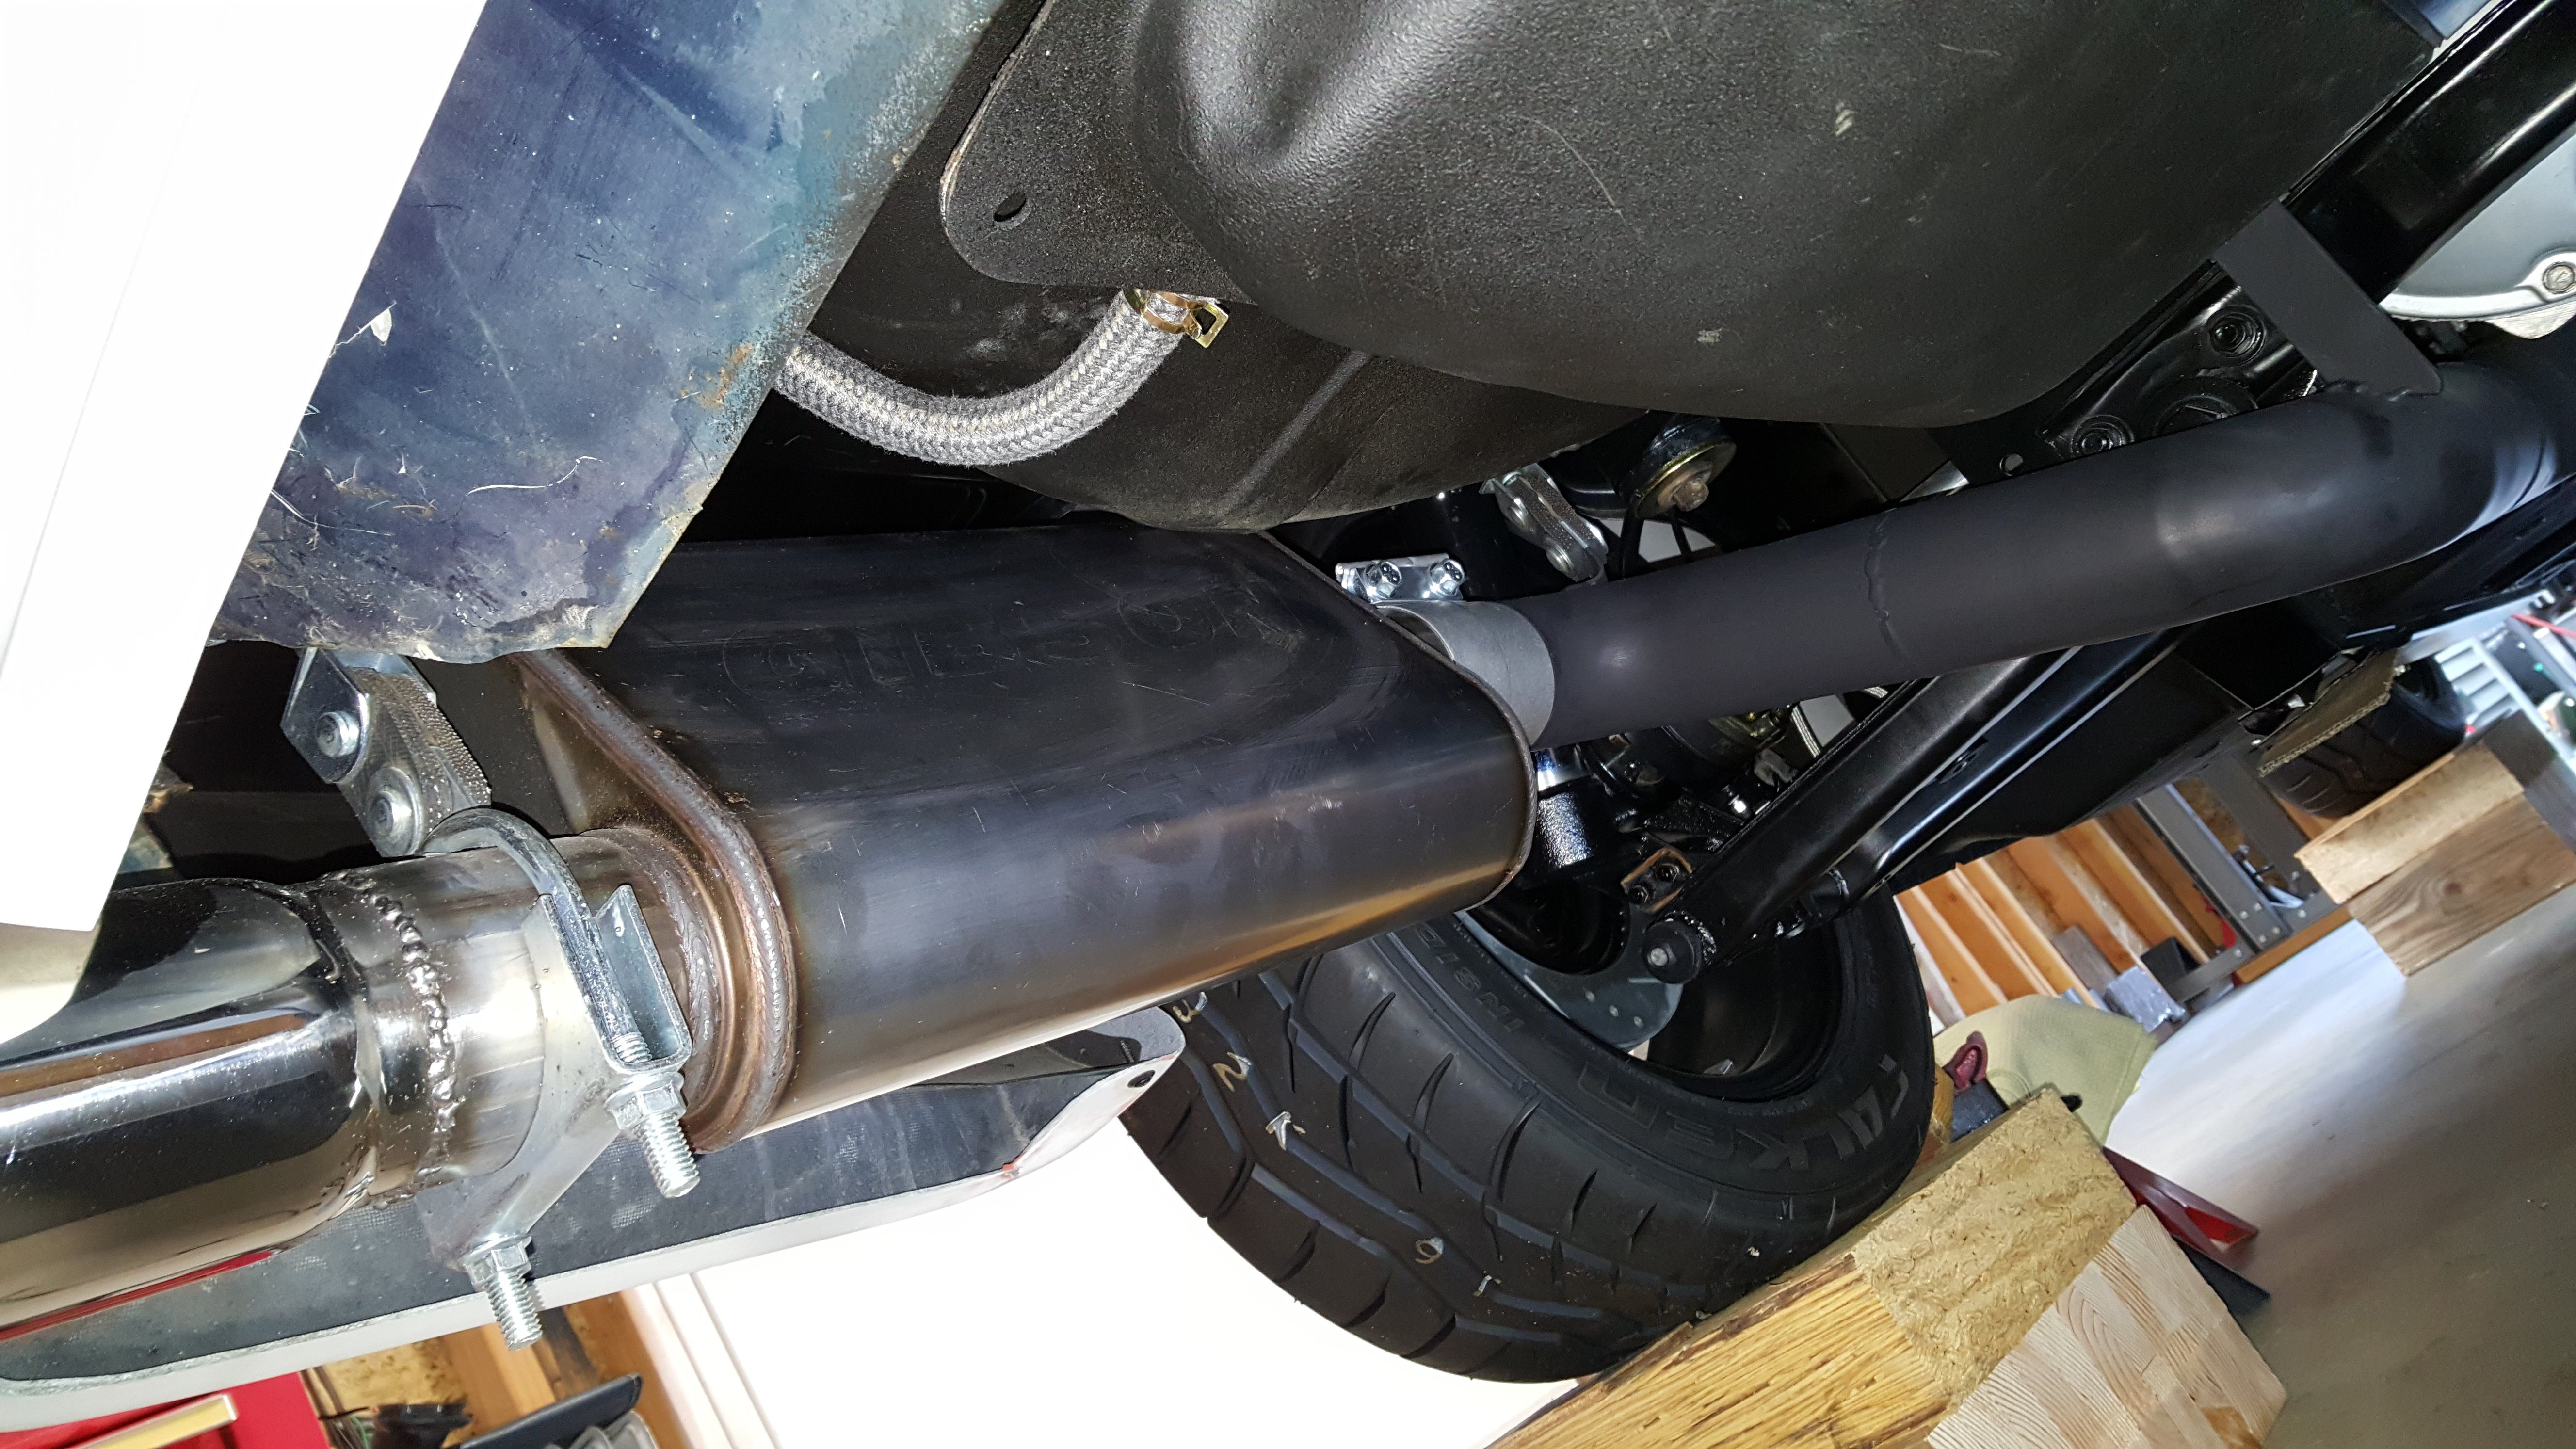
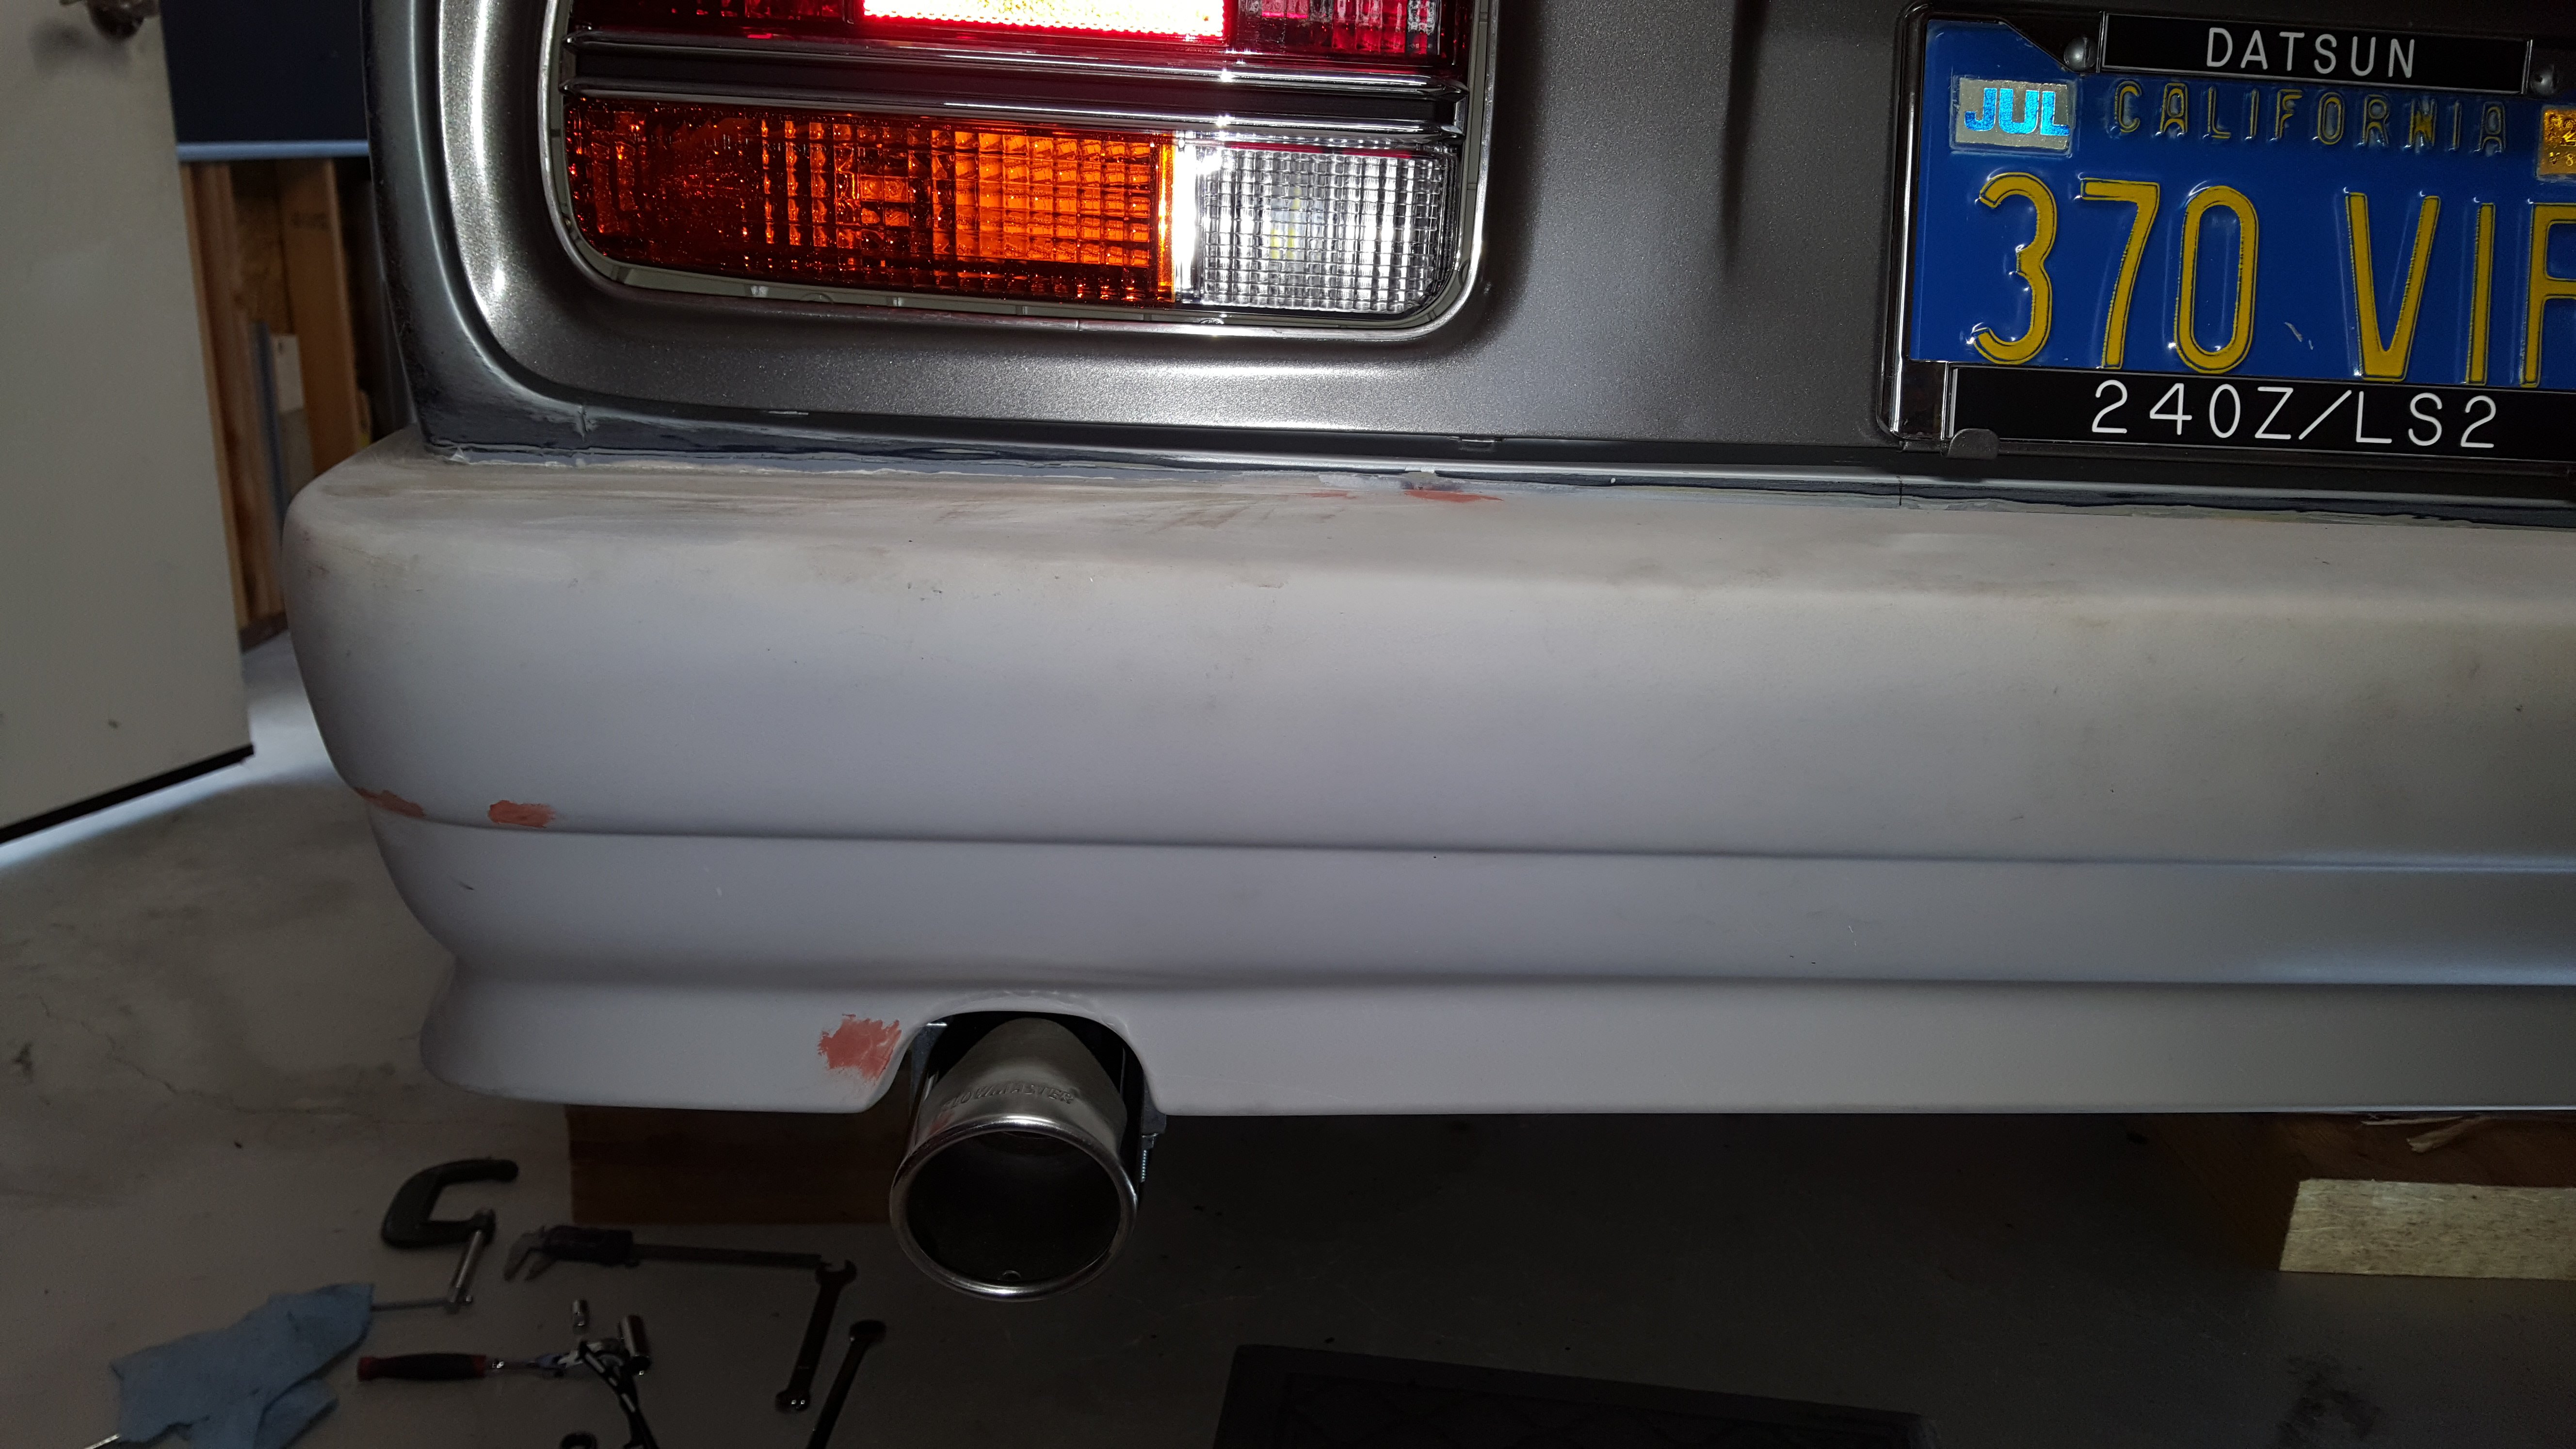
The frame rails are from baddogparts.com The exhaust pipe is 2.5" and 3" pipe I purchased from summit racing and cut to fit. The black coating is VHT flame proof. AC going in this week end.
-
Re upholstered the driver seat. Next I will install vintage air condenser and AC compressor
-
A few more pictures.
-
Custom home made exhaust completed. see attached pictures.
-
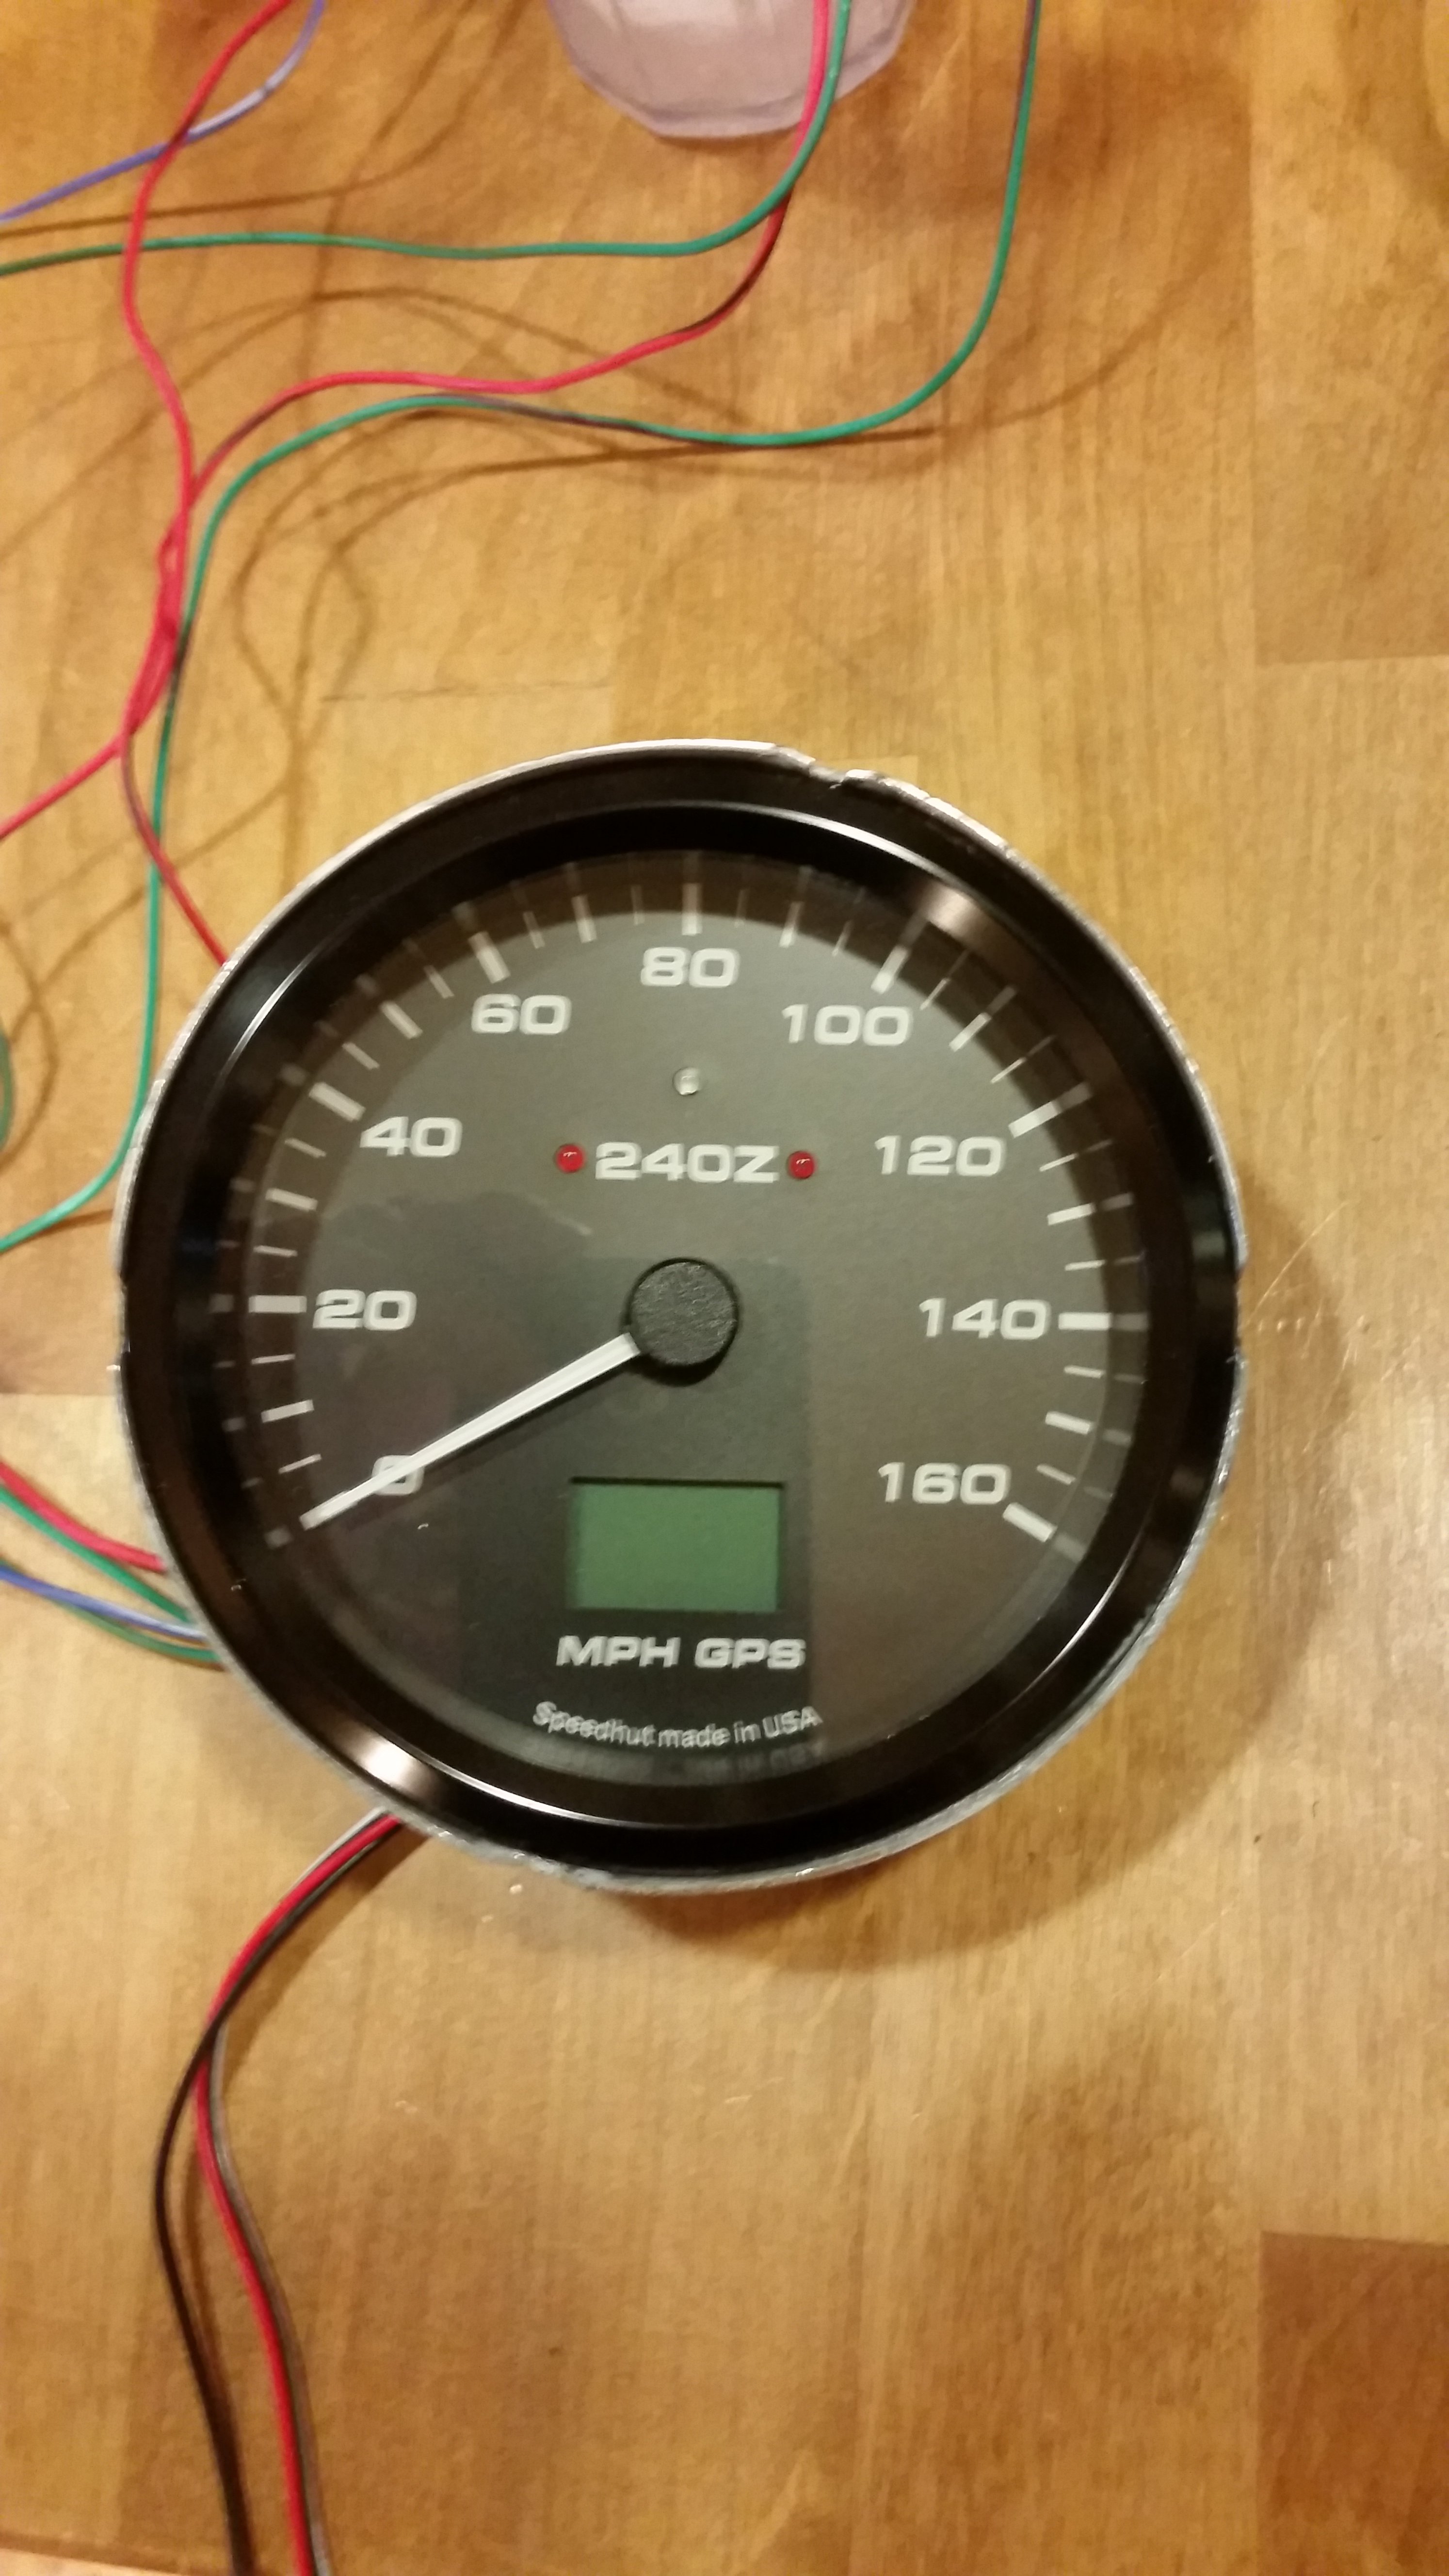
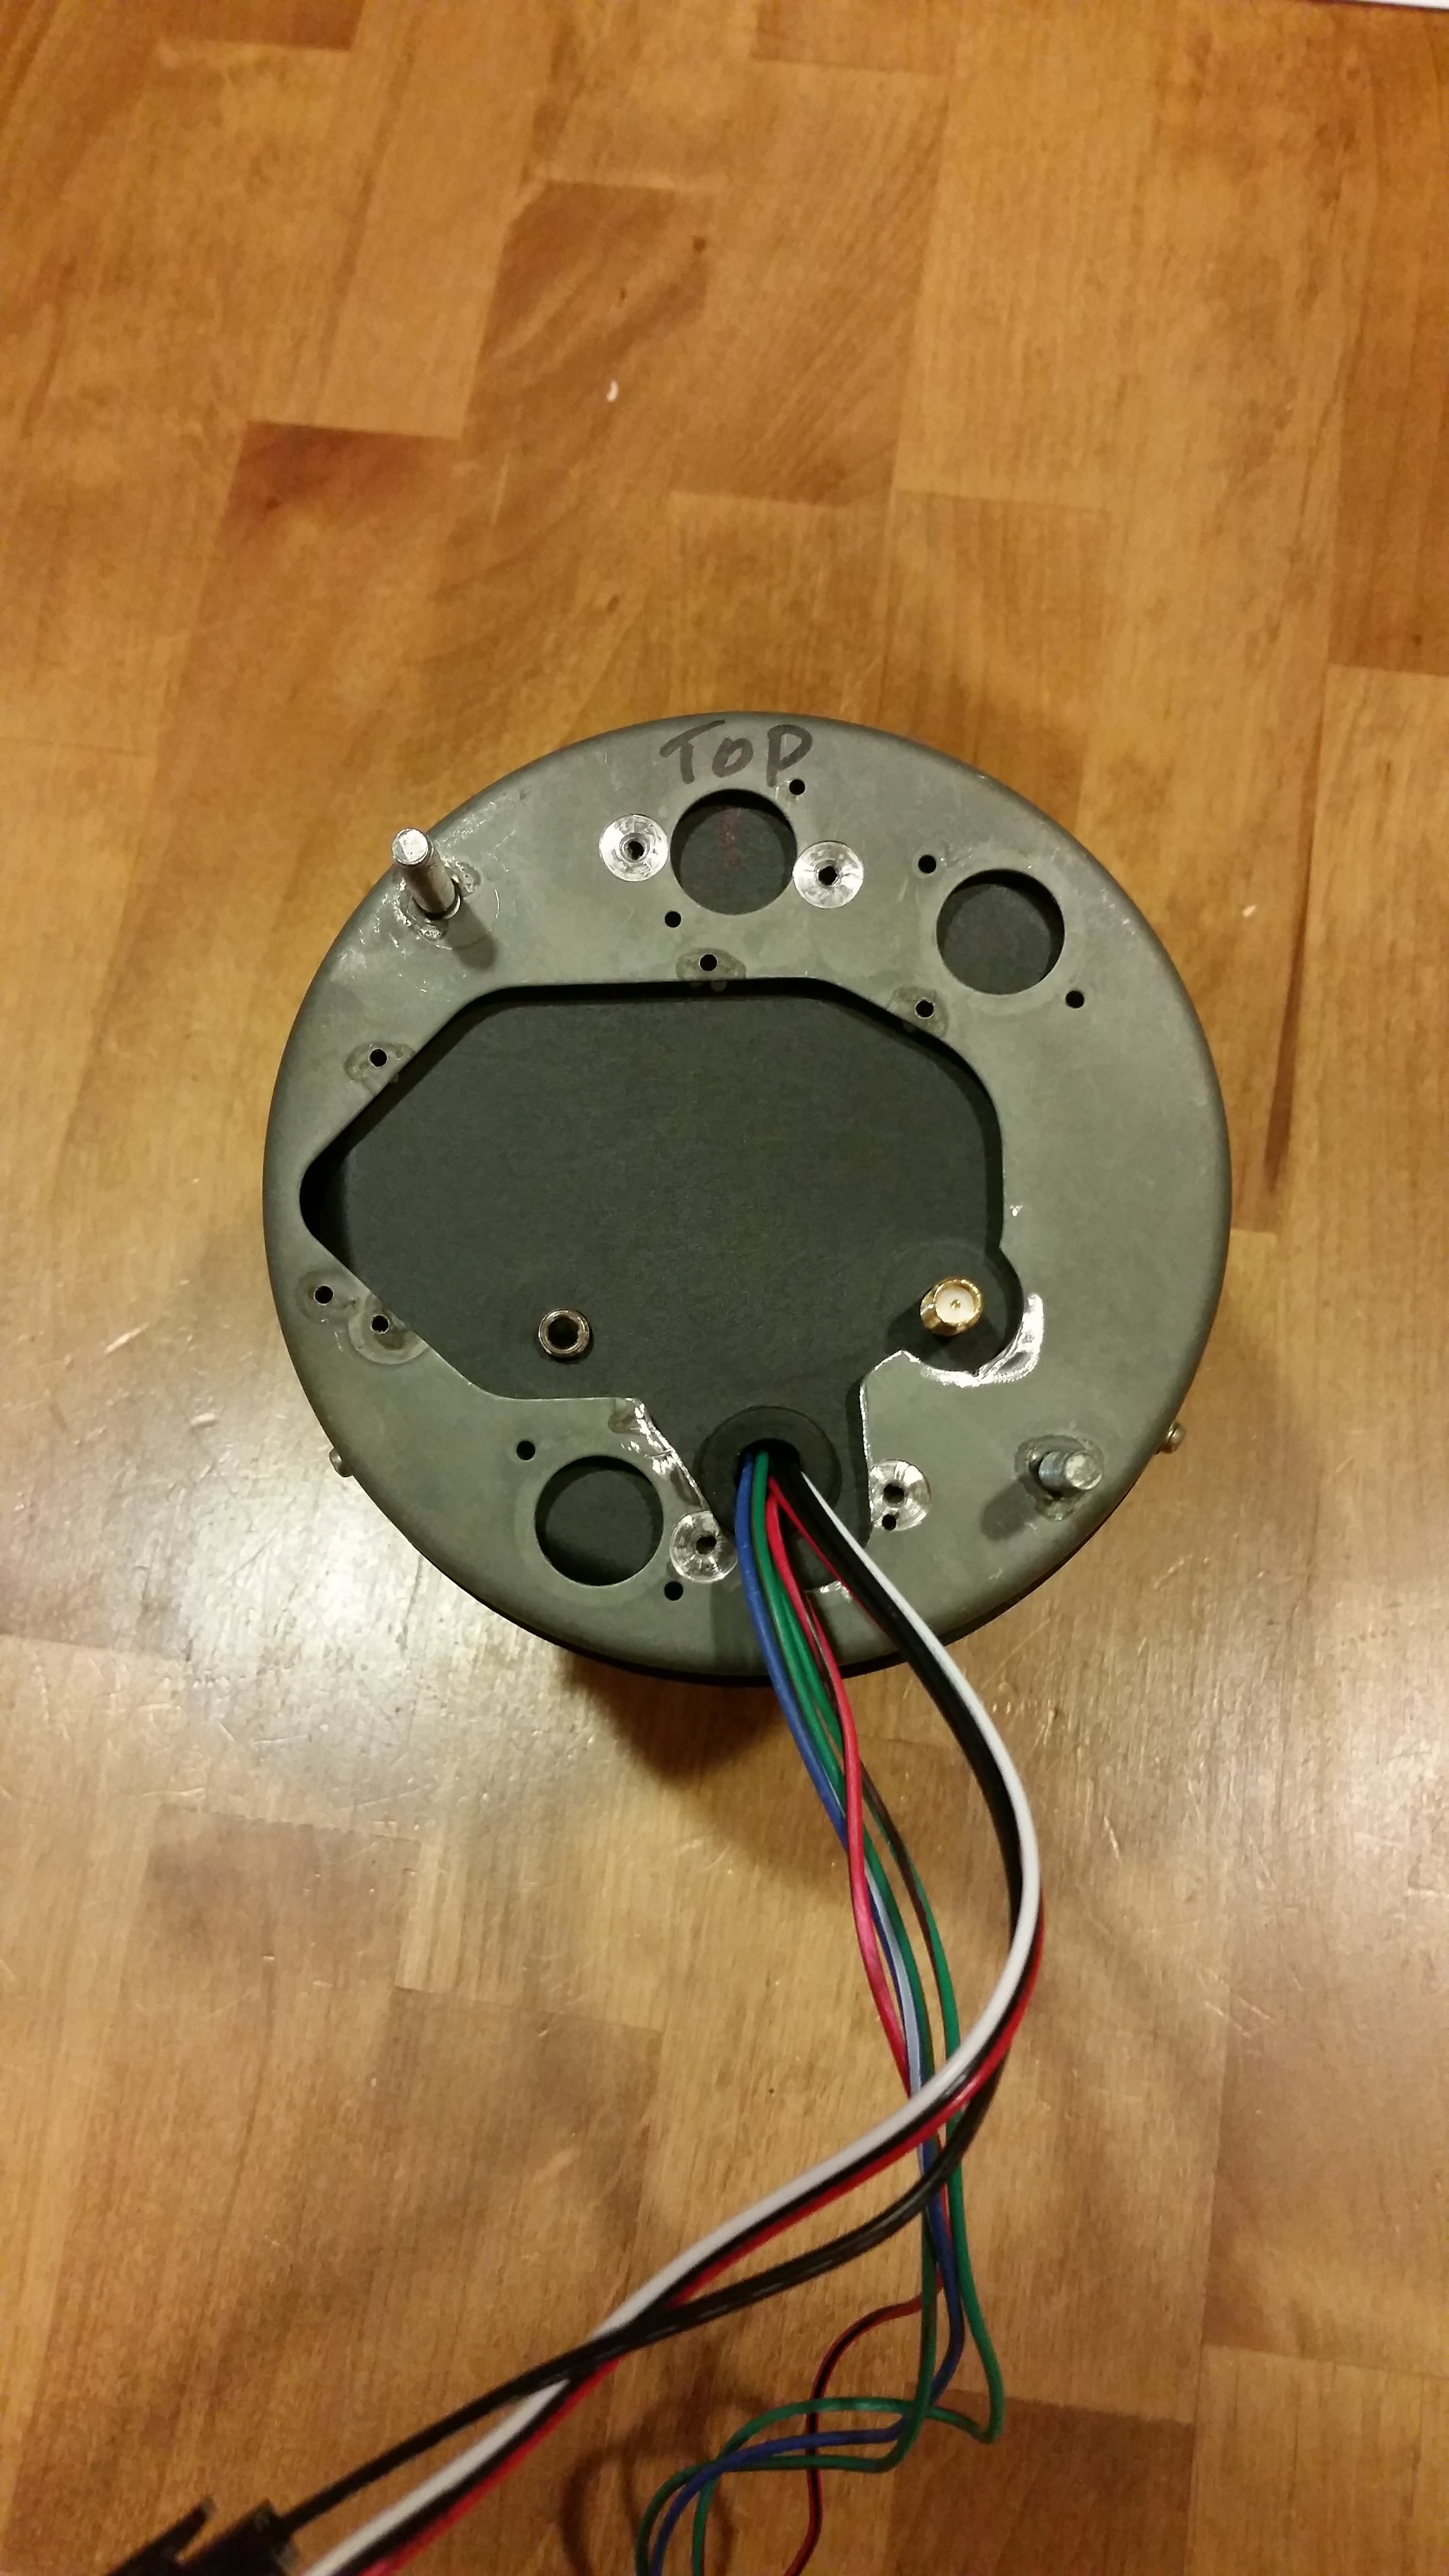
Received my custom speedometer gauge from speedhut. I ordered a 4 1/2" GPS speedometer. They modified the wiring so the 2 red lights activate with a ground that is connected to the emergency brake. The blue light above the 240Z activates by a ground when the high beams are on. I also ordered with the remote jack button so I could install just like the factory. Fits perfect in the original speedometer case. GR4.5-GPS-03T 4-1/2" GPS Speedometer 160mph (w/ turn signal and high beam) Colors: Day - Black dial // White font Night - Numbers Green Glow Font Style: Eurostile Tick Style: standard Custom Text: 240Z Pointer: Standard White (Glows White) Bezel: Stealth Black Window: Flat Notes: 1. Remove front mounted jack button, install remote jack button. 2. Make 2 blinker bulbs red. High beam bulb blue. 3. Make 2 blinker bulbs and high beam bulb activate by supplying a ground not 12 volts. My car sends a ground to turn on lights. 4. Make GPS cable 5 feet long.
-
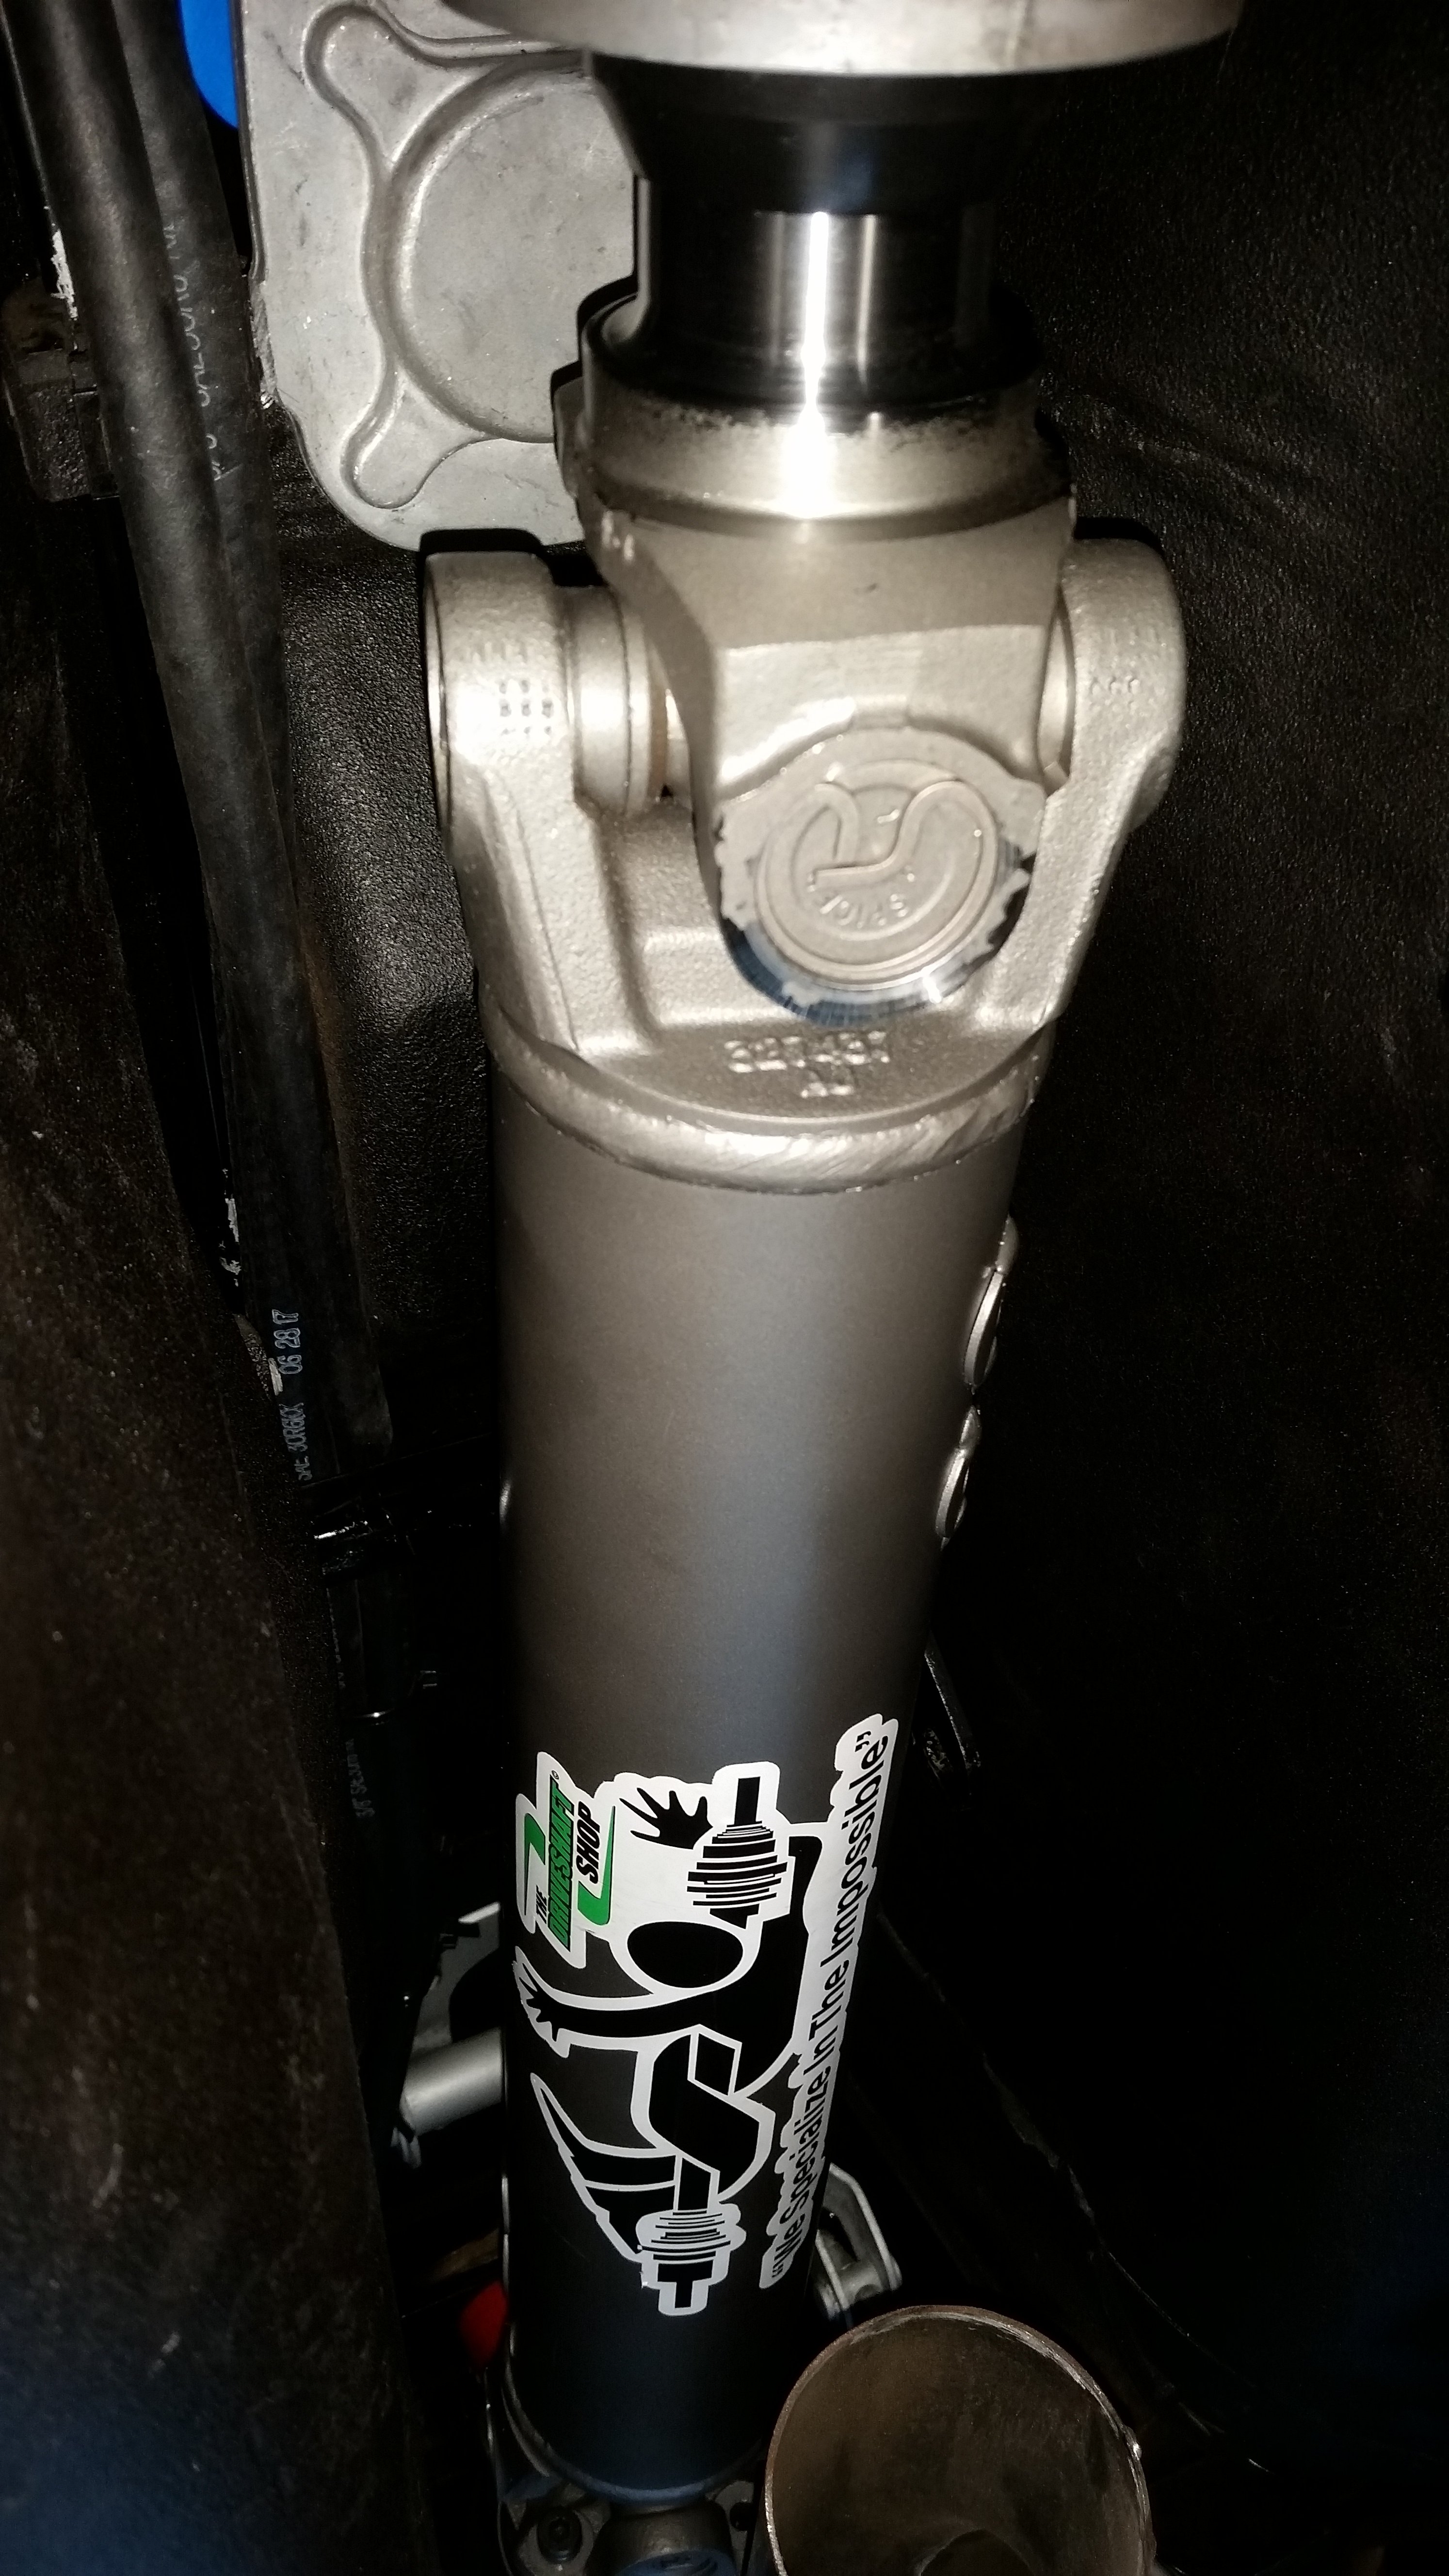
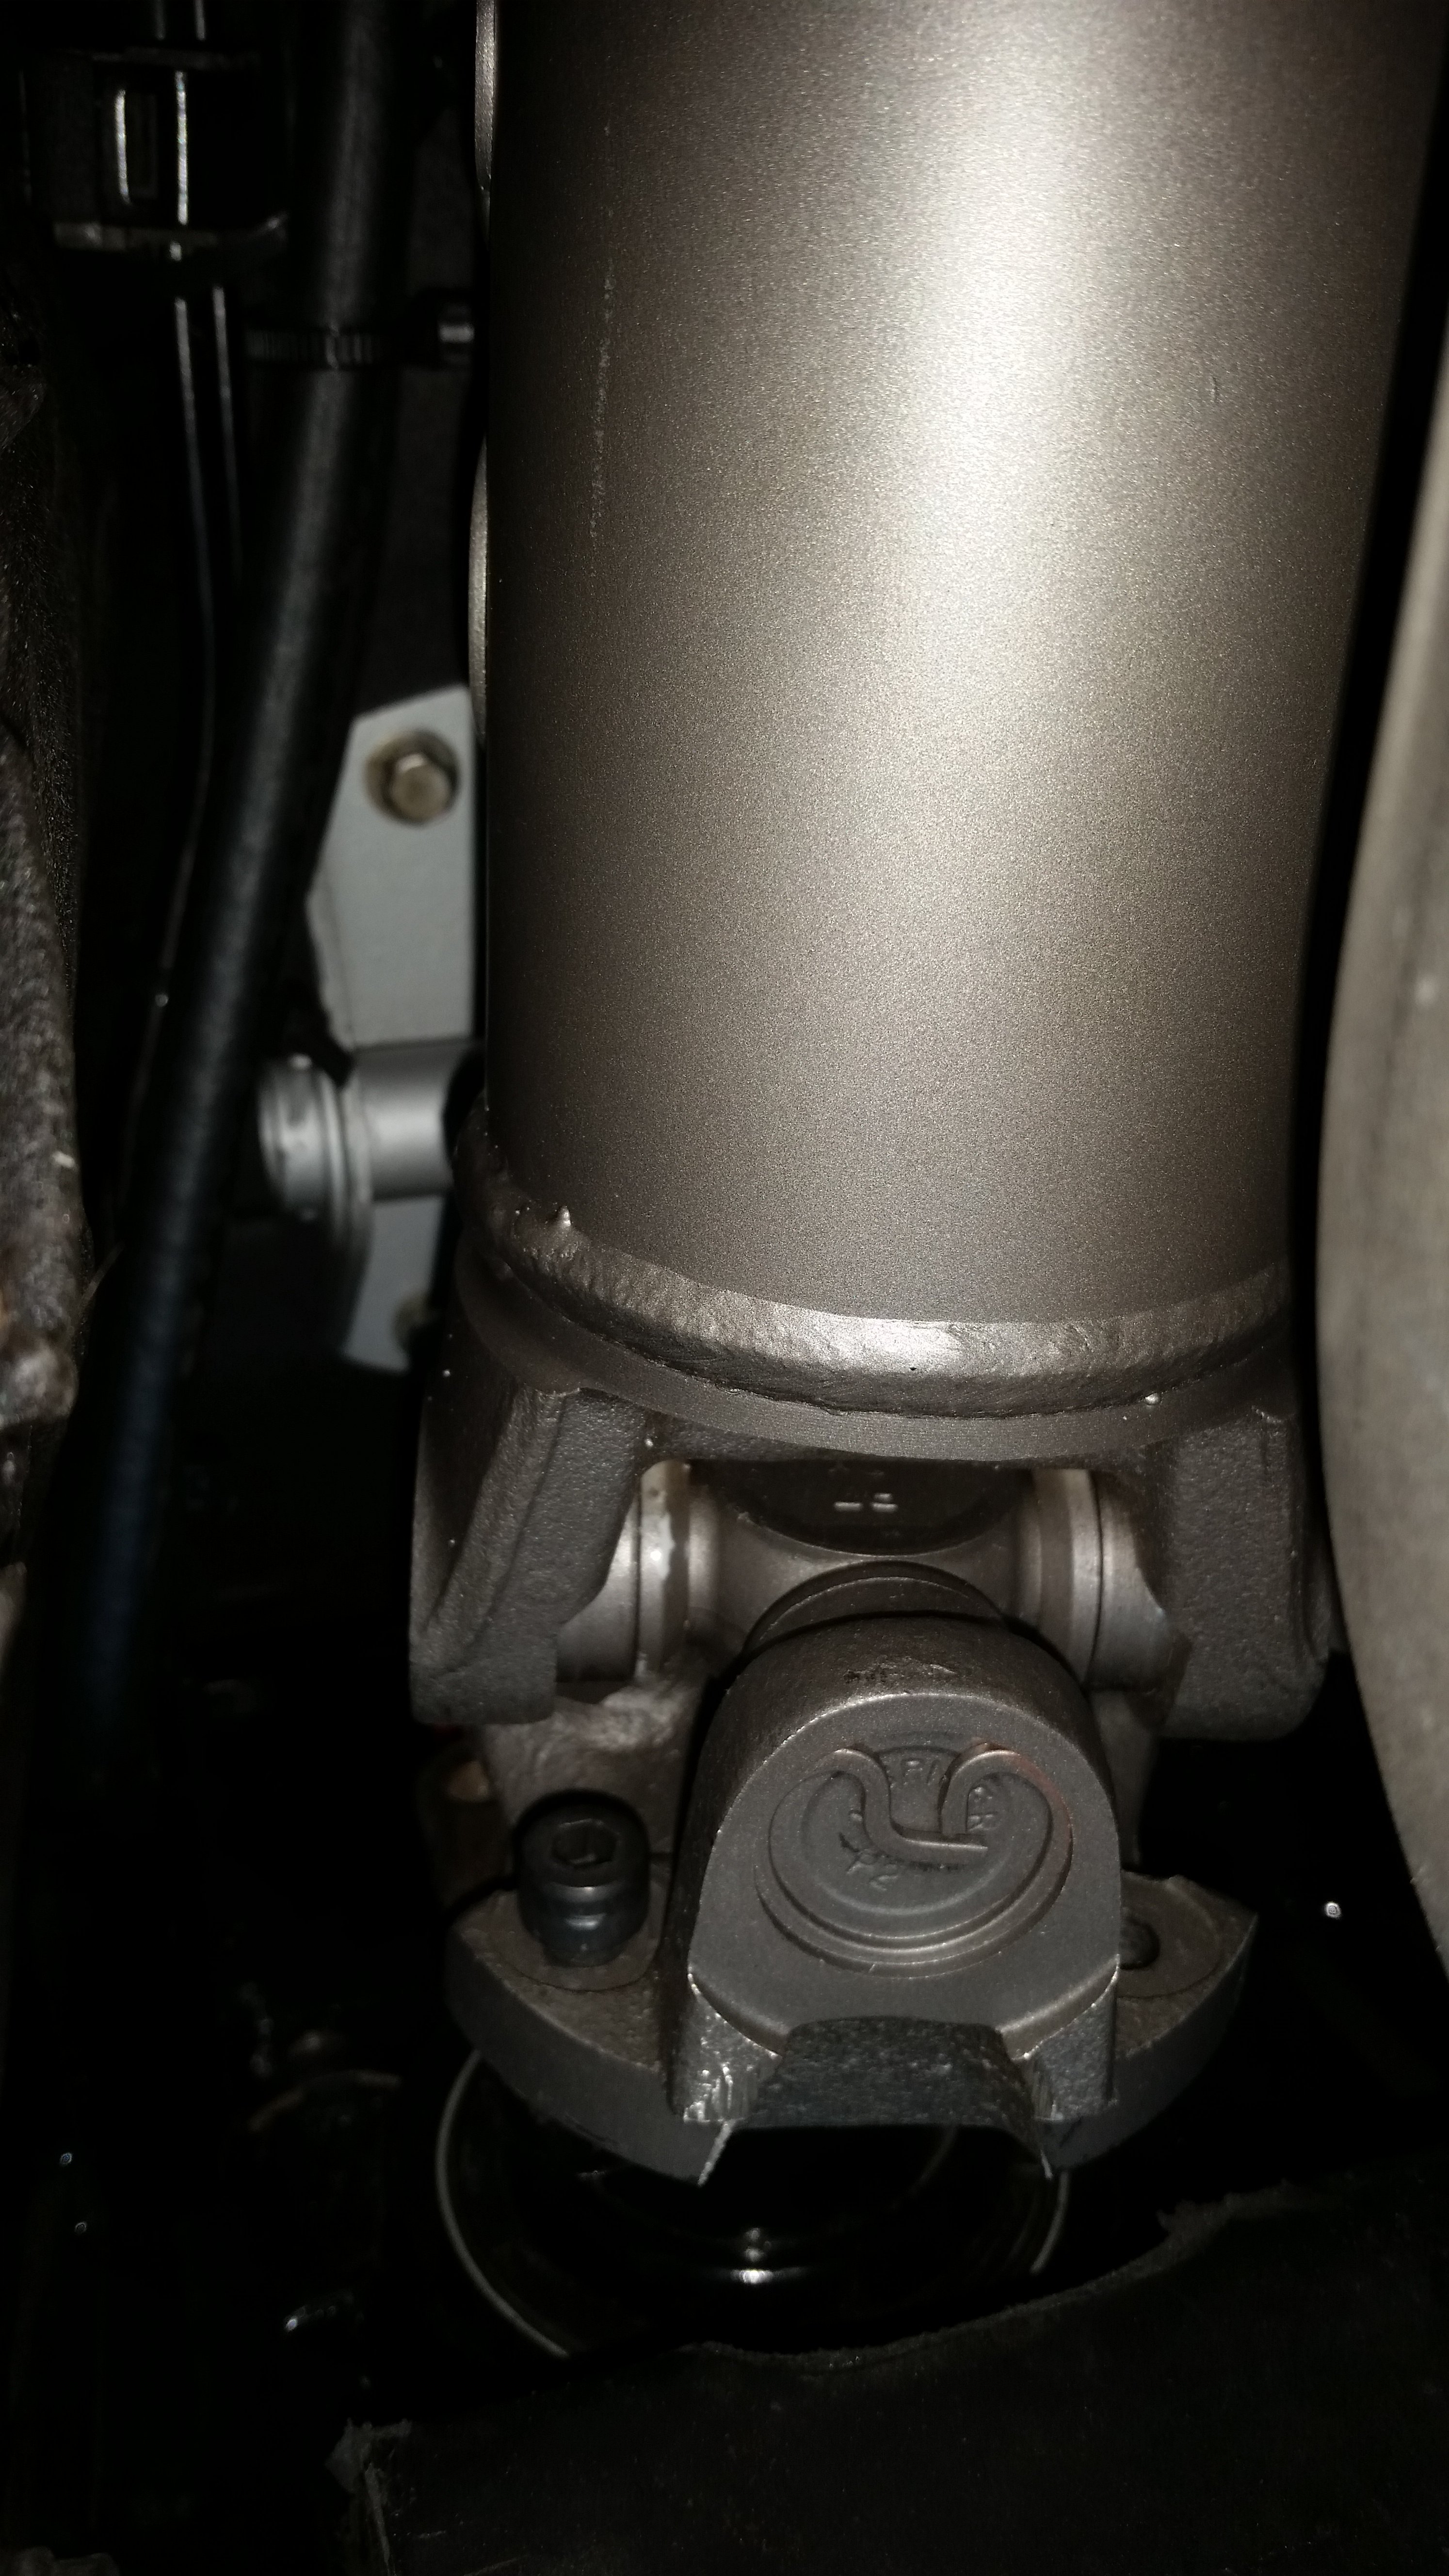
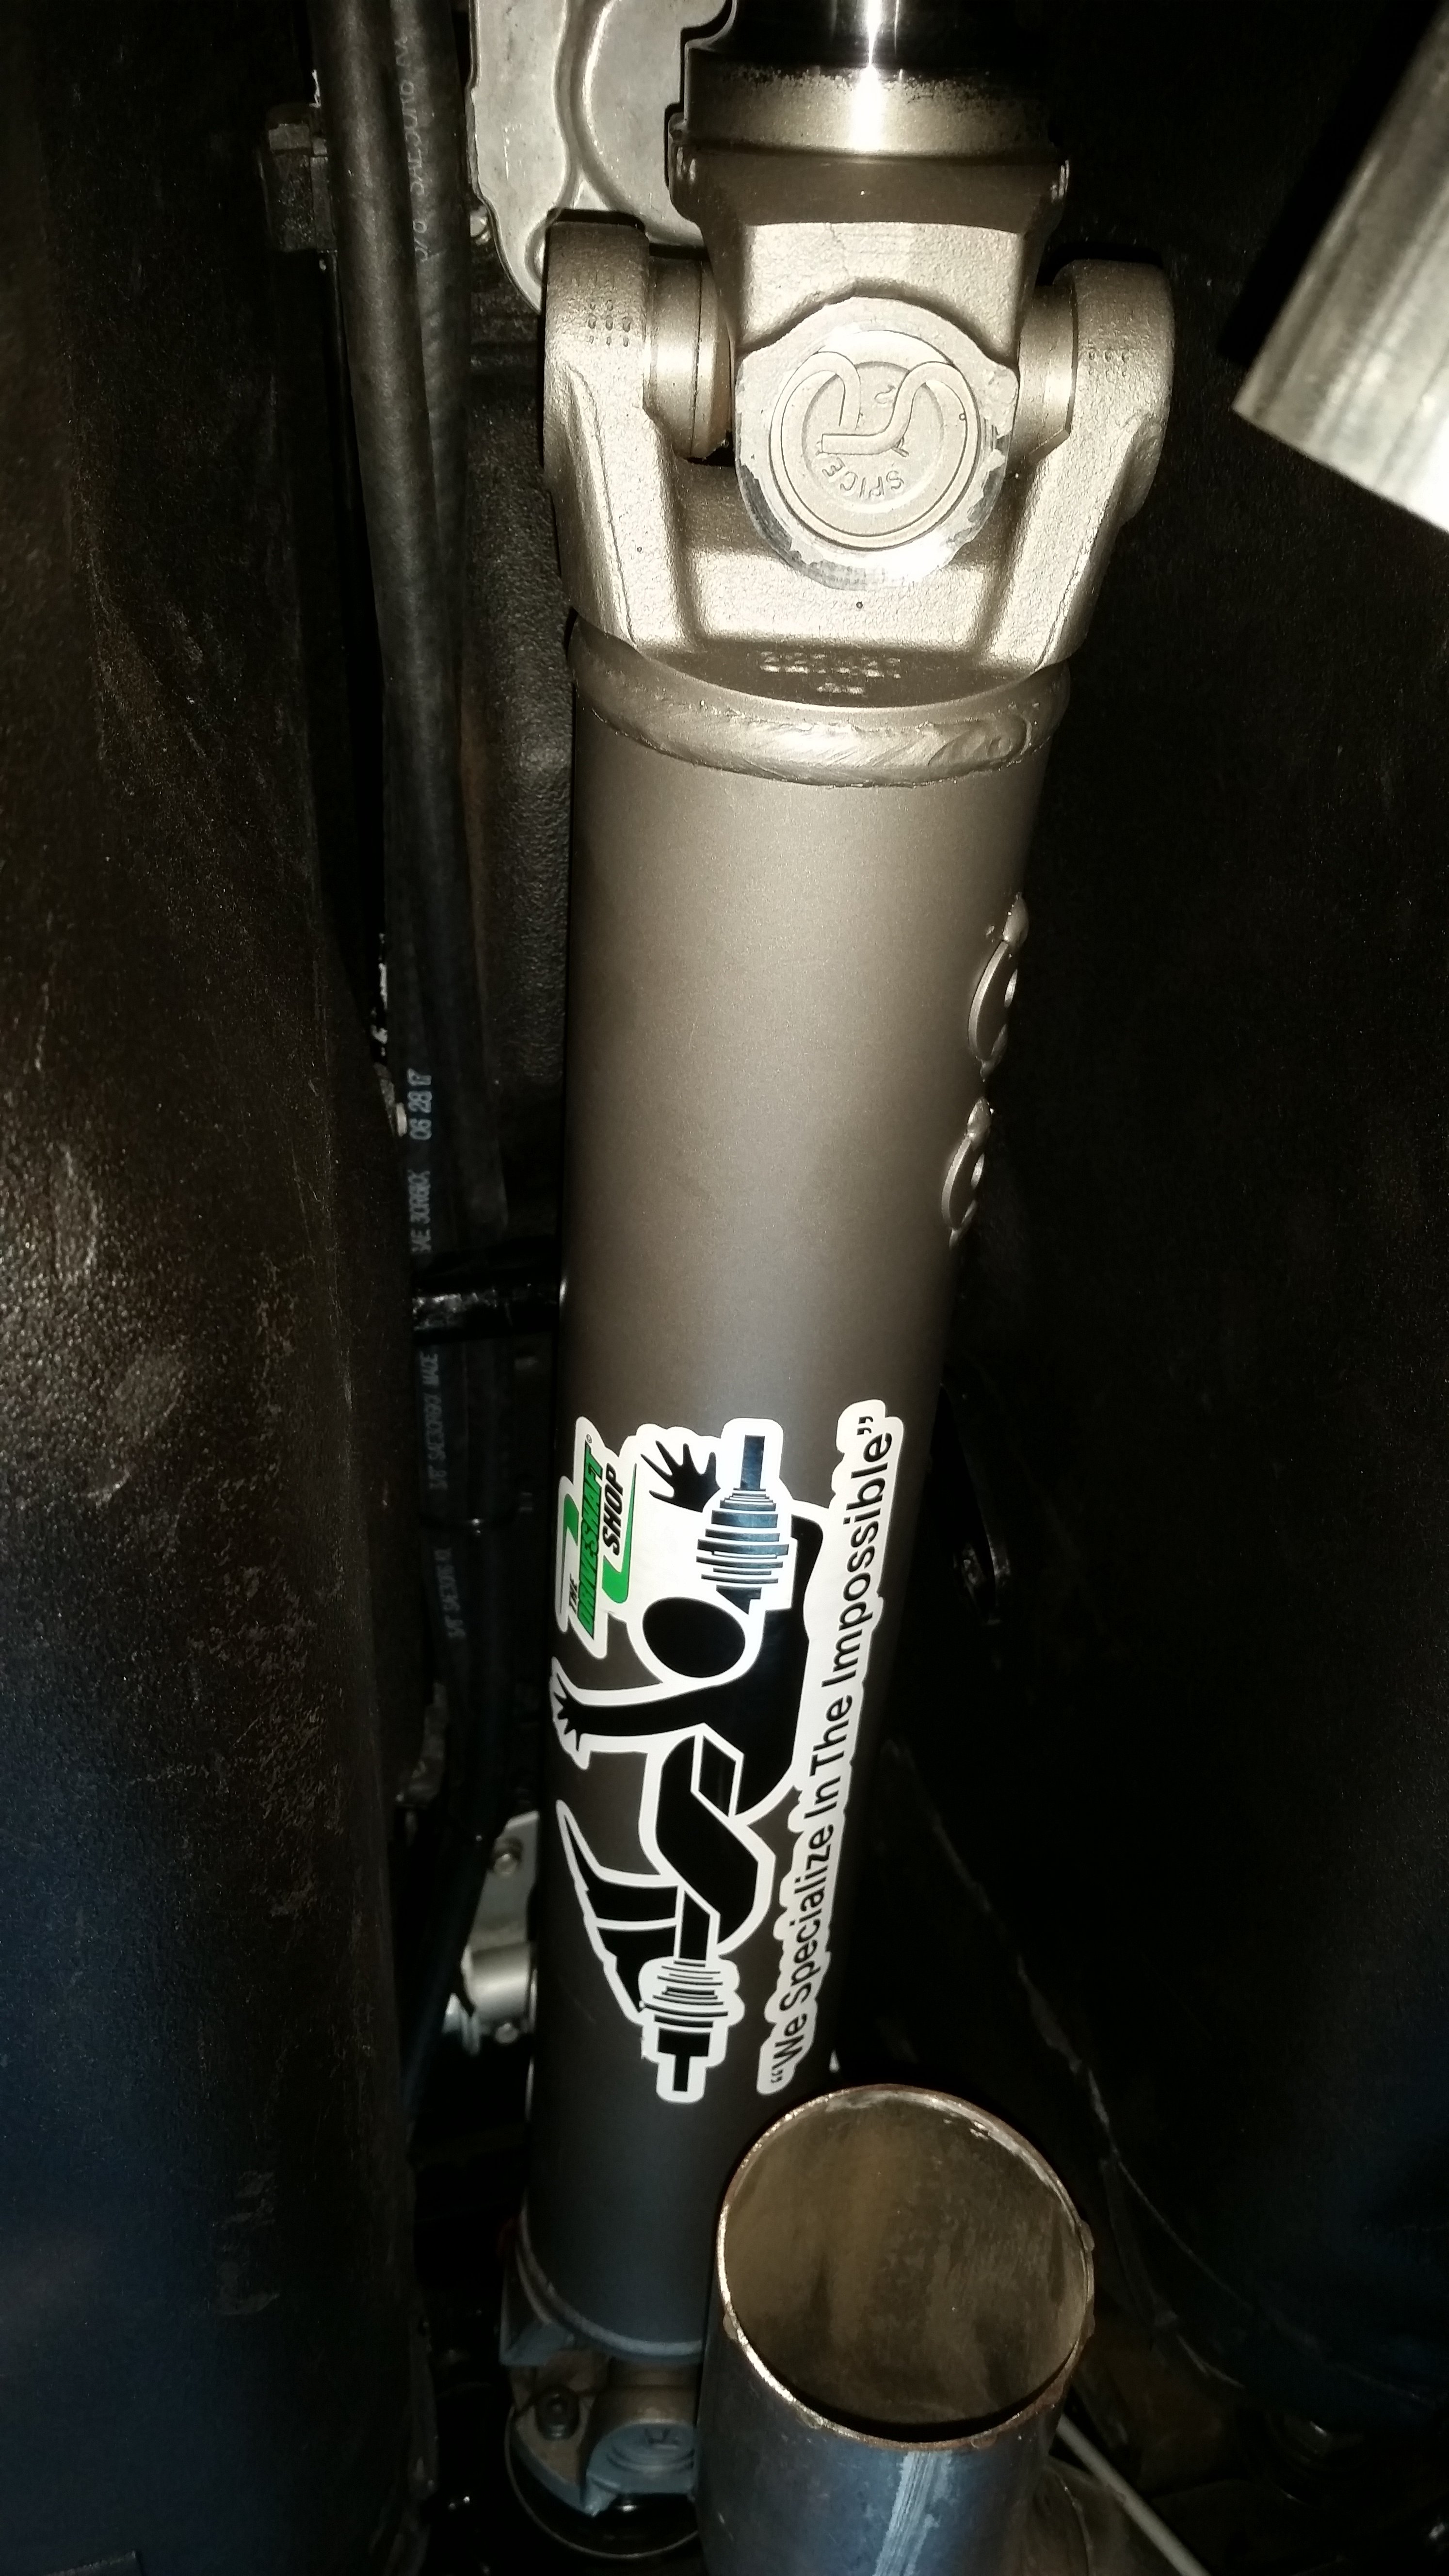
New drive shaft arrived from Hoke performance.