artishard116
Donating Members-
Posts
68 -
Joined
-
Last visited
-
Days Won
3
Content Type
Profiles
Forums
Blogs
Events
Gallery
Downloads
Store
Everything posted by artishard116
-
Sirpents 260Z / C32 AMG Powered RS30 - Australia
artishard116 replied to Sirpent's topic in S30 Series - 240z, 260z, 280z
I see you had the same wonky (2+2?) higher floor pan/taller rail on the passenger’s side as I do. Currently working with John from bad dog to come up with a fix as my fab skills aren’t on your level. Awesome work! -
Thoughts on T3 'Rear Power Braces'?
artishard116 replied to artishard116's topic in Brakes, Wheels, Suspension and Chassis
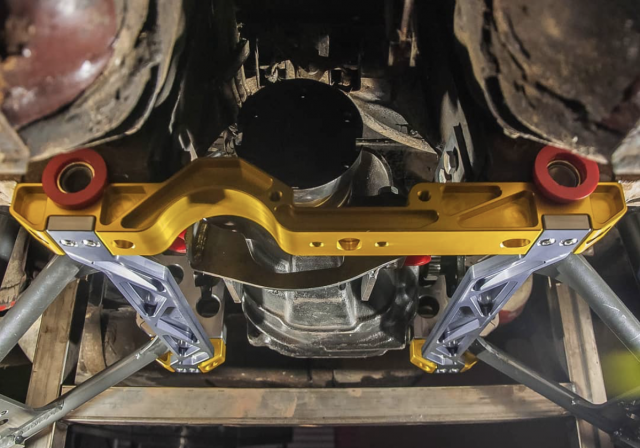
Ah you mean the front diff mount/crossmember thing? They did make a replacement for that but I was referring to the silver bits which connect the front and rear lca points on the same side. This picture is for a long-nose setup, so if going with a short-nose and their rear end conversion, you delete the crossmember, use their overhead diff mount, and then use their 'drop caps' (little gold bits at the rear of below pic) in the front and rear to hold the lca's on, which are provisioned for these new power braces which run front to back. -
Thoughts on T3 'Rear Power Braces'?
artishard116 replied to artishard116's topic in Brakes, Wheels, Suspension and Chassis
Which link would that be? The control arm itself? -
Bad dog rails don't fit (280z)
artishard116 replied to artishard116's topic in Fabrication / Welding
This seems to be the only option. It would have to be a piece that spans the whole length of the rail on the trans tunnel side, contours to meet the bad dog rail, extends up an inch and a half or so, and then runs flat along the floor. For the price I was hoping these would at least be the right shape. -
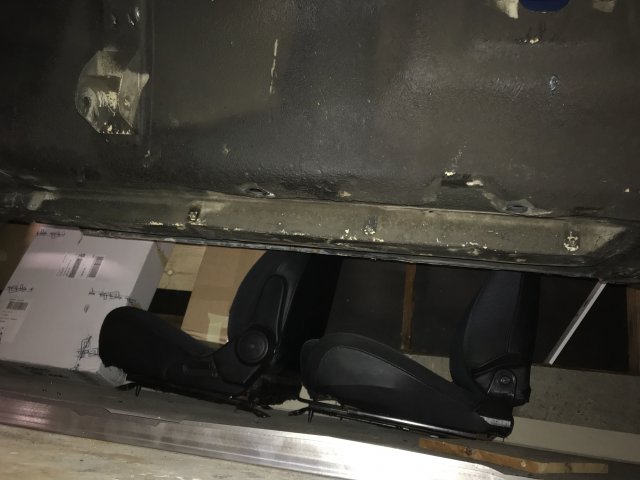
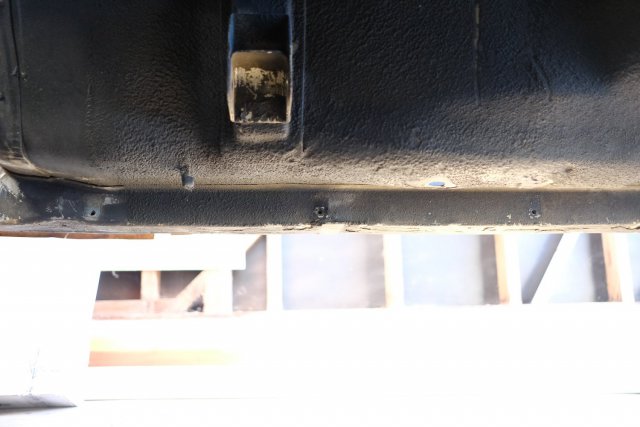
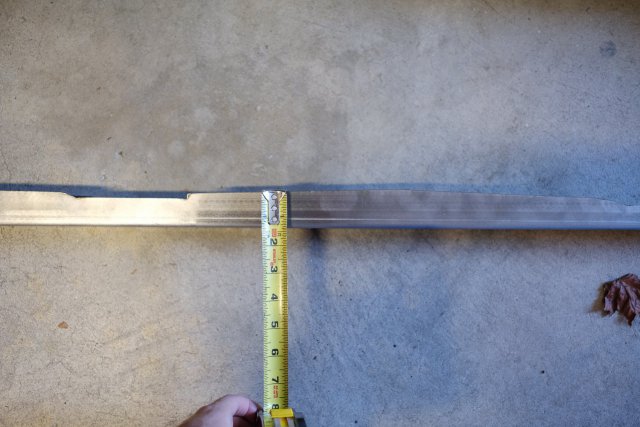
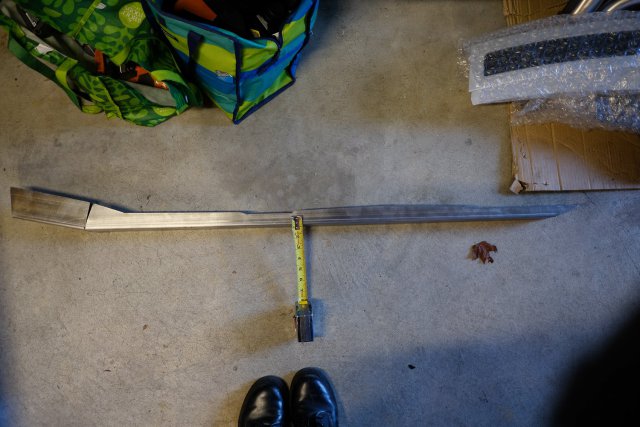
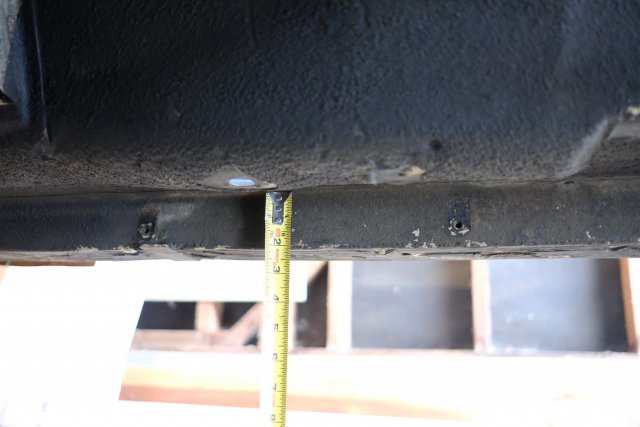
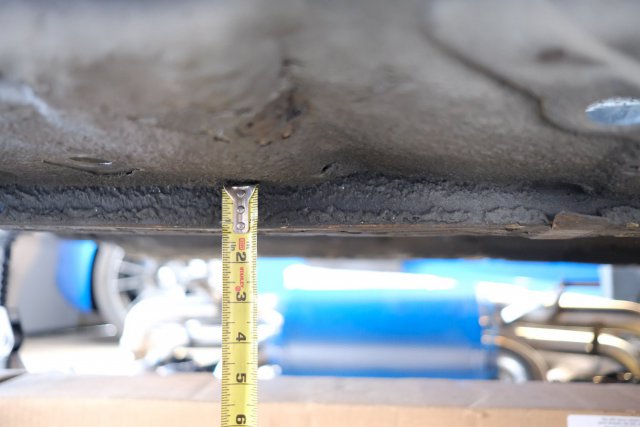
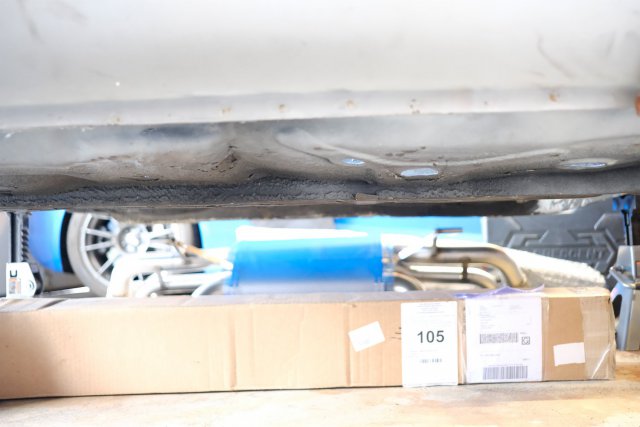
This is kind of a strange one. Test fitting my new frame rails from BD which state they are interchangeable side-to-side, however the stock passenger side rail on my '76 280 is totally different than the driver's side. On the inside edge facing the trans tunnel it is flat along the floor unlike the other the other rails which are contoured. It's also 1.5-2" taller on that side, so if I were to fit the replacement rail over it, it wouldn't reach all the way up to the floor. I've found a couple threads from 2008 referencing the same issue. Can anyone that's installed these on a 280 comment on how they got around this? Measurements in the below pics are taken from both sides of the same rail (passenger).
-
Protecting inside of frame rails
artishard116 replied to artishard116's topic in Fabrication / Welding
I do have some of that I was planning on using, thanks. -
Protecting inside of frame rails
artishard116 replied to artishard116's topic in Fabrication / Welding
Thanks for your input and good points. I may be overthinking it. I’ve had similar experiences with minor rust between welded panels and mine is pretty rust-free otherwise. You drilled drainage holes in your rails, right? -
I’m at the stage where I’m about to install bad dog rails and sfc’s on my 280z for stiffening purposes (original rails are fine). I’ve read every thread on the subject I can find but have found some conflicting info. I know the replacement rails can be installed over the existing ones, my question is does this create a potential trap for corrosion? Also when leaving the originals in place does it make more sense to drill drain holes in the new rails or try and make the whole thing airtight with seam sealer after welding? My tentative plan: 1. Blow out and shoot internal frame sealer in stock rails. 2. Clean the outside and mask off the weld areas and spray epoxy primer. Do the same for the interior of the new rails. 3. Fit new rails, weld, epoxy the outside, then seam seal. Any input appreciated, thanks. *Mods - I wasn’t sure if this should go in fabrication or paint and body, feel free to move.
-
Cages - Experiences wanted
artishard116 replied to EF Ian's topic in Brakes, Wheels, Suspension and Chassis
Just went through the (many) pages of your build, looks great! Thanks for the insight. -
Cages - Experiences wanted
artishard116 replied to EF Ian's topic in Brakes, Wheels, Suspension and Chassis
Anyone have suggestions for the roof gussets for the main hoop? Haven't seen any examples of this. -
Front sway bar mounting
artishard116 replied to artishard116's topic in Brakes, Wheels, Suspension and Chassis
Thanks for the input, I've heard of that method as well. Will look into something better than what's there. -
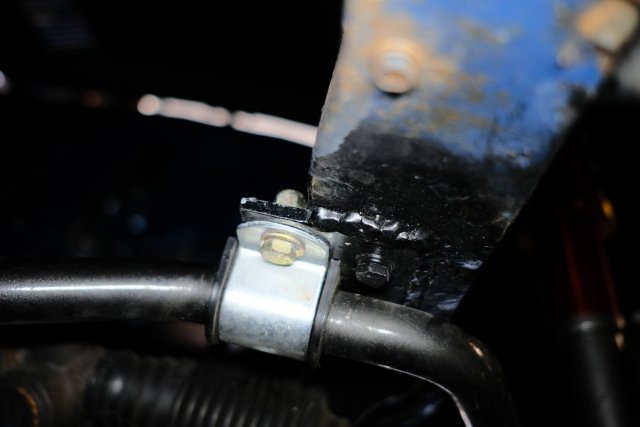
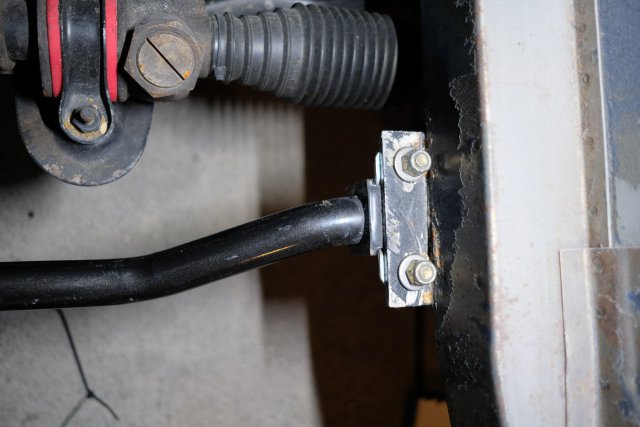
I've been trying to understand the front sway bar (1") mounting point my car came with, and whether it's sturdy enough. I'm familiar with the bad dog mounting method where the bracket wraps around the frame rail, but in my case it looks like it's just moved over slightly from the factory location. About to starting some metal work on the car and wondering if I should cut this off or leave as-is.
-
Bodywork game plan for new project
artishard116 replied to artishard116's topic in Body Kits & Paint
Haha yes, I’m all for function. Also don’t plan to ever sell this thing but we’ll see. Did you do much chassis reinforcement? Not sure if the frame rails, etc are necessary on a 280. Better to overbuild I guess, in case i want to up the power down the road. -
Bodywork game plan for new project
artishard116 replied to artishard116's topic in Body Kits & Paint
Yeah I guess I was thinking I could do that stuff after an initial primer coat and just spray can prime the areas I needed to grind, but this sounds smarter. Thanks again. Any suggestions for holes that can be filled while I'm at it? I know it will vary a bit depending on the build. I've been looking at the floor pans and wondering if all those holes are necessary... -
Bodywork game plan for new project
artishard116 replied to artishard116's topic in Body Kits & Paint
Appreciate the advice, looks beautiful out of the tank! I also wondered about those pinch/spot weld areas. So you'd suggest taking care of all the hole filling, chassis reinforcement, etc, before stripping? I sort of wanted to find out if there were any catastrophic surprises hiding under paint before I went that far, but I guess it doesn't matter. I'm probably already in this for the long haul haha. *Could I ask where you got the bath done? I'll be looking for places around the bay area if I go that route. -
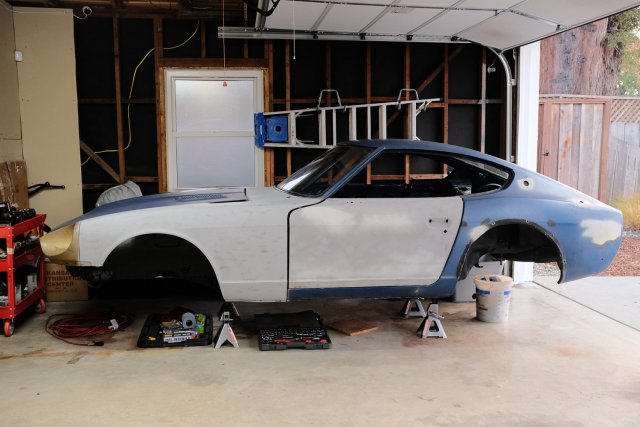
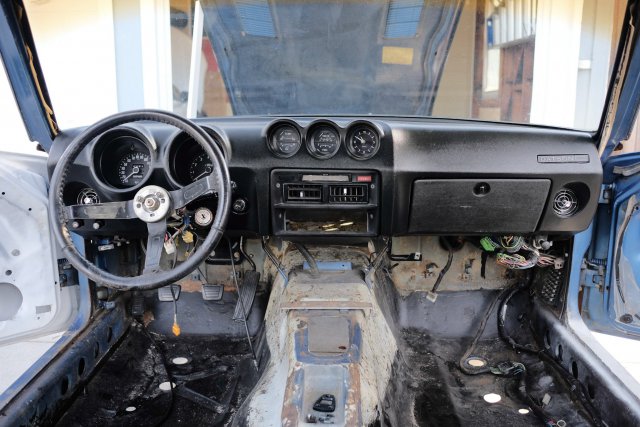
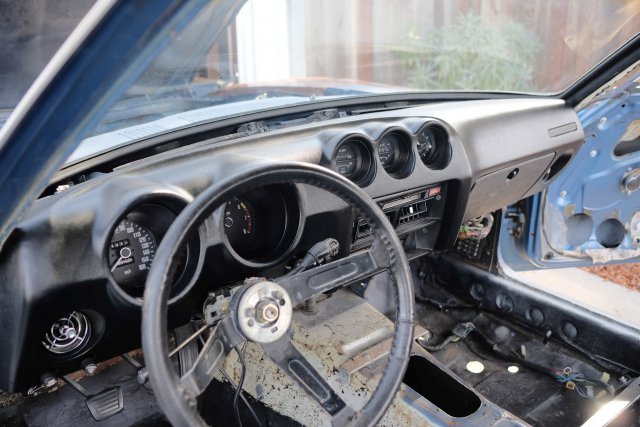
Hey everyone, I have a new project 280z and am looking for a bit of advice on how to progress. I've been reading as much as I can on the forum and build threads. Not new to cars, but this is my first project of this magnitude. The car seems sound structurally, all of the usual problem spots are solid. It's currently sitting completely stripped except for the doors, with the body panels and glass removed (but resting in place). A bunch more pics can be seen at: https://www.dropbox.com/sh/1kilb77s5otd5l3/AAC5oOHGWWXdiqU_hs8Atwx4a?dl=0 I would like to take it down to bare metal and go from there. I've been looking into either blasting or chemical dipping. I recently had a guy from a local restoration shop come take a look at it. He said he would sand blast the unseen parts of the car and use a combination of aircraft paint stripper and sanding on the body panels to avoid warping. This sounds logical to me however in the front frame rail area, where the tow hooks are, a lot of rust/dust fell out of the holes as those bolts were coming out. I’m worried there might be more spots like that that could rust from the inside out if I only address the surfaces (hence the dipping idea). Looking for a second opinion on this. My tentative plan so far is: -Strip shell to bare metal -Epoxy primer -Test fit engine and drivetrain (RB most likely) -Strip down to shell again -Send off for final primer, paint, body panel alignment, undercoat, etc. -Reassemble I also am planning on doing the below steps but I'm not sure where they should slot in in the order of things: -Welding up unneeded holes (rear bumper, remaining side-marker, antenna, door mirrors, interior holes left from bolt-in roll bar, hacked up interior speaker holes) -Rear half cage including harness bar, tying into rear strut towers, roof -Possibly weld-in camber plates, unsure how I feel about the bolt-ins that my towers are already cut for In true "while you're in there" fashion, I'm also considering: -Bad dog frame rails -Support connecting rocker to upper frame horns (will also be using strut tower tri-bars) Also possible: -Replacing all removable body panels with carbon/composite and then painting Anything I should add to these lists? Is my game-plan stupid? Any advice greatly appreciated.
-
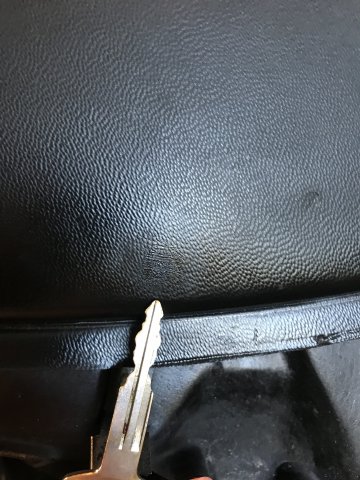
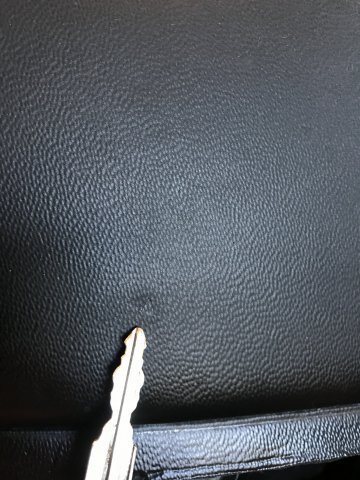
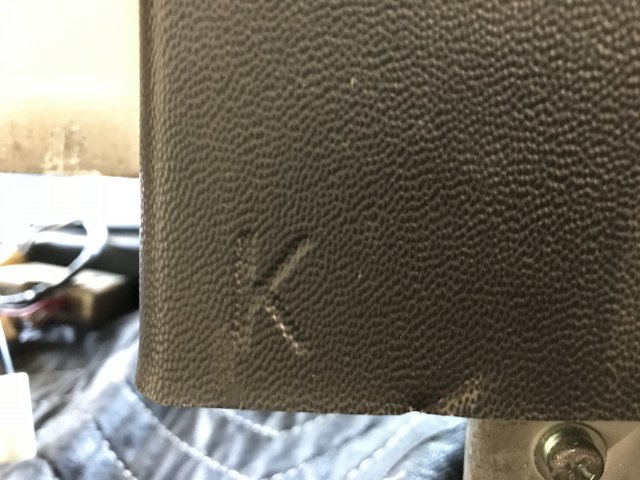
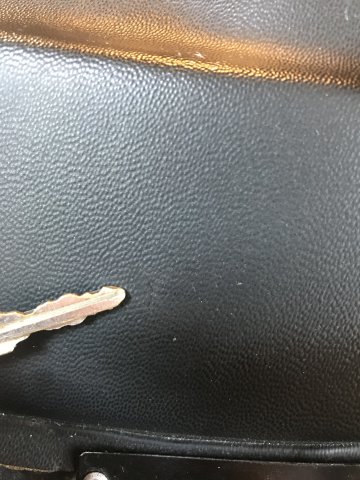
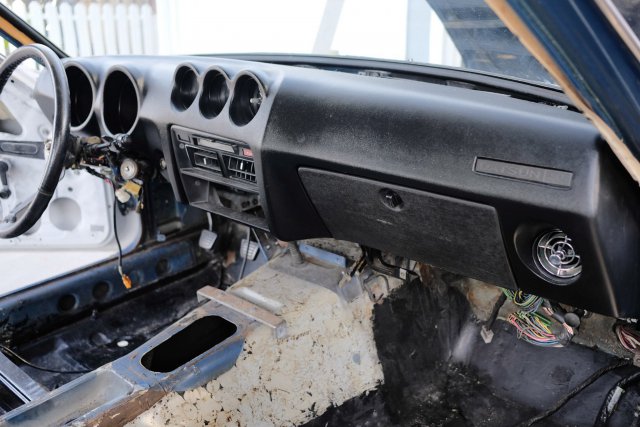
Came with a car I purchased and I may be going a different direction with my interior. I’m told it’s original. Including pics of the only marks I can find. Thanks.
-
76 280z California car rust free roller plus more.
artishard116 replied to J240ZTurbo's topic in Cars for Sale
Paid a deposit down on this today.
