
A to Z
-
Posts
1194 -
Joined
-
Last visited
-
Days Won
59
Content Type
Profiles
Forums
Blogs
Events
Gallery
Downloads
Store
Everything posted by A to Z
-
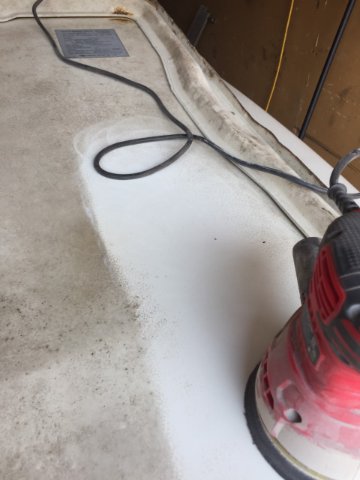
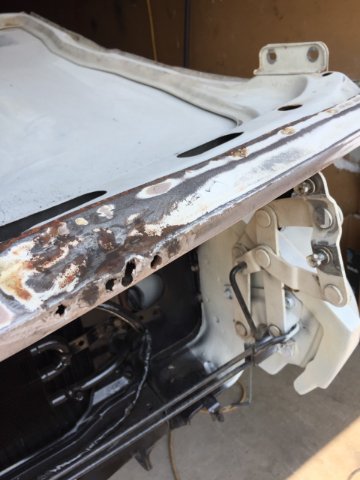
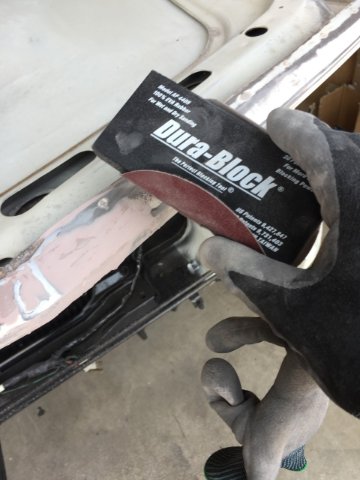
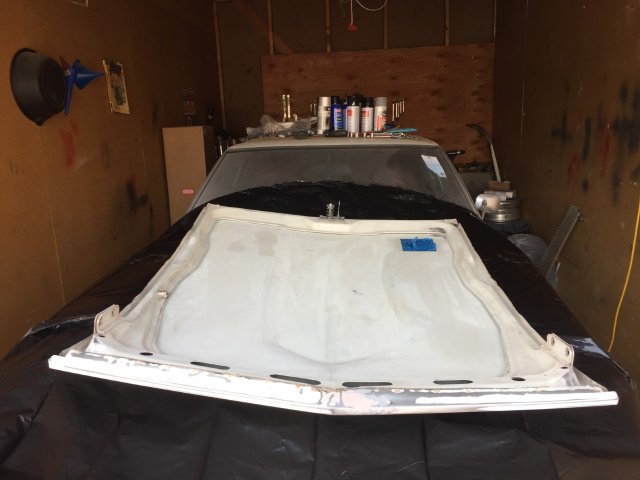
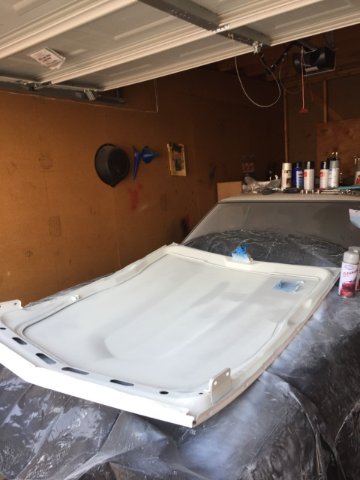
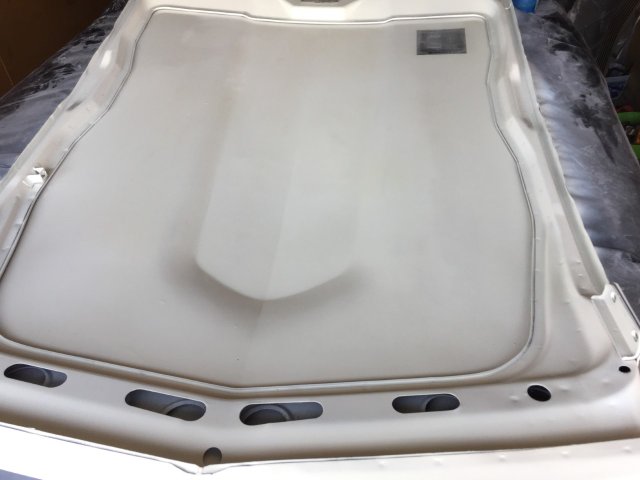
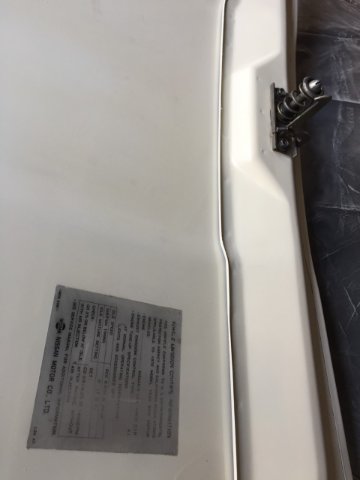
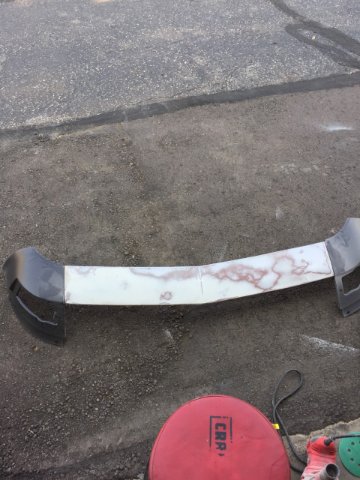
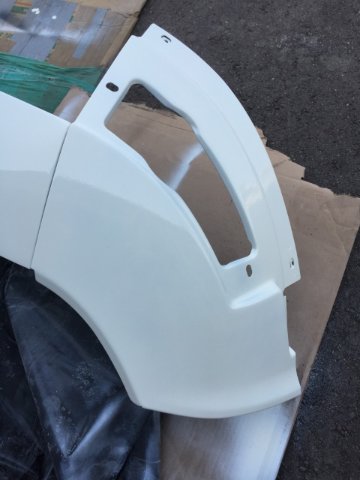
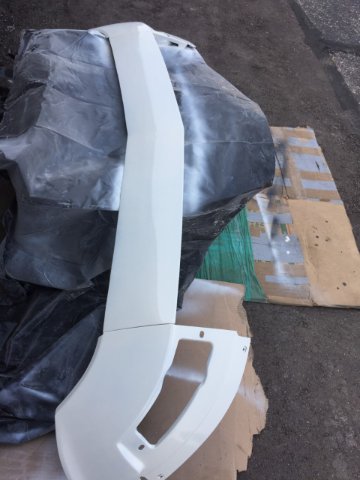
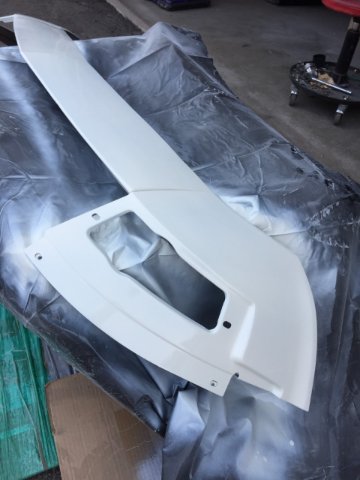
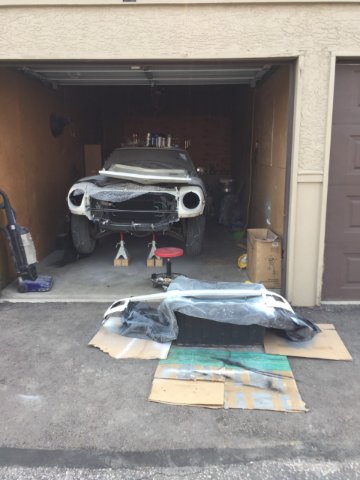
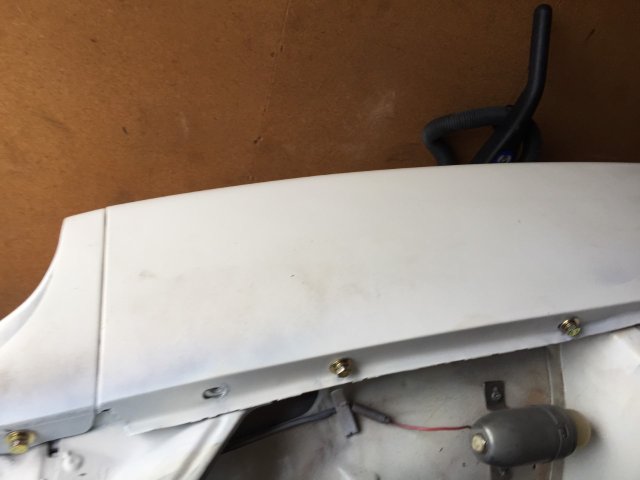
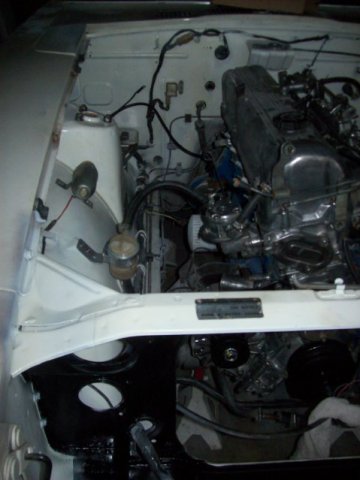
 August 5th....time to paint the under hood and lower valence. Went ahead and sanded underneath with my orbital sander with 1000 grit. The edges and everything I did by hand. Found some bondo in the tip I didn't know about. Remember the slide hammers you screw in to a hole? Yeah that. As for the lower valence, the ends are repos I got off of eBay, the factory ends weren't in good shape....the repos fit perfect! I painted under the valence in gloss black and then did the top in the factory 904 Kilimanjaro White. Here are some pics of the days work.
-
My car came from Arizona. It was sold in Mesa, Arizona to a man from Phoenix who had it for 8 months, then sold it to an air force guy, who apparently parked it in a hanger for almost 30 years. So, although ti ended up in Michigan, it was spared the winters and salt!
-
I hope so. Every seam has surface rust.....typical for Datsun's at this age. When all is said and done, you have to spray some WD-40 in those cracks I guess to keep the car "alive". The boys in Yokohama had no idea the weather conditions in the USA I think.....I read that the first ones that came over started rusting on he way, and arrived with rust already! Salt air! So, they had to eat crow and spray a bit of undercoating under them....but it wasn't much! By the time the 280Z came about, it was much better, but in 1970-1973 it was a novelty!
-
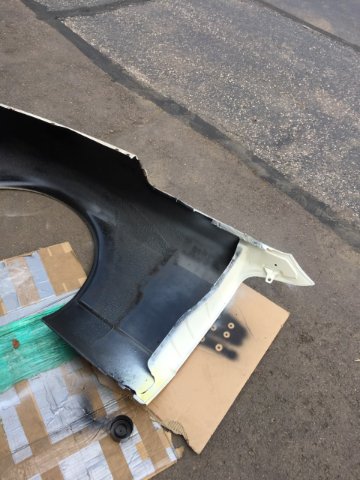
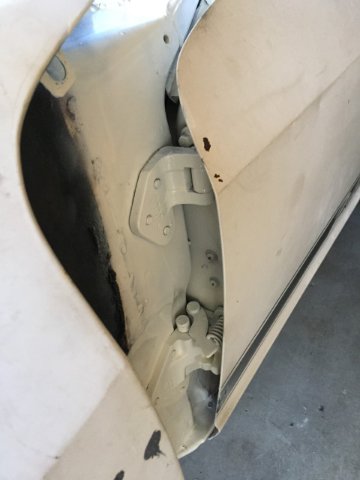
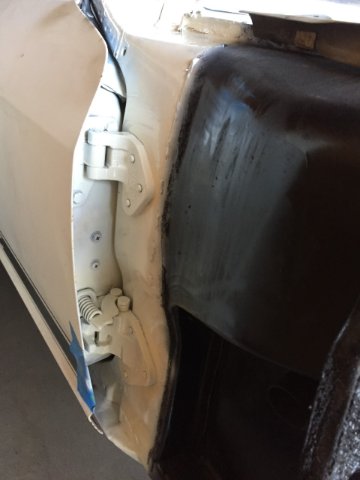
Some more progress. Pulled the passenger fender off, fixed the rust, painted it up inside, painted the area around the strut....took the drivers fender back off, and finished painting for final assembly. I also got the door hinges all painted up prior to install. New fender bolts in. A lot more work than it looks like.
-
I remember a long time ago hearing about removing the rubber from the front strut isolators to lower the front end about another inch. Do any of you remember or know of this mod? Thanks.
-
But it's getting done. Thank you, Jesus.
-
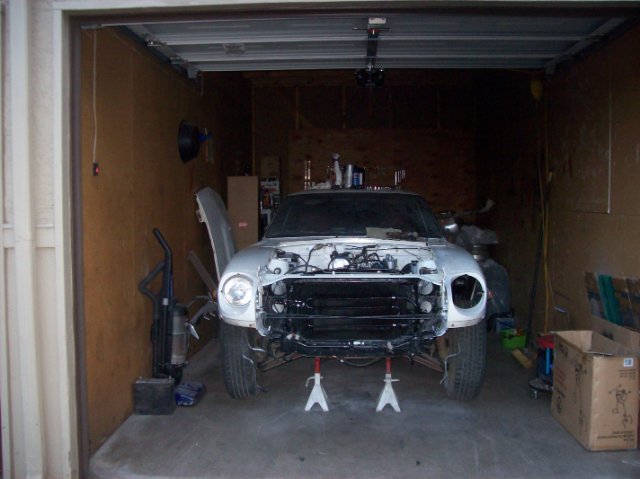
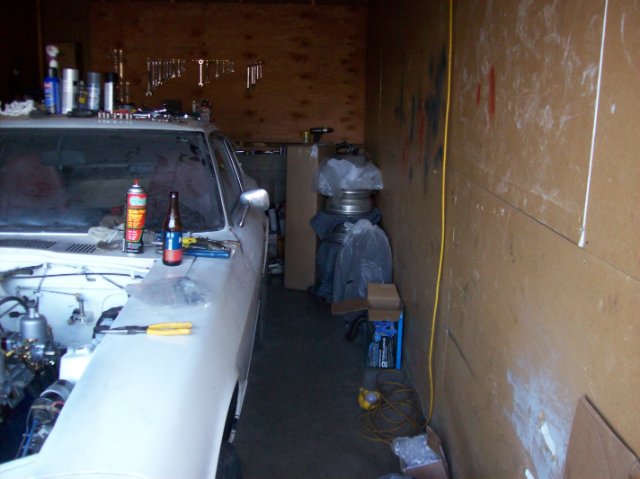
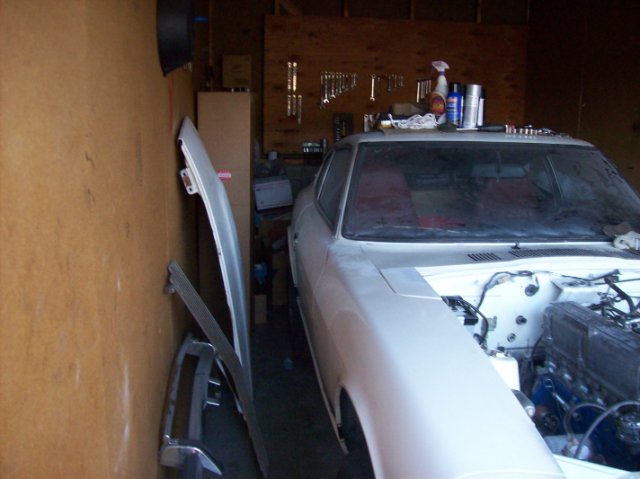
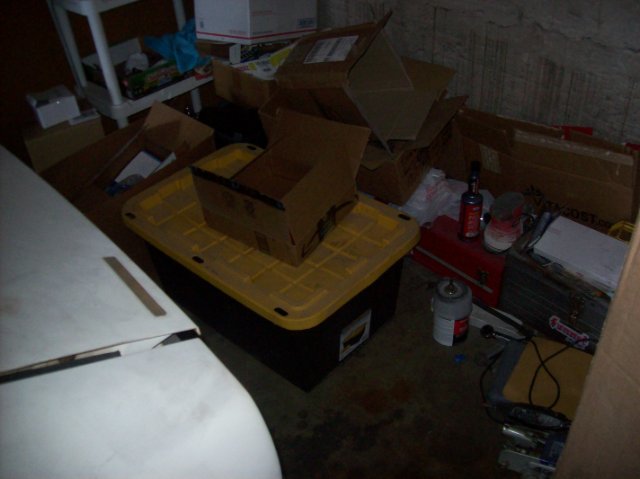
here are some pics of my journey in a one gar garage:
-
I got a little bit more done today.....trans cooler mounted up, battery in, more lines fastened down, chopped out the old exhaust completely. Progress.
-
Hmmm....if it is not adhesive, then a single wrap of tape at the end would be needed, right?
-
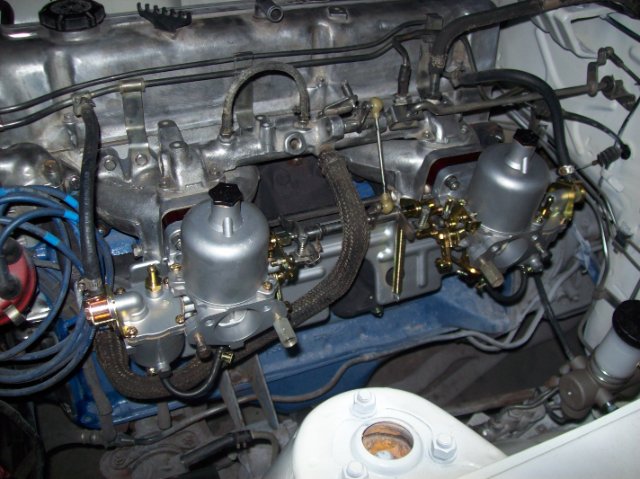
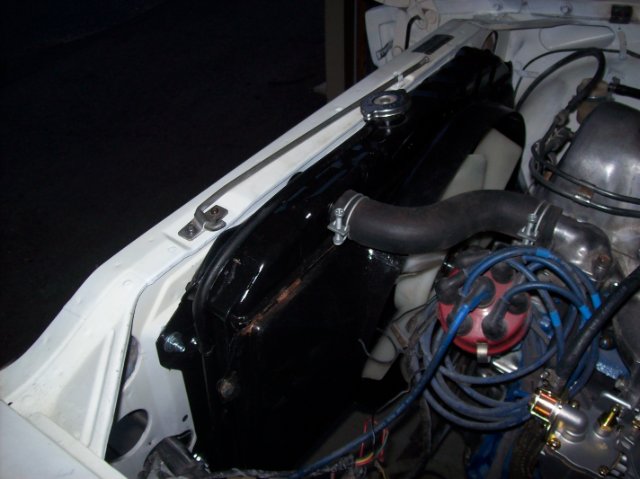
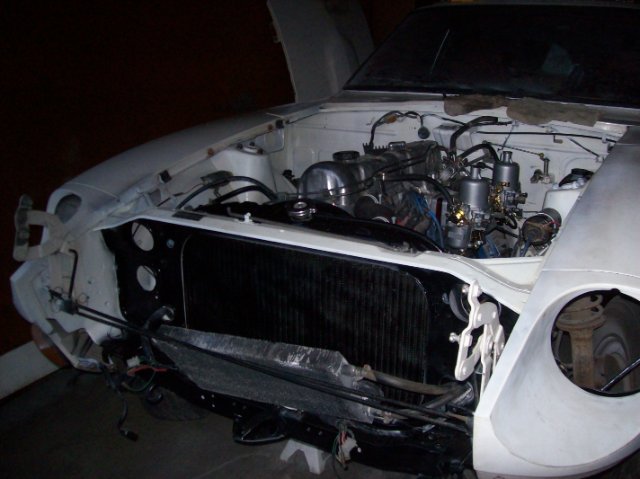
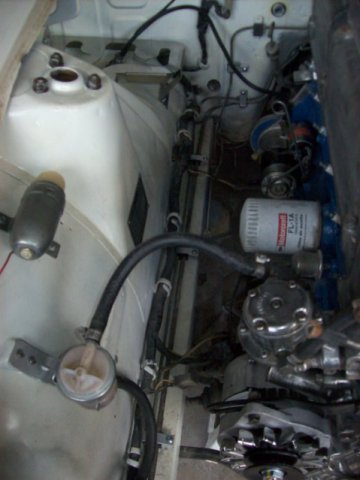
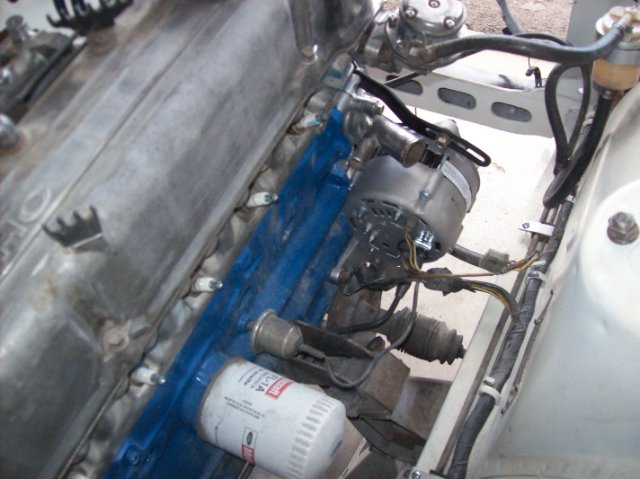
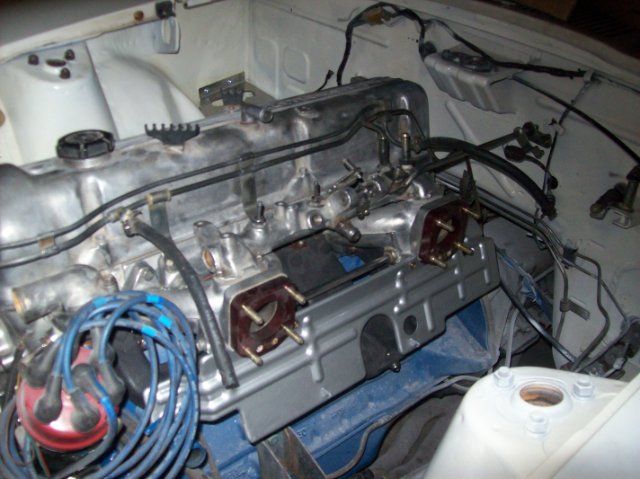
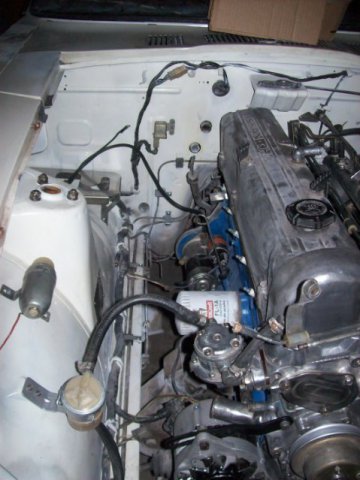
A tad over 9 hours in the garage today. Continuing to put stuff back on, in the engine compartment. Radiator, shroud, fan and fan belt all back in, finished alternator setup, I got the Vacuum booster and new brake master cylinder back on, and then I got the carbs back on. Starting to see progress. Here are a couple pics of the day:
-
I doubt it. This is an exhausting amount of work.
-
any chips and nicks can be filled in with touch up paint. After it is dry, it can be wet sanded down and blend in with the factory paint to where you can't see it. So, there will be some of that.....some edges and spots, where the paint is very thin will will get a spot paint of white. The 1000 grit is a quick hit to give the clear something to grab on to. 3 coats, with the hope that I won't have to wet sand with 2000 and polish to get a shine out of it. My front and rear BRE spoilers will stay a semi-gloss black, which will also match the black stripe along the doors.
-
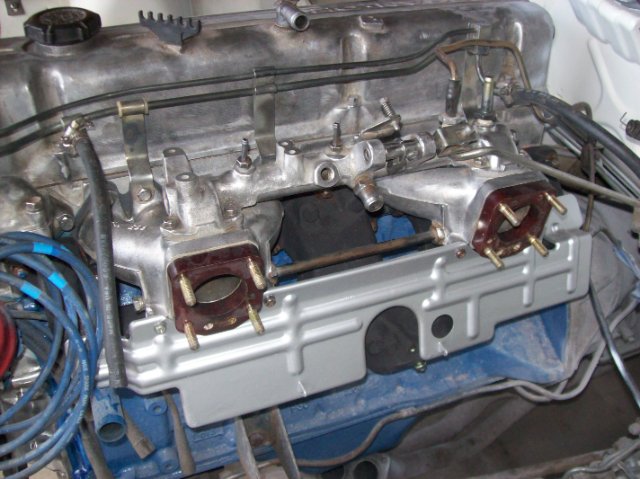
Today was a day of putting stuff back on. Starter, Alternator, battery tray, intake and exhaust manifolds. Putting the fuel and brake lines back down, etc. Managed to get the radiator and shroud ready for paint as well.
-
thanks.
-
The problem I may have, is the spots I have to touch up with my aerosol can, the paint requires a coat of clear over it.....so if I can get it to buff together and look right, then I won't have to clear whole sections.
-
Thanks all. This car has never been hit. My intention, is to use my orbital sander with 1000 grit paper and a spray bottle and wet sand the original paint. Then wipe it down with denatured alcohol, and spray Urethane clear over it. Anyone see a problem with that? The clear I sprayed in my engine compartment has A LOT of dirt in it. I will have to sand and buff some of it to make it smooth. Lessons being learned!
-
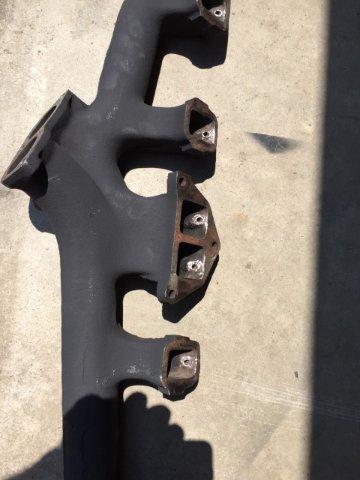
Again, when you are running an automatic trans, the headers won't work, so this is what you have to do....unless you are going to custom make your own headers I suppose. Instructions from machinist is to screw in the studs until they stop, then give them 1/4 turn....THAT'S IT!
-
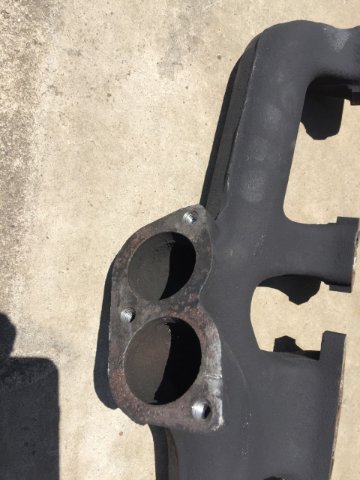
Thanks. Here are 3 pics of my 1972 exhaust manifold. The bolts that hold the probes in have been there for 49 years....hence they are not coming out. So I cut them off and grounded it down smooth. I took it to a welding shop and they welded them all shut and grinded them down flat. On the next pic, you can see I cut off the 2-3 inch long probes, and was able to get in there with a Dremel grinder and flush the port probes. The last pic, the same with the 3 studs. They were a part of the manifold. Had a machine shop drill them out and heli-coil it. I got the new set of studs and bolts on eBay from the Z Depot. Lastly painted it in 1200 degree F flat black exhaust paint. So total including the paint was $125.
-
the black paint I am using is engine block paint. I am using it because I figured it would be more durable. The problem with it, is that it is VERY temperamental. ANYTHING left on the surface makes it bubble up. So, the last pic doesn't show it as well, but there are some spots that are "bubbly". I have sanded it and primed it and still goes "bubbly", so I guess it is good enough for this "driver" Z car.
-
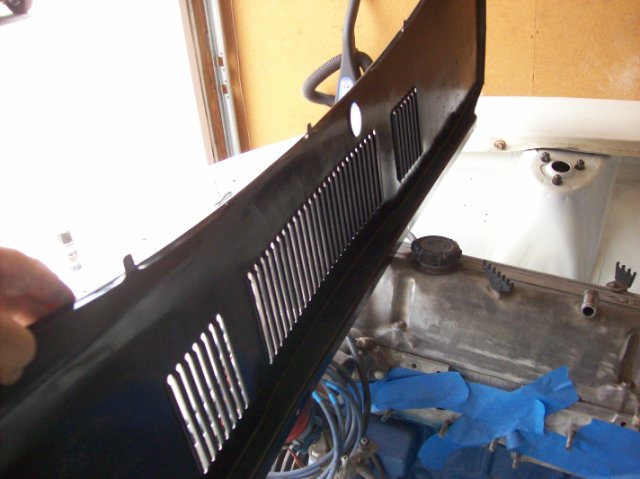
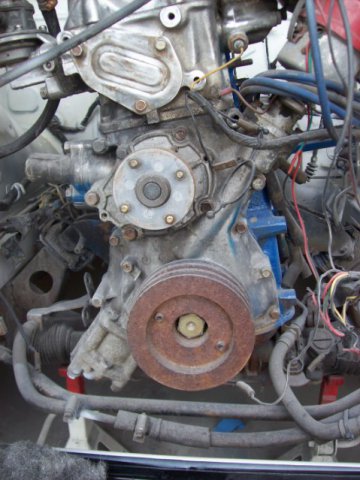
I have been busy the last week. I took the driver's side front fender off, repaired the rust, painted inside the fender and painted the inner fender well, except where the strut is. I then cleaned up and painted the cowl, not sure if the wiper will work, so may have to go back in there later. I had to repaint one side of the engine compartment, as when I was using a torch and scraper to remove the under coating the metal got so hot it bubbled up the paint! So, I finally got that fixed. under the battery box, I got it undercoated and then painted over it. The paint there has a yellow hue. Oh well, progress is being made. Here is a before and after pic of the front of the engine being cleaned up. I also got most of the front nose done. here are some more pics:
-
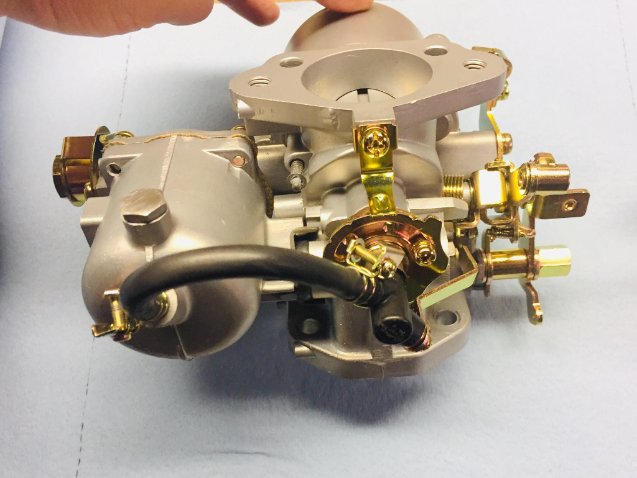
these are the pics he took of them before shipping them back to me. I have the box, just haven't opened them yet.
-
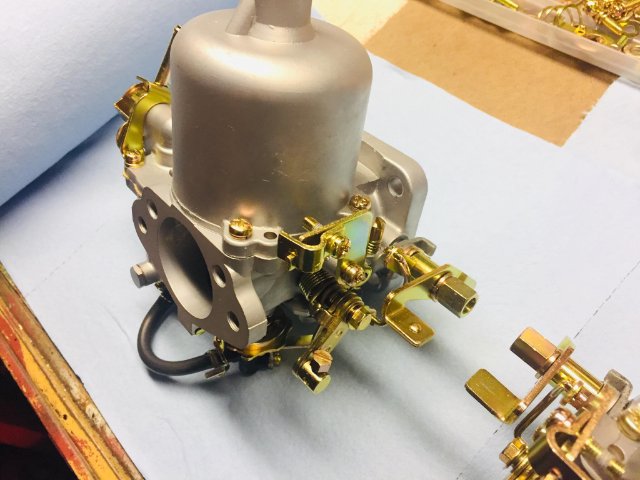
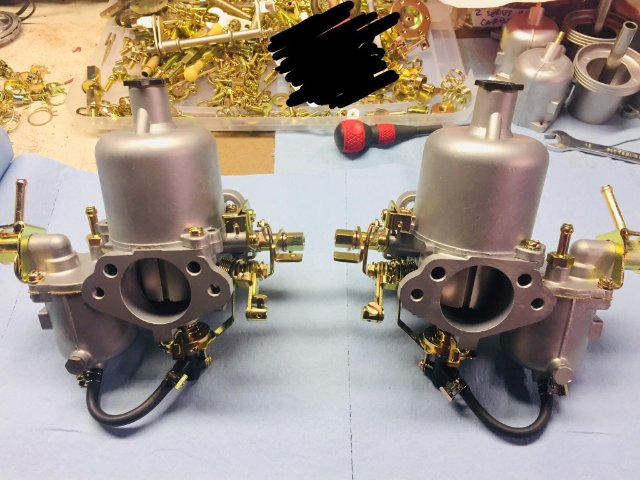
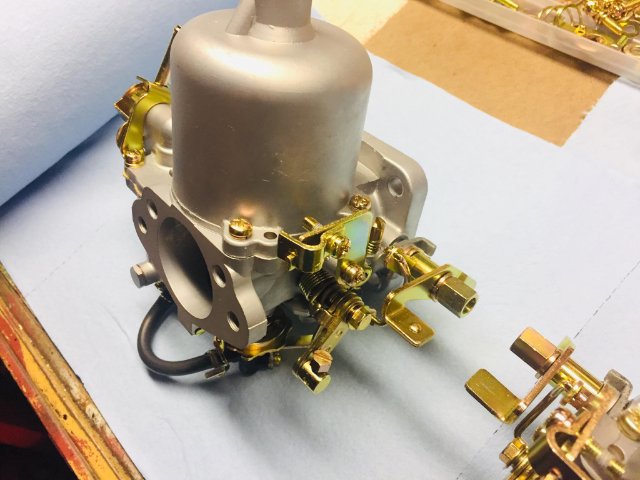
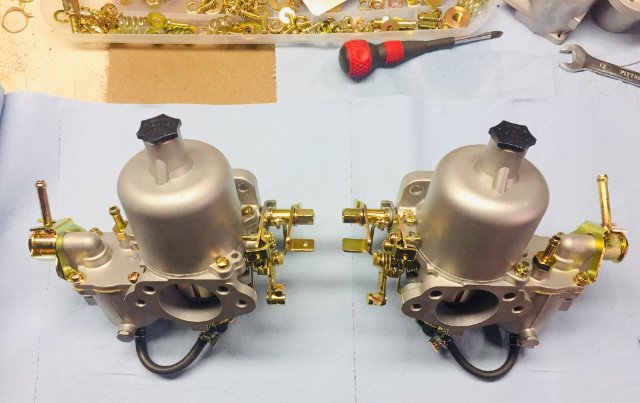
Sal Ceja. He is on facebook, "S30 Life" is the page. He has been rebuilding SU carbs for awhile now. Here are some extra pics of my carbs:
-
Carbs are done. Here they are. On the way home!
-
NO pics as of right now, but been very busy. I got the driver's side fender back on, rust taken care of and everything painted black in there. I also got the cowl section cleaned up and painted, it was TOUGH getting the wiper arms back in there. I may still may have to play with them a bit. I picked up some Appliance 14X8 Wire mag wheels yesterday for 250 shipped, so 35 bucks a wheel....not much for tire selection though. Slow slog forward on progress.
-
Yeah, all good points. Yesterday I dug it out and cleaned it up with steel wool, brake cleaner a rag and an old toothrush. It has the hinged front door where you can close it for winter to divert air to the bottom port tied to the exhaust manifold, or to summer for straight through air. Someone in the cars past, took it off and drilled a bunch of 3/8 holes in the bottom of it to let more air in. At any rate, after cleaning it up and using some turtle wax swirl remover, I polished it and buffed it out, and even with a few character scratches on it, that patina makes it look nice, and after the turtle wax it is shiny orange. When I first took it off, I noticed inside it was velocity stacks. Heck I could run it without an air filter in there and be fine.