christianmoller
-
Posts
62 -
Joined
-
Last visited
-
Days Won
7
Content Type
Profiles
Forums
Blogs
Events
Gallery
Downloads
Store
Everything posted by christianmoller
-
Yet another LS 260z swap :)
christianmoller replied to christianmoller's topic in Gen III & IV Chevy V8Z Tech Board
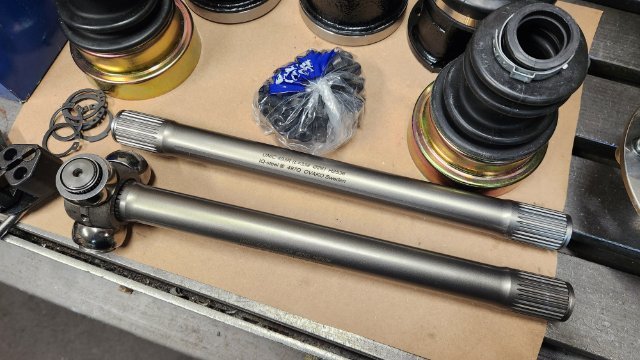
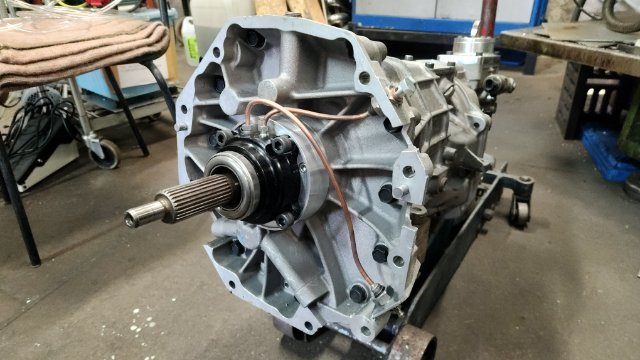
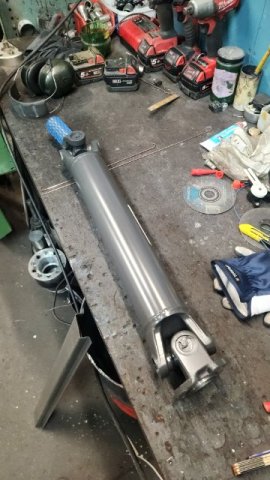
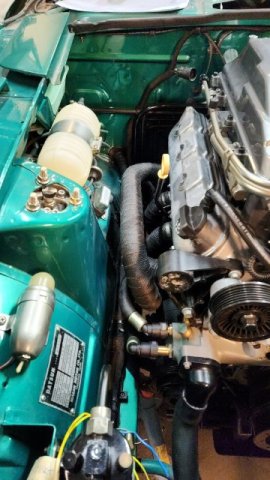
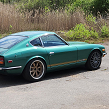
Good evening Picked up my shaft Wednesday. Out of the garage for the first time in two years. First test run was very gentle as there are a lot of things to keep track of, not only engine. Today i have driven the car and made some log with HPTuners and it is a bit rich. Cheers Christian
-
Yet another LS 260z swap :)
christianmoller replied to christianmoller's topic in Gen III & IV Chevy V8Z Tech Board
No, i didn't buy them, the goal was to have them made at Volvo Power train as Penta(i'm Volvo Penta) have some of their product development there. but they are over there heads in work so no time for private stuff. I have contacted a guy that makes sequential gearboxes and other fun stuff to make them. /Christian -
Yet another LS 260z swap :)
christianmoller replied to christianmoller's topic in Gen III & IV Chevy V8Z Tech Board
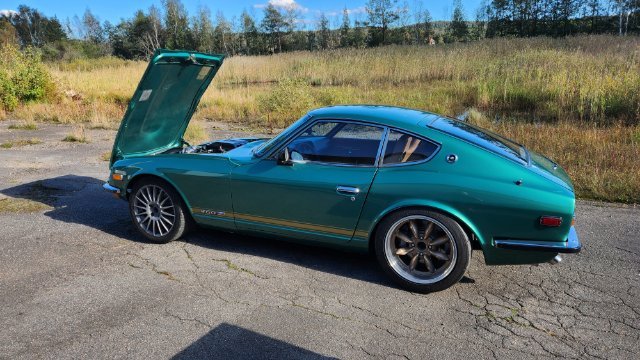
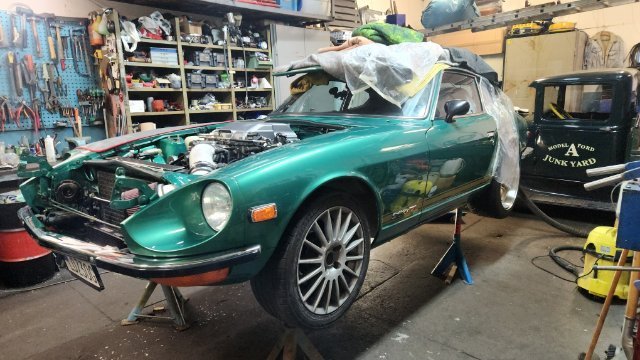
Good evening gents I got my first inspection cleared with some minor things to fix so now i have five years to finish the build (he wanted to see me at the end of August ) . With that done i was able to pain all the weld, start interior work and mount the Datsun back up again, sooooo, it's done just waiting for my half shafts. The half shafts is actually the only thing that keeps me from a test run. Brakes, clutch are bled, emergency brake mounted, it's pretty much only interior work that has to be done Cheers Christian
-
Yet another LS 260z swap :)
christianmoller replied to christianmoller's topic in Gen III & IV Chevy V8Z Tech Board
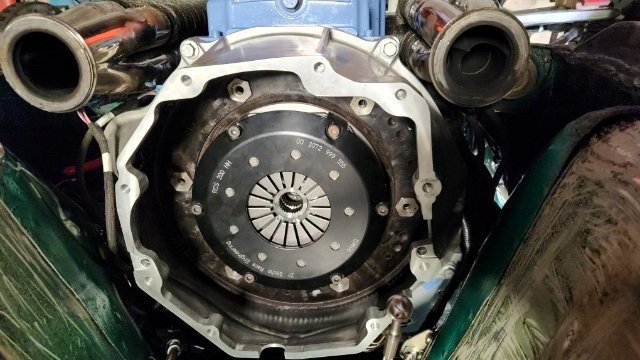
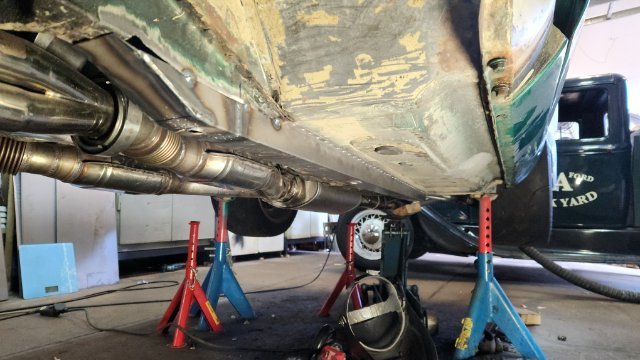
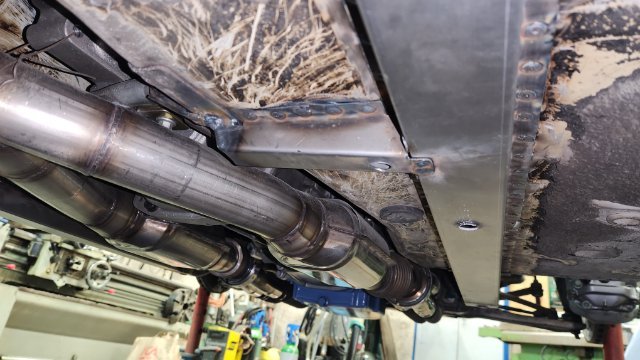
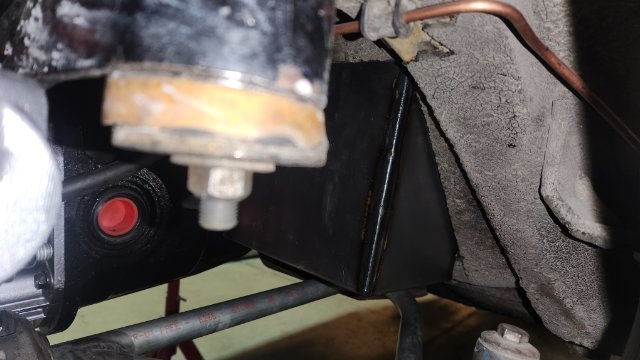
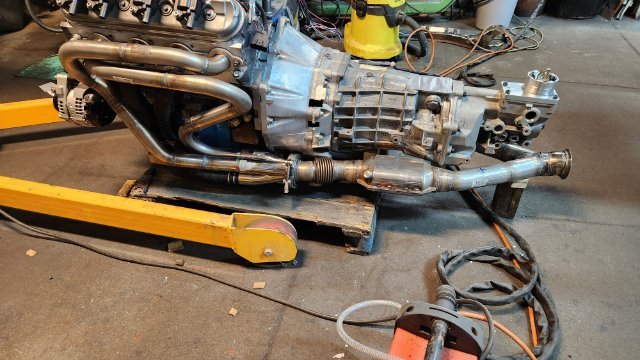
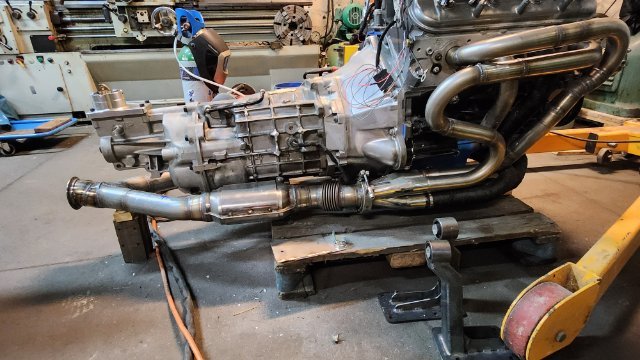
good evening frame rails are done and also some reinforcement to the transmission mount,inspector wants it). He will visit June 16 for the first inspection and after that i have five years to build for the final inspection were he wants to see a working vehicle. i also start with the carpet and sound deadening as i wait for him. Clutch is in the mail and only waiting for the half shafts to be made :). A new props shaft is made, for the first time i bought a new one instead of building my self(want a proper made one:)) /Christian
-
Yet another LS 260z swap :)
christianmoller replied to christianmoller's topic in Gen III & IV Chevy V8Z Tech Board
Crazy Scandinavians🤣. My intension was to have 65mm in profile height but then it starts to "eat" on ground clearance so i got the idea from my old Mercedes C43 were most reinforcement were on the inside , probably to get a flat underside. /Christian -
Yet another LS 260z swap :)
christianmoller replied to christianmoller's topic in Gen III & IV Chevy V8Z Tech Board
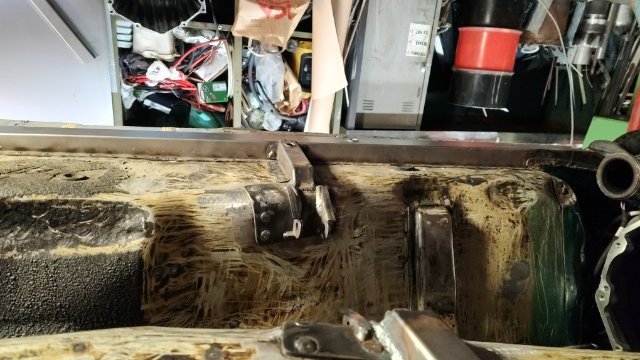
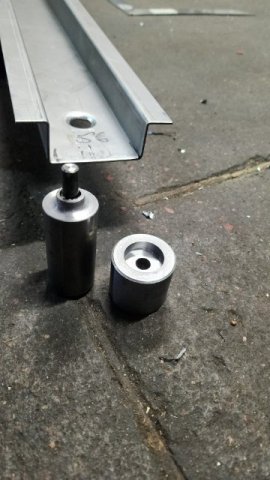
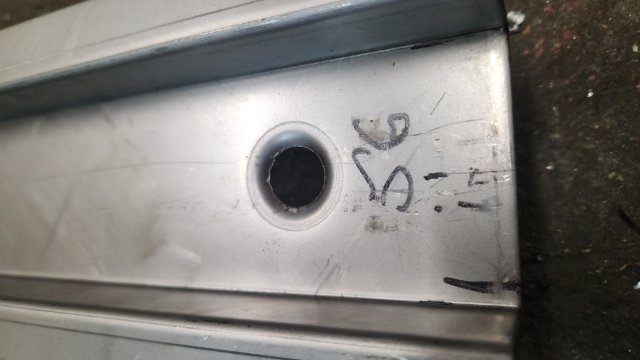
hello, Some tiny small steps right now. I have started with the frame rails and have made the part that will go inside the car. 1.5mm steel that goes front to rear. New ones under the car are being made with a higher profile than standard, 45mm in front and 25 in the rear. Christian
-
Yet another LS 260z swap :)
christianmoller replied to christianmoller's topic in Gen III & IV Chevy V8Z Tech Board
It has been a very slow progress for a couple of months unfortunately but i hope to take a test run this summer. -
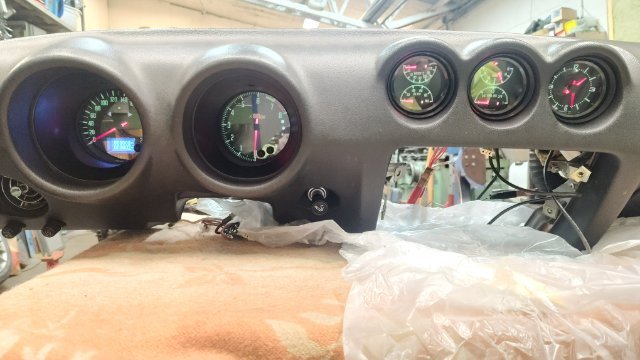
got mine yesterday and they look great except for the mounting kit for the smaller ones, they are 2 millimeters small in the outer circumference or it could be my old dash maybe. And i need to ad some anti glare to the meters... A few days later, installed in car and needles dont go to zero when switched of, poor engineering. If i knew i would not buy them.........☹️
-
Yet another LS 260z swap :)
christianmoller replied to christianmoller's topic in Gen III & IV Chevy V8Z Tech Board
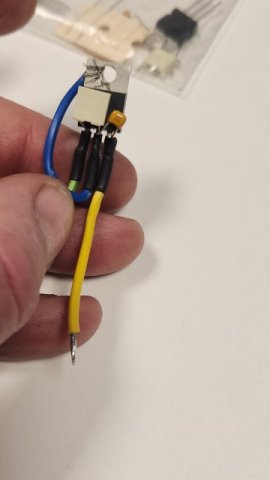
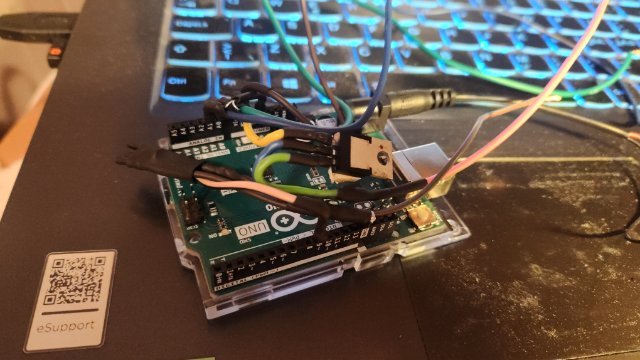
Good evening, I now have a working two speed PWM controlled C7 fan. I used an Arduino to create a PWM signal at 50 percent(LOW) 90 percent (HIGH) and some slope up/down between the different stages. I added a voltage regulator i had around when fixing my dodgy gauges on the Datsun (LM7810). /Christian
-
Yet another LS 260z swap :)
christianmoller replied to christianmoller's topic in Gen III & IV Chevy V8Z Tech Board
Good evening gents:), As my ECU doesn't seems to handle PWM controlled fans i got introduced to a new world, Arduino uno. I only have High/low in my ECU so to run my expensive Corvette C7 fan i have to buy an Arduino uno to solve this problem. This is a completely new world for me so this would be a side project to get it to run on high and low. Thanks Christian -
Yet another LS 260z swap :)
christianmoller replied to christianmoller's topic in Gen III & IV Chevy V8Z Tech Board
Hello to you all ; I have forgotten how small and tiny my car is after taking it down from the stands After i had the engine run in the car i started chasing trouble codes, two on the throttle pedal one on crank relearn and one on clutch position sensor. The throttle pedal shows two codes, one high and one Low, clutch sensor and one crank relearn. "P0122 - Throttle/Pedal Position Sensor A Circuit Low (Permanent) P0223 - Throttle/Pedal Position Sensor/Switch B Circuit High (Permanent) P0315 - Crankshaft Position System Variation Not Learned (Permanent) P0807 - Clutch Position Sensor Circuit Low (Permanent)" About the crank relearn, i'll wait with that until i can drive the car i think. Clutch sensor, is it wise to have one? I have no problems making a braket for one and wire it in. The throttle pedal is the one supplied with the GMPP harness and ECU and it looks like it is a Cadillac unit, and is wired as a Cadillac but i'm using a Camaro ZL1 ECU, could that be a problem? I have used schematics from a 2012 Cadillac and it seems to work except for the FPCM. I have tried to get "Alldata" and the "acdelco" schematics but no luck as i have no company/business. Have a nice evening Christian
-
Yet another LS 260z swap :)
christianmoller replied to christianmoller's topic in Gen III & IV Chevy V8Z Tech Board
Finally, its alive😀. After a lot of crimping battery cables and a lot of other things i started it up today. I have some problems with the FPCM communication and a code on the throttle pedal but i 'll look in to that tomorrow. You tube video on start up. Cheers Christian -
Yet another LS 260z swap :)
christianmoller replied to christianmoller's topic in Gen III & IV Chevy V8Z Tech Board
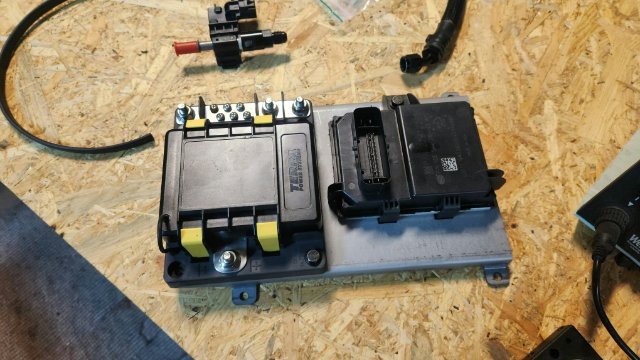
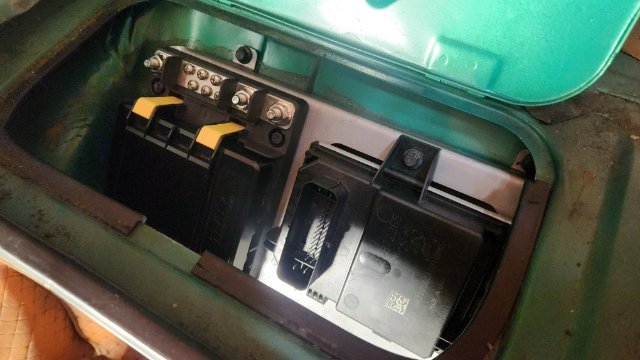
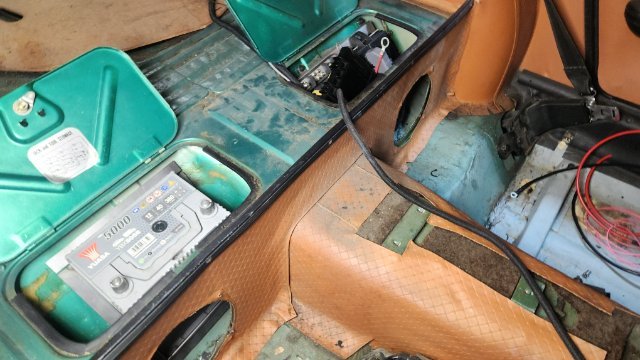
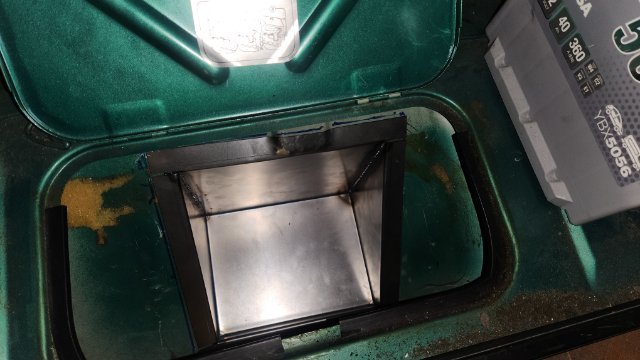
Slow progress.........again. I have mounted the harness and also the FPCM in the rear behind the driver seat. Battery tray has also been mounted behind the passenger seat. CANbus and ignition(12v) wire has been routed to the rear as well. /Christian
-
Yet another LS 260z swap :)
christianmoller replied to christianmoller's topic in Gen III & IV Chevy V8Z Tech Board
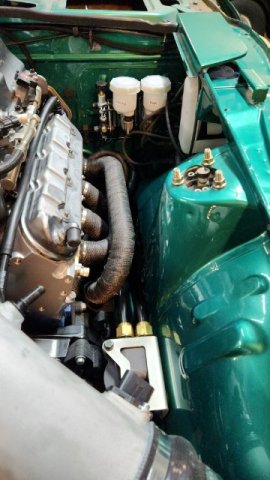
Hello, It does fit, i have 5/8(16mm) to the hood. My crank is at the same location(height) as the L26. My engine mounts are homemade so i had the ability to adjust for the AC compressor. Have a nice evening Christian -
Yet another LS 260z swap :)
christianmoller replied to christianmoller's topic in Gen III & IV Chevy V8Z Tech Board
Hello 🙂! Engine is back in the car again and some minor work has been done but not much...... Time to mount the FPCM and battery in the rear and harness of course. /Christian
-
Yet another LS 260z swap :)
christianmoller replied to christianmoller's topic in Gen III & IV Chevy V8Z Tech Board
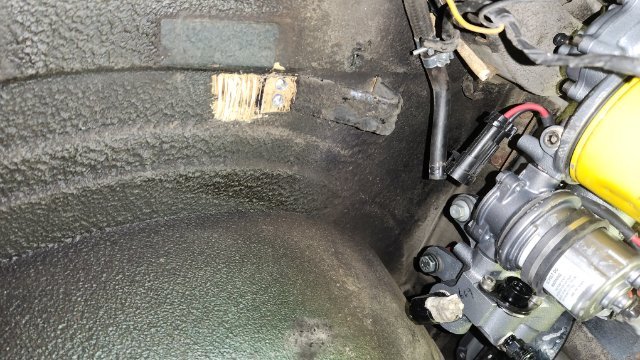
an update 😄 Life comes in between, other things has to be done but... Fueltank has been moved backwards 1" to make more room for the fuelpumps and filter. a new fuel line is made only thing left for the fuel is the flex fuel sensor. Pick up tube in tank has also been made. Front cross member has been reinforced. I have also pressure tested the AC lines and it looks good so far (N2 10 bar). A new flywheel is made so it's now time to measure clutch slave height.
-
Yet another LS 260z swap :)
christianmoller replied to christianmoller's topic in Gen III & IV Chevy V8Z Tech Board
Thanks! There will be an update soon........ It has been some changes at work so there has been other things to think of so not much happens in the garage. /C -
Heavy Duty frame rails and connectors
christianmoller replied to toolman's topic in Gen III & IV Chevy V8Z Tech Board
Those mirrors looks very nice, very close to the 1974 oem that i have on driver side. /C -
Yet another LS 260z swap :)
christianmoller replied to christianmoller's topic in Gen III & IV Chevy V8Z Tech Board
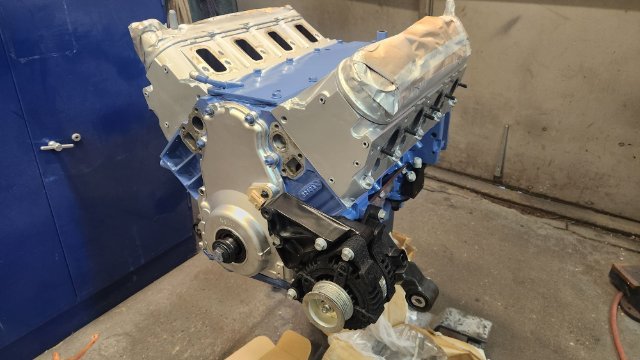
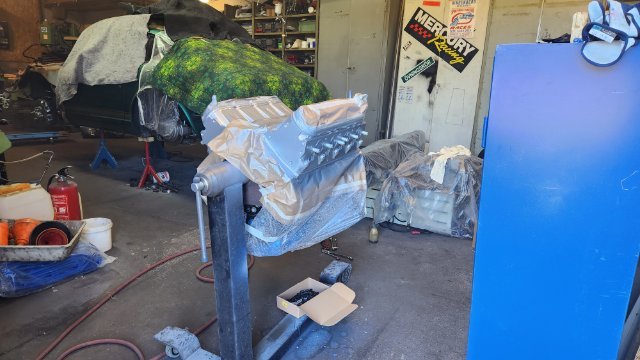
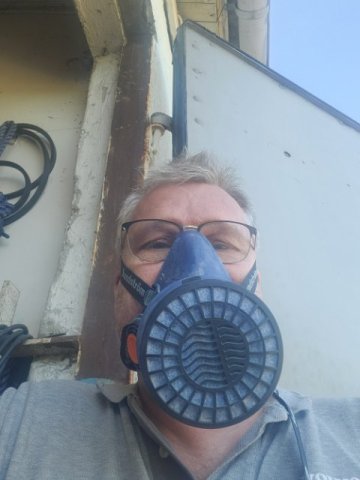
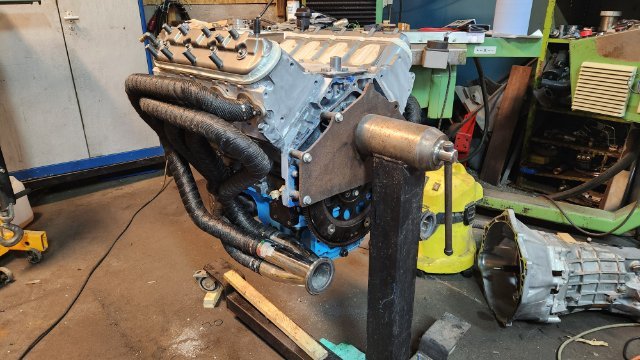
Hello,🍺 I finally had the engine painted, feels good. Not the correct Datsun blue but it will work. Heads went silver and the starter, alternator and AC compressor will be black wrinkle finish, engine brackets are semi gloss black. I also fitted a oil cooler and of course some more brackets😂. And a not so good pic of the man behind the spray gun 🤔 Have a nice evening
-
Yet another LS 260z swap :)
christianmoller replied to christianmoller's topic in Gen III & IV Chevy V8Z Tech Board
Hello, I got a bit crazy over all boxes,metal parts, packing material, bubbel wrap and so on that have build up over some time after this winters building so i cleaned up the garage of garbage so a trip to the city dump is planned for tomorrow.
-
CTS-V T56 question
christianmoller replied to lotussutol's topic in Gen III & IV Chevy V8Z Tech Board
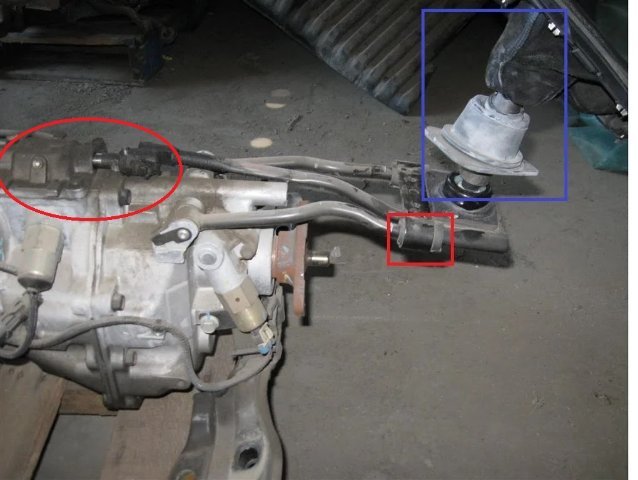
Thanks Berton, I have tried to locate the part in the red circle, what is it called, cover, lid ,base?!?. What is the height of this part? Cadillac don't exist here in Sweden so to find one i must look in US.
-
CTS-V T56 question
christianmoller replied to lotussutol's topic in Gen III & IV Chevy V8Z Tech Board
Hello, Picture is all black for me. I'm also interested of what the linkage looks like as i thinking of going that route instead of the F-body way. /C -
Yet another LS 260z swap :)
christianmoller replied to christianmoller's topic in Gen III & IV Chevy V8Z Tech Board
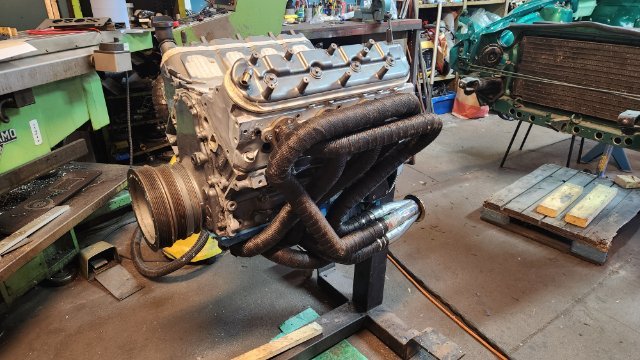
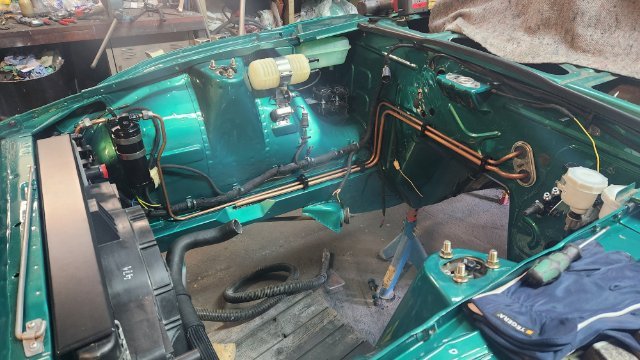
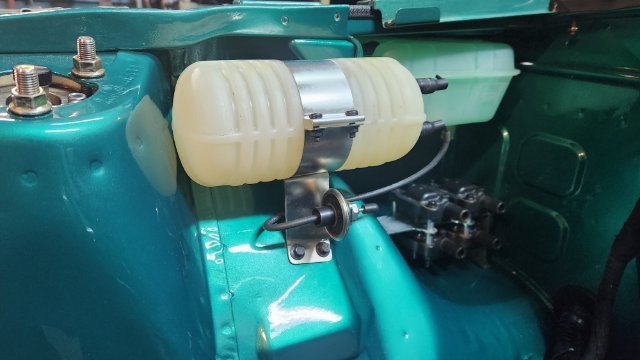
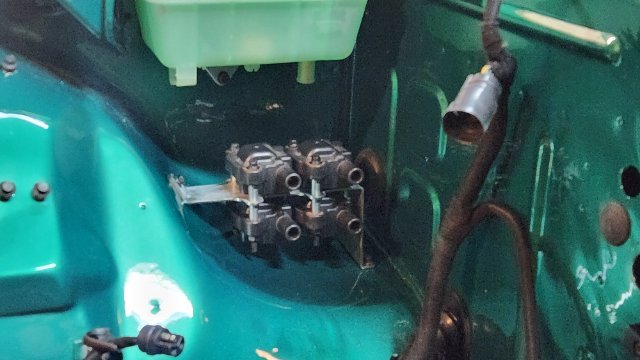
Hello, Slow progress......i have made new brackets for vacuum tank, ignition coils and some other tings. Did a test fit on the headers after final welding and they fit :) Started sanding the paint of on the engine. Air condition lines almost done and ready for painting.
-
Yet another LS 260z swap :)
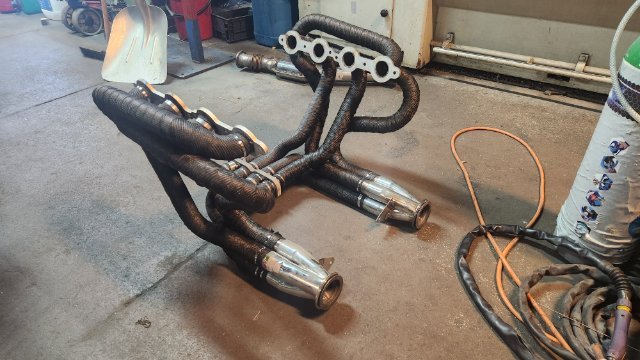
christianmoller replied to christianmoller's topic in Gen III & IV Chevy V8Z Tech Board
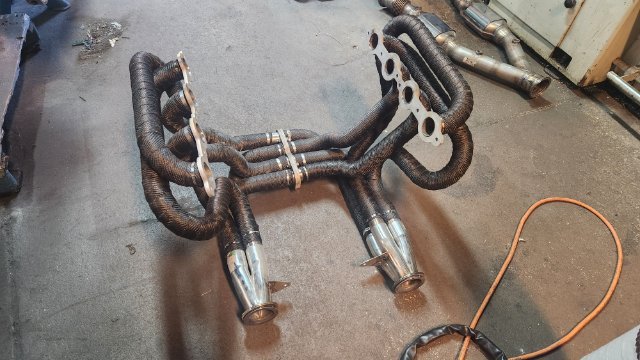
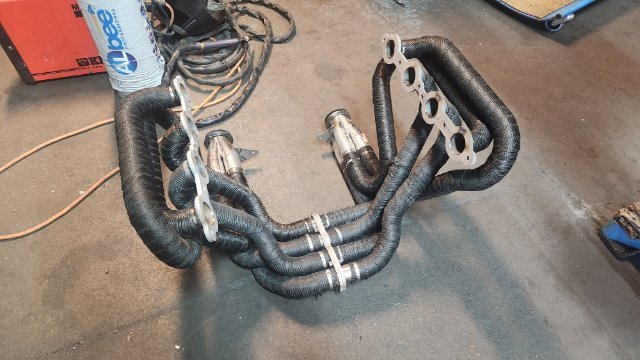
G,day, Finally the headers are wrapped and welded, i'm getting really tired of welding................ The box with rubber parts from the US came yesterday, looks good :). I also got a big piece of steel for the flywheel, when finished it going to weigh about 4 kilos(8lb).
-
Yet another LS 260z swap :)
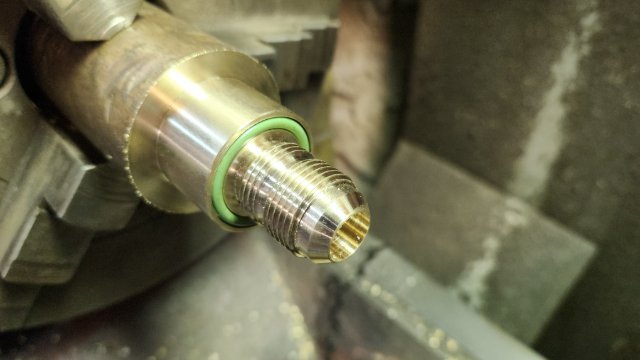
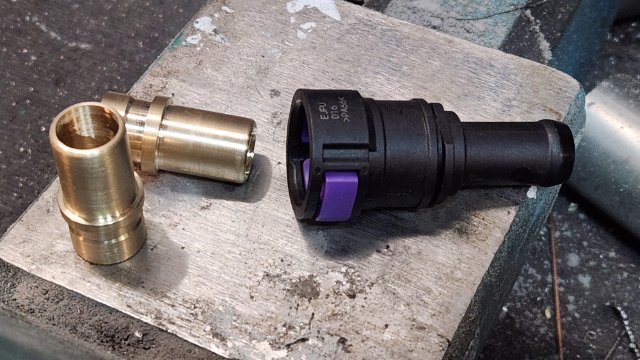
christianmoller replied to christianmoller's topic in Gen III & IV Chevy V8Z Tech Board
Hello, A small update :). The primary tubes are now welded so its time to wrap them and then tac weld them to the flanges so i can take them of for final welding to the flanges. Some bungs for lambda sensors are also welded to tubes before and after cat converters. Some brass fitting has been made for the Quicklok connectors and solder/brazed(?) to the pipes. What is the difference between solder and brazing, i have used silver as material, i don't know the difference(temperature?)? Still waiting for a box of goodies from the US with some rubber parts for the engine bay. Have a nice evening Christian