
Vintage-TechZ
-
Posts
328 -
Joined
-
Last visited
-
Days Won
1
Content Type
Profiles
Forums
Blogs
Events
Gallery
Downloads
Store
Posts posted by Vintage-TechZ
-
-
....and nearly a year later.......a thread revival,lol.......................
Lots of good info and theory here. Due to my job relocation to SoCal, my wide body AWD RB26dett project went to the crusher along with several cars and parts. I was only given 30 days to move from the midwest to the coast. They didn't care that I'd been on the road for ten years for them and needed extra time to sell off 13 cars and gut a 3 bedroom,3 car garage house and all the ancillary car related items. It was a huge loss in furniture,cars,rare parts etc. No room to store any of that not to mention cost for square footage.
Anyway......back to the AWD portion of this. A few of you such as Stoney and Mark R. have said/done.....going the tube chassis route like I was doing is certainly the right way to get it done solidly. Lifting the body up and away and lowering it many times as points become more clear works. Hacking away at the S30 floorboards is a ridiculous venture. Seriously better to go tube and weld pick-up points once all the footprint is established. Jig the chassis with round tube or square tube then cut the entire floor out leaving the firewall and dash points. You'll add sheet metal to replace the floors and seat mounts later that will be better anyway.
I had built a rolling jig with additional slide mechanisms because I also was widening the car width-wise 10". That was done for the most part. I also delayed things with a slight chop top from front to back -( 3" front to infinity rear blend).
If I had just done a rear wheel drive RB and forgone all the other dream driven goals I'd been driving it still today I'm sure. I never saw the job transfer coming and thus shot myself in the foot good! We are 20 something and then BAM ! 50,lol.
I managed to bring my last restored S30 L28det car out here with me along with the full AWD drivetrain,electronics,subframes,brakes,axles, trans, engine etc. But its in the way at my new composites shop. Its time to find a local fabricator to hand off and get it built to drive and enjoy......and to open up some floor space too,lol.
I'd love to do it at least using the rear R33 subframe and axles and brakes......my first car was a 70' 240, but at this point in my life - (age 51), I just want to enjoy the ride again. -
So I had a thought:
could you take the rear panel from a 240z (without the reverse light holes) and use it with just the tail lights from a 260z/280z, and then relocate the reverse lights? (say to the rear bumper or rear fogs or the like)
I can't find anyone who has done this before, and I really like the look of the bar tail lights on the 260z and 280, I think it would look really good and very clean.
I believe you'd need to swap the lights as well to pull that off as the surround window won't match the 260/280 lamp shapes. Even if you grind off the reverse lamp high area. The cars body hole may fit, you'd just need to test fit.
-
Anyone know if andy is still around playing with RBs? any contact info?
Late in seeing this Stoney. If your still needing to reach him, might try>>
-
They are Recaro Classic model 'C', an aftermarket dealer option on various European cars during the late 70's early 80's.
Top of the line, no doubt; I would love to get my hands on some vintage Recaro goodness!
Hmmm, I was kind of a seat,wheel whore for some time. I just sold my late edition Recaro's but did hang onto a near perfect set of black leather-(non power) Type C Recaro's that are stored in southern Missouri. I was just talking to my friend who is storing a lot of my stuff there in consideration of listing them for sale if your interested? I sold the BMW 5-series they were going into. It was a wide body AC Schnitzer S5 car with all of that tuners goodies from the era.
-
Does anyone know how well the RSX type s seats fit? i really like the look of those bad boys and Im 6 feet tall, just wondering how they would do for me.
Thanks
I have a black leather set with perforated center sections I had looked into fitting the pre-form foam and covers to a set of z steel frames. Its a nice seat with lots of support and looks at home in our cabins. It might require some welding in of the shoulder tubes and a headrest cut-out hole for the port since the stocker is just flat sheet metal. But it would keep the lower seat profile as the RSX bottom is lofty....too much so for remaining stock and being useful.
It would be a cool retro fit and give the best of both worlds. I'll be selling them in SoCal soon if there are any interested parties that would be interested in picking them up.
I'm too deep in adapting my Z4 M coupe seats to turn back now.
-
I'm still here

Probably not getting rid of or leaving the Z world, but I am in the market for my next project.
With braking being the achilles heal in that test for Nissan, I'd say things turned out very good. Spend a few bucks on a full brake system upgrade and maybe a rear diff dial in along with 75 hp boost and things might change in another test. I realize its a 'shoulda,woulda' sort of remark but still.
There is also a cool power steering kit that is column mounted that could have helped that jr. driver. I've let young drivers drive my non power assist steering car and it freaked them totally out,lol.
-
Tim, I just saw this HAHAH That’s funny and doubtful. Funny that a still have not get my stuff finished, and doubtful to best you beautiful Z
Anyway,
Here is my current
And My future (somday)
Both intakes look awesome in my book. Would love to see them in person sometime. By the way, I'm friends with your buddy BK-(helmet painter). let him know if we can meet up sometime ? I'm in Laguna Beach..
-
<br /><br /><br /><br />17x10.5 -19<br />17x11 -13<br /><br /> <img src='http://forums.hybridz.org/public/style_emoticons/default/smile.gif' class='bbc_emoticon' alt='' />Â Â Beast spec SSR Reverse mesh<br /><br /><img src="http://img.photobucket.com/albums/v482/jdizzy204/E4646194-1AA1-4A08-93D5-E11BFC1780A3-2694-000002890630C80C.jpg" /><br />jdizzy, those are awesome finds !!
-
Closest your going to get here in the states is from ZCCJDM.com
Hmmm, Im going to say your wrong on closest. There was a guy in San Diego who procured an original set and made molds to produce them in a short run. I'm picking up a set from a guy in Missouri who can't go forward with his build. Oddly they are coming all the way back to SoCal.
-
Great placement for twins. I had planned on doing something similar only placing them back further with ducting and at more of an angle to avoid rocks eventually stabbing pinholes. Down low on our cars they can get pummeled there.
-
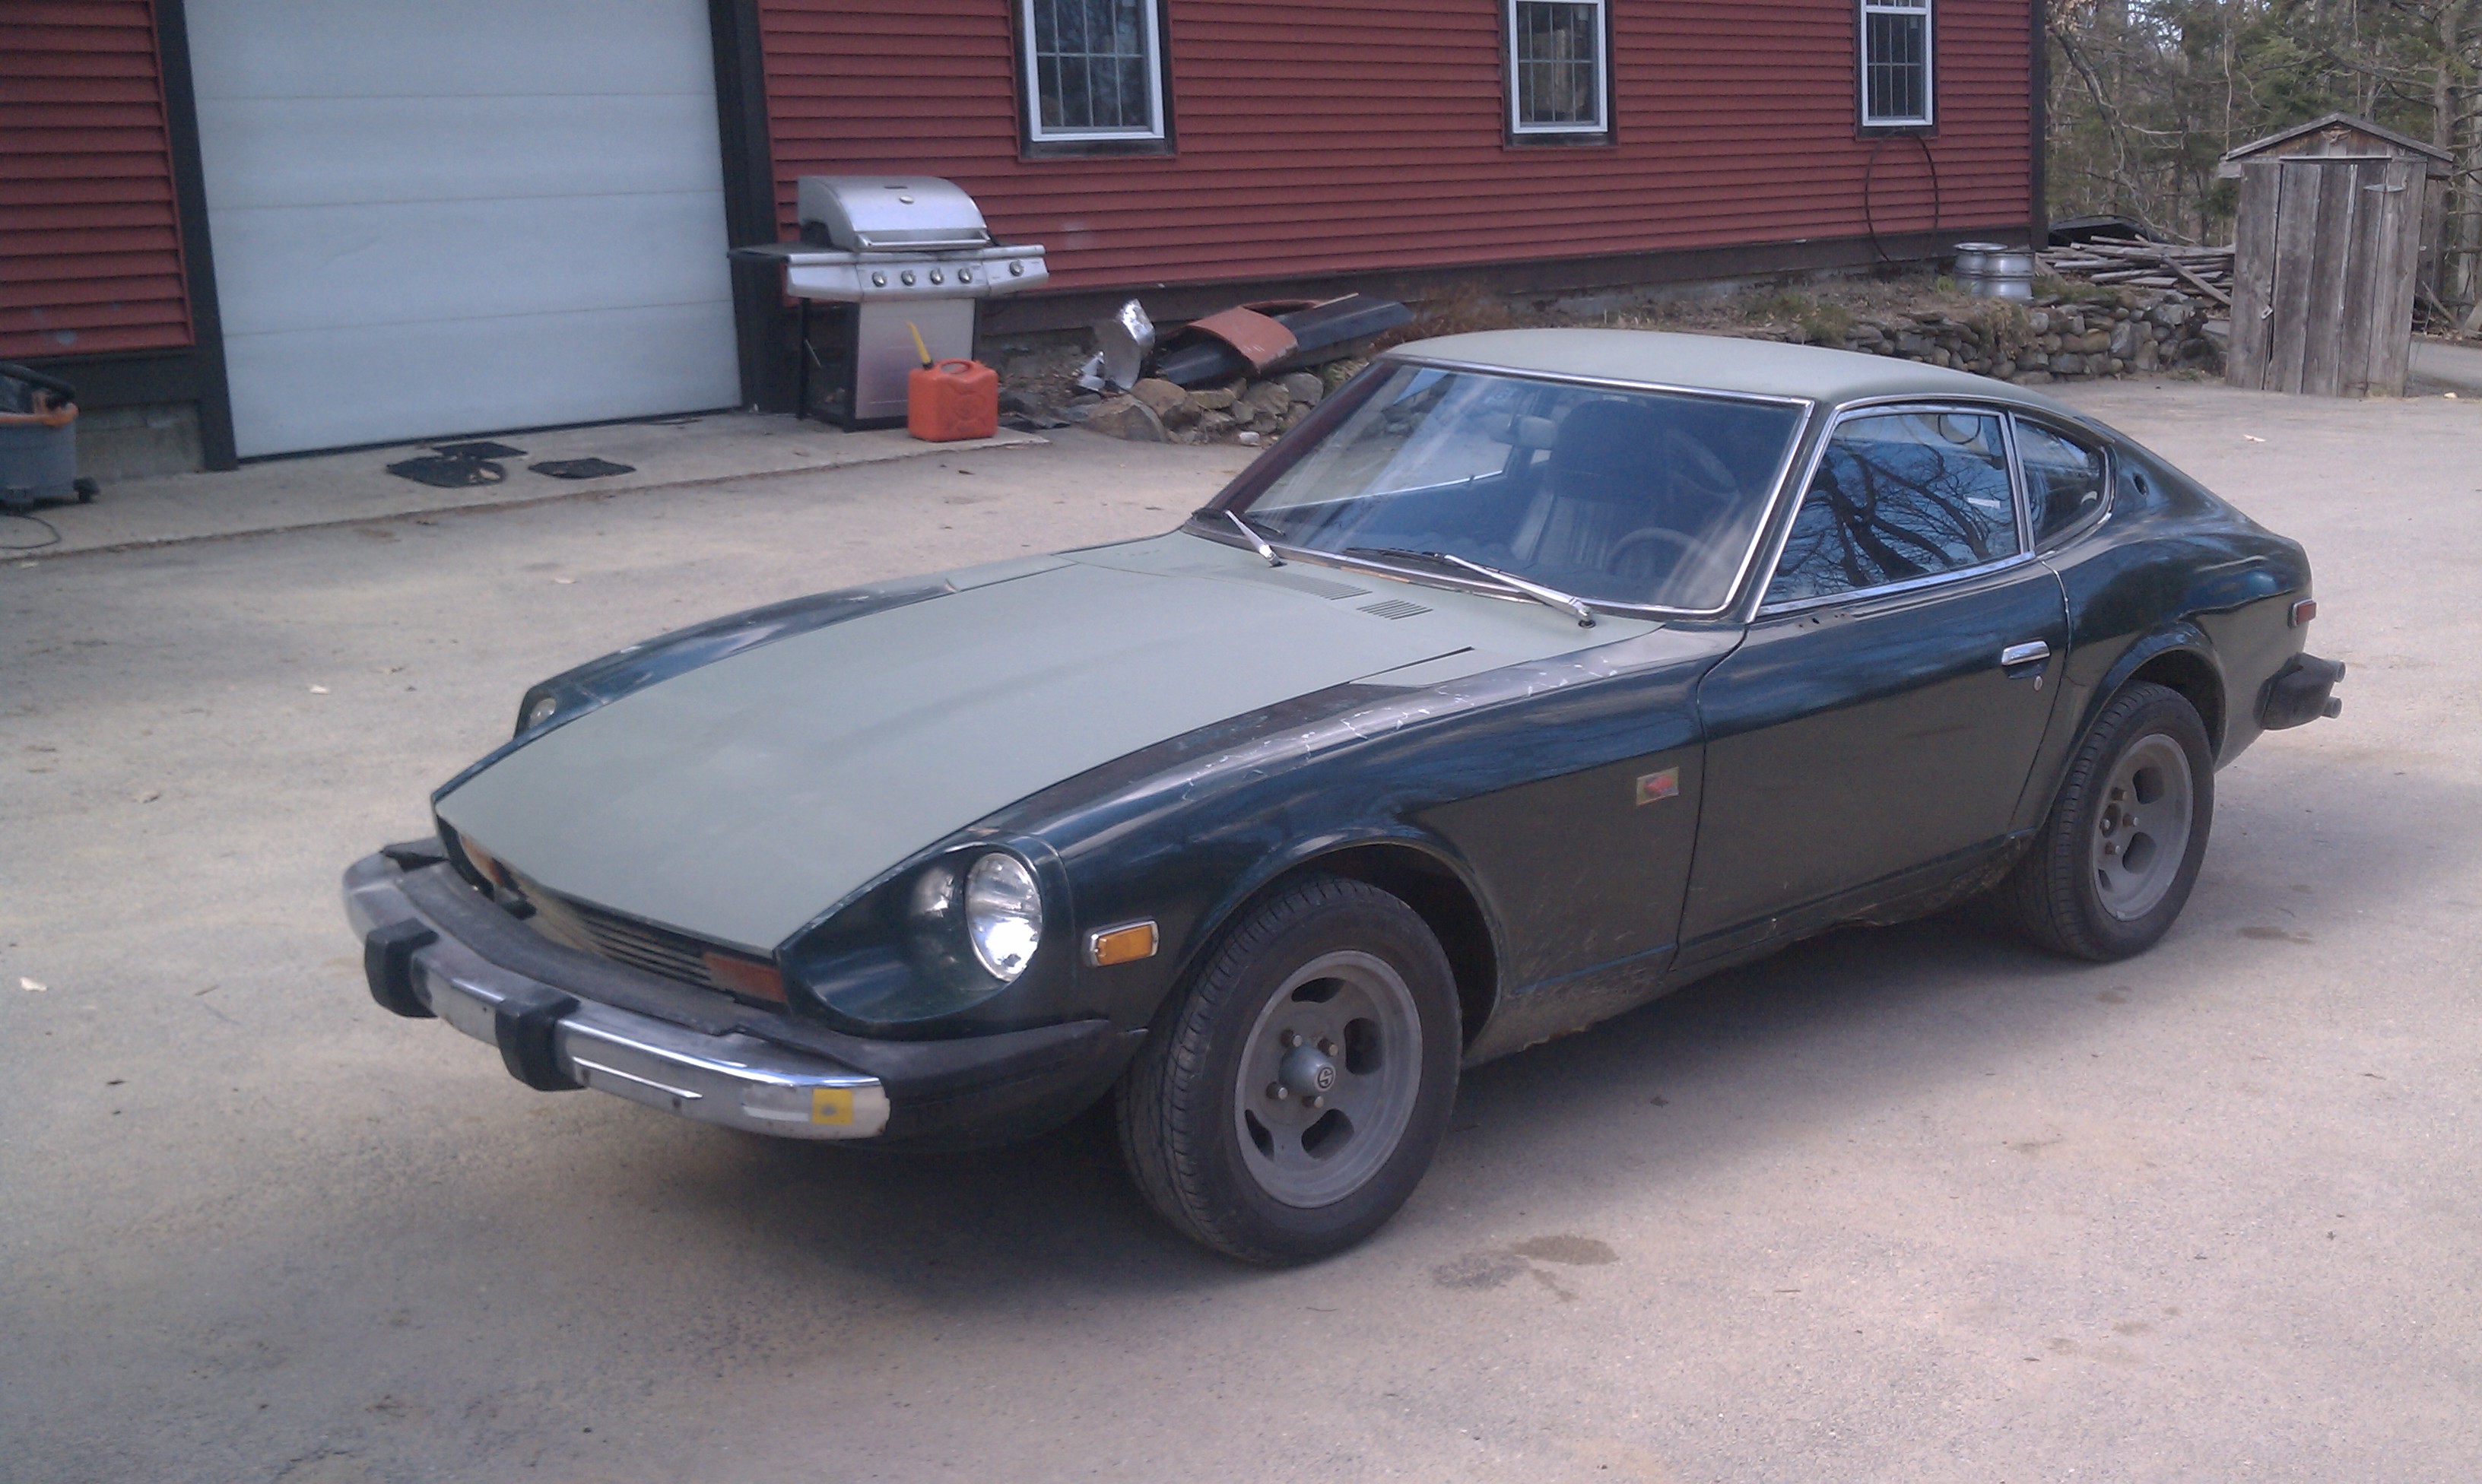
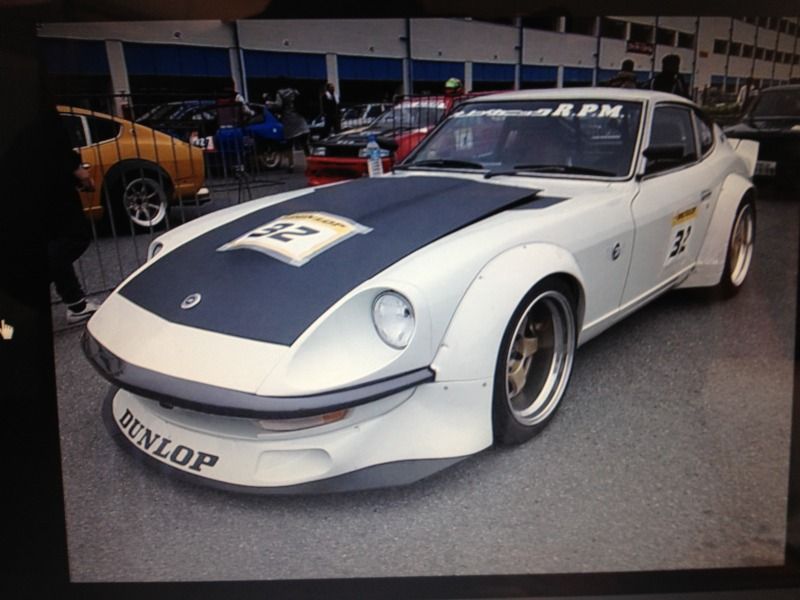
Here is My Z. Still a lot of work needed to put into it. Working on getting it all one color once I take care of some rust so I can concentrate on other important stuff.
Green seems to either A' , be rare or B', not so popular of a color,lol.
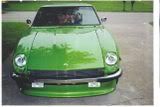
Although my car is undergoing updates since this shot some years ago....its still the same OEM green with a touch of added yellow for pop.
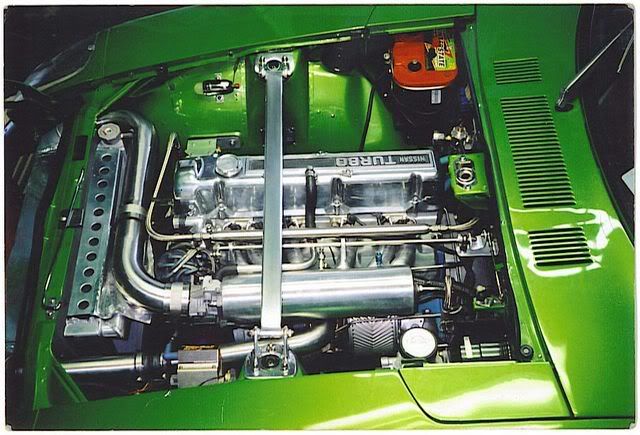
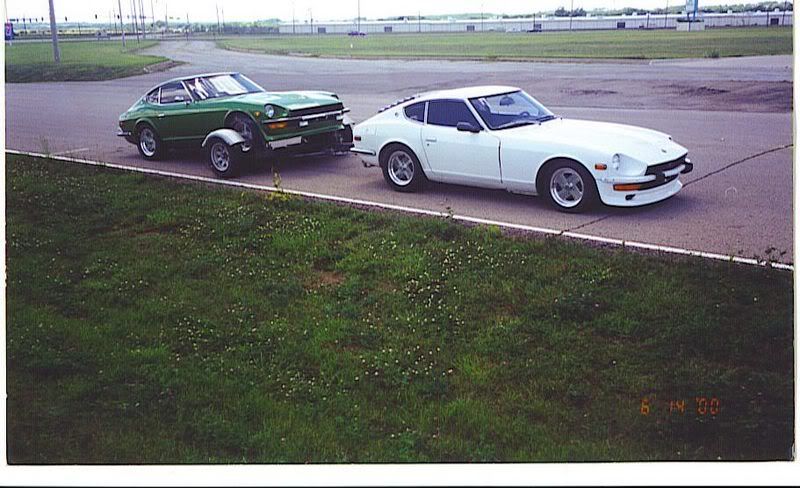
It now has 18"x10.5" Veilside Andrews w/285's rear. And is getting the early super wide Works JGTC type body kit. I had to move to Cali in Dec. of 2011 so my earlier widebody awd dreams were squashed in Missouri. Just can't afford space out here like back home.-(huge sigh).
Works body kit looks kit this mounted.
-
I don't have time to get involved any more.
Lol @ Tony D......I feel you here,lol.
I always do my own prep and paint and its very satisfying once past the initial learning curve and tool cost outlay.
About 20 years ago was my last set of painted frames and trim....and it still looks awesome today. The steps were >>
1)- Fully pull all trim off and separated from seals,glass etc. -(NOTE:-You can do this on the car but your results will decline)
2)-Either media blast with quartz or thoroughly sand with a DA or by hand with autobody grade papers.
3)-Wash with soap and water,airhose dry and wipe sterile. Repeat with alchohol or metal prep wash.
4)-Make a hanging rack with wire- (hang from garage door ,rafter etc.) I actually did mine outside in full sun for best 3d visibility.
5)-Use any quality self-etching primer-(key).
6)- Spray your choice of catalyzed body color paint or one part S.E.M. trim blk. Spray evenly and slick...do not heavily coat. 3-5 light coats works best.
7)-leave in the sun all day before handling.
Note...the thicker you make the layers of prime and color on trim...the easier it can be chipped when smacked. The post cure in heat helps greatly to avoid this result.
-
I can't wait to hear this beast come to life with a roar Mark !! Your Plenums look killer btw.
Wekfest last Sunday was interesting. It was fun to see the various reactions to my car mid-build ("uh, what kind of motor is that?"). Here are a few pics:
-
Not sure if it was the 3m stuff or the filler/bondo used. either way we were kind of in a hurry so my guess is we didnt wait long enough. only one side showed up where the screw holes were. But like i said a little wet sanding and polishing will fix it.
The last car I restored was black and would sit outdoors all day in the sun.
I ground the steel panels with 36 grit discs very well. Wiped them down with acetone and airhosed off with filtered air.
I did the same to the backside of the glass panels.
I was installing a 3-piece rear deck spoiler and as a test I used 2 different adhesive methods. 1)-Straight Bondo and flush mount screws. 2)- Panel adhesive for Corvette's.
After 6 years in the sun and many hard road transitions and hatch slammings......there were zero cracks or shrinkages noted in a wet sanded glossy finish.
The car met a tragic roll-over death which effected ALL panels. The bonded on parts STILL did NOT crack. We had to hammer them off to keep the unusual spoiler.
This is a true/factual story.
-
Waiting for a few bits to land here in the UK so have changed the rear turbo air intake set up as i was using the original RB26 set up but had to cut it down to make it fit, i was not happy with the bend and it would have caused problems with the air intake..
So have made up a new part.
Fabbing an enclosed air box to isolate heat from the filter would be a nice addition. You could even induce outside cooler air via the inspection lid with either louvers or a cable system that would open it manually or with a servo motor driven by vac signal.
-
Robbie always does nice porn....
That's no doubt ! I'm soooo jelly !
-
I have a drive by at 130mph but its kinda lame cause its on a gopro.
Beggars cant be choosers !
-
Mother ***** this things is fun. Wow what a difference the cams and 4.11 gears made. Completely different car. Even with lower comp on number 6.
Thats what I like to hear !! Have someone shoot some video of drive-by's and in-cabin for us to find motivation with !
-
Pro tip: Don't buy 3 inch piping. It took me so long to cut up everything to get it to fit, it almost doesn't.. When I open or close my hood it rubs on my 90 deg bends off the IC, I need to fix that.. Gotta get my BOV and air temp sensor welded on.
Careful placement and planning of your clamps and joints will avoid rubbing. This goes with any system install I've found. I've had 3" in place for both IC and full exhaust -( like many on this forum)....with no issues of fitment or rubbing-(even in engine twist in regards to mounts).
-
Hey that sounds like a missfire.... No thats just 60psi on compression on cylinder Six... PPPHUK 2.9L stroker time.
Wha?? SIx lost a ring ?
-
Looks awesome and thanks for the frequent updates. Interesting to see the progress.
That turned out killer Matt !
-
 2
2
-
-
UPDATE:
What a long holiday weekend. We were able to take the car to the track and do some very needed setup on the car. After a two year build to finally get her out on track is a great feeling. No major issues. Just had an incredible time all weekend long. Whats really cool is to have her on the grid along with a bunch of new exotics and everybody wants to look at her and talk about the old school ways.
This is awesome. I can only imagine your feelings while breaking her in with big dog company along side !! Congrats !
-
There are places where I'm lapping over pitted metal (rust taken of with steel brush. Do you think this would still suffice or should I be looking at a rust converter product before hand?
John hit upon a key point....clean metal. Your describing additional remaining rust....and rust NEVER sleeps. The Zinc aided spray primers work great, but only on well prepped metals. (READ CLEAN). If you cannot honestly get ALL of the rust out prior to welding....then cut it out and shape your own butt-weld patches from sheet.
Your work will be re-visited if you don't.....and always sooner than you'd want. Trust us on this !
-
Hi rnye and Gothalosism, I've studied dozens of pictures of 240/260/280 Z cars with the G nose. I think I have a form that will fit, possibly with a little trimming. Would one of you be willing to try a light cover piece to help me alter my patterns for a good fit? I could also include L-braces made from the same crystal clear plastic to mount the covers with. From a short distance, the braces would disappear and the covers would look like they are floating on the car. I've attached a couple of pictures of some of my covers fitted to a different type car to show what I mean. Please email or call me if you're interested. I'd make you a free set for helping me make these available to G-nose owners.
Thanks,
Mark Clapp
Mark, to be period correct on the extended nose ZG cars.....the headlight covers come with a formed metal surround trim to hold the lenses in position. I'd imagine the best way to go about this would have an original full set in your hands to make your bucks. It may be up to someone else to make the replica metal trim rings if you are unable to.


New Paint for the Autism Awareness 570Z
in Body Kits & Paint
Posted
Looks great Bart! That attention to detail will always make it nicer than the rest when sitting next to one another at a show. I can visualize a stripe on the two-tone paint line in grey to pull in your wheel color nicely.