Zinpieces
Members-
Posts
101 -
Joined
-
Last visited
-
Days Won
1
Content Type
Profiles
Forums
Blogs
Events
Gallery
Downloads
Store
Everything posted by Zinpieces
-
thanks for the tips, its pretty much what I did do it was just first time welding on my car didn't realize how thin the metal is
I've been welding for about 4 years now I'm even certified haha I bought the welder because I'm tired of being a bother to my friend and its portable.
-
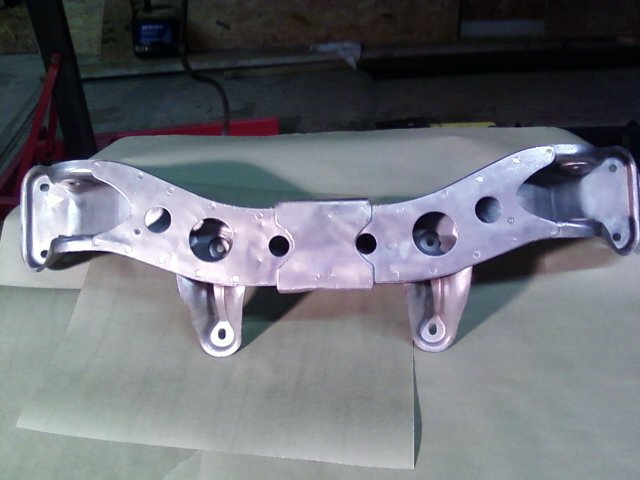
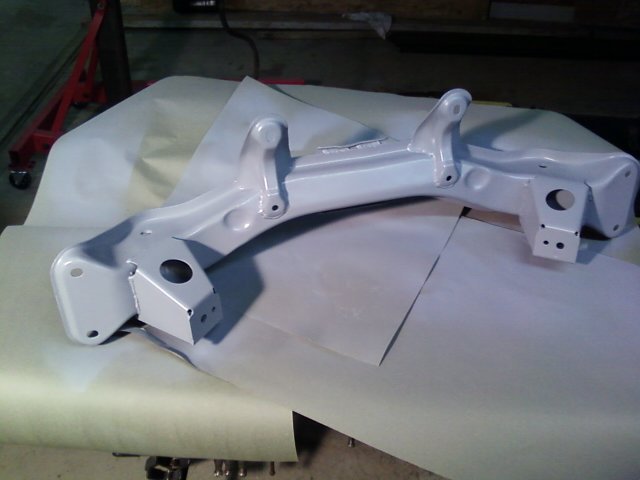
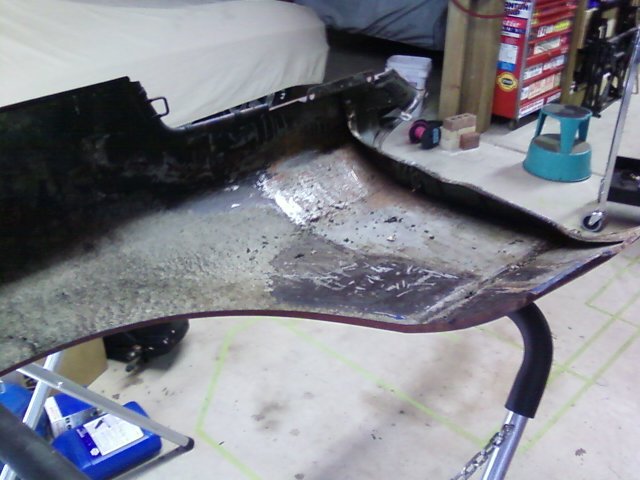
Today I moved on to the front fender well, ultimately it was a lot easier to just remove the fender. I bead blasted the front cross member and primed it. I picked up a 200R4 last week that was done at Level 10 Performance. Came out of a Firebird with less than 2K on it. Gabriel at TTT has been very helpful planning out the rear suspension. I have a donor Q545 so I'll be tearing into that soon.
-
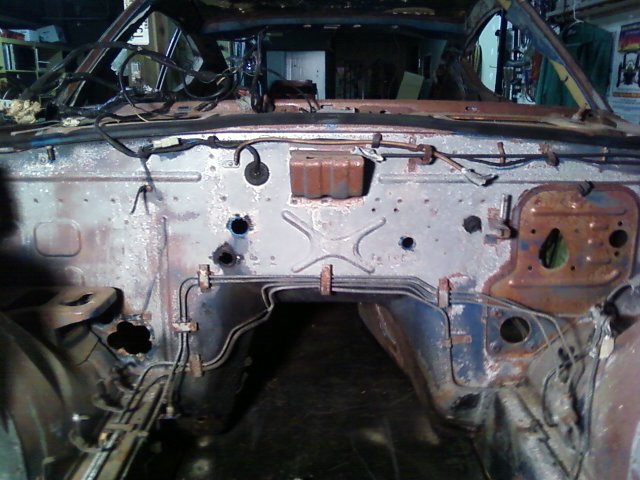
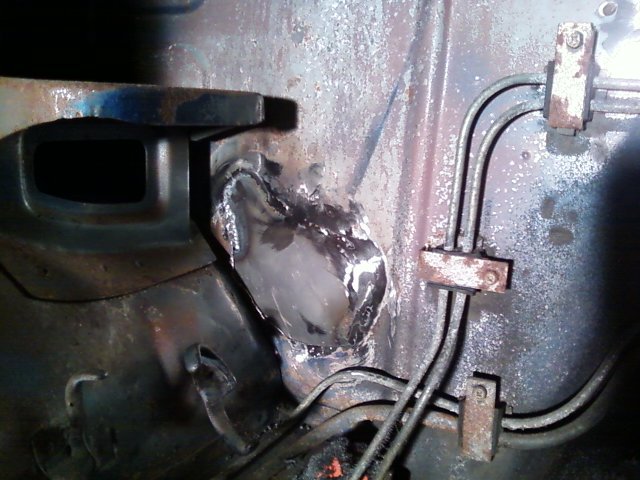
Today was weld up some holes in the firewall day. I will be using an Old Air Products Hurricane heat and AC system and their piping goes through the bulkhead in a single opening.
-
There is a world of information about your motor right on the block and heads. There is a pad right behind the alternator on the block with data and on the back of the engine you will find casting numbers. There are many sites on the internet to help you decode the numbers, figure out what type of vehicle the engine came from etc. Check out the site below, it is from Year One and contains a tutorial on engine id. Good Luck http://www.yearone.com/updatedsinglepages/id_info/gm_engine_id/engineinfo1.html
-
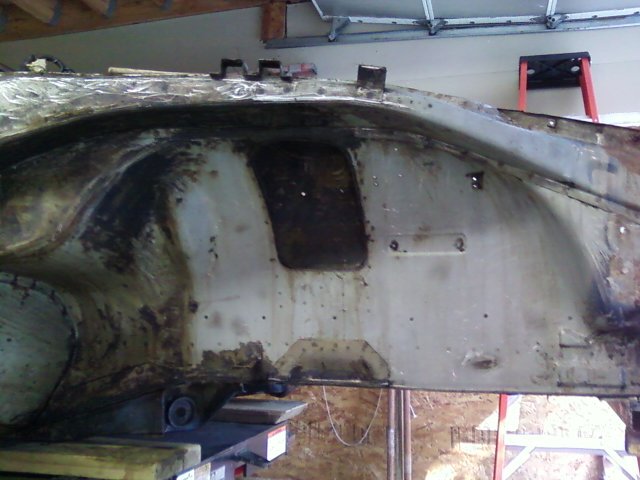
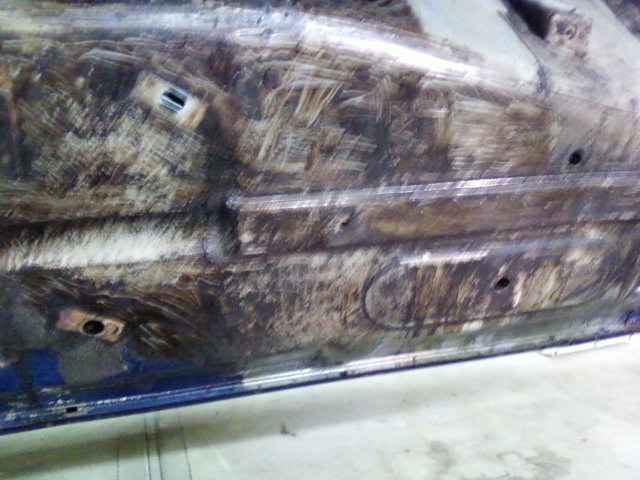
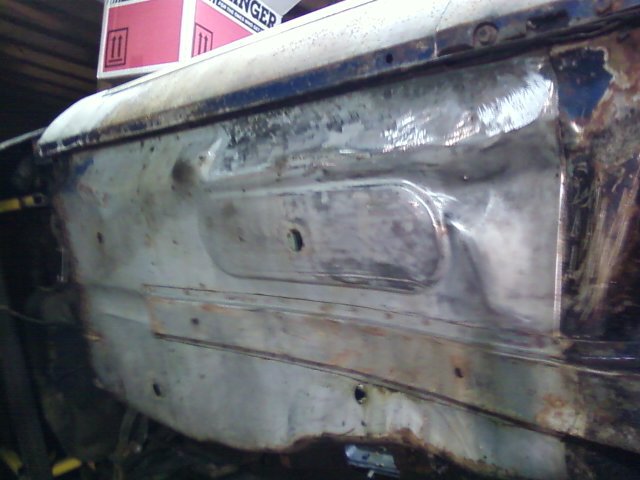
now that the bottom is pretty much cleaned up I removed the sound deadening material and the HVAC equipment from inside the car. I used a six dollar Harbor Freight impact chisel to remove the sound deadening mats. The chisel worked great ,lowered the air pressure a little guided the chisel by hand and did both sides in under 1 hour. Then I put the car back on the lift and straightened the floors and subframe where the old owner drove over something. Next its back on the rotisserie to weld in the Bad Dog rails.
-
Shame you bought all those parts. Maybe you should look around for a better car and start over. Check my build, "Let the games begin". I found this roller for under 2K and I sold off the original drivetrain so my actual cost is below 1K. Just a thought.
-
Hold the presses, and call the fire department Batman! Probably you are drawing too much current through the headlight switch. When converting to halogen lamps you usually need to put relays in the circuit. Let the headlight switch operate the relay and power the lamps from a higher wattage source. Had the same problem in my Buick when i installed xenon lamps, four relays later no problem. 2 relays were enough, i get carried away! Hope this helps!
-
I am seriously considering side pipes on my 240 with a sbc. Part of my thought process involves being able to retain the stock spare tire well and gas tank. Every Z picture I have collected that has dual exhaust has the exhaust running under the rear suspension. I really don't like the idea of hitting the exhaust going over a speed bump. I know the low point of the exhaust would be right between the rear wheels mitigating the probability of bottoming out, but I really don't like things hanging down. Also having a spare tire is comforting not to mention not having to gut my floor to put in a fuel cell. The side pipes will be uber loud, but I don't hear all that well anymore so what the Hell!
-
six guys three 2x6's no problems
-
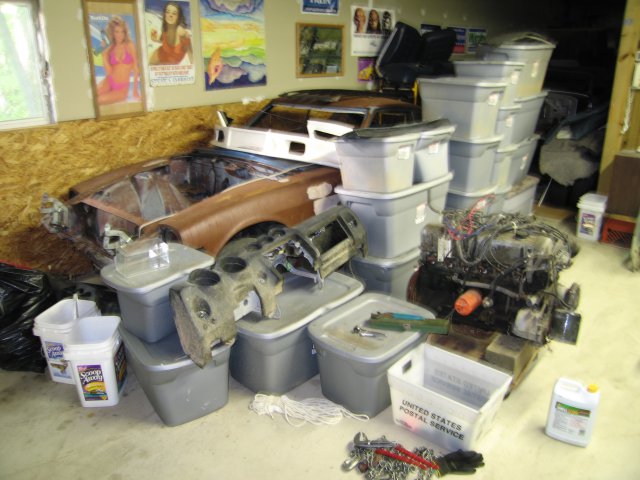
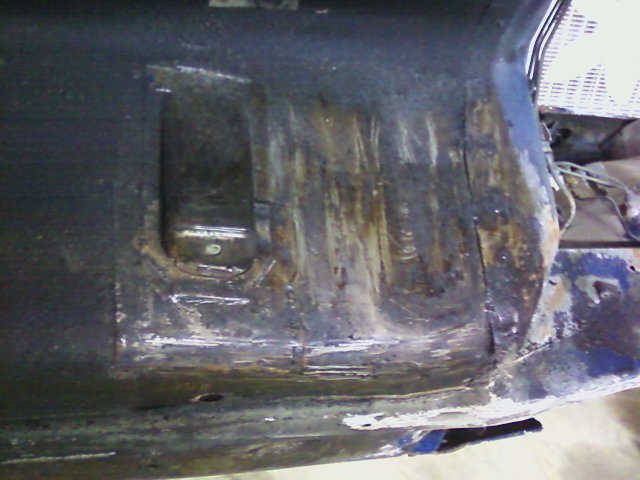
Well today was day three, I only count the days I get to work on the car! I spent a few hours removing the undercoating the old school way. I removed a section at a time with a propane torch and a scraper. Then I set up a baby pool under the car and applied lacquer thinner using a garden sprayer. I used a parts brush to clean and the thinner washed away the residue. I recovered the thinner, ran it through a filter and will reuse it as long as it remains effective. I call myself Zinpieces, I'll include a picture of the car as I bought it, That will explain everything. Last week I ordered a SBC kit from JTR, hoping to get that this week.
-
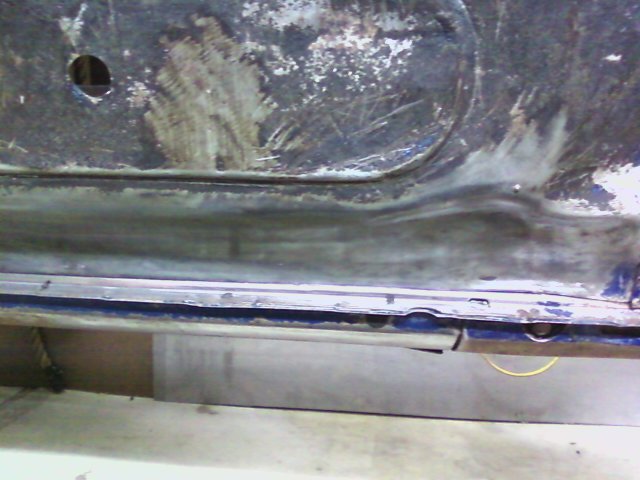
I did some checking and got general agreement that dipping my Z is not a great idea, Thanks. So I'm going to do the underside old school. A propane torch with a flame spreader and a putty knife will remove most of the undercoat and paint, then I'll wipe it down with solvent. sounds like a lot of work , and it is, but its also practically free! the small section I did took about ten minutes.
-
What size wire are you using? I find for lightweight sheet metal #23 wire is about right. Finding the right balance of wire speed and heat are a matter of practice and trial and error.Your patch panels can stand a slight gap that you can back with a piece of copper to contain the weld pool and act as a heat sink. With very light metal you can weld fairly quickly. Not for a long time, just quickly. with plate steel you can actually allow the weld puddle to form and drag it along the workpiece. with tin it's a matter of practice. If you wait to see the result you will blow through. TIG welding is another option, then the panels can be tight as you are melting and fusing the metal without or with very little rod. Try to keep your weld as flat as possible, it reduces heat and grinding. Practice makes perfect. If there is any rust on the metal you are welding cut back to solid metal. Your patch may be larger,but chasing rust is a bear. Hope this helps. Some guys are more comfortable dragging the gun, some prefer to push. Keep the gun at a 45 degree angle from the workpiece This will help with the flow of gas over the weld.
-
Thanks for the thought on the acid dipping. As far as the rust goes this car has no rust. I have been all over it from the inner rockers to the dog legs to the hatch, inside the fenders and the frame rails there is literally no rust. I am mostly concerned with the rubberized coating on the bottom of the car. Media blasting and soft surfaces are a lot of work. Thanks for the thought I will consider it
-
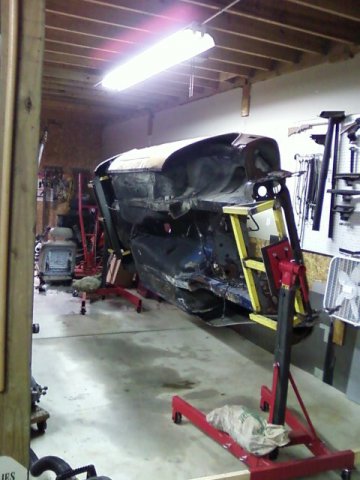
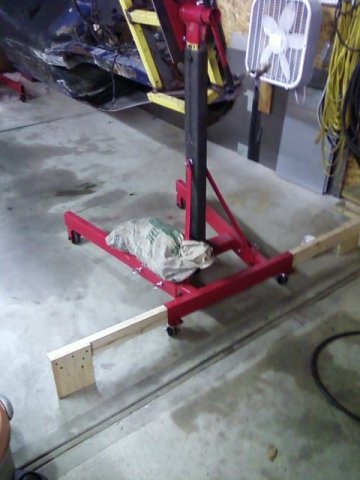
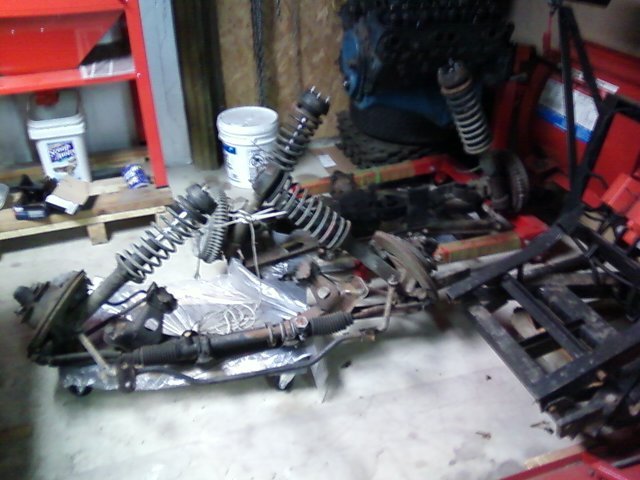
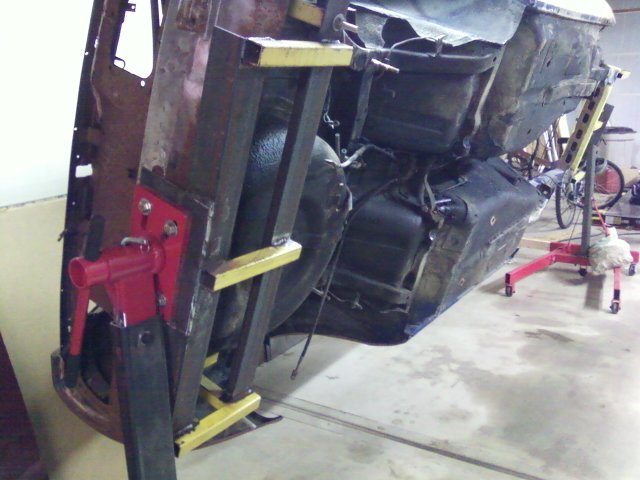
Well today was day one. My 1971 Z was purchased as a roller a few months back. After spending a lot of time learning from this site and preparing my game plan I finally got down to work. Today I pulled the front and rear suspension and put the car on my homemade rotisserie. Next step will be to finish removing all the lines, hangers, cables etc. Then I am considering having the body dipped. I cleaned a small section with a scraper and a wire wheel on a die grinder, that will take forever so I am looking for a good stripper. Anyone had any experience dipping their cars? I am in New Jersey. As the project moves along I'll post again. This forum is the best resource I have, thanks!
-
Lubrication for shop air compressor/motor oil-atf
Zinpieces replied to zgeezer's topic in Fabrication / Welding
First and foremost you need to drain your compressor tank at least weekly, daily under heavy use and most often in humid weather. Compressor oils are a specific formulation designed to cling to parts. Most compressors are splash oiled, no forced lubrication. Most auto or hardware stores will have compressor oil. It does come in different viscosities so look for a plate on the compressor head or tank. Also have a water separator in the air line and oil your tools every day you use them, rust forms in tools very quickly. -
Came across this and thought the members might get a kick out of this guy. I'm not exactly sure what topic category this belongs in but it should be out there just for the cool factor! http://www.opb.org/programs/ofg/segments/view/1686 follow the link or cut and paste, enjoy!
-
I am building a V-8 Z myself, I'm considering destroking a 350 and building a 302. They are real screamers! My thinking is that I can wind it up faster than a 383. Torque is all good until you twist something. The car weighs nothing so the hardest thing will be keeping it on the ground!
-
please tell me my car isnt toast!
Zinpieces replied to ZBISCUIT's topic in S30 Series - 240z, 260z, 280z
First things first, what makes you think the frame is straight? You really need to get the car up in the air and take some very careful measurements. Also look carefully at the front crossmember, are the bolts loose are the bolts even there? You would have to whack it pretty good to move it two inches. Usually when things get hit they move back, not forward.Check the lower control arm for distortion or bending. you really need to get under the car and compare the geometry of the right side to the left side. Hopefully you will find something obvious, it takes an awful lot of damage to make the car "junk" If you are still not sure , take some pictures and post them. somebody will spot the problem -
please tell me my car isnt toast!
Zinpieces replied to ZBISCUIT's topic in S30 Series - 240z, 260z, 280z
-
It would be nice to know what corner of the planet you are from?
-
Don't know where you are or what year your Z is but I have a fully machined ready to assemble L24 collecting dust. Comes with new pistons, rings, cut crank etc. etc
-
Every time you tap the coil you are simulating the turning of the distributor. The lobes in the distributor opens and closes the points or triggers the magnetic pickup sending a signal to the coil to fire a plug. This is how firing order and ignition timing are controlled. Even with the engine just cranking you should see each plug wire fire as the distributor turns. Other common ignition problems include bad caps or rotor, weak condenser. The condenser is there to mitigate the arcing across the points. When you do see a spark is it yellow or blue. Yellow spark may indicate a weak coil. Check for dirt, cracks, loose connections, all these things can degrade the ignition circuit.
-
Try running a hot wire to the coil, bypassing the ignition switch. Could be as simple as a bad switch.
-
Very clean installation. If it's alright I'd like to pick your brain sometime. I am still in the design stage with my '71. I have a small block and a 700R4 case for fit. Currently i am looking for a Q45 LSD.
