Ptero
-
Posts
49 -
Joined
-
Last visited
Content Type
Profiles
Forums
Blogs
Events
Gallery
Downloads
Store
Everything posted by Ptero
-
Noticing a fair amount of smoke from the exhaust on that 2nd video 😬
-
Cold start: Operating temp:
-
Found the engine to be stumbling a bit so I'm trying to dig into what the issue is. L28 with an E88 head. Pulled each sparkplug wire individually with the car running and there was no change when I pulled the wire leading to cylinder 3. Placed the wire close to the sparkplug and I could hear it sparking so I know it's hot. Got a new set of spark plugs, no change. Tried another wire, no change. Cleaned cap & rotor, no change. Adjusted all valves cold to .008 for intake and .01 for exhaust, no change other than running smoother overall. I didn't adjust them when the engine was hot. Next I did a compression test with the following results: 1 - 133 dry / 141 wet 2 - 135 dry / 140 wet 3 - 135 dry / 142 wet 4 - 136 dry / 143 wet 5 - 140 dry / 148 wet 6 - 144 dry / 153 wet According to my spark plugs (which are black & sooty), I believe I'm running rich. Carb setup is round top SU carbs which I tuned last summer. I barely drove it last summer, but I'm thinking it was stumbling then as well. While I search for the next step, I'm also looking for suggestions on what to try next.
-
I read this as you bought it for $75 and thought that's a hell of a deal 😅 Then I realized it's a '75 haha.
-
Got impatient and had no use for the torque converter. Used a sawzall to cut it off at the bolts once I had the trans off. *shrugs*
-
Yeup, I've watched that video too 😊 I think I've got my mind wrapped around it. My mechanic is lending me his degree wheel, piston stop & dial indicator so I can make this happen. Now my curiosity has gotten the best of me so I'm gonna give it a try.
-
I guess it's really more separating the torque converter from the engine. Wasn't sure if I'd be able to get at the bolts without being able to turn the crank.
-
How do I go about removing an auto transmission from a seized L28? Can I pull the trans off while the torque converter stays attached to the engine? Even if you can, how does one remove the torque converter at that point?
-
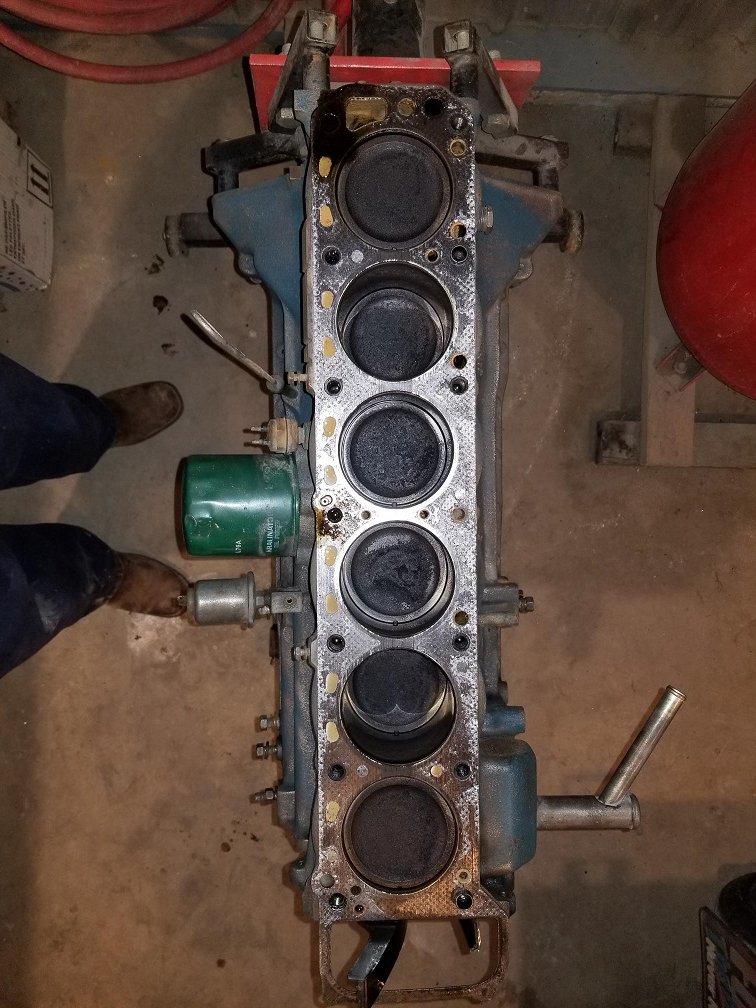
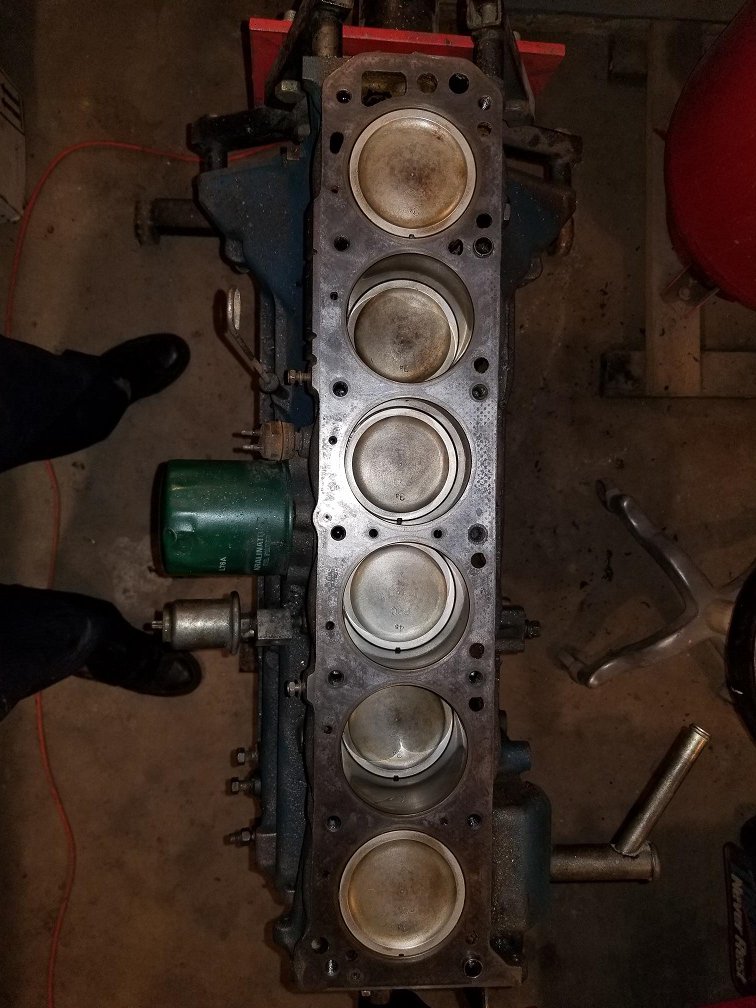
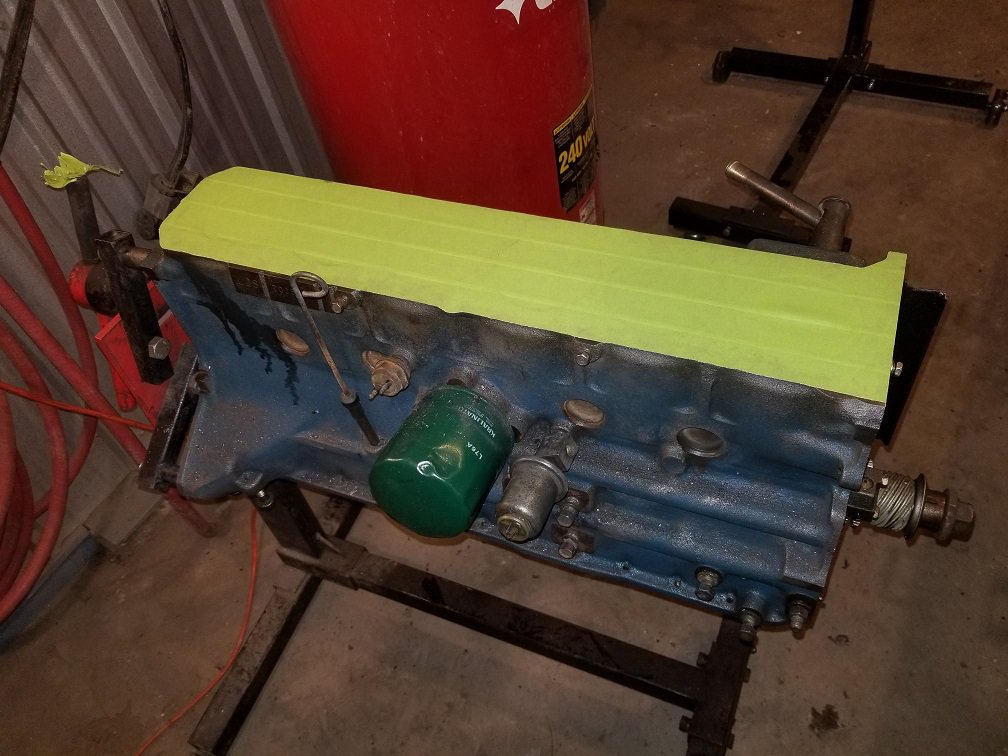
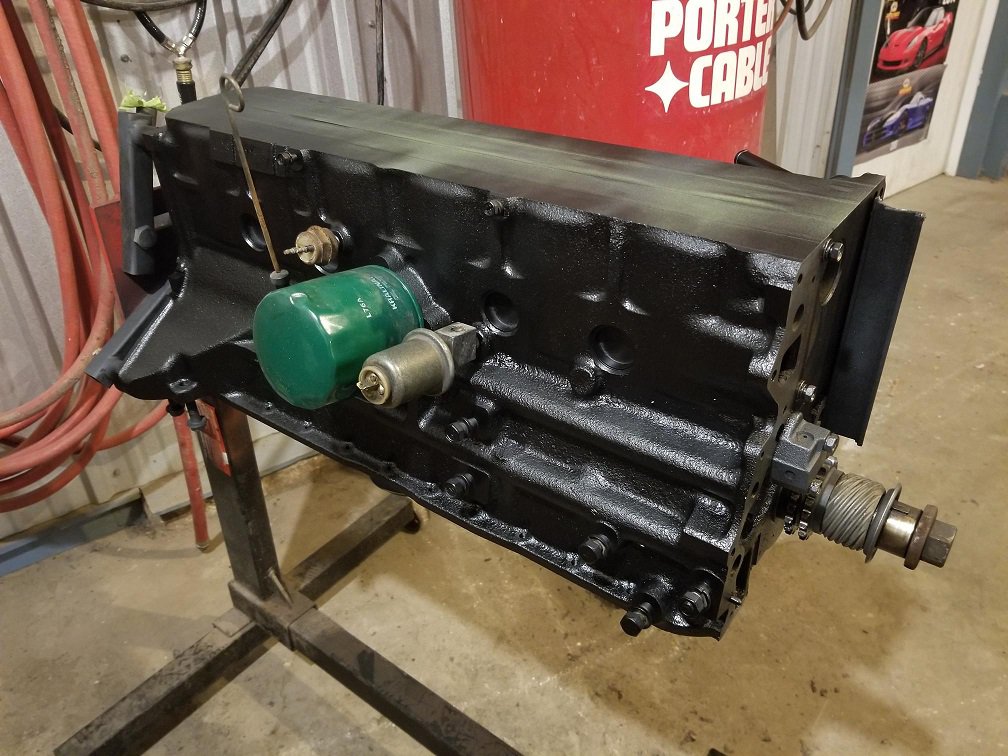
Progress of the cleanup.

-
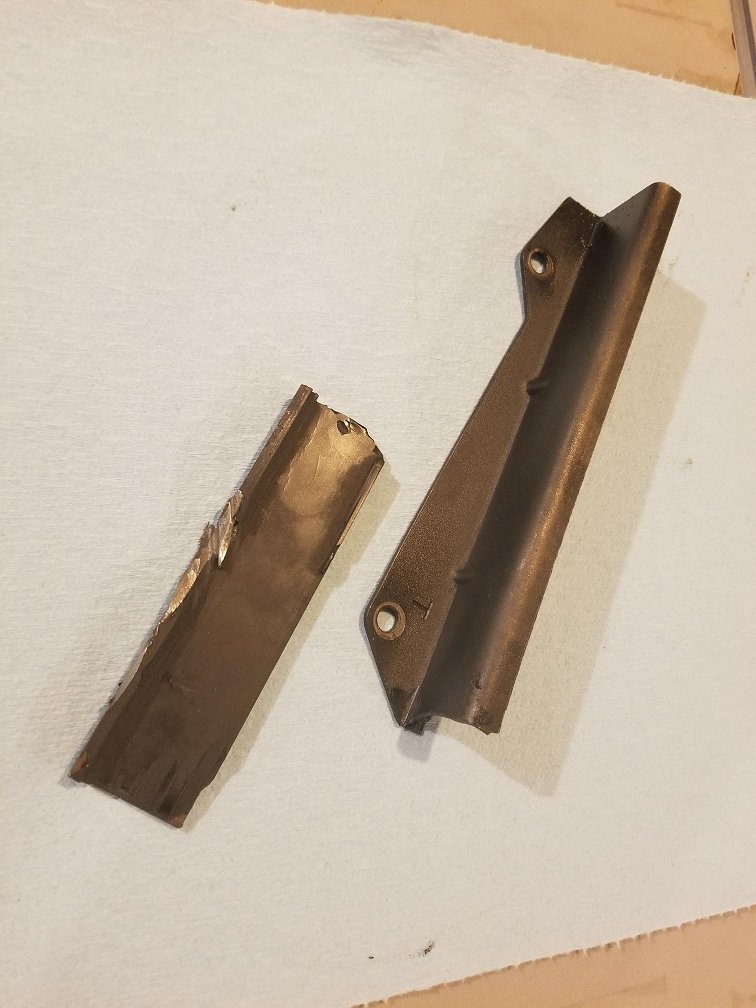
Timing chain ate into the guide after it broke off. When looking at timing on cam marker #1, the engine was quite retarded. Given that and the broken timing guide, I can only imagine the chain is stretched. I didn't even bother lining things up with marker 2 or 3 on the sprocket to see if that would take up the slack. I'd feel better just getting a new timing chain kit.
-
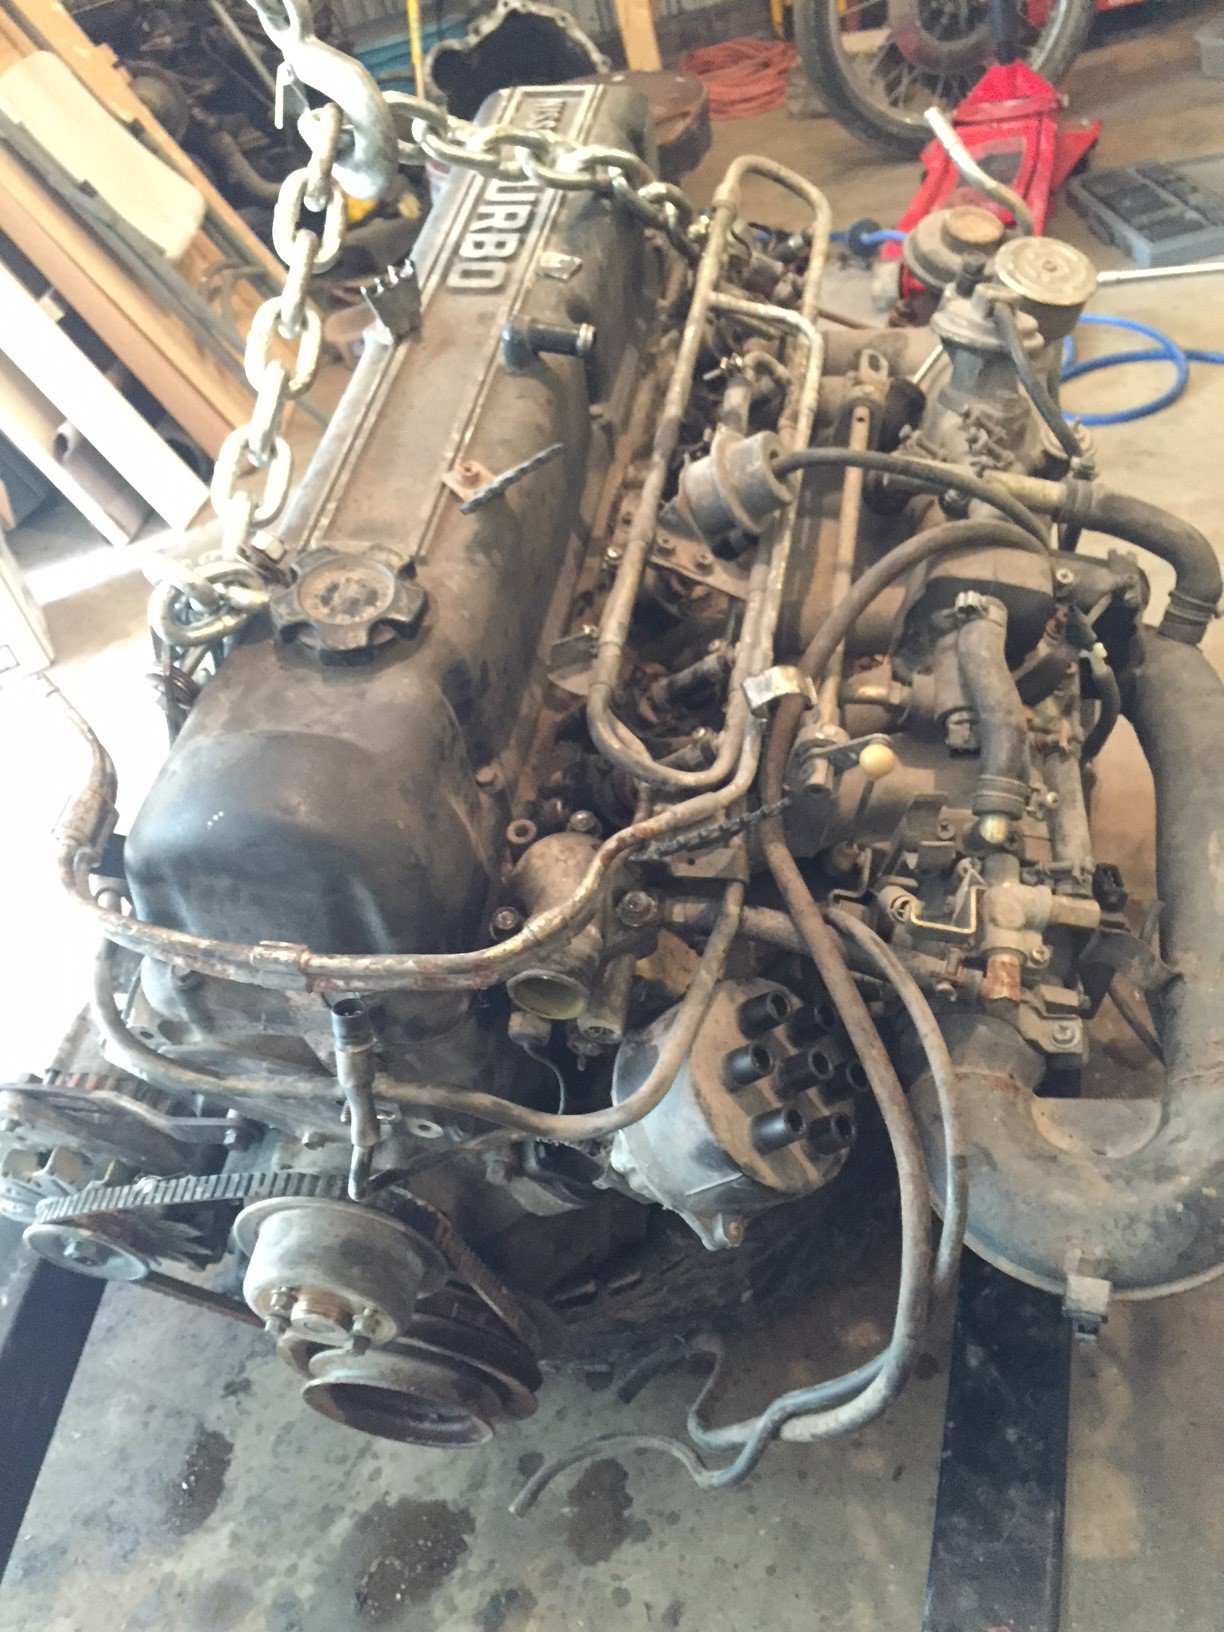
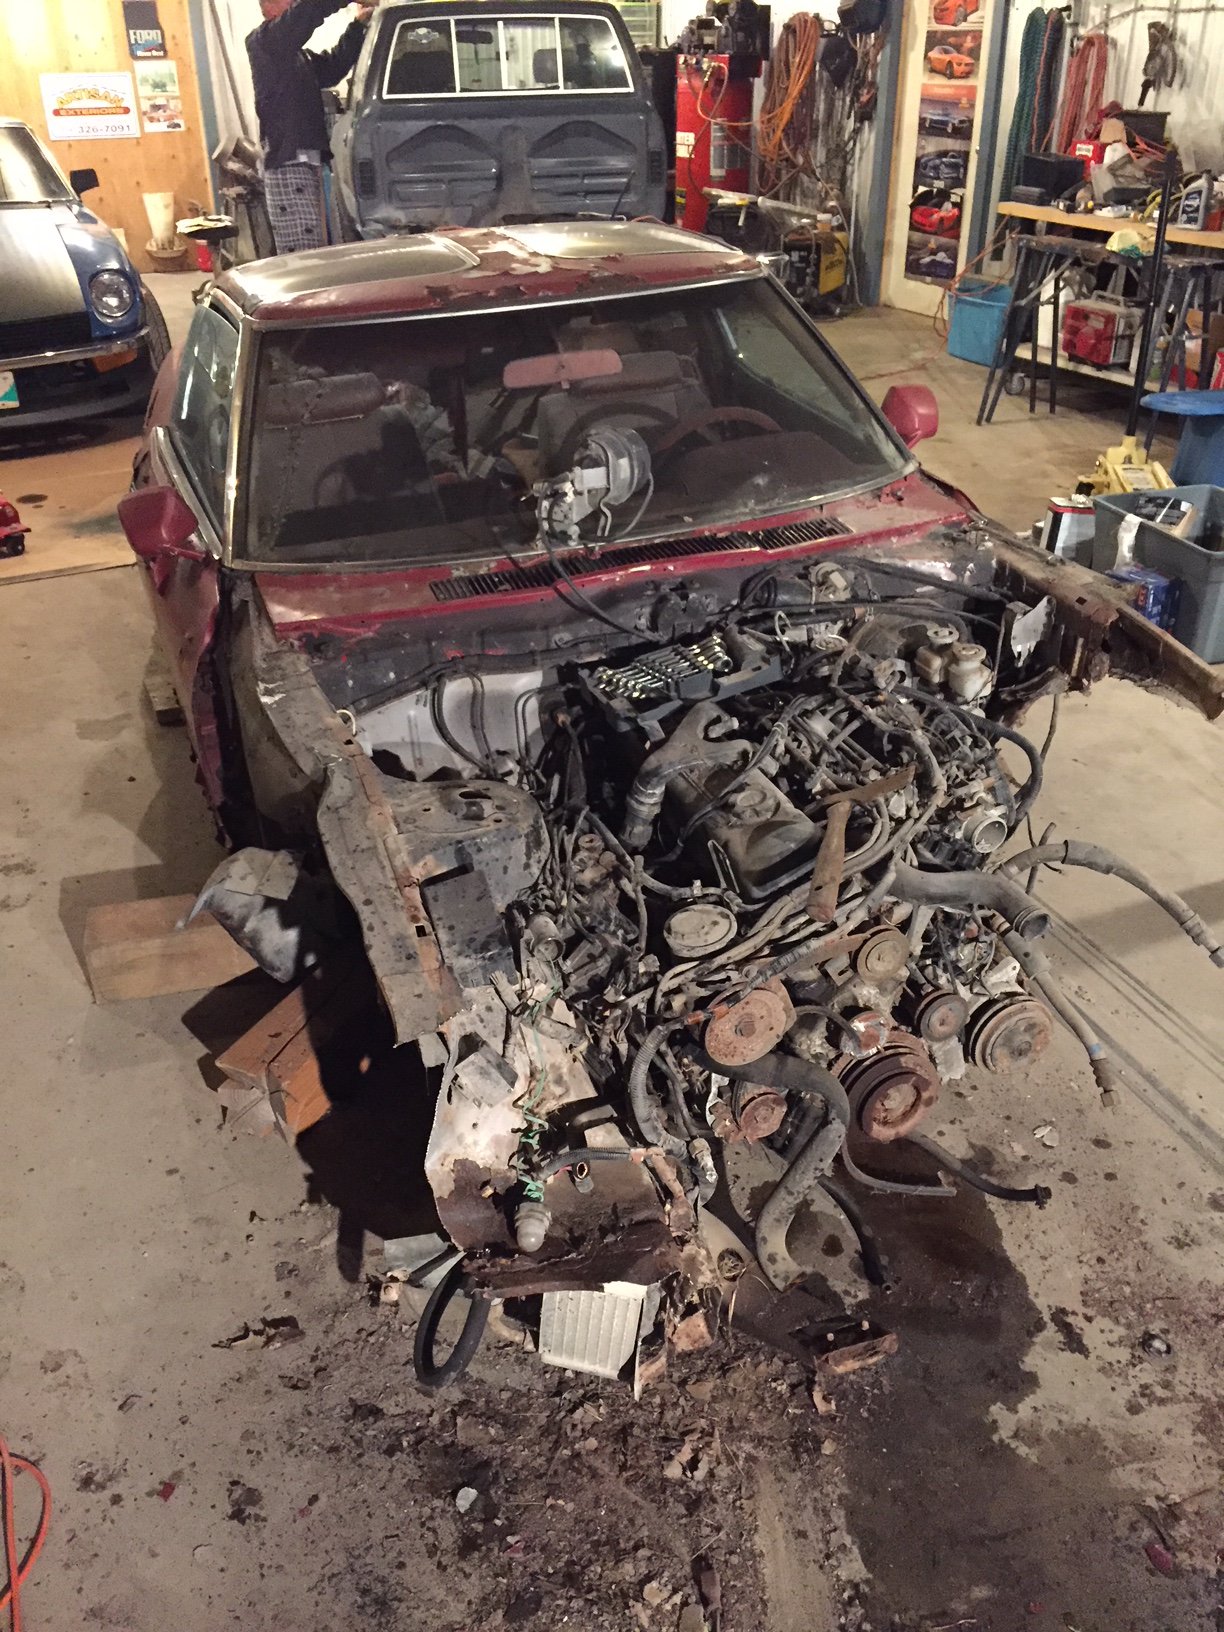
Engine I'm looking to refresh is an '82 l28et /w a F54 bock and P90 head. Upon first inspection at home, the timing guide had snapped off half way. Cool. Neat. Great sign of things to come. The previous owner was obviously clueless. So I proceeded with caution. The spare engine /w donor car had been sitting for a while. Totally seized up. Spare parts are great though. It ended up being easier to tear the engine out than lift it out. When in doubt, use a bigger hammer. So I used a combination of elbow grease, sawzall & skid-steer.
-
I suppose it's time to do some kind of work on my car and I'm needing a winter project. So here we go. Project thread. Engine: 82 l28et (apparently running condition). Also a spare 81 l28et for spare parts. Goals: driving Car: Running 260z or 260-280z shell (can't remember what it is) I know this is nothing new, but I'm mostly keeping track of this for my own personal records and also trying to keep myself motivated.
-
I saw that thread last night. It was late. There were big words. I'll read through that thread once I've got my caffeine. At this point there's a certain amount of "while I'm here" thought process and I'm trying to curb unnecessary steps. This looks to be something worth doing.
-
Looks like this is all covered in chapter 2 of the infamous "How to Rebuild your Datsun Engine". It would appear my comment above is correct.
-
After looking at it, I think it's making more sense now. Timing cover isn't on as the head and block are separated. Timing chain is obviously not on due to that as well. So if I'm looking at this right... Keep in mind the cylinder head is not connected to the block. Cylinder head can be timed by having the #1 mark sprocket notch line up with the oblong groove. I believe the FSM even says the groove would be slightly to the right of the oblong marking. Lobes at this point should be the "rabbit ears". Making sure the block is at TDC on #1 cylinder is pretty easy because the head isn't on. Now I can mate the head /w the block knowing they're both at the correct positions to put on the timing chain. Am I on the right path here?
-
Forgive me... dumb questions coming up. (I've searched but haven't found the exact answer I'm looking for) So it turns out I like learning things the hard way. I did a dumb thing and pulled apart an l28et about 2 years ago and didn't mark anything in respect to timing. The goal was to do a refresh /w new gaskets & timing chain as I found that one of the timing guides had snapped in two from what I can only imagine is chain stretch. The block is currently at TDC and the cylinder head has been removed. For the purpose of my question, lets say the head is not at what would have been matching TDC of the block. After doing some searching people seem to mostly say the cam lobes on #1 should have the rabbit ears. That's pretty vague and can be interpreted differently by each person by just visually looking at it. Is there something more precise than that? Can I adjust the head independently now that it's not attached to the block to make sure the cam is in the correct position before attaching it back to the block? Do you get the best bunny ears you can, install the head /w cam sprocket lined up /w #1 on the sprocket and it'll be pretty close with a little movement to align the teeth of the sprockets to the timing chain? Probably over thinking it, but this is all a learning experience for me.
-
-
-
Wheel Show! Post your pics of you wheels
Ptero replied to k3werra's topic in Brakes, Wheels, Suspension and Chassis
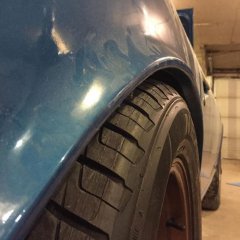
Test fit. Rota Grid Classics 16x8 et0 /w 245/50r16. I may need to bump down to 225 though as I'll need spacers with 245s to pass the spring perch up front and it's mighty close to the fenders. -
It was time to do some restoration so I started with the front end. The bushings were barely held together, one thing led to another and before I knew it, I had dropped the front end to refresh everything. New parts arrived. Started powder coating everything!!!! Rebuilt calipers with new seals, pistons, pads and zinc plated. Freshly powder coated, new front bearings installed, new rotors & rebuilt brake calipers looks like this: That brings us up to speed for the most part. I'm still unsure of the direction and size of the restoration. Maybe I'll stop buying new parts are start fixing a few of the rust spots.
-
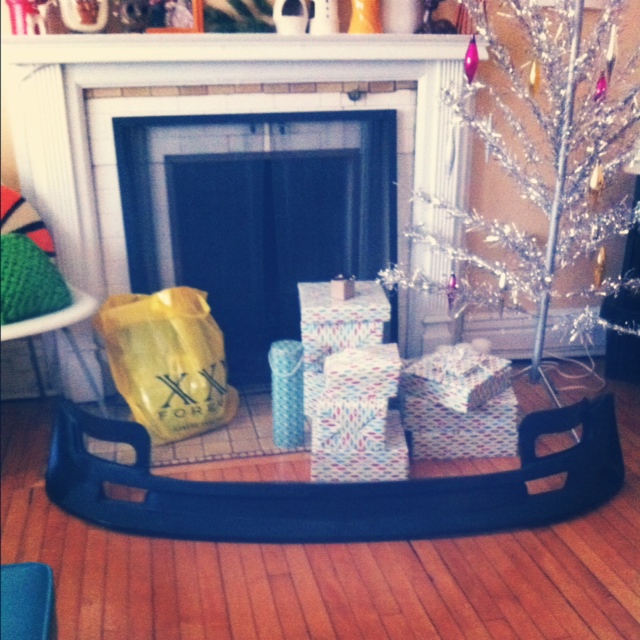
Next I found a junkyard '71 240z & '81 280zx turbo and for the right price, they were mine. In hindsight I should have left them at the junkyard but hindsight is always 20/20. Turbo engine ended up being seized. A while later I stumbled upon this neglected '81 Turbo which was found in a hoarders garage. It was found underneath boxes upon boxes of clothes and other random junk. Despite it not being driven for quite a long time, we still managed to get it running. Albeit, a bit rough. We'll get back to that at a later date. I couldn't resist this photo opportunity. Next I picked up a xenon front lip around Christmas time. Sags a bit in the middle which is another thing I need to address. This seemed liked the appropriate parking spot as it was the oldest car at the meet.
-
I've owned this car for a few years now and have learned a lot since the ignorant day I purchased it. I say ignorant as I knew very little about these cars at the time. Car was sold to me as a '73 240z but turned out it was a '74 260z in 240z clothing. Plans at the beginning were to simply drive it and enjoy it but, that obviously went out the window as old cars require a lot of love, attention and elbow grease. Oh yeah, and money. The day I picked it up. The spare parts that came with: The suspension was toast so I went with Tokico HP blue shocks and Eibach pro kit lowering springs. The old springs in the car were so shot that once the lowering springs were in, it sat about the same height. Unfortunately I can't really say what the differences are in the feel of the car as I didn't drive it much with the old suspension setup before I put in the new. New suspension is in! The front sits a little bit higher than I'd like but I'll look into that in the future. As of this moment, it was much better than the original suspension that was in previously. A rolling shot just for fun. Next was to replace the gas tank as it was beaten up and had a leak. New tank started out like this: Ended up like this: (I take no credit in its restoration. I had someone locally restore it who had been doing this kind of thing for years)
-
Car: '73 240z Front turn signals work but the rears don't and the hazards work on all 4 corners. I've tested the switch and it appears to be functioning fine. I tested the bulb socket and they're getting no power when turn signals are activated. Would the front turn signals still work if the flasher is faulty? Also, some say the flasher is on the drivers side by your feet and other say it's under the dash. Are there multiple flashers for the turn signals? I know the turn signals go through the hazard switch but how do I remove the hazard switch to test the wires? Does the dash need to be off? Any guidance would be appreciated. Edit: Replaced the flasher from the drivers side foot area, no change.
-
Production Numbers Of White Interior 72' 240z
Ptero replied to 72-s30's topic in S30 Series - 240z, 260z, 280z
I've got an orange 240z parts car with white interior as well but I'm unsure of the year. -
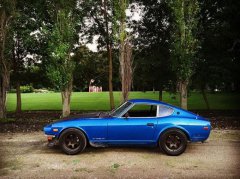
Datsun 240Z by Mitch Asham Photography, on Flickr ZOMG 001 by E.V.S, on Flickr
.jpg.085979689fcc82b6f7182c5edd6c8e28.jpg)