Leaderboard

Popular Content
Showing content with the highest reputation on 05/15/24 in all areas
-
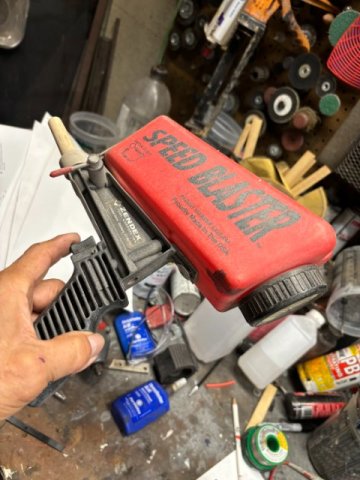
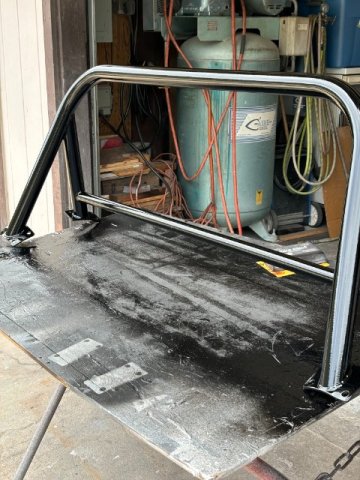
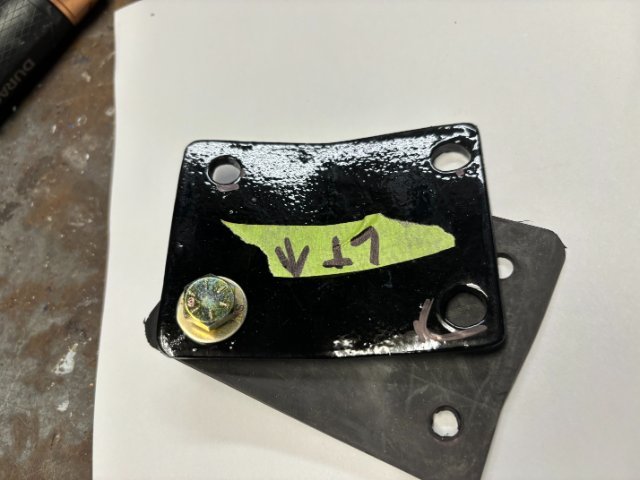
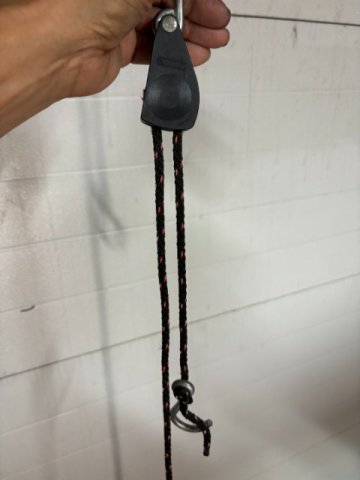
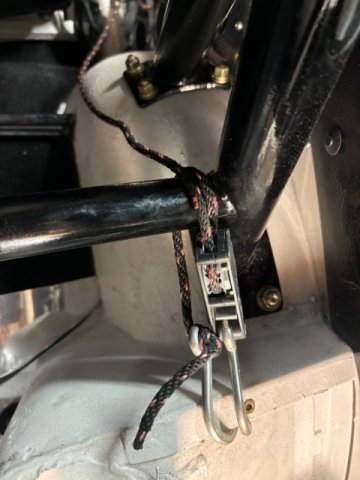
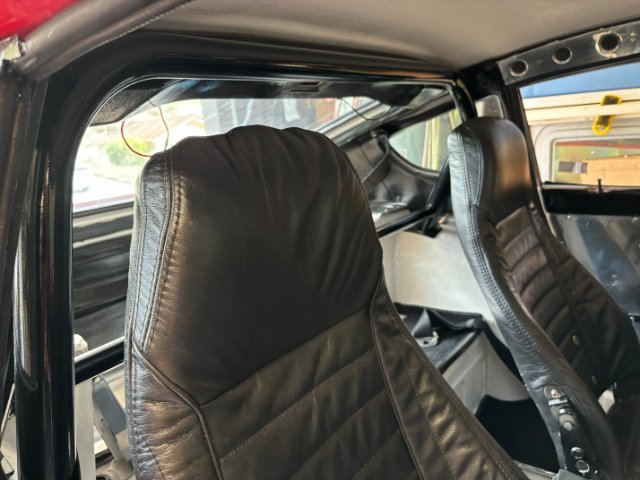
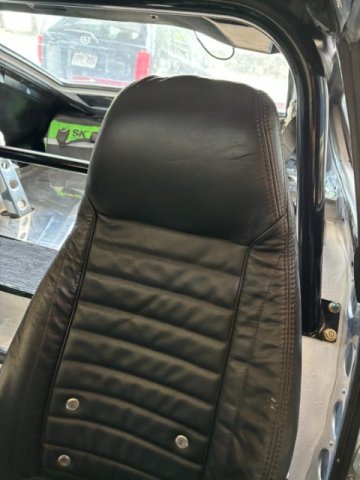
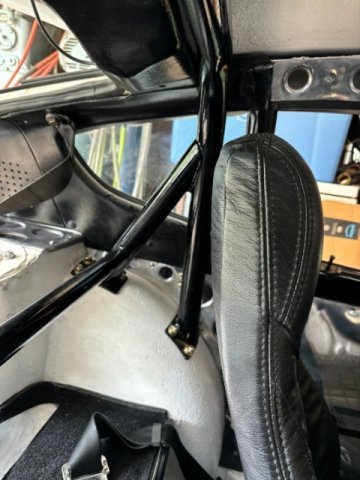
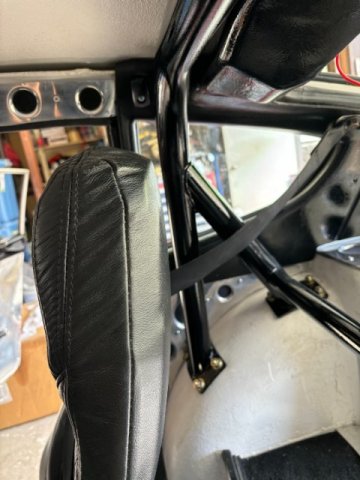
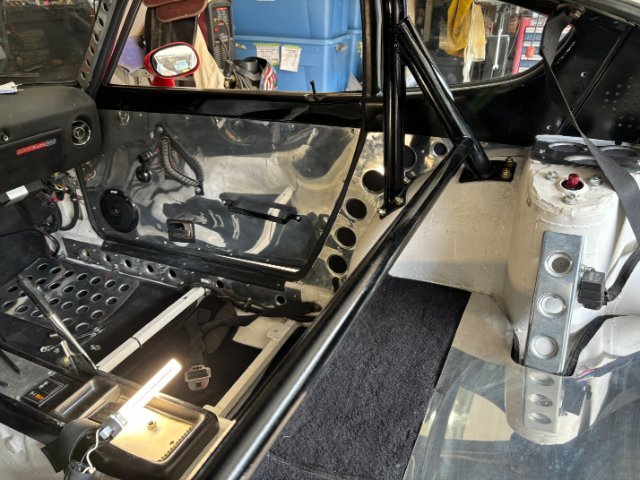
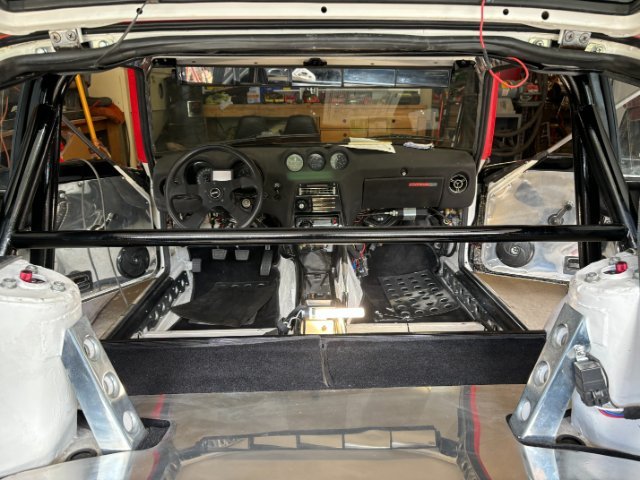
ROLL BAR INSTALLATION- While I was at a local 240z gathering, I found one Z owner who was selling a AutoPower style 240z Roll Bar for $150. It was missing the Four Mounting Pads and mounting bolts. The Roll Bar was first stripped of existing old flat paint using an Orbital Sander. I used 80 grit sandpaper for this process. Next, a small portable Speed Blaster air powered sand blaster. Similar sand blasters are sold at Harbor Freight and on Amazon for about $30. These sand blasters do a great job for rust and paint removal especially in tight areas. After paint removal, the Roll Bar was primered and preparred for color. As the Bottom Mounting Pads were missing , substitute plates had to fabricated from 1/4" Steel Plate. A 5lb Sledge Hammer and 12 ton Press were utilized to form the matching shape of the Roll Bar pads. !/4" thick Rubber Mat was used to go between Upper and Lower Mounting Plates to seal water from coming in the wheel wells. Cadmium Coated 3/4" NC x 1 1/2" bolts, Flat Washers and Lock Washers provided the mounting hardware. To hold the Roll Bar in position while marking the mounting blots hole with a Felt Pen, !/4" Rope Ratchets were used. They are sold at Home depot for about $20 each. They are super useful (holding up driveshafts, calipers, keep hoses out of your way,etc). One of the Rope Ratchet hook was attached the Rear Strut Tower Support. The other hook was wrapped around the Roll Bar Tubing. Adjustment is made by slowly tightening the Rope Ratchet to get the correct height. Shifting the Roll Bar side to side is done to obtain similar spacing on both sides of the mounting pads to the interior walls. Once the Correct height and Side Clearance is established, a Felt Pen is used to mark all the mounting holes. Then a Center Punch is used to prevent drill bit to drifting due the curved surface of the wheel housing. A slightly larger than 3/8" drill bit is utilized to drill all of the mounting holes. When assembling the Roll Bar on, One 3/8" bolt for each side is inserted thread first and tightened slightly to the Bar in place while installing the other bolts upward from the inside side of the wheel housing. Left Wheel Housing with Lower Mounts installed- Looking Sideways in car -checking Roll Bar Height Looking Forward at Roll Bar Viewing the Right Inside Wheel Well Left Side Looking Back Passenger Seat Looking Backwards View from Rear forward I posted a lot of pics of the Roll Bar installed so people can see the clearance available with this model. Many Custom Roll Bars don't have enough clearance for Tall Drivers. Interior View of Roll Bar without seats installed.
 1 point