Leaderboard


Popular Content
Showing content with the highest reputation on 05/17/26 in all areas
-
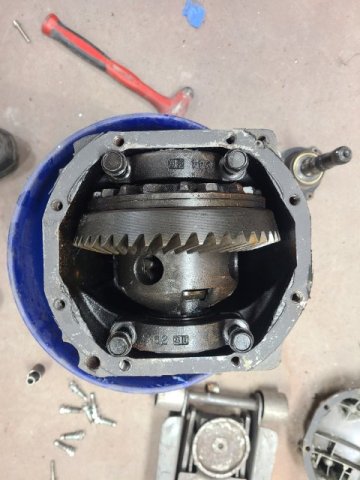
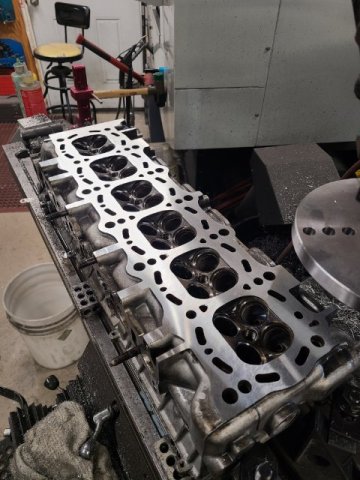
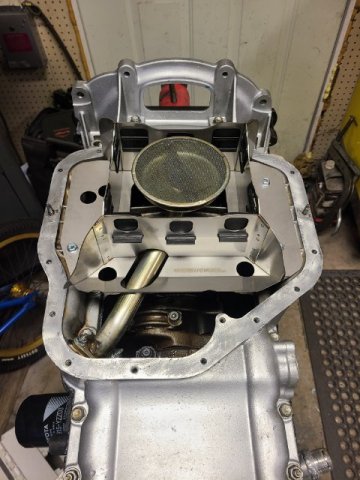
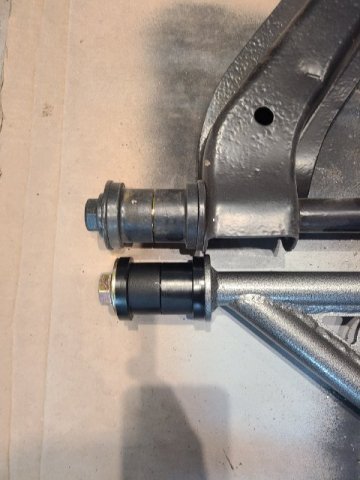
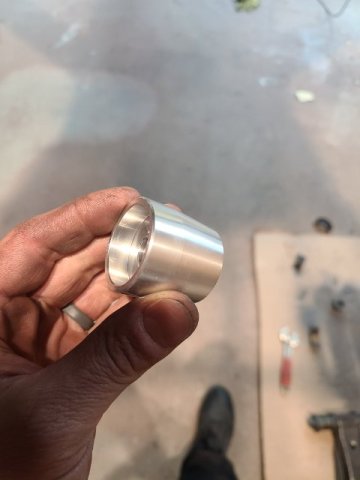
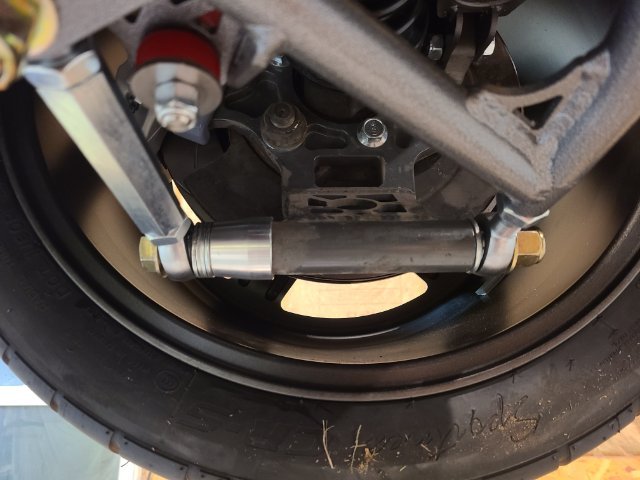
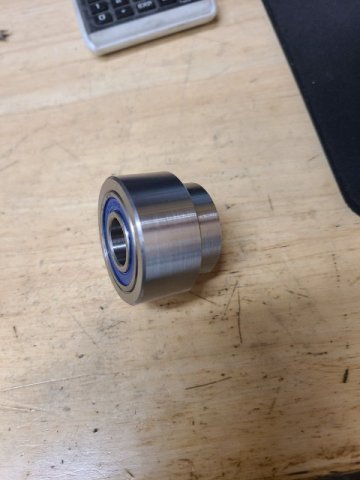
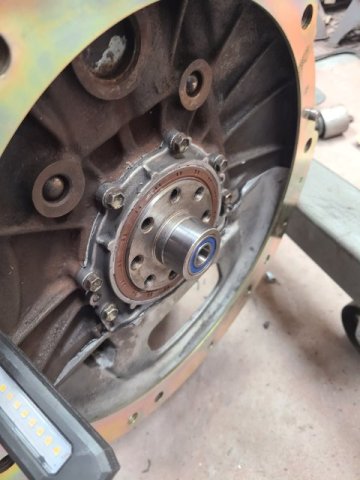
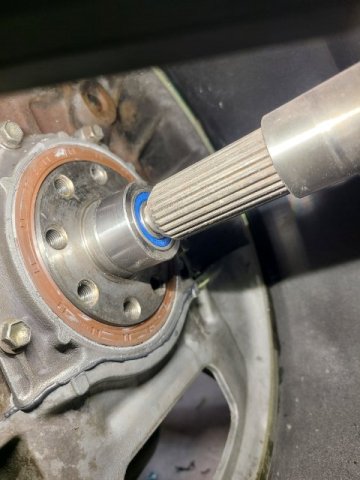
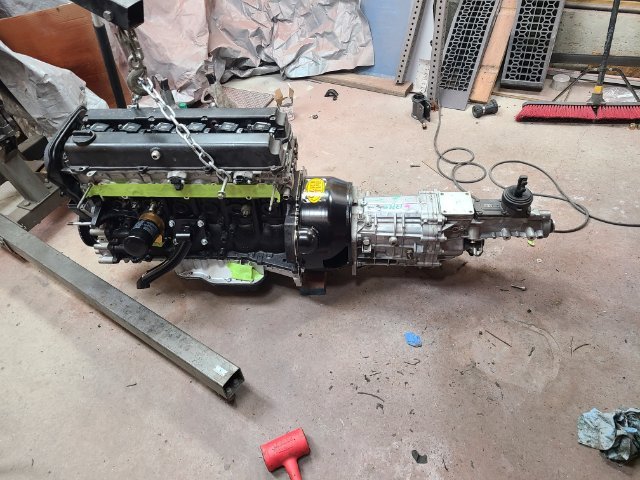
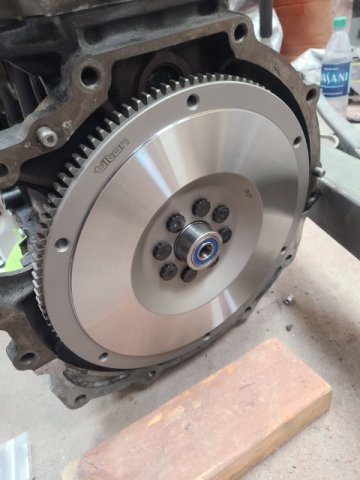
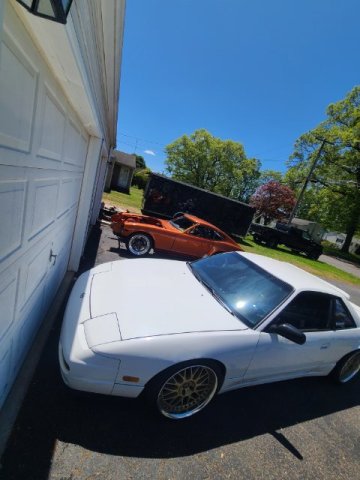
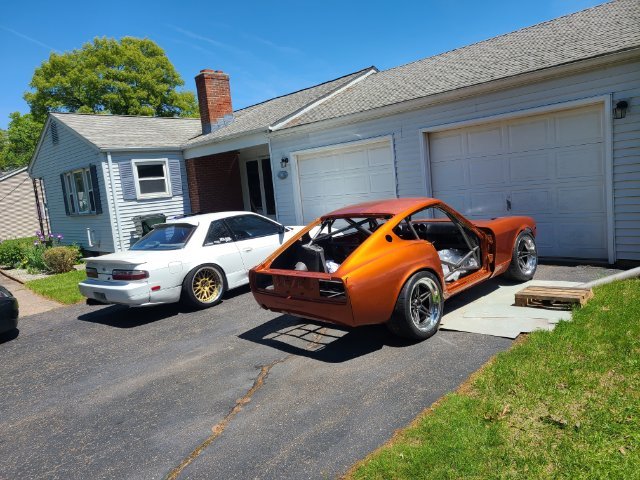
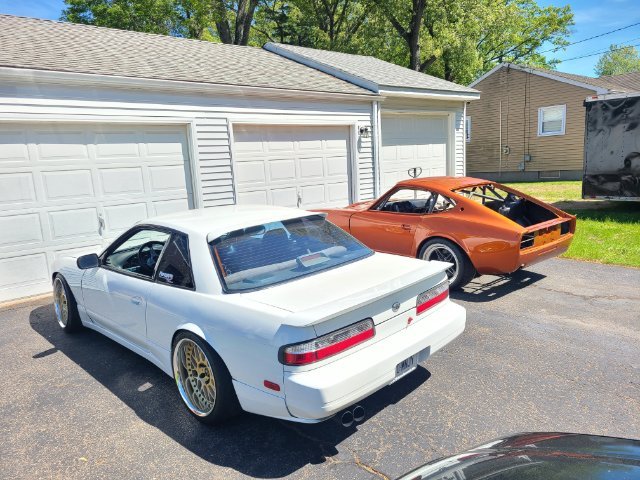
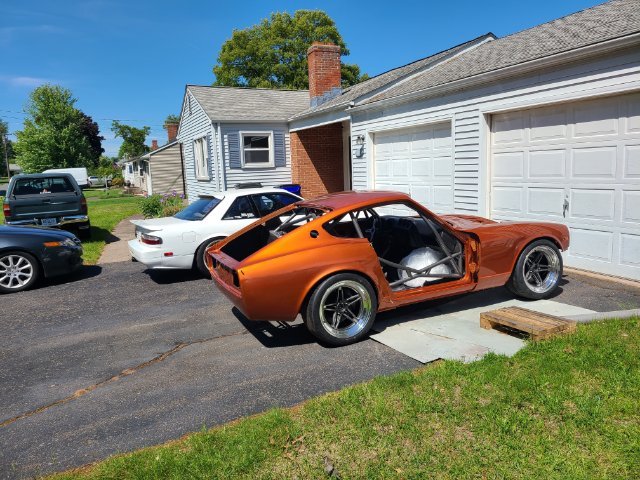
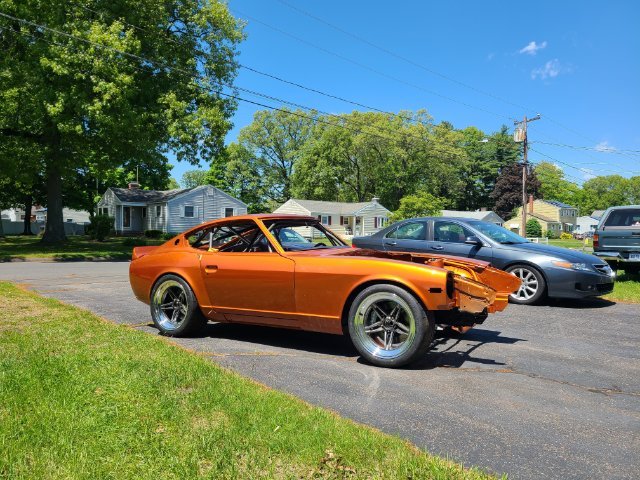
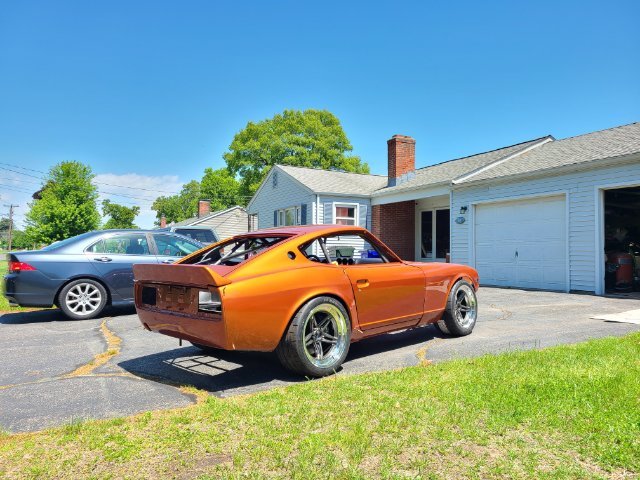
They did send me another set of control arms which was nice of them but they are also a bit short. I did make some modifications to make them work. the kit is supposed to use 8 washers per side but i needed more to align the toe adjuster up, I do have T3 spindles so that may be part of the variation I was seeing. So I machined some spacers because stacking 15 washers was not my favorite design. The spacers tightly fits over the spindle and then takes up about an inch of space and allows 5 washers for "adjustment" The guy from apex did called me and we chatted for a bit about some other design concerns I have. Which was great and he took it well. Apparently they just aren't good at measuring things. They said they are going to try and make me a shorter set of front control arms aswell because the front setup at its absolute max shortest setting is still .375" wider than the stock assembly which doesn't allow me to use any of the roll center or control arm adjustments with my wheel and tire combo. I was hoping to correct geometry with everything being adjustable but that's not the case since the crossmember mounting points are wider than the factory one so I had to max everything out to its shortest point to even fit. With that said I have been plugging away at stuff, brake lines are ran, rear suspension is in, engine is assembled. adapter kit for the trans is machined, body panels are getting put on. started on the interior, everything takes so long. painting brackets and hardware and aligning everything but i am very happy with how its coming out. I was told the car came with a 240sx diff, its actually a j30 diff so it has a 3.91 gear ratio. That may be a slight advantage so not to mad. Anyway, after all this reading. enjoy some photos.
 1 point
 -
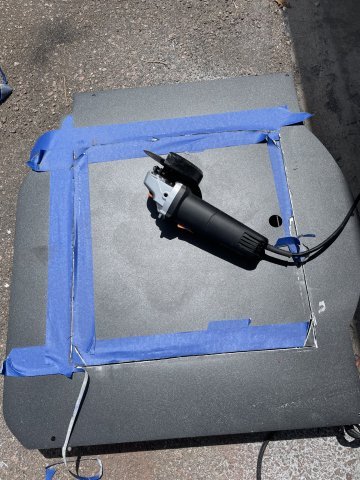
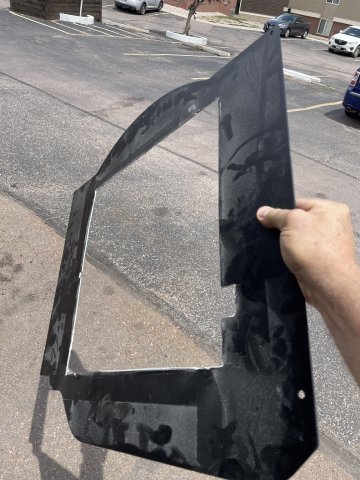
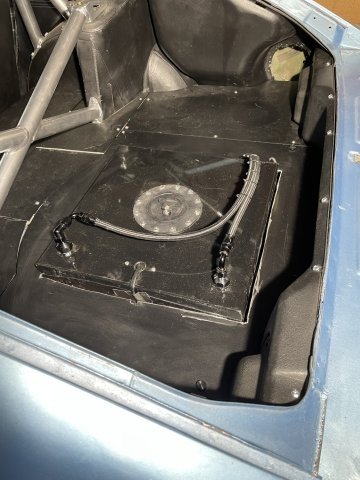
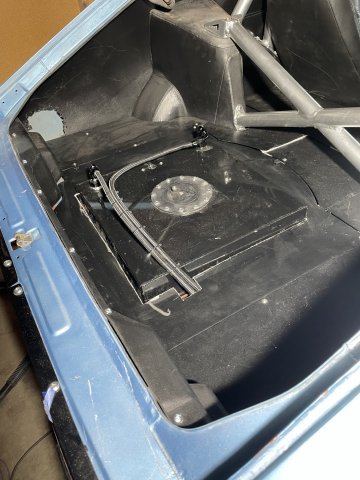
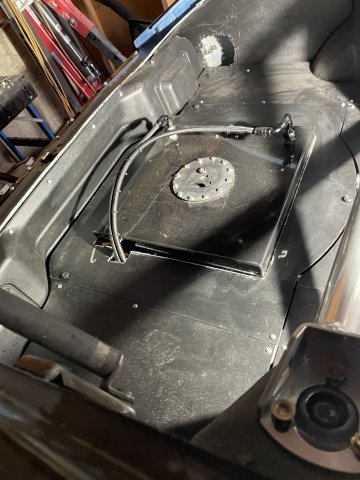
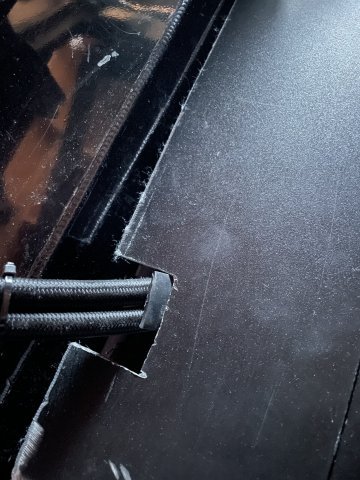
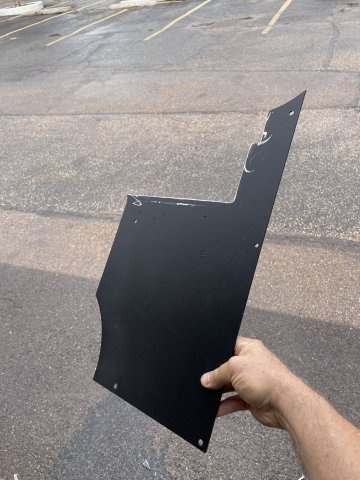
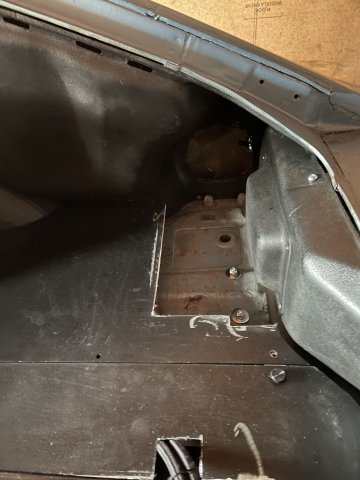
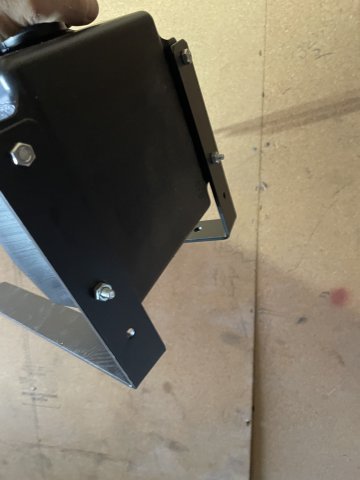
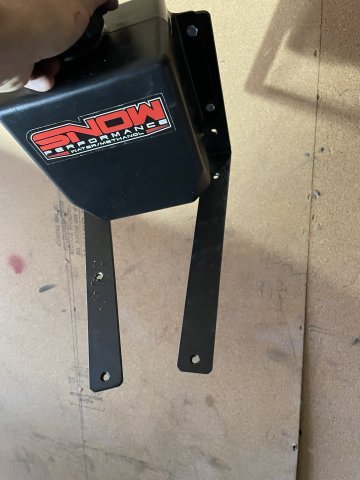
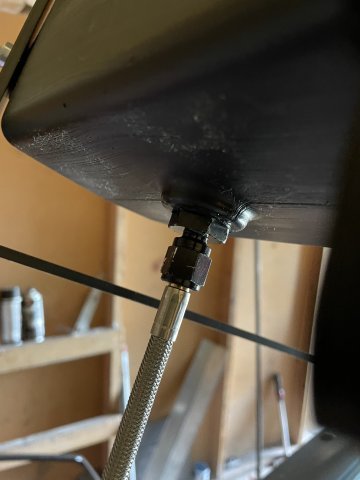
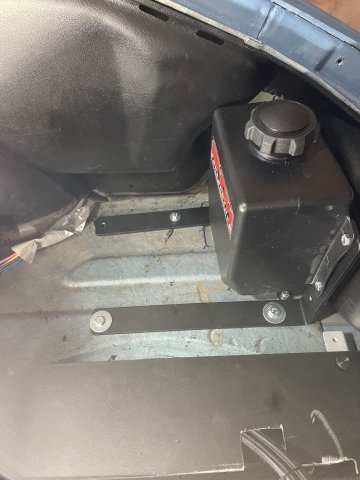
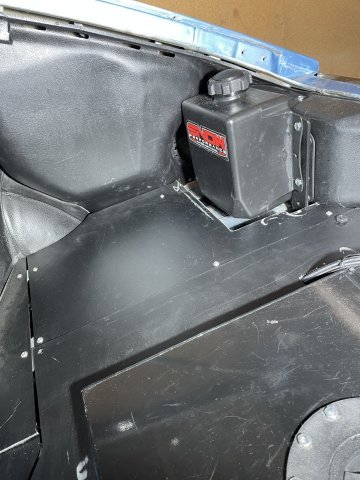
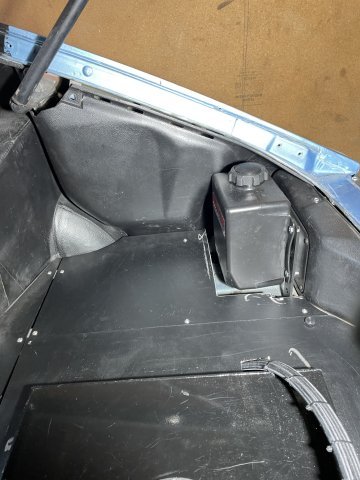
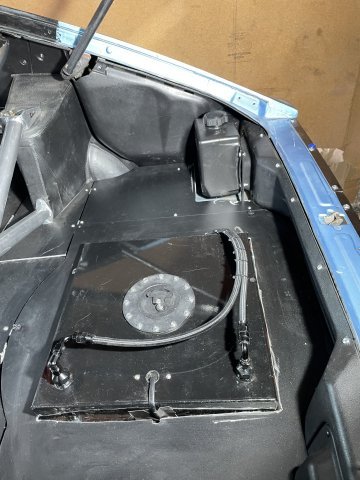
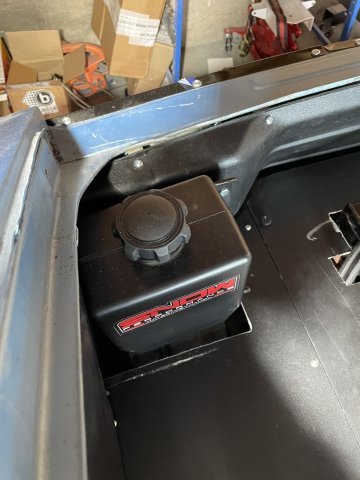
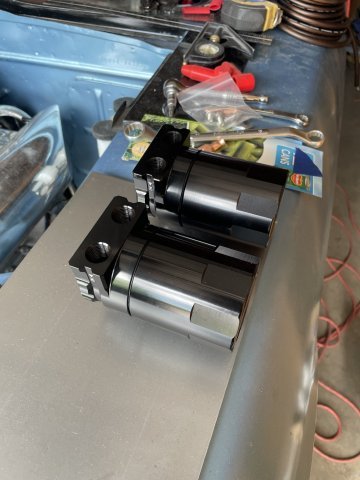
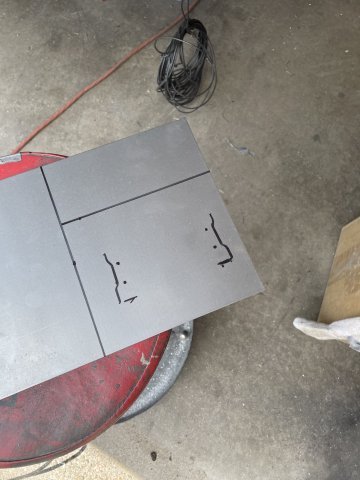
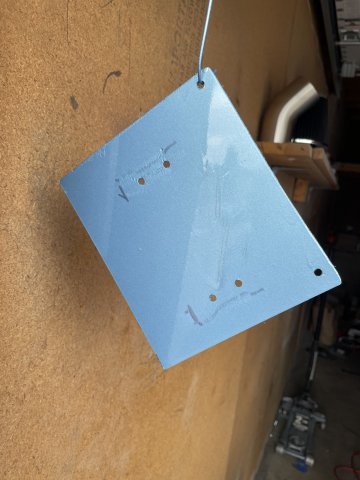
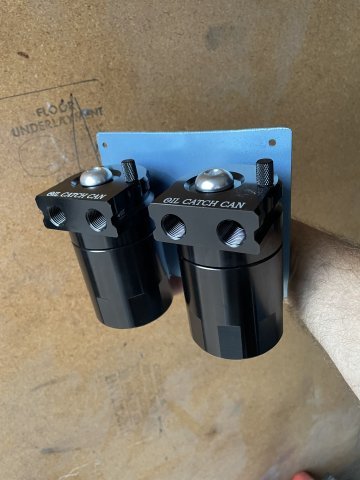
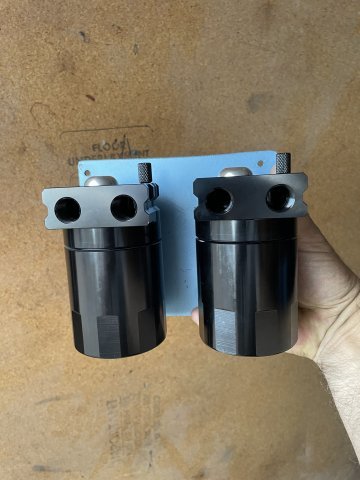
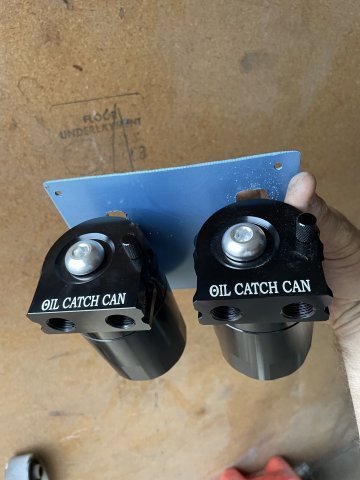
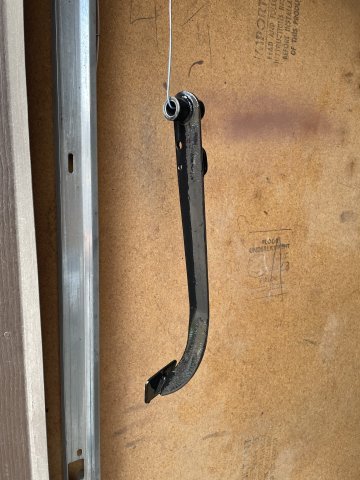
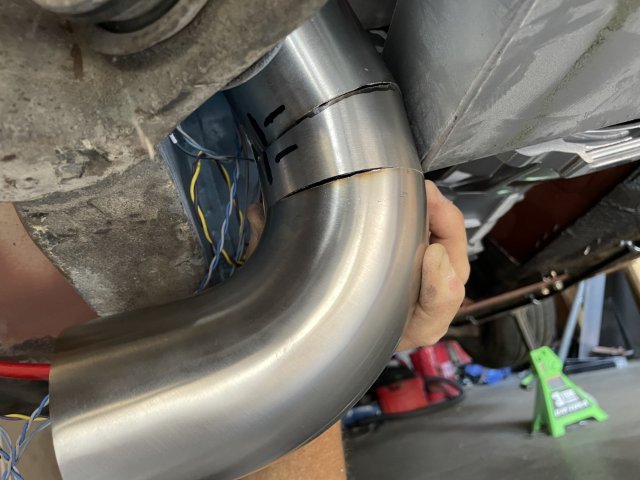
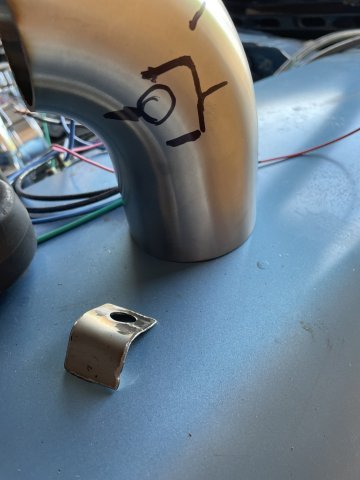
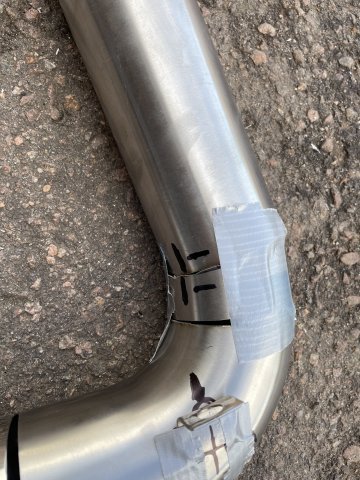
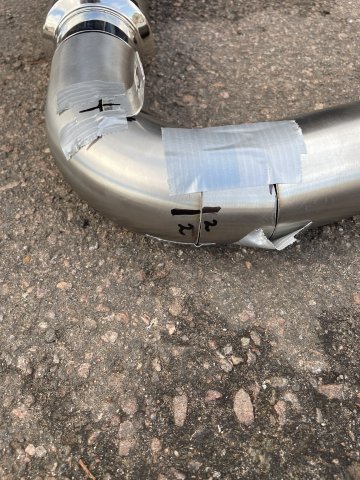
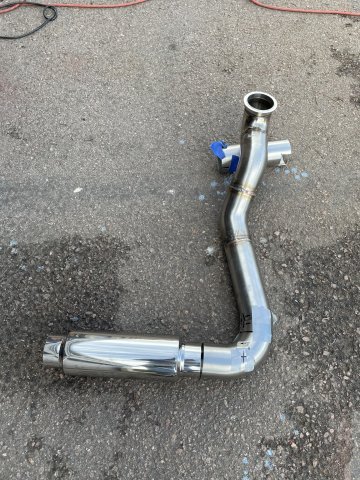
05-16-2026 ATLAS Z UPDATE: good work day got quite a bit done. I started with cutting out the center of the tire cover panel portion of my Skillard rear floor, and then did the same with the area for my Snow Performance Water Methanol Stage 1 Braided kit. I used some shelf brackets I got off of Amazon, and bolted the tank to them and then bolted the tank to the rear floor with the spigot and hose attached. Then I worked on my dual catch can setup. I used some 16 ga. steel and lined out a good size for both of them, and then drilled the holes for mounting them, and painted it in body color and mounted the catch cans up. I will mount it later inn the future, and moved on to pulling the brake pedal, which i mistakenly mounted as the clutch pedal....so while out I moved the hole for the brake cylinder rod up 1 inch for more leverage, since I eliminated the brake booster, and then wire wheeled it up and painted it. Last for the day was the exhaust. I was able to cut a piece that made the bottom pipe a straight and level cut to the floor, then cut the 90 down and did the measuring and cuts so now it can be welded and polished. Oh, I also cut a piece out of scrap pipe, drilled a hole in it and bent it wo where I wanted it and it will be welded on for a hanger to help support the pipe down low. PICS:
1 point