Kclank
-
Posts
110 -
Joined
-
Last visited
Content Type
Profiles
Forums
Blogs
Events
Gallery
Downloads
Store
Everything posted by Kclank
-
issue resolved
-
Unless your spare is outsized I would say yes. I do not think I would not be able to fit a spare thru my cargo access unless I used a temp, inflatable, spare. I plan on just carrying fix-a-flat and a AAA card. I did not want the weight so out the spare goes. I was disappointed in the flimsiness and warping of my hatch, as supplied and could not have been happy using it as a direct swap for the stock hatch without significant mods, I believe the hatch, as supplied, would vibrate and create excessive resonance in the cabin. That was a big driver for me. I hope the condition of yours is much better.
-
sounds fun and would look great. would'nt the smaller diameter of the s370 wheel make turning a little harder from the drivers point of view?
-
Someone used to make a adhesive wire that could be fitted to the windshield or the rear window. don't know if it is still available or not. How about a sharks fin like many of the german cars use
-
So "Reaction Research" is not viable anymore? From whom did you buy the molds John, if I may ask?
-
The main thing I was looking for was the need for the gasket and, in a round about way. that got answered as affirmative. thanks for the input.
-
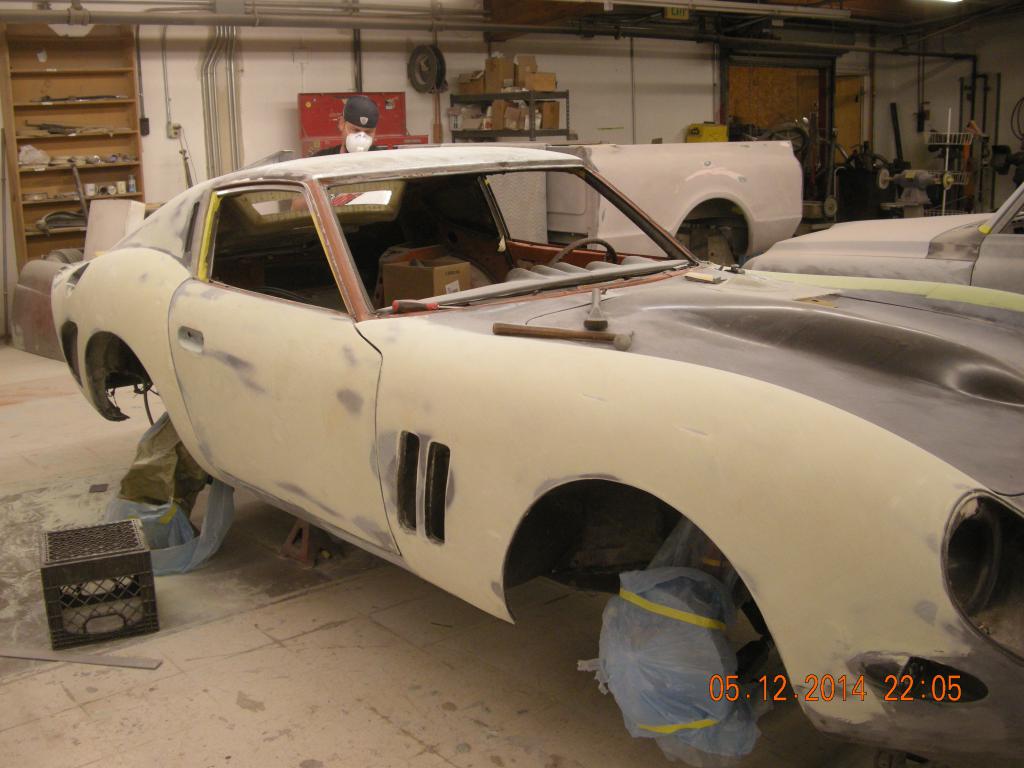
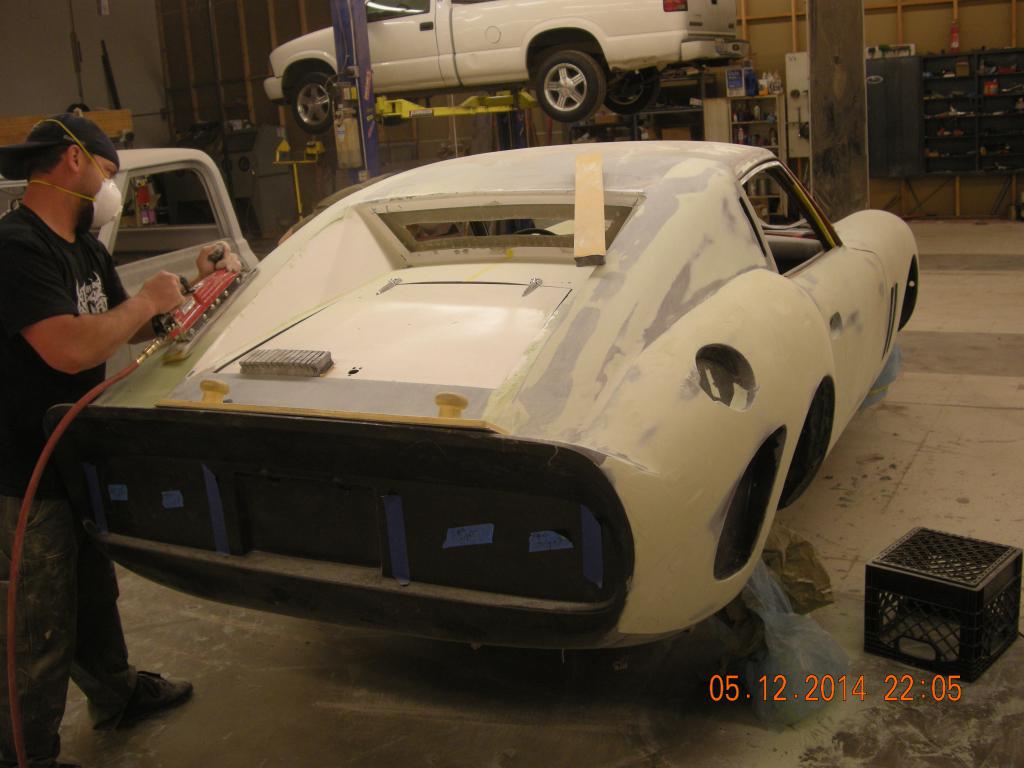
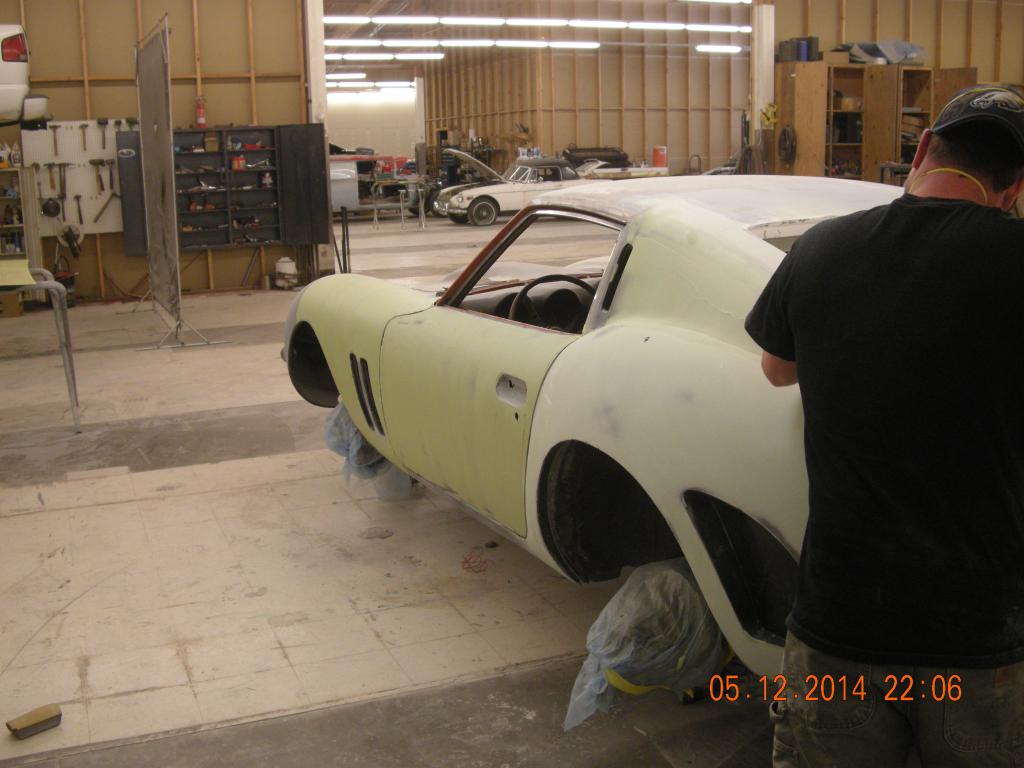
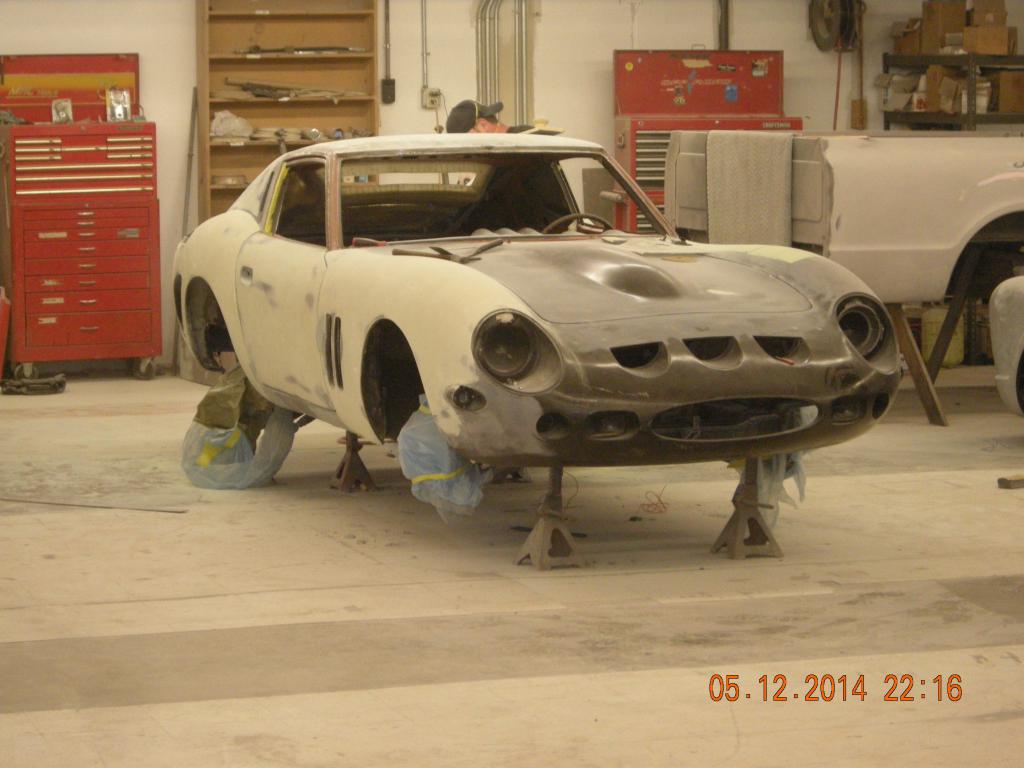
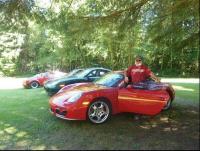
My car is making progress As you cannot see, the spare tire well is now welded over to accommodate a 16 gal fuel cell., The hatch is mounted is being blended in to the body, the access trunk cover is cut and hinge/latch holes drilled, the doors, and front clip are hard mounted, gaps and mismatches being blended out, cowl vents, similar to the clear lens often used, are being made from fiberglass and blended into the hood. being fitted to hood, As you can see the hollows for the door handles are still there to allow the handle to be flush to the body.. My plan is to have the door handles, windshield trim, wipers are the same color as the body. Very little bright work will be on the exterior except for the window frames, trunk hinges/latch, hood pins, The gills, cabin exhaust vents, and rear brake slots will have fine mesh powder coated black screen, All cutouts to be functional but will have screw on, or magnetic plates on the inside of the wheel wells for around town driving to prevent mud from throwing up in the gills and vents. Tail lights will be the square-ish 1984 corvette lens. And to keep things cooler under the hood, louvered vents will be cut into the wheel wells thru to the engine compartment. Lot's done and more to do While the body shop is finishing the body, i am working on the engine. Currently waiting on a gasket set so I can install the new water pump, thermostat, uprated turbo, and timing belt components. cam covers, timing belt covers and exhaust heat shield are at the powder coating place.. The Intake manifold is being polished to a glowing sheen. A modified turbo , that is %50 larger then the stock RB25DET unit, 550cc injectors, SDS ECU with coil pack and injector wiring set up for this motor, 90 mm throttle body, Gredy style intake manifold, BRU boost controller, large inter-cooler, Walco 255 fuel pump and pressure controller. Paint should be done at the end of the month and then the engine lump will be set in. After that it's back to me to finish the engine systems/plumbing, install drive shaft, radiator, inter cooler and exhaust. The totally new and custom under carriage (all installed) has been described in previous posts. I also have some real nice strut braces with color matched mounting plates, to install. Then i can start to address the interior. The last picture shows the color i am going for Unsure of the interior design and color at the moment. As you can see I am departing a bit from the usual tribute car This s a bit more custom IMHO

-
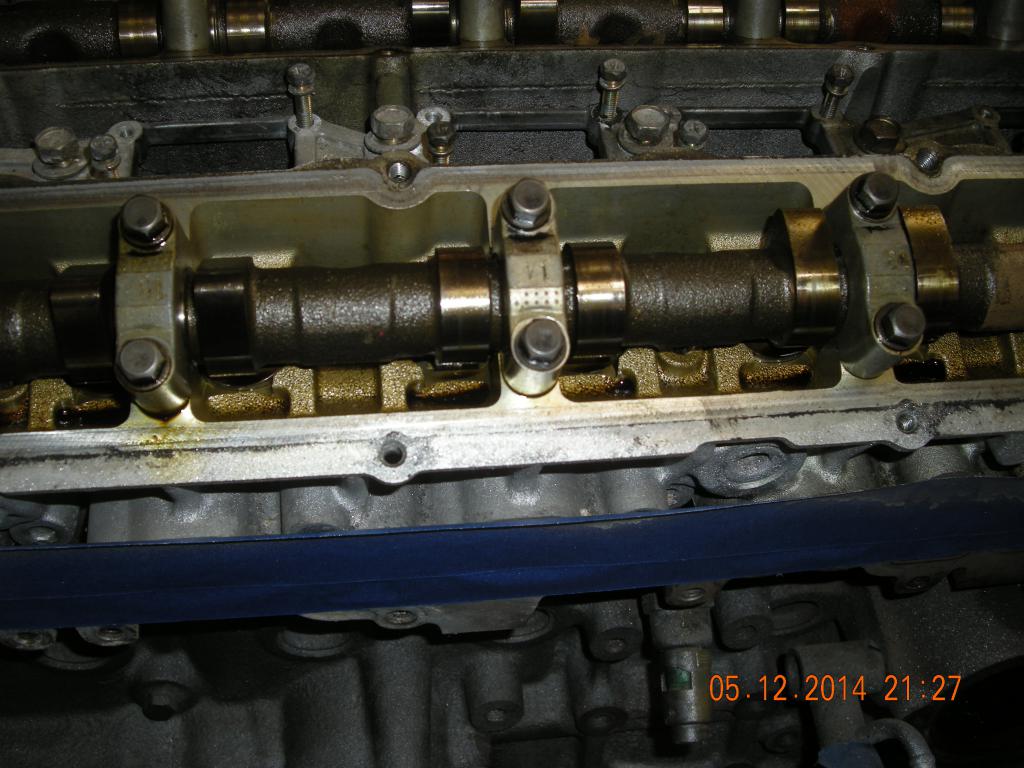
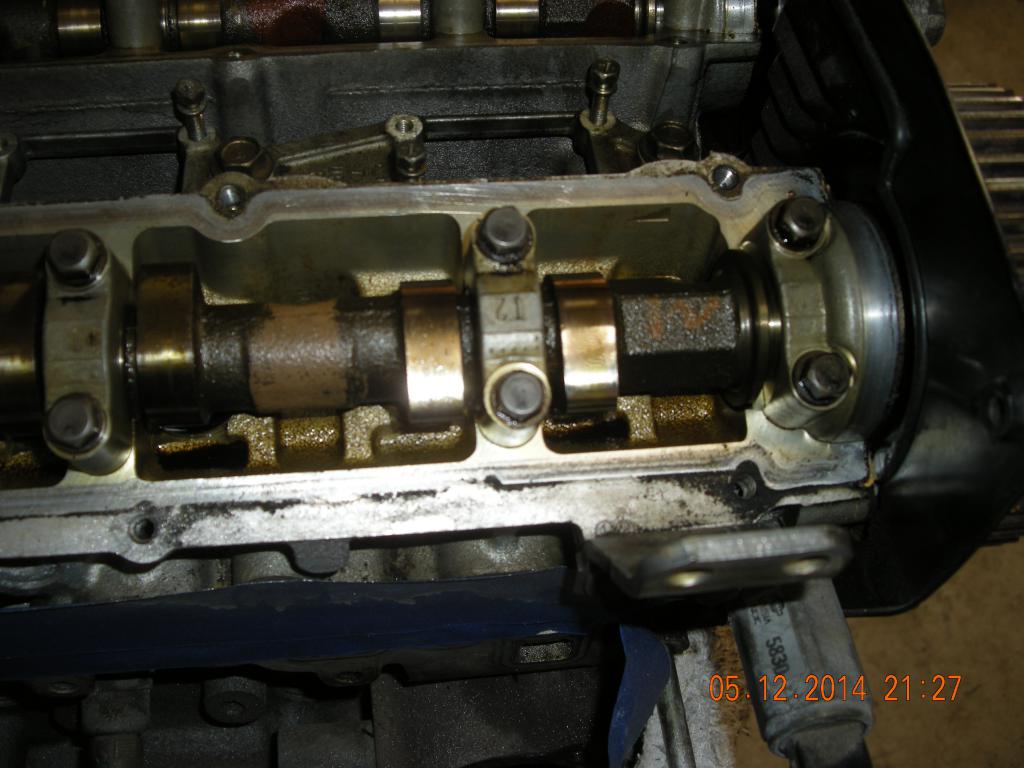
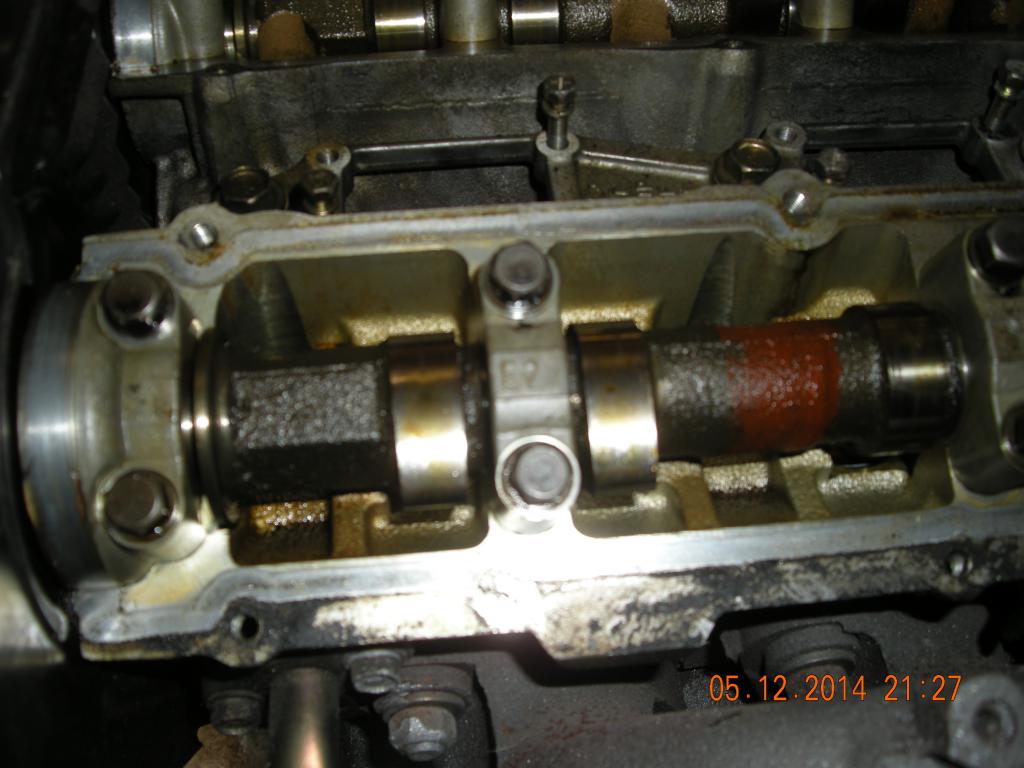
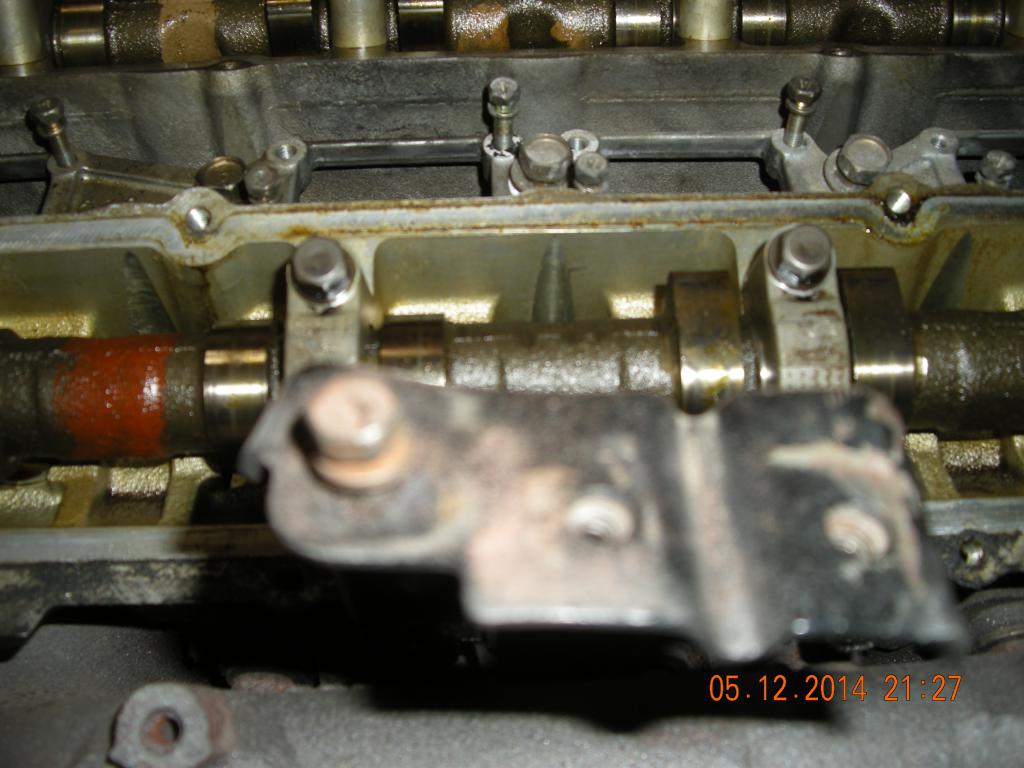
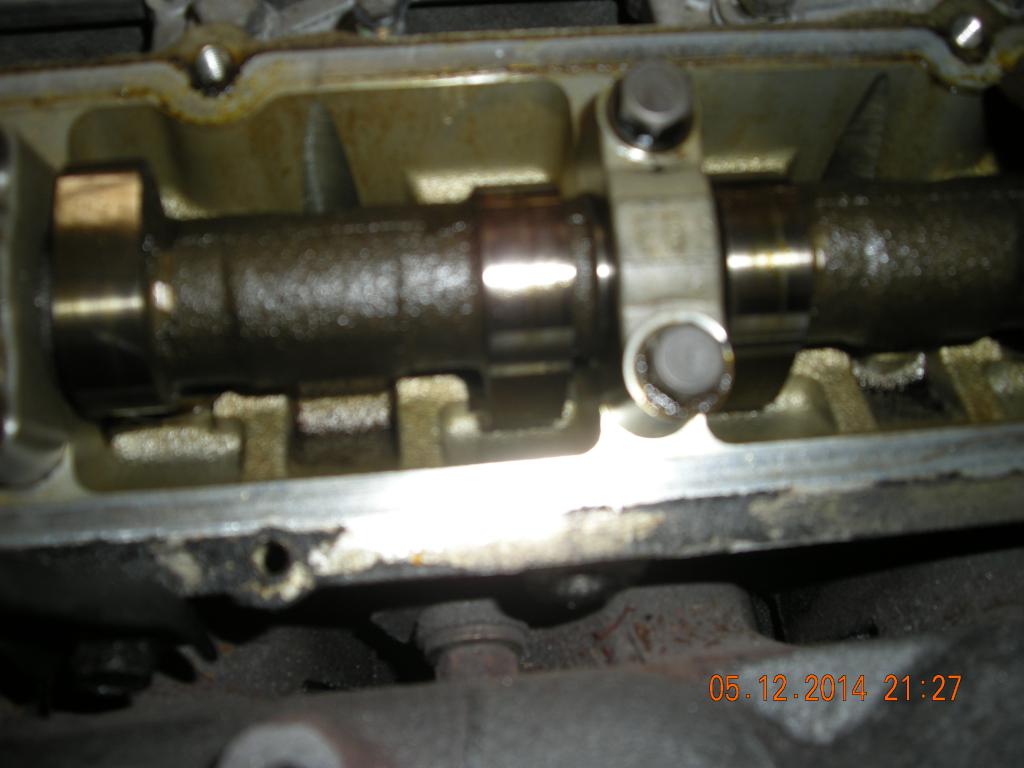
JDM motor, Appears to be very low mileage based on all evidence everything was on the motor as far as I could tell All plumbing was in pace, all wiring was in place all accessories were ther, just no evidence that the motor was ever screwed with Every other item that i have pulled off (replacing oil pan, pickup tube, water pump, timing belt and bearings, thermostat, etc) has had all spacers, bushings, o rings, 1/2 moons, and gaskets and no signs of wear That's why I was interested It might have left the factory that way as a mistake or someone may have had a reason to look under the covers, or some sort of factory change for a different year or series No evidence that there was ever any leakage around the cover So is the opinion that should i assume it needs a gasket (i have a full set on the way)? No the motor has not been run since i received it
-
I just removed my covers and noticed no gaskets or seals other then the 1/2 moon seals. no apparent leakage and no signs anyone has been inside this motor before. Were there any years or series engines that did not have them? Maybe I got a Monday car! Any input guys?
-
Makes me wonder why Nissan put them there. I think i will notch, reinforce and mount the old ones. Thanks for the input I appreciate any and all feed back
-
Thanks all. i have moved the dipstick and installed the new pan. the next question is what to do about the transmission braces which no longer fit due to the reversed sump. cut, fab new, leave off? thoughts?
-
Good stuff, thanks much; ok plug came out very neatly. The tube is trying to flare in its hole. ideas or just drill the f--ker out and make/obtain another tube? I am just trying to be cautious here as i am kinda ham handed. OK I see this should be a fairly simple twist out. i will readdress it in a kinder gentler manner.
-
Hey thanks for the reply. in driving out the plug (i kinda guessed it was a plug) did it make a difference driving the plug out one way or the other? Meaning if the engine is in a normal engine compartment position, position would i drive it downward toward the ground or upward towards the sky. I do not know if the plug is tapered or not. Use any heat?
-
I am installing a enjuiku reversed sump pan on my engine (RB25DET) which is going into an 240Z. The dip stick needs to be relocated to allow oil level checking. My questions are: 1. I see there is a dimple in the casting at the right location to allow a new hole to be drilled. Has anyone done this and what procedures, avoidance, hints or tips might you offer? 2. Has anyone done a different type of oil level checking method such as a sight window or tube on the outside of the pan or a remote sensor to read levels from the cabin? Porsche and others have done this; and a source for parts and info if known? 3. Other options? Any positive input is appreciated.
-
SR; Sorry about the confusion between your beautiful car and Chelle's beautiful car. They are both outstanding examples about what can be done with the kit(s). I think I asked about the different front end from John when I was shopping. If memory serves JW said that he could make it fixed but the hood was a fair amount of work to make the hood separate (fitting and trimming plus any reinforcement required) and, at the time (2012), it effected cost. I am sure you could buy John's kit, less front end and purchase the other front end offerings (if they are responding these days). As speed racer states, JW is the guy to go to (IMHO).
-
This is good advice. I purchase my kit from Thunder Ranch (now called Rock West Racing) at the the exact time that McBurnie was selling the company to Carrera Classics. The kit quality was not bad, and probably normal for most good fiberglass kits. These folks have been terrible with providing follow up support and misc parts. It took 3 months to get my kit, complete, from them and only because I found a couple of individuals in the company that would follow up but they are not there anymore. They say they have door latches/handle assemblies but every time i tried to purchase either they could not find a person in the company to run a credit card or even give me a complete price so I could send a cashiers check. I believe they are trying to concentrate on providing complete or at least rolling chassis for sale and, as far as I can see, are not even pushing their kits. Look at web site http://www.thunderranch.com/, (and draw your own conclusions. Speed Racer showed a great picture of Chele's completed GTO. I almost purchased that car, as it is an outstanding piece of kit, and featured a BMW 12 cylinder engine. There is, or was, an Australian company that also sold one but i do not know if is a domestic product or a kit purchased and resold thru a dealership. The only two reasons I purchased from McBurnie and not John Washington, was I thought I preferred the more conventional front end and not the tilt front that John sells (my mistake in hindsight), and price. My kit was more complete (more options as part of base kit) and cost over $500 less. If I could do it over I would have gone with Reaction Research (J. Washington). John still contacts me every once in a while to offer services or parts (I have availed myself of some of these offerings) and that is really appreciated. TR does not call and sometimes does not answer. PM me if you want to know what I really think. Good luck in whatever you chose. Lot's of help and support here. Ps. I think the TR car was in fact Joe Alphabet's original design that McBurnie purchased and modified. Note: I have not done any business with the business entity called Rock West Racing so I have no knowledge about the customer service they have. My comments have been directly pointed at McBurie's company, Thunder Ranch, and Carrera Classics. Overall building a kit car is an interesting experience and a lot of fun but keep in mind nothing good comes quickly or easily. Have fun, have patience, enjoy, and "PLAN" for everything.
-
Hey Wes, yes i decided on the pantera style hatch but i am mounting it a bit different. the full hatch will be mounted solid and blended into the chassis. i will have a smaller hinged hatch with exposed hinges and latch for routine access. pics, other then those previously posted, not forthcoming. i will wait until it comes out with paint and ohhh or awww whichever ay it goes. i have to work on the engine mods. and start planning the interior still 2 years from completion
-
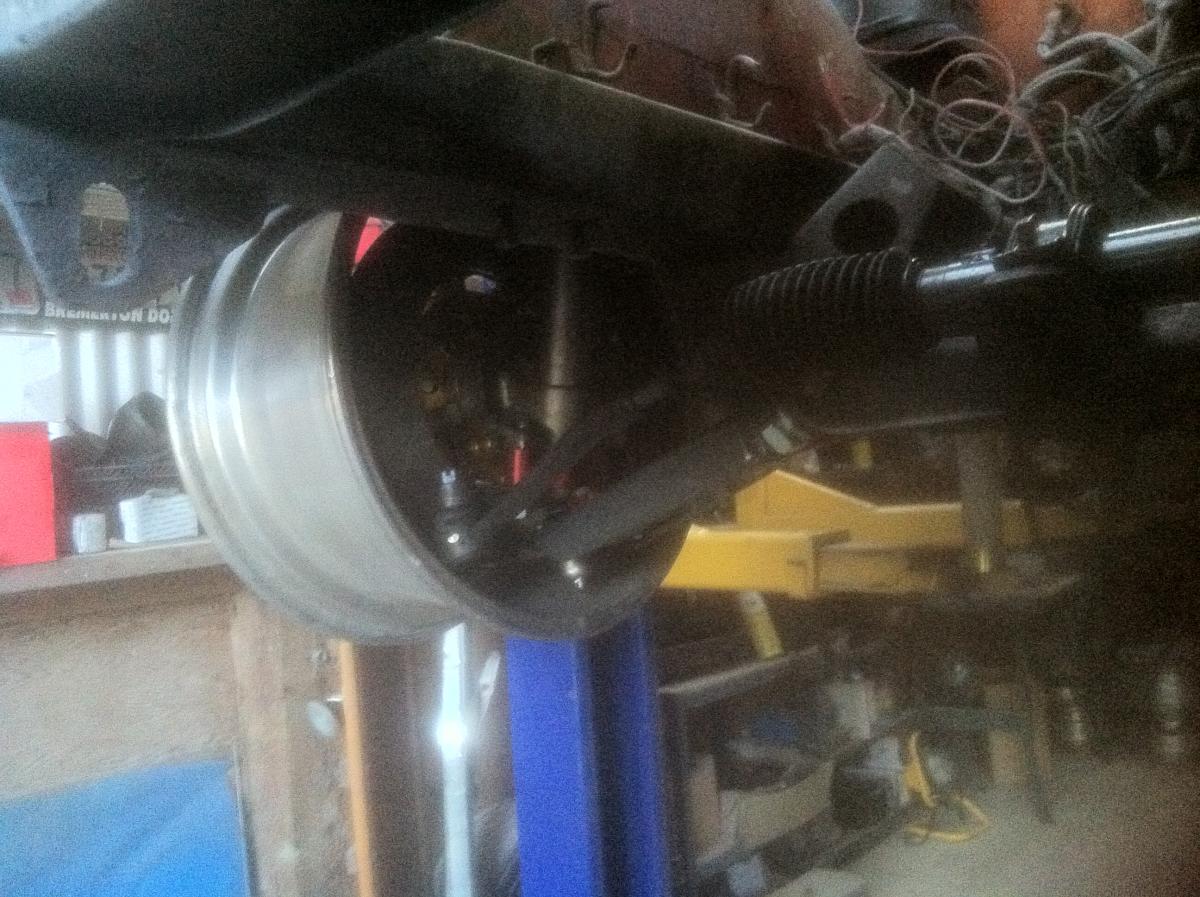
Hey guys and gals have'nt posted for awhile but here is an update. Having finished de-rusting, stripping the chassis, modifying the wheel wells, new brakes (willwood on front, 300zx on rear) ,all new fully adjustable suspension supplied by Techno Toys Tuning, 300zx 3rd member, modified axles, and Q45 rear wheel bearing carriers.mounted refinished 300zx wheels and new tires so it rolls. So now my car is off to the body shop for some body work and additional detail modifications, prep, primer and paint. I continue to work on the motor / trans (Nissan RB25DET with mods) so the motor can be dropped in the car when the body is done after that it is back into my shop for remaining eng compartment work. finish engine wiring, hoses, radiator, turbo pipes, intercooler, down pipe, exhaust system, drive-shaft, set up stand alone SDS ECU. etc. hope to have the car running late this summer. last will be interior which will be later next year. I had to outsource many things that I wanted to do myself but my allocated time was too dear. but it is moving along.
-
Give Gabe at Techno Toys a call or email. very good customer service.
-
I would think that if you took a piece of the weather strip to a body shop or auto window repair they could identify it and give you a source. please post any good results I need that piece to but it is way down my list. A good auto parts store my also have a catalog so you can match the profile. i would guess it has an H cross section. BTW if you could snap a couple of pics of the hinges and how they mount it would be much appreciated. the hatch i recived had a bunch of warps so I still have not firmly decided if i am going to fix and use the stock hatch. I am sure that a local glass shop could cut you some laminated glass to replace the plastic if you desire. i asked my local shop and they said no problem,
-
 I believe i have reviewed every thread associated with rear disk conversion and cannot find the answer to my situation. I have a 73 240z (s30). I have converted the rear brakes using a S32 rear hub conversion (from tech toys tunning). I am using rear S32 rotors and calipers . I am now trying to figure out how, if possible, to use the stock parking brake (PB) setup but cannot see how to do it short of a hydraulic slave cylinder activated by the S30 PB cables, then plumb to the rear calipers using some sort of check valves. I could use some help or suggestions as i am not sure how i can do this. Any reasonable alternatives? Am i thinking correctly that i need check valves to insure i do not pressurize the entire system when applying the parking brake instead of just the rear calipers? (does it matter?). I know about using a hydraulic locking valve but i am not sure i trust it to hold if parked an a steep incline.
 -
i like it. go for it!
-
i had, and i have a copy of that mechanism.. i never could find a picture of one actually installed in a car.
-
Good suggestion Wes. I will look hard at those. I am also trying to think through what I need to do for door latches. I will most likely have tires on my project when I come back up to Port Angeles later this summer. After I get tires, I can take it off the rack and be able to work on the door panel and door handle installation. If you want to visit as an excuse to exercise your toy I would encourage that. I do not have many of my projects in Saratoga but I am always good for a beer and a story. Last month I picked up a 1986 MR2 (Don't ask me why, I am not sure that I know). I plan on doing a few modest changes, including a front/rear body kit, restore a few pieces of the interior , replace the struts/shocks and possibly do a engine swap. That should help me keep busy. The improved MR2 will be a daily driver and possibly a autocross toy, or it might just end up as trading stock.
-
Finished up the front suspension today. going to stop for awhile and get ready to return to California for a bit. I guess I just have to work on my 928 for a bit. hee hee.