whatnow123
-
Posts
118 -
Joined
-
Last visited
Content Type
Profiles
Forums
Blogs
Events
Gallery
Downloads
Store
Everything posted by whatnow123
-
 I have a LSD carrier, a r200 case and cover, the mustache bar and front mount for the same. I will also toss in a drive shaft from a 78 5speed 280z. I don't know if that drive shaft will work with a ZX trans.
 -
HELP! Positive bat cable 78 280z
whatnow123 replied to whatnow123's topic in S30 Series - 240z, 260z, 280z
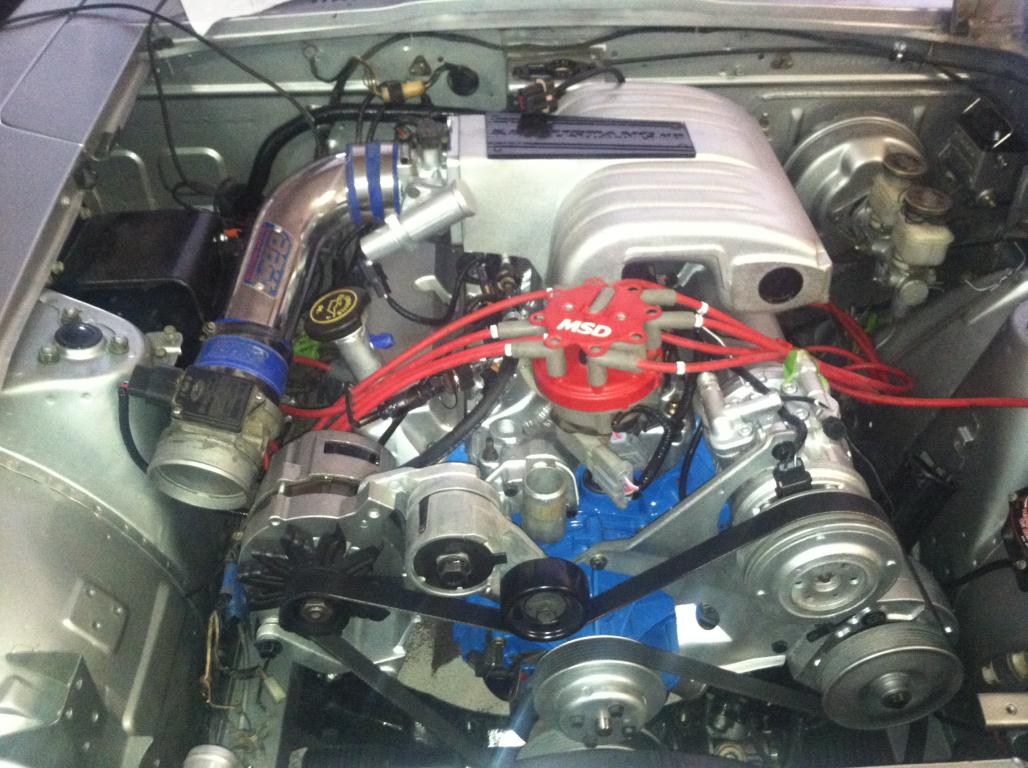
Thank you!! And yes, it's a different engine, 1992 HO Ford 5.0.. -
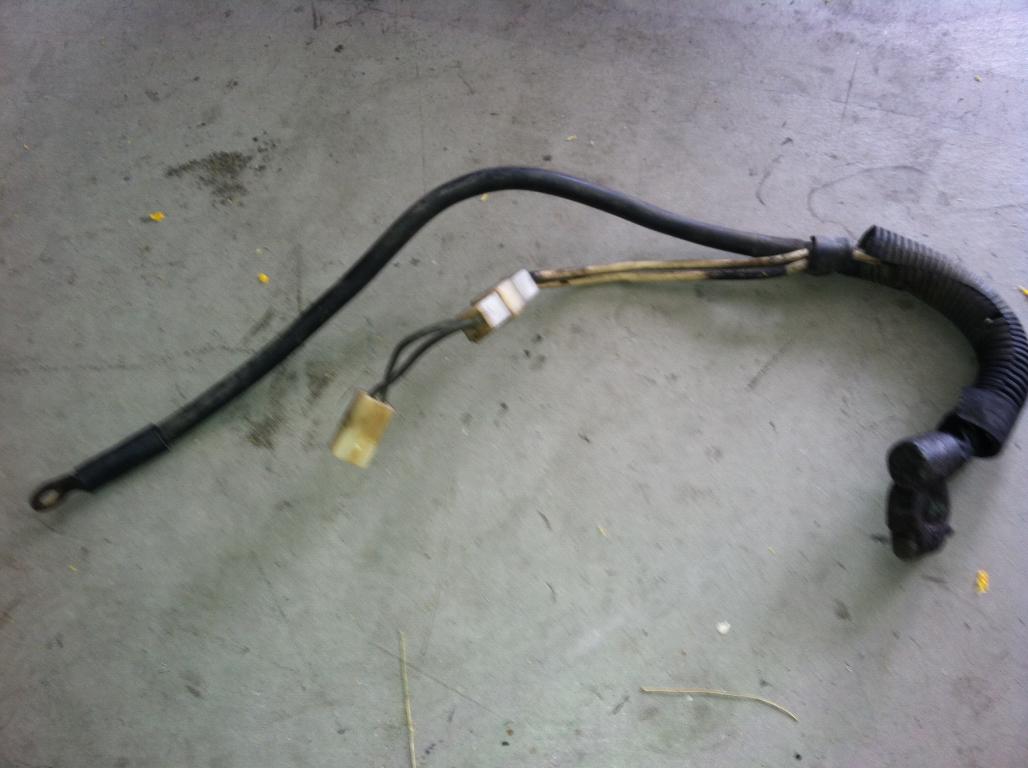
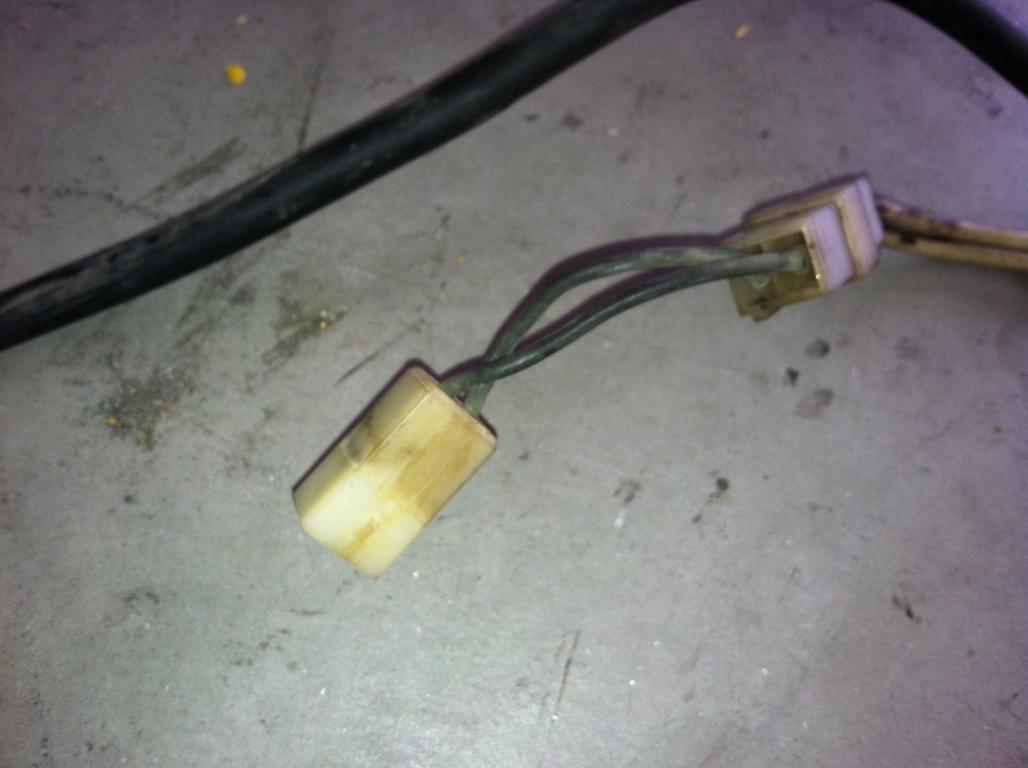
Hey Everyone, I'm at a loss now on my build, I pulled the positive battery cable out to hook up the starter and there is a plug on one side and I don't have the connection on my harness and I don't remember where it went. Did this connection plug into the wiring harness for the fuel injection which is now long gone with the engine? Also, is this the plug that sends juice to the battery from the alt? If it is, can I just run a "hot" from the alternator to the battery as I found in the ford wiring of the alt via this plug? ?? It's a 1992 mustang internally regulated alternator. Thanks in advance as I'm hoping to fire it up this weekend! (I do have the alternator wired up already with the white/red lined wires that feed to the fusable links "links".

-
Well, I got around to installing the wiring harness I bought from Summit (very cool harness) and the rest of the "bolt-on's". With the exception of finding and cutting a 2.5 inch hole in the firewall, it went pretty easy! I guess I will see when I try to start it! The only hiccup I had was when I added the oil and primed the oil pump. I took off to the store only to come back and see a puddle of oil under the car. I almost had a heart attack thinking the worst and the thought of pulling out that engine again so soon. Turns out it was the oil pan plugs (whew). Had to buy a new oil pan (Summit) and I never tightened up the drain plugs. I was freakin..
-
I've got the MS bar with poly bushings I'd do $100 plus shipping (guessing about $25 bucks).
-
It's for the a stock 5 speed out of a 78 z which I think is a BW.
-
I have one out if my 78 $75 shipped
-
LS/T56/240z Project Mentor Wanted
whatnow123 replied to RebekahsZ's topic in S30 Series - 240z, 260z, 280z
Your car is freakin awesome!! I also admire that you actually drive it around instead of it being a trailer queen! -
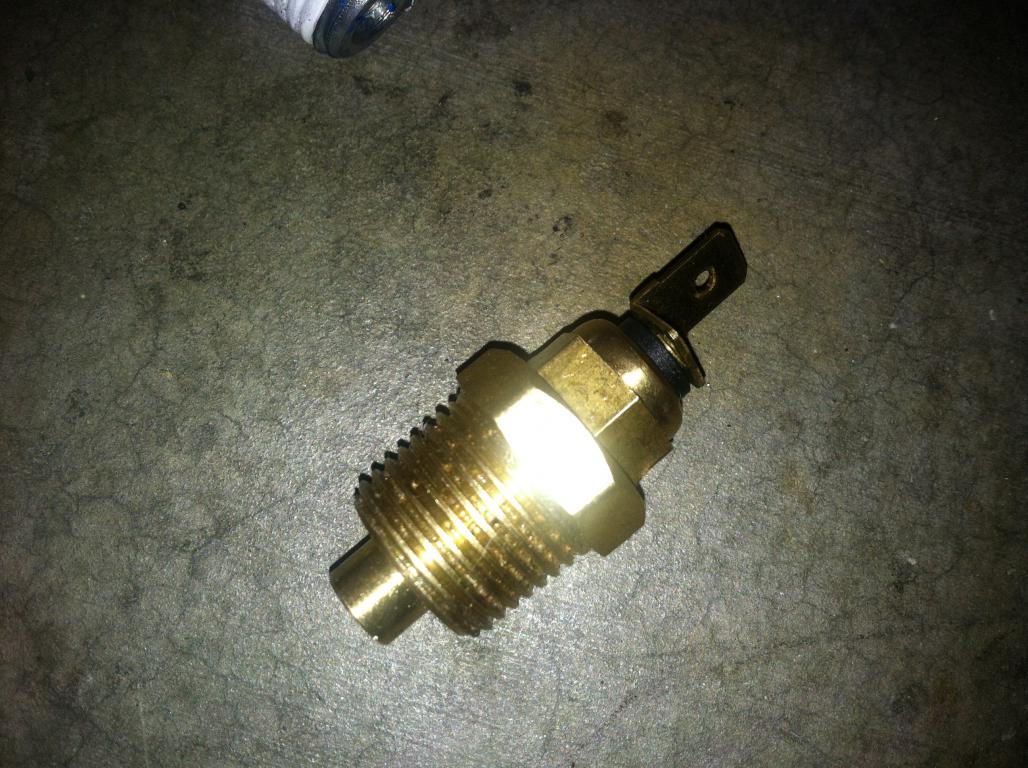
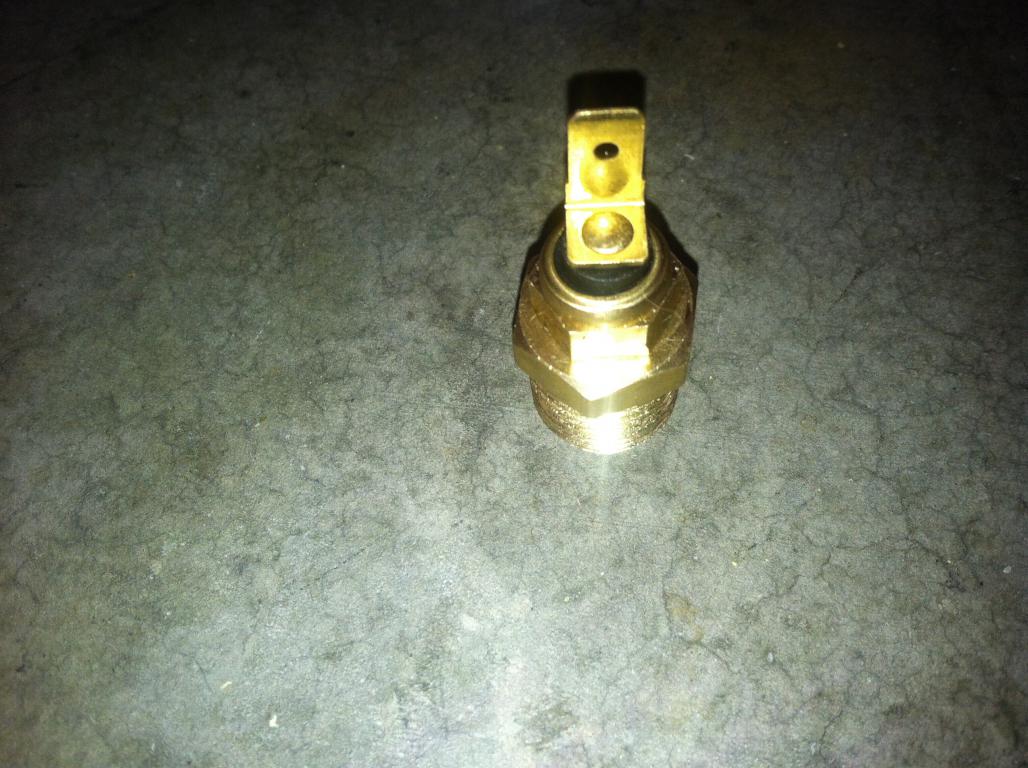
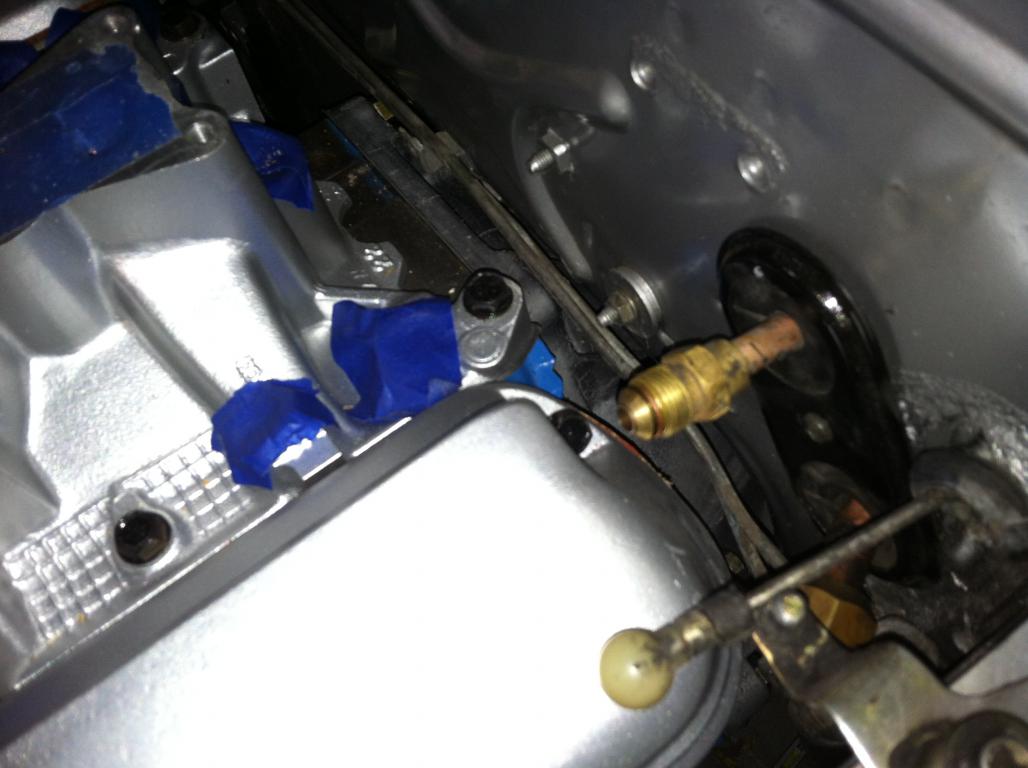
Water temp sensor 280z engine swap...
whatnow123 replied to whatnow123's topic in S30 Series - 240z, 260z, 280z
Thanks Domzs, I ended up getting the other sensor but it was to small to fit into the ford intake, so I bought a plug, drilled and tapped it so it would work.
-
Water temp sensor 280z engine swap...
whatnow123 replied to whatnow123's topic in S30 Series - 240z, 260z, 280z
That's what I was looking for. Thanks! -
Hey Everyone, I'm hoping someone has an answer to this. Is there a compatible temp sensor that will work with a 280z temp gauge for my engine swap? I meant to keep the temp sensor and oil sensor when I pulled and sold my engine but forgot to pull them off before the engine left. I can't seem to find a water sensor for the 280z (the parts store only list the 2 wire sensor for the EFI harness). I did a Ford v8 swap but can't find any specs on the 280z sensor to see if I can find a ford sensor that is close to the ohm readings... Anyone know of a sensor that will work? Thanks!!
-
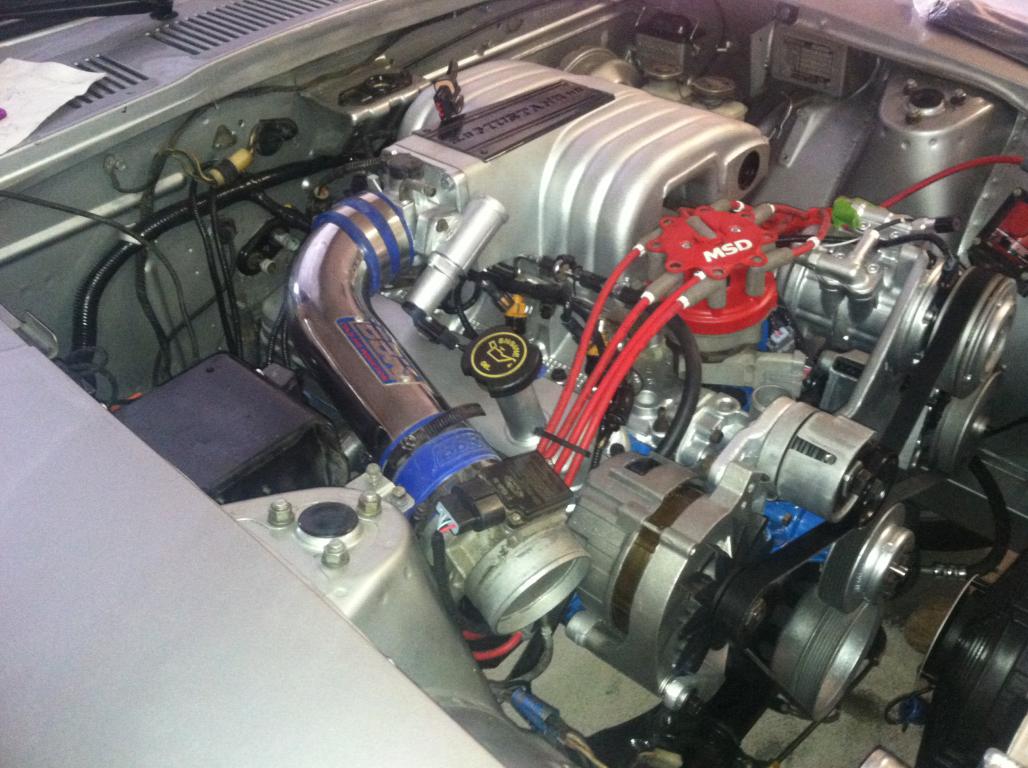
So I got around to installing the accessories just waiting to see what else I'm going to have to modify for clearance issues and they seem fairly minor. I had to get 90 degree oil adaptor for the engine filter. Thought just a shorty filter would work, but the Subaru rack got in the way. Now I all I need is an alternator and a compressor pulley, the bearing in the compressor pulley sounds like it spent a day at the beach when you spin it and the alternator, well I don't know what happened to the alternator, but it's not good and one fuel injector is broken. It never ends!!
-
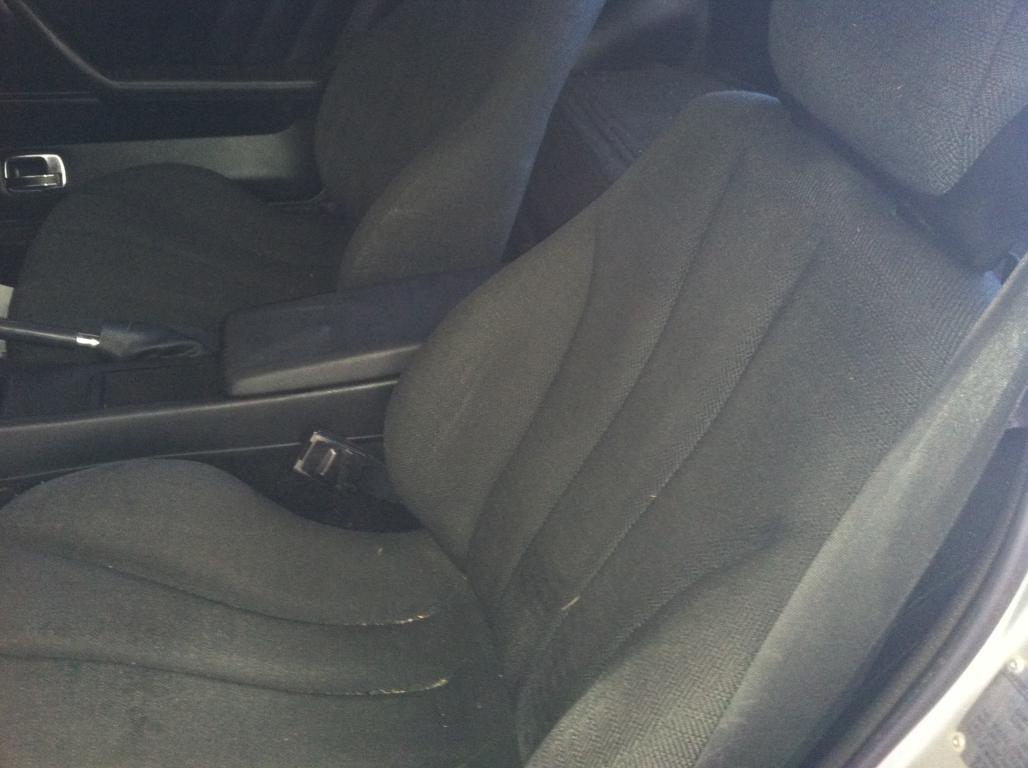
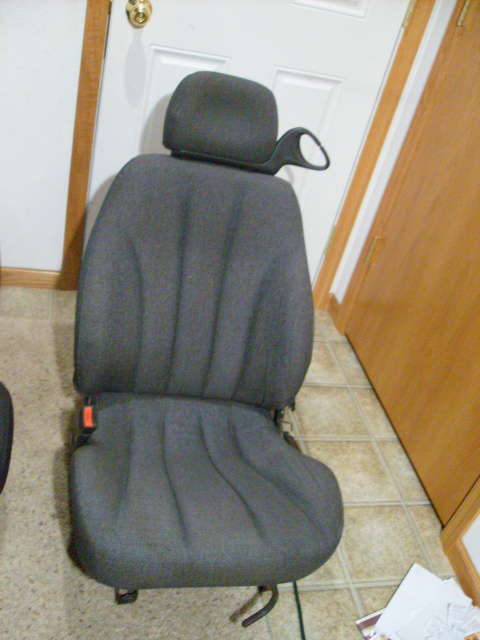
Here are a couple of more photos of the seat for Namor..
-
The clearance is about 6 inches.
-
I will snap a better photo of the seats installed over the weekend for you. They fit in there very well and are very comfortable. The seats are out of a Pontiac Sunfire. I had no idea what they were out of when I bought them, I found them on craigslist and wanted them for the shoulder harness for the seat belt, here is a photo of the seat not installed that I found on google so you can better see what I'm talking about. What I did, I removed the seat rails from the 280z seats and bolted them to the Sunfire seats. The 280z seats are level where the rails attach, the sunfire seats are as well except for one corner, but I used a bushing (maybe 1/2 inch) to level it out. I wanted to use the stock seat rails so I could use the factory mounting points. The only other modification I did was to flatten out the cat hump on the driver's side trans tunnel. You probably don't have to do that to a 240z but I don't know for sure.
-
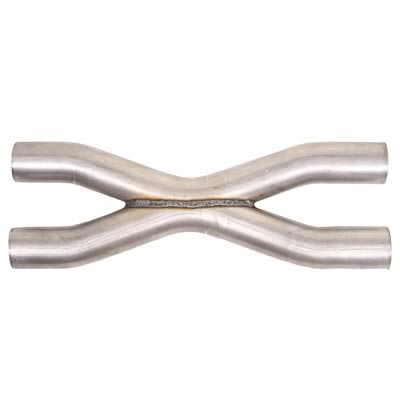
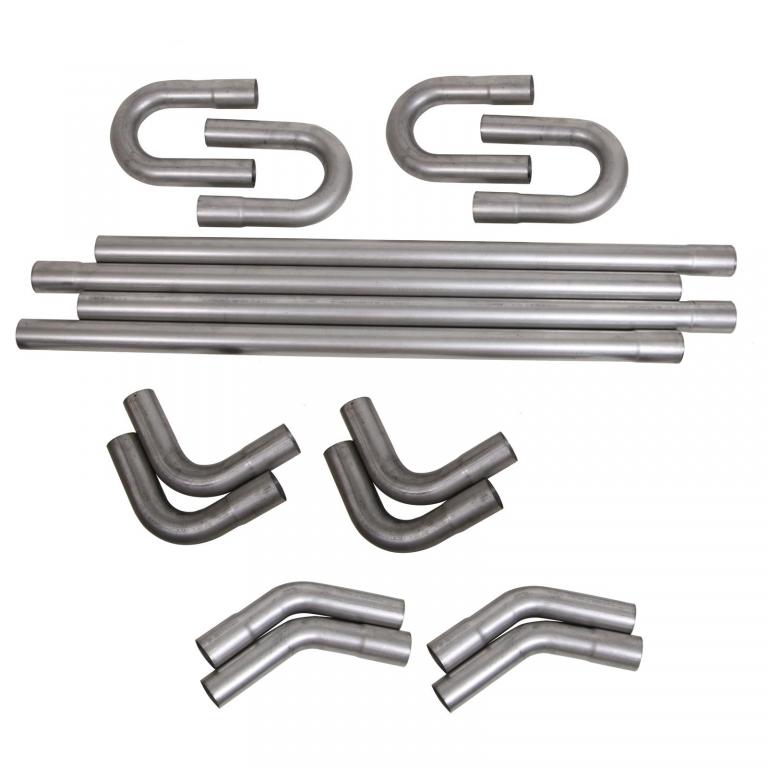
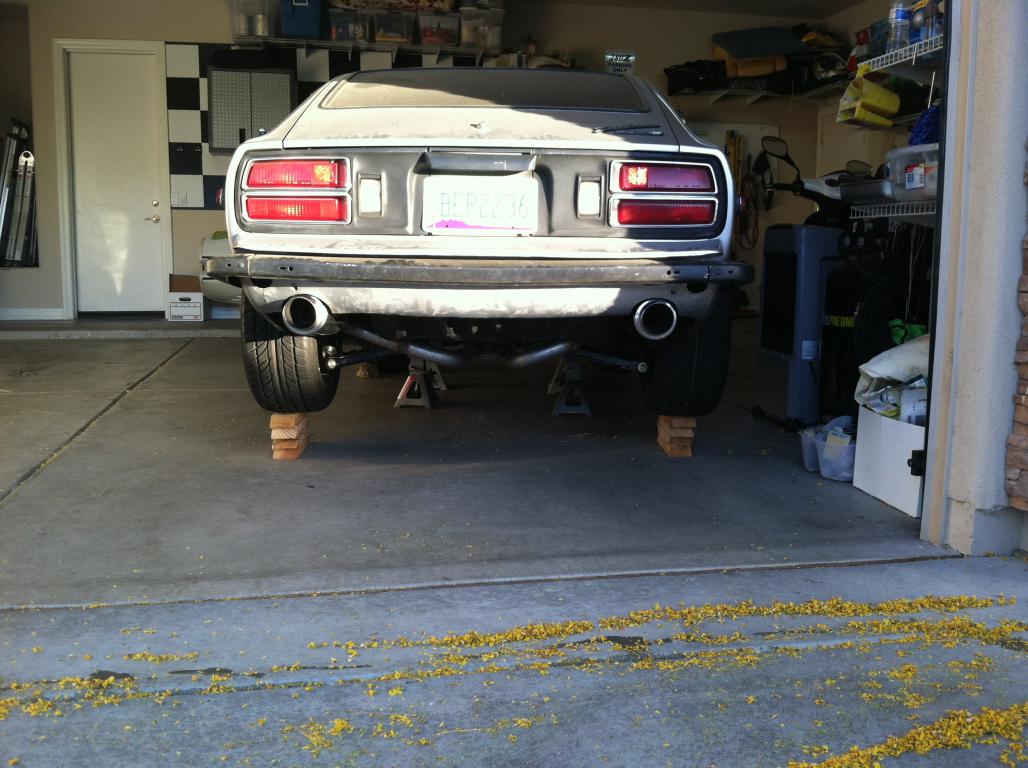
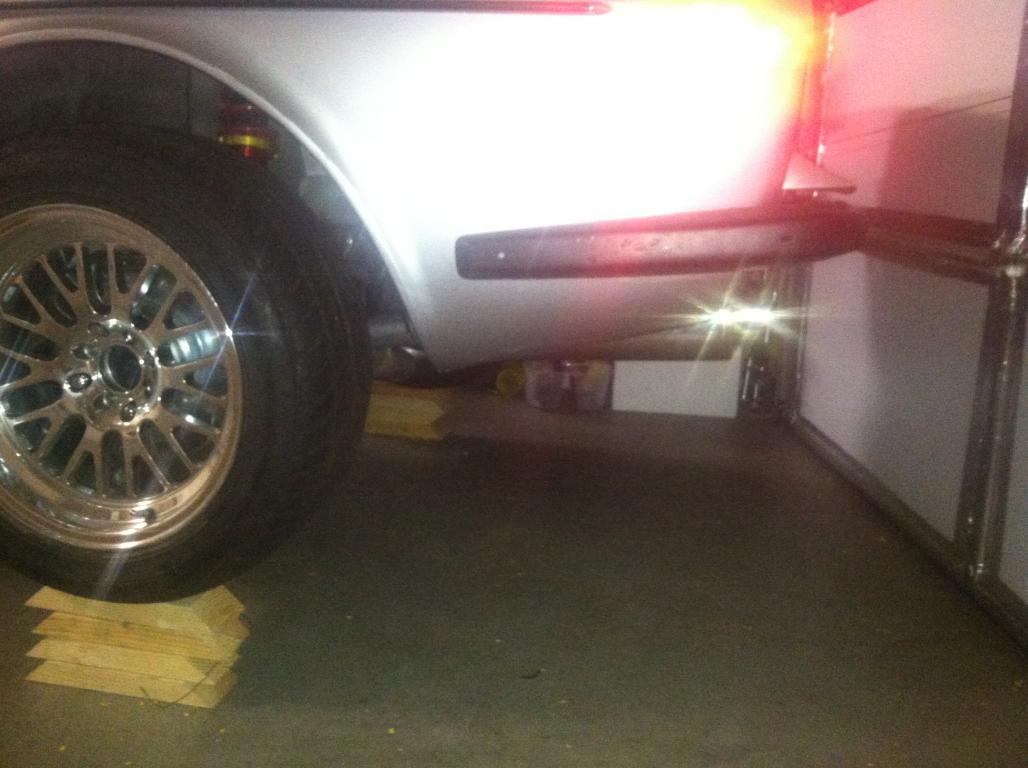
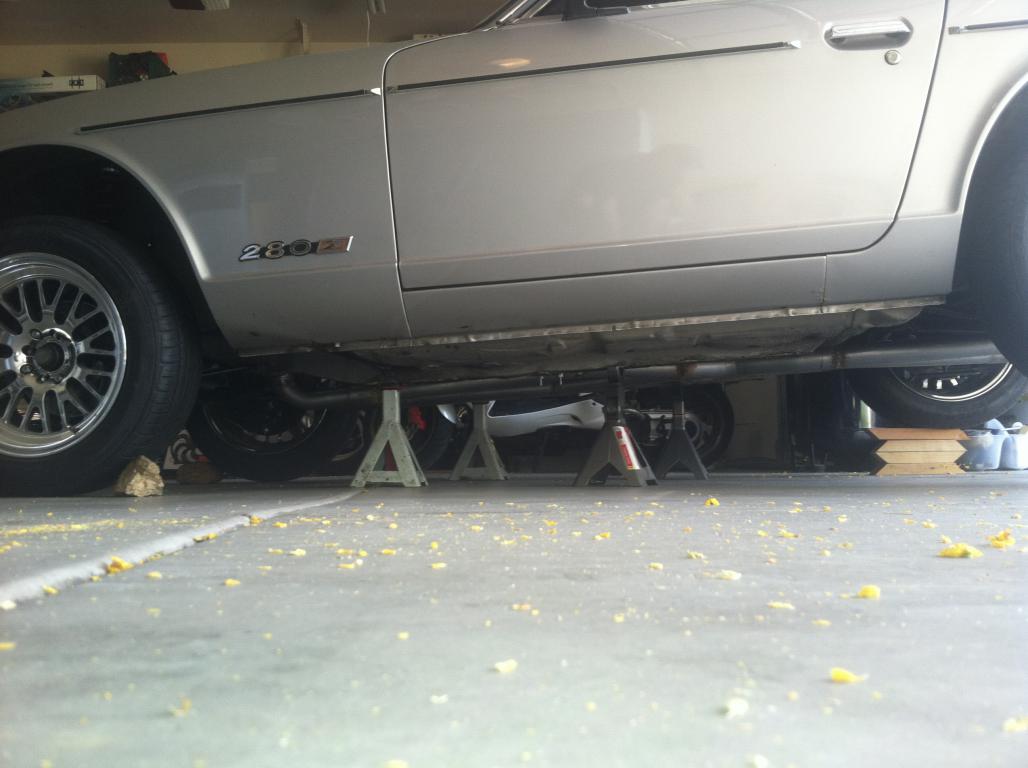
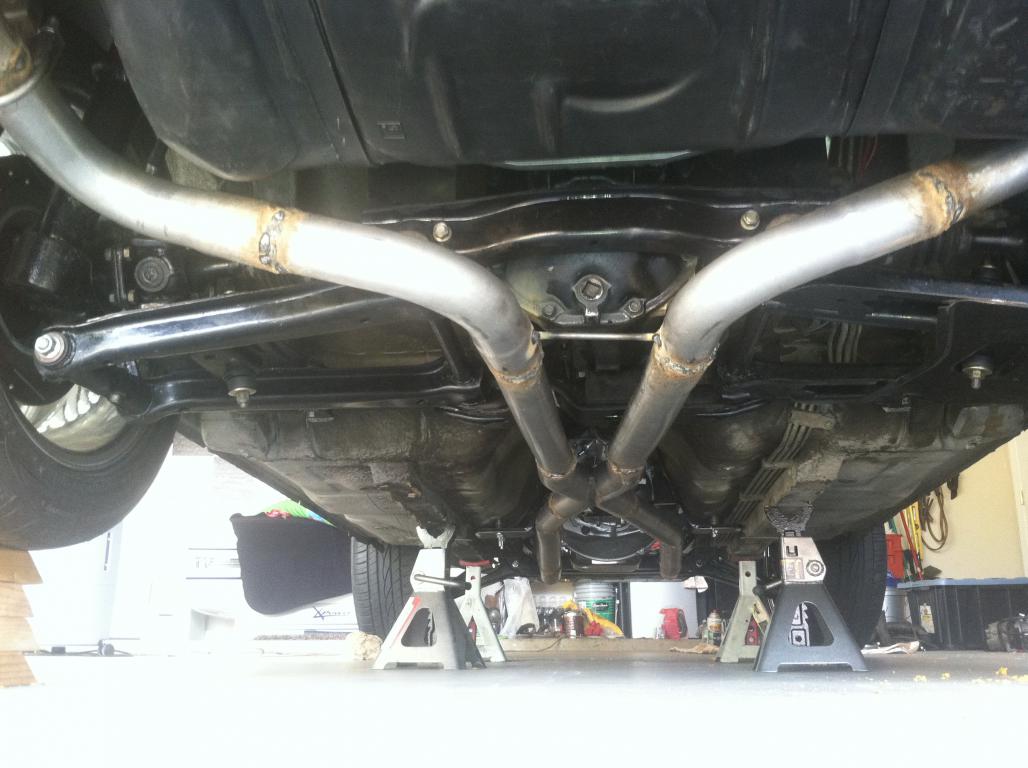
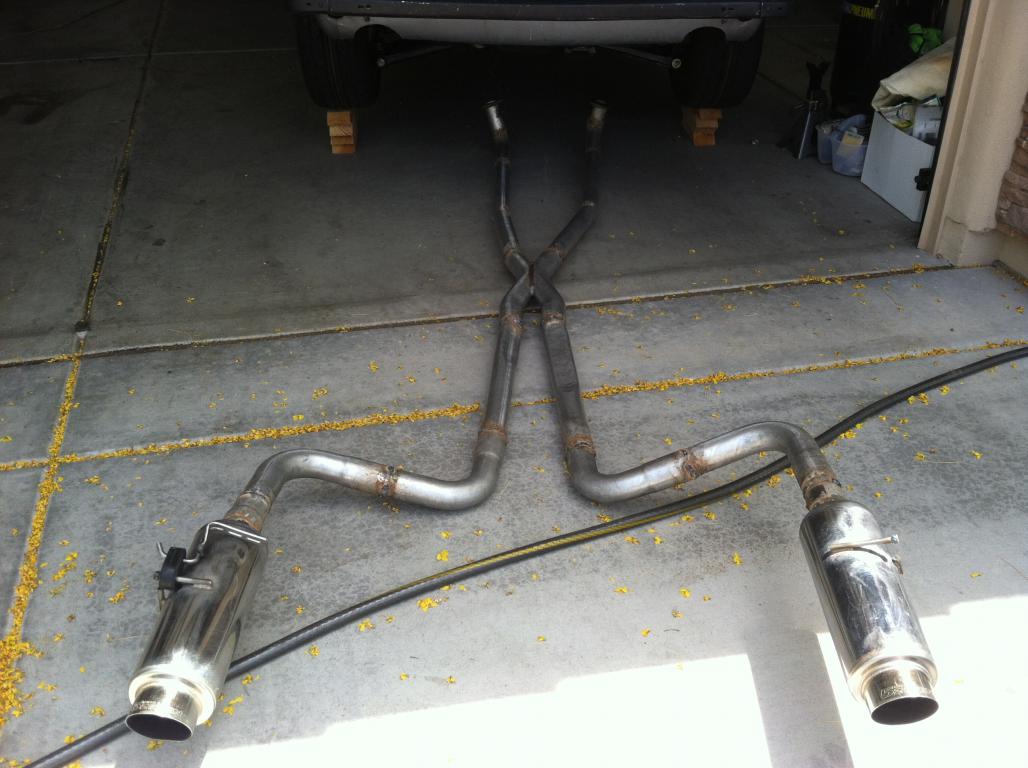
So I got around to installing my exhaust, of course after I cut, welded, cut some more, welded..grind, weld, grind weld... well you get the picture. What a pain in the a00. It honestly turned out better than I expected, I don't have a photo of it together because quite honestly I thought I would have to remove it again for "adjustments", but it turns out it went right in and I wasn't going to remove it for a photo. I started from the mufflers forward, hung the mufflers then started piecing the pipes together and holding them up with bailing wire, then I tacked the exhaust together before I dropped it and welded it completely. Not sure if that is the right way to do it or not, but it worked for me. I bought the summit kit of tubes, a narrow X pipe and some collectors that have an O2 bung welded to it. After I finished welding it up, I duct taped all the exhaust "holes", made an adaptor for a air chuck into the o2 sensor, pressurized the exhaust then I got a squirt bottle with soapy water and started chasing all the pin holes I had.. there were many and I thought I my welds were good???? Anyway, turns out that this wasn't a bad way to do this and I came up with it all on my own. The exhaust tucks up nicely and isn't visible from the side but it's awesome looking at dual exhaust from the rear I must say!!! This (I hope) was the last bit of "dirty" work I really have. Now I have to install the AC, Alt and power steering pump, get it wired up and fired up!! I'm excited!!
-
wow this car is going to be beautiful! Love the work on the dash, looks awesome!
-
Wow, this is a cool car!!! I like all the "fig-ur-in" you have done to make things work. I love the side mirrors and antenna, I'm probably going to steal this idea from you (much like I have with just about everything else on my car) once I'm ready for a re-paint. Also, I'm just curious, but in AZ you can exempt your car from emissions if you carry classic car insurance (which has mileage restrictions and other primary vehicle requirement). CO doesn't have something like that?
-
I have a set (2) of what I was told are factory racing springs that came with some suspension parts I bought. I don't know how much they will lower your car as I went with coil overs, but they are shorter and feel like they have a stiffer spring rate then the factory springs I took off my car. Let me know if you want them...
-
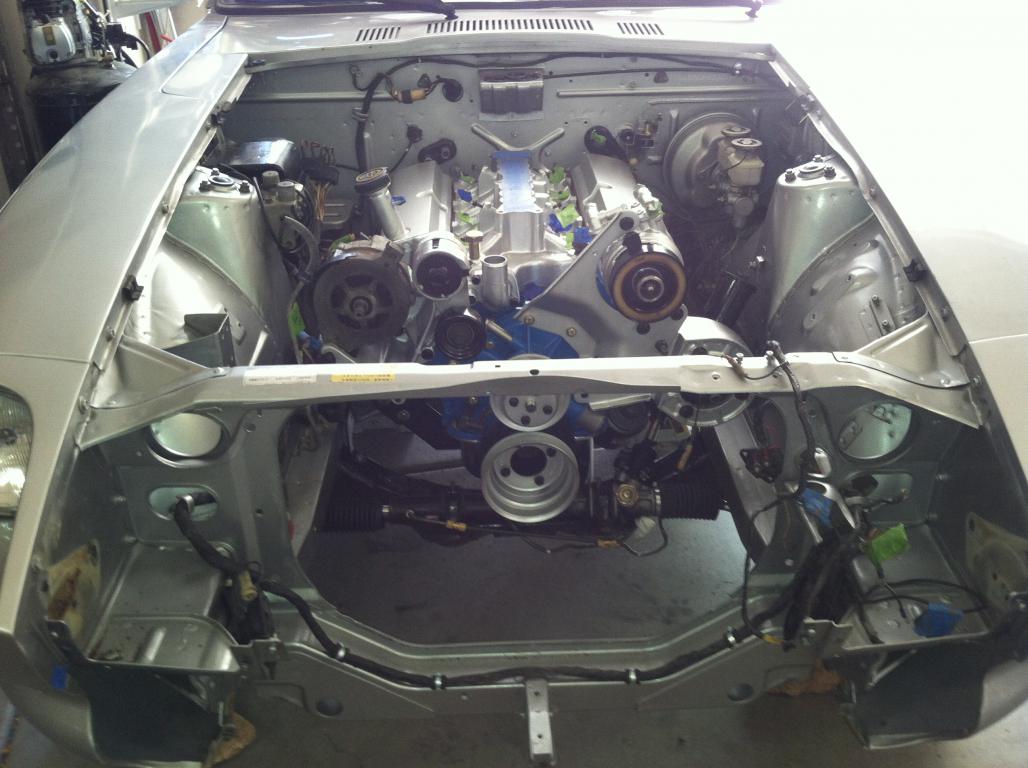
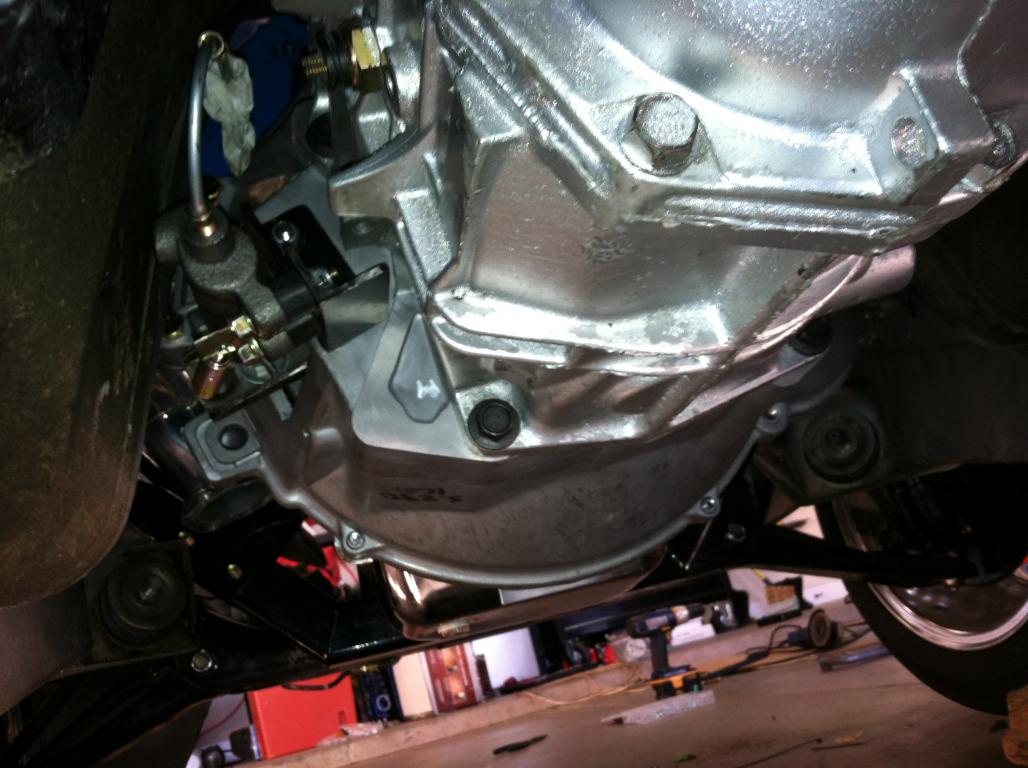
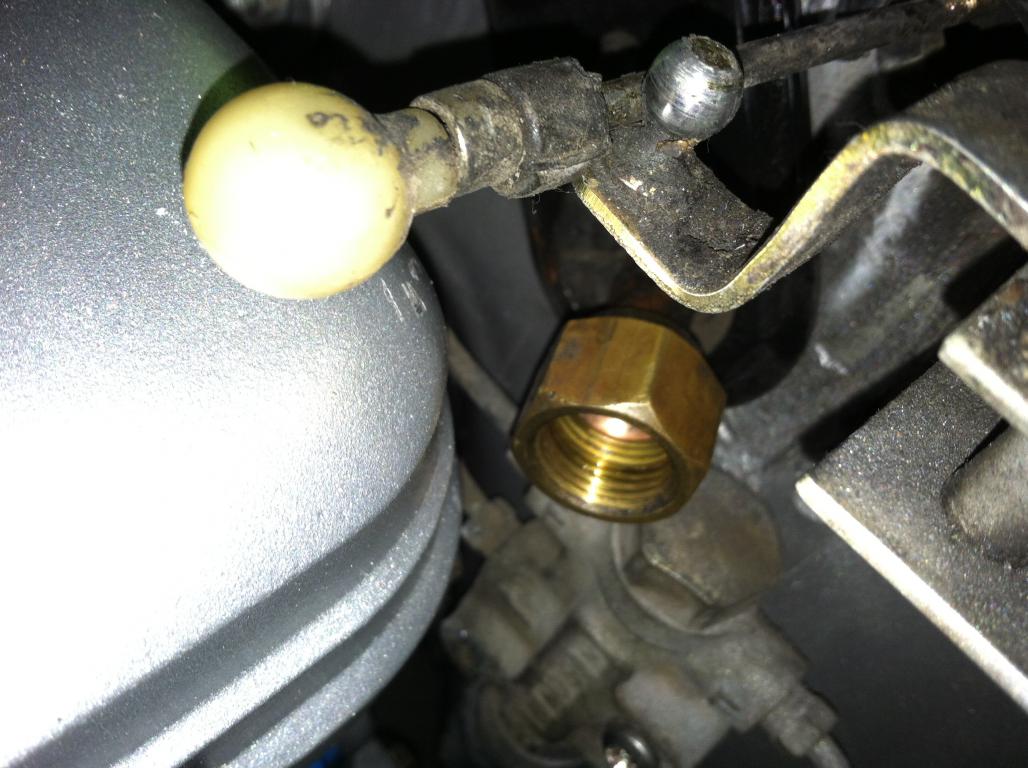
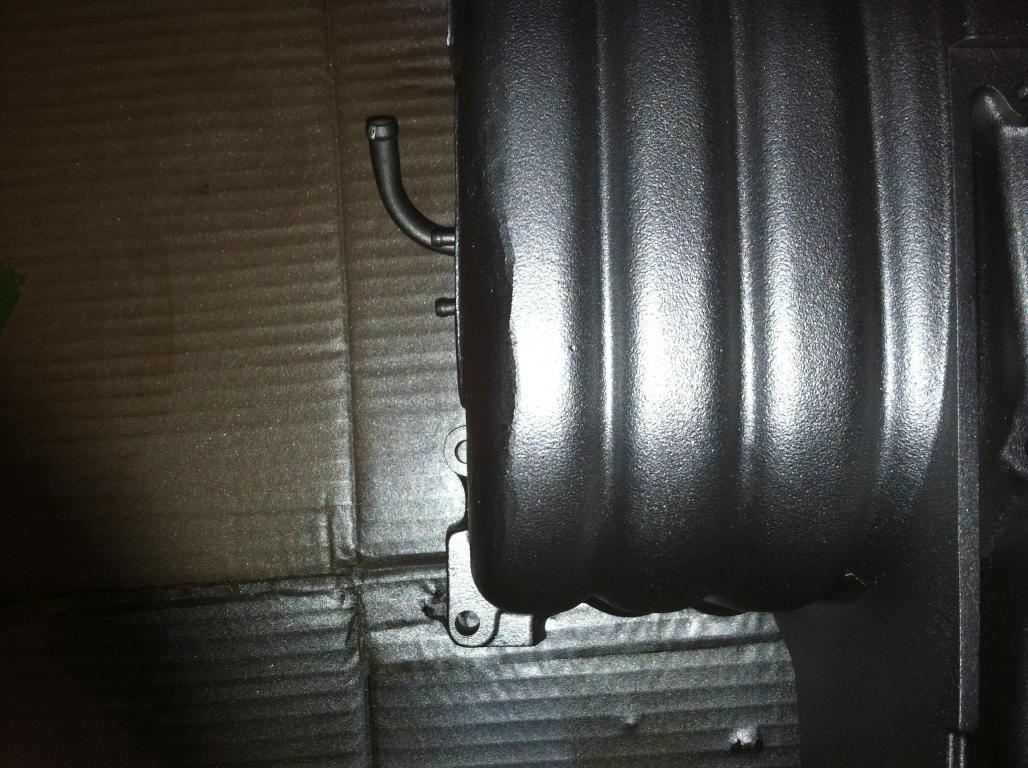
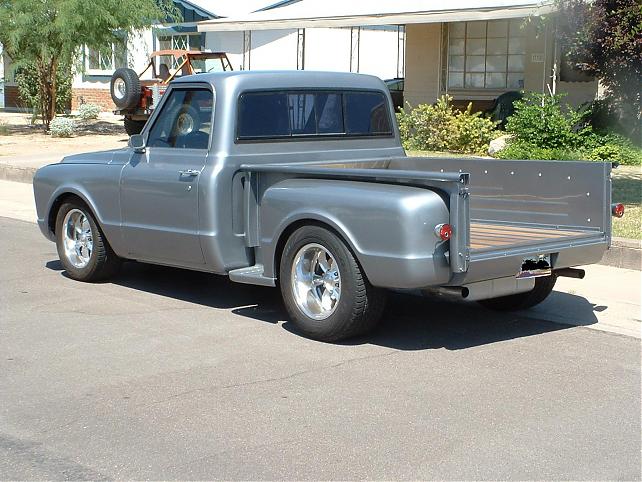
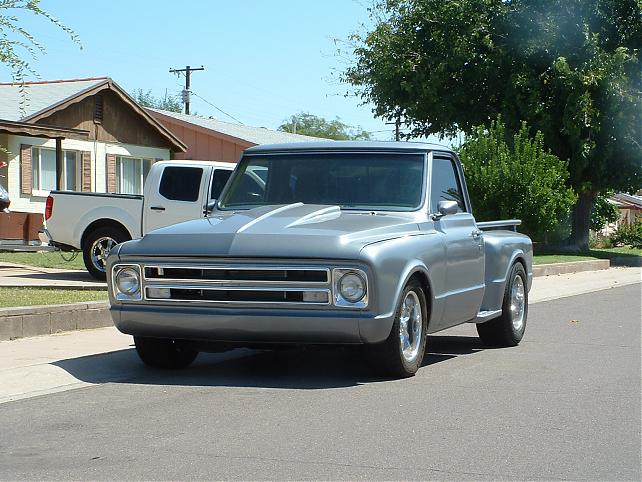
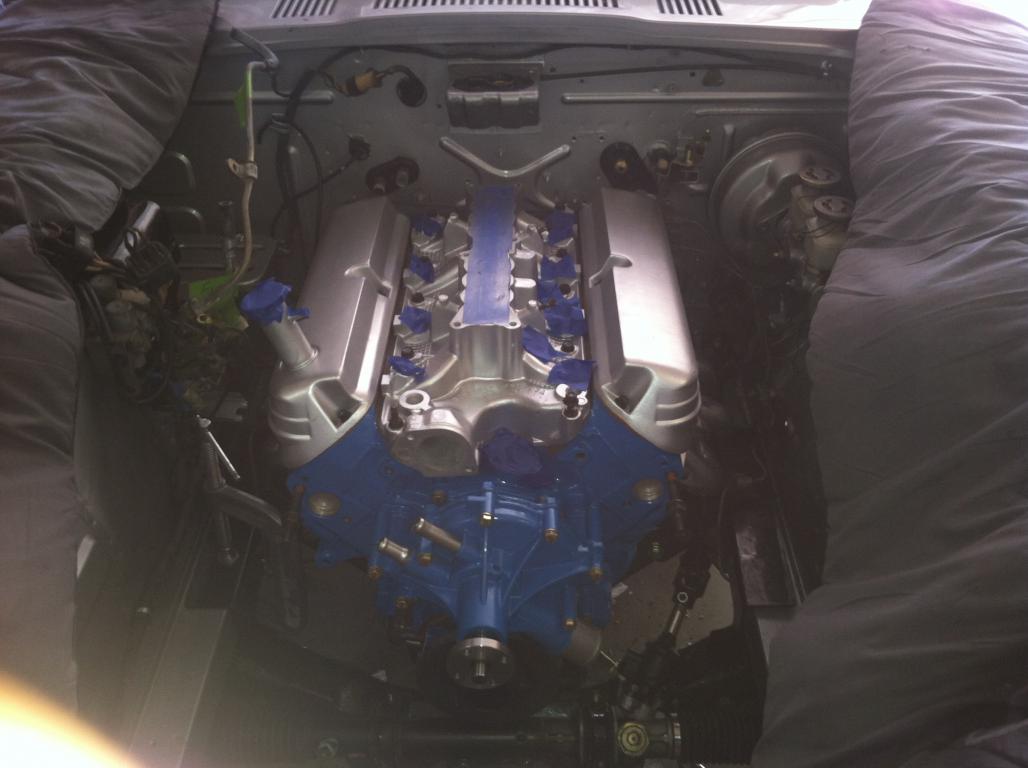
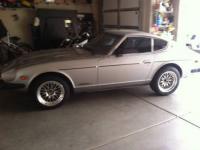
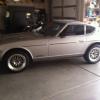
Okay, so I got the engine in but I was freaking out as the engine sits low and very close to the firewall. So close that that I thought I was going to have to figure something else out with the AC lines as there was ZERO room to attach a fitting. I'm in Arizona so having a non-ac car is pretty much not an option. So I had the day off today and worked on the Z a bit trying to figure out what I'm going to do with the AC lines. I pulled the valve cover off the drivers side and very carefully and slowly with big screwdriver started to put a bend in the lower AC line and it actually worked! I'm so pumped about that you really have no idea. I also test fitted the intake, it didn't clear the hood latch, but not by much. I stuck my finger in the intake to see how thick the metal was and there was plenty to grind down. So that worked as well! I was afraid I was going to have to do what Rebekahsz said above and change out the intake. I'm planning on probably doing that at a later time (which will include some AFR aluminum heads) provided that it doesn't run as fast as I would like. The goal is to build a fast, reliable street car that I can jump and drive.. even road trip in that isn't going to kill me in fuel mileage (non-spirited driving that is). So we will see if those plans change. The last vehicle I built a few years ago got about 10 mpg just driving around and you could watch the gas gauge move when you got on it (about 420hp and 3600 lbs). I will attach a photo of what I started with and what I ended up with even though it's not a Z.... So the engine is pretty much set where it's going to be. I just need to bolt in the cradle and trans cross member. I did some quick measuring today to make sure the drive line angles are "in phase" which basically means the tail shaft and pinion flange are parallel. I wanted to do this prior to bolting everything down.
-
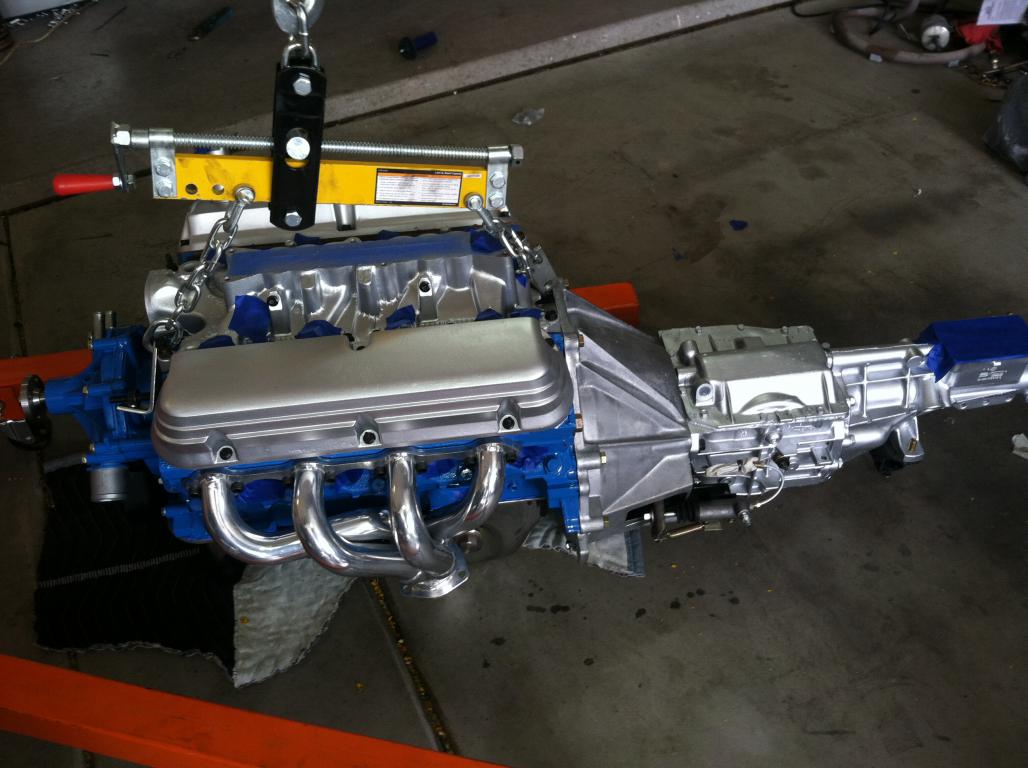
Well, she is in...
-
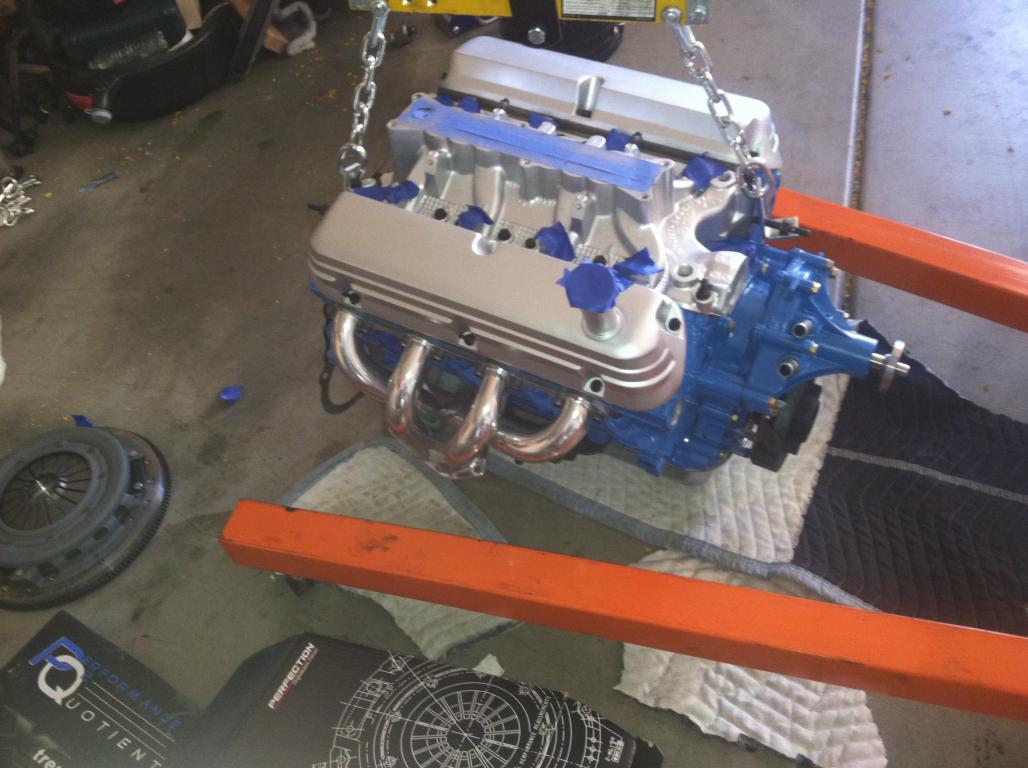
Well, from what I have read, I am one of the lucky last recipients of the Laine engine cradles. I must say it's a fine piece of work. Given that he has the drawings posted on his web-site, it would be fairly easy to make the engine mount, probably not the trans mount with the exhaust bends, but could be done. I think it was totally worth the price he was asking for it not to mention even doing it for other Z people which I think is totally cool. The only problem I had with the test fit was self induced. The relocated steering rod from the Subaru rack swap slightly interfered with the left side brace. I had to clearance it just over a an 1/8 of an inch, which I used a ball peen hammer for my slight "dent" and ground it down smooth, then had to paint it. Sucks that I had to mess up the powder coating. I'm also getting the engine ready to install this weekend. I bought some "closeout" block hugger headers on Ebay from a Mustang place (I can't remember the name) that were ceramic coated for $160 bucks shipped. I wasn't sure about them but figured for a $160 bucks, I'll take a chance. I know why they were cheap, they seem like they are very well made but very difficult to install the bolts. I had to "ding" almost every tube to get the bolts in, but other than that, they seem very cool. So this weekend I'm installing the engine/trans..!
-
Rebekahz, Thank you for those kind words!! And Clocker, You ain't kidding! But I've learned if everything was easy, everyone would do it! I'm just happy I have the skill set to do it. I couldn't imagine how much a shop would charge to do a rack swap, but from what I have read about it, it's totally worth it. I guess I will find out in a couple of months!
-
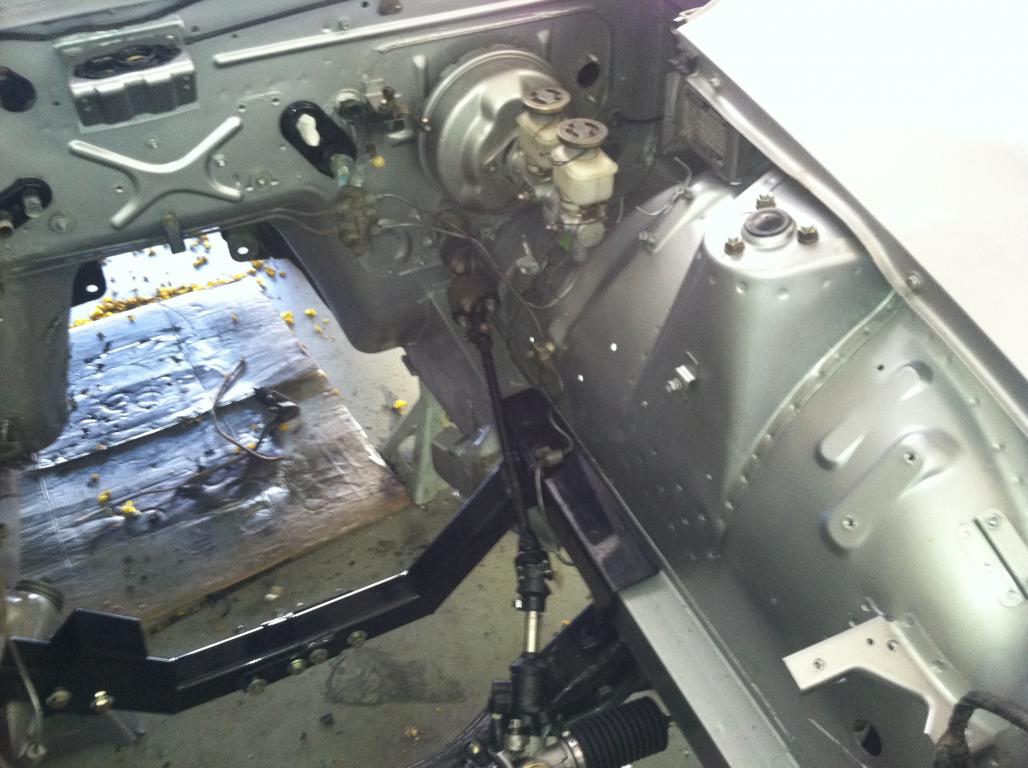
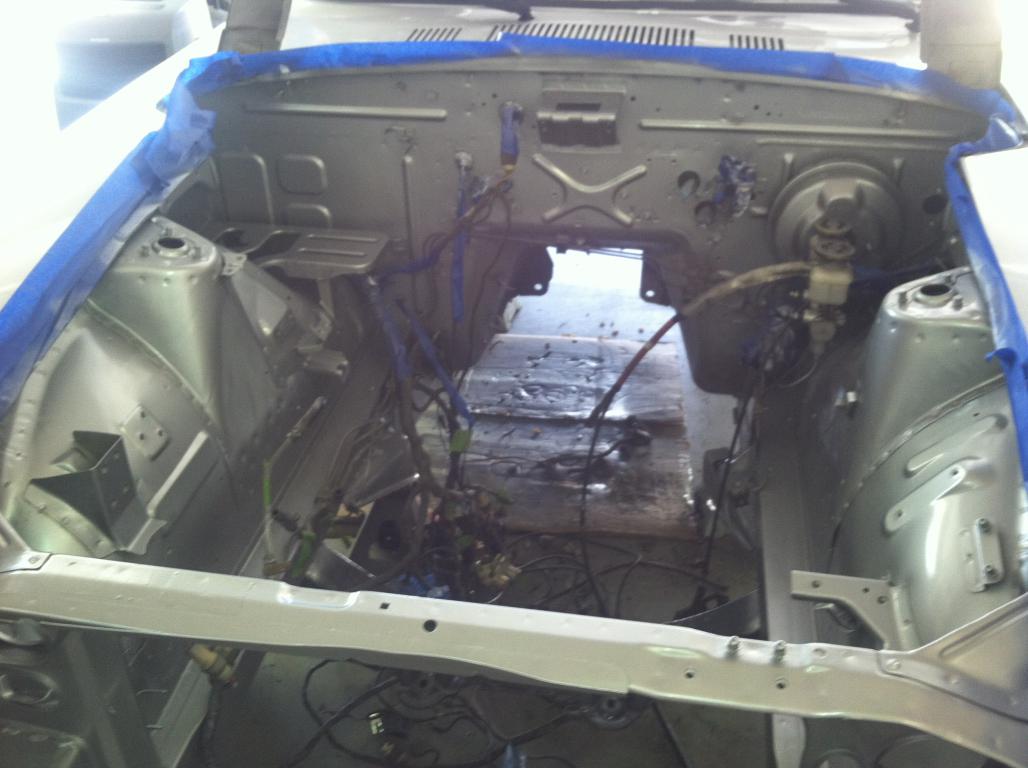
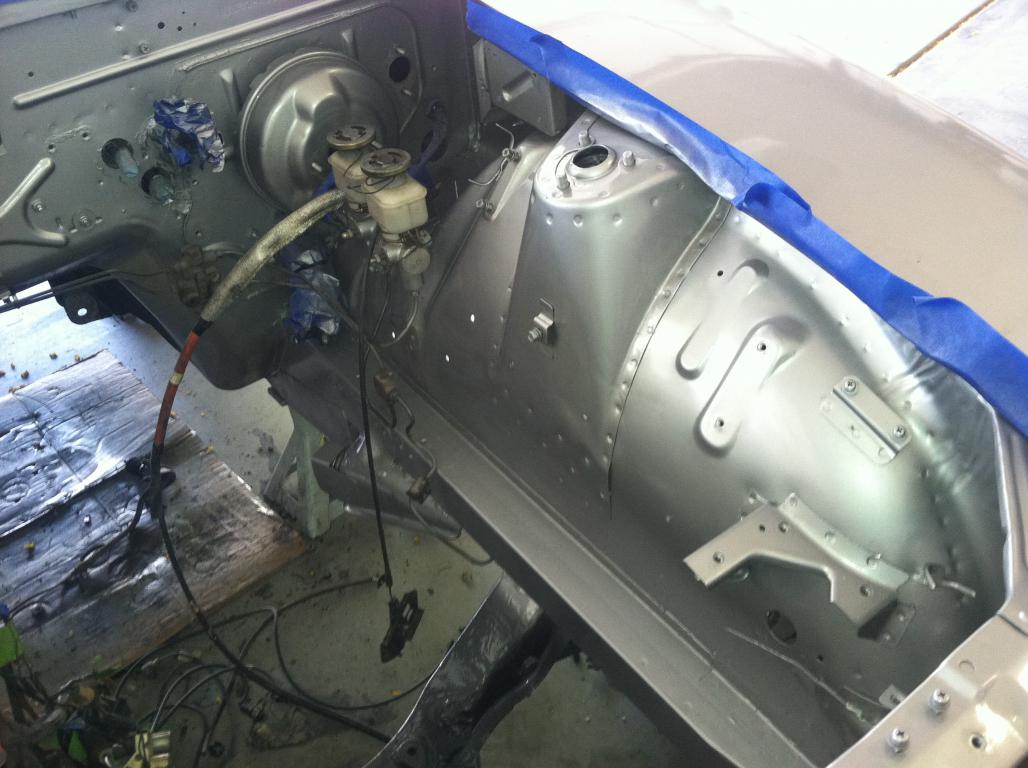
So I got around to repainting and cleaning up the engine bay (not in that order)..... I went by a local paint shop and they made up some 78 280z paint code 306 spray paint for me and I have to say, it's a near perfect match! The engine bay in my Z wasn't that bad, but it did have 36 years of grime and neglect, but was the only part of the entire car that was like that. So after painting, I must say it looks pretty darn good! I'm not going for a show car or anything like that, just a nice clean modified survivor. I'm very lucky that I found a car with no rust that has been very well cared for. So now I need to get the engine bay back together, finish up my slave cylinder mod, get the engine and trans together so I can drop in the V8.. Woo Hoo!!
-
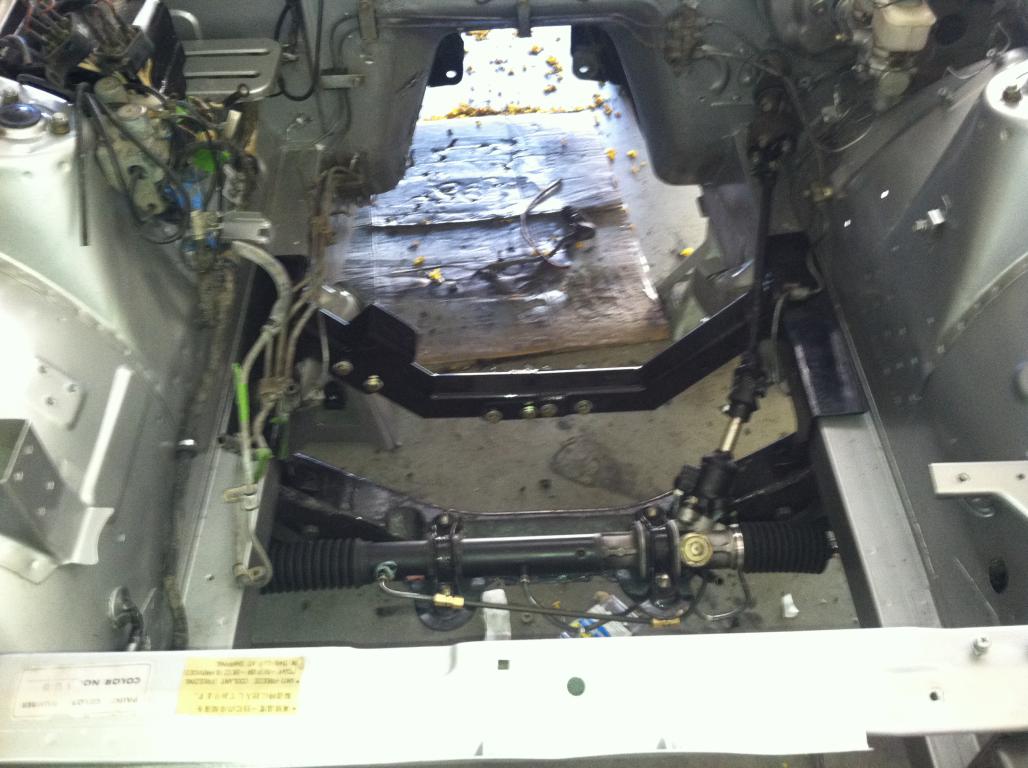
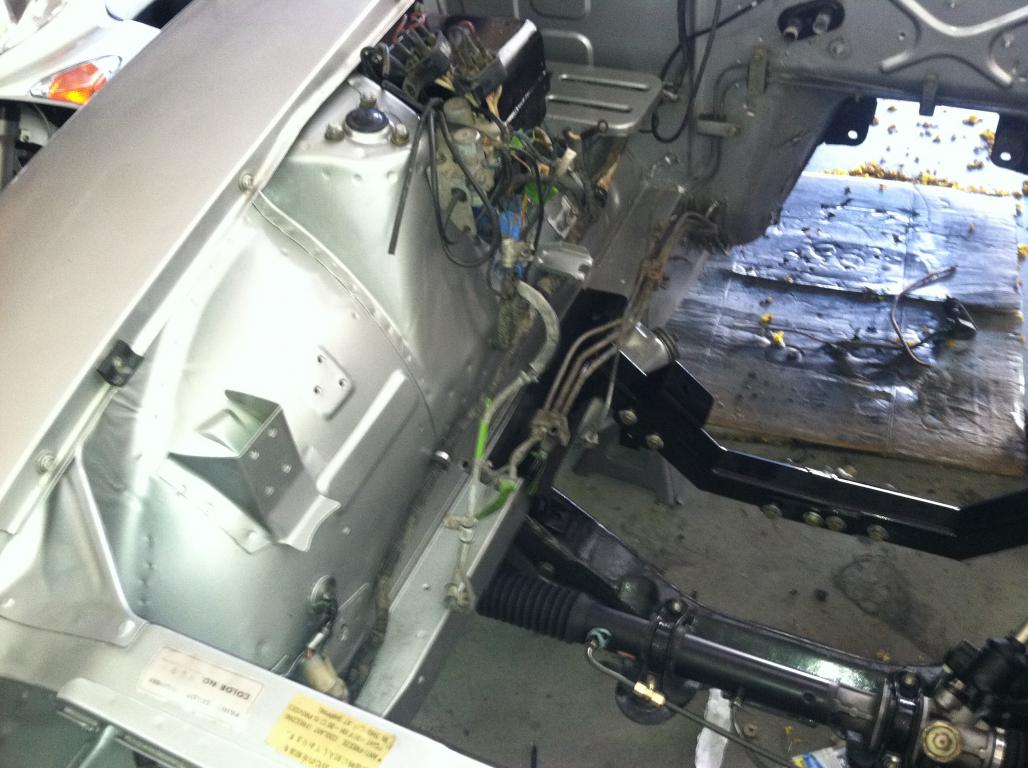
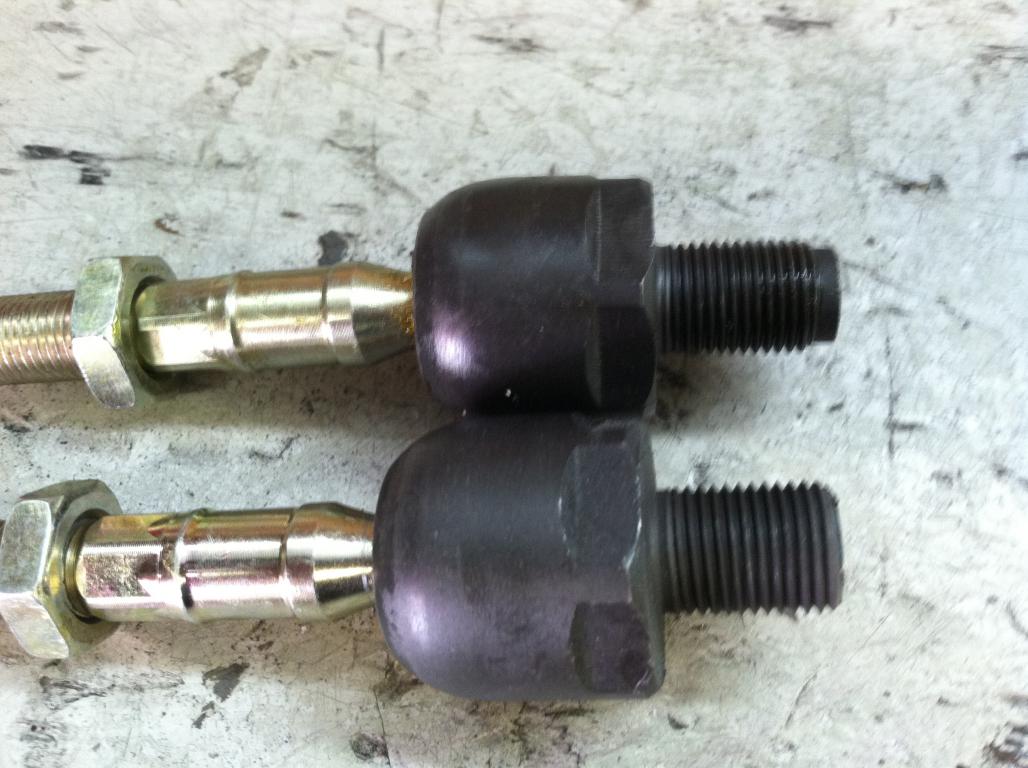
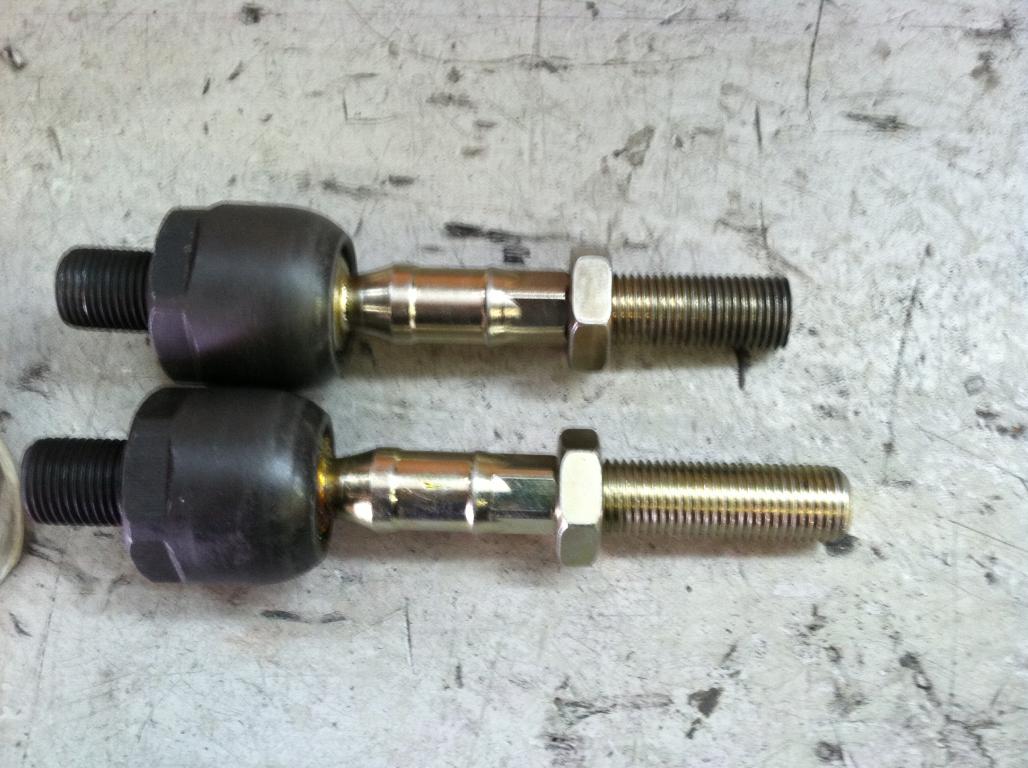
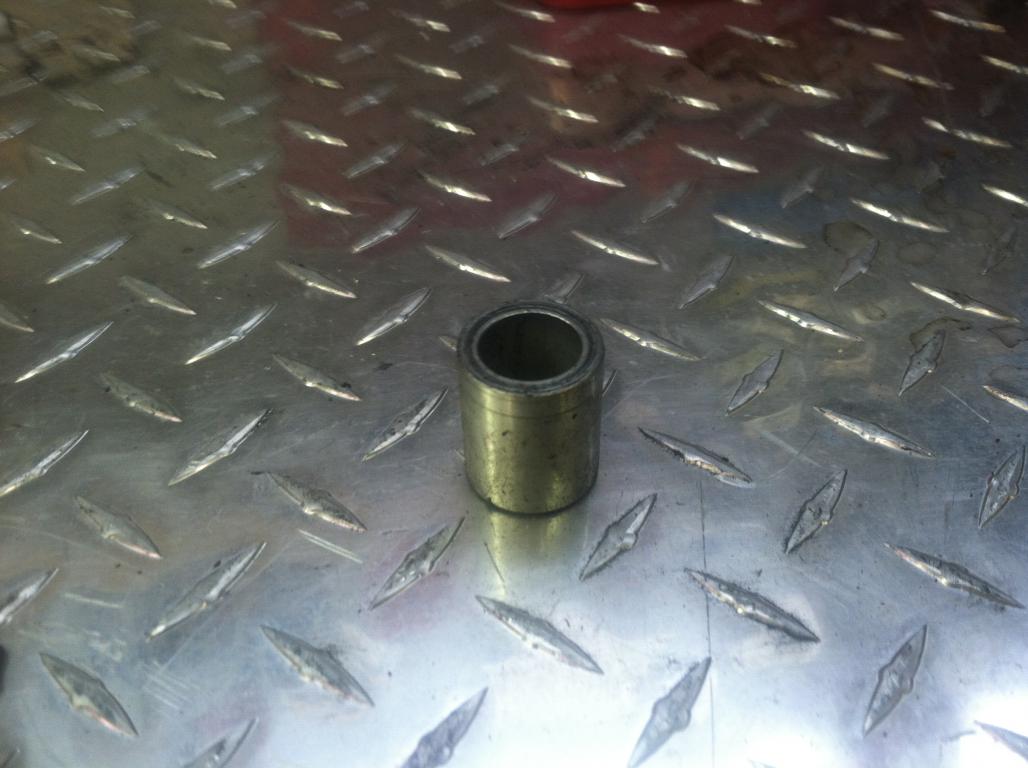
So basically here is my set up for the Subaru Rack Swap. Volvo inner tie rods, part number 274179 from a S80. They are the correct threads for both the Subaru rack and the Datsun outer tie rods. The inner tie rods need to be shortened about a 1/4 of an inch on both threaded sides, a little more on the side that connects the Z tie rod. You use two passenger side outer tie rods (I used the 280z part). The threads on the Volvo tie rods are the same. I went this route as the tie rods have that slight bend in them and I didn't want any interference and for correct geometry (well, as close as this swap allows anyway as the inner tie rod is a little further out than the stock rack, but shouldn't make that much of difference). These (the Z tie rods) need to be cut down about a 1/4 of an inch as well, but it is bolt together after that . Next up is the Borgeson universal joint part number 012564. It has the correct 36 spline to mate to the Subaru shaft. The other side is 3/4 inch, which is too big for the Z steering shaft. What I did was I found a 3/4 bushing and drilled out the center with a 9/16 bit. It fits both perfectly! So after a test fit to see where I needed to cut the Z shaft, I pulled it, slid on the bushing and slid that into the universal joint, drilled a hole through all three pieces, tapped it with a grade 8 set screw then welded it all together. Once bolted all together, I have just over 45 3/4 inches from tie rod center to tie rod center fully clocked. The stock rack was 46.5 inches when I pulled it, so there is more than enough adjustment. I can't wait to drive this car with a quicker ratio rack and power steering!!! (I hated the stock steering rack which is why I did all this). And a special thanks to Hybridz and 78LT1 (who did the heavy lifting for me, I just copied what he did). I will show some photos of the install of the rack once I get the engine bay cleaned up and painted for the new V8