Fullauto
-
Posts
52 -
Joined
-
Last visited
Content Type
Profiles
Forums
Blogs
Events
Gallery
Downloads
Store
Everything posted by Fullauto
-
1978 280z r200 os giken with oem inner stubs. With circlips installed the oem inner stub axels wont slide in past the installed in differential cir clips. need to use oem inner stubs so i can bolt up new Z car garage cv axels. Does anyone make a compatible stub axel that mounts the circlip on the stub and not in the diff. ? Any one had this issue?
-
Looking for fuel sending unit for my 78 Z working or not Thanks Tadd

-
Congrats! gonna turn heads cruisin around in that beauty
-
Finally got the stock tachometer working. Jus wanted to pass along the details. PSI LS3 harness (white wire to tach) stock 1978 280z tach modified by Johns in Dallas. Hooked it up and no tach reading at all on the gauge Stopped by my tuner and the settings are 14 and 15 on the resolution. He thought there should be a good voltage reading. PSI said should have a 5v output Square wave (need oscope meter) I could only read a miniscule reading on the meter .05v and a little frequency wave but almost flat. Decided to try the 1000 ohm resistor attached to a 12v source then spliced into the tach signal wire. As per PSI instructions that came with harness. This bumps up the voltage from the signal wire. Cranked up the car and the tachomter reads perfectly. Amazing how low the voltage from the e38 ecm is!! Hope this helps someone.. Tadd
-
Techno toy front control arms
Fullauto replied to mrk3cobra's topic in Gen III & IV Chevy V8Z Tech Board
got the TTT gtx2 very awesome TTT rear also...nice stuff did the bug brake wilwoods from them also -
replaced the ls1 with ls3 376 525 crate
-
Thanks!!
-
Alain where did you get your seats upholstered? My next deal... Btw I did the os giken w/ 3.91 Also the Mcleod Rst dual Both are working great.... These cars are stupid fast.... Your Z amazes me!!! Tadd in Austin
-
I made one out of neoprene worked well.
-
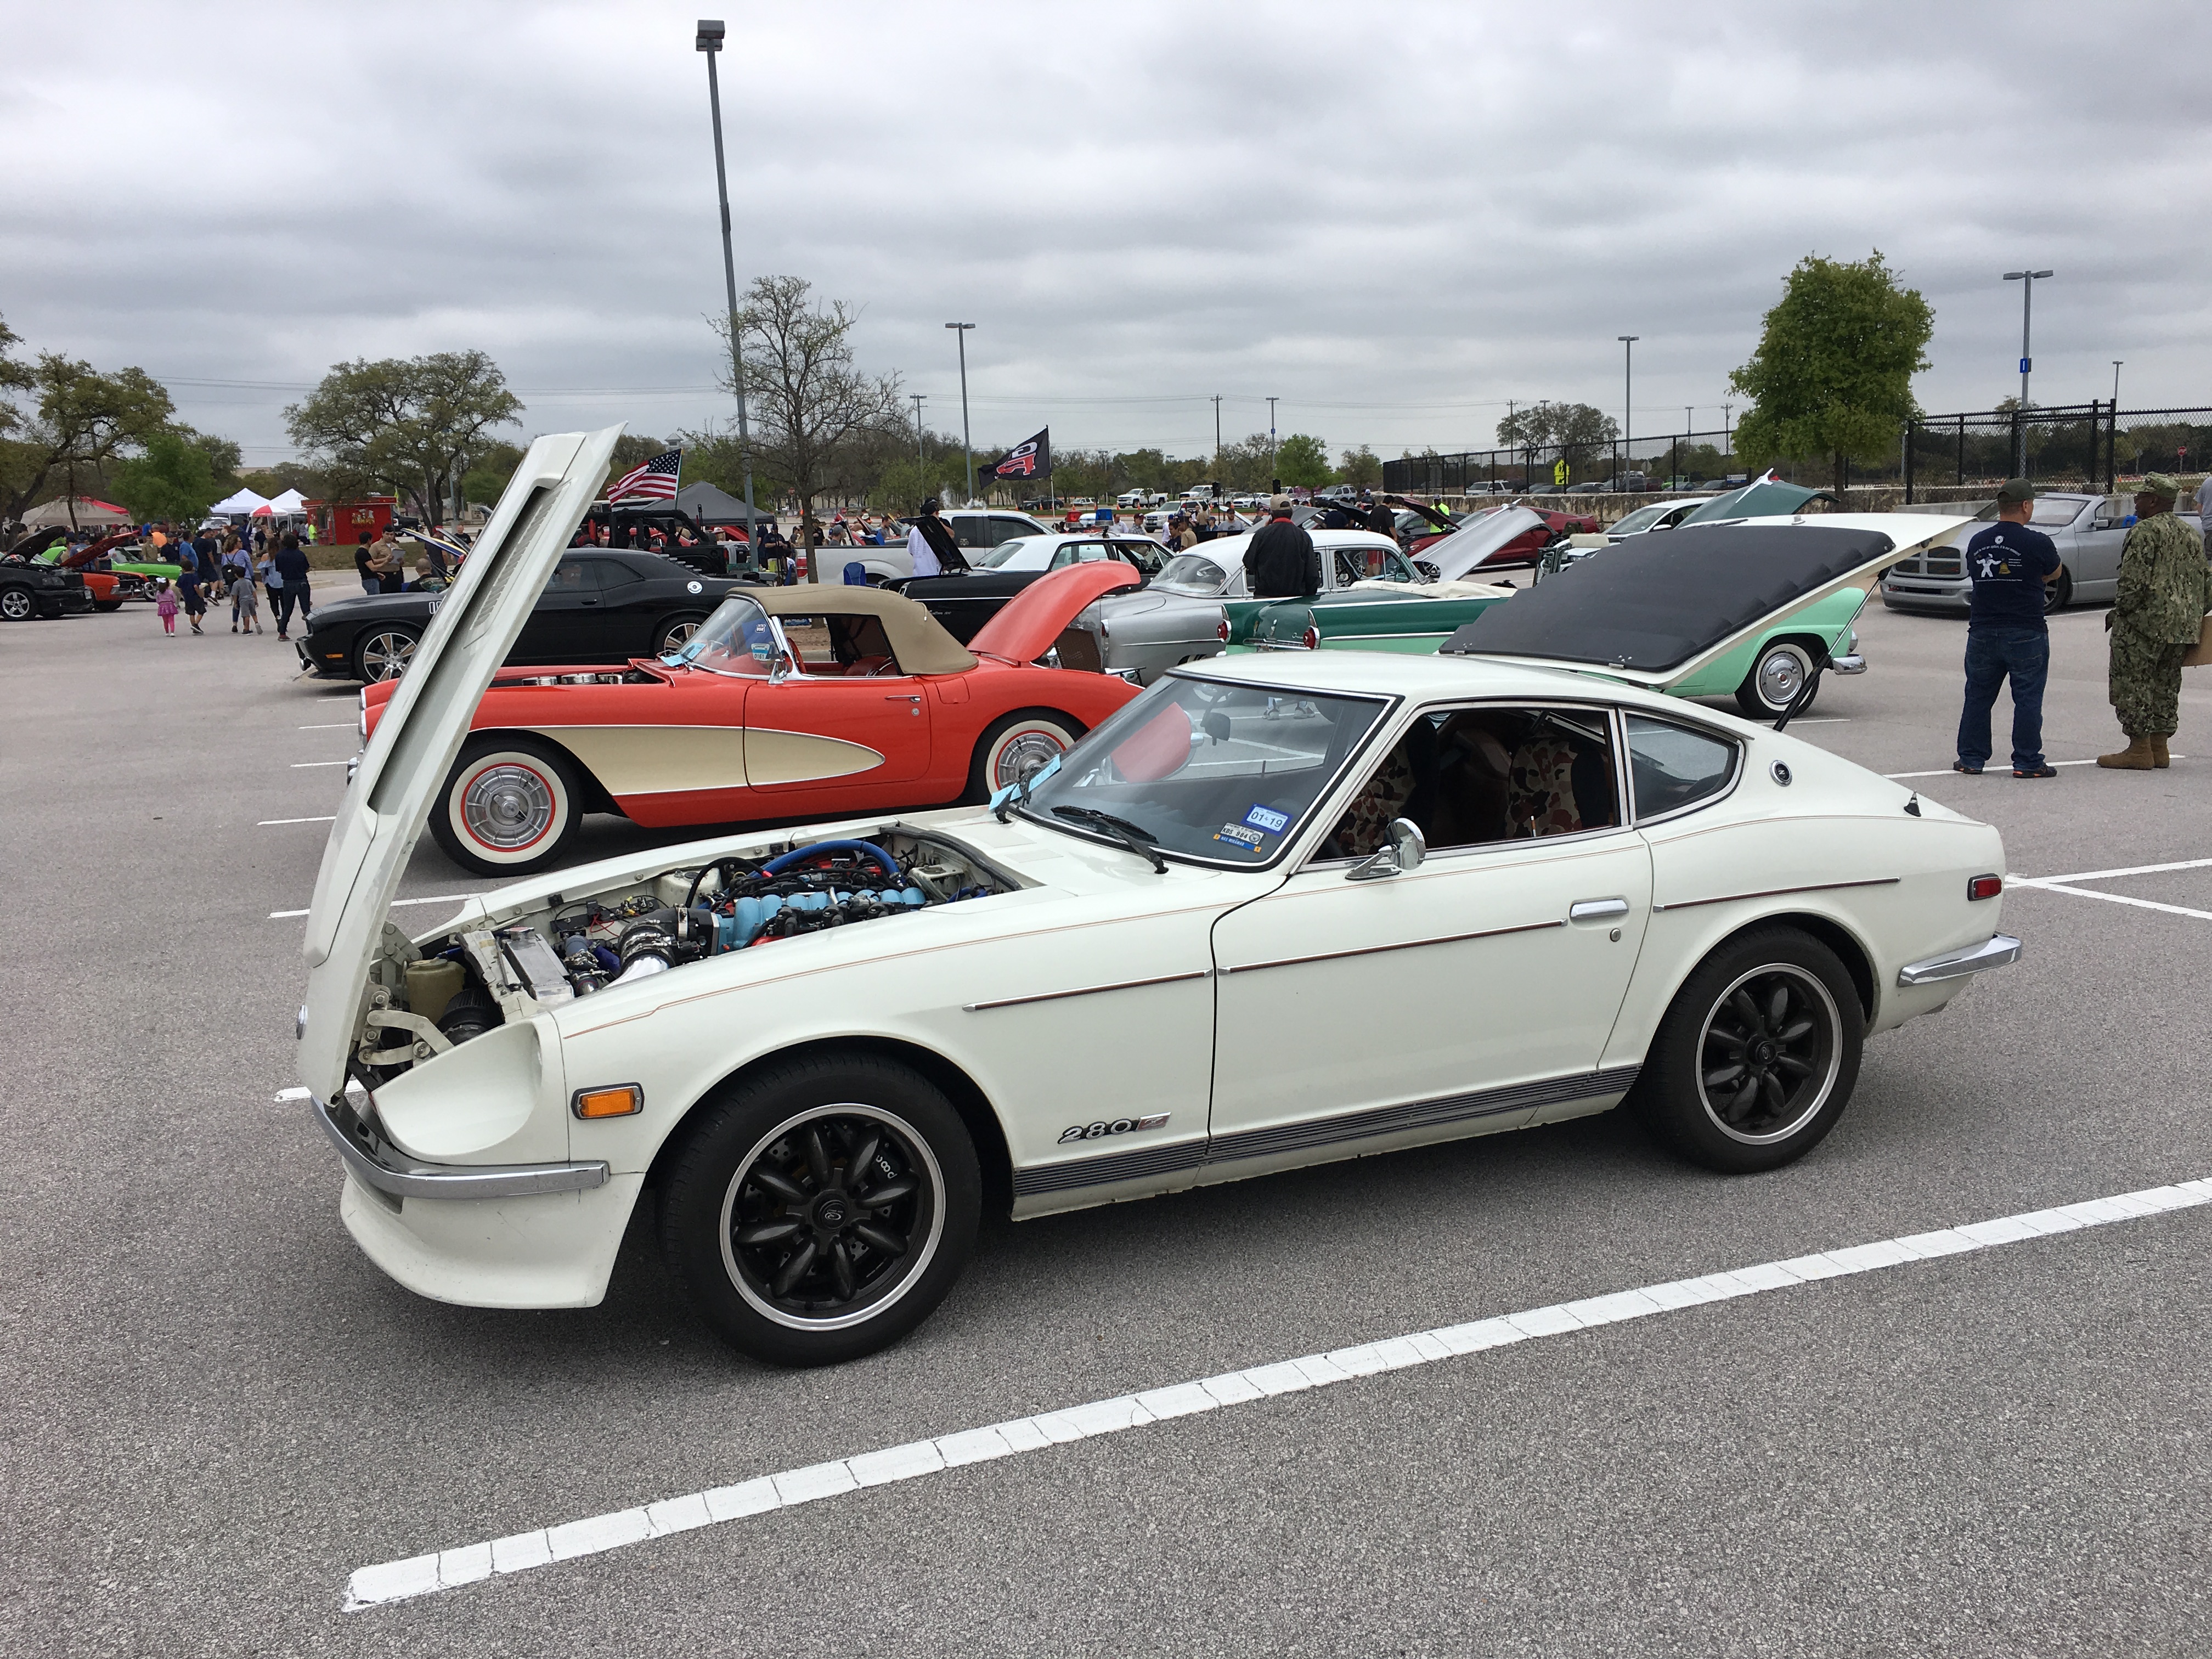
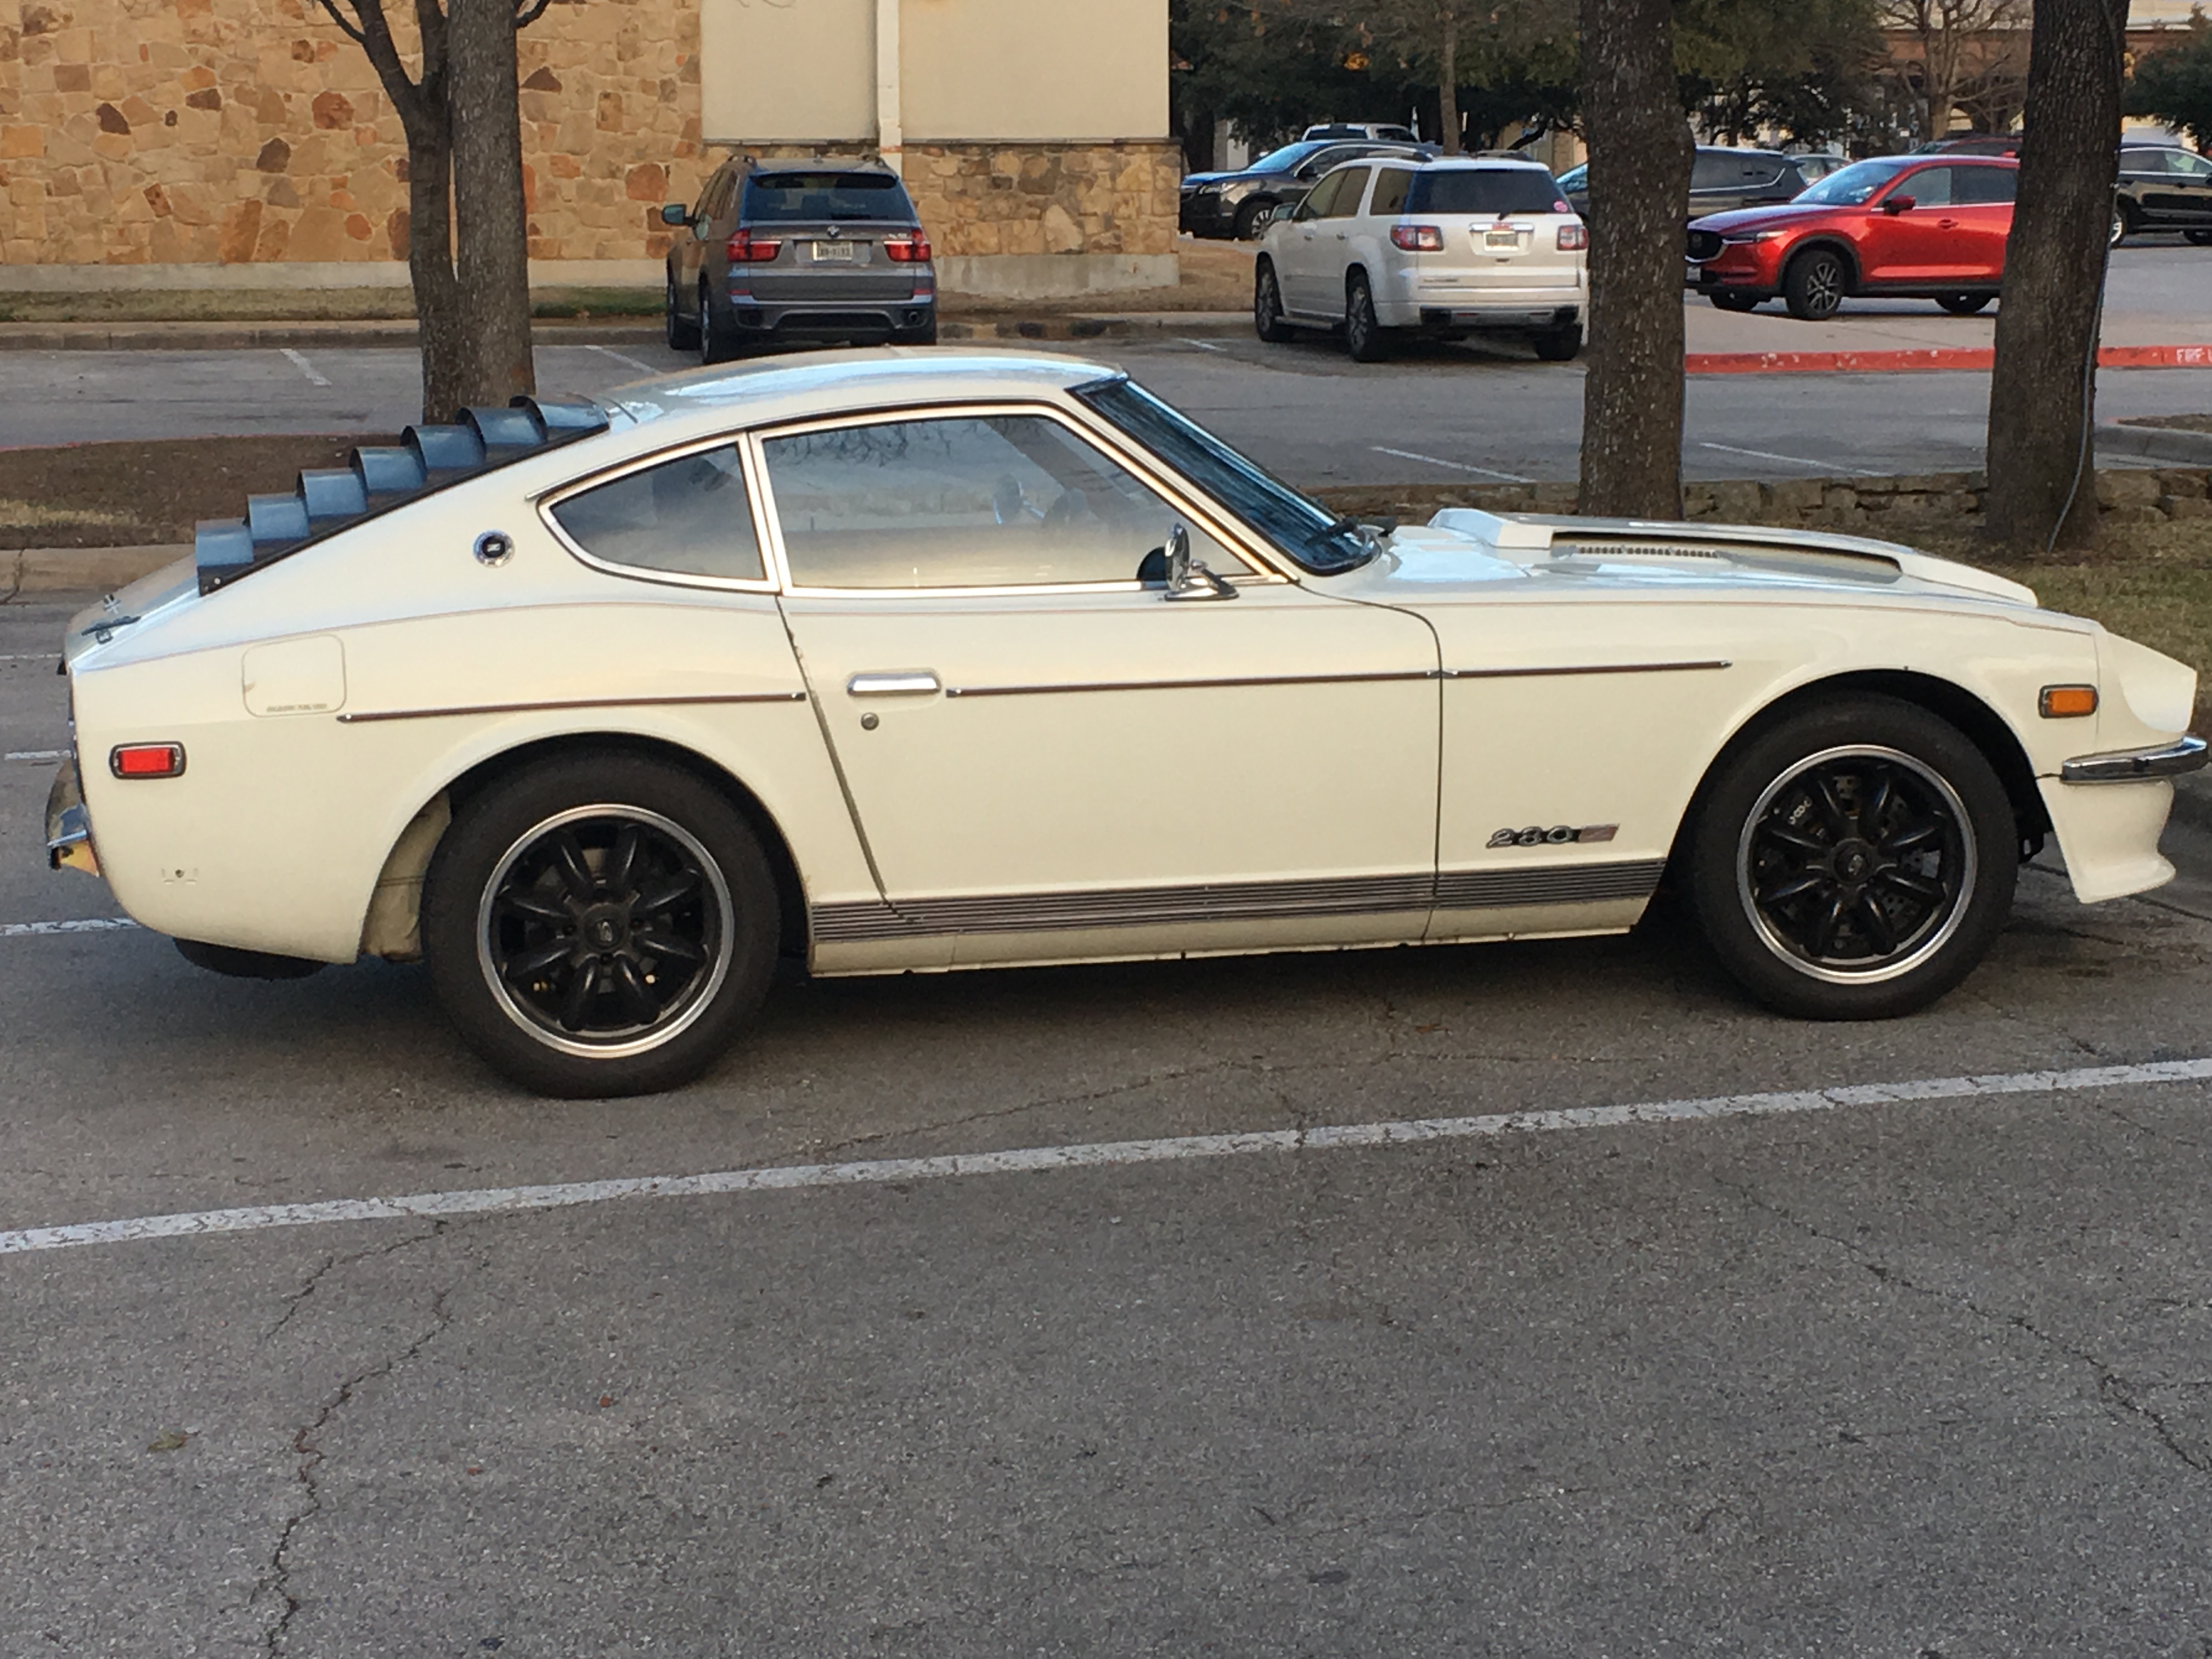
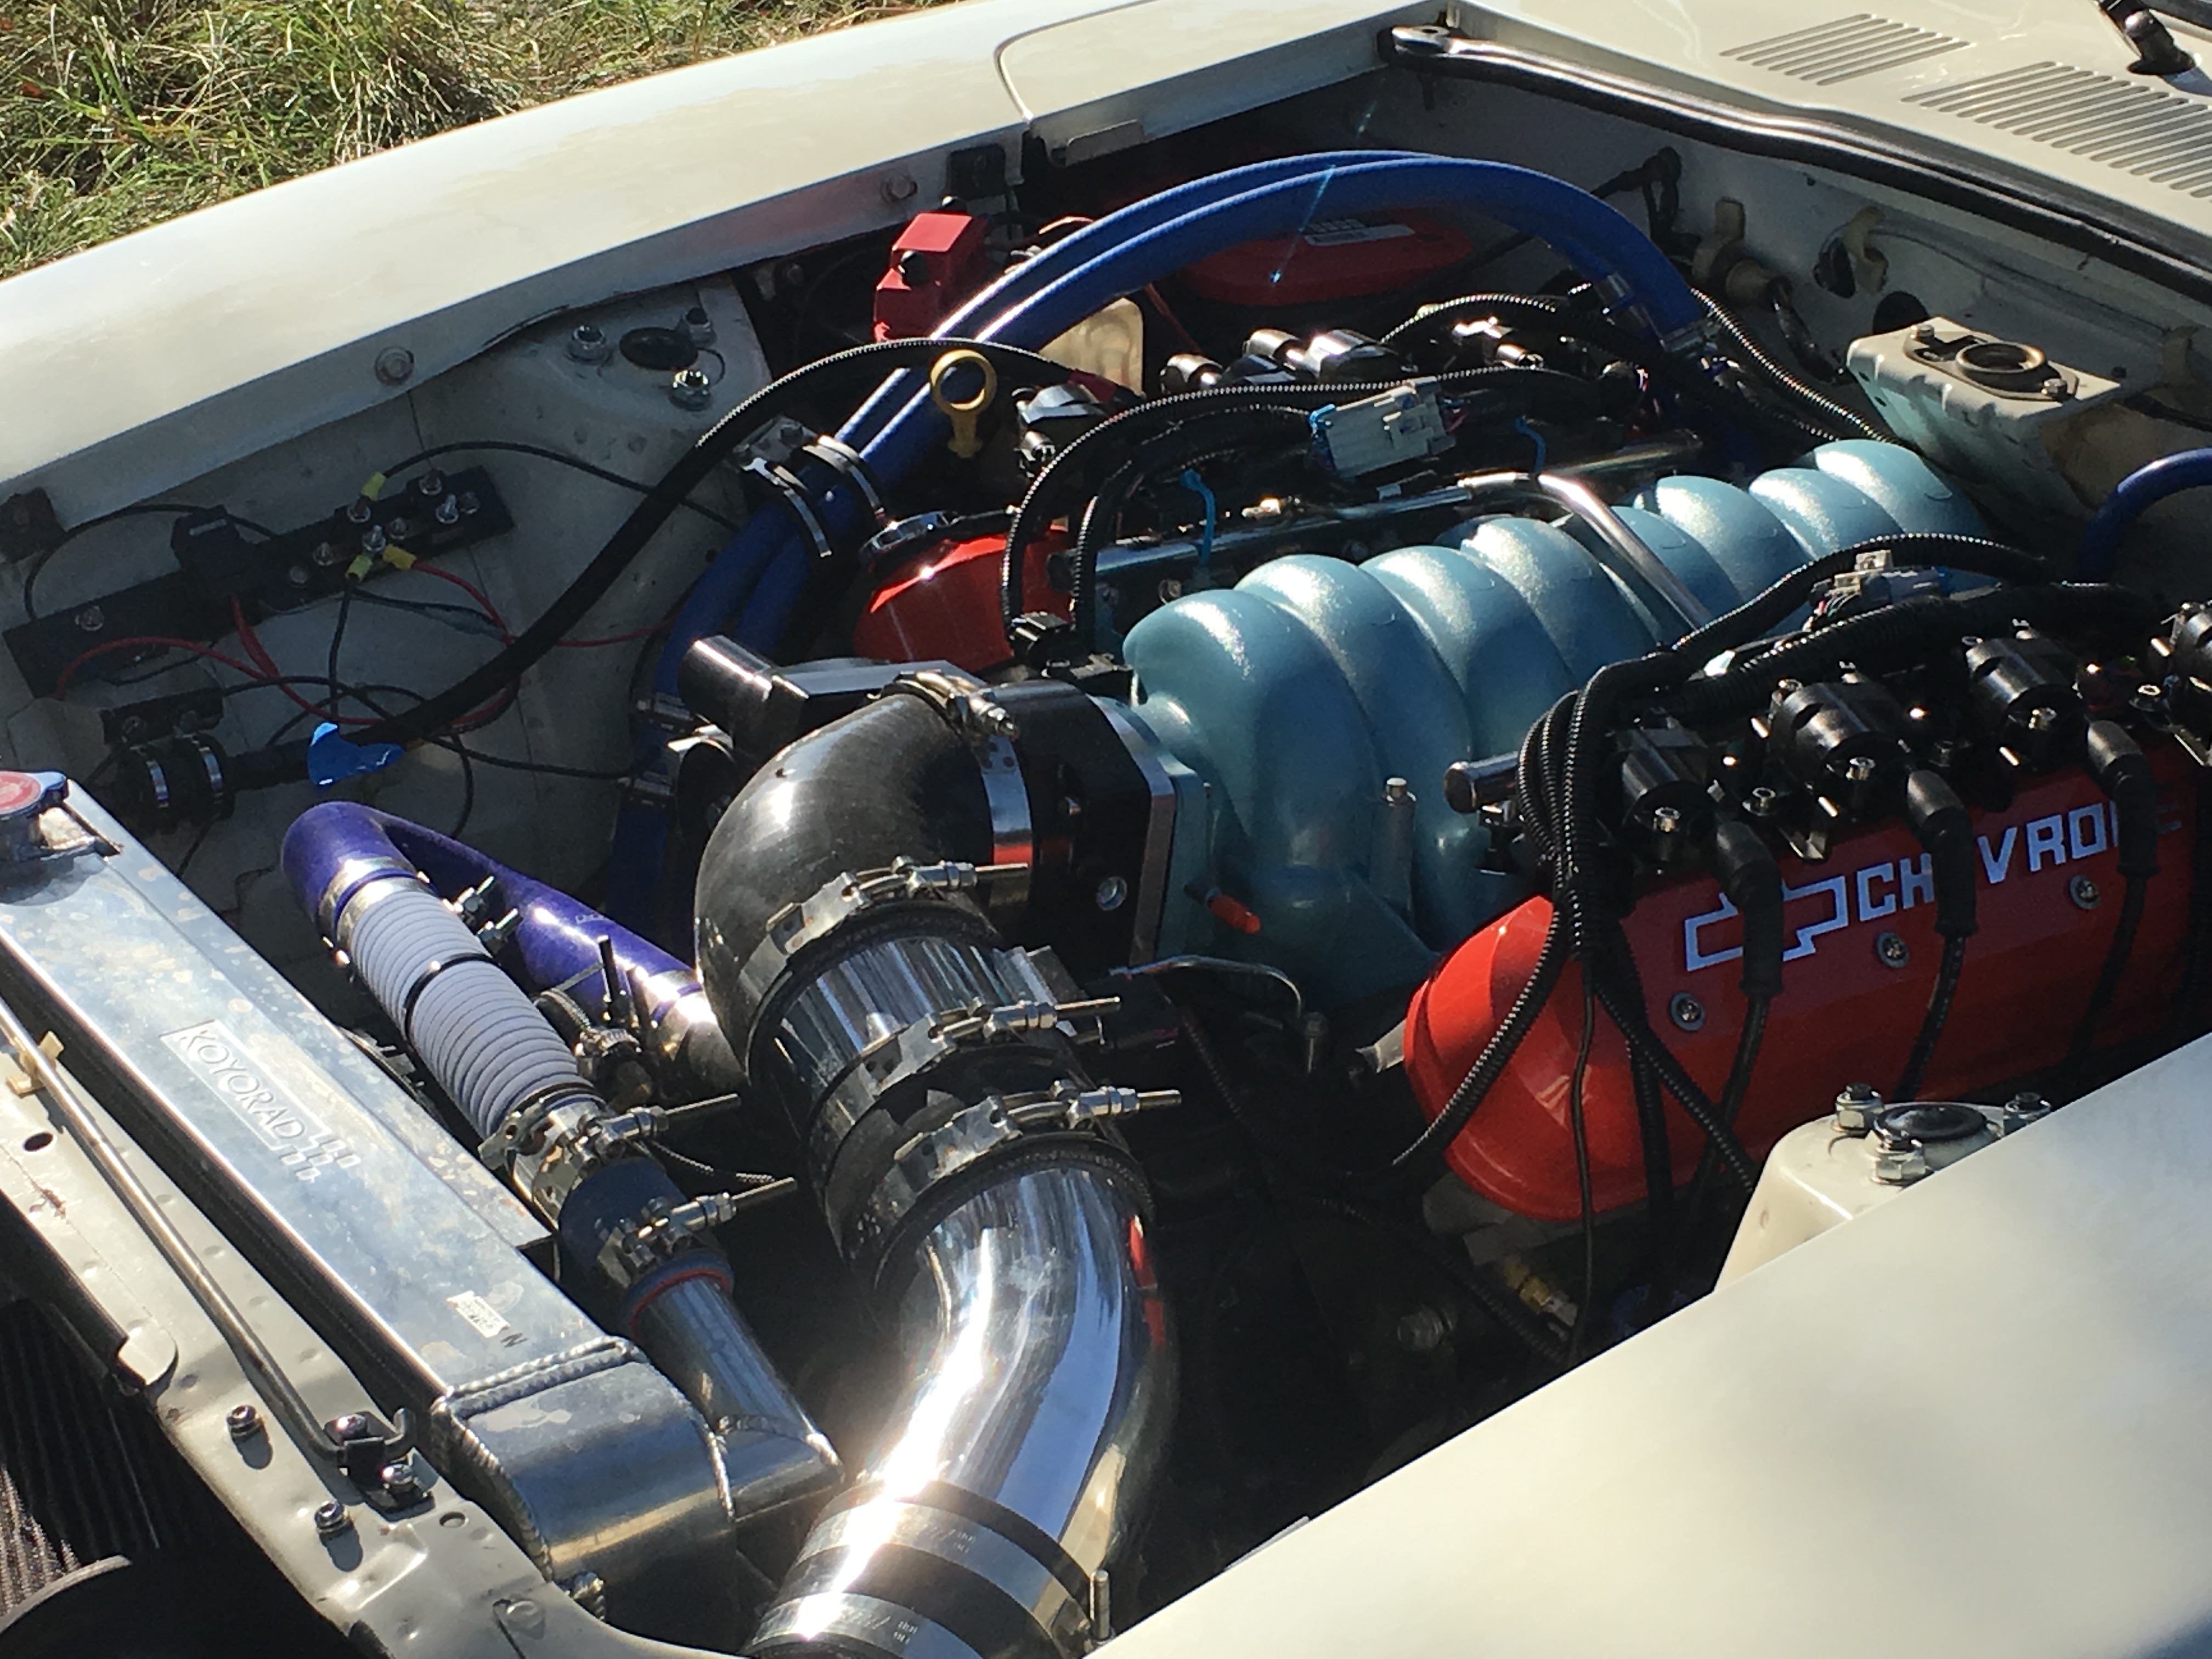
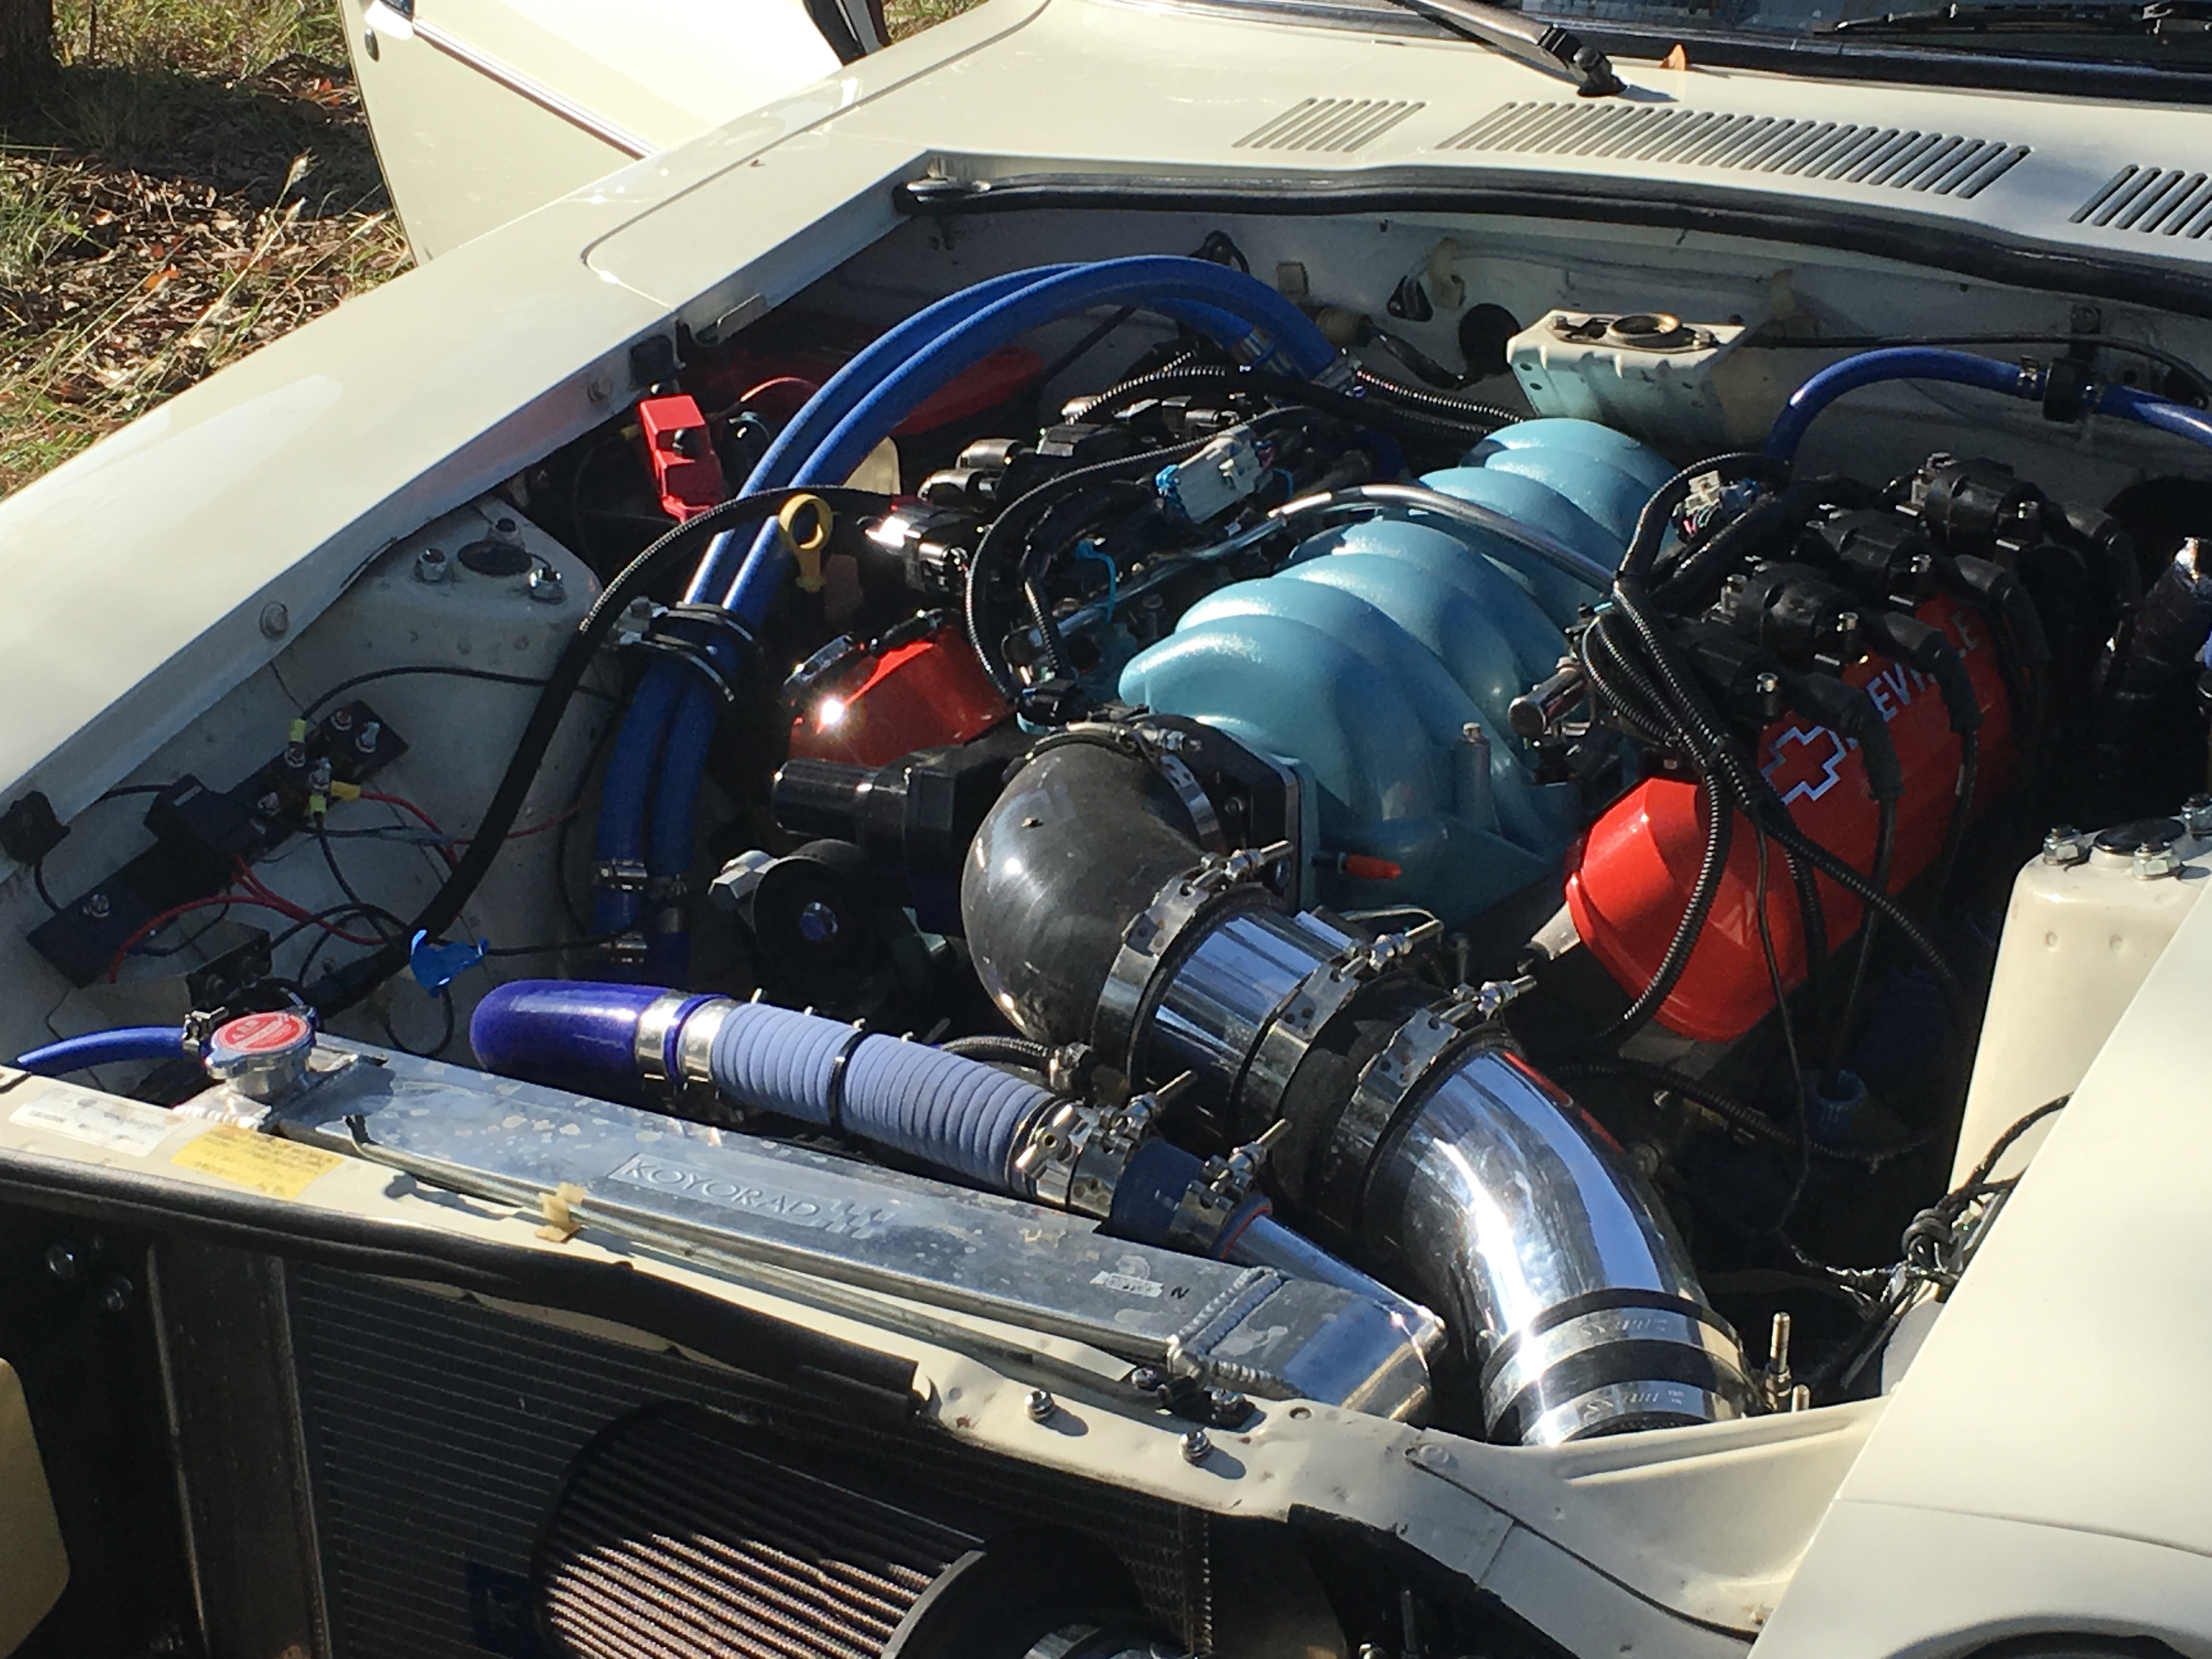
1978z original paint/interior LS3 525 T56 102mm throttle by wire 3.91 os giken L/S differential Techno toy suspension Techno wilwood big brakes front CX racing mounts, headers and pipes MGW shifter Borla muffler Frame rails Bumper conversion T56 tail mod for speedo All original guages Alignment by Soul Speed Tuned by Aikmam Performance Rota 16s Michelin pilots
-
Re lower boot....I ended up buying a piece of neoprene. I cut to approximate size cut a small square hole in appropriate spot and put it carefully over the mgw shifter. I used the origional bracket to hold it down. I cut a 2 inch section out of the bracket cuz the mgw needed a little more space on drivers side. I used razor to trim around edge after mounting. I ended up making 2 layers for better insulation so thickness about a quarter inch thick . It worked out really well. And looks clean, not that anyone would see it.
-
TrackZpeeds CXRacing LS1 T56 240z
Fullauto replied to trackzpeed's topic in Gen III & IV Chevy V8Z Tech Board
That looks great!!! are you gonna keep stock fuel guage? -
Decided to make my own lower boot out of neoprene. See how it goes. My upper leather still in excellent condition.
-
As Derek Zoolander would say..."your car is really really really ridiculously good looking"
-
Thx guys seems borlas get lots of raves...might just put a cherry bomb in the trunk so i can have the sticker...
-
I am very happy with the CX kit overall, the headers are great, the y pipe as well. It is only slightly lower than the frame rails. The tricky part was the tranny mount, but doable. Putting in a cutout after y pipe then custom 3 inch rest of way, favorite muffler anyone? Single exhaust.
-
Wondering if anyone figured out a slick lower dust boot set up for the MGW t56 combo. I saw Keiths old thread, just wanted to see any new set ups.....
-
It lives!!! Sweet LS music!!! All original guages working... Starts up really easily, now only headers and y pipe. No fuel issues, Had a water leak cuz I forgot to tighten a heater hose clamp. My remote oil sender on firewall works great. Stock btw Putting the y pipe on was a pain till i used a small hydraulic jack to spread pipes while i put v bands on.... Thanks to you guys I loosened ny clutch pedal limit and got the clutch bleed done in 10 minutes, shifts great with car still up On jacks... Last of the TTT stuff should be here this week hopefully drive in feb some time..... I do have an issue though.... My fans dont come on, My Painless harness has 2 wires for the fans ( non relay) the ECT shows 5 volts which is correct I think. The DLC throws codes 0480 and 0481 cooling circuit malfunction. The fans run fine with direct 12v I figure I have it wired wrong... Any thoughts.... Thanks to everyone for the help along the way... Tadd
-
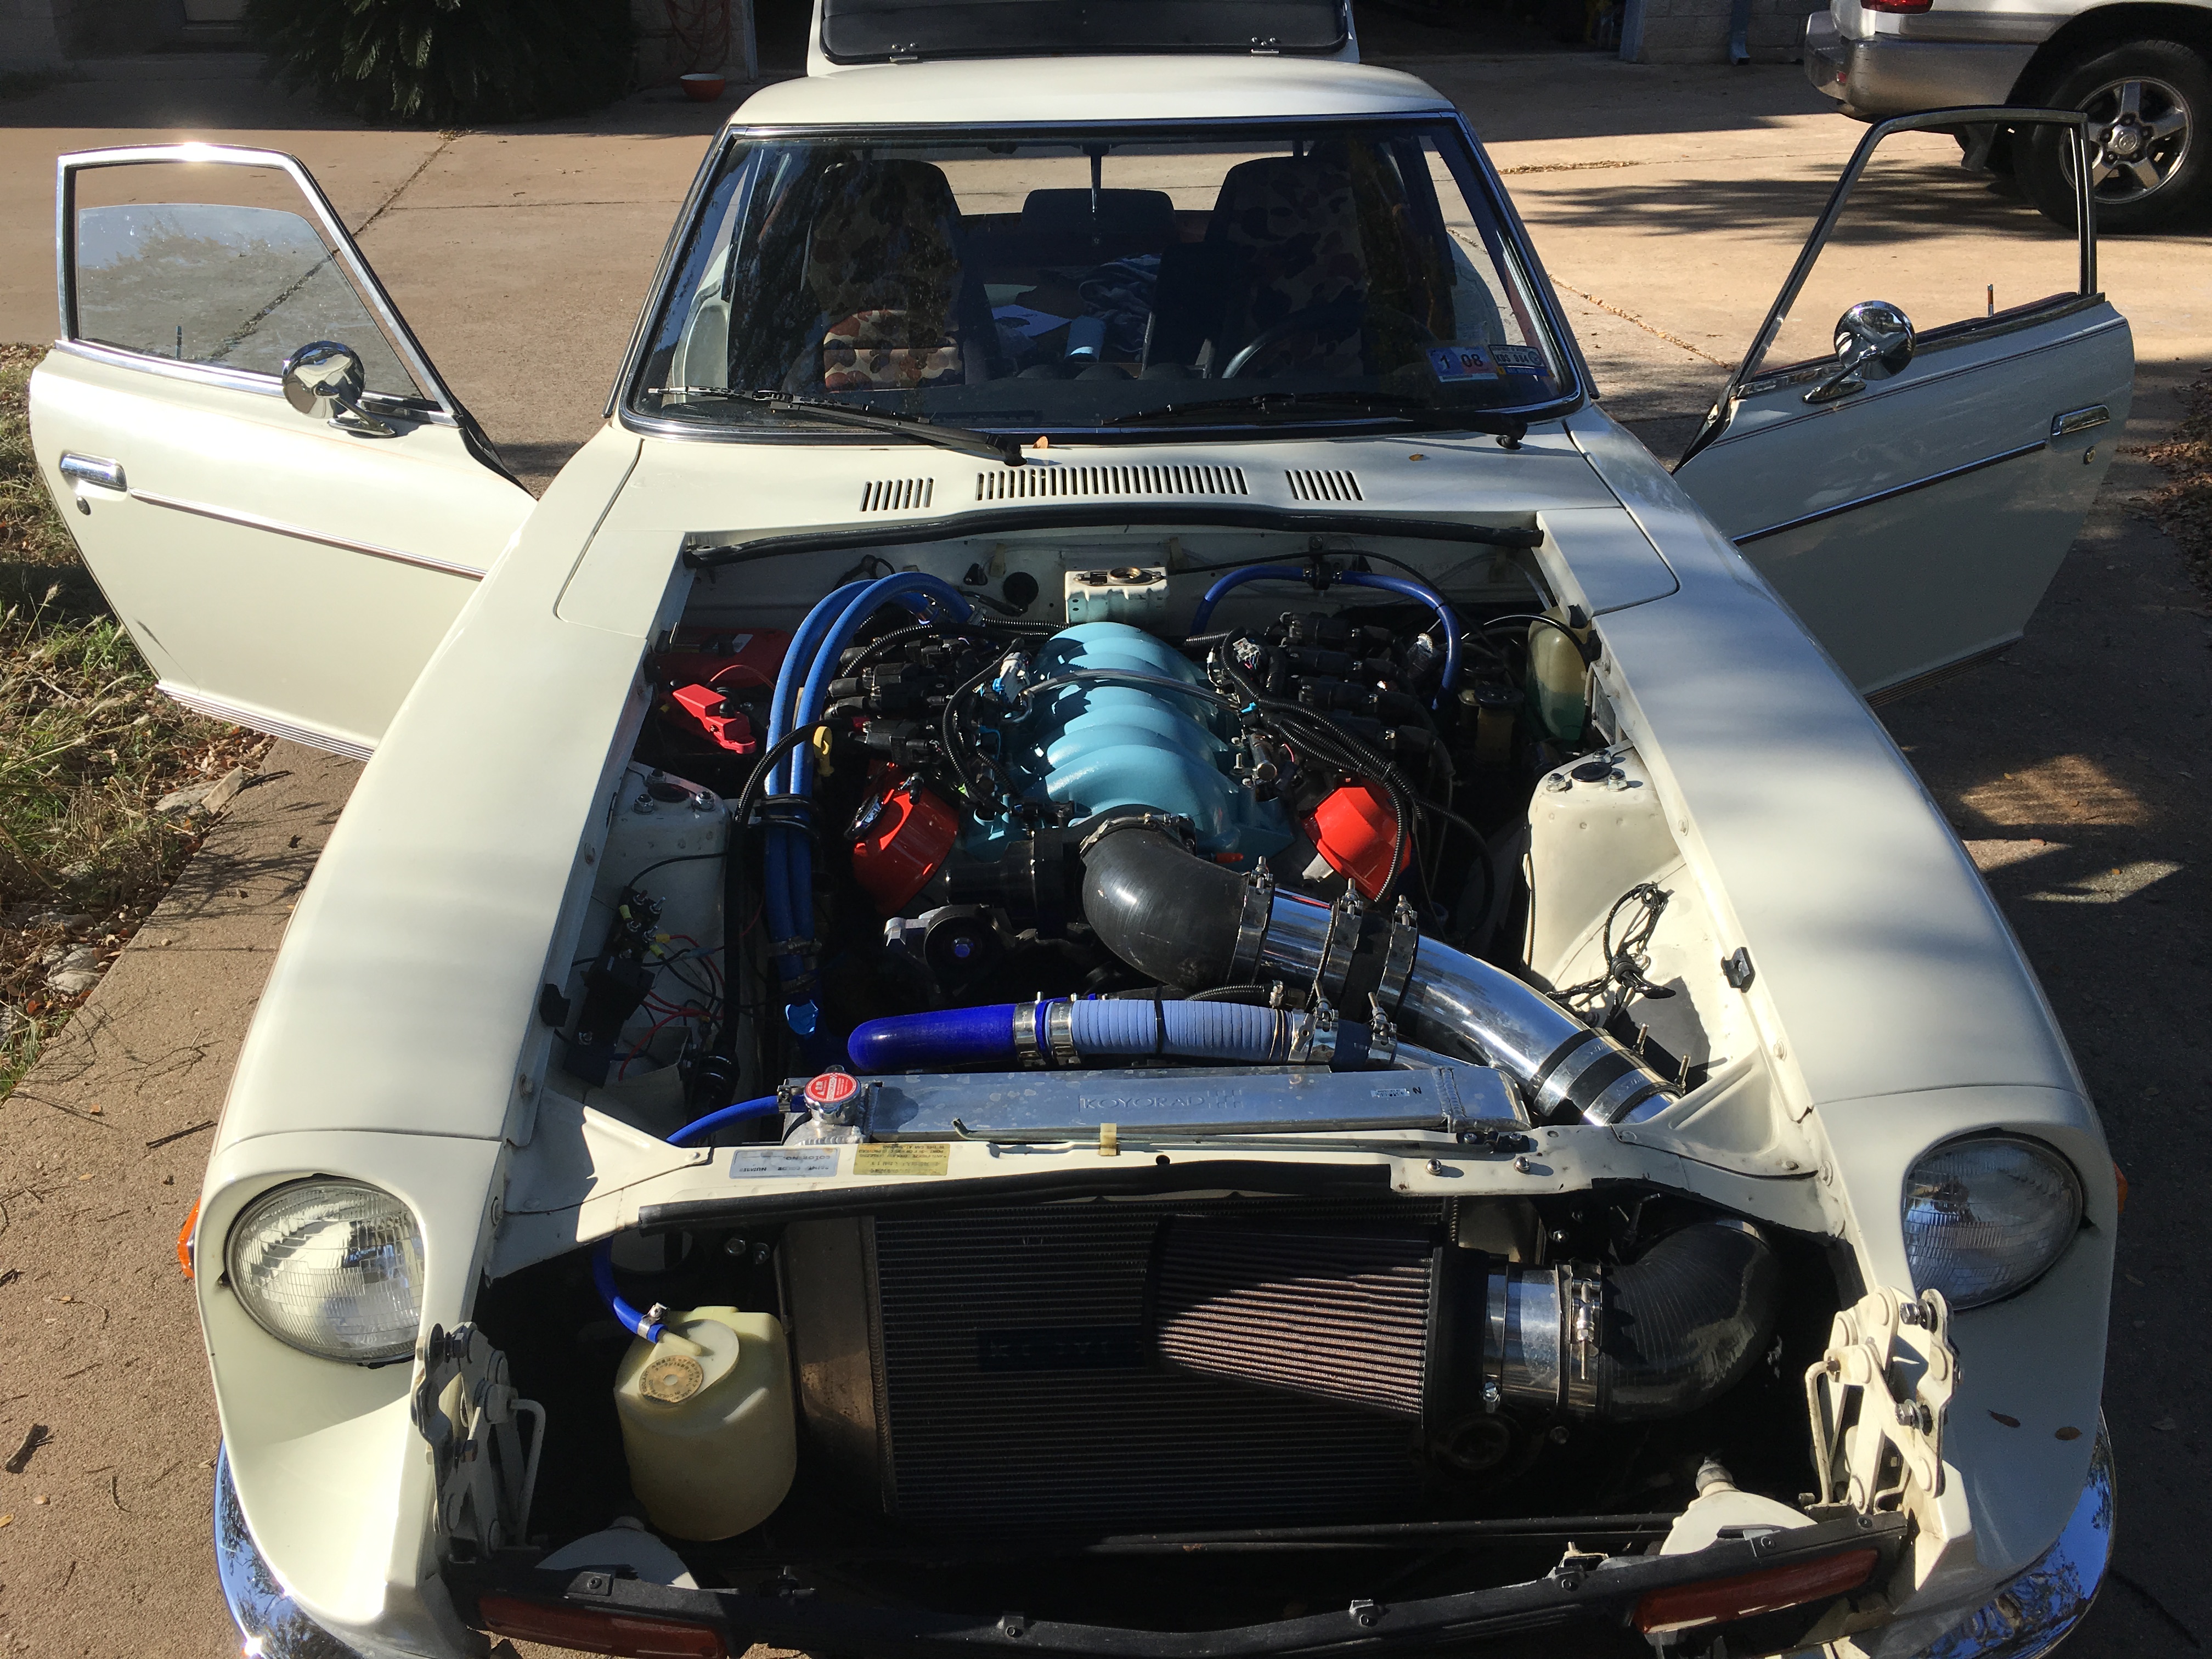
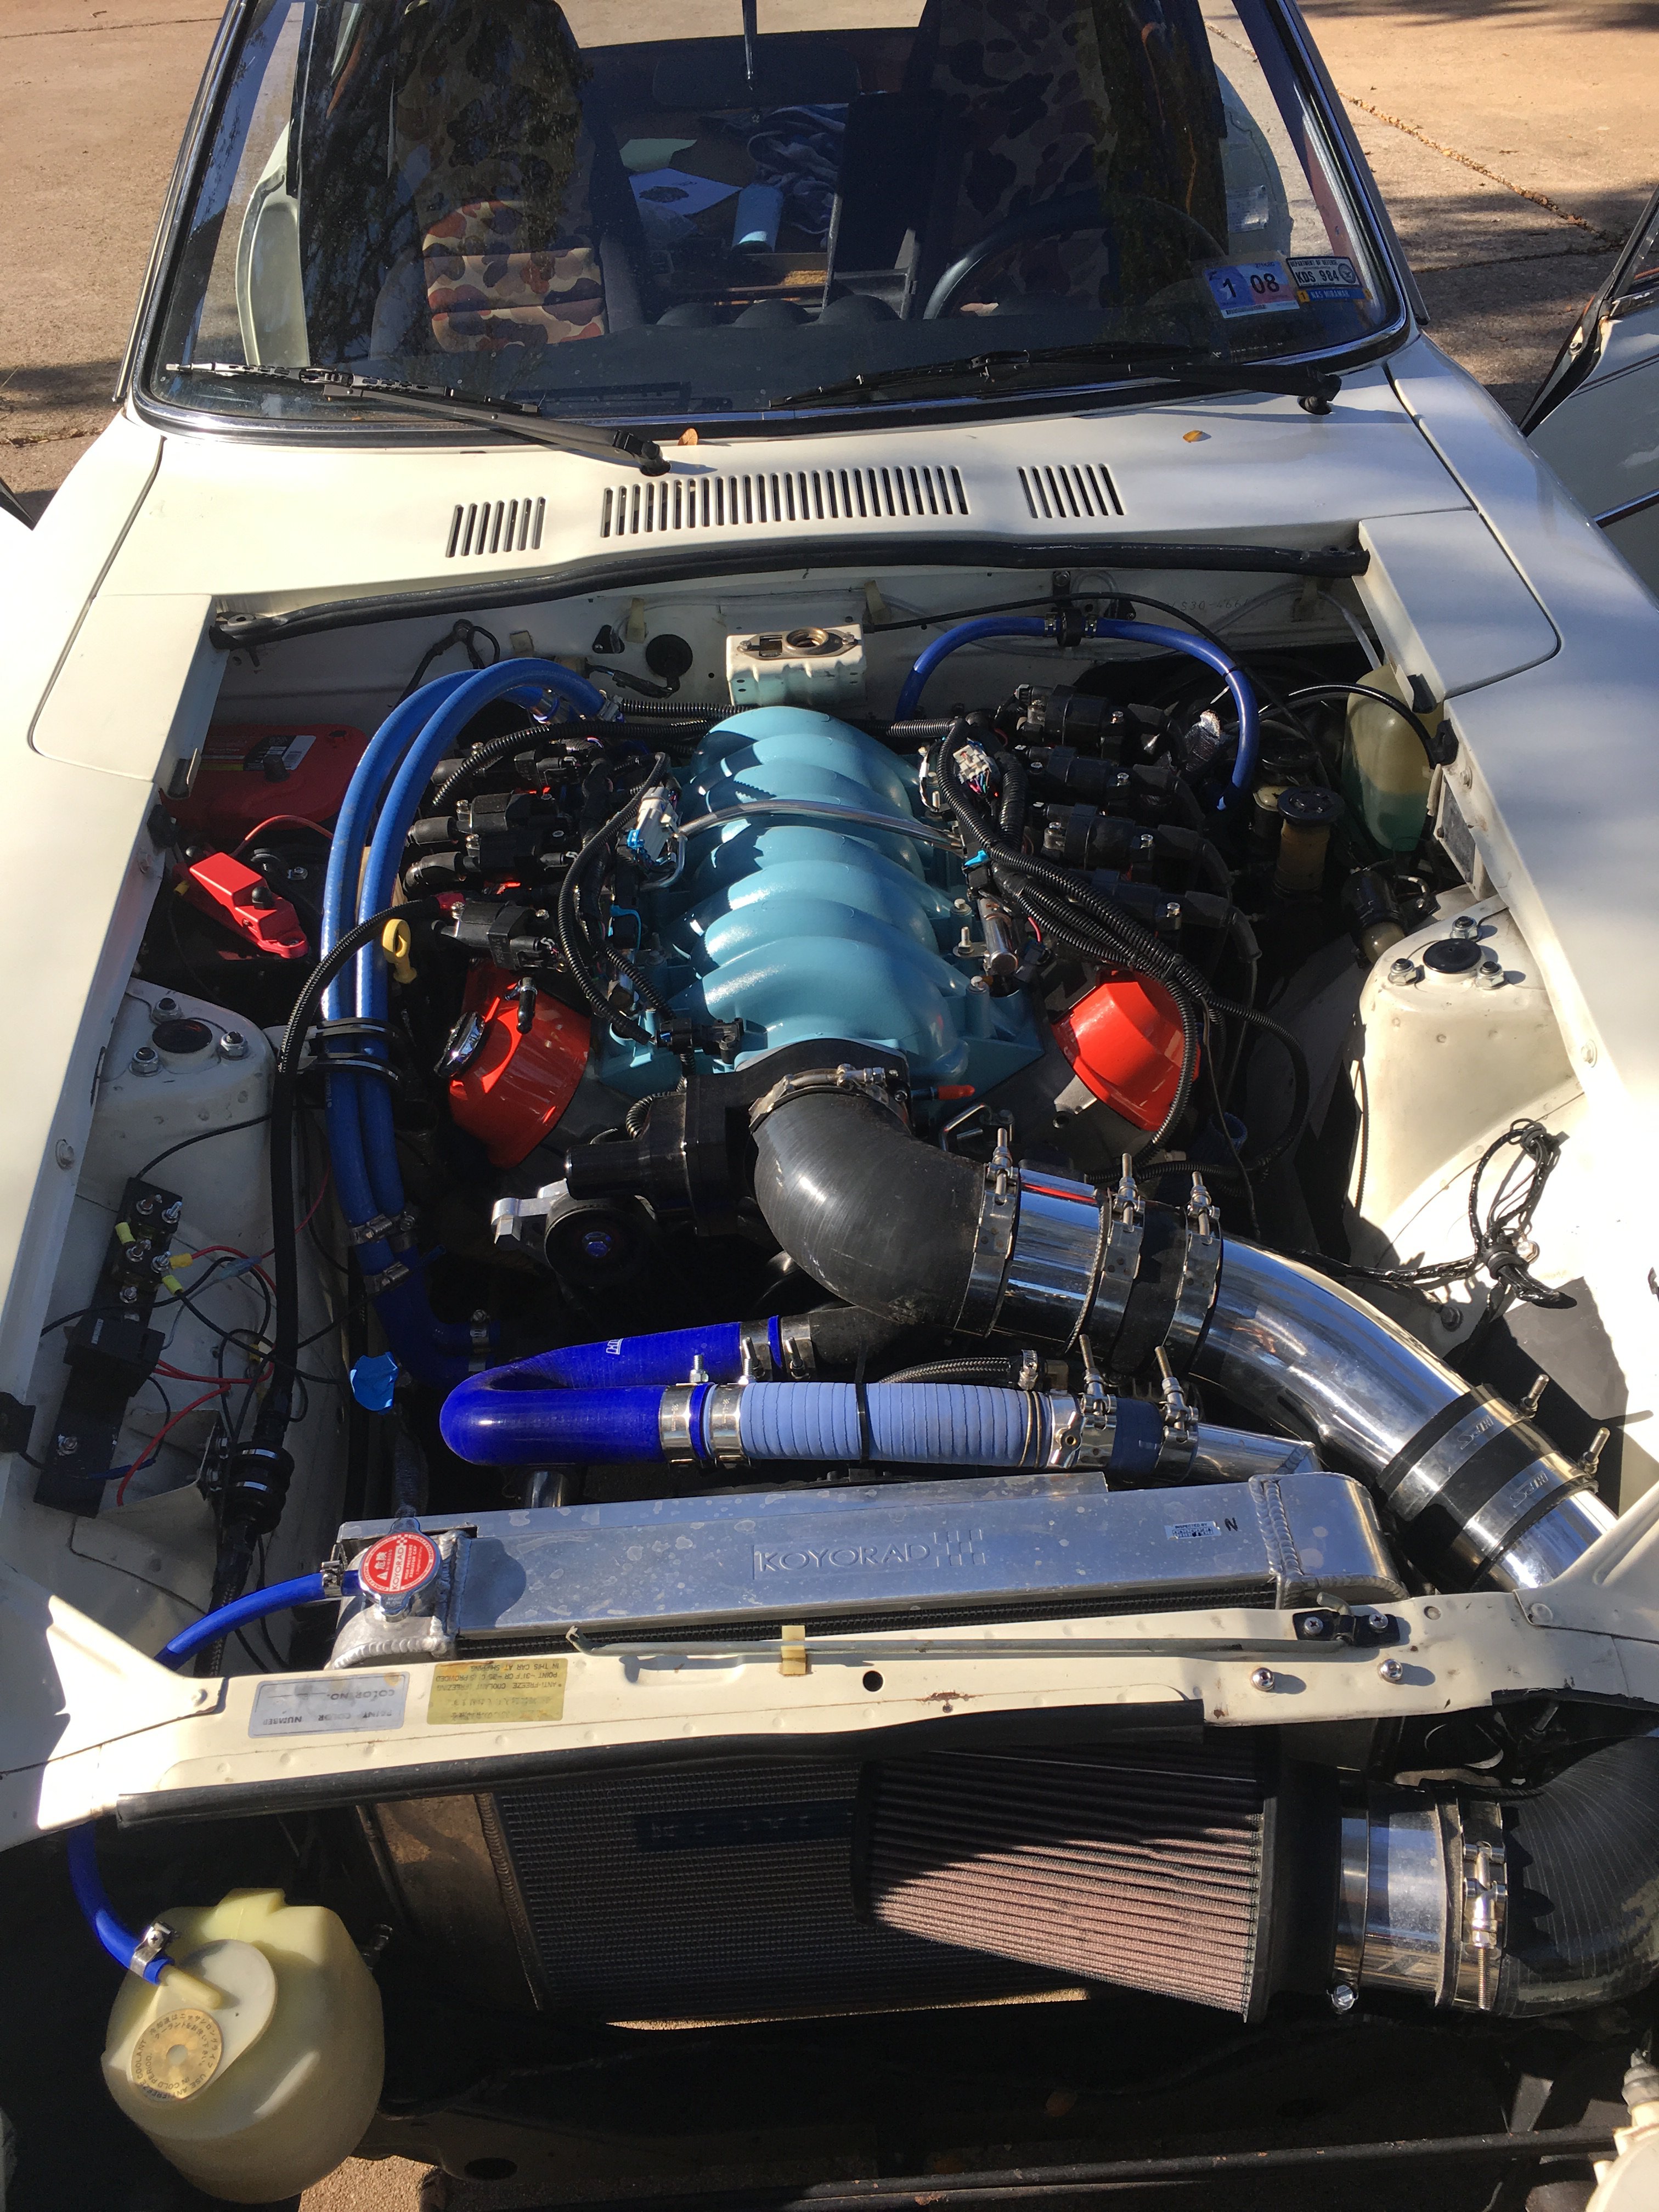
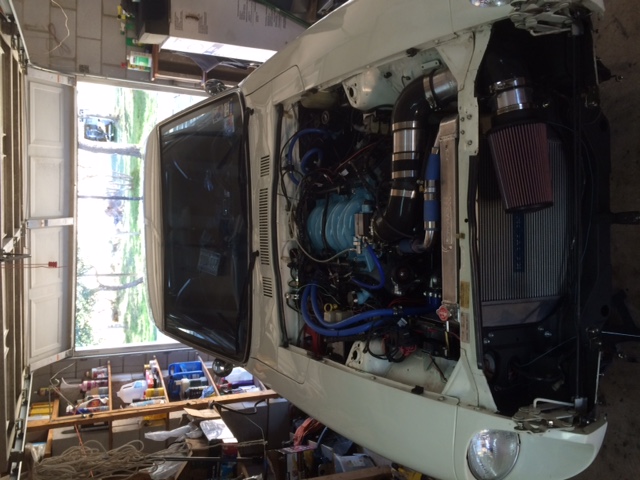
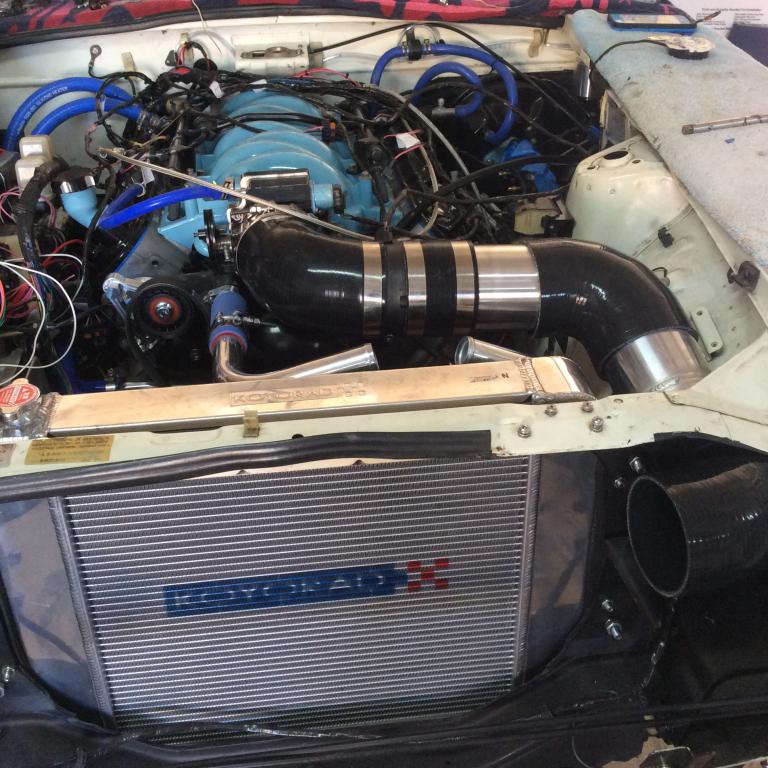
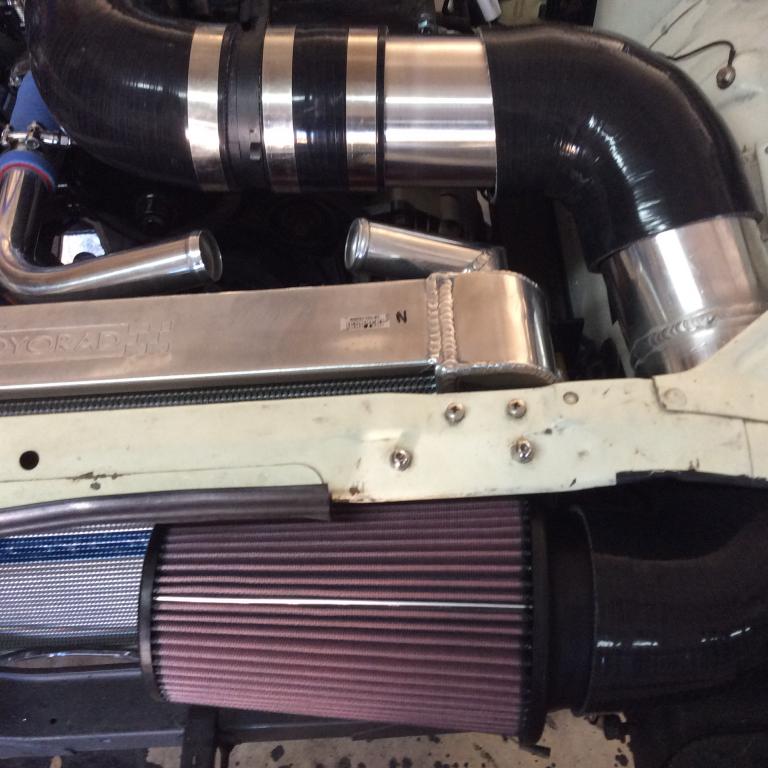
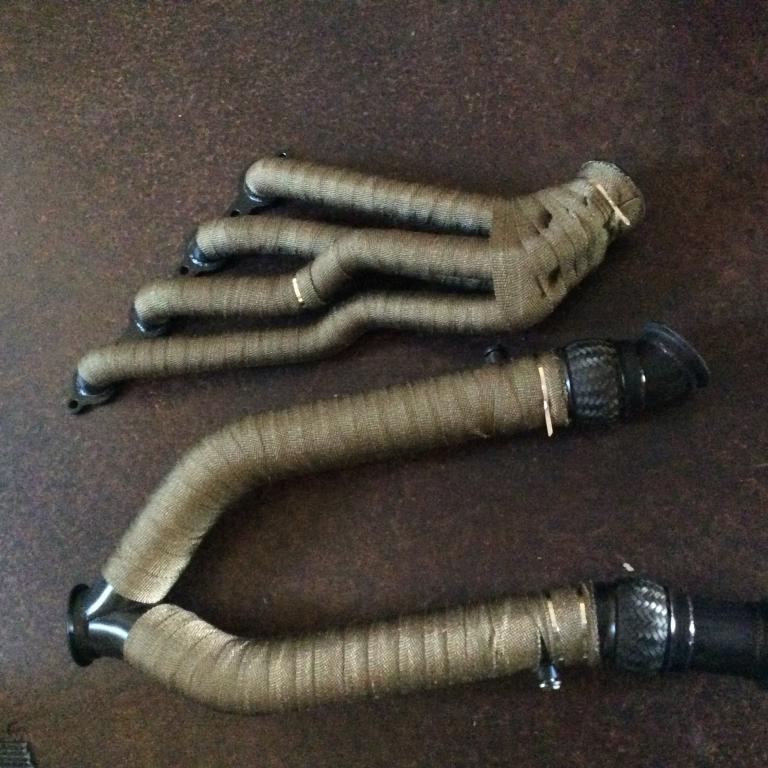
About have the induction finished...only had one aluminum weld needed Billett tensioner 54.8 inch belt Radiator hoses....waiting for stream fitting and clamps Heater hoses and ecm all mounted Starter in Time to get plug wires Wrapped header need more wrap...
-
About have the induction finished...only had one aluminum weld needed Billett tensioner 54.8 inch belt Radiator hoses....waiting for stream fitting and clamps Heater hoses and ecm all mounted Starter in Time to get plug wires Wrapped header need more wrap...
-
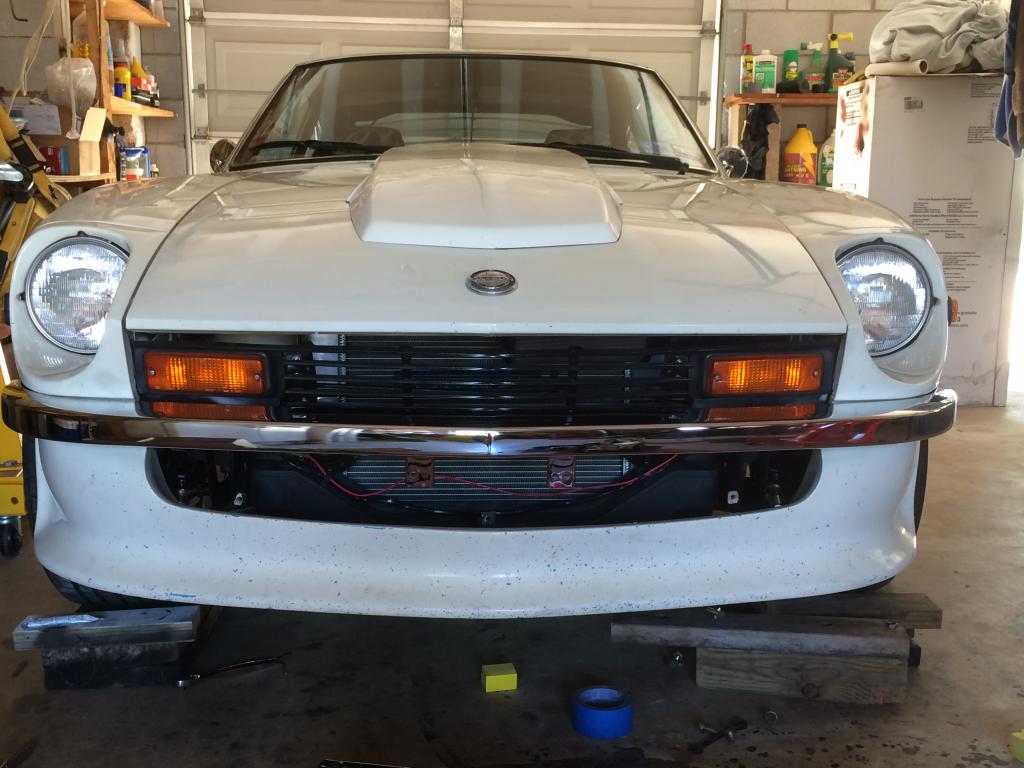
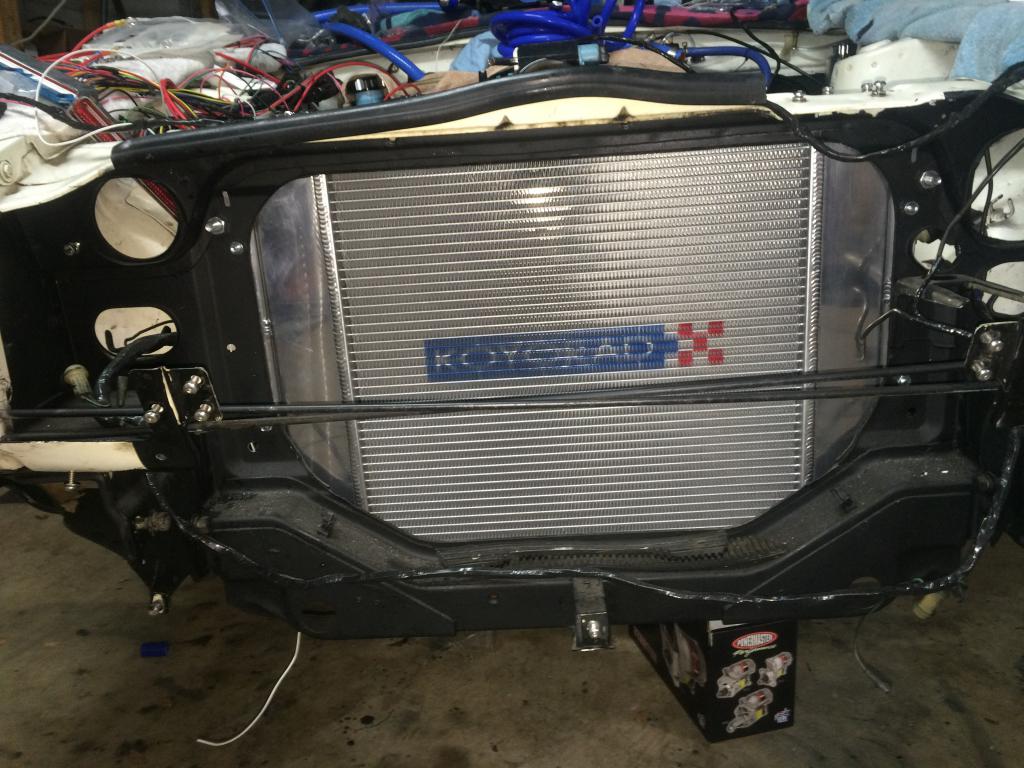
I jus did mine last night....koyo 3 row check out my thread...ill have air cond so condensor out front, eventually... In front of that a parachute in case i back up too fast......
-
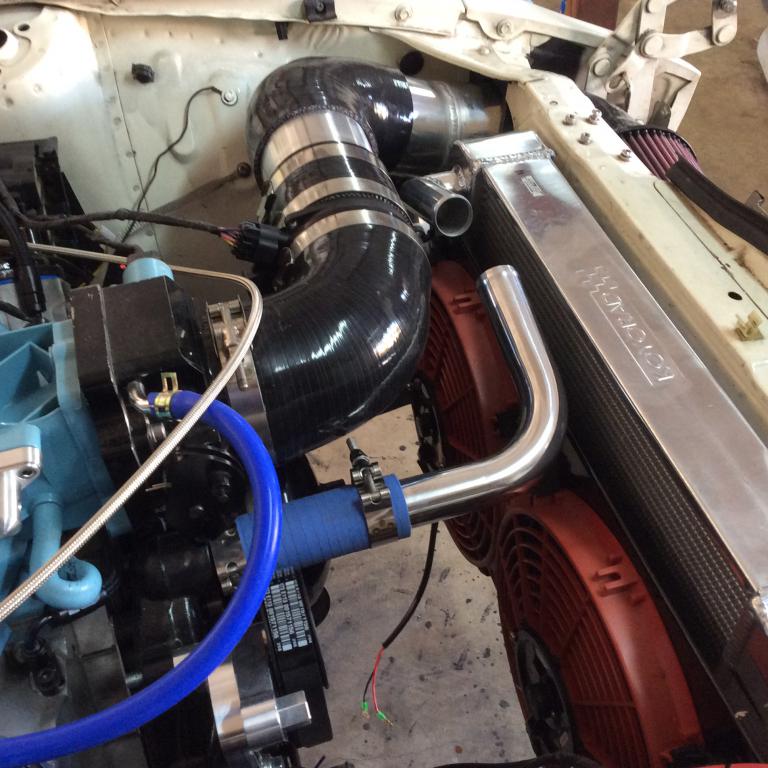
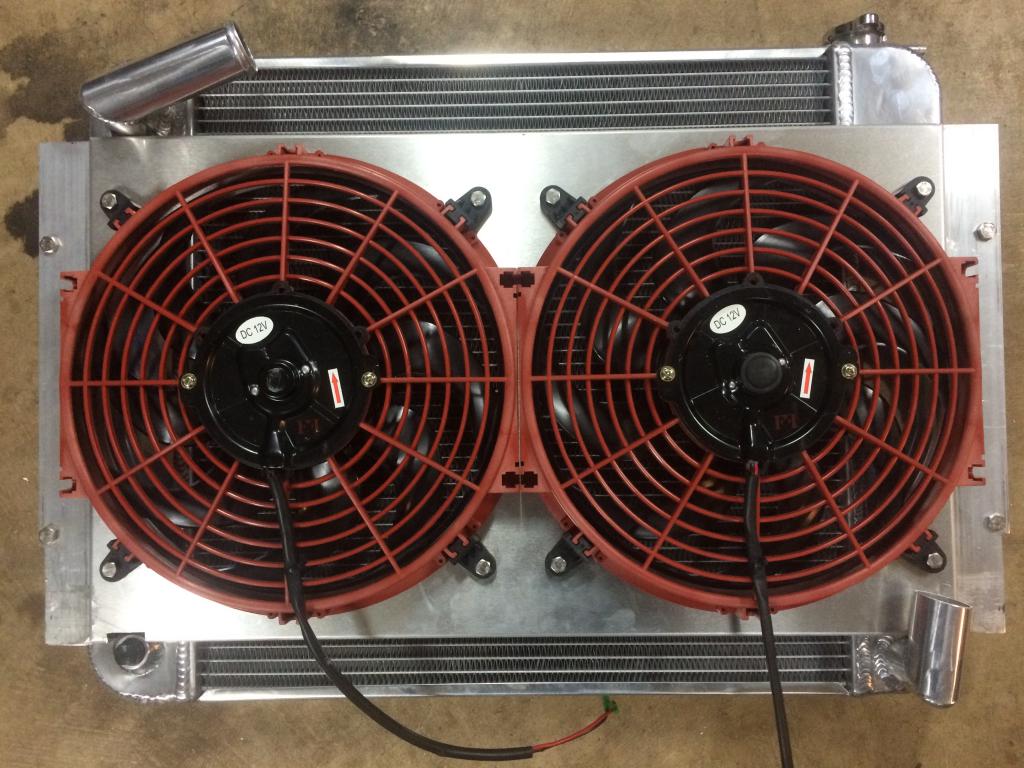
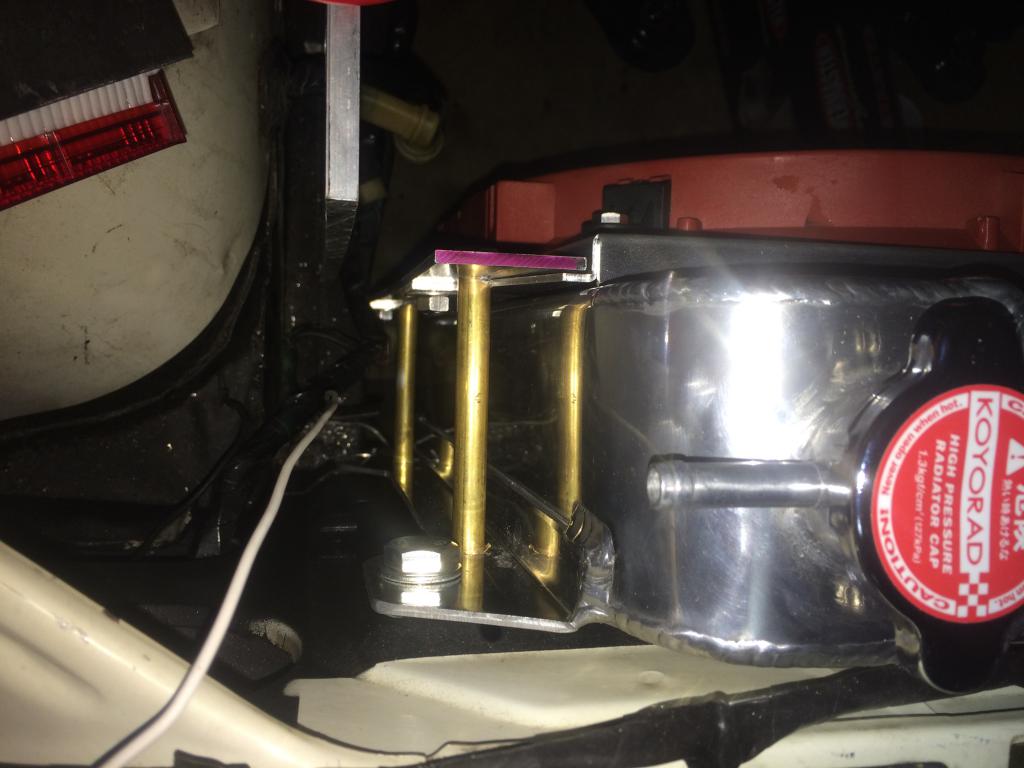
I built the radiator bracket last night. The koyo uses the stock mounting holes. I had to fab a way to mount the fans. I bought a shroud on ebay then mounted the fans i bought. I got 1.5 alum. Flat and bolted to shroud flanges. Bronze (matches the pcm bracket) tubing with m8 bolts exact size of tubing inner diam. Then bolted from fan shroud to rad. Bracket. It came out really solid. I dremeled a few spots on shroud to make it sit just right on rad. I bought some 1/4 inch rubber mat that i cut to isolate the rad from frame. It is not shown in pix Cuz I will take all apart to powder coat in my oven (in garage yes I Have 220v) lol Takin alum driveshaft out of camaro to get chopped and balanced on Monday.... This has been a really fun project!!!
-
Thx guys I think im gonna get a straight thermo housing, I will get the radiator figured out next then ill know for sure. Its kinda of cool radiator and fan setup i hope i can make it all fit Correctly, I travel alot so slow progress........
-
LS1 240 mounts (facts not opinion???)
Fullauto replied to trackzpeed's topic in Gen III & IV Chevy V8Z Tech Board
Hoke that kit looks awesome..... -
TrackZpeeds CXRacing LS1 T56 240z
Fullauto replied to trackzpeed's topic in Gen III & IV Chevy V8Z Tech Board
Btw how did you run your serpintine belt?