
clarkspeed
-
Posts
853 -
Joined
-
Last visited
-
Days Won
35
Content Type
Profiles
Forums
Blogs
Events
Gallery
Downloads
Store
Posts posted by clarkspeed
-
-
This very topic kept me up at night. Most set it to front spindles after removing dust cap. Probably fine for street use, even setting to front brake rotor is not bad.
If you want better you have to find a true Centerline for the car. A true thrust alignment. I set mine to a spot between the 2 inner front control arm pivots. Seemed to be the only spot I trusted to be true on a unibody that has seen many repairs.
-
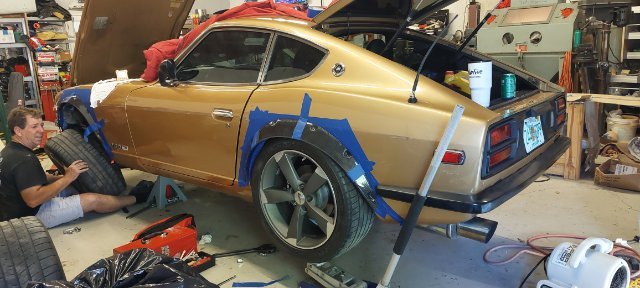
Ok, tell of the tape. The Emporor has no clothes. Never mind the cross weights and I had the pads at wrong locations and 2 flat tires. But little disappointed at the final number. Really hoping to be under 2k. Got plenty of ideas to put on a diet, but didn't want to think about that yet. Good thing is I am really close to a 50/50 F/R and L/R. But that is without my weight in there. Still have a few things to add and subtract but will only get a little heavier.

-
On 8/18/2024 at 10:22 PM, Exposed said:
great job on the 3d print, hows the fitment? Did you scan an existing panel or do everything from dimensions?
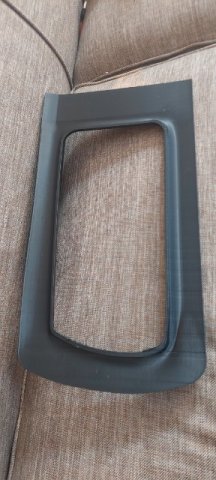
I measured and guessed at the profile so it's not exact but looks pretty good. Still printing and adjusting prototypes but almost there on perfect fit. My plan is to make a panel that goes all the way across in 4 pieces. Will also paint the inside feature with chrome paint.
-
Still trimming to do, but I could not resist stacking it up for a photo.
-
 1
1
-
-
Got a new large bed 3d printer. Getting close on my next project you might recognize.
-
1
-
-
Gelcoat, glass, and final part. I bought a gelcoat dump gun off Ali Express and it worked great, although a little messy, better than rolling. Made it fairly thin because it will be reinforced off the chassis.
-
1
-
-
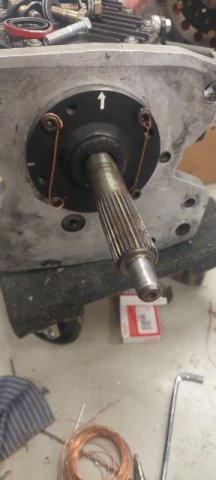
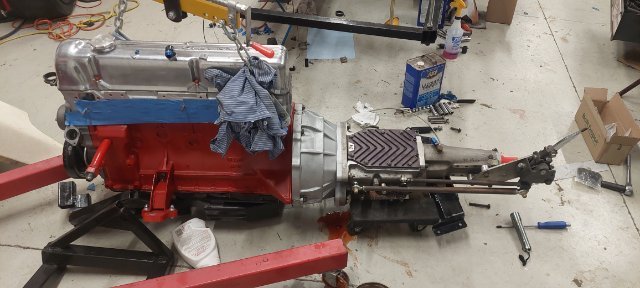
Got the clutch figured out. Didn't take proper measurements before I threw it in and the throwout bearing was way off engagement. That sent me down a rabbit hole. Seems Jerico trannys have a larger input bearing and a special bearing retainer. I ended up adapting a cheap retainer on top of the Jerico retainer that matched up to my bell housing. I'm sure no one will understand what I said, but if you are adapting a Jerico to your L6, shoot me a question. I do have some sketches.
Anyway, check out my beautiful lockwire job. 5 years working aerospace helped me channel the ghosts. And while the motor was out I finished all the insulation work.
-
1
-
-
Ya know, I have a number of parts I want to start selling soon. I've teamed up with a brilliant machinist who has a full shop. Problem with this one is my wide body G-nose is the only one I have ever seen. It has almost exactly 2" added on each side. So I think the air dam will only work for me even though I did make the mold capable of probably 100 pulls. I have plans to laser scan the HL scoops and design a 3D printable solid G-nose headlight cover in the future. If I am the only 1 in the world that has those for sale, I will be rich! NOT. Besides, I don't think I would ever sell fiberglass parts or do bodywork for anyone but myself. PITA.
-
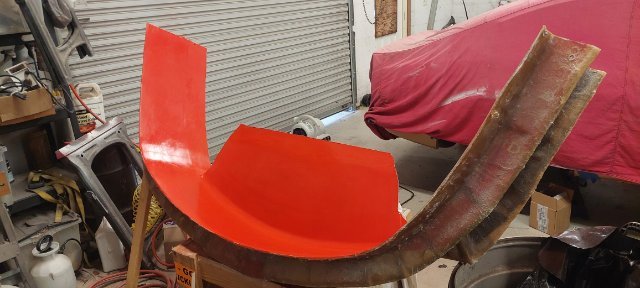
Finished the plug for my G-nose air dam. Prepped, waxed, and ready for gelcoat.
-
1
-
-
I know nothing about EV conversion. I think there will be more "kits" in the future for somewhat generic conversions. Kind of like crate engines. Gonna be a huge market someday. Hard for a hot rodder to ignore 1000 reliable HP.
But I wish you luck and will follow to learn.
-
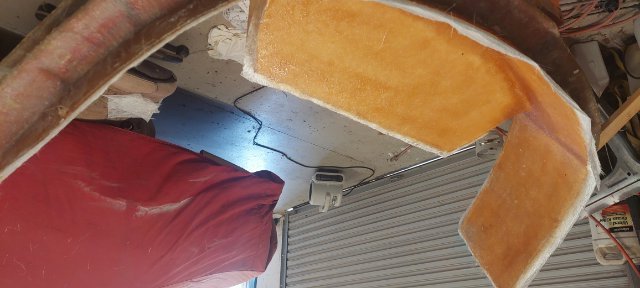
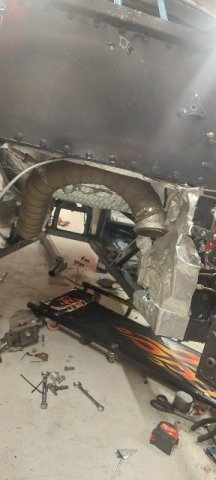
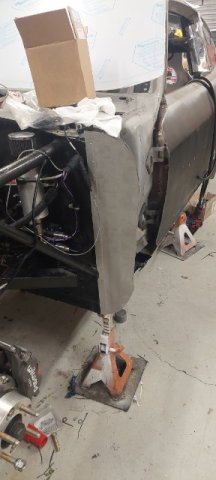
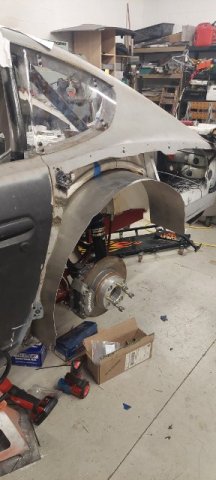
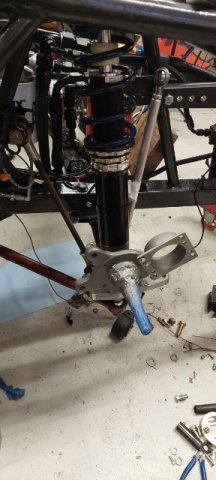
Getting much closer to a maiden voyage. Suspension in and bolted up. Driveshaft shortened and half shafts refreshed. Here are pics of the rear fender wells and front firewall extensions from today.
New problem. I was checking the clutch action and realized it does not engage. Which I think means the clutch/bearing has extended into the clutch and did not retract. Its a Tilton internal circular slave. I could have over extended it. More to investigate.
Oh and cutting up a cool 280 turbo for some ZG flares and 18x9 wheels.
-
1
-
-
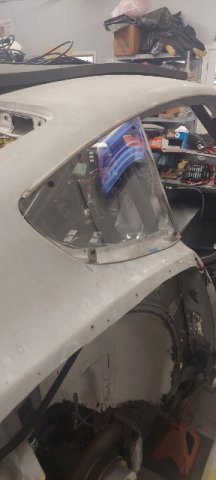
Picking away are a huge punch list now. Got the side windows installed. And the hatch for the fuel cell. Didn't want to use diamond plate, but it is just the right thickness. Maybe I will paint it later.
Also finishing up my custom S30 laser alignment system.
-
1
-
-
And engine oil......
I don't recommend additives. Best solution is buy an oil with everything in there to match your intended use. Synthetic has the additional benefits of not braking down over time and is unaffected by moisture. And get an oil with plenty of zinc. That should narrow your search down.
I attended a seminar by Gibbs Racing oils and really like their stuff. I use the synthetic Hot Rod oil vs. their race oil to save a little $. Redline 40W is also excellent. Brad Penn is good synthetic blend that's a little cheaper. Sam Neive used to recommend it. Purple, Amsoil, and others out there.
-
IT LIVES!
-
1
-
-
Maxing out traxk width is way to go, but I have always had wide tires with relatively narrow body panels. I have never had the excess camber problem. If you are in a bind, just narrow the track until you figure it out.
The brake bias knob obviously adjust f & r pressure. I typically set mine a little front heavy on the first day and forget about it for the weekend. Too many other things to worry about. But if you are looking for more linear adjustment it is possible to add a lever or screw style valve to the rear line. It adjusts the "knee" point along with pressure. Much easier to change if you are only taking out some rear if the tank is getting empty.
-
That is awesome! Let us know if you need any setup help.
-
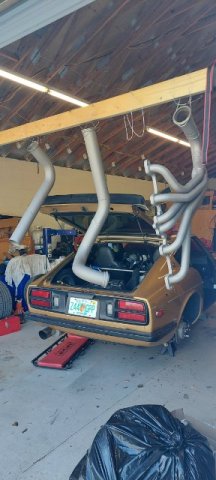
Exhaust blasted and coated. Decided to go with Cerakote in titanium. My first time using it. It's not a TBC coating but hopefully looks good for a long time. Its an air dry ceramic coating that hardens out once you run the engine. Easy to spray, and 5 day for full cure. Just wasn't in the budget to do a true TBC. Getting closer to first fire.
-
Another Z in the shop. 280Z with a Rebello 3.0 turbo setup and full TTT suspension. We put a new TTT steering rack in last weekend. Really nice new bolt in rack.
-
All the Z iterations can look good with minimal modifications. I personally think the z32 had perfect proportions not surpassed since. So simple but so exact.
For this build as all of my builds, I am sticking with stock half shafts and Spicer U-joints. Never had a fail road racing yet. Cheap and effective only if you limit the angles generated and minimal power loss. I currently plan to raise/lower the diff as required to keep them in their sweet spot. They even withstand high power drag racing if you can keep them close to straight when launching. If it looks like I will struggle with this when I final assemble the rear, I will be scrambling for some CVs.
-
1
-
-
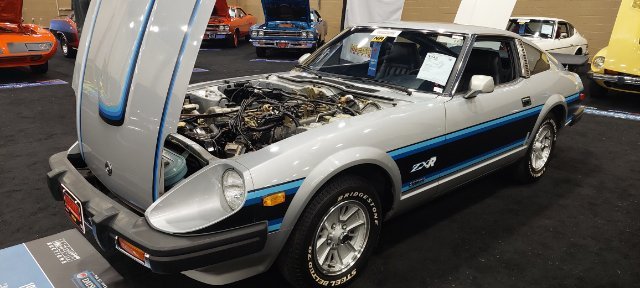
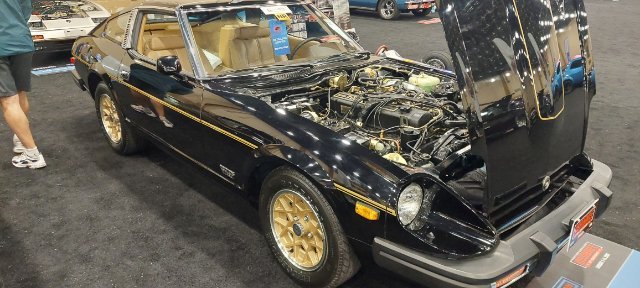
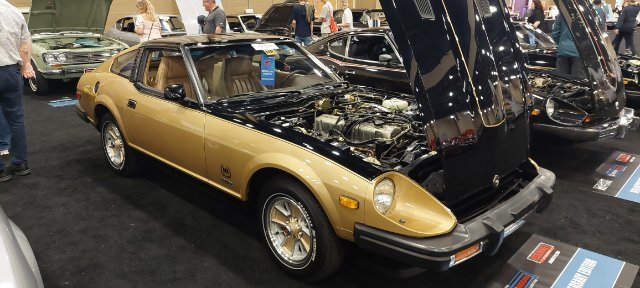
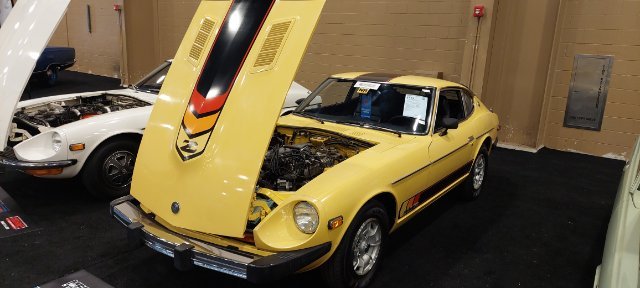
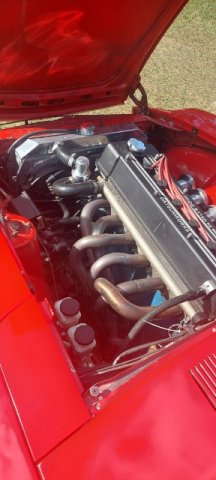
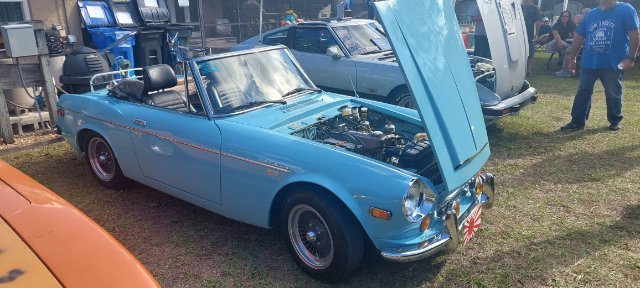
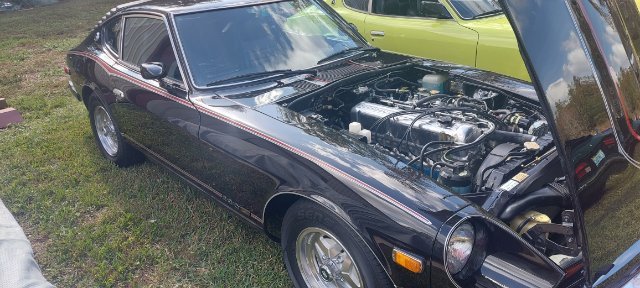
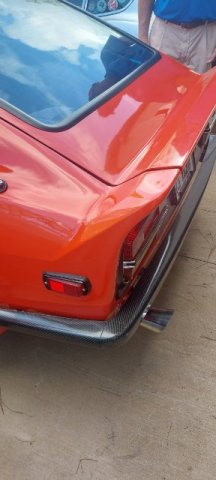
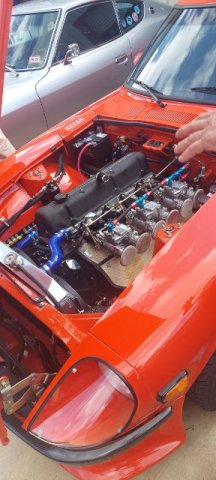
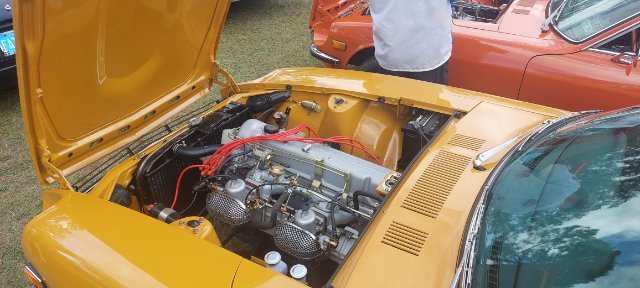
And here are a few shots from the Mecum Kissimmee auction. Impressive cars.
-
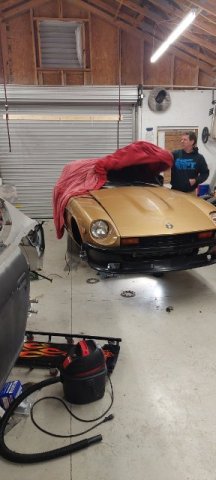
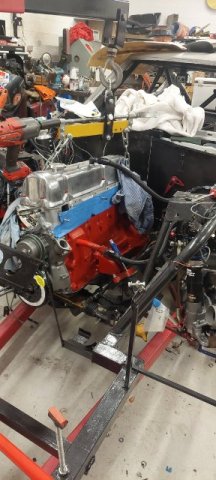
I suppose it is time for some updates. Lots of work accomplished since holidays but not much to photograph. Finished all the strut builds and got them bolted up. Completed the clutch build and mated the tranny. Dropped engine back in and found if I raise the engine mounts 1/8" on each side it will clear my steering rack. Yeah.
Finally caught up from my last minute changes and medical setbacks. I feel 10 years younger now and kicking ass in the shop. Getting closer to first fire. Have a 2nd Z car in the shop now and a 3rd coming. More on that later.
-
1
-
-
Almost forgot about it.
1 t-shirt, warm grey, large, 32801
-
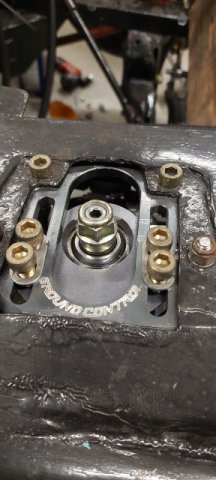
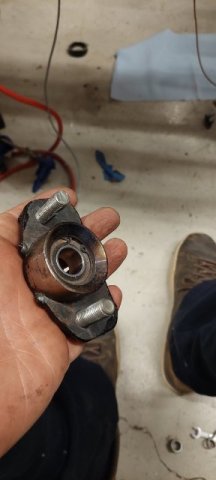
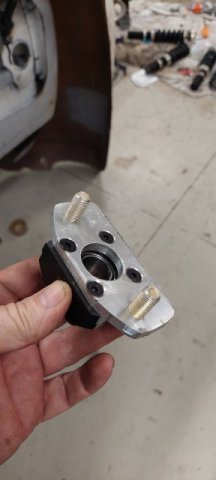
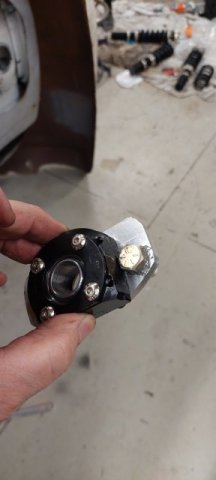
To fit the struts I had to get creative. I already had camber plates welded and did not want to modify those. The BC setup is nice but not a large amount of camber adjustment.
Not much problem for the front. I only needed a 1mm thick bushing to fill the gap between the shaft and camber bearing. After I tried to drill something several times I ended up just 3d printing one.
The rear required some fabrication. I had slotted the towers and built my own camber plate/spring perches. To retify I duplicated the plate in aluminum and bolted the BC bearing holder from the bottom.
-
1
-
-
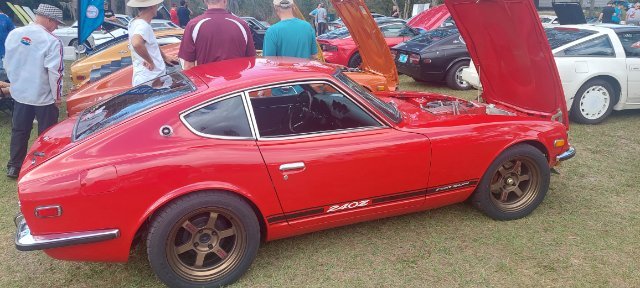
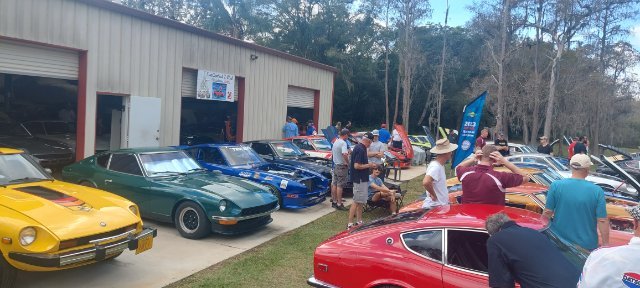
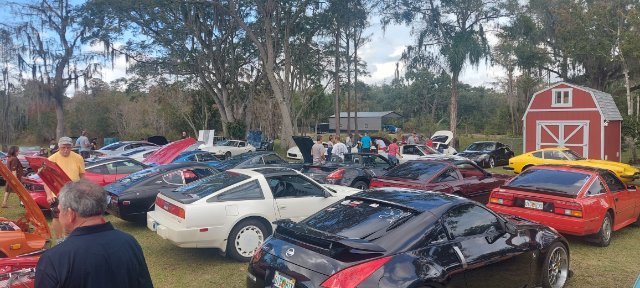
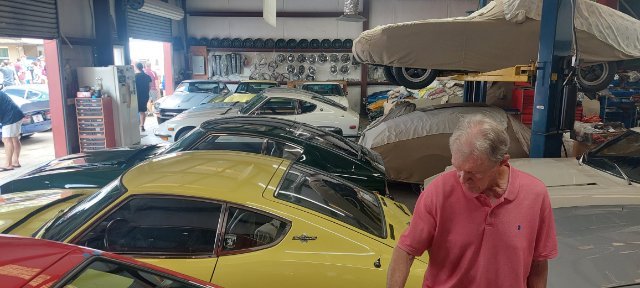
On a side note, I went to the ZMECCA Xmas party last weekend in Tampa. Some cool Florida Z cars for sure and got to see some old racing buddies. John Thomas and Bill Coffey representing. A few old HybridZ guys there also.


Fast Floridian's 240Z Track Build
in S30 Series - 240z, 260z, 280z
Posted
Good luck. A lot depends on the compromises you are willing to make. Ultimate Track Car and dominating time trials is a lofty goal. A good, fast, reliable, safe track car is very achievable and will bring many smiles.