Mitchel0407
-
Posts
67 -
Joined
-
Last visited
-
Days Won
14
Content Type
Profiles
Forums
Blogs
Events
Gallery
Downloads
Store
Everything posted by Mitchel0407
-
280z 1jz track build from a pile of parts
Mitchel0407 replied to flatout's topic in S30 Series - 240z, 260z, 280z
I got a tradition with my dad that I took over, every time we buy a new vehicle we stop at Mc Donalds on the way back and get a milkshake. This also gives us some time to look and admire our new purchase. We will probably continue this tradition this weekend as I’ll be looking at a 2015 BMW M550D touring (almost 400hp diesel station wagon) as a new daily driver. -
1977 280z driving project from the Netherlands
Mitchel0407 replied to Mitchel0407's topic in S30 Series - 240z, 260z, 280z
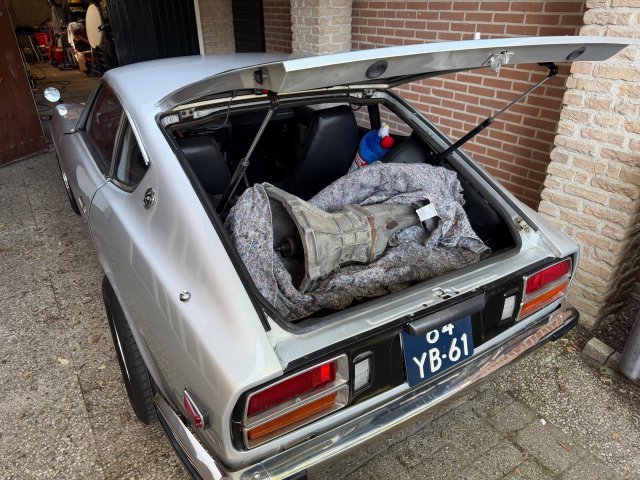
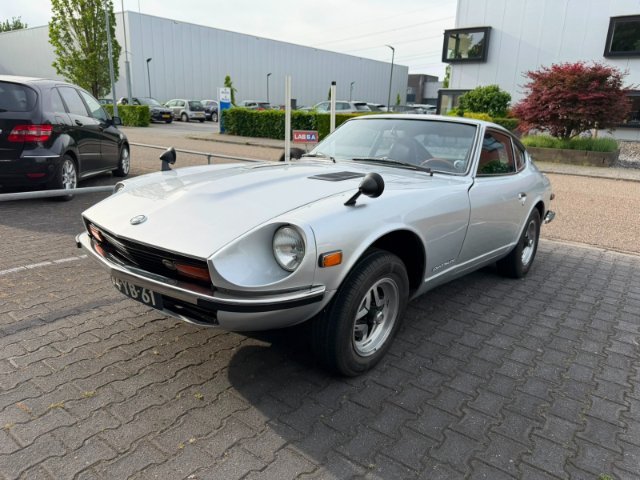
Finally had the time to head south and pick up the replacement transmission and enjoy a cup of coffee while we were at it. And what better way to pick up a transmission for the broken one in your Z then with said Z! 😂 All jokes aside she still drives fine except for a worn out syngro on second gear and a missing fifth gear. The replacement gearbox is a >80’s FS5W71B 5-speed from a 280ZX that’s been in storage for a long time. I’ll be ordering some new seals and transmission oil before switching out the gearboxes for some peace of mind.
-
A tale of two Z's - NA vs Turbo
Mitchel0407 replied to MONZTER's topic in S30 Series - 240z, 260z, 280z
Got to love a fresh coat of paint, she looks amazing! -
1977 280z driving project from the Netherlands
Mitchel0407 replied to Mitchel0407's topic in S30 Series - 240z, 260z, 280z
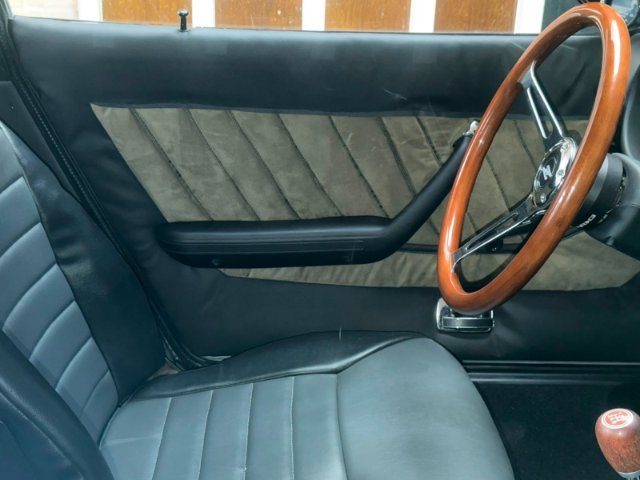
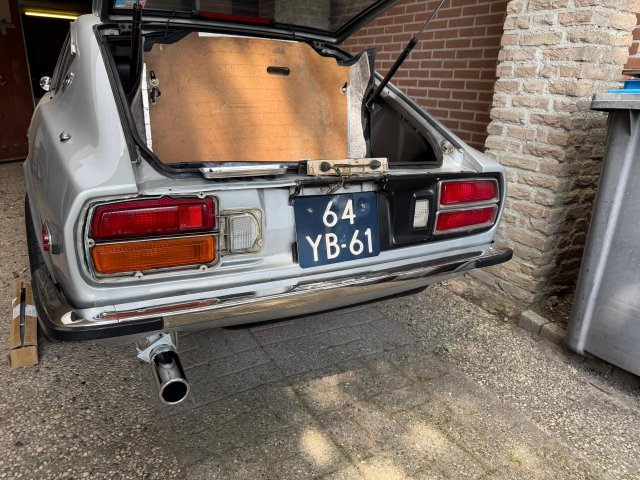
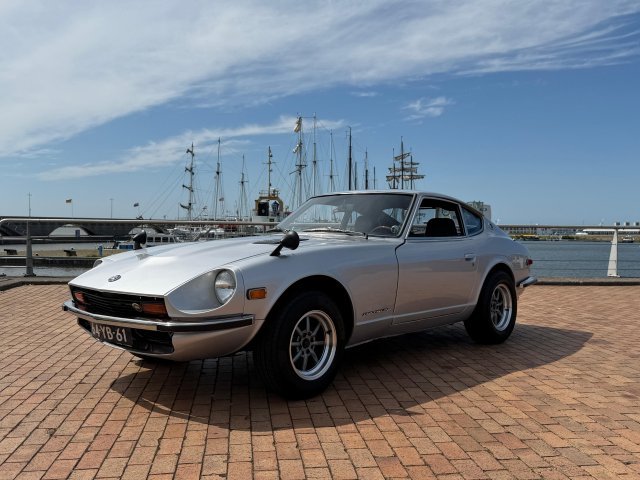
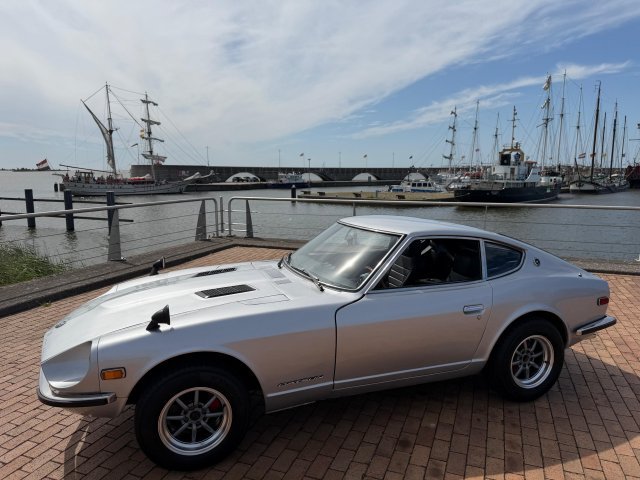
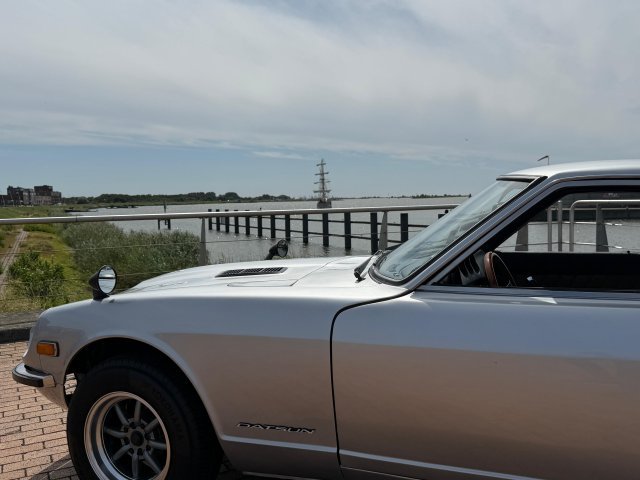
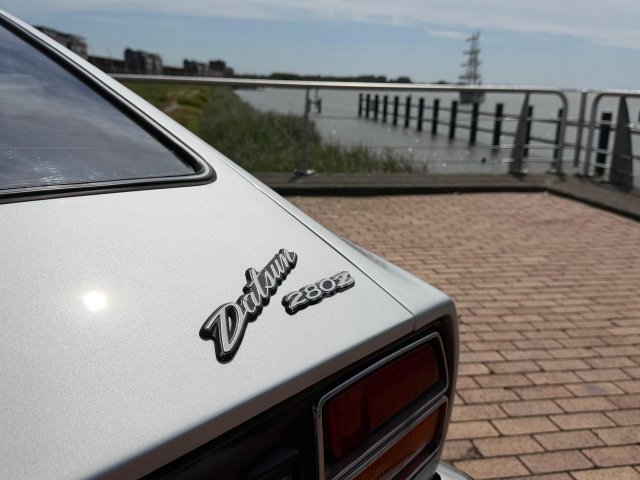
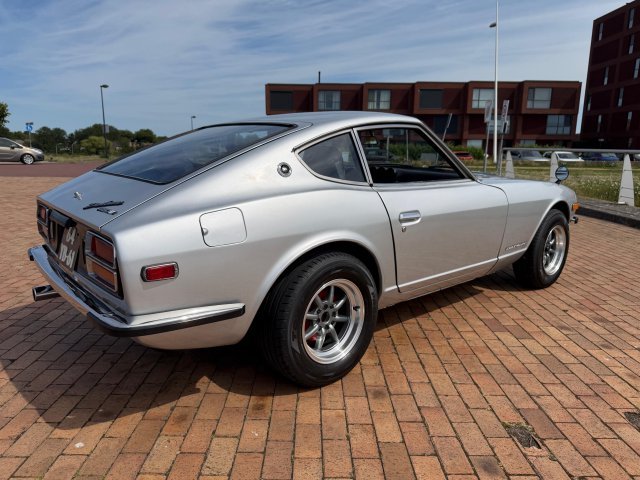
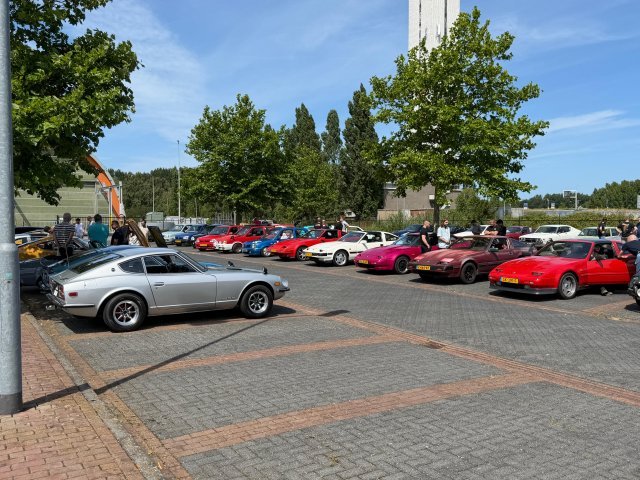
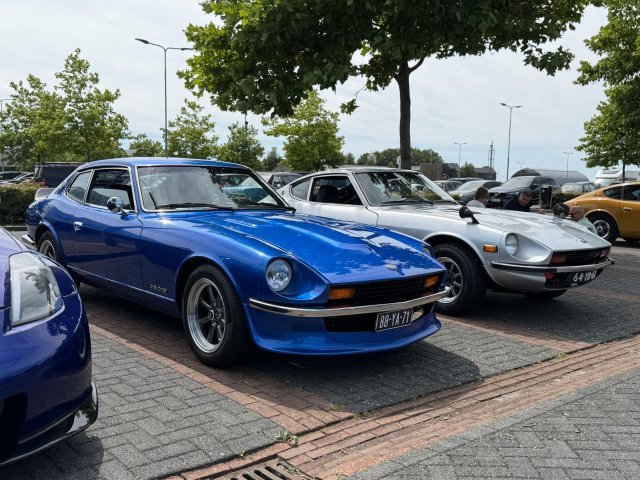
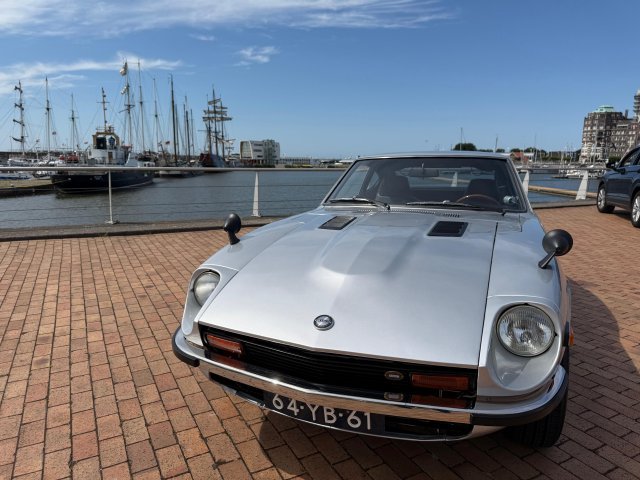
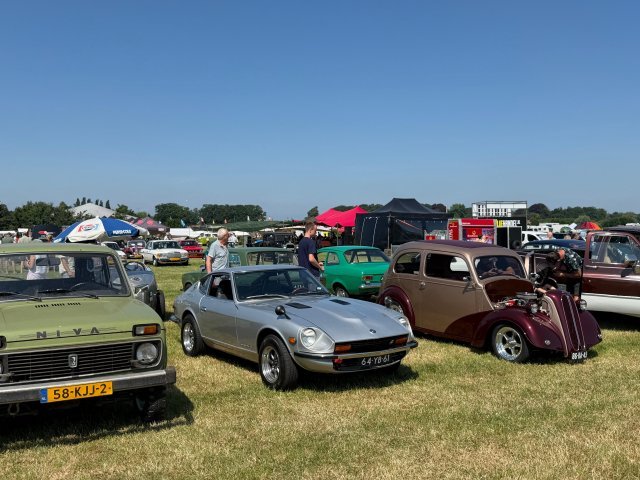
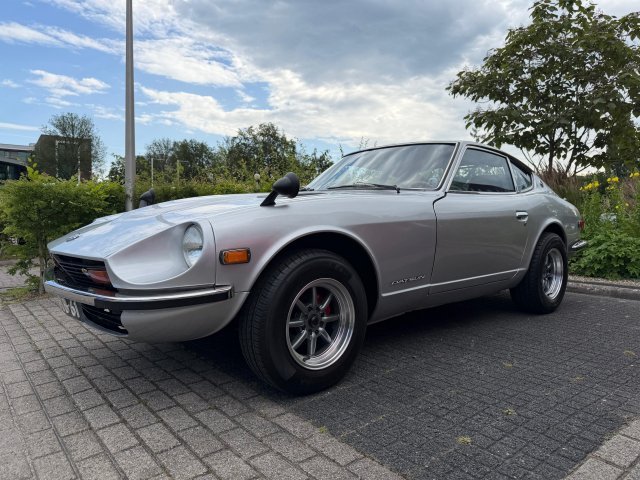
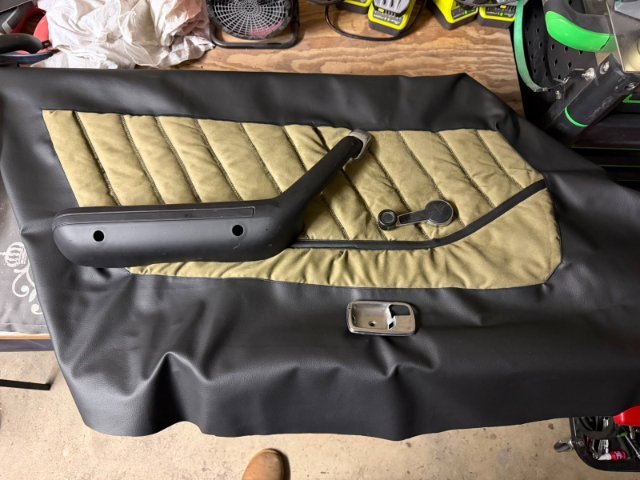
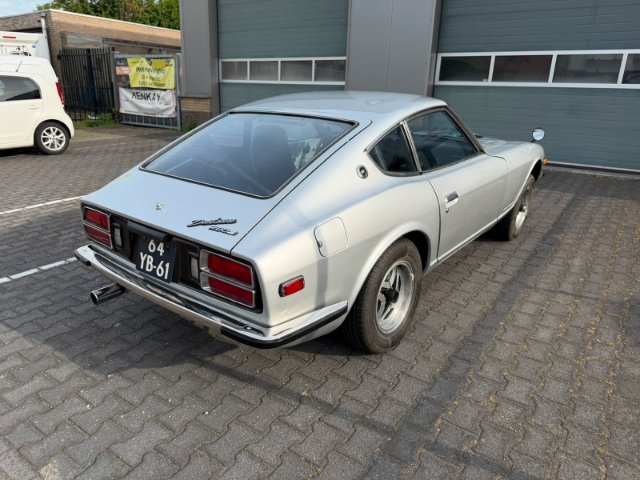
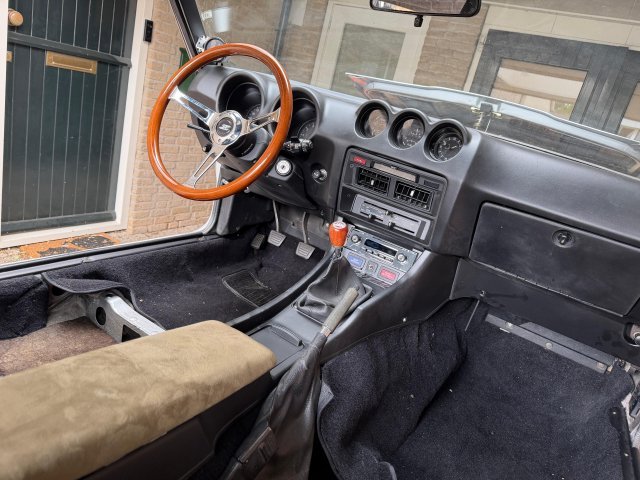
I finally had some time this weekend to work on the Z again and finish off some of the little things that where nagging me. I finished my DIY door card project and got them installed in the car. I must say that they turned out pretty good. The only finishing piece would be to add the wood trim back in but I would have to make one myself. A few weeks ago I managed to pic up a set of Euro taillights from an original Dutch 260z that where in excellent condition. So with the remaining time I had that day I quickly switched them out. Yesterday there was a small all Nissan/Datsun meet I attended which gave me the opportunity to compare my Z with others and do up some inspiration for future modifications. Afterwards I finally had the time to take some proper pictures of the car (with the car not half apart) and cruise along the dikes. WhatsApp Video 2026-07-13 at 09.15.40.mp4
-
280z 1jz track build from a pile of parts
Mitchel0407 replied to flatout's topic in S30 Series - 240z, 260z, 280z
Your engine bay looks very clean, nicely done! You really are flying true this project, keep up the good work! -
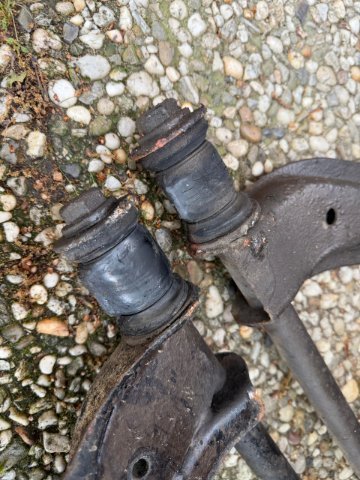
Those sleeves are really had to take out, that’s why they sell inserts that reuse the old outer sleeve. Because of this I went with polyurethane bushings in my 280z and I must say they are pretty comfortable. People always complain that they cause massive vibrations and are undrivable on the street but I really don’t know what they are talking about, they feel fine to me.
-
I can’t wait how she looks out in the sun!
-
1977 280z driving project from the Netherlands
Mitchel0407 replied to Mitchel0407's topic in S30 Series - 240z, 260z, 280z
Last weekend I went to my first classic car event with the 280z which was a lot of fun. To my surprise I wasn’t the only Datsun at the event. A bit later a one owner Datsun 1200 coupe (talk about rare) and an early 300zx also showed up. On my way back home in the Z cruising along at approximately 75mph she decided I didn’t spend quit enough money on it yet and turned my 5 speed into a 4 speed transmission. What probably happened was the main shaft nut backed off. Guess this is another nice surprise left behind from the previous owners “restauration”. Surprisingly the car still shifts into reverse and doesn’t pop out, 5th gear just acts as an extra neutral now. For now I will need to find a replacement FS5W71B gearbox or modify another 71 series gearbox to fit the Z. I know a guy who bought a 280ZX 5 speed as a spare 25 years back and is willing to sell it to me for €800. It’s ether that or trying to find the correct parts for a pre 80’s 71B and rebuilding mine myself. There is a local shop that builds rally cars out of S30 Z’s who can sell me a rebuild ZX 71B or modified S14 71C close ratio transmission but those cost €4k-€6k. For that price its more interesting to swap in a modified brand new NISMO S15 6 speed from Japan. Escort makes them to fit the L series engines complete with mechanical speedo connection and CNC transmission crossmember. Anyway I guess that’s just the life with a classic car…..
-
Great to hear that you found the problem! I had a similar problem when upgrading my dashboard backlighting to LED. I knew that they alle worked but after reinstalling the dashboard into the car and testing everything out only the tachometer backlighting didn’t work. Turns out that the connections to the backlight had reversed polarity. After switching the two pins around in the connector everything worked perfectly. This wouldn’t be a problem for incandescent bulbs but seeing as LED’s are diodes the switched polarity suddenly did become a problem.
-
1977 280z driving project from the Netherlands
Mitchel0407 replied to Mitchel0407's topic in S30 Series - 240z, 260z, 280z
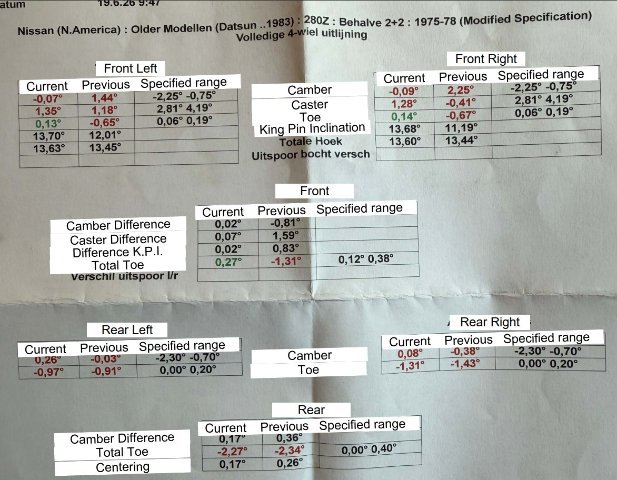
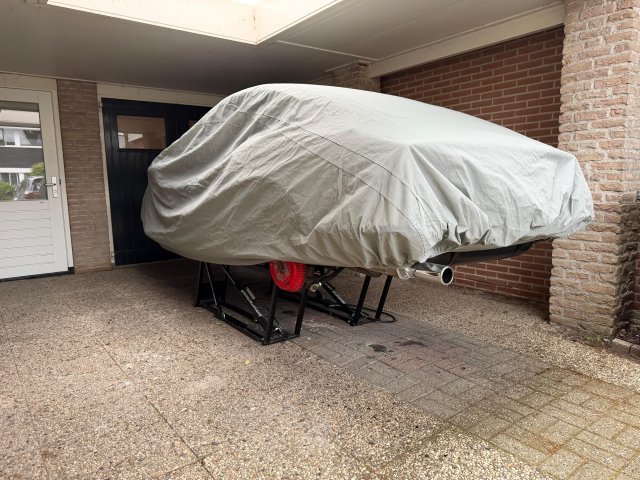
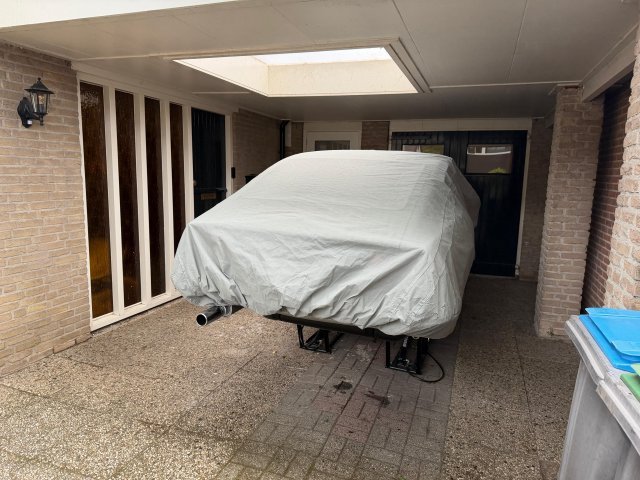
The settings recommended for my setup (front and rear control arms, front crossmember and quick steering knuckles) by Apex Engineered where: Front: Camber: -1.5° to -2.5° However if it's a street car, it can be reduced to negative one to even zero. Caster: +4° to +6° Toe: 1/16" to 1/8" total toe-in Rear: Camber: -1° to -2° Same as above in the front in terms of camber Toe: 1/16" to 1/8" total toe-in I agree for the most part with these specs but unfortunately this was as far as they could go at the moment. At least the car is way easier to steer now and she drives stable and straight as an arrow. The steering wheel does self-center but it could be a bit more. The rear needs a zero toe or a bit of toe in but for that I need to increase the track width of the control arm a bit and then come back for a new alignment. My shocks are a little done for (especially the right rear is nonexistent) but for just cruising around this is good enough for now. I do plan to install a set of coilovers from Intrax (local to me) or KW. I was considering BC Racing but they were discouraged by the shop if I wanted to have them last more than just 2-3 years especially since I can’t park the car in my garage. Don’t worry, she still has a roof over her head as she is parked under my carport with a cover over her. The more time goes on the more things I want to do, it truly is a never ending project. The next thing I would like to do is add a BRE style spoiler and an air dam as they are a bit cheaper then the rest of the suspension upgrades. After that I want to replace the stock shocks with coilovers and some stiffer sway bars. Way down the line I also want to replace the stock EFI system with a Halltech ECU but I will probably combine that with EFI Hardware ITB’s and a Zstory exhaust system. Separately from everything I would also like to upgrade the brakes for a full set of Willwood disk brakes at some point but that would also require increasing my wheel size to 16 inch. But my current brakes work more then good enough and I like my wheels so that isn’t really a priority. And when everything is set and done and I have some money to spare then I will send the body off for a full restoration and probably some carbon body panels. But those are really long term plans, you might have guessed but I am never ever selling my Z. This thing truly is my one and only dream car and I will pour my heart and soul into it. -
1977 280z driving project from the Netherlands
Mitchel0407 replied to Mitchel0407's topic in S30 Series - 240z, 260z, 280z
Took the car to an alignment shop near my work last Friday to have them realign the wheels. I was in luck as one of their most experienced techs was in that day (old guy with almost 40 years’ experience with wheel alignments). He immediately recognized the car (old Z’s are pretty rare over here) and remembered working on a few of them back in the day. I gave him the recommended alignment specs I got from Apex Engineered and with that, my own complaints about the handling and his own intuition he got to work. Turns out the previous tech just absolutely butchered the alignment. He told me he set everything (camber, caster and toe) to zero but turns out I actually had a lot of positive camber and toe out in the front. For reference a -0,67 degrees toe means a 0.286 inch toe out, that’s massive! The rear still has some work to do as the track with needs to be increase slightly (by turning out the rod ends) so camber can be improved and toe can be turned in. As the rear control arms sit now (stock as shipped from Apex) the toe adjustment is slightly too long and the outer rod end needs to be turned out a bit. Unfortunately the front office didn’t really get how modified the car was and didn’t plan enough time for the tech to tackle this himself so I’ll have to do it myself and come back later for final adjustments. But man the car feels so much better. I have way more control over the car now and steering has become a lot lighter. I hope to make some time next week to fix the rear as I can feel she doesn’t like going over 80mph but that might also be because of a lack of aero. I do plan on buying a reproduction BRE style spoiler and an air dam. Zservices in France sells them made locally and even offers them in a textured black at no extra cost which might be interesting and won’t look that out of place on a silver car. They are also easy resell afterwards as I plan to replace some body parts with carbon fiber down the road once I have the body stripped down and restored. But those plans are for way down the line.
-
Replacement Distributor Options
Mitchel0407 replied to FJOVA's topic in S30 Series - 240z, 260z, 280z
Sometimes the “original” works the best. Part for these cars are quite expensive and although there is a lot of information out there a lot is still missing or people just haven’t posted online, especially electrical. So please if you find things out that you had a hard time finding information about post it in one of the forums. I had trouble with my AFM (Air \Flow Meter) on my ’77 280z a while back and it was absolutely impossible to find information about the workings of them. Being from Europe also made it pretty hard as everybody just said to go on Ebay or another US supplier and buy a new one, not really an option for me. So I went on a big research spree and with some help of the Australian Z car and Land Rover forums I managed to find a suitable replacement AFM of a 90’s Ford Probe / Mazda 626. These where sold plenty over here and used parts for those are pretty cheap. In the end the 280z just uses a generic Bosch L-Tronic injection system and parts can, for the most part, be interchanged between brands and cars from that same era. I’m even running a few Porsche 944 parts. 🤣 -
Try and see if you can find a wiring diagram online. Unfortunately I only have one of a 197 280z which I will upload just in case as I suspect not much has been changed regarding something like the washer motor over those years. Try and follow the wiring with a multi meter and see where the power stops once you press the button. Also try and check the fuses, one might be blown or has a bad connection. It might be a stupid tip but try and activate the washer with the ignition switch in different positions. I was once lead down a rabbit hole thinking my blinkers weren’t working while in fact I needed to turn the ignition switch all the way to the on position (accessory position didn’t work). N77ZCAR-WIRING.pdf
-
1977 280z driving project from the Netherlands
Mitchel0407 replied to Mitchel0407's topic in S30 Series - 240z, 260z, 280z
I do sure love upgrades! But no the 280z wasn’t that small in comparison. But then again my boss drives a BMW M140i and the other one a VW ID.7 Tourer which is pretty big. Do remember I live in Europe and not the US so we rarely see pickup trucks ore large SUV’s. We rarely see cars bigger than a BMW X7, Audi Q8 or Volvo X90 (which are considered extremely big over here). Our parking spaces just aren’t that big 🤣 I mean just look at this picture for the size comparison between a normal family car / minivan and a Dodge RAM. The only people that buy pickup trucks here are people who like them, own a business (tax reasons) and tow a lot. And that’s only because it’s easy and cheap to convert and run them on LPG gas. -
1977 280z driving project from the Netherlands
Mitchel0407 replied to Mitchel0407's topic in S30 Series - 240z, 260z, 280z
Took the 280z to work yesterday as I have a 62km (38,5 mile) commute each way with both city and highway driving. She ran perfectly with a nice smooth idle, stable temperatures right at 180 Fahrenheit (US gauges), a nice oil pressure and the alternator charging nicely at a bit over 14 volts. The air fuel ratio was still fluctuating a bit running lean and then rich at idle but they where pretty stable while cruising. But more importantly she was an absolute blast to drive! The power was nice and smooth and felt amazing to stretch out to 6500rpm. Not to mention the reaction of the other people around you. I saw a lot of thumbs up out of the windows and people sneaking a picture of the car. Even more hilarious was me parking next to my bosses BMW. All that said I’m not fully satisfied with her yet. I believe the rear shock absorbers are currently nonexistent which isn’t too big a deal but the right rear can slam down with tremendous force when going over a pothole or bump which isn’t very comfortable. The alignment also feels a bit off as the car feels less stable then she did before. I will bring her to a garage that also does a lot of motorsports tuning close to my work next week to try and fix the alignment. I will probably also look at a set of BC Racing coilovers sometime in the close future to fix the worn out stock suspension. -
1977 280z driving project from the Netherlands
Mitchel0407 replied to Mitchel0407's topic in S30 Series - 240z, 260z, 280z
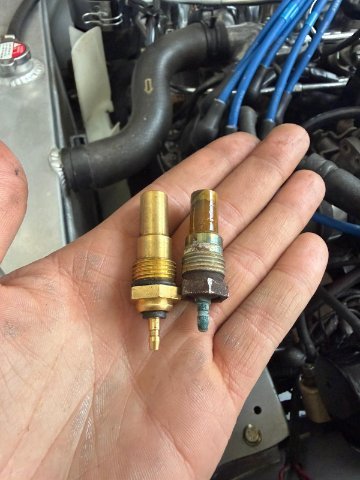
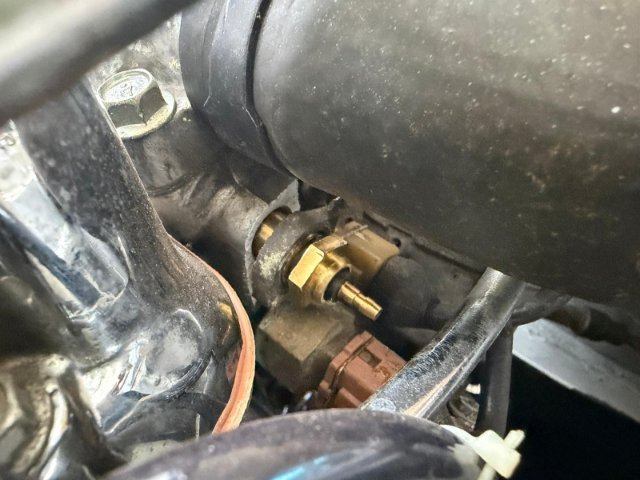
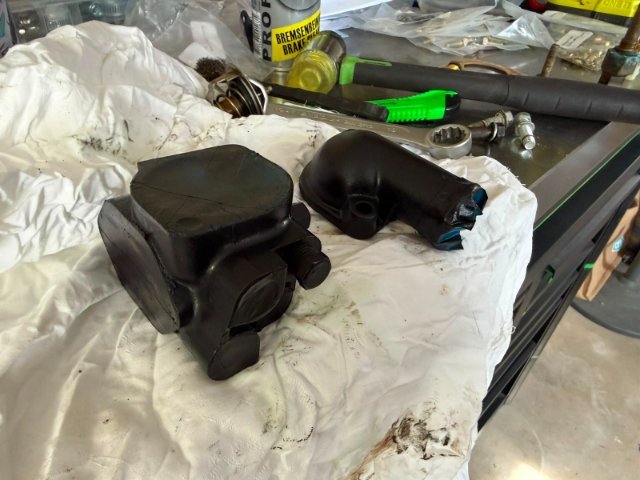
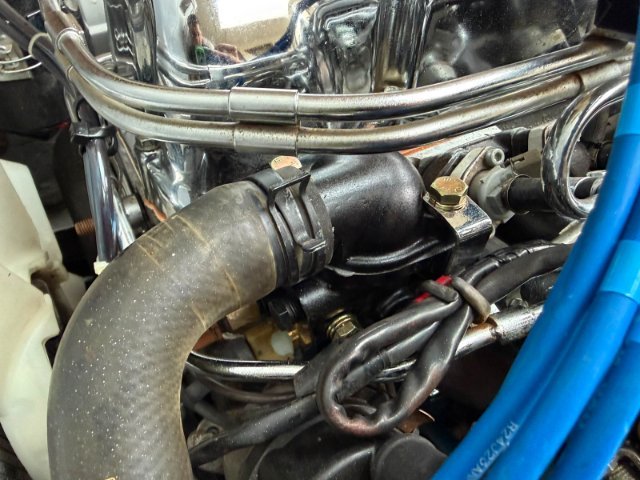
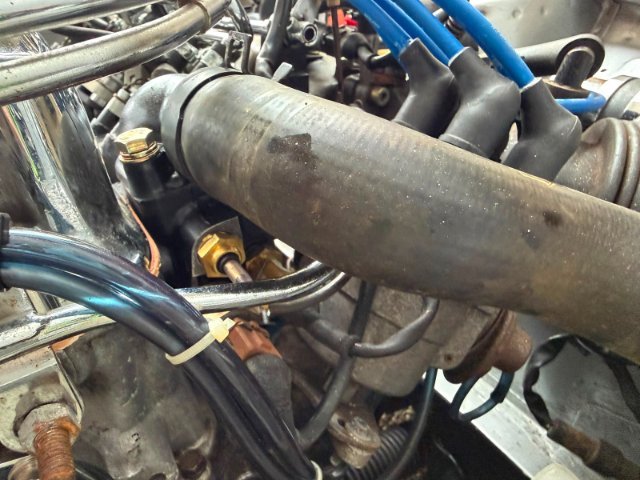
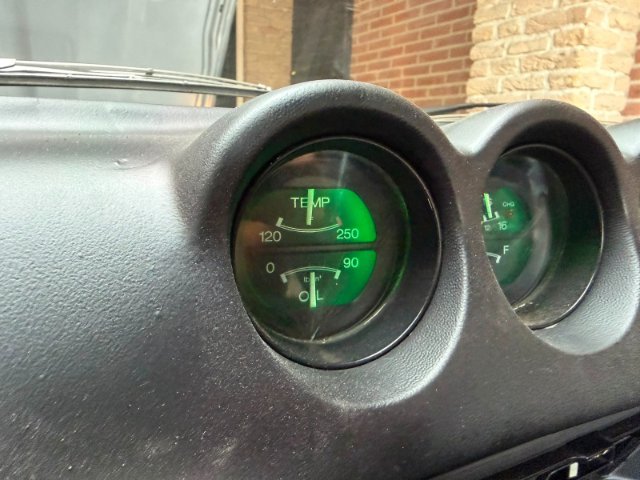
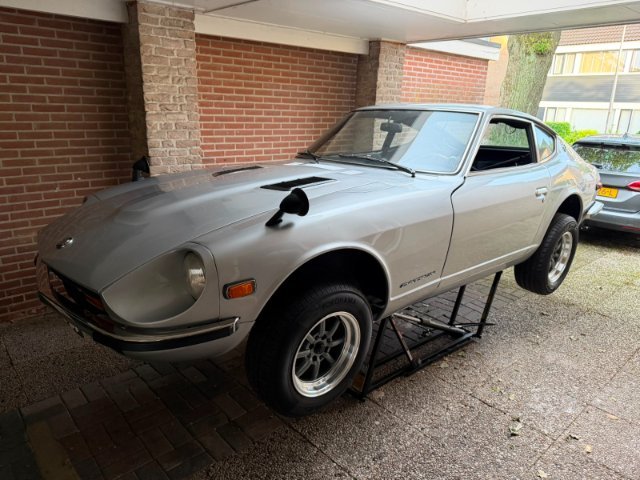
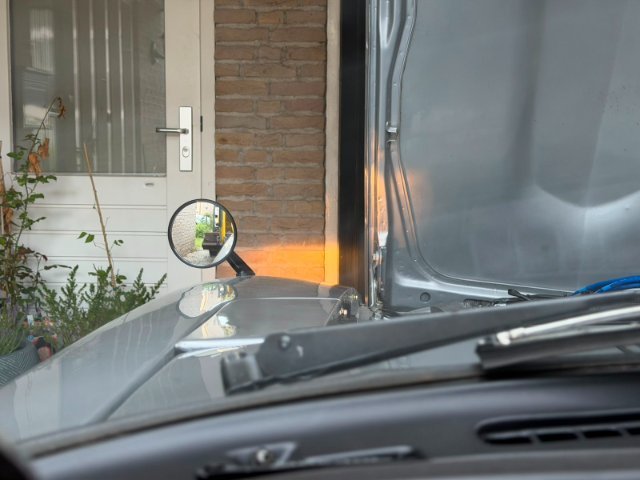
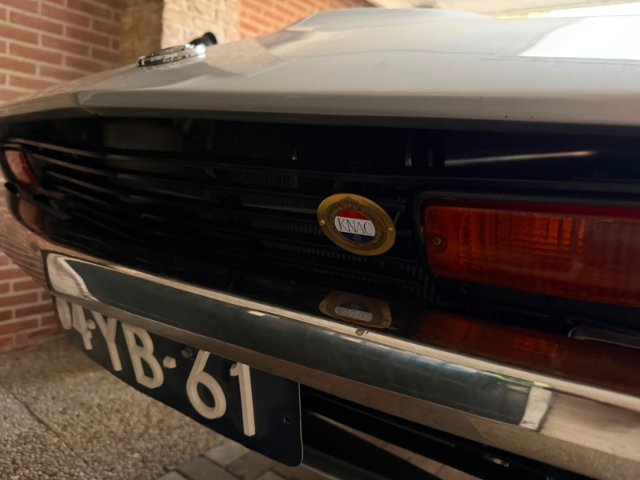
It took some time for an update but I am proud to say that I did it, the 280z is road legal again!! Aside from the car I have been very busy working in my backyard as the previous owners took out all the plants and then neglected the yard for 4-5 years. But back to the build log. One of the parts I still had lying around where the oil pressure sender and the coolant temperature sensor for the gauges in the dashboard. It really bothered me that both of them weren’t working and I had a feeling that it was just both of the sensors that were bad. So out with the old and in with the new. Or so I thought…. While installing the new temperature sensor into the thermostat housing the housing itself broke. As the break is a really weird one I suspect that the aluminum housing just became pours. Luckly one of the local Z club members had the correct version of the housing and send it to me. I gave that one a quick coat of paint and reinstalled all of the sensors. This time nothing broke and both the oil pressure and coolant temperature gauge finally worked! Now that that was fixed I started working on some of the smaller items on the list. I replaced the air filter, both exhaust gaskets, the horns, painted the front grill and installed the KNAC shield (translated: Royal Netherlands Automobile Club). As I had a bit of time left in the day I also replaced my pre fuel pump fuel lines and filter, installed the new speakers and fitted the fender mirrors. I expected the fender mirrors to be pretty useless but they actually gave me a way better field of view then my old door mounted mirrors! I believe these are the same metal reproduction mirrors as Zdepot sells. As I was in a bit of a time crunch for the inspection I unfortunately couldn’t finish the door cards and seats in time. Luckly the door cards weren’t mandatory for the inspection so I could just simply leave them off the car. As for the seats I reinstalled the covers for now and reinstalled them into the car. The aftermarket wheels the car came on where poking out a bit too much in the rear so to avoid any complications during the inspection I decided to install the stock wheels for now and switch them afterwards. I hindside this wasn’t necessary as they were allowed to stick out 3cm (1,2 inch) past the fenders. Then came the moment I had been working towards, inspection day! I dropped her of at the garage and they immediately started with the inspection and alignment. The only thing they found was they the washer fluid wasn’t spraying but the mechanic traced it back to a pinched line. Other then that the car was in great shape and both the mechanic as other customers were impressed with the car (S30 Z cars are pretty rare over here). Now I can finally enjoy the car and man she drives good! The only thing I noticed was that the rear shocks are gone but it isn’t a problem for now.
-
Welkom! It’s good to see you posting here as well.
-
Catch me up the last six years of how to Z community the internet
Mitchel0407 replied to tim.d's topic in Non Tech Board
That’s a bit of what I am trying to do with my own build thread. It’s mainly just a log for myself to build a timeline of everything I’m doing to the car but I also like sharing my discoveries on the forums to hopefully help somebody out in the future. And no I’m not some old sentimental person but just a guy with a love for the S30 body style and L series engine (who will be turning 26 in a little over a month). -
1977 280z driving project from the Netherlands
Mitchel0407 replied to Mitchel0407's topic in S30 Series - 240z, 260z, 280z
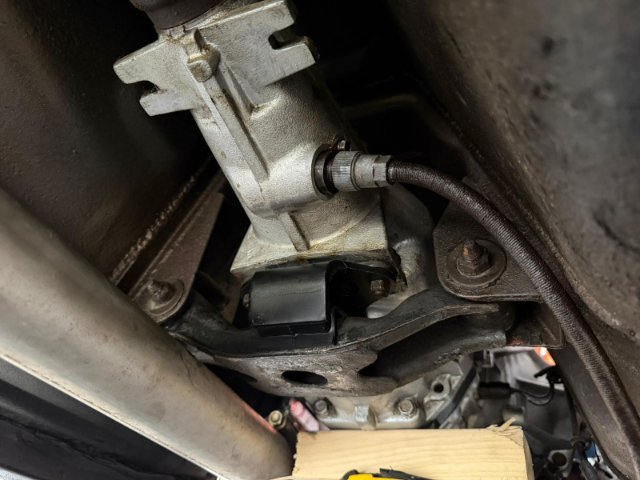
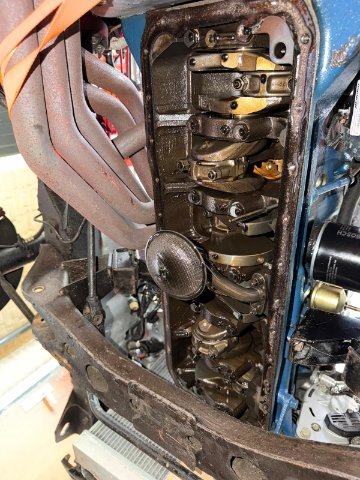
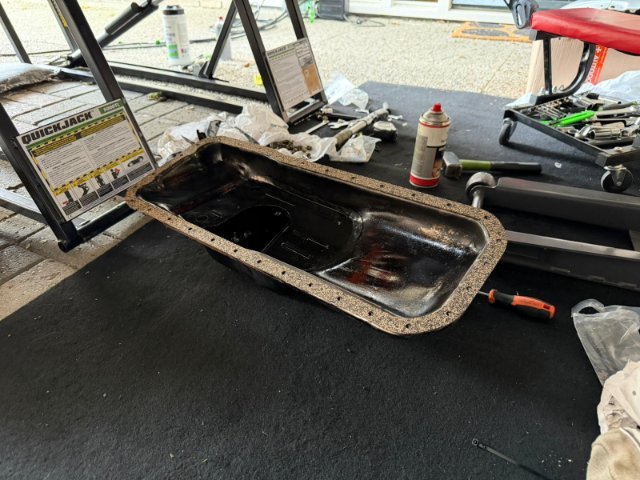
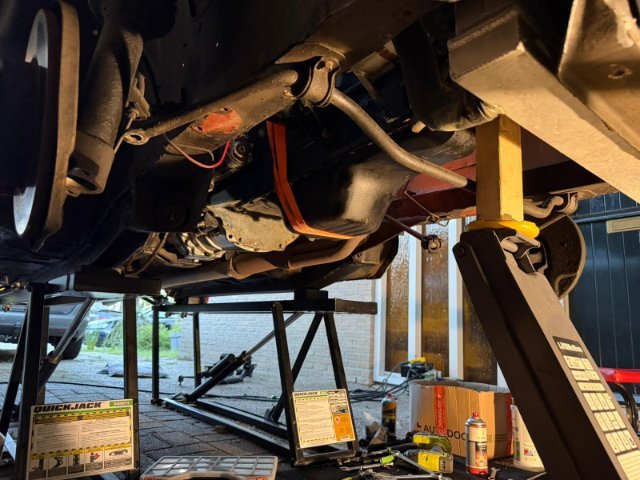
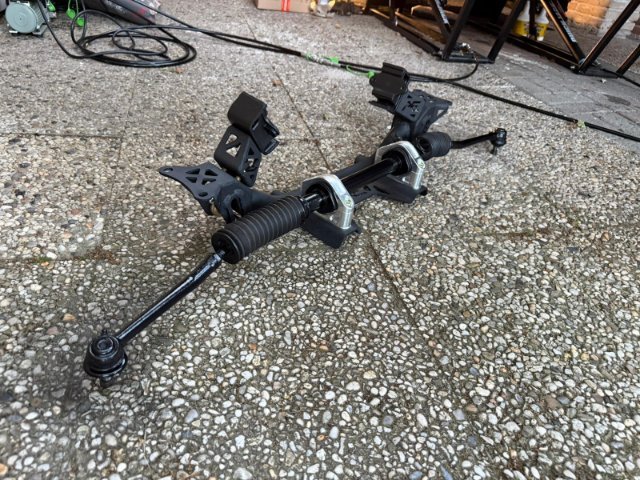
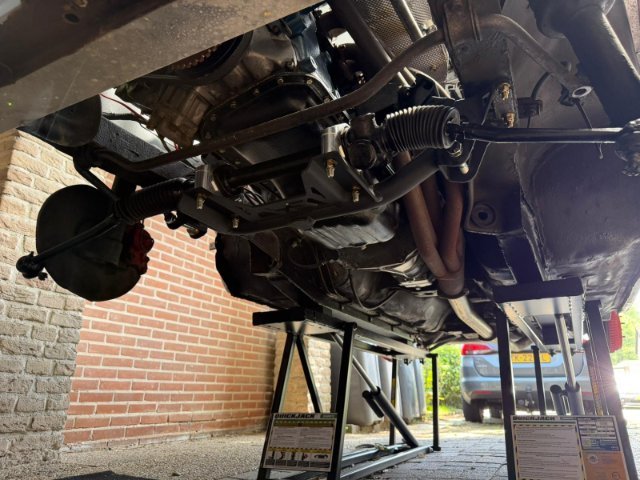
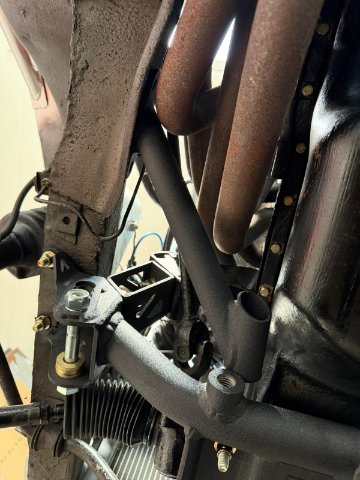
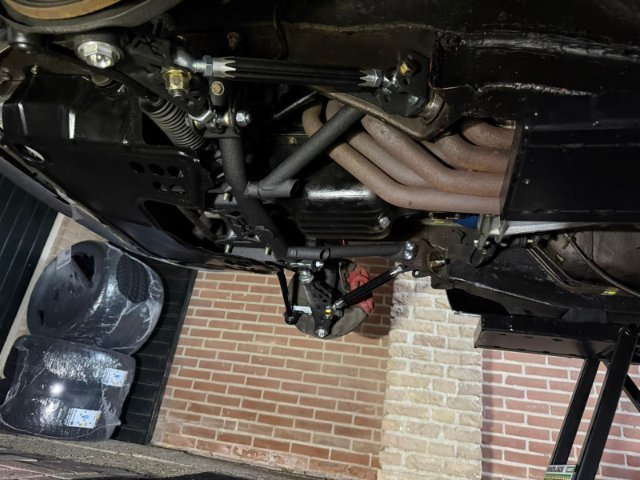
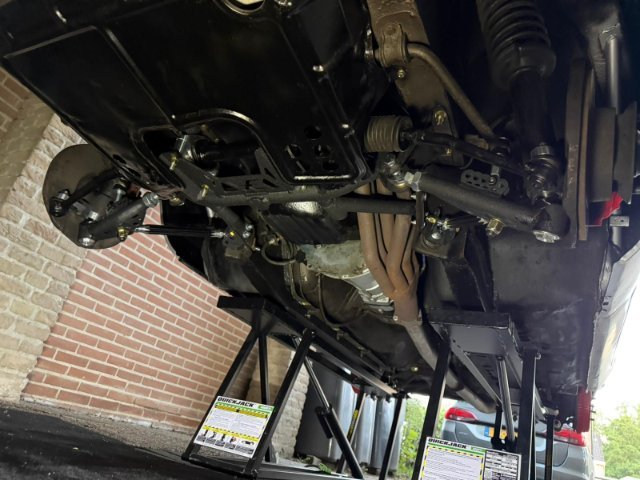
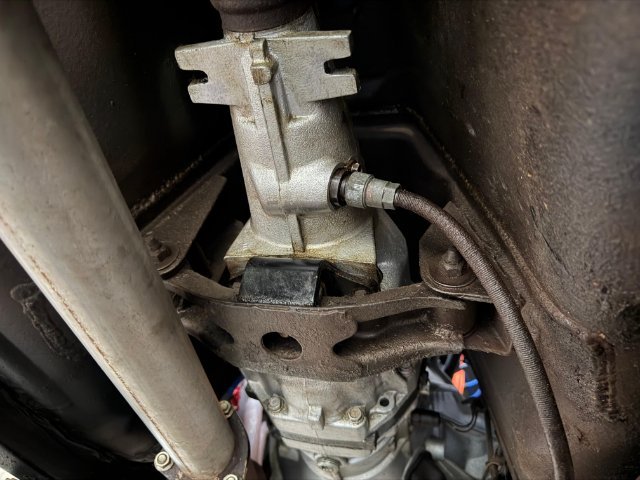
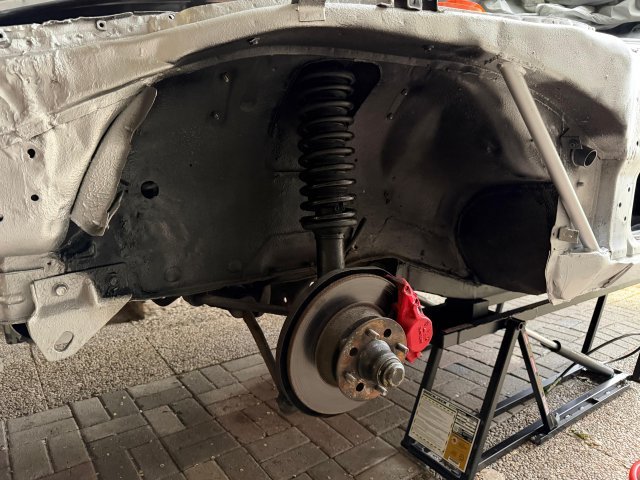
Another week has past and another weekend of work has been completed. Luckly the orders I placed where send out pretty fast so I got all the rubbers and bushings I was missing ready to head to work. I started off with finishing the work on the transmission. As the speedometer gear had been leaking, and I didn’t know how much fluid the transmission had lost (or was even serviced the last time), I decided to change the transmission fluid for some Redline MT-90 transmission oil. That was easier said then done as Redline MT-90 is pretty hard to find in Europe. But it appears I was in luck, one performance parts shop here in The Netherlands had a few cans in stock and send them out for me that same day! Even though the transmission mount and crossmember bushings where is decent shape I still decided to chang them out as a precaution. I used a OEM style rubber transmission mount for vibration reduction but polyurethane bushings in the crossmember for added stiffness. Next came the most exciting but also the scariest part. Replacing the front crossmember, engine mounts and oil pan gasket. I wanted to leave the crossmember for last and start by removing the oil pan. To do that and have easier access to the bolts I first removed the steering rack which I gave a quick clean and paint job while I was at it. I might have figured out why the oil pan was leaking in the first place, it turns out about halve the oil pan bolts where loose! Other than that the process was pretty straight forward. Removing the oil pan did give me a pretty interesting look into the engine which felt pretty weird so I quickly reinstalled the oil pan with new bolts. To remove the crossmember I had to find a way to support the engine in the meantime. For this I created my own, incredibly sketchy, engine support bar together with a jack under the crack pully. Even though it was incredibly sketchy it was surprisingly sturdy and stable. But still I hurried as fast and as careful as I could to remove the old crossmember and install the Apex Engineered crossmember. This went surprisingly smooth with the only difficult part being reinstalling the bolts into the new engine mounts. But with a bit of help of the jack and some patience I got them all in and everything safely secured again. Next came the most difficult part of fitting the Apex crossmember braces. The passenger side went without a problem but the drivers side not so much. There the crossmember brace didn’t fit as the car had aftermarket headers and signs of body damage to the left side of the car. The headers where interfering with the brace and the brace was sitting much more forward then the passenger side. This required some modification of the headers (with a hammer) and a few spare washers as spacers to fix. To modify the headers I had to take them off the car which I really hope I won’t have to do a second time as the bolts are really hard to reach. To finish off the weekend I got a call from the body shop telling me my doors and cowl where finished painting! So I immediately got in my car to pick them up and install them back on the car. The installation went pretty good but I didn’t get the doors to sit perfectly flush, the back always sticks out a bit. This may be because of the weather stripping which I assume to be cheap aftermarket. After the doors came the fenders and the rest of the bodywork. As I was missing a lot of bolts around the car I ordered a nut and bolt kit from ResurrectedClassics a while back. During the previous “restauration” (if you can even call that) they just left damaged bolts out or spot welded panels in place. As I absolutely hated that I took my time to retap all the holes or install rivet nuts wherever I could. I also replaced a lot of the bolts with nice plated bolts from the kit. All of this nearly has the car ready for one of the final inspections of it’s life (as they aren’t mandatory anymore after 50 years). I just have a small list of things left to do. - Reinstall the door cards - Reinstall the seats - Set a rough alignment (enough to get me to the shop) - Install the wheels - Install a new set of horns (existing ones have underbody coating in them) - Repaint and install the front grill - Install the new fender mirrors - Install the rear speakers (for now optional) - Replace the pre fuel pump fuel filter (for now optional) And of course clean the car!
-
Catch me up the last six years of how to Z community the internet
Mitchel0407 replied to tim.d's topic in Non Tech Board
No. in my opinion that’s the definition of passion and commitment! -
Catch me up the last six years of how to Z community the internet
Mitchel0407 replied to tim.d's topic in Non Tech Board
Just like all classic and especially classic sports cars they end up sharply increasing in price once they approach 50 years in age. I always loved the look of the S30 Z cars and I really wanted a classic sports car as a hobby/project car. For me the only affordable option was the Porsche 944 coming in at €10k to €15k for a somewhat decent example. But even those shot up in price the last few years to the point that the price difference between those and S30 Z’s (280z in particular) became pretty low. I ended up paying €22,5k for my 1977 280z at an auction (including auction costs) and put around €4,5k into the car. Mainly comprising of the Apex Engineered suspension parts, body shop (welding frame rails and repainting the doors) and some long overdue maintenance. And yes I overpaid a couple of thousand on my car but at this point I really don’t care anymore as I plan to keep this car for the rest of my life! -
Catch me up the last six years of how to Z community the internet
Mitchel0407 replied to tim.d's topic in Non Tech Board
I bought my 1977 280z in august of last year and afterwards started looking around at all the available forums and other information sources. This let me to here, the ClassicZcar forum and the WhatsApp group from my local Z/ZX club (Holland). Each I use for a different purpose. - HybridZ: Modified Z projects, technical information, inspiration and keeping up a build thread (mainly for myself). - ClassicZcar: General information and information about stock/original parts or details. - The local Z/ZX club: Meets / rally’s, used parts and local knowledge (we have a few S30 restauration specialists in the group) As the S30 Z is pretty rare here in the Netherlands (and Europe in general) my only option is to use the internet and figure everything out myself. Parts are also hard to come by as my only options are used parts (when they appear online), Zservices in France or importing parts from the USA. As for car culture in general I do agree that it’s slowing down a bit. The cars are becoming more modern, parts are becoming more expensive and complicated and less people have the option of owning two or more cars. In general I’m seeing the economy slowing down and people watching there wallet. That said there are still a lot of interesting S30 Z projects going around. Yes turbo builds are pretty common as they have become easier to make power with and are a relatively cheap power source. But NA or NA ITB builds are also pretty common still among them being the V8 swap. Personally I’m keeping my L28E and will probably end up going the NA ITB route once I upgrade the stock injection (yes I’m keeping the injection and no I don’t want carbs). I do like the sound of the V8 swaps but I also think that they don’t really belong in the S30 Z’s. The Z’s being Japanese cars I find them more suited for inline 6 (NA or turbo) engines. And I just really love the sound of the L series engines. But hé, that’s just my personal opinion. -
280z 1jz track build from a pile of parts
Mitchel0407 replied to flatout's topic in S30 Series - 240z, 260z, 280z
The rear control arm length issue might just be a factory issue as my stock control arms measured in at 15,5” inches just like the Apex control arms. Up to know my parts have been of great quality (passenger side frame rail excluded) with excellent and tight tolerances. That said I will be installing the front crossmember and front control arms next weekend and will probably update my thread next Tuesday. That said I do believe they might have a slight quality control issue with their suppliers, as for example my passenger side frame rail was plainly bent the wrong way by the supplier. -
1977 280z driving project from the Netherlands
Mitchel0407 replied to Mitchel0407's topic in S30 Series - 240z, 260z, 280z
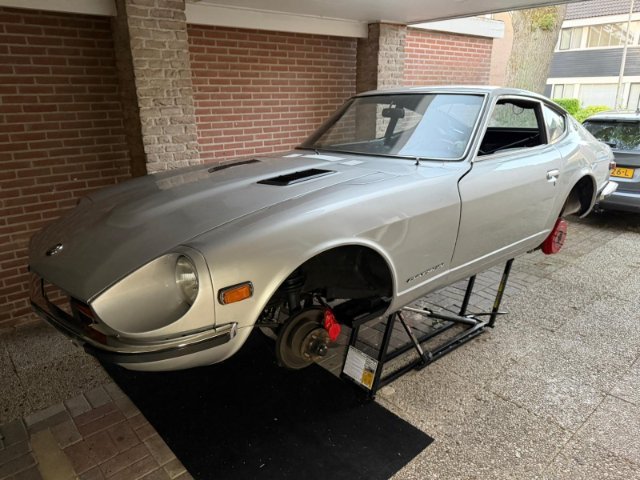
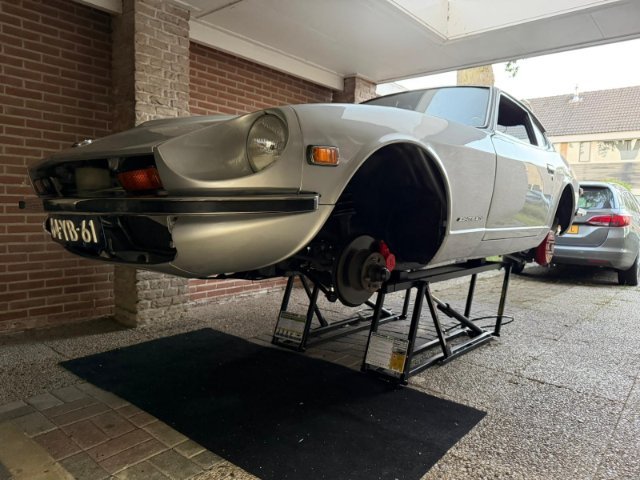
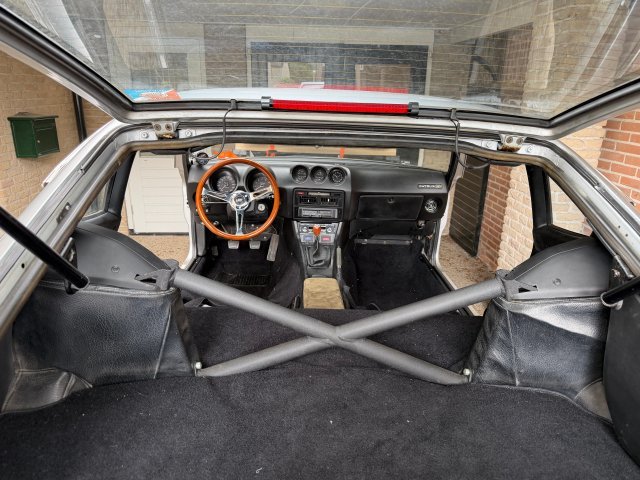
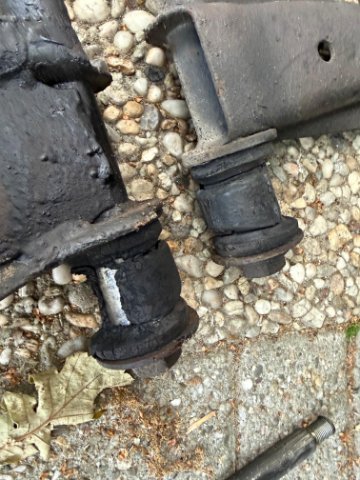
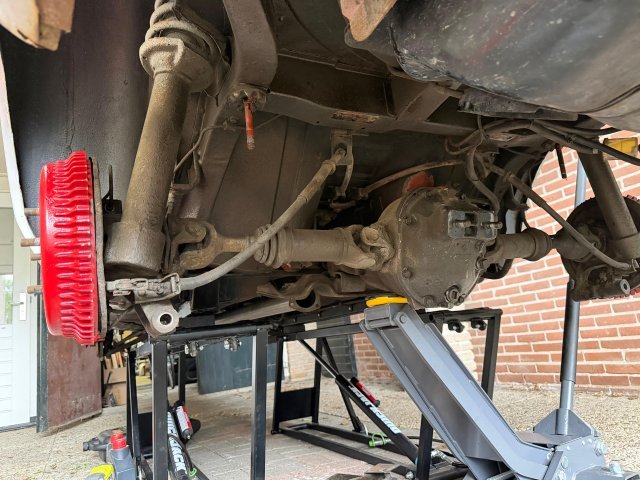
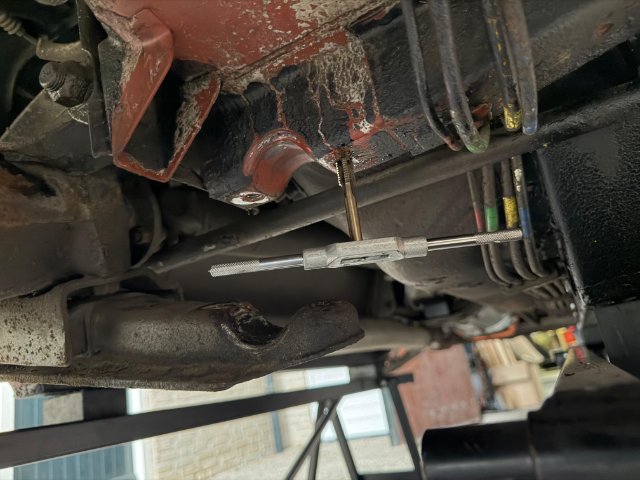
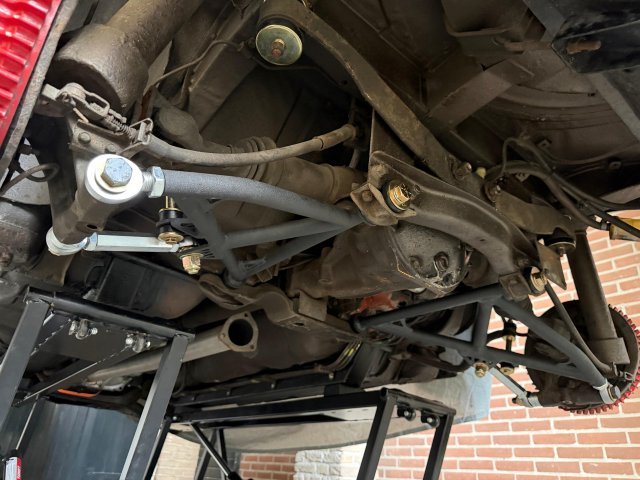
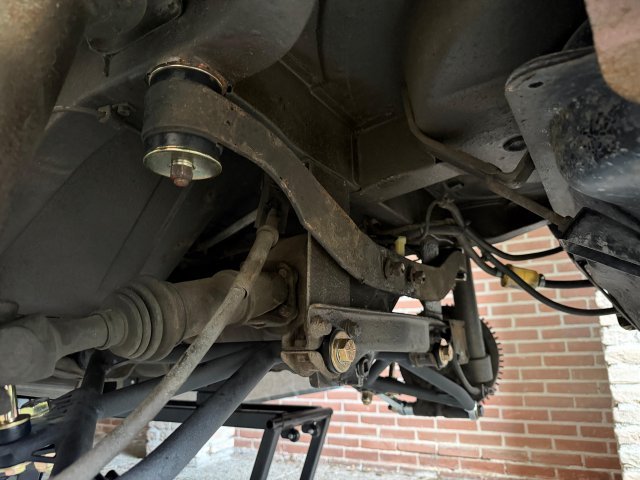
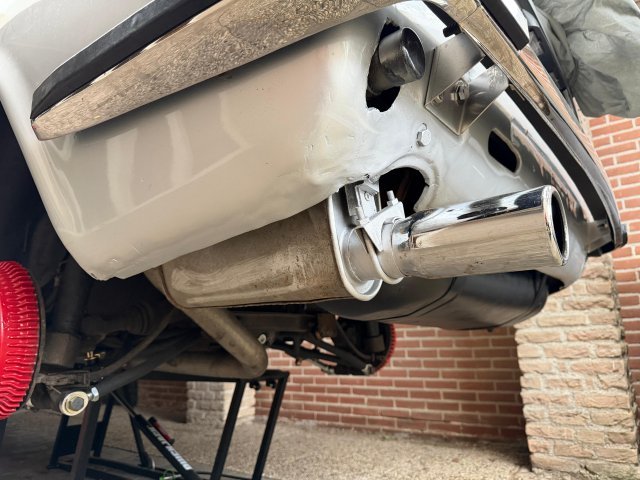
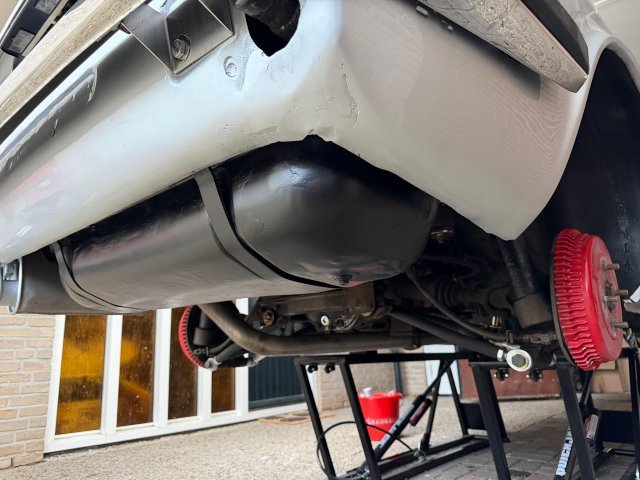
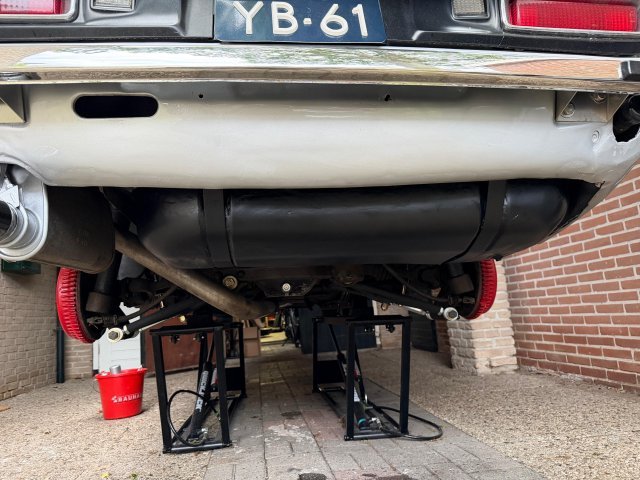
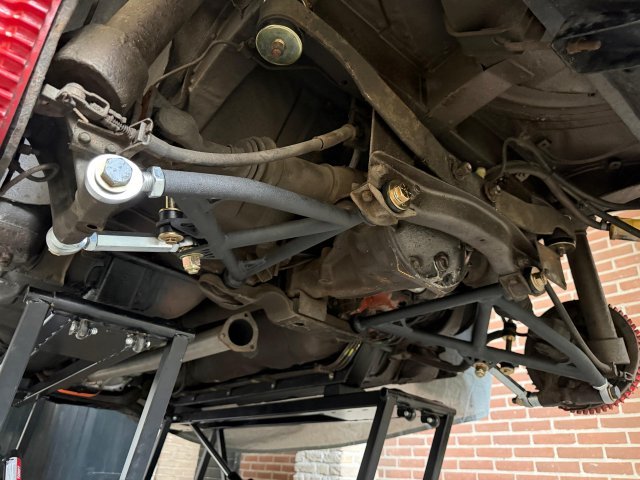
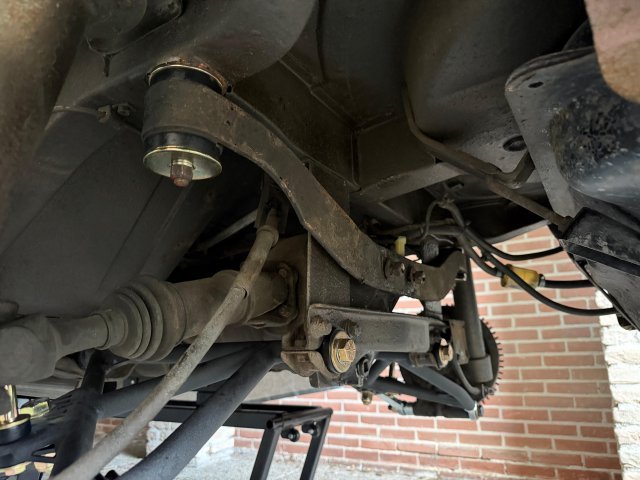
My pretty long weekend has come to an end and I’m pleased to say that I accomplished a lot in those four days. I started off with finishing the installation of the interieur. Because of the Apex Engineered rear strut brace I had to make some modification to the floor board, carpet and strut covers. This took a bid more time then I had hoped but I managed to finish the interieur within a day. Me and my girlfriend are still slowly working on the seats and the door card but we will probably end up installing those last. Next came (for me) one of the more exiting parts, starting work on the rear end! So it was time to put down my QuickJack’s and take the wheels off….. Never mind, the previous owner installed locking wheel nuts on all four corners and all four lugs at that! So a trip to the parts store for a lug nut removal socket and some angle grinder lathe action later (and about 3 hours) the wheels where finally off. If you told me the rear end was still factory fresh then I would have believed you. All the bolts where incredibly stuck and most of them where cross threaded (thanks previous mechanic). Not to mention all the rubber bushings where pretty worn out. Luckly with some heat, penetrating oil and a hammer all of the bolts came out. The threads there even still usable, lucky me! Before the reinstallation I did retape all the threads and cleaned up all the nuts and bolts. Before reinstalling everything I took my time to replace the differential gasket and change the differential oil for some new Motul 75W90. I also replaced the mustache bar bushings for polyurethane bushings. Removing the old bushings went pretty smoothly with a saw, some fire and a bit of patience. The only problem I had was during reinstallation of the mustache bar. The only way it would fit back in was by rotating the bar 180 degrees, may explain the difficulty removing the bar in the first place. I don’t know if this is the correct orientation but it wouldn’t fit any other way and I can find many pictures online of the bar in both orientations. I decided to leave the bar as is and finish up by finally installing the Apex rear control arms. Man it feels good to finally make some upgrades, the car feels more and more my own. The refresh of the rear end took a bit more time then I initially thought (two days) so before starting on the front, knowing I couldn’t finish it this weekend, I decided to take on some smaller jobs first. The bodywork on the car is a bit of a slopy mess with some signs of surface rust all along the lower edges of the rear of the car together with fading powder coating / paint on the fuel tank. It may be a bit unorthodox but seeing as I have a rust converter spray / paint that’s pretty close in color to the car I just took a sander to the edges and sand away the rust and knock down the body filler on the bottum edge. I also sanded smooth the fuel tank and used the last bit of remaining texture spray to hide the imperfections on the fuel tank. And even if I say so myself I’m pretty pleased with the result, at least the rear of the car is now less of an eyesore. During all the work on the underside of the car I noticed a small oil leak coming from the speedometer pinion gear. A quick search online showed it had an o ring sealing the pinon gear so I quickly popped it partially out and replaced the o ring inside. Another small job of the list! As I still had a bit of time left in the day I tried my luck at removing at least the front control arms. And I don’t know what magic was used but this was the easiest disassembly ever! A little spray of penetrating oil and a quick tuck on the wrench and out came the bolts by hand. Even the front ball joint and tie rods came right out! All in all it was a very productive weekend. I just placed an order for some small stuff like a few new rubbers, normal lug nuts and two new horns (mine have underseal in them) and will be continuing my refresh of the front suspension next weekend. That will be a bit more tricky as I need to replace the oil pan gasket and the front crossmember. Also I know you guys probably find my work space pretty interesting so enjoy!
-
280z 1jz track build from a pile of parts
Mitchel0407 replied to flatout's topic in S30 Series - 240z, 260z, 280z
I finally got around to refurbishing the rear end and installing the Apex rear control arms. I checked my control arms and they too measured in at 15,5” inches. But the funny thing is is that they where the same length as the original control arms!! Anyway the install went smoothly except for the fact that I had to rotate the mustache bar 180 degrees as I couldn’t for the life of me install it another way with the new bushings. That said the bar was incredibly difficult to remove in the first place. P.S. the T3 spindles do indeed appear to be shorter than OEM so adding the extra spacer seams like a good choice.