Pharaohabq
Members-
Posts
1959 -
Joined
-
Last visited
-
Days Won
5
Pharaohabq last won the day on March 2 2023
Pharaohabq had the most liked content!
About Pharaohabq
- Birthday 11/13/1970
Profile Information
-
Gender
Male
-
Location
Albuquerque, NM
Recent Profile Visitors
The recent visitors block is disabled and is not being shown to other users.
Pharaohabq's Achievements
-
Crich99 started following Pharaohabq
-
Anyone think I should re-write this?
-
Yeah, What NewZed said, , but really just do the upgrade to the 2+2 clutch, you'll need the flywheel, clutch and pressure plate. Stage 1, is pretty much that, but I've had good luck with exedy. The kit usually comes with the thowout bearing and the pilot bearing. As for the tranny, if you find the code on it, it'll be a lot easier to identify. you can also show us the Shifter to narrow it down a little.
-
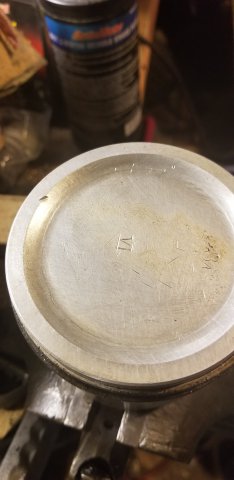
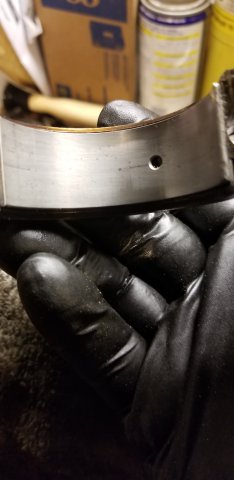
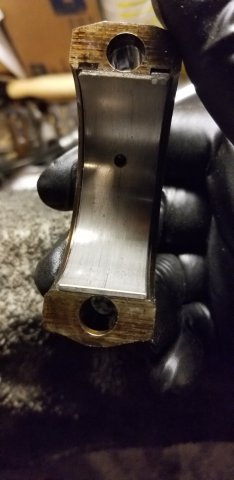
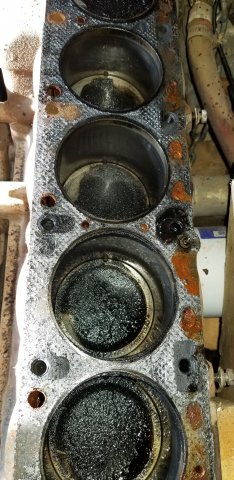
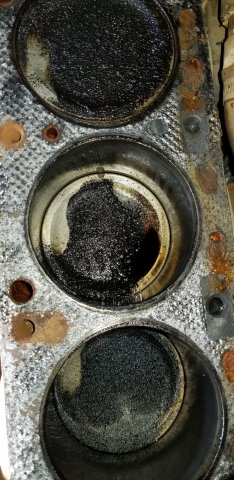
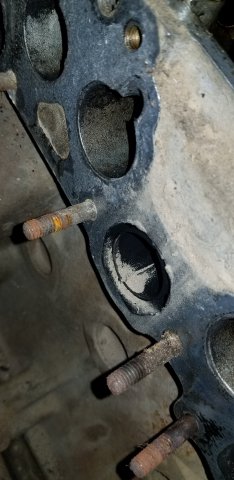
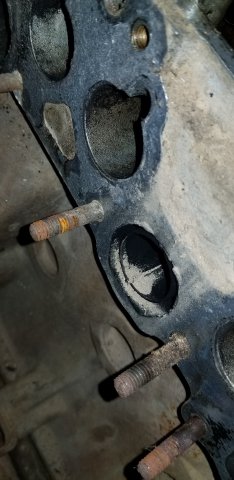
So I went out and got another Piston to replace that cracked one. It's not bad looking at all, I cleaned up my old pistons, and found that each was marked, proving that this engine had been rebuild previously as expected. I got the new rings and followed the instructions for install, on each of the pistons and then reinstalled them in the Block. I torqued them down to the ~40 ftlb of torque that was noted here on the forum. I then pulled the main bearings to check them for wear. They too looked like they were new, so I really don't think there were many miles since they last rebuilt this engine. The nasty nasty oil tells a story though. I'd expect, they rebuilt it, and with the cracked piston, it wasn't seating the ring and blowing oil. So they likely just figured it was a bad engine and not worth changing the oil and drove it till the cylinder head failed and all but melted down. It's the only explanation I can figure. These Pistons cleaned up well, but there was easily 3/16" of carbon deposits on them and all the oil passages were clogged. I cleared them with bailing wire and a small drill bit. there are marks and scratches all over so I wouldn't be surprised if this is the 3rd or 4th rebuild. Anyhow the Pistons and bearings are all back in the block with new seals. I'm waiting on new timing chain guides to arrive then I'll put together the front of the engine with new gaskets and proper timing. I have that copper gasket sealer spray I'm going to use. it's supposed to be really good. . I have a new tensioner, and a new chain, just to be sure. I'm going to try to find engine paint in approximately the correct bluegreen that these are supposed to be painted, and repaint the block, then piece it all back together. . I'll paint the pan and install it last. Phar
-
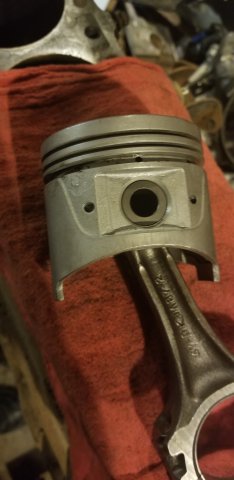
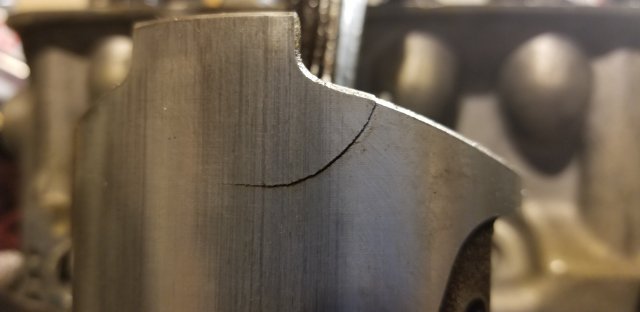
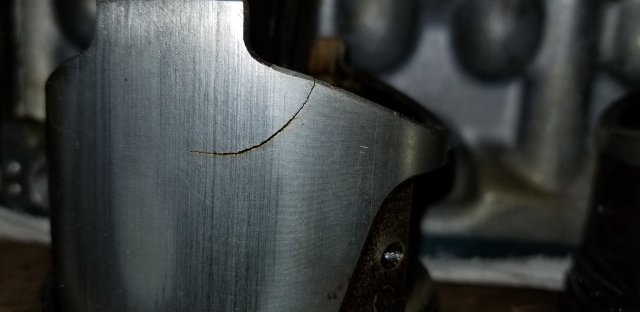
Now that the head is done, I figured it'd be good to start on the block to see if there's anything I can find wrong there that would cause the low compression in cylinder 1. I drained and dropped the pan, the oil was nasty. I could see they'd rebuilt it relatively recently, but I doubt they ever changed the oil. it was black black, and really smelled nasty. I looked at the bearings and they look almost new, no wear through the zinc coating. I still need to plastigauge it but the crank looks great. I pulled out the pistons and the oil passages are clogged and the oiler ring is caked with crud. all that is easy to clean, and I have new rings for it, but what's bad is the piston for cylinder 1 has a big ol crack in it. the crack stick out maybe 1/8 in but it doesn't look like it affected the block. I will definitely have to replace the piston. The main bearings also look new so I think someone rebuilt the block, especially since you can still see hone marks in the cylinders. It's possible that cracked piston is just sitting off enough that the rings were not seating properly. it's hard to say. I never took out the valves in the old head to see if they were burned. In anycase, I'll replace the piston and put it all back together with new seals. Phar
-
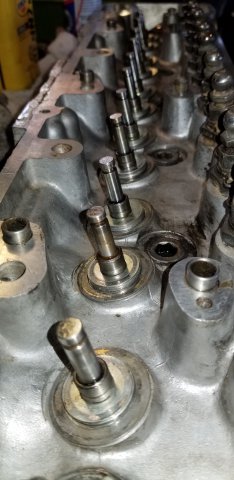
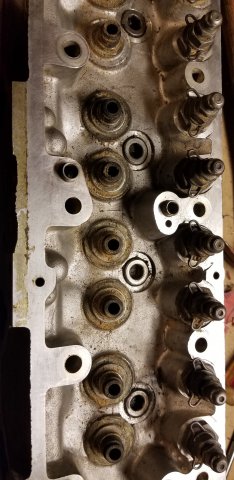
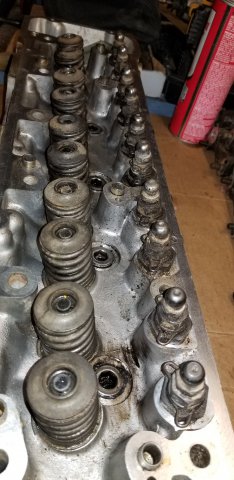
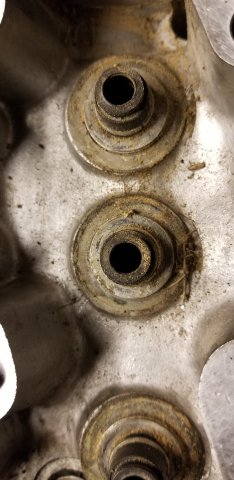
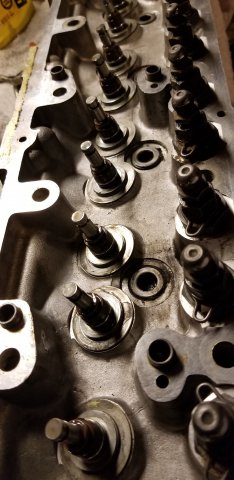
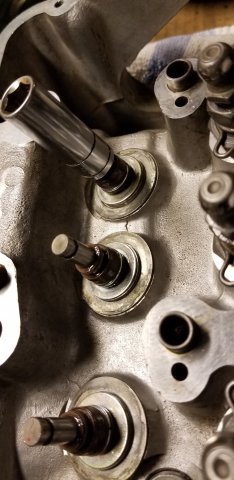
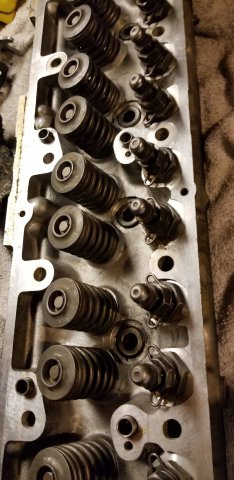
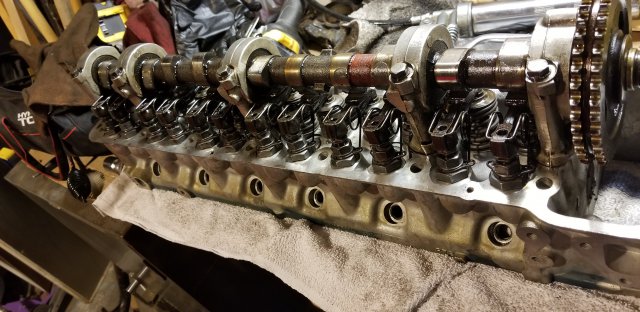
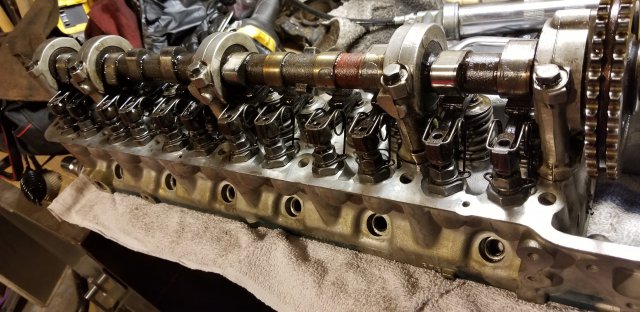
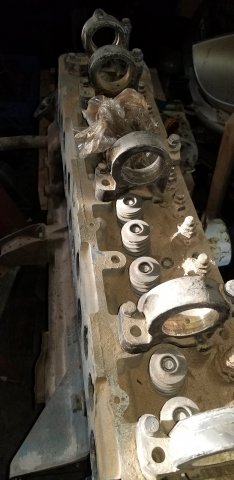
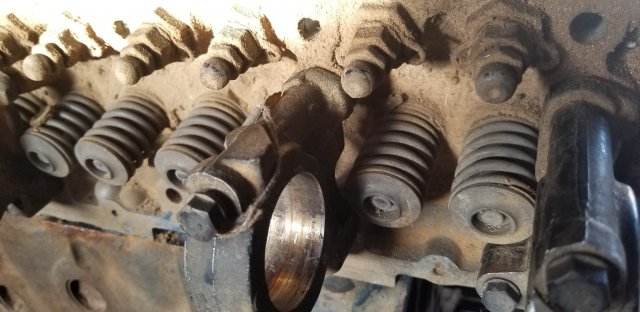
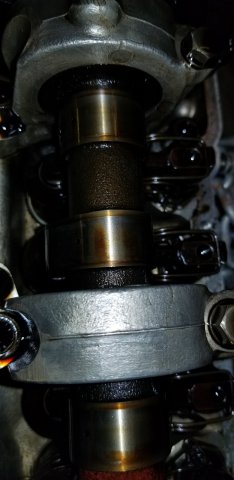
So I've been tearing down that head. I pulled out all the valves and it's a good thing too, there was a ton of dirt in the springs, even after I soaked the whole thing in a bucket. When I inspected the valves there was some scoring or almost corrosion I didn't like, so I lapped the valves and that cleaned those up nicely. Then I put them all back together with the springs and washers after it was all cleaned up nicely. I installed new Viton seals and pressed them all down to seat with a socket. of course bathing everything in clean oil for assembly. The springs and valves look much cleaner. Next I pulled the Cam and towers from the N47 and put them on. I had to move the little pins to the new head but that was easy. All the rockers and caps fit perfectly. it looks like the cam lash is still set good too. I'll adjust it after it's running. Phar
-
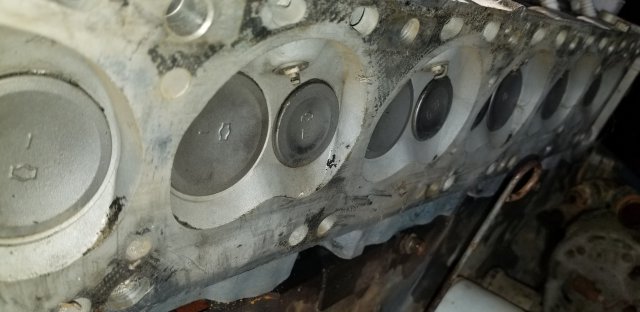
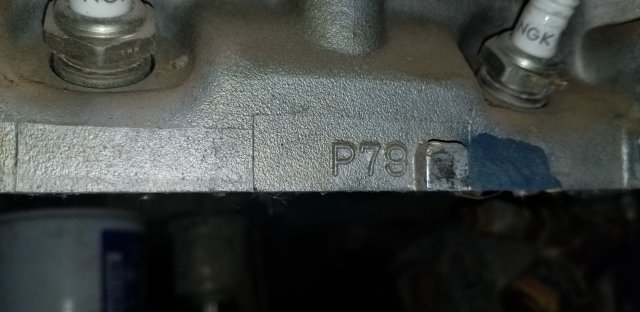
I went out yesterday to look at some parts. This buy out here has parts from probably 30 S30's. If you need parts, PM me and I'll get you his Email.. Anyhow I looked at maybe 10 heads he had, mostly N47's but a few P90's and a few E88's and E30's. He had one P79 which I liked because it had actually looked really good. it hardly looked used at all in the cylinder heads and valves. But the issue is that it's sat up on a shelf for who knows how many years, so the top is a bit dirty and missing the cam etc, But those are good on my N47. Not to mention the Cam towers have a little scoring. I'll need to take this all apart to clean it and replace the seals, but the head looks really good to me, at least once it's cleaned. All the springs, pads rockers and keepers are the same between the N47 and the P79 right? I couldn't find anything that says differently. One nice thing about the P79, is that they fixed where the Exhaust tubes could get loose by adding bolsters. Phar
-
yeah I've actually got a spare block, so that's not really an issue. I did pull more of it apart this afternoon and oddly the valves on cyl one actually does't look that bad with just the head off. I haven't pulled the old valves out to check the seats so that may not be the issue. If that cyl one got too hot maybe the rings are toasted. The cylinder walls don't look bad, no scoring or anything. I'm going to pull the bottom apart tomorrow so we'll see what it looks like. I've got new rings and bearings already, so might as well hone and replace. I have to do all the seals anyway. What's the best way to clean rust out of the water jacket? There's a goodly amount showing. I could flush most of it out then hit it with an acid like muriatic, then flush it again. I don't know how well that would work.
-
Yeah this one definitely snapped off. it was likely lodged in there causing the head to heat up a lot. I'm going to the junkyard this weekend to pull another head. I was reading the n47 or P79 might not be bad choices. I'm not going to turbo this. none of the others were loose. I have been soaking the water bolts in liquid wrench, hopefully they'll come loose, but if not, no big deal The P79 is supposed to have a really good quench pattern. They said they might have a p90, not a p90a, I'm not sure the difference there. I'm pretty sure the low pressure in that cyl is from the way over temp, it might just be a bent valve from the busted tube, or it could be something worse. I'll know more when I pull the old head.
-
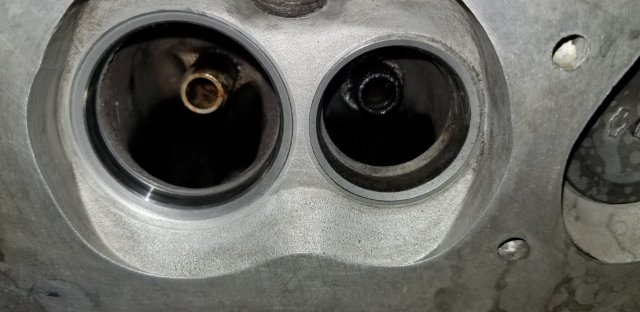
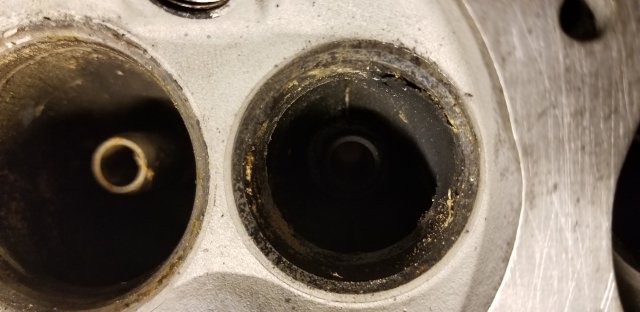
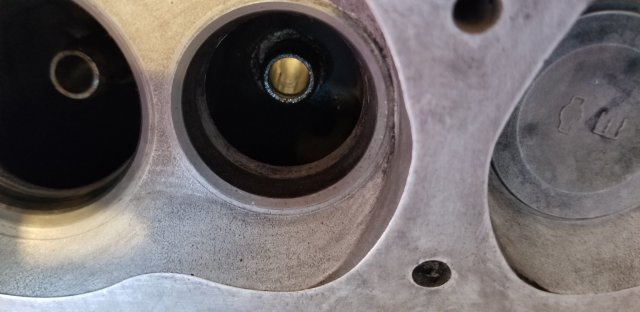
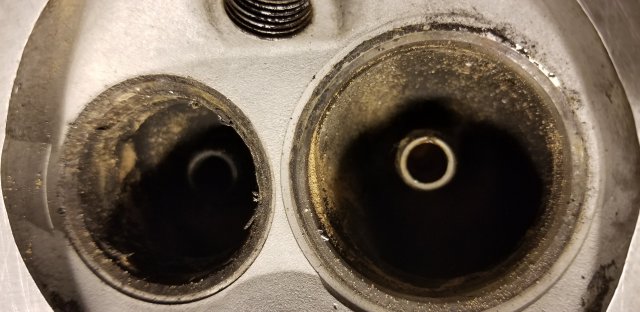
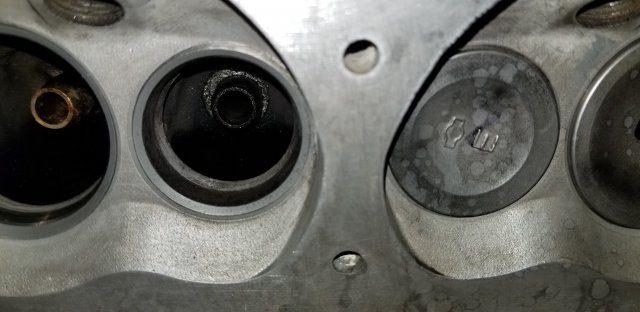
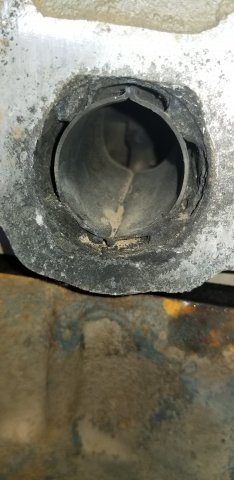
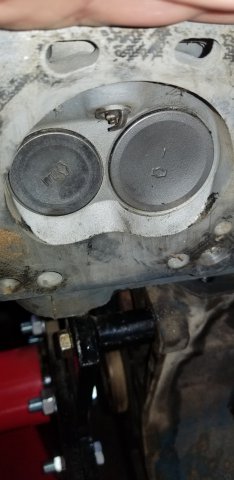
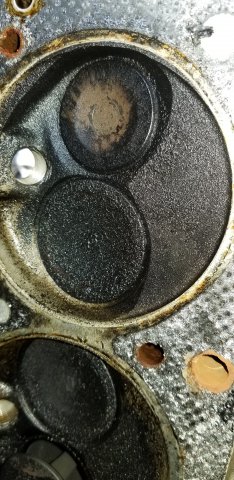
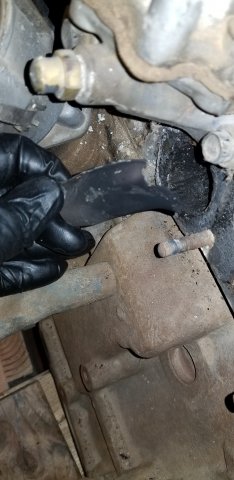
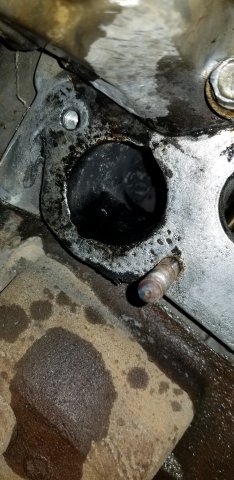
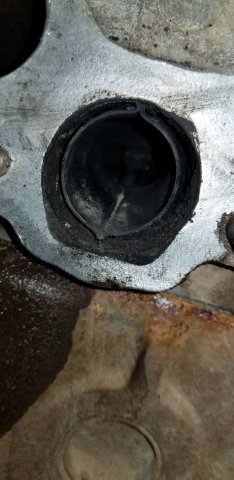
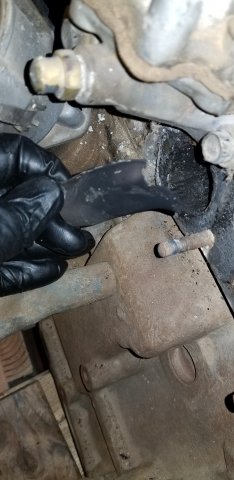
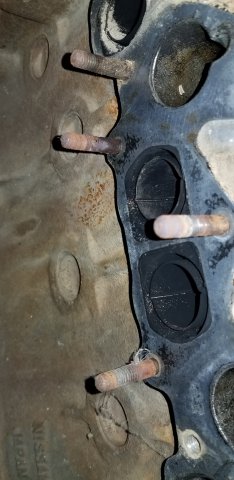
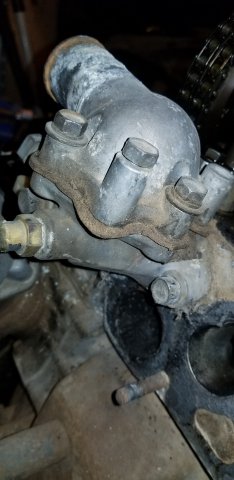
So, I got a chance to tear into the L28 to try to see what was going on with the low compression on cylinder one. I took off the Intake and the Exhaust header and the valve cover. I think I have a good idea what's going on I found with Cylinder 1 that the metal shield for the exhaust had cracked and was half missing. These are here to protect the aluminum head from overheating, which this one has done. You can also see that the aluminum had lightly melted patterning, to the gasket. Does anyone know if that liner is actually replaceable? How are these held in? Pressure fit? I checked the Valves and they look like they are set properly. The gap was fine on the valves and the cam looks fine. but I don't know how hard or worth it it would be to try to repair that head. The Valve is likely burnt bent or melted. I'm doubtful at this point. I might go ahead and swap in the E88 head, but that would make the L24 worthless. If I can find another L28 head I might do that. I was going to pull off the Thermostat housing, but the bolts seem seized, likely from the overtemp on the Cyl one port right below it. If I get another head I'll just snap the bolts if they don't break loose.
-
Well So far as I know the L24 may have been rebuilt prior to 90' when the car was parked. It's not the original engine. It appears to be stock. It does run, albeit badly, but it's connected to the 4sp that it turns out has sand in it. It's fine, I hate 4speeds anyway. When I got the car the Tranny had 2 bolts in holding it together. Nothing on the engine was connected except the radiator hoses. The story was that it was a project car that they never got back to then it was lost in the weeds. Who knows what they did. If it was the original engine I'd be much more interested in keeping it stock. I have the 5 Speed that I was originally going to swap in and use with the L24, but this L28 was $50 so I figured I'd check it out. If I were to use the E88 instead of the N47 Would I be looking at much of a difference? I'm going to have to look up that combination. Whichever head I end up using I'm going to have to go through. If the N47 head has a bad valve and the E88 is all good, then that would save some work. I only have the stock headers for both the L24 and the L28, is there any advantage to going with the ZX manifold over the 240z? at least until I get real pipes. Phar
-
Twin cam head for the L6 from Derek at Datsunworks
Pharaohabq replied to Derek's topic in Nissan L6 Forum
Well not too much new as you said, and that's fine, this is currently 54 pages of awesome! Do you know if any of these (#0005 especially) have been dyno'd? It looked like the 7K rpm was easy as pie. is the VTC running yet? I'd love to buy one of these, but lack of cash is always an issue. For now I'm just going to need to be happy drooling on my KB. -
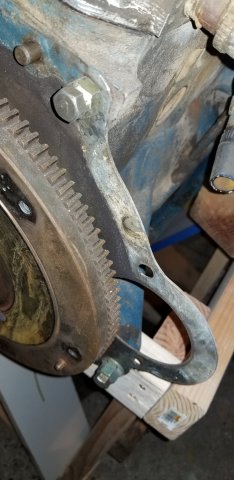
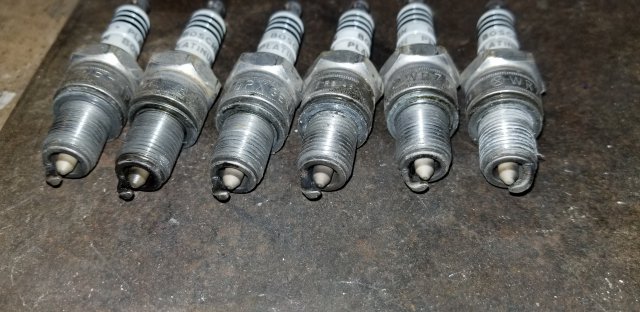
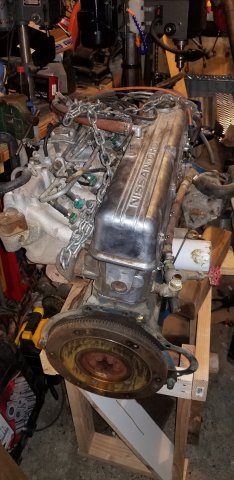
So I started looking into the L28 I got. It's a 42/n47 engine. I think that cooresponds to a 79-80zx. Anyway as with any engine, one of the first things I figure to check is compression. (Do you like my engine stand? This is temporary, I couldn't rotate it on the real safe engine stand. ) I put a pair of bolts in the flexplate and then bolted in the starter with a pair of 14mm m8 bolts. I pulled the plugs and though it's an older engine, the plugs are bosch platinum and look almost new, so I figure someone was working on the engine before the donor was junked. I put on the compression gauge and pulled compression readings first dry then with ~ a capfull of oil in each cylinder starting from #6 the closest to the flywheel. I used a jump box and a wire to the starter. it turned evenly and at a good speed. Cyl/Dry PSI/WetPSI #6, 90, 170 #5, 100,150 #4, 105, 170 #3, 105, 155 #2, 105, 180 #1, 35, 70 !!! Well crap. I was pretty happy till I hit cylinder 1. Yeah 90 on #6 wasn't so good, but it came right up with oil, so it's okay. #1 though dang 70 at the most. I'm reading that as probably a head/valve issue since the compression did come up a bit. it sucks though, it means I get to tear into the engine. I just bought rings and a seal kit so it'll all go in. I'm going to pull the cover and check the rocker gaps for #1 and see if maybe they're just too tight, but I bet something got burnt or something. If adjusting the valve clearance doesn't fix it, I'll pull the head and see what's what. I doubt there's a cracked cylinder, I'd really suspect a valve. Maybe a broken ring, but you'd figure the oil would not have made as much difference. Yay Rebuild fun. I did find that the 2+0 flywheel and the 2+2 flywheels are different, I've ordered a 2+2 flywheel to match the 2+2 pressure plate and clutch disk I bought. Larger clutch should last longer. Cheaper parts too. Sooo Anyone got any ideas before I tear into this engine? parts should be here Friday... Phar
-
Sorry no updates in a while. It got stupid cold this winter and working in snow isn't any fun. I did install the new rear cylinders and they fit just fine. I need to install a used Ebrake cable but that's pretty easy. The MC I used has an issue tho, I think one of the seals went bad or flipped inside, because I can pump the brakes and they get pressure, no leaks anywhere, but after a short time they're worthless again. This was a new MC. I ordered another one after talking to the manufacturer. (they think I pusted the piston in too far when bench bleeding. I'll pull it apart when it's out and see if anything's obvious. Other things: I went and picked up a 5 speed out of I think an 81, S130. The guys let me take the L28 too for $50 so I'm going to check compression on it and see if it's worth swapping in with the carbs in place of my L24. (it's not the original L24, so it doesn't really matter for any real worth) I may stil look at EFI if the wife complains too much about gas fumes. I bought a 2+2 clutch which will fit fine and clamp just a little better. (bigger diameter) so that'll go in along with the 5 speed. Phar
-
Someone PLEASE refresh my memory.....
Pharaohabq replied to Ironhead's topic in S30 Series - 240z, 260z, 280z
Yup Horns. I just pulled mine off so I can paint... -
Home Built Z 'Full video build'
Pharaohabq replied to Home Built by Jeff's topic in S30 Series - 240z, 260z, 280z
Hey Jeff, I love watching your channel. It's pretty fun and you're a lucky guy with Mrs Jeff. The amount of sanding you had to do was crazy. I am going to do the same with my 240z, but hopefully I've learned from your example and won't have to sand as much. I'm going to hold off on much furthor comments since I've only made it through the episodes where you just finished painting. There's a lot more assembly that you've done, but that I haven't watched. So keep up the great work, and I'll see if I can send you something. Phar
