Boy from Oz
-
Posts
541 -
Joined
-
Last visited
-
Days Won
2
Content Type
Profiles
Forums
Blogs
Events
Gallery
Downloads
Store
Everything posted by Boy from Oz
-
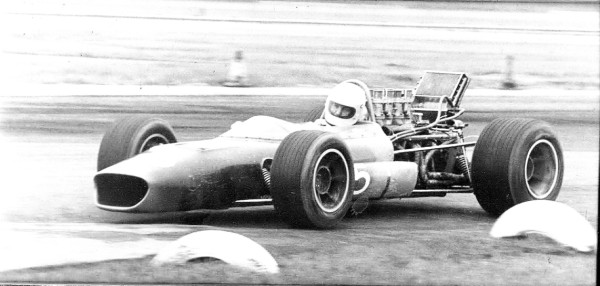
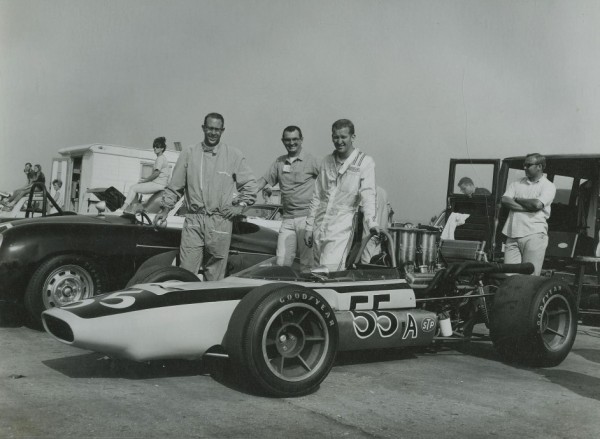
Slightly off the topic but I'm a bit of a fan of historic race cars and I stumbled across these photos of Tom McBurnie, builder of the ThunderRanch GTO replica. http://forums.autosport.com/index.php?showtopic=83229&st=80&start=80

-
Very informative - many many thanks.
-
And yet one more question. I see that you have the headlight trim retaining screw at the top, due I assume to there being no access at the bottom. Does that mean you have fitted the buckets and lenses upside down, and if so, does that create headlight alignment issues, assuming they are uni-directional lenses, i.e. suitable for only either LHD or RHD?
-
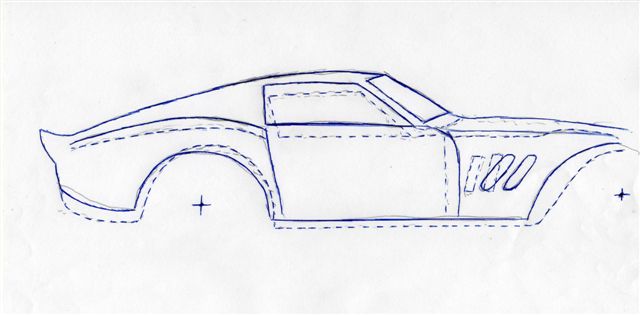
Chelle - excellent research and wonderful information. Thank you. One more if I may. Could you provide the dimensions identified in the attached photo. Could you also explain the profile of those nostril scoops. Can I just use a suitable diameter cylinder or is it a more complex shape like the original Alpha scoops? Eric appears to created a spoon-type profile like the Alpha. http://www.cardomain.com/ride/2922491/1962-ferrari-250-gto/page-2 I intend to make numerous modifications to the front section to create a more GTO-like appearance, e.g. bonnet (hood), brake ducting, etc, but I'll take each modification at a time.
-
Chelle - good luck with your dilemma. I have a less complex issue that someone may be able to assist. I have installed the headlights (early Mini with the small rim) and I have made the covers and the cover trims but I can't find the 'Ferrari' way the cover trims are attached. Here is a photo of the brackets for sale for a 246 Ferrari, they would be easy to make but I cant quite figure out how they work - anyone know?
-
Chelle - Do you have the ScorpionZ rear, which as you say is more accurate? This image indicates the hips on an Alpha rear really do need lowering.
-
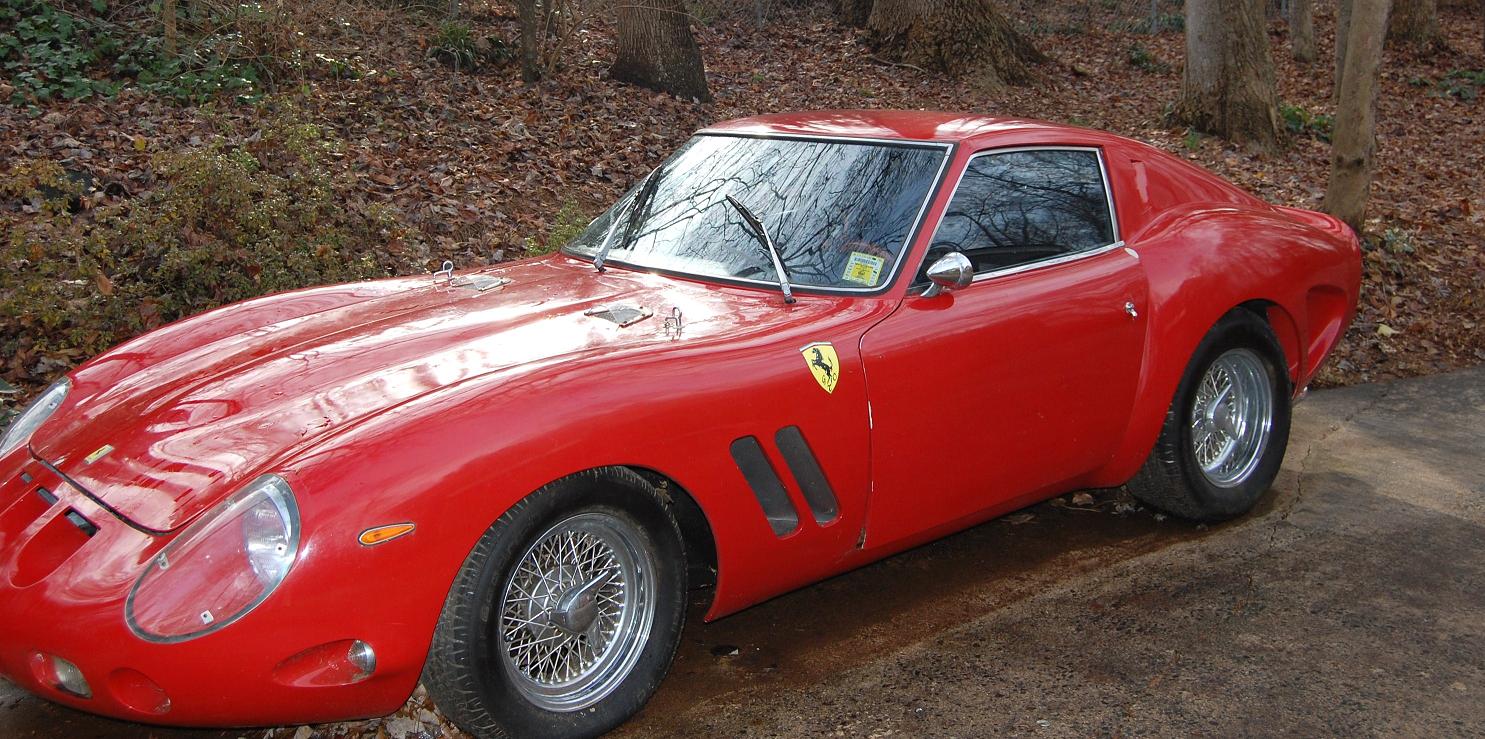
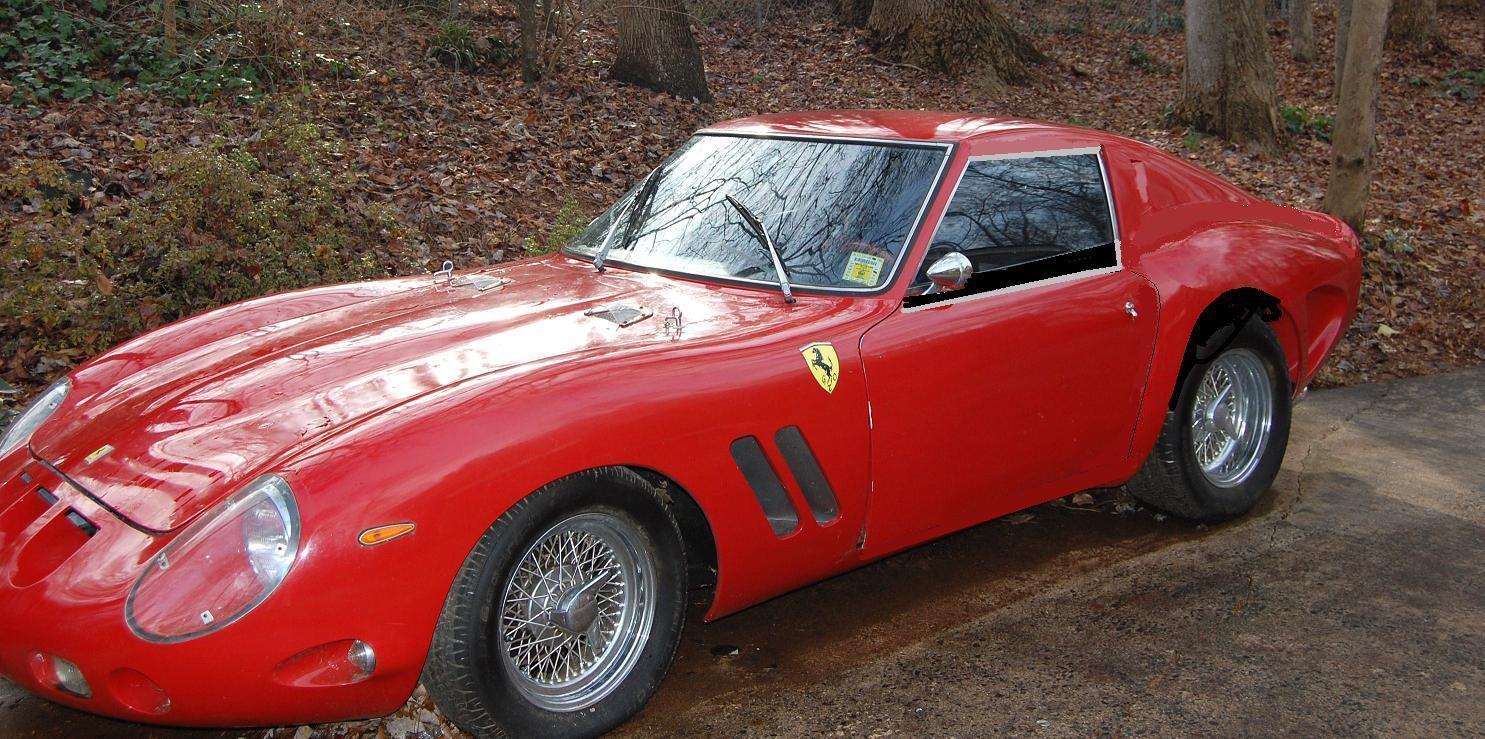
More. If you download these two images of ol fiat's car to your computer and open them is separate windows you will see what I'm trying to achieve by toggling between the two images (windows).
-
'chelle' – good to hear from you again. I’m particularly interested in the body work you are proposing as I have just about finished the mechanicals on mine and I’m planning in earnest the body work. There appears to be two fundamental differences between the kit and the real thing; firstly, the longer wheelbase on the Ferrari (which you have addressed) and secondly, the higher waist line on the S30. Regarding the second issue I am proposing to lower both the window sill of the door and the rear ‘hips’. The door I intend to do by removing a 50mm section from the thickest area of the door below the window - by removing in this area I should not have any thickness variation when I butt the two remaining section back together. I’m still unsure how the ‘rear view mirror’ section will pan out. As far as the hips are concerned I am going to follow Gary’s idea of cutting up the rear panel and sitting it lower. This will probably mean scalloping out the wheel arch edge a bit. Any thought – from anyone?
-
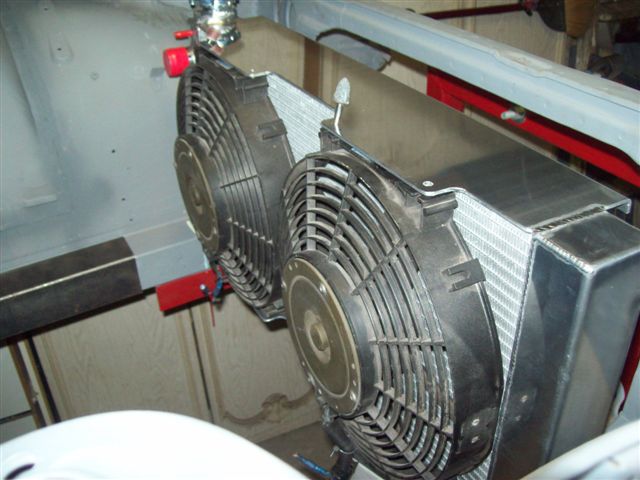
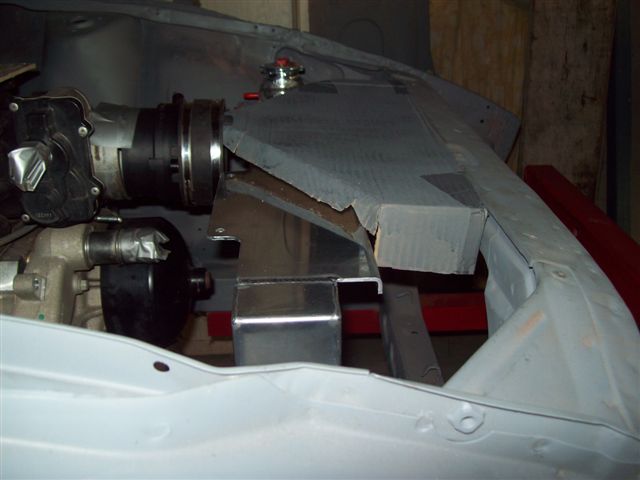
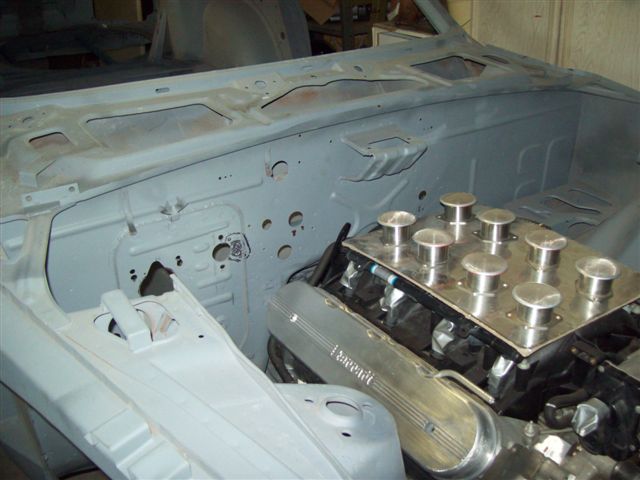
I have a custom made PWR radiator. It has a low top edge to enable the fitting of an Over-the-Radiator (OTR) cold air intake - see the cardboard mockup. A photo of an after-market example in attached but I intend to fabricate my own.
-

Which a/c compressor for JCI mount?
Boy from Oz replied to Boy from Oz's topic in Gen III & IV Chevy V8Z Tech Board
Thanks again - I called four different suppliers today (from Oz) and only one had a compressor and they wanted $130US just for postage. I didn't try Worldaire - I was a bit put off by their web site not having been updated in 5 years! -
Which a/c compressor for JCI mount?
Boy from Oz replied to Boy from Oz's topic in Gen III & IV Chevy V8Z Tech Board
Thanks - I did what I should have done in the first place, I phoned John. He said he orders "Seltec - part number 42038". A 'Google' of Seltec 42038 comes up with '488-42038' but there is also information which suggest Seltec is linked to Tama and Valeo, and perhaps the basic model is TM-08 of which "2038" is a variable, i.e. 6 grooves, etc. From kjones's info it seems Velco swaps the first number from a '4' to a '5' but the basic '*2038' remains. SPECIAL NOTE: The Sanden 508 was a total disaster. I was able to mount it up but after all that I then couldn't fit the lead on to cylinder #1. Luckily someone bought it from me at the price I paid. I now have to have another compressor shipped 10,000 miles! Hope this helps. -
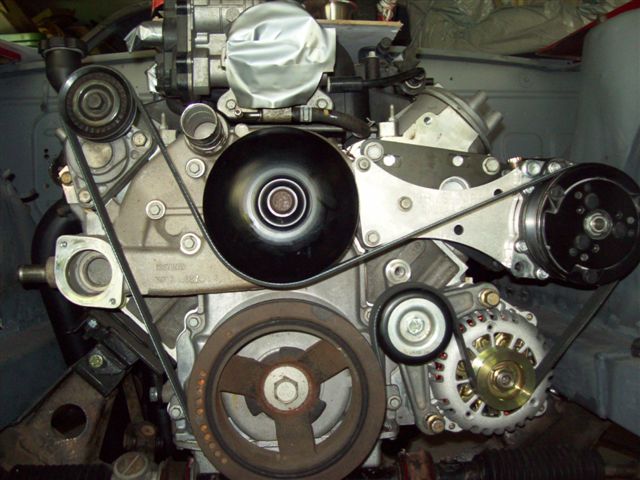
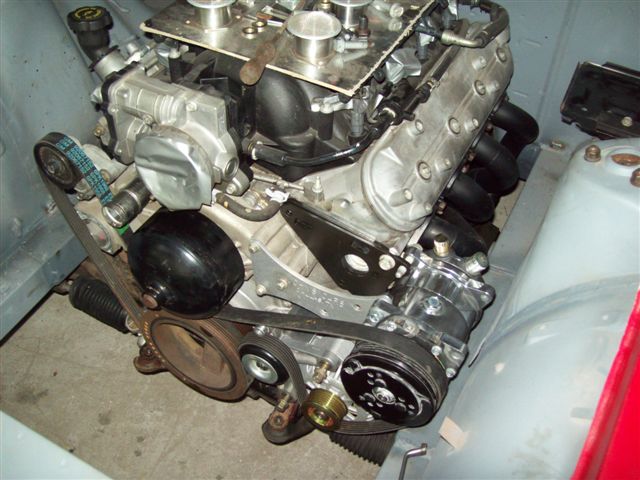
I was going to buy the compressor from JCI but the air freight to Oz is a killer and John kindly sold me just the mounts. I picked up a local Sanden 508 compressor but it doesn't mount up correctly - it works but I had to make some spacers. Could someone check their compressor and let me know which model they are using? Thanks
-
JCI AC mount alignment issues?
Boy from Oz replied to rags's topic in Gen III & IV Chevy V8Z Tech Board
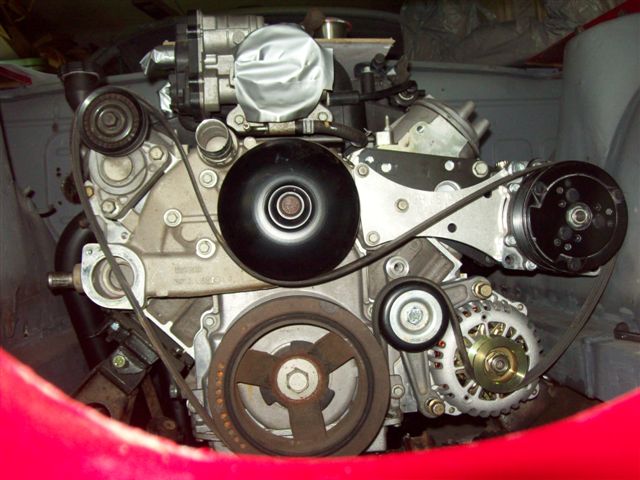
I purchased a 1930mm (76") belt and it fitted like a bought one! I guess there are subtle changes on LS1s over the years.
-
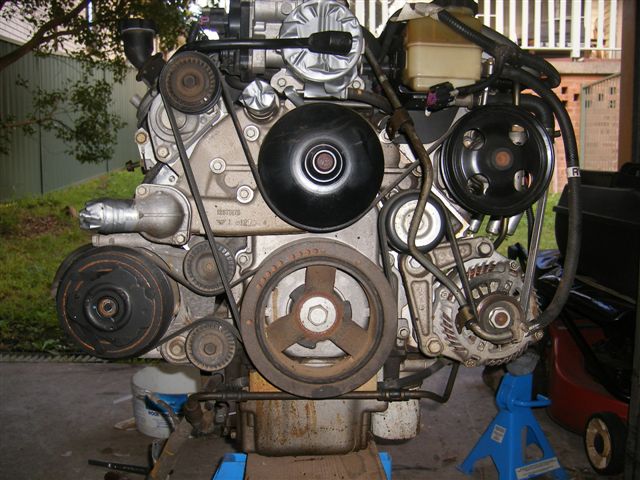
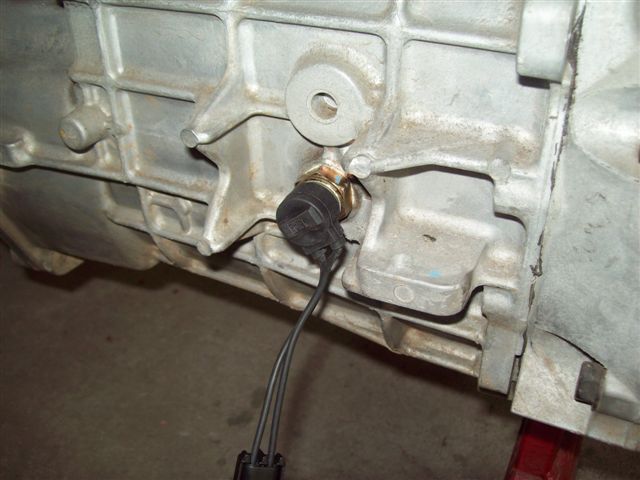
I was struggling to get a lower radiator hose to fit my custom radiator. I decided to rotate the thermostat housing cover and it worked out pretty well. I had a bit of aluminium built up on the rim and filed it back to suit, then drilled two new holes. Still needs a bit of finishing.
-
JCI AC mount alignment issues?
Boy from Oz replied to rags's topic in Gen III & IV Chevy V8Z Tech Board
No luck with the standard serpentine belt. On my engine it is 1968mm long which appears to be about 50mm too long. I see from various belt catalogues there is a 1917mm belt which should do the trick - does anyone know the length of the belt they use with the JCI setup? I didn't buy the compressor from JCI and just purchased a Sanden 508 separately. It appears to be physically bigger than the one with John's kit but still mounts okay and if anything should have made my OEM belt too tight. Any thoughts?
-
Wiring all components for the LSX Swap
Boy from Oz replied to kj280z's topic in Gen III & IV Chevy V8Z Tech Board
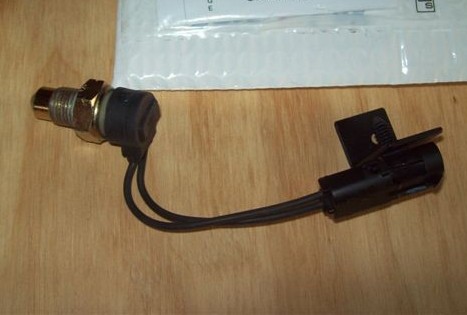
Purchase a 90 degree reverse switch and pigtail as supplied on t56s fitted to Mustangs - not sure which model/s.
-
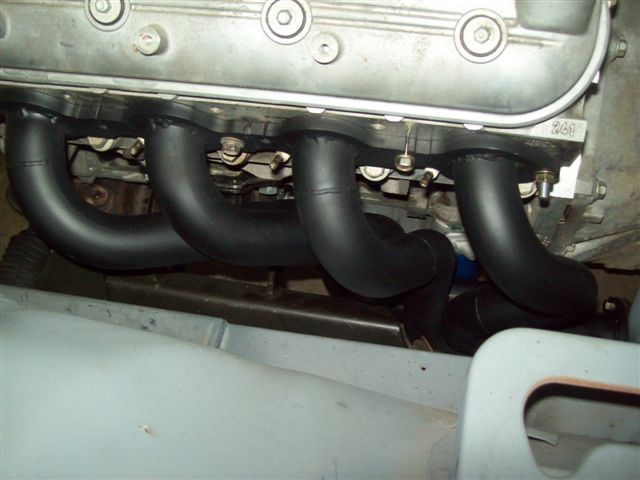
I'm not making any religious statement here but I use this philosophy on my project. The Serenity Prayer: God, grant me the serenity To accept the things I cannot change; Courage to change the things I can; And wisdom to know the difference The exhaust is one of those components I would not even attempt. It was all done in a professional shop and there was pretty close to 100 hrs work. It cost me a fair bit but at the end of the day I have just about exactly what I want. The guys doing the work were very experienced but the LSx in the S30 was a real challange. The extractors (headers) can be removed without removing the engine - many other LSx longtube S30s cannot do this - and that took a lot of effort to achieve. My project is a complete rotisserie up build and I have done just about all of it myself BUT I know my limits. I am now about to start on modifying the fibreglass bodywork - it's something new for me BUT in this case I am willing to had a go. To answer your questions. The Ute was all set to be sold in the US but the GFC put an end to that GM/Holden arrangement. Welding is only a small factor in the building of exhaust. TIG.
-
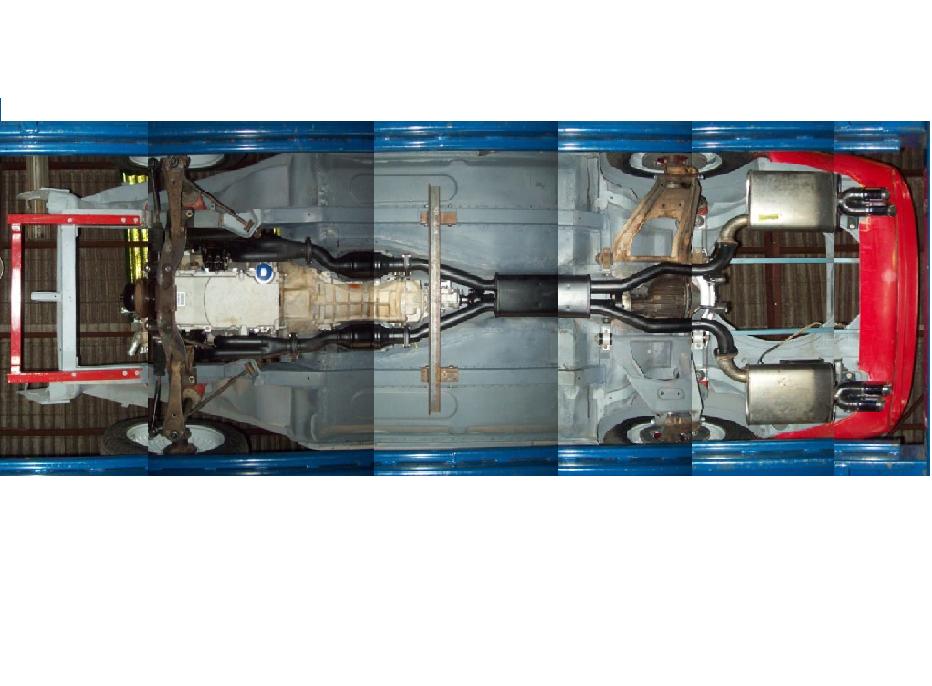
Nearly all done - just the gearbox mount to go.
-
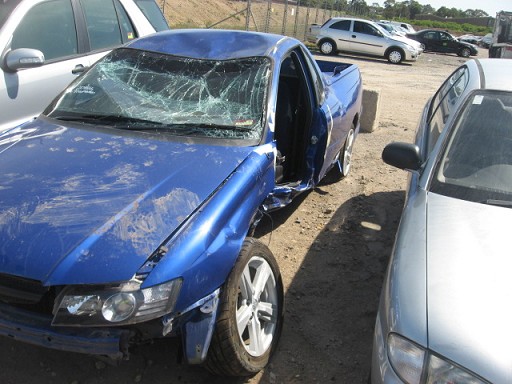
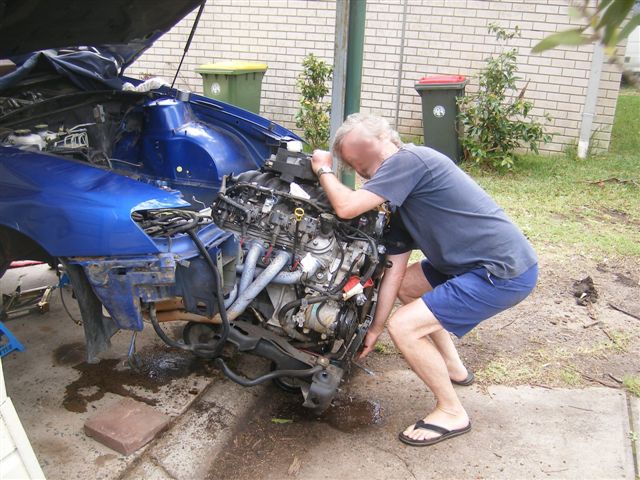
ol fiat - What a lovely pure example - just the way I like 'em. More photos please.
-
2005 Holden VZ SS Ute.
-
I now have the left side done. Looks like a completely different approach to 'Cable' who appears to have the collector much further back - that's very much like those on my donor car. That should be better for ground clearance. Mine sit 20mm below the bottom of the bellhousing.
-
I do not have access to the car for a few weeks but I will take some photos and post them well I can.
-
It appears I can't buy one to fit so this technique look like a good solution - thanks.
-
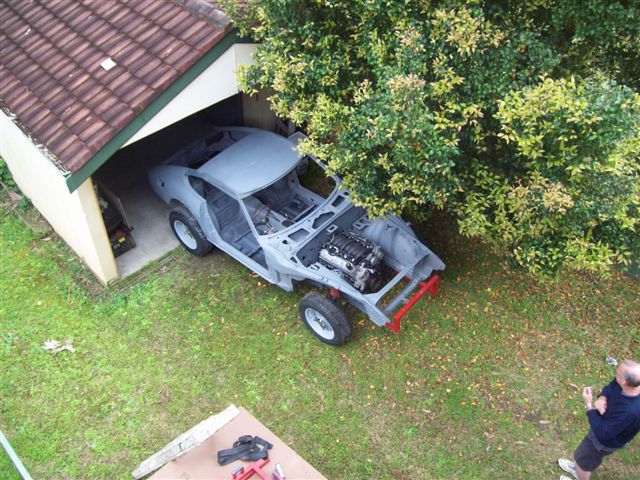
Rod - I'm on the East Coast but unfortunately a different continent! Thank you for posting the pages from the article they will be most helpfull when I start on the bodywork next year. Just a little bit of encouragement for those still building their kits - Mine has just been taken off the rotisserie after nearly two and a half years, with the project now getting close to five years in total. Like most others I have other commitments and I treat this very much as a hobby. I enjoy each little milestone without worrying about when it will be on the road.
-
JCI AC mount alignment issues?
Boy from Oz replied to rags's topic in Gen III & IV Chevy V8Z Tech Board
Can anyone advise me on the belt used in the JCI installation. Is it the standard GM belt and the route just replaces the power steering pulley with the a/c compressor pulley, or is there a specific belt? If so, could somone provide the details? Thanks