
docaam
-
Posts
277 -
Joined
-
Last visited
-
Days Won
3
Content Type
Profiles
Forums
Blogs
Events
Gallery
Downloads
Store
Posts posted by docaam
-
-
Cars looking good! Following this one closely

Thanks man
Those T3 parts are looking nice, definitly will be going for them on my build.
They are great I highly reckon it
Doesn't seem like much rubber for an RB install. 225 width would fit the wheels and stick to the track better. I know, I know, I'm just saying -- I am a big fan of this project, I just like more function.
I am aware of the issue but problem was sourcing the tires which I couuldnt do. Only thing I found was these RE11 and that also need to get from US to dubai.
Coming to the updates:
Being a huge fan of Chip Foose have watched Overhalling again and again lol, so wanted to do 10% of what he does to the cars.
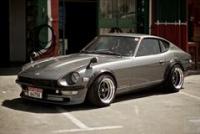
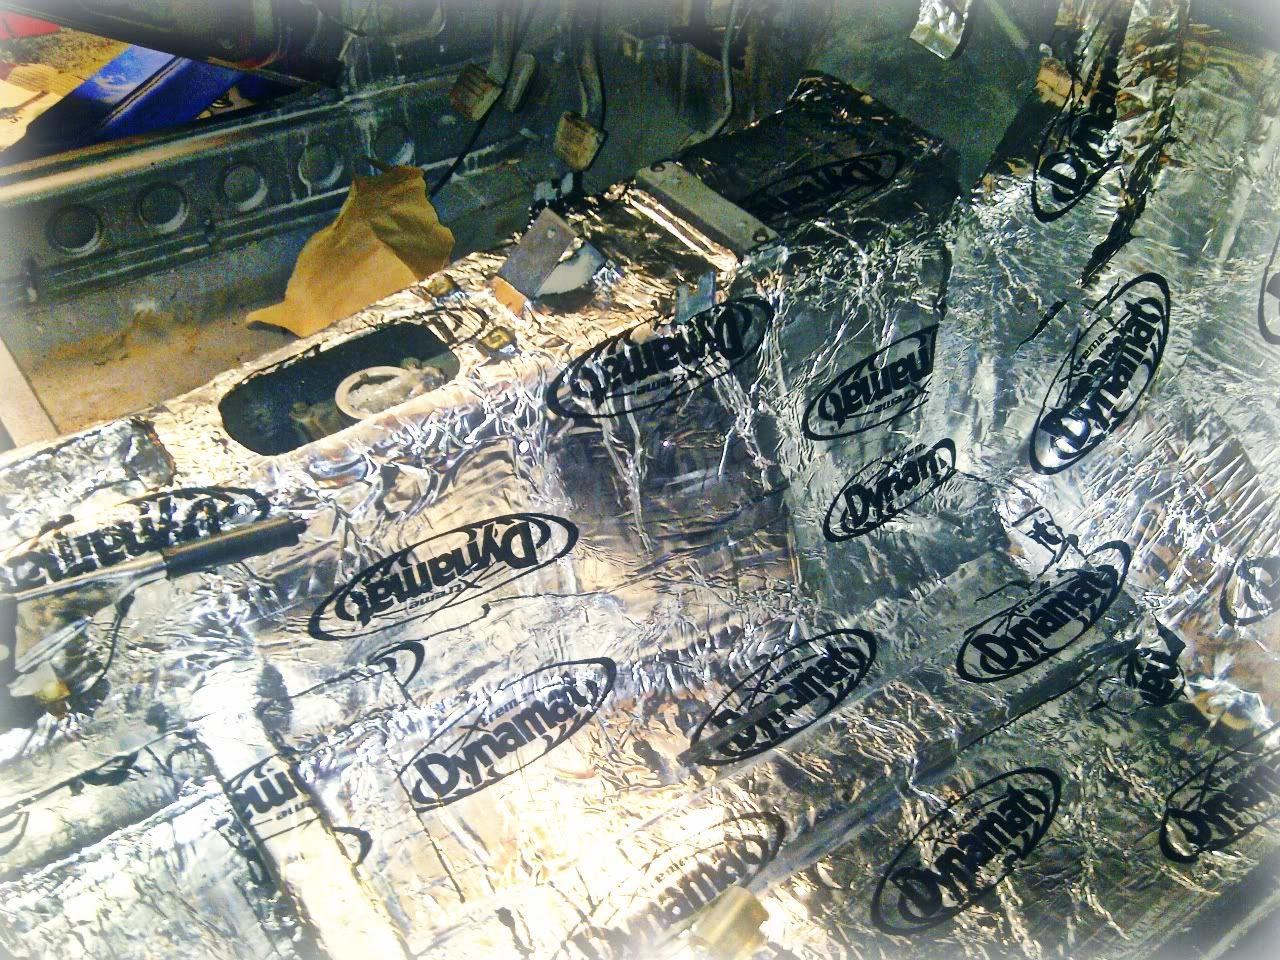
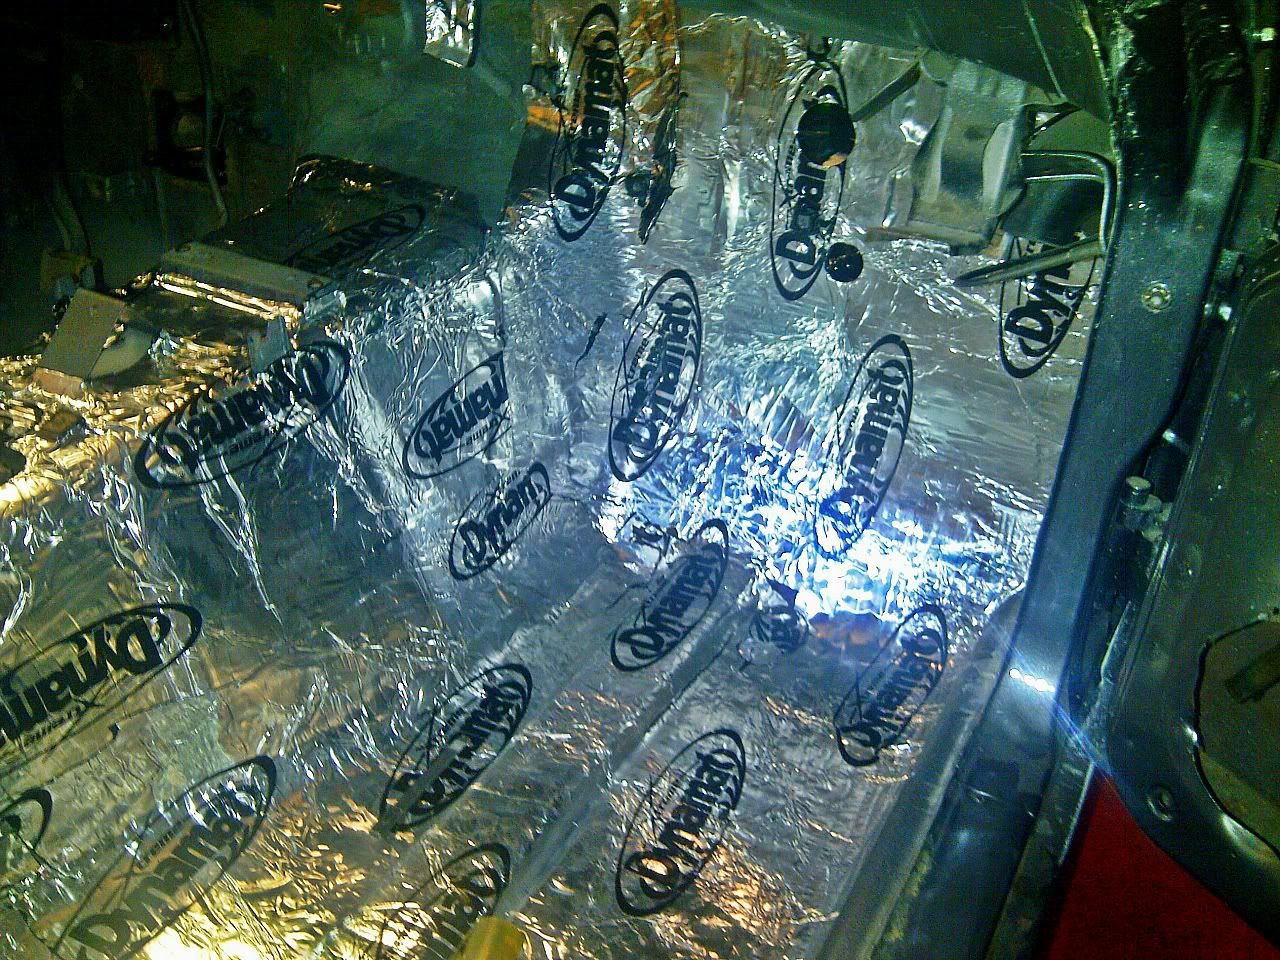
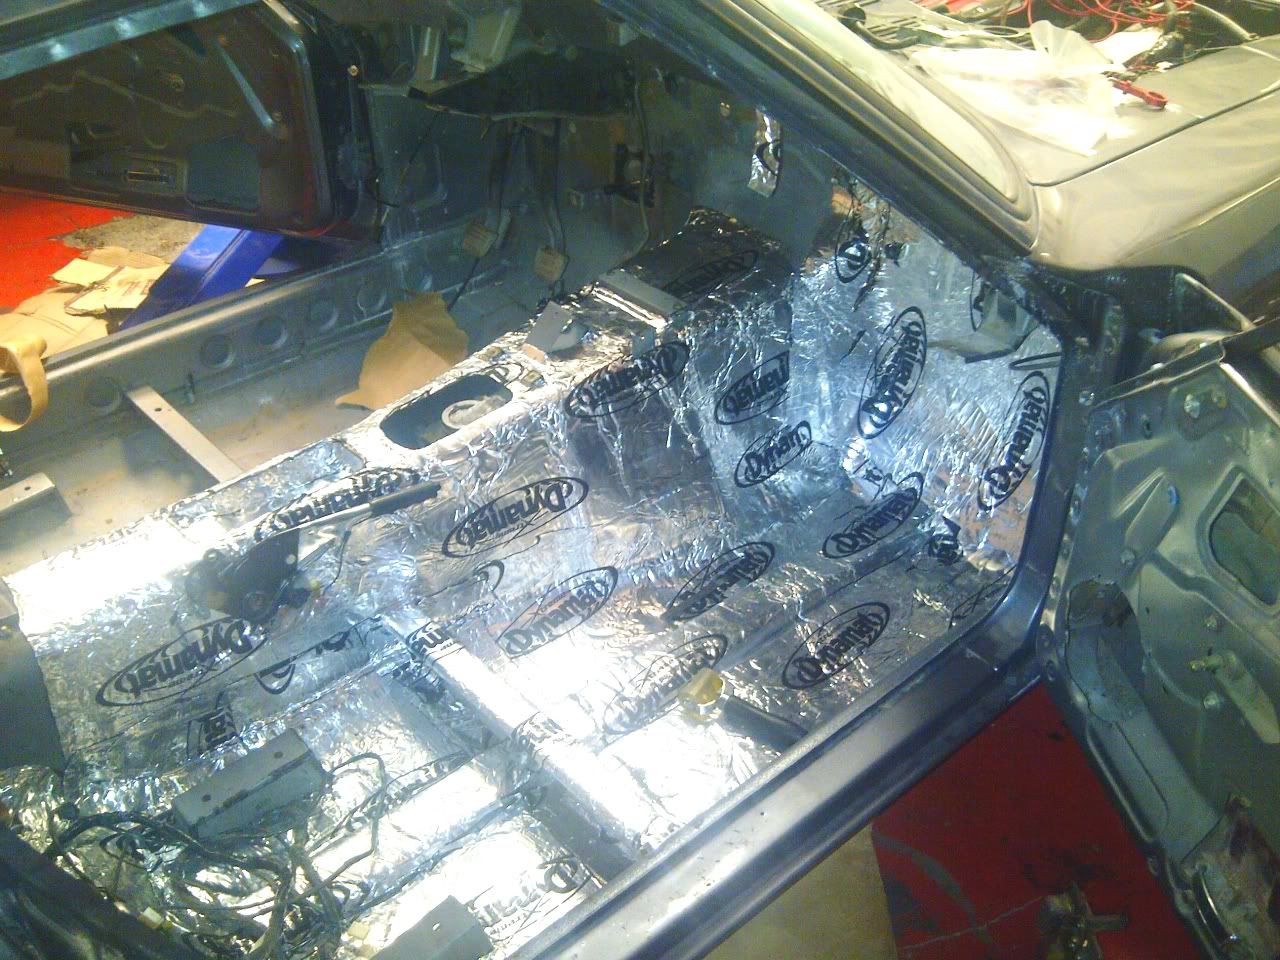
Was waiting till the main work is done to start of heat and sound insulation, only thing came to my mind was Dynamat products.
SWISS AUDIO FTW, They did an awesome work on my 370Z and now this they are working now on installation. For those who don't know my audio setup done by them won all the local competitions for straight two years.
First they are doing a Dynamat Extreme, which will be stuck on the firewall, full floor, trunk, rear side fenders, doors and even the roof, main purpose was to reduce road noise, engine sound/vibrations and heat from the exhaust.
http://www.dynamat.com/products_automotive_dynamat_xtreme.html
I love the way Swiss Audio guys work, they removed everything from the car even the brake and accelerator to cover the whole area. I took some phone pics yesterday while they were doing, rest might take today
Once its finished it will be covered with DynaPad, which will hopefully eliminate all heat and acoustic issues at all.
-
Subscribing
-
Looking forward to the built nice colour choice
-
Awesome subscribing
-
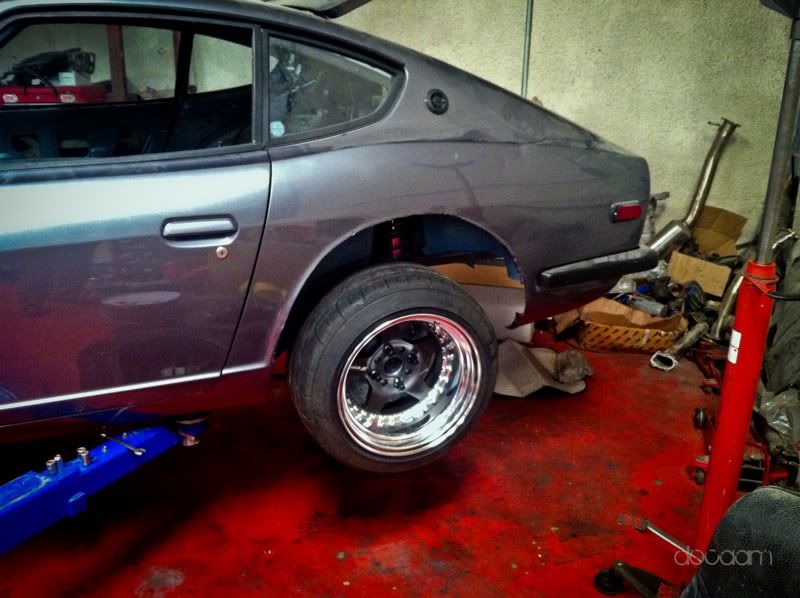
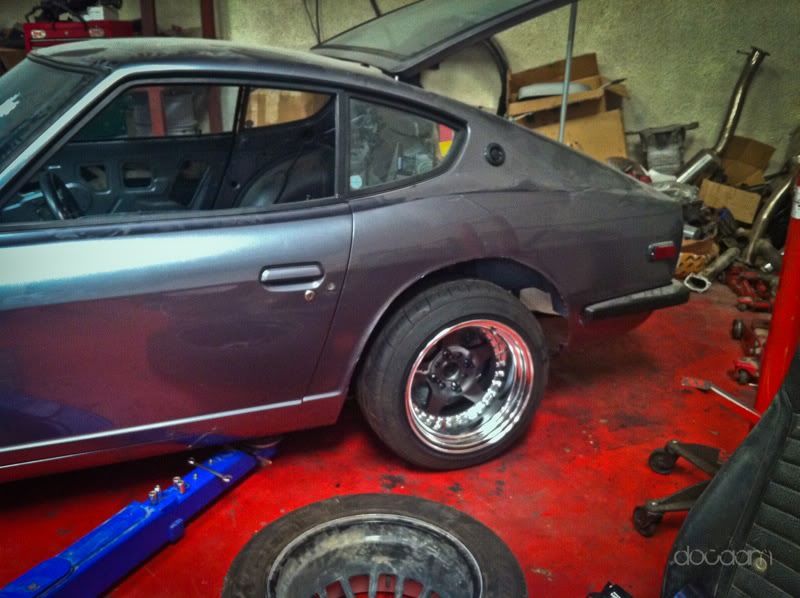
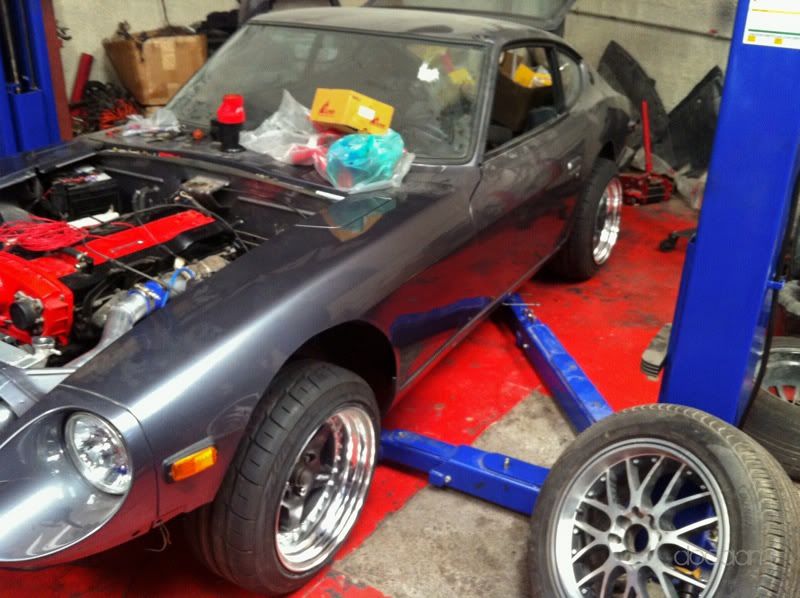
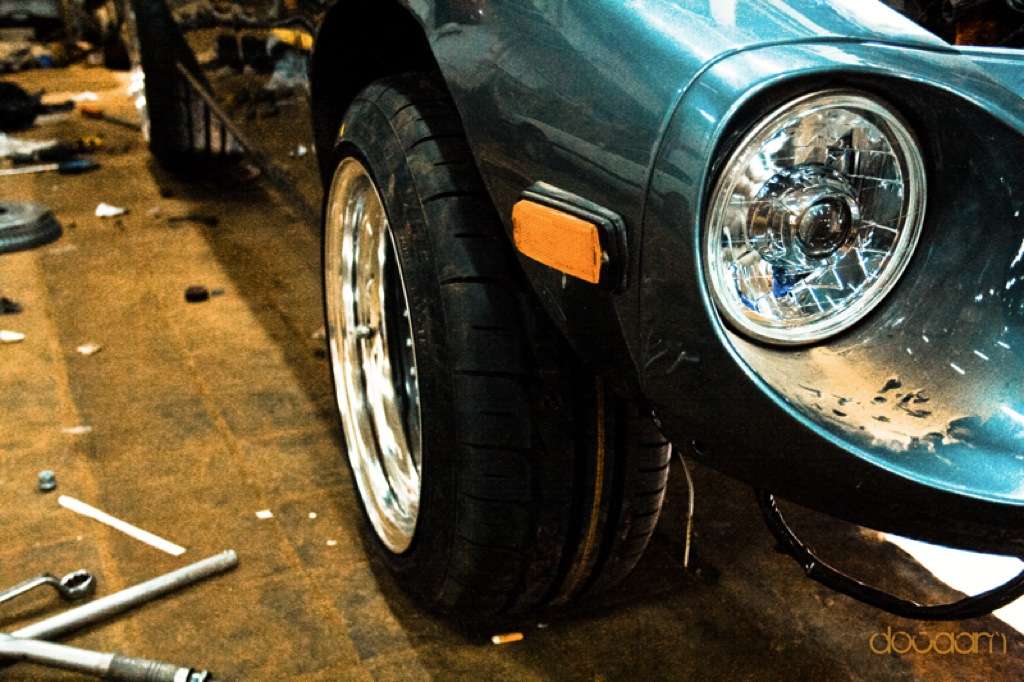
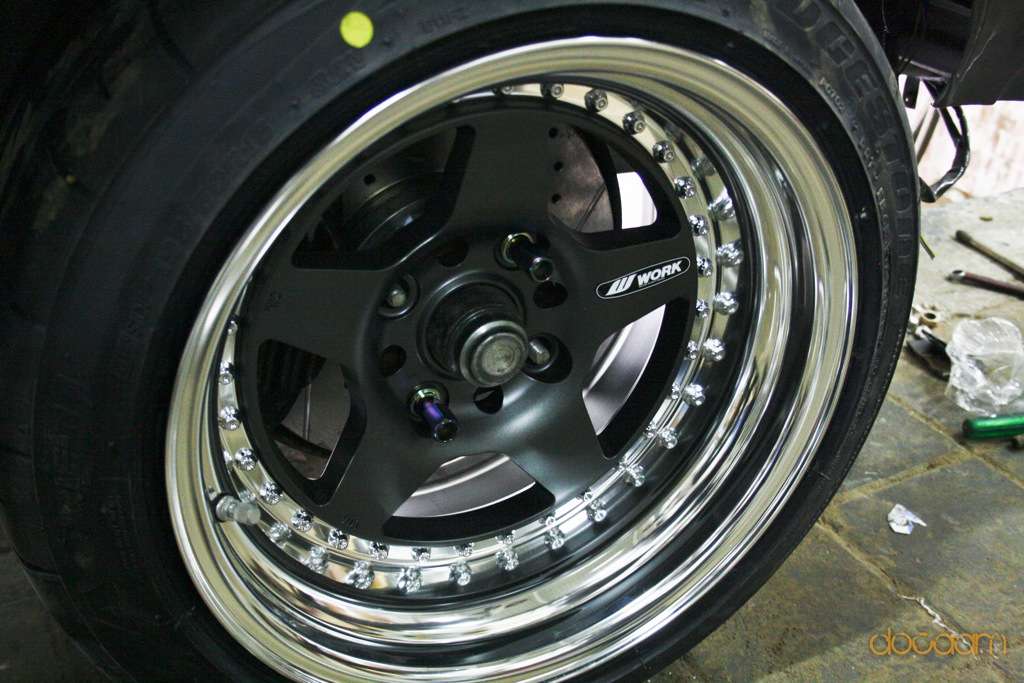
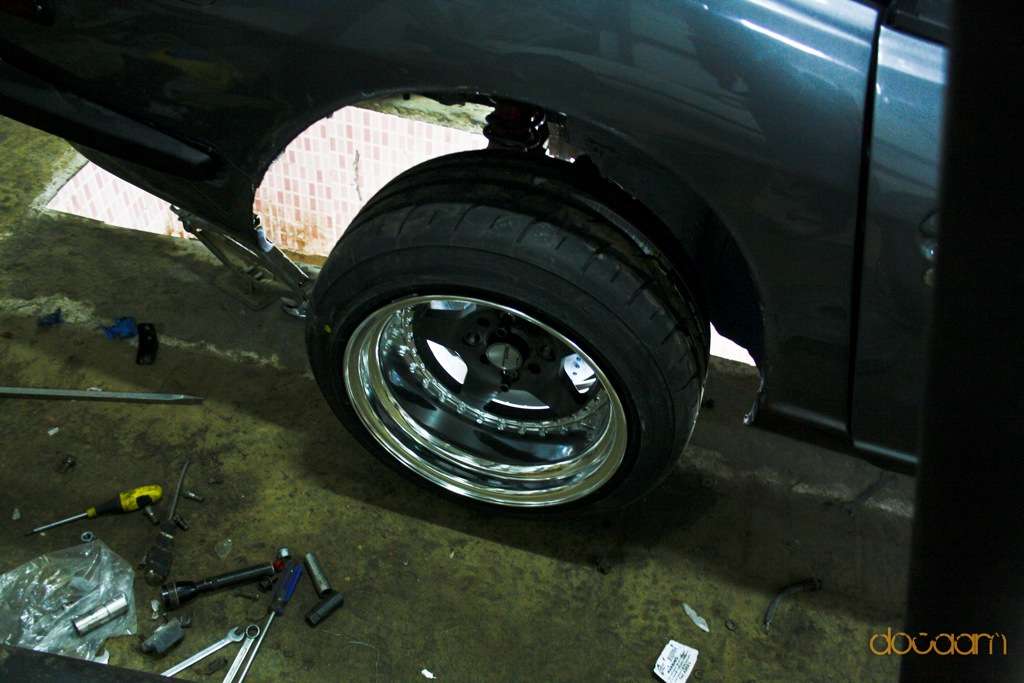
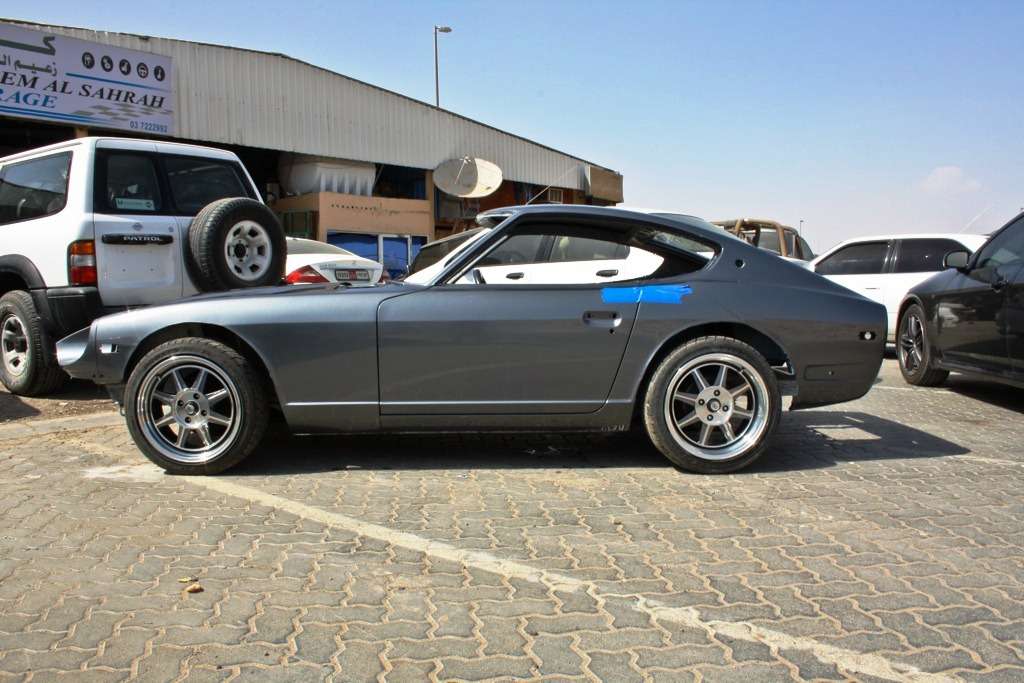
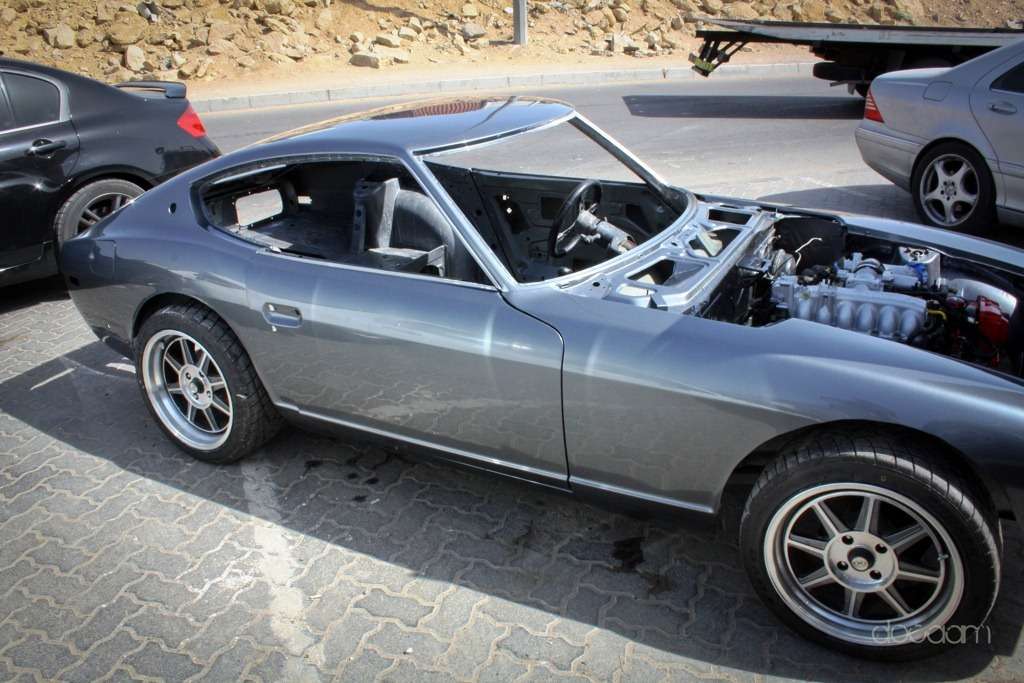
Ok fitted the wheels and seems like problem of tire rod end hitting the wheels barrel is gone after tweaking the camber arms and TC rods or maybe because of installation of sway bars
WORK CR01 15 X 8.5 and 9.5 with Bridgestone RE11 195 50 15 and 205 50 15
Coilovers are set of high level will lower at time of alignment
This is the dropped height as of now
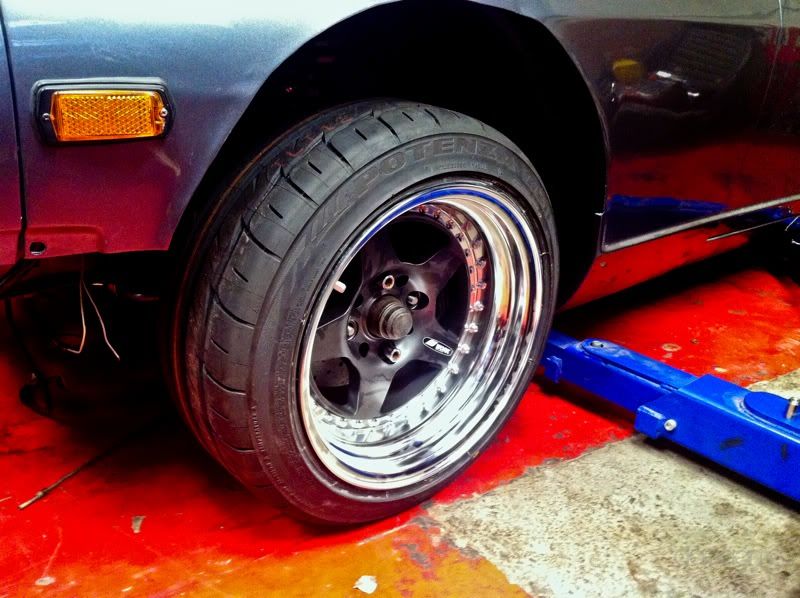
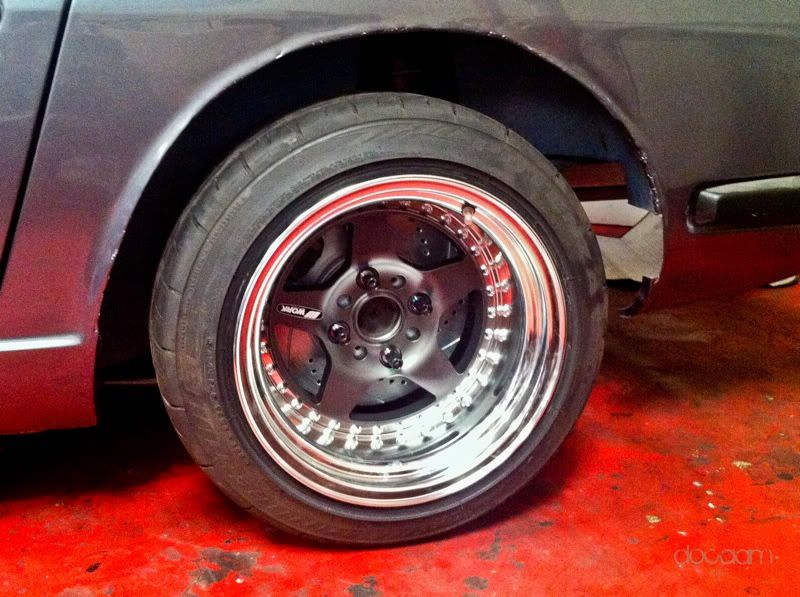
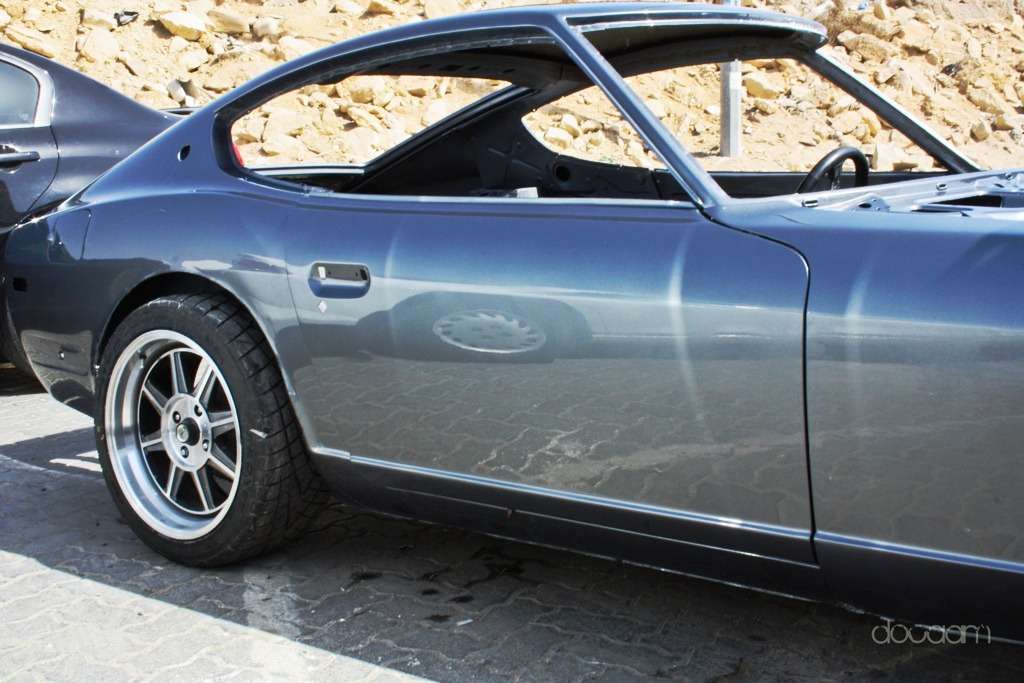
Very relieved on the front ones
Perfect offsets either to run on slightly negative camber or with fender flares
Center cap is not fitting in the front might need some alteration
Installed with Kics Neo Chrome long open lugs . I like how the rotors are peeking though the wheels
-
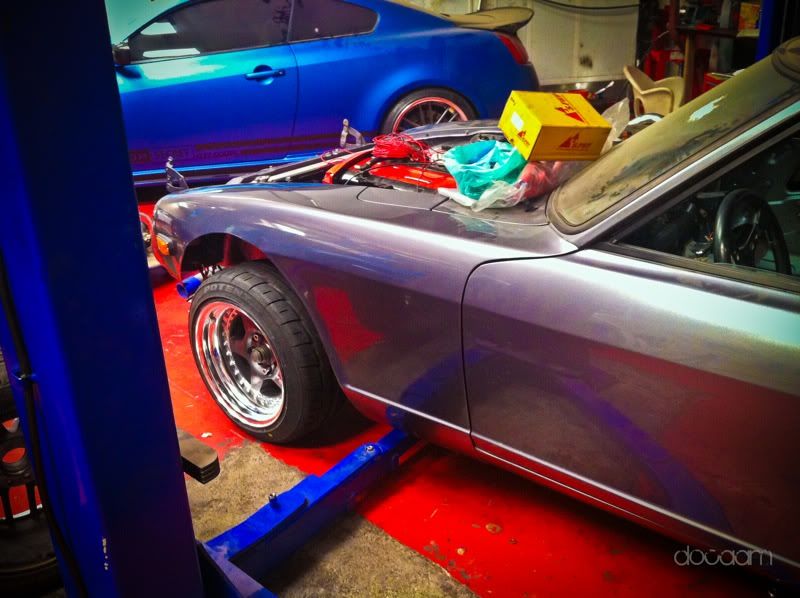
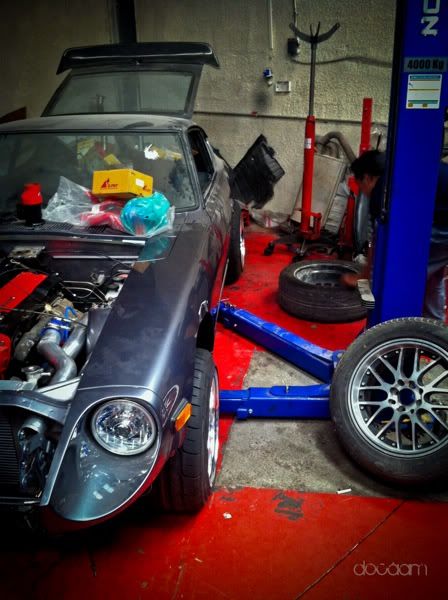
Loving the work being done on the car, didn't visit them for a week but as per owner of Peak Performance here in Dubai car is almost done and will be ready from his side by this week.
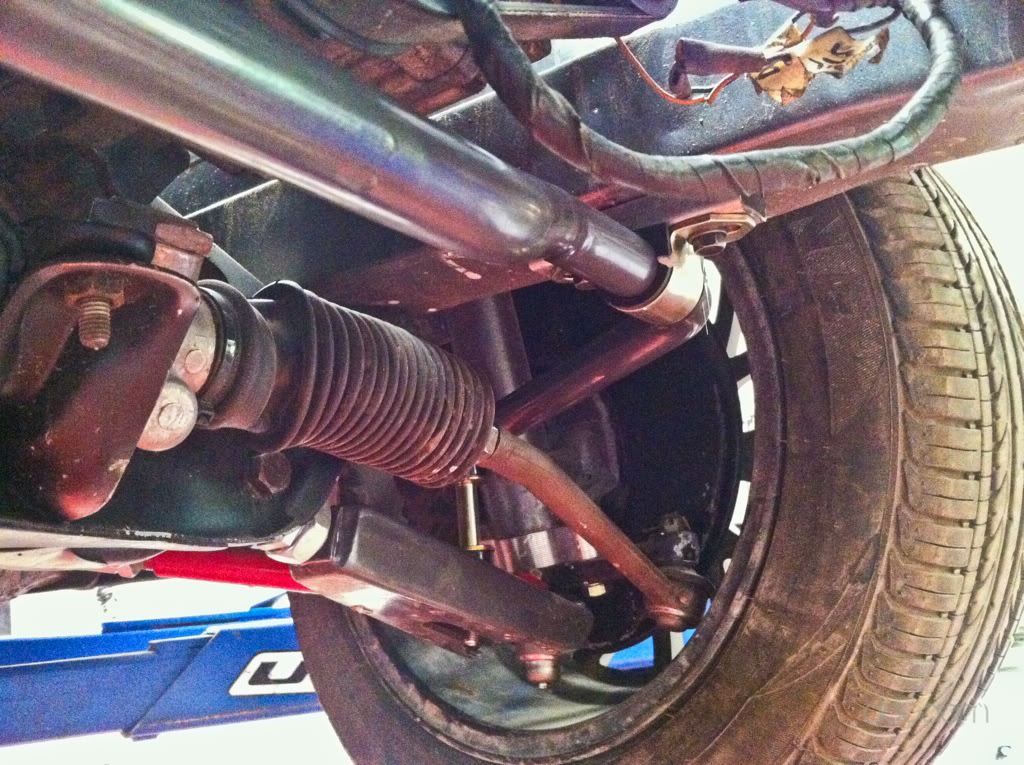
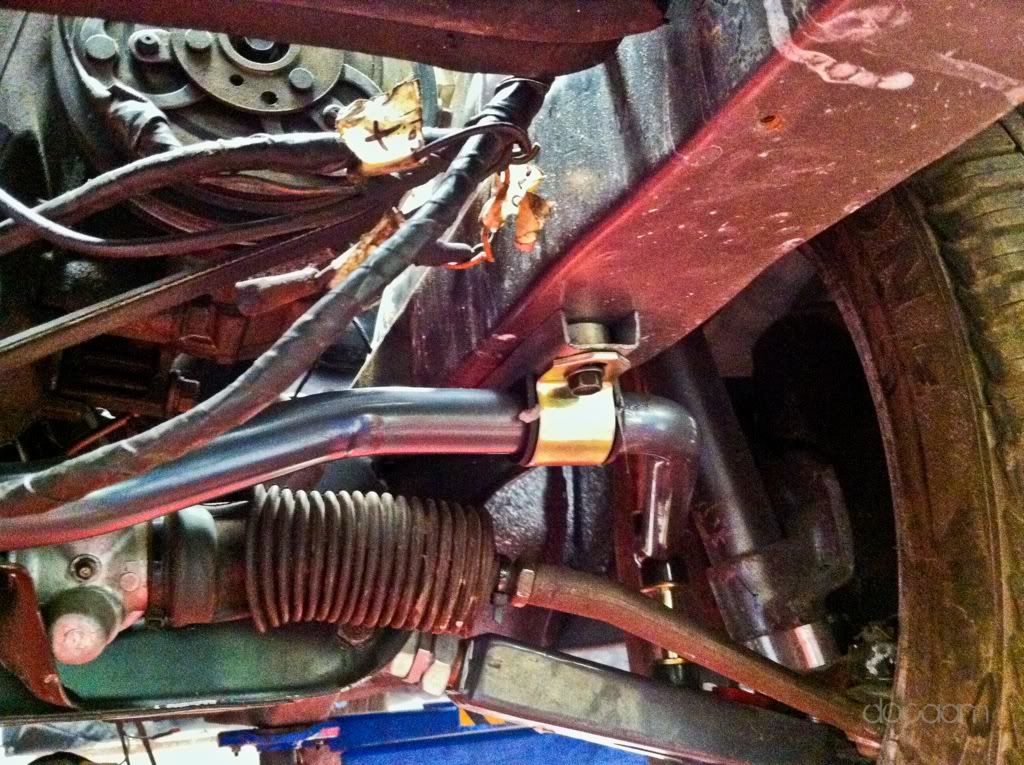
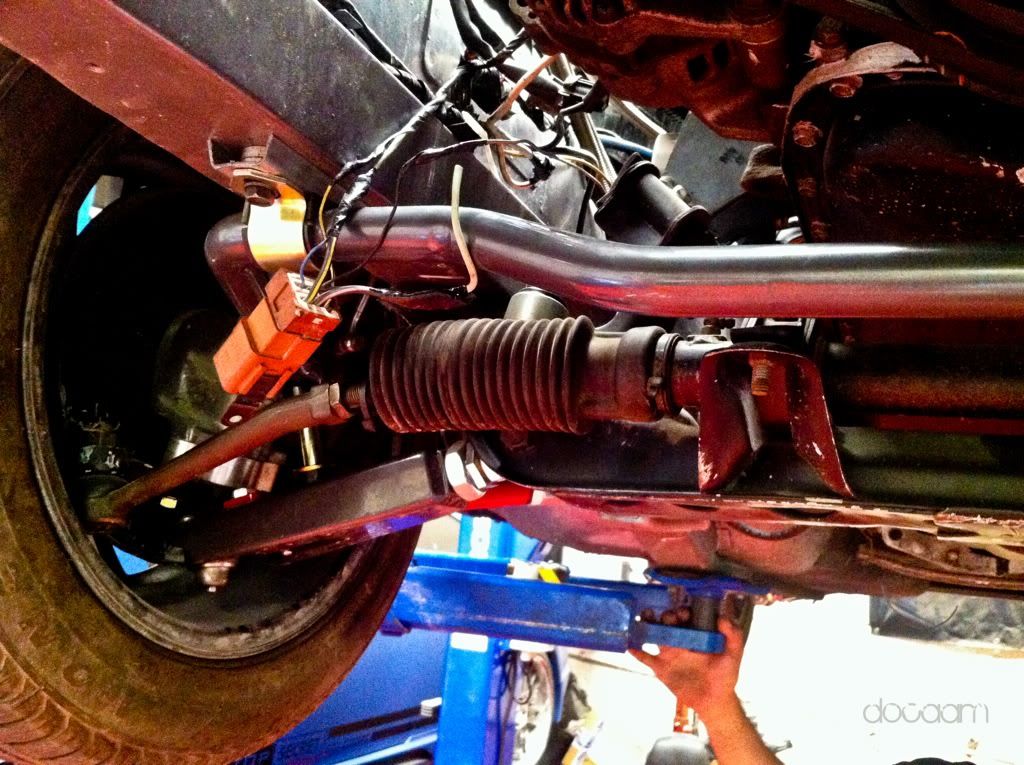
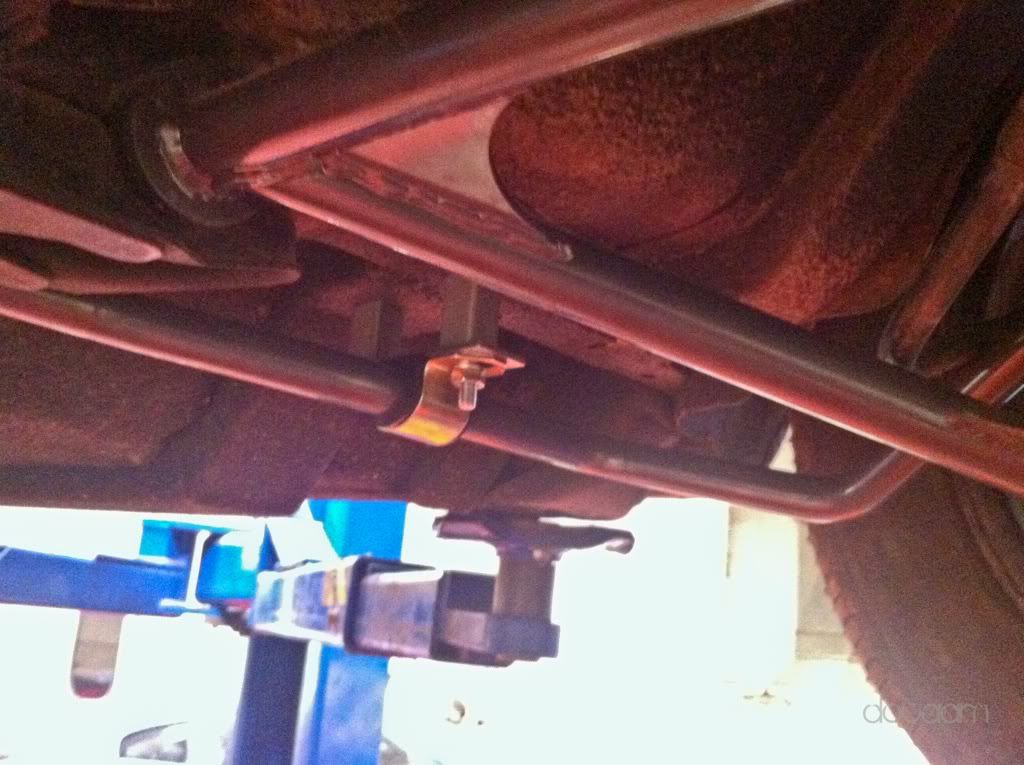
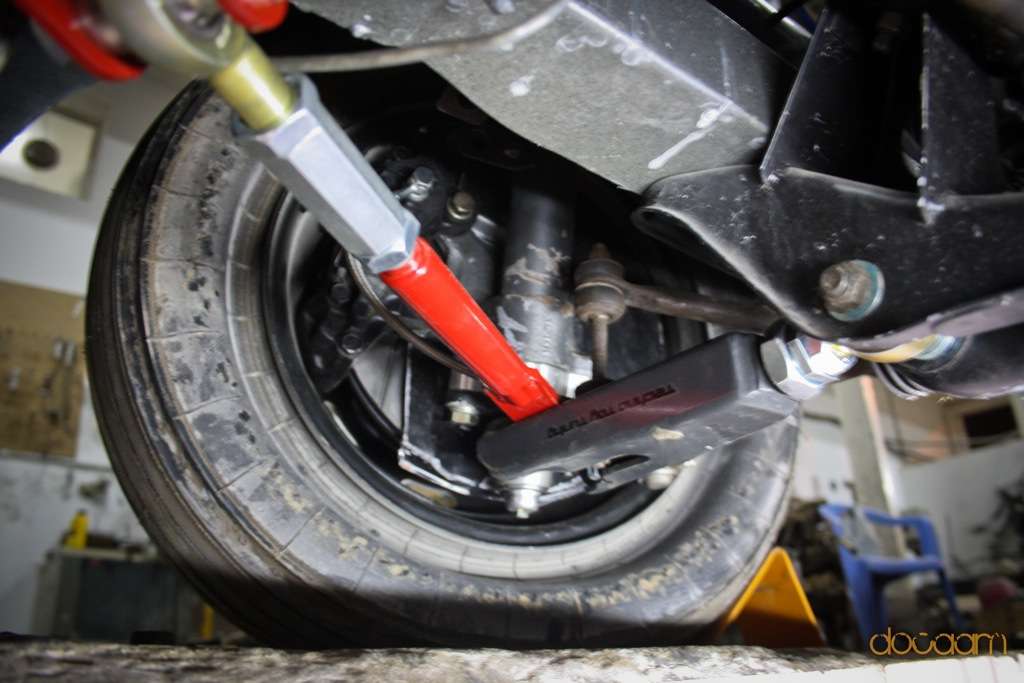
I took some pictures week back when they fitted the sway bars. I went with MSA sway bars both front and rear, usually people dont run rear sways on 240Z, but as I worked so much on the suspension so went with these as well. Not sure how the ride will be with coil overs, full front and rear suspension changed and all solid mounts for engine, differential.
Front Sway Bar
New holes drilled
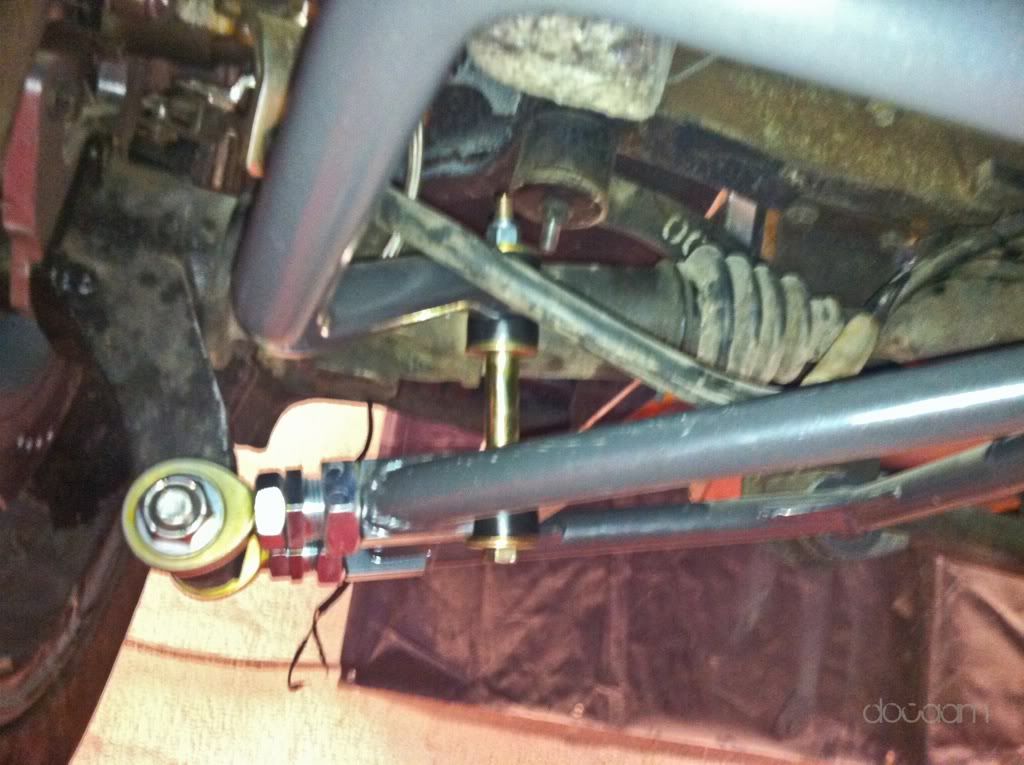
Fits nicely with Techo Toy Tuning TC Rods and Camber arms.
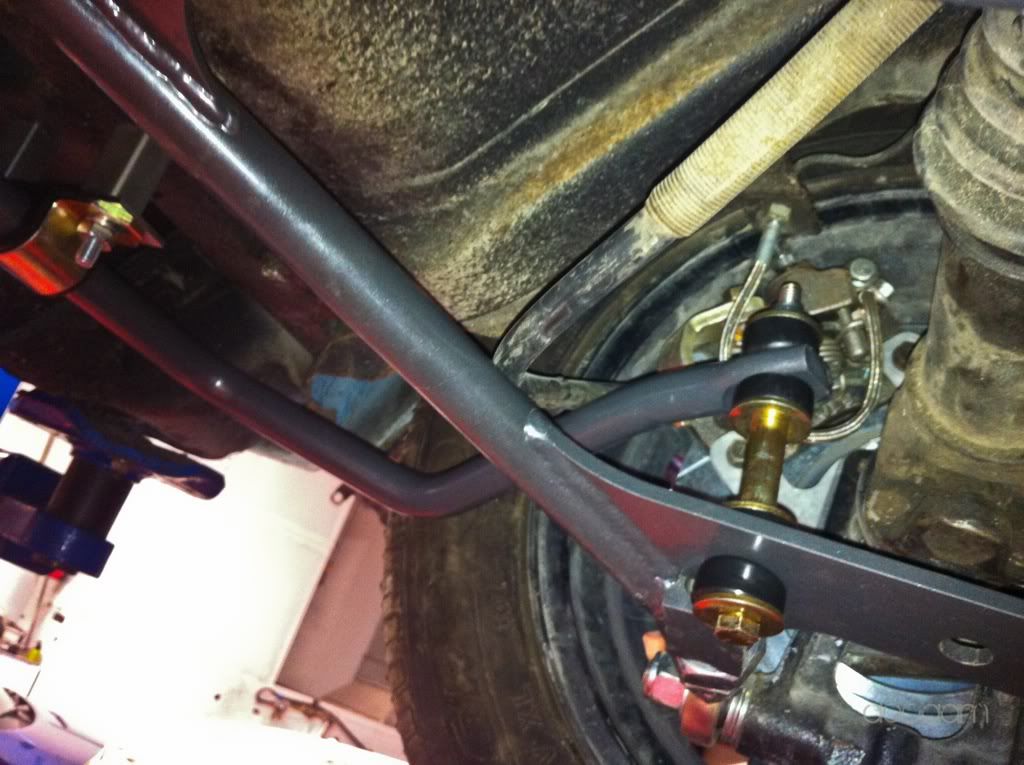
Rear ones
Drilled in the body and bolted from inside the cabin
Oil cooler brackets are finalized
Will fit the wheels today so can do the final adjustments on the camber/caster and if the track needs to be widened or not
-
Cars coming on well, going to be awesome when this is finished.
What car is your 1" master cylinder from?
With regards to your clearance problems with your wheels, if you've not already sorted it then fitting an AZC steering arm will give you more room.
Thanks man.
I am using wilwood maser cylinder.
For clearance will use 5mm spacers at the front first then see how it goes.
-
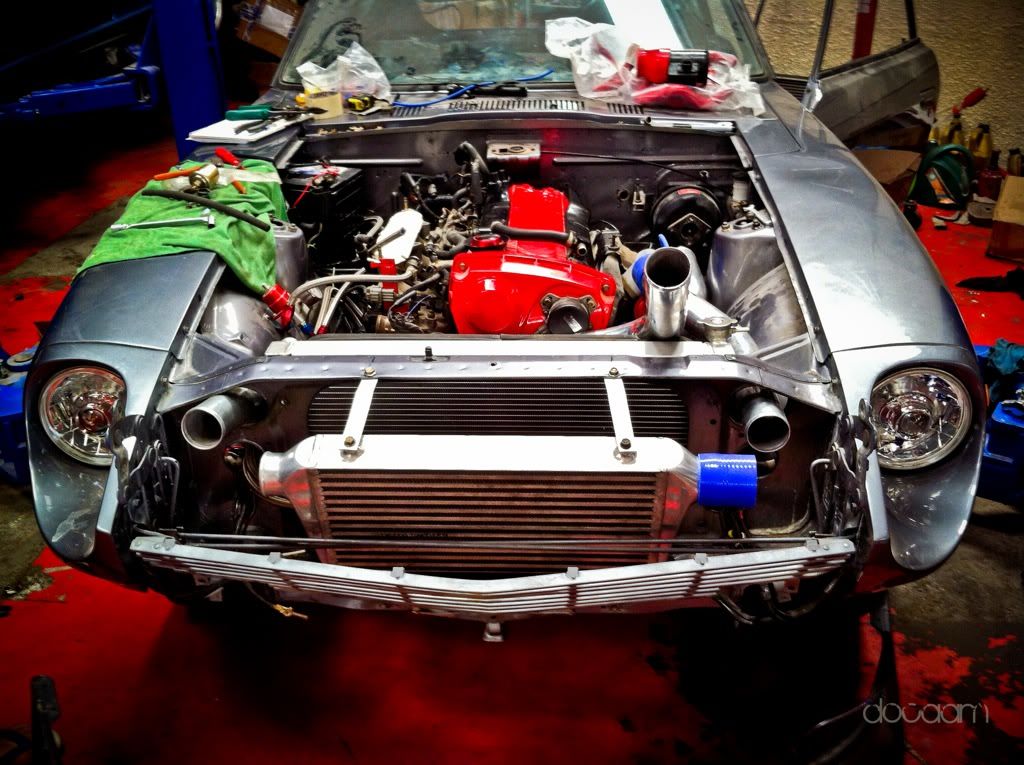
Sent the car to Peak Performance Garage in Dubai few weeks back and finally they started working on it. I always loved their work
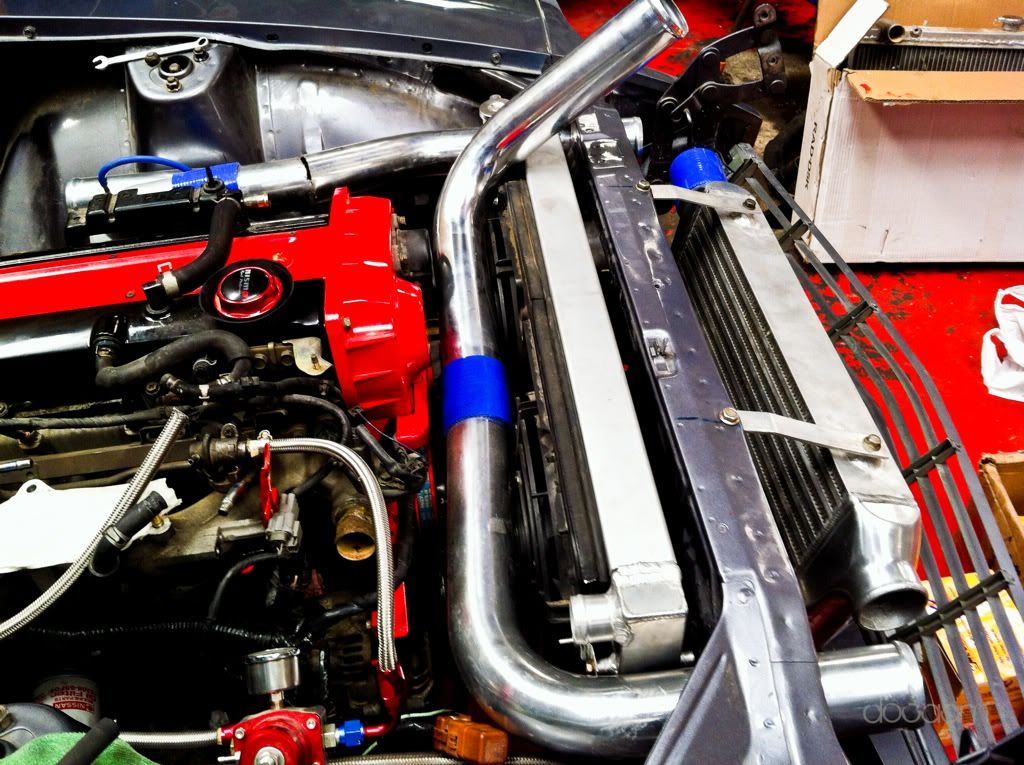
Work being done now and will be completed in few week:
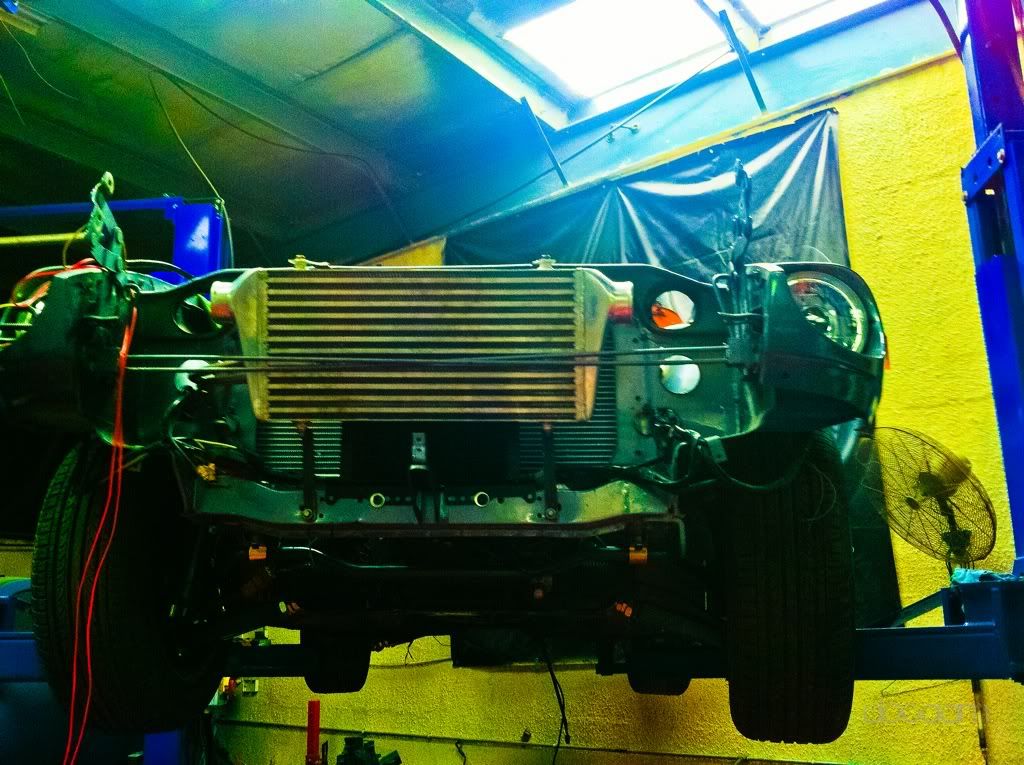
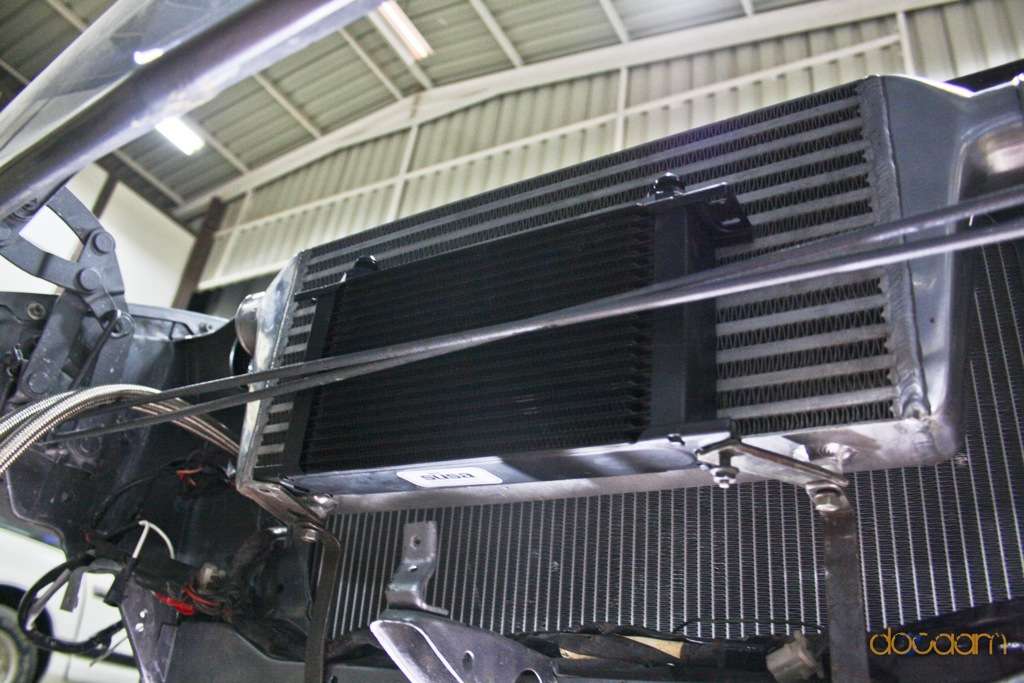
Intercooler piping, will do weld joints once its finalized
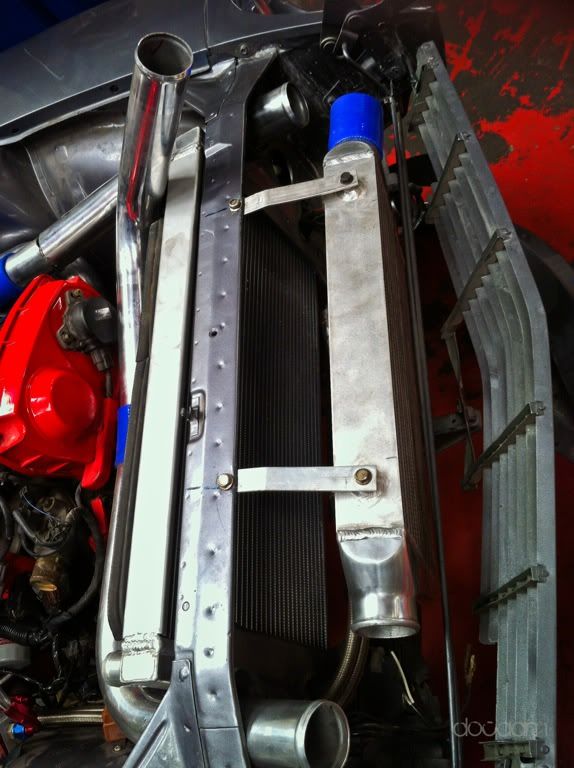
Already changed the Radiator to another one ordered from CXRacing, its for 240z with an RB engine along with twin fan shround from flex-A-lite
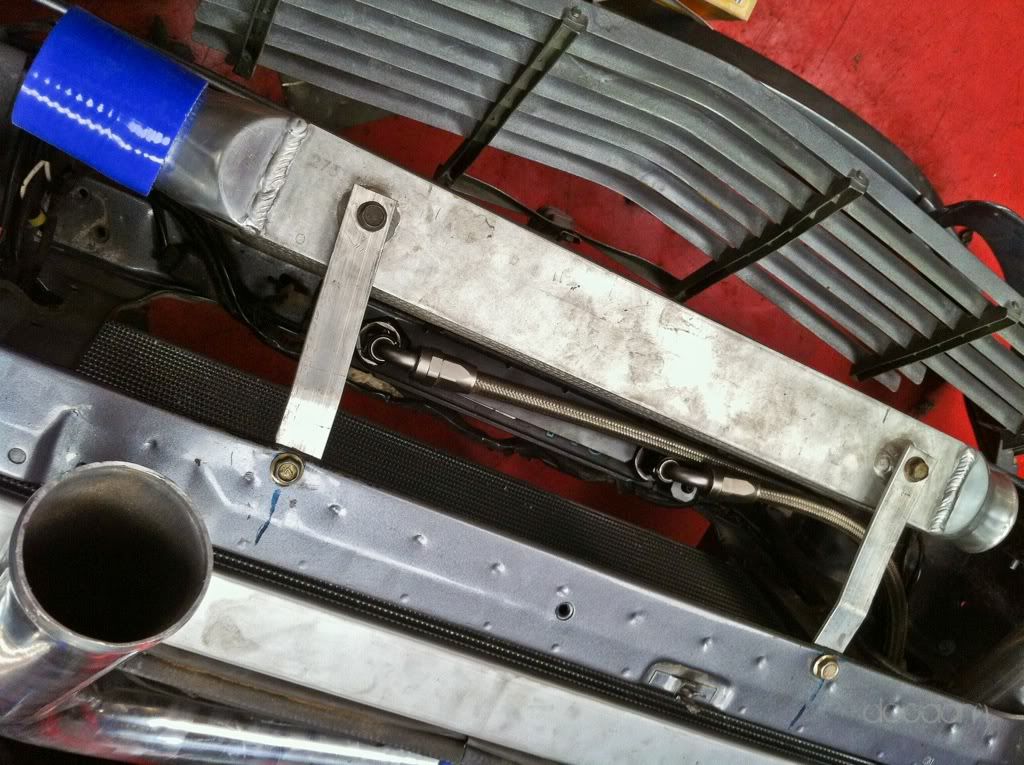
Moving the Intercooler a bit to the front
Moving and flipping the oil cooler behind intercooler, as it was touching some body parts
Changing all hoses to new silicone hoses
Rerun the clutch lines
Rerun the brake lines to give a more neater look
Rerun the fuel lines from inside the car
Relocated the fuel pump inside the car
Changing differential mounts
Installing MSA front and rear sway bars
Installing/replacing all gauges with autometer ones
Installing HKS boost controller
Rest will update as it goes
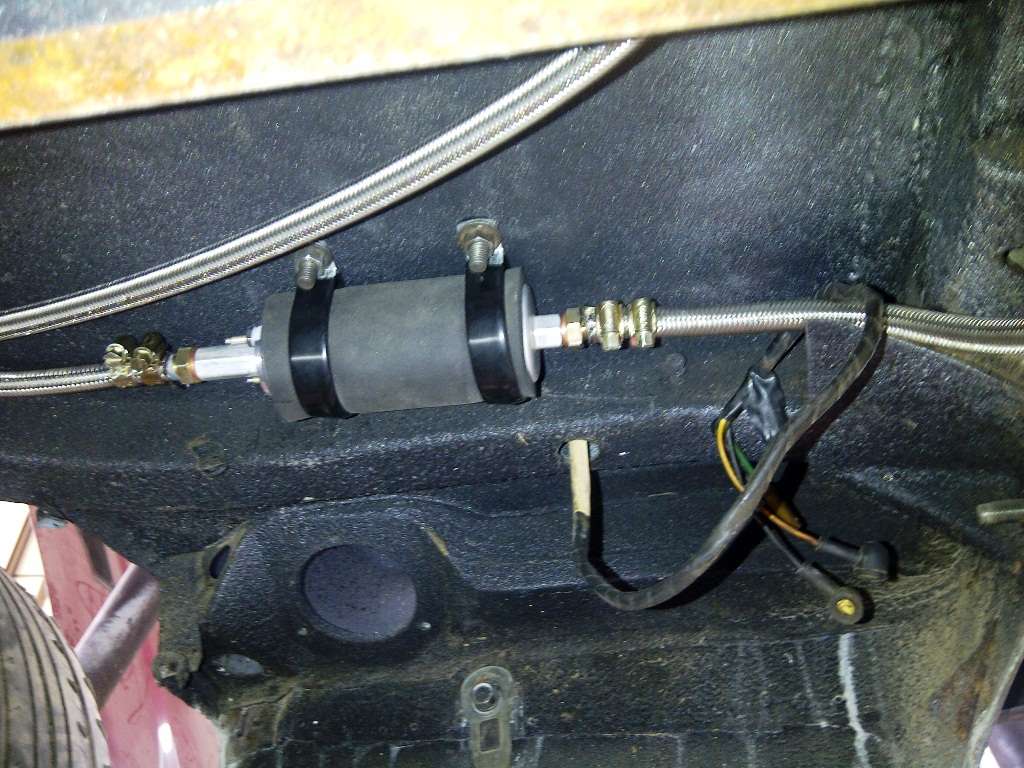
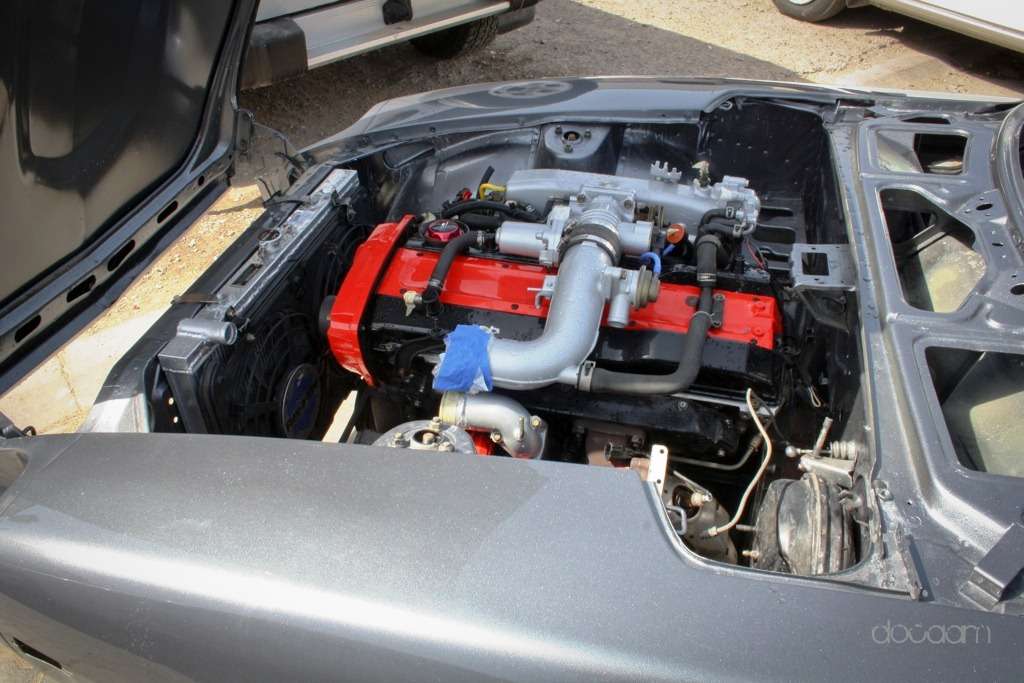
Removed the stock fuel filter and cleaned up lots of things.
Can see the stock fuel line, piping will change now
Relocating the air filter near master cylinder
New Radiator, now hoses will run like stock RB engine bay, and better cooling, installed the flex-A-Lite twin fans along with shroud as before
Moved the intercooler
Moved the oilcooler behind the IC now
-
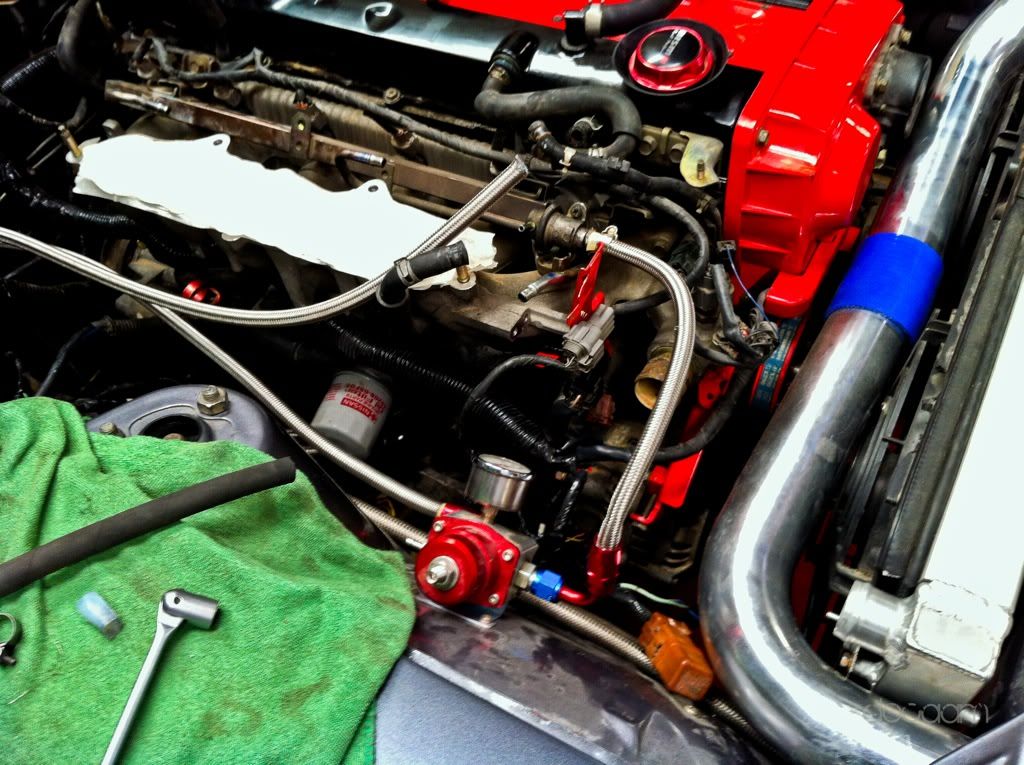
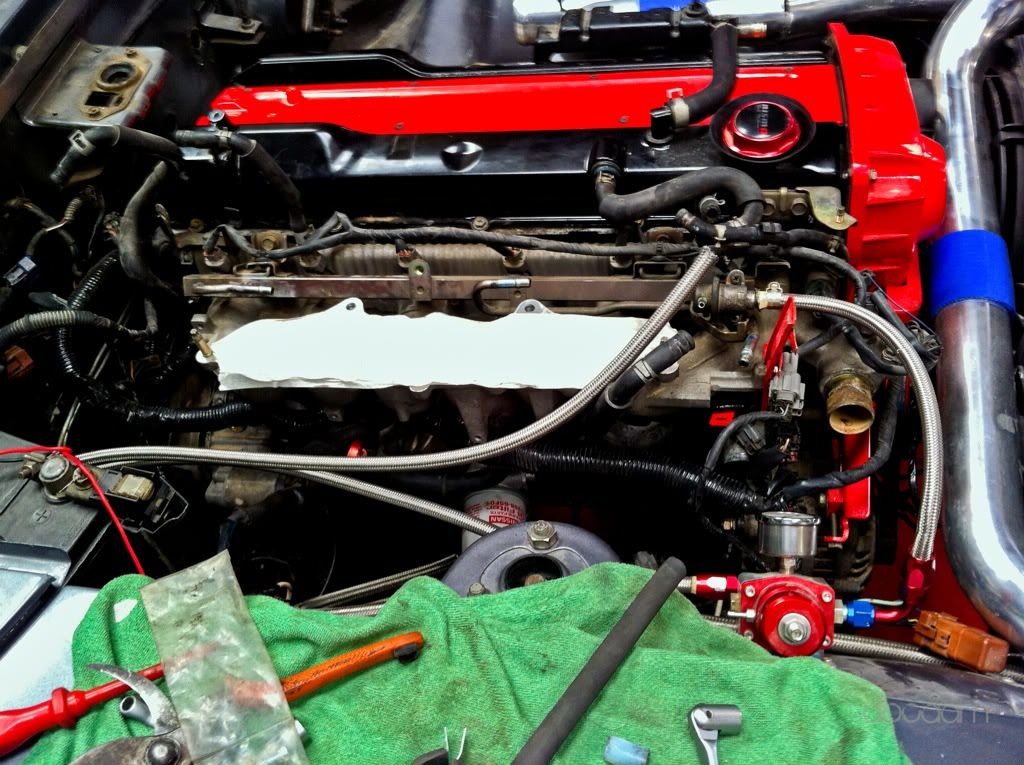
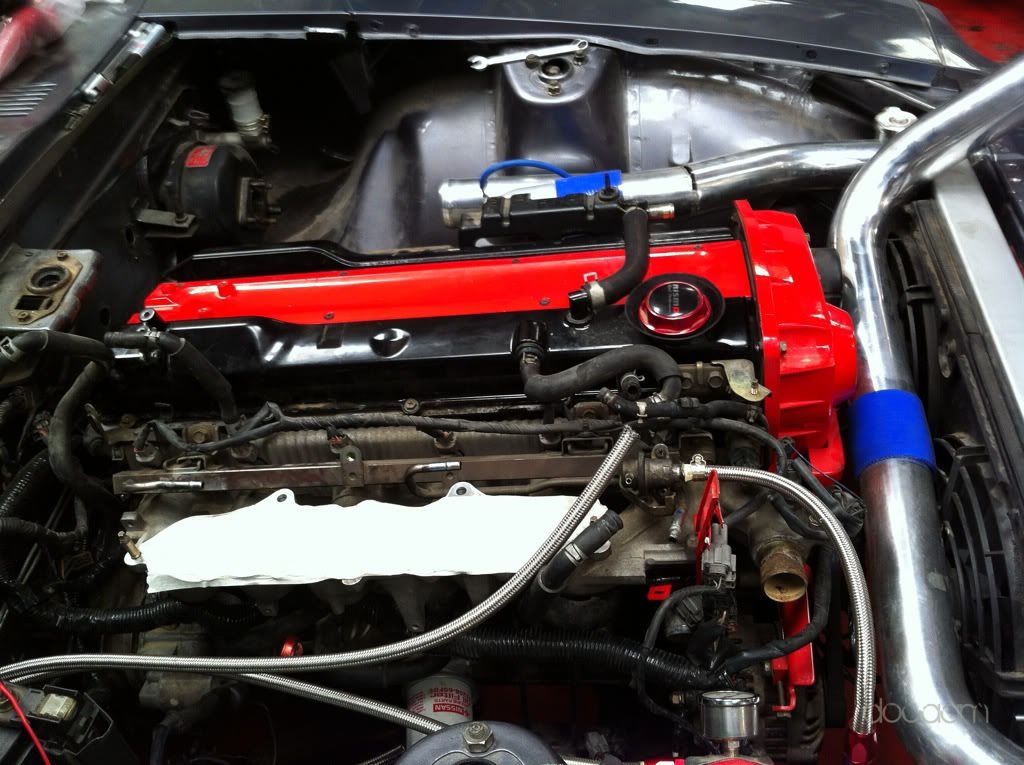
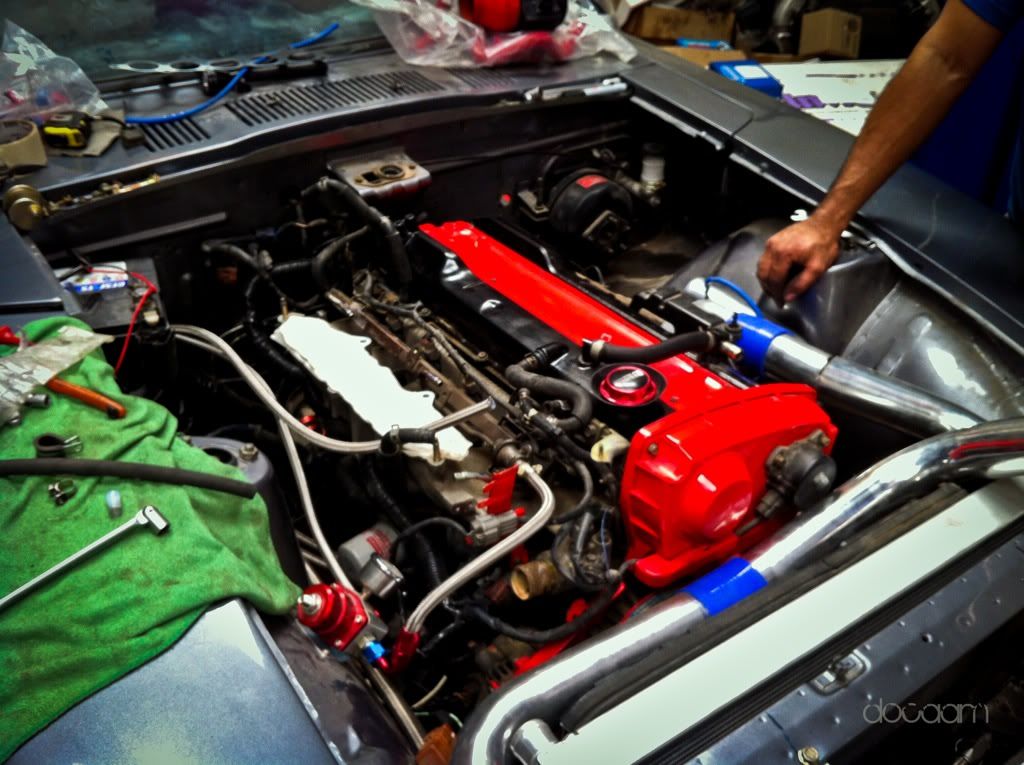
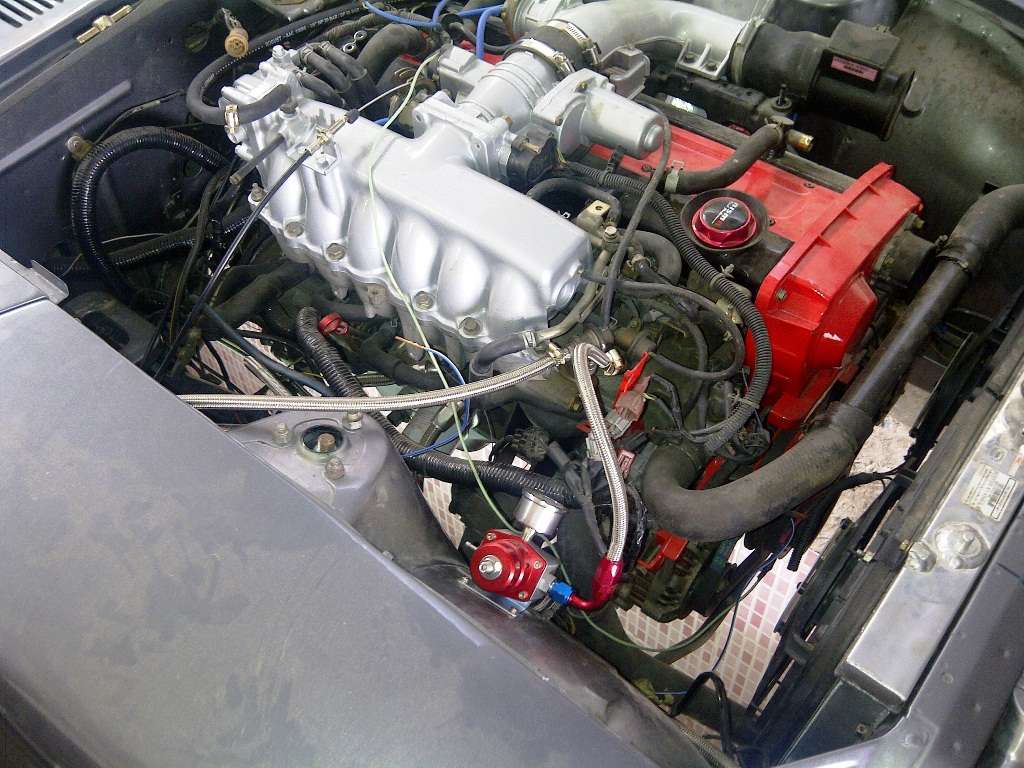
Finally all mechanical part is done. Very disappointed with the whole experience with the mechanic but what's done is done so time to move on.
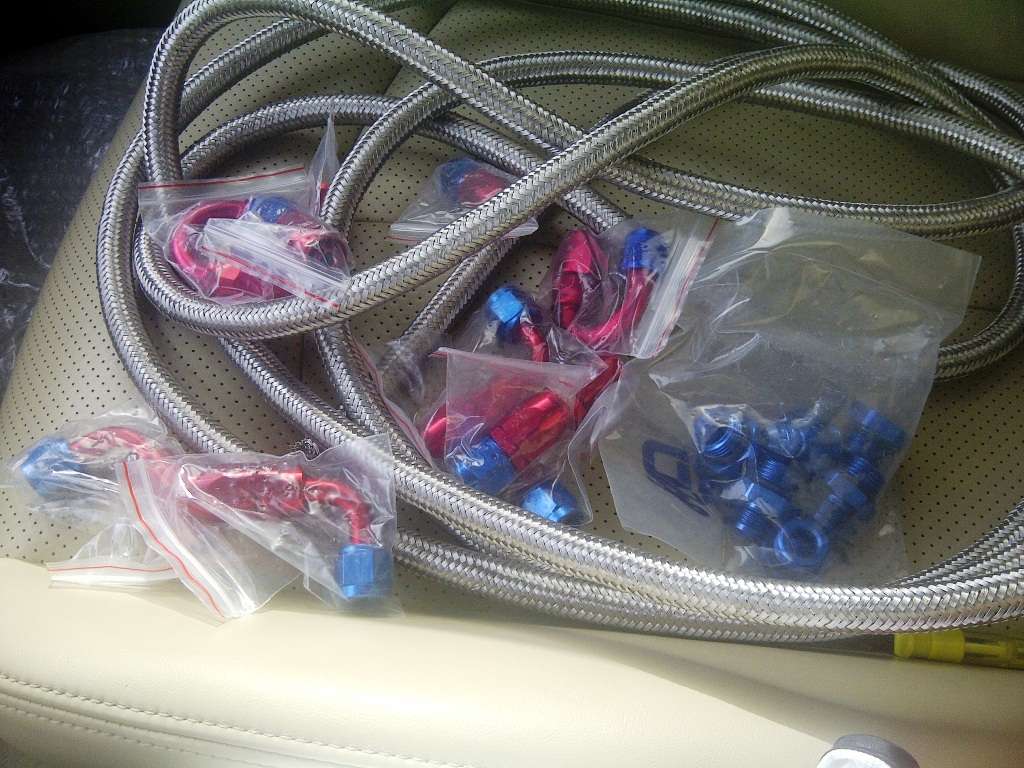
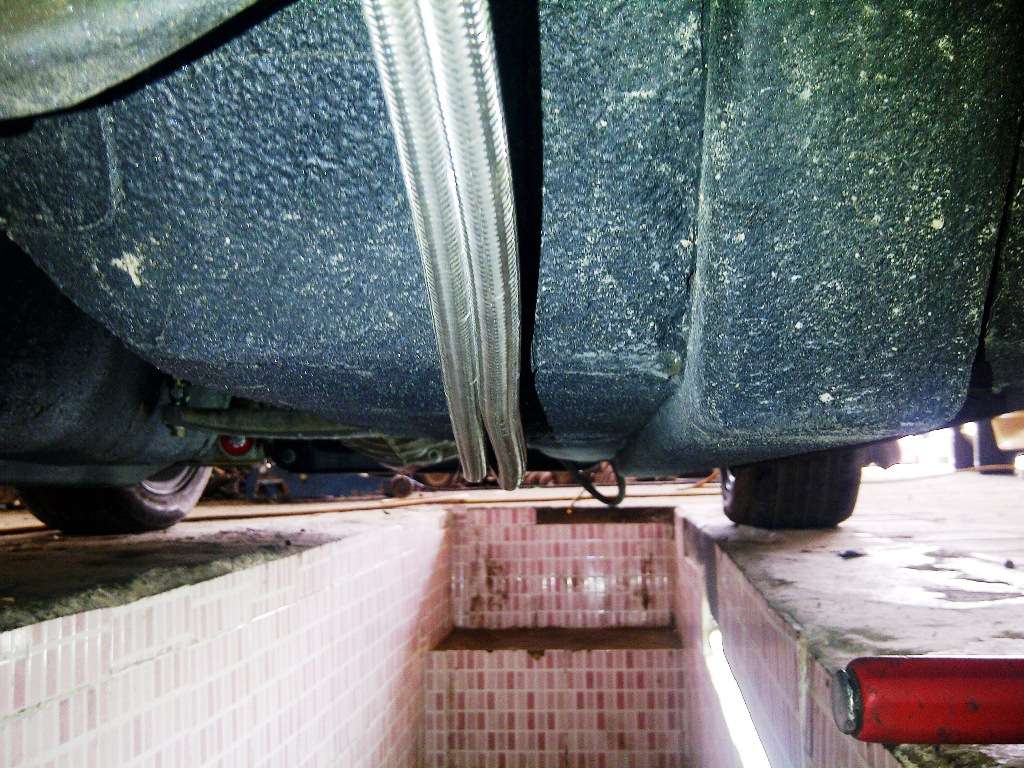
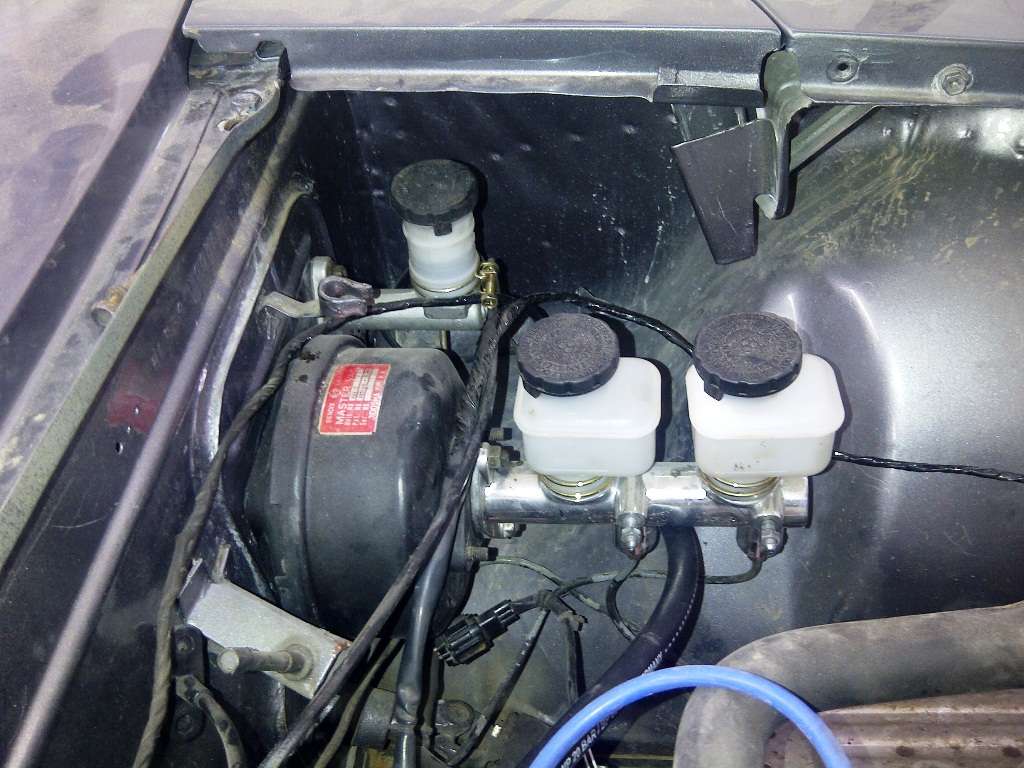
Final thing was to lay down the fuel lines, got steel braided lines, Walboro external fuel pump 255LPH and Aeromotvie 6 Injected bypass regulator along with the gauge. The lines are not aid nicely but will get some clamps done later on, along with the changing the brake lines.
Couldn't take proper pics so just some crappy phone pics.
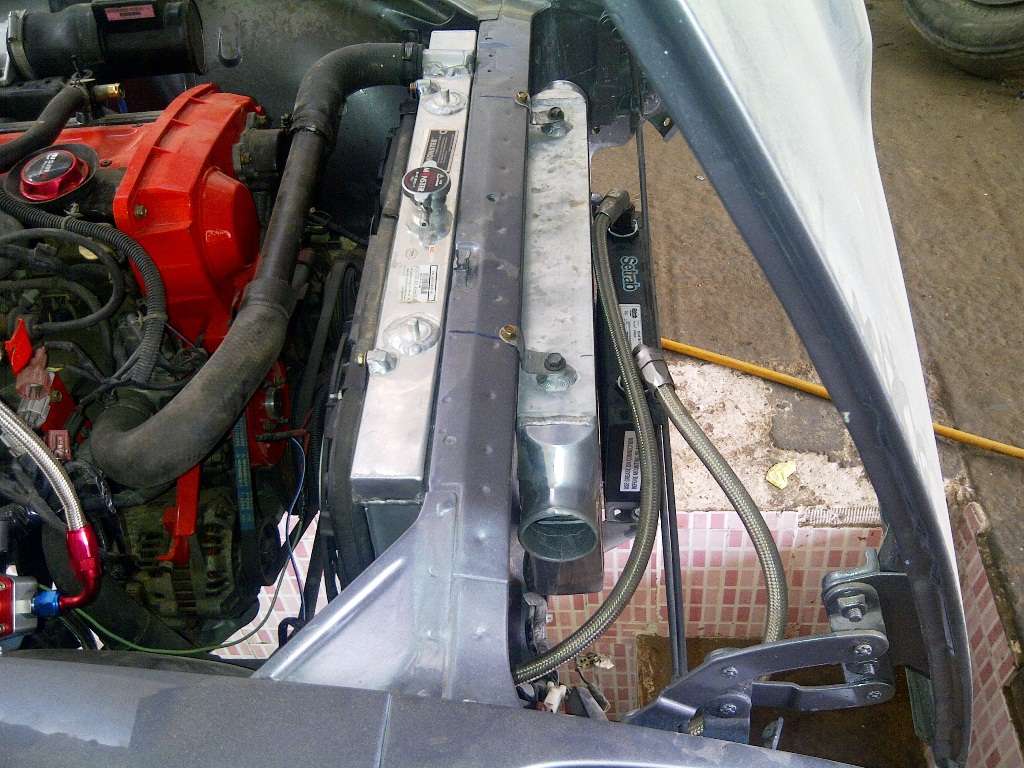
Will run the pipes along the chassis rails. such a mess with all the wires and pipes and the radiator hose needed to be changed as well.
Will get the lines clamped to the floor rail on the right, not sure how safe it will be but don't want fuel lines inside the car
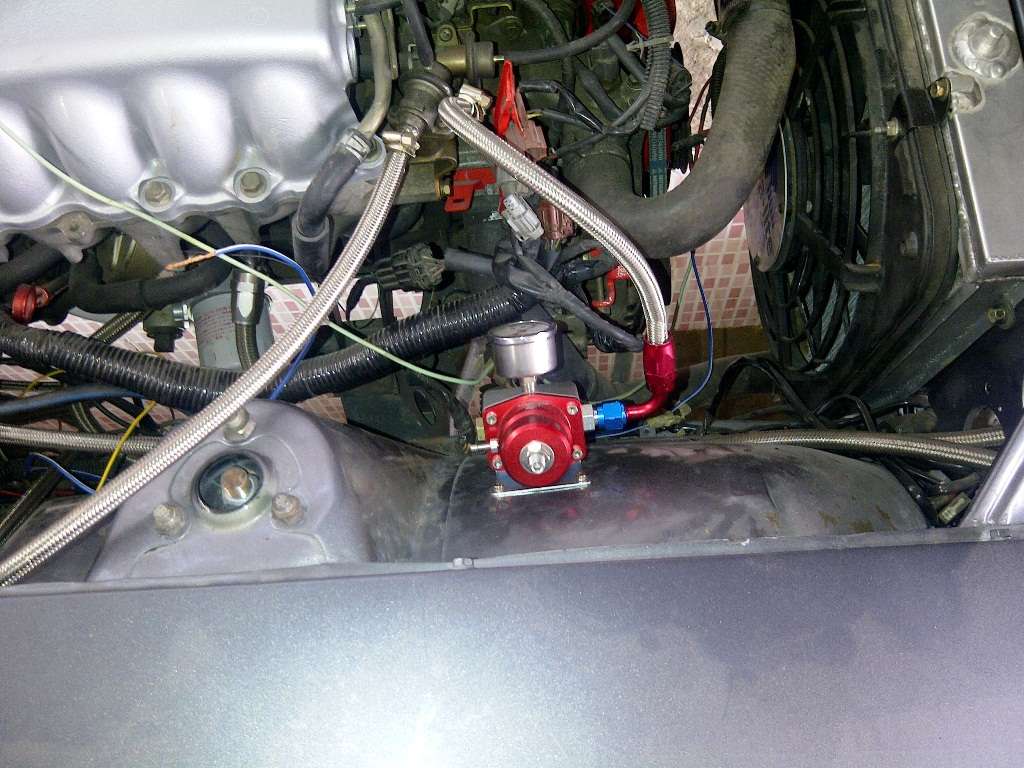
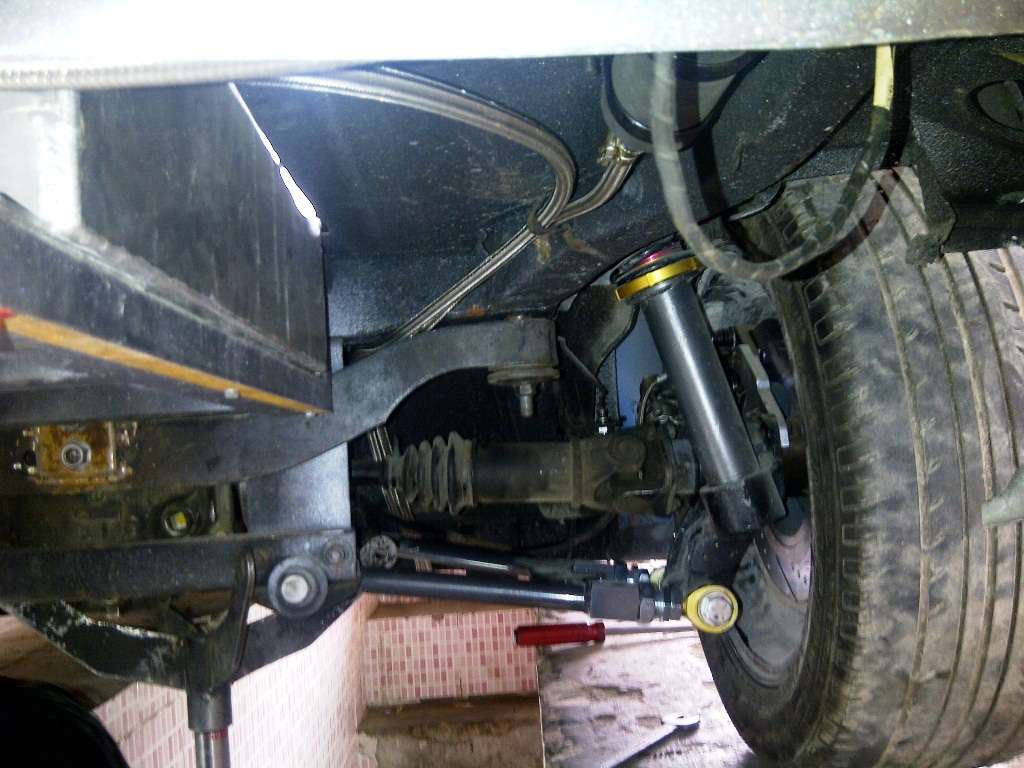
fuel pump on the opposite side of the exhaust
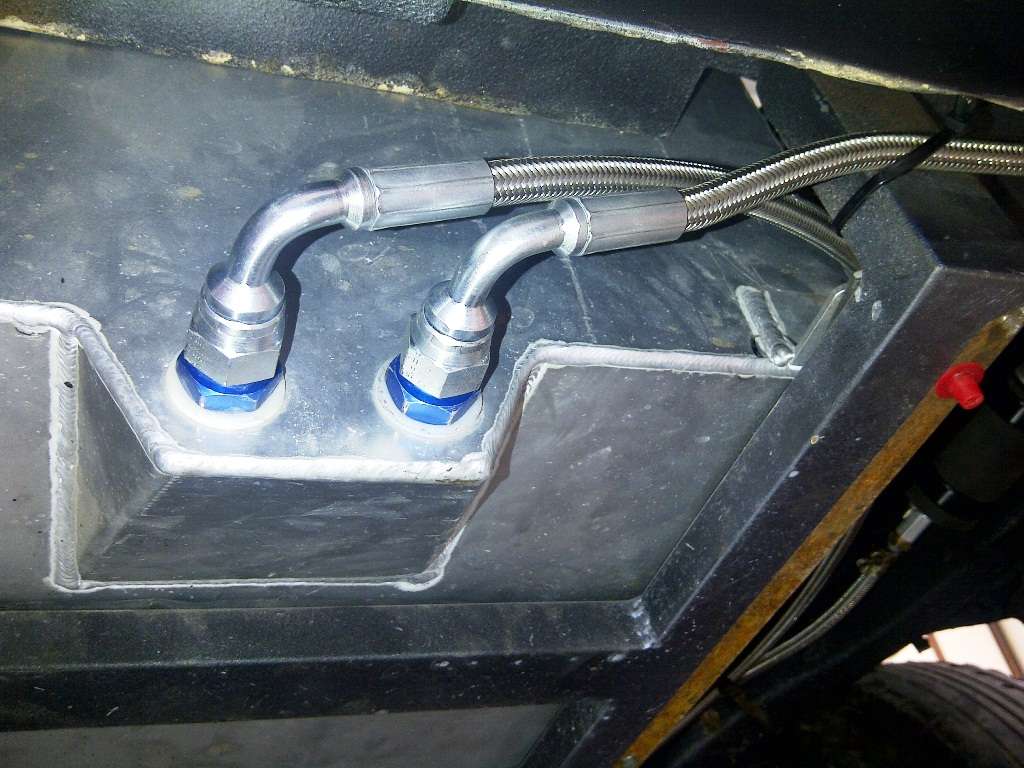
Got these fitting machine pressed
Installed 1" brake cylinder works fine.
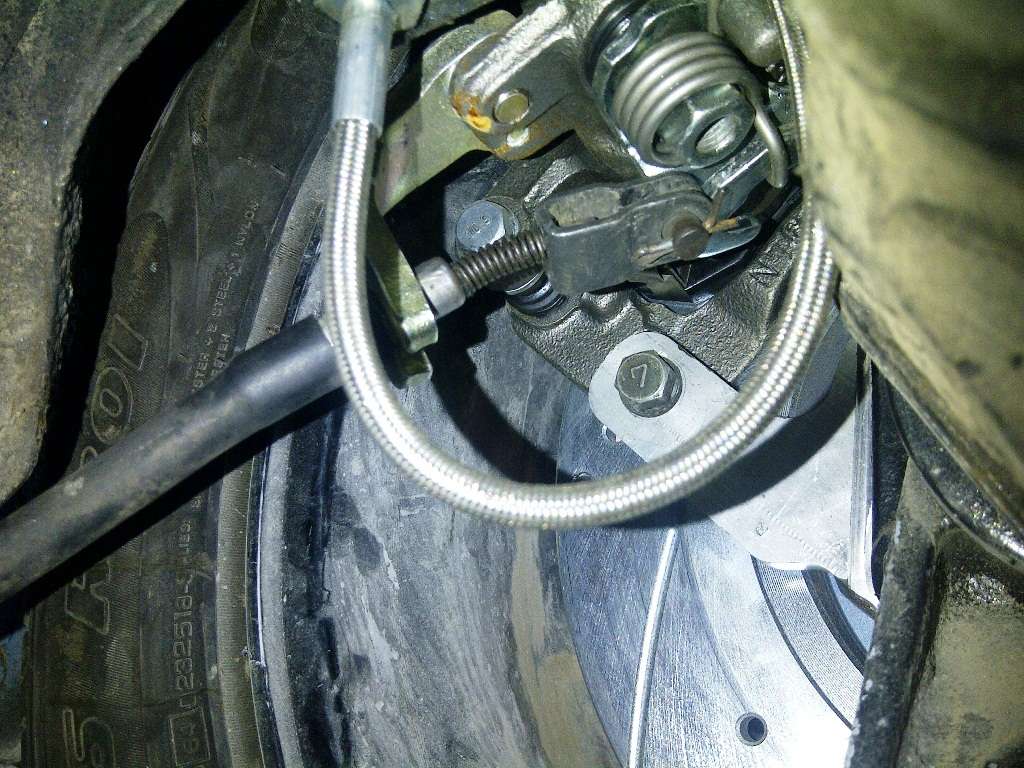
There is some problem in handbrake cable, cant fit the stock ones in maxima callipers, I got this rear kit off ebay from Datsun Store or something, the callipers, brakes and rotors all are fitted nicely but cant seem to make the cable fit, would I need some other cable? please advise if anyone knows?
I will sending the car for rest of electrical work might be some clean up and AC installation as well.
-
Had some issues going on with the mechanic and project stopped for a while. I pushed him to just start the car and then will take the car somewhere else to do fuel lines and cleanup the mess he made with wires inside engine bay
whole wiring is done and will start the car tonight
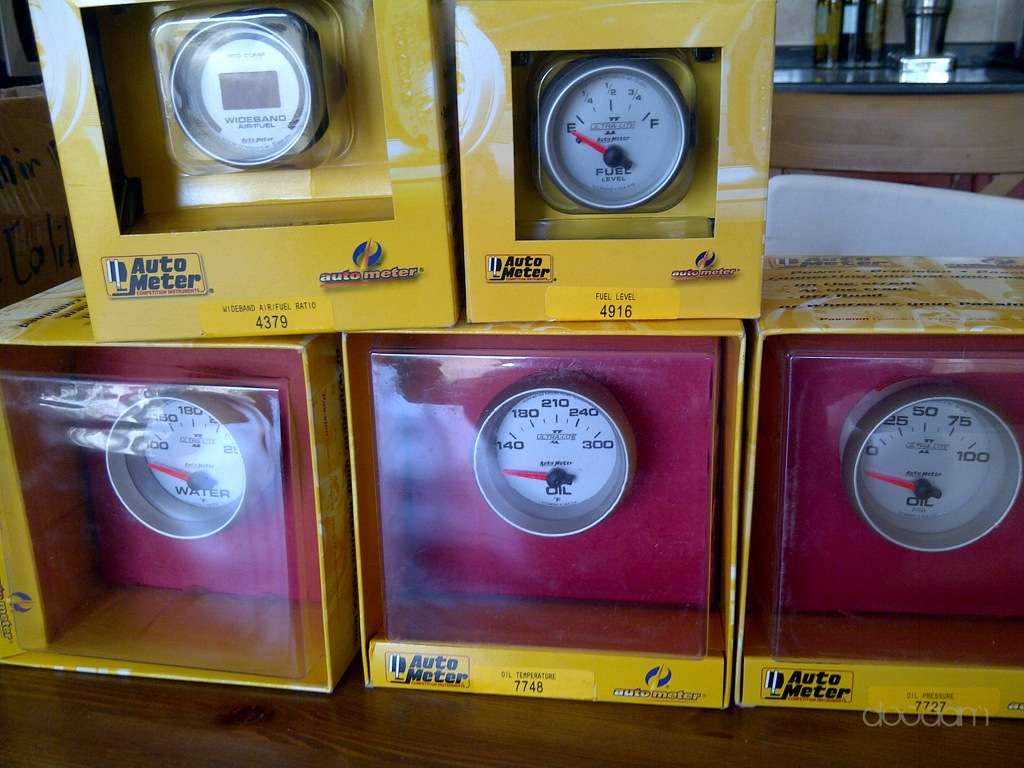
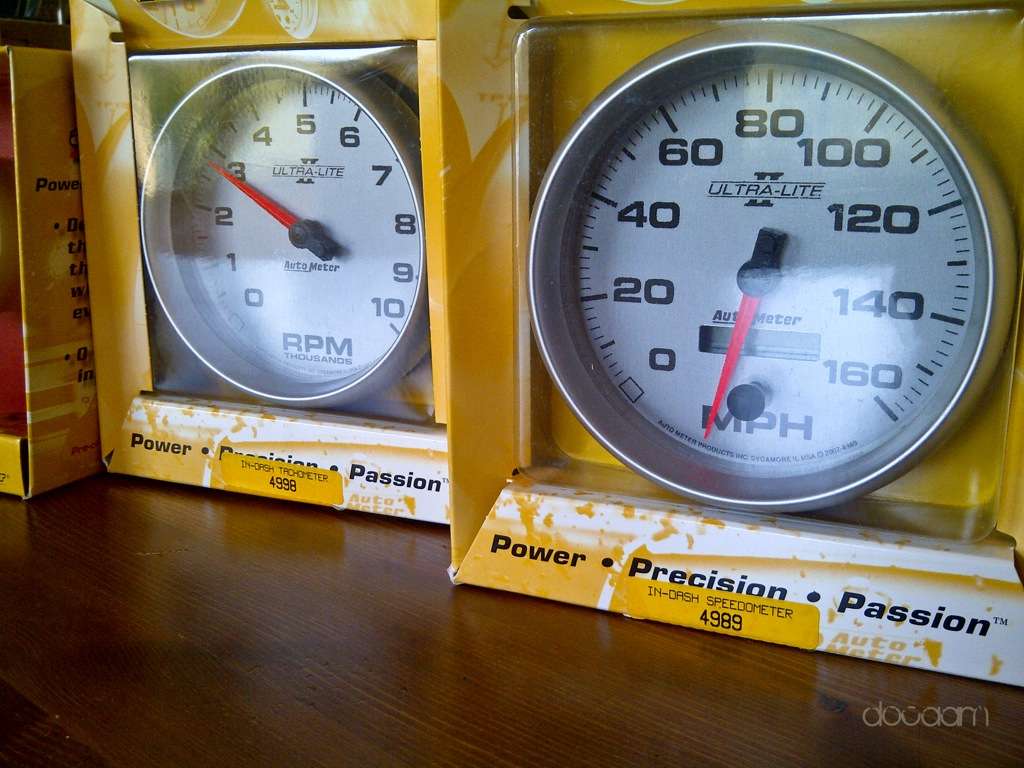
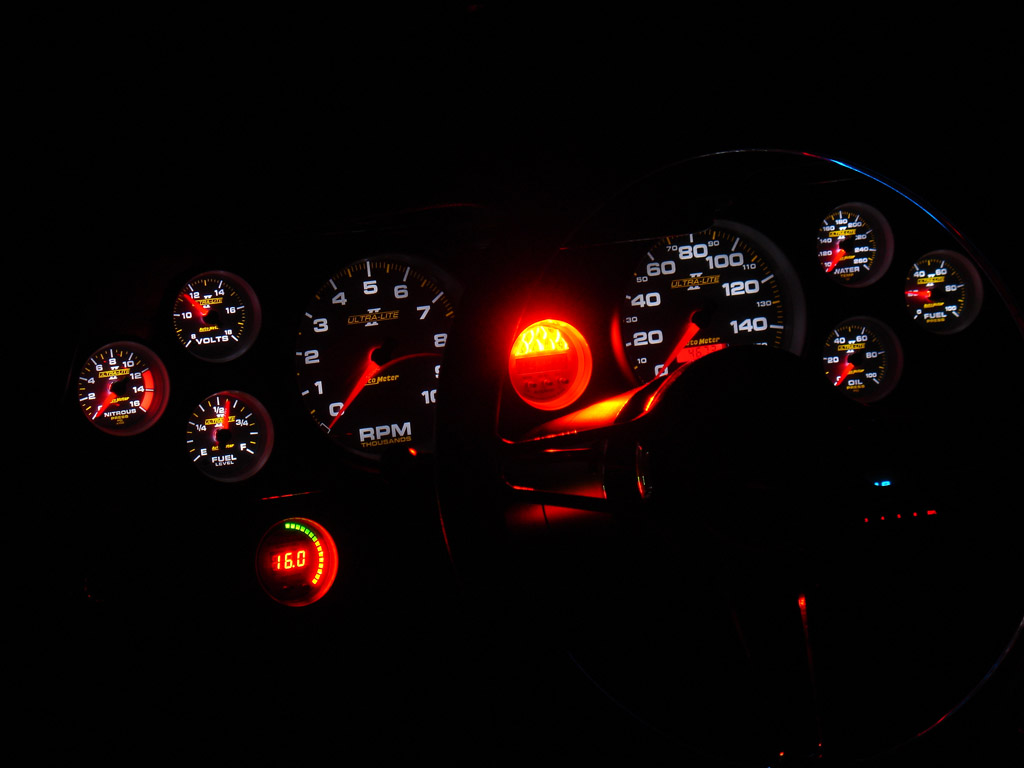
I custom orderd full set of gauges which mechanic was supposed to hook up now but again like other things will get it done from somewhere else. It took around 8 weeks to get these done from Autometer, these are Ultralite II series, same like Ultralite but these are LED version, in the morning its sliverish white face and in the night all black with white LED lettering and red pointer. I got Speedo, Tachmeter in 5 inch size (stock is around 4inch) and then three big meters Oil pressure, Oil temp and Water Temp and last three smaller to go in place of audio head unit voltmeter, wideband A/F Ratio and Fuel level.
Lightning is something like this and I loved it, took these pics off google from some Chevy Built
Same setup comparison
Night
Close up
Light closed
Daylight with lights open
Light on in dark
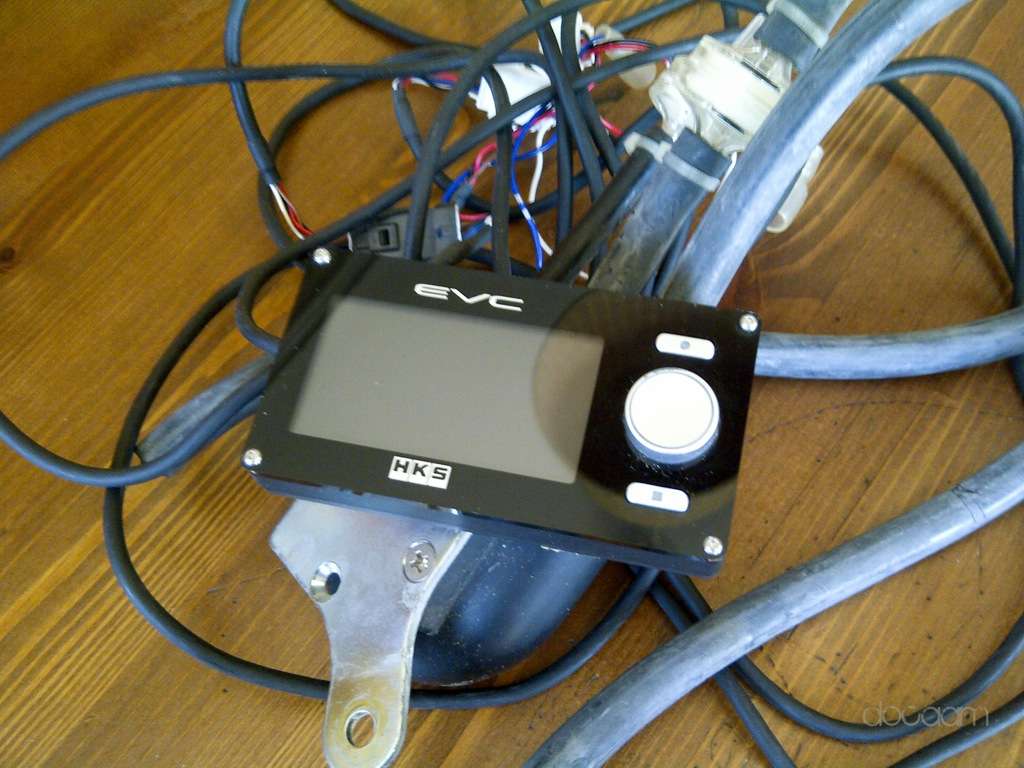
For Boost there is no meter will just use HKS EVO Boost controller for both reading and adjustments
Any head start suggestions for hooking up these gauges I might need?
-
It just keeps getting better and nicer with each post. If you can find a little time to check on that exact paint code, I would appreciate it. It is neck and neck with one other color I have in mind.
Sorry man still couldnt get the code as someone else was asking as well, as I bought paint from another city dupont main office, so hardly got time to visit there.But you can get it by name its Grigio Estoque, some google results below and code says 0115.
Manufacturer: Lamborghini
Colour/Year: GRIGIO ESTOQUE(2009/9999)
OEM Colour Code: *0115
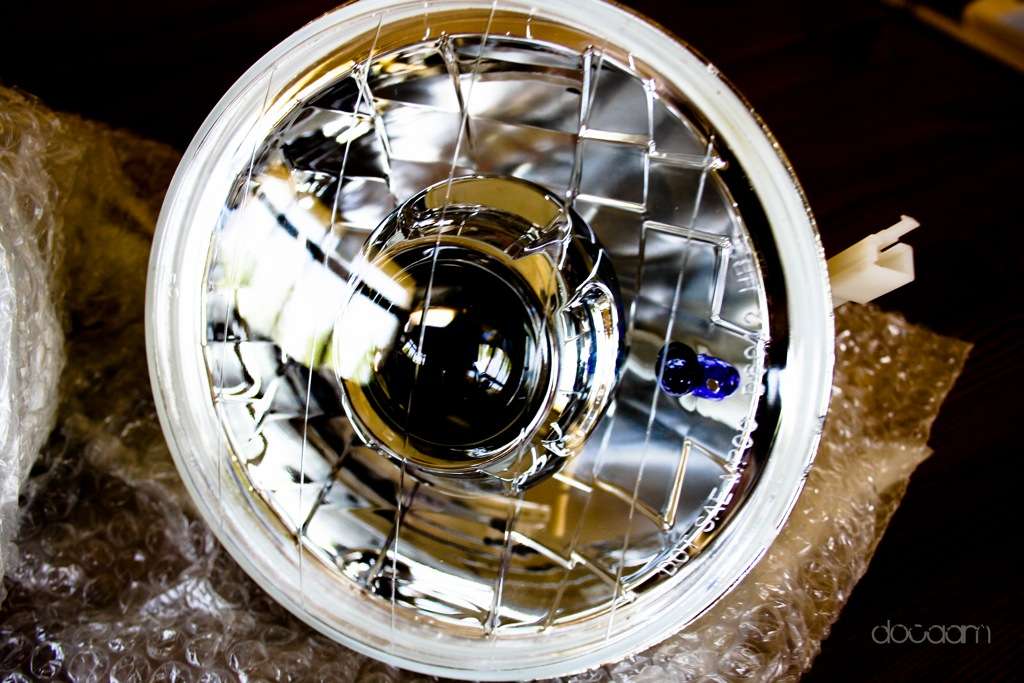
Love this head lights, I got HID's on mine but don't like the head light. Where did you buy those?
Got it from Z store
-
Awesome thread just read all the posts and your attention to detail is amazing
-
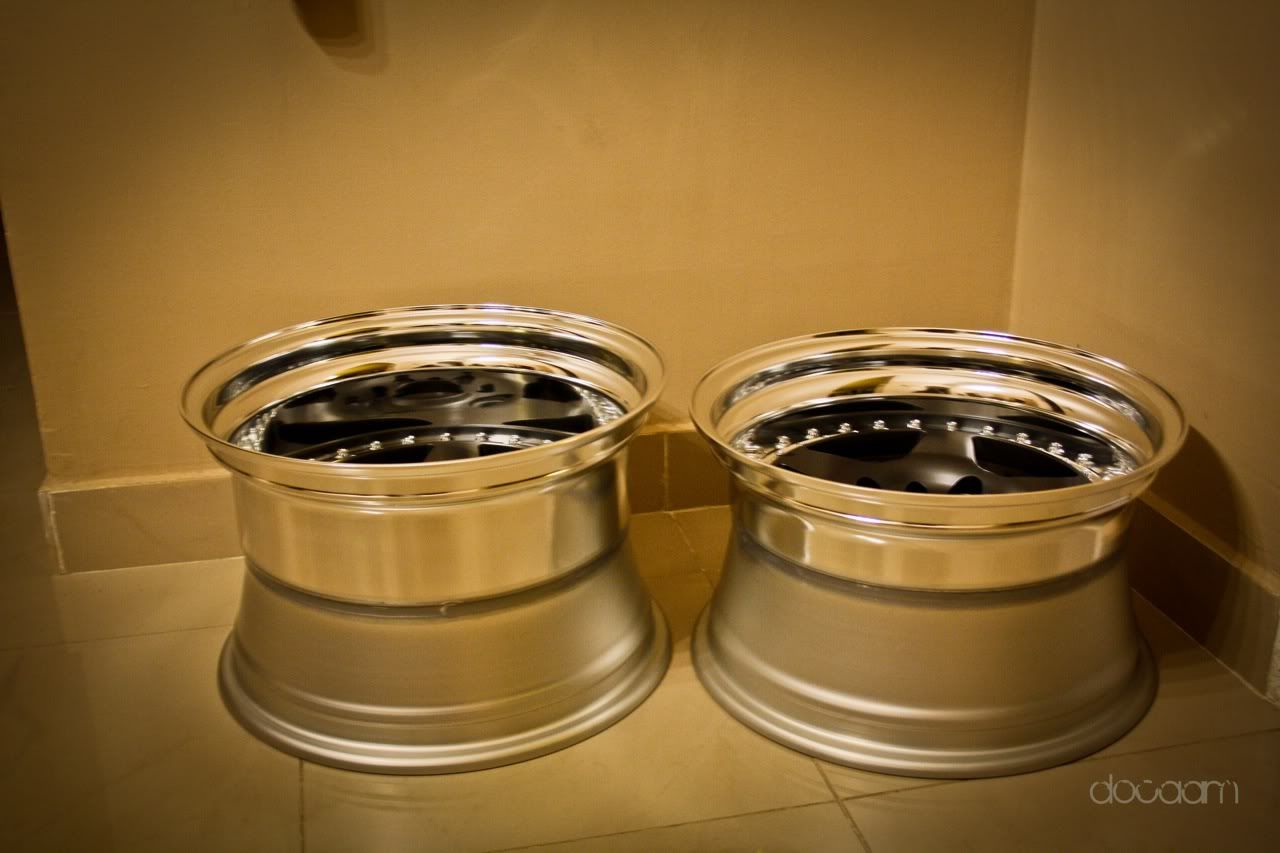
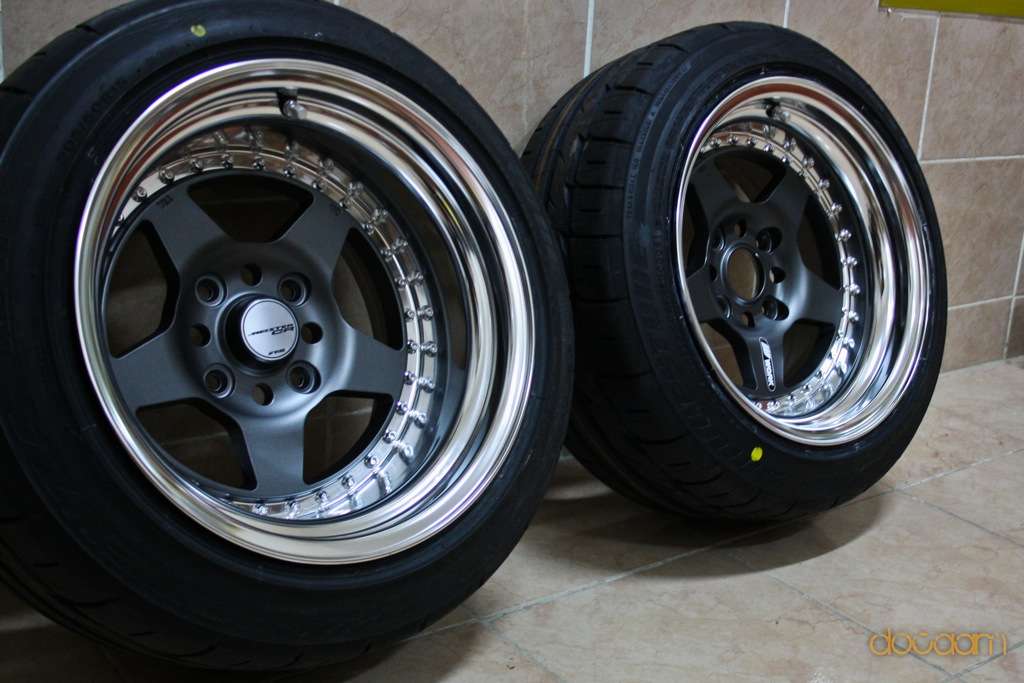
I love these (WORK) wheels, For flush fitment I was recommended
15 X 8.5 -9
15 x 9.5 -24
Rear on the Left and front on the right
Rear with center cap
Measured the lip for rear came around 6.9"
Side by side
-
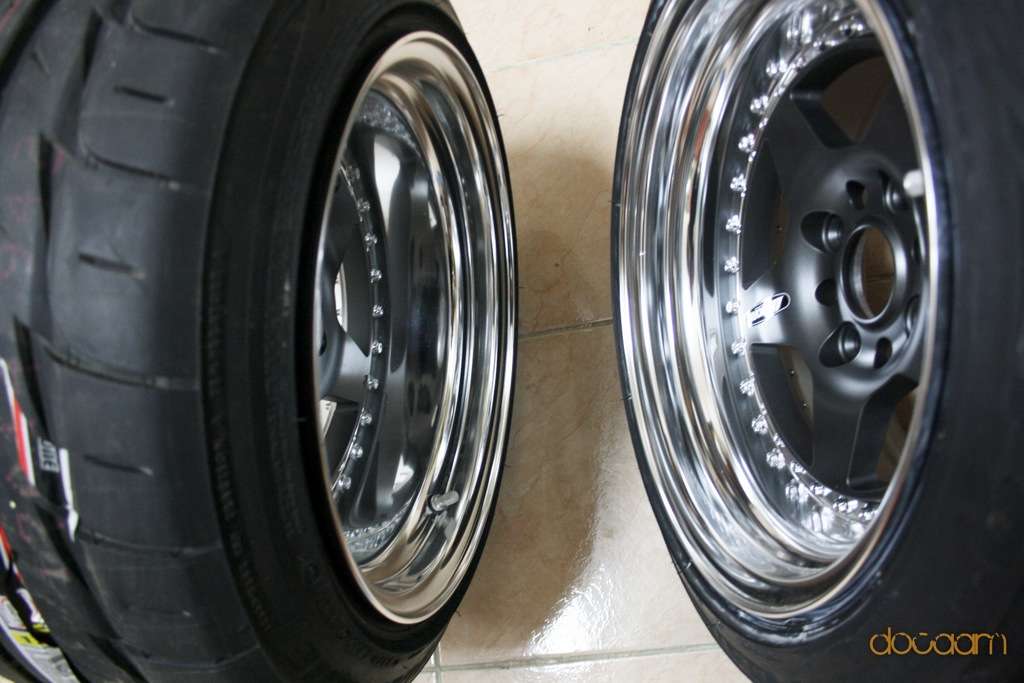
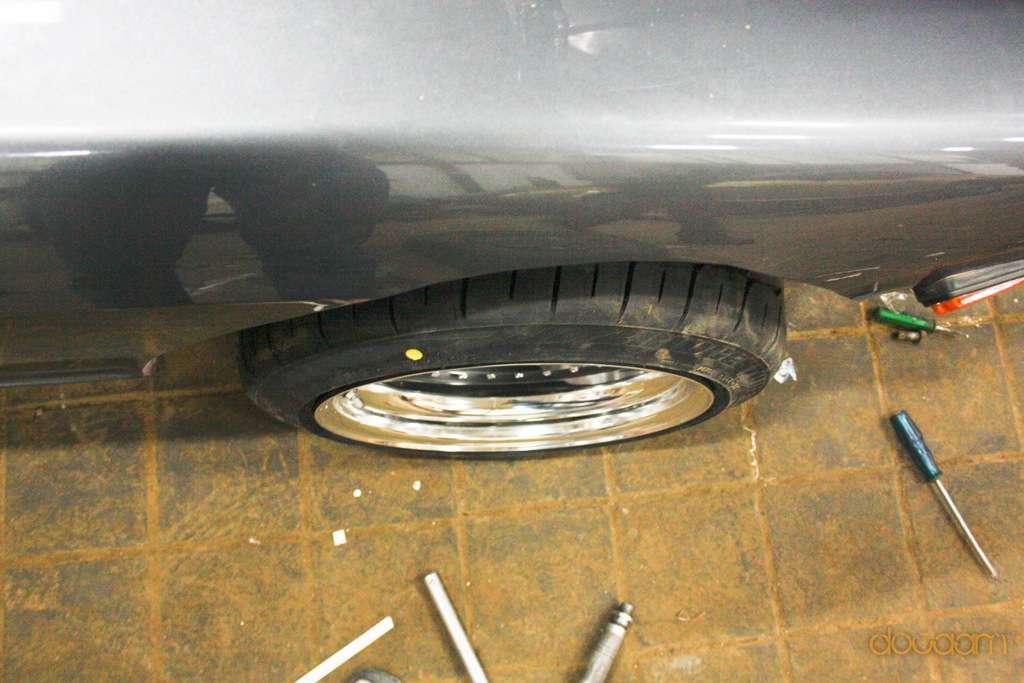
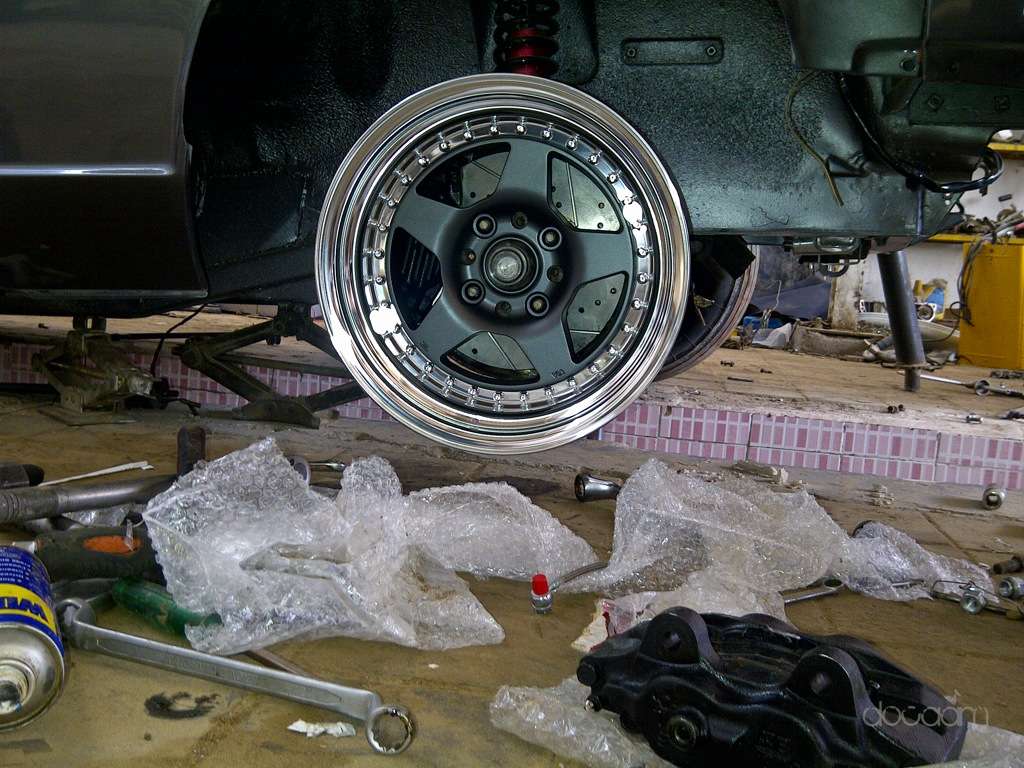
Had time on Thursday to get the wheels installed on the car with tires to find all rubbing or any other issues. Rear ones came out a bit more stretched then front.
Rear on the Left and front on the right
Rear with center cap
Measured the lip for rear came around 6.9"
Side by side
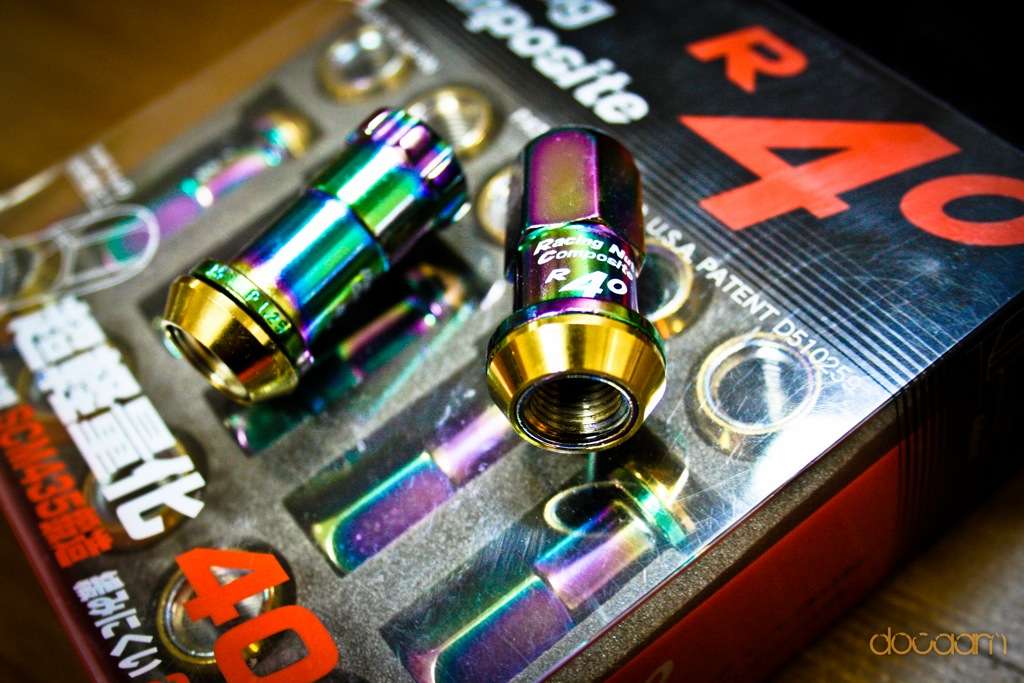
Got these Kics R40 Neochrome long open end lugs
Test fitment,
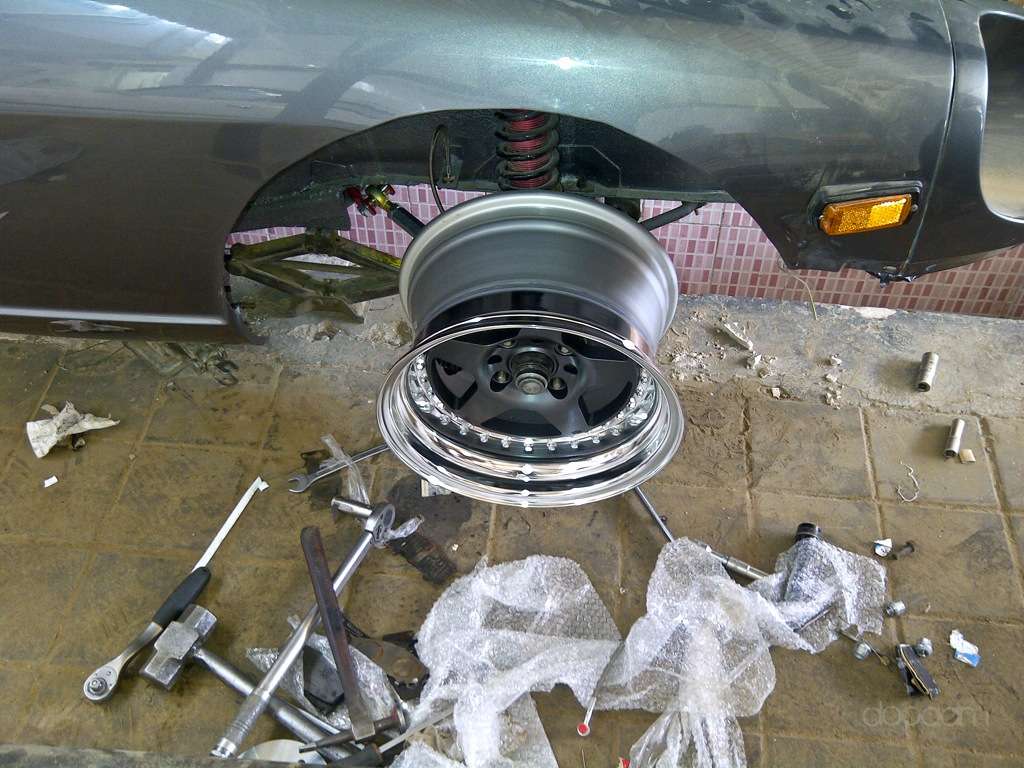
Front looks perfect except the rear problem, might go with 3mm/5mm spacer or trim the bumper steer spacer
Rear ones, car is still on the jack at the rear for camber arms fitting, but placement is ok and poke is slightly more, might come out a bit from fender flares.
Front brakes and rear brake are done and so was the brake lining, will be installing 1"brake booster. Only problem in the rear was to attached the ebrake/handbrake the clip pattern is different so trying to find a way around it.
Front camber arms and TC control rods installed
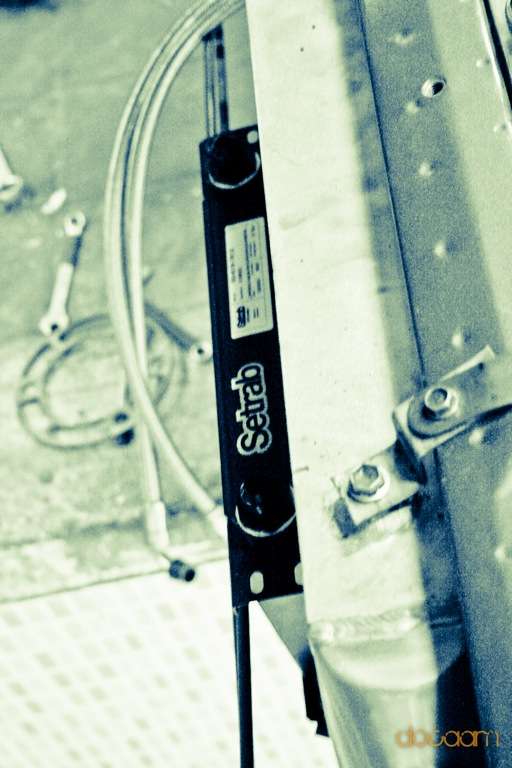
Installed my 19" Row Sterab oil cooler bought from GTM, have to work on some clean brackets.
-
What make are the new wheels? Love em!
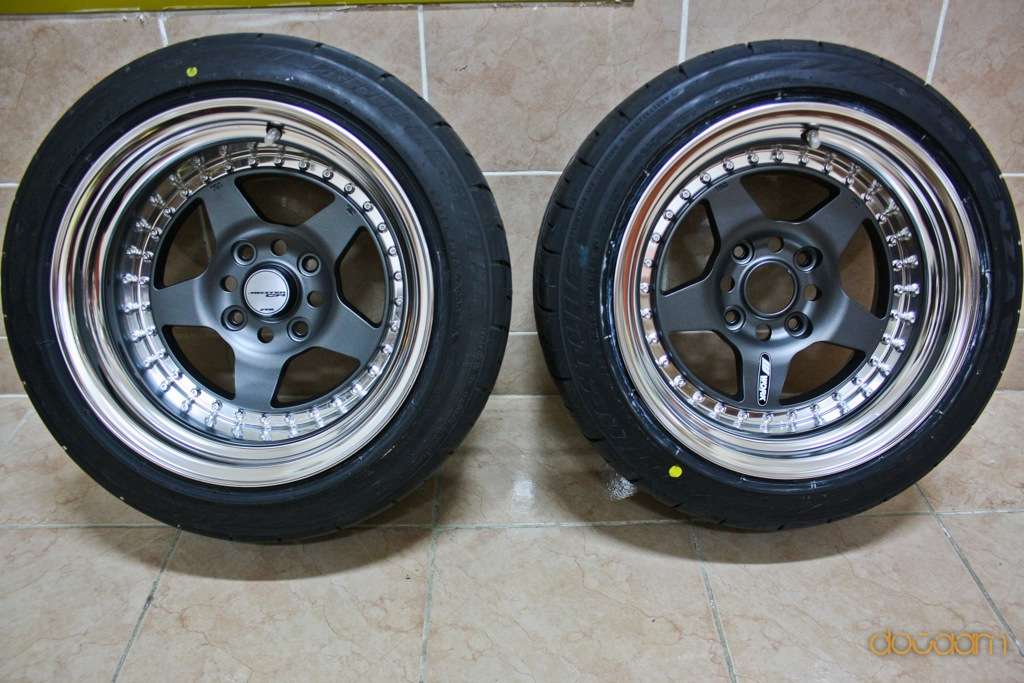
These are WORK CR01
-
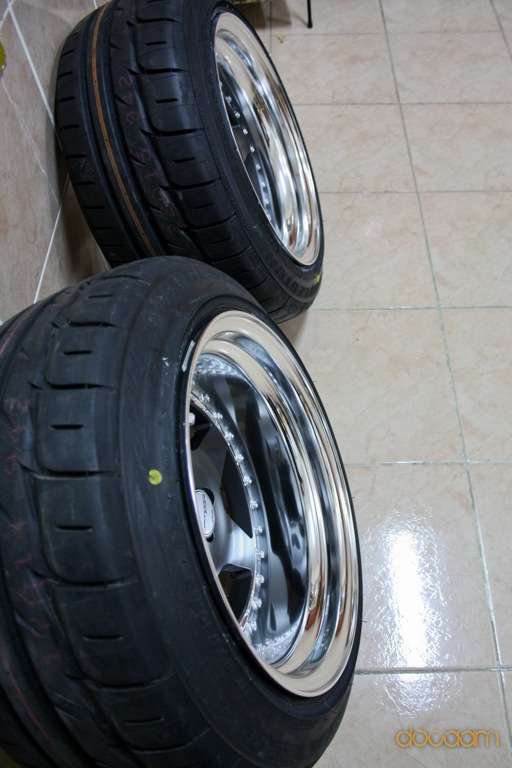
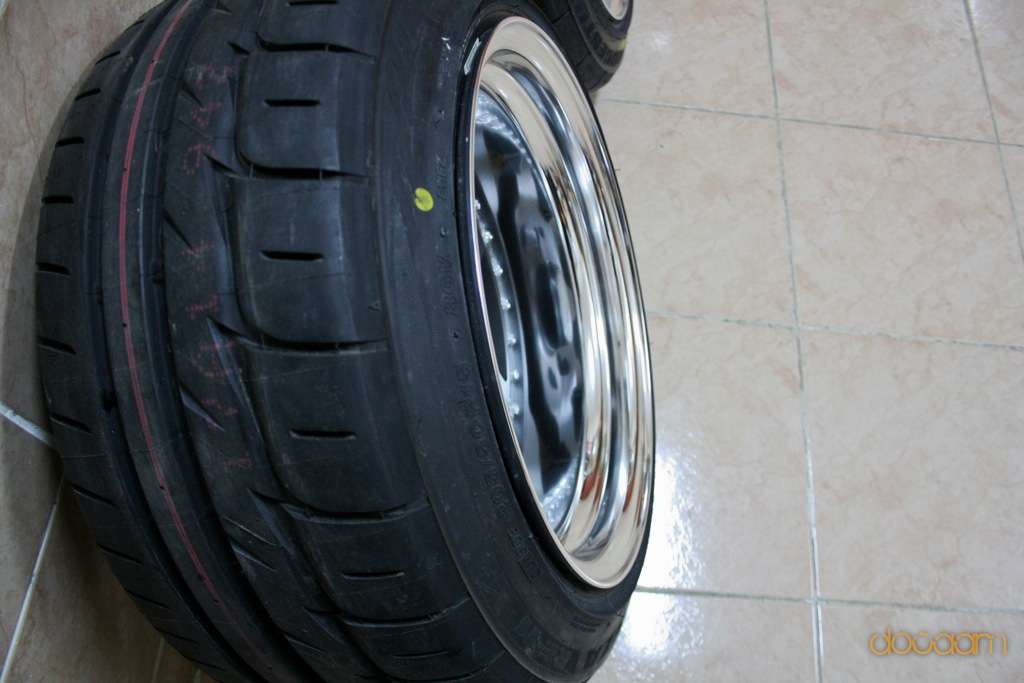
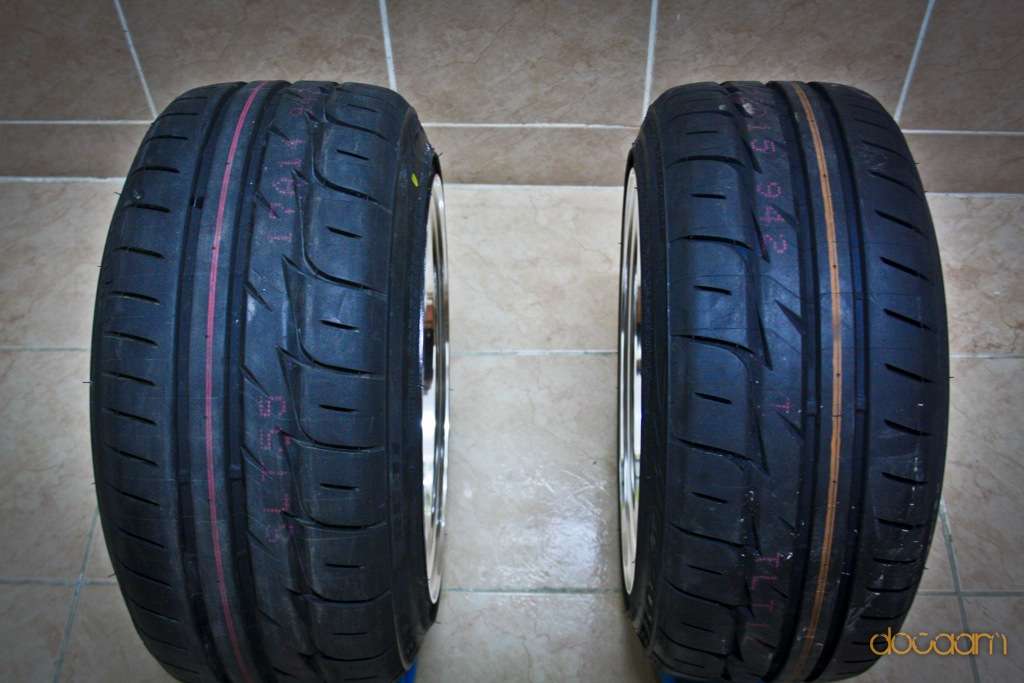
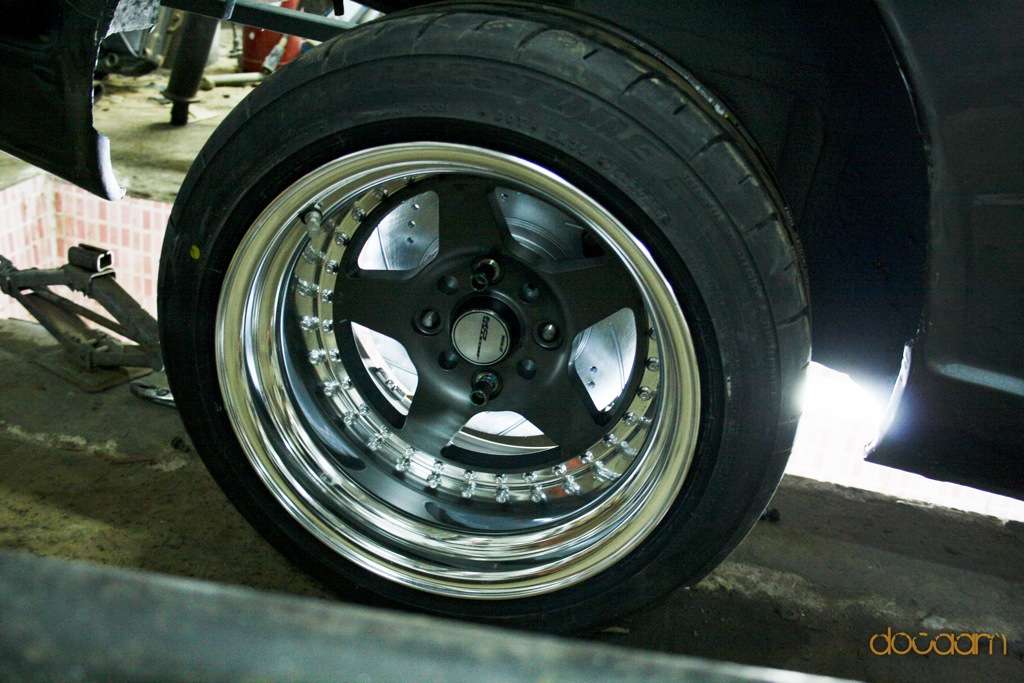
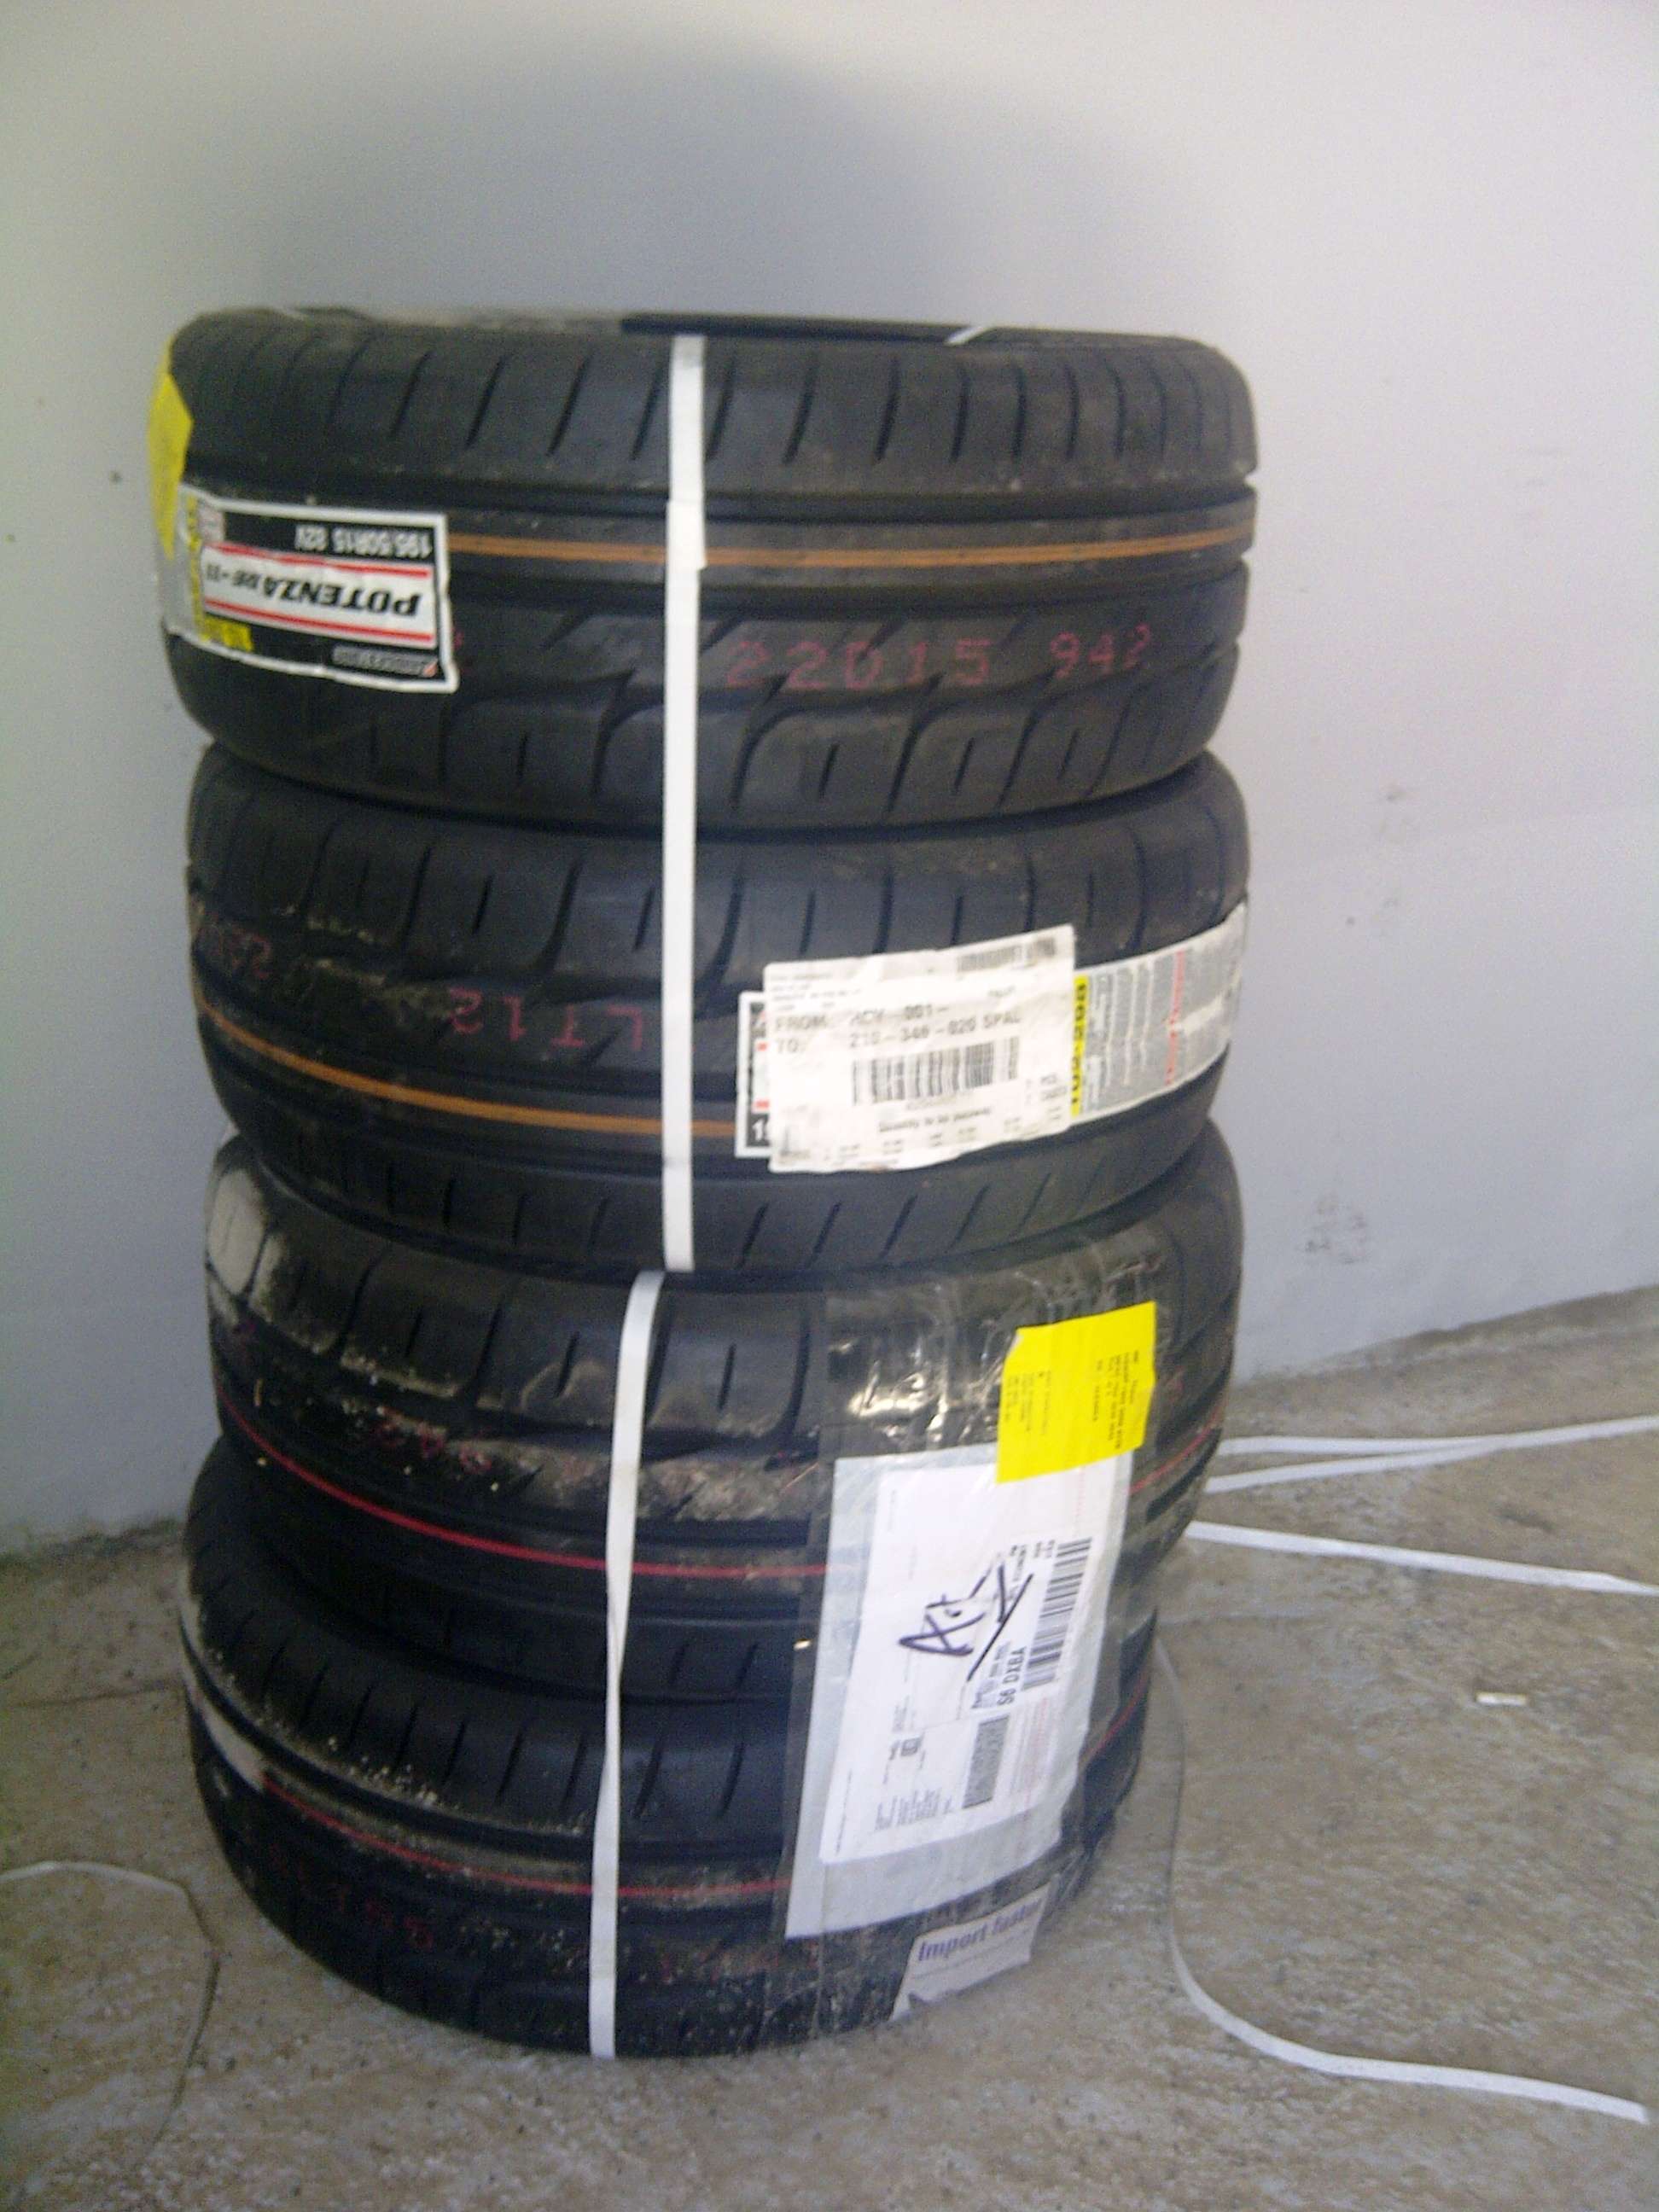
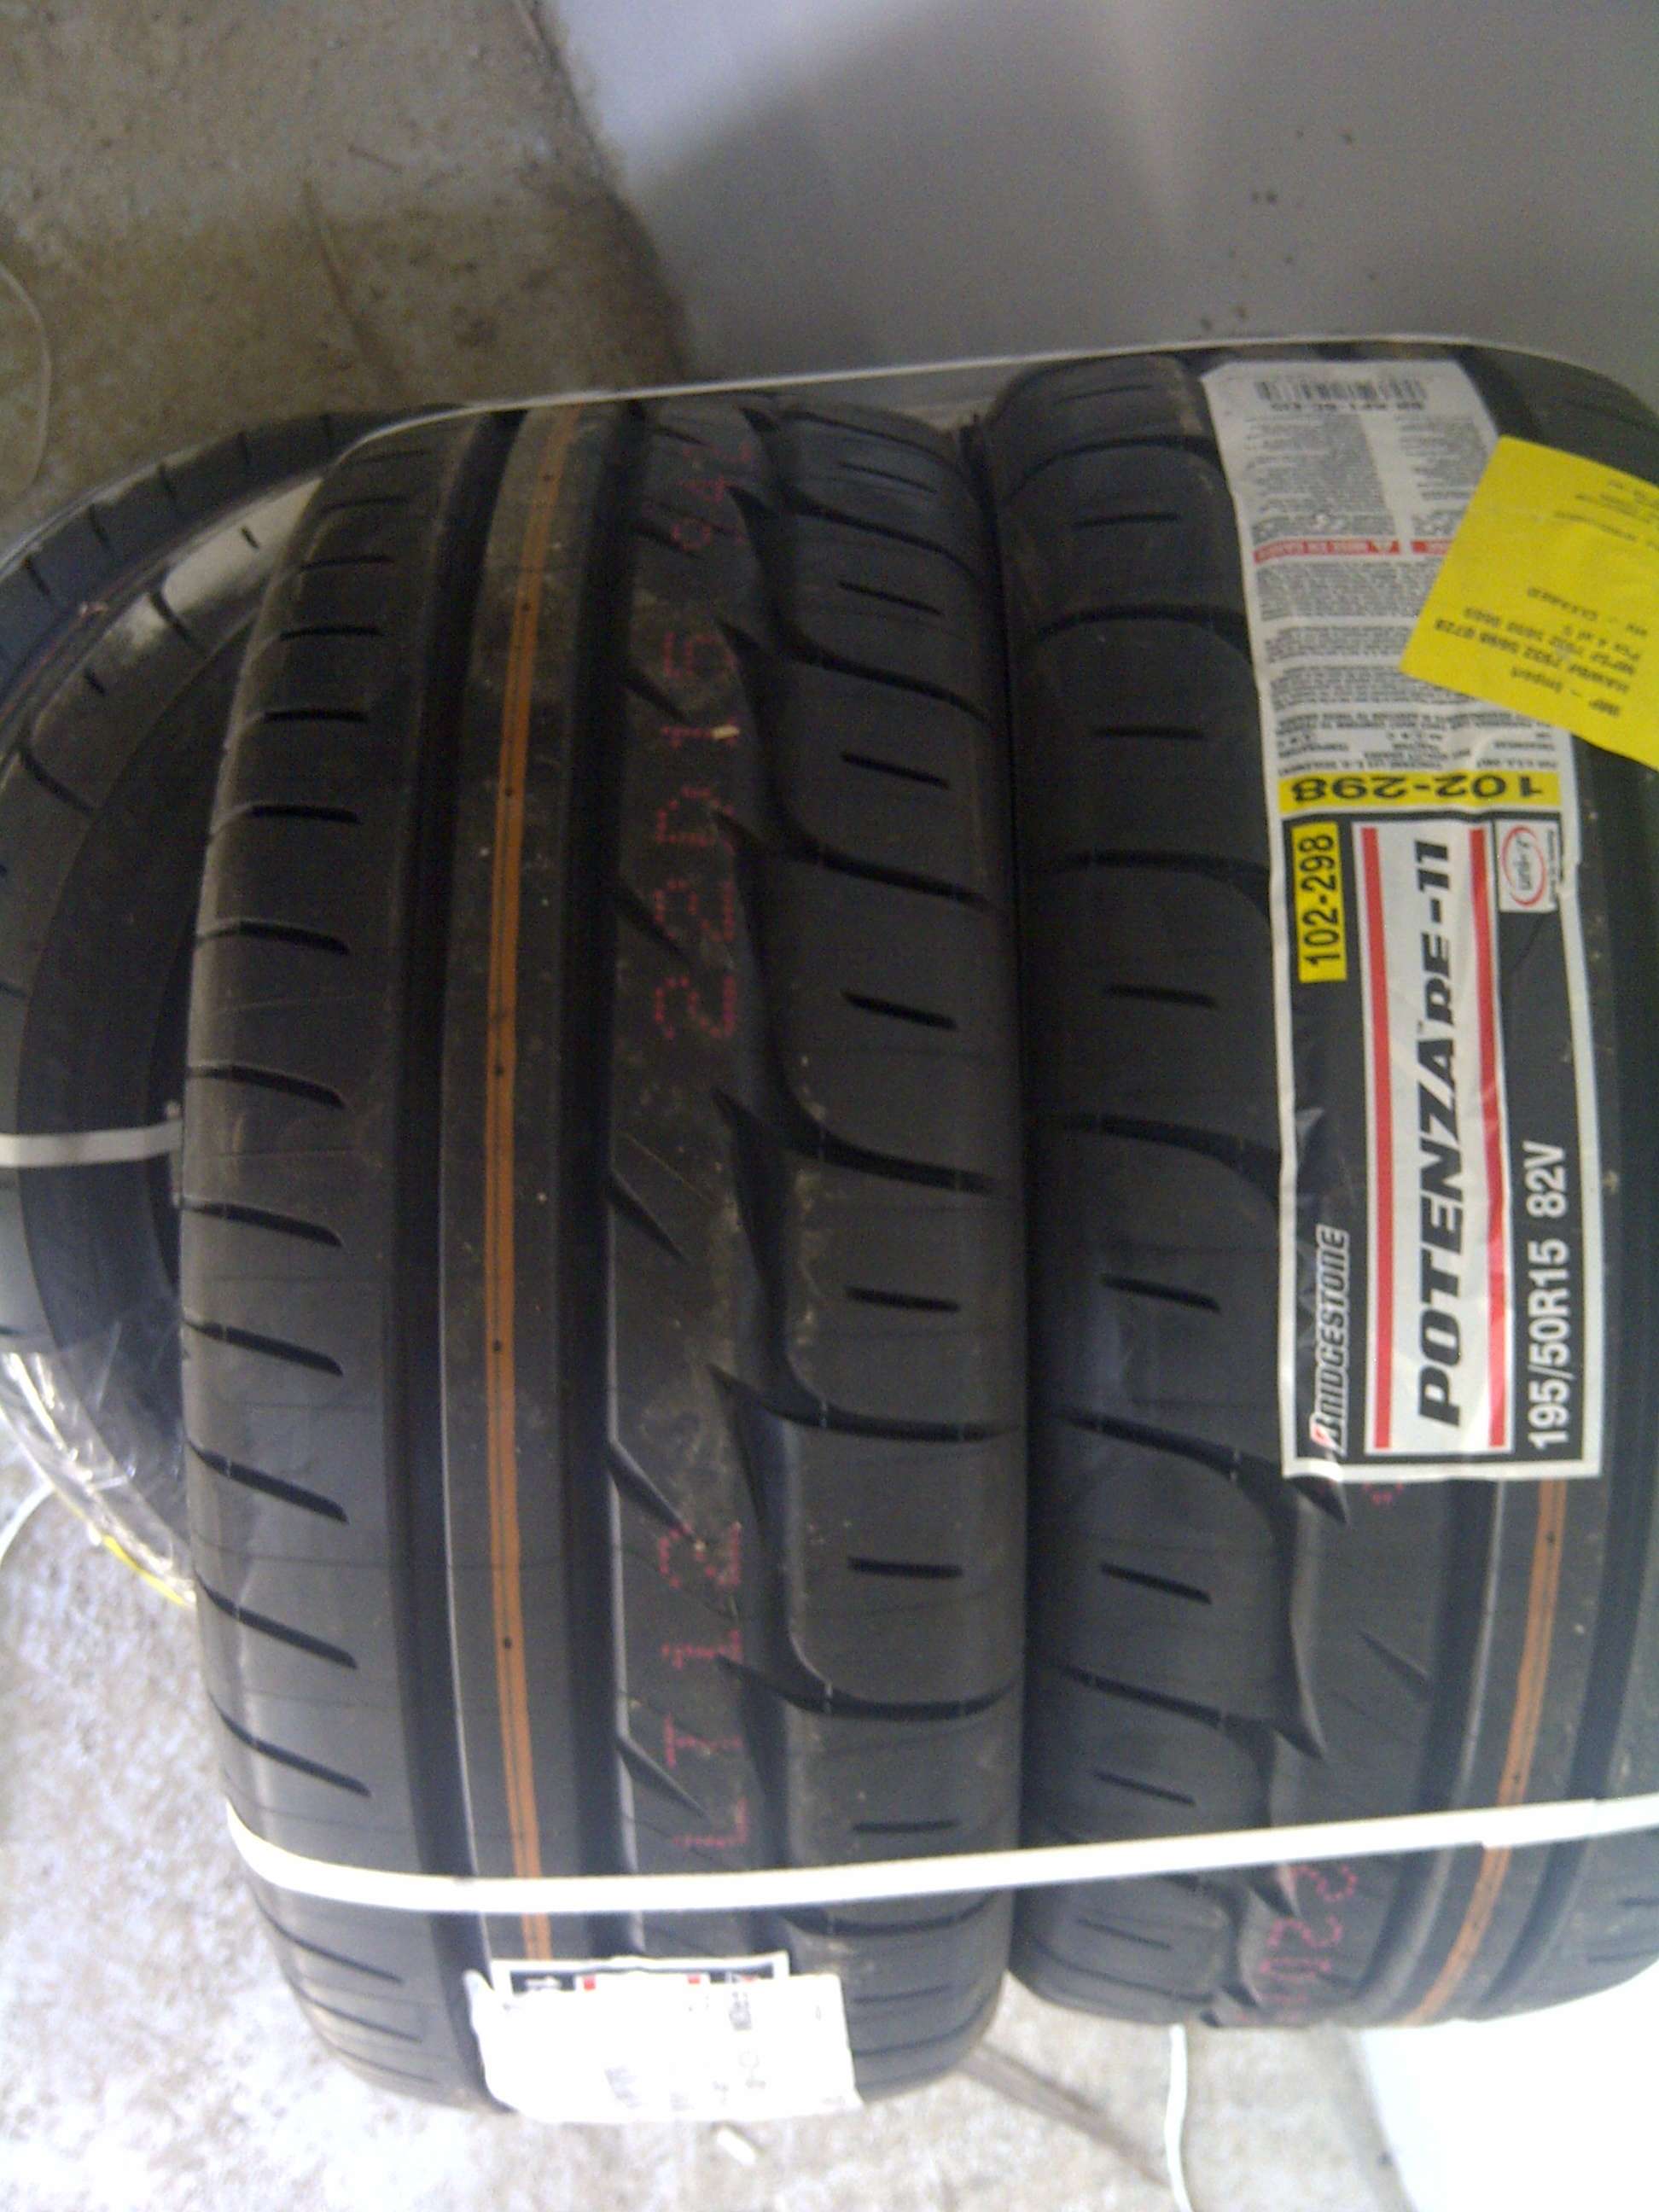
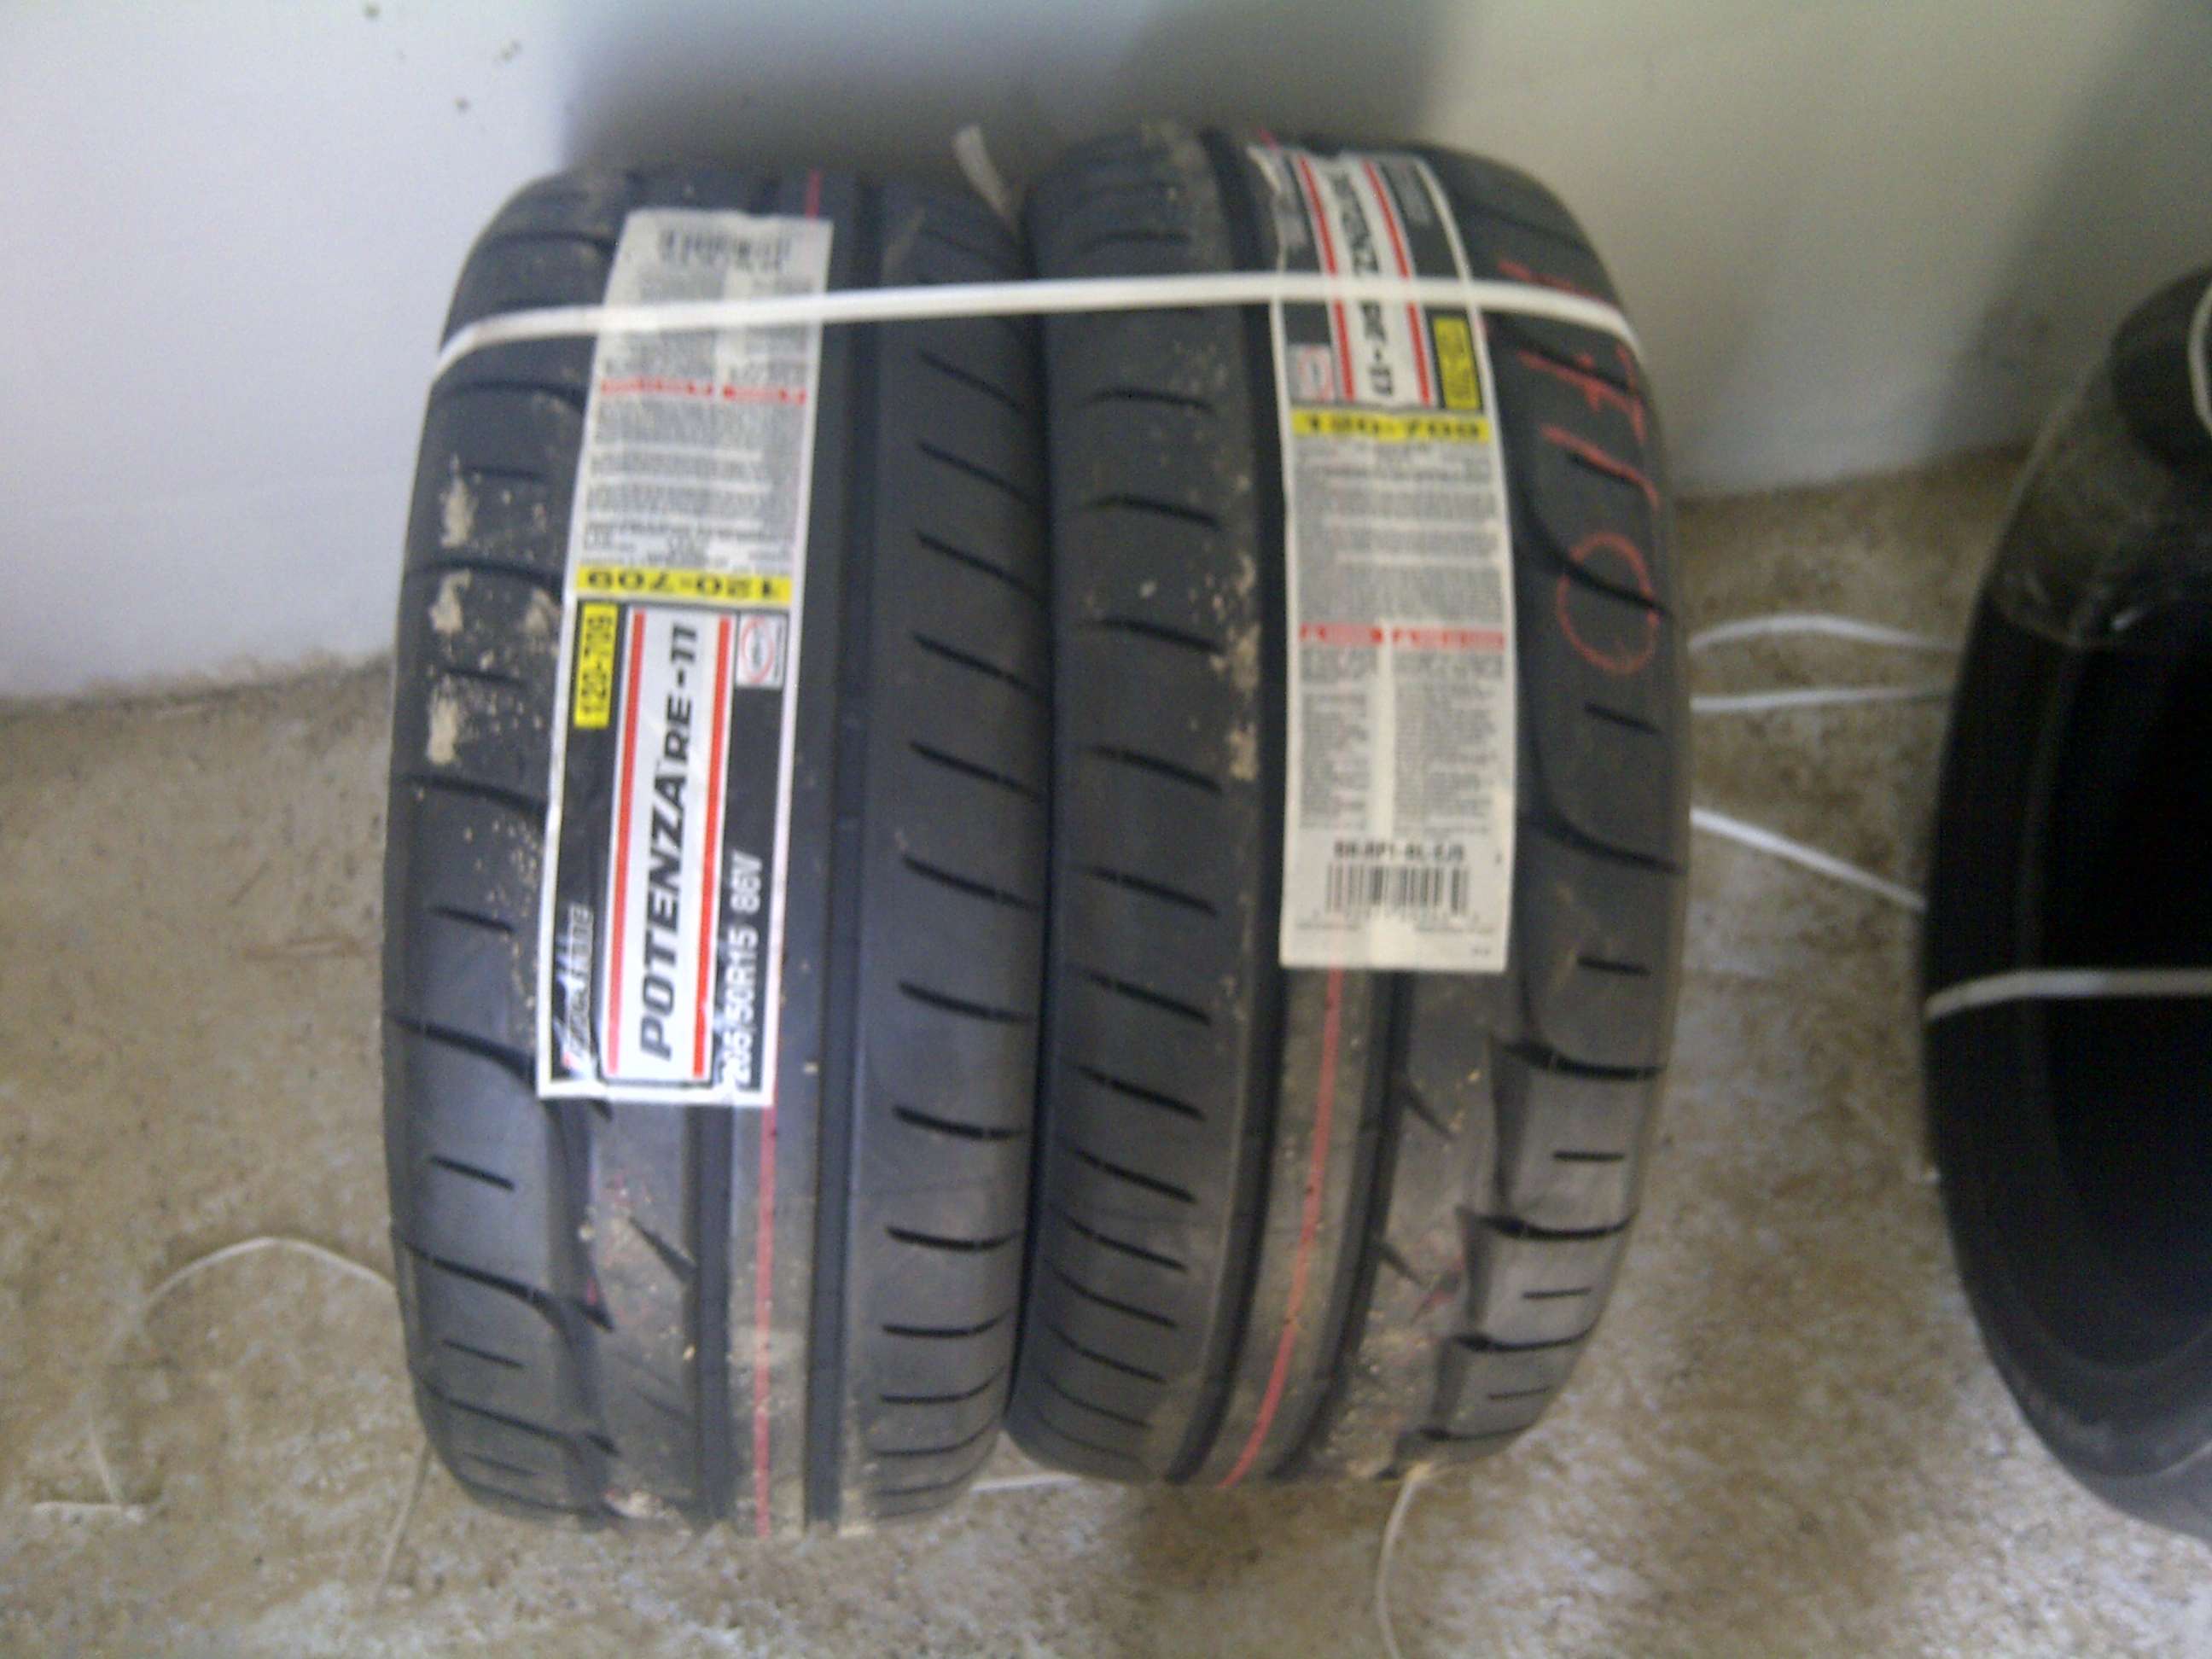
Got my tires from US
Bridgestone RE11, proven to give very nice grip over other tires. I had very limited options when buying tires either these, Yokohama Sdrive or Toyo R1R/R888 so went with these.
Size went for 195 50 15 for the front 8.5" wheel
and 205 50 15 for rear 9.5" wheel
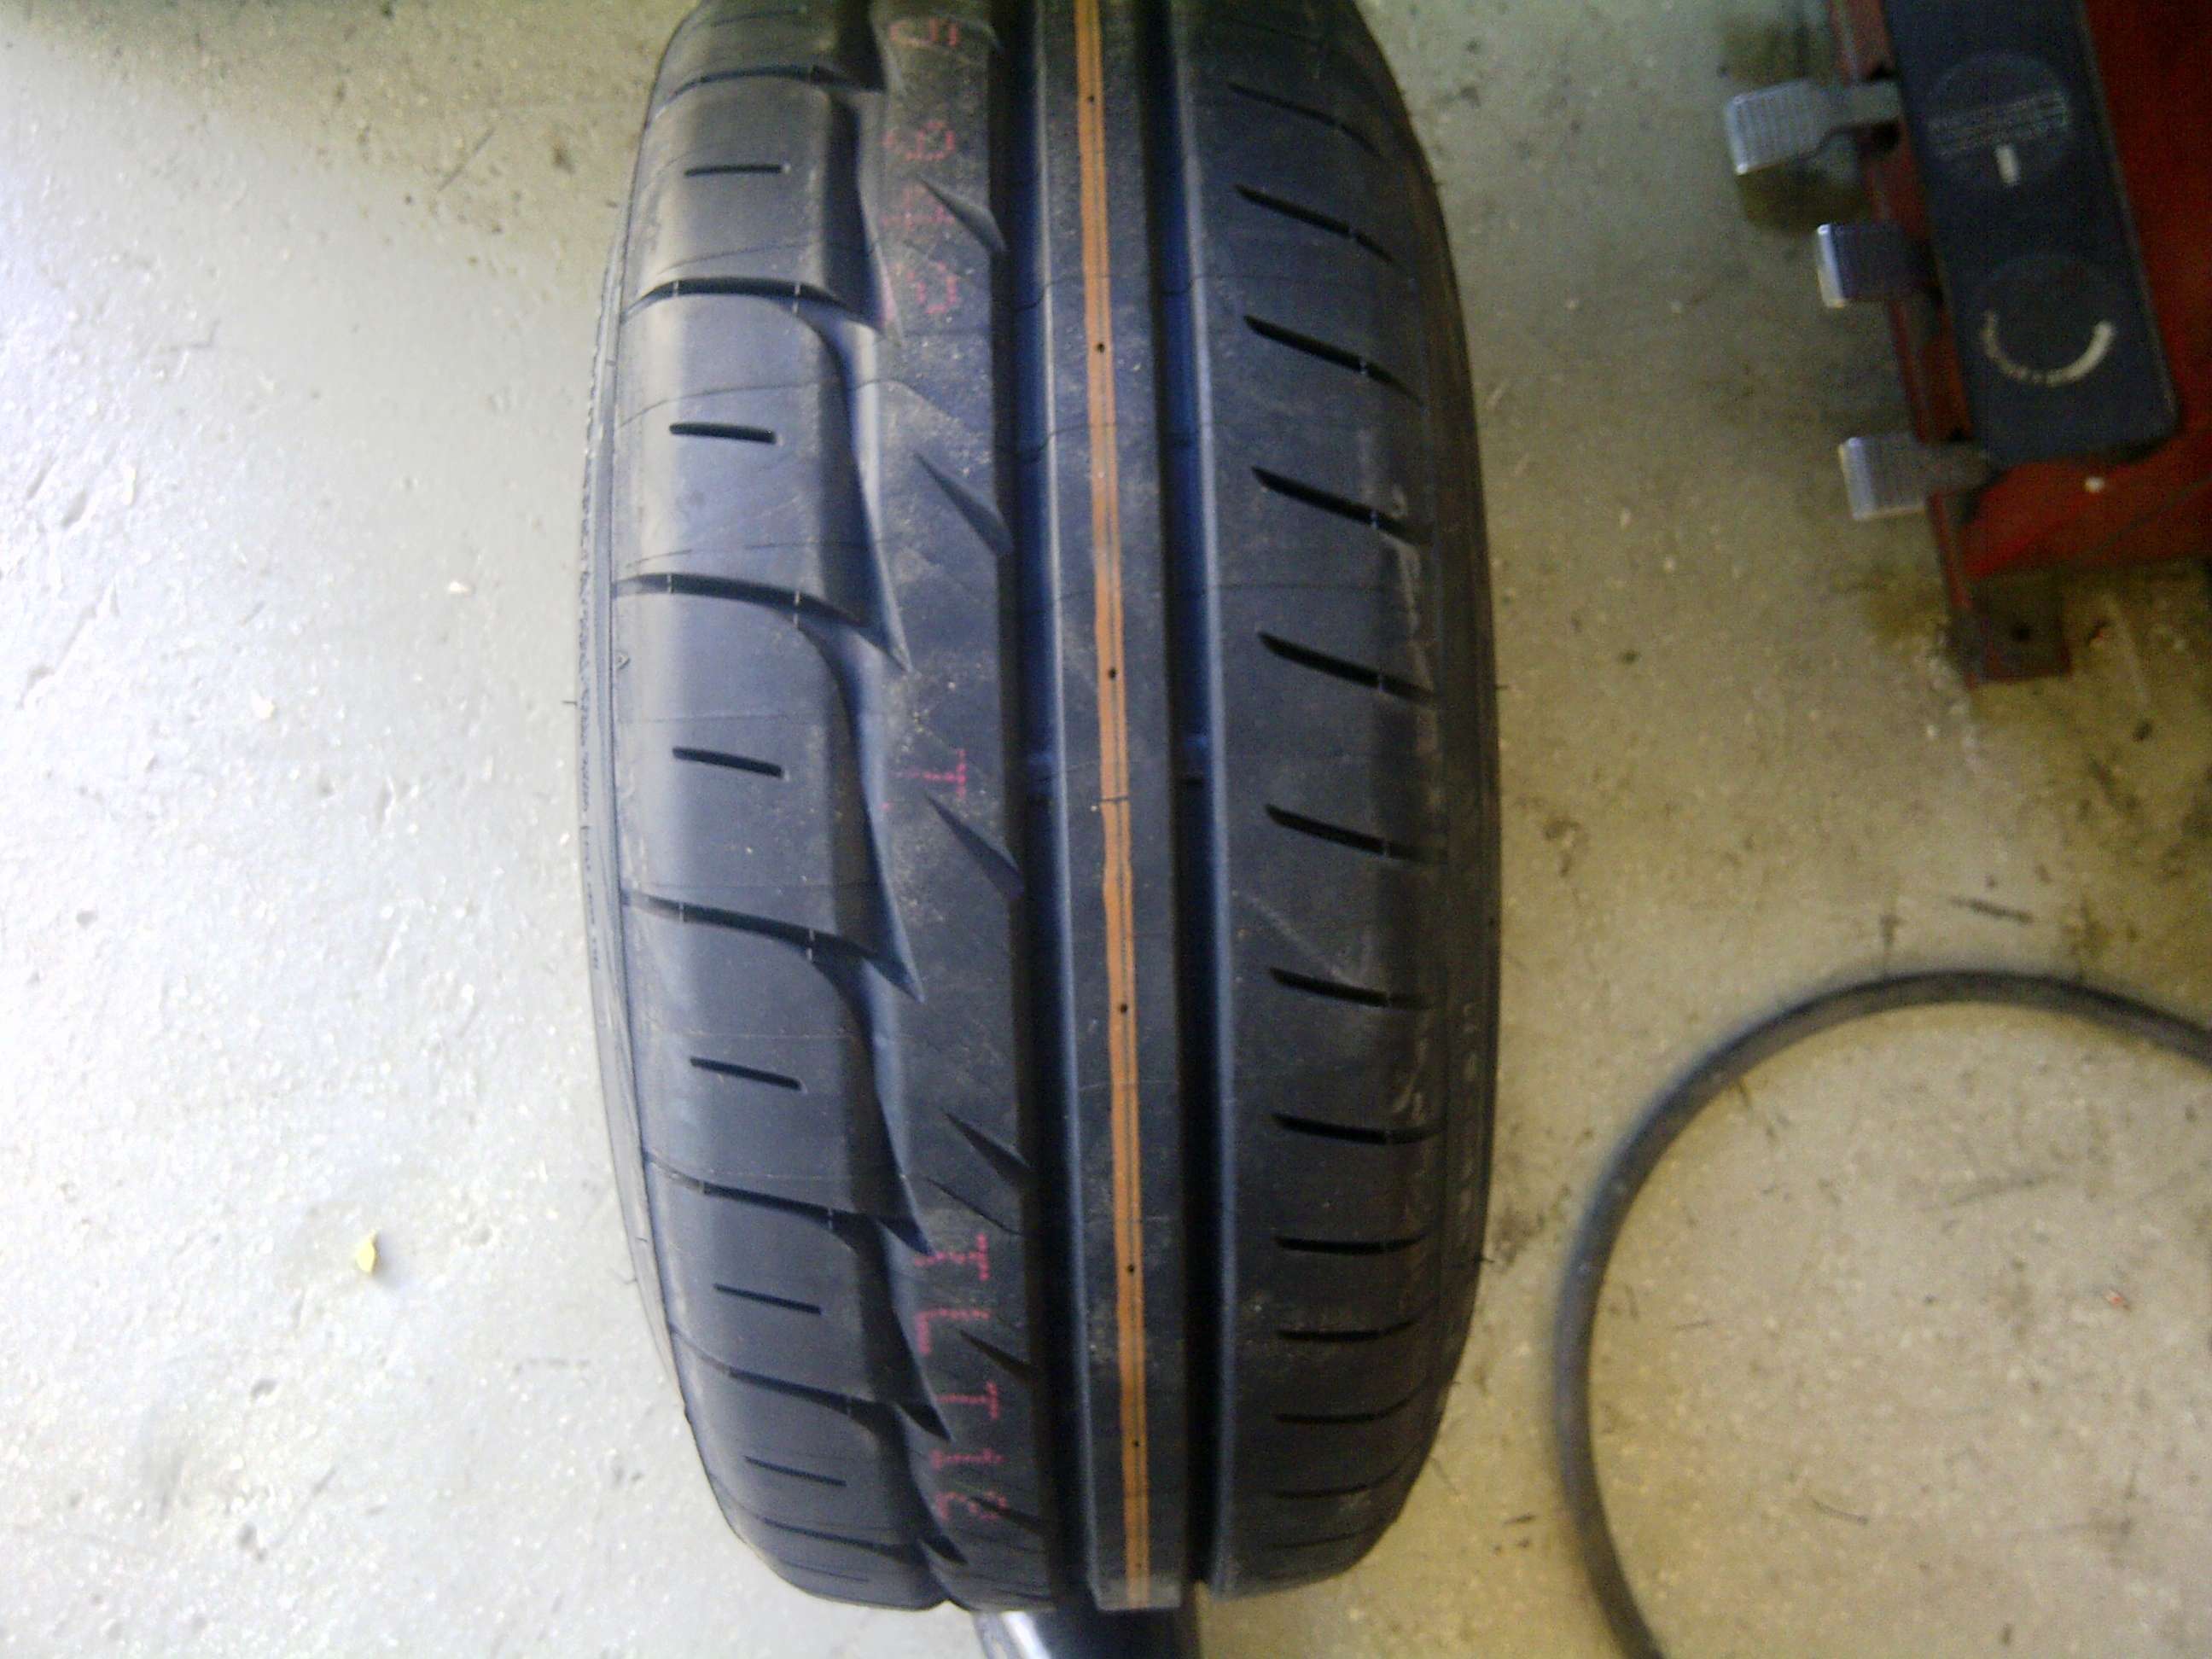
Just managed to install the front ones yesterday
Stretch is there but not that much was expecting more
-
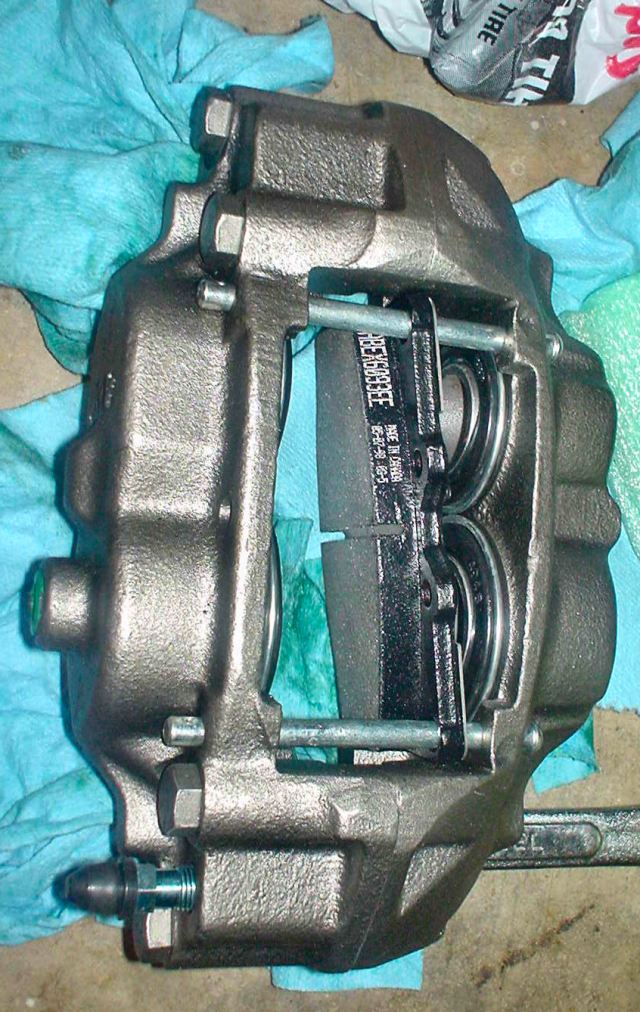
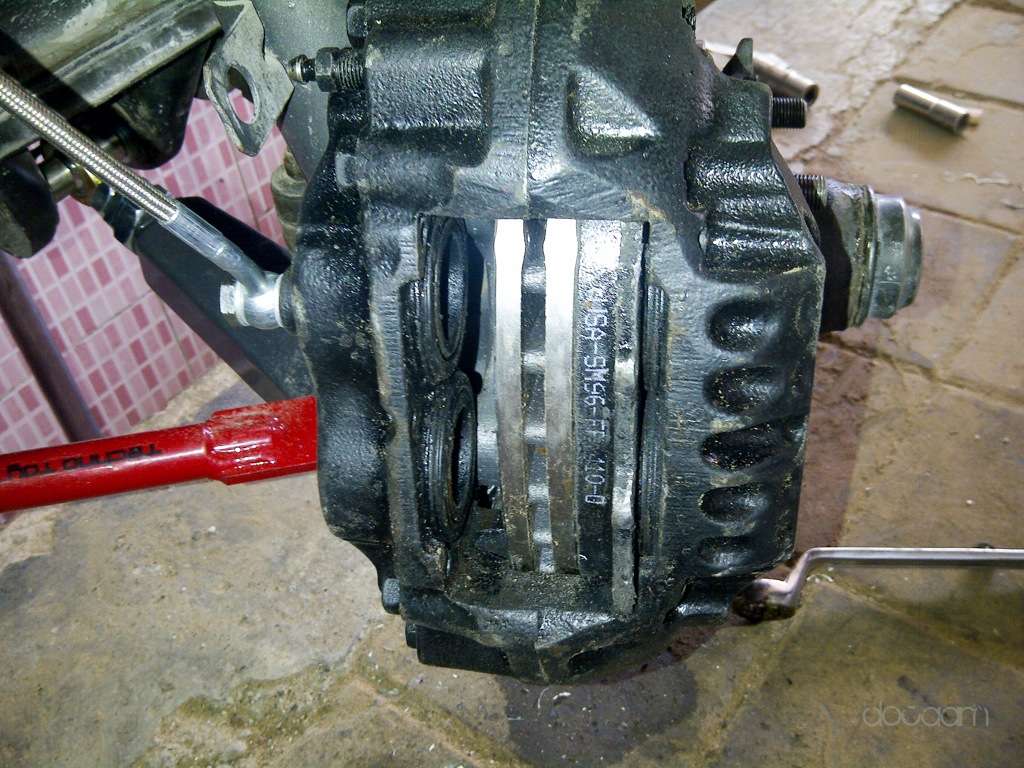
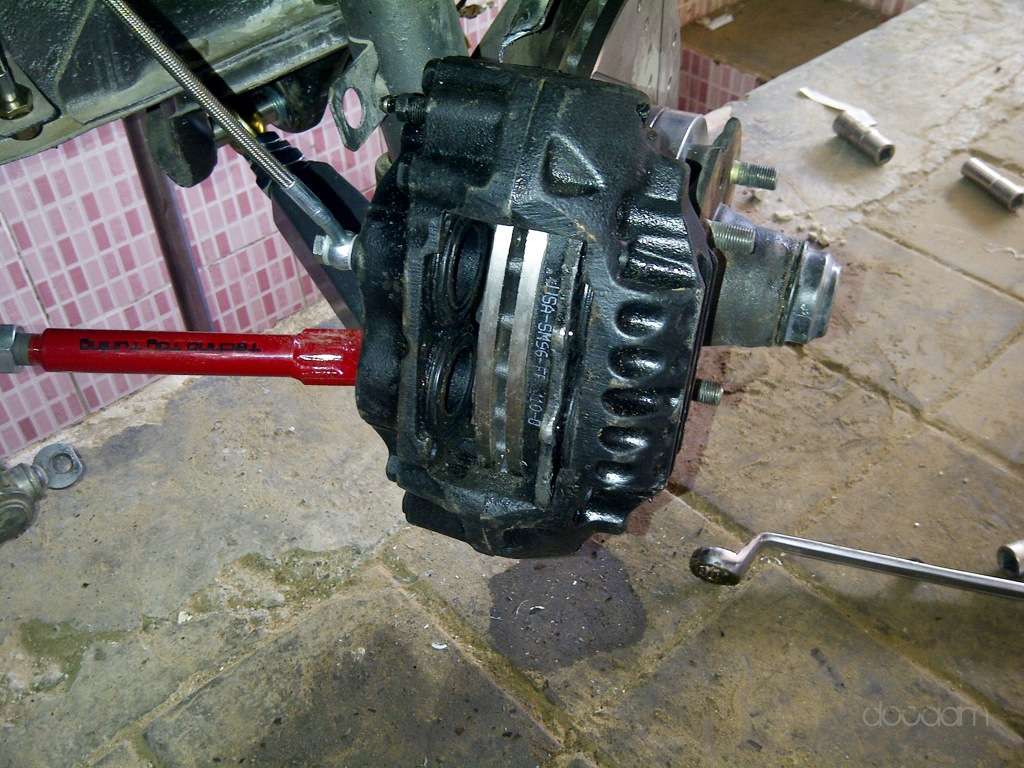
The correct calipers are stamped S12W or S12+8. If you can fit the caliper around the vented rotor (with or without pads) I'm pretty sure youve got the right ones.
The spacer goes between the hub and rotor, it looks correct.
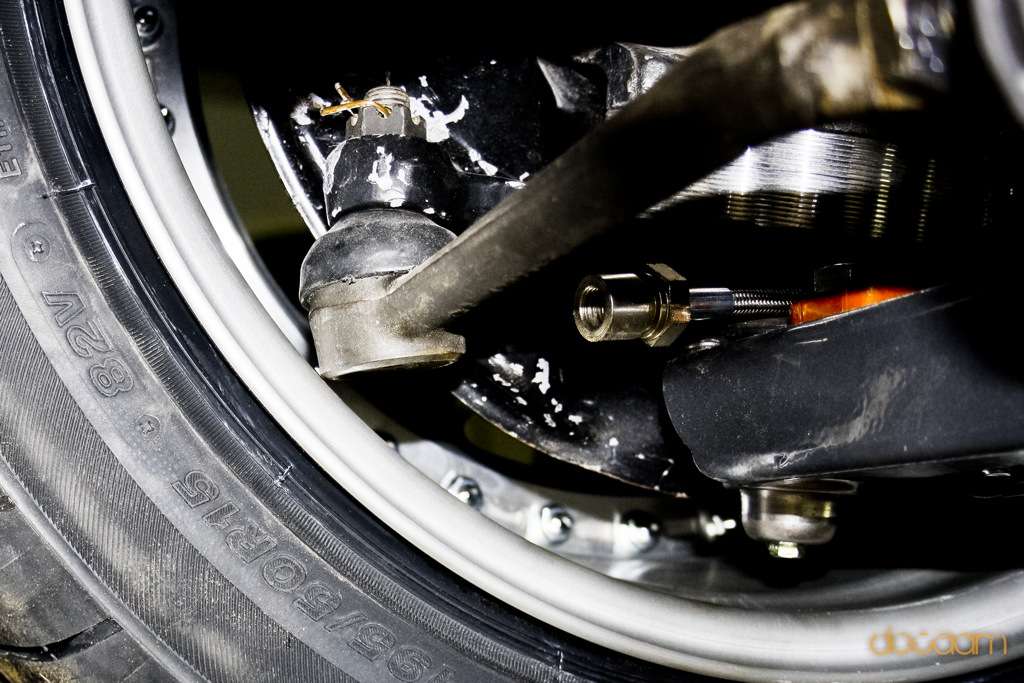
The wheel hitting the tie rod is not surprising. Your bumpsteer spacer is too thick to be used with that size of a wheel (I had the same issue). Moving the wheel farther out with a wheel spacer would probably be the easiest way to fix that for you. You could also machine the bumpsteer spacer thinner( or remove it altogether).
I will check the stamp but im quiet sure its Toyota calipers which one to be exact will find out. So does that mean I wouldnt be able to fix the drilled rotor at all in the caliper which is for stock rotors?
The rotor is fitting nicely, its just pads are a bit thick.
Those look like the wrong pads for the calipers.... Are the pin hole location is in the wrong spots.... pads just prob too thick.. I have this setup and would have to find my pads box to tell u what kind to use... But you should be able to find in search....
Please let me know if you can find the part number
Picture of 4/89-7/91 S12-W Toyota caliper with correct pads.
Thanks
Here's a great big pic of the S12+8 calipers with the right pad setup for reference...
I'd check the pads, plus check the caliper to see if it even says s12 on the side anywhere.
If you need new pads, I just look for 1983 toyota pickup 4wd and they come right up.
As I said up there will check it today once goto the workshop
You are suffering from the Dominoe Effect that is often initiated by a brake "upgrade." With bumpsteer steering spacers, I would go to 16" wheels. My 15" wheels scrape on the outer tie rod end grease zerk. My 16s have plenty of clearance. Otherwise, you gotta ditch the bumpsteer spacers, which really doesn't hurt anything if your suspension is good and stiff. Measure what type of adjustment you need compared to your current wheels and order some new ones. It will make your life a lot easier. I have found that with stock hubs without spacers, the max wheel back spacing I can tolerate is 4.75 inches. Good luck.
Get some jack stands - you seem like a nice person - I'd hate to see you in the obituaries.
I will check first for the spacers else will trim the bumpsteer.
Another question for you guys is, does all the Japanese 15" and 16" wheels have similar issue of center bolt coming out of the wheel. And anyone has any idea where can I get spacers as centerbore size looks really big then standrar 66.1mm or 72mm
-
Lots of work in progress and then problem coming as well
Fitting of stock parts, fitted windscreen, lights, few weatherstrip and all locks
Took the car for basic wiring run, lights are ON
After wiring done taking the car for engine start, IC and brakes and fuel lines etc
As the front brakes are from Toyota with vented rotors, but there is a problem coming, cant fit both the pads, looks like need to shim them a bit, TC and camber arms are installed
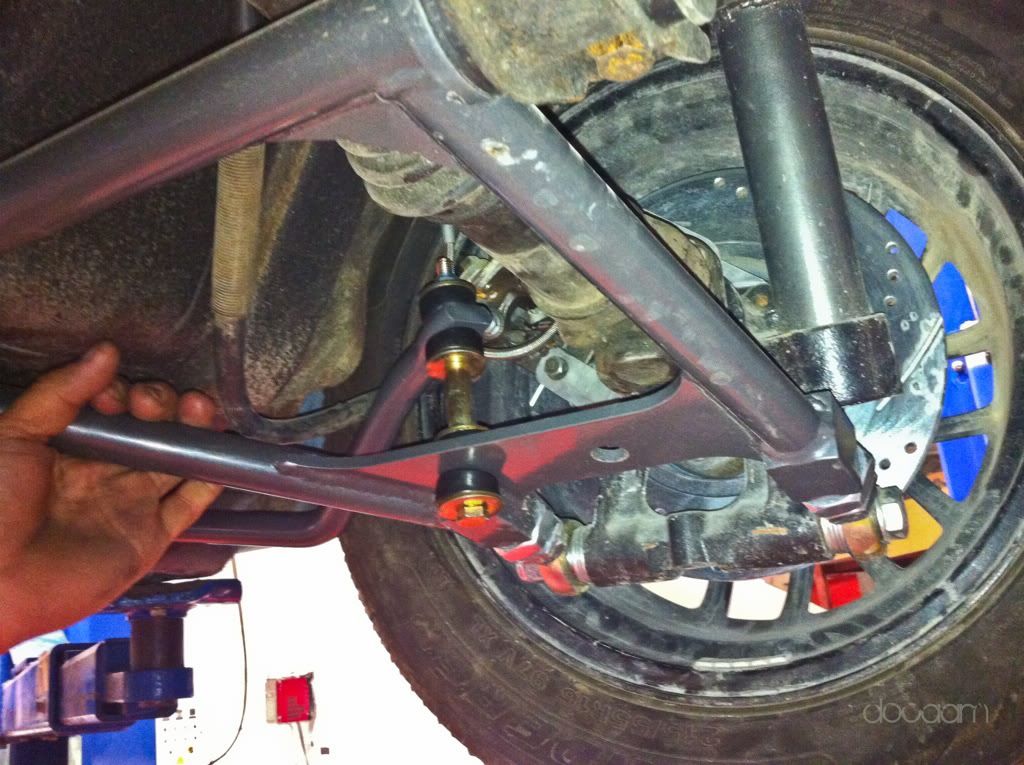
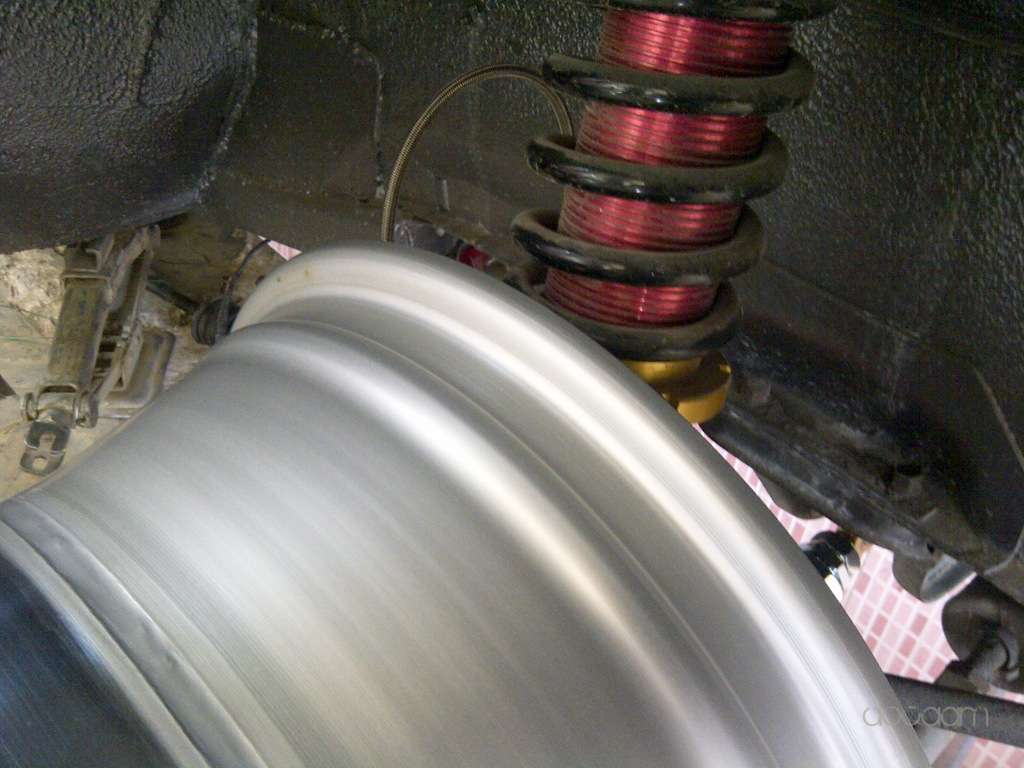
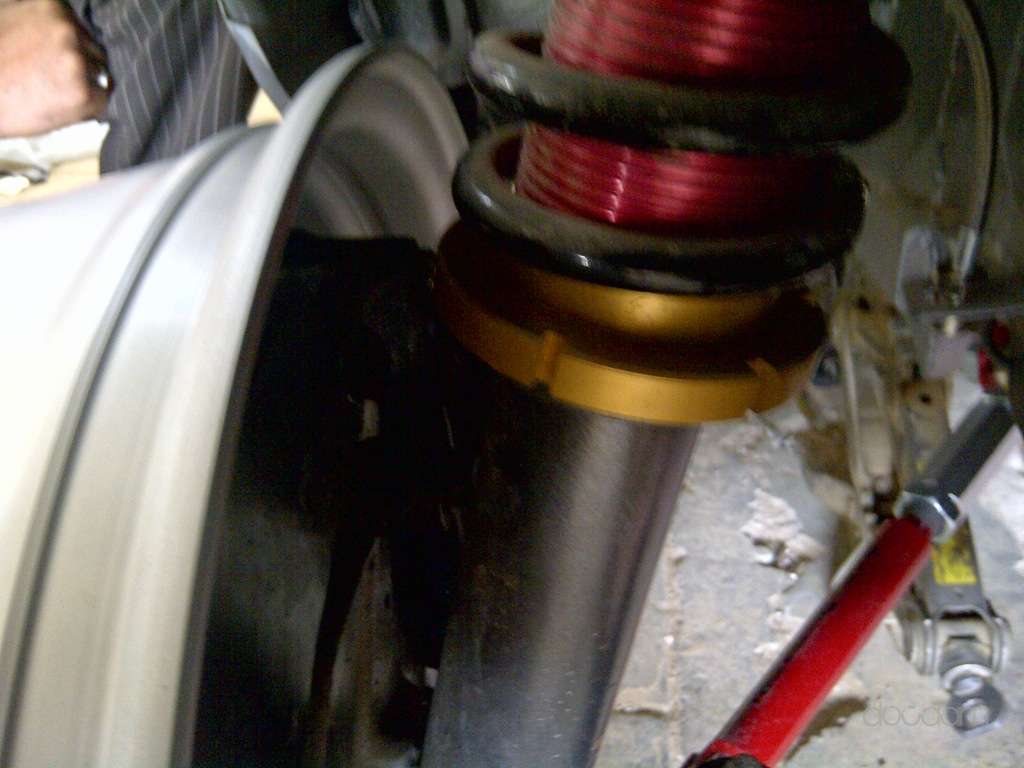
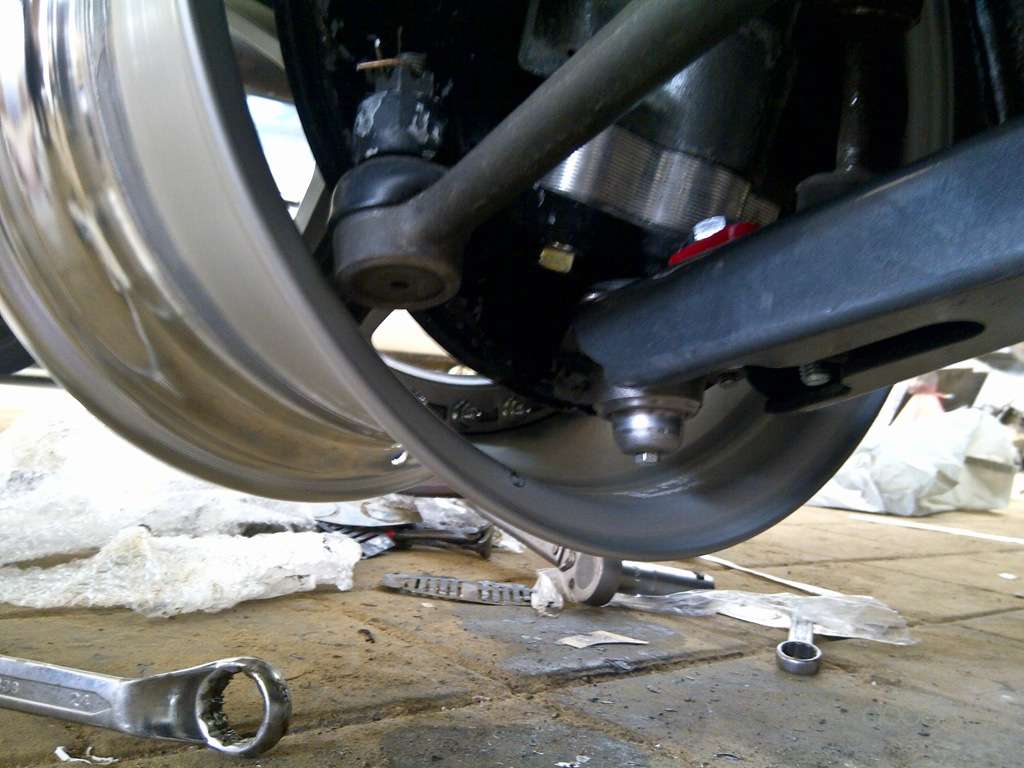
Test fitted the wheels as well, as sold my previous wheels, problem there again. Wheels are not clearing rear suspension parts, even coilovers are close as well.
I think bumpsteer has pushed things a bit down
Even the wheel hub seems to be interfering, but one thing for sure wheels are drooling
Will check again tomorrow after installing the tires. Most probably need spacers but still trying to find solutions and size recommendation as hub is different here compared to normal cars
-
I have gone through the FAQ and pinned lists but somehow a bit lost. Please bear with me as we dont get these here easily so I got the stuff shipped from US so when problem comes it seems a bit more.
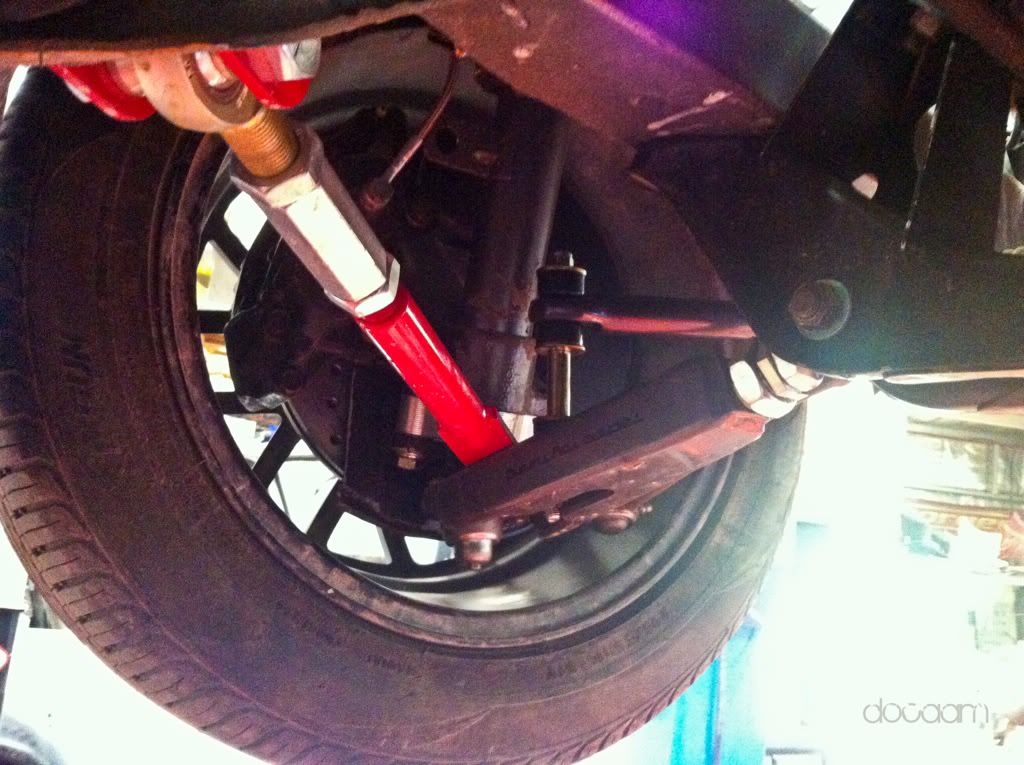
I got this front brake kit of ebay and thought its stage4 from silvermine motors?
Now I have following issue,
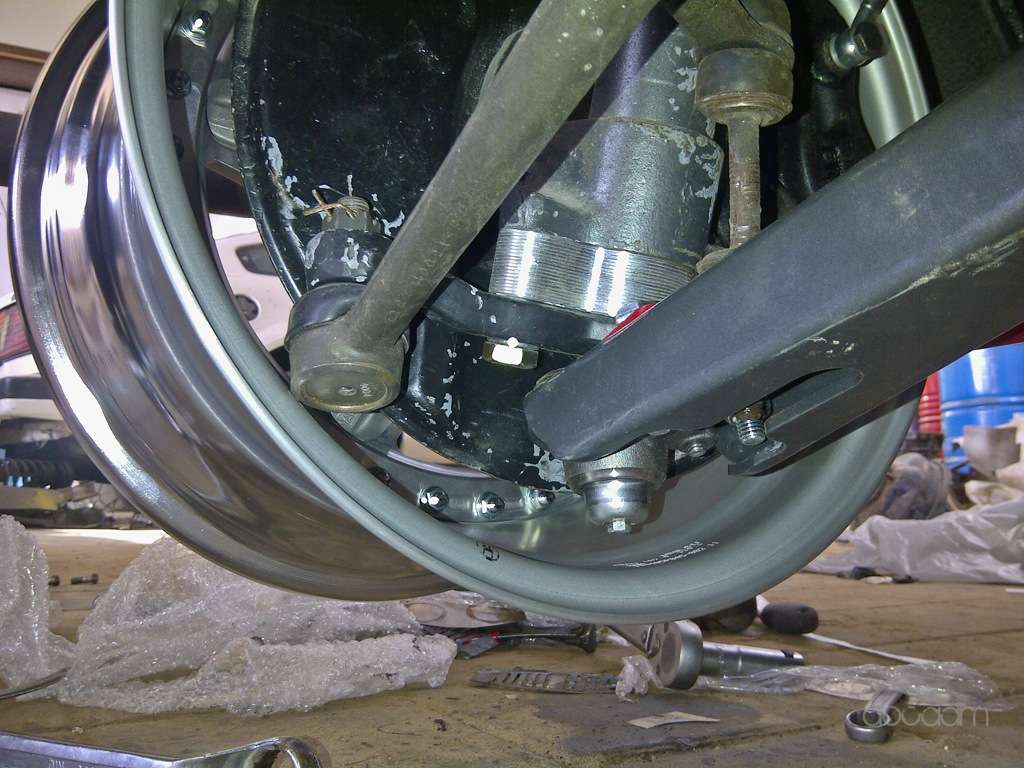
1. cant fix the brakes pads, even after fitting one pad wheel is stuck? I am thinking of cutting 1mm off both the pads it might fit. One thing I think is the calipers are not for vented rotors?
2. Is the spacer placed right?
3. I have 15 X 8.5 -9mm and seems to be clearing the caliper hardly but doesnt look like fitting the hub properly. The hig core of the wheels is standard 72 or 72.5mm? The wheel is touching the suspension parts as well
. Can anyone guide me if there are any specific spacers for sale which clear the whole hub as shape of hub is differentThanks
Pictures
Cant fit pads, Which calipers are these which clear vented rotors or which doesnt
Is spacer placement ok?
Back clearance
Hub through the wheels seems like wheel is not inline with the hub cant push more
-
great build, subscribed
-
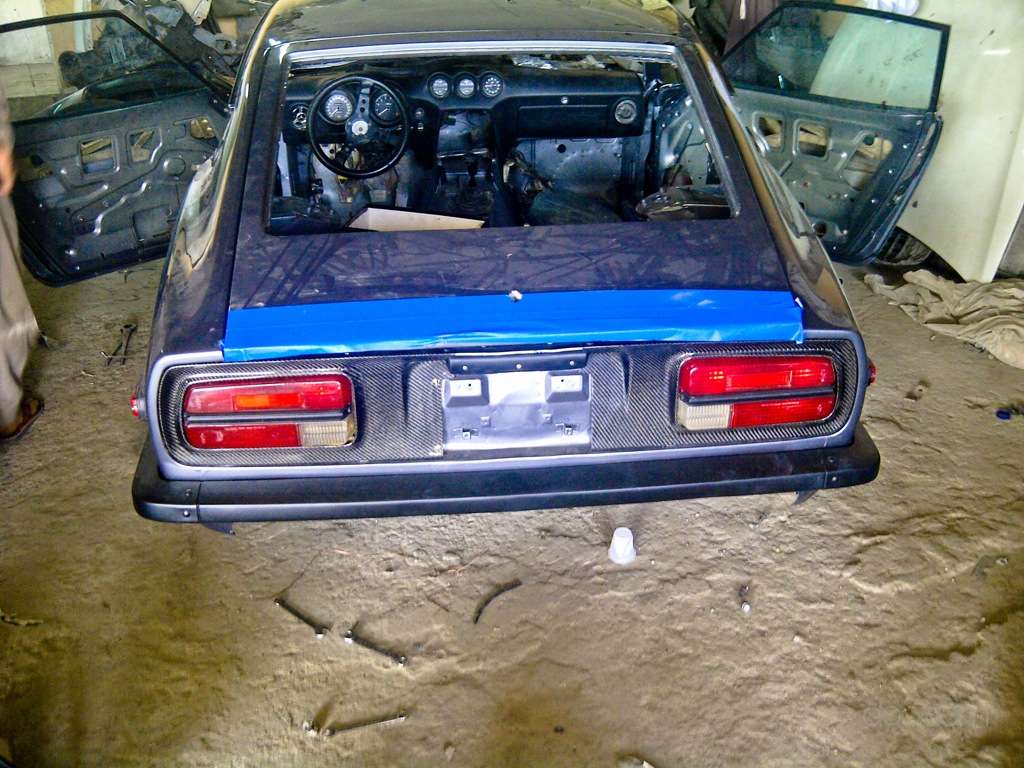
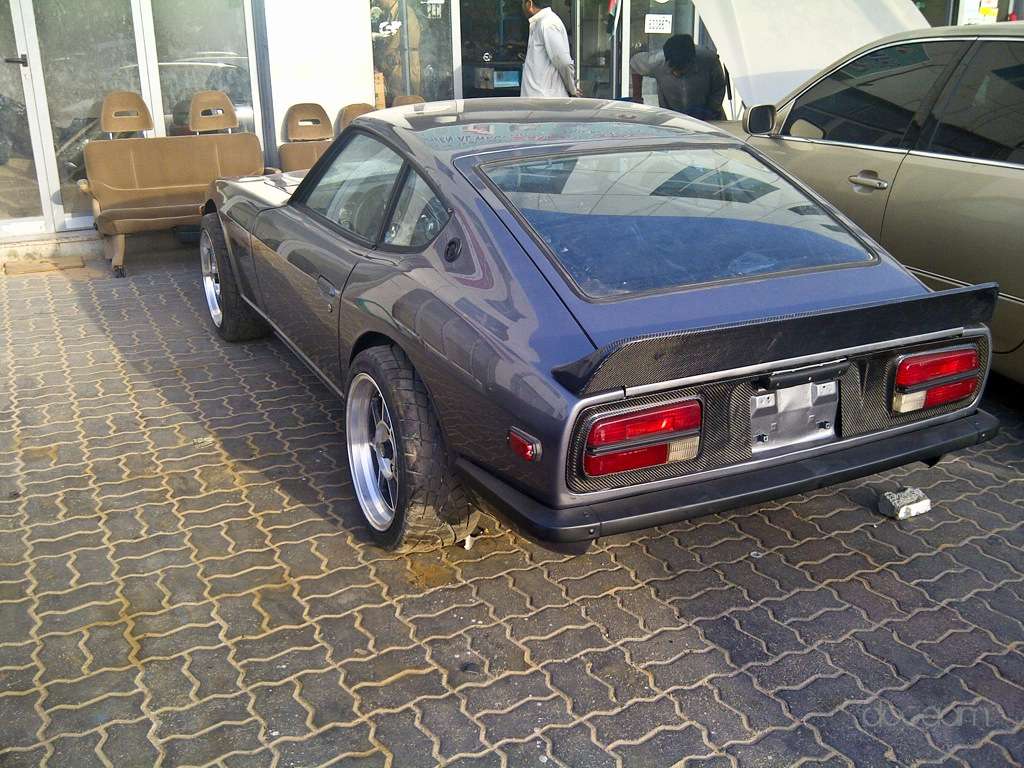
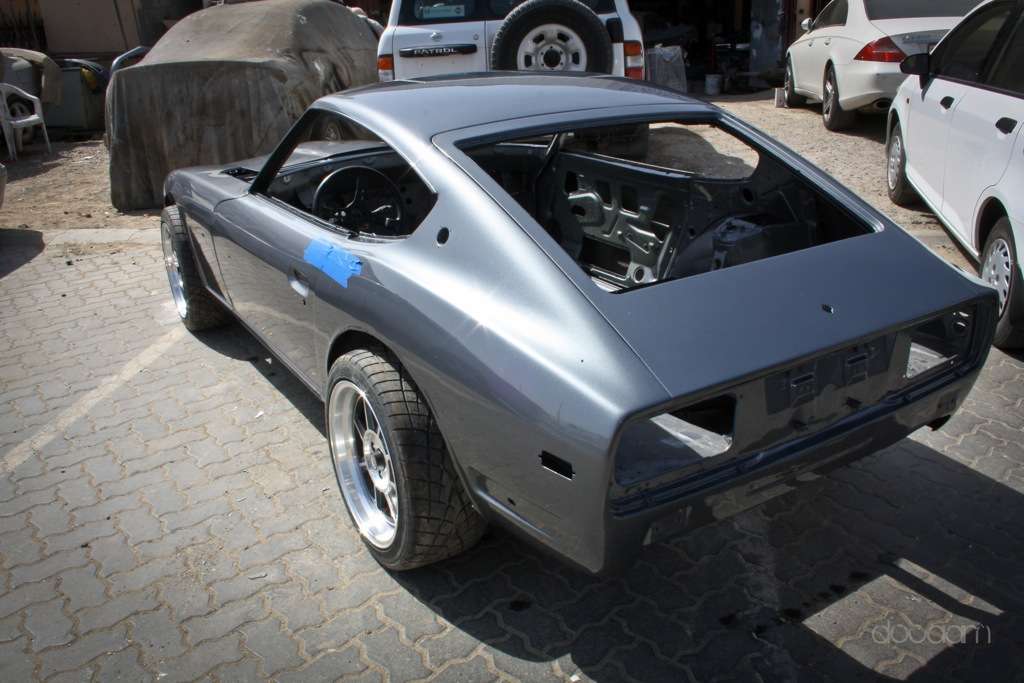
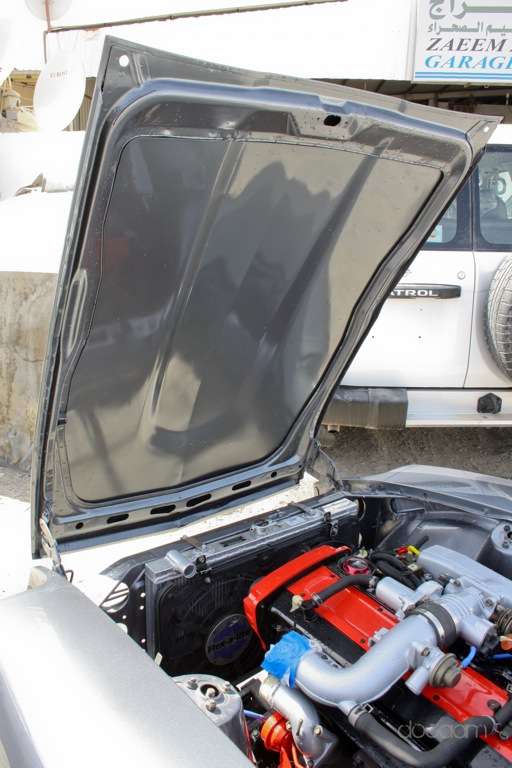
I got some parts for the Z will post details they time they are ready for installation. As of now car has been sanded and polished and fitting of the parts has started. Took it on a recovery truck for a quick wash inside out.
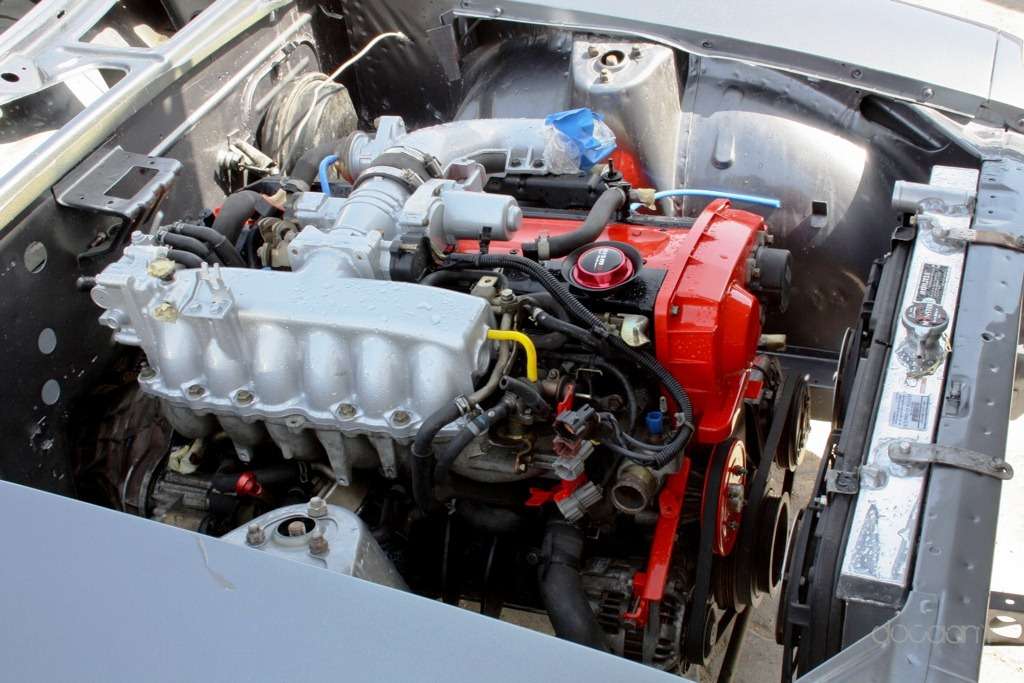
Engine looks clean now
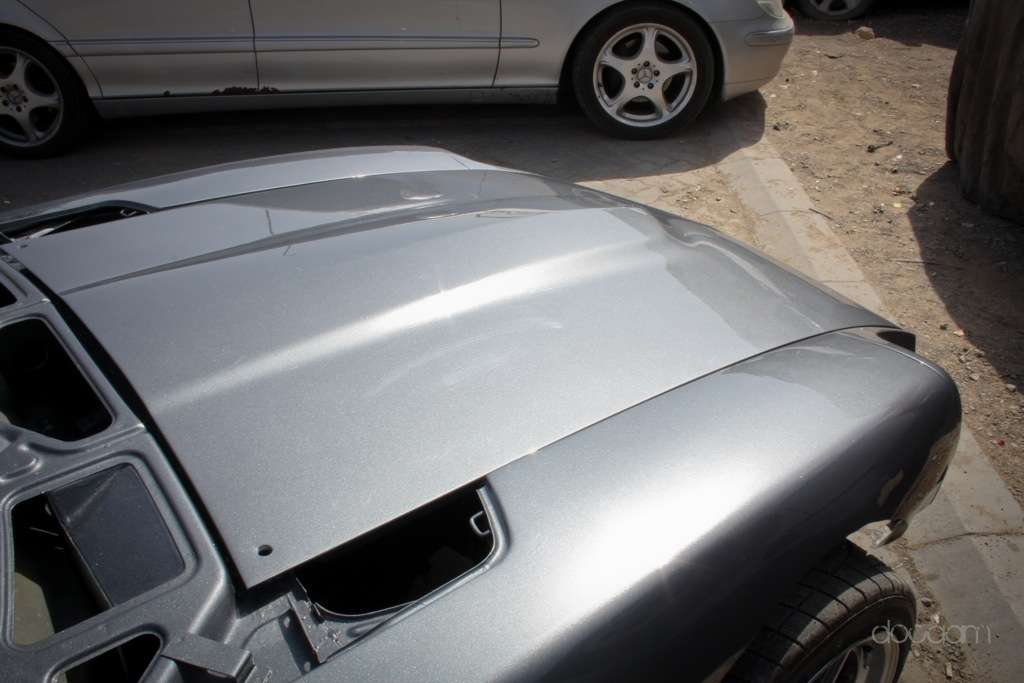
Even clearcoated underside of the hood
Finish is flawless.
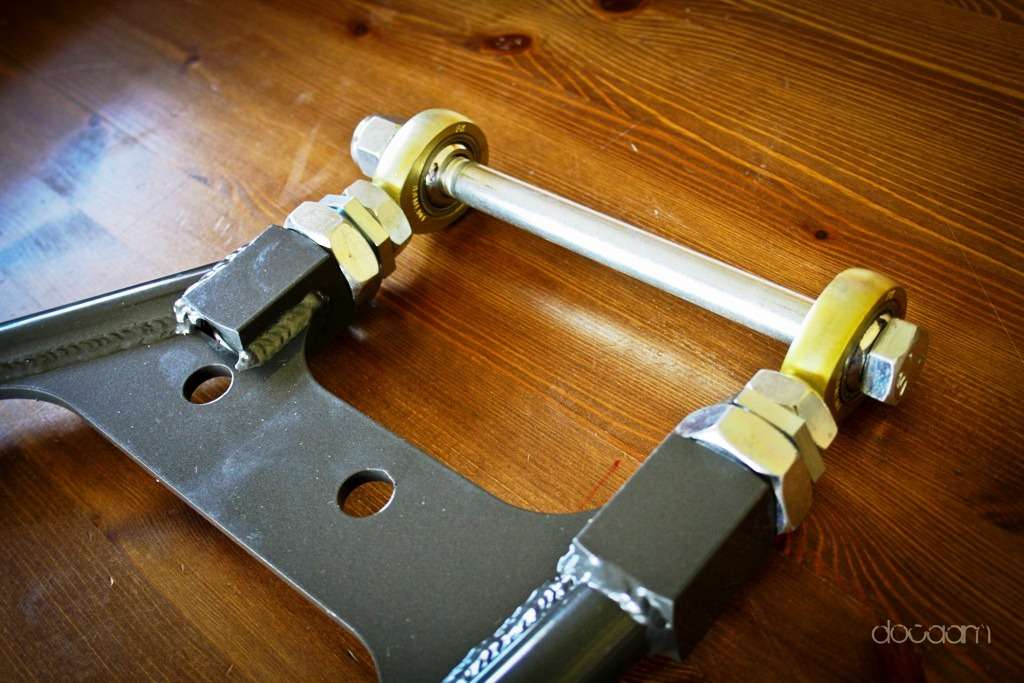
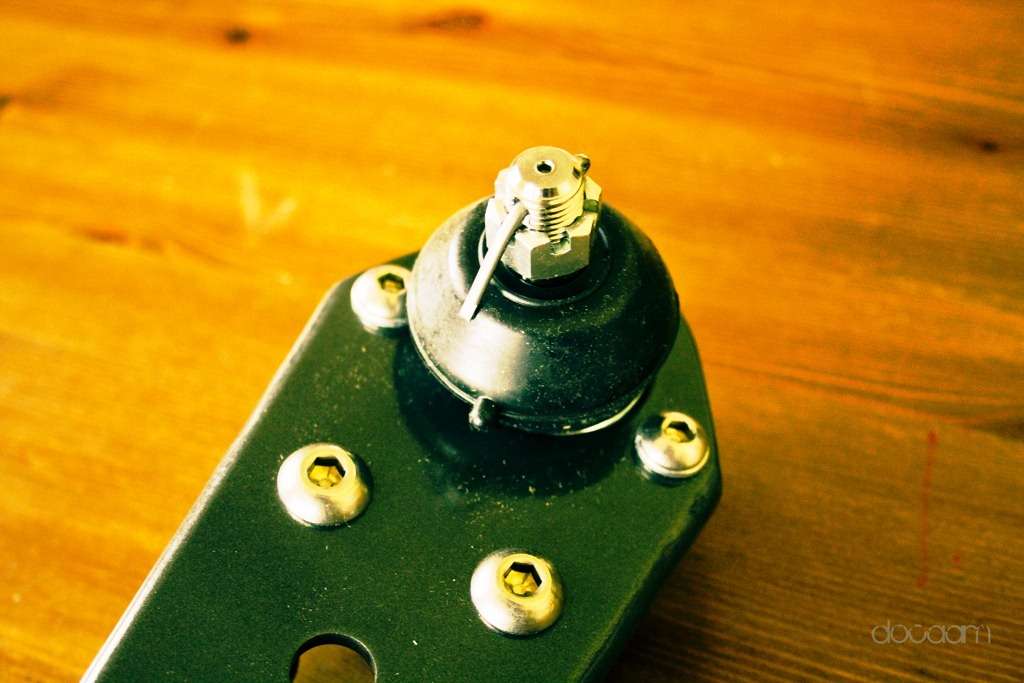
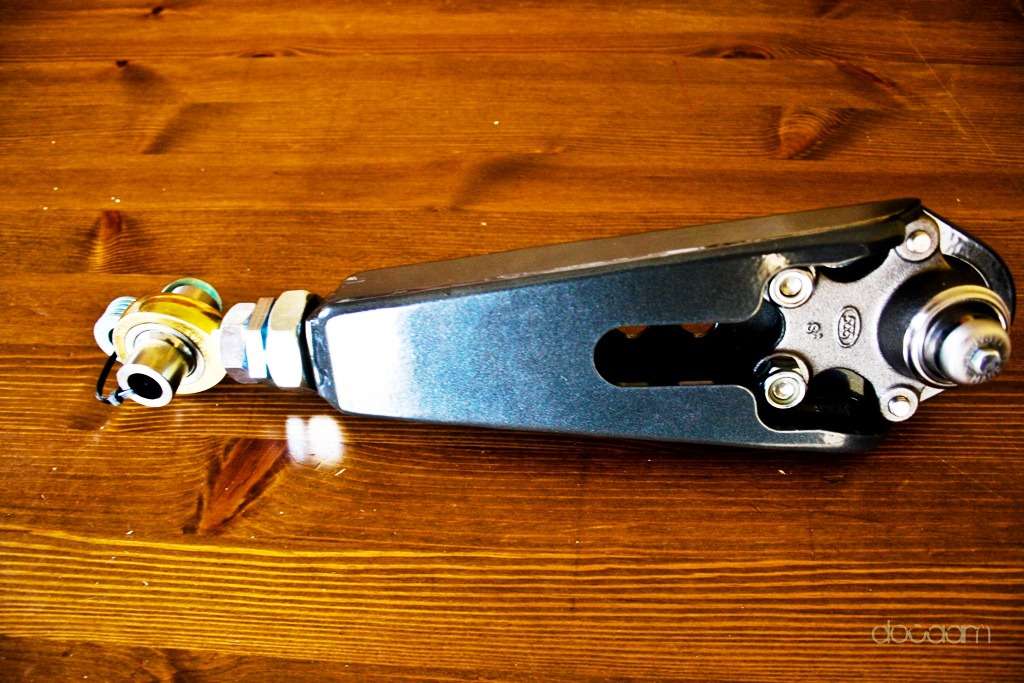
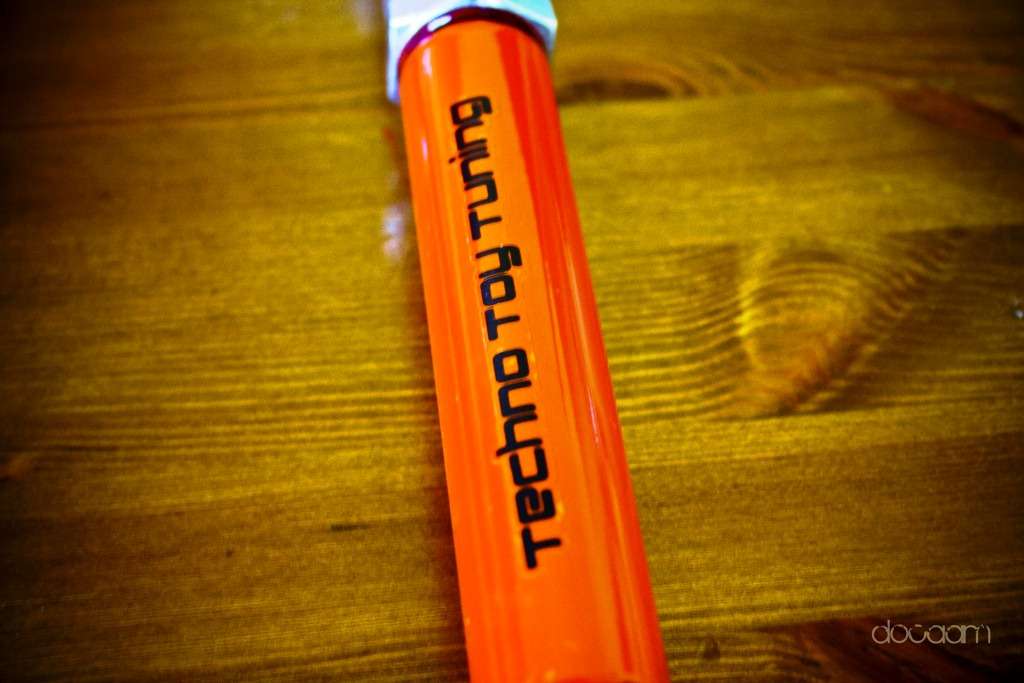
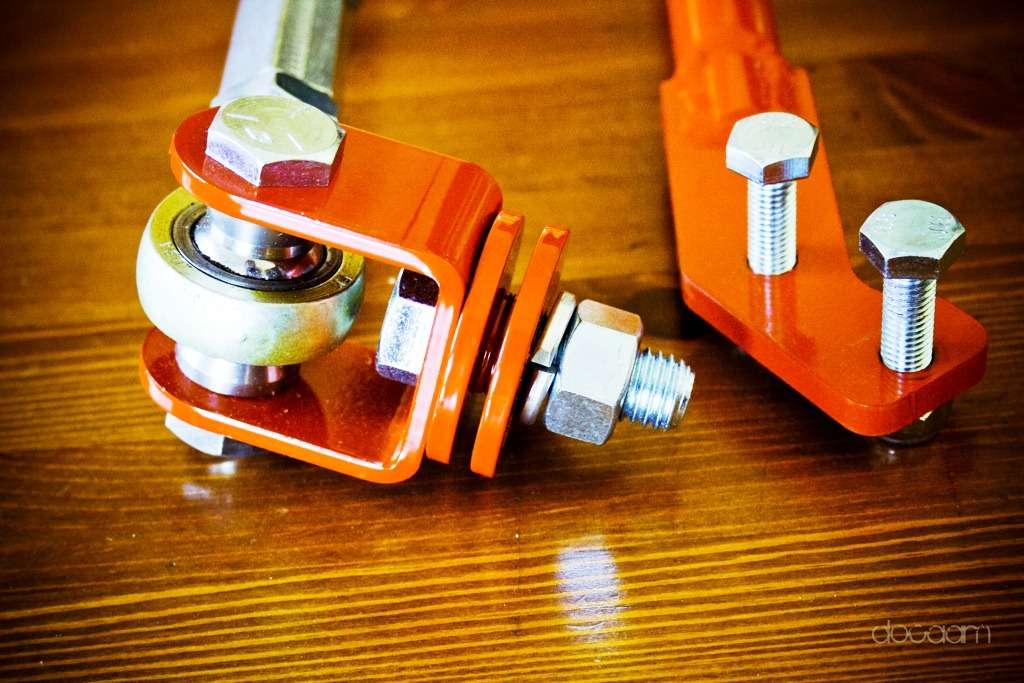
I got cusco front and rear struts and motorsports sway bars along with some exciting stuff from Techno Toy Tuning. I always felt the lack of camber and caster setting and a weaker stock suspension so got myself these from them, only down point is their parts are a bit heavy but im not that much bothered about weight saving.
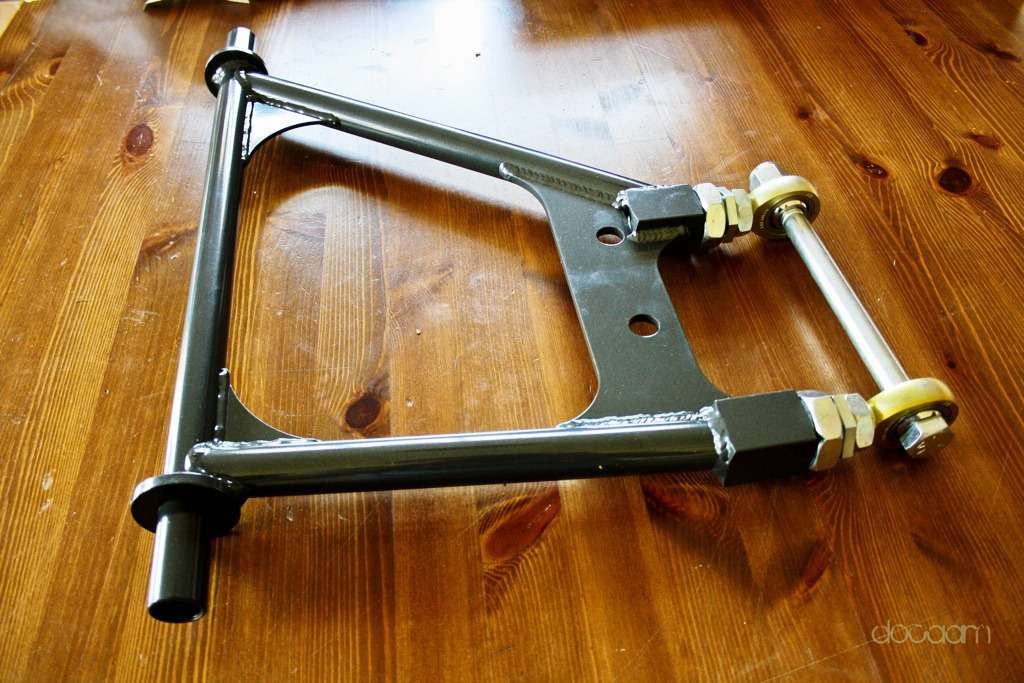
Rear lower control arms, will allows to adjust toe and camber, and can also move the tire within fender wall about 1/2"and can widen the rear track by 1"
Front lower control arms, again widen and shortening along with camber and toe setting, have two setting for sway bars and in total very touch compared to stock ones, come with new ball joints as well.
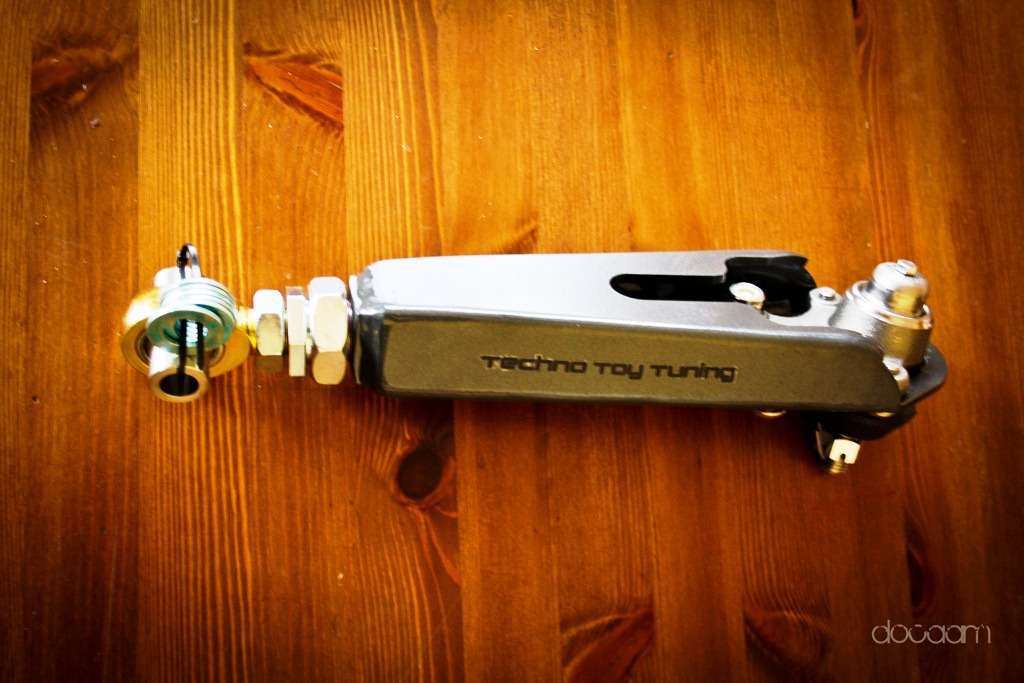
Tension control rods, got these to adjust the caster as thats a priority, even after cutting the fenders wheels is touching on turning
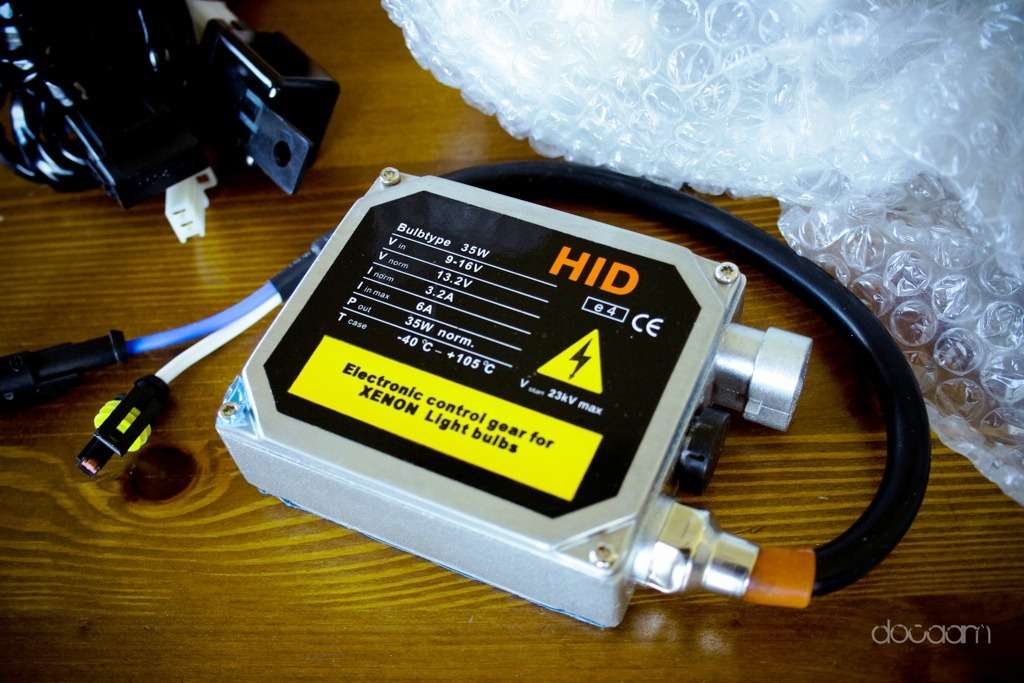
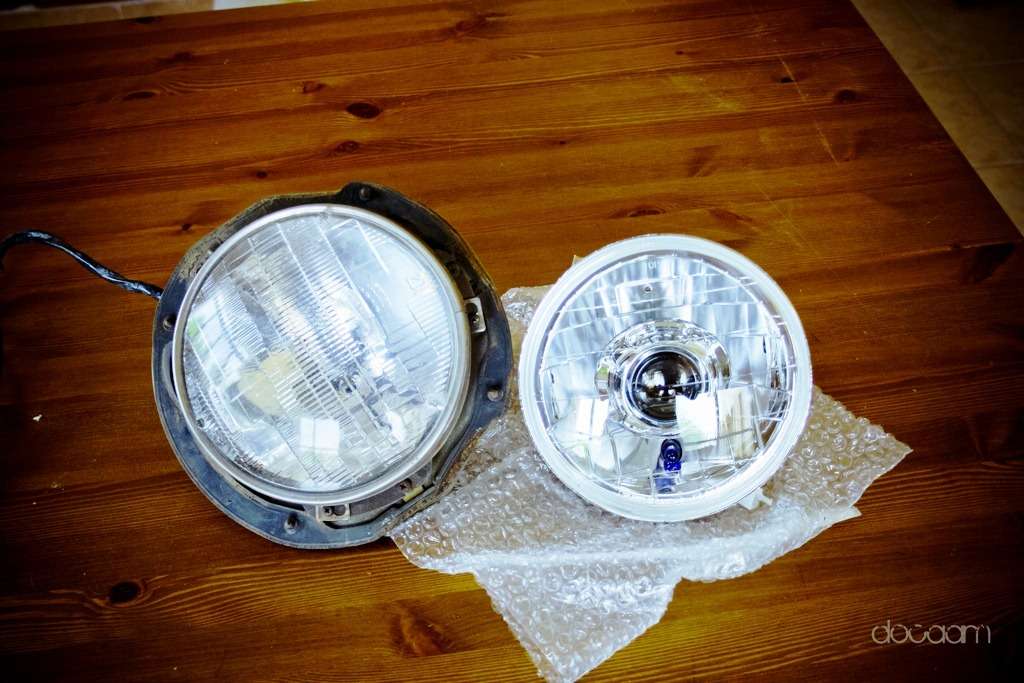
got new xenon headlights,
side by side
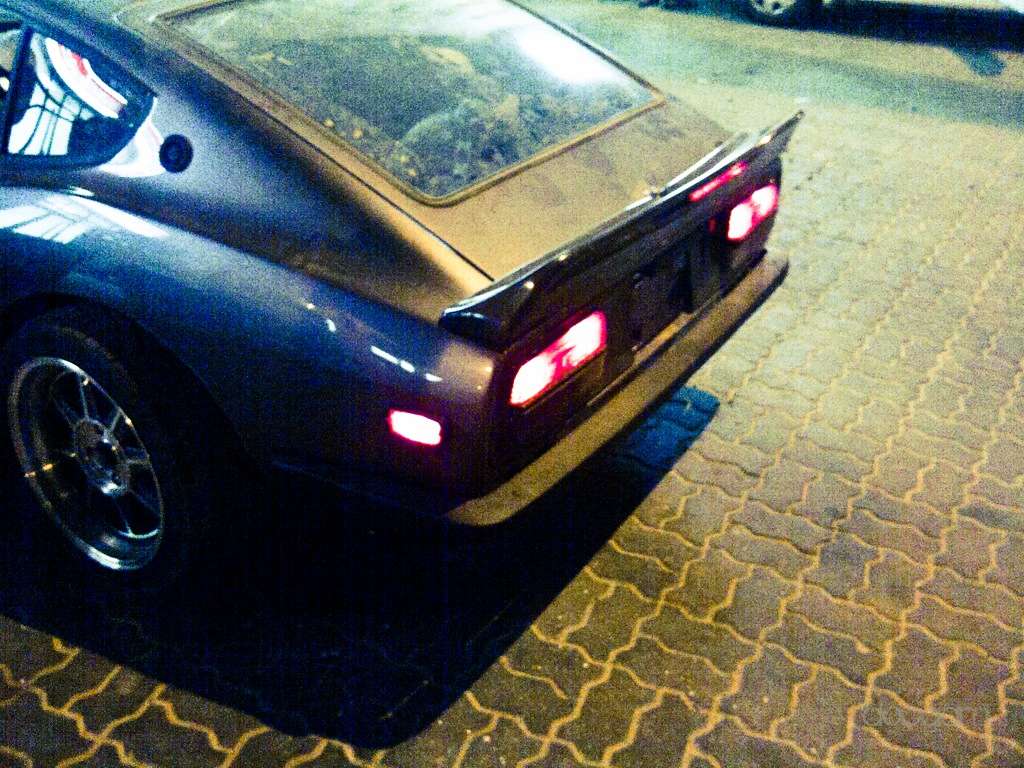
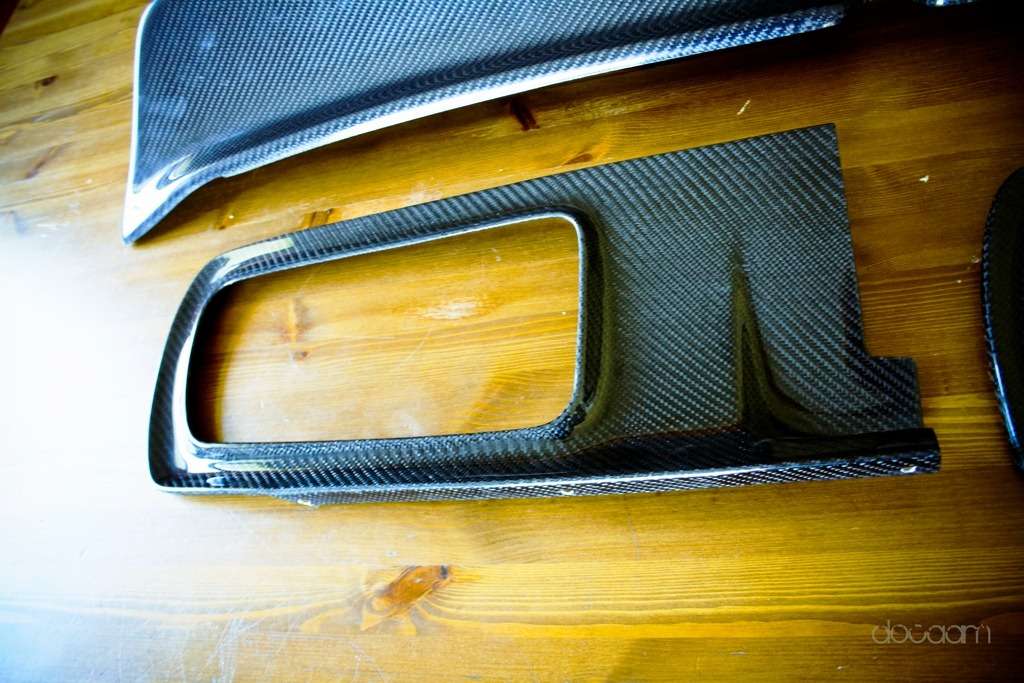
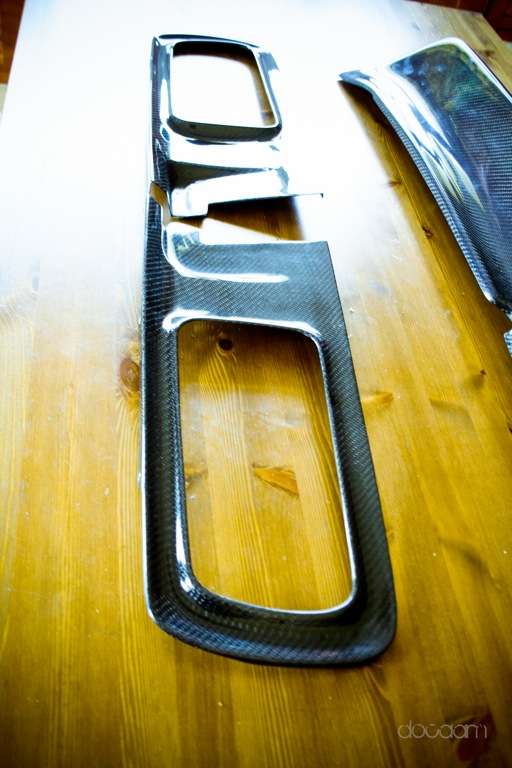
car wont be complete without CF, for the start got the rear tail light panel and a rear spoiler CF wrapped at Carbonsignal, result as always amazing
-
I will check for the code, top of head I remember it was something like 01528 but will cross check.
Guys I have to buy tires for my WORK wheels, any suggestions what's available as what I'm getting here in dubai is only kumho in specs of 195 55 15 and 205 50 15. I just want a thick wall and will prefer some stretch.
-
this is correct, fat part should be more towards the front of the car.
Thanks man, I did realized that later on. will finalize the drill once paint job is done.
That paint looks awesome! Would please tell us how much silver and or aluminum was mixed in? What color silver and aluminum or did you use metal flake?
You will see that in the formula of the paint, I just changed the silver part rest is all same
-
Amazing built, subscribing for the final results


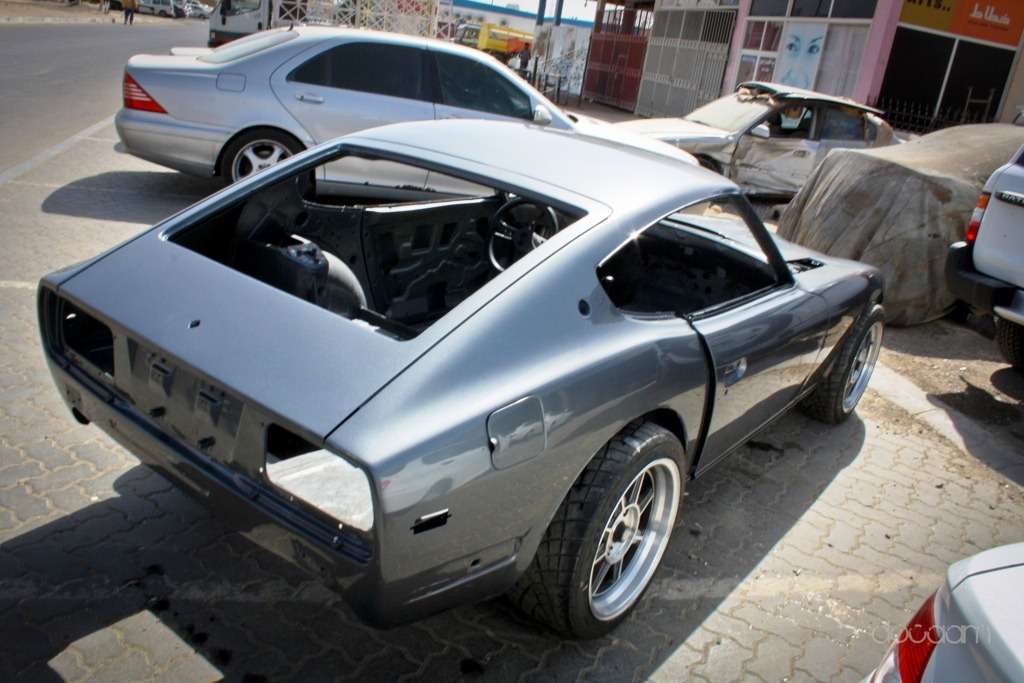


Project RB-Z then VQ35
in S30 Series - 240z, 260z, 280z
Posted
Dynamat thing is done, still I need the doors to be done but that will be after I change the window channel and most probably will be at the time of audio install.
Dynapad was a smaller piece so just in main three places.
Some installed phone pictures was more worried about the the holes next to the fuel cell now all covered up
Other areas
Firewall area most important
Rest all finished
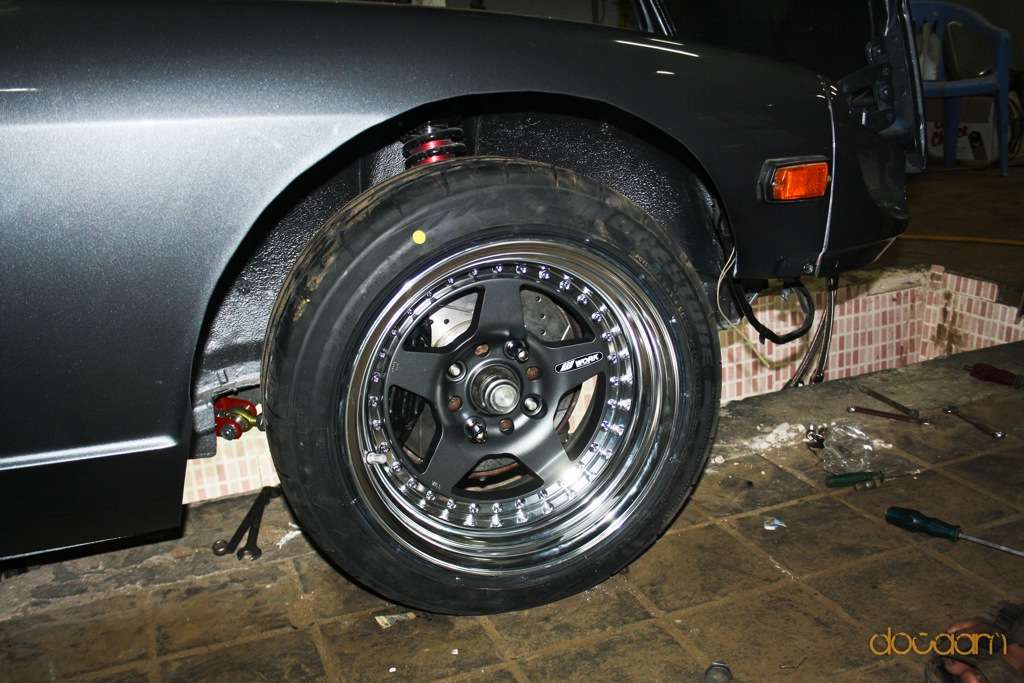
Car is off the jack so took some pictures
Waiting for intake manifold, fuel rails and 80mm throttle body to finish off the work, parts will be here by Sunday
Meanwhile doing some DIY to fit the Autometer guages, Im using the stock guage housing and installing the meters in that, sizes are bit different so gaps will be filled by Bondo and a respray on the whole dash