
docaam
-
Posts
277 -
Joined
-
Last visited
-
Days Won
3
Content Type
Profiles
Forums
Blogs
Events
Gallery
Downloads
Store
Posts posted by docaam
-
-
Still waiting haven't replied any of my emails for the refund just promising days are coming and passing my

-
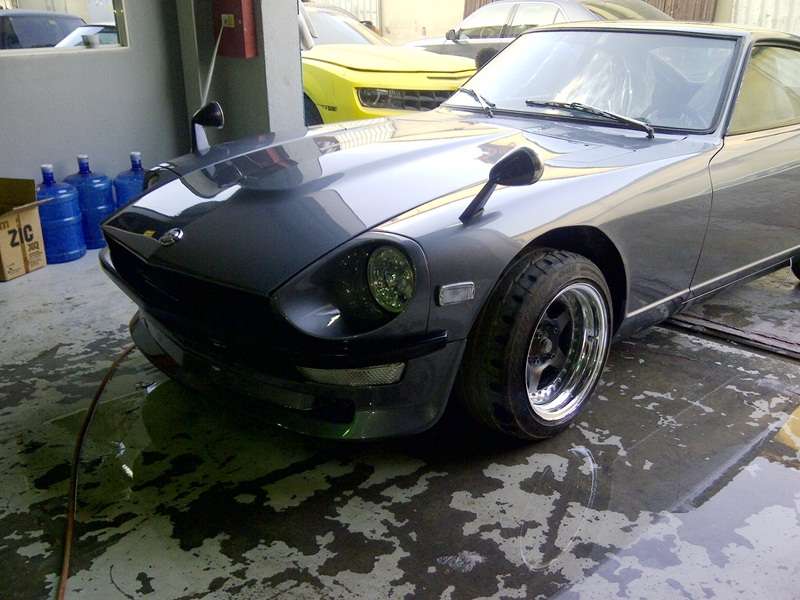
Something does look strange, not sure if it's the angle of the picture taken. Pic 2 is the correct side, but for some reason your Pic 1 looks better
Found this on youtube to give you an idea
You can see the fatter part of the ZG flare towards the front of the car.
Thanks for all the replies.
I didnt like the fender flare quality and fitment but getting some other shipped again will cost money in buying and shipping which works out very high.
Wheels are out of camber setting which makes the fitment more bad. And I was confused in pic 1 as that looked better in person.
-
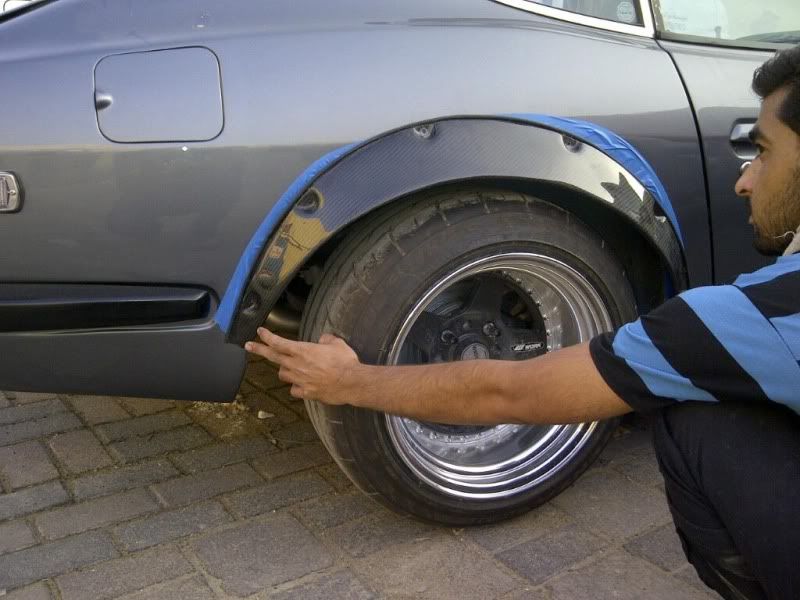
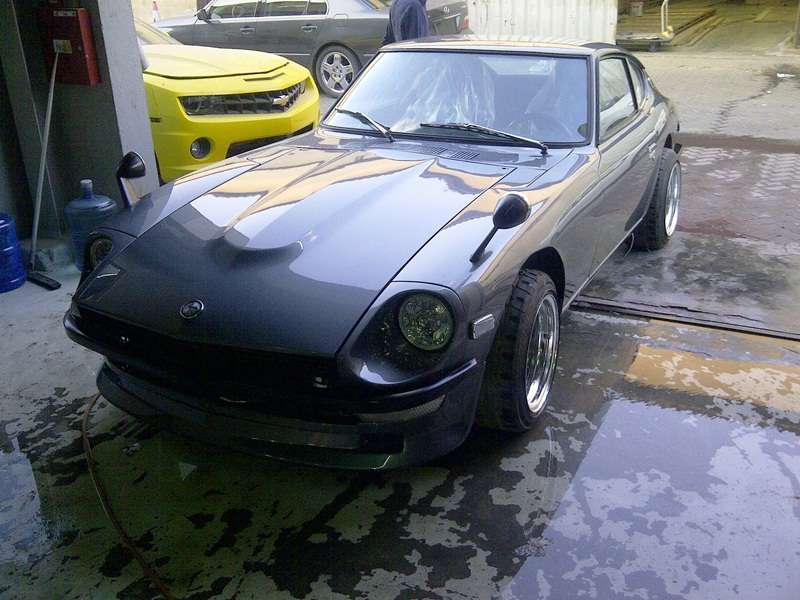
Hi I have several cars and pictures but there is some confusion on installing the rear ones. Can't figure out which side goes where like left and right.
Can anyone help is picture 1 is correct or picture 2. As both figments are not good but picture 1 looks slightly better still not satisfied.
Picture 1:
Picture 2:
-
Awesome work as usual
-
35 views and no reply so far?
Will appreciate if someone can mounting point picture will be appreciated
-
Oscar, pleas sort out my issue, sent you an email
-
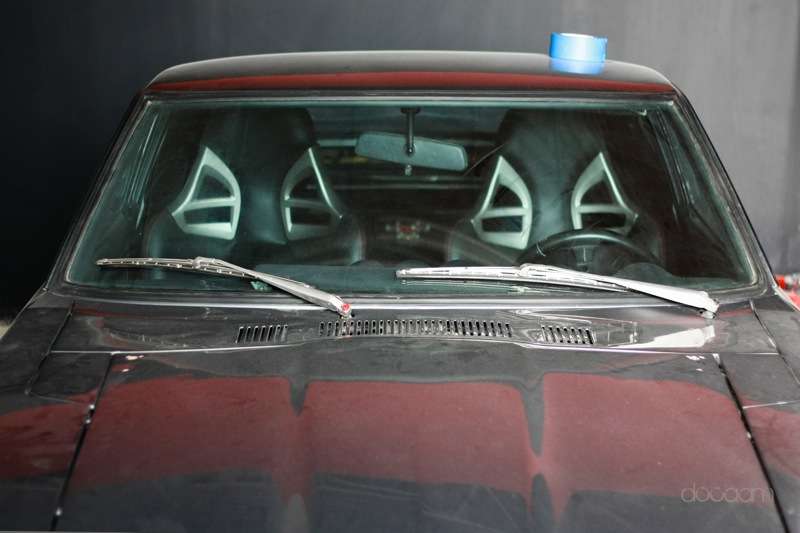
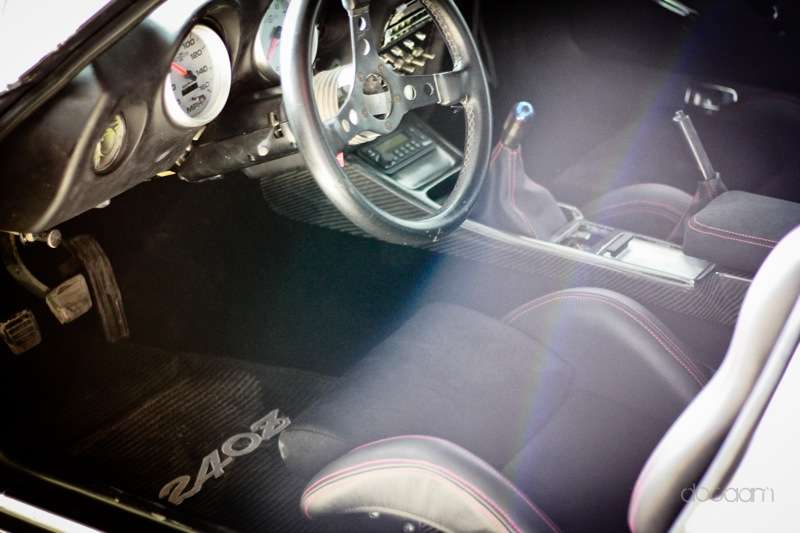
Interior is all done, car is ready for registration just few small things, left hopefully next week it will be running on the road
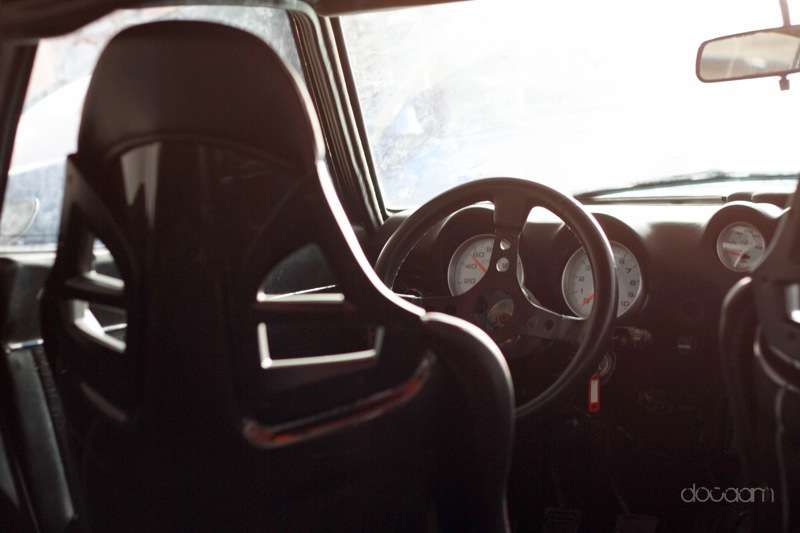
View of the seats front front
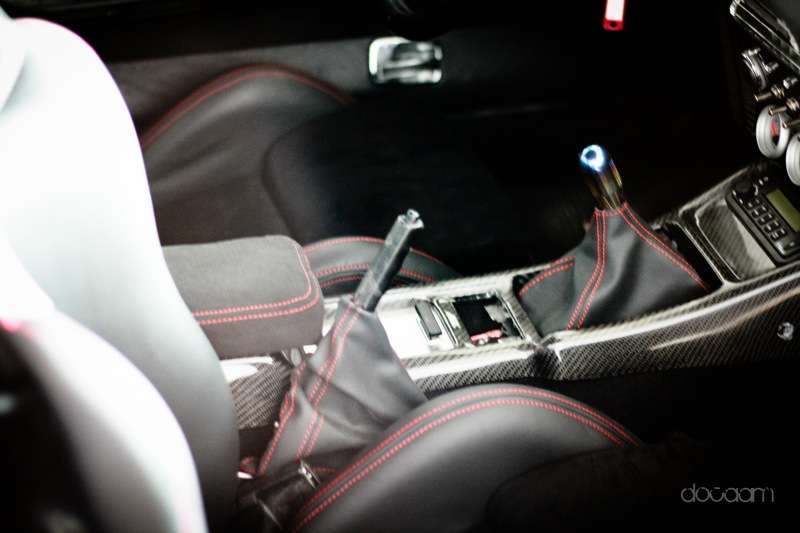
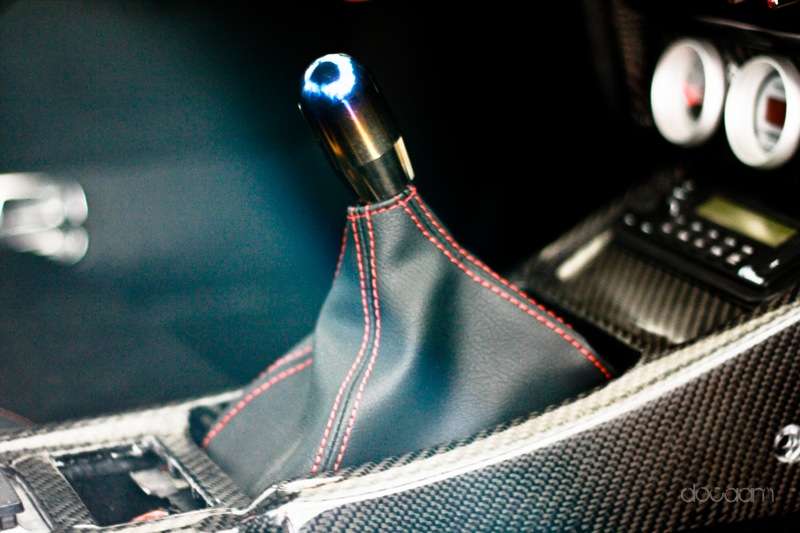
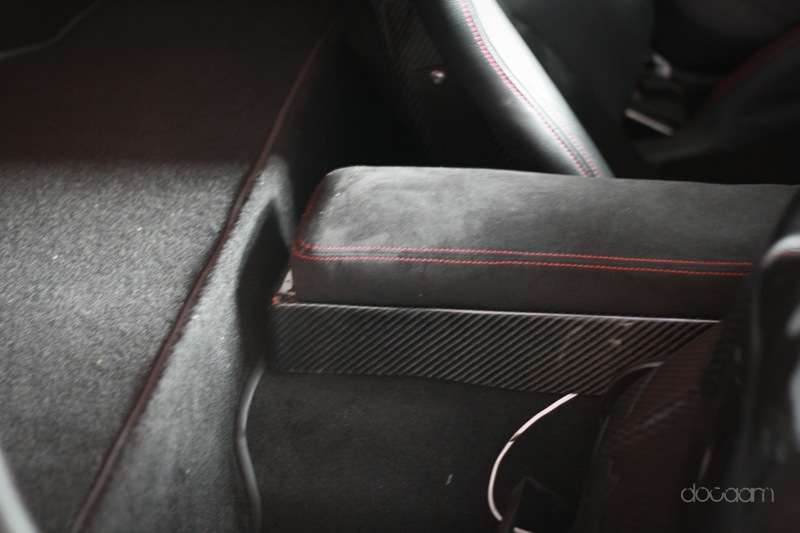
Center console, might do the gearshifter boot again later
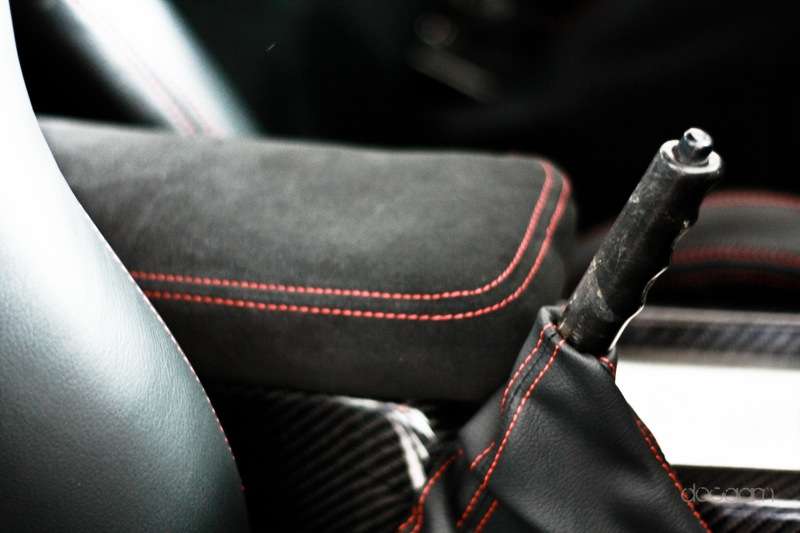
Armrest in alcantara with same stitching as seats
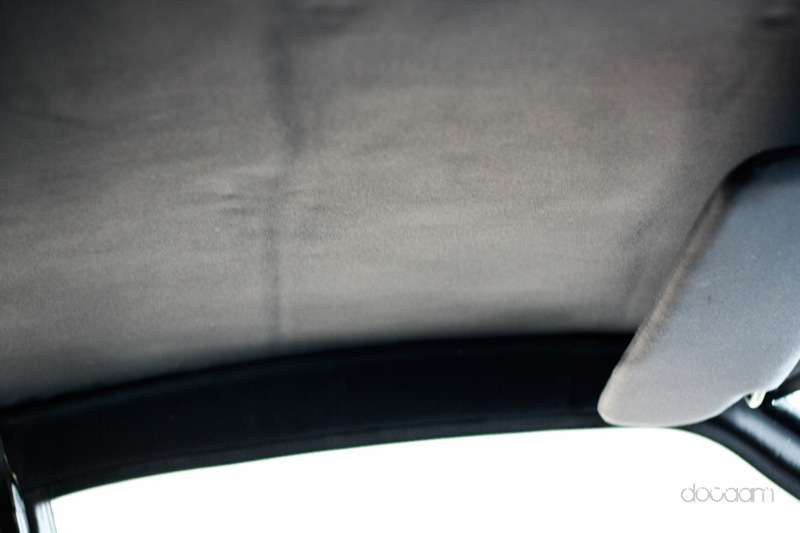
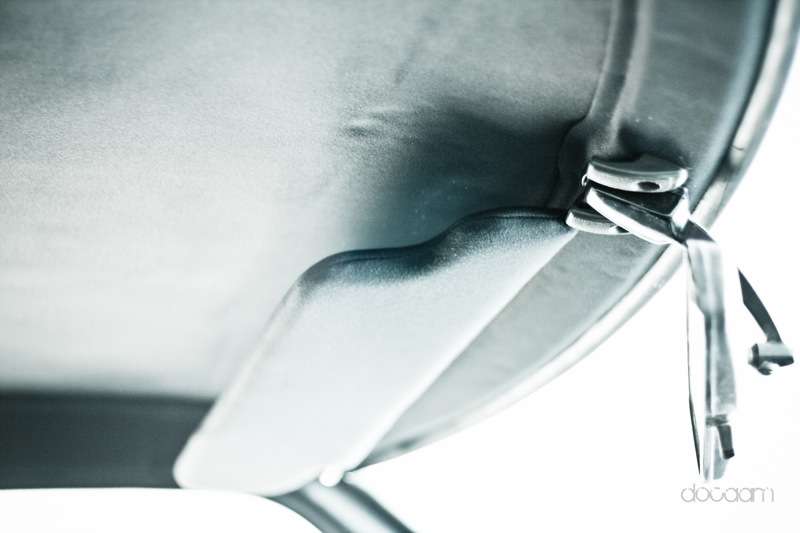
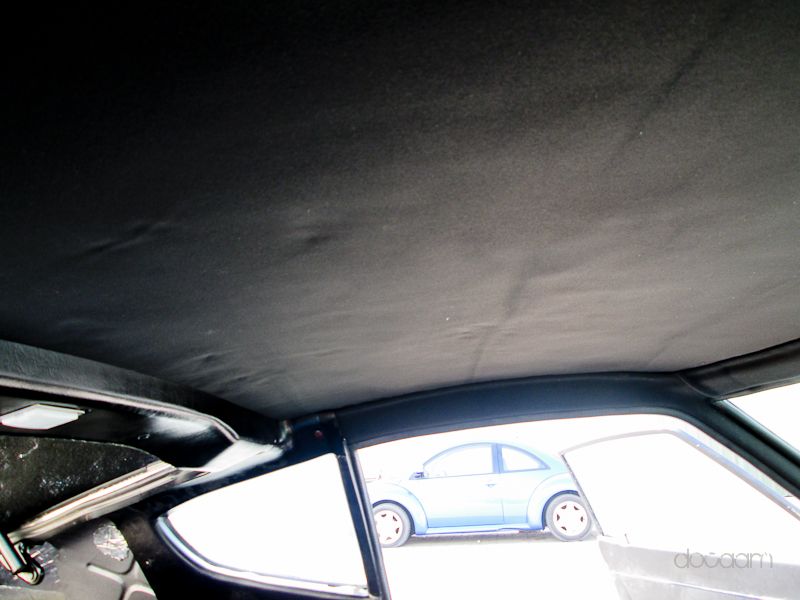
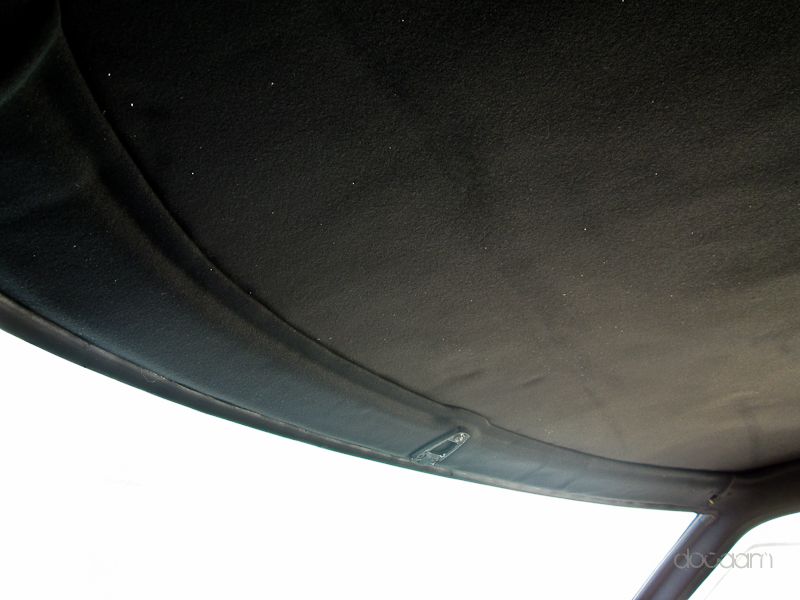
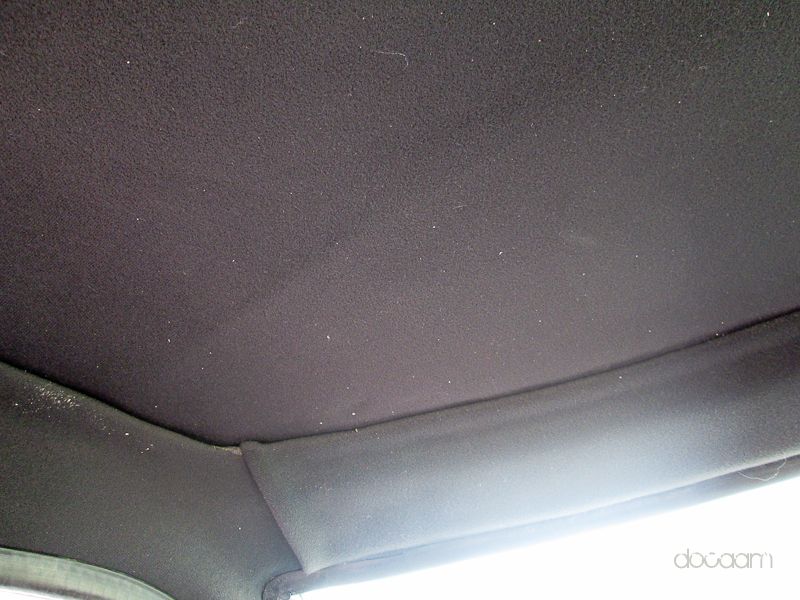
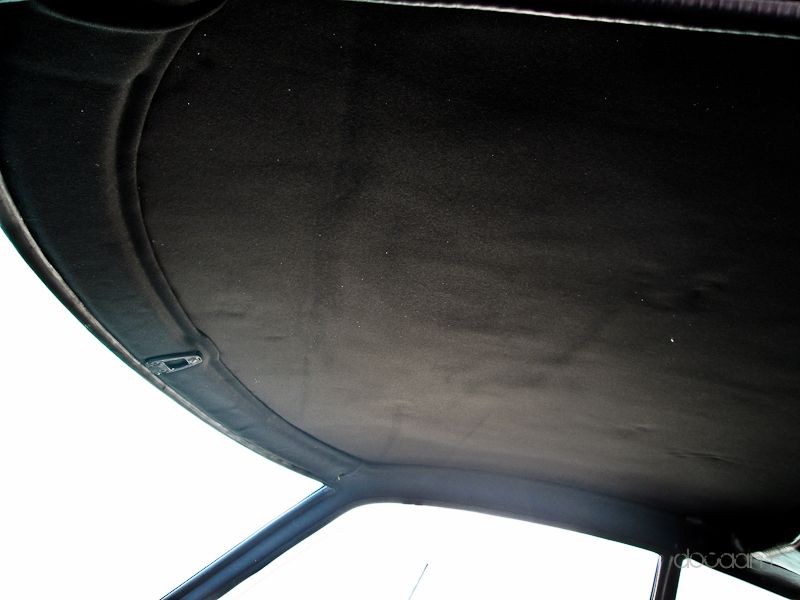
Roof liner and sunvisors
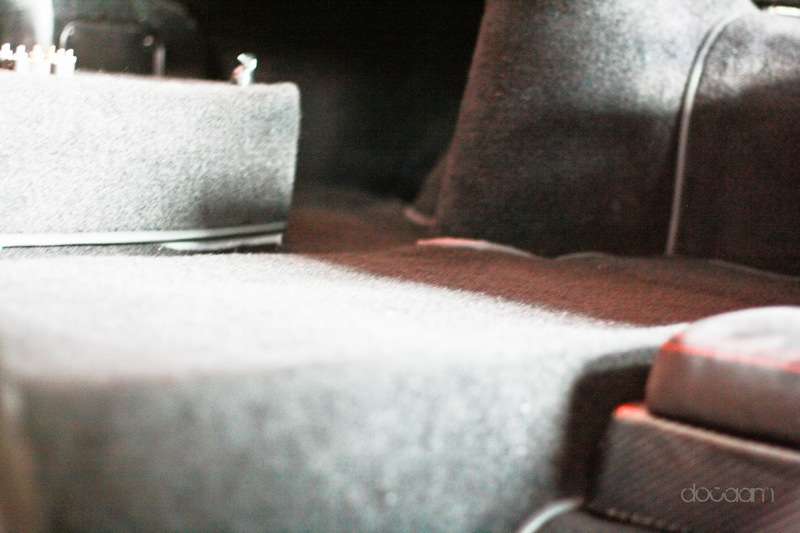
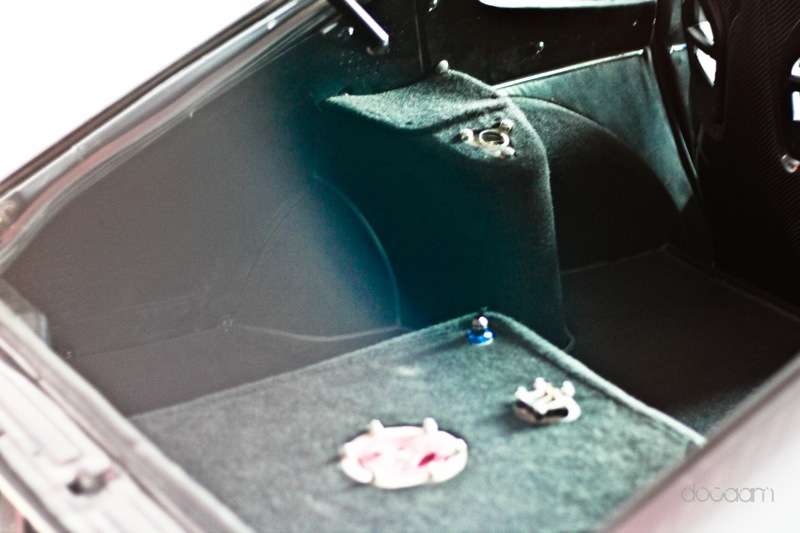
Trunk area carpeting came out very nice
Overall very happy with the quick and clean interior job
-
See this link for a lot of info about door weatherstripping.
http://forums.hybrid...ip-alternative/
It seems to be hit or miss with the Precision kits. I have the Precision kit from MSA that I am hoping to install this weekend, hopefully it fits.
I tried to move the door lock a bit and now doors close easily but its more a metal noise now and if wash the car with pressure hose water going in
-
Hi Guys,
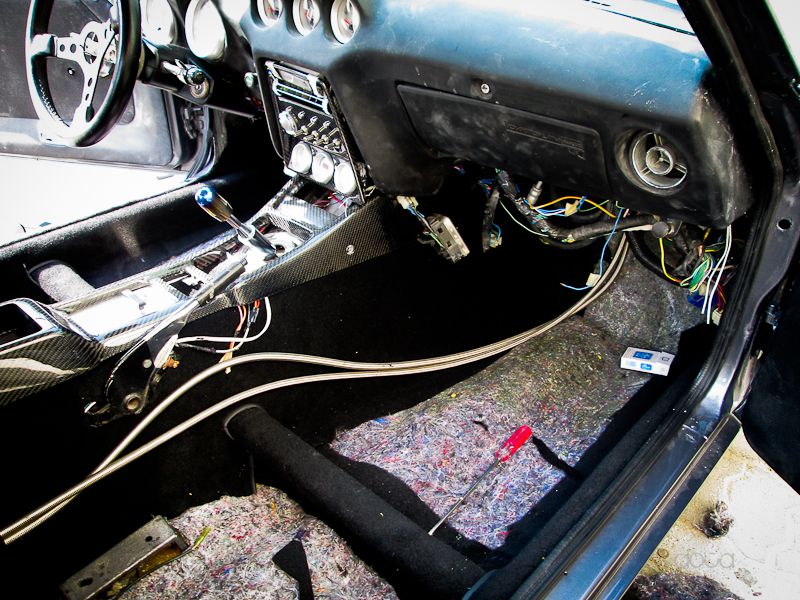
The Z im doing is the first od my 240z experience and I have an issue in installing the seat belts.
I have a 1972 240z and when I shipped the car the seat belts came in a box uninstalled with the bolts intact, then i did the body work and finally did a dynamat in the whole car now all the stock hole are kind of under the dynamat, can anyone just post some pictures of the mounting points so I can follow it and drill the holes again. Really appreciated
-
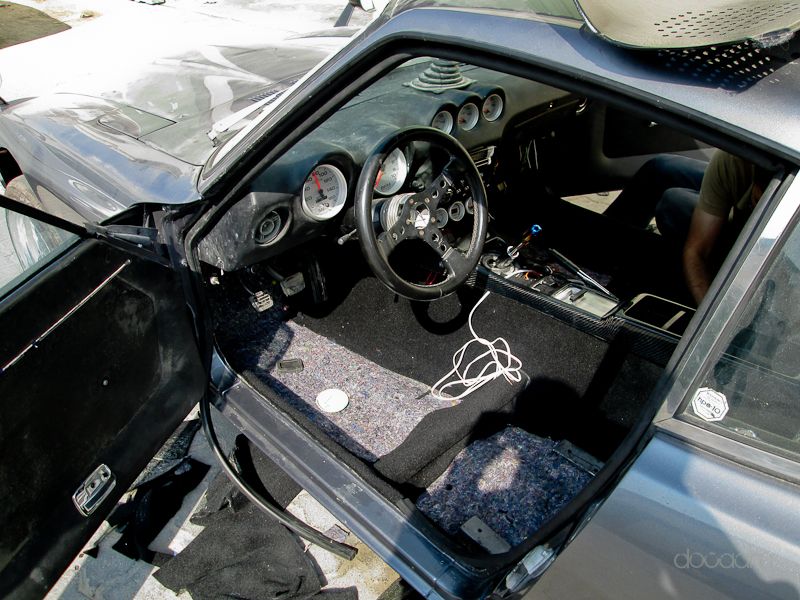
Interior work in under way, as my car had no head liner and carpet so instead of getting stock one, did a customized job here works out much cheaper.
Roof liner and A pillars are done in something like alcantara material which according to the guy is same as used in merc
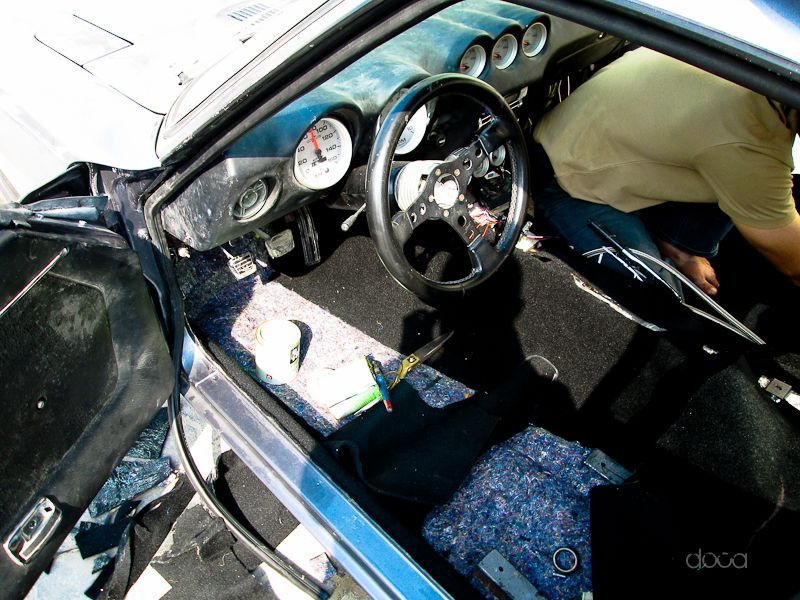
so far so good.For carpet just the under liner for sound deadening and carpet over it sticking it at most of the places, its just loose pieces will have a plastic backing and will be in foot well and trunk area.
-
Sent the car yesterday to the interior shop to do a custom carpet work, door panels in leather/alcantara and might wrap the dash in alcantara. Just some phone pics after it was washed to go, paint job looks good considering its not polished yet.
-
Can anyone explain/picture for electrical autometer where to conect the speedo cable in gear box (or differetial?) I am running RB26DEt with Sti differential most pobably 3.5.
Anyone please, will appreciate a reply
-
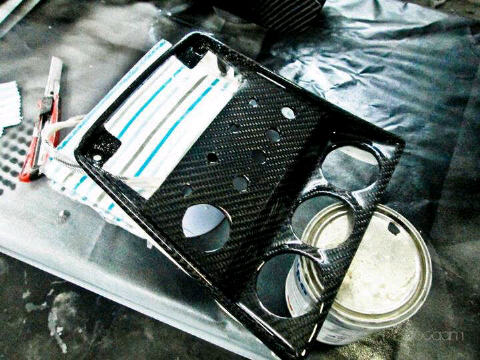
Looking good. How did you do the carbon on the console? Is it a vinyl?
No applied CF cloth then resin then sanding and clearcoat
Some more work done almost done, hopefully will take it for carpet tomorrow
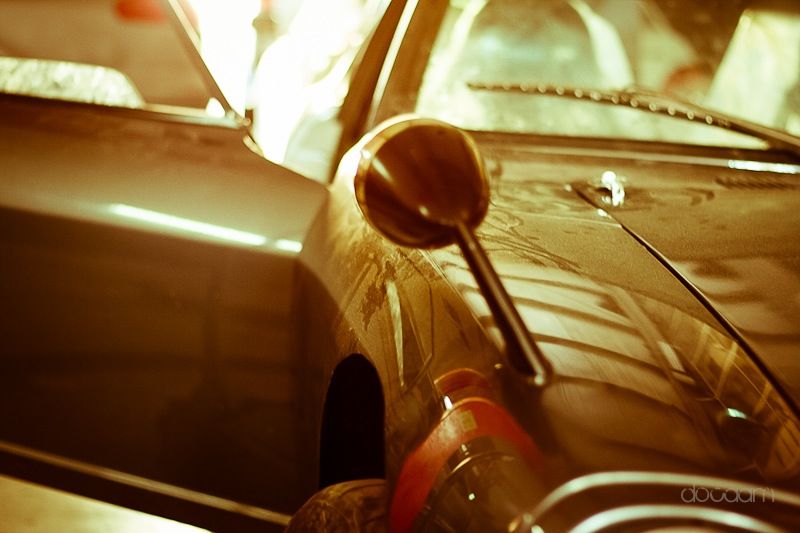
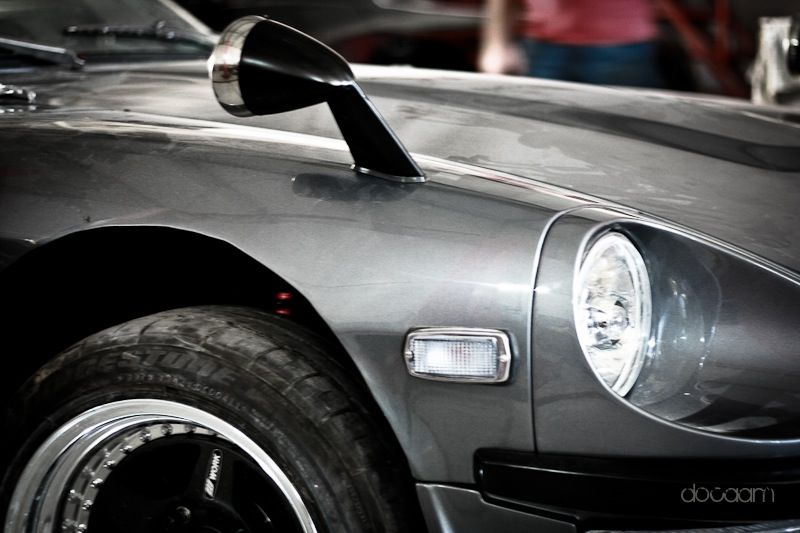
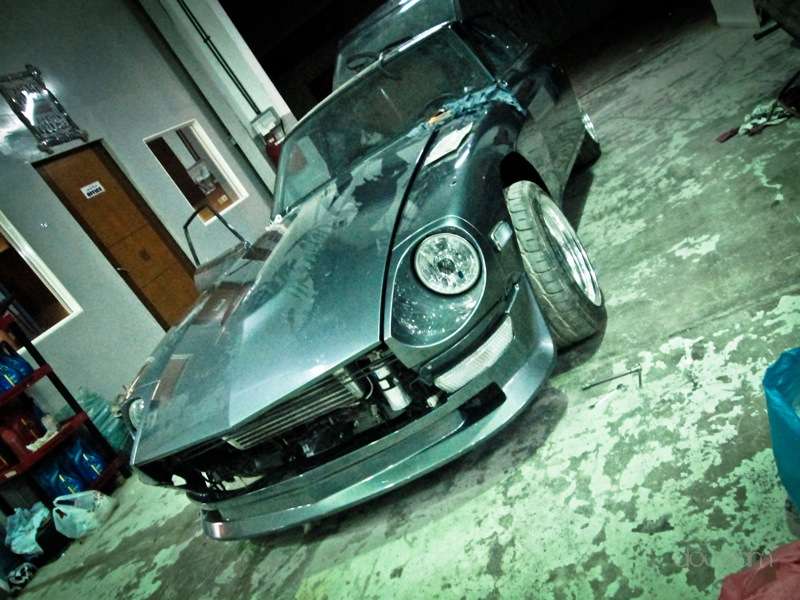
Went with Toyota Celica Fender mirrors as opposed to Datsun which usually people use, like the length of these and the angle. Painted the stalk black. Front bumper, anfront grill also painted same black installed.
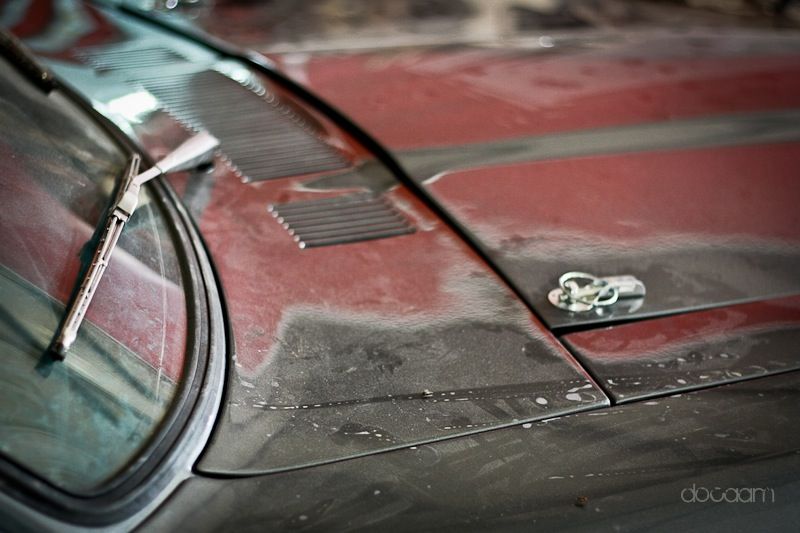
Removed the stock hood lock and installed these pin ones.
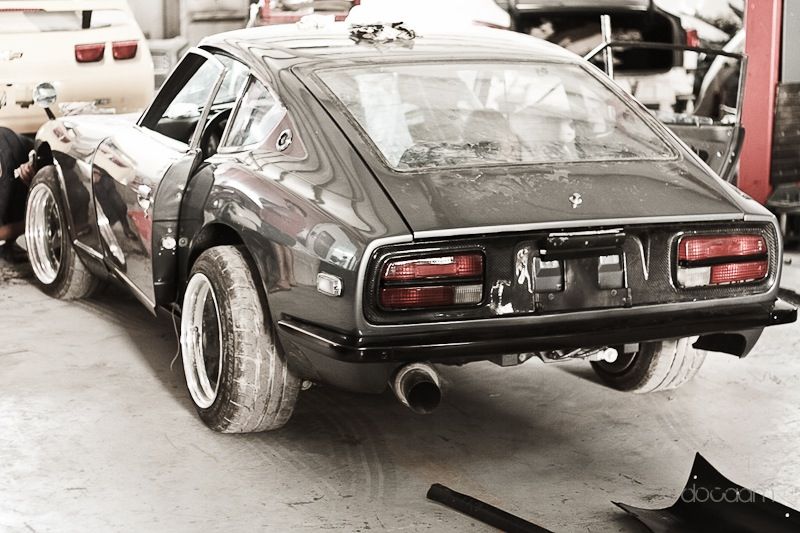
Removed the CF spoiler I felt was slightly bigger will check later, tailights were done as well
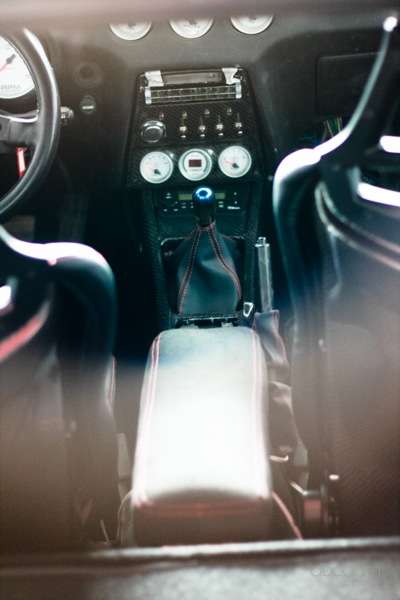
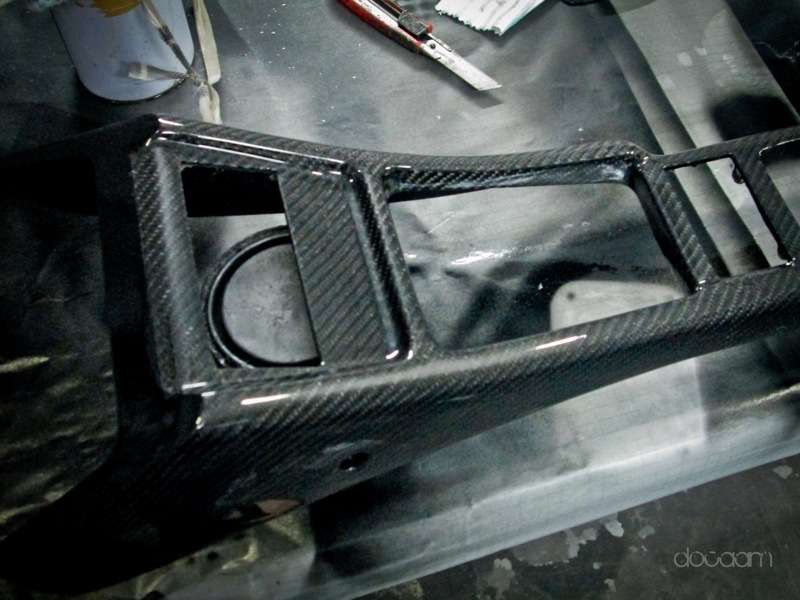
Center console parts ready as well
Audio headunit with brakcets
HKS Boost controller
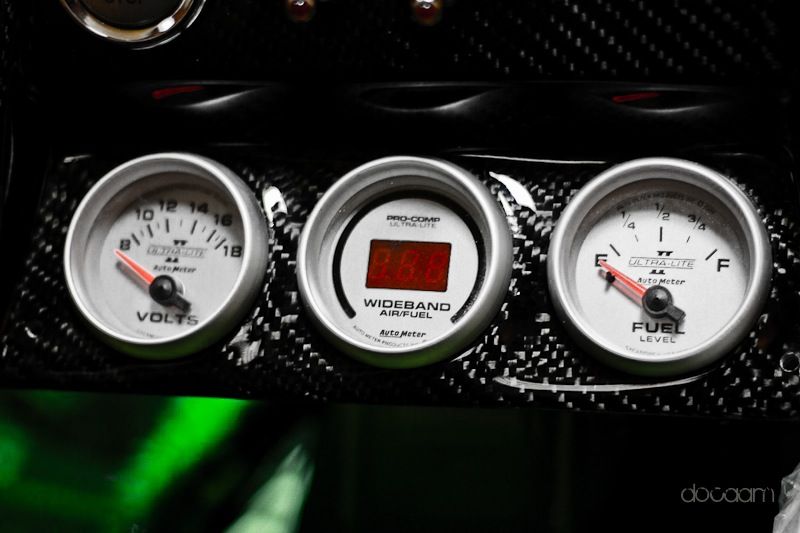
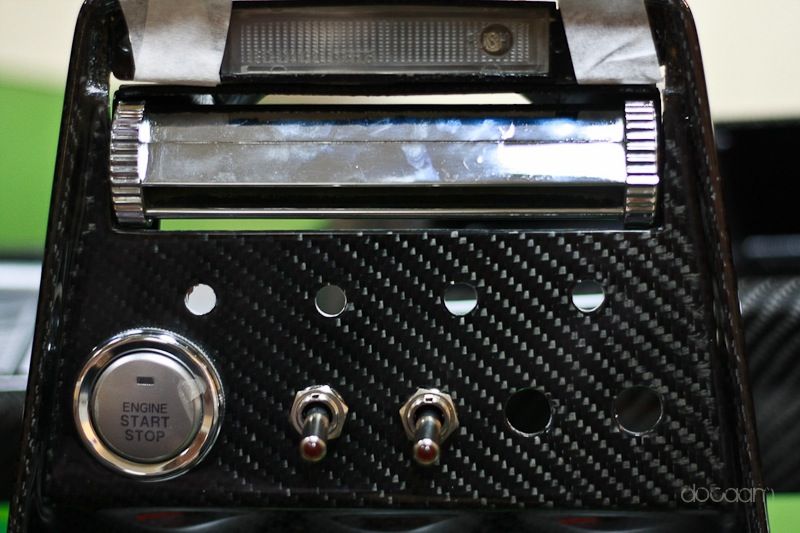
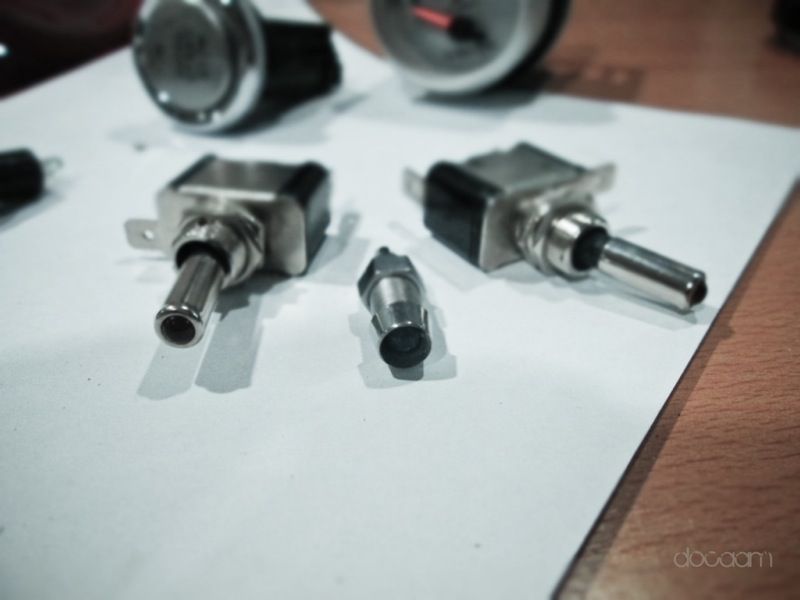
Gauges, toggle switches and starter button, LEDs to go in
Meters are a bit tilted towards drivers side
AC vent and stock map light
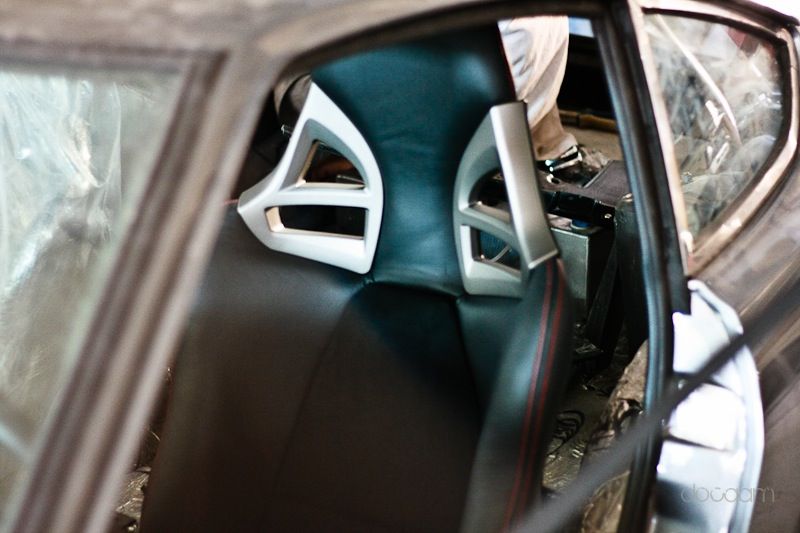
Seats were installed as well, didnt need any bracket were bolt on stock rails just holes were widened
-
I have been trying to find a thread to solve my door weartherstrip problem, it doesnt close easily really need to slam it. I got mine from Zstore and have seen people having issues.
Any solution if heating the rubbers will help or using rubber hammer to move the moulding a bit inside? I tried removing the lock hinge a bit out but still
-
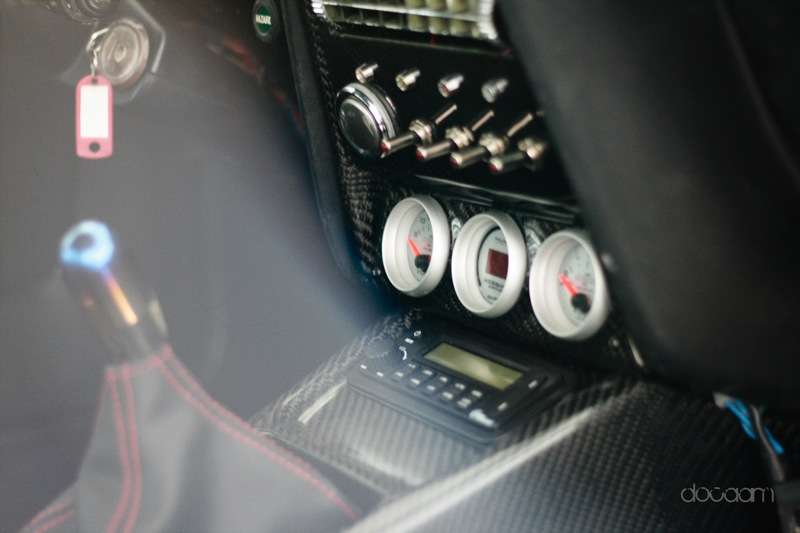
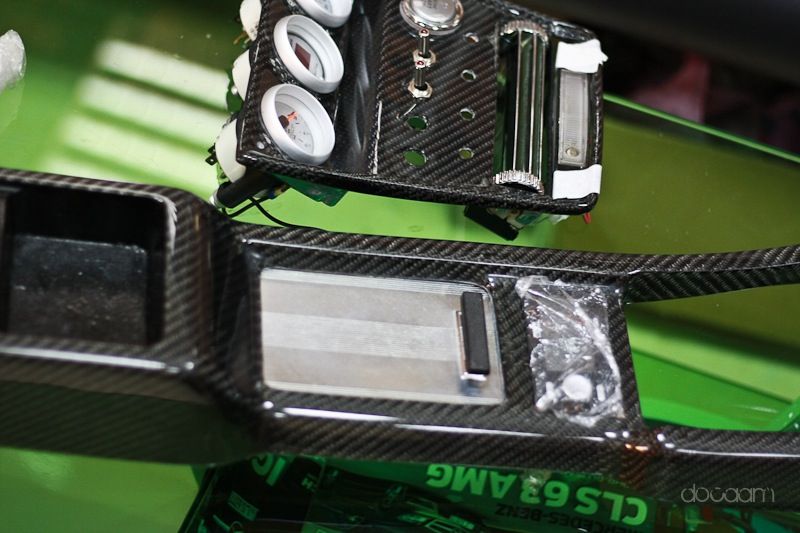
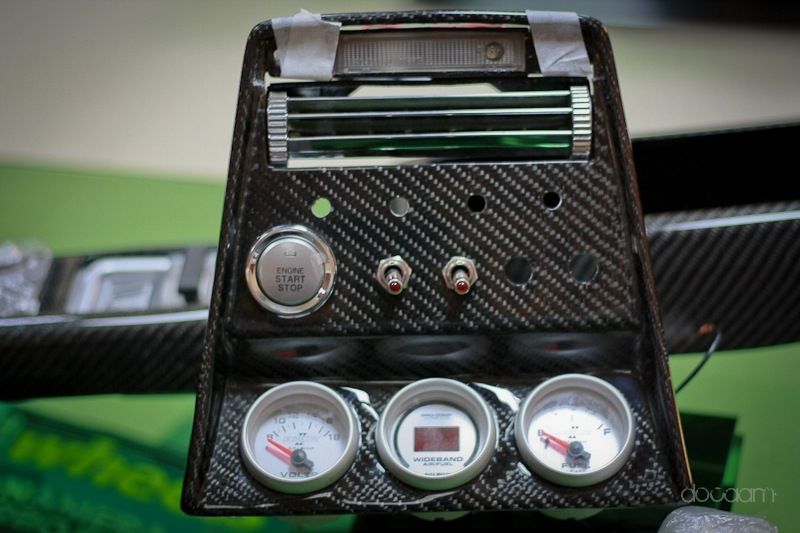
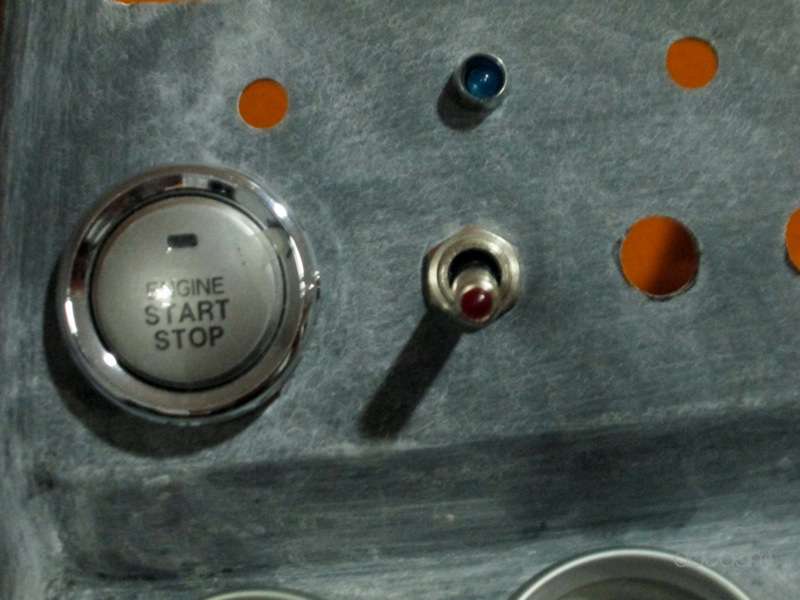
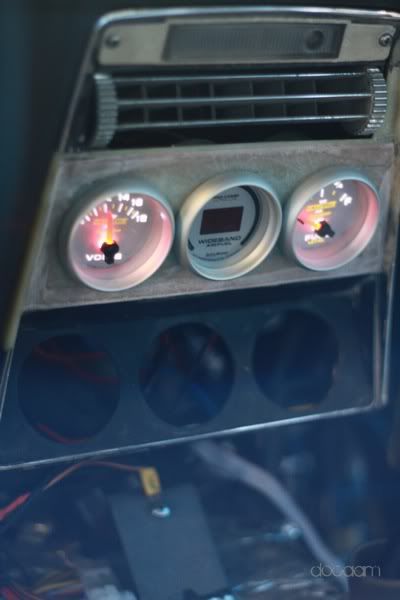
As we needed to use AC here so needed a vent and install the guages so i custom did AC vent part and removed the headunit part. did all in fiberglass then wrapped in carbon fiber.
So it has not map light, then stock Ac vent, then my starter button, warning lights and toggle switches then the three guages.
Some more pictures in my journal thread at work cant seem to access photobucket to download those
-
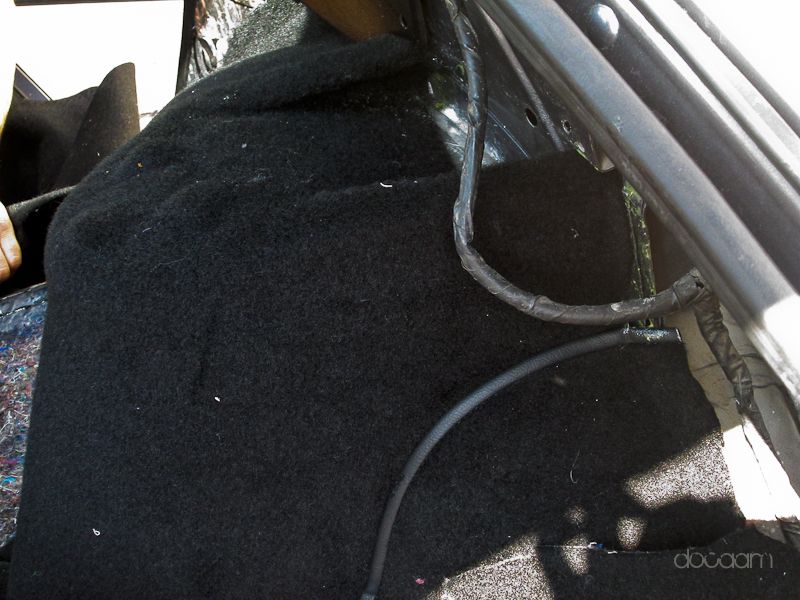
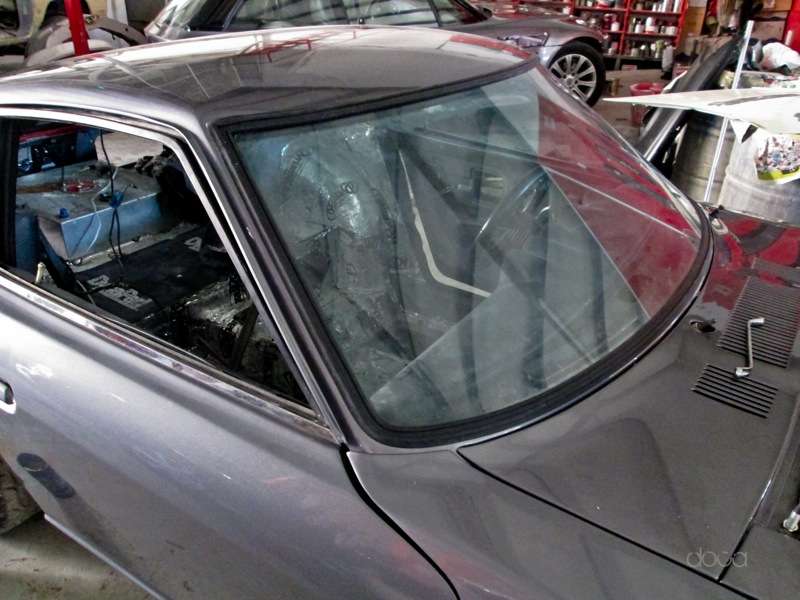
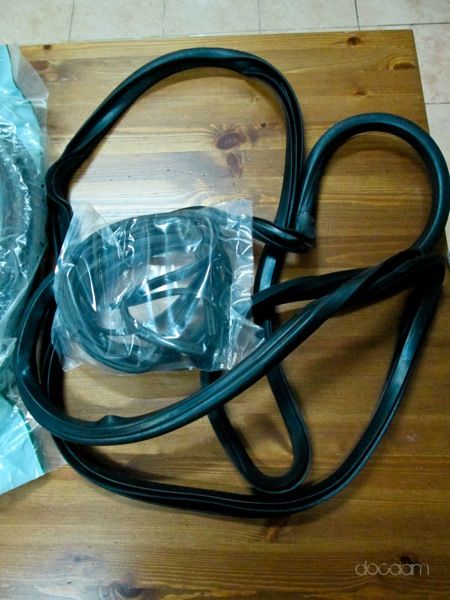
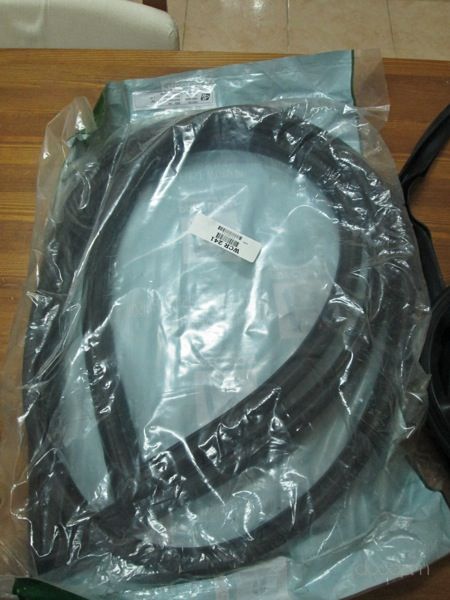
Update from last wednesday
Rubbers getting installed
Changes the windscreen moulding as previous one had some gaps though it was new as well
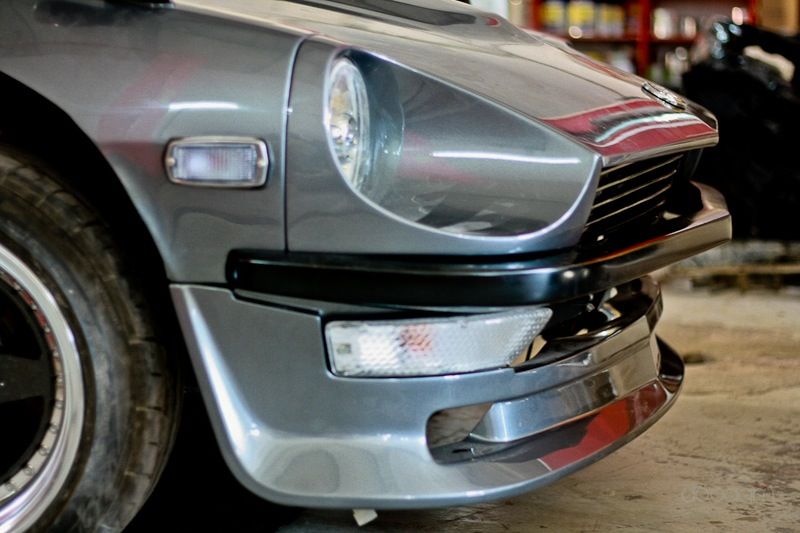
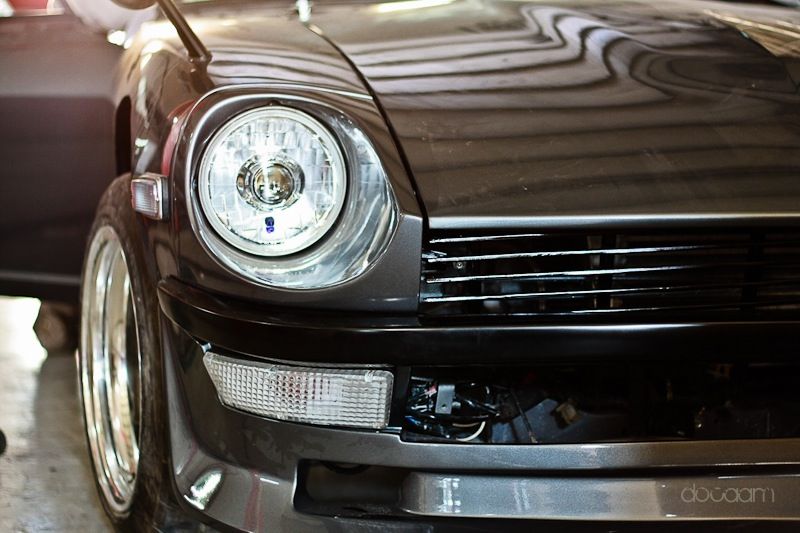
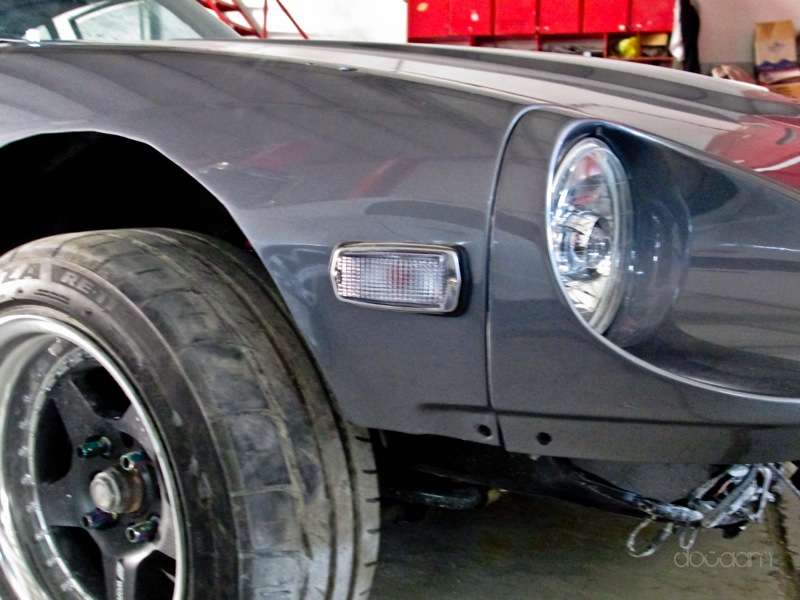
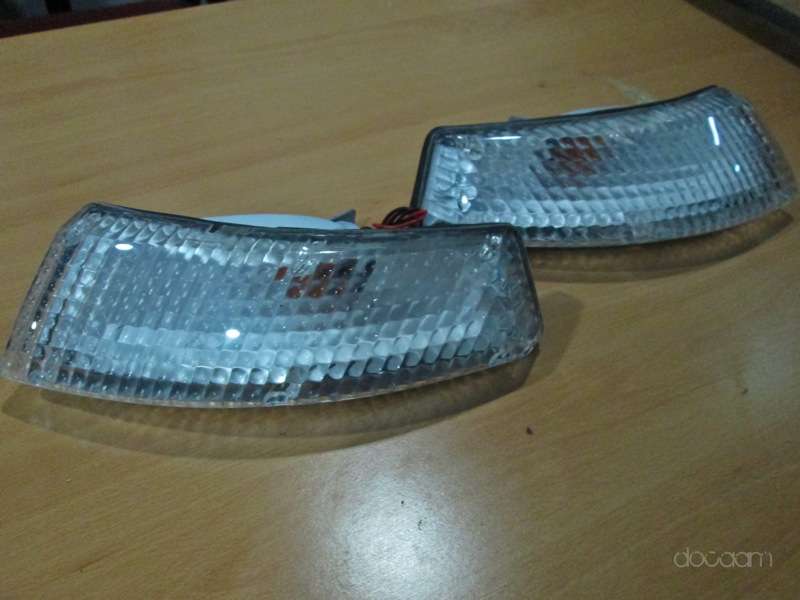
Yellow and red side lamps replaced by JDM white ones
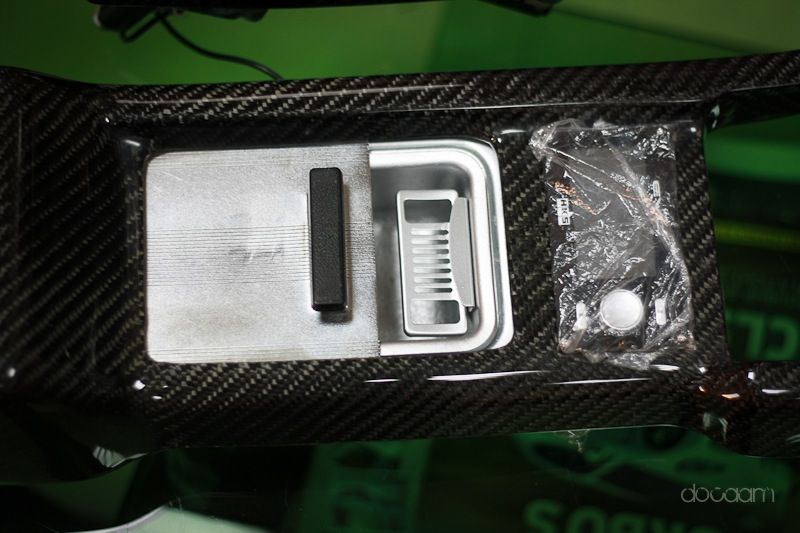
Ashtray painted silver and polished
Custom console piece, on top there will be stock map light and then AC vent
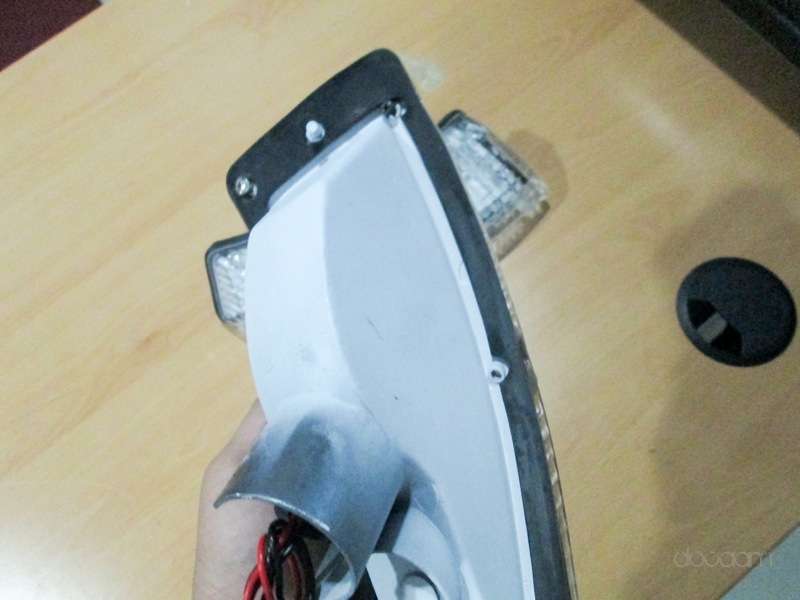
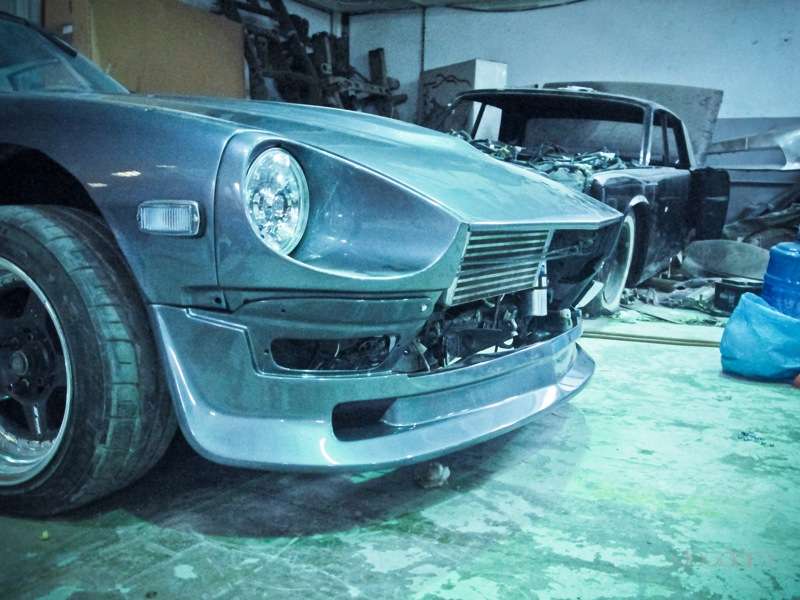
Front lamps with new clear covers and whole casing was cleaned and painted matte white
Was there in the workshop whole thursday getting things done
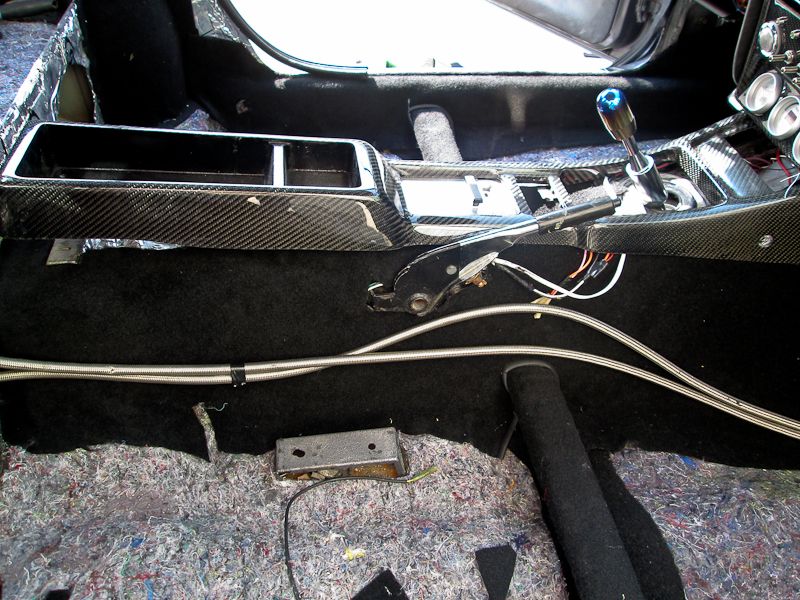
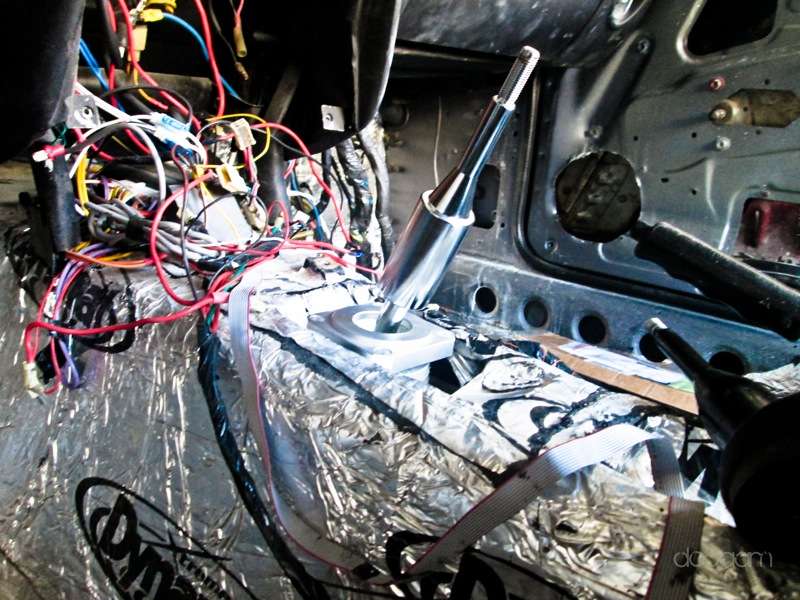
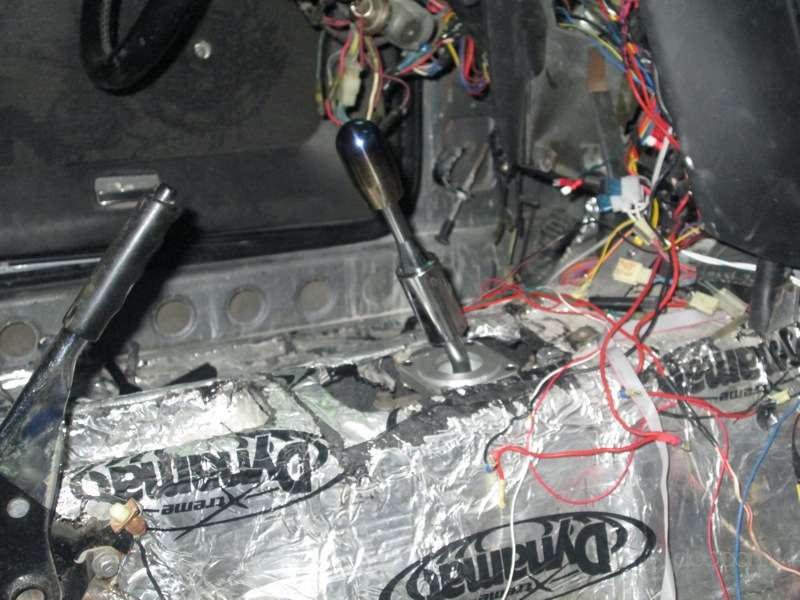
Installed short throw shifter
Took a lot of work to made it fit as brackets were small so was coming out but managed by making custom brackets
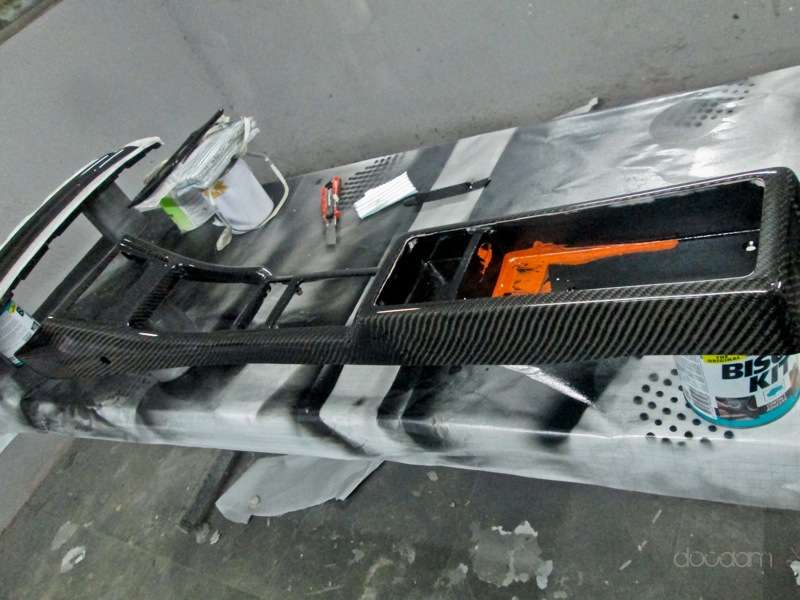
Carbonfiber work was done on center and dash console
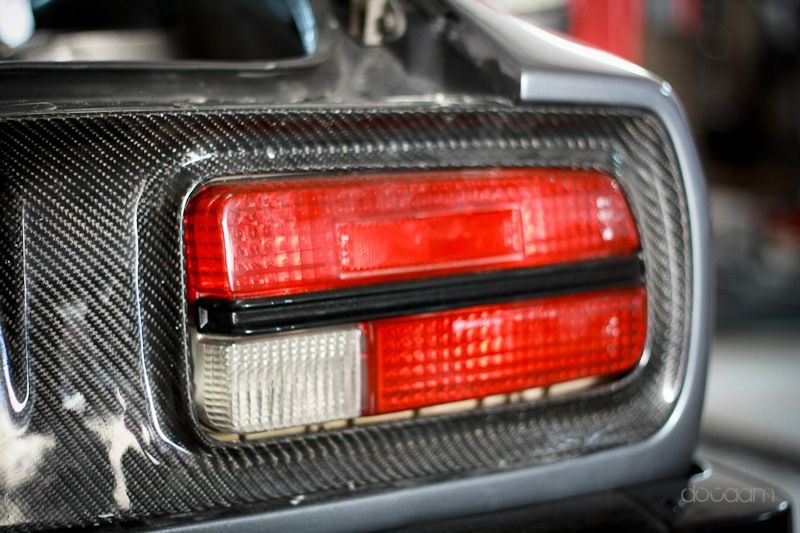
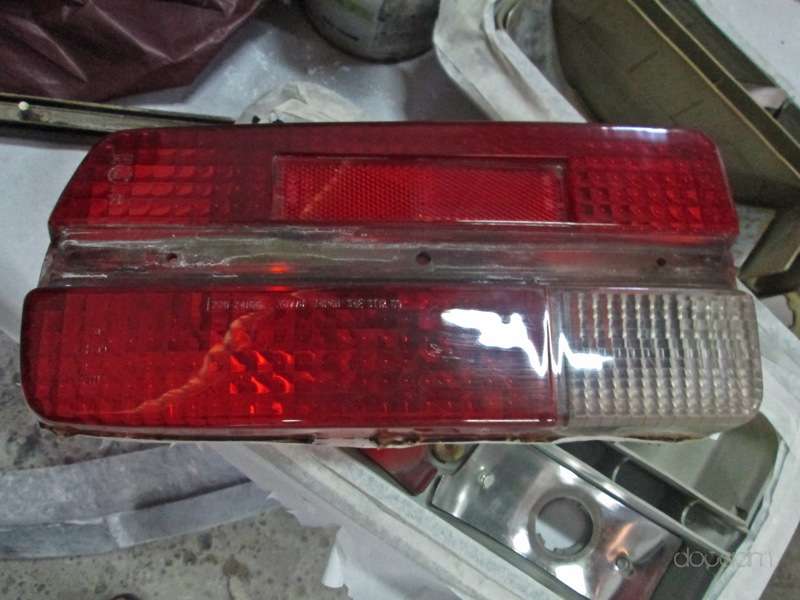
As all lights were replaced or refurnished so I open up tail lights as well, will spray silver in the casing and covers were sanded and will be clearcoated
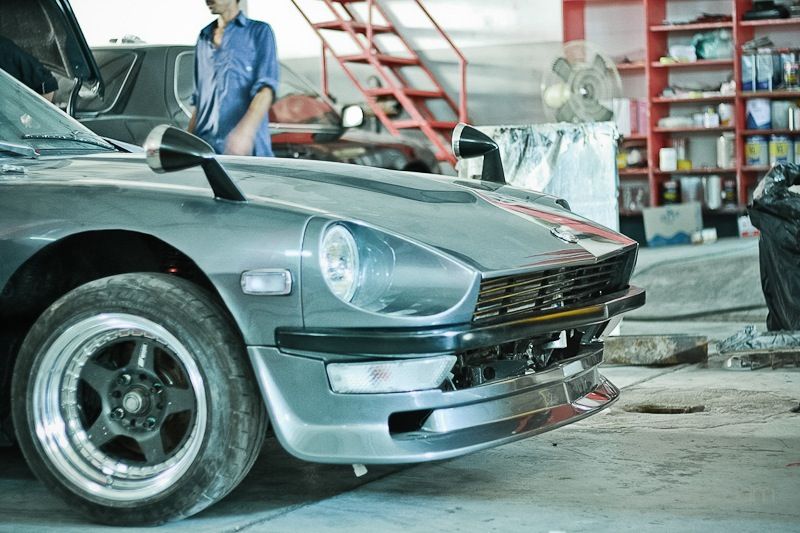
Finally by night time lots of things were on the car, installed the front air dam as well
-
Sorry to hear about your past but future looks bright
-
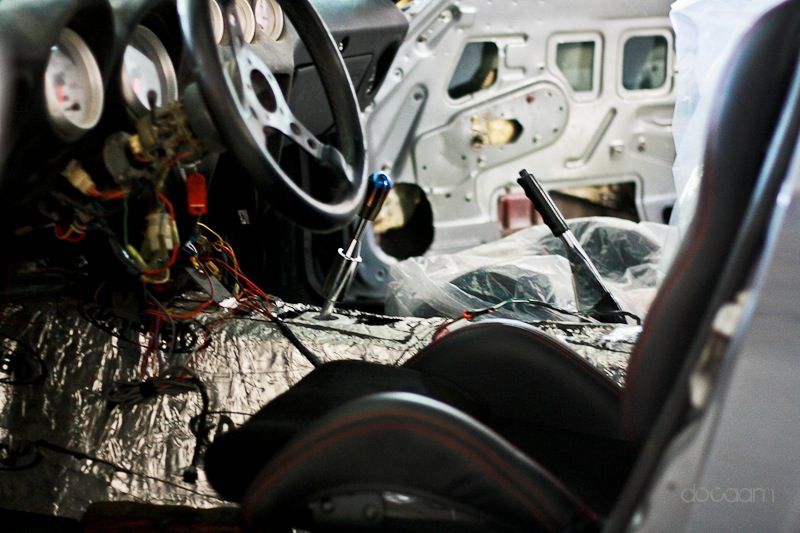
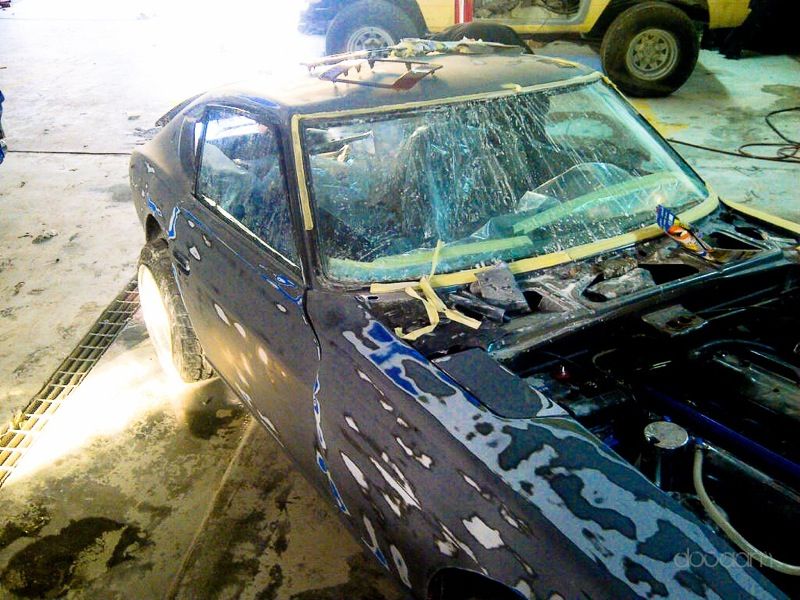
Finally I an say car is in final stage of completion
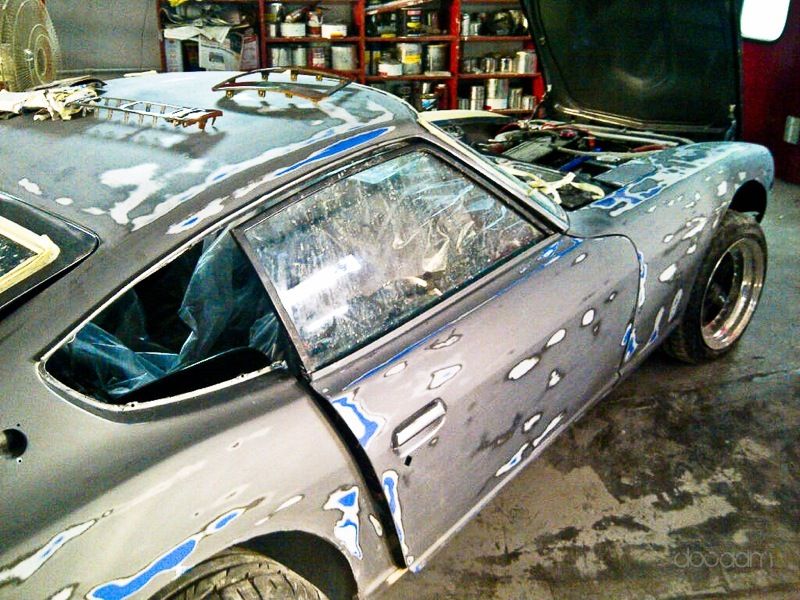
As I did the paint job almost 10 months back and car was roaming from workshop to workshop there were minor damages to paint so found it better to get it resprayed it all over again and move to fixing parts.
It was painted on Thursday and today they were doing polishing, should be done by wednesday and installation of parts will start
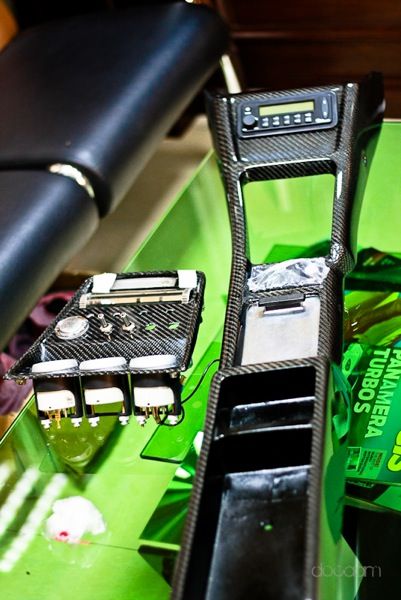
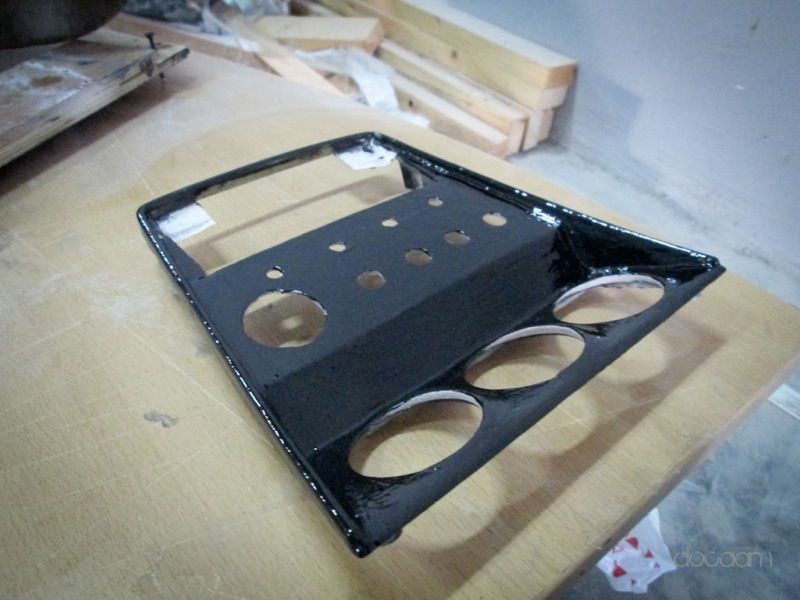
I am doing a custom center console in the dash, it was like this
Now I close the whole middle part, it will have the map light then airduct, then different lights and switches along with starter button and then the gauges
There are four LED lights for High Beam, Turn Indicators, Hand Brake & Seatbelt ( had extra so using it), then four switches one for fan, AC, rear defogger and hazzard. I moved the big AC controller in the glove box for a cleaner look.
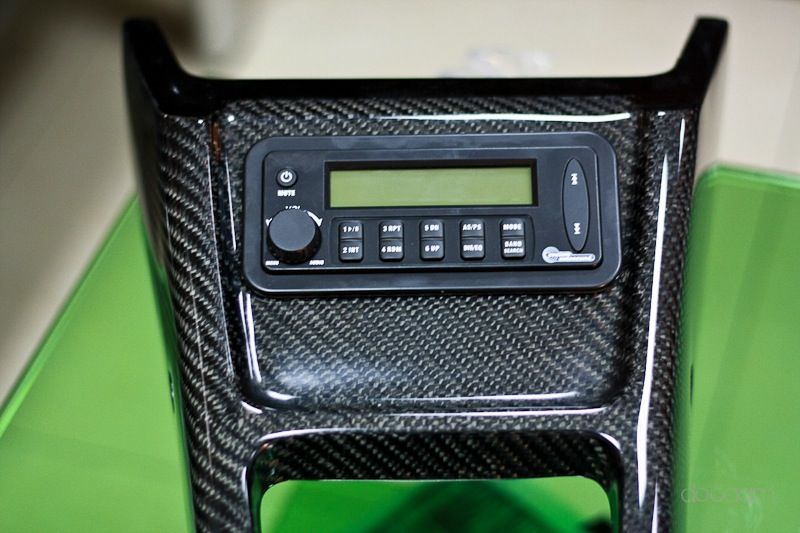
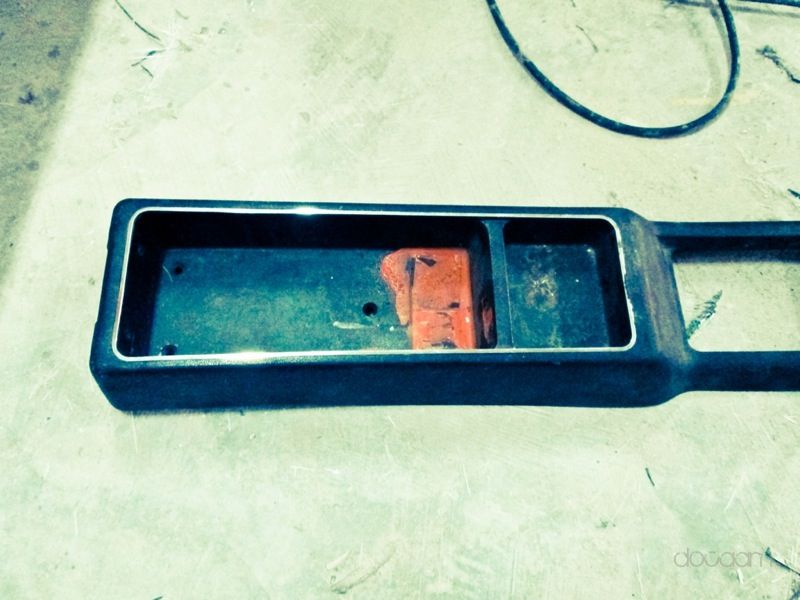
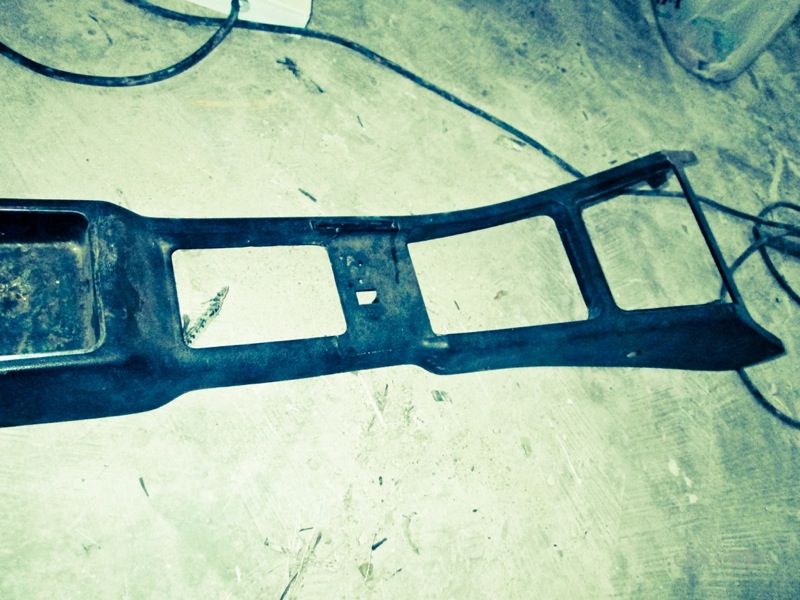
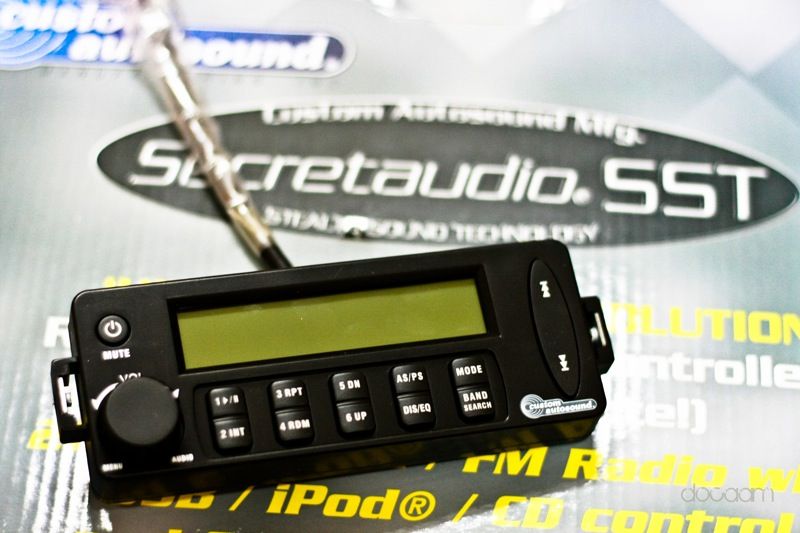
Middle console I got it repaired was broken in three pieces with cracks. Upper part will have SST audio face and after will have HKS Boost controller. Then both the parts will be wrapped in carbon fiber
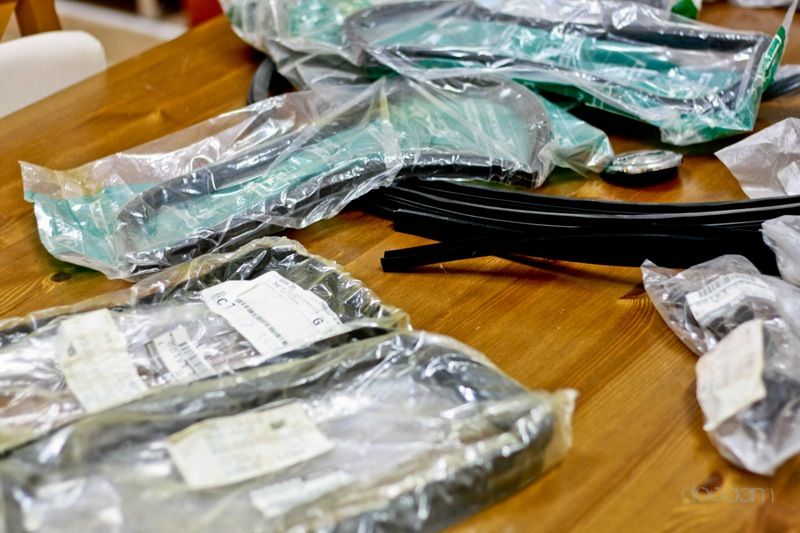
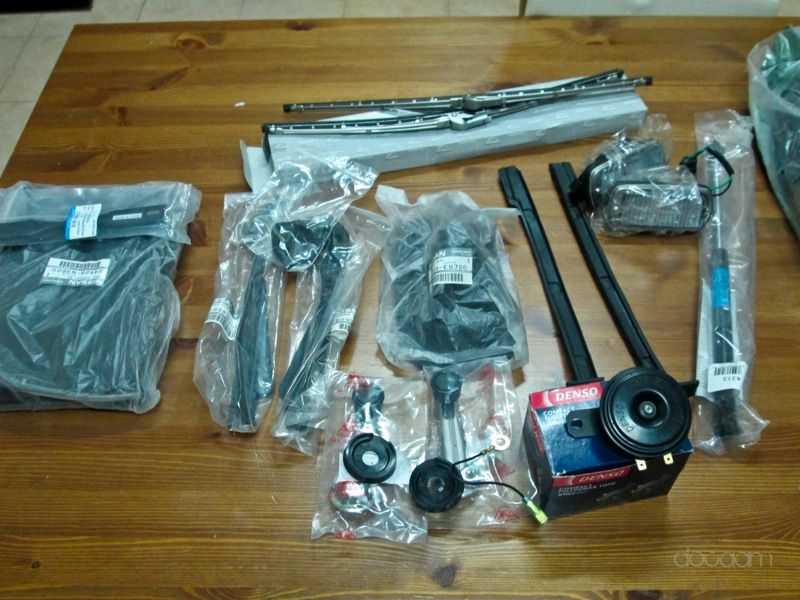
I have been collecting lots of small parts over past months
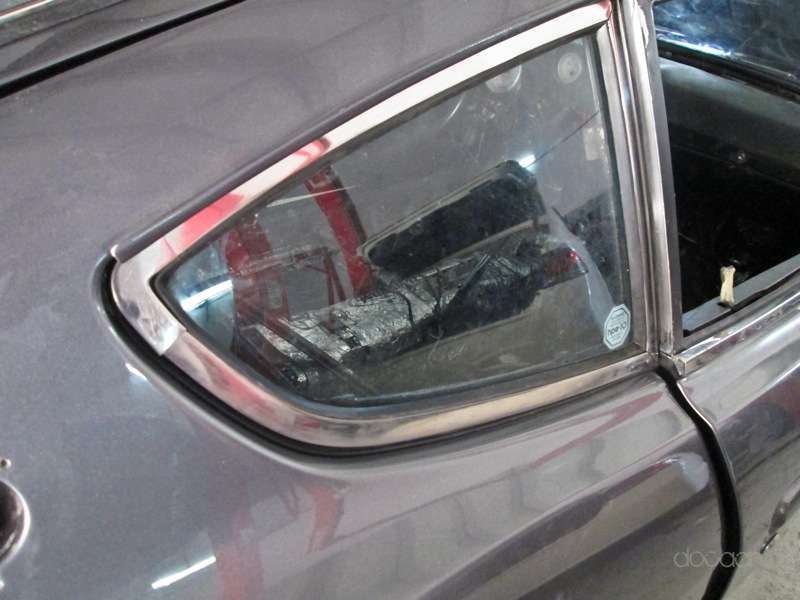
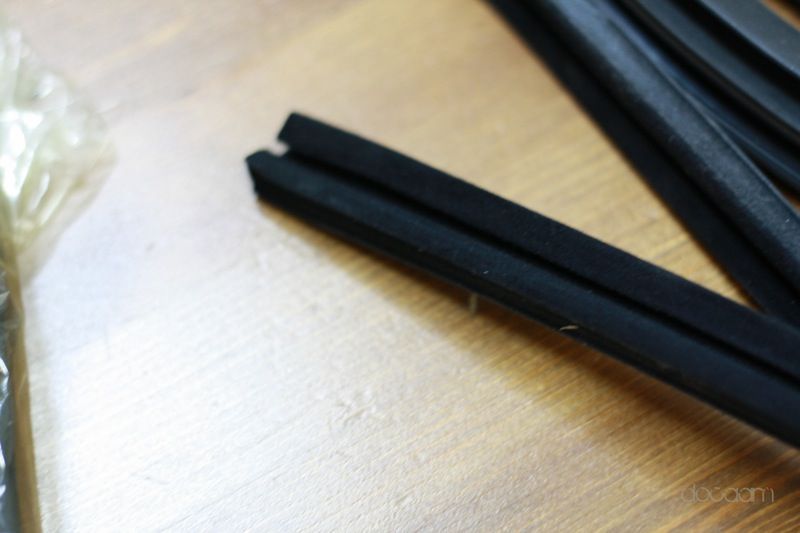
I am changing all the rubbers front windscreen, rear, main door strip, upper door strip, lower door strip and two small rubbers on each corners. Will be changing all rubbers for quarter windows inner, outer and straight one. I also got cowl and three piece hatch rubber kit as well. Rear headlight rubbers seals are there as well and also got window channel rubber from Datsun Bluebird hopefully it will fit as well. So finally everything will be replaced
Also got all OEM Nissan clips and pins and all small rubbers for trunk, hood struts, battery holder, horn, wiper blades etc. Got clear small fender lights and window opener from Singapore
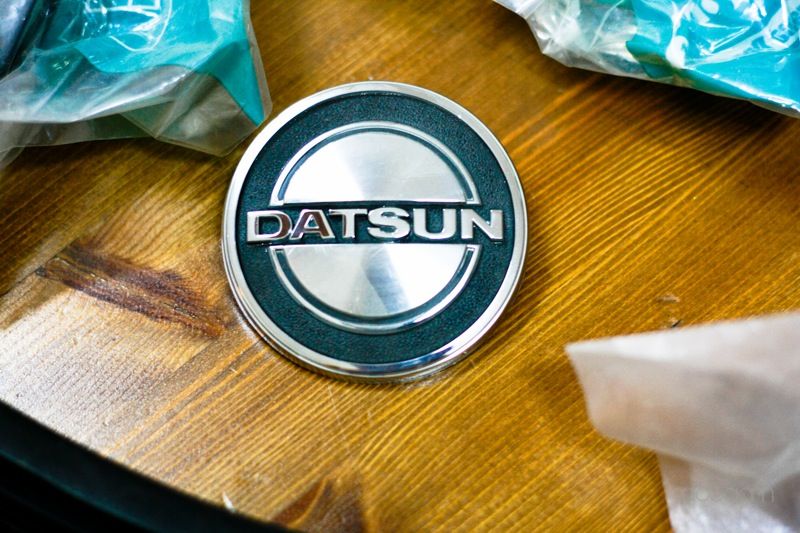
New door handles and hood badge
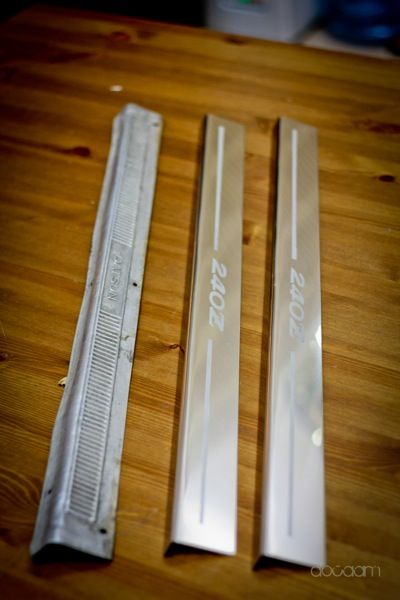
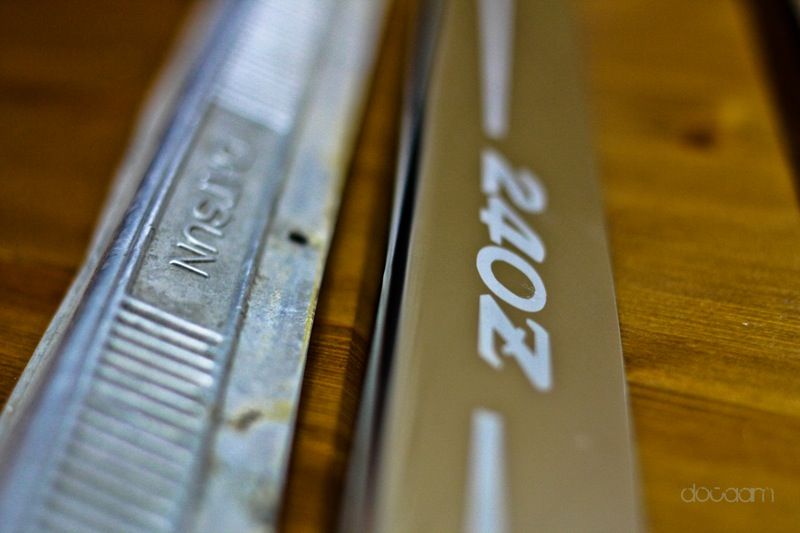
Also ordered some custom 240z engraved SS kick plates from UK
Old Vs New
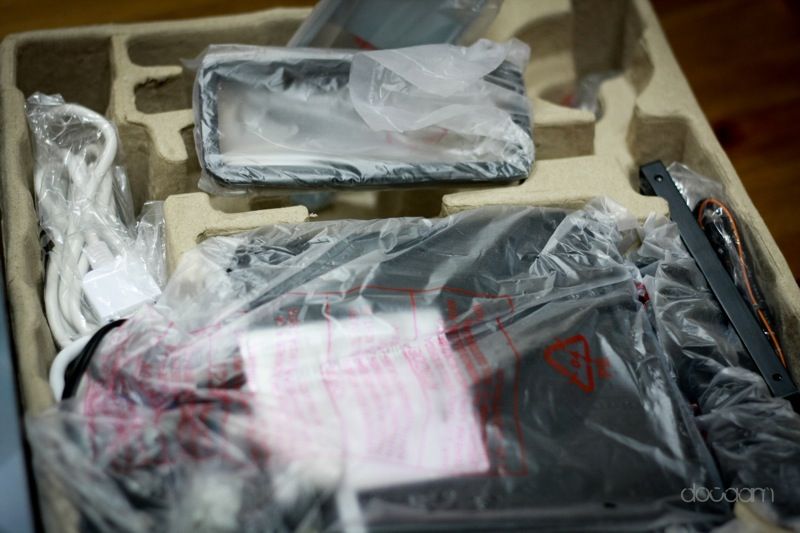
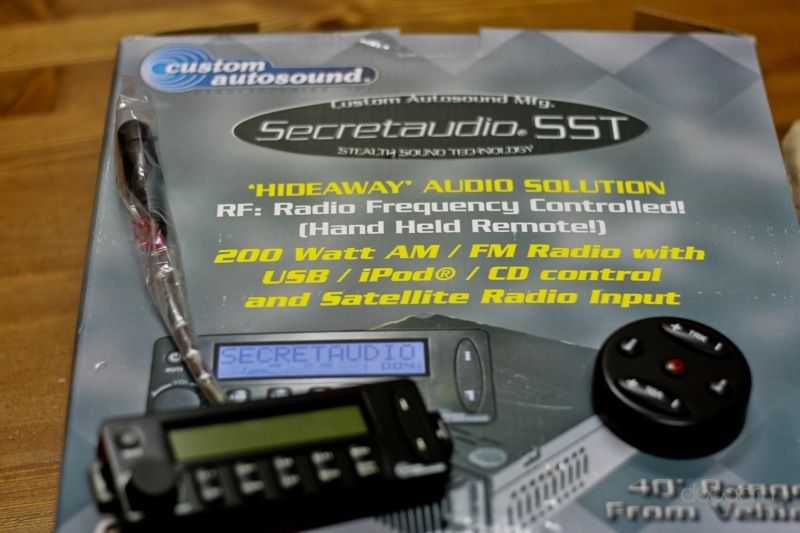
For audio there was no place for a normal headunit so I ordered SST Secret Audio unit, its a small display unit and rest goes under the seat and have a radio frequency remote which can operate upto 5 meter distance. It plays radio, SD card, USB and iPod connectivity.
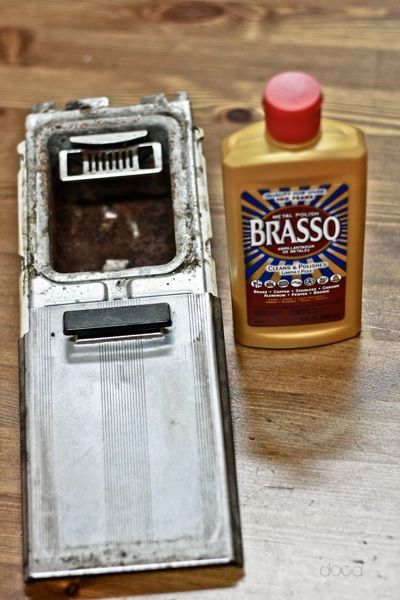
Some stock chrome pieces like AC vent for middle part and Ash tray was in bad shape so did some polishing with Brasso FTW
Before
After one hour of scrubbing and polishing
Before
This still under process as inside part needs to be painted so will spray paint it silver.
Other interior panels had cracks in it as well so I will be repairing it with epoxy resin then sand it and spray matt black.
I have a carpet kit coming on Thursday and CF fender flares this weekend as well. Will post more details by this weekend.
-
Can anyone explain/picture for electrical autometer where to conect the speedo cable in gear box (or differetial?) I am running RB26DEt with Sti differential most pobably 3.5.
-
I wanted to take an opnion as you have used same head/block combo.
I bought similar but want to run it NA any idea what piston size I should go for to increase the compression to 10.5? as I heard stock compression as it is will be 8.5 which is very low for NA application. And would using stock RB25 pistons help the issue
-
Hey Oscar this is the guy from Dubai, I thought Im the only one suffering, already paid twice but still no concrete reply/tracking number just running back and forth since August. I sent you an email as the tracking number which you sent me now doesn't exists on USPS site?
-
Is this what you are talking about?
Any more details?
-
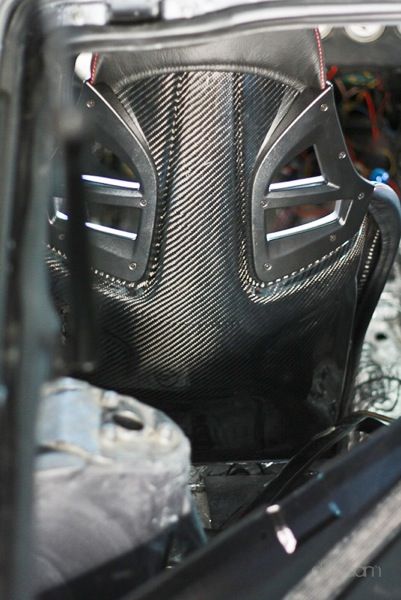
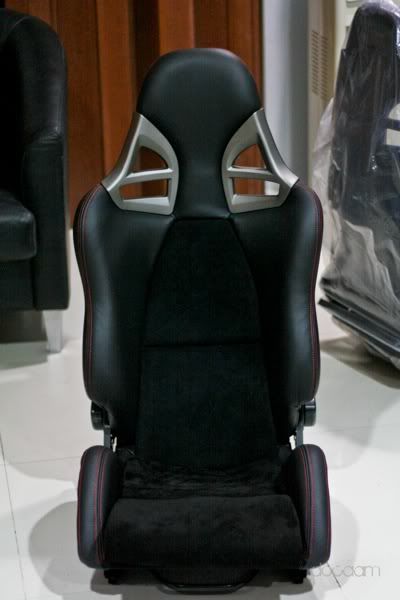
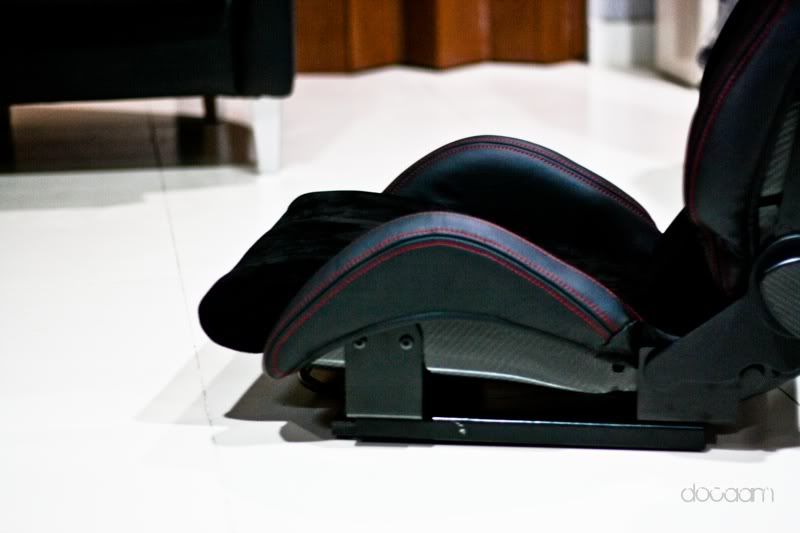
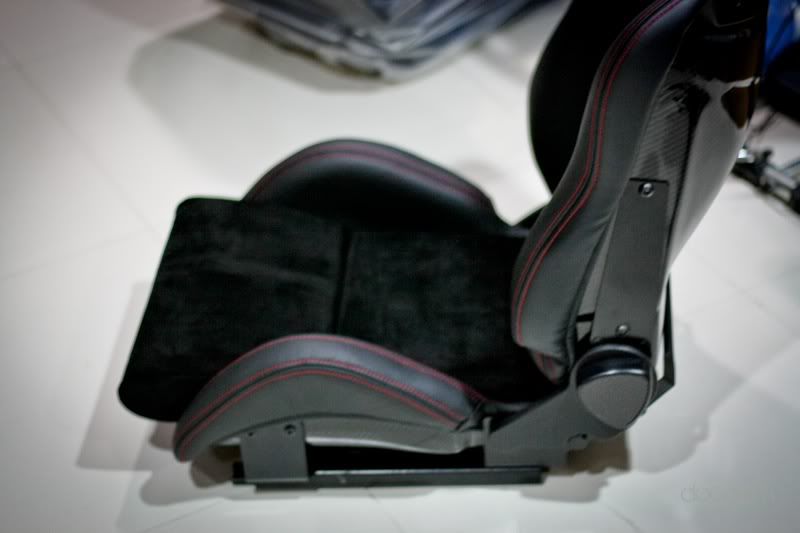
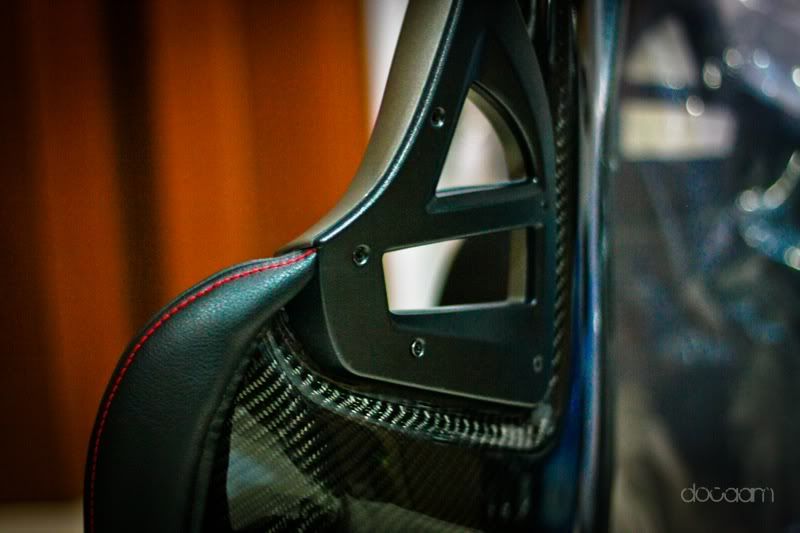
I dig the seats. What brand are they? Do you have a web site link?
Thanks
j.
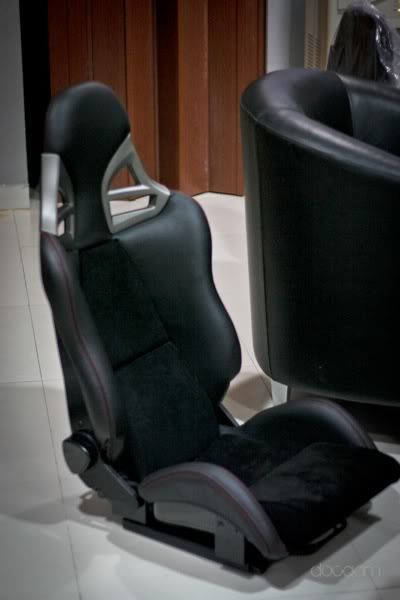
One local company got it for me from Taiwan, as they had some kind of tie up with them. Price was much cheaper then what I saw on ebay.
-
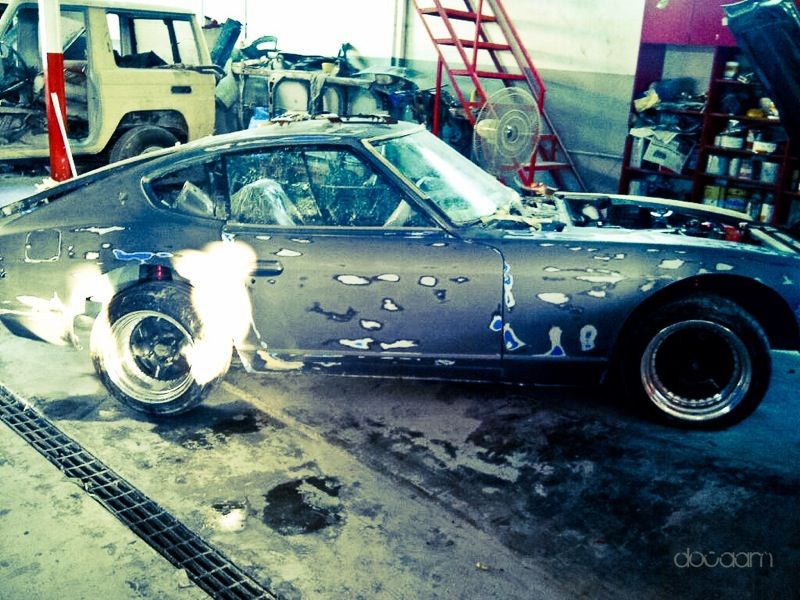
Project moving towards final finish in full swing.
Will be taking the car to the painter nest week to repaint front fenders and install all the parts like rubbers and some other small stuff, then carpet inside. So only two major things left so hopefully will be able to finish sometime in November
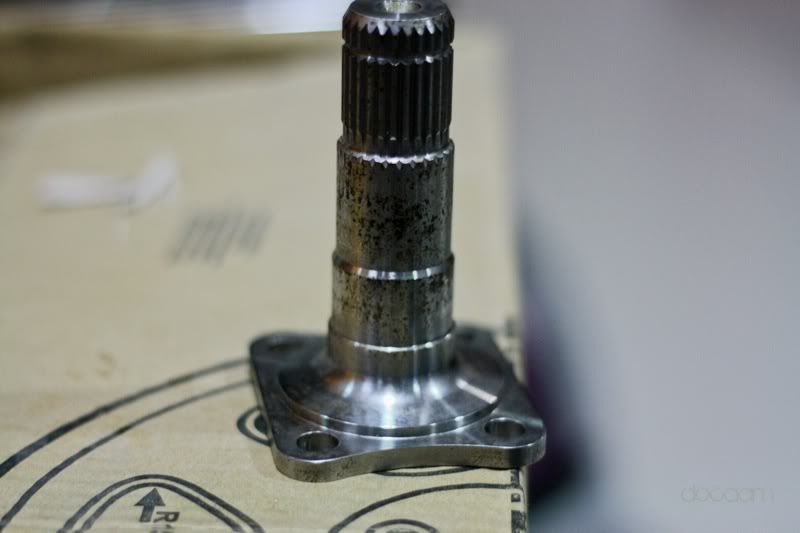
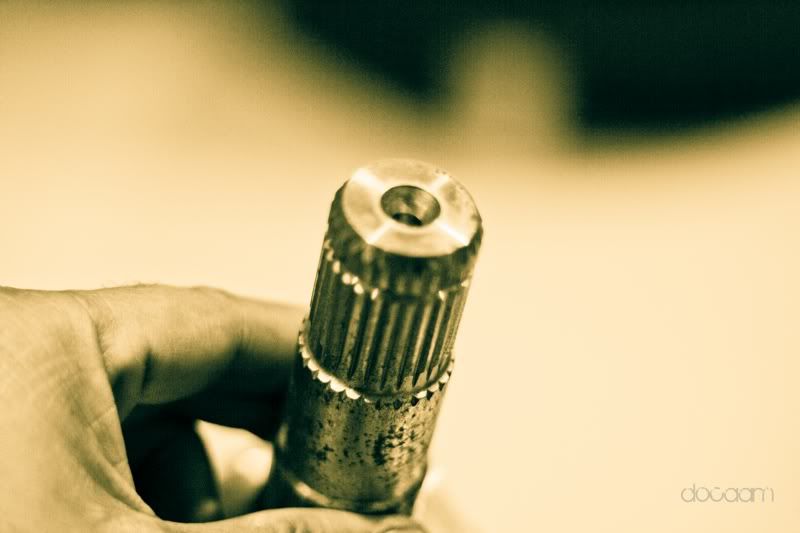
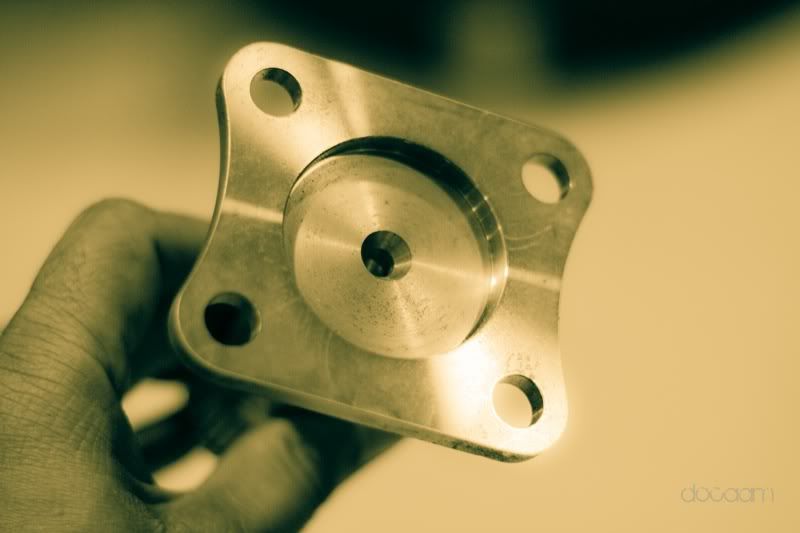
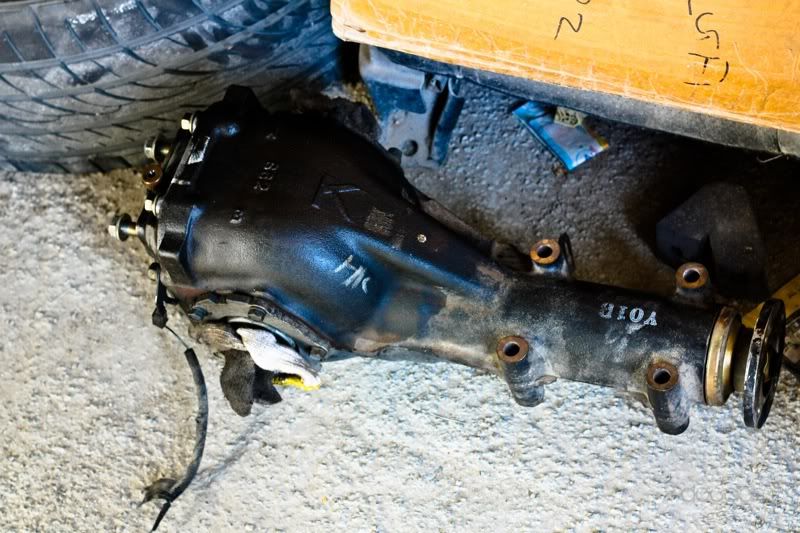
I installed R200 from 300ZX before but with 240Z half shafts they bottom out so one option was to trim the half shafts or change it back to R180 (240z comes with R180 and rest R200). So I did order Sti Stub axles from John atbetamotorsports excellent quality.
Not sure if this is from 2006 or not, any way to find that out?
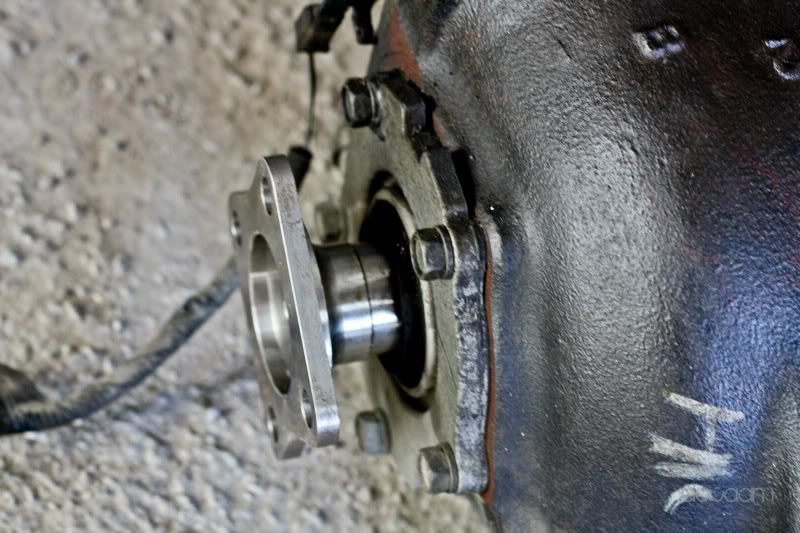
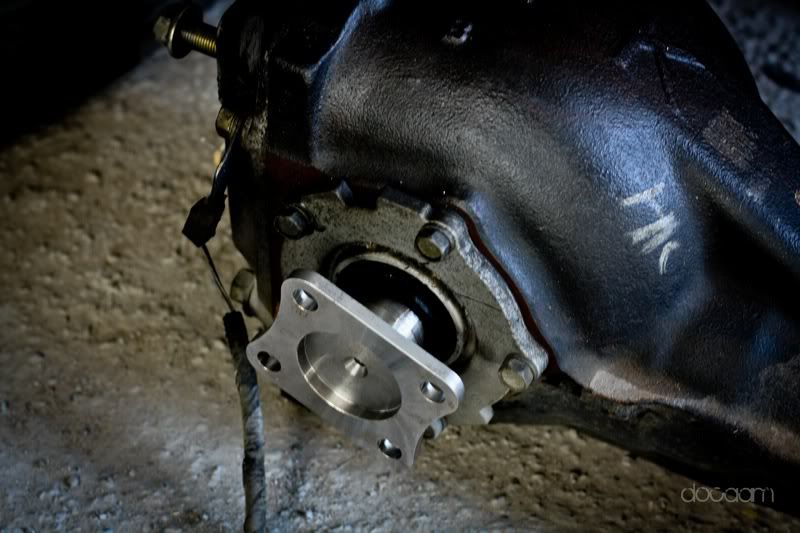
Stub axle fitted
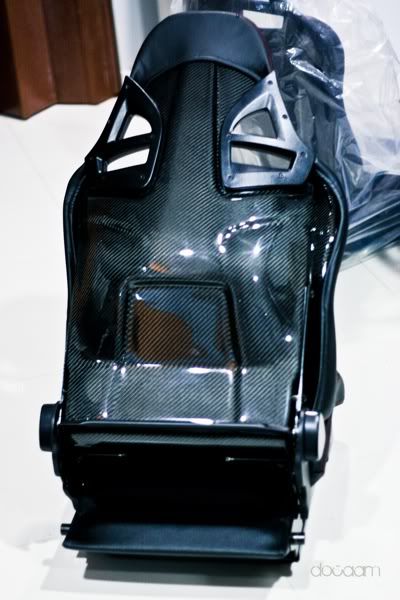
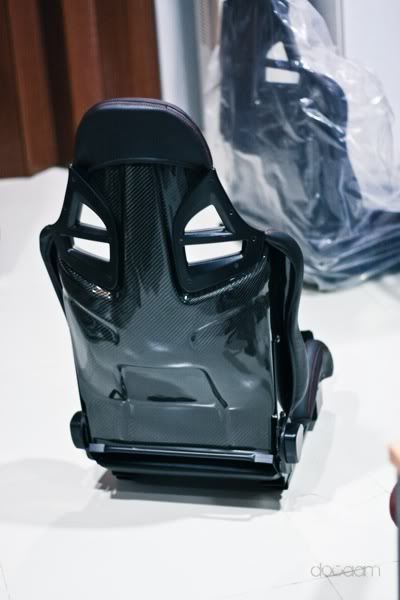
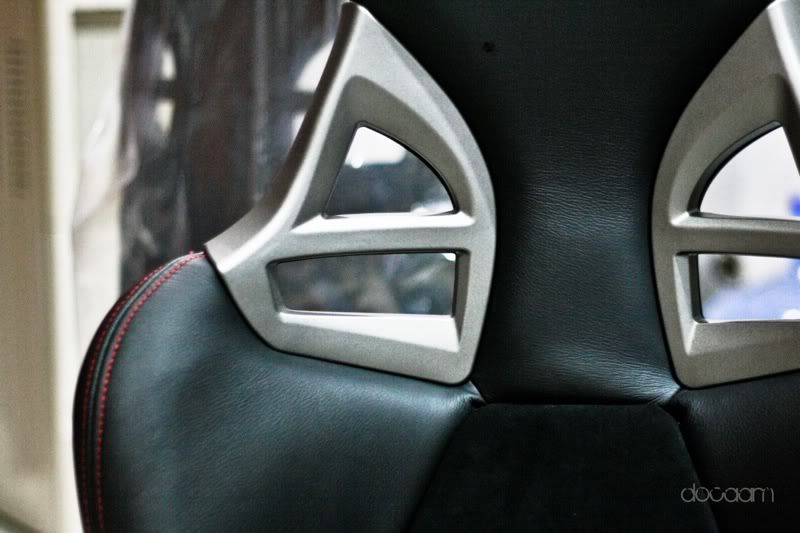
I also got the seats delivered today, ordered it last month. Was in between Bride and other but then went with these. These are one by the same manufacturer of lots of OEM Recaro for different cars and OMP seats. These are full carbon fiber frame and same as GT3 bucket seats just with recline function. Keeping inline with my interior plan asked them to make it in black leather and alcantara with red stitching.


Project RB-Z then VQ35
in S30 Series - 240z, 260z, 280z
Posted
Changed the differential finally, thanks to John at Betamotorsports for providing the custom stub axles, Sti diff fitment took 10 mins all bolt on just the drive-train needed the holes to be redrilled


Sti to S30 halfshafts Stub axles
Drive-shaft holes were re-drilled
Cusco rear strut bar fitted, front will fit after all engine work
Was tired of all messed up wiring and VTC was not working as well so went with Adaptronic Standalone ECU for RB25
As the engine theme was black colour so changed coil and cam gear cover to carbon fiber ones.
Car finally has some number plates