HLS30-08077
-
Posts
180 -
Joined
-
Last visited
-
Days Won
1
Content Type
Profiles
Forums
Blogs
Events
Gallery
Downloads
Store
Everything posted by HLS30-08077
-
260z wiring diagram needed
HLS30-08077 replied to that240guy's topic in Gen I & II Chevy V8 Tech Board
Me too PLEASE..... wolfin32z@yahoo.com Follow my 260Z thru the rebuild (all winter of 08' to spring of 09') http://www.cardomain.com/ride/3195135 Thanks in advance. Dave. -
OK. So I've read a butt load of schematics, diagrams and pesonal "How to's" But here's what I need to know, Precisely.... When you guys "Removed the Shunt, Safety interlock and other items" What did you do??? The shunt is basically a run thru that allows the small gauge (18ga) wires to tap the larger wires and be fused. The shunt says "FUSE A3" on the top of the body. I contains 2) 3 amp fuses. Where do the small gauge wires go. I'm going to swap the stock alt for the 60 amp internally regulated alt. I think I get the Just of the wiring but have read 3 different ways to wire the VR plug for proper operation. So what wiring do I need to do on the VR plug?? What or how do you remove all the Safety Interlock B.S. and still have everything work. Should I just run a wire from the starter wire on the ignition switch to a relay, then to the starter? Would this basically by pass the Safety interlock. I also plan on new seats and seatbelt equipment and these both have S.I. parts that help the interlock system work. Sorry to repeat a lot but I need straight answers in plain unbroken english. This is for a 2/74' 260Z Dave
-
Crappy picture of diff X-member and rear cross bar
HLS30-08077 posted a gallery image in Members Albums
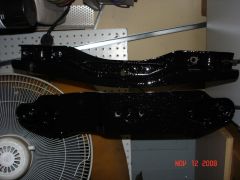 I'll take a better picture when the POR15 dries.
 -
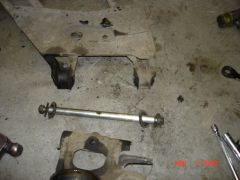
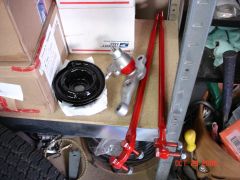
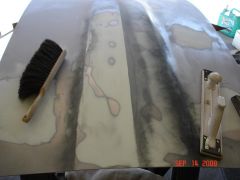
 From left to right.... The Double plate steel weight that goes on the bottom of the diff X-member, The diff mount, Hangers
 -
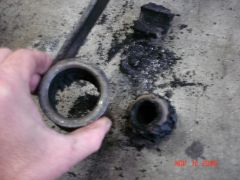 After the pic, I used a dremel with the sanding drum to clean out the other rubber. Then cleaned it, Metal Prepped it and POR15'd it.
 -
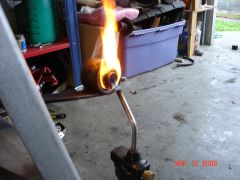 Nothing a torch can't fix.
 -
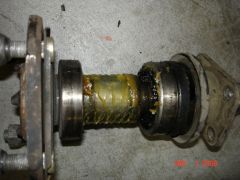
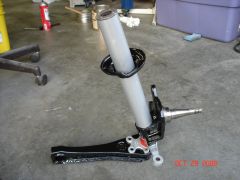
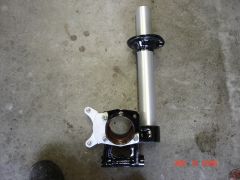 Test fitting the ZX adaptor plate, Black and silver POR15, And this time the bearings will have more than a pinch or grease like I found it.
 -
-
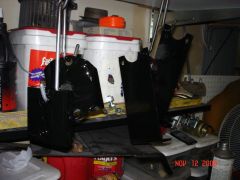
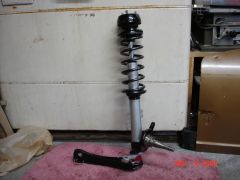
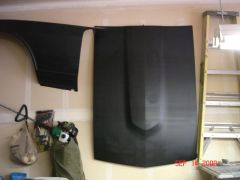
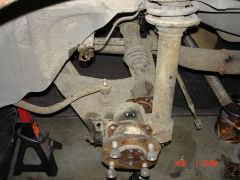 Getting ready for Full sand blasting, POR15, ZX rear disk brake setup, Eibach springs, KYB struts, ES urethane and paint.
 -
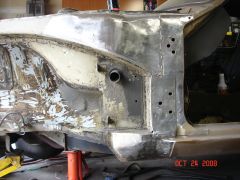
 Came out like a hot knife thru butter, even after 34 years.
 -
-
-
-
-
-
-
-
-
-
-
Excellent read. I'll stick with the rubber on the back side, I got 4 peices to choose from. I have urethane on the 240Z and have never had an issue but is also sounds like most of those were under racing or severe conditions. But like I said, I'll stick with the T/C kit and rubber. Thanks Jon. I'm working on them as we speak, It'll take longer than originally predicted because these LED's are not from my normal supplier and I have to solder in Resister for every 3 LED's. There's 72 Brake LED's and 48 T/S LED's. I hope to have them done tonight. Got Cash? Dave.
-
Remind me when you come over this week. I already have some in the 240Z. I have LED in the maplight, domelight, dash, taillights, side markers and front markers. I also have Cold Cathode tubes under the dash and in the dome light are (one for front and one for rear hatch area)
-
See there, now you're sucking all the fun out of my daily drives:icon54: In all honesty, After the months of (Damn Hard) work I'm putting in and will put in to this car, I'll most likely drive this one a little nicer than I do the 70'. I'm putting all the knowledge I've learned on the 70' and all the other Z's Ive worked on, into this one. Every peice will have special attention, right down to each detail. And it'll be done the way I want, not the general standard reguired by the fuddy duddies. For those of you not in the know, Here's a quick list..... KYB's and Eibach PR springs ES Urethane Bushings Every peice of suspension pulled blasted to bare metal, POR15'd and Painted. T/C Kit w/ urethane on the back side Ball joints and Tie rods (seriously needed) Toyota 4-piston Calipers in front 81' ZX calipers & pads in rear and all four corners will have new bearings and Rotors. 19mm rear and 25mm front sway bars yada yada yada Electric windows electric locks with Electric Door Pop with Hidden plain site buttons Shaved door handles Frenched antenna with invisi-door Shaved hatch lock with solenoid popper Full stereo system like usuall (4 to 6 speakers + subs and amps) H4 90/100 bulbs LED Taillights, LED "Z" sidemarkers (special design) White face gauges with Orange LED's to match the Orange paint. Custom internal lighting with either LED's or Cold Cathode tube lights. Tinted windows @ 20% Honda wiper motor upgrade (still figuring the wiring on that one) The list is much bigger but you get the idea. The wifes loves wide tires so I'm thinking about 16X9's in the rear with 245/50ZX16's and 225's in front on 16x8's or all 4 at 9" with ZX flares. I'm trying to keep updated pics on Classiczcars.com Dave
-
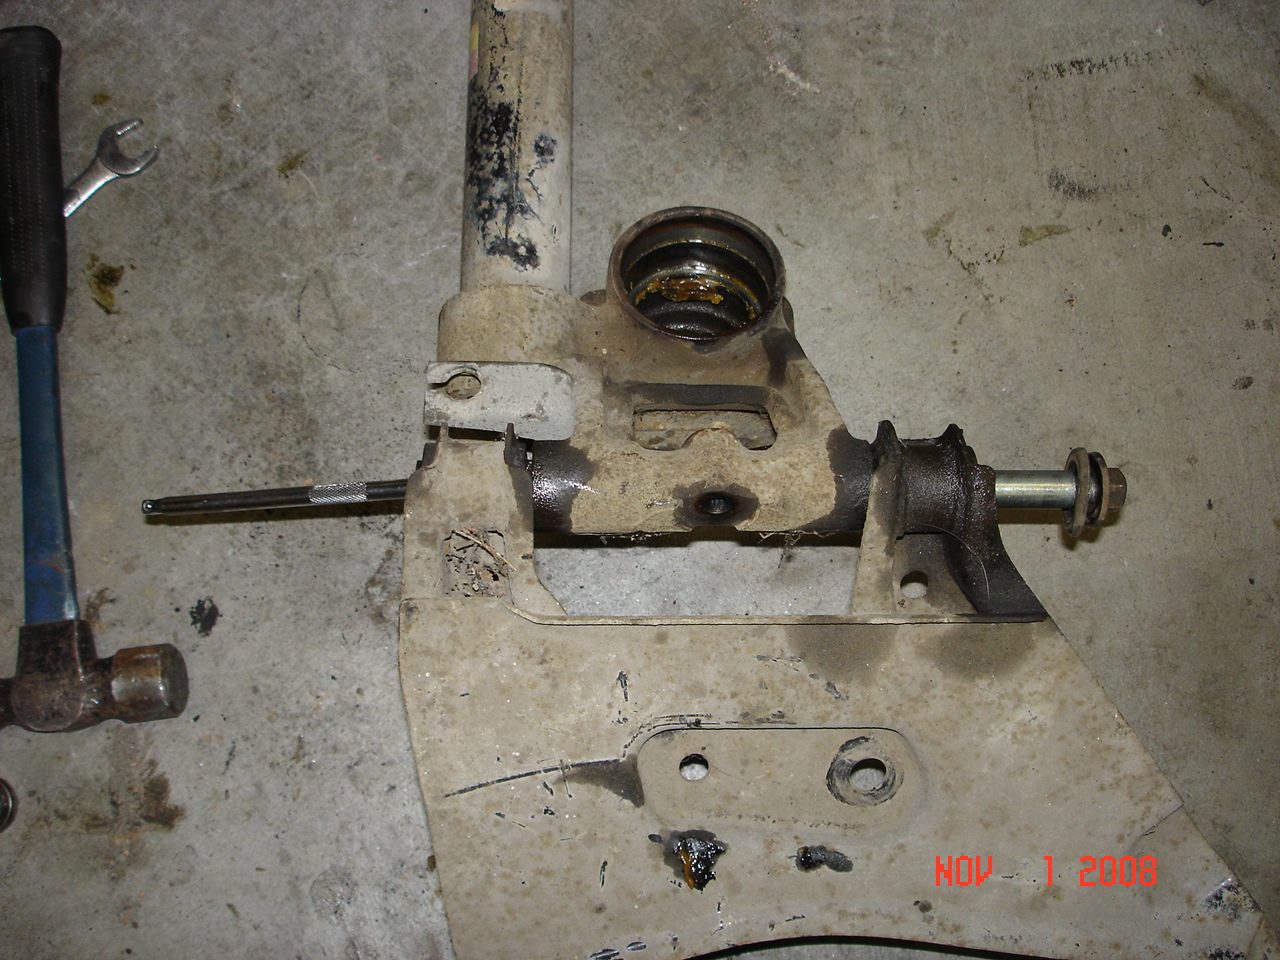
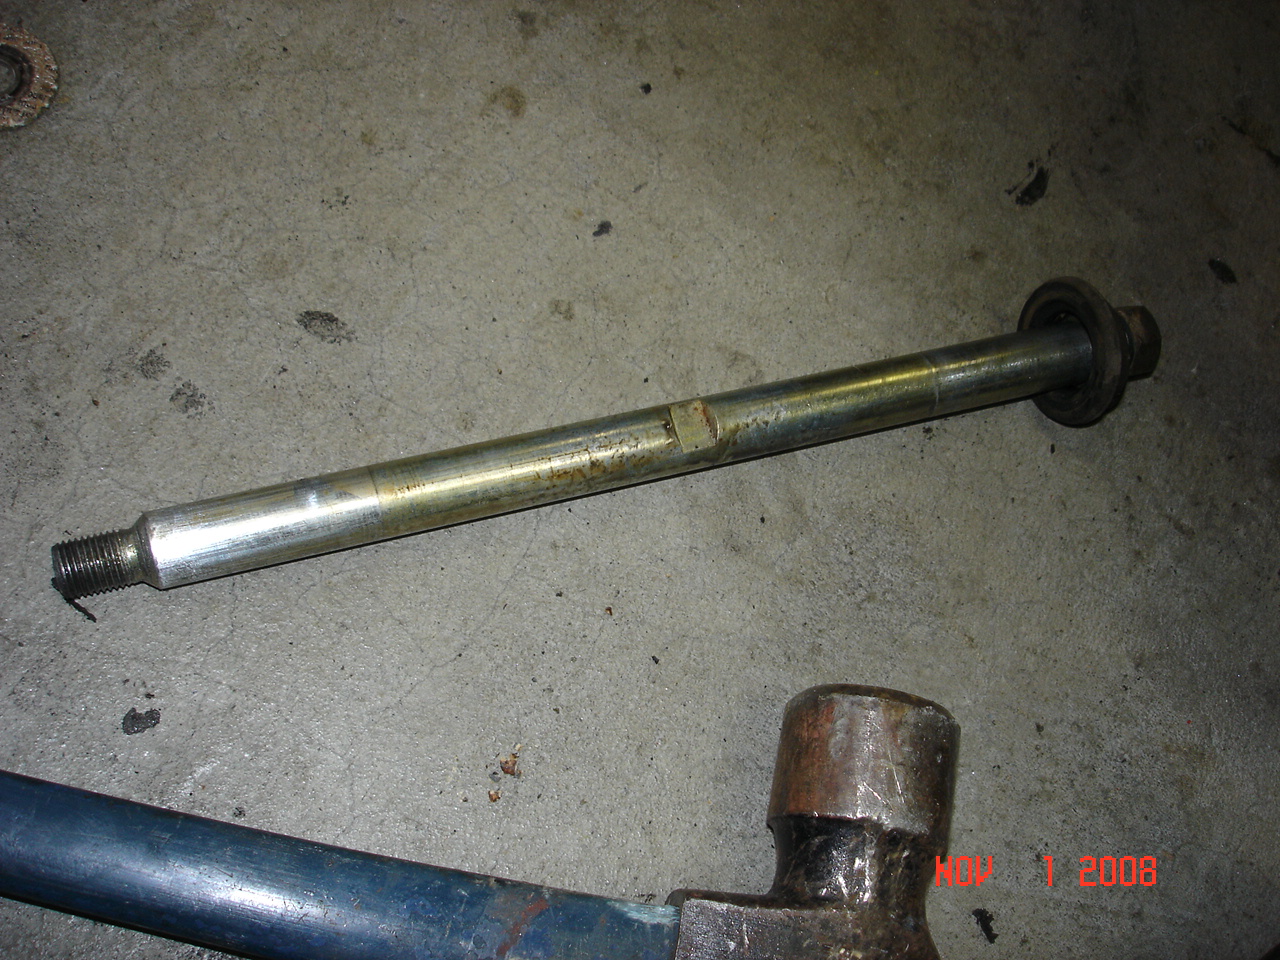
Spindle-Pin-Puller Loaner program
HLS30-08077 replied to Dave's topic in Brakes, Wheels, Suspension, and Chassis
So here's a question for ALL of you. Obviously, I don't wanna wait to borrow a tool to get things done, so I sprayed the hell out of the nuts, spaces between the strut assembly and control arm and also into the lock pin area after removing it. So I removed one of the nuts, pulled the washer and rubber, then put the nut back on, slid a 12 or 13mm socket over the bolt and up against the nut. I smacked it with my BFH (Big Fricken Hammer) and it moved in about 1/4". So I backed the nut off a little and did it again. Needless to say, I used an 8" long, 3/8" rachet extension and popped it all the way out. This worked for both sides. So my question is....... Has ANYBODY ever removed their spindle pins as easy as BOTH of mine came out? Everything is Original and never removed in 34 2/3 years. Dave.
-
So Oliver got your springs in huh? He's a good guy and knows what he's doing. He want's me to get a few Harness's to sell at his shop. Has everyone got their MSA Holiday Flyer yet? If so, You'll see 4 of my Electric Upgrades on page 10. Yeah for me, I feel almost popular now. Dave.