-
Posts
315 -
Joined
-
Last visited
-
Days Won
5
Content Type
Profiles
Forums
Blogs
Events
Gallery
Downloads
Store
Everything posted by Fauxre
-
Looks like this last hoop jumping will take a little longer than expected. The smog check is now a two part process. On my monday visit, the ref copied all my paperwork and took a couple of pictures of the car. He then faxed it all to the main office in Sac. who does some kind of "investigation". In about a week, the office will contact the ref with an approval or denial...he'l call me...and then I go back to get the BAR sticker attached.
-
That's where I'm going.
-
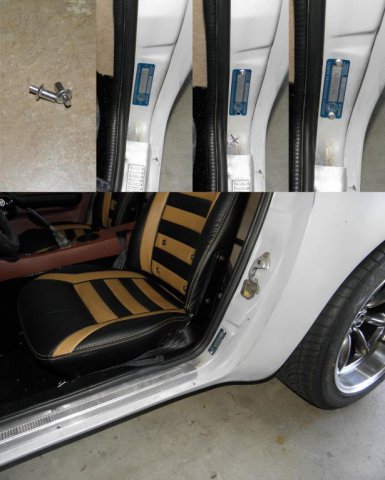
Trip to CHP office was a breeze. All my paperwork was in order. The only snag occurred when I was told that the old vin plates had to come off and be surrendered. That meant a trip home to drill out the rivets. No big deal. With my old plates in hand, a new vin number was issued and a new plate affixed to the drivers door jam. The metallic tag has an adhesive backing, but two rivets are provided by CHP that must be installed by the owner. I was instructed to drill holes at the marked locations on the tag and tap the rivets into place with a hammer. The rivets act as anchors as well as anti-tamper devices. One more hoop to jump through before DMV title and registration is complete... Smog referee inspection next week.
-
Third times the charm... passed the brake inspection this morning. Back to DMV on Thursday, then it's of to CHP for vin verification.
-
Had to take the VR to a different shop for the brake inspection. Turns out the first shop is flakey. When I arrived for my 2:00 appointment, I was told that the tech didn't have anything to do in the morning, so he went home. The guy at the counter wouldn't even call him to see if he was coming back. I immediately called another shop who said to come on down and they'd squeeze me in....which they did. Unfortunately, she still failed the inspection. Everything is good, except for the pedal travel. Too long...too mushy. After some searching here I think I've got it figured out. The reaction disc has fallen out of its place in the vacuum booster. It's a simple thing to fix, normally, but the two halves of my booster shell are "welded" together by corrosion. In my attempts to separate them, I've mangled the locking "lips" beyond repair. So, I've ordered a new booster which is scheduled to arrive today. If that doesn't do the trick, I'm out of ideas. Everything in the brake system is new...except for the hard lines.
-
TADA!!! VR's aligned. She tracks and stops in a straight line. Now that she's been driven for more than 2 minutes at a time, an annoying cycle has emerged. The cooling fan is wired to constant power, so it continues to run even after the ignition is off. It turns off after 15-30 seconds. Then 20 seconds later turns on again. Then off. This goes on for 5-10 minutes. A little rewire is in order.
-
Ok...I think I've solved the brake issue. While replacing the tension rod bushings, I noticed the calipers wobbled slightly on their mounts. Apparently I left out the lock washers when I mounted the calipers. The mounting bolts bottomed out in the holes leaving the calipers slightly loose. With the washers installed the calipers are mounted solid and she stops perfectly straight. She still drifts slightly to the right when cruising, so I'll get her aligned tomorrow and then head back to the inspection station this week.
-
Drained half the reservoir bleeding each side. And pedal is firm. Not likely air in lines. Did some searching here and found a couple things that might be contributory. Still have the old tension rod bushings, all other suspension bushings have already been replaced. I'll replace those, check the thickness of the new rotors to make sure they're even, check for a piston hanging up and have the front aligned. Hopefully that combination will eliminate the pulling. I understand that even though the tires are new, they could be contributing to the problem also. But the tread on my tires is directional, so I can't swap sides unless the tires are removed from the rims and flipped.
-
Hahahahahahah... please..... I've written a lot of dumber things... wait....what???? Ok, enough of that. Started the title process. I took my first trip to DMV with paperwork in hand. After paying $146 in fees, I left with my BAR certificate of sequence number and two one day operation permits. Two days ago I drove to he closest inspection station for the brake and lamp inspections. Passed the lamp inspection fine, but I was told the brakes were pulling to the right too much, and would need some work. The good news is they didn't charge me for the brake inspection since all the tech did was a test drive. After talking with the tech., it seemed the most likely cause of the pulling brakes was the 40 year old hoses, since the calipers, rotors and pads are all new. After replacing the hoses yesterday, it still pulls to the right, albeit somewhat less. I'll get a front end alignment to see if that eliminates the rest of the problem.
-
I drove to the closest inspection station for the brake and lamp inspections. Passed the lamp inspection fine, but I was told the brakes were pulling to the right too much, and would need some work. The good news is they didn't charge me for the brake inspection since all the tech did was a test drive. After talking with the tech., it seemed the most likely cause of the pulling brakes was the 40 year old hoses, since the calipers, rotors and pads are all new. After replacing the hoses yesterday, it still pulls to the right, albeit somewhat less. I know I need a front wheel alignment, but what else could be causing my problem??
-
I'm confused. Does "overcomplicated" mean "quality" Downunder??? Because that's what I see in your build. Precision and high quality. No "cheap fixes', like my project... which is pretty much ALL "cheap fixes." No doubt your work will stand the test of time.
-
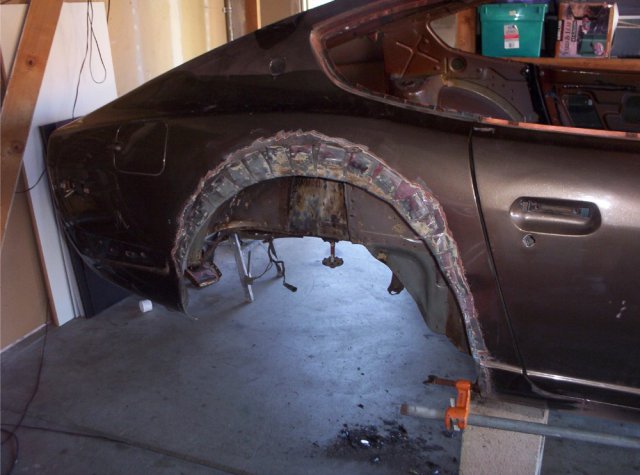
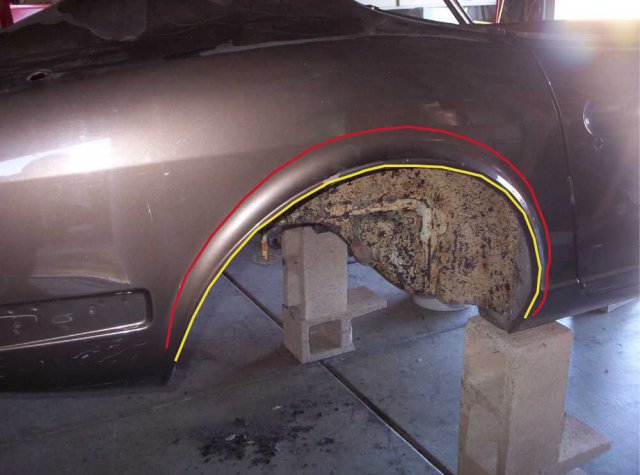
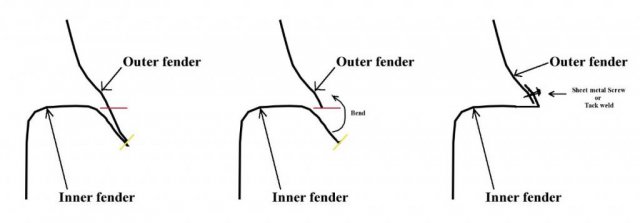
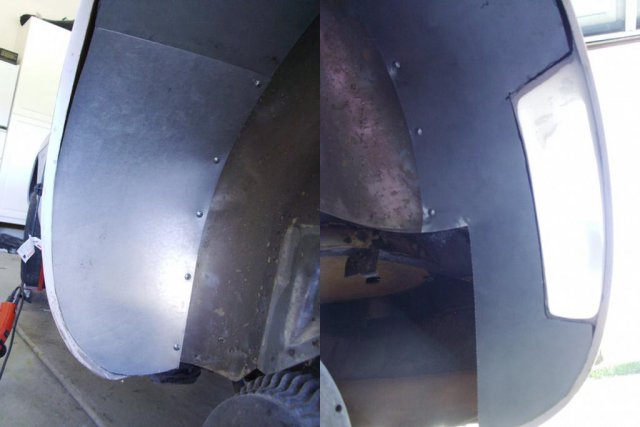
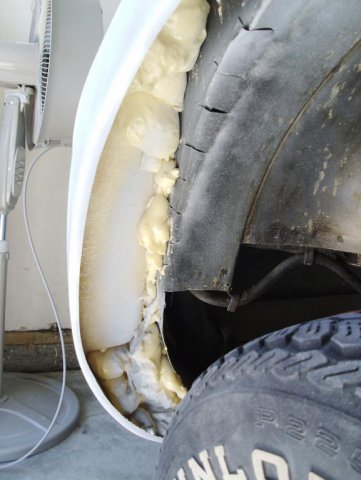
Very elegant BFO. My method is a lot uglier. Using the directions in my VR manual (no template included), I first cut along the yellow line to separate the outer and inner fenders, then along the red line only through the outer sheet metal. The red line in the photo is even with the highest point of the inner fender all the way around like in this diagram. The inner fender is then cut into tabs and and each tab is folded up over the outer sheet metal. I tack welded them, but I've seen sheet metal screws used to secure the tabs as well. Once the rear tub was mounted and the vents complete. I cut sheet metal to extend the inner fenders out to the tub, covering all the tabs. They're attached with sheet metal screws so I can access the closed off area if I need to later. It's not pretty, but it still does the job. Hope this helps.
-
Started the Title / Registration process today. Fees were only $146. I now have 2 one day moving permits in order to get my Brake and Lamp inspection, which I've scheduled for Wednesday. I also have my BAR certificate of Sequence number. After passing the B&L inspection, I go back to DMV and they will issue a long term (good for 90 days) temporary moving permit to get the CHP vin verification and smog inspection.
-
I've considered a soft top, but I'm not crazy about the bulk it creates behind the seat when down...at least the ones I've seen so far. And I'm not sure I can fit one around the rollbar I'm using. And this pic actually looks like a solid top to me.
-
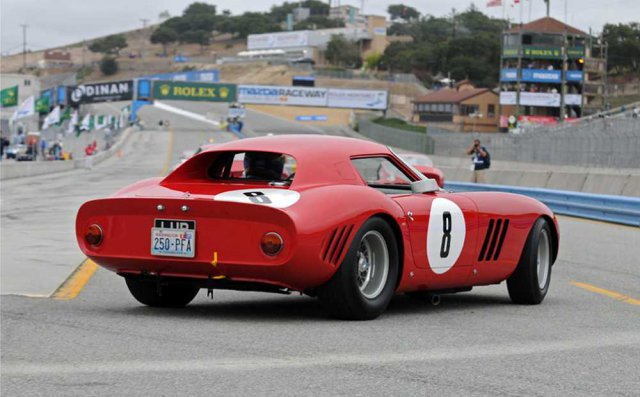
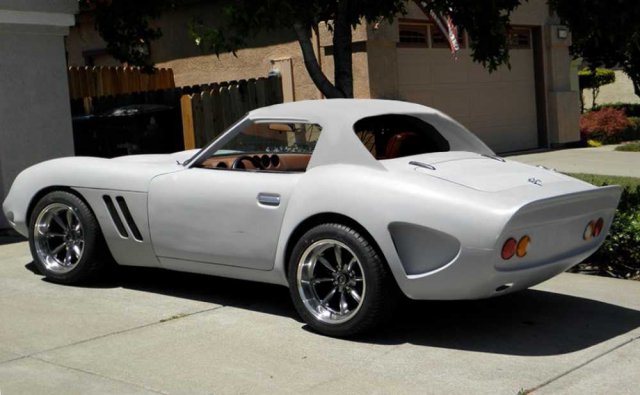
I'm considering building a removable hardtop for those rainy days. Using the #8 GTO for inspiration.... Mine might look something like this.
-
Have you read this thread? http://forums.hybridz.org/topic/31692-250-gto-door-buttons/
-
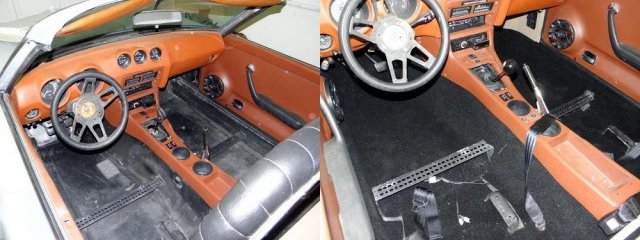
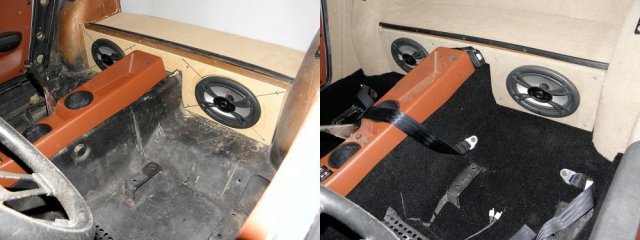
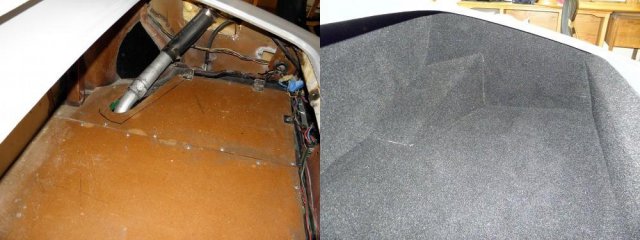
Bought some cheap carpet at Home Depot to make a temporary interior. Covered the trunk and did a little two tone up front. It'll do for now.
-
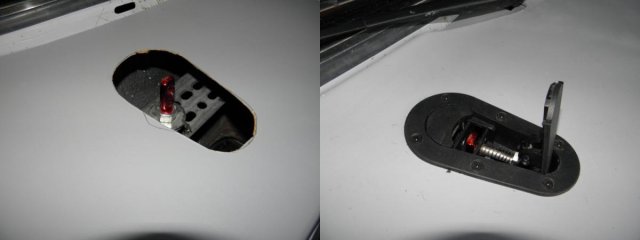
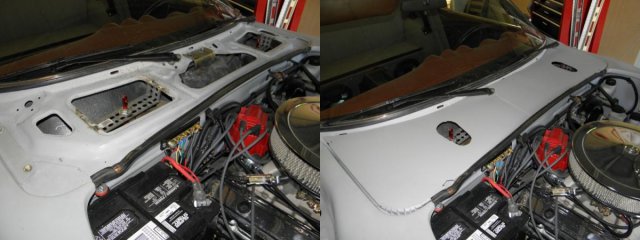
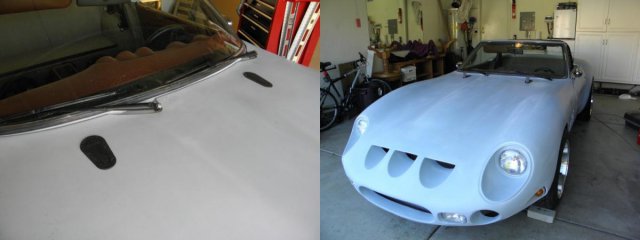
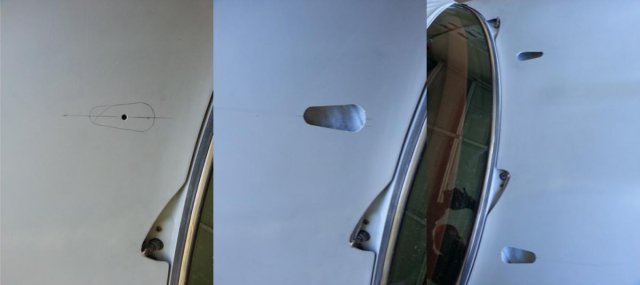
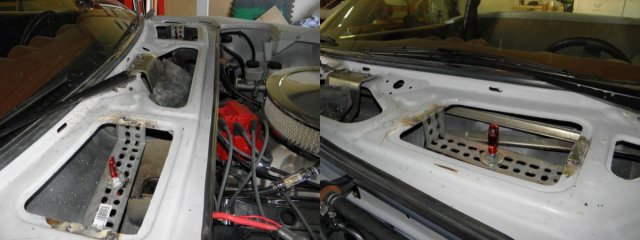
I've been pondering hood pins for a while now. I was at the AHA "Fun Under the Sun" kit car show in Pomona last weekend. Saw a Velo Rossa that was going for the classic look by using leather straps to secure the hood. The enormous belt buckles really detracted from the sleek lines of the car. And to add to the distraction, the builder used the VR style tilt front end AND had the original style center hood opening. Why? That means it had four of those big buckles mucking up the front end. I had already made a tentative decision on my latch arrangement, and after seeing that VR, I felt much better about my choice. I chose the modern Aerodynamic panel fasteners from Aerocatch. I toyed with mounting them on the side of the tilt hood but the curvature seemed too extreme and problematic for my feeble mind to tackle. So I went for what I perceived to be the simplest mounting spot... the old Z's fresh air intakes in the cowling area under the windshield. After a little eyeballing, I marked the spots on the hood and made my cutouts. A couple of brackets tacked into the vent openings and the pins are mounted. I'll be making a new fiberglass cowling to fit under the hood. I'm working with this cardboard template for now. I'll mold in a "cup" to conceal all but the pin and nut. I think the final look is pretty slick.
-
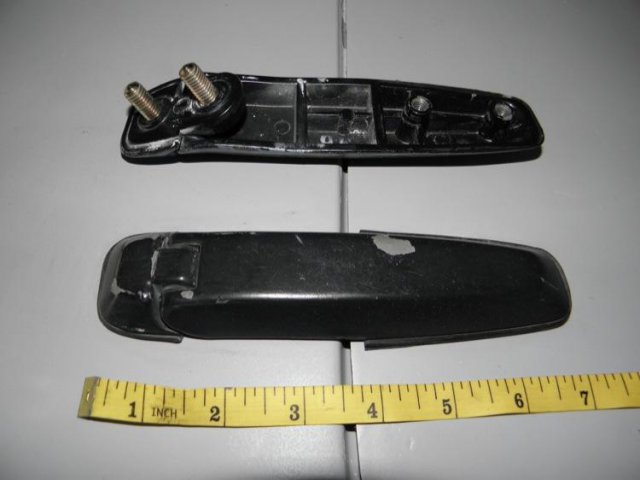
Lookin' good Ken!! How long will you be in Norcal? If all goes well, I might be able to drive mine over for a visit while you're here. I'm partial to the RX7 hatch hinges, myself. But Sherms Custom Plating in Sacramento quoted me almost $300 just to chrome two. And I would be responsible for disassembly... which is not easy. Haven't looked into powder coating yet.
-
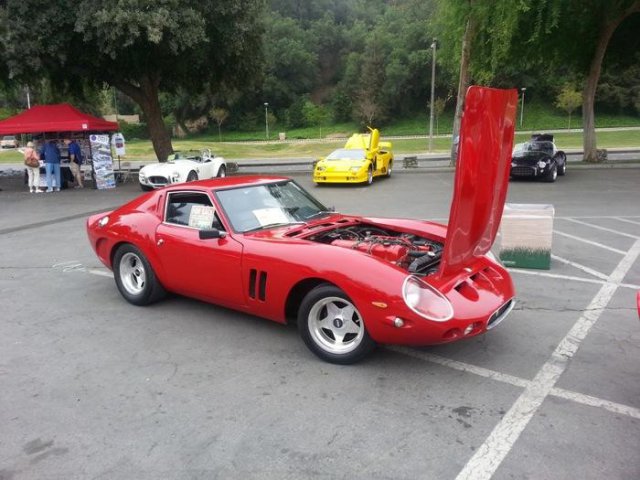
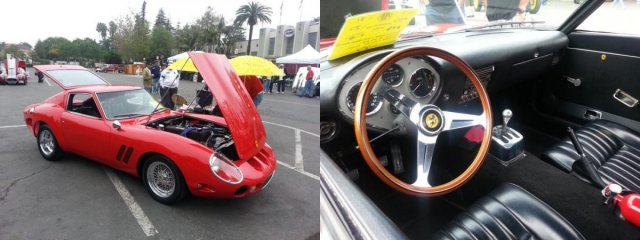
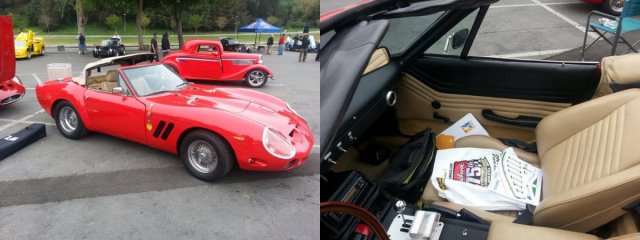
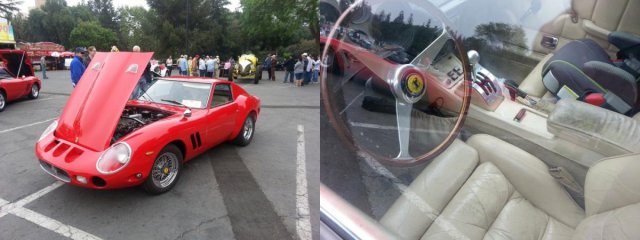
Keep those pics comin' fellas. The cars look great. Ken, that Pantera hatch is intriguing. A one of a kind look for sure if you decided to go for it. BfO, that is some serious fabin'. Did you bend those rockers up yourself? Impressive!! Soooo.... I went to the AHA Fun Under the Sun show in Pomona on Saturday. I haven't gone since 2008 when I picked up my VR kit from John W. when it was still being held at Knotts Berry Farm. Although I love the new venue, it's right in front of the NHRA museum, I have to say I was quite disappointed with the show. There were less than 50 cars on display, and I only saw three companies touting their products. As usual, the Cobra was well represented, but the second largest group were the four GTOs. I snapped a few pics. This one was pretty clean. The others were much older builds and their ages were showing. They were clearly driven... a lot... and their fit and finish reflected it.
-
Thanks mono! Yeah, those hot rod guys are great... especially when it comes to horsepower. A lot of good fabricating info there as well.
-
It's not beautiful yet, but it is road worthy. California registration/title is next.
-
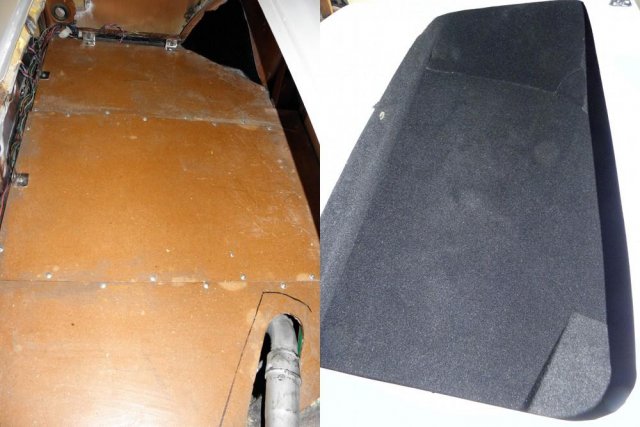
My son Nick helped me make some interior and trunk panels for the VR today. He also took her for a quick spin so I could take this video.
-
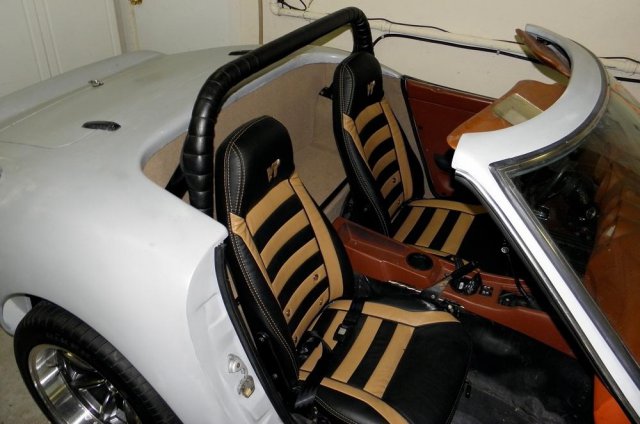
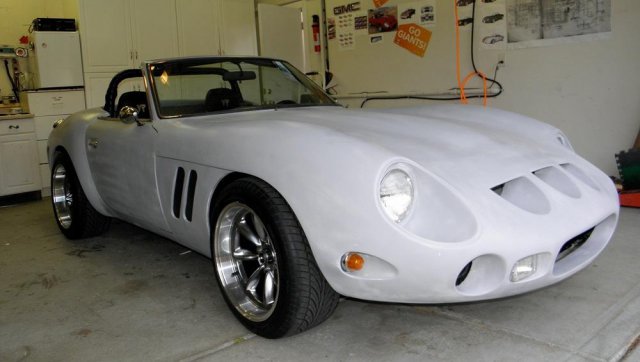
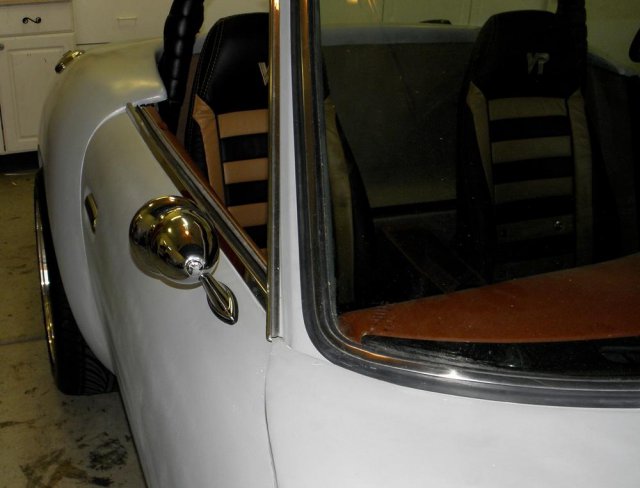
More baby steps. Made some panels from thin hardboard to cover the reinforcing steel running from the door sills to shock towers. Covered them and the rest of the compartment, behind the seats, with some cheap beige carpet. My seam work is bad, and the color is wrong, but I can live with it temporarily. It sure cleans up the interior. I also added a couple of bullet style side mirrors for that '60s look. Combined with the windshield wipers, they make the VR look less like a "kit"... and more like a factory car.

