Lone_Star
-
Posts
23 -
Joined
-
Last visited
Content Type
Profiles
Forums
Blogs
Events
Gallery
Downloads
Store
Everything posted by Lone_Star
-
The Arizona Z and SU intakes have been sold.
-
Dellorto carbs have been sold.
-
Sorry for the late reply, yes, I do still have the Dellorto carbs.
-
Updated with different parts for sale.
-
The headers and the SU carb setup has sold.
-
I have a pending sale on the carbs and header. I will let you know if the deal on the carbs falls through.
-
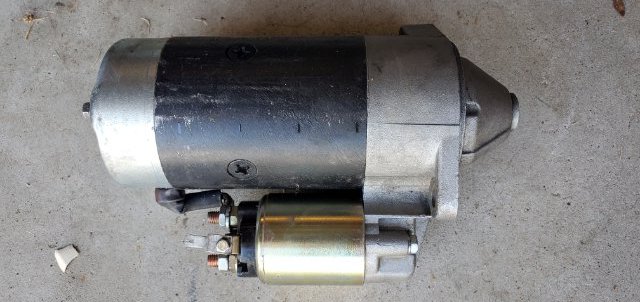
It is time to clean out left over parts now that the project car is finished. Parts are located in Texas, south of Fort Worth. I take payment by money order, personal check, or Paypal, buyer pays shipping and fees - 76028. Reasonable offers will be considered. Like new starter - $25

-
We worked with Chickenman yesterday, he stared with a clean slate and tuning from scratch. He got the basics dialed in but when we started the engine and let it run for just a short time, we ran into fueling issues and stopped there. So I have some work to do on the fueling, get my AFR gauge installed in the car, and some new spark plugs, and try again. My current fuel setup is the stock 260Z tank and stock 5/16 fuel lines. An electric low-pressure pump pulls fuel from the tank and pumps into a converted (BC Broncos version) fuel filter canister acting as a sort of surge tank. From there the stock 280Z (need to confirm part number for specific type pump) electric pump pulls from the canister and pumps to the fuel rail with the stock FPR. We found that fuel pressure was dropping the longer the engine ran running the AFR way lean. Research on the filter shows it as a 10 micron, which was basically starving the high pressure pump. So I will start with removing the low pressure pump and canister filter arrangement and replace it with a 100 micron inline filter and verify I have proper pressure (37 psi at the rail) before trying again. Richard (Chickenman) is indeed very knowledgeable on the ways of MS3, and L28s; thank you for sharing it.
-
Chickenman, Sent you a PM. The injectors are high impedence. I can scan the data sheet sent with them if it will help.
-
I have built and installed an MS3X system on a L28 turbo motor in a 260Z. I have it running, and idles, and am getting ready to get it out of the garage and drive it. I configured the tune from scratch and it is very rough. I am looking for someone with tuning experience to look over my tune and make suggestions or changes to get a safe, basic starting tune. Below is the engine specs, and I have attached my current tune. Thanks for any assistance! F54 block, dished pistons P79 head w/E30 cam - "B" stamp ARP head studs N42 non-EGR intake 440cc injectors LSx coil-on-plug T3/T4E 50 Trim with .63 AR (best that I can determine, Craigslist deal) Intercooler - 11x17x2.5 60mm 240sx throttle body 280ZXT fuel pump & FPR MS3X running sequential DIY Auto CAS Disc in 280ZXT dist Innovate LC2 AFR 2 1/2" to 3" downpipe, 3" exhaust ?? BOV Vintage Air a/c No idle control, yet No boost control, yet No oil cooler A couple of items in particular I have questions about is that I have under basic settings, 1 squirt per cycle; I have seen other setups where this is configured for 2. I also would like to use idle timing advance for warm up, and for when the A/C is on. CurrentTune.msq
-
This one just came up for sale in Houston; https://houston.craigslist.org/pts/d/datsun-nissan-fairlady-g-nose/6278482786.html
-
I have one that was used for about a year, then removed along with the carbs. Sending you a PM.
-
Need pics of A/C with dash removed please.....
Lone_Star replied to Ken Smith's topic in S30 Series - 240z, 260z, 280z
Here is the document. I had saved it to my pc to use as a reference while upgrading the A/C in the 260Z. I went with a Vintage Air unit as well, replacing the factory air. I made several attempts to restore the factory air and had many issues with the condenser and compressor. I have not finished the install as I am doing a turbo/Megasquirt install at the same time. Bryan DatsunZ_Vintage_Air_1000.pdf -
5sp Transmission rebuild kit?
Lone_Star replied to jersey280's topic in S30 Series - 240z, 260z, 280z
I found the receipt for the trans kit, it was at AutoZone, "ATC Pro King Manaul Transmission Rebuild Kit - BK104". In checking their website, they still offer the same kit, plus 3 other variations. -
5sp Transmission rebuild kit?
Lone_Star replied to jersey280's topic in S30 Series - 240z, 260z, 280z
Years ago (2009) I purchased a rebuild kit from the local AutoZone. Unfortunately I do not have any info from the outside of the box for the kit #, but you can see the bearing numbers in the photos. Hope this helps, if I find the kit #, I will post it up.
-
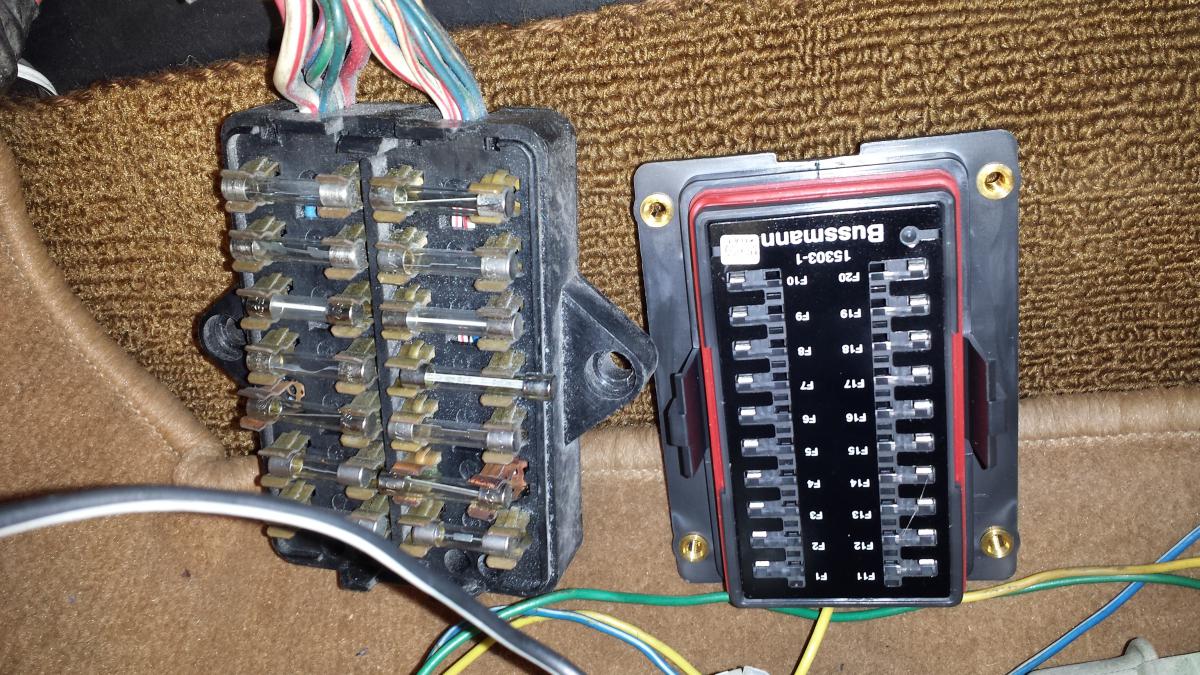
Geez, it has been a while since I updated this thread! Things have moved slow due to life happening, but getting back at it. Since the last update, we got the flywheel, clutch, transmission, etc back in the car. The flywheel is a Centerforce unit that looks like 1/3 of the starter ring teeth are ground off. I could not find a replacement as Centerforce does not make them for the Z any more. Using it as-is for now and will see how it does. It all went in with no issues. I spent a lot of time on wire harness changes! I removed all of the interlock-disable relays and wiring, relays and wiring for the rear window defogger, fuel pump relays, and voltage regulator. I also decided to replace the fuse-box as it was melted in a couple places, and did not allow for making changes easily. I chose a new modular box from Bussman that had enough slots for the current fuses, and ones that I expected to be adding. I also added two fuse boxes and relays to a bracket I made under the hood to handle the re-wiring of the headlights and relays, and fuses I needed under the hood for the MS install. I probably could have saved room and a bit of headache by using one of the Bussman boxes that is setup to use micro relays and fuses, but I am not sure the relays would be substantial enough for the current needs of the headlights, fuel pump, and electric fans. I have most of the wire harness done, it lacks being wrapped through the engine compartment and finishing some ends. I also have the MS wire harness routed and most of the extra wires looped up inside the car. The dash has been installed and everything hooked up. It is starting to look like a car again. We got the turbo installed, the wastegate and oil lines hooked up, and the turbo blanket installed. I had an adventure getting the correct size hose for the turbo drain, ended up ordering one online from a diesel truck service company. Not many places carry the correct diameter in a oil proof hose. Due to intercooler pipe routing, I decided to remove the engine driven fan and install electric fans. After much research here and on the internet, I decided to install dual, 2-speed fans with the intent on running both on low, then use high speed when the A/C is on. I purchased two Hayden 12" ultra cool fans and a controller. I spent a lot of time trying to make them fit, but ran into issues with clearance around the lower hose, and mounting them to the radiator frame. Those fans have been sent back and am waiting on a pair of 11" single speed fans to use instead. I will update how those go...... The current task is finishing the A/C ducting in the dash and then install the center vent and controls. Short of the seat installation and a bit of wiring, that should about finish up the interior. I need to find my photos of some of this past work to add to this post.
-
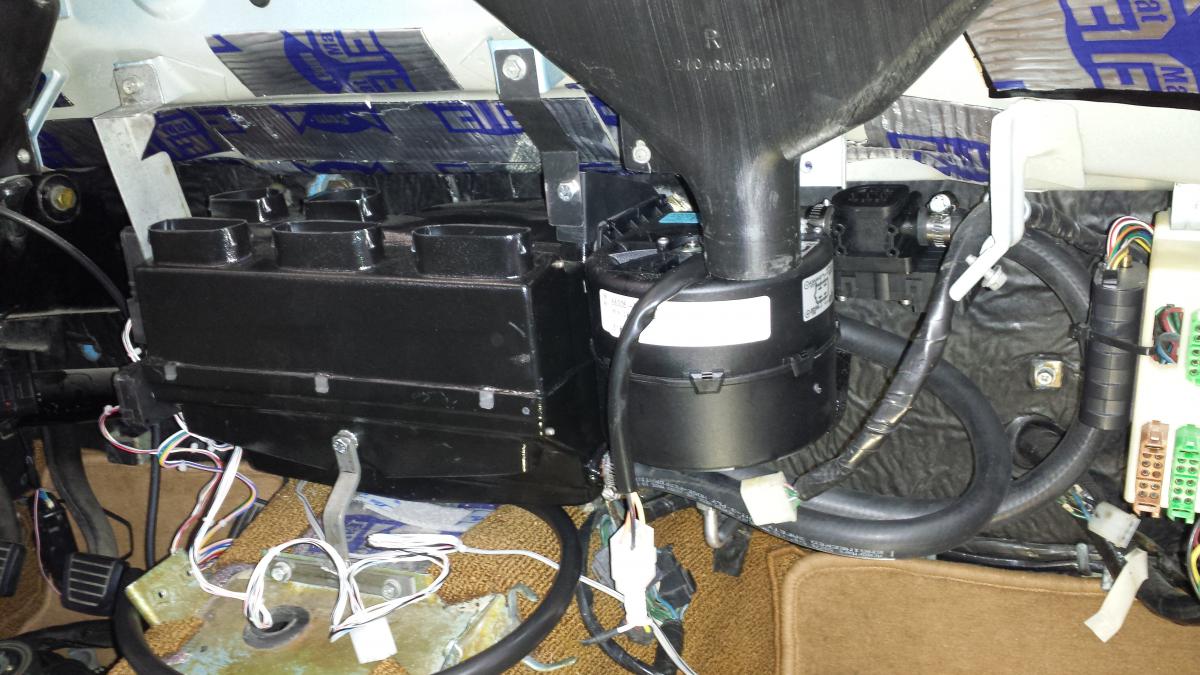
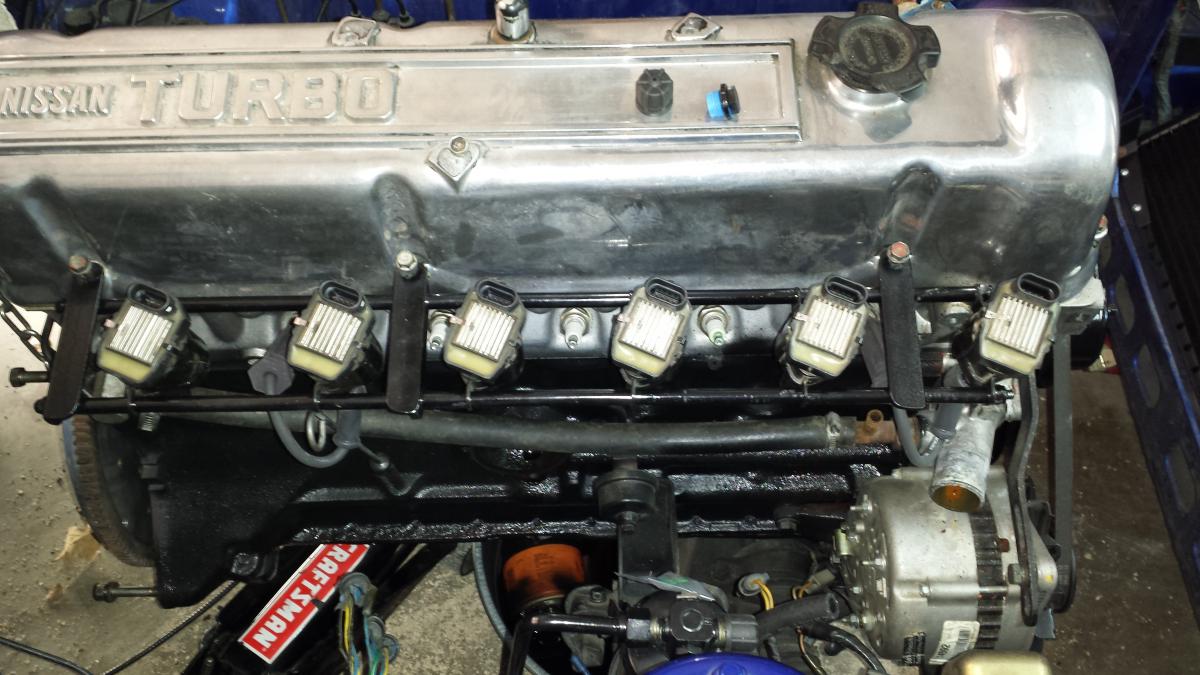
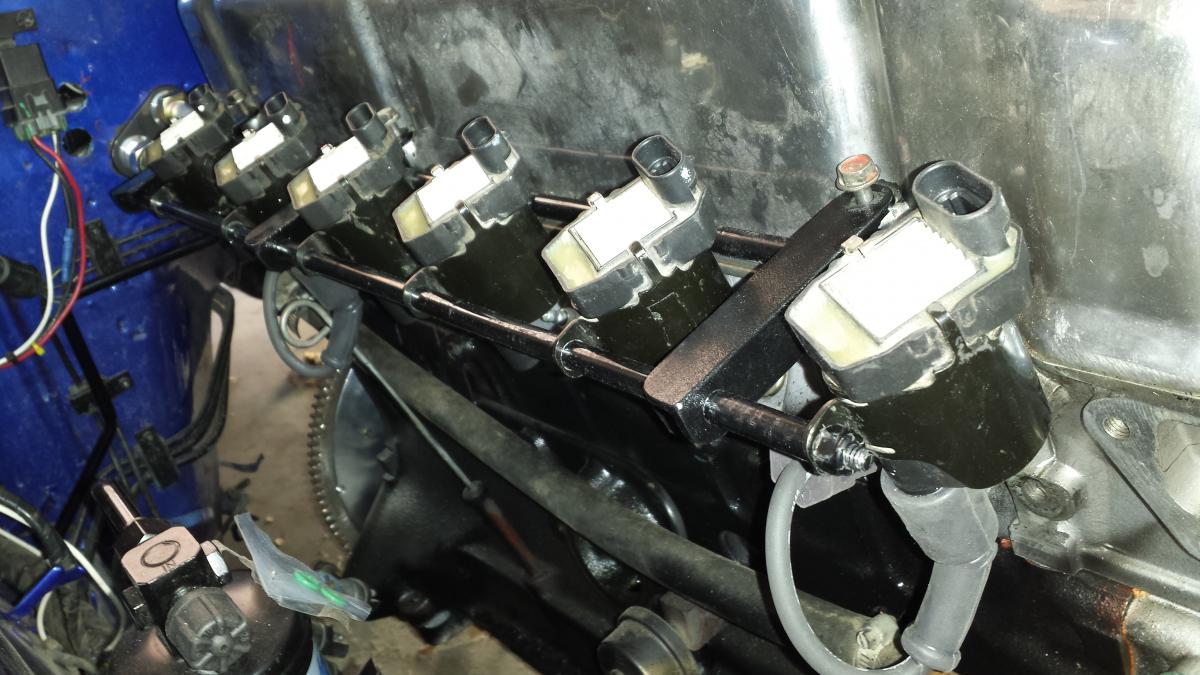
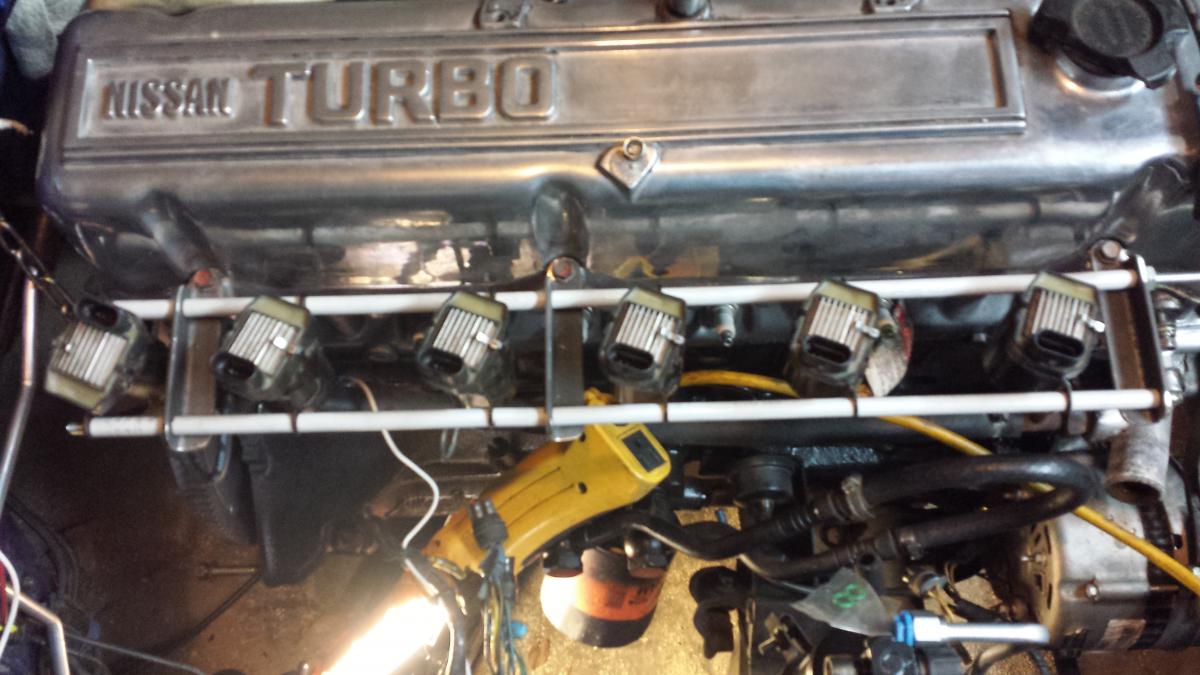
More work done over the weekend. Before going to the salvage yard for a 300Z distributor, I put the spare distributor back together, made jumper wires, and hooked it up to the MS3X. I now have a good crank and cam signal! I still show a 'cam fault' error in TunerStudio, but will work on that later. Went back to the garage and got the heater hoses hooked up and finished inside the car. I put the dash back in to see how to route the vent and defrost hoses then pulled it back out. Final location of the inside unit; It should be about another inch forward (towards the seats) to have better clearance for the hoses, but that is where it ended up. After that I moved to the engine bay. I found the heater hose outlets on the firewall interfered with the very back coil pack, so had to move the coil to the other end. I think I have the final config for the coil mounts. I need to get some different fittings for the heater hoses to connect to the bulkhead to get them angled the right way. After that, I lifted the engine up with the hoist so it would be easier to remove the oil filter bypass plug, and install the pressure relief valve in its place, and screw in the oil filter stud. Dropped the engine back in and then just fiddled around with a few other miscellaneous things.
-
Working in the evenings this week on the MS3X testing. I can not get a cam signal to register in tuner studio. Decided to try connecting the distributor with the DIY 12-1 wheel installed. I have two distributors, so tested with the 'spare'. I wasn't getting any signal for crank or cam. I pulled the dist from the motor, which the motor ran with, and found it is very hard to turn. It looks like I can get a crank signal at least with the stock wheel. When I went to replace the wheel, it got to where I can not turn it at all. I pulled the spare apart to see how it comes apart, then moved to the frozen one. I can not get the top collar off to get the top bearing screws out. I oiled the collar and letting it sit to see if I can free it up later. In the mean time, I am considering another trip to the salvage yard to pull a distributor from a 300Z, I have read that the module inside is the same, so I can put it in the spare to get something working.
-
Sunshine! Finally! I managed to get some parts painted Saturday. Sunday was a trip to pick-n-pull to grab an idle valve. Found a 2-wire Bosch unit pretty quickly, and easy to remove, from a Volvo 740. Grabbed the valve, mount, pigtail, and some hoses. Not bad for $30. I was a bit surprised about the size of the valve, it is pretty hefty for what it does. I will have to work out where/how to connect the hoses. If anyone has done this, let me know how you did it. After the pick-n-pull adventure, I picked up an intercooler and some pipe from a Craigslist seller. Then it was time for more painting while the sun was shining. Earlier in the week I did some testing on the MS3X, I can not get a CAM signal to register in Tuner Studio. I get a constant 'cam fault' light. I have been emailing DIY Autotune and testing with Matt, but no resolution yet.
-
Got some work done over the weekend. We pulled the bulkhead fittings for the A/c and heater, sealed them to the firewall and finished up, installed the inside heat/air unit and the two A/C lines. Need to finish up the heater hoses, then can put the dash back in. Made a bracket for the wastegate actuator. Worked on the wastegate port on the turbo and enlarged and smoothed it out. Need to get the gasket for mounting to the manifold so I can match up the openings, and match it to the head. Need to port match the intake to the head also. I have a bunch of parts set aside to be cleaned an prepped for paint. Have to wait until this weekend to paint as it is too cold outside this week. I also finished building the MS3X and am now moving onto testing it with the stim and loading and using the software. I am still on the look-out for a PWM idle valve to incorporate. We did get the coil mount finished aside from painting...
-
MS3X assembly issue resolved. I emailed Matt at DIY and got it resolved. I need to research how best to setup MS for the DIY L28 wheel usage. I know it requires pull-up resistors and would like to put them inside the MS unit. It has been too cold in the garage lately to do much else.
-
I began installing the A/C hard lines and have the two inside the car fitted. I need to pull the bulkhead fittings and seal them to the firewall, then install the inside unit for the last time. While I worked on that, my son pulled the intake and fitted the throttle body. He then pulled the turbo and we found that we will need a different mount for the wastegate actuator as the one we have doesnt fit the hole spacing, and hits on the housing. He then went on to finish up the mounts for the coils. They need some more final finishing, then I can post up photos. In between work, holidays, and family, I have been working on the MS3X building. I have run into a problem during the assembly that I am researching. I am at step 29 of the assembly where you test for 0-5V at the TSEL. When I test, I get up to 160mv, with drops to 40mv. I don't know if this is right, as I am expecting to see something higher, like 3V or so.
-
So yesterday I got a package from Vintage Air! Faster turn-around than I expected, but happy they came in so soon. We also finished the fuel pump/surge tank install. I made my own surge tank, copying the bcbroncos unit and the following thread; http://forums.hybridz.org/topic/110485-bcbroncos-surge-tank-install-and-use/?hl=bcbroncos I used the replacement electric pump that was installed in the car when we bought it, to feed the surge tank, then the stock turbo electric pump to pull from that and feed the engine.
-
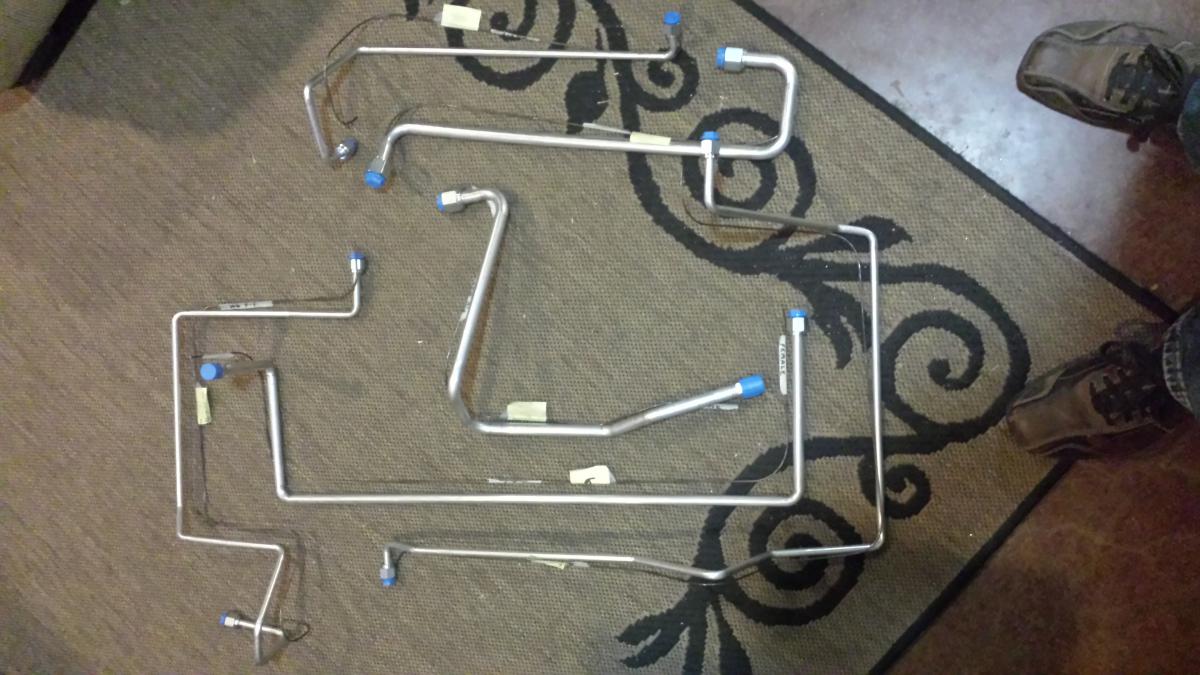
Version 3.0 began earlier this year when my son brought the car home due to the A/C failing, again. The factory air had been rebuilt, repaired, etc more than once. We had planned to replace it with a Vintage Air unit, and now was the time to do so. Also waiting in the wings was a complete stock turbo motor, so time to tear into it again. I built a stand to run the turbo engine on outside the car, researched the wiring required to make it run, and went for it. I got it running fairly quickly and was satisfied that everything worked as it should. As we progressed with prepping the car, and figuring out how to fit the stock airflow meter and wiring, I decided to scrap the stock setup and go Megasquirt. Of course, that started another long and arduous journey. I sold off most of the parts I was not planning to use, and started buying the parts I needed to do the install. I now have almost all the parts and am now focusing on doing the Vintage Air install. After going through posts of others doing the same A/C install, I decided to use the Gen II mini unit. The dash was removed and I did a mock up of the unit, making brakets and adjustments. I also decided that since it had fairly fresh paint, including the engine compartment, that I did not want to make any new holes in the firewall. I studied it a while and decided to run the lines the same as the factory install. I made templates out of welding wire to route the lines from the inside evaporator to the driver side bulkhead fitting, then routed around the engine compartment the same as the factory line, with a few adjustments to fit the replacement condensor and drier. The templates were sent to Vintage Air for them to make the lines since they were no longer lengths to match "stock" pre-made straight sections available from VA or other a/c vendors. While mocking up the A/C stuff, I started building the MS3x computer. I currently have it about 1/3 complete, and can tell I will need help with finishing/installing/programming it. That pretty much brings it up to current status, and there are many details left out.
-
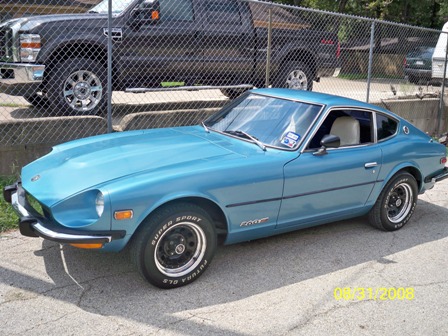
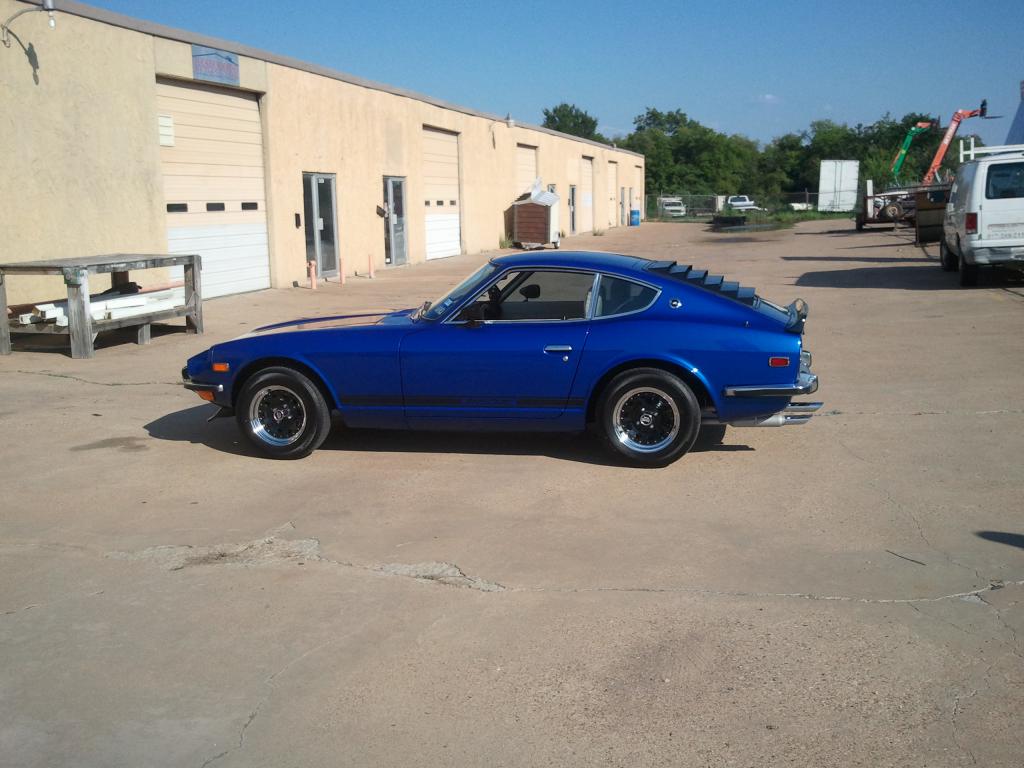
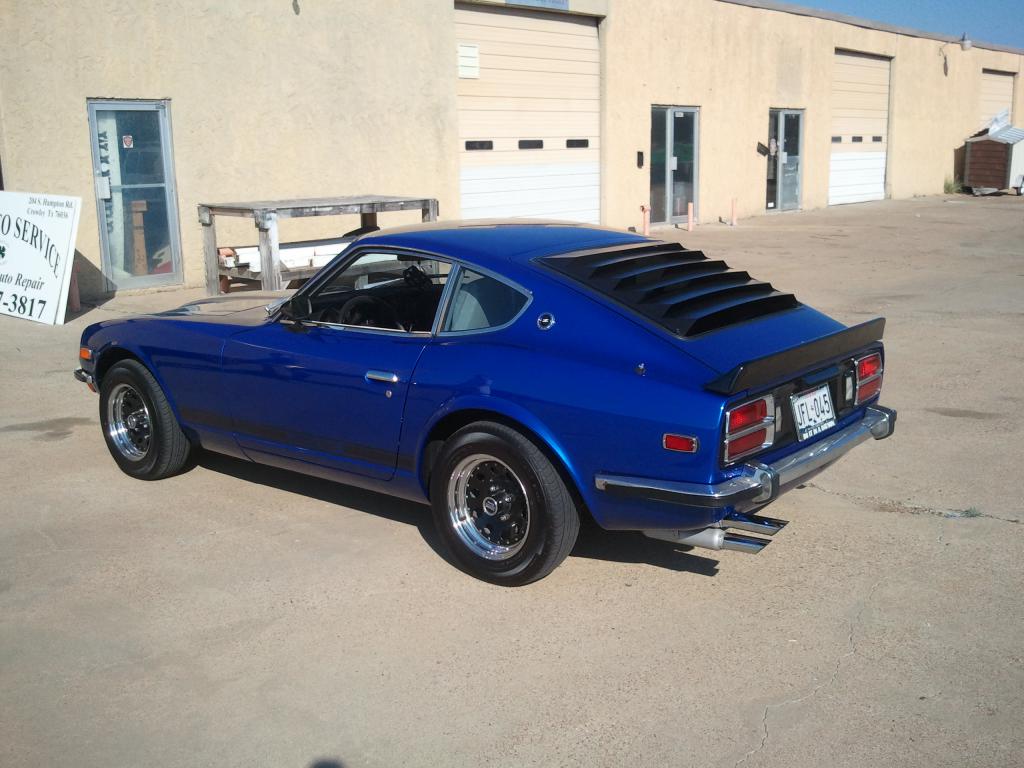
Hey All, I have been on the forum for several years, but don't post much as I am usually able to find answers and ideas by searching and just general browsing. Anyway, I will be using this project post to try to document and keep up with work done on our 260Z. A little background to bring it up to current. We purchased the car locally off of Craigslist from a Z-car guy that was moving out of state. It is my son's car, purchased when he was 15; he learned to drive it to earn his driver's license and has driven it since. Here it is when we bought it; It ran good, looked good, and met my son's requirement of being something that did not blend in with all the high school cars. It came with a later model engine and 5-speed trans, with a Holley 390cfm carb. We spent the next couple years doing minor repairs, maintenance, trans rebuild, etc. Version 2.0 began with a tear-down for a full rebuild. The car was stipped down and taken to a local body shop for paint and body work. While the body and paint were being done, the engine was sent out for rebuild, and a lot of parts were cleaned, painted, and stored. It took a while to get the car back from paint as it was being completed between their insurance repairs, but we got a real good deal and great work. When it went back together, we opted to install dual SU carbs from a 240 and added a header with full dual pipes with glass-pack mufflers (loud!!). For the interior, we went with brown carpet and white panels and seats, keeping that 70's look. We also dropped the 3-mph bumpers and installed early 240 bumpers, added rear window louvers, and front and rear spoilers. This is the way it remained for the next few years.