A to Z
-
Posts
1115 -
Joined
-
Last visited
-
Days Won
45
Content Type
Profiles
Forums
Blogs
Events
Gallery
Downloads
Store
Everything posted by A to Z
-
 Thanks a lot! I like it.
 -
Click below for video: V1.MOV
-
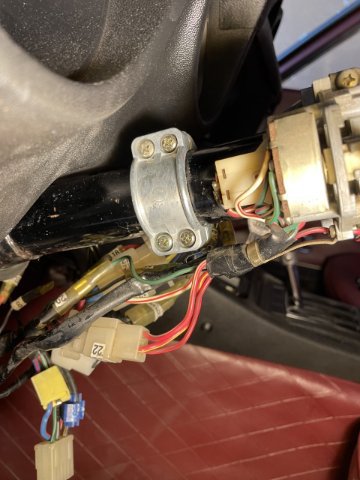
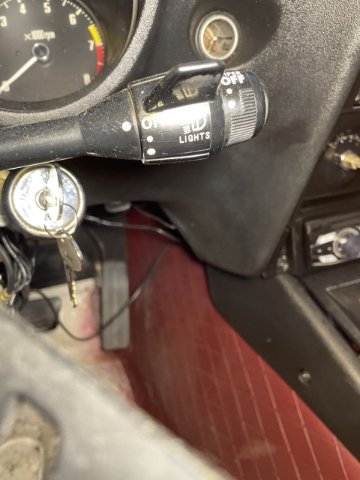
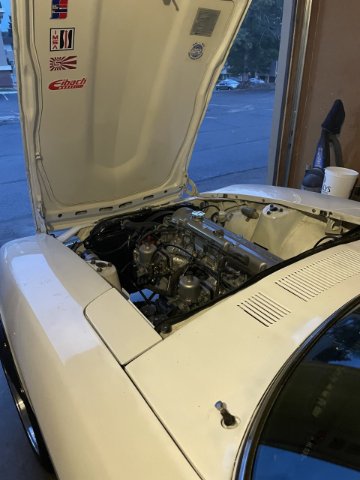
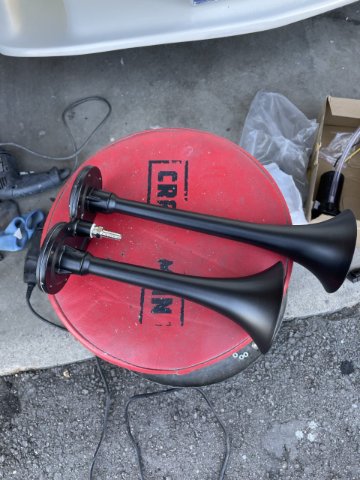
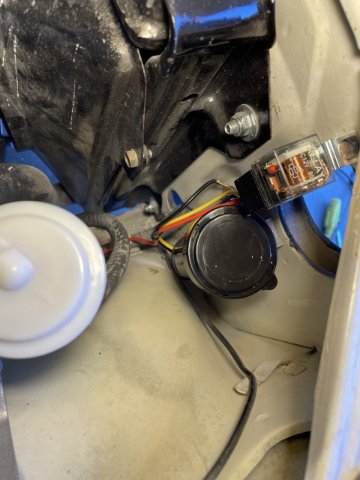
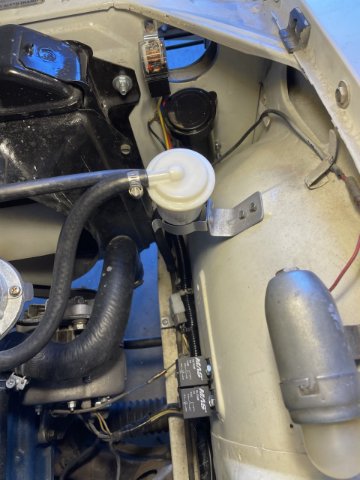
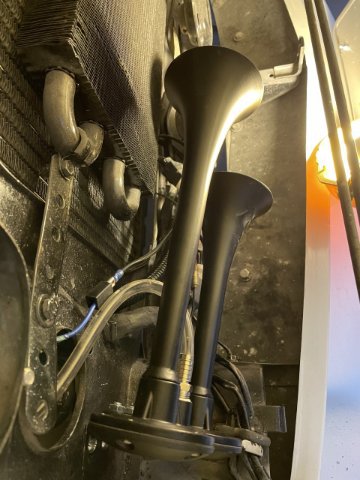
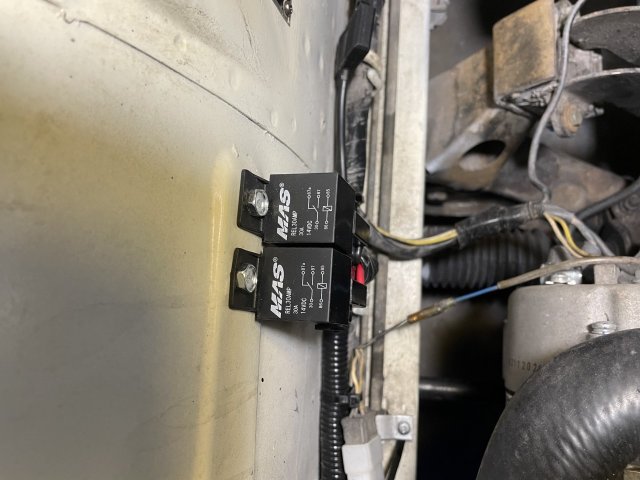
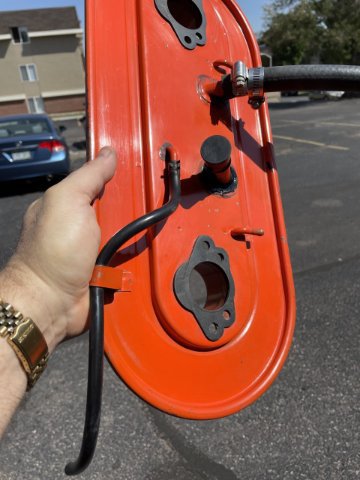
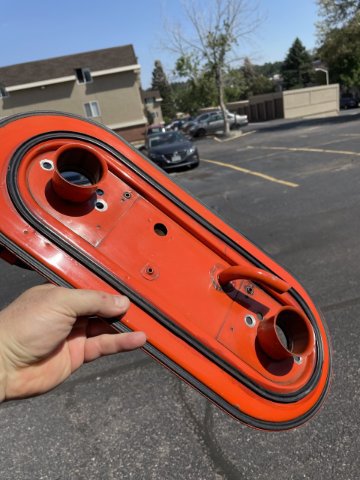
9-11-2022 UPDATE. Tuned the carbs, and got the backing plate back on. Ran new lines for the float overflows I think it looks good. Then I changed out my old turn signal and light switches/stalks for the rebuilt set I bought. After getting the plastic covers back on, I went ahead and removed the grill, and began installation of my horns and the Headlight Relay Conversion MSA sells. The bracket that was supposed to be with the horns wasn't there, so I made my own, and painted it satin black. I managed to get the air pump installed right behind the horns inside the engine compartment, along with it's relay. Next was the headlight relays.....I mounted the 2 relays on the right side inner fenderwell and ran the wires. For some reason, only one headlight comes on....switch to high beam, then it comes on in low beam....so more to figure out. Also turn signals don't come on or flash, no brake lights now, and now the fuel temp and oil gauges don't work....oh and the tach is spotty. Stuff to do I guess. I took a few pics and a video of the horn.....she is LOUD! V1.MOV

-
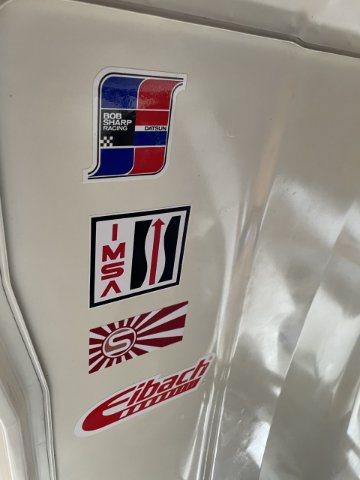
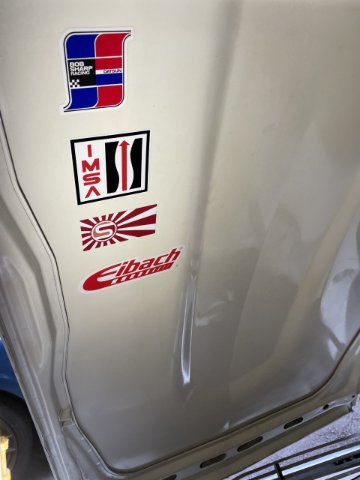
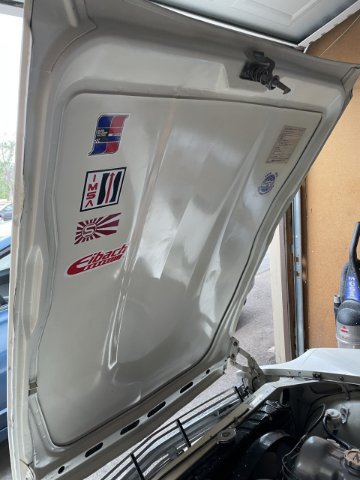
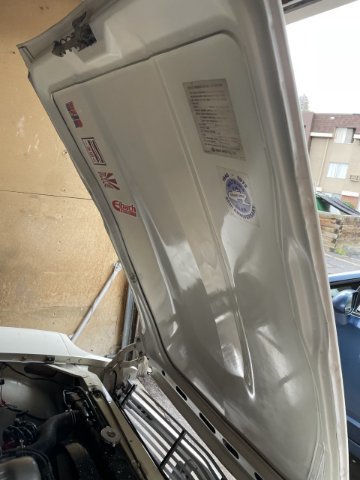
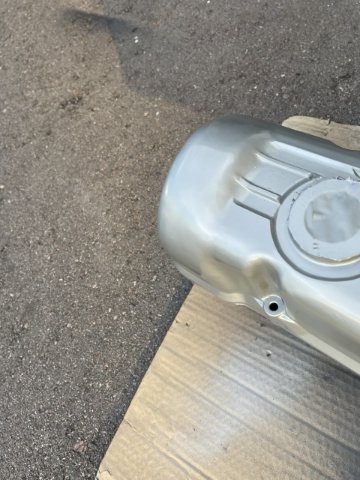
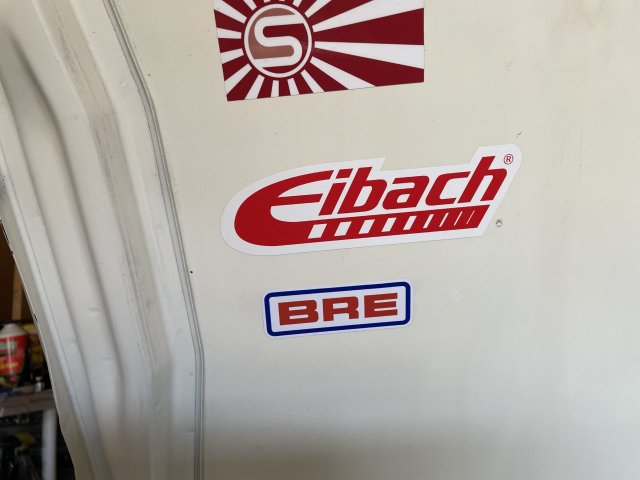
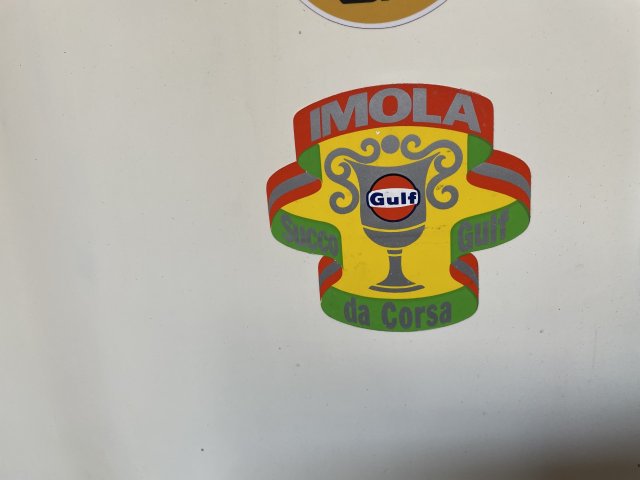
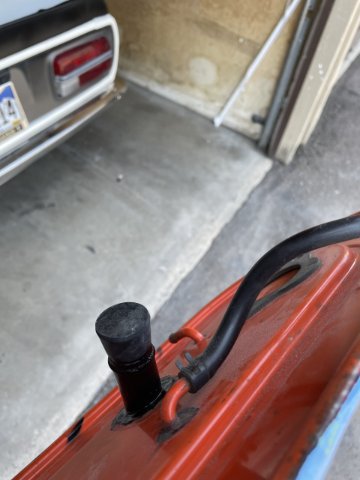
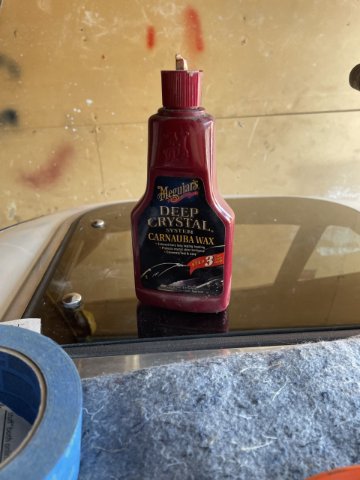
9-9-2022 UPDATE. I finally got my BRE sticker.....so, the last stickers for underhood are now on, the BRE sticker, and my Vintage Gulf Imola racing sticker....yeah, it's OLD. Also had some time, so I tackled the big port on the back of the aircleaner that was all scratched up and looked awful. I got a rubber plug and pushed and turned it in tight, then put a bead of superglue where it goes into the metal....then masked it off and painted it with 2 coats of satin black. Then I took some wax, and polished out the backing plate.
-
Thanks, Chuck.
-
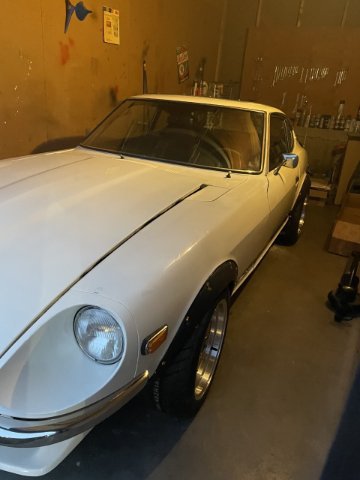
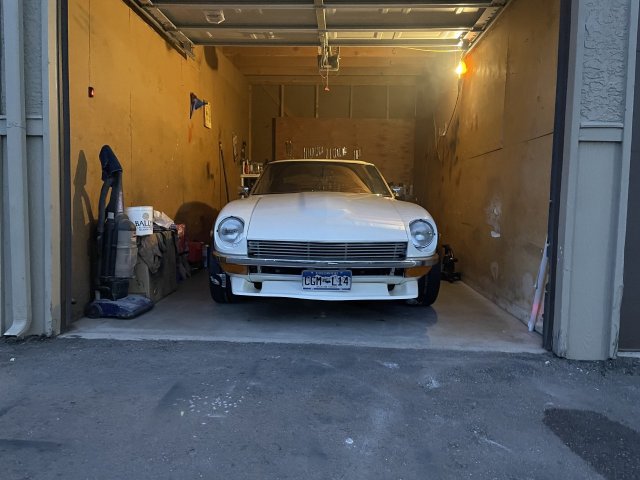
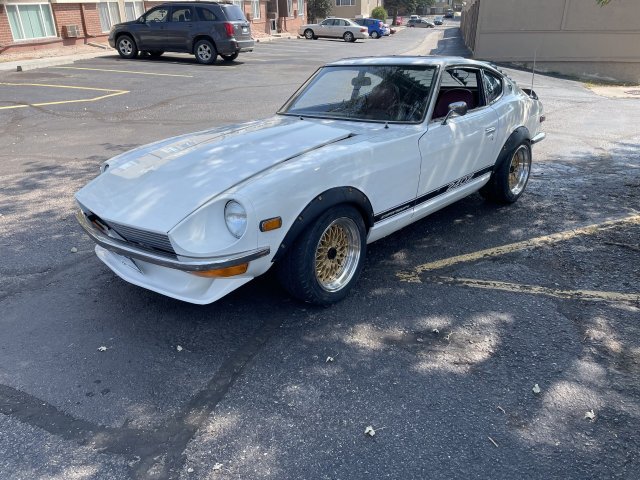
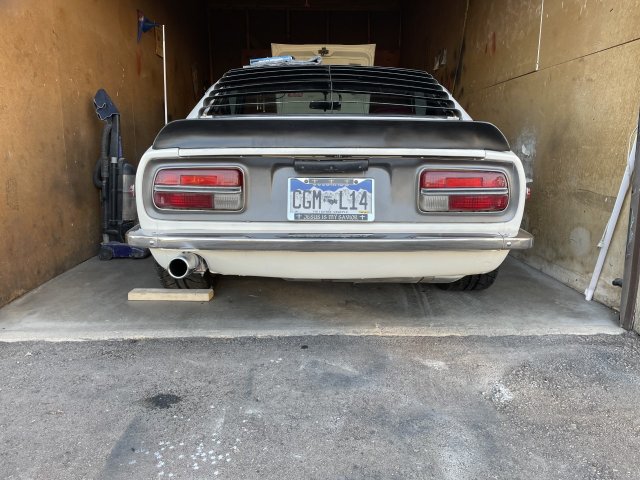
9-7-2022 UPDATE: Ok, so I got the carbs working well enough to sneak in a first drive. Down to the corner and back twice....stopped and put 10 gallons of 87 octane in. WIth the wide tires, the steering is tough! Also, now out of the garage I can see things I didn't see in the garage, so plenty to fiddle with. Now I will put the Gunson Tune on there and tune it, and get it ready for front end alignment, a vacuum brake fluid change ( my best efforts not good enough) , finish hooking up the lights, etc. and then I will have a driving project. Here is a video or 2 of it running and a walkaround, and 3 pics. I revved it so you could hear the pipe, but obviously the carbs are rich, but oh well, took about 15 months to get here this far, and I feel pretty good about it.....:) Click below here to see video's (click through pictures, they are at the end.): (20) Facebook
-
Thanks a lot, Ken.
-
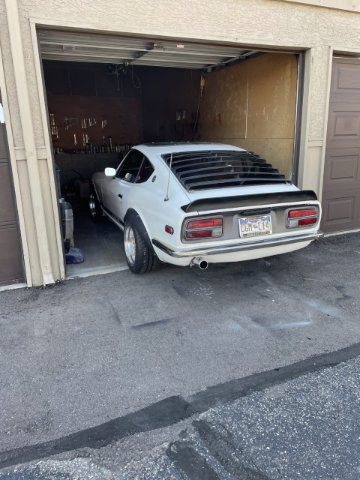
9-6-2022 UPDATE: I got the Z to run, albeit it was smoking like an old coal powered steam locomotive! Out of the garage in a circle and back in. First time I have driven it, first time moved under it's own steam since it's been here. Have to take the small victories! So, I spent some time trying to figure out why it was just drinking fuel like crazy, disconnect the chokes, pulled the tops, verified the needles, N54, mixture nuts all the way in, yet still not only running, but blowing dark grey clouds everywhere, so I stepped back and started reading up.....and after shooting a text to Sal Ceja, he told me what it was....I had plugged off the vents on top of each float bowl.....without the air, the float just jams up and you get full rich......so that is the next step!
-
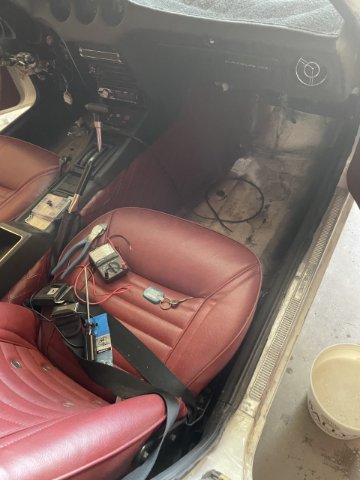
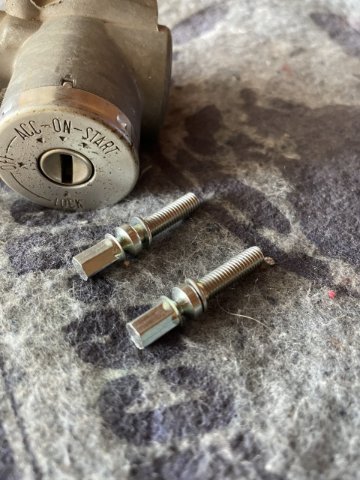
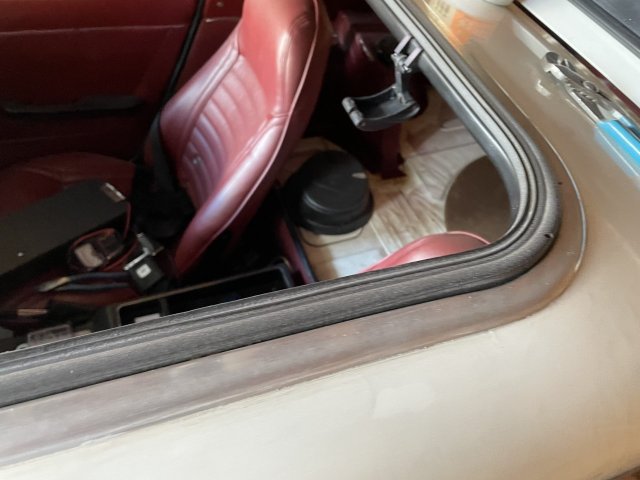
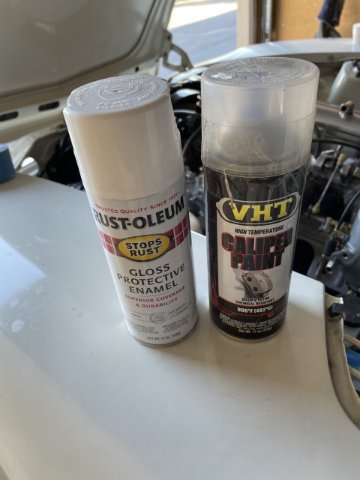
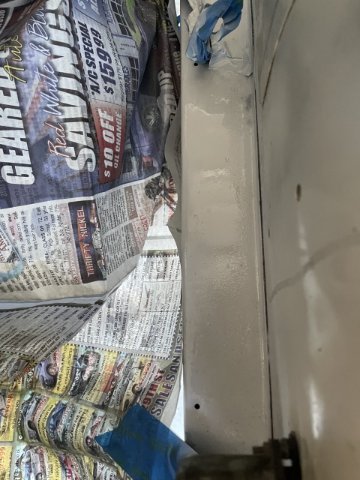
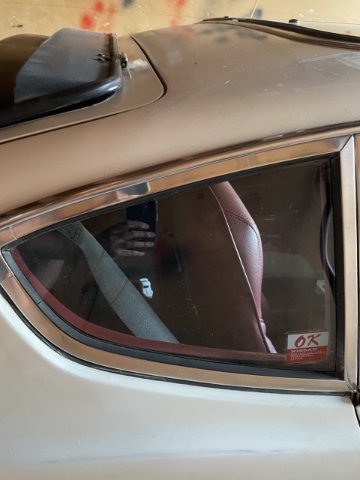
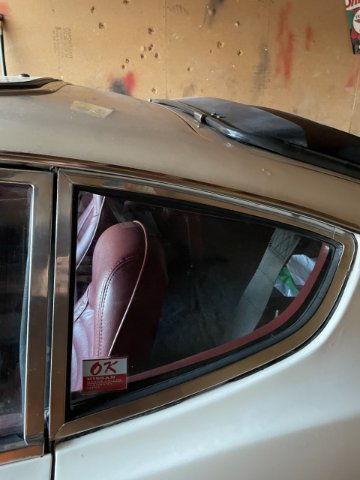
9-4-2022 UPDATE: I managed to finally get the car running ELECTRICALLY. I had to climb underneath and with a long screwdriver I removed the mixture set screws on the SU carbs that was keeping me from turning the mixture screws all the way in and then back out 2 turns. Normally it as a 4 position wheel. So, now I just have to turn the other needles in and back out to a baseline so it will idle without me having to pump the gas. I also had to replace the ignition switch again, and put a new coil in. 1972 means everything is old, and is suspceptible to being replaced I guess. Work continued.....I went ahead and tackled the area under the master cylinder......I sanded out the metal, then blew it off and masked off everything, then painted it white and then top coated it with Caliper clear paint which SHOULD be brake fluid resistant. I Lastly I scraped off some sticker residue on the inside of the windows and put the factory "OK" stickers on both quarter windows. Small steps. Pics follow.
-
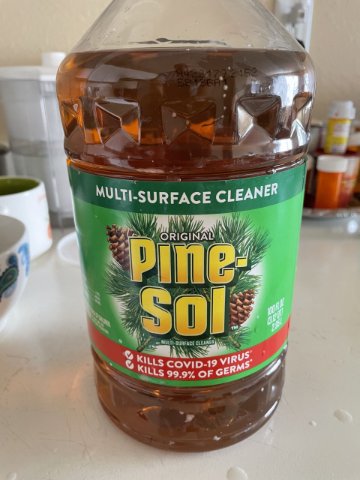
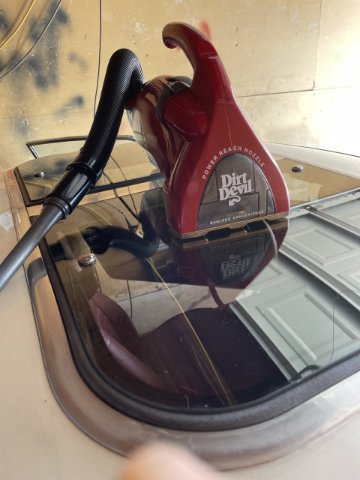
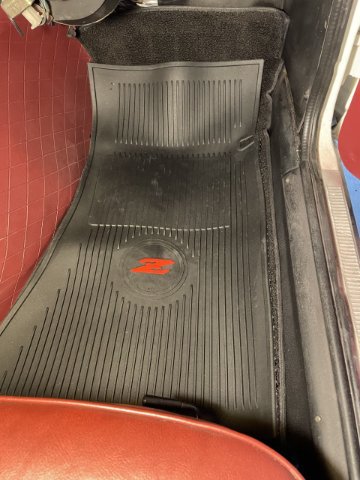
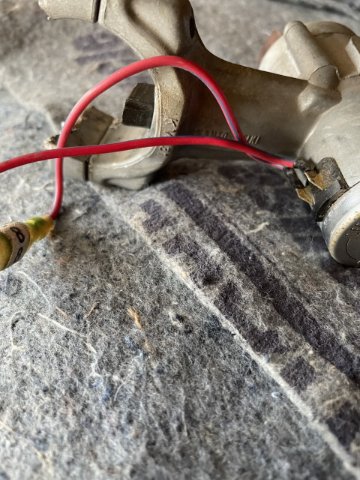
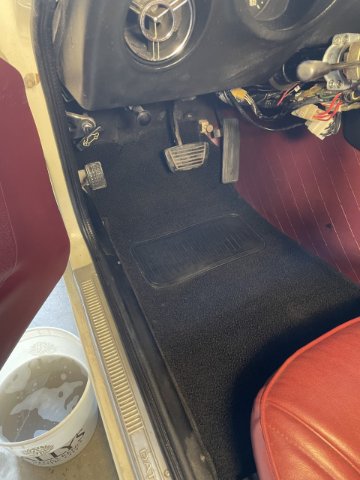
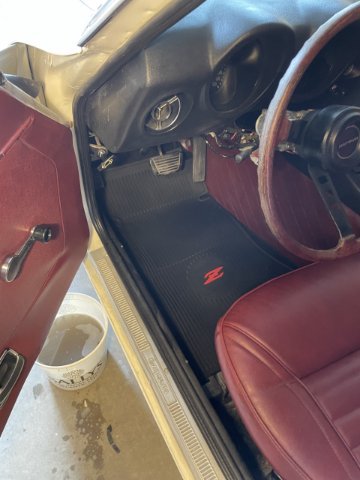
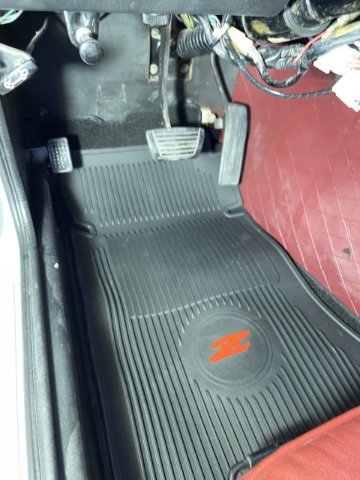
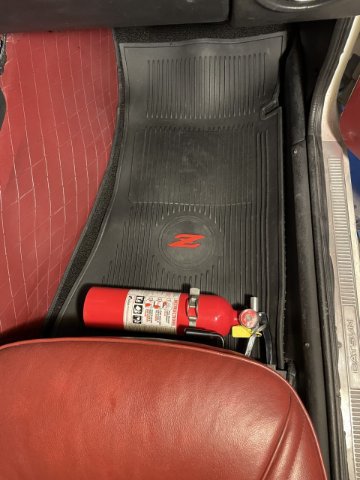
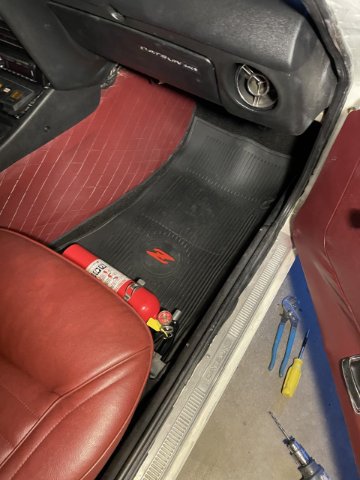
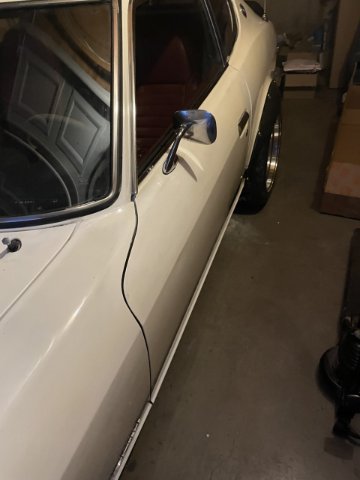
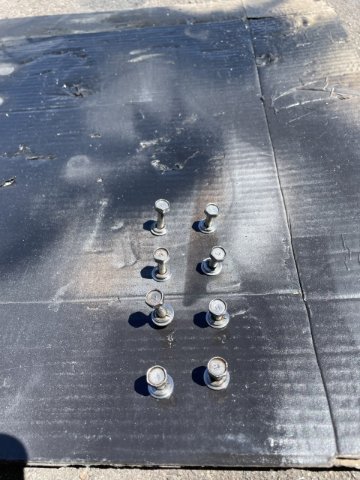
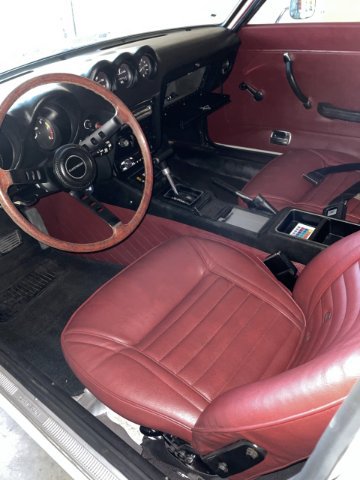
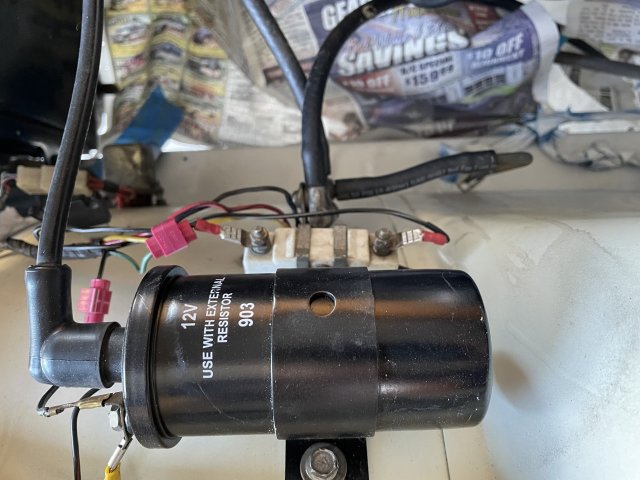
8-28-2022 UPDATE: Well it's wash day! pine-sol, a rag and water mixed in a bucket, wiped out and cleaned the entire interior of the car, vacuuming time and again, as I went until I finally succeeded in getting it back to where it was before I did the bodywork. 🙂 I swapped in my new ignition switch.....it is held on by 4 bolts, and 2 of which are they type that break off once they are installed....TERRIBLE! Well the new one came with 2 of them as well. So you can spend half the day drilling them out, or do what I did, I took my Dremel and just cut the bracket off. I installed the new one with 4 bolts being phillips head, no break off bolts! I wiped down all the tools and jack etc, cleaned out the storage boxes and got it all put away correctly and closed up. I then installed the arm rest, which is a Z store armrest I got from another member eons ago, as MSA doesn't make them anymore, and then installed my fire extinguisher again, over the Z floormats I got from Hung Vu. I think the red Z matches well with the red interior. I almost have the electrical issue solved. A lot of trial and error, ending up with the new switch allowing the engine to run, if I hold the Key in "start".....so I had this problem when I first got the car......I am thinking the ballast may be bad. It was cool to have the car start up again for the first time in at least 6 months. VERY rich and out of tune, but everything still works. Caught some rev's and got the lovely howl from that exhaust! Oh, on my old switch were 2 wires. I think that is for the lighting circuit to be on when in accessory....the new switch doesn't have the wires. Hmm....last night I plugged the switch in, and all the interior lights came on, accessory relay clicked, and nothing.....now engine runs in "start", no interior lights. Whew! Well, for motivation I took several profile pics of the car when the work was done. Plenty of pics attached. Cheers! 🙂
-
Thanks, Ken.
-
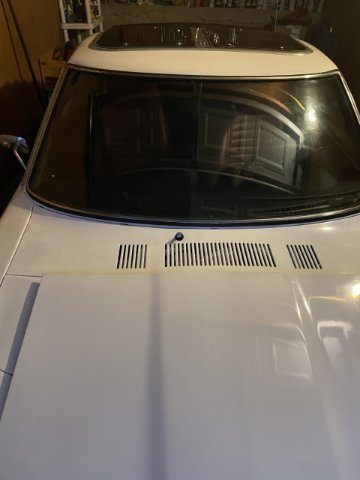
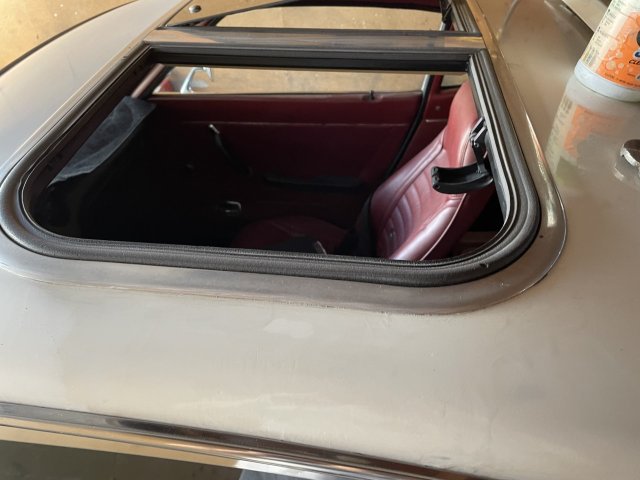
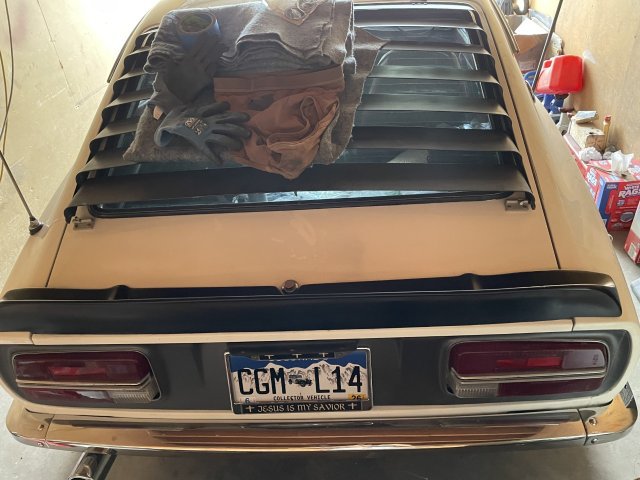
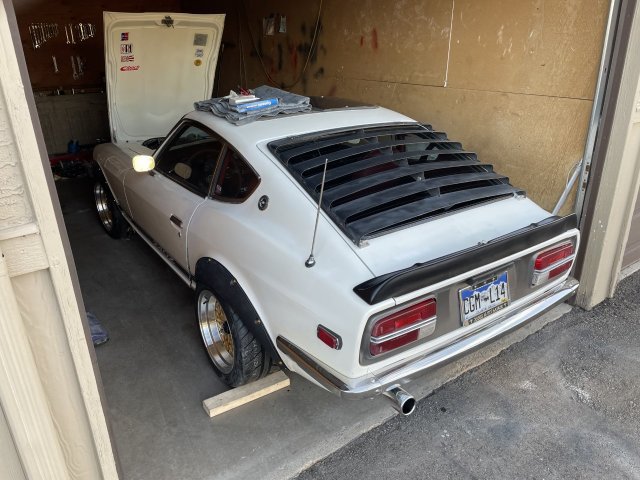
8-27-2022 I wet sanded my louvers with 2000 grit sandpaper and water, the pained surface is nice and smooth now, cleaned up the overspray on the sunroof area, removed the stickers on the sidewalls ( not an easy job by the way ) and gave The Z car a good bath. Afterwards, I dried her off and popped the sunroof galss panels out and cleaned up the rubber and foam seals. Proof positive that she spend the majority of her life inside....the seals are still supple and soft, not hard at all! After cleaning up the glass, and using steel wool on rusty spots to include the retention pins, I reinstalled them, and then brought the carpets and everything in and vacuumed them out. Next is interior clean up (again), install of the new ignition switch and further little bugs to get it on the street ASAP.
-
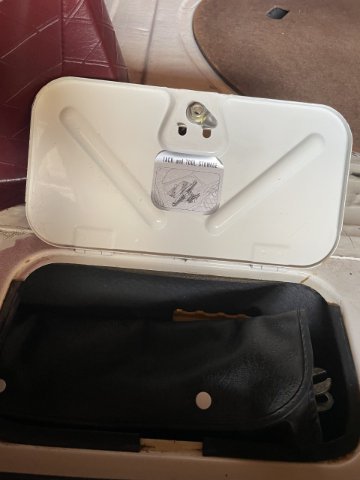
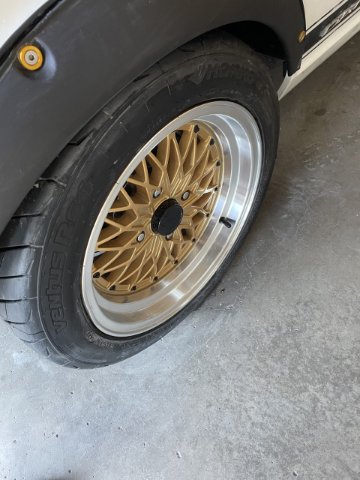
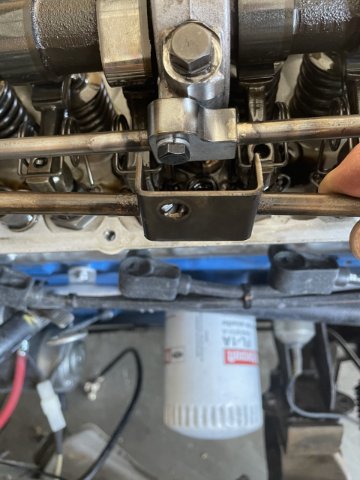
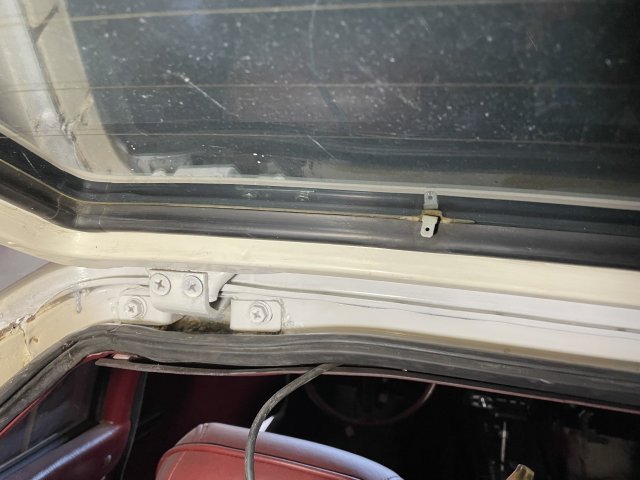
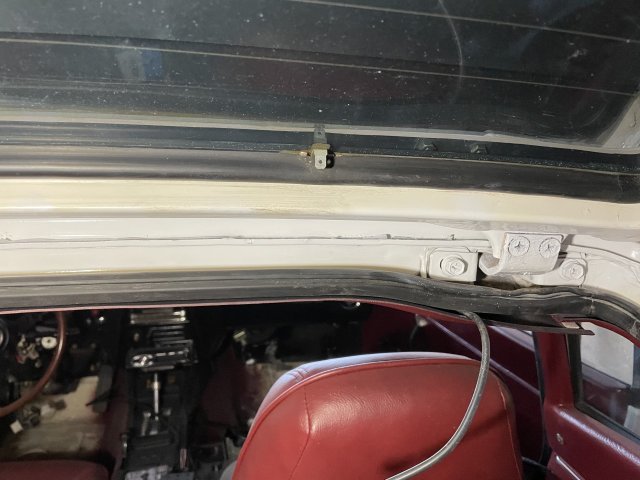
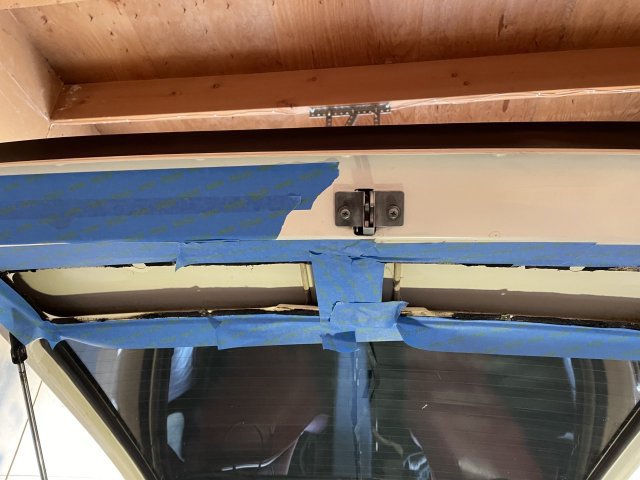
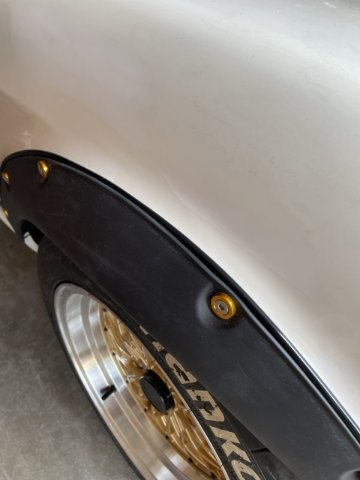
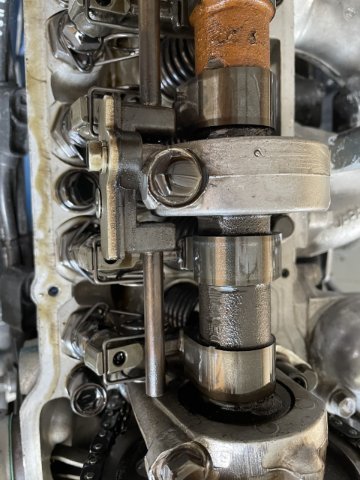
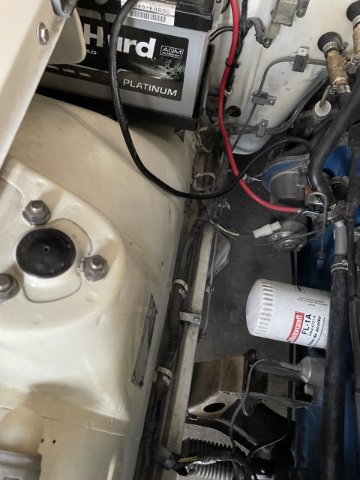
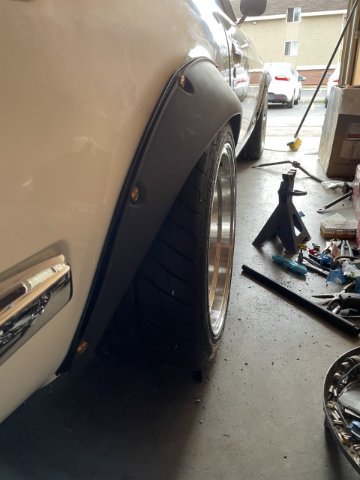
8-21-2022. Today I removed the original early version oil spray bar and replaced it with the Yoes oil spray bar. Then I changed out the fuel pump and installed the NOS one I bought. With the engine turning over the pump started filling up the fitler.. Working on the electrical issue, I was able to narrow it down to the switch, so I guess I need to buy one. I then finished the hatch.....cleaned up and installed the upholstered cover, and then I cleaned out the channel that was left after I removed the old seal. After cleaning it up, I went ahead and masked if off and painted it. I also had to jack the rear wheels up and do a tad bit of clearancing on the flares in a spot or two.....the springs settled a tad, and the tires were touching....all better now! Closer and closer!
-
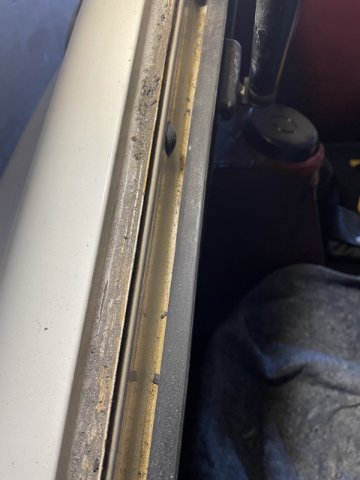
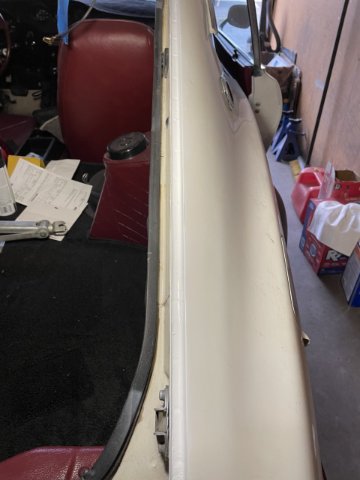
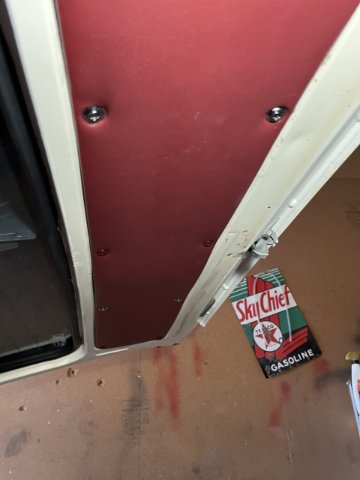
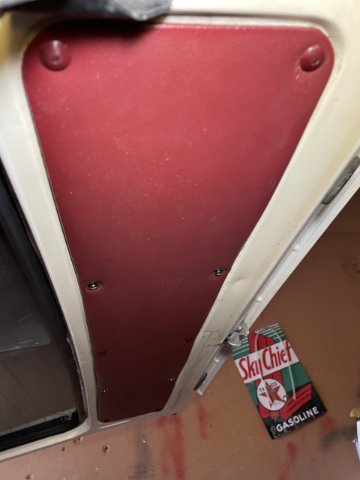
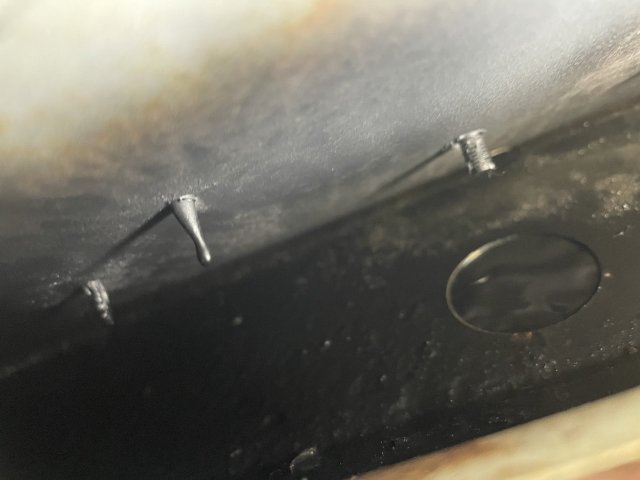
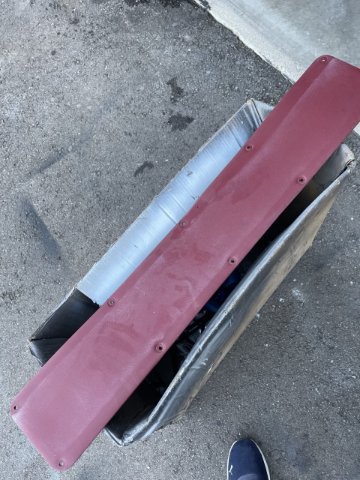
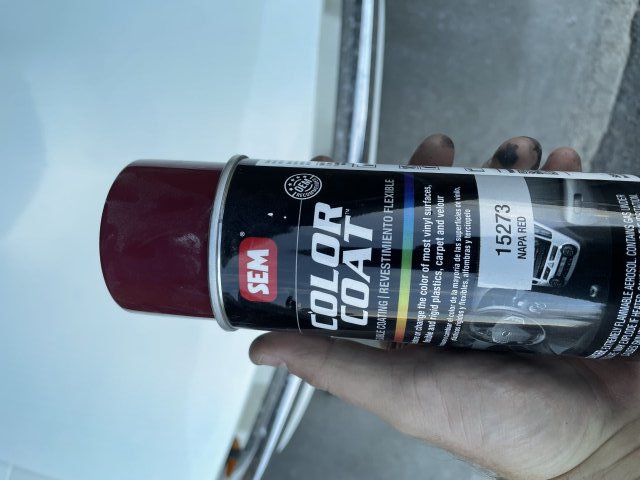
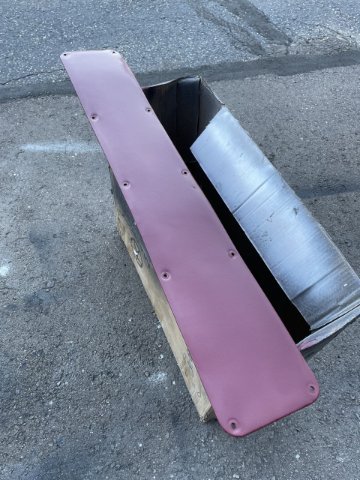
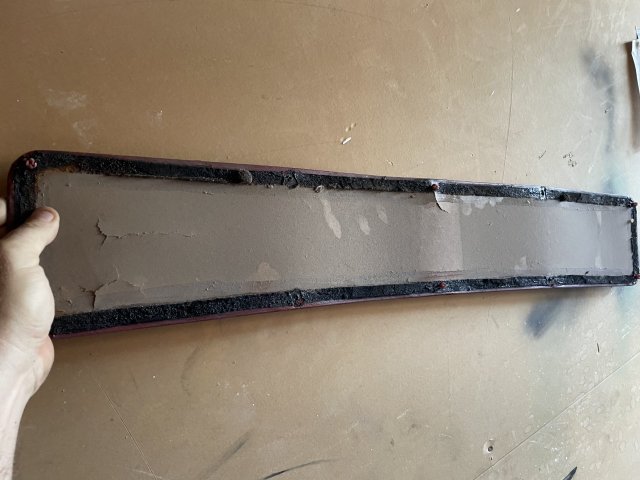
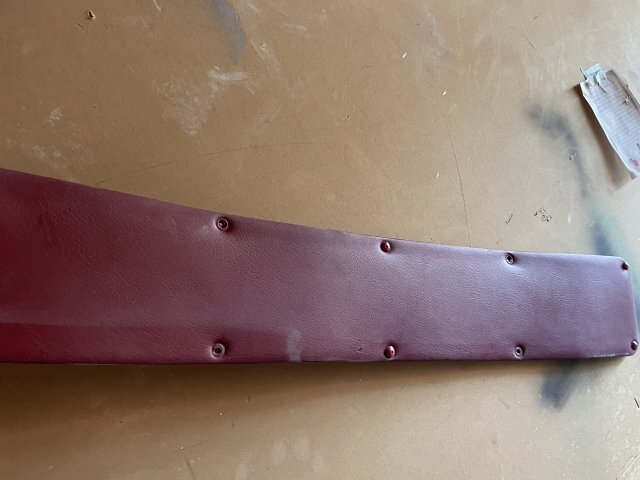
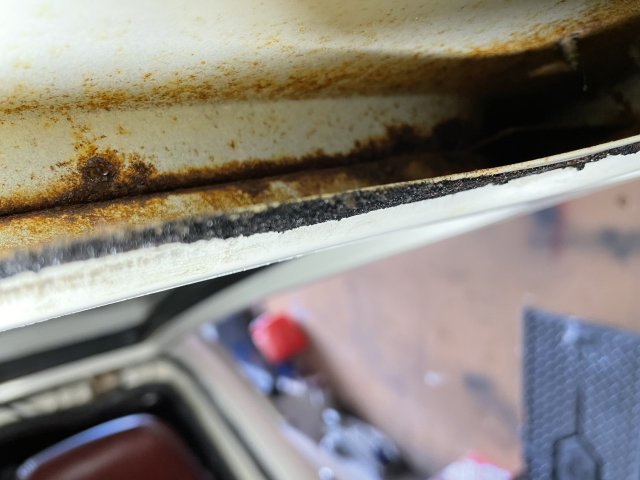
8-20-2022 I spent a little time on the hatch lid compartment. I got the seams sprayed with Rustoluem Rust Converter, and then I cleaned up the upholstered panel and gave it a nice coat or 2 of SEM Napa Red. The small hatch seal was really cracked and dry rotted. I removed it, but I still need to clean up the channel and mask and shoot it white again. I already have a replacement seal that I got form MSA.....I'm not really seeing the purpose of it being there, as the main seal does the job.
-
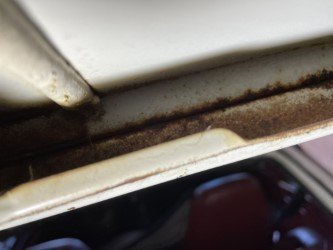
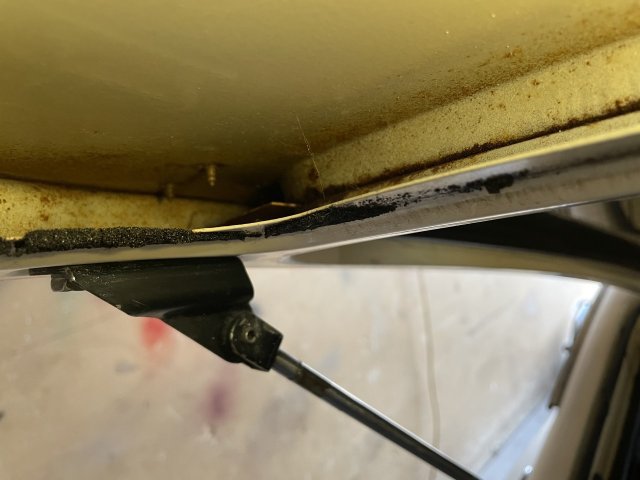
8-15-2022. Spent a few hours on the Z today. I color sanded , hand buffed and waxed under the hood, and added a few stickers. Then I color sanded out the portion behind the driver's door handle. This area has for some reason been problematic....getting the paint to look the way I wanted it to. Well, I sprayed it yesterday, and went ahead and color sanded it down today , hand buffed and waxed it. Feels good to get this area done. I removed some overspray off the louvers, but they still need a tad bit of TLC. Lastly, I pulled the access panel off the hatch, and was pleasantly surprised it was not as bad I was expecting. Rust in the corners and crimped together areas. I will at a later date clean it up and spray it with some rust converter before closing it back up. Took a few pics, here they are.
-
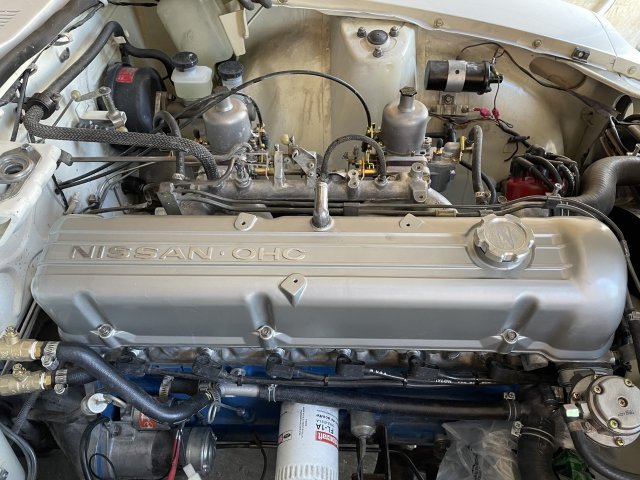
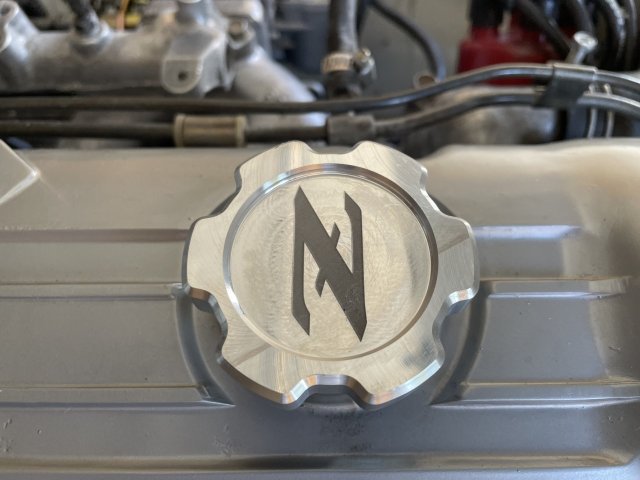
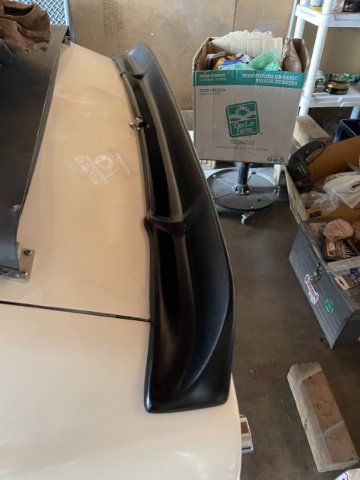
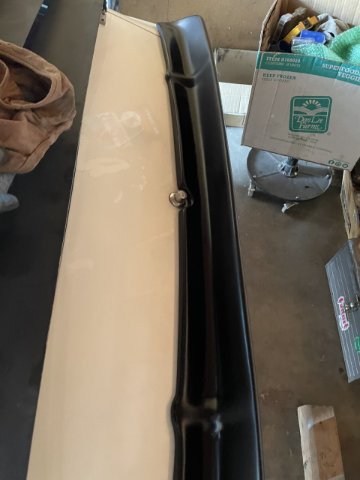
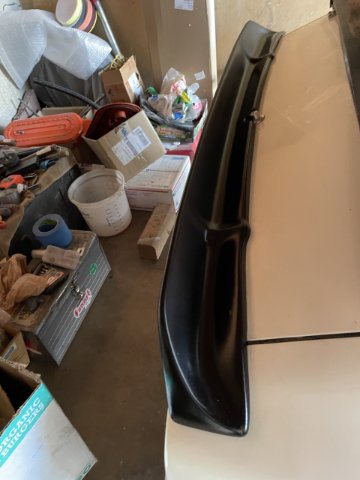
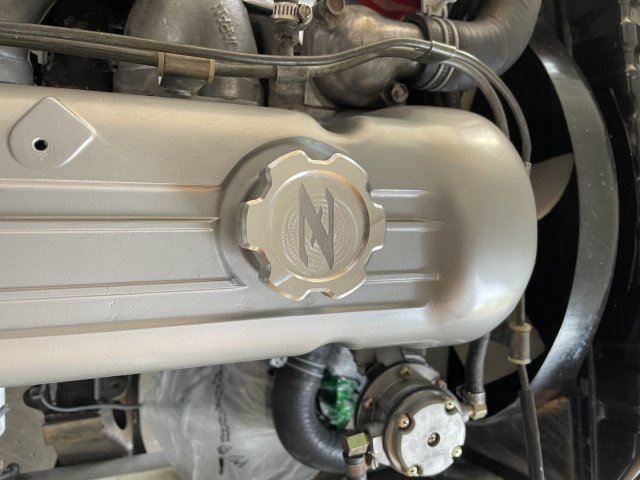
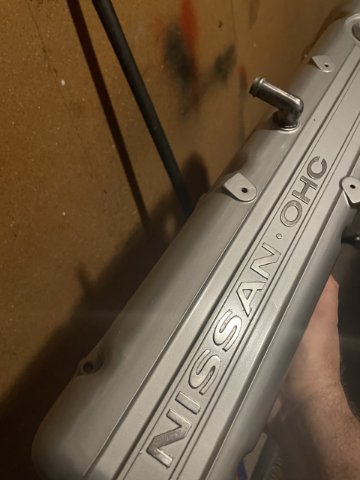
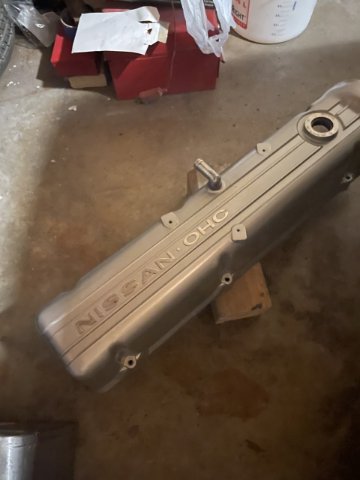
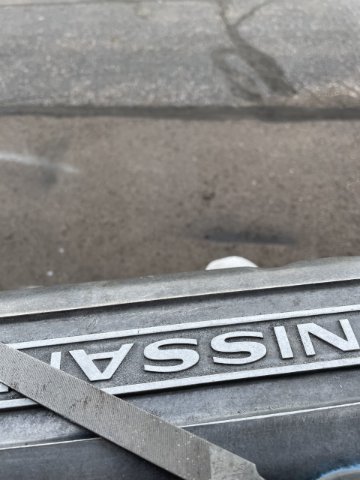
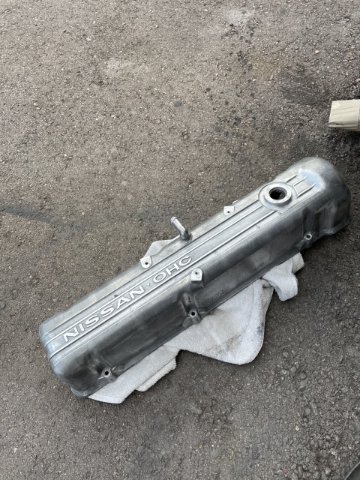
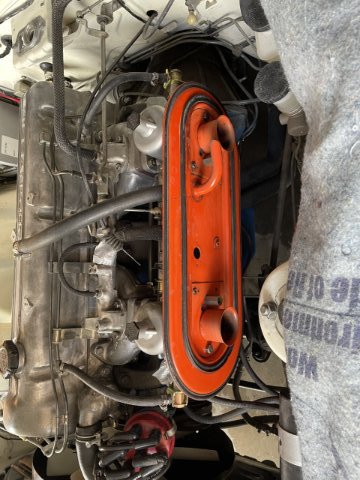
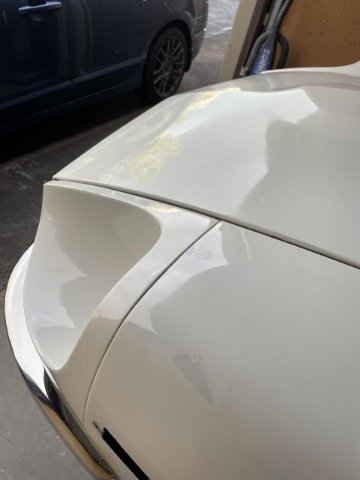
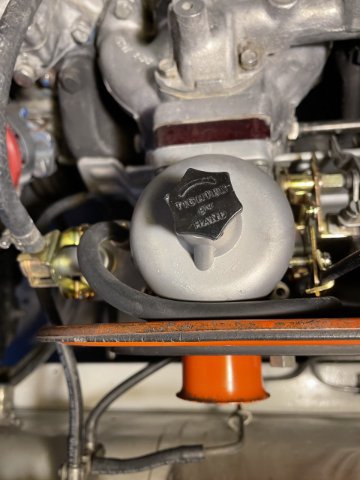
8-14-22. I went out and worked on a few things today. I finished the valve cover and wire wheeled the bolts, then clear coated them. I then installed the valve cover and put on one of my billet oil fill caps I bought from a guy online. I still have one. Anyone interested? Then I took some 2000 grit wet sandpaper and blended out the paint over the wheel wheels and buffed it out. The rear spoiler I masked off and gave it a final coat. A little more paint correction, and then made a store run for supplies. Time to now clean out and vac the interior and continue to finish up the engine compartment, and that's about it. Once my fuel pump arrives, it will be time to go for a ride and then get a front end alignment. Oh, I also ordered a billet oil bar from Yost for the engine, as the early original I have is prone to cracking and resulting engine damage. Pics
-
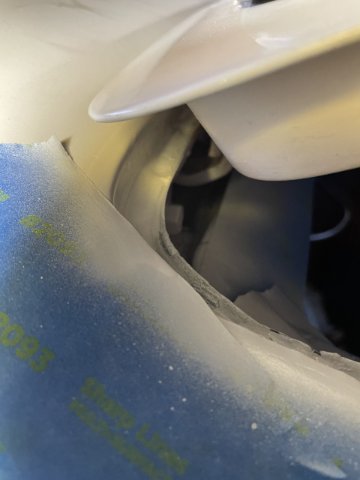
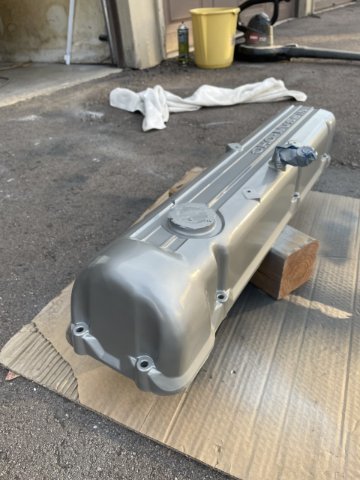
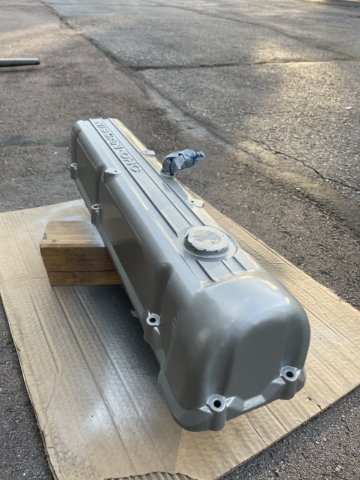
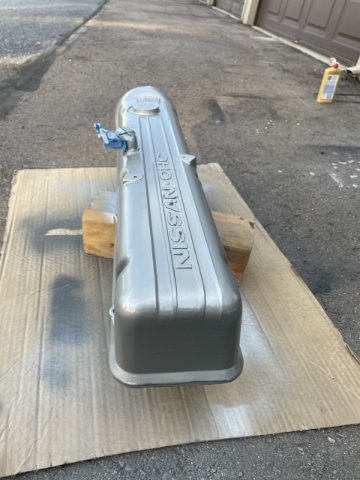
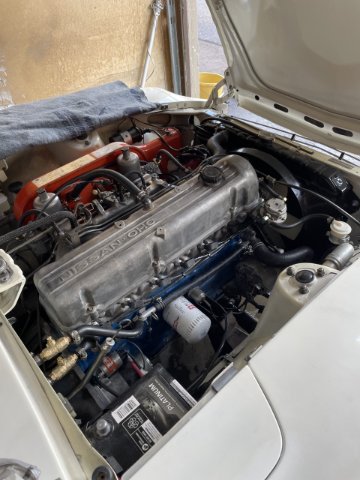
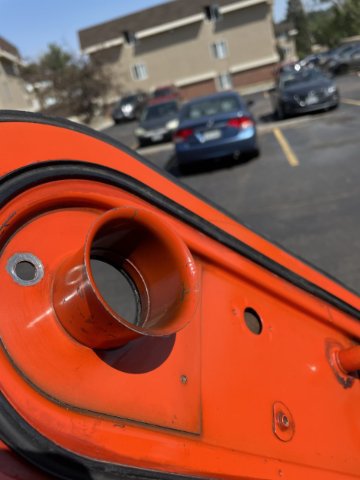
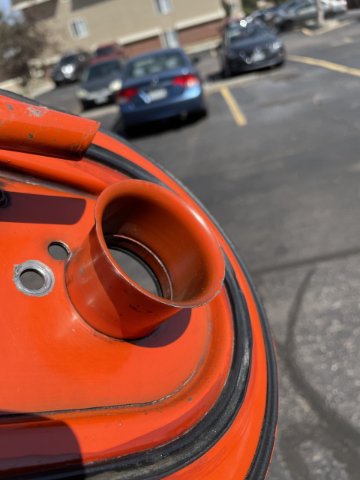
breather port polished, letters polished
-
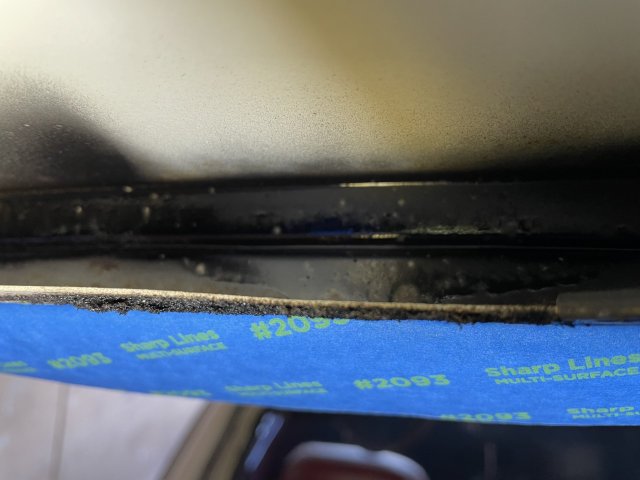
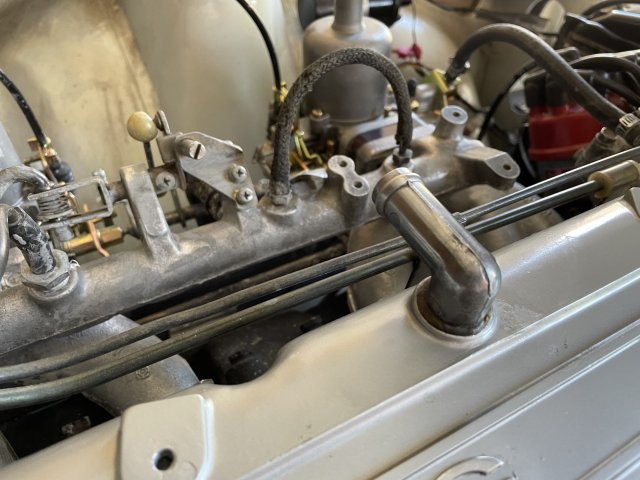
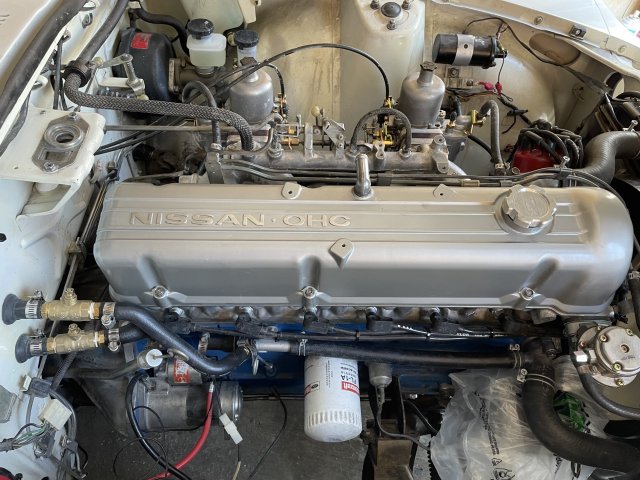
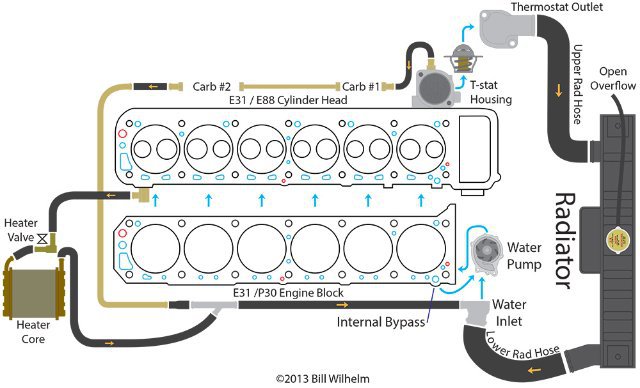
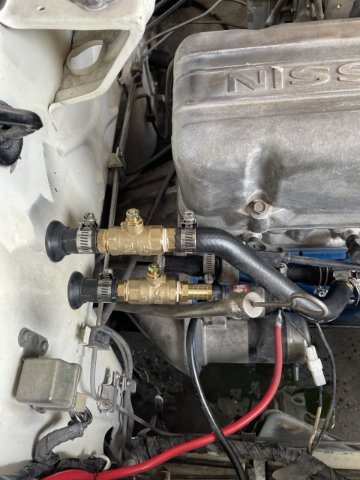
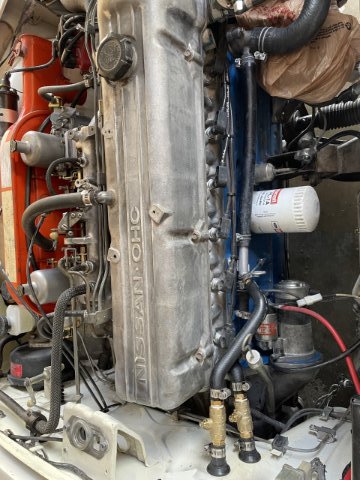
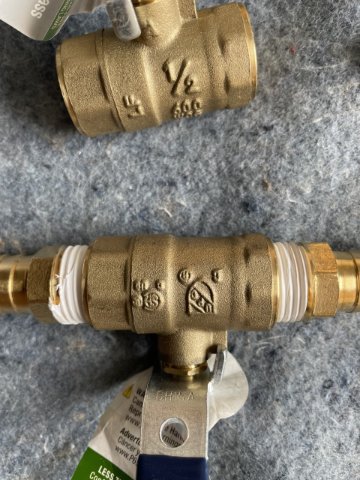
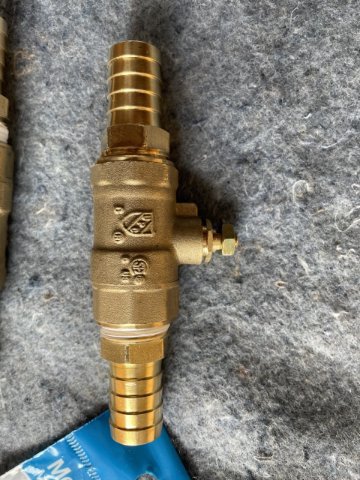
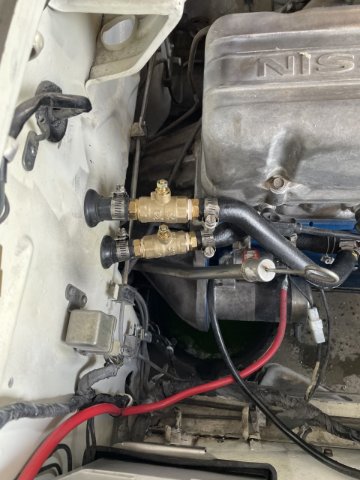
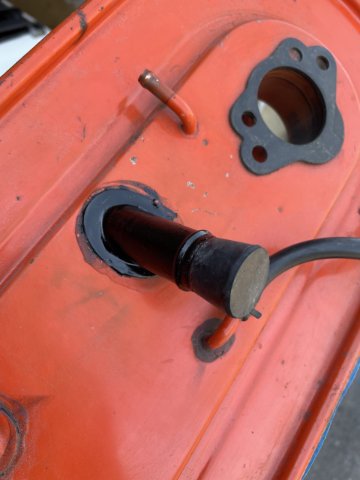
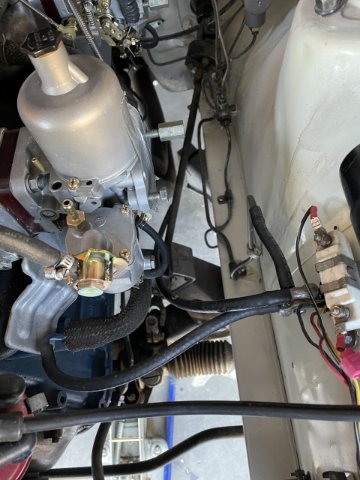
Thanks! As for the flow issue, look at the pic below. Where the line goes to the water heater, there is a factory valve that stops the flow. My valves are right before and right after that valve, so it shouldn't be an issue, as the flow was designed to be stopped.
-
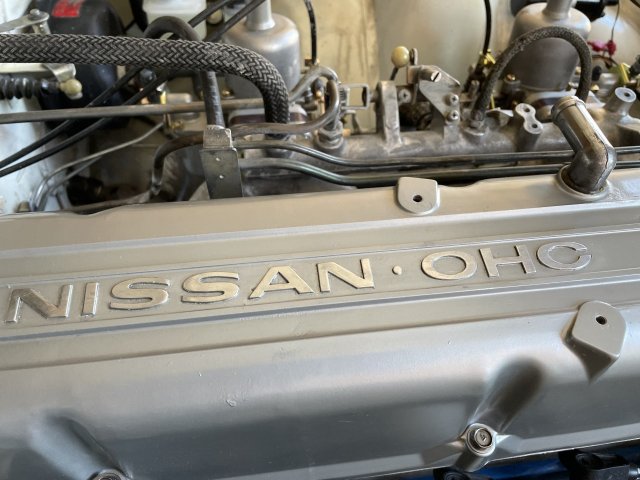
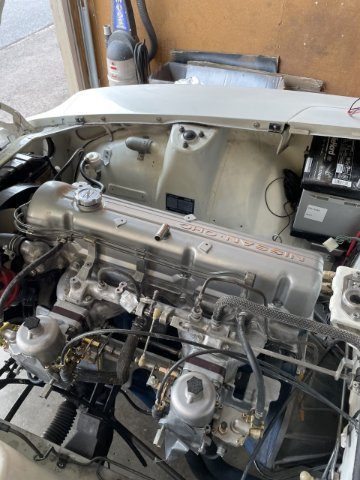
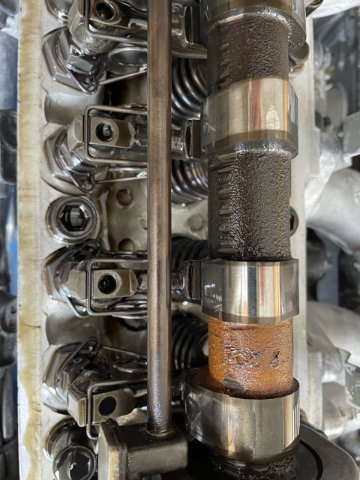
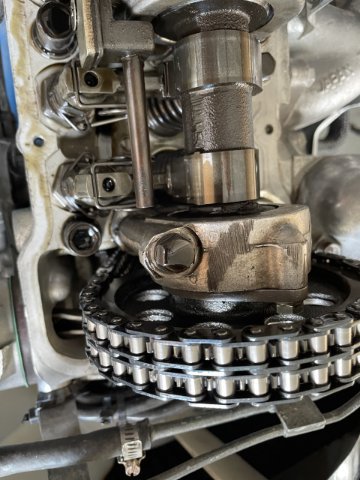
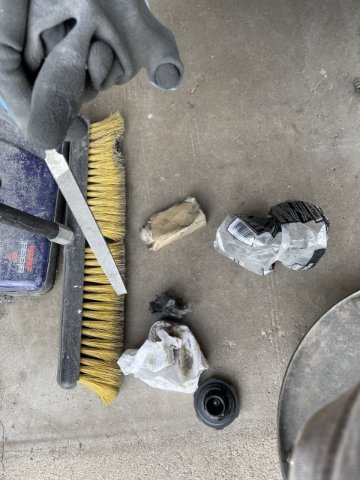
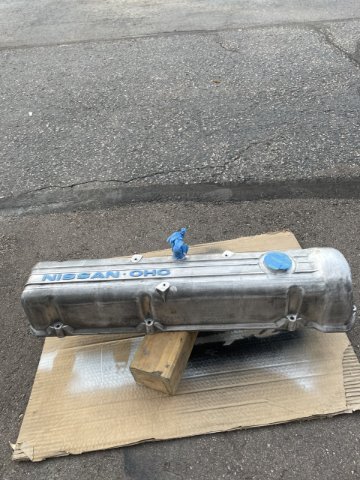
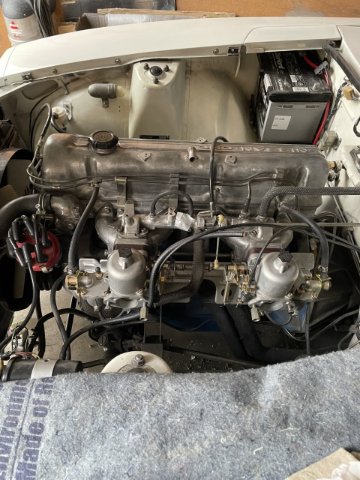
I spent the day in the garage on the Z car. I started with trying to get her started.....I went thrugh and repaired some connections that didn't hold, and then tried something I read online. I bypassed the power wire to the solenoid, by taking a wire and tying it to the solenoid lead and then touching the other end to the postitive wire....engine started turning over......so it appears either the ignition relay in the passenger footwell is bad, hence I never heard it click, or the wire going to the ignition or the ignition switch itself is bad. So I will do some research, but as of now, worst casae, I can just wire in a hidden pushbutton momentary switch, and use it to start the car. Ok, so then the car tuend over but didn't want to start, so I looked the fuel filter, no fuel.....so I poured a gallon of fuel in and tried again.....no dice. So, the "new" mechanical fuel pump I put on there a year ago is already toast. I bought one of the NOS ones a guy is selling on here, and I will put that on here. The NOS stocker is perfect for my stock L24 setup, and being an NOS piece, it will last probably 40 years, or in other words until I am gone. So, I then took some time and used an old toothbrush and some brasso, and scrubbed on my intake manifold to try to get it to brighten up......it did a little, but it was a mistake, in that I will have to power wash the area to get the layer of dried brasso compeltely off. I got most off with a soapy busket of water and a soapy toothbrush. Lastly, I pulled the valvecover and got started on it's facelift. I found small nicks and scratches in the top where the stripes and leters are, and so with a bastard file, I flat filed them clean. Then I used a combination of steel wool, some 220 dry sandpaper and some wet 2000 on the letters to get it ready for paint. I then masked off the letters and the breather arm, wiped it down good with some denatured alcohol and painted it engine block silver. It's a Duplicolor paint. I had to do A LOT of very light coats to get it right. So, now it is in the garage curing before I remove the tape off the letters and then hand polish the letters with my can of Mothers mag wheel polish and a clean rag. Also of note, when the valvecover came off everything was so clean and nice, no wear at all.....another bit of evidence backing up the car's 50K original miles. Pics and a video to follow. Ok, my videos don't like to load here, click on the link below to get to it. Flip through the pics and the video will be at the end. (20+) Facebook
-
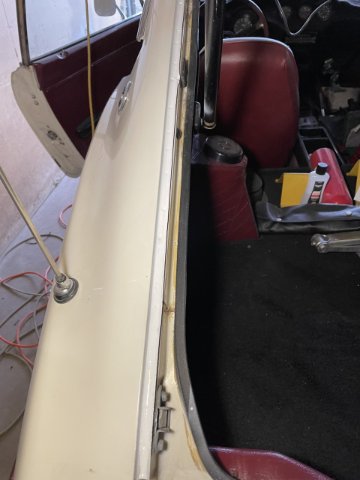
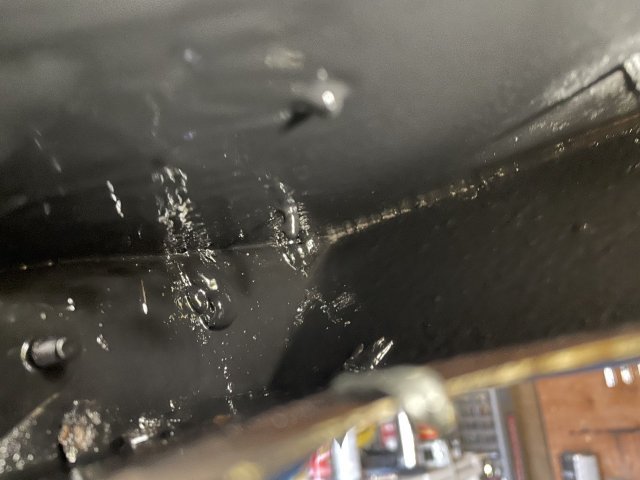
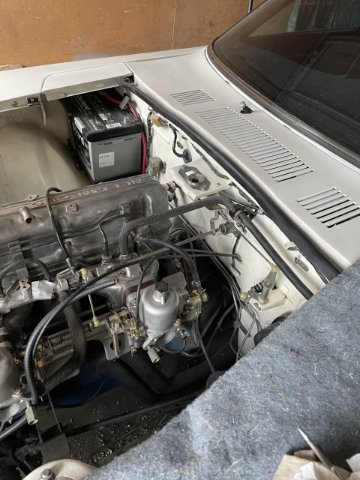
I remember them well. they really worked well. I will surely post up pics once she is out and about! Yesterday I started the project of installing brass ball valves on each heater hose. Then I started on my electrical issue......turn key nothing....put screwdriver across battery, starter spins but doesn't engage....hmmm. I also had time to wash down the entire engine compartment, which was full of dust from doing bodywork and paint. I took some pics and there are some videos of all the fun I had today. I will post them below. To see videos go to link below this, click through the pages, the last 4 are videos. This site doesn't like uploading my stuff. (17) Facebook
-
Why the valves? Well, I don't want heat. I also don't want to reply on a 50 year old heater core to keep me from getting antifreeze inside the car if ot leaks. I didn't want to gut everything out, so I decided to hook it all up, but leave it "dry".
- 1 reply
-
- 1
-

-
Today I started the project of installing brass ball valves on each heater hose. Then I started on my electrical issue......turn key nothing....put screwdriver across battery, starter spins but doesn't engage....hmmm. I also had time to wash down the entire engine compartment, which was full of dust from doing bodywork and paint. I took some pics and there are some videos of all the fun I had today. I will post them below. To see videos go to link below this, click through the pages, the last 4 are videos. This site doesn't like uploading my stuff. (17) Facebook
-
Thanks. Well, the project phase is done. A driver/tikerer is what I set out to build, so I am happy.
-
Yes, the modern ones didn't fit in the housings correctly, and rather than butchering them up to fit, I just got some new original style sealed beam headlights.
-
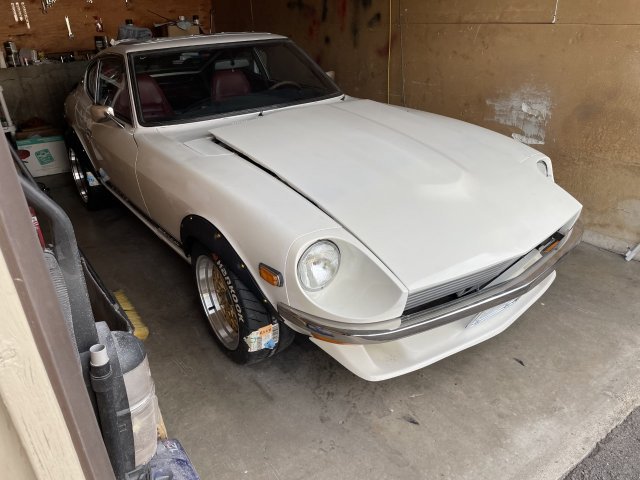
Nothing quite feels like saying "Project Complete". When the car goes from being a Project to a Driver/Tinkerer car. 13.5 months, 413 days to make her a clean driver again. From being a 50 year old, dog eared "potential", to back in the game.......LONG journey. Blessed beyond measure and to have a 240Z now....is incredible. Thank you Lord Jesus. (build is chronicled under 240Z projects, "joe's 240Z adventure, if interested.)


.jpg.428fd8f65f9de8c2c7613f73fb620119.jpg)