-
Posts
1070 -
Joined
-
Last visited
-
Days Won
32
Content Type
Profiles
Forums
Blogs
Events
Gallery
Downloads
Store
Everything posted by A to Z
-
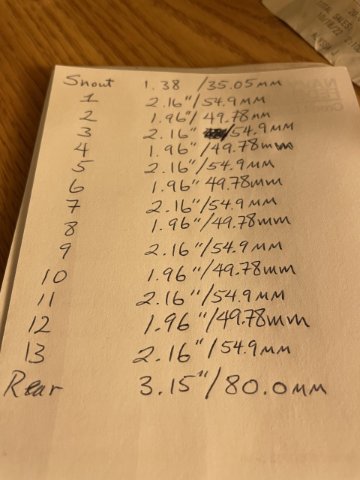
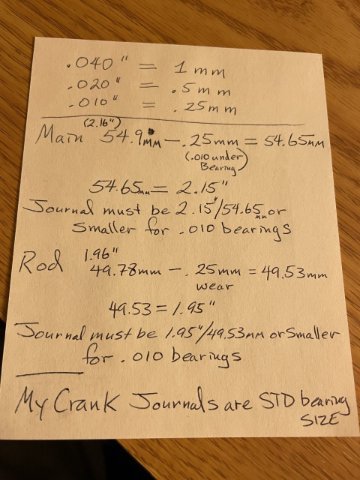
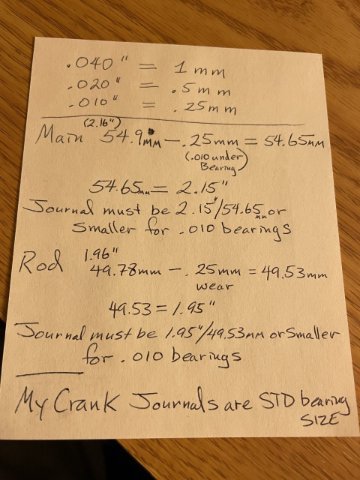
What I was able to figure out, was the size they are now, and what size in diameter they would be if the crank was turned .010 under. Because I am a LONG way from being that size, I know that I am within tolerances. It might not be scientific, but if an engine is a hair loose, using thicker oil can and will make up for it. 20W50 can make an engine with 35-40 psi of oil pressure at idle have about 10 more! My intention, is to plastigauge it when I put it together on the mains and rod journals, and use 20W50 if she is a little loose. I am betting it won't be loose at all...it will be just fine and will warrant 10W40 oil. When I start it and the oil gauge goes past the halfway mark?.....success. This is being built as a stock motor, to be used within the power band of the early 240Z "A" grind cam and E31 head with small ports and small valves, the cam maxxes out at 5600 RPM! 4300 for torque. Just a lot of torque. I am going to advance it to #3 on the timing upper sprocket per Dave Rebello's suggestion. I am doing this the opposite of what everyone else does in the Z car world. 6K would be the absolute max RPM the engine will ever see. I just put it in drive and go! It shifts at peak torque anyway, 4300-4500 rpm.
-
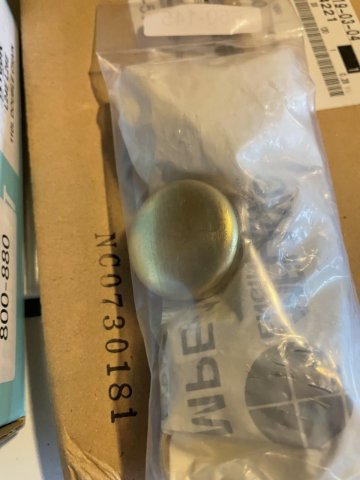
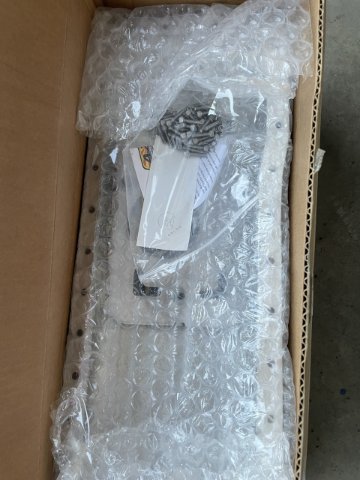
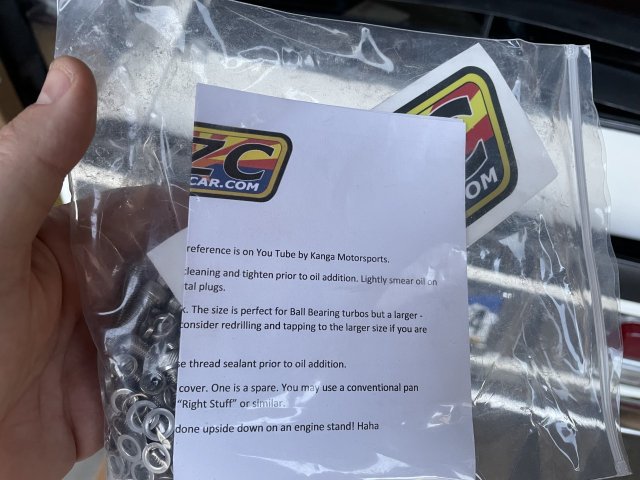
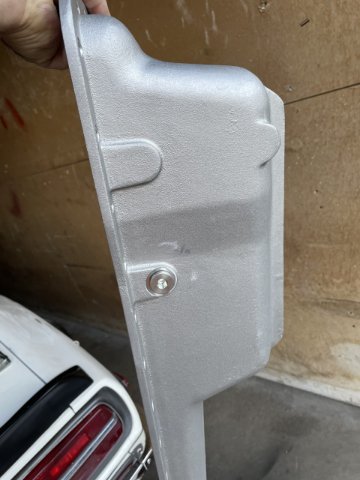
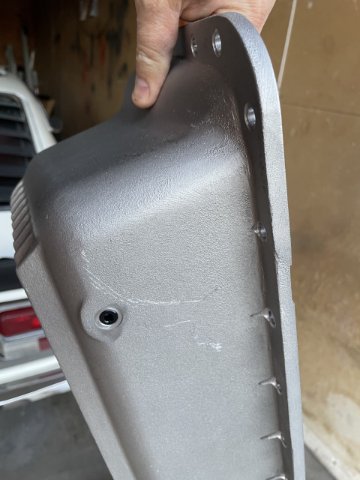
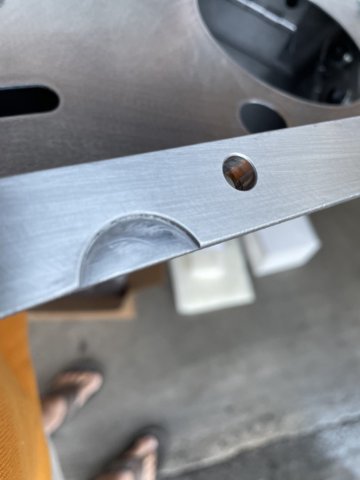
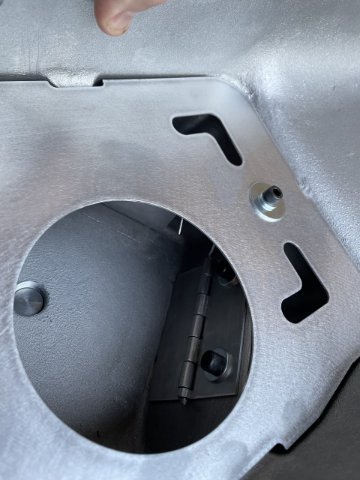
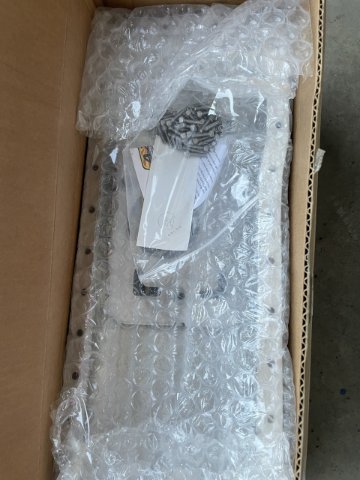
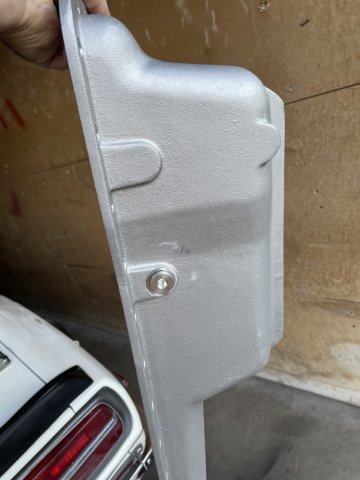
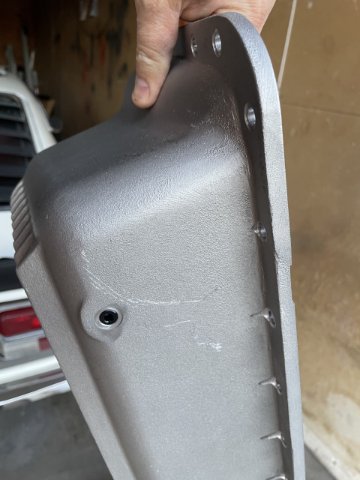
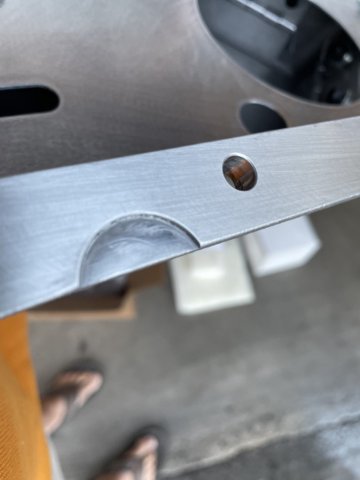
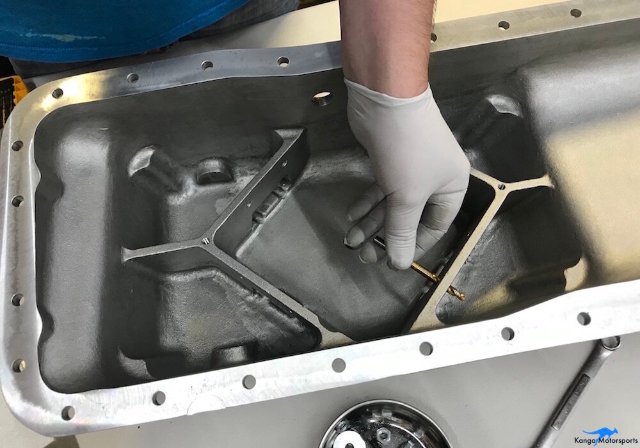
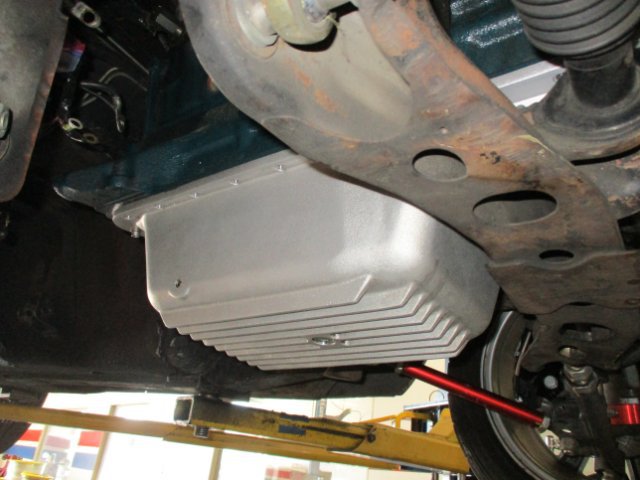
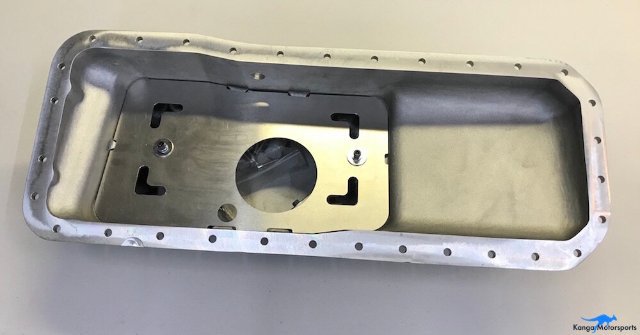
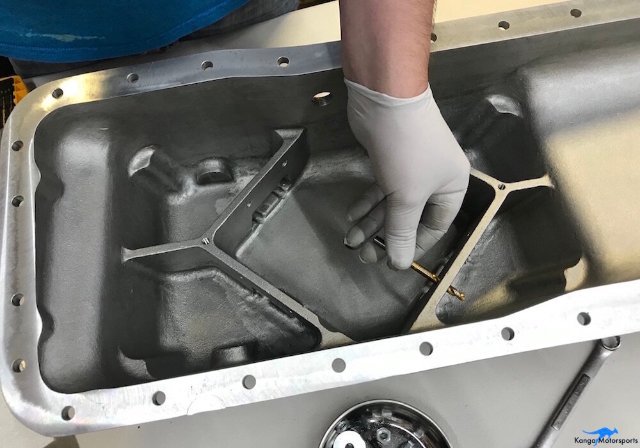
10-20-2022 UPDATE: My Arizona Z car aluminum oil pan arrived today as well as my Brass freeze plugs. Couple pics and a video link to click on to go see. Flip through the pictures the video is at the end. Link to video, click below: (11) Facebook
-
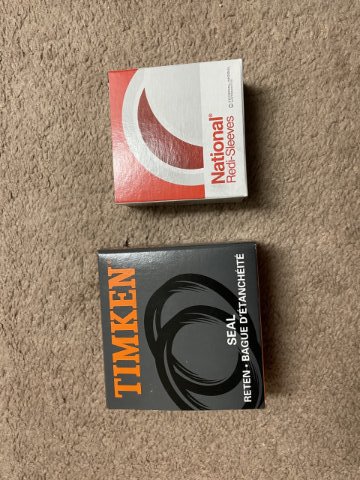
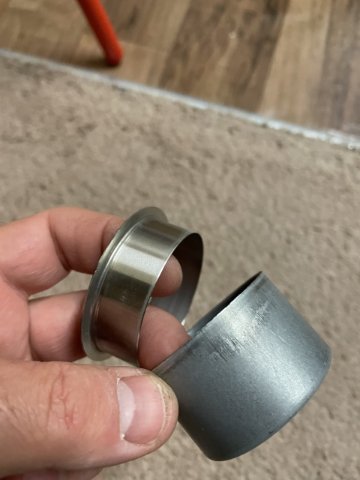
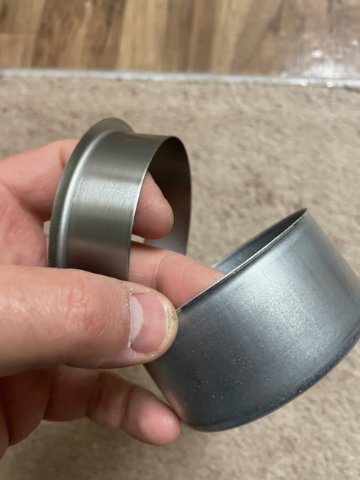
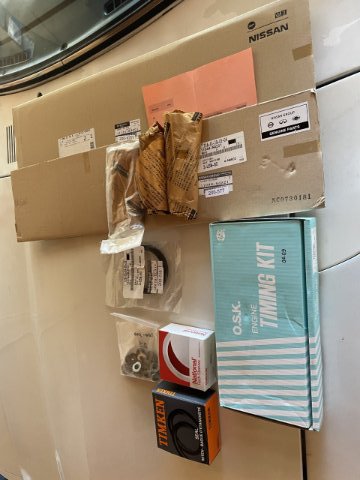
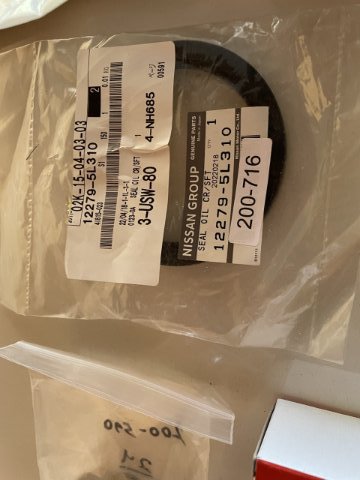
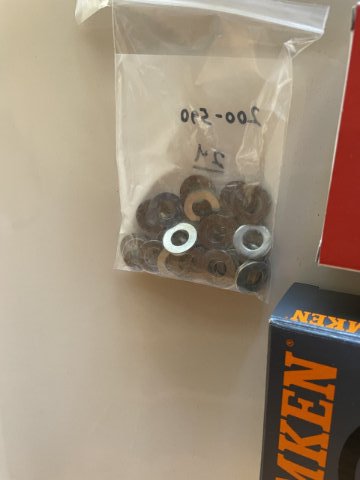
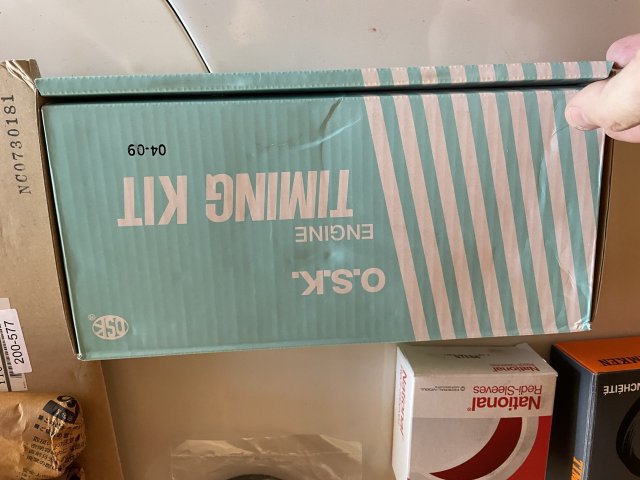
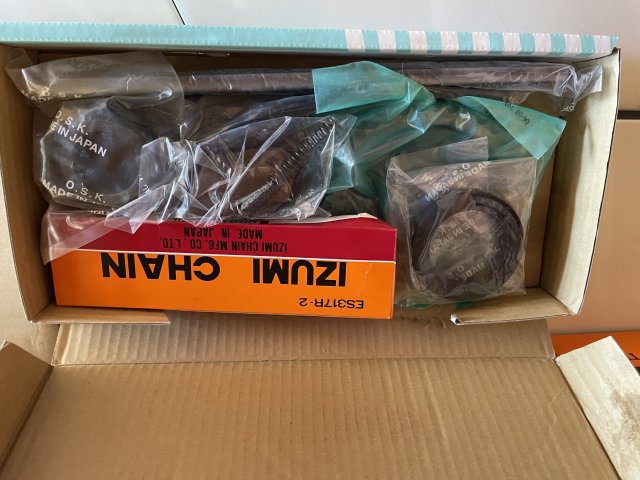
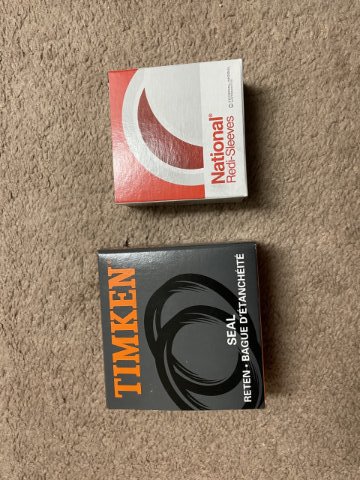
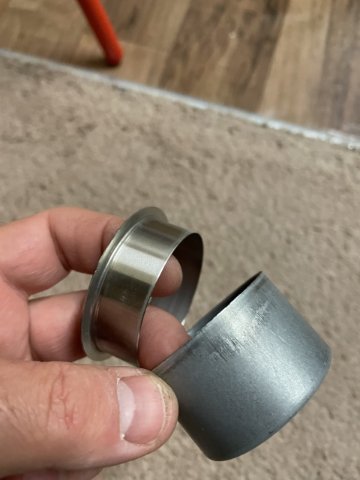
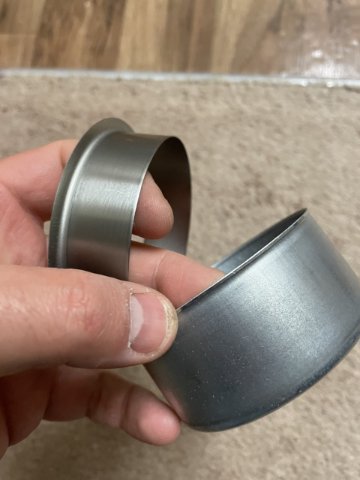
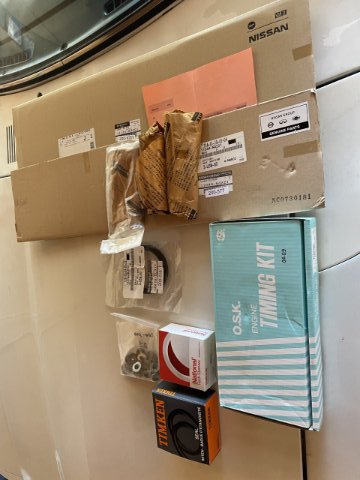
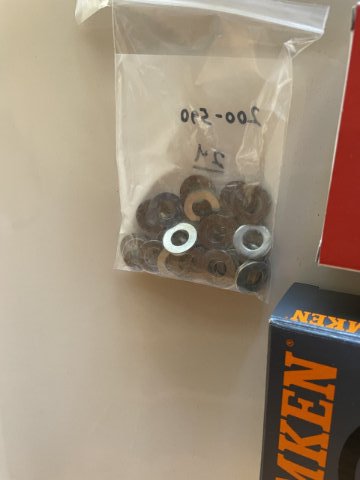
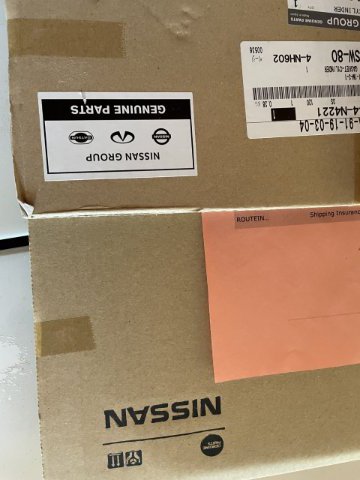
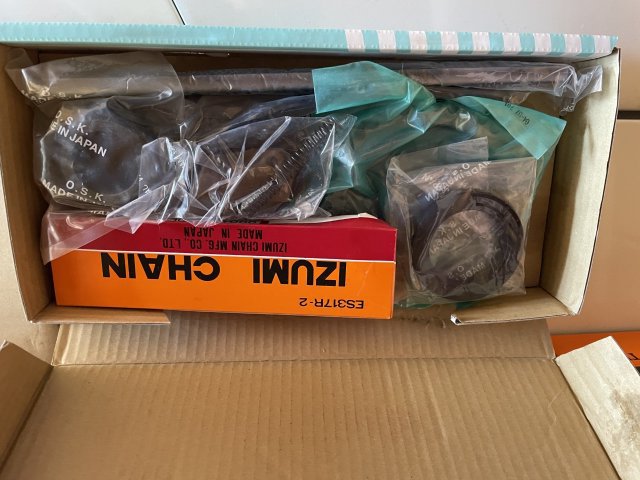
10-19-2022 UPDATE: Arrival of gaskets and seals, and timing chain for the build. All Nissan parts and the Timing Chain is from Japan as well. I don't feel good about using chinese timing chain components.....The Z Car Depot was able to fit the bill this time. I additionally received my sleeves to go over the crank snout and rear main seal area(s) to ensure that I get a oil leak free seal. My garage is getting full again.....Pics follow:
-
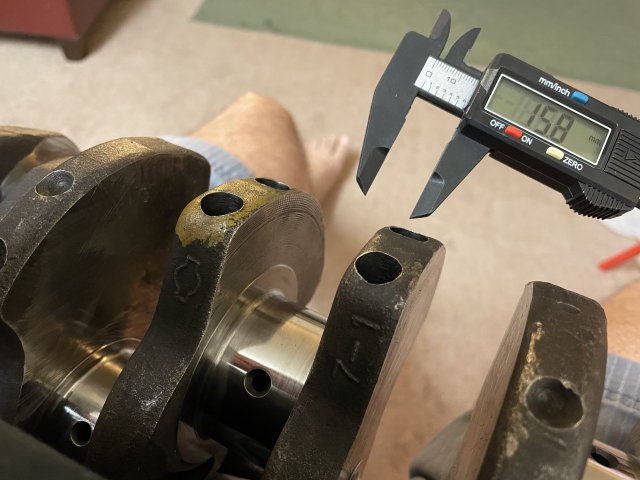
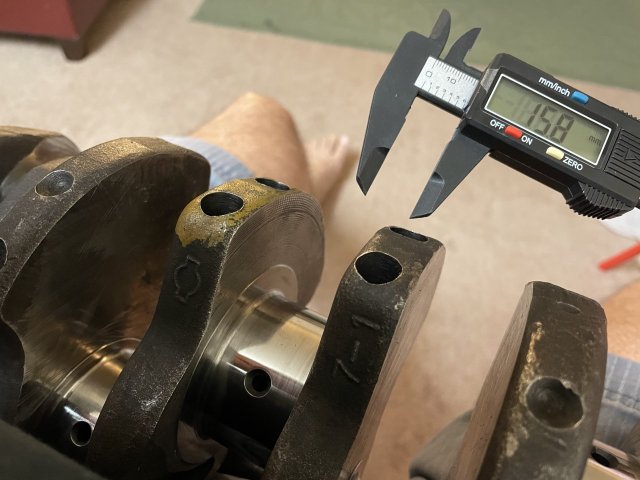
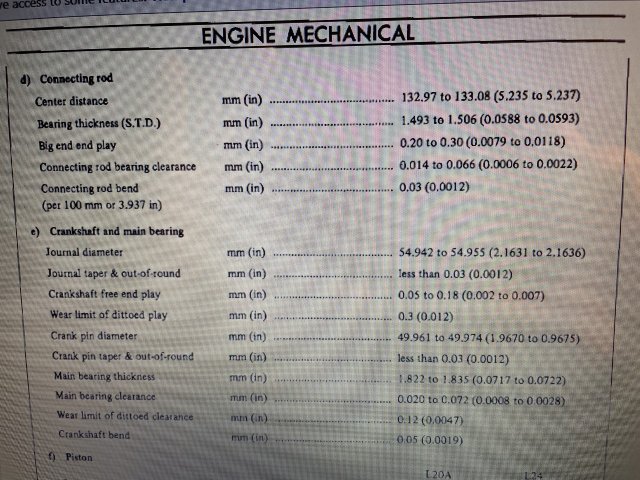
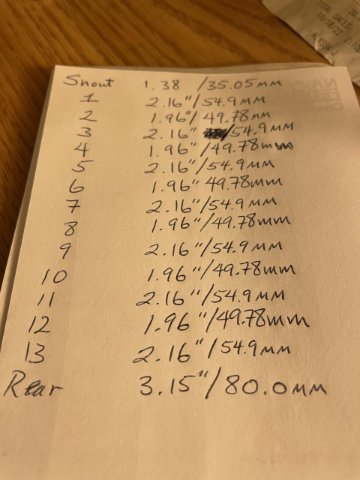
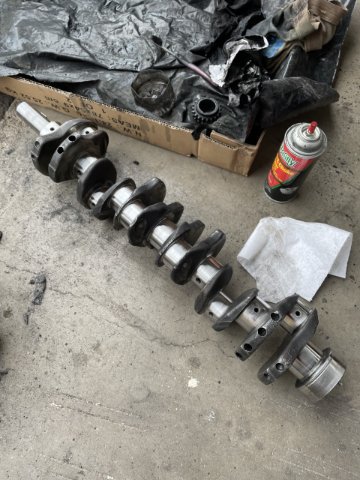
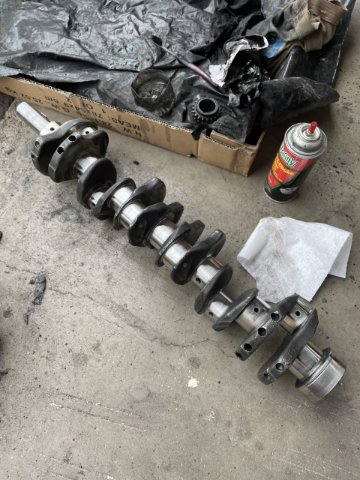
10-19-2022 UPDATE. Mic'ing the stroker crank for my engine build. So, the micronometer I ordered on Amazon came in and I went ahead and masured my crank. All journals are within spec for standard bearings per the Factory manual under "EM Mechanical". I have attached a form showing my recordings which were right on for all 14 bearing surfaces and the crank snout. Because there can be the question on whether or not I didn't take it out enough decimal points, I attached another form, showing what the measurement would have had to be to step up to a thicker bearing for an udnersized ground crank. Sure, there will be some with the "but, but, but...." and I accept that, for an engine that is being built like a race engine with a redline in the stratosphere.....but mine is building build to stock specs and a 6,000 RPM redline. My cam maxxes out at 5600 RPM anyways (for horsepower, for torque around 4500 RPM). if I want more oil pressure, I just use the thicker 20W50 oil instead of 10W40.....just remember the ZDDP additive. So, here they are, think what you will.
-
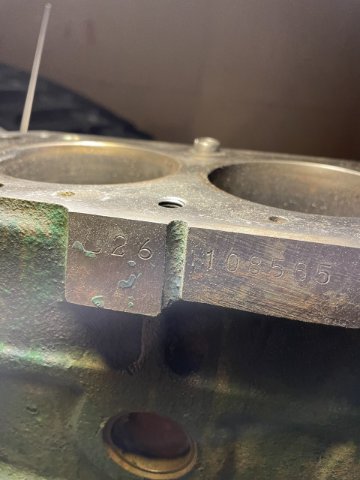
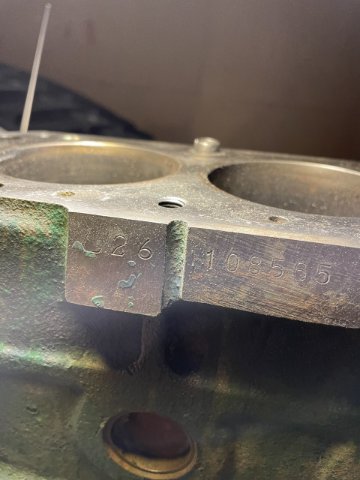
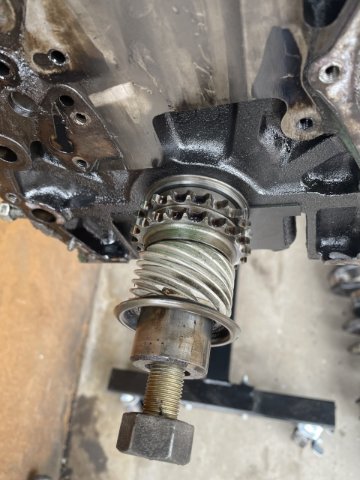
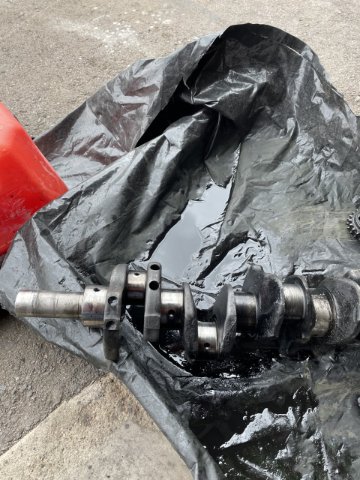
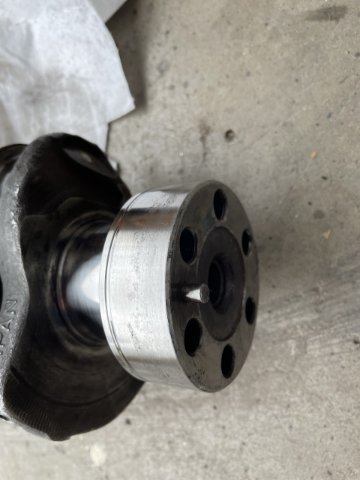
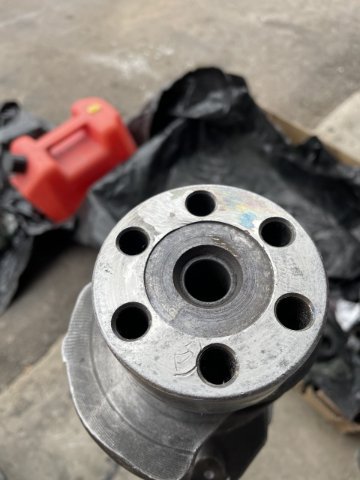
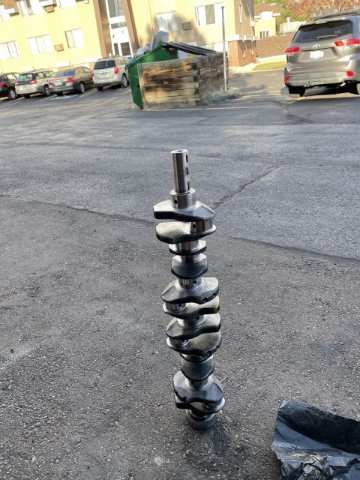
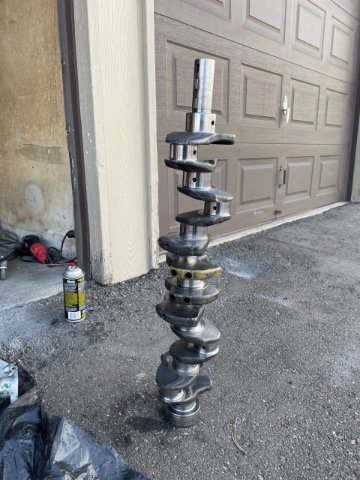
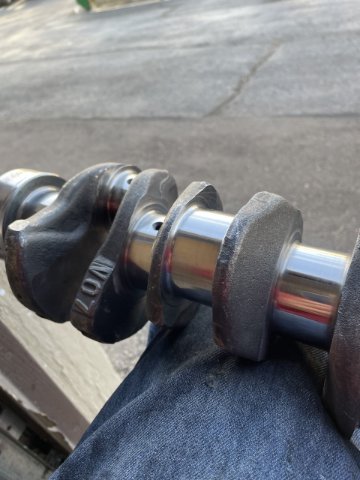
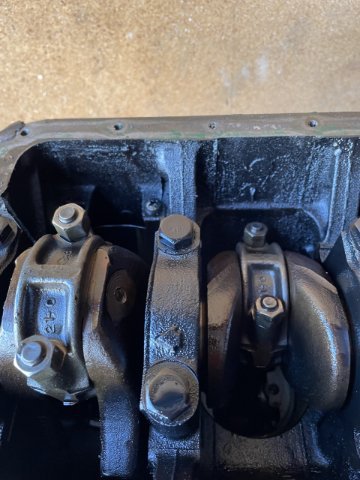
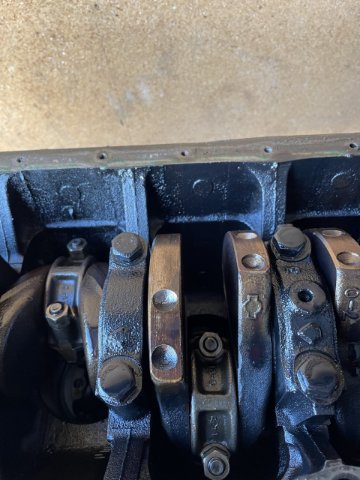
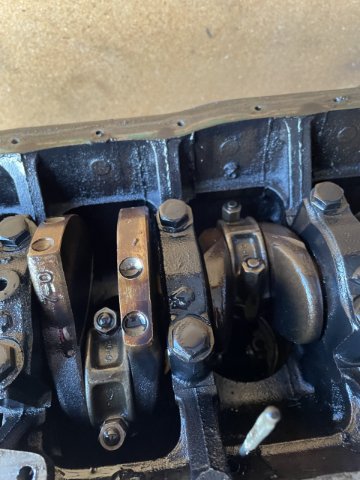
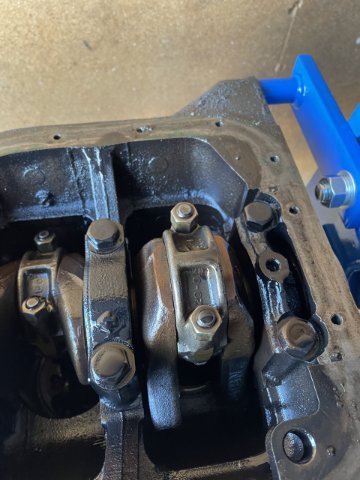
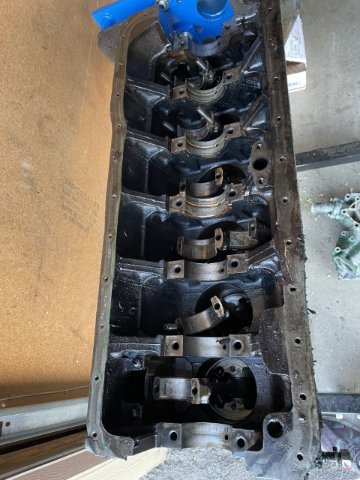
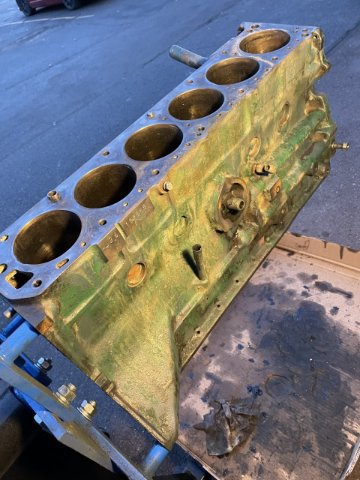
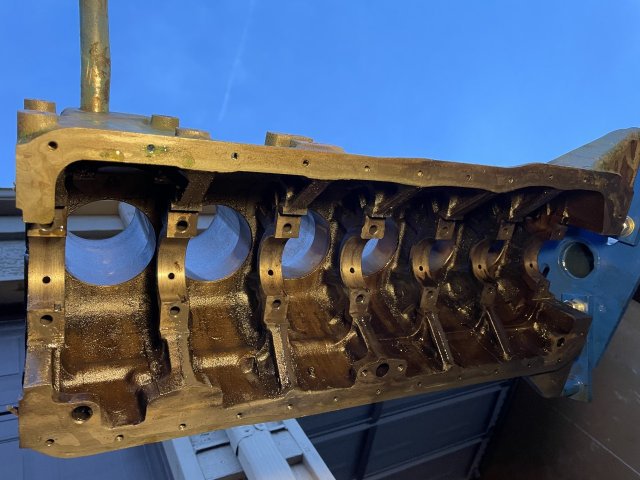
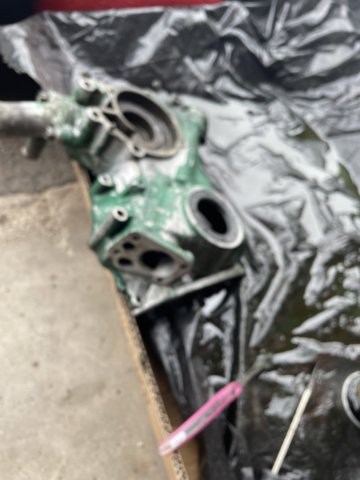
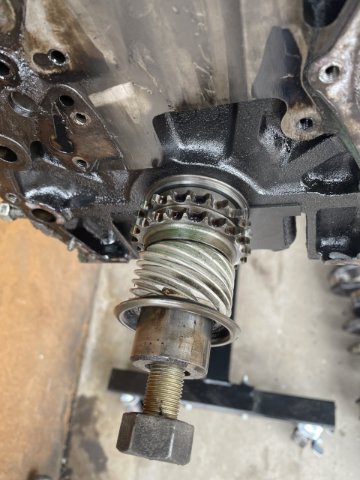
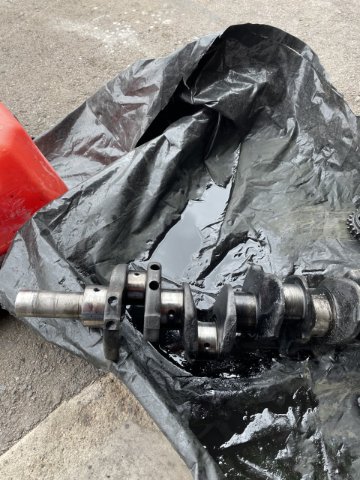
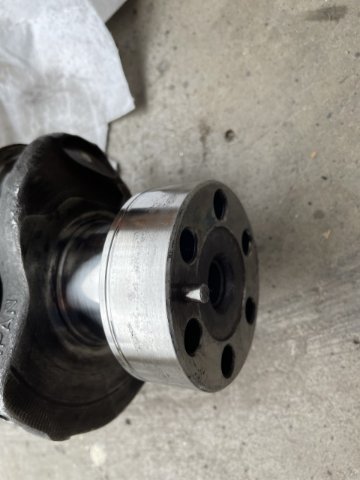
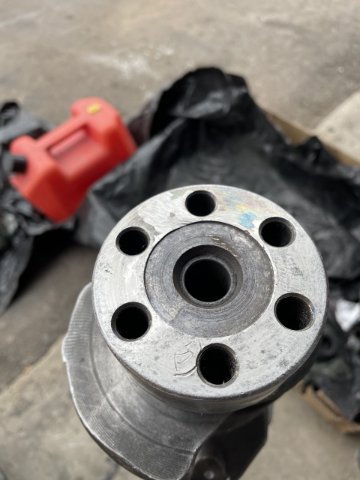
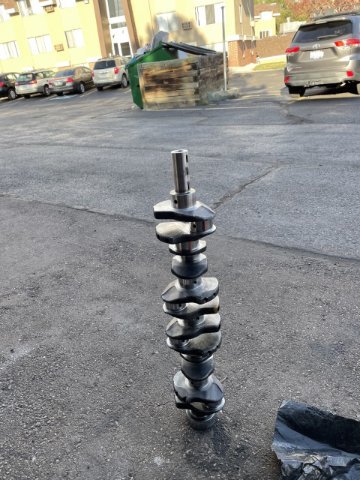
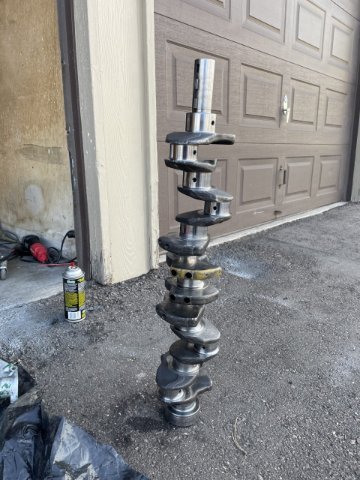
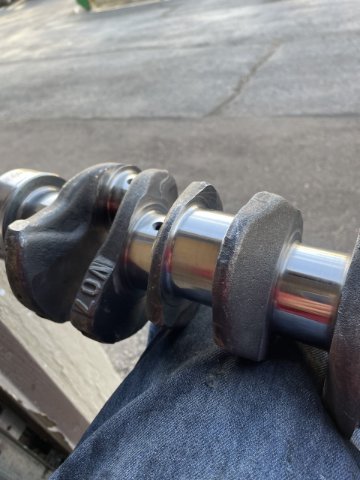
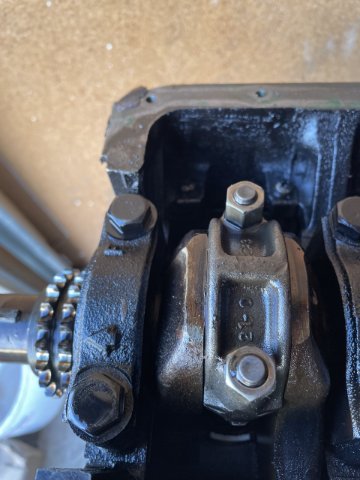
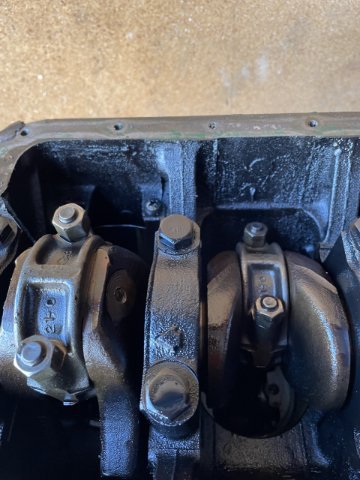
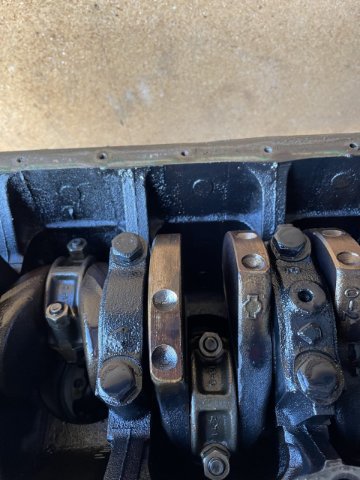
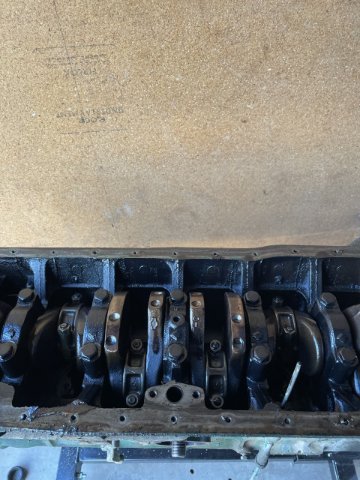
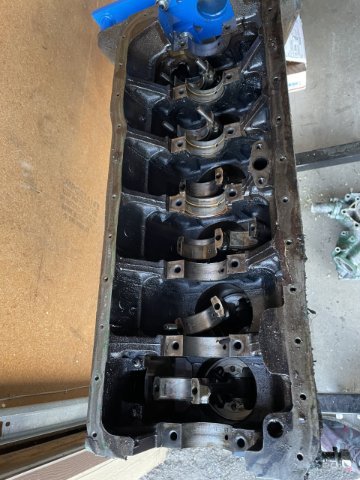
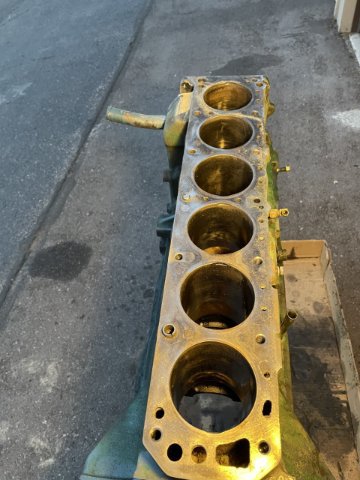
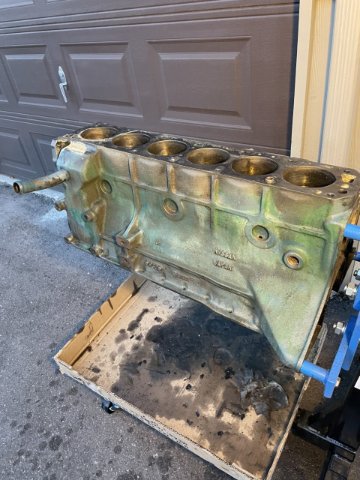
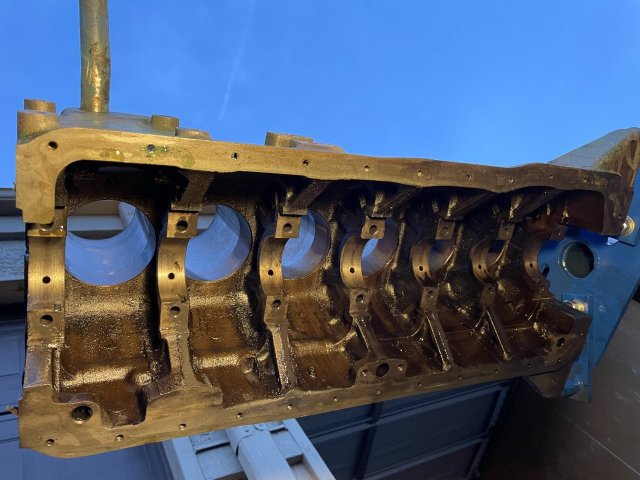
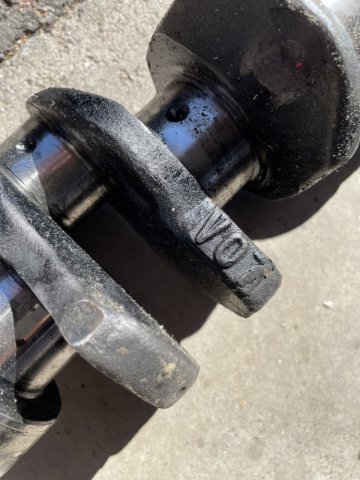
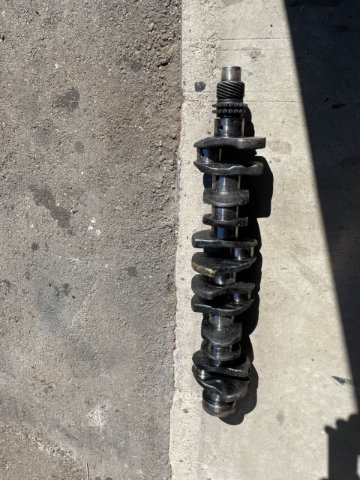
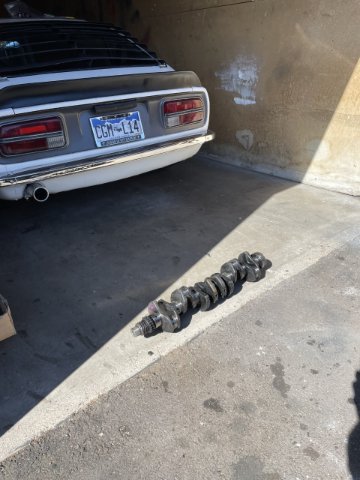
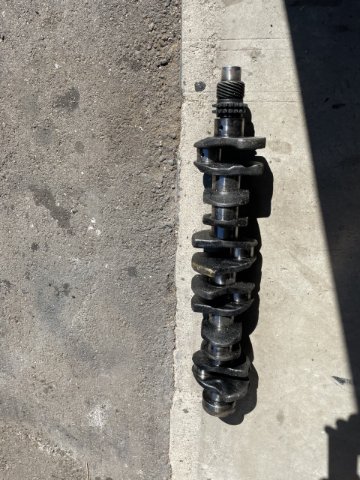
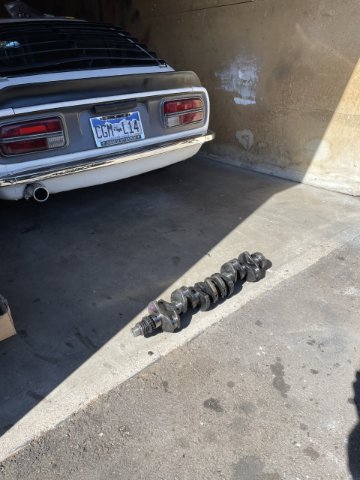
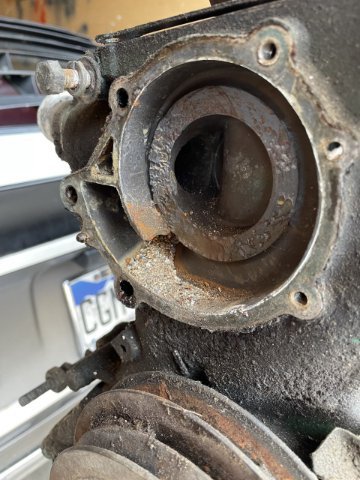
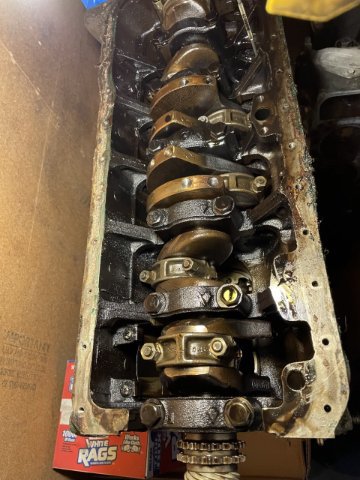
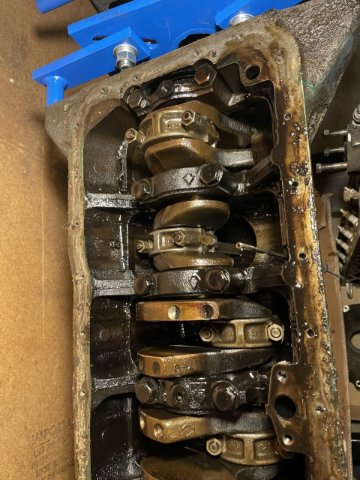
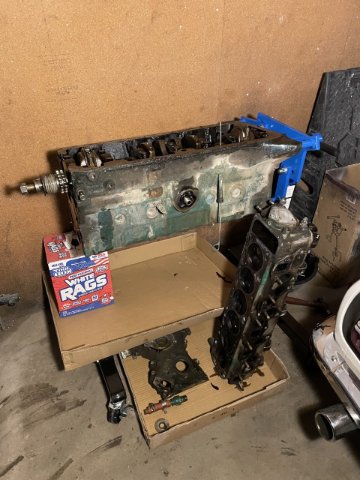
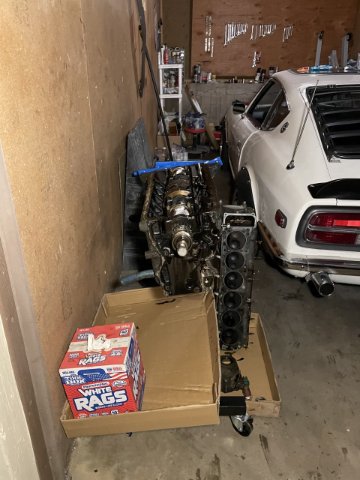
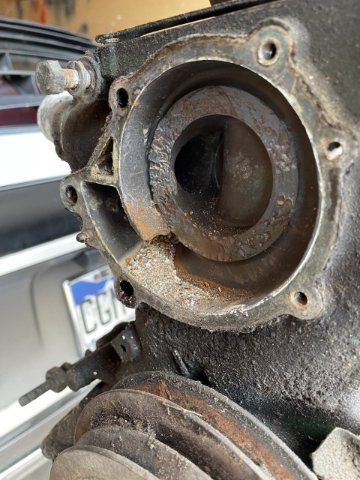
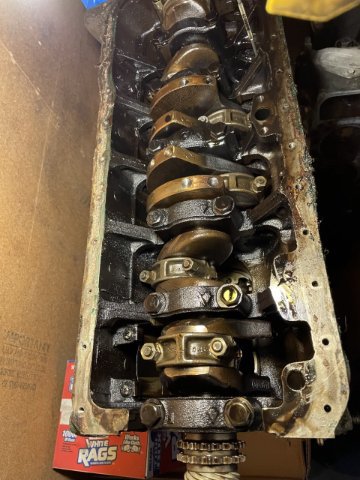
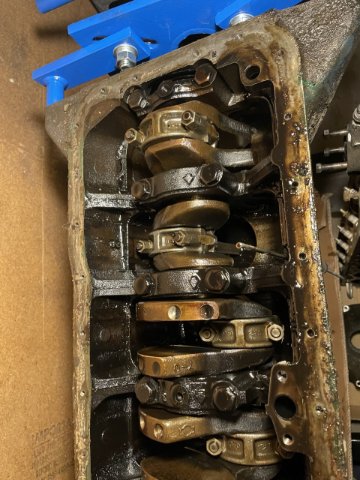
10-16-2022 UPDATE: Today I started by cleaning all of the caked on dirt/oil off the timing cover. Even with the pitting, I really thought maybe I could save it, but it is just too far gone. Im going to source another one. Next I started on the crank. It was a dirty grimy mess. Using parts cleaner and an old toothbrush I stood the crank on it's end, leaned it against me, and just started dunking the toothbrush in the cleaner and then scrubbing and wiping...working by way down.....then flipped it over and did the same to the other side. That took quite a while, the crank looked like someone had poured 30 wt oil on it and then threw it in the bed of a truck and drove down dirt roads for 6 months! I then took some steel wool and started again on one end and worked my way to the other, flipped it over and again.... the counterweights came clean! That caked on grime on the counterweights, you name it....after this it was starting to look better. These Diesel cranks have a pin on the end that has to be removed when using it in a Z car engine, so a few minutes with my die grinder and good to go. At this point, I was able to take some180 grit Emory Cloth and I took a thin strip of it, wrapped it around one journal and pulled and pushed and worked way around the journal, checking to see if it was coming clean....then moved to the next. Next, I took some 400 grit wet/dry sandpaper and tore it into long strips, and sprayed it down with WD-40 and did the same as I did with the emory cloth to smooth it out. After that I took a sock and some Mothers Mag and aluminum polish and put some on each journal and pull/pushed with the sock until each journal shined like chrome. Then I took a thin screwdriver I had where the tip had broke off, and being a round shaft it JUST fit into each oil hole. I was able to use it and a rag to clean out all the oil holes that went through each journal. After that came the carb cleaner with the little red straw that comes with it I blew out all of those holes going through the journals AND used the carb cleaner to throughly clean the entire crank. Once done it just glistened. All the oil holes clean as a whistle. So, 2-3 hours of work, but the crank is now good to go. What's next? I went after the block! I pulled the crank, and the rods and pistons out of the L26 block. I then cleaned the main bolts, the caps, everything, and made sure to keep the caps in the order they were in the block. Once that was done, I took the wire wheel attachment in my electric drill and cleaned up the block a bit then sprayed the block inside and out with carb cleaner. Then it was cleanup time which took a bit, but it feels good to get the dirty/nasty part of the job out of the way....mostly. Here are some pics:
-
10-15-2022 UPDATE. My 2.9 Stroker Engine build ~ still gathering parts, I am awaiting a box full of gaskets and seals from The Z car Depot, A oil pickup tube and screen I bought from Harold Burroughs, and I have an Arizona Z Car aluminum baffled oil pan en-route as well ( yes they are available, a fresh batch just arrived! Hurry!). 7.5 quart capacity and is fully baffled. Below are pics of it I found online, not my car, posted just to look at. My custom 85.5 mm foged aluminum pistons from Rebello Racing are being made now, and now I need to clean up stuff and clearance the block. Of course I will provide pics of all this as it arrives.
-
10-15-2022 UPDATE. My 2.9 Stroker Engine build ~ still gathering parts, I am awaiting a box full of gaskets and seals from The Z car Depot, A oil pickup tube and screen I bought from Harold Burroughs, and I have an Arizona Z Car aluminum baffled oil pan en-route as well ( yes they are available, a fresh batch just arrived! Hurry!). 7.5 quart capacity and is fully baffled. Below are pics of it I found online, not my car, posted just to look at. My custom 85.5 mm forged aluminum pistons from Rebello Racing are being made now, and now I need to clean up stuff and clearance the block. Of course I will provide pics of all this as it arrives.
-
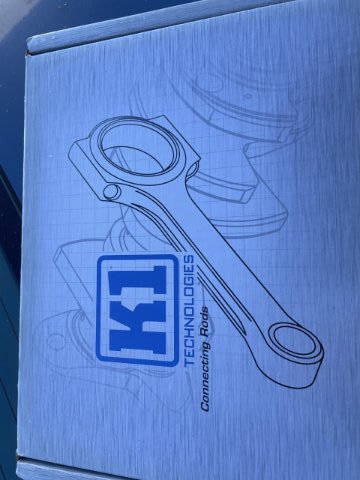
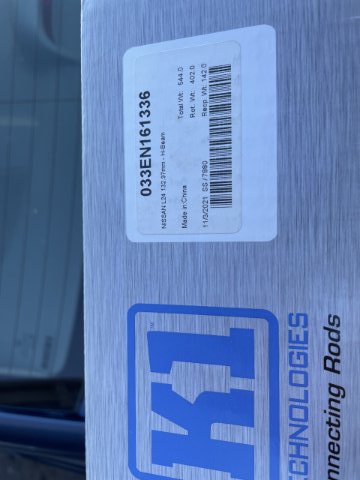
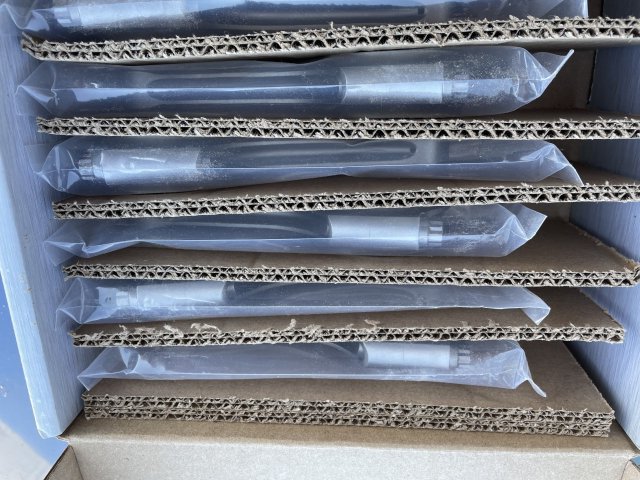
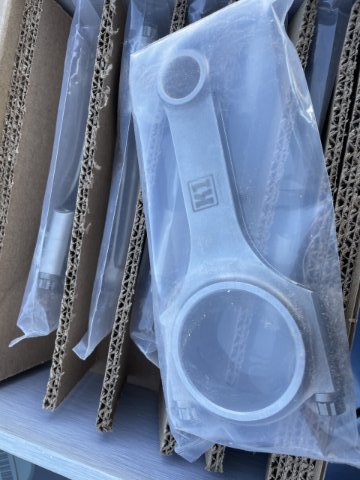
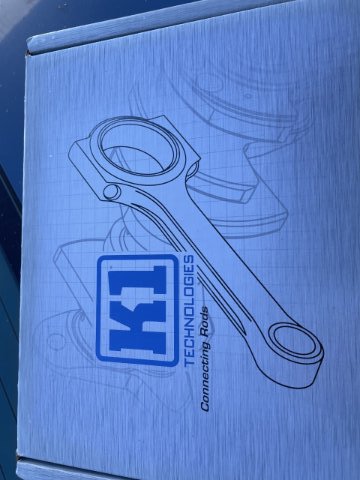
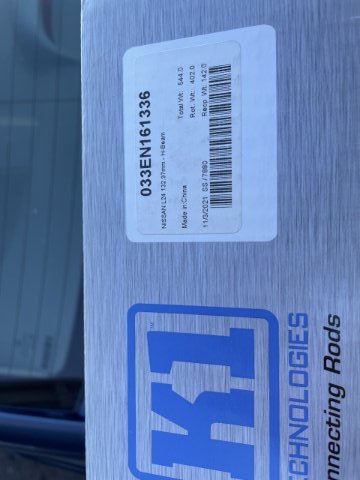
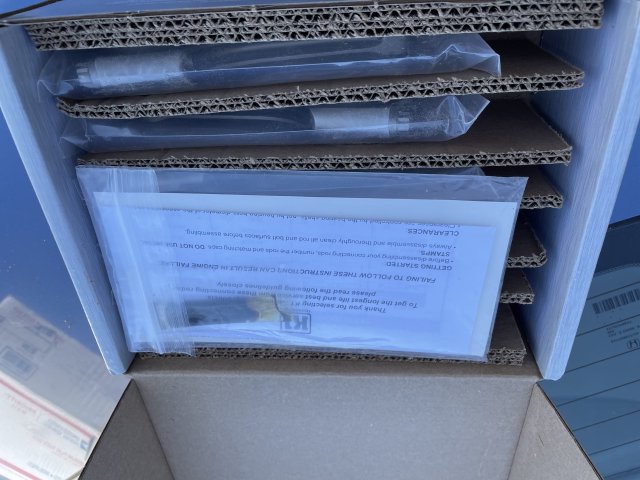
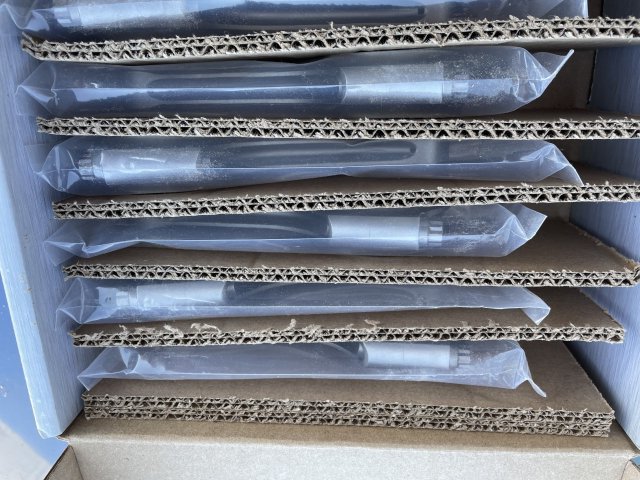
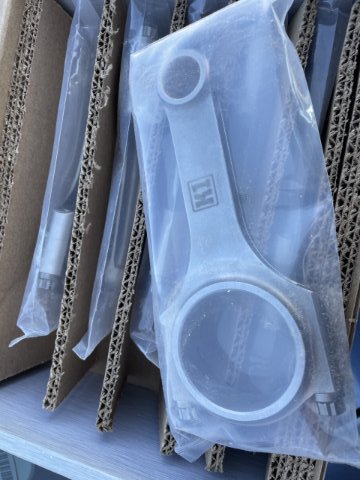
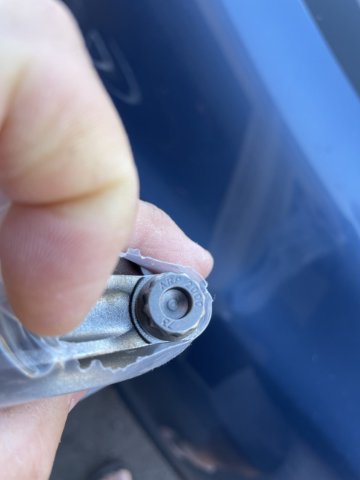
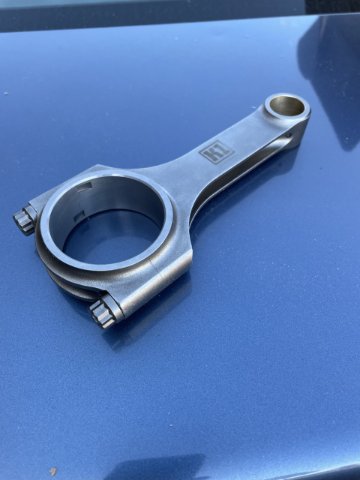
10-14-2022 UPDATE: Today my rods arrived for my stroker build. K1 rods I bought through Steve Bonk. 132.9mm long, factory L24 240Z engine rod length. Already balanced to within 1 gram and also come with ARP 2000 bolts.
-
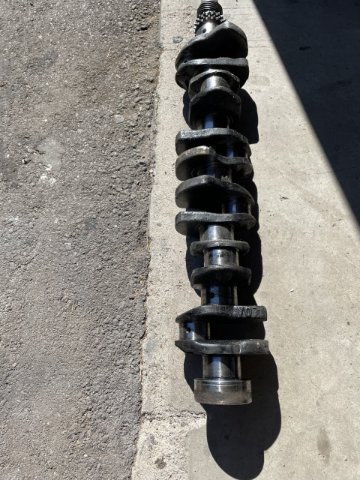
10-13-2022 UPDATE: My LD28/V07 diesel "stroker" crank arrived from Thailand today. $400. My 132.9" (L24 length) K1 H beam rods with ARP hardware have a scheduled arrival of Saturday I ordered some pistons from Rebello Racing, forged and custom made, but went ahead and moved the bore out to 85.5mm. So .020 under stock L28 bore. Essentially a wash giving me L28 280Z engine bore. I will using my Early 1970 E31 head and matching "A" grind cam, but on the #3 hole, which provides more torque. Dave Rebello and I went over it all and the pistons will be a nice forged set giving me 10 to 1 compression, and if I need more in the future, a .020 shave of the head will take it to 10.7 to 1. End result is a 2.9 stroker engine. I also ordered up the gaskets and seales and a new Timing set from Japan as well. Z Car Depot sending that stuff. I will get the crank in for work soon. More than likely .010 under all the way across, chamfer the holes and micro polish the bearing surfaces, then magnaflux and balance Here are some pics of the stroker cam as it arrived today.
-
My LD28/V07 diesel "stroker" crank arrived from Thailand today. $400. My 132.9" (L24 length) K1 H beam rods with ARP hardware have a scheduled arrival of Saturday I ordered some pistons from Rebello Racing, forged and custom made, but went ahead and moved the bore out to 85.5mm. So .020 under stock L28 bore. Essentially a wash giving me L28 280Z engine bore. I will using my Early 1970 E31 head and matching "A" grind cam, but on the #3 hole, which provides more torque. Dave Rebello and I went over it all and the pistons will be a nice forged set giving me 10 to 1 compression, and if I need more in the future, a .020 shave of the head will take it to 10.7 to 1. End result is a 2.9 stroker engine. I also ordered up the gaskets and seales and a new Timing set from Japan as well. Z Car Depot sending that stuff. I will get the crank in for work soon. More than likely .010 under all the way across, chamfer the holes and micro polish the bearing surfaces, then magnaflux and balance Here are some pics of the stroker cam as it arrived today.
-
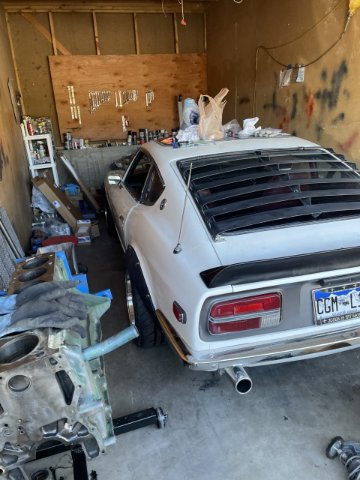
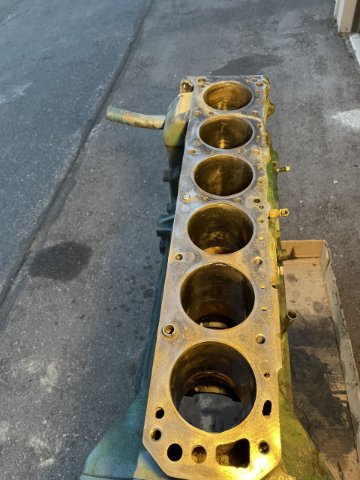
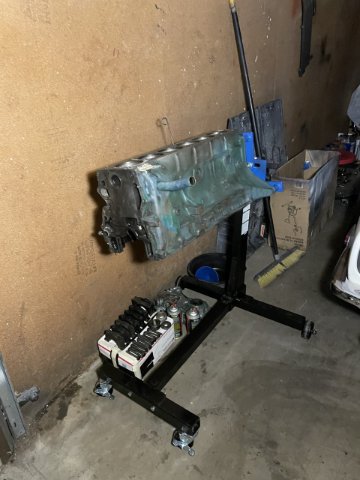
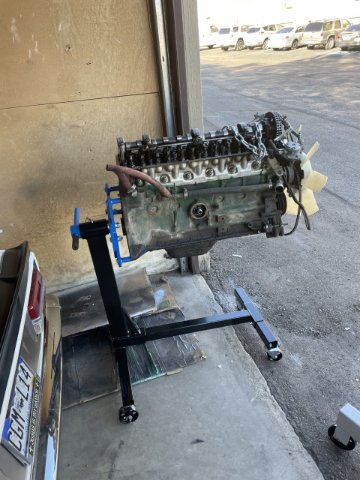
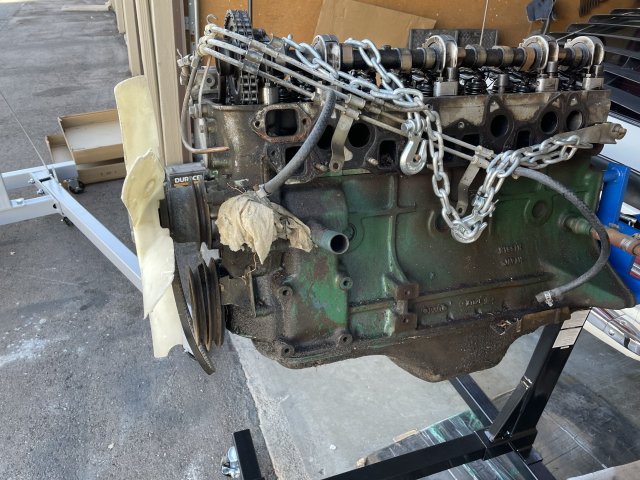
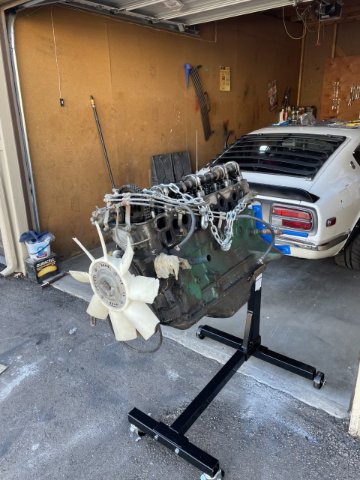
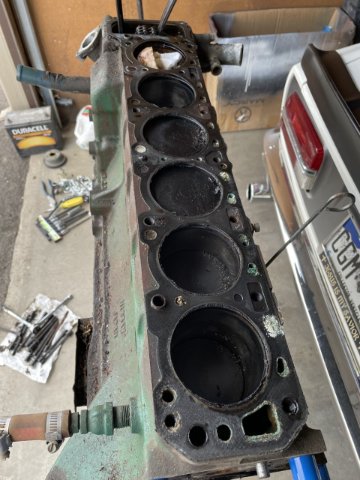
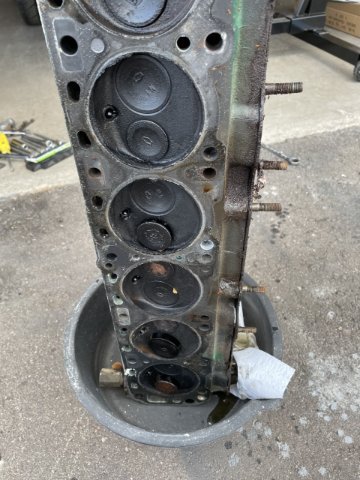
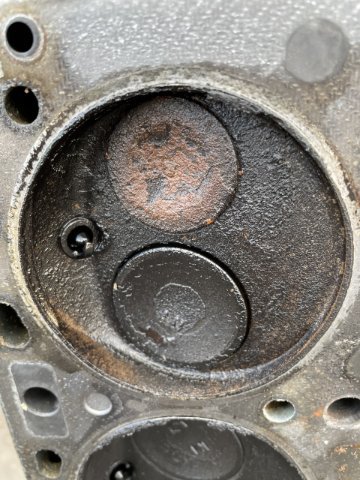
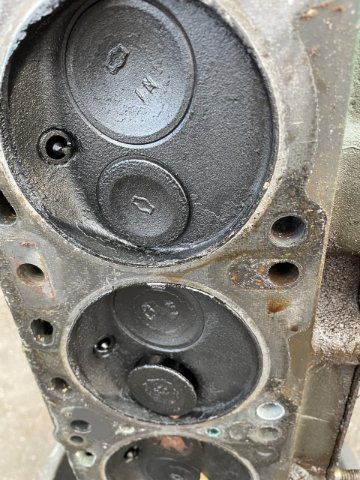
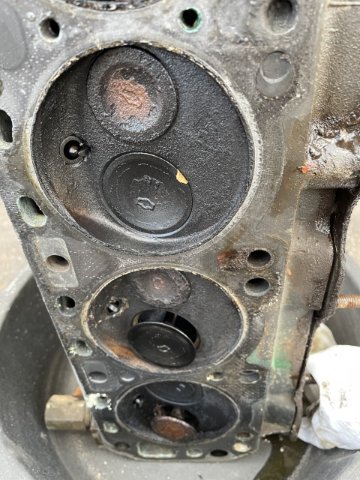
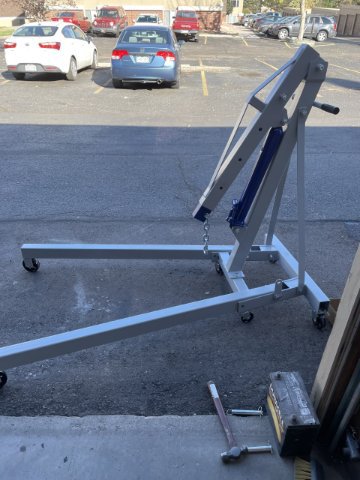
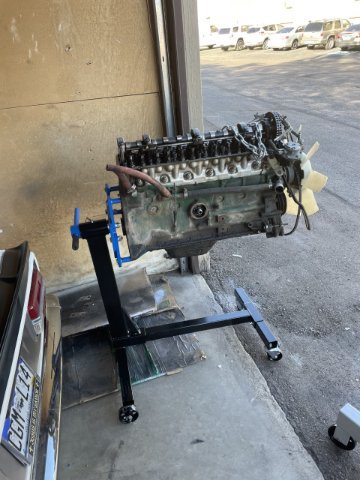
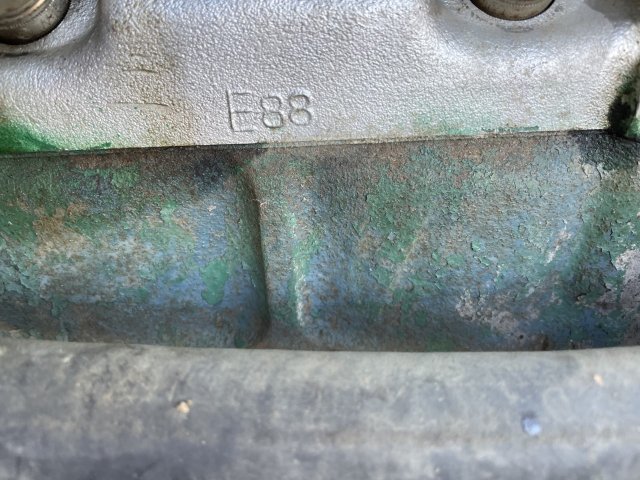
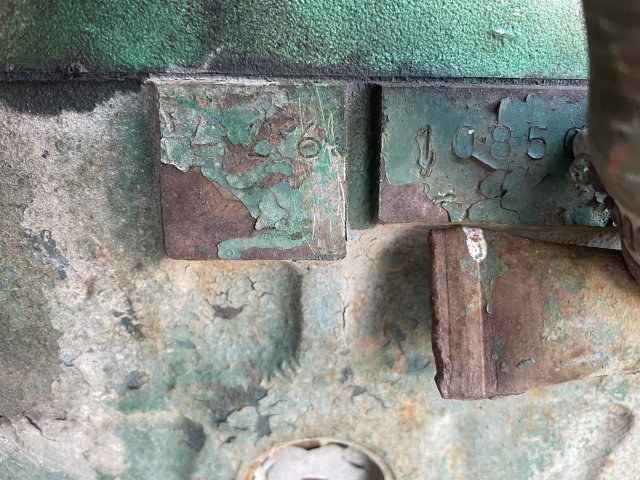
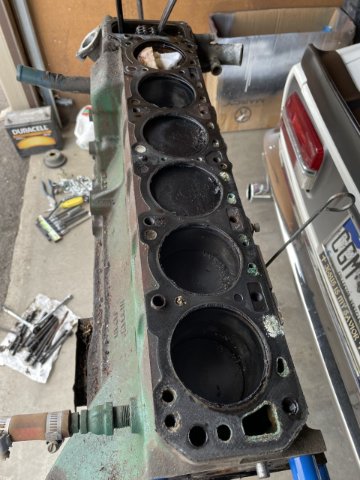
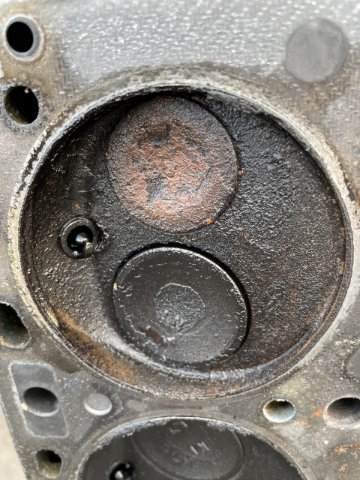
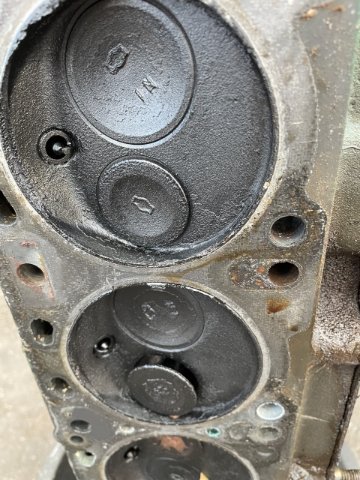
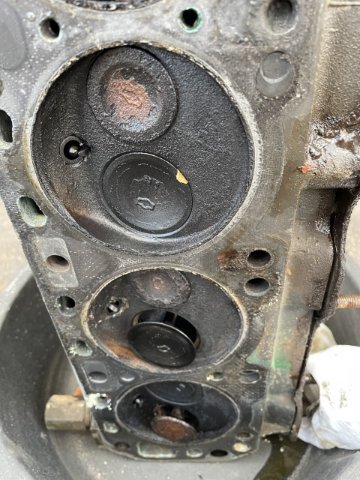
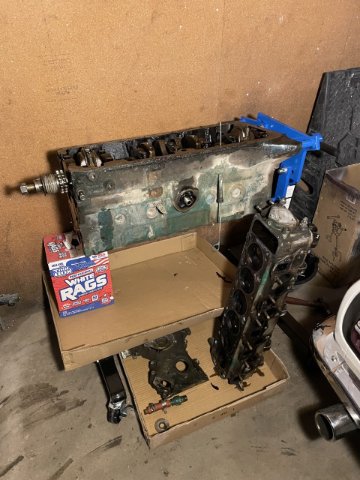
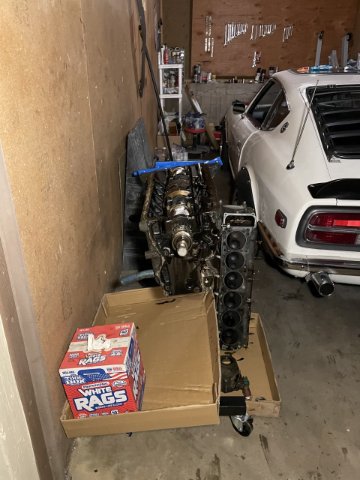
As you know, Nissan offered the 2.8 series 6 as a diesel as well. It has a longer stroked crank (83 versus L28 79 mm). Known as an LD28 or V07, they are now fetching over 1500 dollars each. Well, I got one out of Thailand for 400 bucks. So, I decided to build a stroker L series 6 engine for my Z car! I have the V07 crank, which has 83mm stroke, the L24 has 73mm. So I am gaining 10mm, of stroke! 99% of the guys are using this crank in a 280Z/L28 block to build a huge cubic inch stroker. If I did that, my freshly rebuilt SU 46mm carbs would be too small unless I spent money to have them bored out from 46mm to 50mm. So I figured, there is a way to get what I want...TORQUE, and use the stuff I have. Use an L24/L26 block instead of the L28/280Z block! Difference? L24/26 are 83 mm bore, L28 is 86mm bore. Since 260Z and 240Z use the same block, when given the oppurtunity to buy a long block L26 locally for CHEAP (REALLY CHEAP!) , I jumped! The stroker V07 crank is inbound, and Steve Bonk, well known in Z circles sold me a brand new set of forged H beam rods with ARP fasteners from K1 in the longer L24 rod size (L24 rod is logner than L28 by 3 mm! ). All that is left is pistons. They will be a custom made deal, as I want the bore to remain small, but still more than the stroke, so I maintain my bore/stroke ratio. 83 is the stock bore, and I am going to go 84mm which is barely larger than the 83mm stroke. Why not larger?? thicker walls mean more rigidity, more reliability and better seal, better everything! The pistons will work with the longer L24 spec rods and the V07 crank to get me right at 9.0 to 1 compression using the E88/260Z head with the Nissan head gasket. The E88 head I have, is .5 compression ratio lower, but has the 280Z exhaust valve already!I So I will use it. So, I got the long block today, and ran and got me a hoist and engine stand to do this. the bolts to hold the block in are NOT M10X1.5as everyone said ! I got those and they didn't work. I had to use SAE 3/8X16 bolts! That's right NOT metric but SAE! Were they tapped by a previous owner? Probably. I am OK with it. So, an additional run to the store got me some grade 8 botls, and I managed to get the engine off the ground and on to the stand! Then I commenced stripping it down. I think Nissan broke the Guiness book of world record for bolts for an oil pan....it seemed like there was 50 bolts holding it on! At any rate I got it down to a short block and rotating assembly. Next will be clearancing the bottom of the cylinders so the crank and rods will clear. A steady hand and my die griner and I hope to make the reliefs good enough that I don't have to do it again once the block is all clean and bored and ready to go. This will put me at 2750cc from 2393 cc ( gain of 350cc+). A L28/280Z engine is 2753....so Basically the same, yet, not. My engine more than likely will make more torque than horsepower, and that's fine. Why? Because I run an automatic transmission! Torque is king on the street, and especially with the auto trans. Keep in mind I still have a 510 torque converter for a higher stall and a Stage III shift kit I can add should I need to. With 3:54 open gears, it should really be great on the street! Cam selection is still up in the air....the C grind cam in the 260Z head is a great cam.....but I need to clean it up and see if she is good to go or not. Prior owner painted the block John Deere Green (why? ) Here are a few pics of my new headache.
-
10-9-2022 UPDATE. Things have been busy. As you know, Nissan offered the 2.8 series 6 as a diesel as well. It has a longer stroked crank (83 versus L28 79 mm). Known as an LD28 or V07, they are now fetching over 1500 dollars each. Well, I got one out of Thailand for 400 bucks. So, I decided to build a stroker L series 6 engine for my Z car! I have the V07 crank, which has 83mm stroke, the L24 has 73mm. So I am gaining 10mm, of stroke! 99% of the guys are using this crank in a 280Z/L28 block to build a huge cubic inch stroker. If I did that, my freshly rebuilt SU 46mm carbs would be too small unless I spent money to have them bored out from 46mm to 50mm. So I figured, there is a way to get what I want...TORQUE, and use the stuff I have. Use an L24/L26 block instead of the L28/280Z block! Difference? L24/26 are 83 mm bore, L28 is 86mm bore. Since 260Z and 240Z use the same block, when given the oppurtunity to buy a long block L26 locally for CHEAP (REALLY CHEAP!) , I jumped! The stroker V07 crank is inbound, and Steve Bonk, well known in Z circles sold me a brand new set of forged H beam rods with ARP fasteners from K1 in the longer L24 rod size (L24 rod is logner than L28 by 3 mm! ). All that is left is pistons. They will be a custom made deal, as I want the bore to remain small, but still more than the stroke, so I maintain my bore/stroke ratio. 83 is the stock bore, and I am going to go 84mm which is barely larger than the 83mm stroke. Why not larger?? thicker walls mean more rigidity, more reliability and better seal, better everything! The pistons will work with the longer L24 spec rods and the V07 crank to get me right at 9.0 to 1 compression using the E88/260Z head with the Nissan head gasket. The E88 head I have, is .5 compression ratio lower, but has the 280Z exhaust valve already!I So I will use it. So, I got the long block today, and ran and got me a hoist and engine stand to do this. the bolts to hold the block in are NOT M10X1.5as everyone said ! I got those and they didn't work. I had to use SAE 3/8X16 bolts! That's right NOT metric but SAE! Were they tapped by a previous owner? Probably. I am OK with it. So, an additional run to the store got me some grade 8 botls, and I managed to get the engine off the ground and on to the stand! Then I commenced stripping it down. I think Nissan broke the Guiness book of world record for bolts for an oil pan....it seemed like there was 50 bolts holding it on! At any rate I got it down to a short block and rotating assembly. Next will be clearancing the bottom of the cylinders so the crank and rods will clear. A steady hand and my die griner and I hope to make the reliefs good enough that I don't have to do it again once the block is all clean and bored and ready to go. This will put me at 2750cc from 2393 cc ( gain of 350cc+). A L28/280Z engine is 2753....so Basically the same, yet, not. My engine more than likely will make more torque than horsepower, and that's fine. Why? Because I run an automatic transmission! Torque is king on the street, and especially with the auto trans. Keep in mind I still have a 510 torque converter for a higher stall and a Stage III shift kit I can add should I need to. With 3:54 open gears, it should really be great on the street! Cam selection is still up in the air....the C grind cam in the 260Z head is a great cam.....but I need to clean it up and see if she is good to go or not. Prior owner painted the block John Deere Green (why? ) Here are a few pics of my new headache.
-
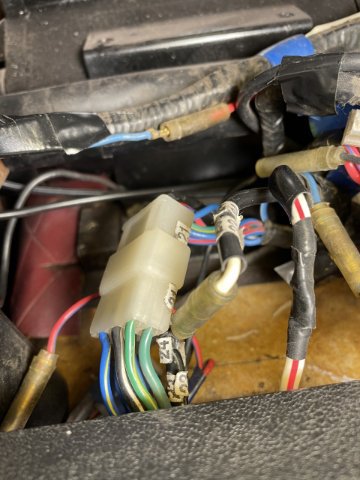
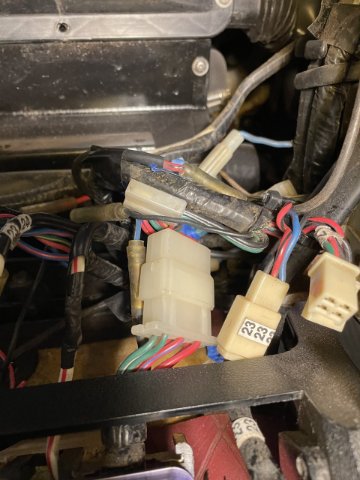
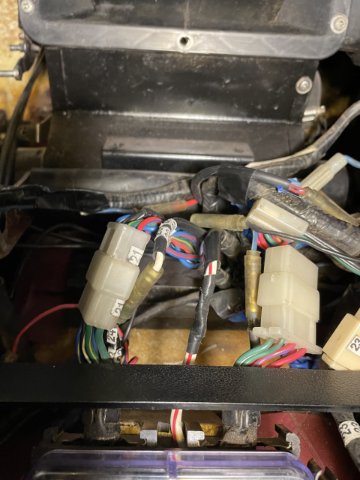
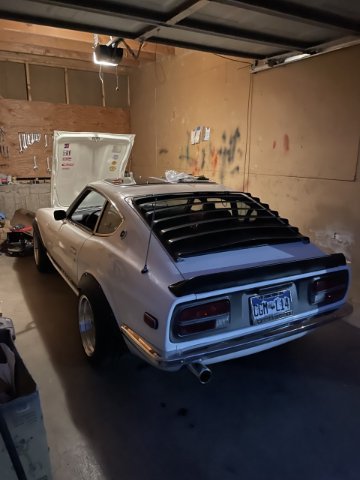
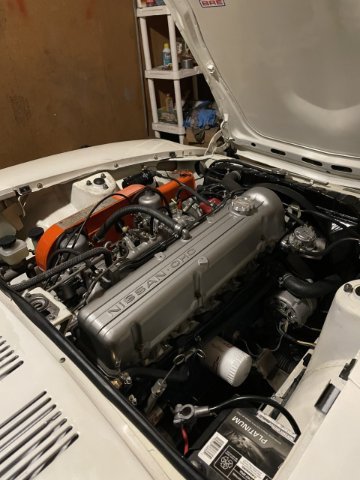
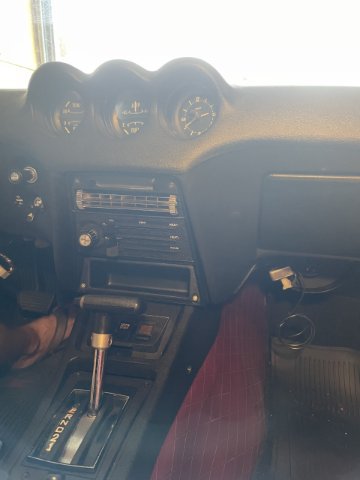
10-4-2022 UPDATE: A full day in the garage doing wiring. Got the headlights working correctly, blinkers good, brake lights seem ok, parking lights and gauge lights not working....they were working earlier, now they are not. 🙁 Endless chasing! I had to run a new power wire to the solenoid to bypass the hiccups of auto trans start protection relays that no longer work right. Closer and closer! 🙂 The carbs are great! Maybe a tad rich at high RPM's, but engine starts just bumping the key!


